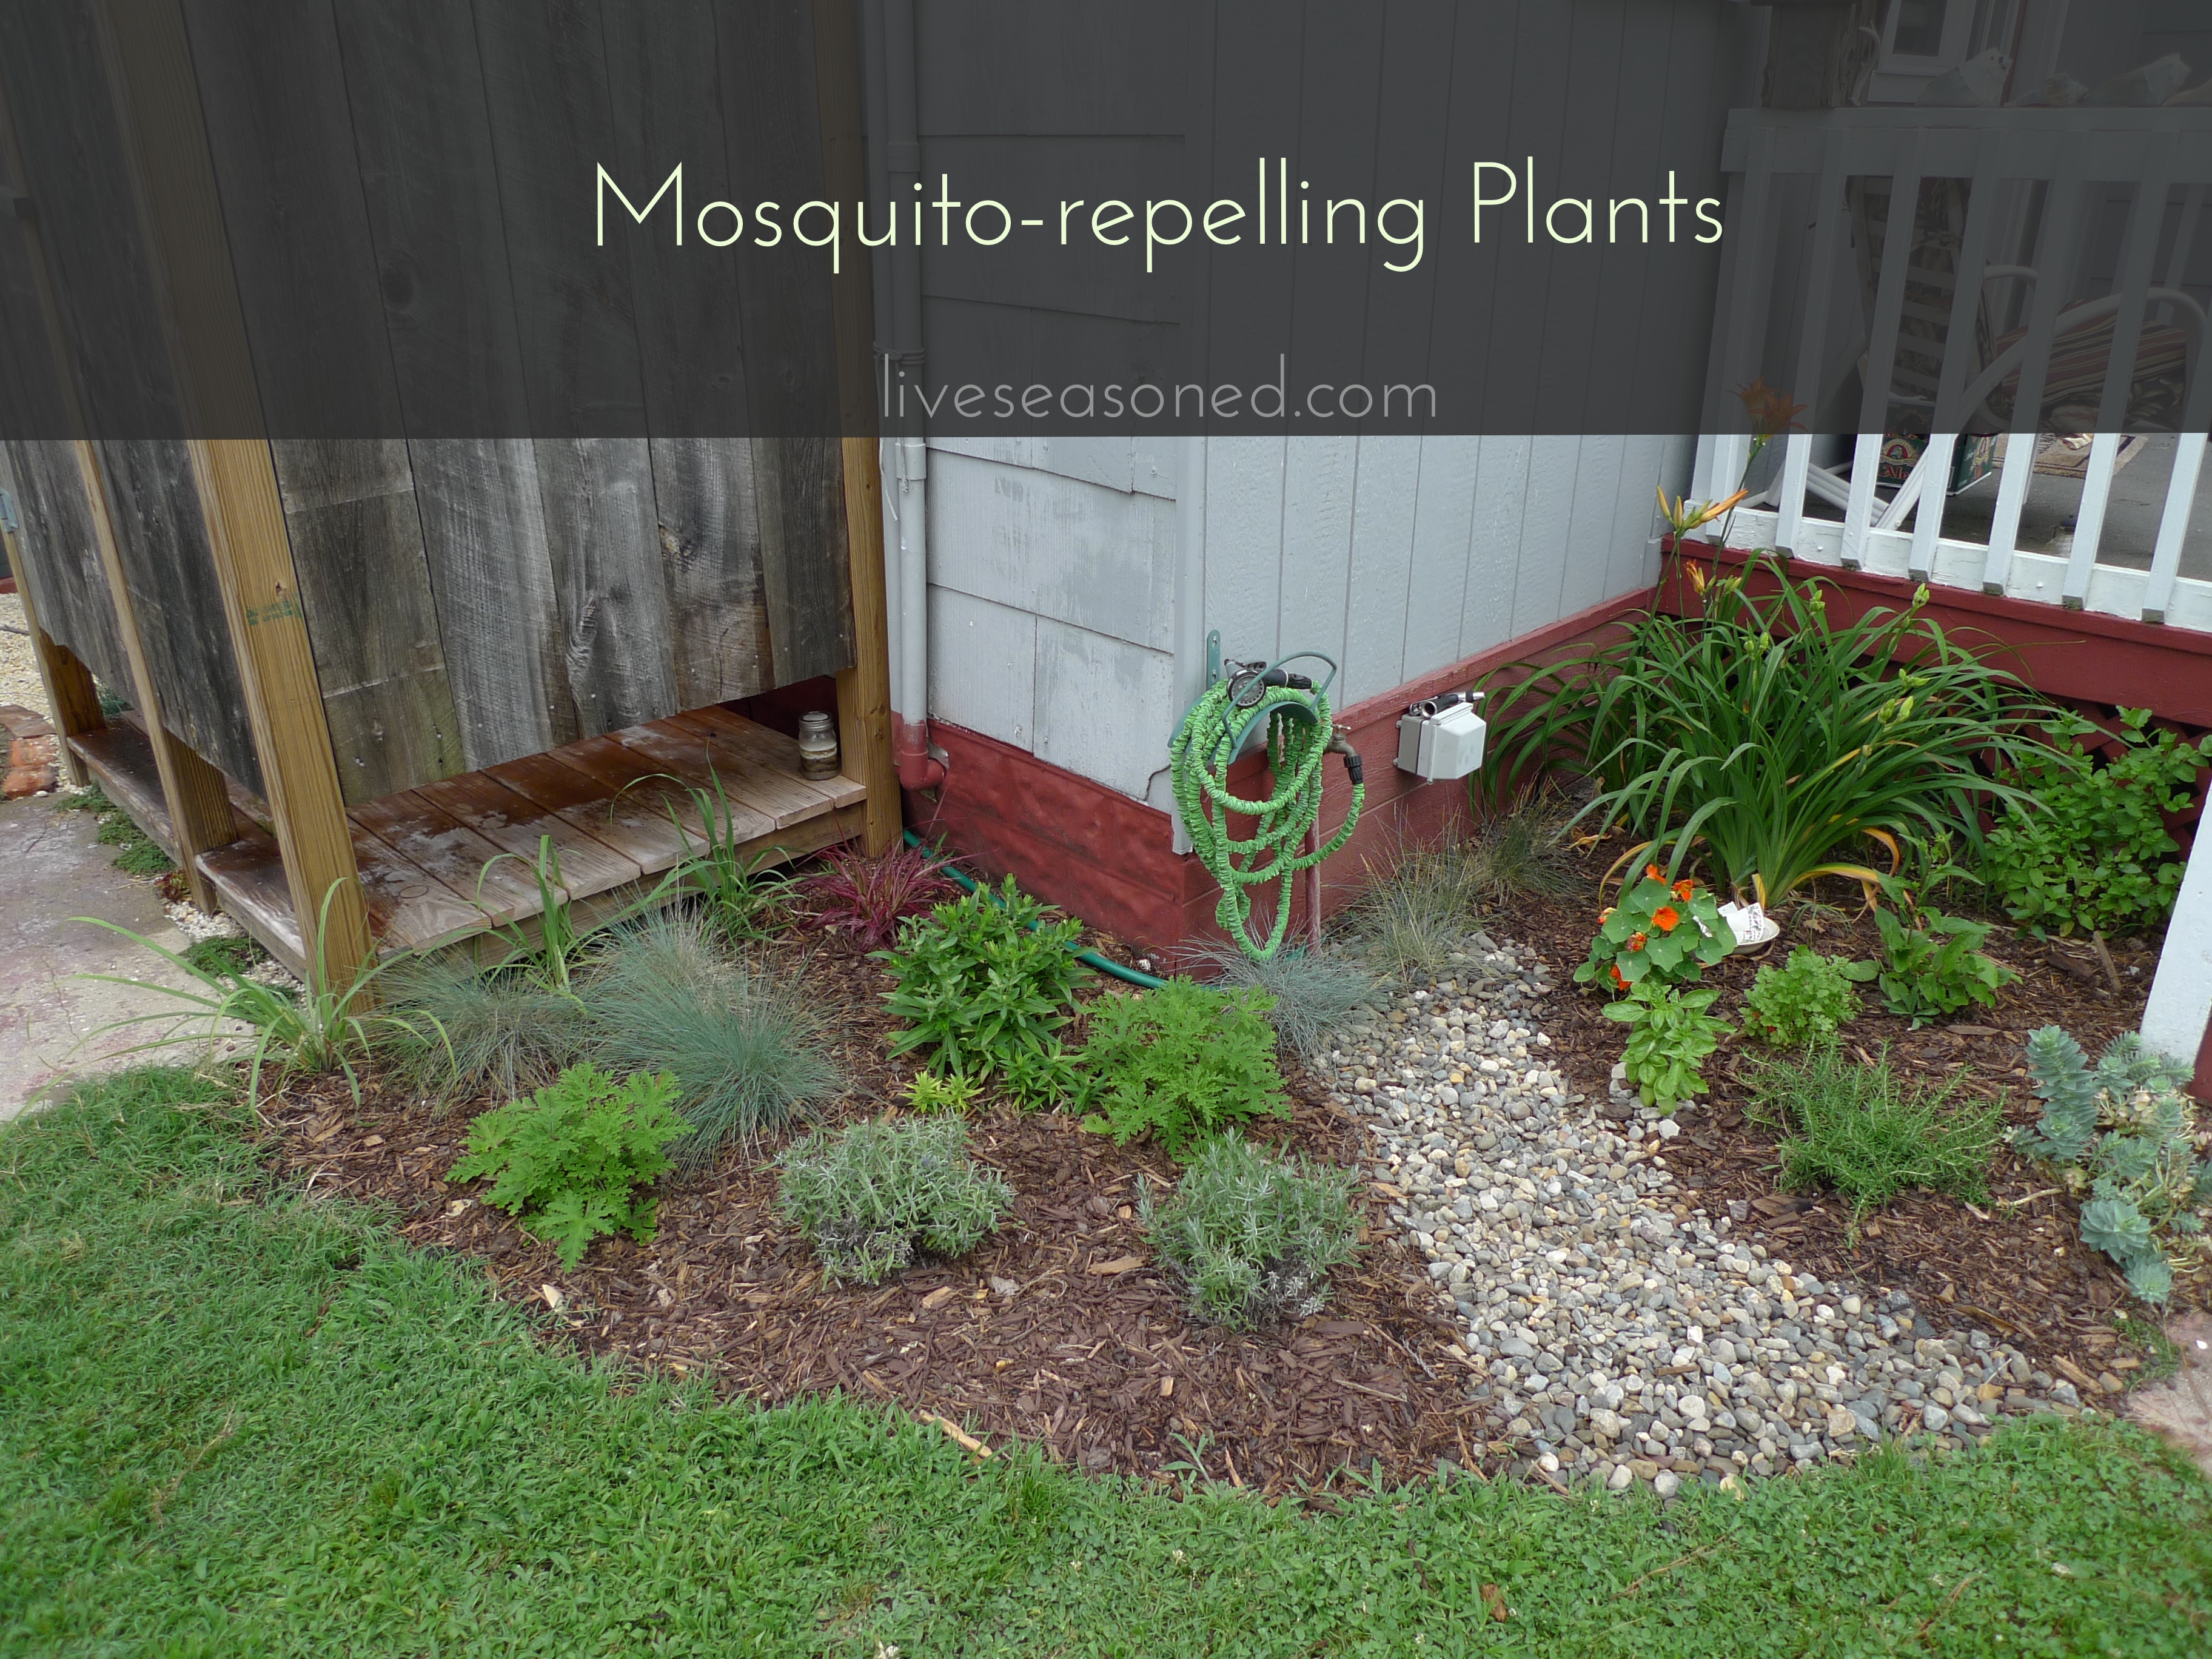
I know it seems a bit late in the season to do a planting post, but by now many gardens have reached their peak, and this is when I find myself wandering around neighborhoods looking at the yards and getting inspiration for next year. So, if you’re a planner like me, I thought you might like to hear about how we put the flower beds around the beach house’s outdoor shower to work for us.
The Eastern Shore area is known for its mosquitos. There have been years when we’ve visited Chincoteague and find ourselves running from the car to the front door and still having dozens of mosquitos on us! Or times when we’ve camped and can see the little insects perched on our tent waiting for their next meal. Needless to say, we were prepared for the mosquitos when we moved over to Saxis and ready to put up a fight in order to enjoy the outdoor shower.
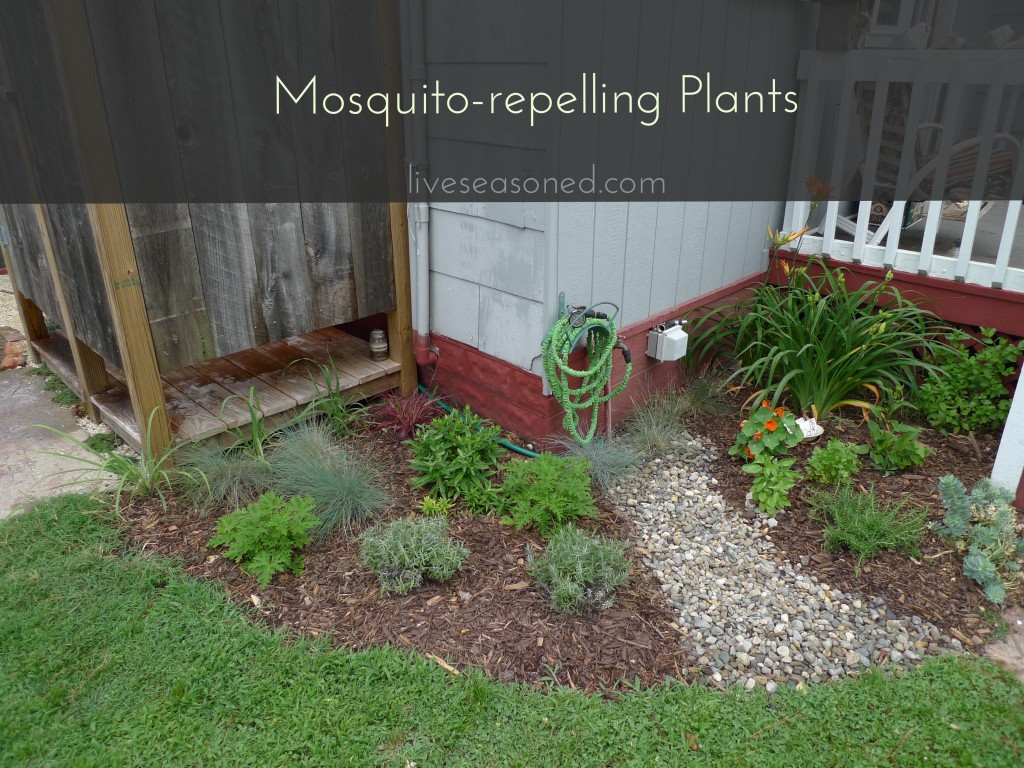
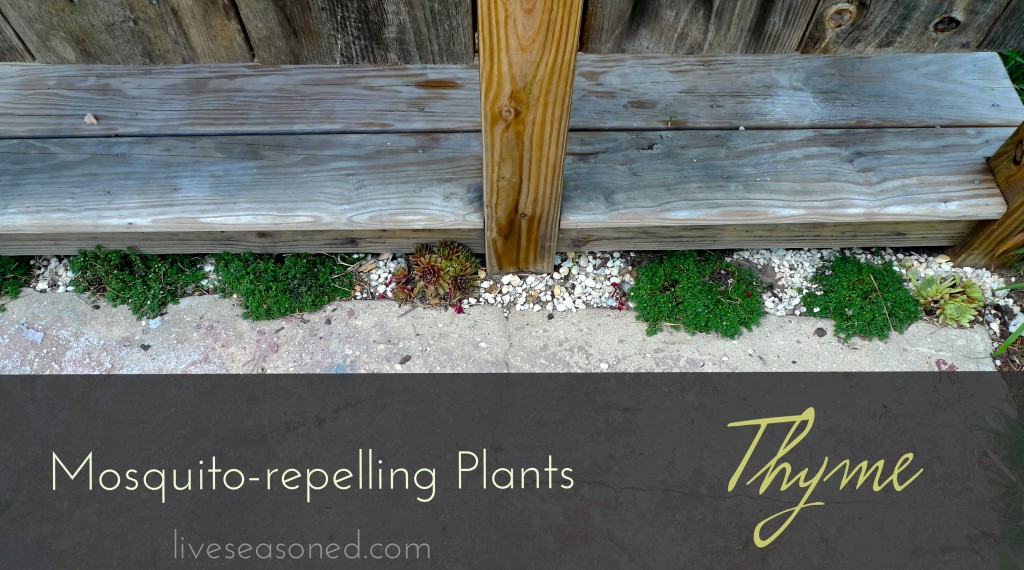
The shower is located at the back of the house, just around the corner from the back door that opens into the kitchen. We created one flower bed that fills the space from the back steps around the corner of the house to the shower. We also made this a garden area that transitions from herbs (for use in the kitchen, but working double-duty as mosquito deterrents) to our ornamental and aromatic mosquito garden. When it came to picking plants, we went with ones that would do well in this location, which was pretty easy since it’s a sunny spot right next to the hose, so water and light were not constraints. There are a lot of plants that repel mosquitoes, but we were particularly interested in the ones that do double duty, either as edible herbs or as fragrant flowers.

Fortunately for us, it seems like the constant spray of water from the shower head keeps them at bay while it’s on. But adding these plants helps to further deter mosquitos from the area which is nice as you’re walking to and from the shower and when you’re in the stall getting undressed and dressed without the water running.
Mosquito-repelling Plants
- catmint
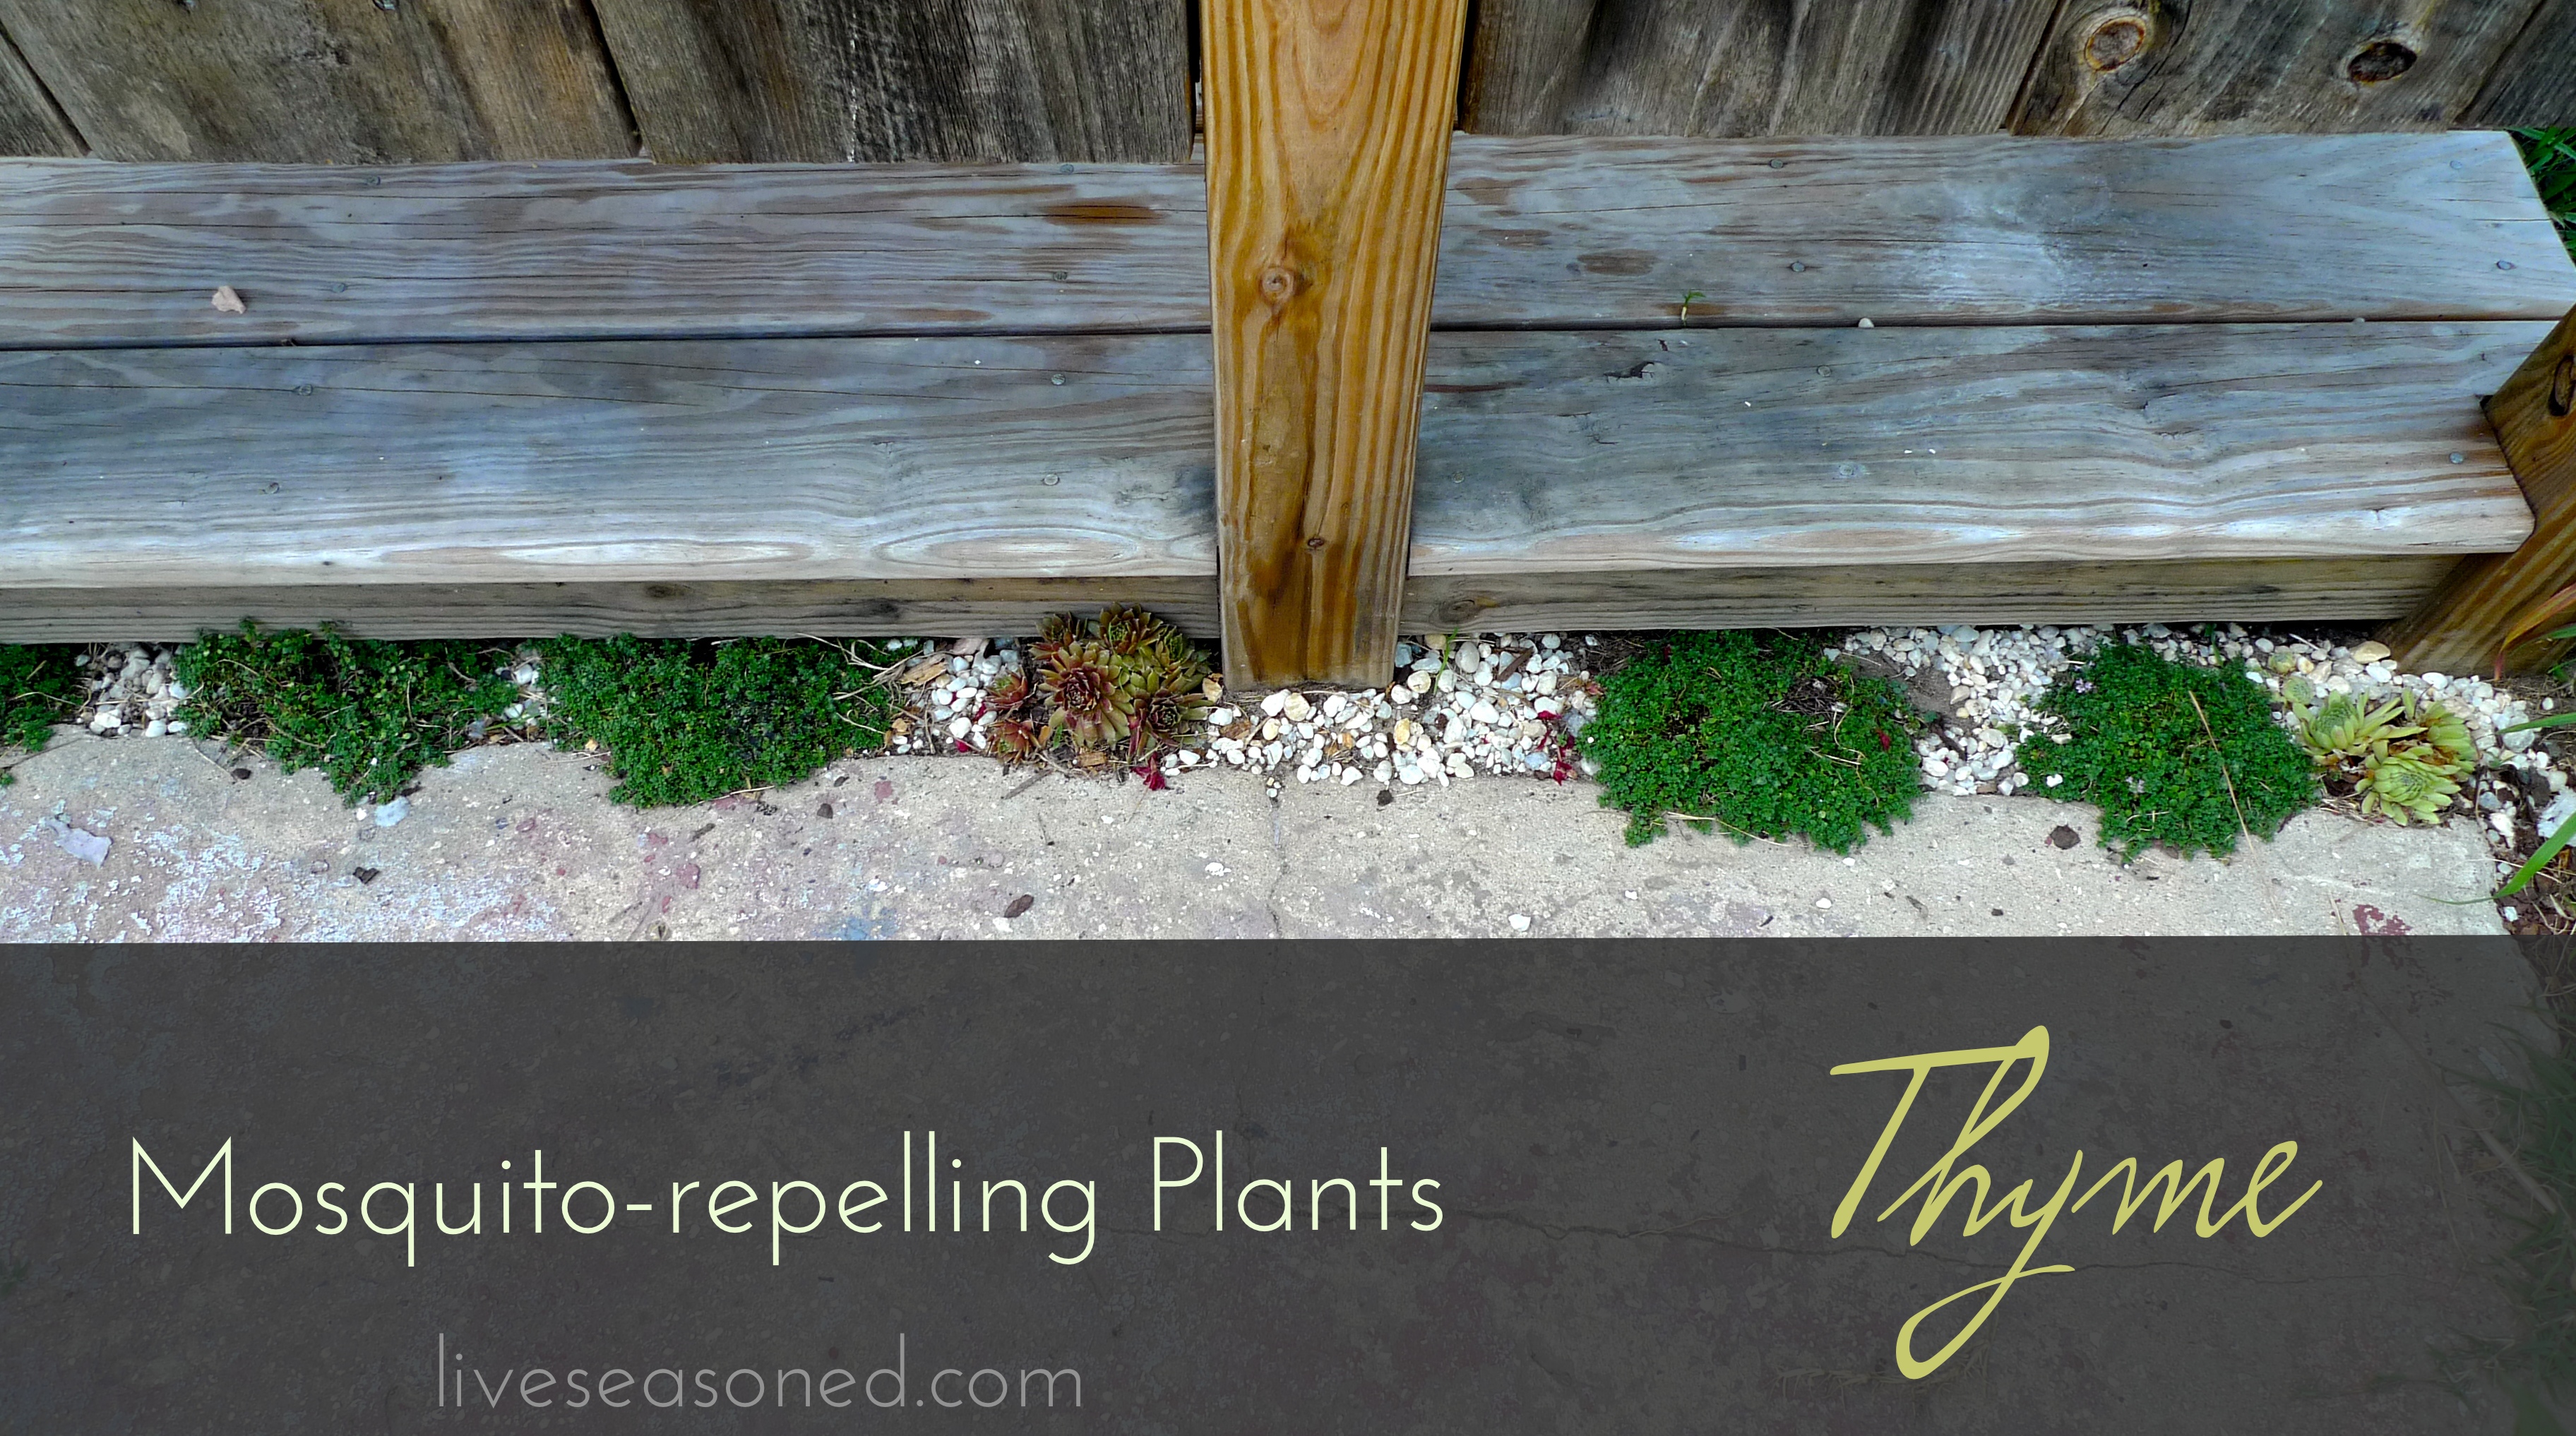
- creeping thyme
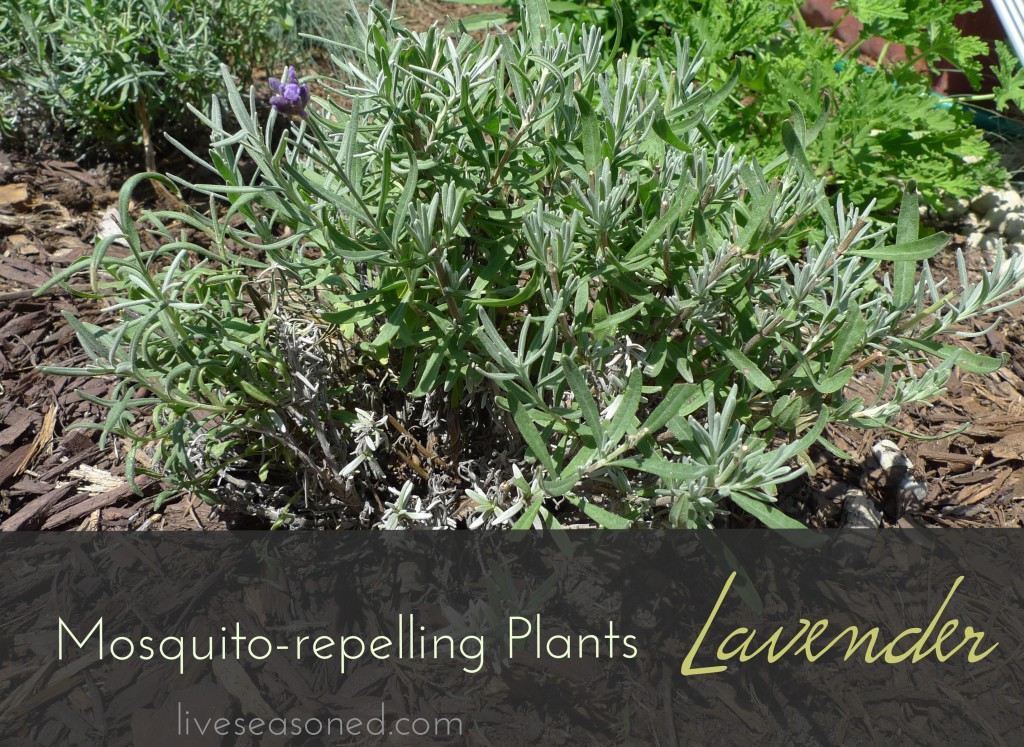
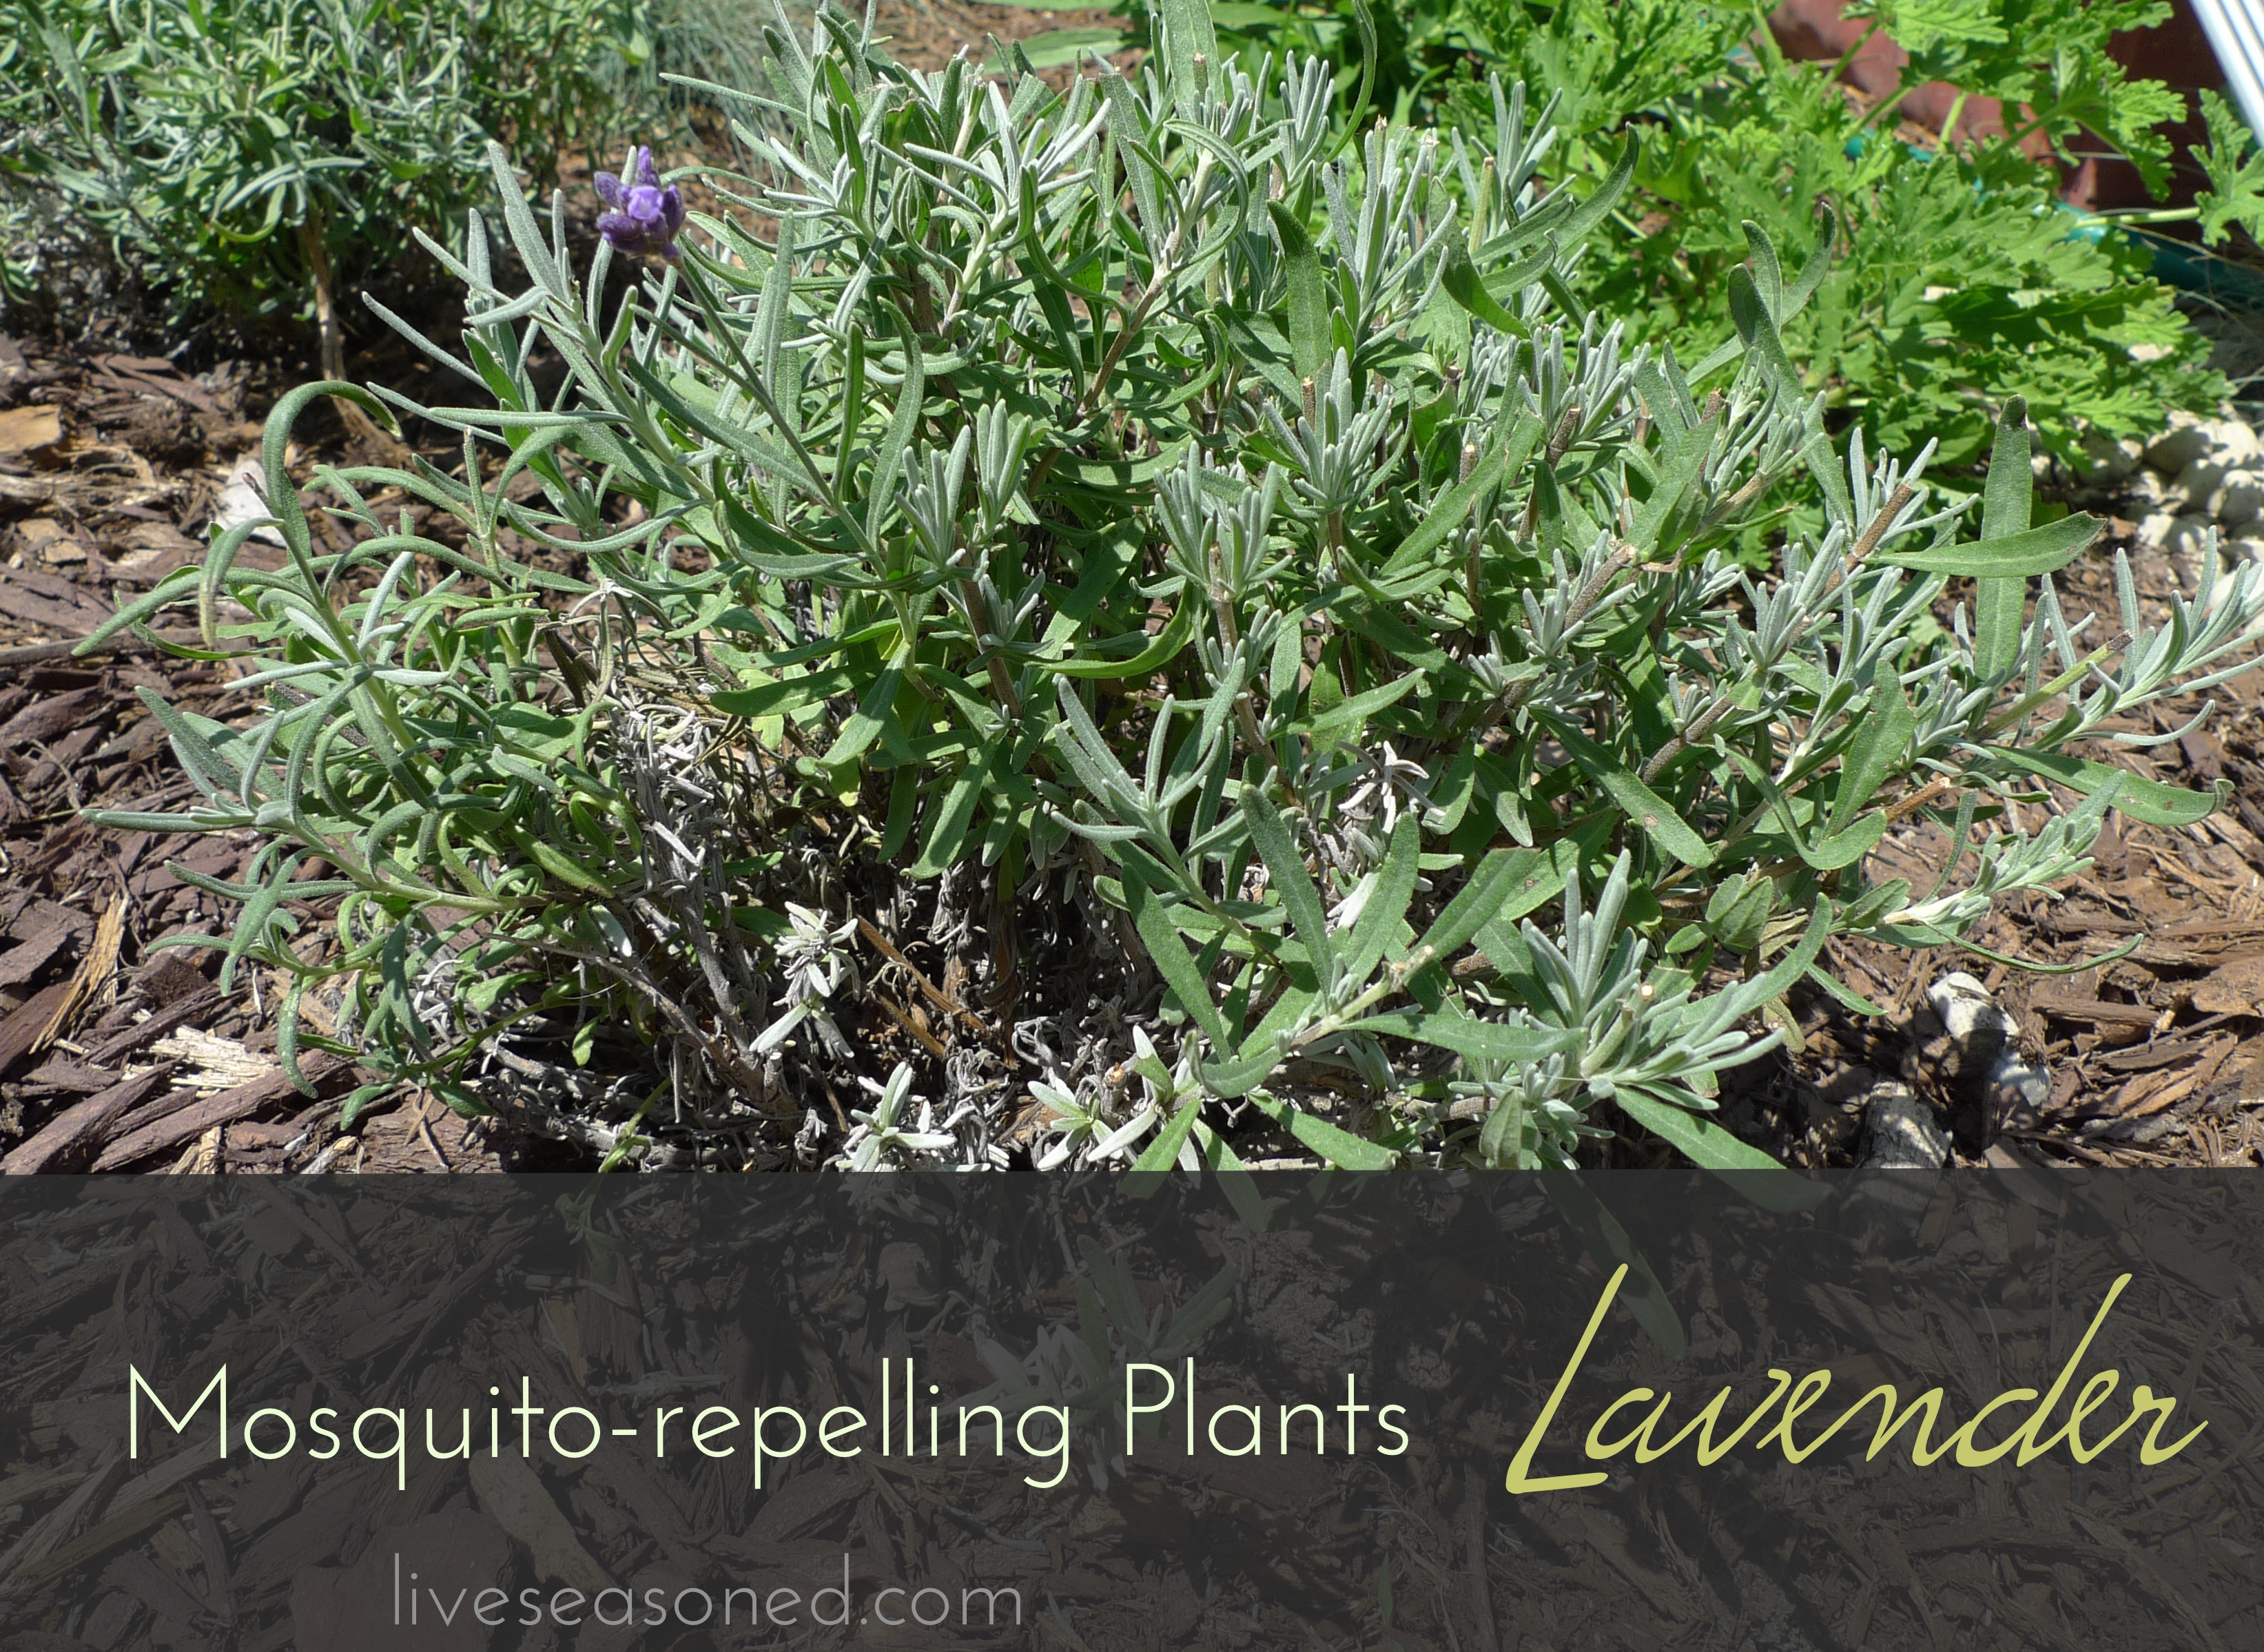
- lavender
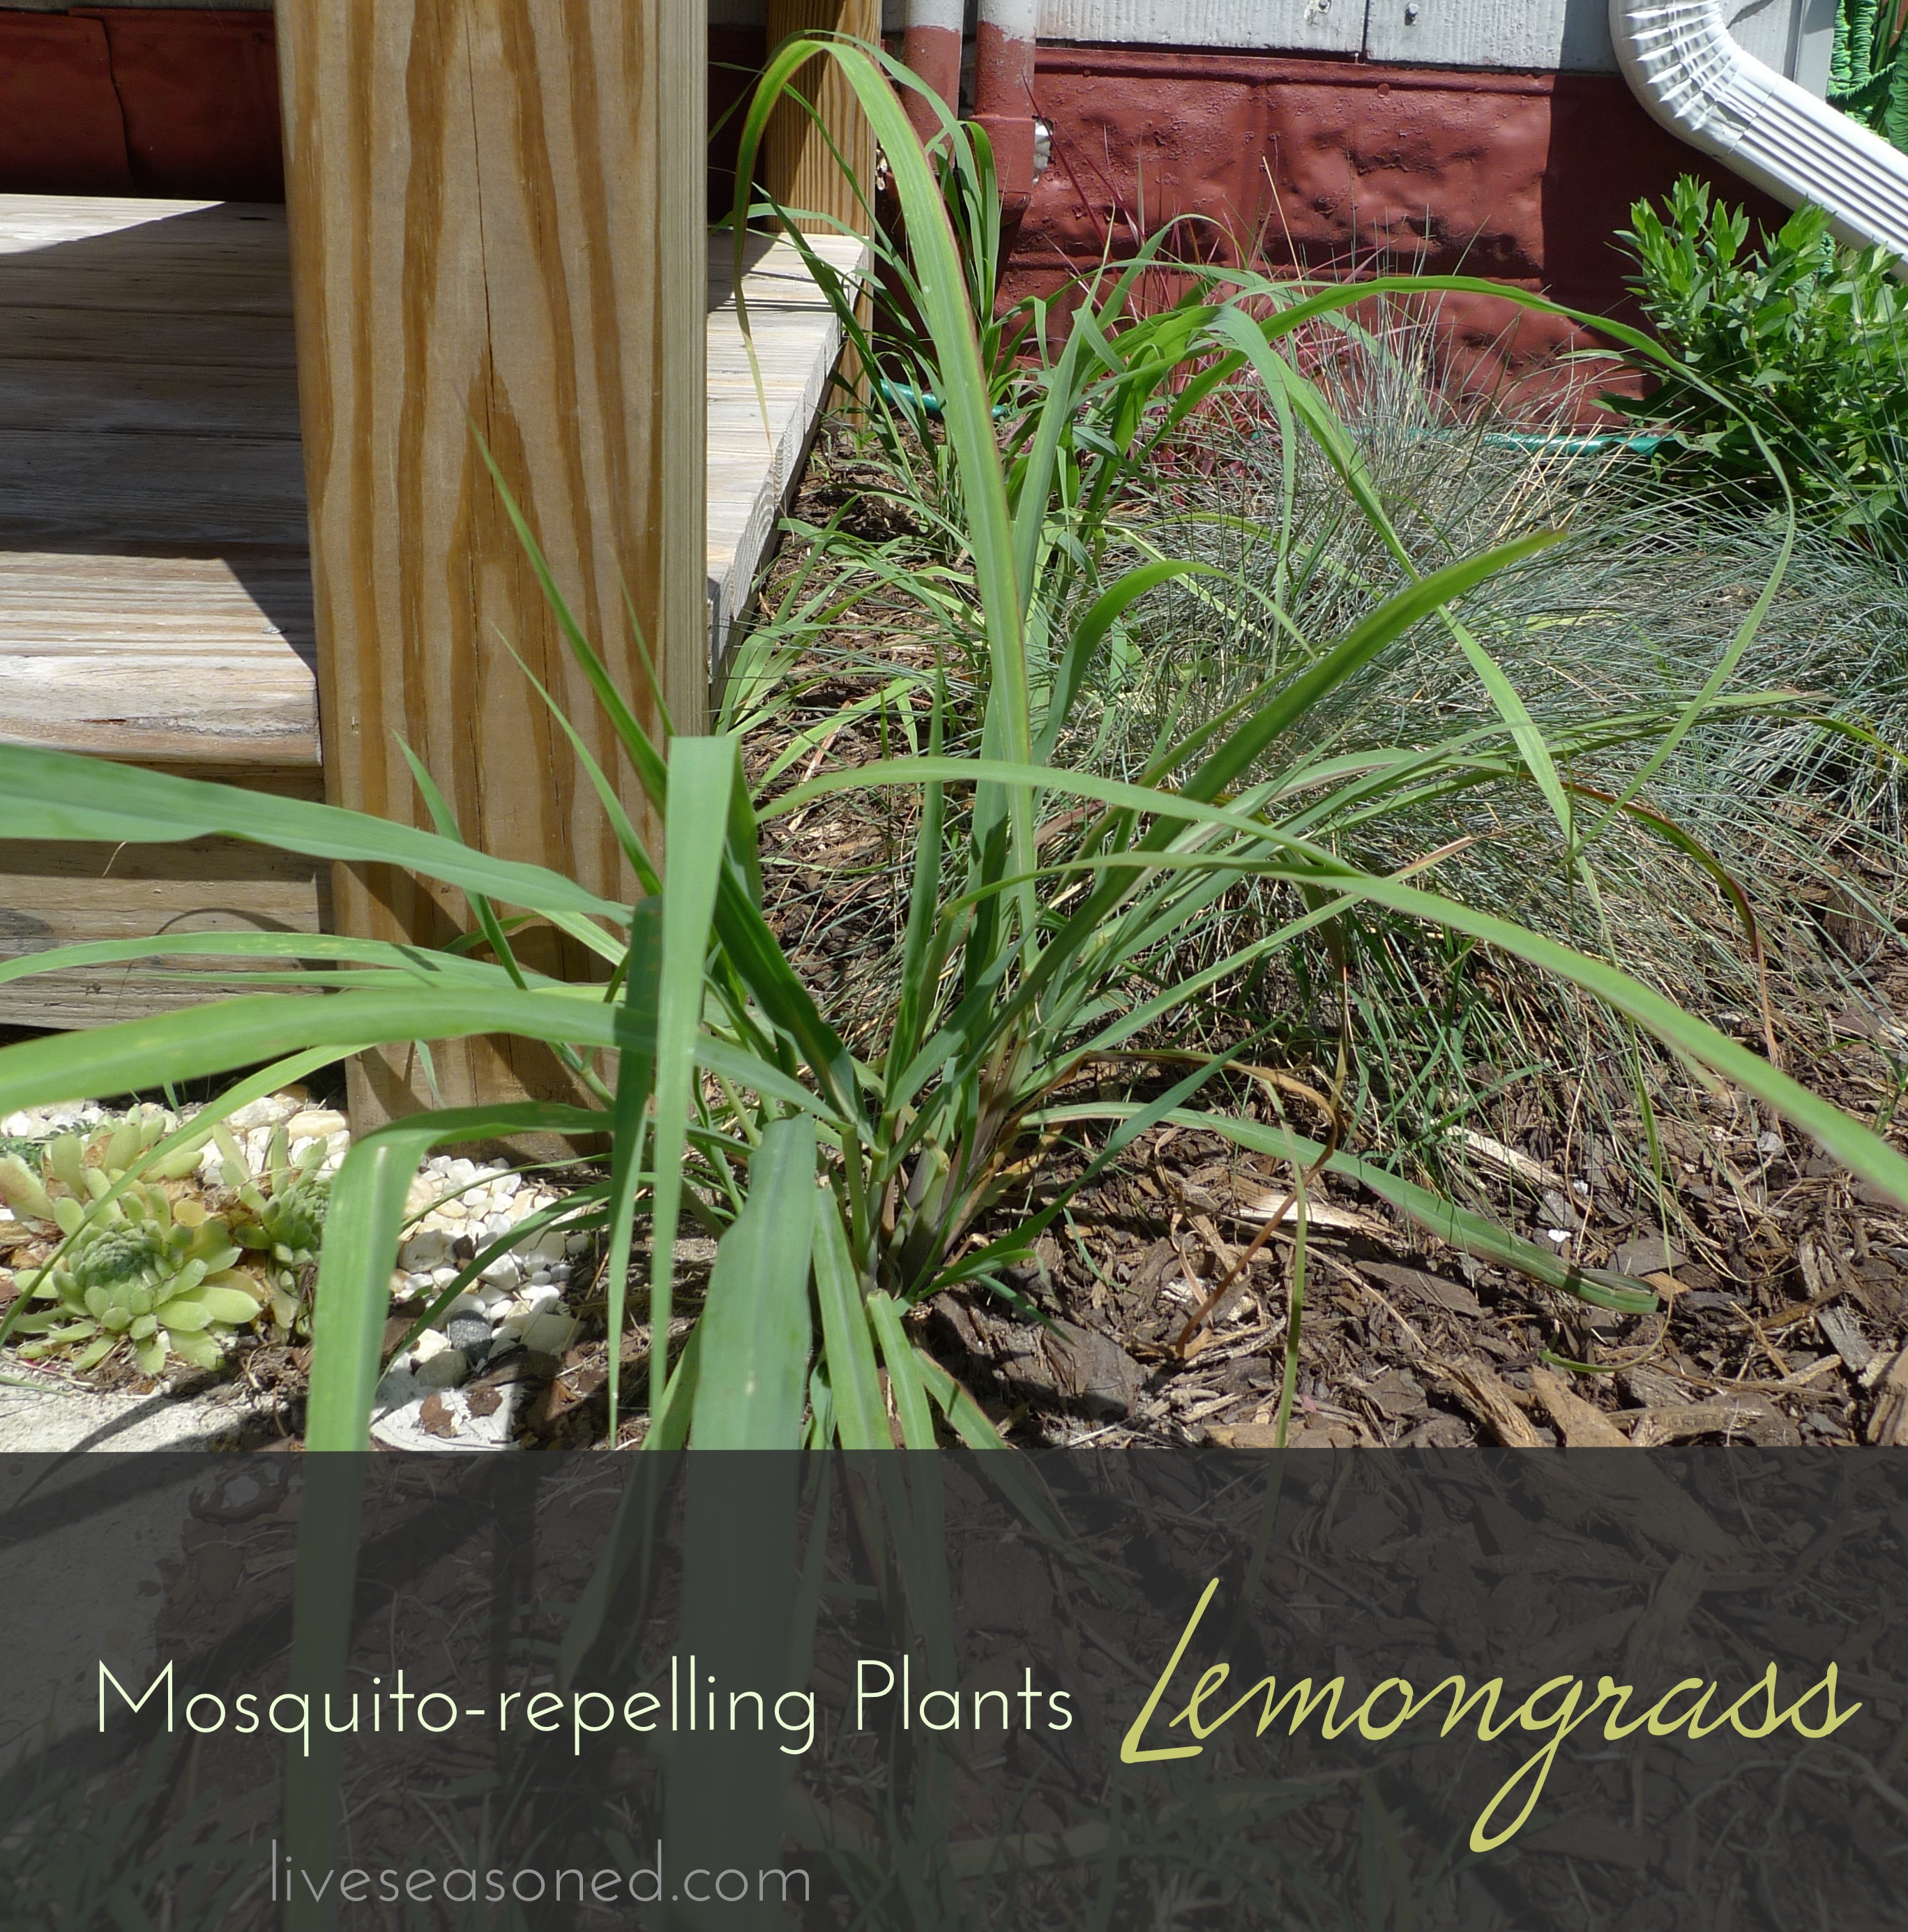
- lemongrass
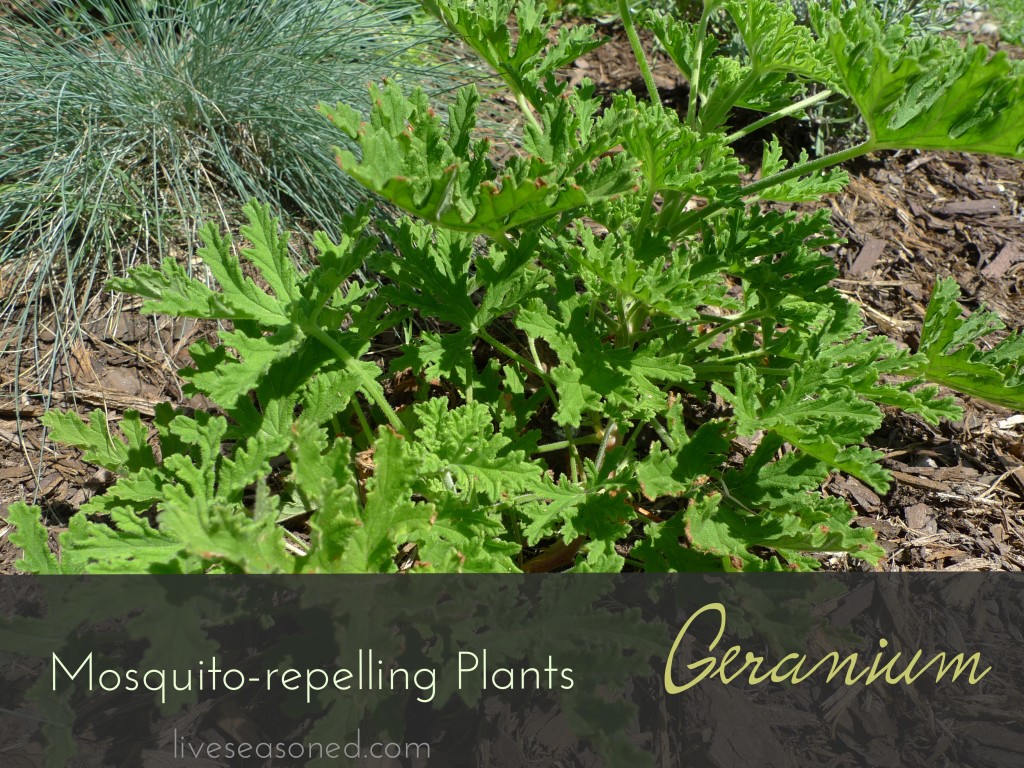
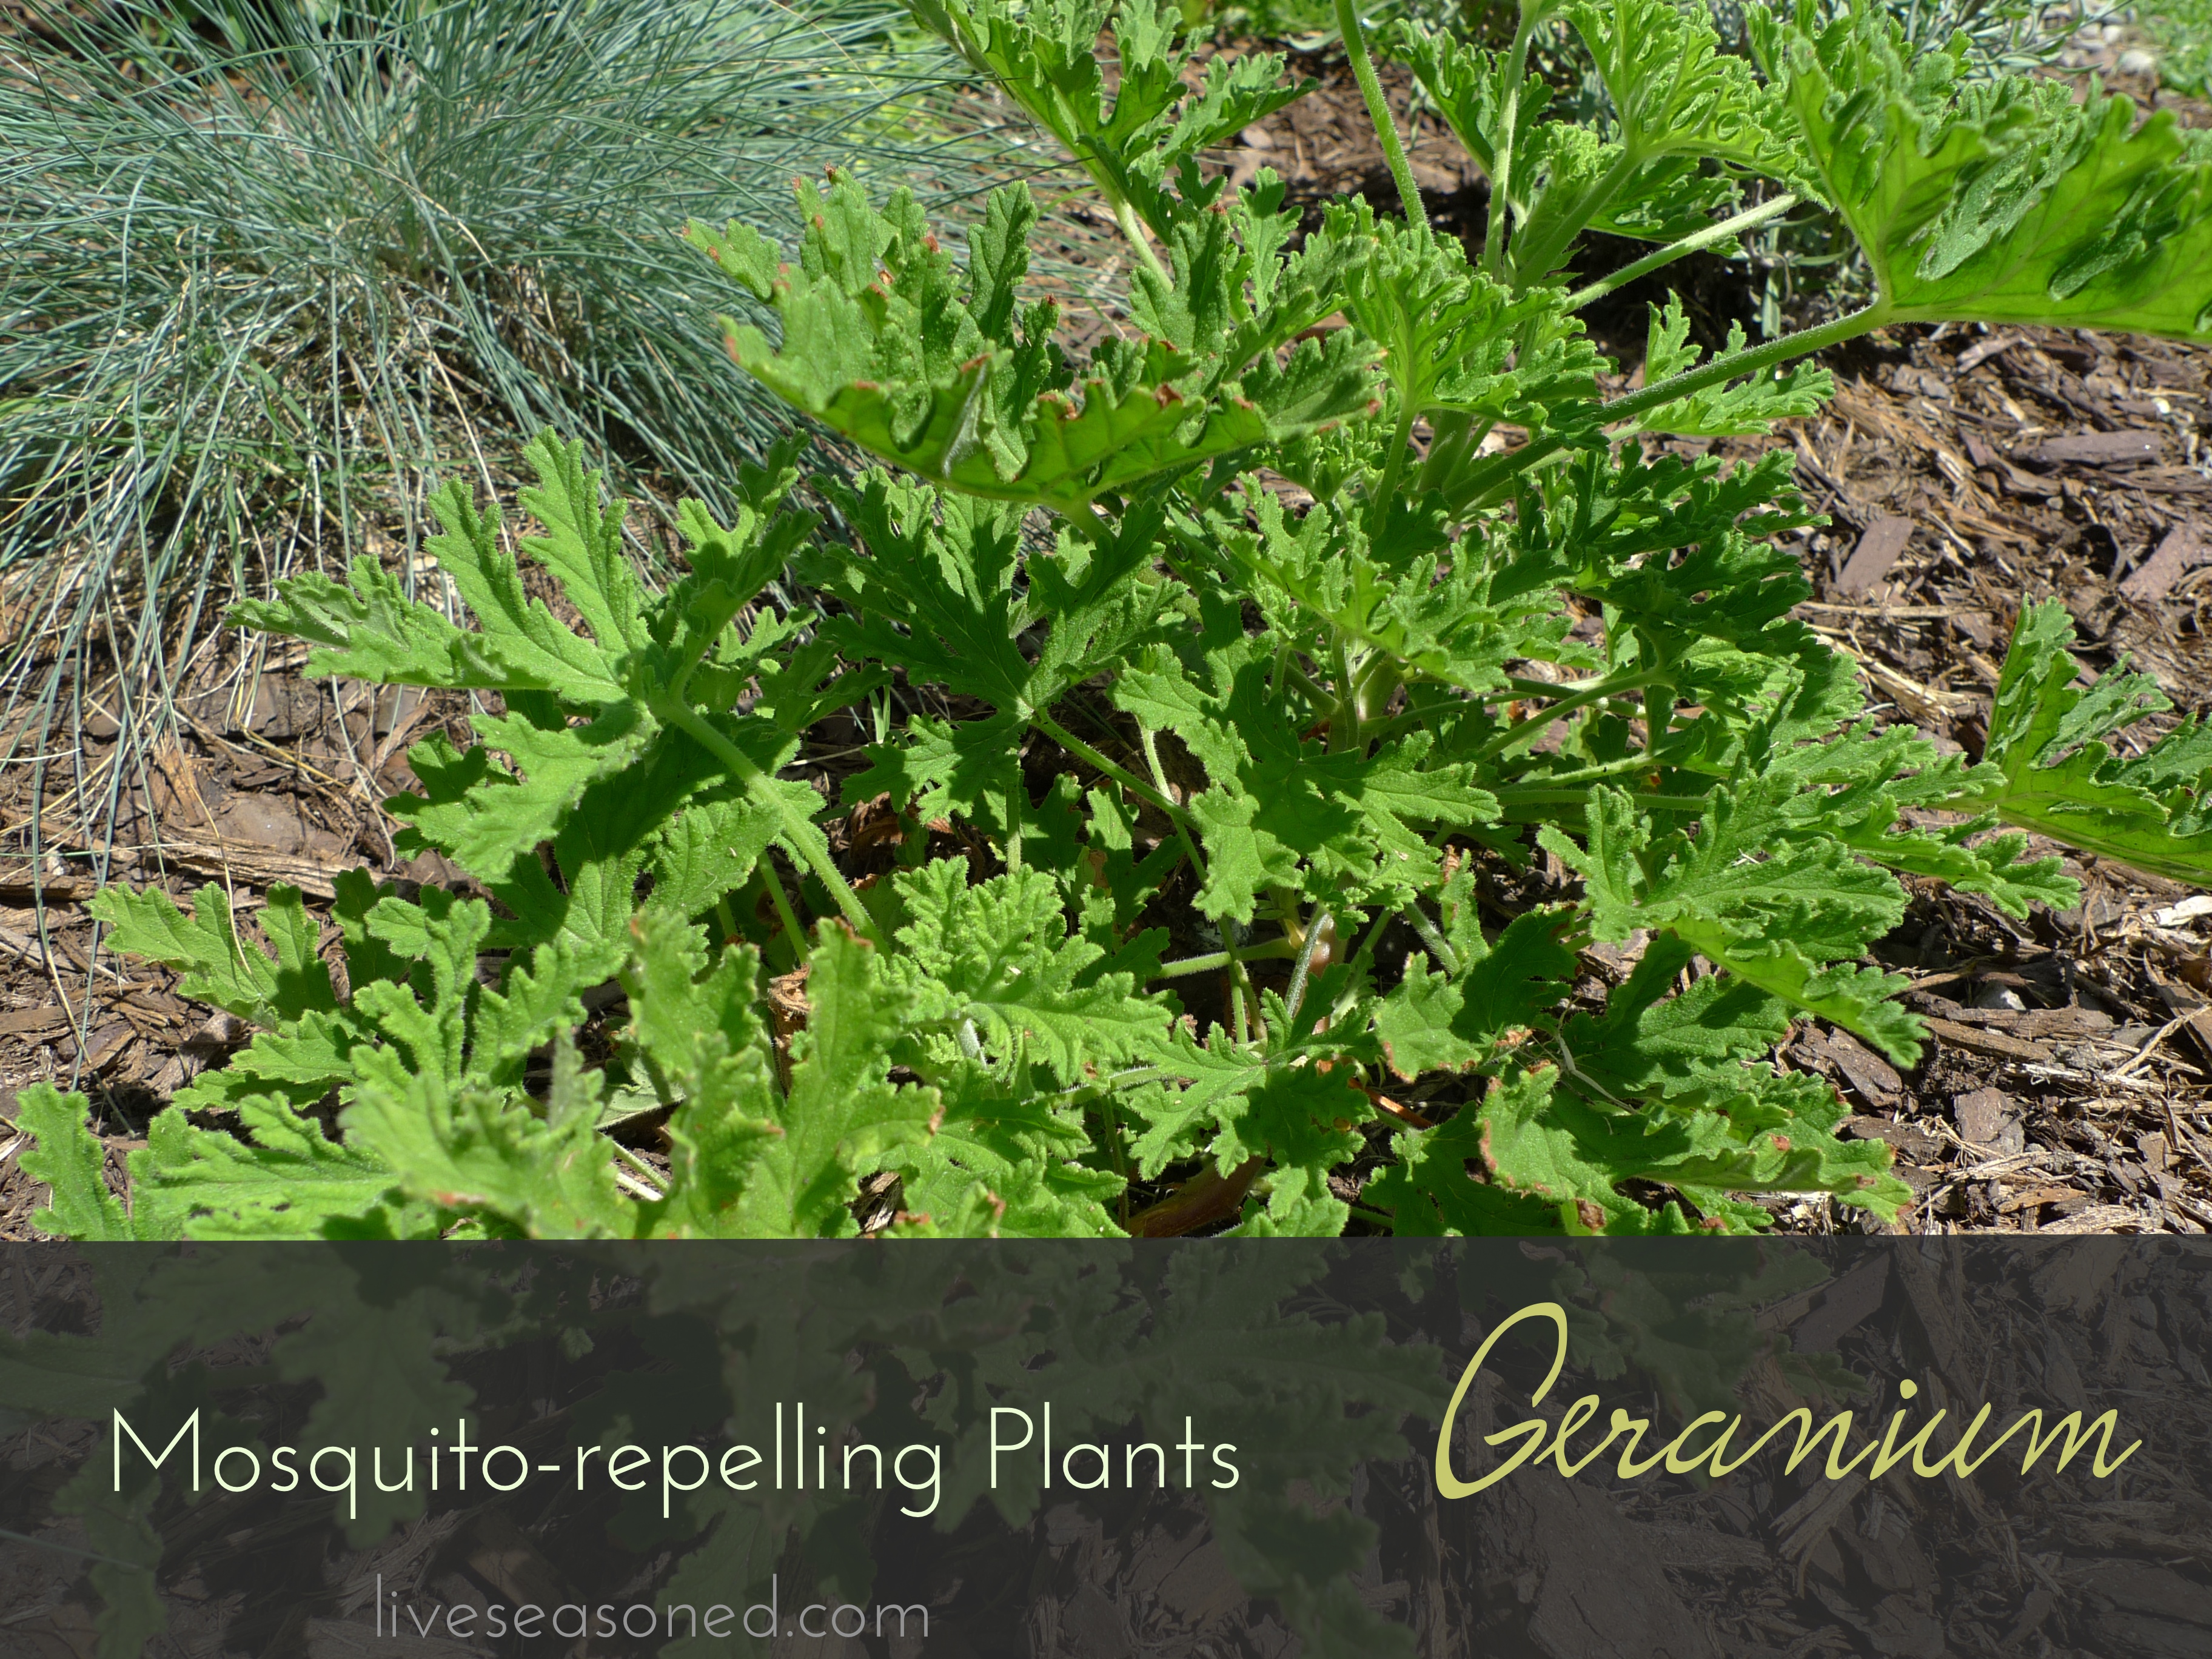
- lemon-scented geranium (the citronella scented variety has been shown to be ineffective)
- mint
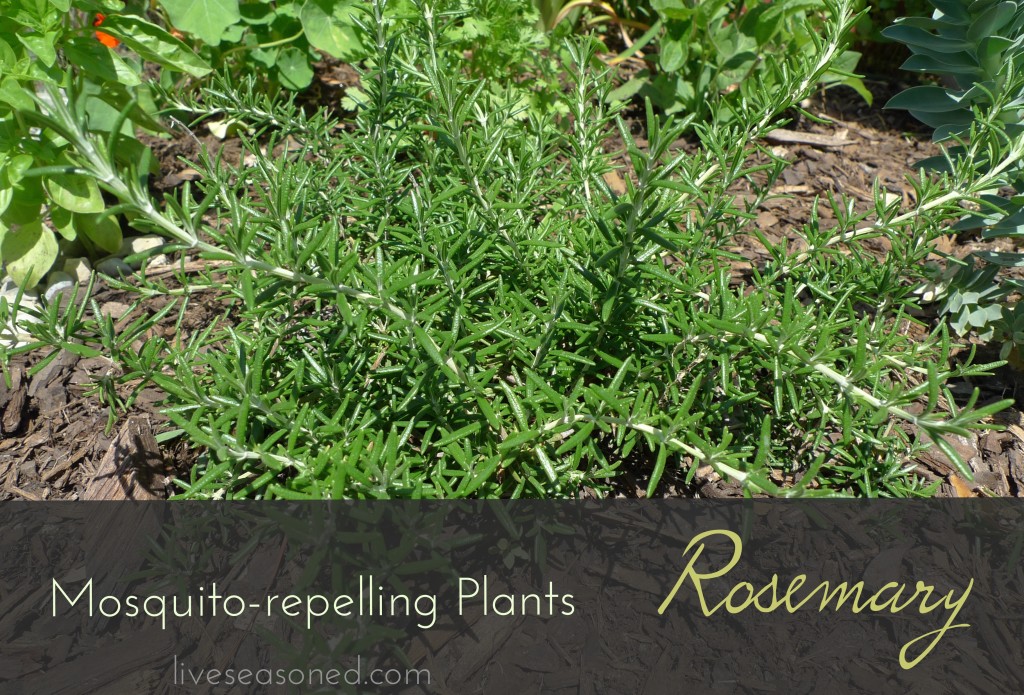
- rosemary
How do these plants work their magic? They each have aromatic compounds, the same ones that make these plants appealing to us, that repel the mosquitos.
As a result, many of the plants on our list work best when their aromas are released, either by rubbing or crushing their leaves. We planted the rosemary, lemon-scented geranium, and lavender closest to the edge of the bed (leaving some room for them to expand). The idea being that people will brush these plants with their legs as they walk from the steps to the shower, releasing the plants’ aromas. The mint is in pots and in a particularly well-gaurded corner of the bed (trying to tame its wild growth). Their fragrance is released every day around happy hour when we’re out there picking leaves for mojitos. The creeping thyme is planted in the small space between the cement slab and the base of the shower; the perfect location for people to step on it and release its fragrance as they are getting into and out of the shower. The lemongrass is planted along one edge of the shower providing a simple natural screen on the side that is most public.
I also included catmint on our list, but didn’t plant this in the shower garden area. It’s a tall plant and didn’t fit in well with the design for this small corner, so we put it on the other side of the back porch. It’s a surprisingly useful plant, with compounds that are 10 times more effective than DEET at repelling mosquitos! With results like that, I had to at least mention it in this post.
And, of course, if mosquitos are a problem in your yard, one of the best things you can do is to make sure you empty any standing, untreated fresh water. For example, all of those road ruts from your off-roading escapades and the holes you made looking for that buried treasure? Fill them in. Be a leader, not a breeder.


