Carrot Hummus

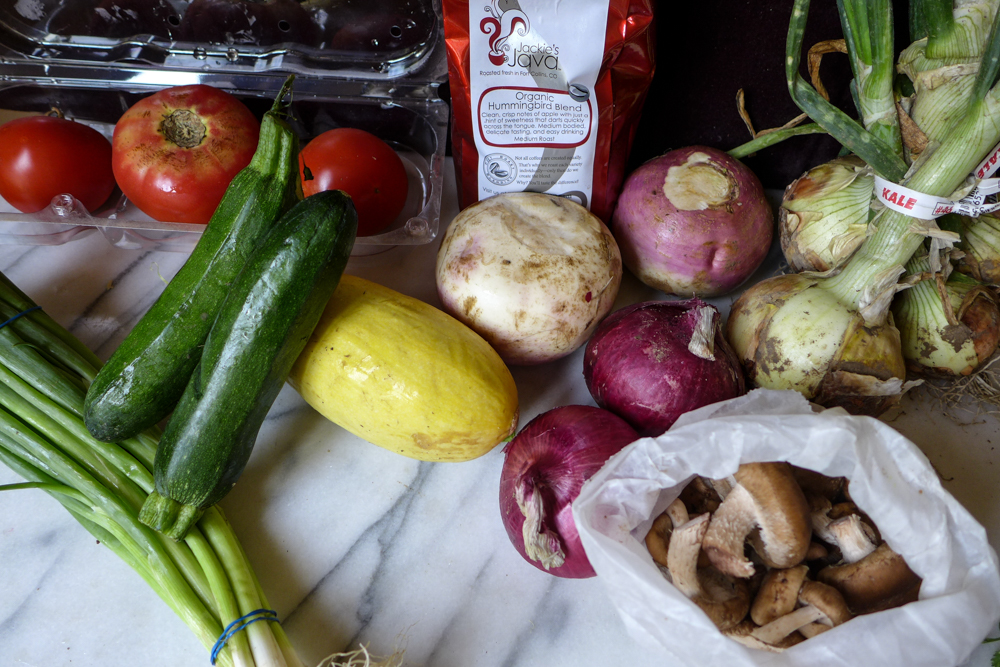
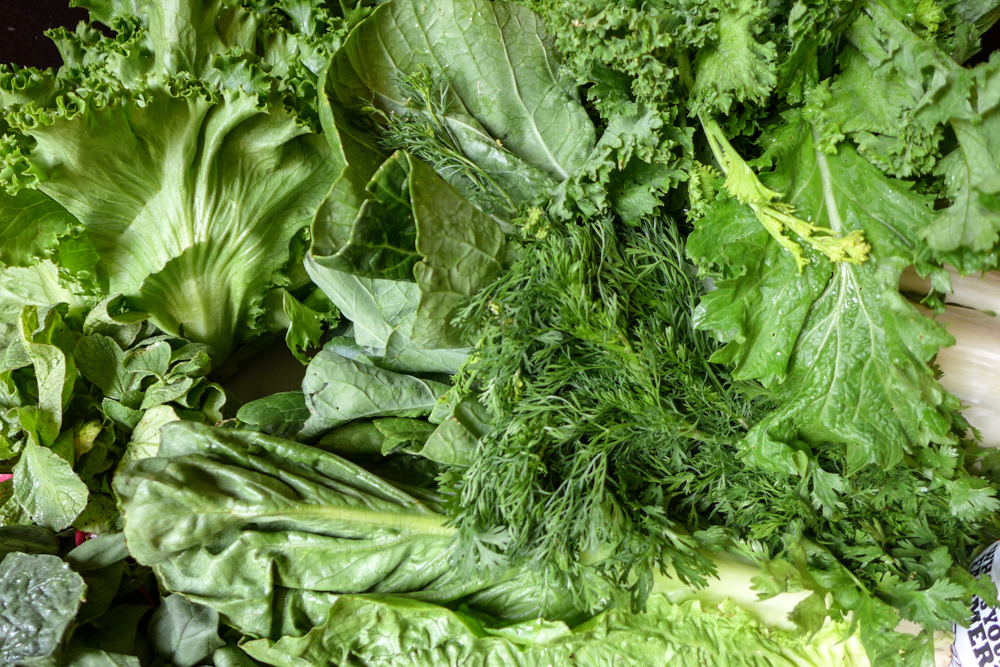
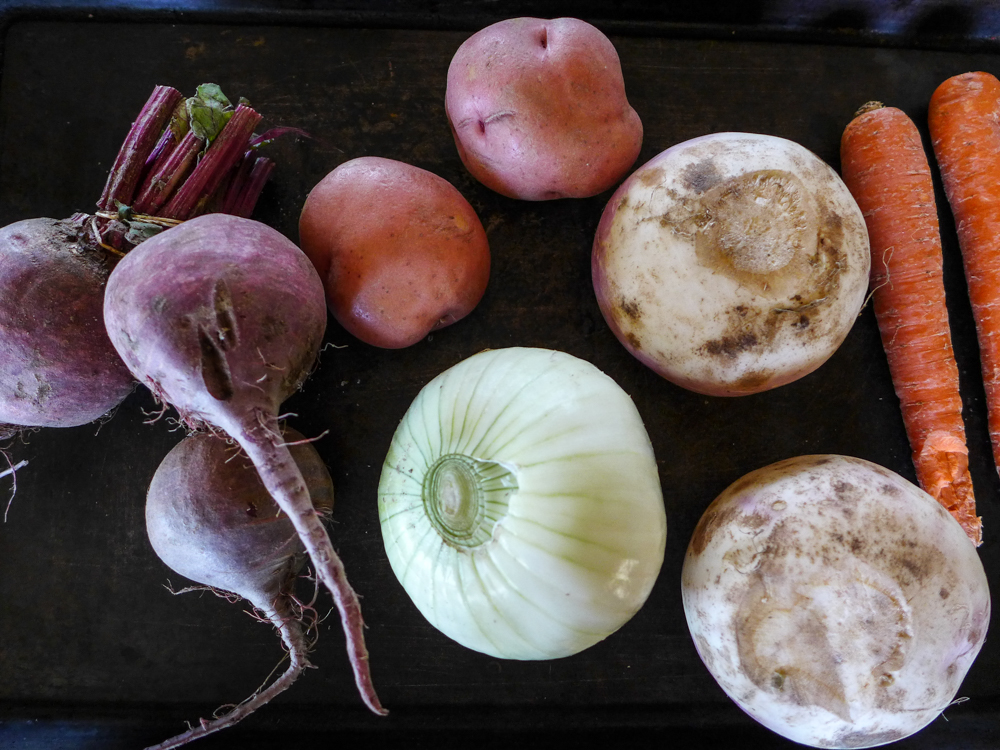
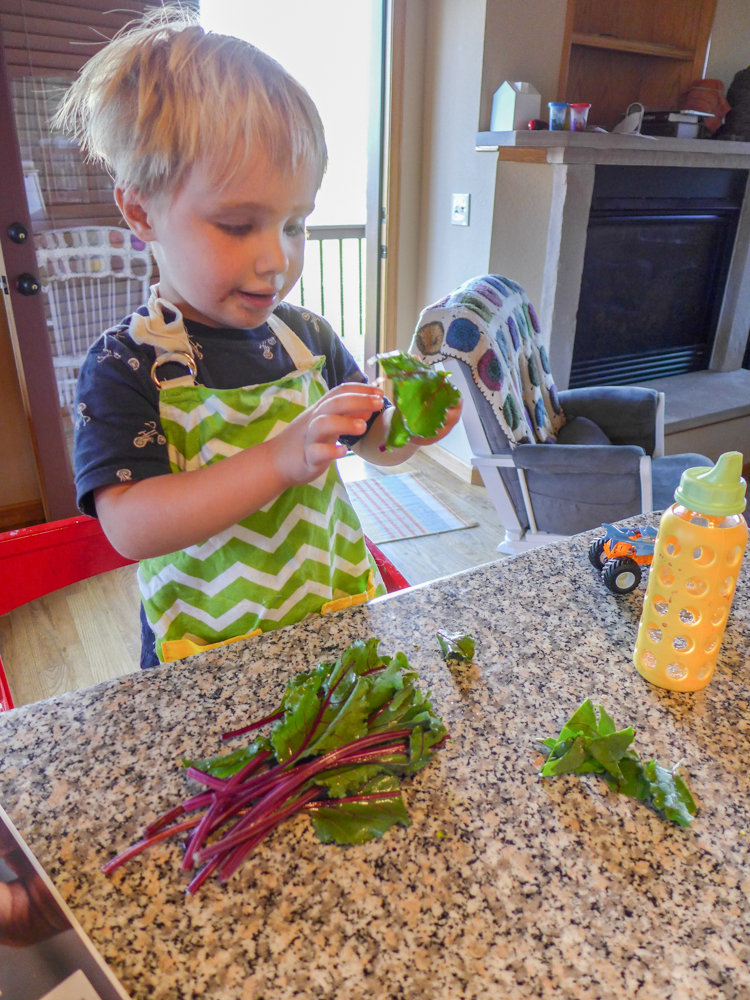
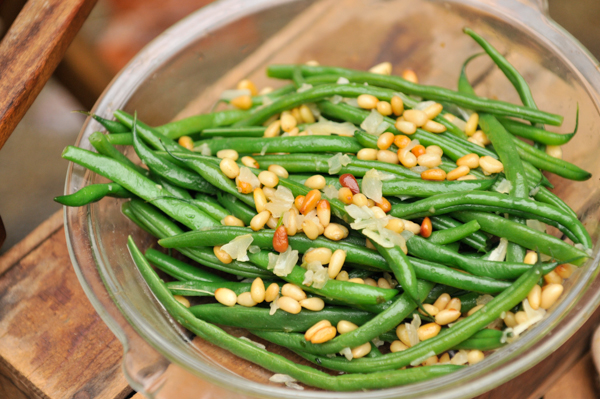
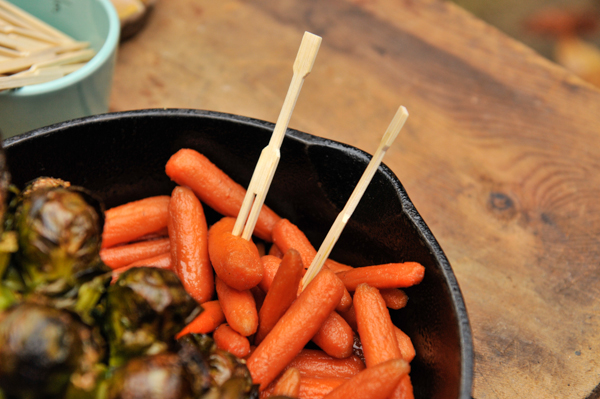
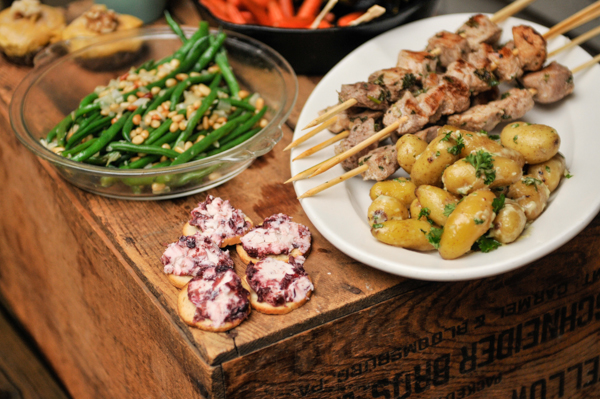
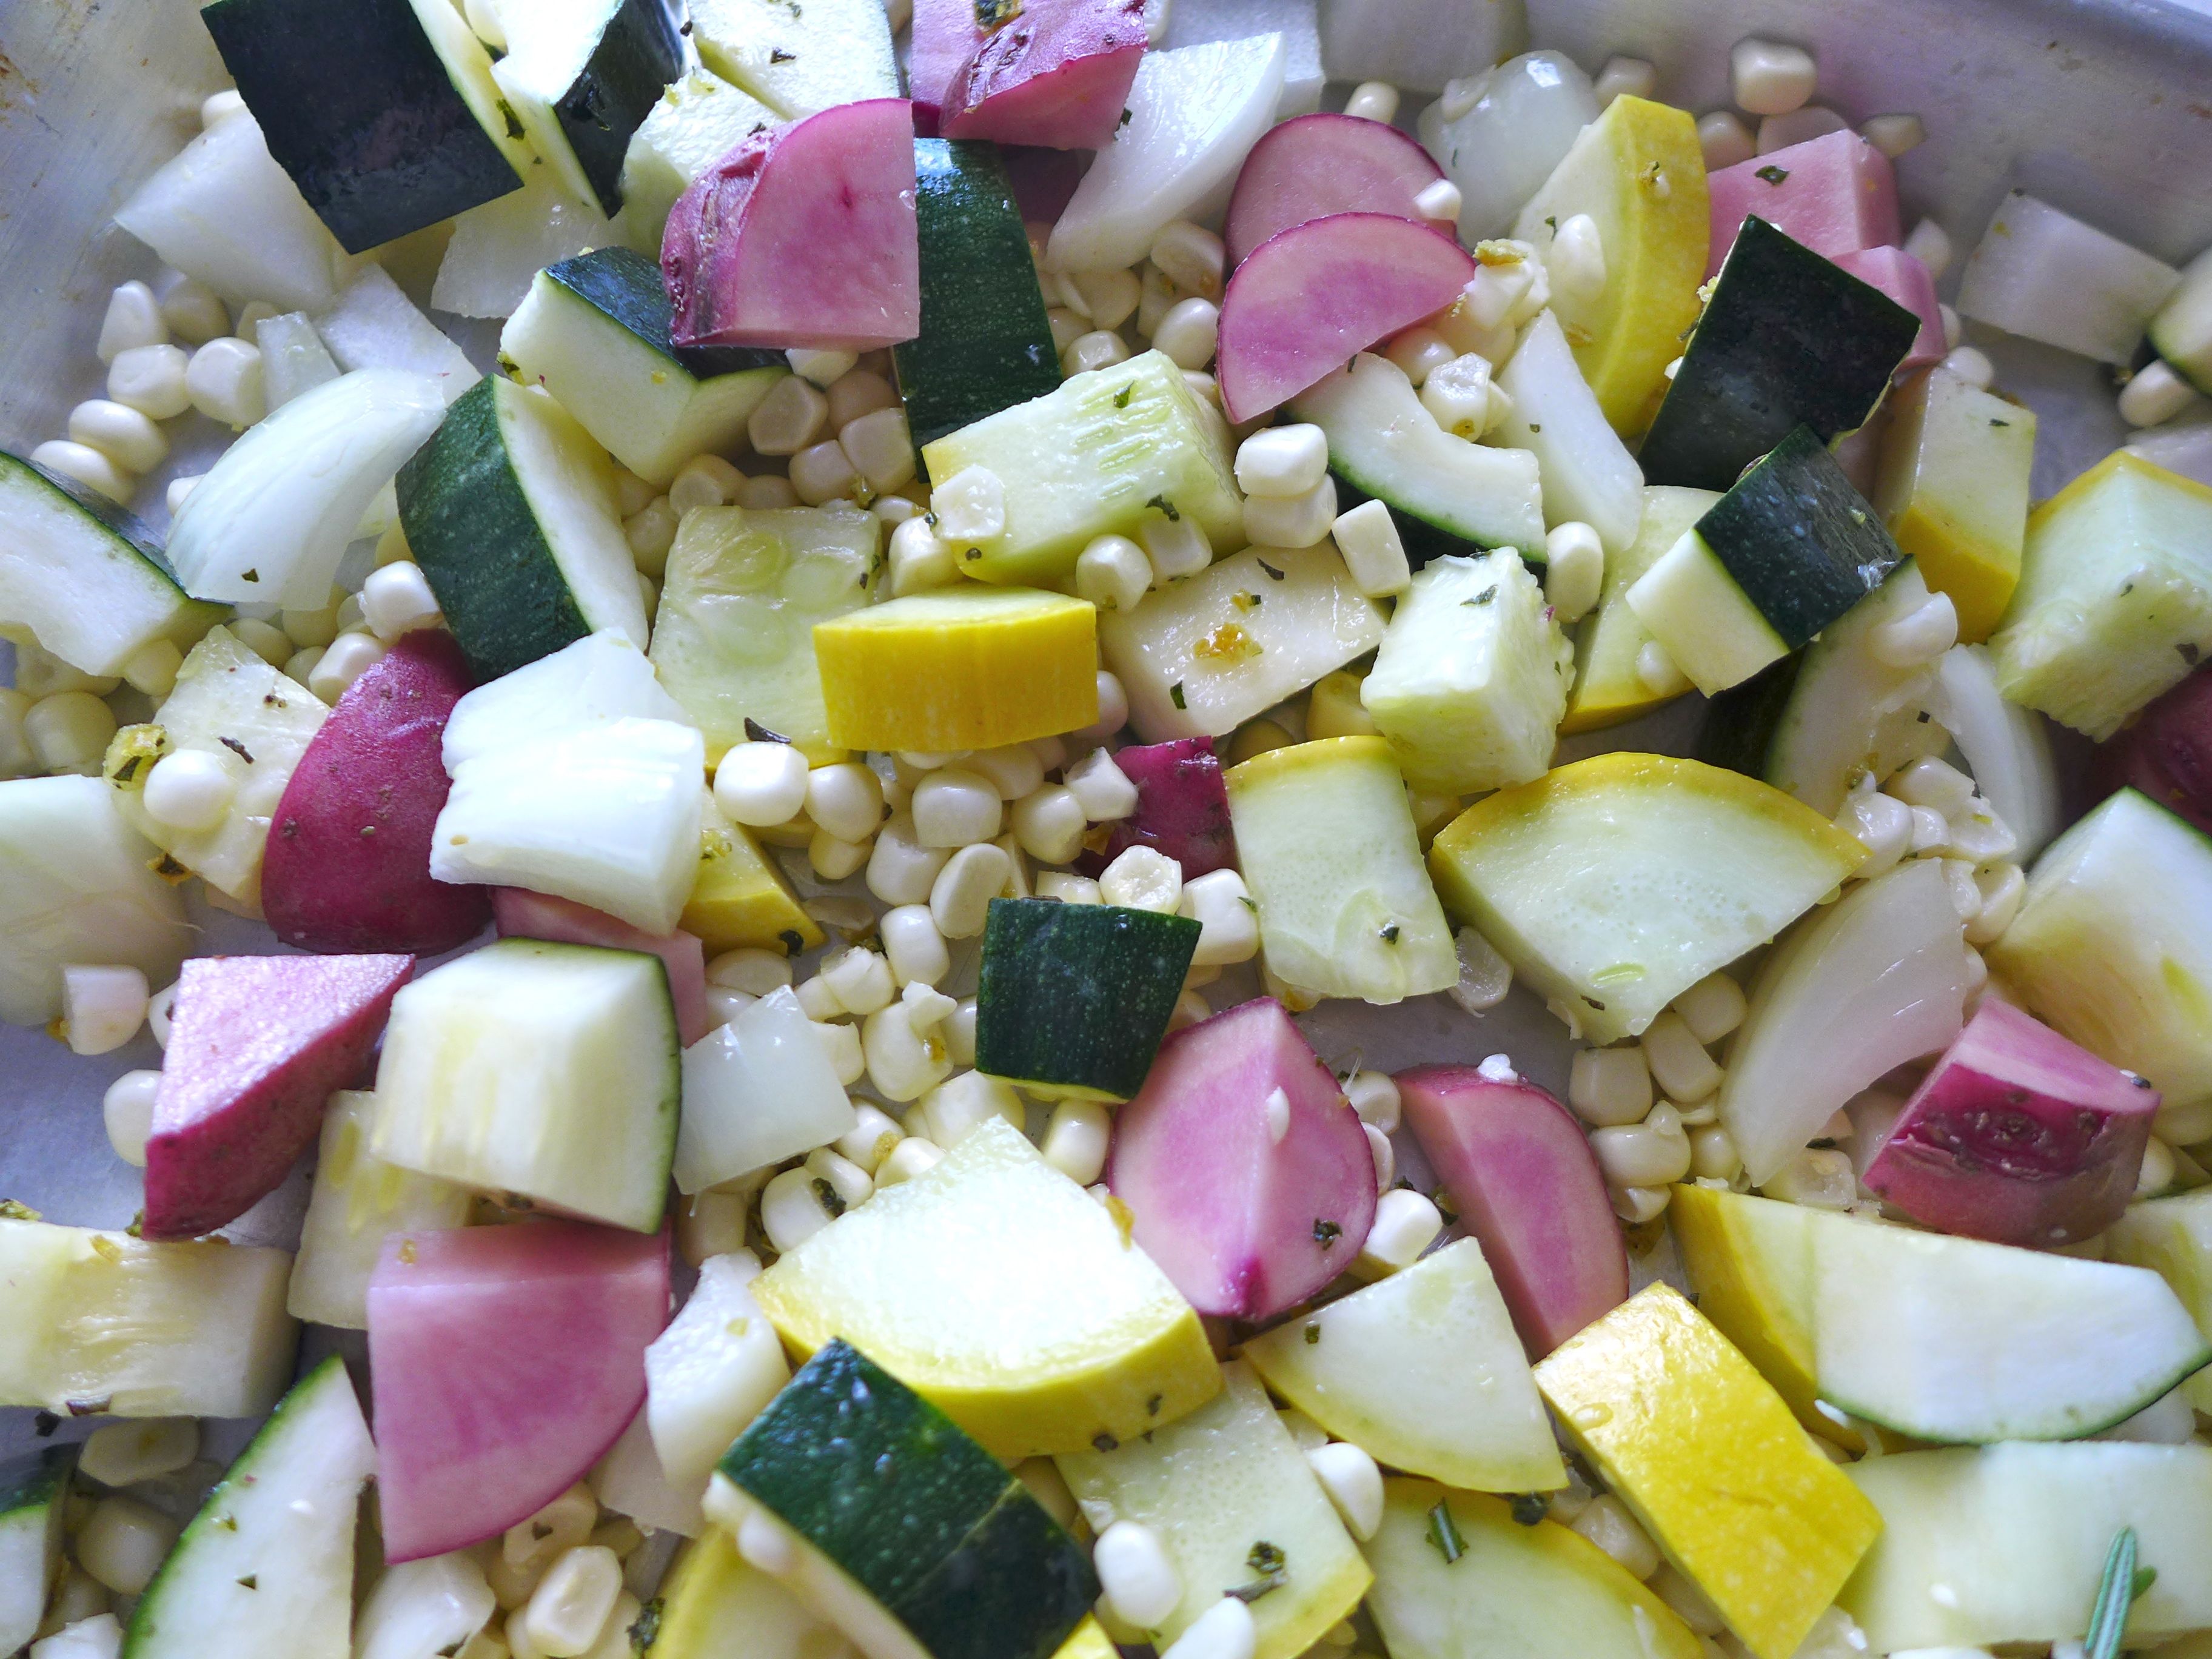
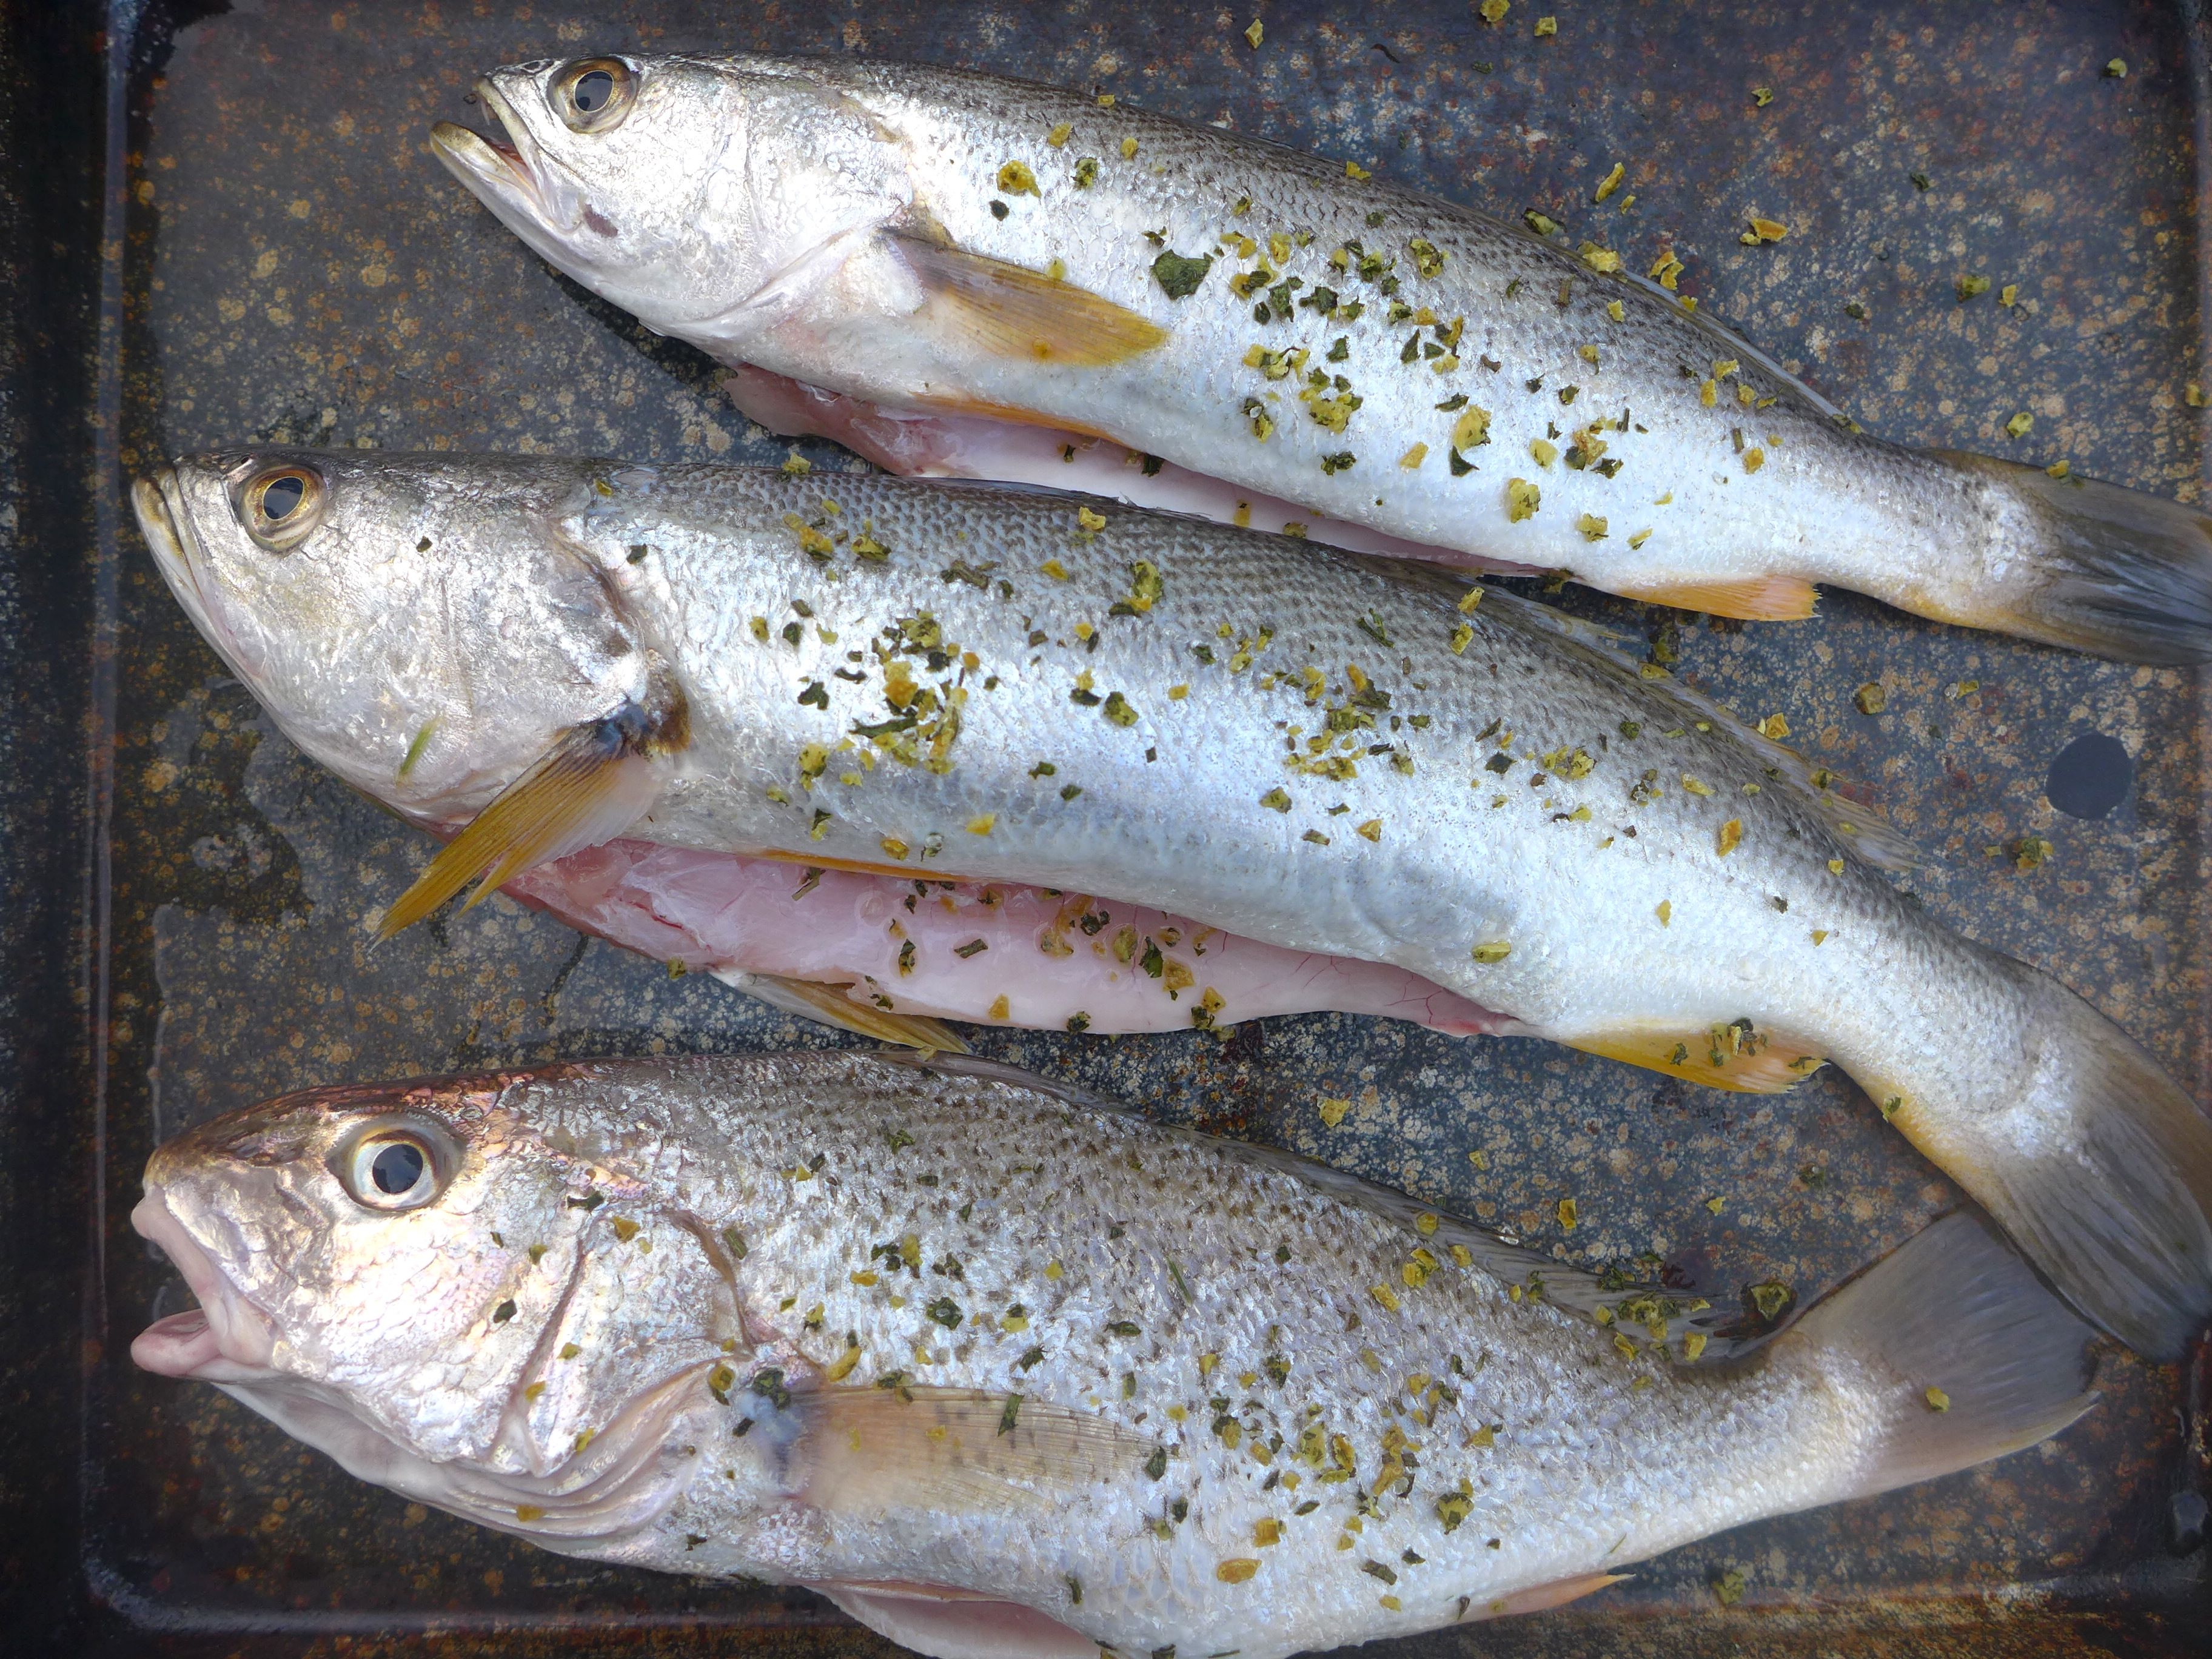
This week, I’m sharing half a dozen recipes from the Crafting Ritual and Cultivating Mindfulness retreat.  Our personal chef, Jami, prepared all our delicious meals from basic, whole ingredients. Jami demonstrated how little preparation some of these yummy veggie dishes take. Food-13 Food-12 Food-11

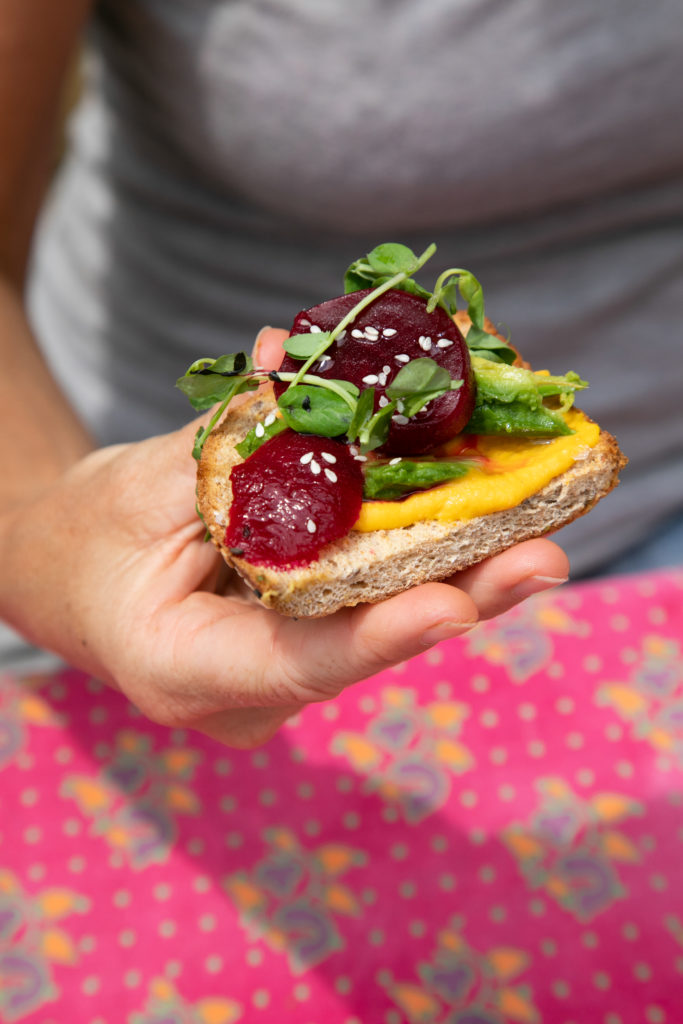
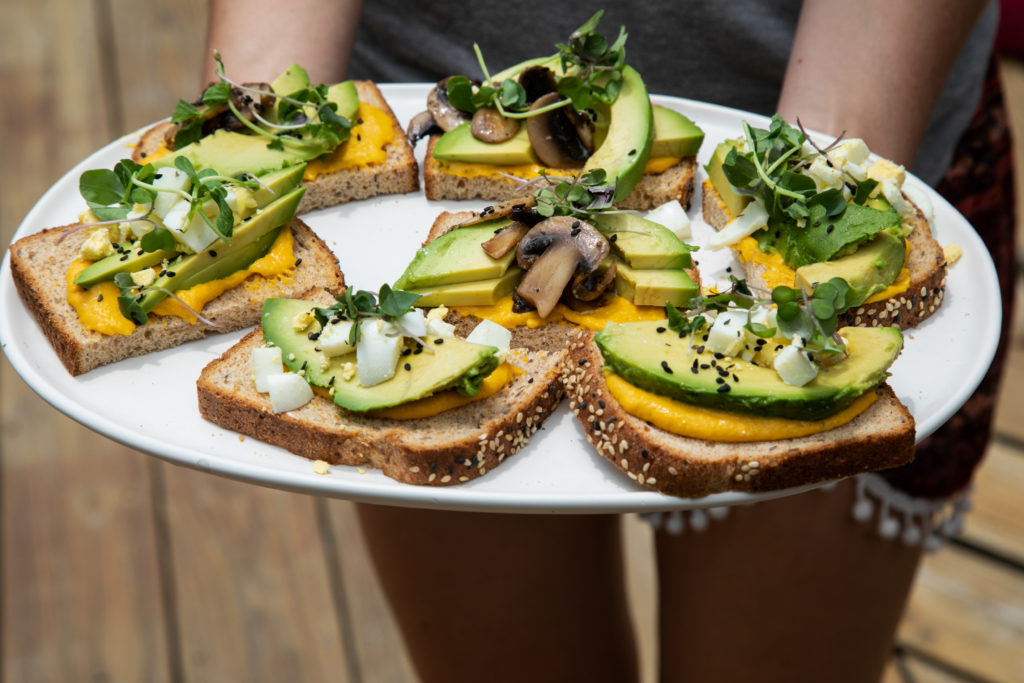
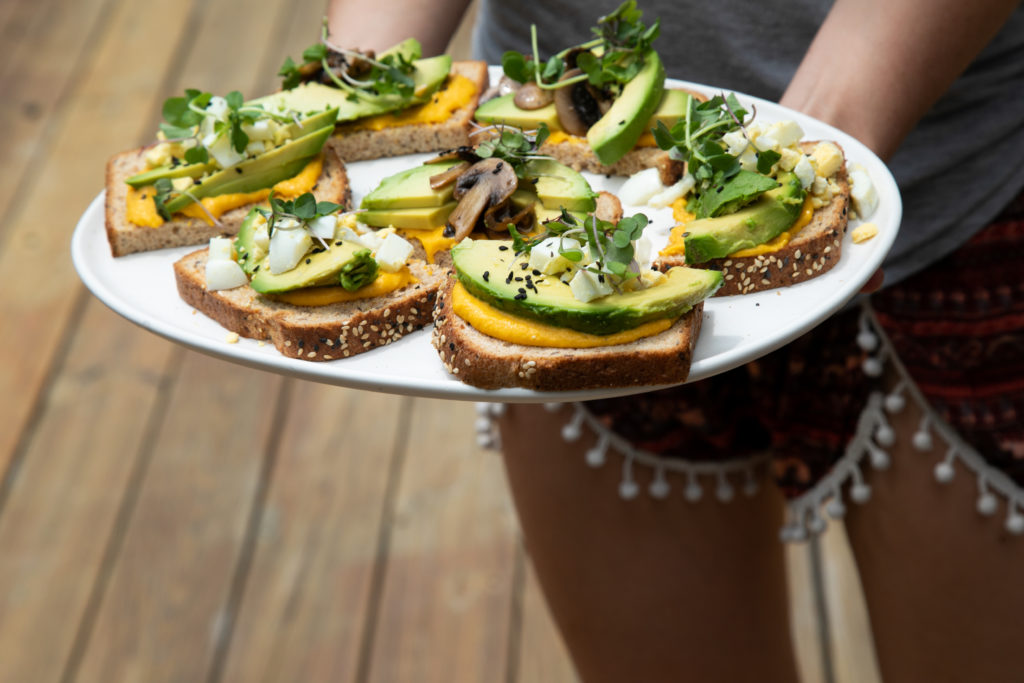
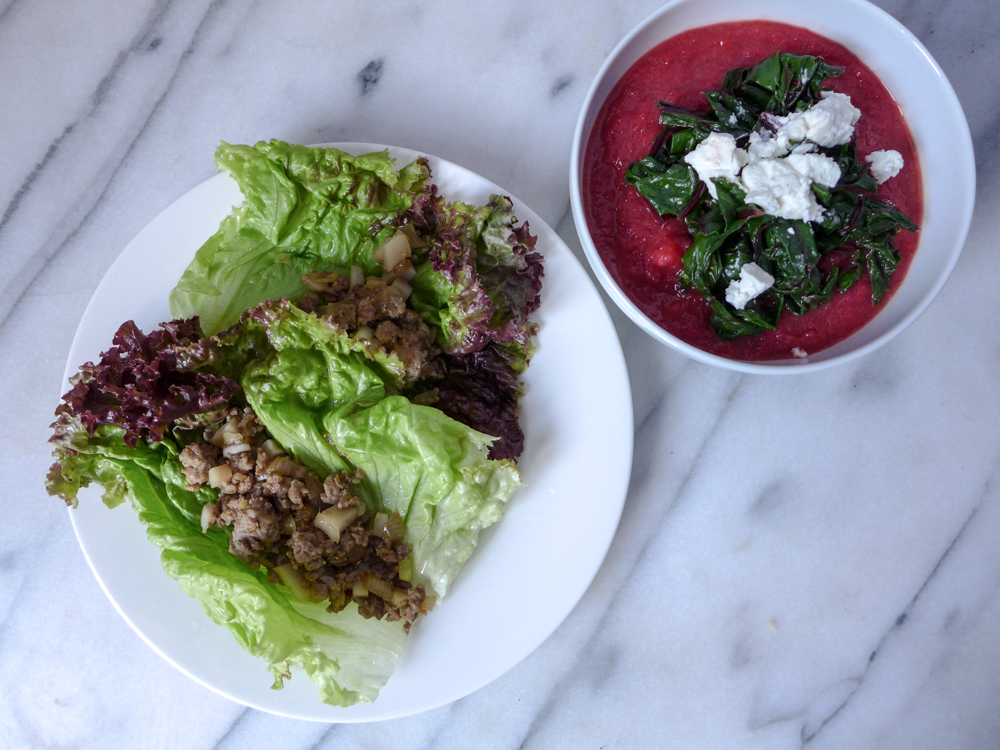
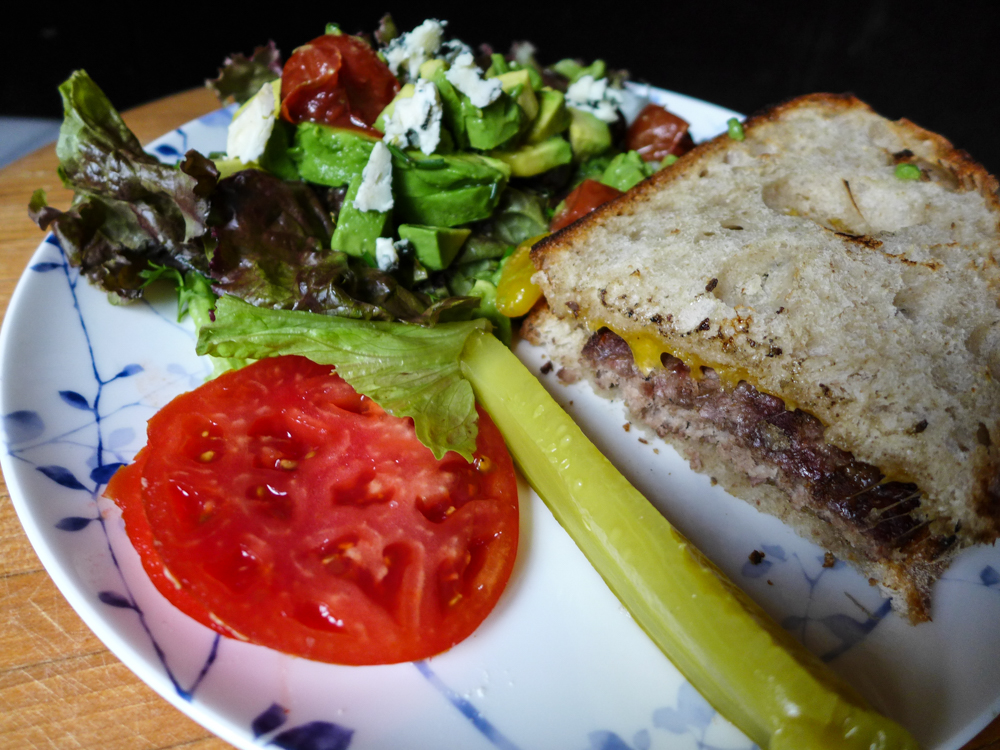
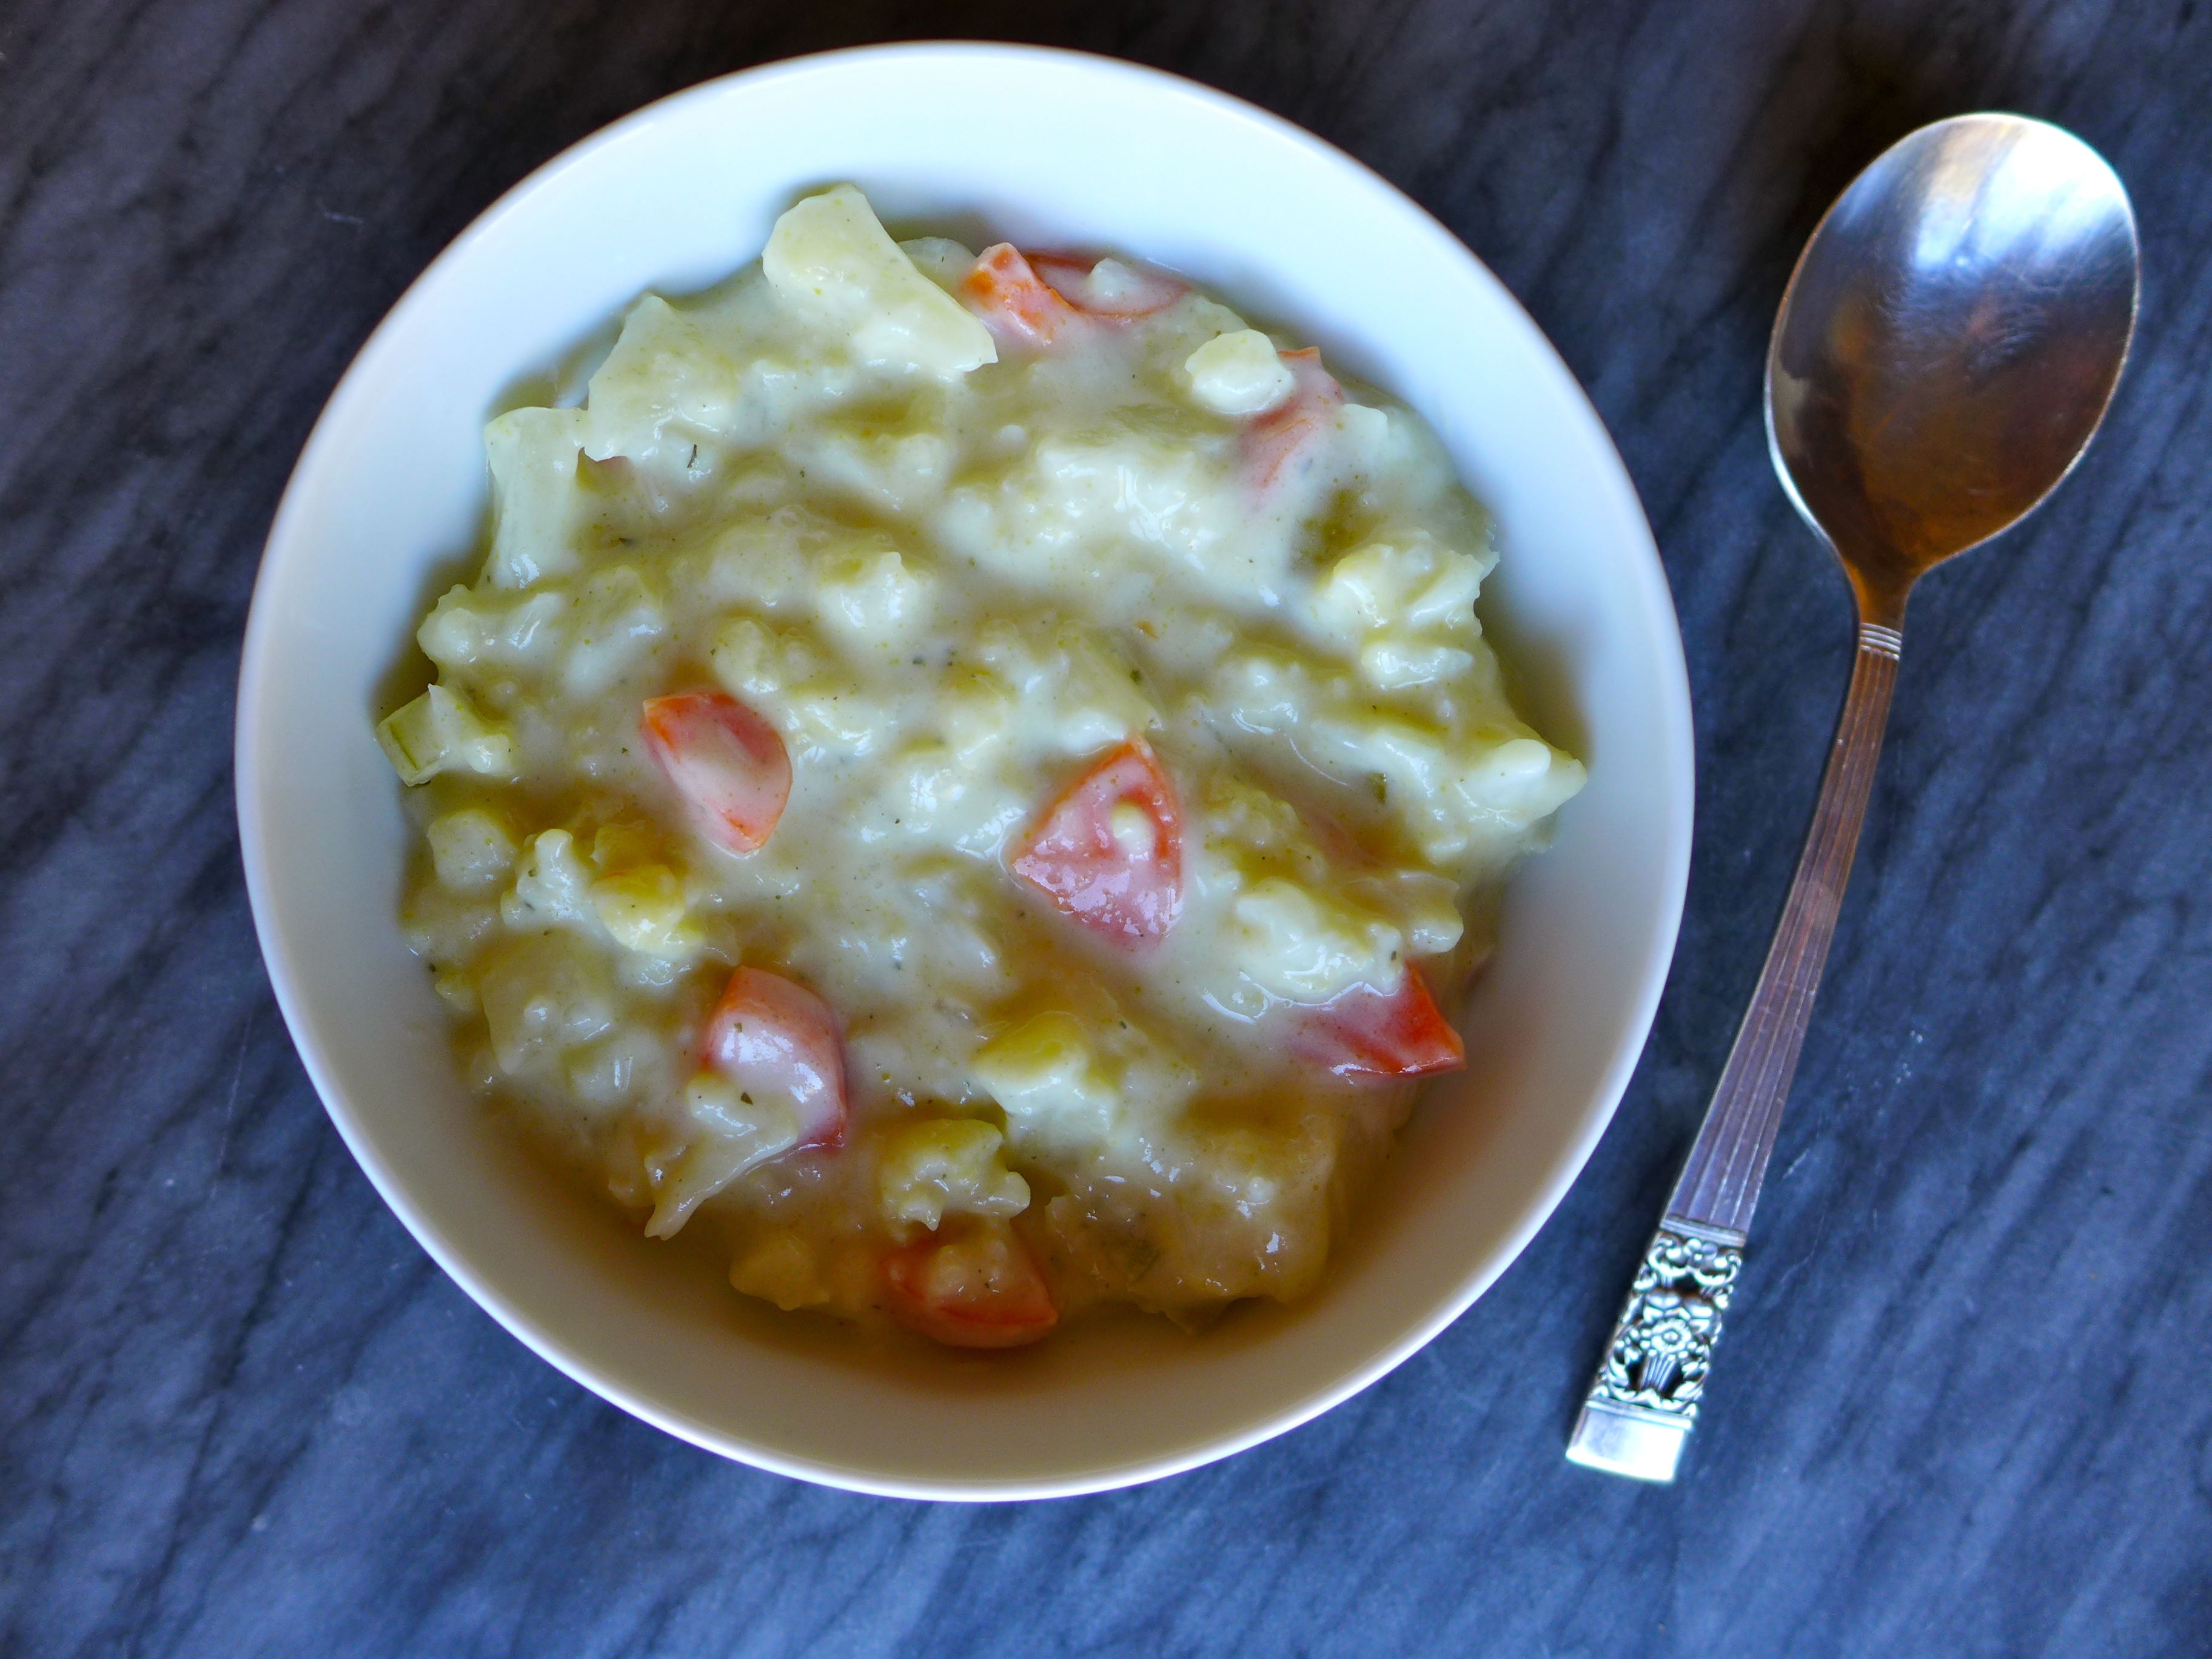
Carrot hummus, is the easiest way to add color to your spreads, and the quickest way to impress your guests. This bright carrot hummus goes great with a vegetable platter or pita chips. You can see we used it as a topping for our open faced sandwiches at brunch, along with beets, micro greens, mushrooms, avocado, and egg. Wholesome.

Continue reading

Sarah’s Favorite Quick and Easy Snacks

output_0730RB

Holy heck do I get hangry.  If the man and I are ever having an argument he usually pauses the fight to get me a snack. Seriously. It usually works too. Being hungry can hijack your brain and cause you to do and say crazy stuff. It’s all about survival though so before we blame our monkey brains, let’s just make a snack instead.  Here are my favorite quick and easy snacks.

Continue reading

Pumpkin Galette

Pumpkin is our ingredient of the season. We have all sorts of sweet and savory dishes, as well as a face mask to wear while drinking your lattes.

liveseasoned_fall2015_pumpkingalett6

Have you made a galette? I have the feeling that they’re a trendy-food-of-the-moment, as I keep seeing them pop up on blogs and places like the cooking section of the NYTimes. And you know what I think? If it’s trendy, there might be a reason why… flaky pastry crust and savory fillings. That’s why.

Very simply, a galette is a rustic pie without a pan. The pastry dough is rolled out into a rough circle, the filling is piled in the middle, and then the sides of the dough are turn up and over the filling. It gets baked on a flat pan and that’s it. Simple as pie (I had to say it)! Galettes can be sweet or savory. With a filling of pumpkin, caramelized onions, apple, and ricotta cheese, this one is a little of both. The dough’s whole wheat flour is a perfectly nutty compliment to the savory-sweet fall filling. Enjoy!

Continue reading

Thanksgiving Inspired Tapas

We’re republishing this yummy Thanksgiving inspired Tapas post from last year because it was so darn yummy.  Steal a recipe or two (or all five) for your big dinner this year.

liveseasoned_fall14_thanksgivingtapas-7

Happy Thanksgiving! I know, I’m a couple days early, but I wanted to show you how I celebrated Thanksgiving with my bf  last week.  I’m currently visiting a friend in Florida so I wanted to celebrate with K before I left.  I decided to create a tapas inspired Thanksgiving because it is perfect for couples, small families or those who are scared of cooking a turkey (me!). With some prep the night before, this all came together in under an hour.  Can you believe it?! I think my favorite part was the aioli tossed potatoes and the fact that everything is bite sized.  Eating tapas helps me slow down, enjoy the meal and talk between tiny bites.  We had a bunch of leftovers too and who doesn’t love that?!

One thing I try to do before starting to prepare a huge meal is to write a schedule.  I jot down all the names of the recipes in the order that I should start them.  That gives me a general guide so I’m not standing over the stove wondering what to do next.  At the end of the post, I’ll share my schedule with you.  I think it’d be easier to understand after you read the recipes.

liveseasoned_fall14_thanksgivingtapas-5

Garlic Tossed Green Beans with Toasted Pine Nuts

  • Half of an onion
  • 2 garlic cloves
  • 1/3 cup pine nuts
  • 1 lb green beans, trimmed
  • salt and pepper to taste
  • 2 tablespoons olive oil
  • Fill a tea kettle with water and turn it on to boil.
  • In a large sauté pan, pour 1 tablespoon of olive oil and turn the burner onto medium heat.  After a couple minutes, when the oil has heated up, add the pine nuts.  Toss the nuts every couple minutes.  When they start to pop or turn slightly brown, use a slotted spoon and place the nuts on a paper towel to drain. Turn the burner off for a moment. This should take no more than six minutes.
  • Place the trimmed green beans in a medium sized pot.  Pour the boiling tea kettle over the green beans and turn the burner on high heat.  Time the beans for seven minutes.  The green beans should be cooked, but still crisp. Once they’re done, drain them in a colander.
  • While the green beans are cooking, finely chop half an onion and two cloves of garlic. Add the onion to the sauté pan that you toasted the nuts in. Sprinkle a little salt over the onions.  Cook the onions on medium low heat until they are soft and translucent, about five minutes.  Add the garlic and continue to sauté for two more minutes.
  • By this time the green beans should be finished boiling.  Add them to the sauté pan and drizzle the remaining tablespoon over the green beans. Sprinkle with salt and pepper.  Stir the beans around to coat them with onions and garlic and add the pine nuts.  Stir for another minute or two to incorporate all the flavors and serve.

liveseasoned_fall14_thanksgivingtapas-6

Brown Sugar and Maple Syrup Glazed Carrots

  • 1/2 lb of baby carrots or large chunks of full-sized carrots
  • 1/4 cup of maple syrup
  • 2 tablespoons of brown sugar
  • Preheat the oven to 375°.
  • Whisk together the maple syrup and the brown sugar.
  • Put the carrots in a cast-iron pan or a vessel that is able to be baked.
  • Add the carrots to the pan and pour the glaze over them.  Don’t worry if the carrots aren’t completely covered or saturated. The glaze will bake into the carrots just fine.
  • Cover the pan with tin foil to create a steaming effect.
  • Time for thirty minutes. Check the carrots by piercing them with a fork.
*These measurements are based on baking carrots for 3 people – increase as necessary.

liveseasoned_fall14_thanksgivingtapas-3

Roasted Brussel Sprouts

  • Stalk of brussels sprouts
  • 2 tablespoons of olive oil
  • 1/4 teaspoon cayenne pepper
  • 1/4 teaspoon salt
  • 1/4 teaspoon pepper
  • Preheat the oven to 375°
  • Optional step: Wrap the stalk of brussels in plastic wrap and microwave for three minutes.
  • Whisk together olive oil, cayenne, salt and pepper.
  • Place the brussels sprouts in a glass baking dish and drizzle with olive oil mixture.
  • Place in the oven and bake for 30 minutes.
*I like my brussels sprouts nice and brown, if you don’t, check the sprouts every ten minutes.

liveseasoned_fall14_thanksgivingtapas-1

Aioli Tossed Potatoes

  • 1 egg – room temperature
  • 2 garlic cloves, pressed
  • 2 tablespoons olive oil
  • 2 tablespoons of vegetable oil
  • 1 tablespoon fresh lemon juice
  • sprinkle of pepper
  • 1 teaspoon of salt
  • 1 lb of very small potatoes
  • 2 tablespoons finely chopped fresh parsley
  • Bring a medium-sized pot of salted (add the tsp of salt) water to boil. Add the potatoes and cook until just soft.  Test the potatoes by piercing them with a fork.  About ten minutes.
  • Whisk together the room temperature egg, pressed garlic cloves, olive oil, and fresh lemon juice.  Sprinkle some pepper into the aioli.
  • Slowly drizzle in the vegetable oil, little by little while whisking the aioli.
  • When the potatoes are cooked, drain them and put them in a large bowl.
  • Toss the warm potatoes with aioli and parsley.
  • Let sit for 10-15 minutes before serving so that aioli soaks into the potatoes.

liveseasoned_fall14_thanksgivingtapas-4

Warm and Spicy Grilled Pork Skewers

  • 1/4 teaspoon cayenne
  • 1/4 teaspoon cloves
  • 1/4 teaspoon nutmeg
  • 1/4 teaspoon cinnamon
  • 1/4 teaspoon allspice
  • 1/4 teaspoon pepper
  • Juice from one large lemon
  • 3 tablespoons olive oil
  • 3 garlic cloves, pressed
  • 3 tablespoons roughly chopped parsley
  • 1/2 – 1 lb pork
  • skewers
  • The marinade must be made the night before; please keep that in mind.
  • Whisk all the spices, garlic, lemon juice, parsley and olive oil in a bowl.
  • Cut up the pork pieces into quarter-sized chunks and place in a single layer in a shallow nonmetallic dish.
  • Pour the marinade evenly over the pork pieces, cover with plastic wrap and place in the fridge. Ideally, you should stir the pork two or three times over the course of 8-12 hours.
  • 8-12+ hours later, place the pork pieces onto skewers.  If you’re using wooden skewers, soak them in water for at least twenty minutes prior to grilling.
  • Place the pork skewers on the grill or broil them.  I used a George Foreman grill and it took approximately 6 minutes to grill each group of skewers.

liveseasoned_fall14_thanksgivingtapas-8

Also shown in the photos are cranberry goat cheese topped crackers and mini no bake pumpkin pies.  I picked up the goat cheese from Trader Joe’s; served at room temperature, it is the perfect appetizer. The mini pumpkin pie recipe will be shared tomorrow, so stay tuned 🙂

After typing all those recipes, I realize that seems like a lot to do, but with a little preparation it comes together quickly.  The night before you can prep by washing the carrots, brussels, green beans and potatoes.  Chop a big pile of parsley and make the marinade and the aioli as well.  I also did a mental walkthrough of all the recipes and pulled out garnishes, gadgets, pots, pans and serving dishes for everything.  It’s a small step, but it really helps on the morning of.  That way everything is sitting out on the counter ready to be grabbed at a moments notice.

The day of, start by making the brussels sprouts and carrots.  Then bring several pots of water to boil for your beans and potatoes.  After your green beans are completely finished and the potatoes are tossed with aioli, quickly grill up the pork skewers.  By that time the oven veggies should be finished up and you are ready to serve dinner!

Cauliflower Soup!

I know what you’re thinking. Cauliflower soup? Where’s the pumpkin? Well, this chunky soup is packed with our favorite fall gourd.

Kidding! This wasn’t a post we were planning, but I cooked a pot of this soup on Tuesday and had to share it with everyone because it was so delicious. In addition to eating leftovers for lunch, Alex also requested it for breakfast the past couple of days!

liveseasoned_fall2015_cauliflowersoup

When the days get cooler, I crave all types of soups, and while I make most at home, I’ve always shied away from cheesy soups because I’ve had the bad luck getting the cheese to melt without creating a greasy and clumpy mess. I can’t say for sure what made the difference this time (following instructions, maybe?), but the soup turned out perfectly. I think I may use  this same base recipe for a broccoli version next.

The original recipe can be found here, and it was so perfect that I my changes were minor.

Cauliflower Soup

Cauliflower Soup

Ingredients

  • 2 Tbsp olive oil
  • 1 medium carrot, diced
  • 1 medium onion, diced
  • 1 celery stalk, diced
  • 1 medium cauliflower head, broken into florets
  • 2 1/2 cups water
  • 1 vegetable bouillon cube
  • 3 Tbsp butter
  • 3 Tbsp flour
  • 3/4 tsp salt
  • 2 cups 2% or whole milk
  • 1 cup shredded cheddar cheese

Instructions

  1. Heat the olive oil in a large soup pot over medium heat. Add the carrot, onion, and celery. Cook, stirring once in a while, until the onions are translucent (about 5 minutes).
  2. Add the cauliflower, water, and bouillon. Keep the soup at a gentle simmer for about 10-15 minutes as the vegetables cook.
  3. In a medium saucepan, heat the butter over medium-low heat. Whisk in the flour, salt, and pepper until smooth. Continue whisking and slowly pour in the milk. Whisk until smooth. Bring the milk to a gentle simmer over medium heat, stir once in a while, and cook for about 2 minutes until thickened. Reduce heat to low and stir in the cheese until melted.
  4. Stir the milk mixture into the soup and serve.
https://liveseasoned.com/cauliflower-soup/

We found that this soup reheats well, but doesn’t last long! I think this has started a little cauliflower kick in our house. Up next, this roasted cauliflower and garlic dip.

Three Sisters Stew

Pumpkin is our ingredient of the season. After you’re done making this stew, serve a batch of these pumpkin cookies for dessert.

I may be taking some liberties in calling this three sisters stew, but whenever I see any combination of winter squash, corn, and beans, I think of the sisters. That combination of vegetables goes together in this savory stew as well as they grow together in the garden. What I’m trying to say is that this dish is fan-freaking-tastic. It’s delicious, is packed with vegetables, and pairs well with any number of meats. We served it with our favorite fried chicken, which is another recipe we shouldn’t keep to ourselves (look for it soon!).

liveseasoned_fall2015_threesistersstew8

The recipe below is based off of this one, but with a few tweaks. For example, I can’t help but start a vegetable soup with diced onions and carrots, so we threw those in with the original recipe’s red pepper. I’m also a big fan of Rapunzel’s vegetable bouillon, so I substituted that in place of the chicken stock. Loving to garnish with avocados where ever we can (even in the form of avocado ice cream!), a few slices goes perfectly with this soup.

liveseasoned_fall2015_threesistersstew1
liveseasoned_fall2015_threesistersstew2

In addition to those full-on changes to the recipe, I made a few basic swaps too. I used a can of fire-roasted tomatoes in place of the plum, and I used dried beans in place of canned. When it comes to beans, I almost never used canned. I’m just a fan of keeping dried beans in my pantry and then using our pressure cooker to soften them up on a moment’s notice. I’ll even make more than I need, using the extra for a dish later in the week or freezing them*. I also like that I can keep them in the cooker for a few extra minutes to create a cracked and really soft bean, making them even easier for Alex to eat.

liveseasoned_fall2015_threesistersstew4

The recipe called for a garnish of toasted pumpkin seeds (if it didn’t I already had plans to add some – great minds!). I think we’re toasting pumpkin seeds on a weekly basis around here, primarily for adding to salads. I always toast them on the stovetop in a small cast iron pan. Put the pan over medium-high heat, add the pumpkin seeds and a sprinkle of salt. Toss them regularly and take them off the heat the moment they begin popping. Easy peasy… and like the beans you’ll want to make extra, but in this case the extra’s for snacking before dinner :-).

liveseasoned_fall2015_threesistersstew5

liveseasoned_fall2015_threesistersstew6

If you’re like me, you may get the idea that you want to partially blend this soup when finished. It’s something about a soup with winter squash and beans that makes me want to grab the immersion blender. If you’re like that too, don’t do it. This recipe creates a nice, hearty vegetable soup, and I’m convinced that there’s nothing to gain by blending it. Make a batch and let me know what you think. In line with that thought, you’ll see that you have to add raw squash to the pot, which means you may have to spend some time peeling and chopping a raw pumpkin (unless you pick up a pack of the chopped and peeled butternut squash from Trader Joe’s!). At first I wanted to roast my pumpkin to make removing the flesh easier, but if I did that, then the pumpkin would be mushy and wouldn’t hold its shape well in the stew (a characteristic that’s great if you do plan on making a blended soup).

Three Sisters Stew

Three Sisters Stew

Ingredients

  • olive oil
  • 1/2 large onion, diced
  • 1 large carrot, diced
  • 1/2 large red pepper, diced
  • 1 tsp cumin seeds
  • 2 cloves minced garlic
  • 1/4 tsp ground cinnamon
  • 1/8 tsp ground cloves
  • 2 cups frozen corn kernels
  • 2 cups winter squash (pumpkin, acorn, or butternut) cut into 3/4-inch dice
  • 1 can fire-roasted tomatoes
  • 2 cups vegetable broth
  • 2 cans black beans, drained and rinsed
  • toasted pumpkin seeds
  • sliced avocado

Instructions

  1. Heat a couple of tablespoons of olive oil until hot. Add the onion, carrot, and red pepper. Sauté for about 5 minutes or until tender and the onions are clear.
  2. Add the cumin seeds and sauté for a few seconds until you can smell their aroma. Add the garlic, cinnamon, and cloves, and sauté for a few more seconds.
  3. Add the corn, squash, tomatoes (with their juices), and the broth. Bring the stew to a boil, cover, and simmer for about 15 minutes or until the squash is almost tender.
  4. Add the beans, cover, and simmer for another 5 to 10 minutes.
  5. If you would like the stew to have more liquid, you can always add more broth.
  6. Season to taste with salt and pepper.
  7. Serve with a garnish of toasted pumpkin seeds and sliced avocado.
https://liveseasoned.com/three-sisters-stew/

There you have it! A veggie-packed stew for a cool fall day, and if you have kiddos, you can teach them about the three sisters (not the Schu sisters!) over the dinner table.

*this week my extra beans were used to make a tex-mex black been dish with green chilies and more red pepper, and then those leftovers were used to make huevos rancheros!

Butternut Squash Pasta

Pumpkin is our ingredient of the season. Today I went crazy and threw out the pumpkin for a butternut squash. Hope you don’t mind!

Today’s recipe for butternut squash pasta is absurdly easy, and it’s something that I find myself making every fall to usher in the season of squash. Come fall, I always have at least one butternut squash on the counter, so that’s what I used today, but this dish would be just as delicious if made with a sugar pumpkin. If you currently have a few squash on the counter, roast two squash today, eat one with your pasta, and use the other for our roasted root and squash soup.

liveseasoned_fall2015_squashpasta10

It’s been years since I’ve lived with roommates, and while sharing space has plenty of downsides, one thing I always loved was sharing the kitchen during meal times. I didn’t live in many situations where we actually shared meals (we were all on different schedules and often had different diets), but being in the kitchen while roommates were cooking often exposed me to new ideas, flavors, dishes, and stories. We all know it, time spent in the kitchen together is special, and it’s no surprise that guests/roommates/family will often congregate in the kitchen. This dish came from one of those random roommate moments in the kitchen.

liveseasoned_fall2015_squashpasta1

It was my first year living in Boston, there was a fall chill in the air, and my roommate had just roasted a squash. He didn’t have a particular dish in mind, but while the squash was roasting, he was also boiling pasta. The squash came out of the oven, a lightbulb went off in his head, and he combined the two. I don’t remember what else was in his dish, but I remember taking a bite and loving the combination of perfectly cooked pasta caked in the sweet squash with a dash of salt.

liveseasoned_fall2015_squashpasta3
liveseasoned_fall2015_squashpasta2
liveseasoned_fall2015_squashpasta4

Over the years, I’ve made some version of this dish every fall, and I’ve started to fall into a routine. I always slowly sauté the onions in some butter and olive oil until they are translucent, super soft, and amazingly sweet. After the roasted squash is added to the onions, I season it with a bit of dried thyme and garlic powder, and I use water from the cooking pasta to get a sauce consistency that is thin enough to easily mix with the pasta, but thick enough to stick in every nook and cranny.

liveseasoned_fall2015_squashpasta8

Once the sauce is ready, I stir in the cooked pasta and season it with salt. Before serving, there’s one more, absolutely crucial step : add a bit of freshly grated parmesan. The nutty and salty flavor of the parmesan does something amazing to the squash and pasta combination. It adds a deeper flavor (maybe it’s a touch of umami?) that rounds out each bite, and will have everyone at the table finishing their plate.

And speaking of finishing plates, now that one of my roommates is a toddler and the other just got his first teeth, I love making healthy food that they devour. As all moms know, you can’t go wrong with pasta, but you don’t necessarily love giving them plain noodles. This, my fellow moms, is a winning vegetable main course with my boys (granted, baby Luc can only eat the squash).

liveseasoned_fall2015_squashpasta11
 
liveseasoned_fall2015_squashpasta5

We don’t have a formal recipe today, that would just ruin the experience of the casual weeknight meal shared by roommates hanging out in the kitchen after too many hours in the library.

liveseasoned_fall2015_squashpasta9

Lemon & Herb Salt

This past summer lemon was our ingredient of the season. We’ve created a dandy of an archive of lemon posts, and we’re still not done!

As September’s weather is straddling the line between summer and fall, we found that the combination of flavors in this bright and savory lemon & herb salt do the same!

liveseasoned_fall2015_lemonsalt5

While doing some canning at the beach, I noticed this recipe in a copy of Preserving by the Pint and was immediately excited to try it. I love fresh herbs and am always looking for new ways to preserve their flavors as the plants fade in our late-summer garden. On the other hand, it’s taken me quite a while to appreciate lemon flavor in my savory dishes. Thank goodness I’ve come around, because this chicken dish is something I would not have made a few years ago, but we had it again last night for dinner (it’s just that good!). What I’m getting at is that a few years ago, I would have turned my nose up at this simple seasoning recipe, and what a shame it would have been. This seasoning is simple to make and adds a flavorful punch to a variety of savory dishes, making creative weeknight cooking a breeze.

liveseasoned_fall2015_lemonsalt8

liveseasoned_fall2015_lemonsalt9

Preparing the seasoning requires just a bit of chopping and time. I did my chopping on a day when people were constantly coming in and out of the beach house, and every single person asked what was cooking and remarked that the kitchen smelled great. The chopping releases an amazing blend of aromas from the herbs, lemon zest, and garlic.

Once chopped, the mixture is spread out on a plate and left to dry for a couple of days. Since we were making this on the humid east coast in the middle of August, I put my plate in front of a fan to help with the drying process. If I were to make this at home in Colorado, the fan would be completely unnecessary because the air’s so dry. So use your discretion and help the drying process with a fan or warm oven if you’re in a high humidity environment.

Lemon & Herb Salt

Lemon & Herb Salt

Ingredients

  • zest from 4 lemons
  • small bunch parsley
  • 3-4 sprigs of rosemary
  • 3 garlic cloves
  • 2 Tbsp coarse sea salt

Instructions

  1. Wash the parsley and rosemary and remove the leaves from the stems. This can be tedious with the parsley, but do the best you can, and a few stems are fine.
  2. Roughly chop the herbs. Add the zest and chop together with the herbs until well combined. Add the garlic and continue chopping. Add the salt, and... continue chopping until all ingredients are finely chopped.
  3. Spread the mixture on a plate and allow it to dry for at least 48 hours. It should be completely dry, with no sign of moisture.
  4. Store in a jar and use anywhere you would like to add a bit of flavored salt.
https://liveseasoned.com/lemon-herb-salt/

liveseasoned_fall2015_lemonsalt3

After the seasoning has dried, you can use it on any variety of dishes. One night we tried it on our roasted summer veggies, which were a combination of summer squash, onions, potatoes, and corn. They were delicious, but I didn’t *love* the flavor of lemon on the vegetables (can’t win them all!). The next night we sprinkled the seasoning on and in some fish freshly caught by our pop. I included a pat of butter inside each fish because they were on the leaner side. Our mom loved the fish so much that she made sure to confirm that I “took a picture for the blog”. Everyone loved the fish, and it couldn’t have been easier to make.

liveseasoned_fall2015_lemonsalt2

I have to admit that I never buy seasoned salt or herb mixes from the spice section. Instead, I sprinkle on the combination of individual herbs I want for any particular dish. That said, this seasoned salt was so easy to make, and it’s motivated me to experiment with the rest of the fresh herbs in our garden to develop a number of custom salts that will let me preserve those flavors and use them all winter long.