
Kate and I are always concocting potions. You may remember Kate’s DIY dry shampoo, deodorant or her rosemary body scrub. Today we’re teaching you how to make homemade pore strips so call your girl friends and schedule a sleepover, because you’ll make more than enough for one nose!
Have you ever tried Biore pore strips? They’re the amazing! I mean, it is creepy how much I love seeing tiny stems of dirt, oil and blackheads, but it is also awesome knowing that the gunk is no longer in my pores. Even though I love the instant gratification of pore strips, I do have a few complaints. For starters, they are expensive. I don’t have a big budget for bath and beauty products so spending at least $6 ($1 for each strip) on a box of pore strips is an extremely rare occurrence. I also feel like I only have a 75% success rate with the store-bought strips. Sometimes they work SO well and other times they don’t adhere to the side creases of my nose, which is where I have the most black heads. When a friend told me about DIY pore strips, I decided to try them out for myself and share the results with you guys and gals.

The What:
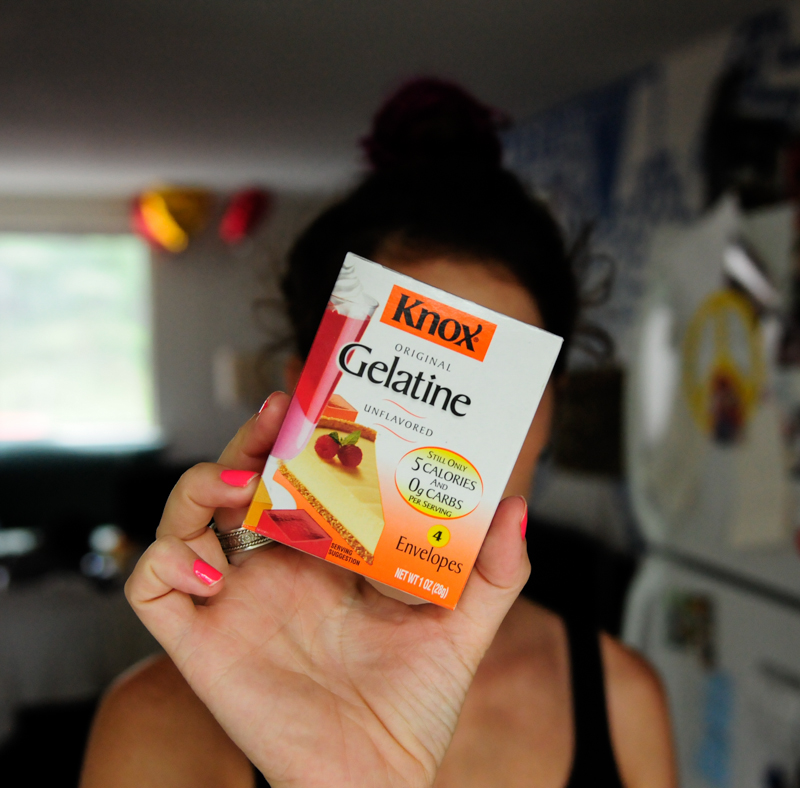
- 1 box of unflavored gelatin (there are vegan options)
- milk
- a microwave or a small sauce pot + stove top.

The How:
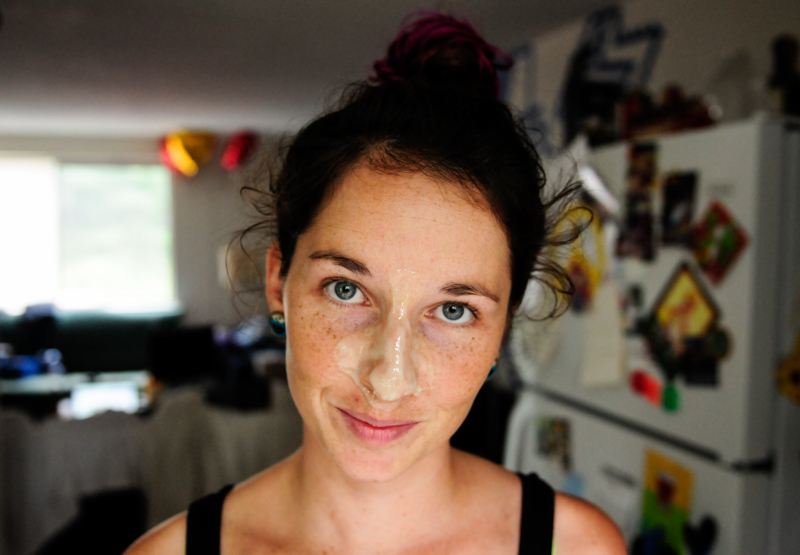
- Wash and dry your face – as you can see I am completely make-up free.
- Heat 1 TBSP milk in the microwave for 10-15 seconds. (I used a tiny glass bowl, but you could also use a disposable container.)
- Stir in 1 TBSP unflavored gelatin. Stir quickly and incorporate all the powder until a smooth, glue like consistency forms.
- When the mixture is cool enough (mine was cool enough after I finished mixing it), apply a generous layer to your nose and creases with clean makeup brush, a popsicle stick or simply your fingers.
- Allow the gel to cool completely. I waited about ten minutes. Peel off the DIY pore strip and closely investigate the grime that once lived on your beautiful face. So gross. So great.
- It should peel off in one large piece. It’s relatively painless (I peeled mine in slow motion, which upped the pain factor) just peel it off in one quick motion.


Psssst:
- Rinse out the homemade pore strip bowl ASAP. That stuff turns to rubber, which it why it works so well on your skin.
- 1 TBSP of milk and gelatin is more than enough for your nose. You can make less by using equal amounts or you could call your gal/guy friends over like I previously suggested 😉

Hypothetically you could lather this mixture all over your face, but I don’t think I’m brave enough to attempt it. My face has a million little hairs and I’m just not man enough for that. As you can see, the skin on my nose is a little red, but that went away in about a minute. The gel wasn’t irritating at all, I think pulling off the strip off really slowly caused the redness.
I bet you’re wondering if making DIY pore strips was worth it.. well, heck yeah! Look at that face. It was super cheap (the gelatin cost $1.50 and I already had milk) and they worked just as well. Making the strip mix was hella easy, applying it was even easier and the supplies are cheaper than store bought strips. I had two problems with the store bought strips and both were remedied with the homemade version. I’ll chalk this potion making experience up as a great success.