{I’m always raving about our farm share in real life, so if this is old news to you, I’m sorry that I’m still blabbing – I just really love it!}
This summer we have a farm share, and in many (good) ways, it’s consuming my life. I dream about it. Talk about it to anyone who will listen. Spend a bit of time planning my meals and then even more time chopping ingredients, based on our weekly delivery.
The challenge to signing up for a farm share is being ready to cook with whatever comes in your box that week and not knowing exactly what you’ll be getting next week, so you can’t plan too far in advance. Since we’re about a month into our share, I thought it would be fun to share this experience with you. I’ve been photographing our weekly deliveries as well as the meals that I’ve made with the produce and meat, and I’m going to share my meal plans here throughout the course of our farm share season.
What is a farm share?
If you don’t know about a farm share, also known as community supported agriculture, let me explain. This is a farming business method where consumers are asked to sign-up and pay for their produce (and more) at the beginning of the growing season. The farmers use the investments from their customers to pay for the variety of costs they have to run their farm over the course of the growing season – anything from seeds and fertilizers to irrigation and labor costs. Then, throughout the growing season, everyone who has paid for a share in the farm receives fresh produce as it’s harvested. The share composition will change throughout the growing season as different crops go in and out of season.
By making that investment, the farms’ consumers are taking on some of the risk that goes with farming. If a big storm wipes out a particular crop, that loss doesn’t just fall on the farmer, instead it’s spread across all consumers and they will receive less or none of that crop. If it’s a great year for a particular crop, then all consumers will get more of that crop delivered in their share (two years ago I was overwhelmed by jalepenos and trying to figure out the best ways to preserve them).
This is also a great model if you like to eat seasonally and locally. You’re going to receive crops as they’re harvested, so the produce you receive will be as fresh as possible and it didn’t have to be picked before it was ripe because it doesn’t have to travel hundreds or thousands of miles to reach you. As I mentioned above, the composition of your share will change throughout the growing season, this is exciting but can also take some time to get used to. It can be a bit boring when you’ve received a bunch of radishes each week for a month, (when really you’d only eat one bunch in a whole month!) but it pushes you to be more creative in the kitchen. Roasted radishes anyone?
Our Share
As I had talked about two years ago when moving to Boulder, one of the things we were so excited about was moving to a place with such a strong local-food movement. We are surrounded by farms, farmers’ markets, and enough farm-share options to make your head spin.
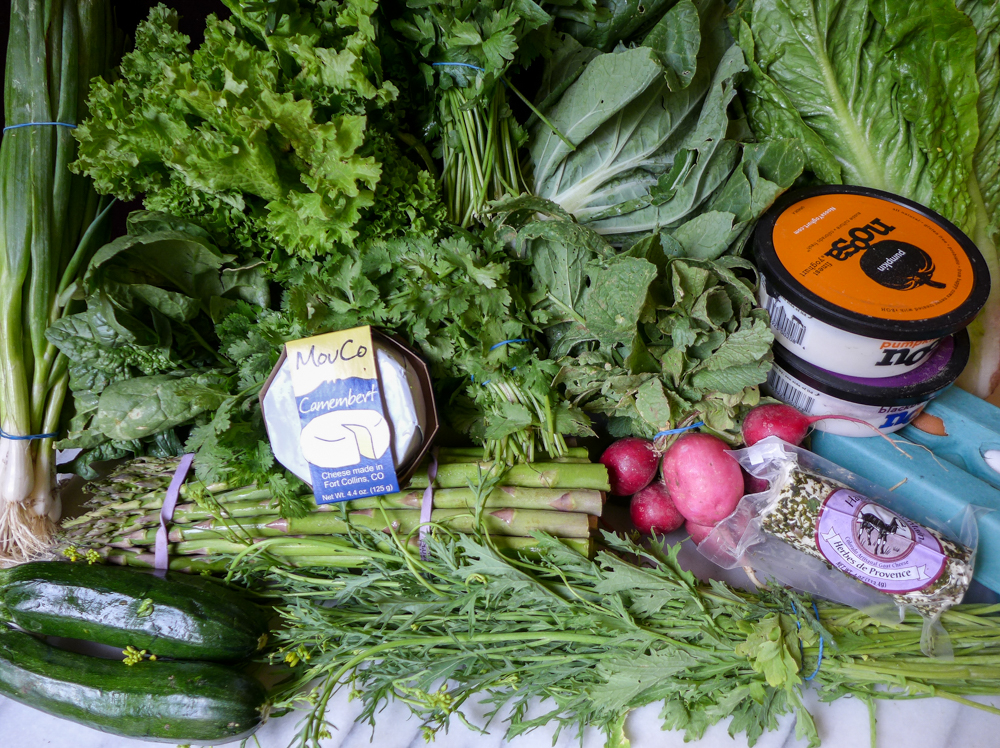
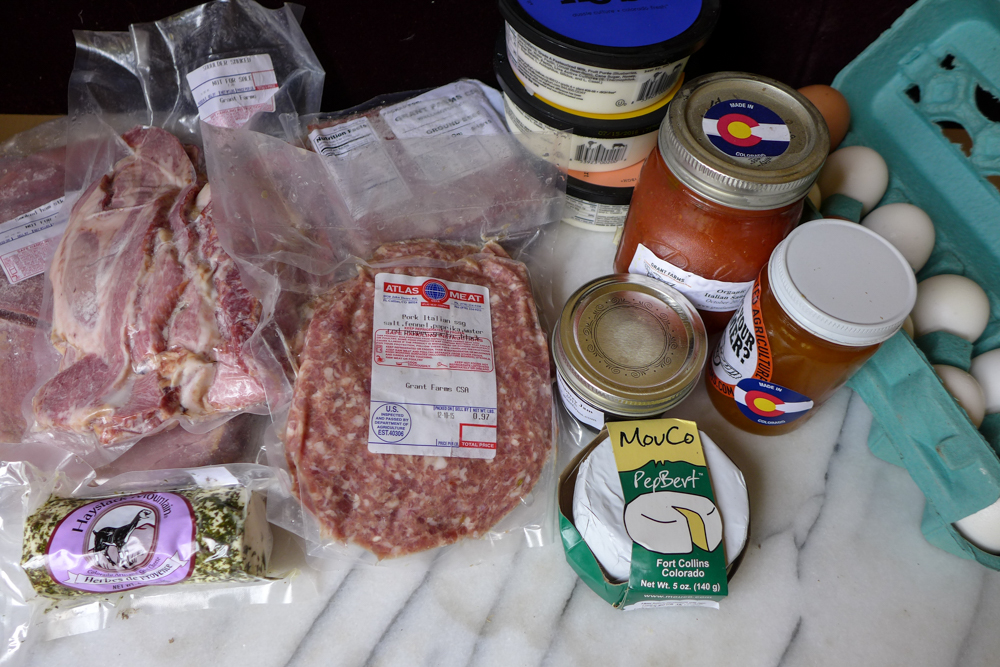
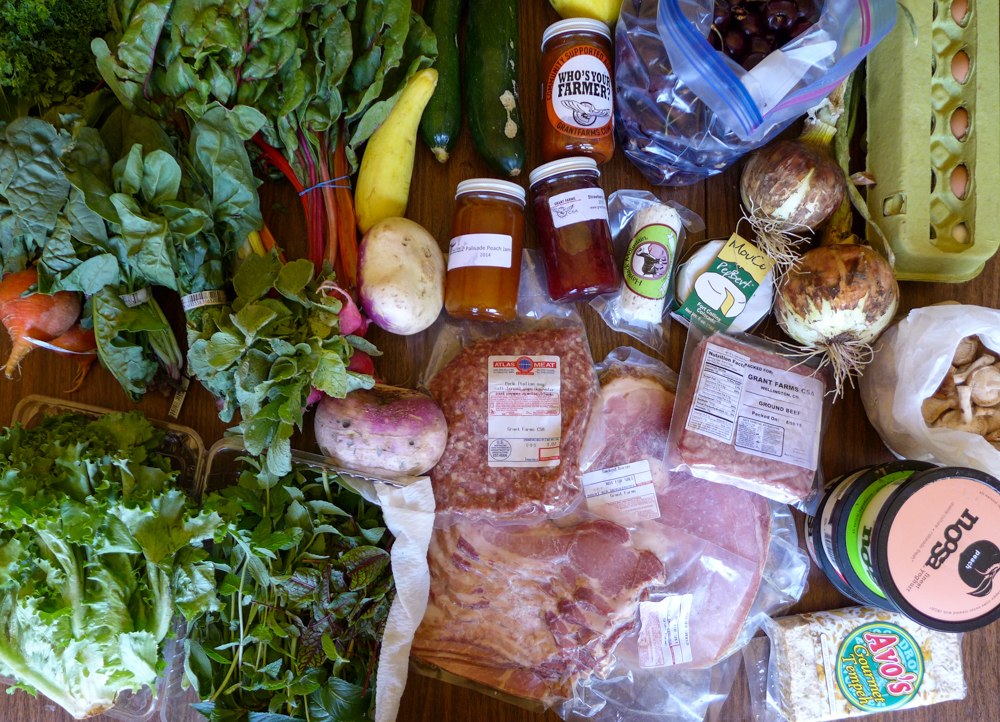
This year we bought a share from Grant Family Farms. It’s one of the largest CSAs in our area, and we were already familiar with them because they delivered to the office where C worked two years ago, so at that time we had bought a small share. This year we decided to go big, and we bought their “all-in” kitchen share, and admittedly we feel so lucky that we were able to make that investment. For about six months, we’ll receive a weekly share that includes vegetables, herbs, fruit, meat (pork, chicken, beef, lamb), yogurt, cheese, eggs, mushrooms, canned goods. It’s amazing!
Meal Planning – Month 1
This is the share that we’ve signed up for.
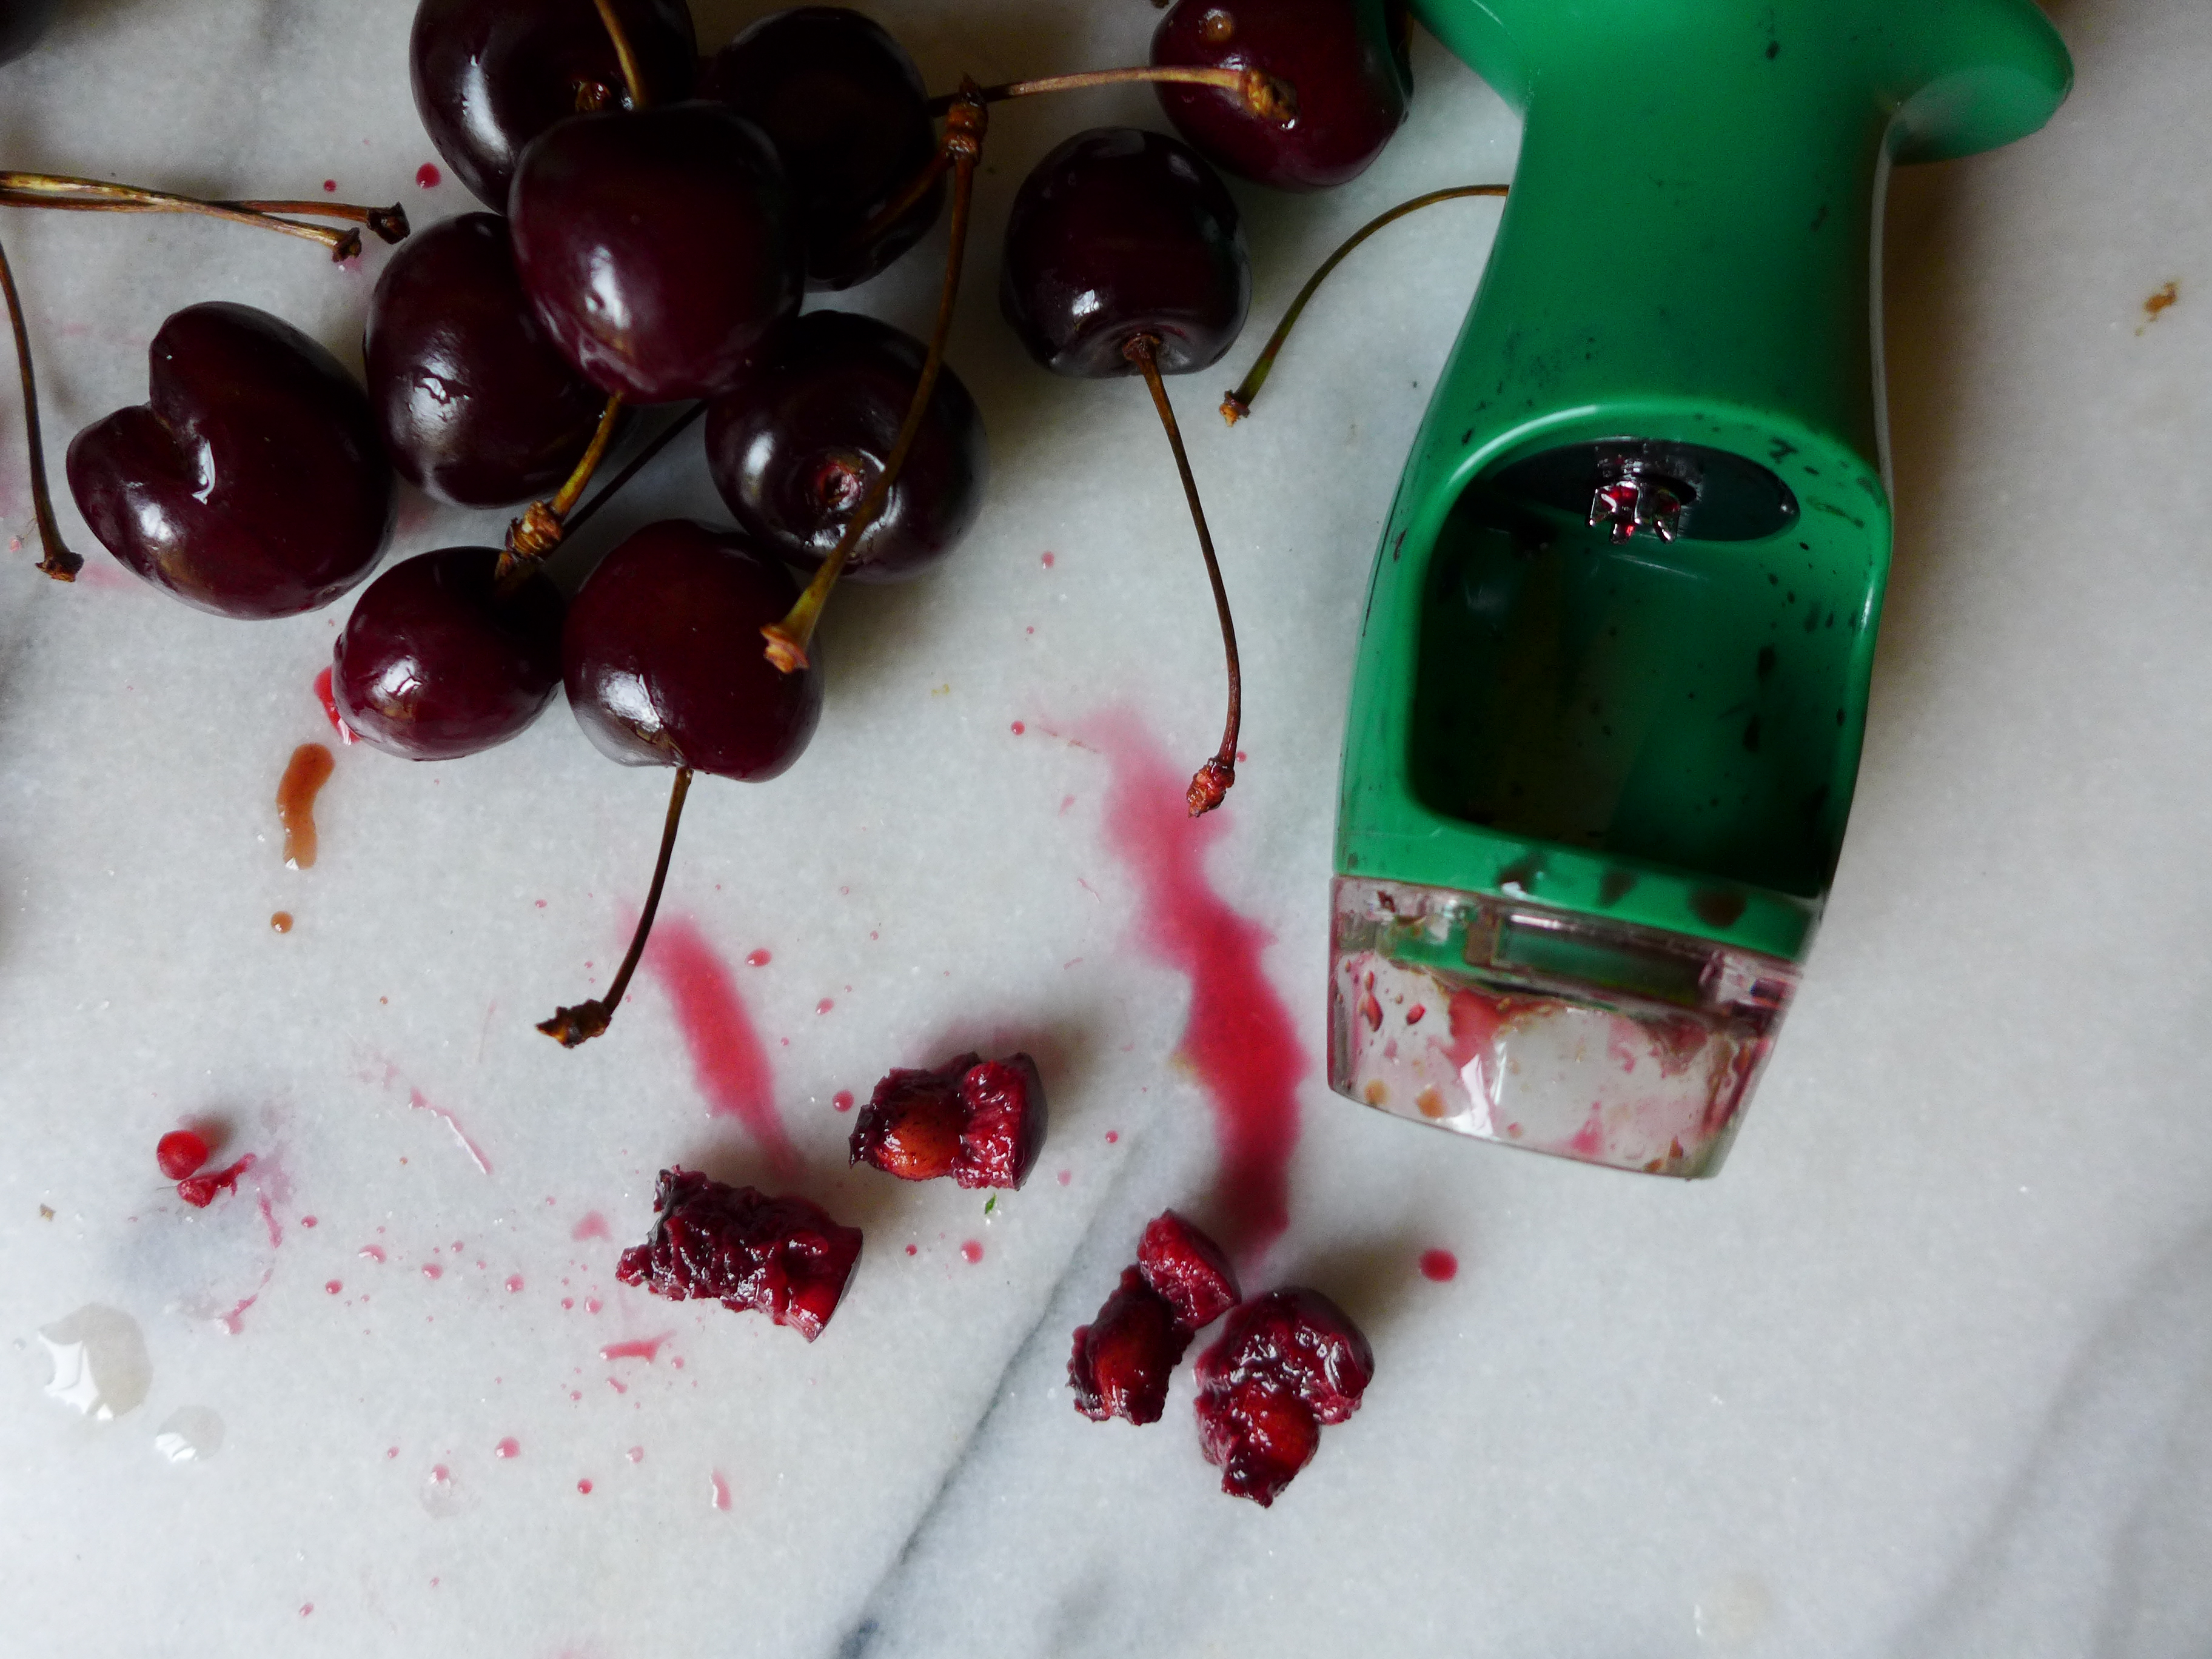
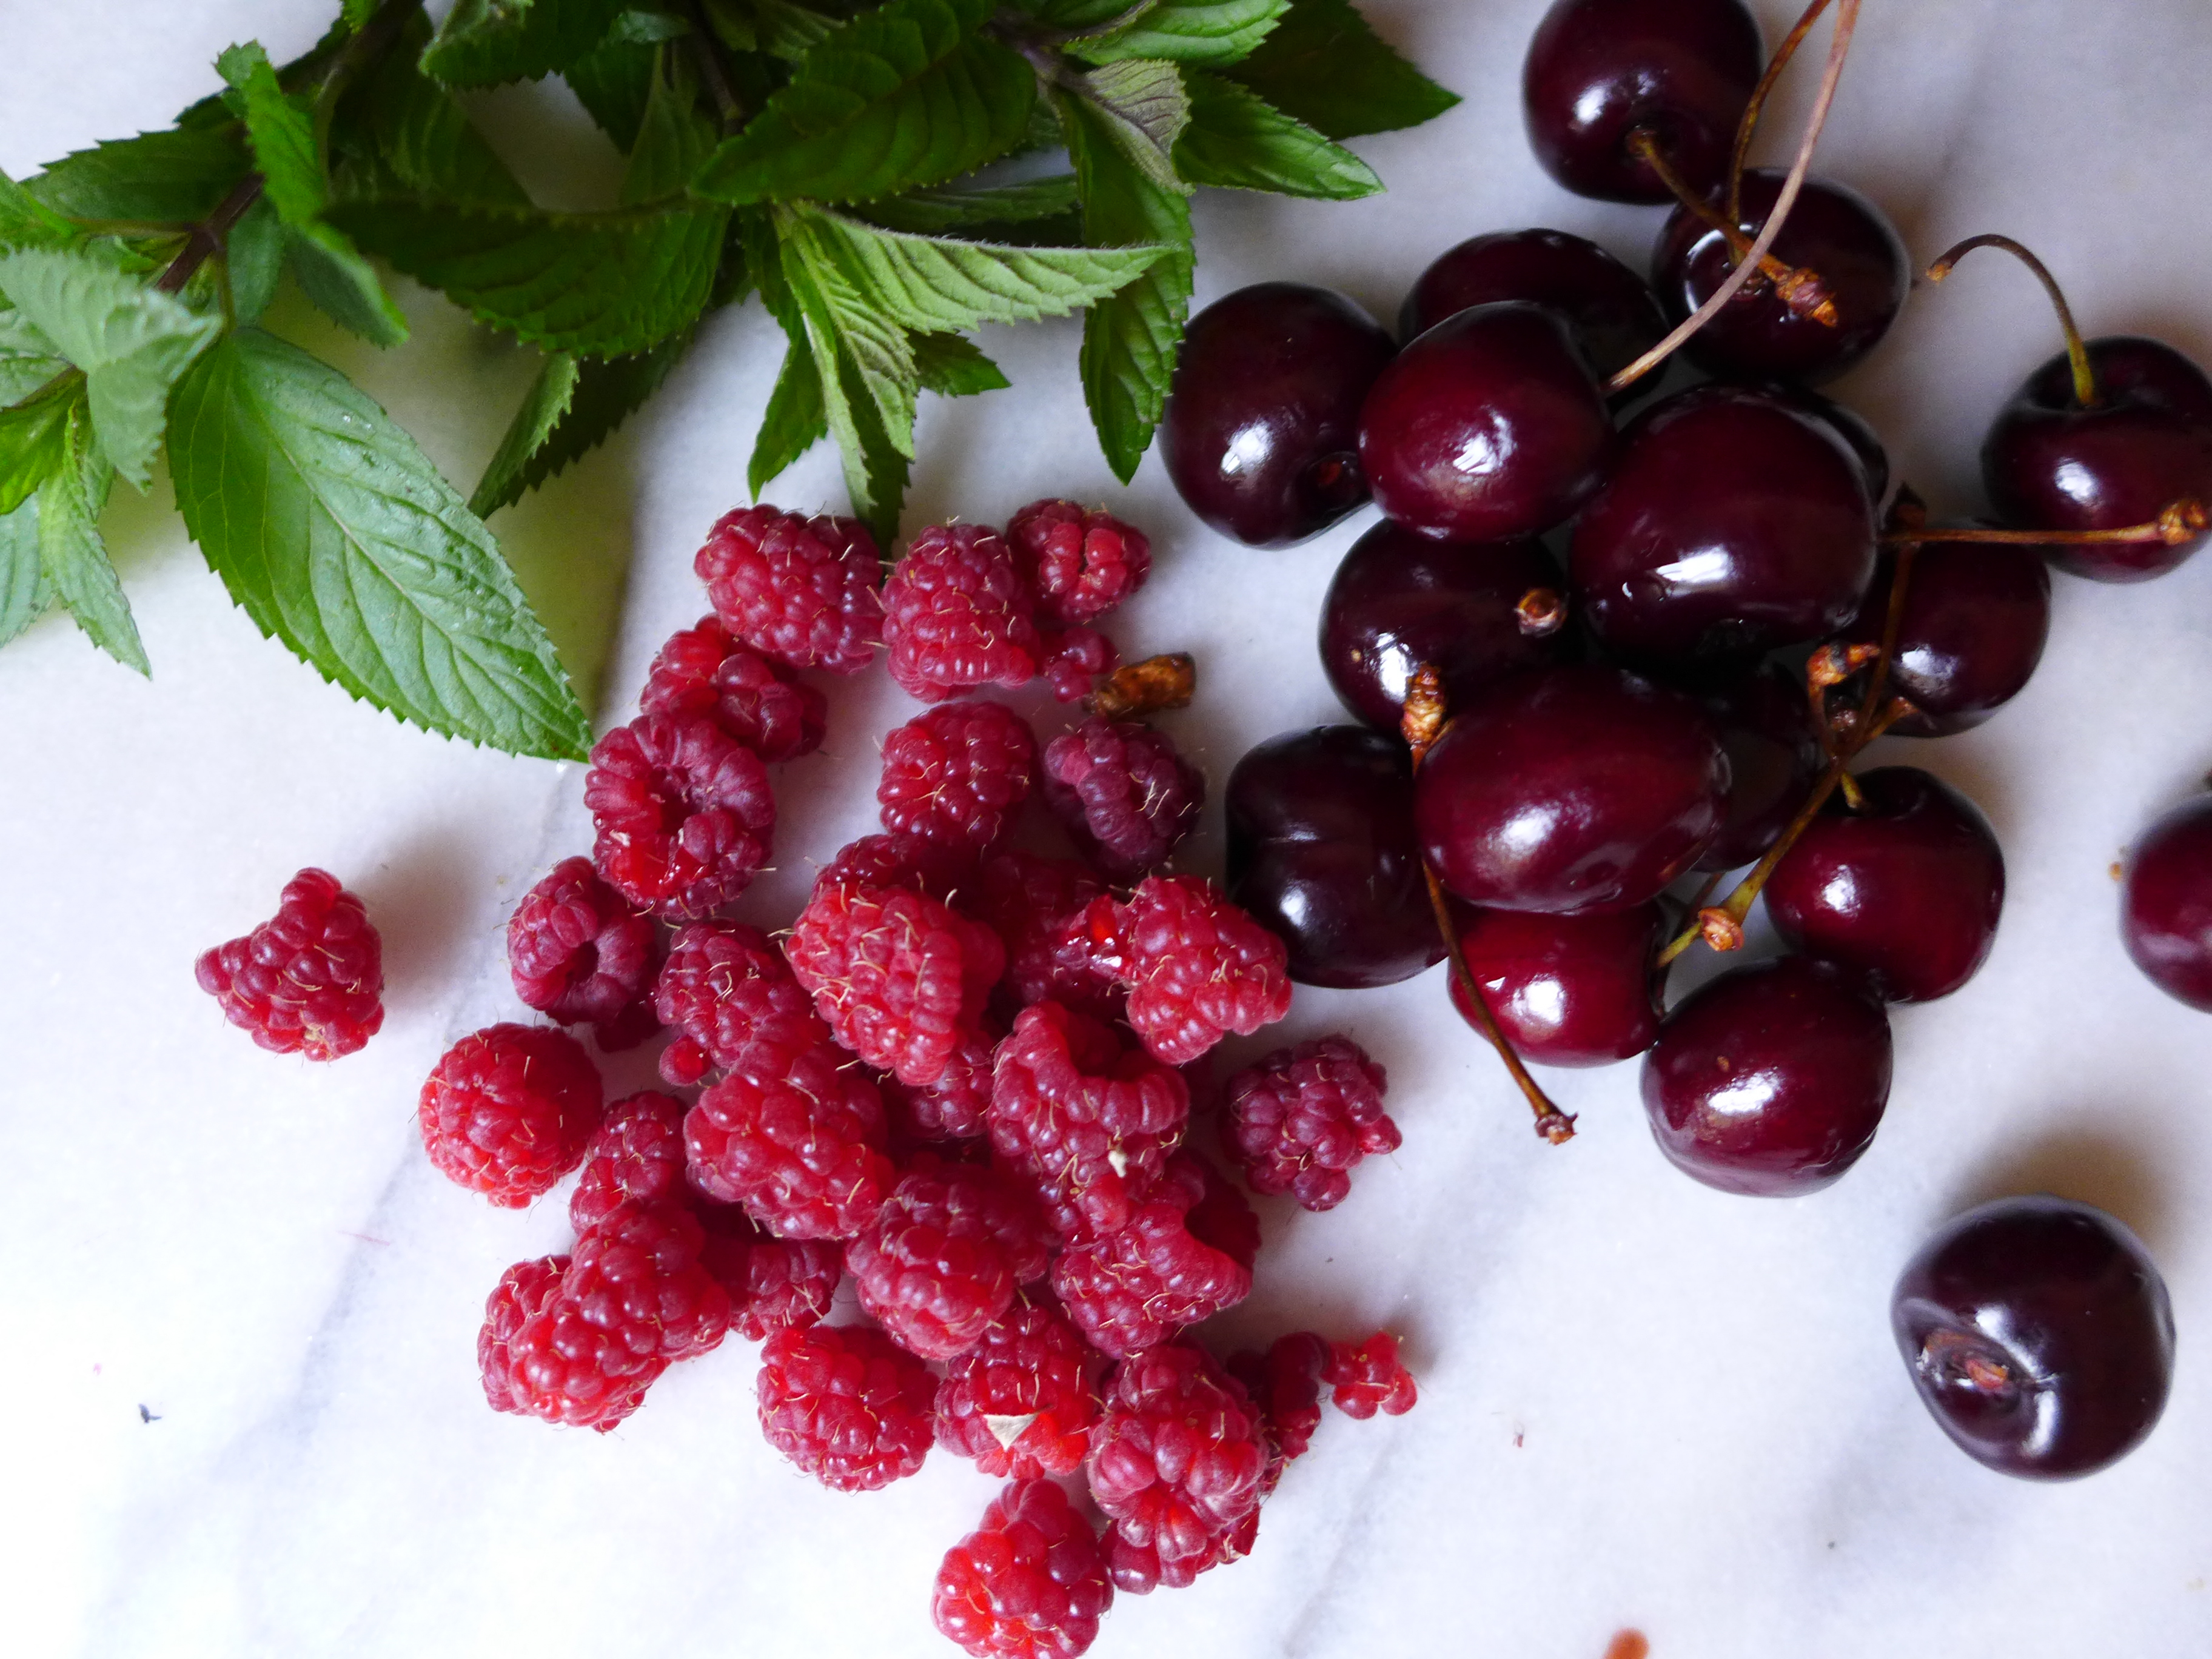
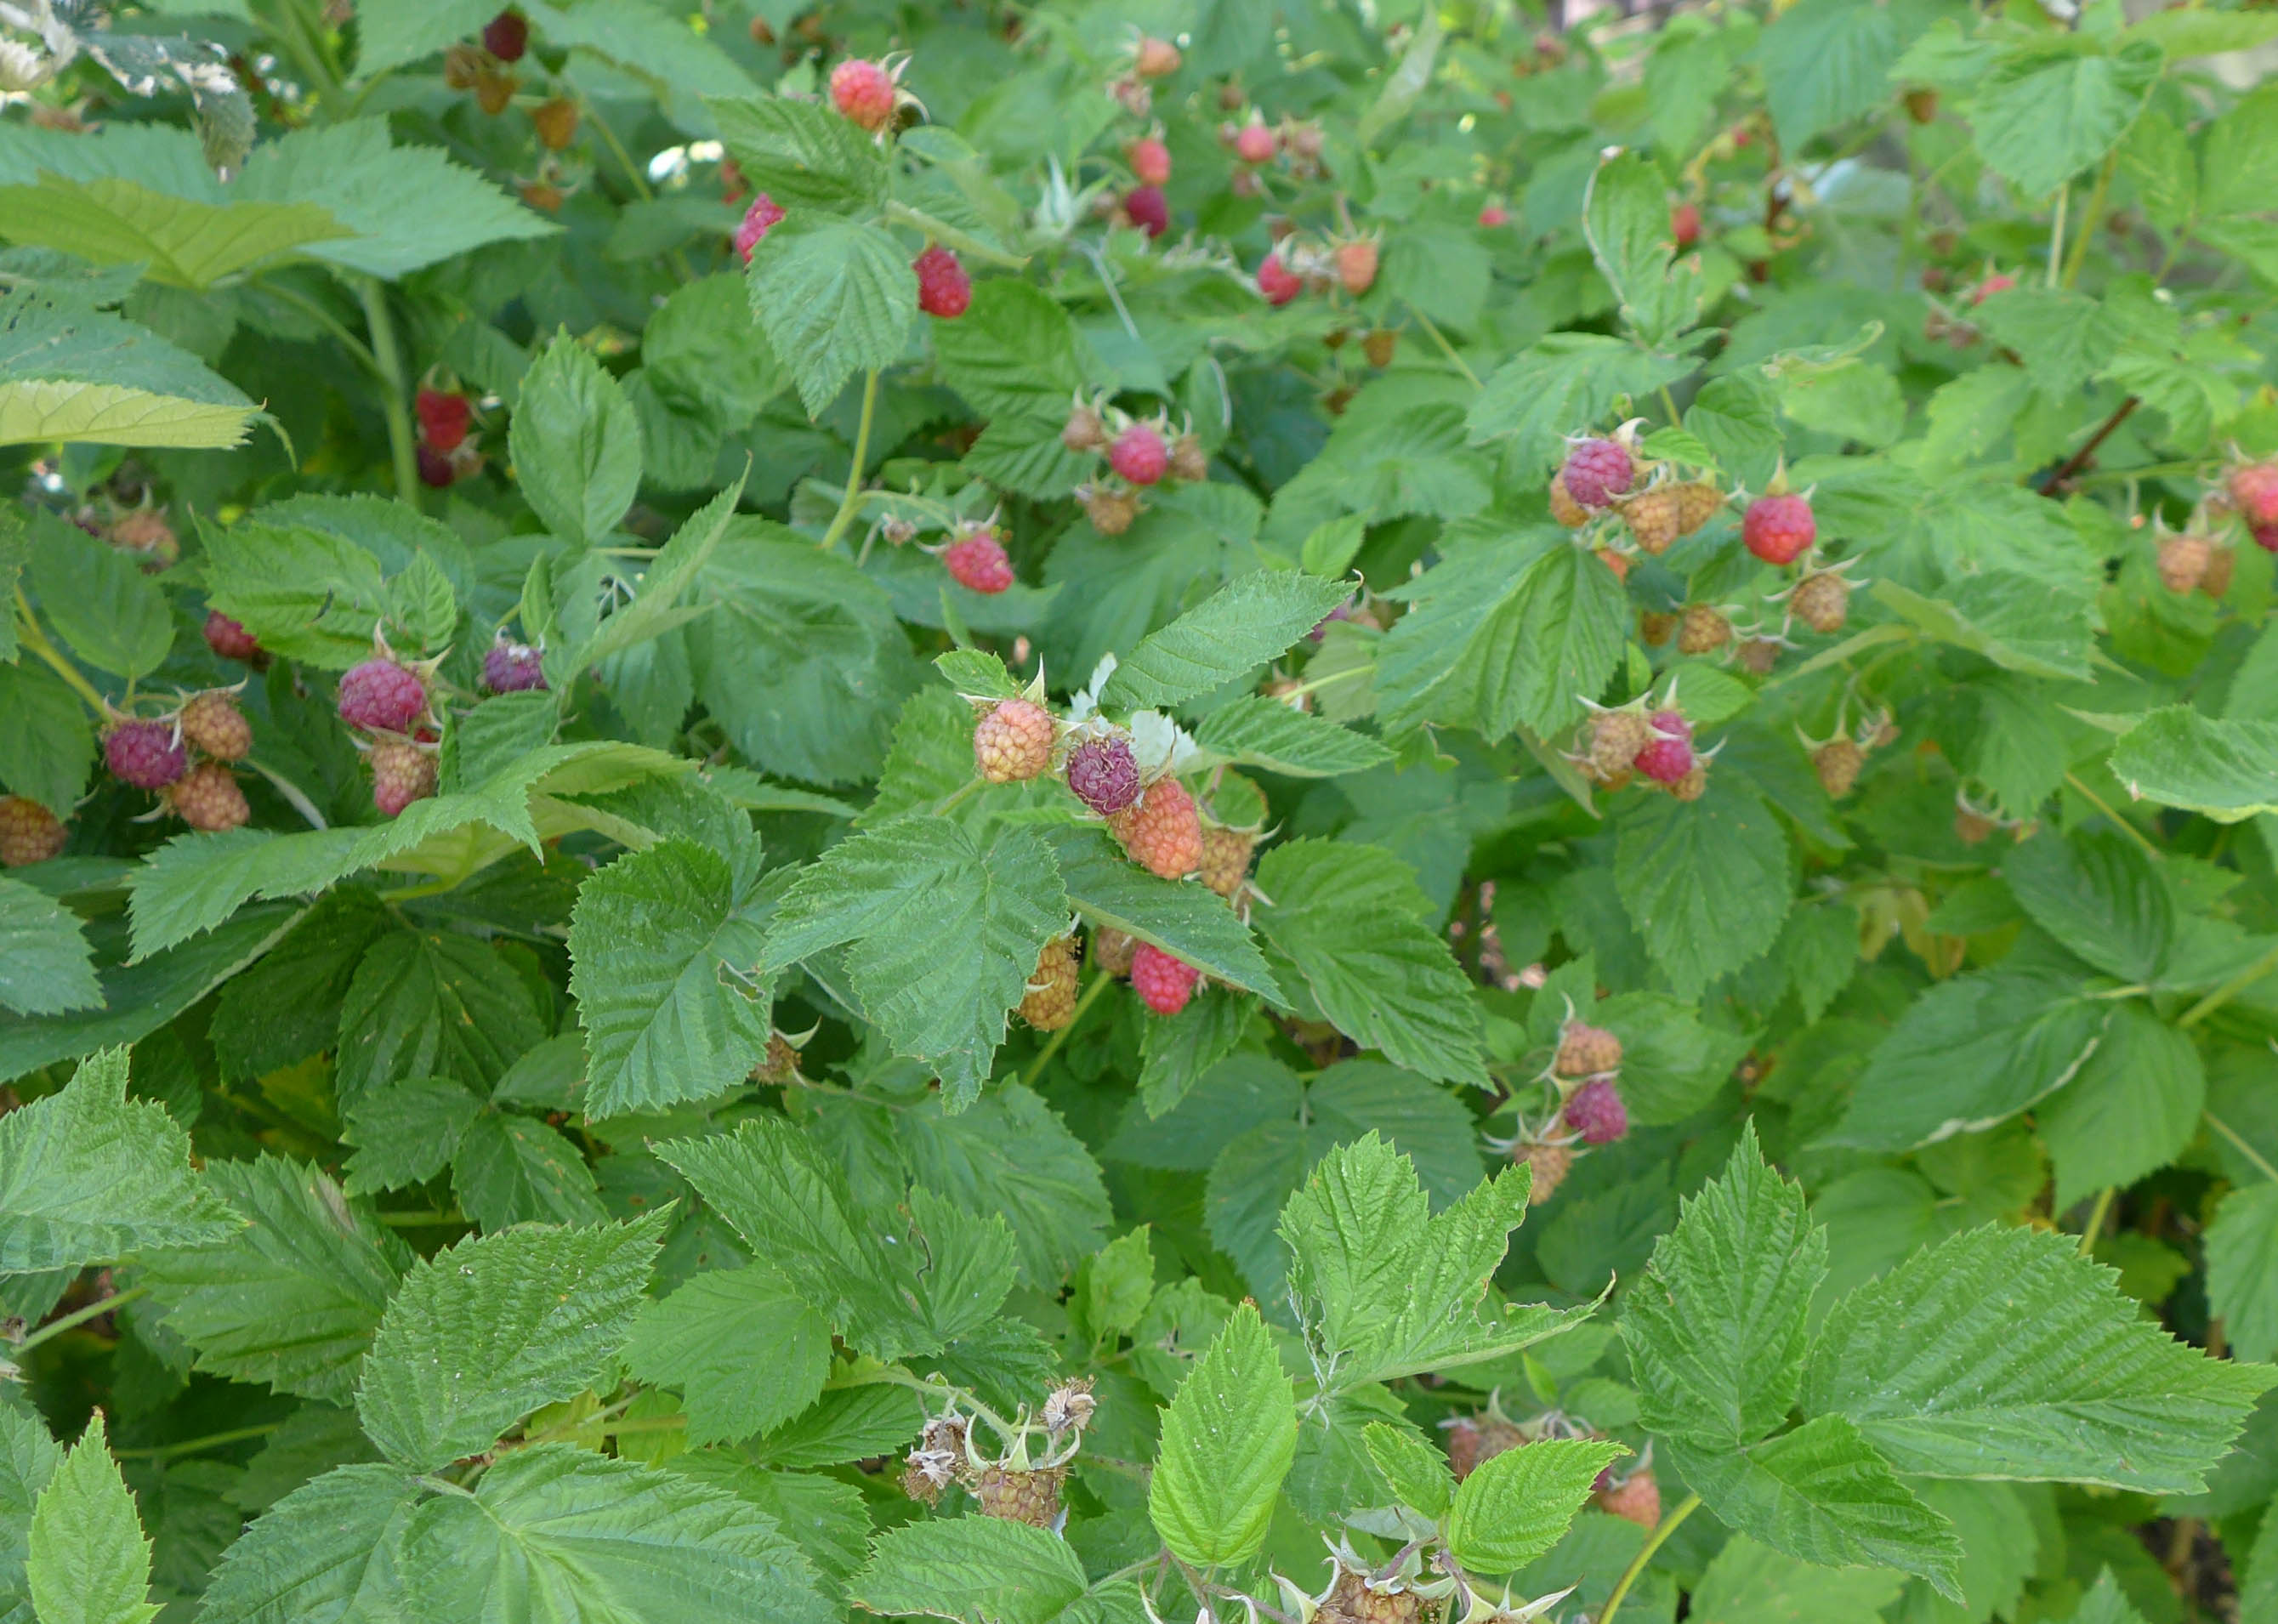
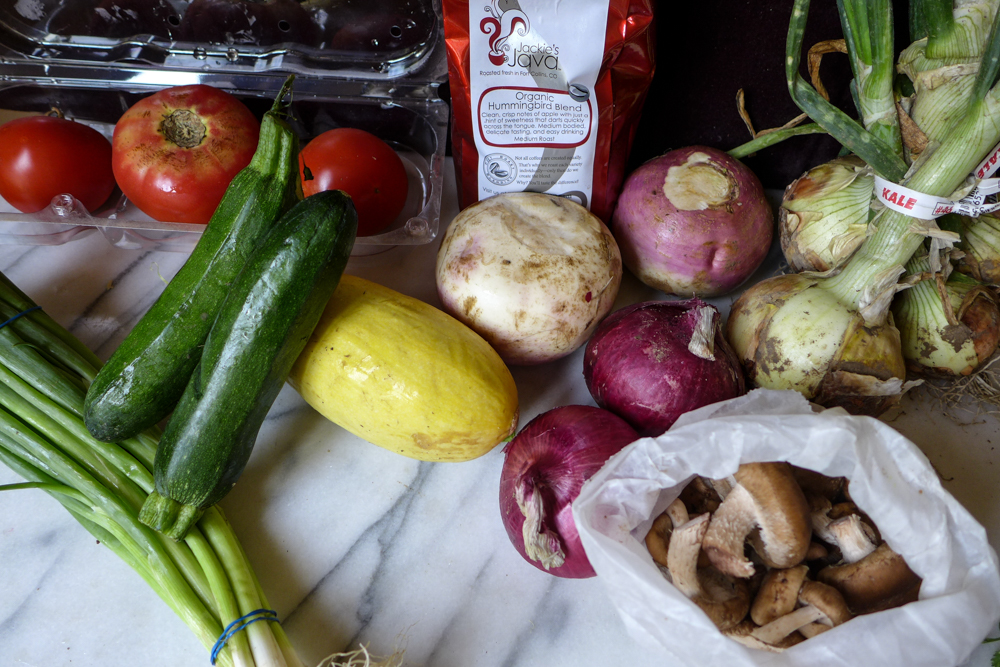
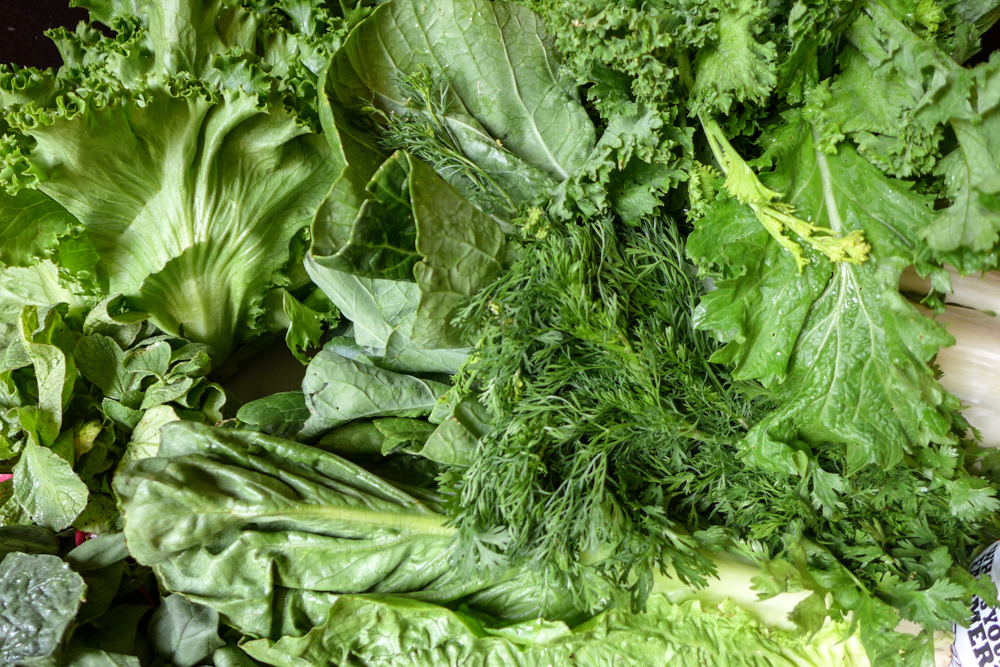
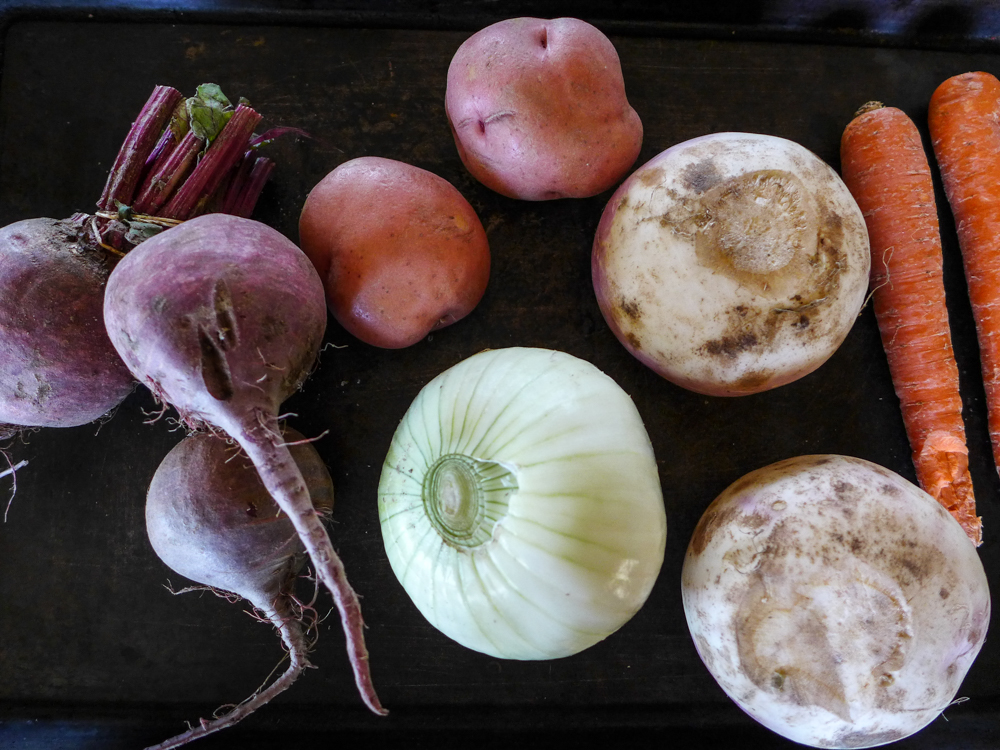
The chart below lists the variety of foods that we’ve received for the past month. I don’t know the exact quantity of vegetables we receive each week (it’s large grocery bag filled with veggies, and I would say it’s about 20 lbs), but it’s definitely enough to feed our family for the week. For the first month, the vegetables have been some combination of those on the list below. In the protein category, we receive about 3-5 lbs of meat each week, and thus far it’s been some combination of the meats on the list. The tofu and tempeh each arrive once per month. Under the dairy & misc. category, we receive the yogurt & cheeses each week, we receive 1 lb of coffee once per month, and approximately two canned goods each week. While in season, we recieve fresh fruit (so far it’s been a lot of cherries!), and some variety of fresh herbs.
| veggies | proteins | dairy & misc. | fruit & herbs |
|---|---|---|---|
| asparagus | ground pork | herbed goat cheese | cherries |
| romaine lettuce | smoked pork slice | camembert | mint |
| bok choy | smoked pork shoulder | yogurt | lemon balm |
| radishes | bacon | coffee | sage |
| green onions | fryer chicken | canned tomatoes | thyme |
| onions | pork sausage | tomato sauce | parsley |
| spinach | ground beef | pickles | cilantro |
| summer squash | tempeh | fruit jam | dill |
| mushrooms | tofu | ||
| beets | |||
| chard | |||
| turnips | |||
| tomatoes |
When I receive the share each week, I draft a list of menu ideas for the week ahead, trying to use up as much of that week’s share as I can, and planning for how I’ll preserve what we can’t eat (so far it’s just been putting some of the cherries and meat items in the freezer).
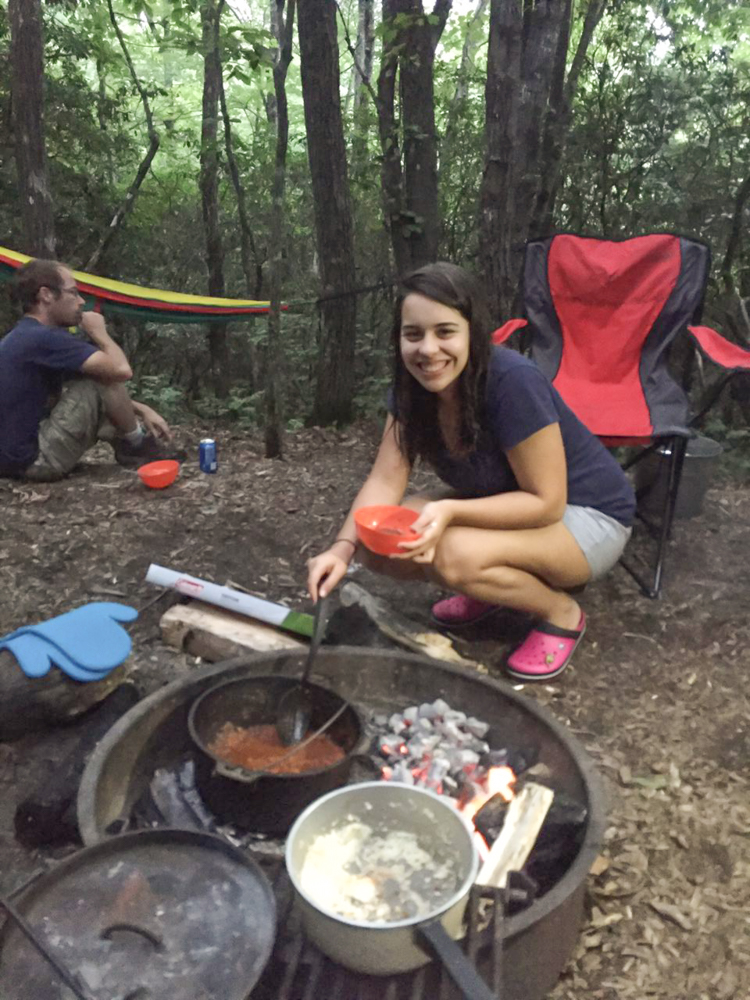
Over the past month, I’ve thrown herbs into salads, made my fair share of quiches, and had plenty of yogurt breakfasts, in addition, I’ve photographed some of the dinners we prepared and shared. Above each photograph, I list the farm share ingredients used for the dish and, where available, I’ve linked to the recipes.
Since I’ve photographed many of these dishes in the crazy moment between pulling them out of the oven and putting them on the table for starving boys, the photo quality isn’t the best, but I’m working on it :-).
~
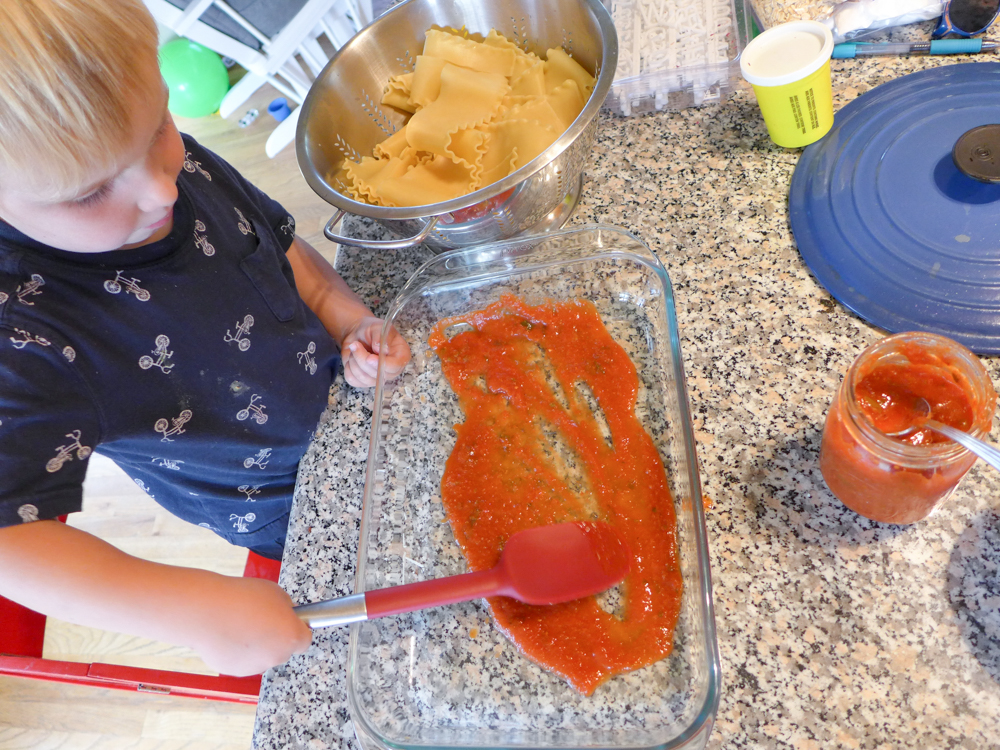
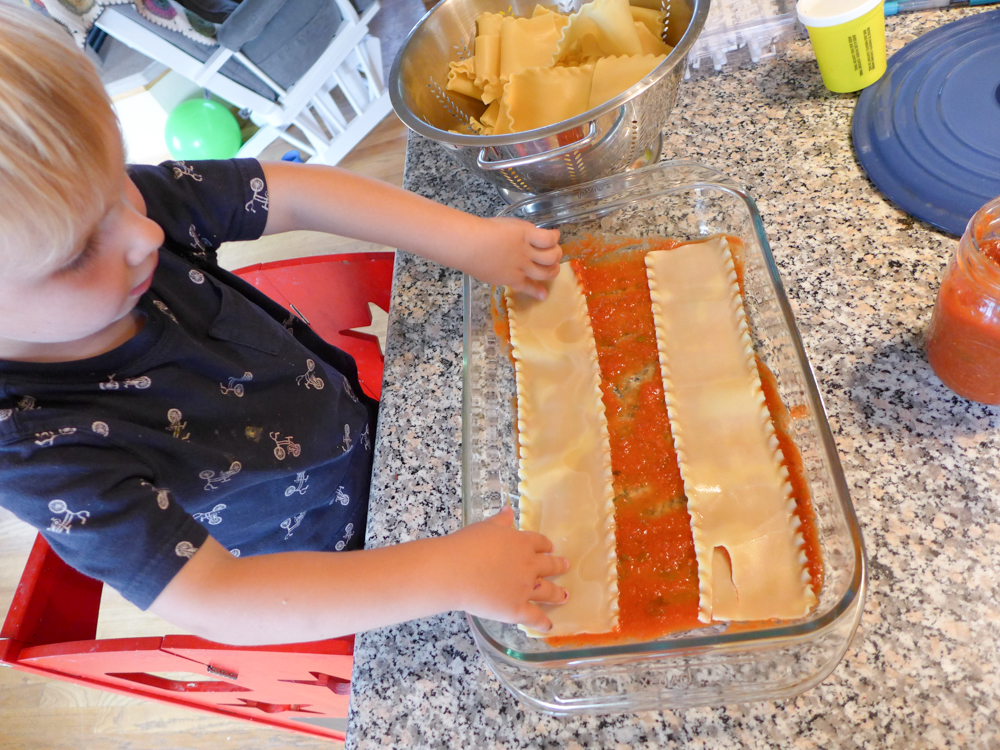
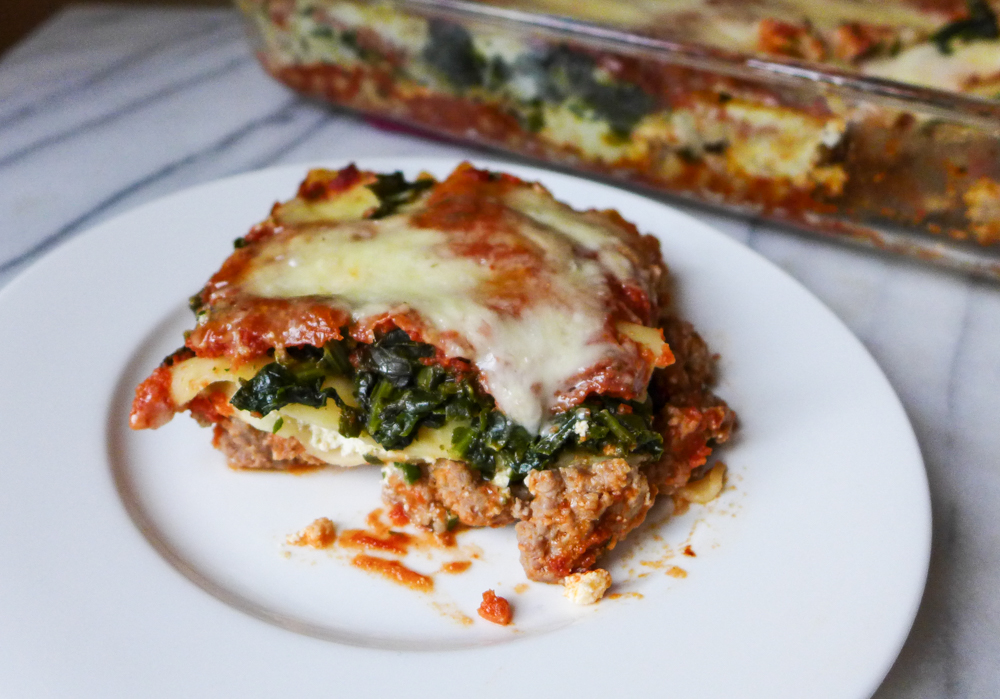
Lasagna : pork sausage, spinach, tomato sauce
~
Vegetable Curry : tofu, carrots, scallions, summer squash, zucchini, cilantro

~
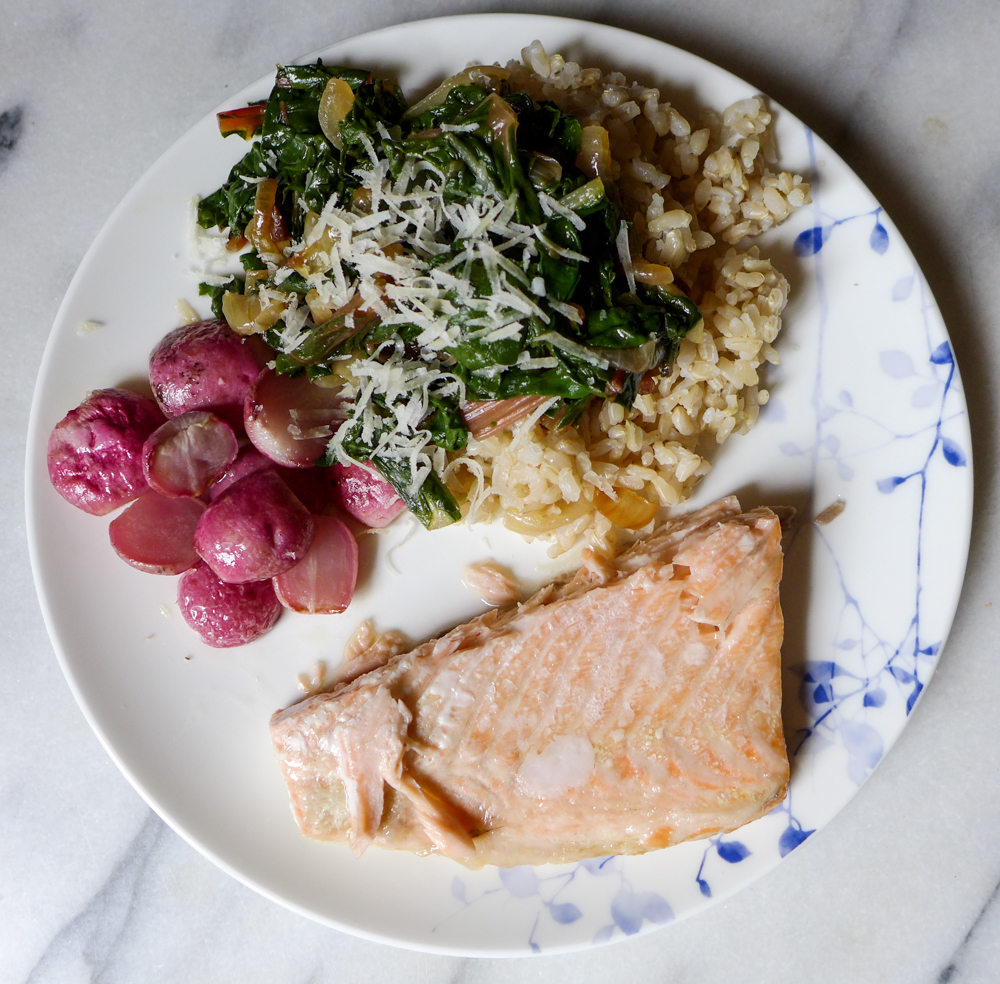
Salmon with roasted radishes, chard with caramelized onions, and leftover rice from takeout : radishes, chard, onions
~
Zucchini bread with chocolate chips, walnuts, and black sesame seeds : zucchini

~
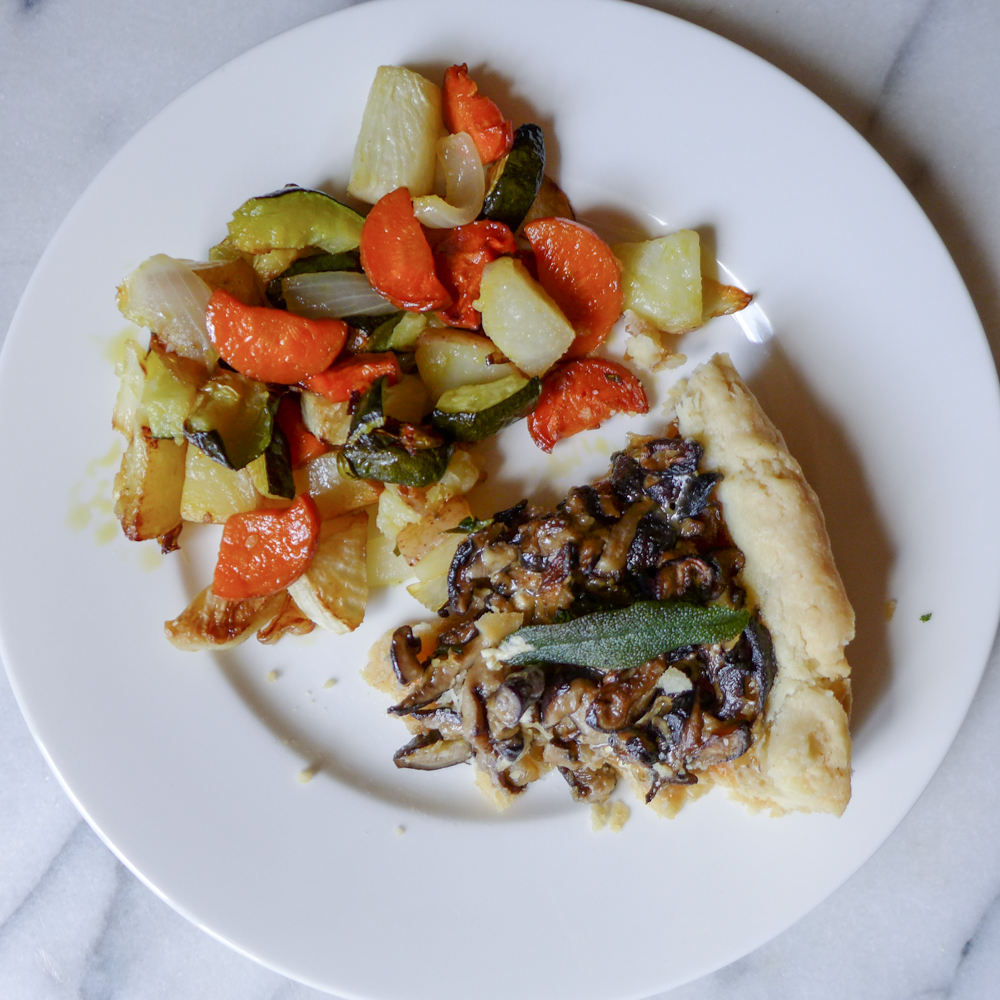
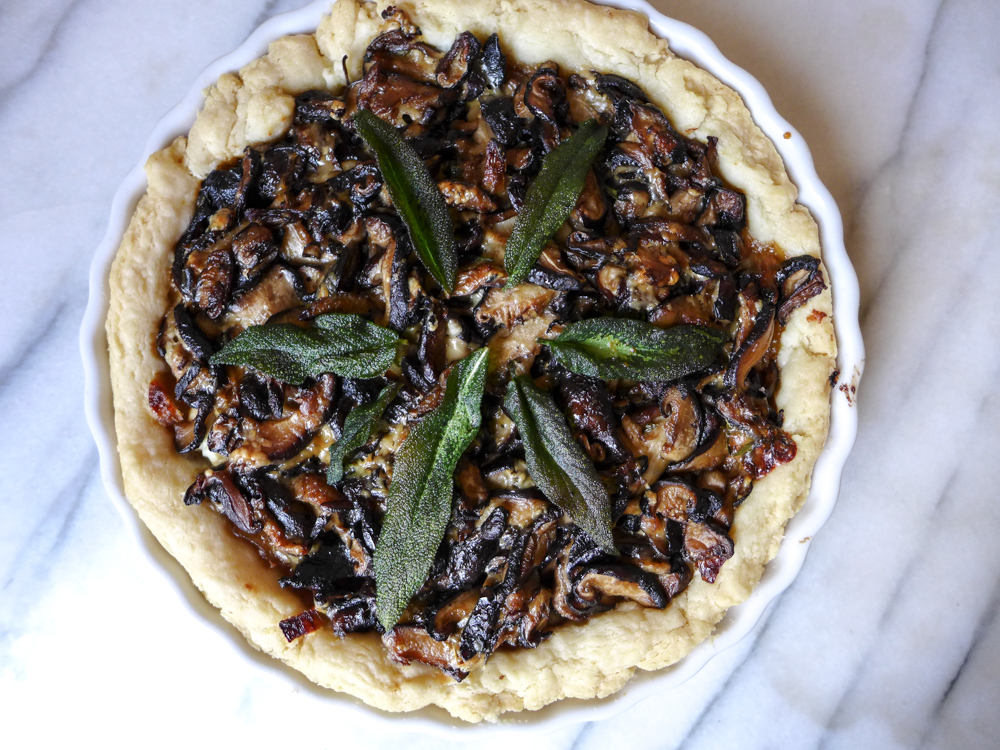
Mushroom tart & roasted vegetables : mushrooms, sage, goat cheese, carrots, zucchini, onions, turnips

~
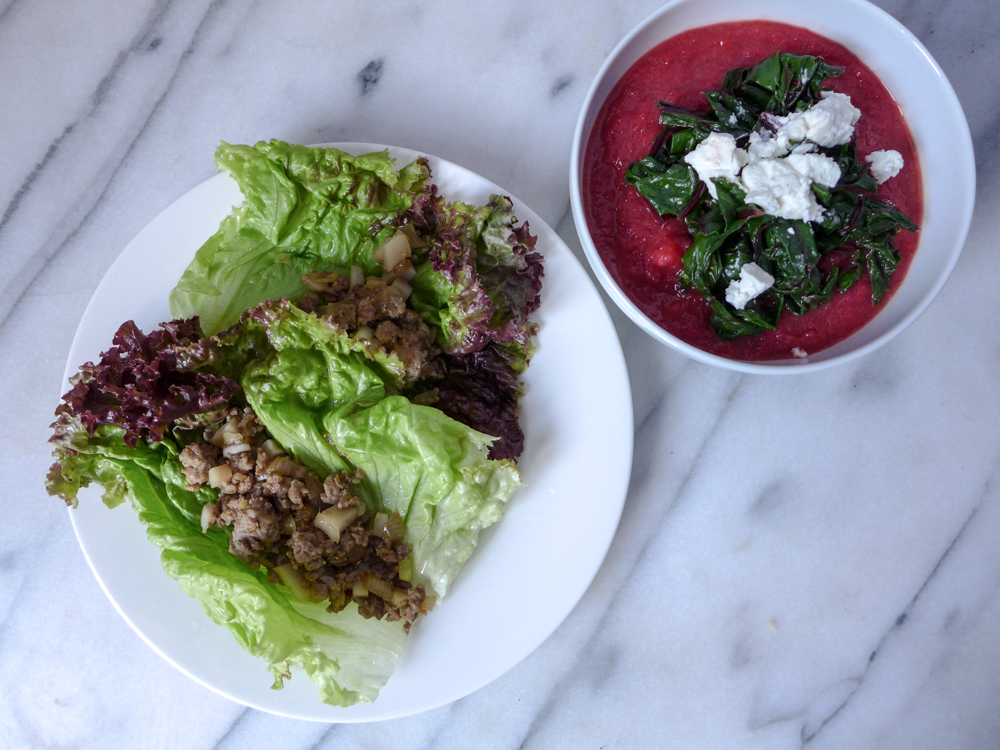
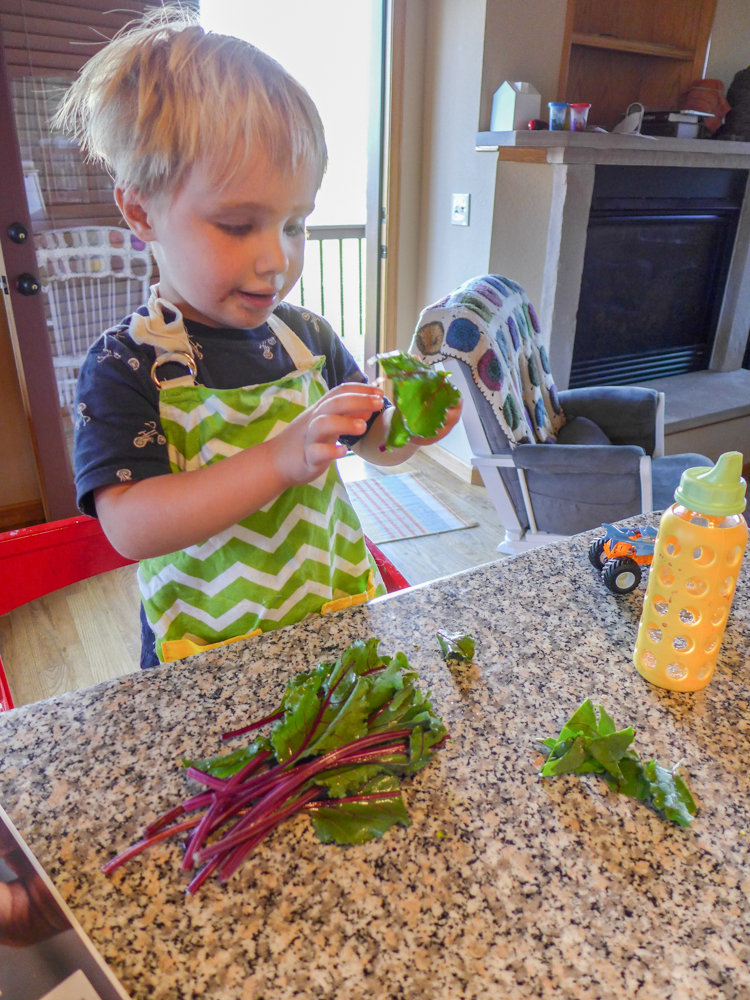
Roasted Root Vegetable Soup & Pork-filled Lettuce Wraps : ground pork, scallions, lettuce, beets, carrots, turnips, chard, beet greens, goat cheese
~
Mushroom & Zucchini Galette : mushrooms, zucchini, onions, goat cheese

~
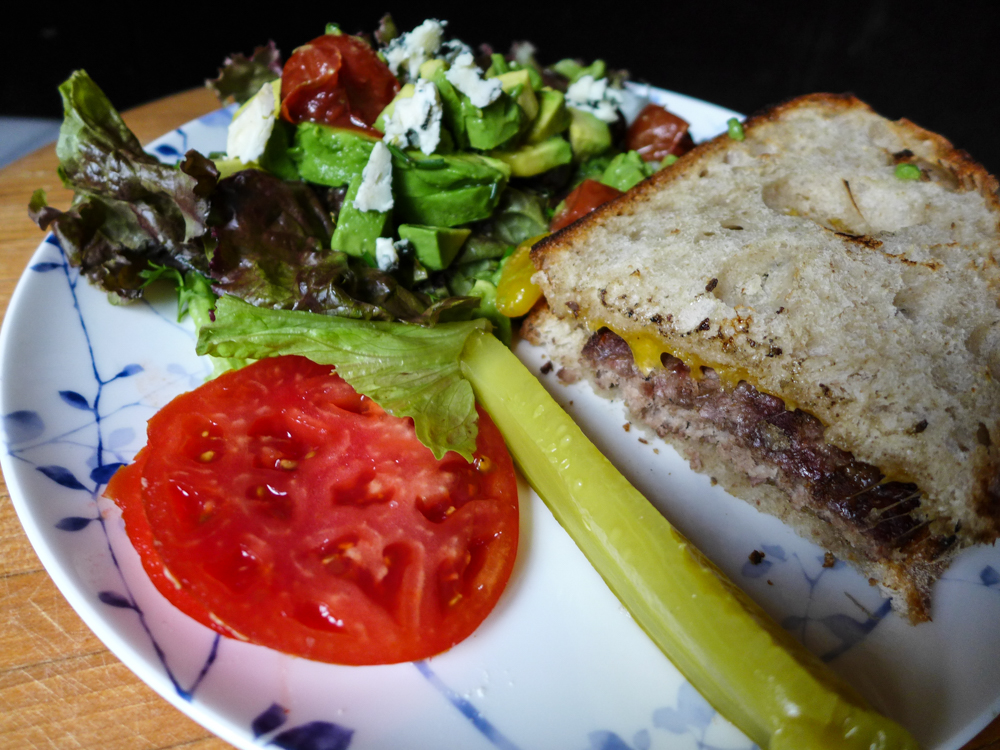
Burgers & Salad : ground beef, lettuce, tomatoes, pickles
~
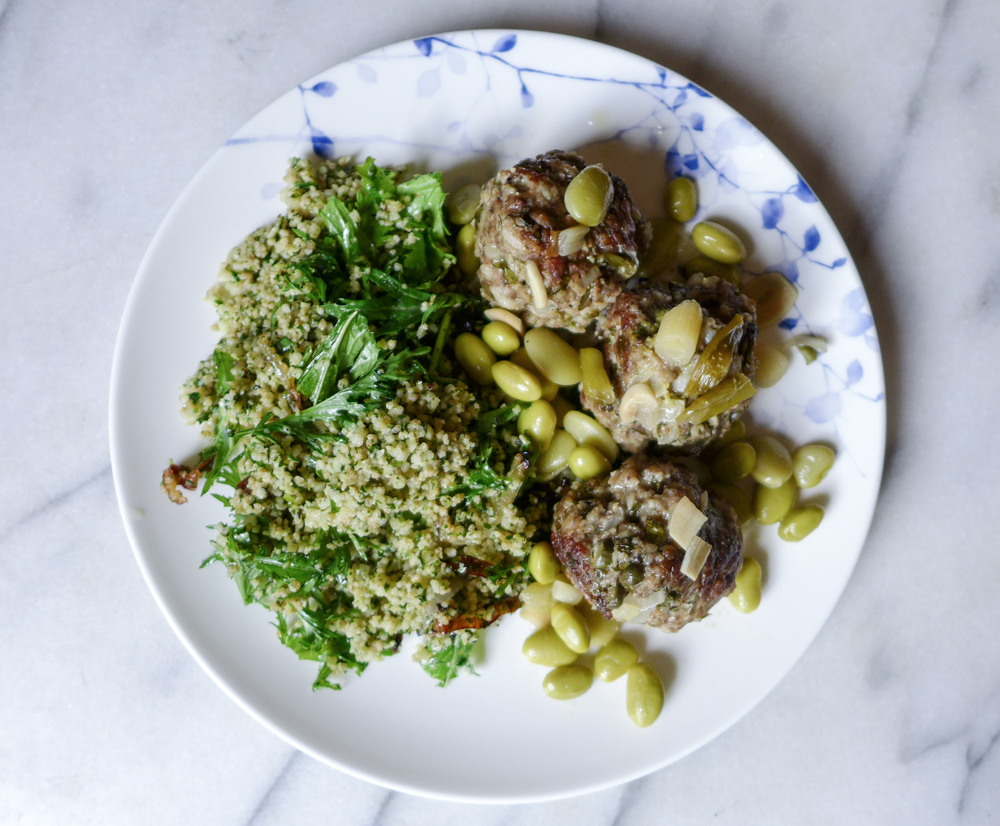
Herb Meatballs & Green Couscous : ground pork, onions, mint, cilantro, parsley, dill. *Both of these recipes come from cookbooks by Yotam Ottolenghi that I love – Plenty & Jerusalem.
~
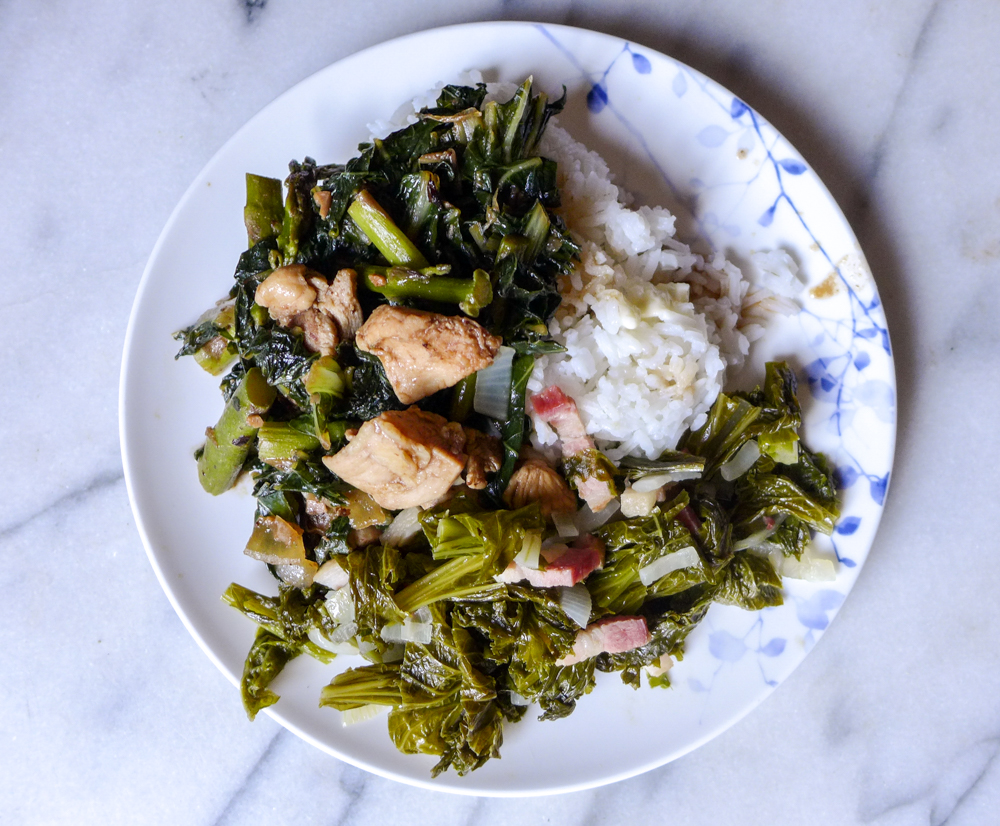
Chicken, asparagus, and greens with black bean sauce : asparagus, chard, mizuna greens, onions, bacon
~
Bacon & Eggs or Smoked Ham & Eggs have become breakfast staples

This is just a snapshot of our first month with the farm share. Right now our fridge is packed with this week’s share, and I’m so excited about the menus I have planned. I’m going to continue to photograph and share. I know meal planning, especially with kids, can be tough, but I hope this will give you some inspiration, and if you really need a kick in the bottom, get yourself a farm share!