Halloween Costume Idea : Disco Ball

Happy October! We first posted this a few years ago, but if you need an idea for a little one, it’s not too early to start. Below is a baby Disco Ball and here is a Circus Strongman.

I feel like it’s been so long since I really dressed up for Halloween. For the past few years, we’ve sat around the house (waiting for those dozen or so trick-or-treaters to show) and would throw on something from my bag of old Halloween costume parts from years past. Witch’s hat, Eskimo, and giant pumpkin for the win! This year Calder said we had to get serious – “don’t get out your witch’s hat” may have been a direct order. Luckily, some serendipitous inspiration struck not once, but twice, last weekend.

Moment 1: It began with me ordering this baby jailbird costume out of desperation. Did you see those tattooed arms?! A few hours after placing the order, I remembered Oh Happy Day’s strongman costume from last year – so awesome, right? And perfect for Little A. If he’s a strongman, then I’m happy to partner up as the bearded lady. And now we have a pair of costumes for our town’s Halloween parade.

Moment 2: Calder was randomly telling me that he wanted to bring 70’s fashion back (no joke). Minutes later we wandered into vintage store and found the most amazing 70’s clothes! Calder walked out with a pair of plaid pants and three rayon shirts with extra large lapels. Me? I’m the proud new owner of a psychedelic jumpsuit. All we needed was a disco ball. Enter Alex. And now we have the family costume theme that we needed for a friend’s party next weekend!

Making the Disco Ball

liveseasoned_fall2014_costumes1

Little A is a mover, and we have a strong feeling that he’s not going to put up with having a costume with a lot of frills, bulk, or even a hat. So we have to keep everything simple and make sure that it’s still easy for him to move. What we wanted to do here was to make him a sequined shirt that he could still easily move in. We thought about stuffing it to give him more of a ball shape, but his big belly is round enough.

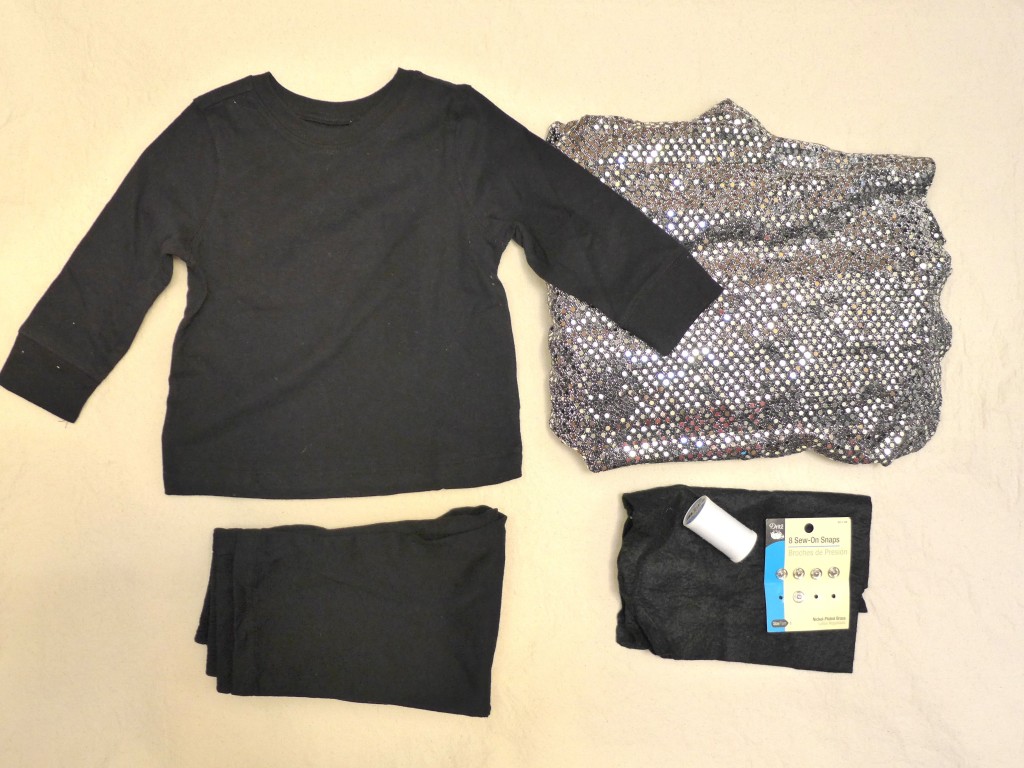
I’ve been holding onto a sequined dress since high school (thank you Christmas band concert), knowing that it would come in handy eventually. Our plan was to make a simple sequined shirt/vest for Alex to wear over a black shirt and pants. Originally I thought I would use black felt to make the shoulder straps and snaps for closures (shown in the materials photo above), but as it turns out, I didn’t need either!


The straps on the top of the dress, are almost perfectly spaced for little A’s shoulders. So, all I had to do was take in the sides slightly, and shorten the dress to the length we wanted. The one challenge to shortening it was that the long zipper. In the photo above on the right, I’m showing you where the zipper ends with my thumb and how short I want it with my finger.

The dress’ sides had been brought in once before (red thread above). I wanted to bring in the seams by another inch or so, and I was going to cut off the excess fabric so that it didn’t add bulk. The one challenge I faced was that the sequins seemed to eat up the thread, and I would end up with gaps without stitching. I was using a cotton thread, maybe there’s a better choice? I handled it by just sewing the same line a few times, and it worked well enough.

The next challenge was the zipper. I’m not a zipper expert, but I do know that these zippers with small-ish plastic teeth are easy to shorten. You begin by marking the point that you want to be the new bottom of the zipper. At that point you’ll sew a bar tack over the zipper’s teeth. To do this, set your machine on a zig-zag stitch that is just wider than the zipper’s teeth with the stitch length as short as it can go (so you’re sewing back and forth over the zipper at the same point). I began by testing the stitch without thread in the needle, manually moving the needle to test stitch widths and making sure that the zipper was perfectly centered so that I wouldn’t hit its teeth with the needle.

After the bar tack is sewn, I cut out the zipper’s extra teeth, keeping my scissors as close to the teeth as possible and leaving the zipper tape intact. To close the hole that was made by the missing zipper, I sewed the excess dress hem (that would have covered the zipper) to the zipper tape on the opposite side, closing that hole. You can see this line of stitching in the photo above on the right. At this point I had a segment of the dress that was the correct width and could be  cut to the right length for the little guy. So, it was time to try it on and get that final length measurement!

He was a willing model first thing in the morning – as long as I didn’t mind him running around with his dog named Cat. He was super excited when he figured out that Cat could ride the bike by sitting in the water bottle holder. With the fitting done, I cut the dress to the length we wanted and our disco ball costume was complete!


Here are a few more disco shots, crazy eyes and all!

Elving : Part 1

Ok, after I hit publish on this post, my attention will turn back to Thanksgiving (at least until Thursday!), but today we thought it would be fun to jump ahead and give you a sneak peek of the Christmas crafting that’s begun in our house. Somewhere along the way, Calder and I started referring to this as “elving” ~ sneaking away to my craft room to either work on Christmas presents or decorations. Today is labeled “Part 1” because I’m sure this will be the first of many elving posts from the Seasoned sisters!

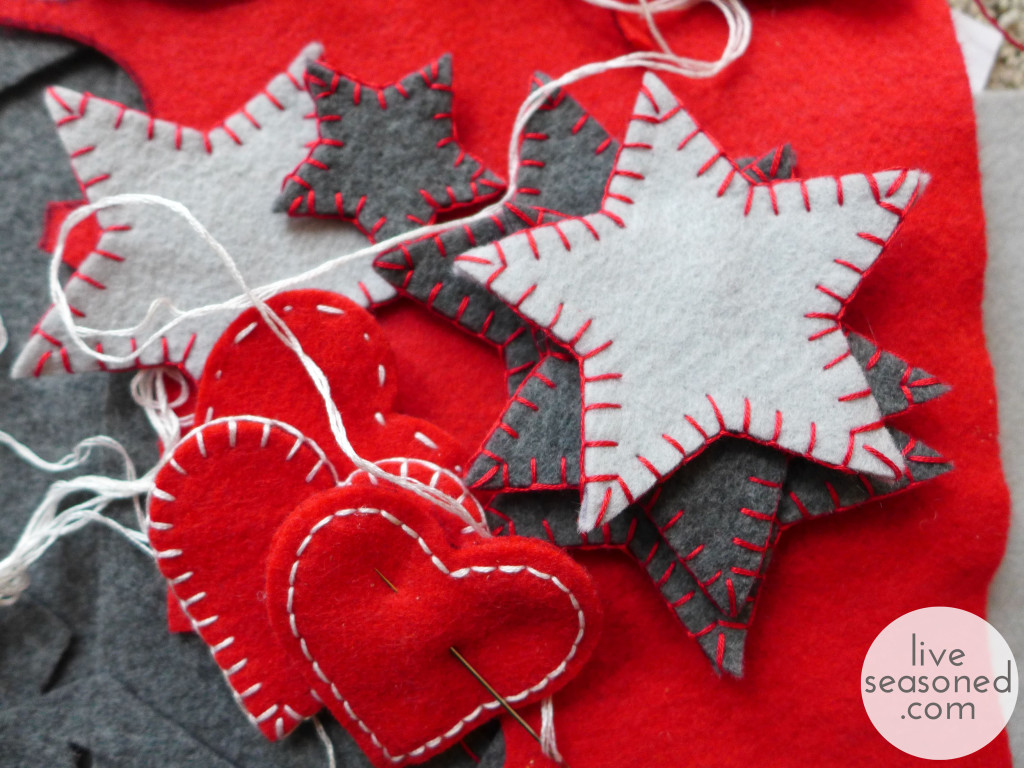
On Friday, I shared a picture of one of the Alex-friendly ornaments for the tree. Along with the filled balls, I’m also sewing a few simple felt ornaments. I have to admit that I really leaned on Pinterest for ideas this year, getting my inspiration for the ornaments from photos I saw while browsing pins and then just putting my own spin on them.

liveseasoned_fall2014_xmas_crafts3_wm

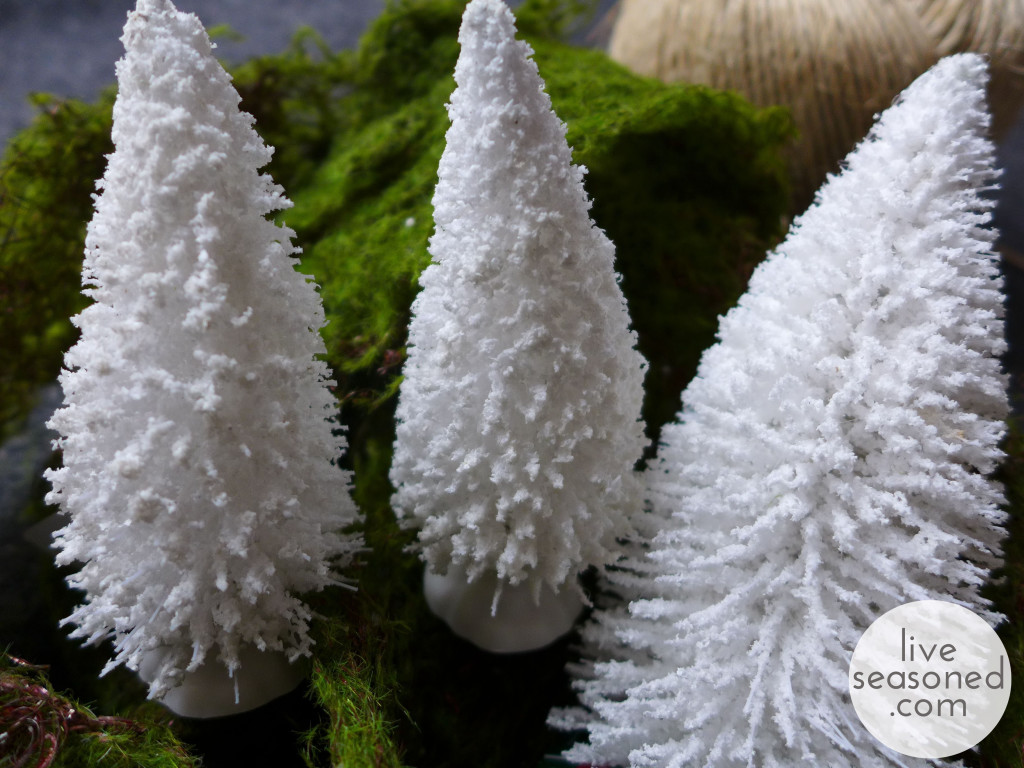
Another Pinterest-inspired project is going to come from the white trees and ribbon of moss in the photo below. This little project surprise is something that’s so simple, and I’ve wanted to make it for years. So I may be a little too excited that it’s finally happening.

liveseasoned_fall2014_xmas_crafts2_wm

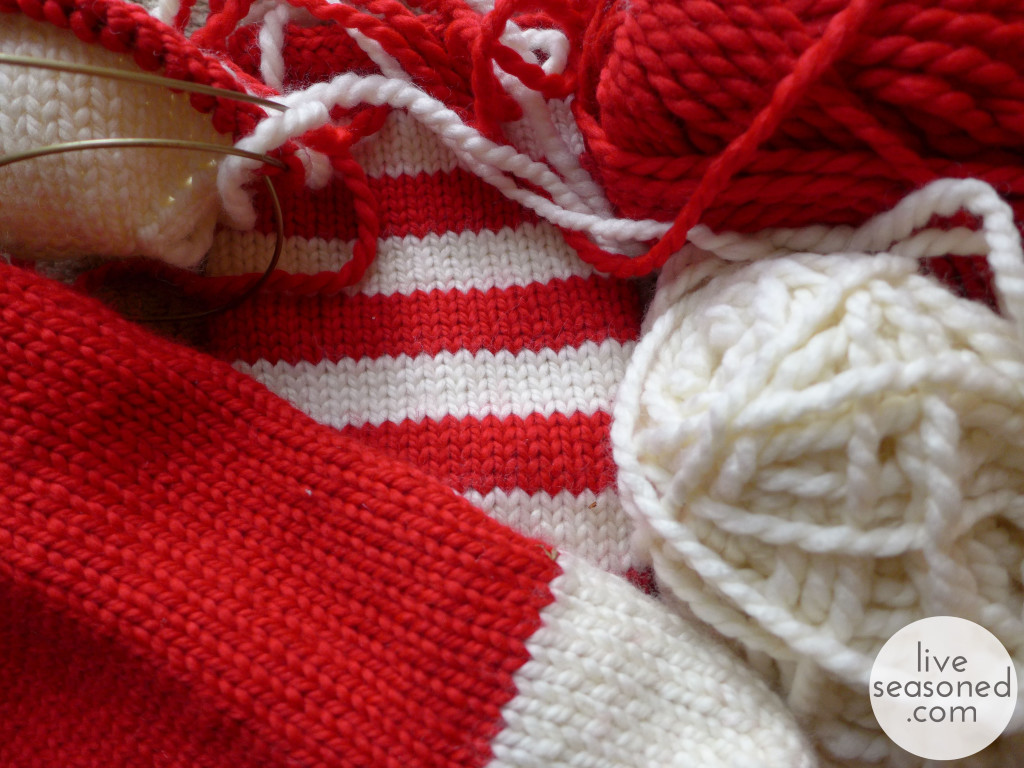
Then, there’s my impulse buy of yarn last weekend that is turning into some fun red and white stockings for our house. I saw the yarn in Michaels, and knew it was bulky enough to knit up quickly, but I didn’t want to commit to knitting the stockings if it turned out to take longer than I expected (there are too many other little elving balls in the air to add a big unexpected knitting one!). I picked up two skeins, and they made one cute stocking. When I went back to the store for more yarn, I discovered that the white was out of stock in most stores and online (it’s a holiday made-for-tv tragedy in the making!). After calling a few more stores, I found some in stock and bought enough of both colors to make the remaining two stockings for this year and to add another to our mantel for next year… maybe I went a bit overboard and bought enough to knit stockings for every possible future family member, including future pets.

liveseasoned_fall2014_xmas_crafts4_wm

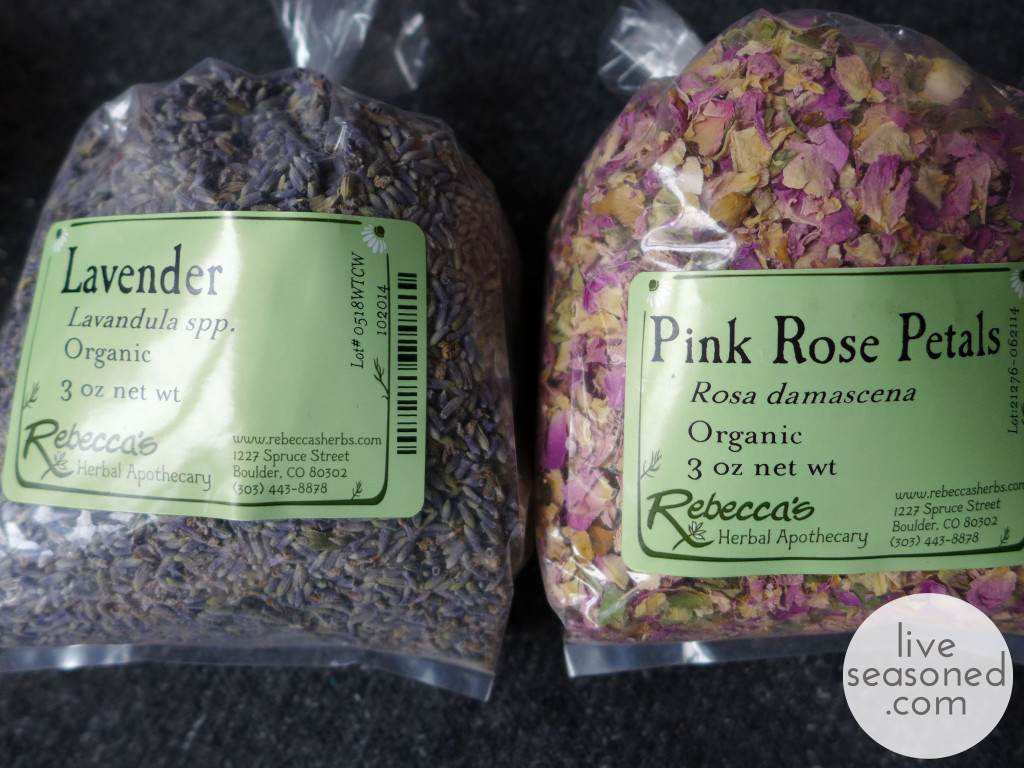
I’ve mentioned our local apothecary a few times. I love that place, and it’s quickly becoming my number one elving resource this year. I stopped in this week to pick up oils, herbs, and other ingredients to make a few different gifts for giving. These are my top secret projects that I’ll be so excited to share come January when the gifts are all finally opened.

liveseasoned_fall2014_xmas_crafts1_wm So that’s just a snippet of what’s going on around here. What doesn’t come through in this post is that I may have already started playing my Pandora Christmas station and downing glasses of eggnog nonstop whenever crafting… I promised myself that I would hold off until Thanksgiving, but the mood struck when the elving started.

Arrow Embroidery Tutorial & DIY

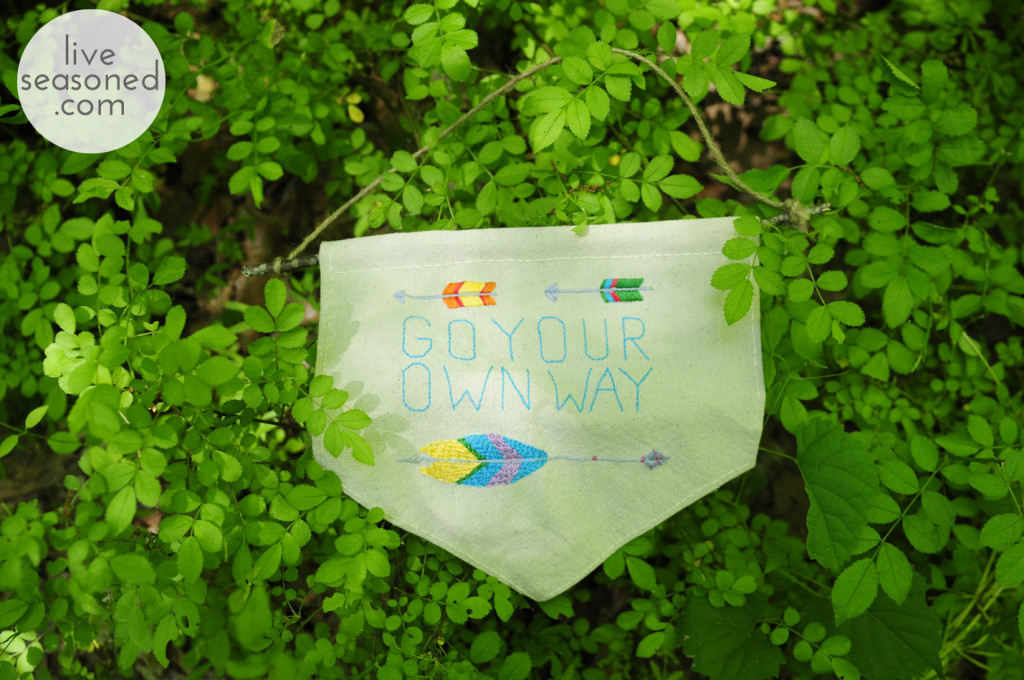
Don’t shoot! I know this post is a little later than normal, but that’s because I was working on an original arrow embroidery DIY for you cats.  I think we can all agree that arrows are both adorable and hip.  They deserve to be embroidered on cabin pillows, baby onesies, inspirational banners and just about everywhere else.  Whenever I see arrows, I think summer camp, forest adventures and cabin get-aways.  Who doesn’t want to think of those things? That’s why I created this arrow embroidery tutorial.

liveseasoned_spring2014_arrowstitch6

I’m not fibbing when I say arrows are easy to embroider.  Each arrow is made up of a couple different stitches all of which are outlined below.  The colors, style and feel of each arrow is up to you!  I encourage you to sketch out a few arrows to define the style you’re going for and then start stitching.  If you really want a summer camp vibe, take your arrow embroidery supplies to the woods!

Continue reading

Map Stitching Tutorial

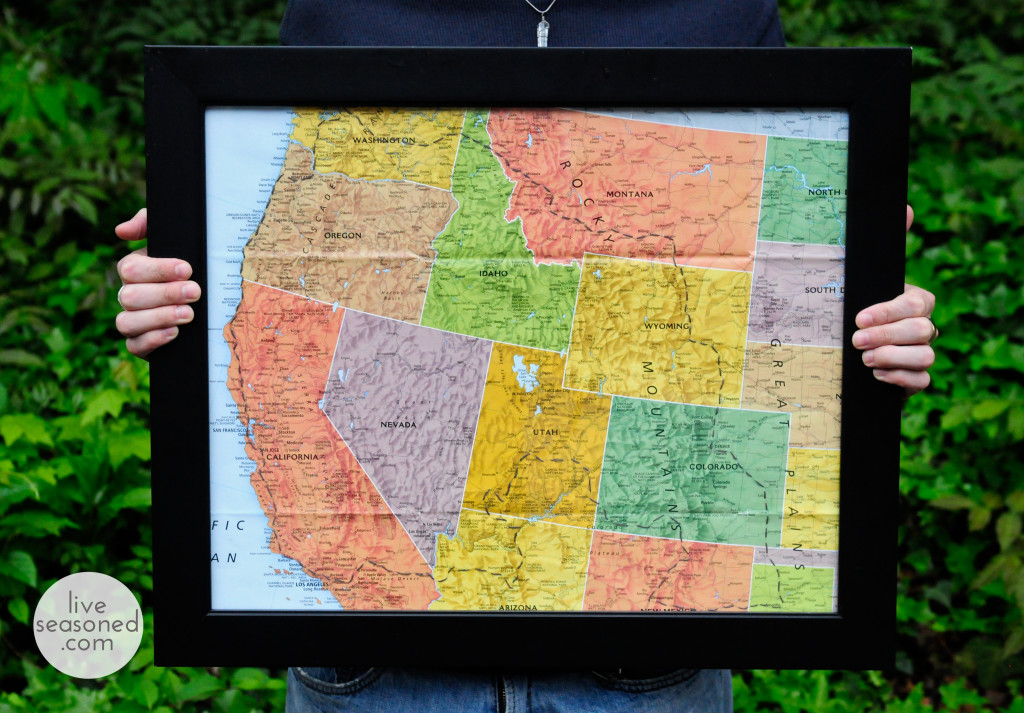
There is no better way to remember a special trip than to have it hanging on the wall.  That is why I have gotten into the habit of stitching my trips onto paper maps.  That way I can be reminded of and inspired by past trips as I walk through my home.  Is it weird that I rarely take selfies while traveling or ever for that matter?  When you walk into my apartment, you won’t see me smiling in front of waterfalls or on tops of mountains, nope, none of that. Cheers to you if that’s your style, but I’m just a little too camera shy and usually I’m the one taking all the pictures.  It does not even cross my mind to ask someone else to take my picture in front of amazing landscapes.  Sometimes I think I would like to work on that, but then a trip comes and goes without a selfie thought and here I am stitching maps in my free time.

liveseasoned_spring2014_maps-1

Stitched maps make great gifts for your road trip buddies too.  It is also a cool way to tell someone you are taking them on a trip.  Imagine opening up a framed stitched map of Europe and having your sister yell, “Surprise! Pack your bags!”  Or whatever else really amazing sisters say when they are taking you to Europe.  [Katie here : now I’m hoping a stitched map shows up in the mail today! ;)] Grab your chosen map and let’s get started.

Continue reading

DIY : Touchscreen Compatible Gloves & Supply Giveaway!

I’m one for quality over quantity, but sometimes I run into the problem that the quality items just won’t wear out so that I can get the shiny new version with extra features. Take gloves. Being the winter walker I am, having a good pair of gloves is essential. I have a pair that work fine in every way: warm, give me plenty of dexterity for wiping runny noises and picking up the {ahem} dog poop, and above all else, they magically stay together as a pair. You’ll notice that they look well worn in the photos, please excuse their pilled rough and tumble appearance.  Unfortunately, they are not touch screen compatible, which leaves a few fingers out in the cold when I want to use my phone for anything from taking pictures to making calls. Lucky for me (and you!), with the right materials this is a surprisingly easy problem to fix.


Our smart phones have capacitive touchscreens, which require the flow of electrons between our fingers and screens to function. Unless you already have touchscreen compatible gloves, you’re like me: making this connection requires taking off your gloves. BUT we can easily complete that circuit with just a bit of conductive thread!

Buying conductive thread is not as hard as it used to be. There are a variety of threads and other materials available on Amazon. When I converted my first pair of mittens a few years ago, I remember there being only a few suppliers, and I had ordered a sample pack from Silverell.  Sparkfun is another supplier that’s been around for a while and sells a variety of materials for similar crafty projects. Now, the sky’s the limit and you probably already have supplies in your house to make your own!

That said, if you want to dip your toes in the water but don’t want to order or make your own conductive thread, we’re giving some away! The details are at the bottom of this post.

liveseasoned_spring2014_touchscreengloves_supplies_wm 

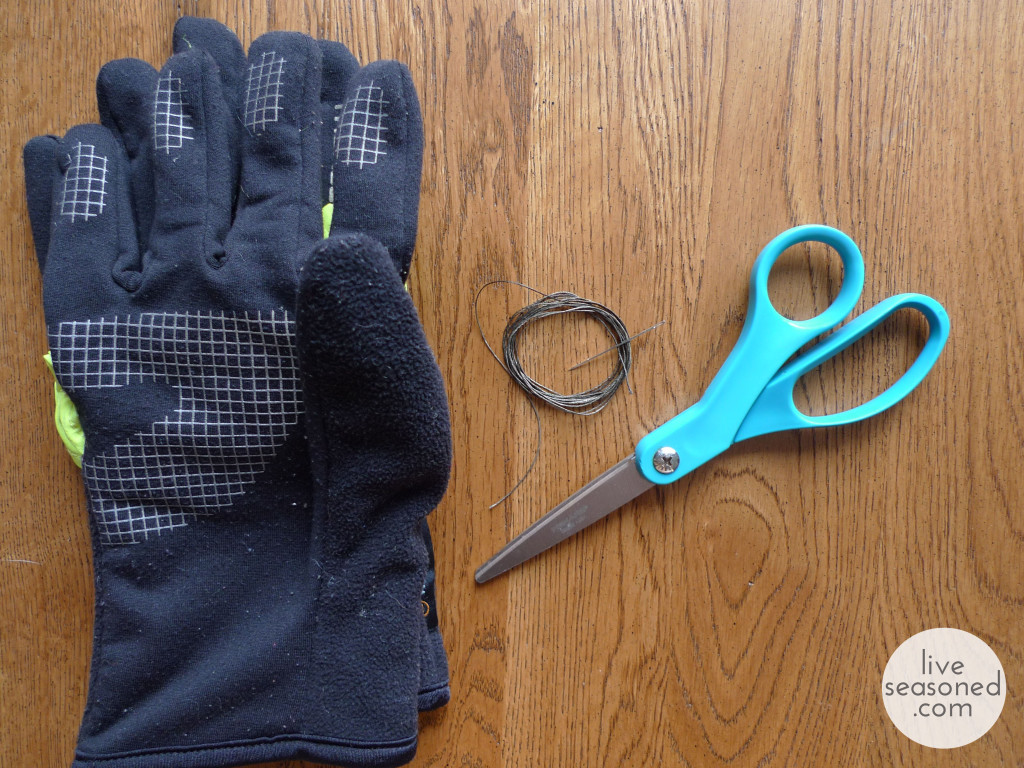
Materials:

  • conductive thread
  • sewing needle
  • gloves

Instructions:

  • Mark your contact hotspot. Put on your glove, pick up your phone, and swipe the screen as if you’re going to use it. Mark the area on your finger or thumb tip that makes contact with the screen – this is where you’ll want to make your stitches, and often it’s not directly in the middle of your glove’s finger tips, where your instinct may tell you to add the thread.
  • Stitch your marked area! Make a number of overlapping stitches where you marked your glove. *Notice the way I weave the needle in and out of the thumb tip from the outside, it makes your sewing much easier than having to reach into the glove for the needle.* After a few stitches, double check to make sure that the thread is clearly exposed to your thumb on the inside of the glove and the screen on the outside. If it is, continue stitching until you cover the full area of the glove that was making contact between your thumb and the screen.
  • Check your work. Put on your glove and use your phone. Does it work? If it works, great, you’re done! If not, read my first tip below and try again. If you’re still having trouble, add a few more stitches in the same area. The more thread that’s there, the more opportunity the electrons have to will flow!

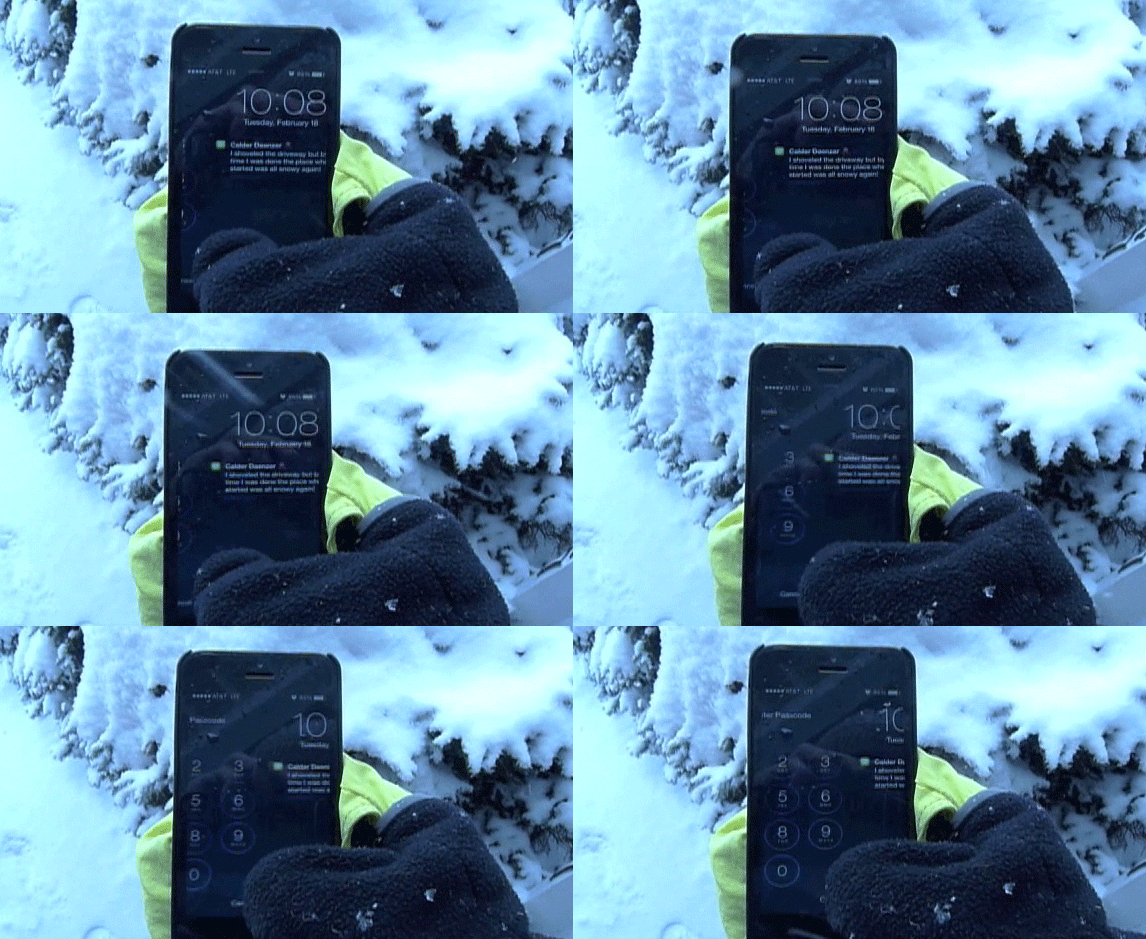
And we couldn’t help ourselves, we had to show a little action clip of the glove at work! If you have a sharp eye, you’ll notice that we took that footage on Tuesday, during the latest storm, and Calder’s texting me to say that he shoveled the driveway (usually my job), but that the snow already covered it up again. There couldn’t have been a more appropriate text for this post!

gloves

This is one of those updates that is so easy that you’ll wish you did it back in November before suffering through the Arctic Vortex.  Back when you could still feel your fingertips and were greeting each day’s snow with a smile because you were going to make the best of this cold!

Has anyone out there attempted a similar conversion? What type of conductive thread did you use? Have any tips to share?

Notes and Tips:

  • I often find that these gloves are not as perfect as our ungloved hand. They work fairly well when I’m doing a big slide motion (like unlocking my phone), but are not as successful with tap motions. Tap performance can be improved if you add a very slight slide at the same time, so often I will slide across the button I want to tap, and that does the trick.
  • The thread I’m using is sold as “sewing thread” and I get the impression that it is meant to be used for machine sewing to stitch two pieces of fabric together. As such, it’s a combination of fabric and conductive material, and the connection is not as strong as it could be using a purely conductive material, but, it does work!
  • If I were knitting a pair of gloves or mittens, I would hold my conductive thread with my yarn when knitting the thumb and finger tips that I want active. Depending upon how well this works, you could then go back over the a specific point on your finger tips, just like the project above, to enhance the conductivity.
  • In the last picture, my stitches look like a big lump, but they are truly not noticeable. This might be more of a problem if your gloves are fitted. If anything, I found that having a slight bump can be helpful in giving you a good sense of where to touch the phone.

Now, about that giveaway ~

We want to share the love and encourage some simple DIY action. The first five commenters on this post will be gifted enough conductive thread to pimp out your own gloves. What do you say, want to give it a try? Let us know!