Updates

Hey there, I thought it was time to look back at a few posts and share some updates with you. Today’s post includes a success, a failure, and a modification.

The Failure :

liveseasoned_fall2015_beesupdate

I made a space for native bees, and they never came! I was really bummed, because I was so excited to have Alex, our little bug lover, watch the bee activity all summer. I was also hoping to share updates with you all summer, oh well. Fortunately, the bee house is in great condition, so I took it down for the winter and will hang it again next spring. I’m going to try a different location.

The Modification :

 {warning : dirty glass walls ahead!}

liveseasoned_fall2015_orchidupdate

That’s an close-up of what I did, but let me take a step back and explain. When we lived in PA, I had great success keeping my orchid happy, healthy, and blooming. Then we moved to dry (dry,dry) Colorado, and it became such a struggle. I finally got the conditions right in our rental last year, and then we moved into the new house.

After moving, I was keeping the orchids in a corner of the living room. They were getting plenty of light, but they were dry. I tried to stay on top of watering, and I even added a big pan underneath that I filled with water to try to raise the humidity level in the air around them. Unfortunately, it was just too dry.

Continue reading

Air Plants in the Shower

Last week Sarah gave us instructions and inspiration for a great air plant display using reclaimed berry boxes. Before reading this post, her post is a great place to start for an overview of the plants, how to care for them, and a reliable source for placing wholesale orders.

As soon as Sarah started talking tillandsia, I got so excited about the idea of putting some in the outdoor shower! It’s a great way to add something unexpected to the space while increasing our garden’s vertical reach. I know this seems like a unique project, but we’re hoping it’ll inspire some more creative uses for these versatile plants. What about adding some air plants to your porch posts, up the trunk of a tree, or to the supports on a swing set? As long as the location is getting some nice bright, but not direct, light and a regular misting from either the rain or a hose, then your plants should thrive.

Continue reading

Air Plant Display DIY

Ever think of hanging air plants in the shower? We did and we loved it!

Hey Ya’ll! (I swear I’m developing a southern accent already)  If you recall, last Friday I shared some tillandsia (commonly known as air plants) and succulent display inspiration.  I’m truly obsessed with both.  Tillandsias and succulents are easy to maintain and display and both are easy to propagate as well – win, win, win.  For the past few years, I have pinned countless air plant displays with the hopes of making one myself.  Well, that day has come my friends.  That day is today.  Actually, it was yesterday, but the big unveil is today, it’s right now, so scroll on!

liveseasoned_summer14_airplants-6

liveseasoned_summer14_airplants-2

I really like the idea of displaying the tillandsias like artwork so I knew I needed some type of frame.  I picked up two antique berry boxes from my local flea market for 75 cents a piece.  The vendor told me they were about 35 years old.  They definitely had 35 years of dirt on them, which I didn’t wash off BTW.  I figured it added to the feel of the whole project, but who am I kidding? I was just too lazy and dry dirt is ok with me, wet dirt is when things get messy, right?  I bought my air plants from this wholesale vendor.  The site isn’t flashy and I wasn’t really sure what I was getting since there aren’t photos for each individual item, but I was blown away by my package of plants.  It arrived severely dented (because it was so light), but not a single plant was damaged or dead and I ordered sixty plants!  Yes, I spent $84 on air plants, but the most expensive kind was only $2.20!  Now I have a whole little colony of air plants. They’re my children. Don’t come too close.  After spreading them out on my kitchen table and looking at them for days (that is not an exaggeration) I finally came up with this easy display idea.  While I had enough plants to fill up the berry boxes, I also wanted a display shelf for crystals and treasures and thus my design:

liveseasoned_summer14_airplants-7

Air Plant Display DIY Supplies:

  • air plants
  • 25 gauge wire
  • scissors
  • pile of clear (or really whatever color) thumbtacks
  • frame of choice (I used a berry box. You can use an empty photo frame, crate, pallet, random rusty frame you found in the woods (I did that also!) or whatever you have on hand)


liveseasoned_summer14_airplants-8

Air Plant Display DIY Instructions:

  • Depending on what type of frame you are using, your DIY instructions may differ.  Use this as a guideline and if you have any questions just drop me a line.  Because everyone’s frames will be a little bit different, I’ll show you two basic ways of setting up your display. Here we go: The first option is to wrap the wire around the frame edges (in my case the frame is a crate, but it’s the same basic structure) to create a wire grid.  Thread the wire (length depends on your frame width) through and behind the frame, bring it around in front of the perimeter and tightly twist it around itself (the length of wire that will run horizontally across the frame). Repeat by threading the length of the wire through and behind the frame, bring it around the front of frame and this time run it in a straight line across the frame. Repeat on the other side by wrapping it around the outside and back of the frame and pulling it through the frame opening two times and finishing it off by twisting it around the straight horizontal wire.  Cut the excess with scissors.  Repeat this process down the entire length of the frame.  Leave 1-2 inches in between each row.
  • After you have completed the horizontal rows, it’s time for the vertical columns. Cut a piece of wire 3 inches longer than the inside of your frame.  Twist the wire onto the top rung of the horizontal wire “ladder” and thread the wire behind the rungs.  Twist the wire onto the bottom rung as well.  Repeat across the entire frame leaving 1-2 inches between each vertical column.
  • Now you are ready to add the tillandsias, but first let me briefly explain the thumbtack method.  If you are using a wooden crate or pallet, this method is nice because it completely hides all the wiring.  Simply create a wire grid like previously mentioned, but instead of wrapping the wire around the frame, wrap it snuggly around a thumbtack and stick it in place inside the edge of the crate.  Continue the process starting with horizontal rows and moving on to vertical columns until a grid is formed.
  • Placing the tillandsias is quite easy, but it must be done with care.  Simply push the bulb of the plant through a wire square and thread a couple leaves behind and then through adjacent squares.  Two or three leaves should do it.  Start with the largest plants and don’t put them too close together.  Tillandsias need good air circulation to survive.  As you add plants, you can thread them into place by using larger tillanndisa plants’ leaves.  As you can see, some of the plants aren’t threaded through the squares rather they are held in place by other plants.
  • Remember you’ll have to mist or submerge your plants every so often to water them.  I plan on taking my frames off of the wall, misting my plants, waiting until they dry (they dry pretty quickly) and hanging them back up.

*If you want to hide the wrapped wire, try wrapping your entire frame in hemp, jute or yarn.

**If chicken wire is available to you (I didn’t buy it because I didn’t want 20 yards for a .3 yard project) you can easily attach it to the center of your frame by wire wrapping or the thumbtack method instead of creating a grid with 25 gauge wire.


Air Plant Care:

  • Air plants prefer bright, but filtered light. Don’t place them in direct sunlight.
  • They thrive in 45-95 degree weather (7-35°C).
  • In dry climates (air conditioning especially) mist your plants 3-4 times a week, mist less frequently in humid climates.  You can also water your plants by soaking them in room temperature water (don’t submerge the flowers) for 10 minutes at a time ONCE every two weeks.
  • Allow your plants enough circulation to dry within 4 hours of watering.  To check for dryness, look at the leaf bases in the central part of the plant.  If the plant remains wet for too long, rot may develop.
  • Water in the morning or afternoon so that they dry by evening time.  Tillandsias are nocturnal and respire at night, which means they take in carbon dioxide at night. If they’re covered with water they cannot take in carbon dioxide.

As you can see, there are endless ways to display these little gems.  Since you don’t have to worry about soil you can get really creative.  I love the little Peru Inca Gold in the shell casing.  Don’t you?  In case you were wondering, the plants with the pink buds are a Xerograhica x Brachycaulos hybrid and they were only $2.20 a piece! Also, the potted plants from left to right are Harrisii ($1.65), Ionantha Guatemala ($.61), and Kolbii Large ($.94).  I also purchased 10 Brachycaulos ($1.38), which is the lone plant in the wire grid  and lastly, six Velutina ($1.83), which kind of look like a bigger version of the Harrisii.  I would recommend doing a quick google search of each plant before you buy them to get a better understanding or at least a general idea of what you’ll receive.  Like I said, I was ecstatic with my package and I’m dying for an excuse to buy more.  Christmas come quick!


Intermission

Hey Everyone, excuse us while we take this Monday off to collect ourselves. It’s been a busy few days week around here, and I think Sarah and I would benefit from a day of drinking coffee (or tea!), scribbling in our planners, and loading up the fridge with fresh veggies. Once we’ve done that, we’ll be back with a full week of posts!

Of course, I couldn’t leave you without a little nugget of fun to start your week.

We are suckers for cute planters, but those faces above aren’t really planters. They are egg separators! That link will take you to the artist’s Etsy site. When I saw the separators, I knew they would make great containers, so I picked up a bunch at our local Christmas Market.

I wanted to give them out already planted, and knew that they would only be frowning if they had a cactus coming out of their noggin. While these planters don’t have a hole on the bottom, their mouth provides a great drainage zone. I started with a layer of small river rocks, being sure to slope the rocks up to cover the mouth area. Then I added my topsoil and the cactus. My trick for transplanting cactuses is to get a thick wad of old tissue paper that’s been bunched and crunched a few times, I put that over the cactus and am able to gently pick it up and position it in the pot without getting hurt.

Nothing helps with a case of the Mondays like looking at one of those guys and being thankful that I don’t have a cactus growing out of my head.

See you tomorrow!

Splitting Up

Plants are our favorite subject. We hang air plants in the shower and on walls.  We plant indoor gardens and outdoor gardens and we also use plants to keep mosquitoes away.

We’ve talked before about the many ways that bouquets and houseplants are good for you. I’ve also mentioned the challenges of living with a husband that doesn’t love big, overflowing houseplants as much as me. Today I’m back with another houseplant post, because they really are good for you, and because this is another easy compromise for plant lovers living with the plant “eh”-ers.

The plant in the crosshairs this time? A split-leaf philodendron.

liveseasoned_spring2014_philodendron10_wm

Continue reading

Keeping an Orchid

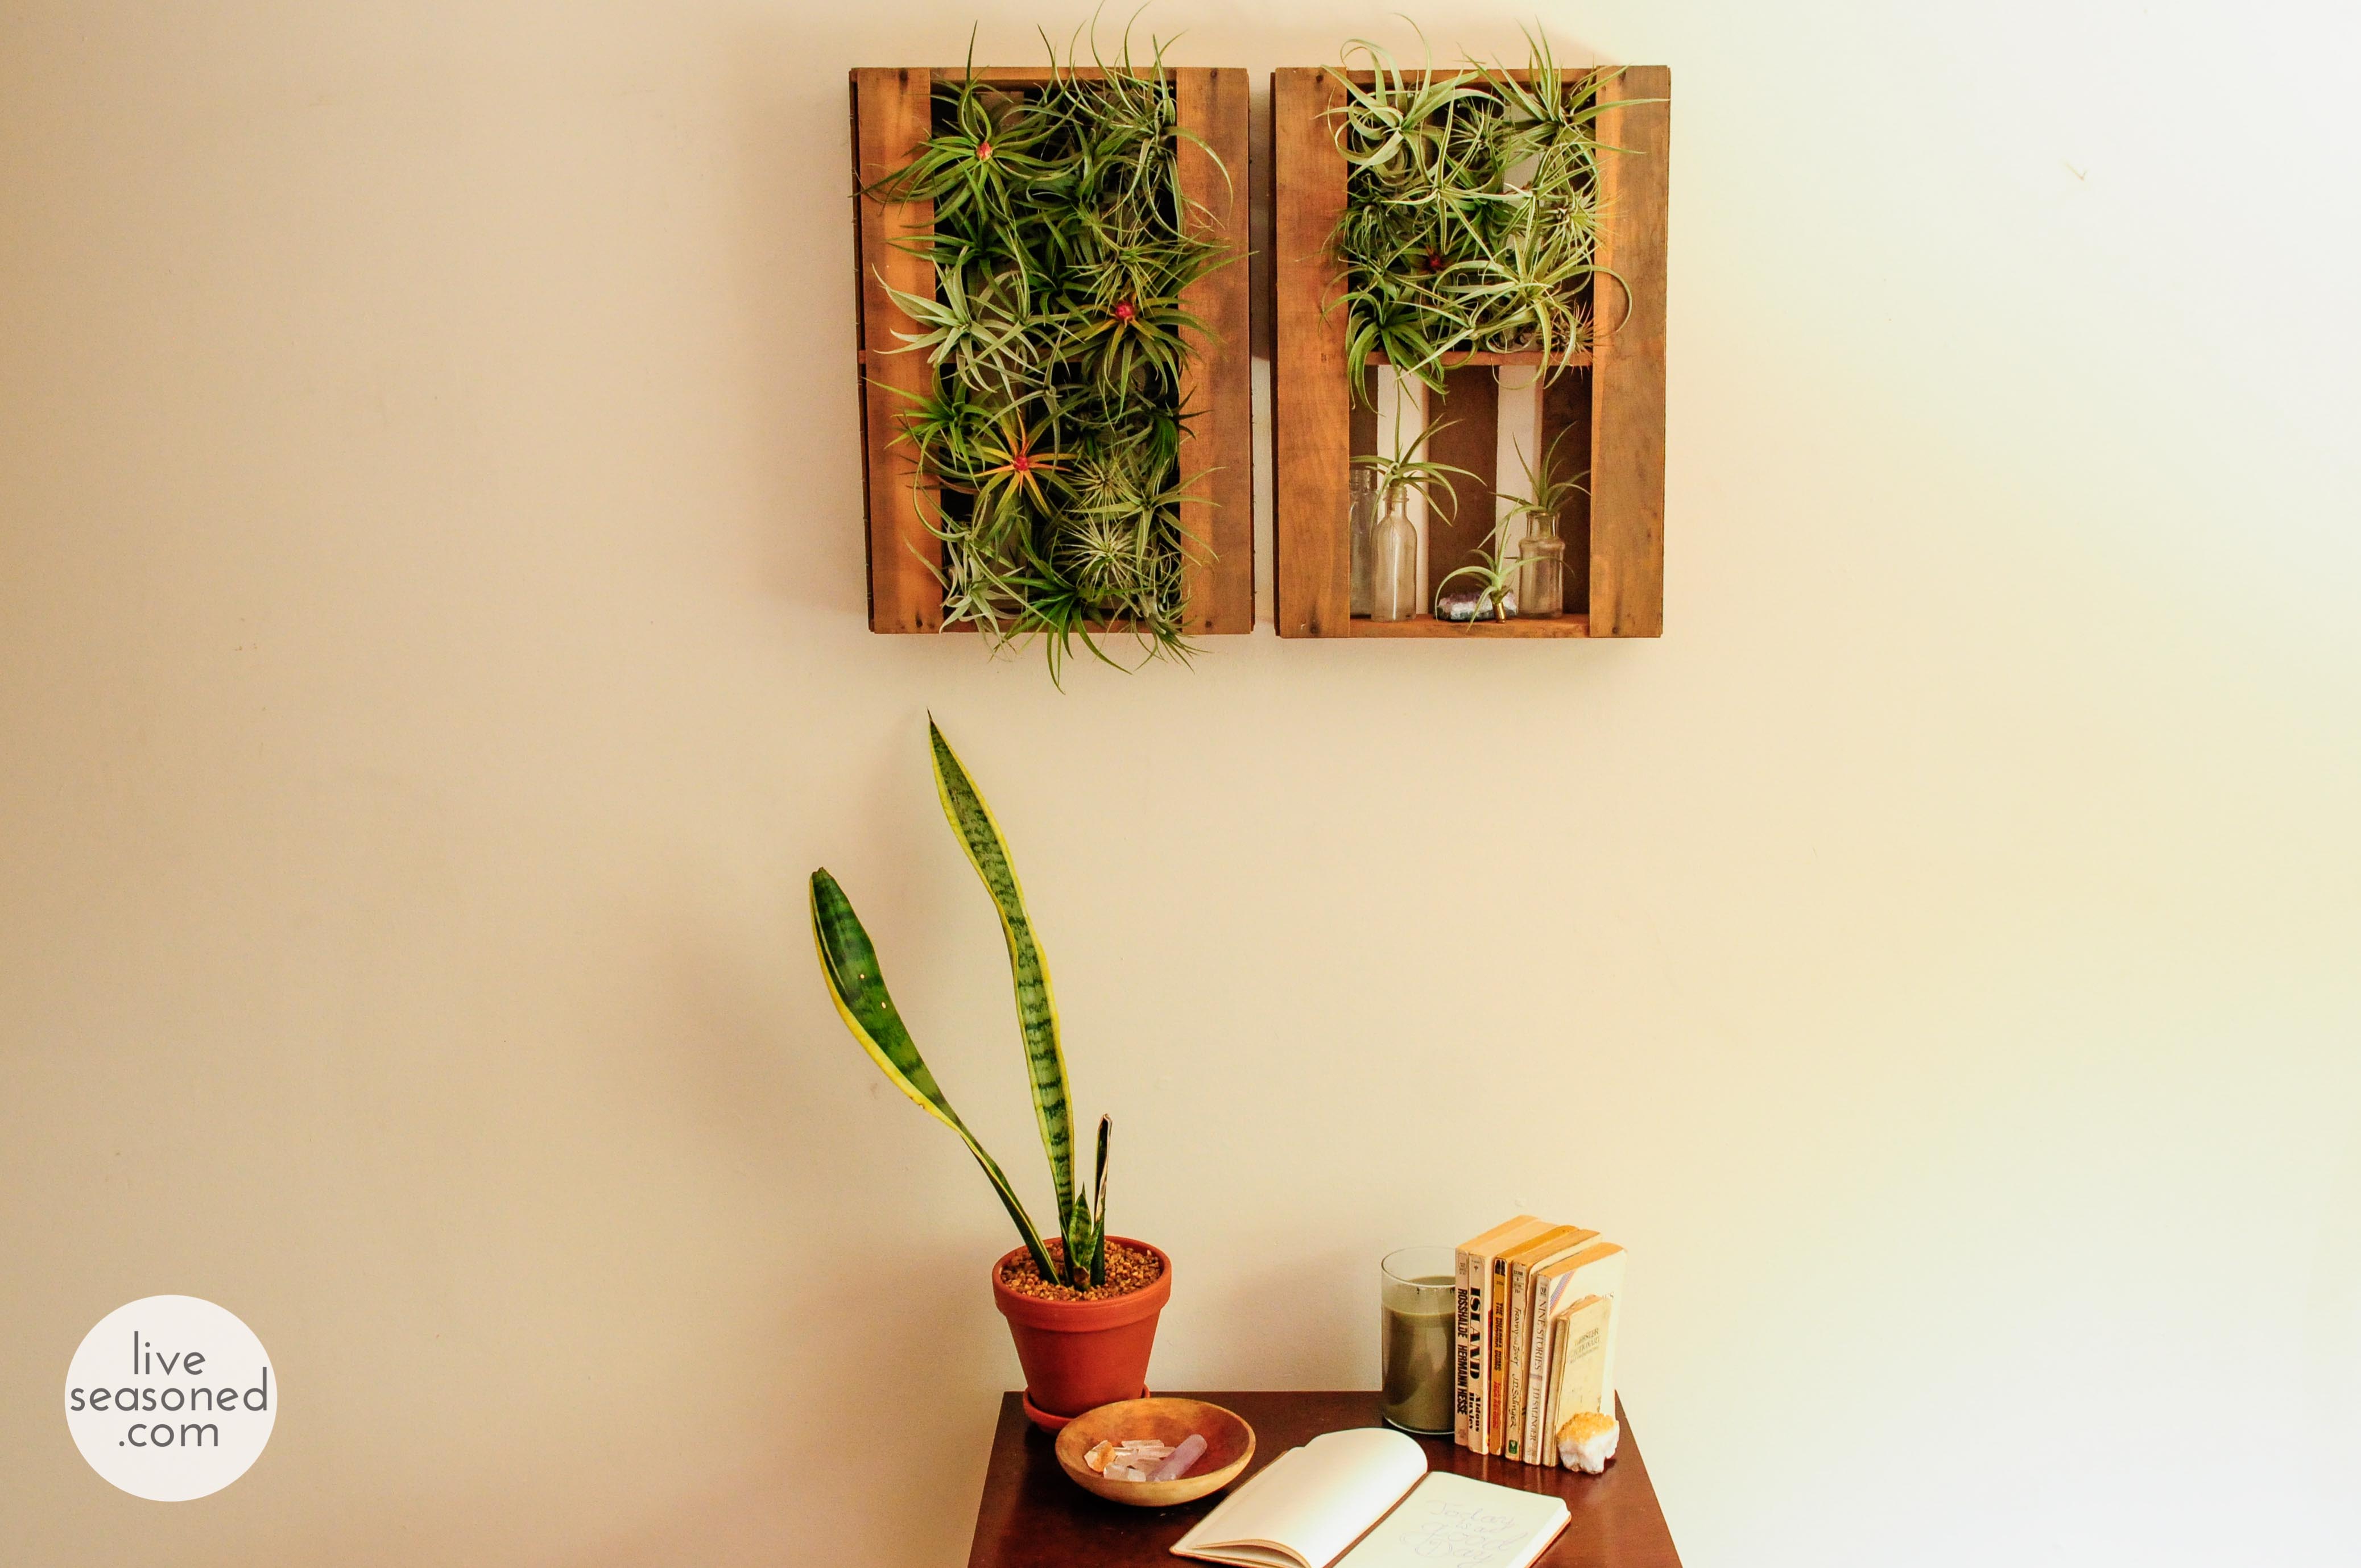
We mentioned that benefits of having flowers around the house a few weeks ago. Well those mental benefits extend to houseplants too! Today we’re doubling the benefits (we hope!) by talking about a flowering houseplant.

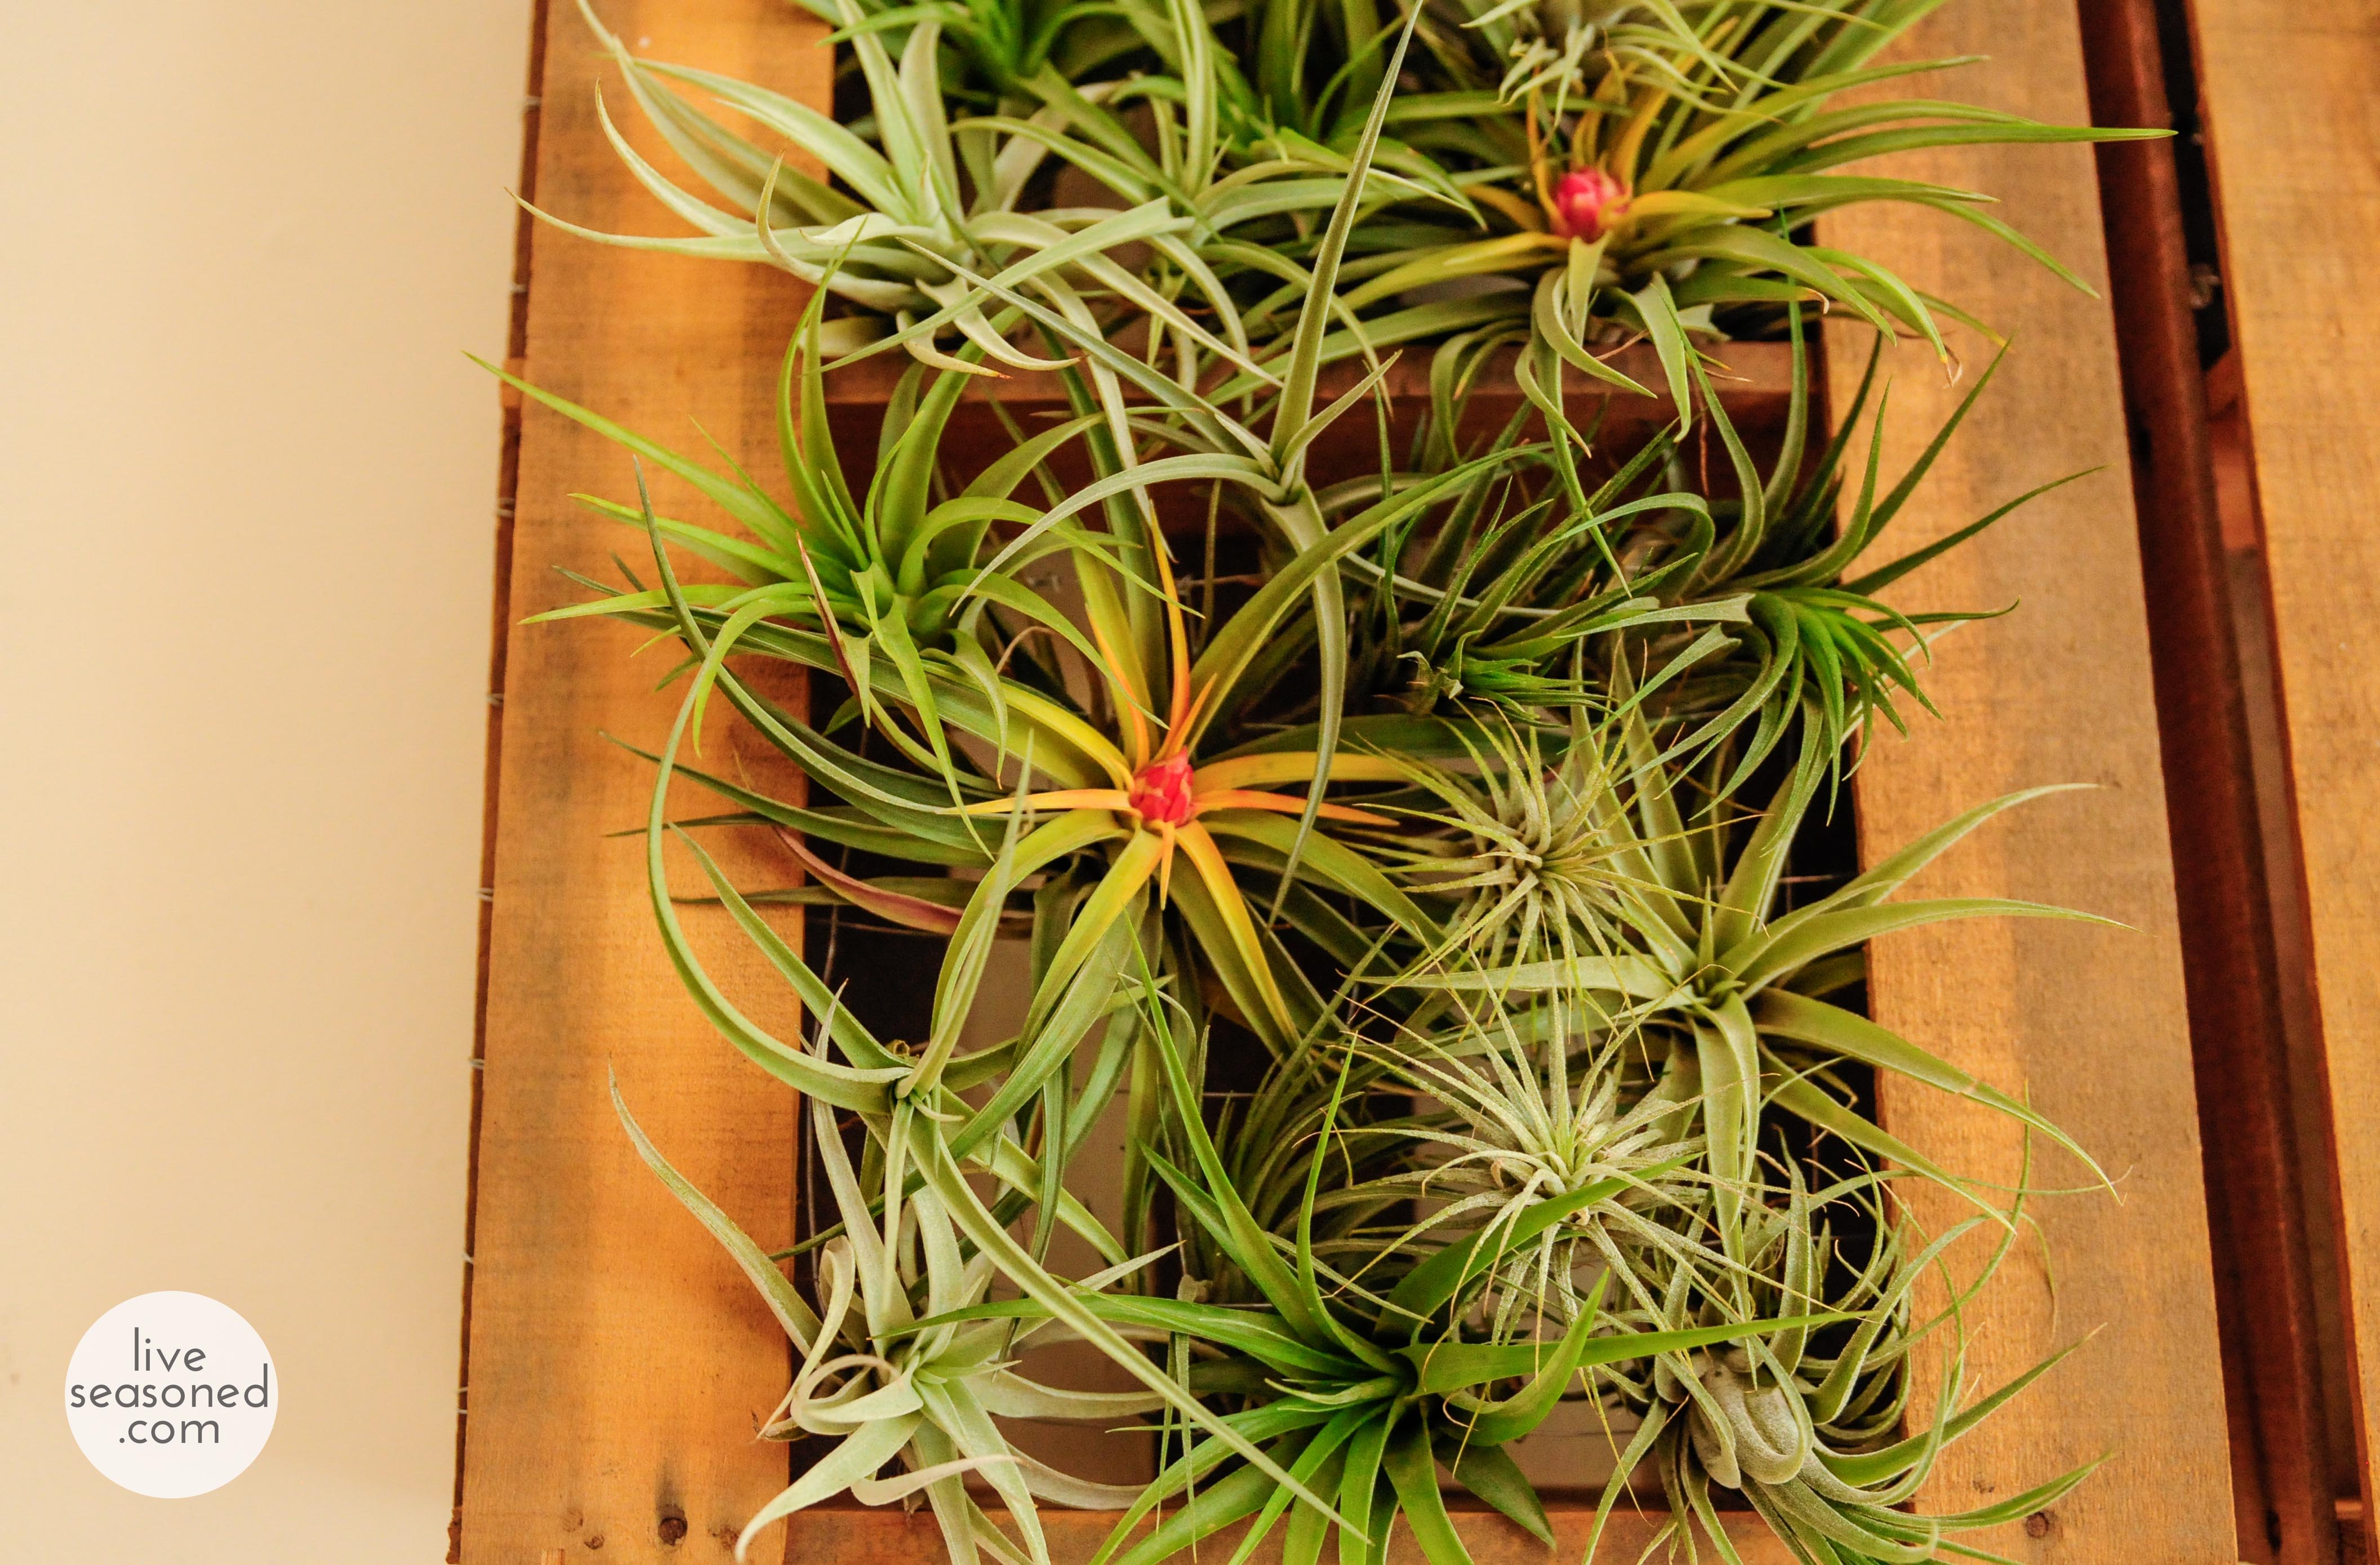
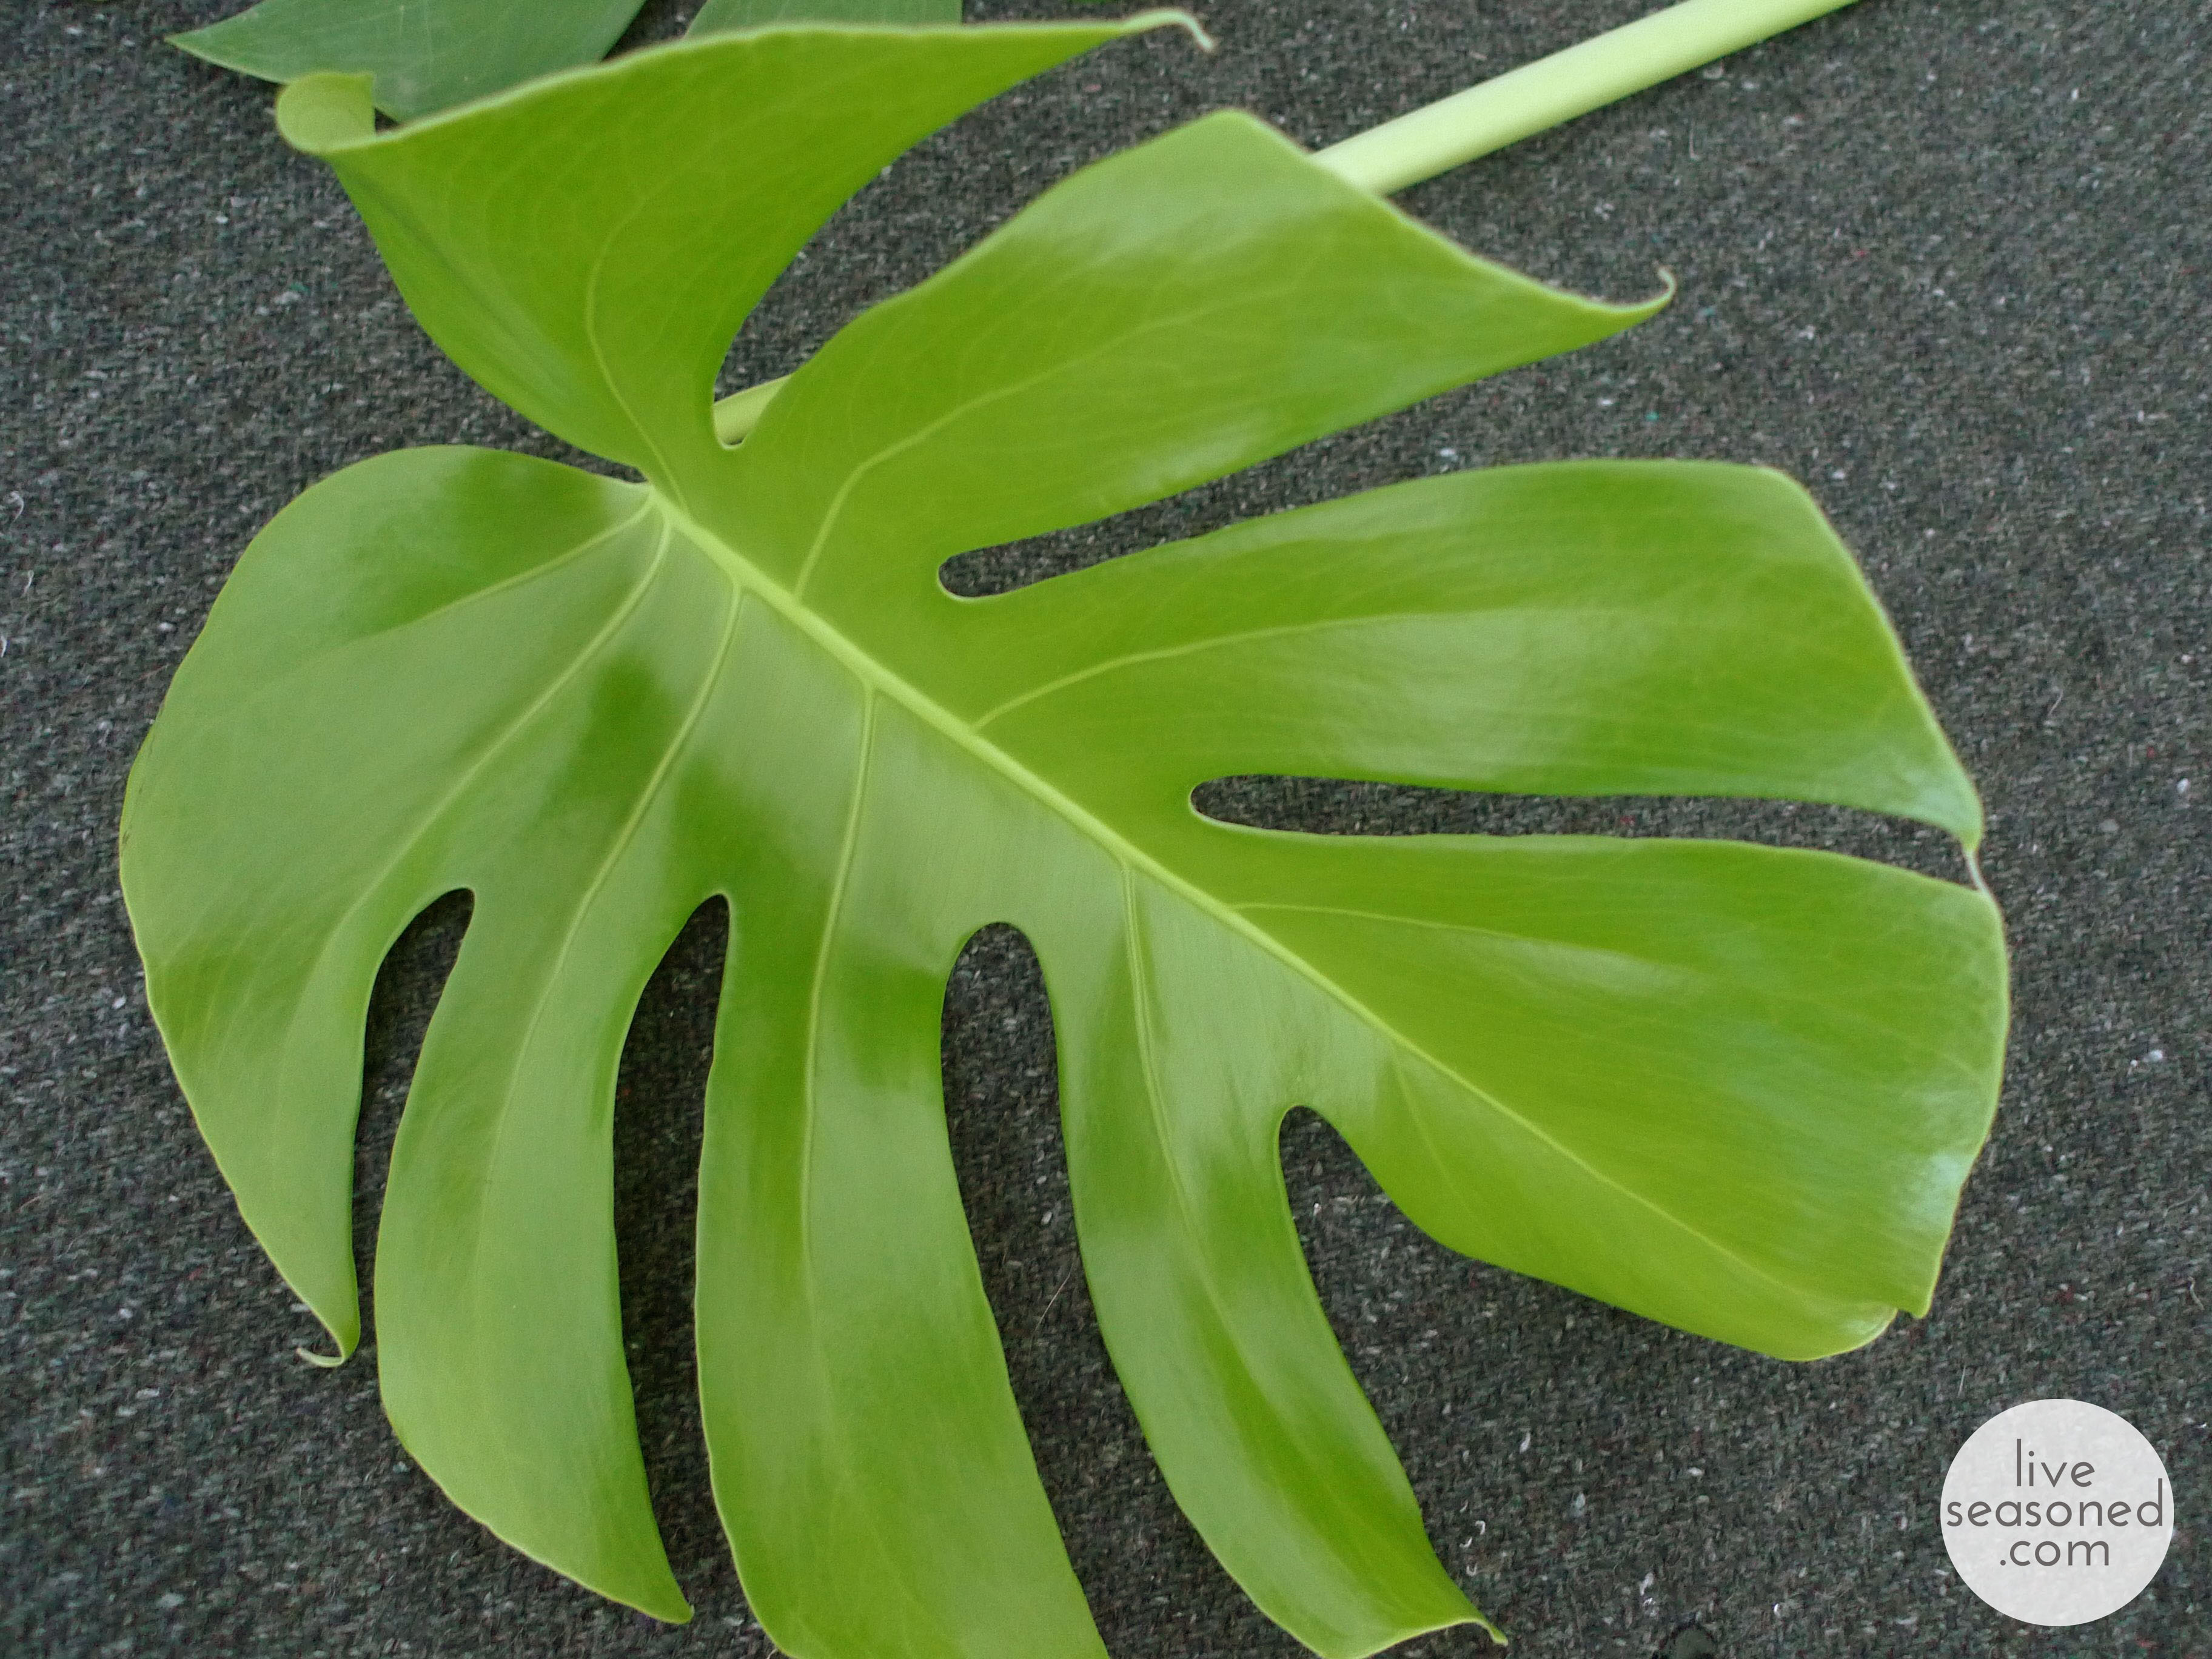
First a little tangent ~ if Calder didn’t have a say, I’d be a plant lady, filling every window with plants of all shapes and sizes in pots of every color and design. I would have airplants in the bathrooms, forced bulbs in the guest bedroom, cactuses next to African violets, and on and on, but I reign in my desires, and go for the plants that I hope will keep the peace. These are the plants that I can keep relatively well-manicured and aren’t too finicky during our week+ adventures away from home. I finally gave away the fern with its perennially falling tiny leaves; it was replaced by a split-leaf philodendron that took up too much space and was then sent off to live out its days in my office (where co-workers, starved for some green and life under the flourescent lights, love it). But the remaining ponytail palm and spider plants have stood the test of time in this houseplant war zone.

liveseasoned_spring2014_orchid-0b_wm
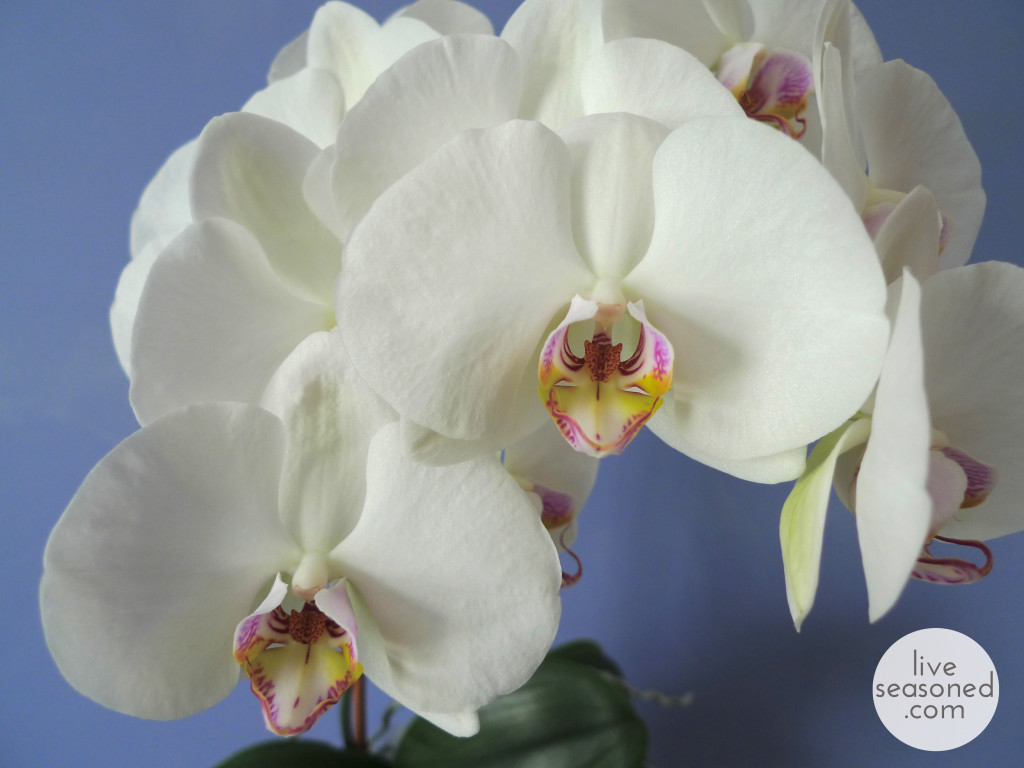
Now on to the orchid ~ I was given a Phalaenopsis orchid (the kind that you find at most grocery stores) two Christmases ago. I was embarrassingly giddy to say the least. A new plant to take home, and there could be no naysaying because it was a gift! Best of all, it was something that I would never buy myself. Sure they looked beautiful in the grocery stores, but they also looked like they would be too hard to care for, and I didn’t want to put my neck out in the aforementioned war for something that would shrivel and break my heart a few weeks later.That was over a year ago, and the orchid is still as beautiful as the day it was gifted (except for a week of neglect last spring that taught me a few things).

What are my tricks? A brighter window than you might think, consistent watering, and slight modifications specific to its placement in our house. I keep the orchid in front of our sliding glass door, the brightest window in our house, where it receives afternoon through evening sun. I know the care labels recommend filtered or indirect light, which may lead you to put an orchid in a window with less direct light or with blinds, but if you’re having trouble, try increasing the light. As for the watering, I use the ice cube method I’ve seen recommended on some care tags, just put two to three ice cubes on the soil every two to three days. That is more watering than is recommended (I think once per week is often suggested), but as always, it’s important to adjust care to your specific conditions. That location in front of our sliding door also happens to be above a heating vent, so to compensate for drier conditions, I’ve increased the watering schedule, and it’s been working. We just came back from visiting family in the Rockies where their house is dry, dry dry, and I would definitely do the same thing there, heating vent or not.

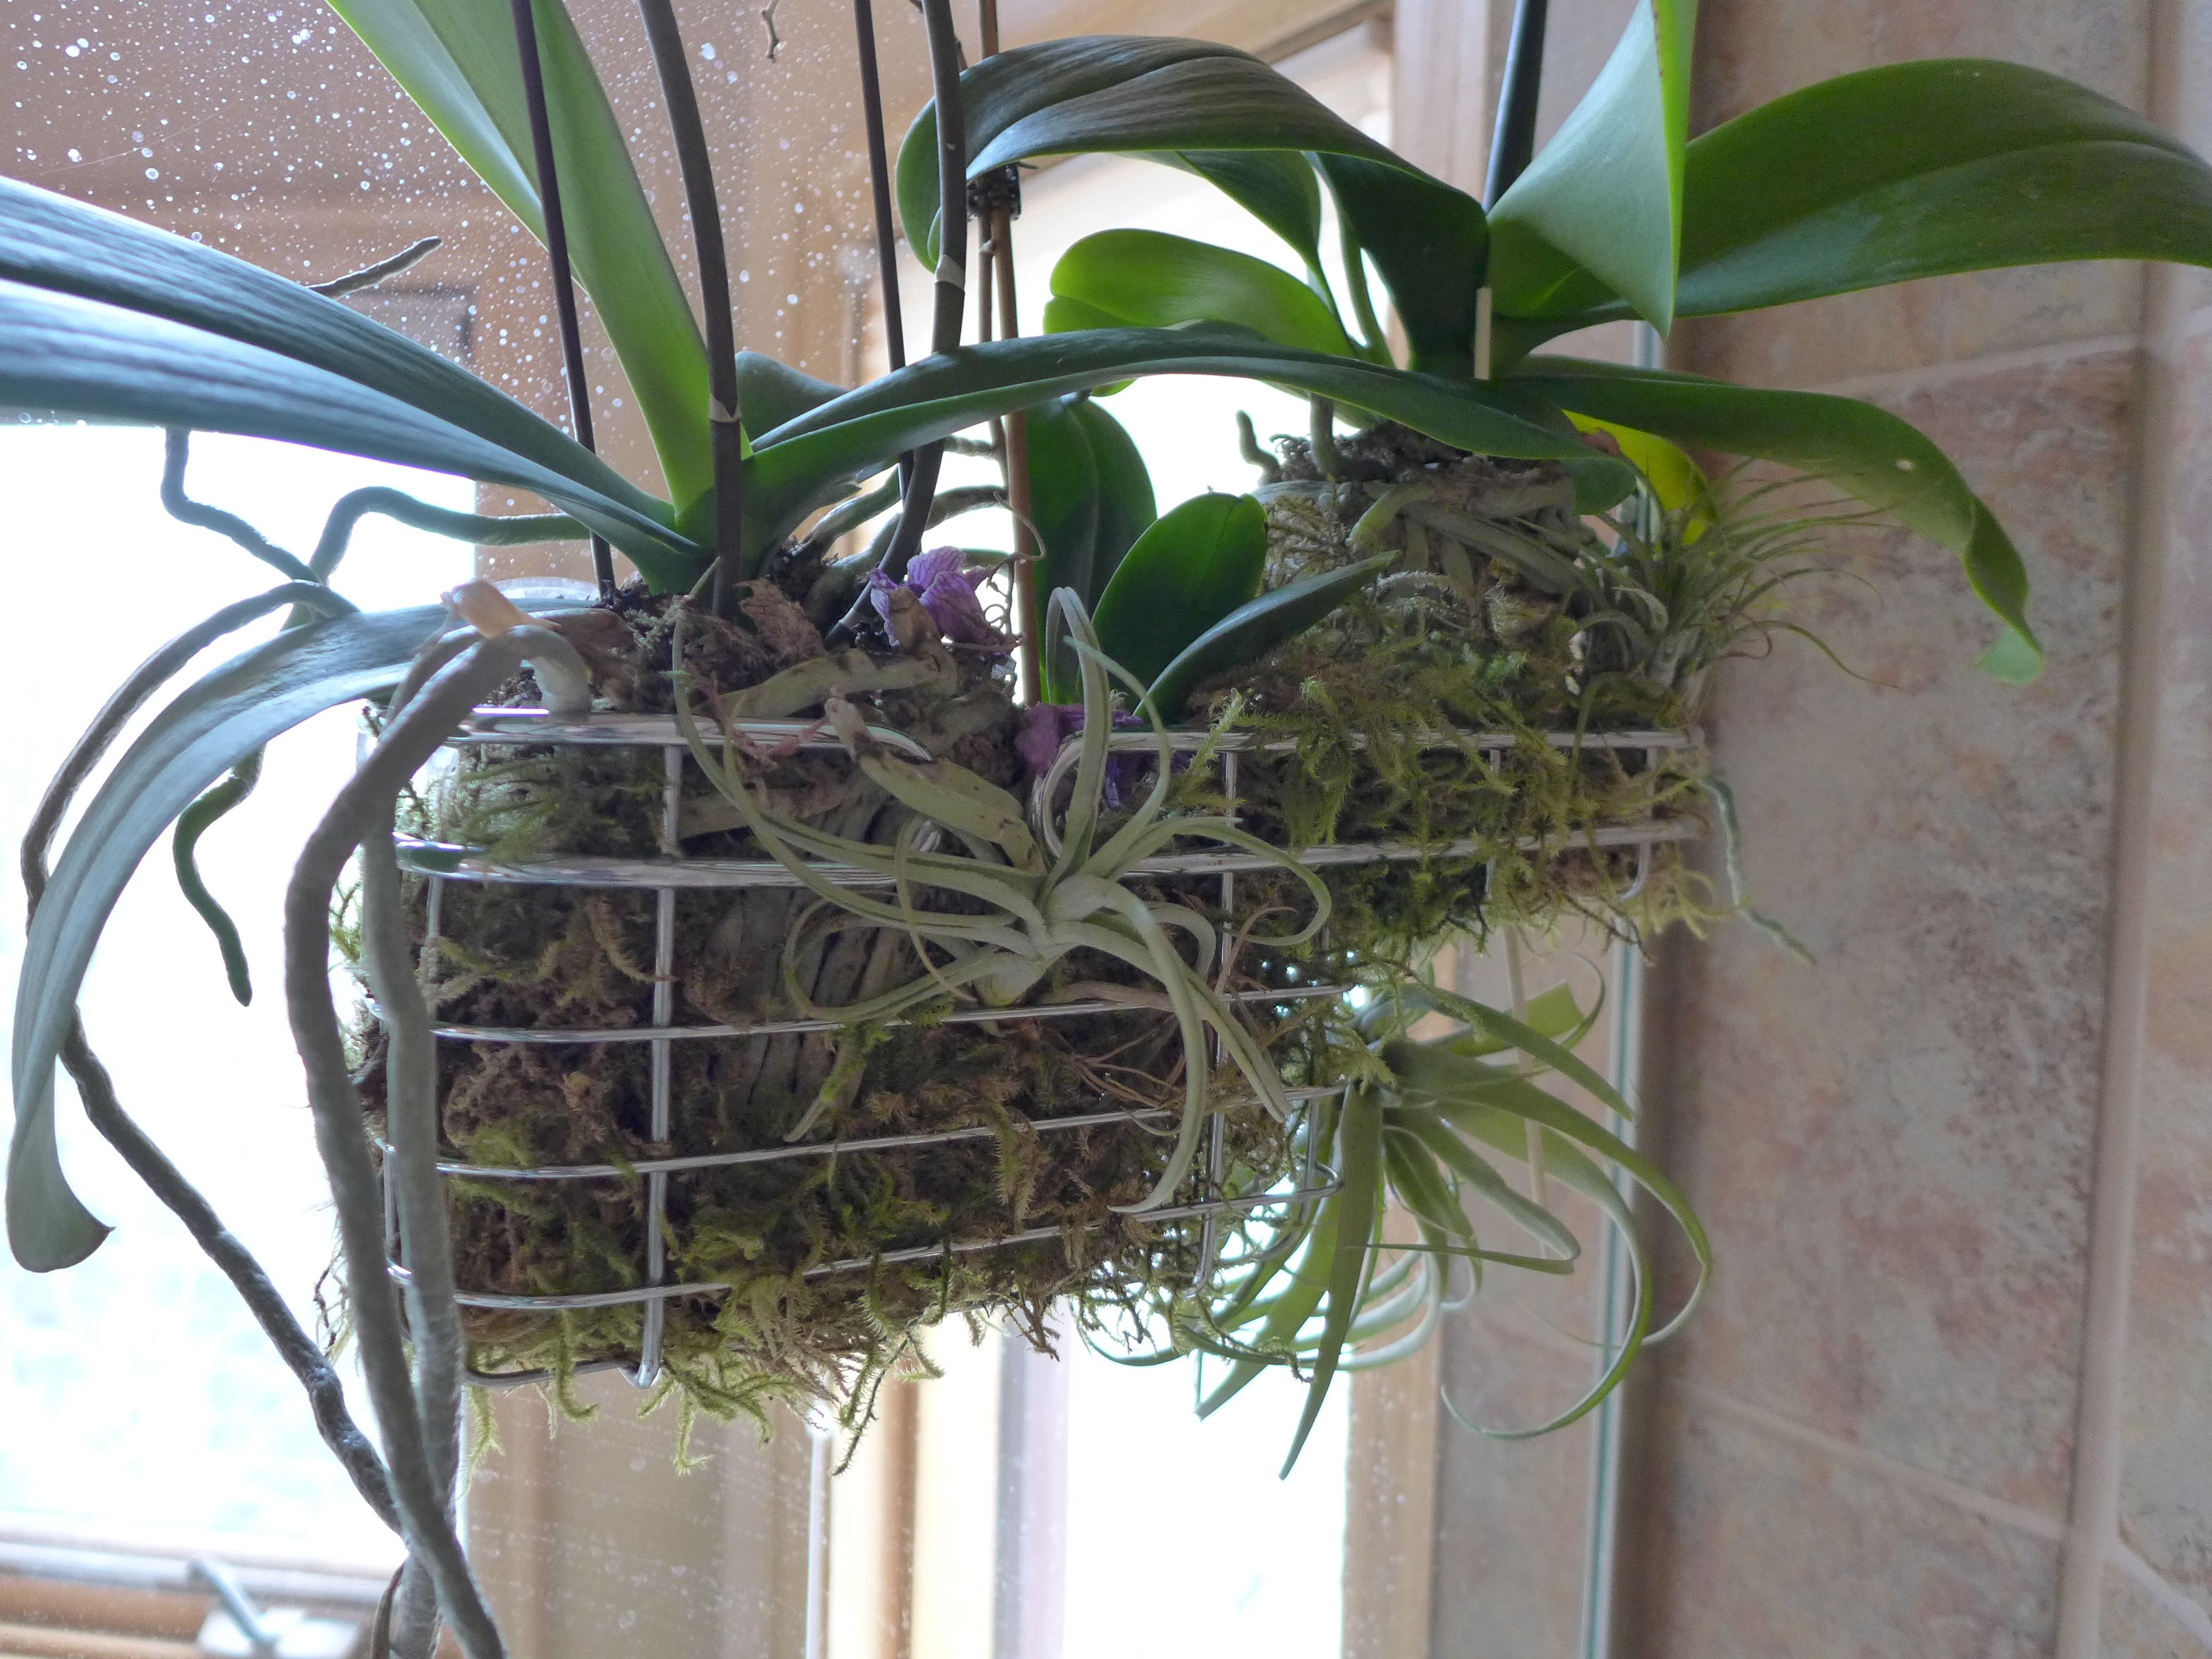
That week of neglect last spring lead to a complete flower loss, encouraging me to figure out how to care for the orchid during our weeks away. My orchid pot does not have holes on the bottom, so sitting it directly into a bowl of water alone wouldn’t do. Instead, I sat it in the bowl of water, and then used a strip cut off the end of a cloth diaper (one day we’ll do a post on the many uses for cloth diapers other than actually diapering) to act as a wick, drawing water up out of the bowl and into the plant at a steady and slow pace while we’re away. So far it’s worked like a charm and we come home to an orchid that’s just as healthy as when we left.

When the flowers fell off last spring, I cut off the horizontal shoot that held the flowers, but didn’t cut back the large stems, or spikes, growing from the base of the plant. A few weeks later, new horizontal shoots started to grow near the tops of those spikes (if you look closely, you can see little buds/segments along the spikes – this is where the new growth occurred), and we were off and running blooming again!

liveseasoned_spring2014_orchid-5_wm

After a year, this plant has been granted a permanent spot in our home (and my plant-loving heart). A compliment from Calder last week sealed the deal…. now that I’ve mastered basic orchid care, we’ve entered a new phase of defending its life against the willful spirit of little Alex the crawler and climber.

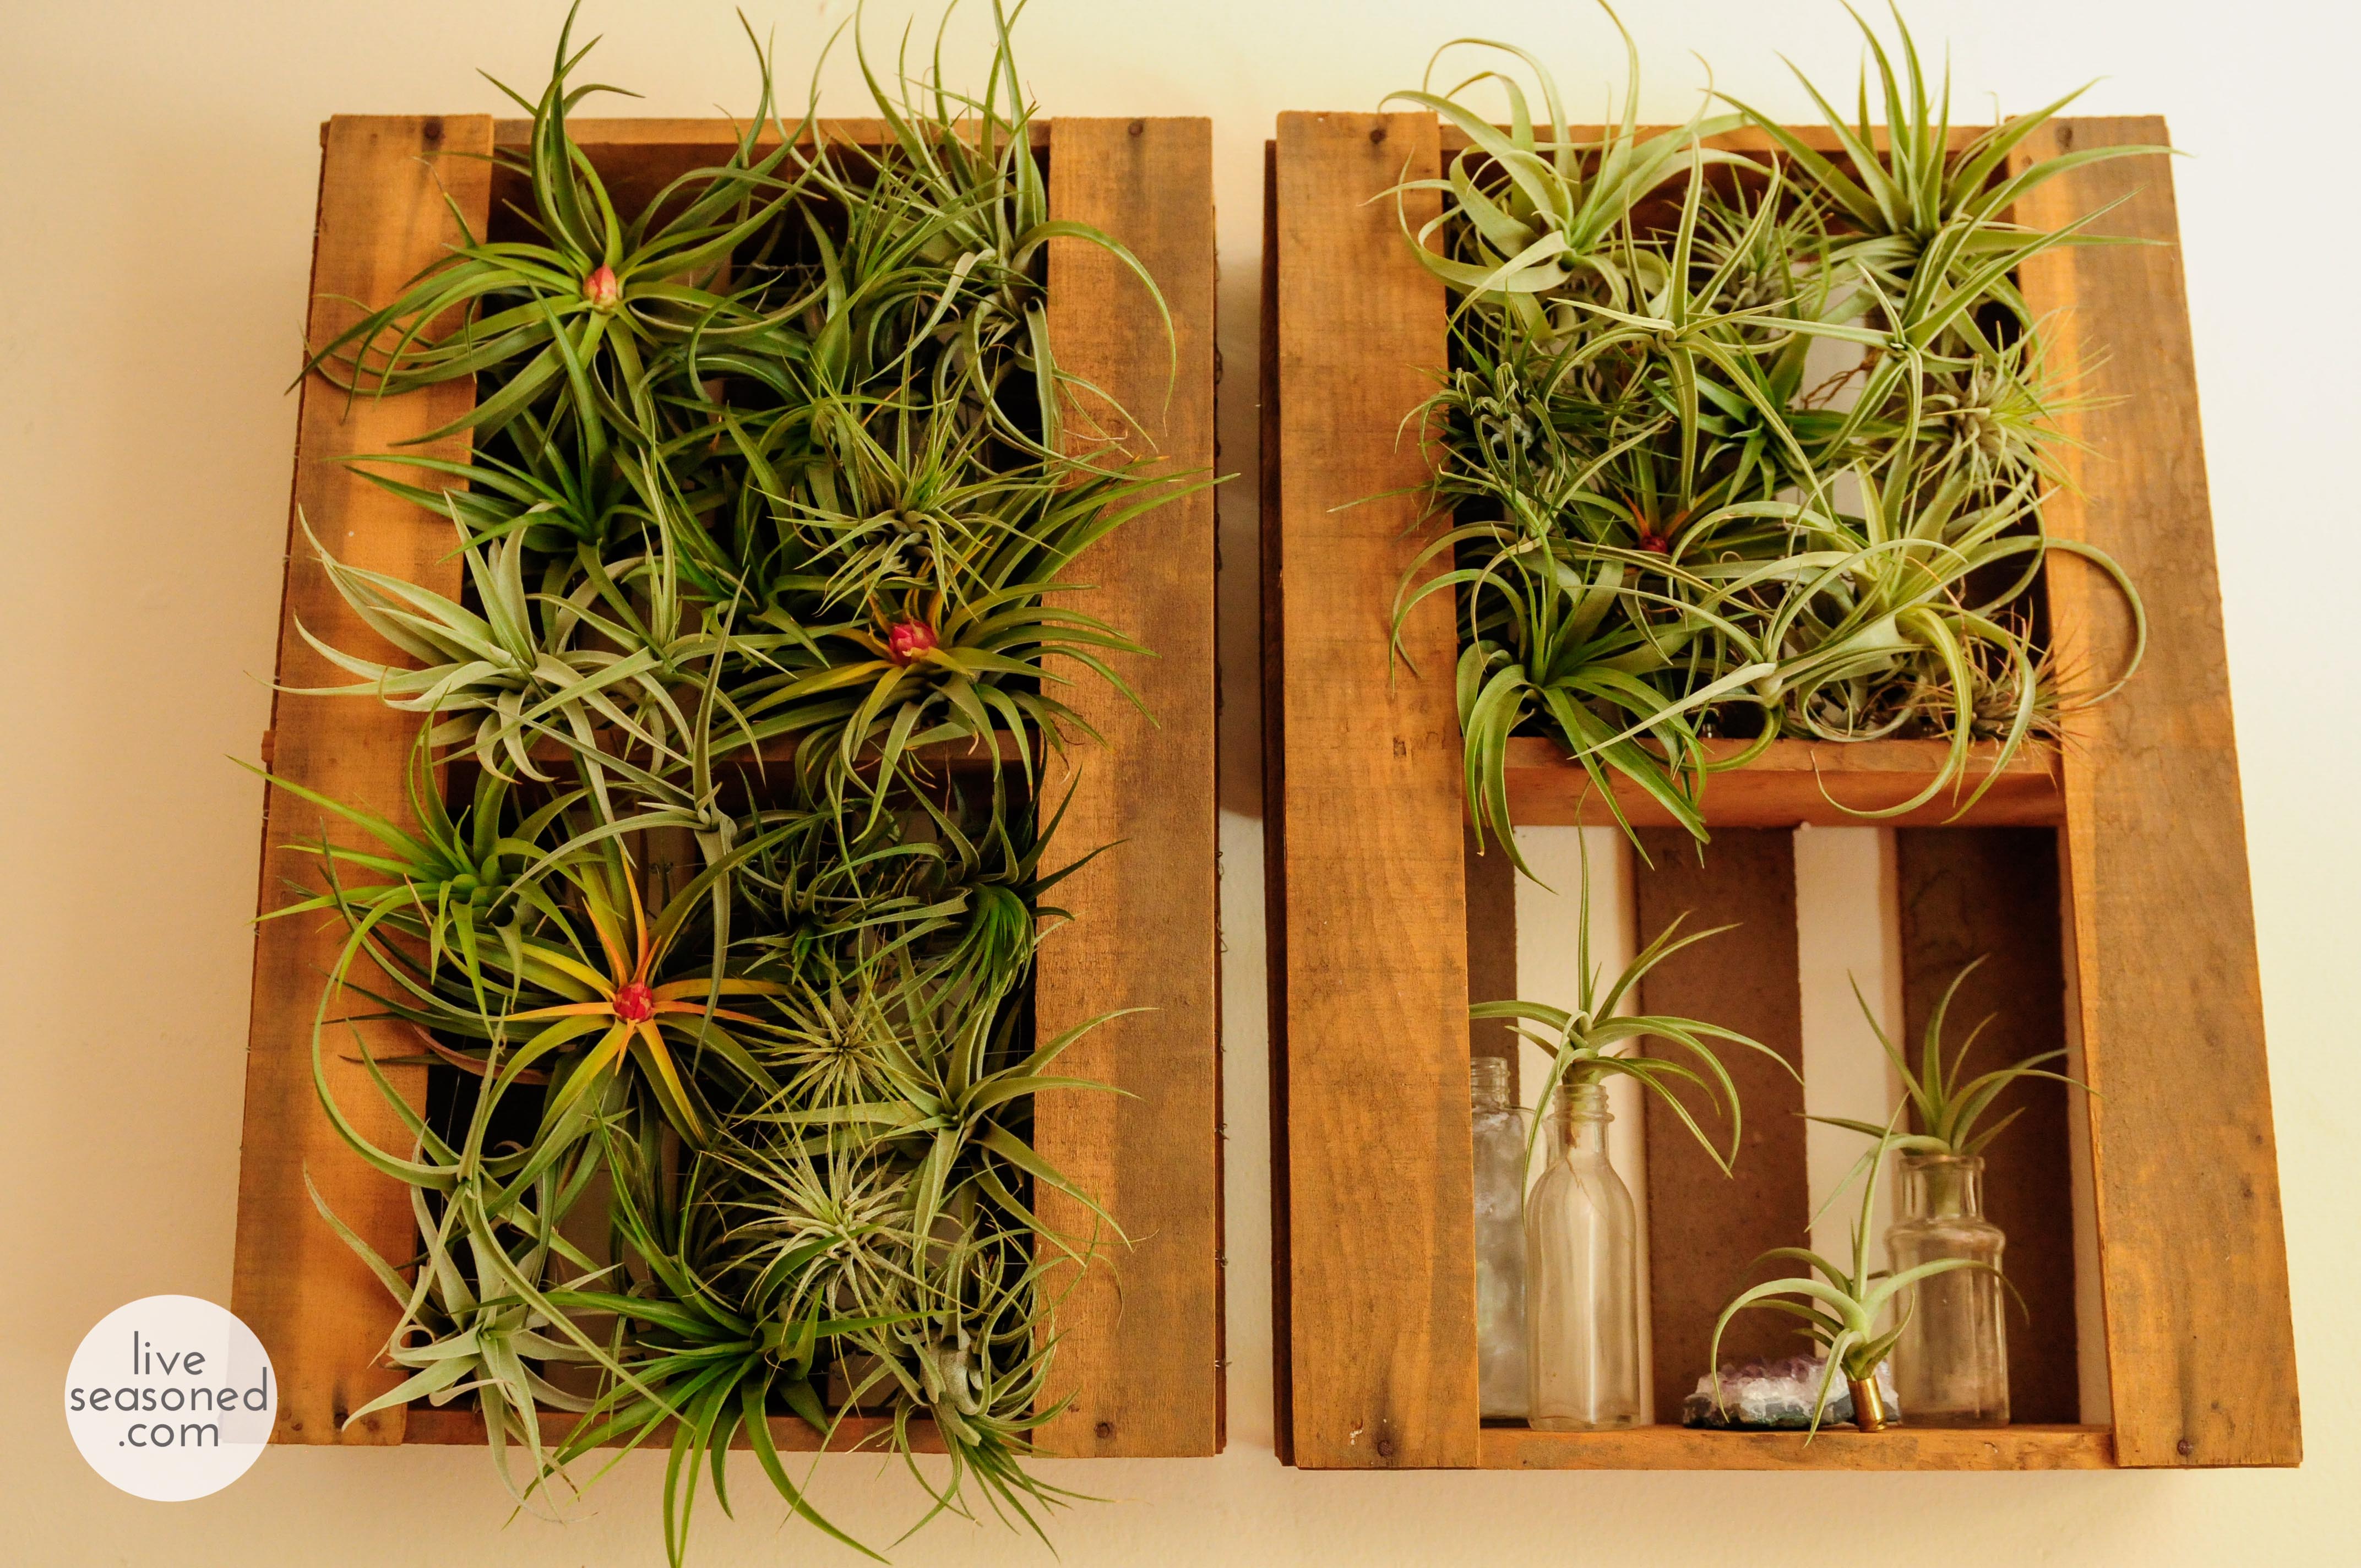
Anyone have suggestions for toddler-proofing the plants? The hanging planter had to be the genius invention of a parent.