Crafting with Kids: Sewing a Scarf

If you’re looking for more kid-friendly craft projects, we’ve written about using knitting looms and making rolled beeswax candles.

Last year (2020) the boys got a sewing machine for Christmas. It may not be the typical gift for a 5 & 7 year old, but know how much they love tools and making things, this was the perfect addition to their arsenal. It goes well with a Viking helmet, don’t you think?

During their first year of having the machine, we did a few things.

Continue reading

DIY Christmas Decorations + Crafts

This post was originally published in 2015, we’re re-posting it today to inspire some simple crafting before Christmas!

Today we’re rounding up past Christmas crafts. While Sarah was busy ordering gifts yesterday, I was finishing up the decorating. I love to get everything up as soon as possible so that there’s plenty of time to enjoy it (plus, I need the decorating out of the way so that I have every extra moment left to think about gift shopping!). If you’re taking your time and in need of decorations, we put together a list of past DIY projects that we made, love, and we’re excited to put out again this year.

This list provides a range of projects from those that can be finished in 30 minutes to others that may take a few hours, and the skill-level required varies from the simple to the more complex. In addition to decorating your house, some of these projects like the felt and cinnamon ornaments make great gift tags. What we have here is a little bit of something for everyone.

liveseasoned_w2015_stockings7_wm

liveseasoned_w2015_cinnamonornament4_wm

Continue reading

Simple Stitched DIY

The countdown to Christmas is on!

Today we’re sharing a super simple and sweet DIY gift.

love_towels2

For these towels, I had Alex write the word LOVE on a piece of paper. We did this project a year ago to give last Christmas, and it was when he was still learning to write. You can see that I wrote “love” in the upper left corner of the paper as a guide. In my opinion his creative writing gives these towels a pile of personality and will always help us remember the phase when Alex “tied a knot in his Os to keep them closed” and made “ladder Es”.

love_towels

Materials

love_towels4

How-to

  • Determine your design. It can be a simple word, phrase, or line drawing. You can do something more complex, but our goal is to keep this project simple!
  • Using the chalk pencil, trace the design onto the towel. For these darker towels, I found it easiest to hold the design and towel up to a window for tracing.
  • Embroider! You can use any stitch you prefer, and there are complete stitch dictionaries that will help you pick the right stitch for your project. For this project, I used a stem stitch, which works great for both straight and curved lines. And you can see that I took some artistic license with Alex’s original work, straightening and extending a couple of the lines in the E in spots where he ran out of room.
  • Once your project is complete, iron it.

love_towels5

Of course, these projects make great gifts on their own. BUT since they are for the kitchen, they are also the perfect compliment to a nice mug, fancy soap, or a beautiful cheese spreader.

love_towels3

If you enjoy this project, make a few extras. These are great to have on hand as a hostess gift.


On top of their simplicity, these this project doesn’t cost much and can be paired with something for the kitchen for a nice DIY touch.

Glow-in-the-Dark Ghost Shirts

Ghost Shirts! With glow-in-the-dark paint! Need we say more? How about that they really glow!

ghost_shirts2_titleLast year we made bat shirts with freezer paper stencils and bleach. This year I wanted to do another shirt, and I was going to use bleach again, but then I saw this paint in Joann’s and thought it was worth a try.

Continue reading

Halloween Costume Idea : Disco Ball

Happy October! We first posted this a few years ago, but if you need an idea for a little one, it’s not too early to start. Below is a baby Disco Ball and here is a Circus Strongman.

I feel like it’s been so long since I really dressed up for Halloween. For the past few years, we’ve sat around the house (waiting for those dozen or so trick-or-treaters to show) and would throw on something from my bag of old Halloween costume parts from years past. Witch’s hat, Eskimo, and giant pumpkin for the win! This year Calder said we had to get serious – “don’t get out your witch’s hat” may have been a direct order. Luckily, some serendipitous inspiration struck not once, but twice, last weekend.

Moment 1: It began with me ordering this baby jailbird costume out of desperation. Did you see those tattooed arms?! A few hours after placing the order, I remembered Oh Happy Day’s strongman costume from last year – so awesome, right? And perfect for Little A. If he’s a strongman, then I’m happy to partner up as the bearded lady. And now we have a pair of costumes for our town’s Halloween parade.

Moment 2: Calder was randomly telling me that he wanted to bring 70’s fashion back (no joke). Minutes later we wandered into vintage store and found the most amazing 70’s clothes! Calder walked out with a pair of plaid pants and three rayon shirts with extra large lapels. Me? I’m the proud new owner of a psychedelic jumpsuit. All we needed was a disco ball. Enter Alex. And now we have the family costume theme that we needed for a friend’s party next weekend!

Making the Disco Ball

liveseasoned_fall2014_costumes1

Little A is a mover, and we have a strong feeling that he’s not going to put up with having a costume with a lot of frills, bulk, or even a hat. So we have to keep everything simple and make sure that it’s still easy for him to move. What we wanted to do here was to make him a sequined shirt that he could still easily move in. We thought about stuffing it to give him more of a ball shape, but his big belly is round enough.

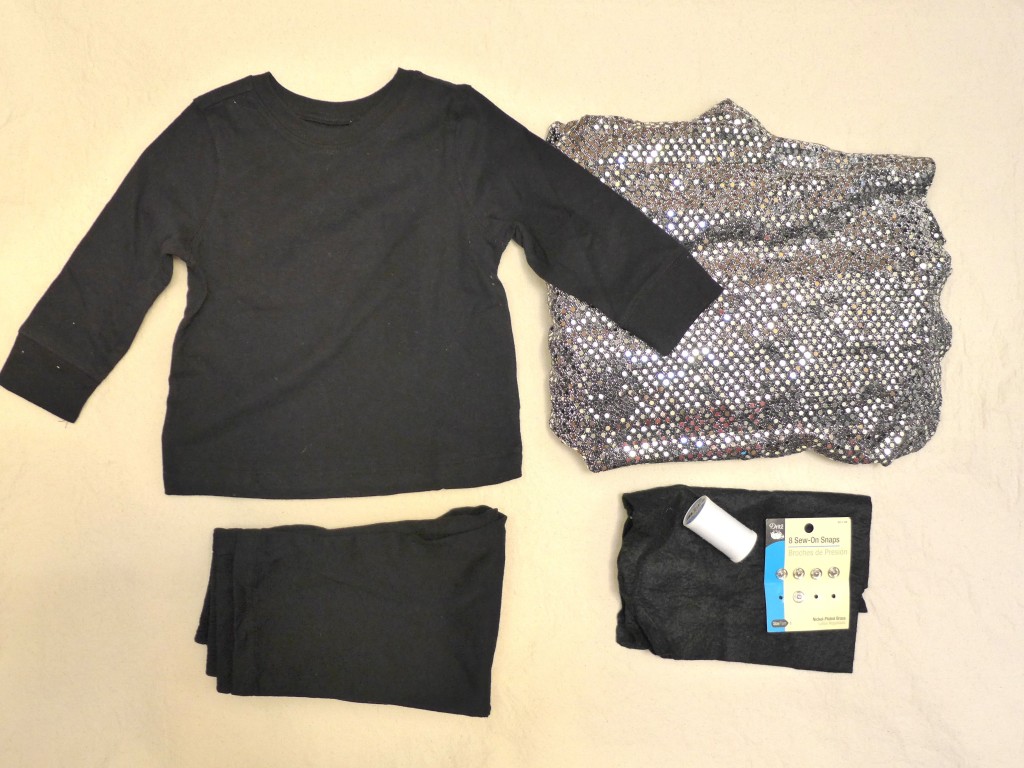
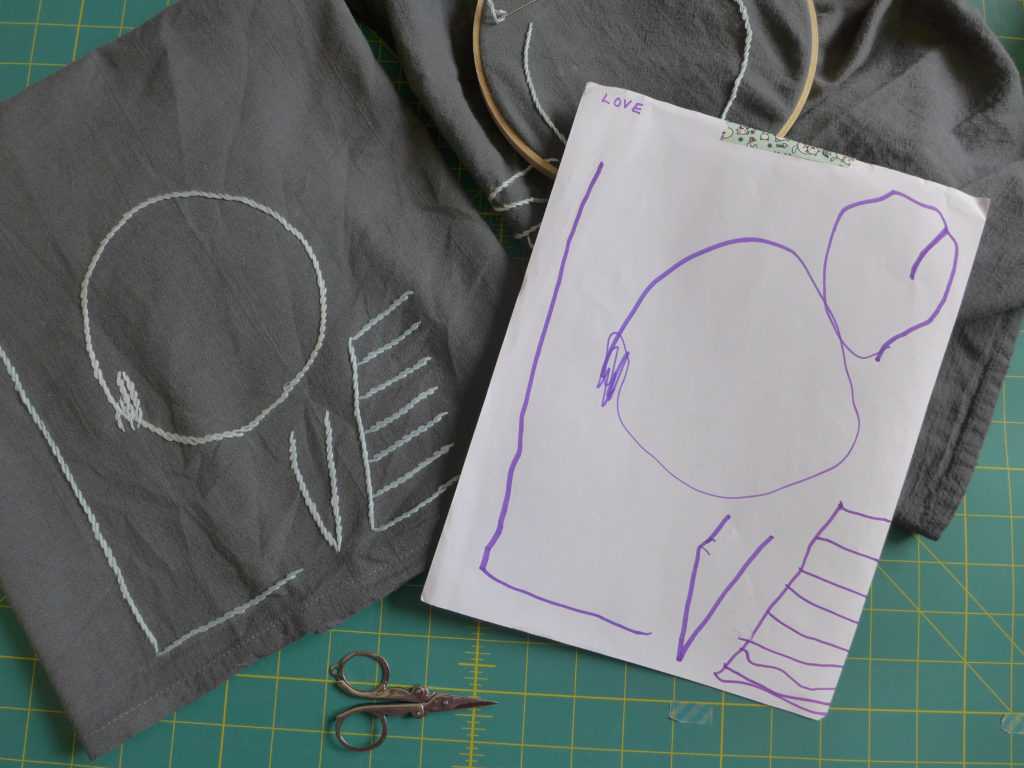
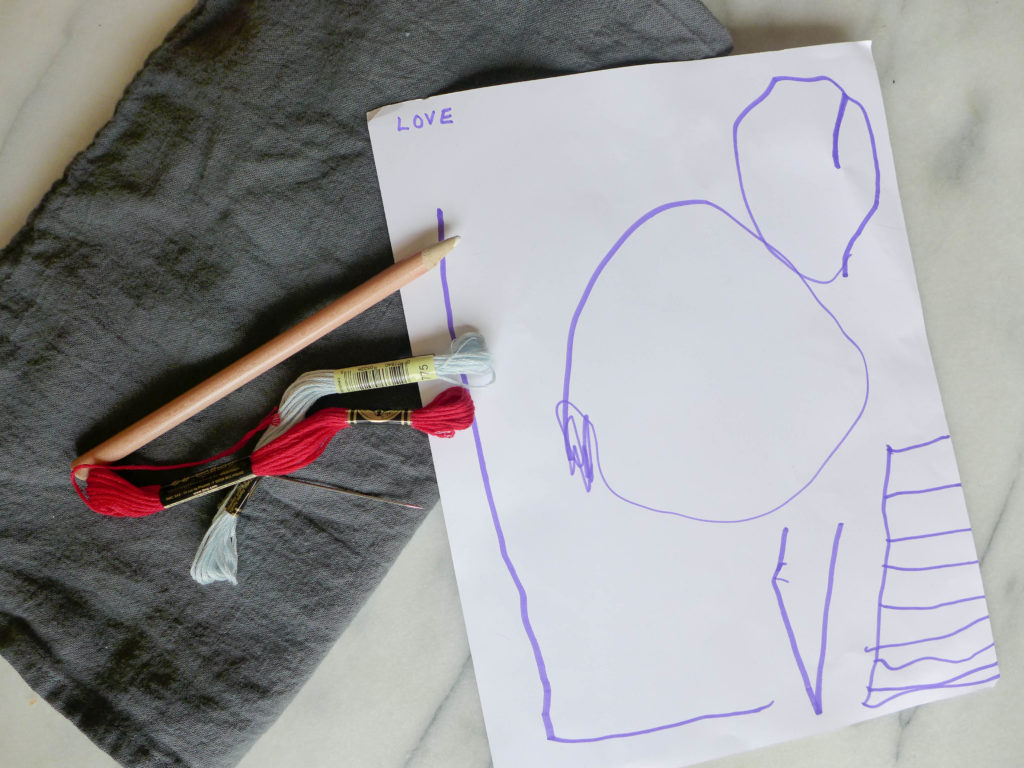
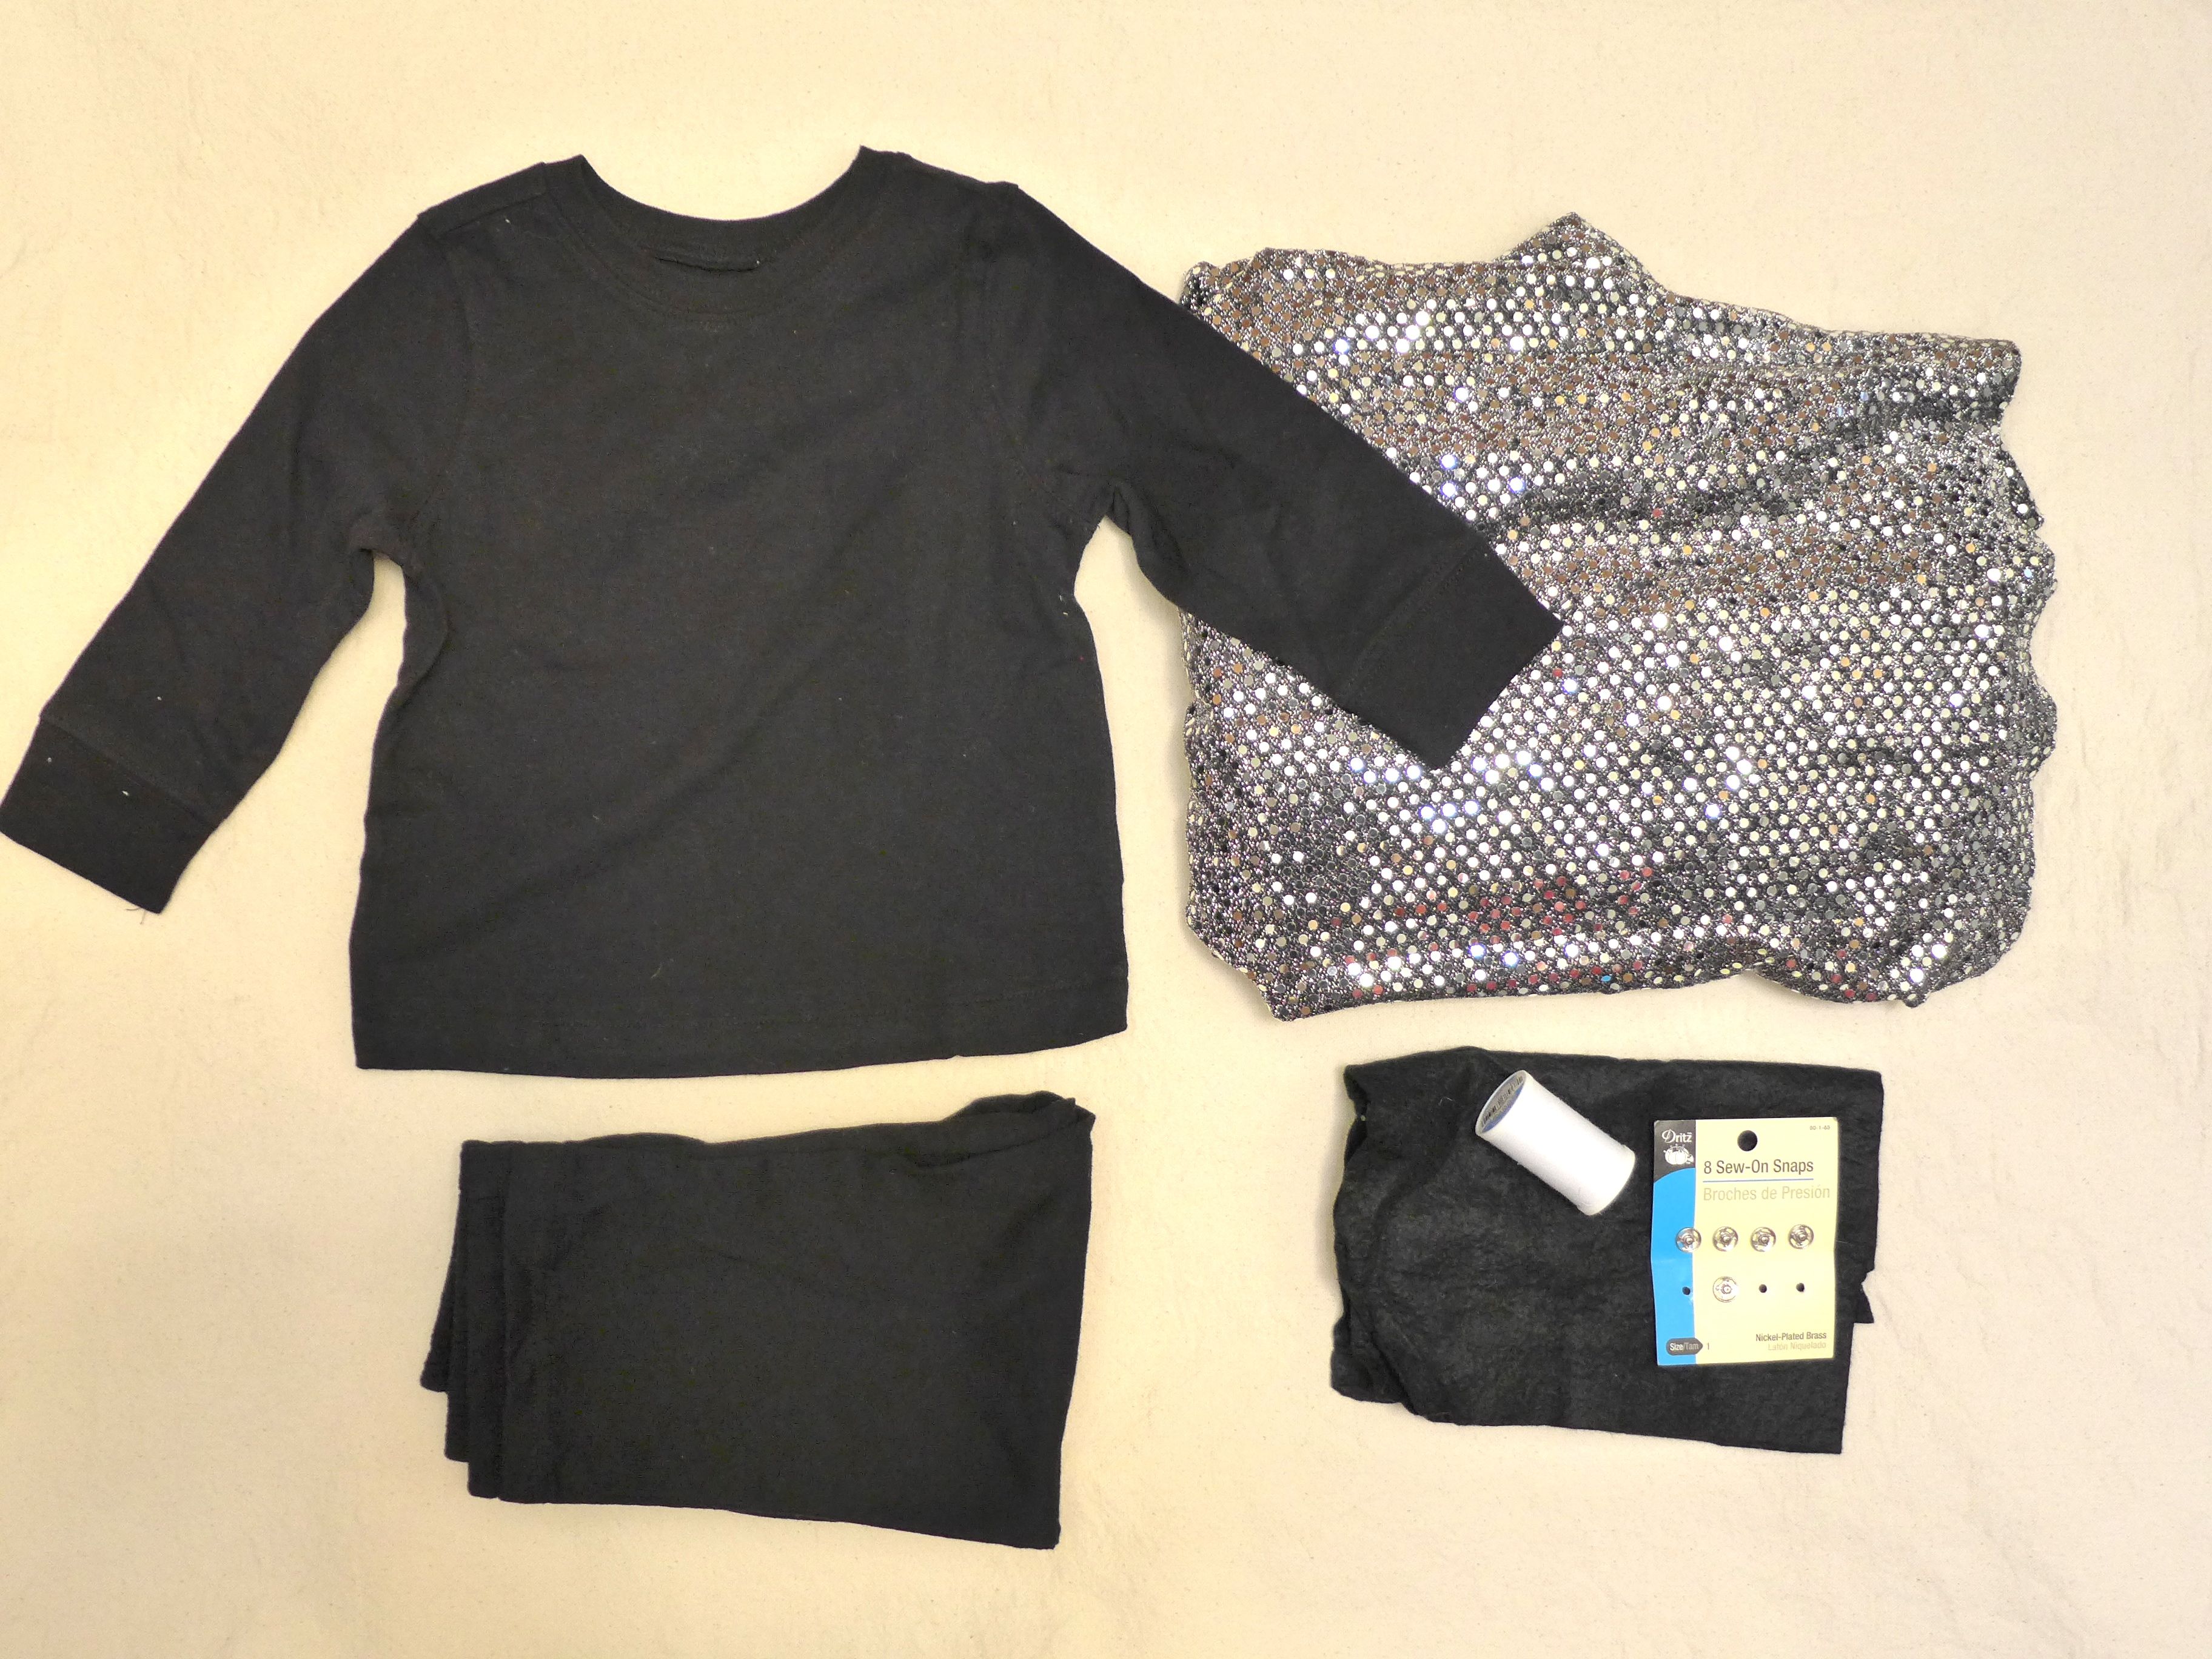
I’ve been holding onto a sequined dress since high school (thank you Christmas band concert), knowing that it would come in handy eventually. Our plan was to make a simple sequined shirt/vest for Alex to wear over a black shirt and pants. Originally I thought I would use black felt to make the shoulder straps and snaps for closures (shown in the materials photo above), but as it turns out, I didn’t need either!


The straps on the top of the dress, are almost perfectly spaced for little A’s shoulders. So, all I had to do was take in the sides slightly, and shorten the dress to the length we wanted. The one challenge to shortening it was that the long zipper. In the photo above on the right, I’m showing you where the zipper ends with my thumb and how short I want it with my finger.

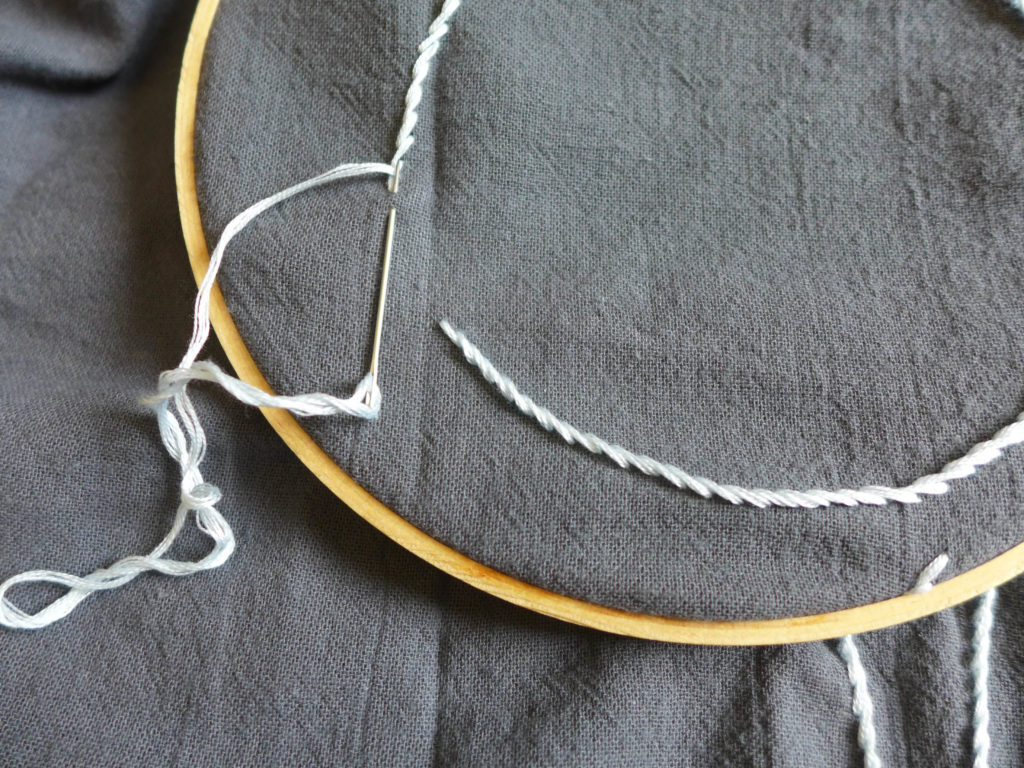
The dress’ sides had been brought in once before (red thread above). I wanted to bring in the seams by another inch or so, and I was going to cut off the excess fabric so that it didn’t add bulk. The one challenge I faced was that the sequins seemed to eat up the thread, and I would end up with gaps without stitching. I was using a cotton thread, maybe there’s a better choice? I handled it by just sewing the same line a few times, and it worked well enough.

The next challenge was the zipper. I’m not a zipper expert, but I do know that these zippers with small-ish plastic teeth are easy to shorten. You begin by marking the point that you want to be the new bottom of the zipper. At that point you’ll sew a bar tack over the zipper’s teeth. To do this, set your machine on a zig-zag stitch that is just wider than the zipper’s teeth with the stitch length as short as it can go (so you’re sewing back and forth over the zipper at the same point). I began by testing the stitch without thread in the needle, manually moving the needle to test stitch widths and making sure that the zipper was perfectly centered so that I wouldn’t hit its teeth with the needle.

After the bar tack is sewn, I cut out the zipper’s extra teeth, keeping my scissors as close to the teeth as possible and leaving the zipper tape intact. To close the hole that was made by the missing zipper, I sewed the excess dress hem (that would have covered the zipper) to the zipper tape on the opposite side, closing that hole. You can see this line of stitching in the photo above on the right. At this point I had a segment of the dress that was the correct width and could be  cut to the right length for the little guy. So, it was time to try it on and get that final length measurement!

He was a willing model first thing in the morning – as long as I didn’t mind him running around with his dog named Cat. He was super excited when he figured out that Cat could ride the bike by sitting in the water bottle holder. With the fitting done, I cut the dress to the length we wanted and our disco ball costume was complete!


Here are a few more disco shots, crazy eyes and all!

Bat Halloween Shirt

Halloween is just around the corner, and now that we have a 3.5 year-old in the house, every holiday is a big deal! Combining Alex’s current love of bats and the coming holiday, I have a great DIY for you : bleached bat t-shirts!

bat_shirts5b
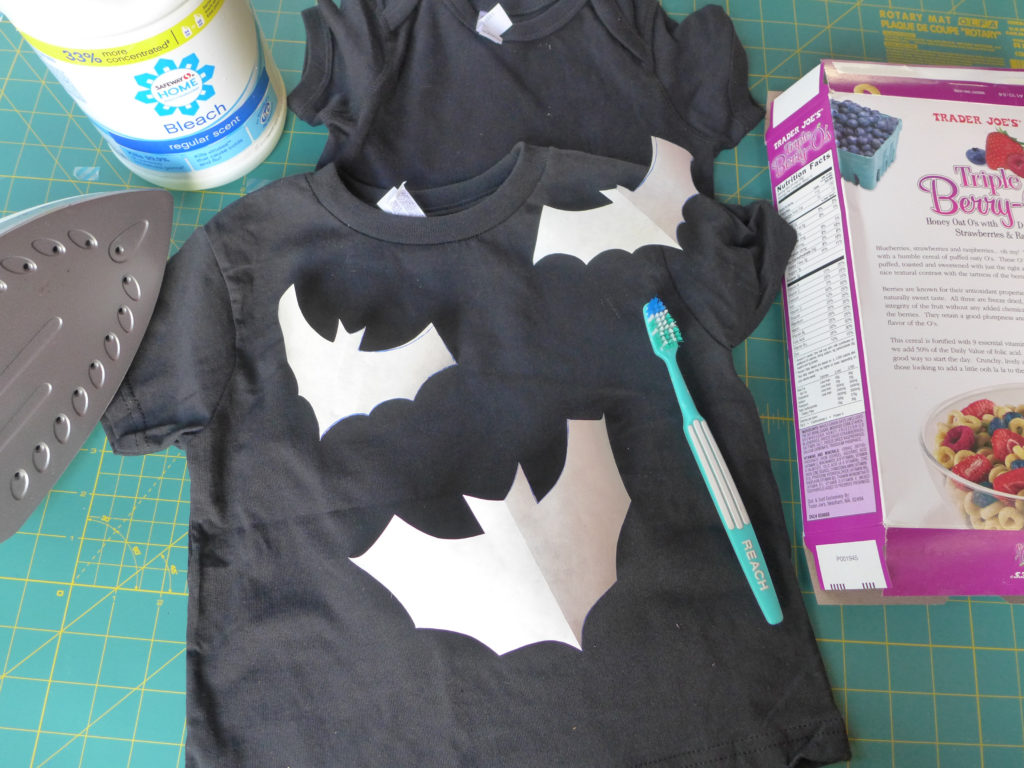
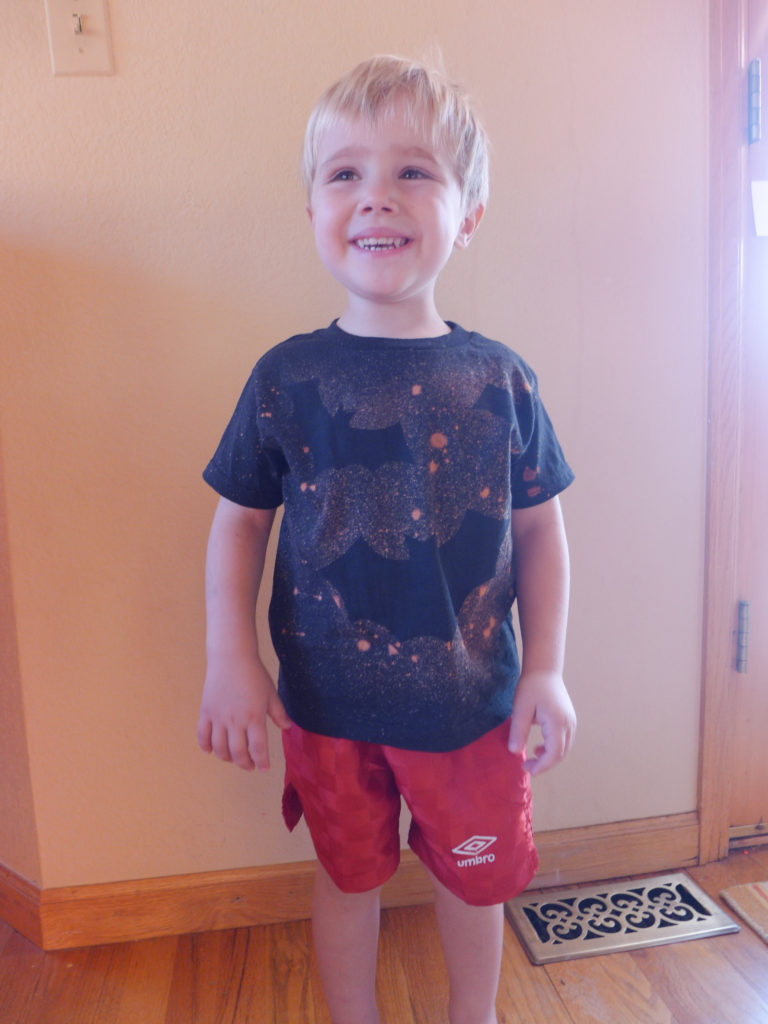
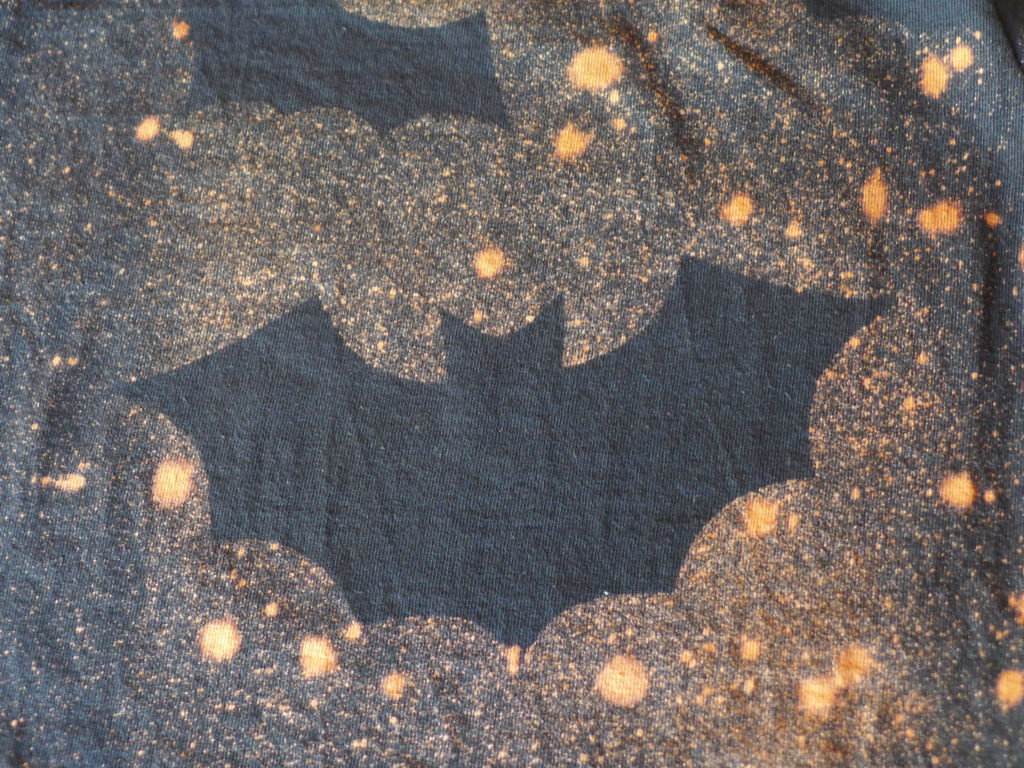
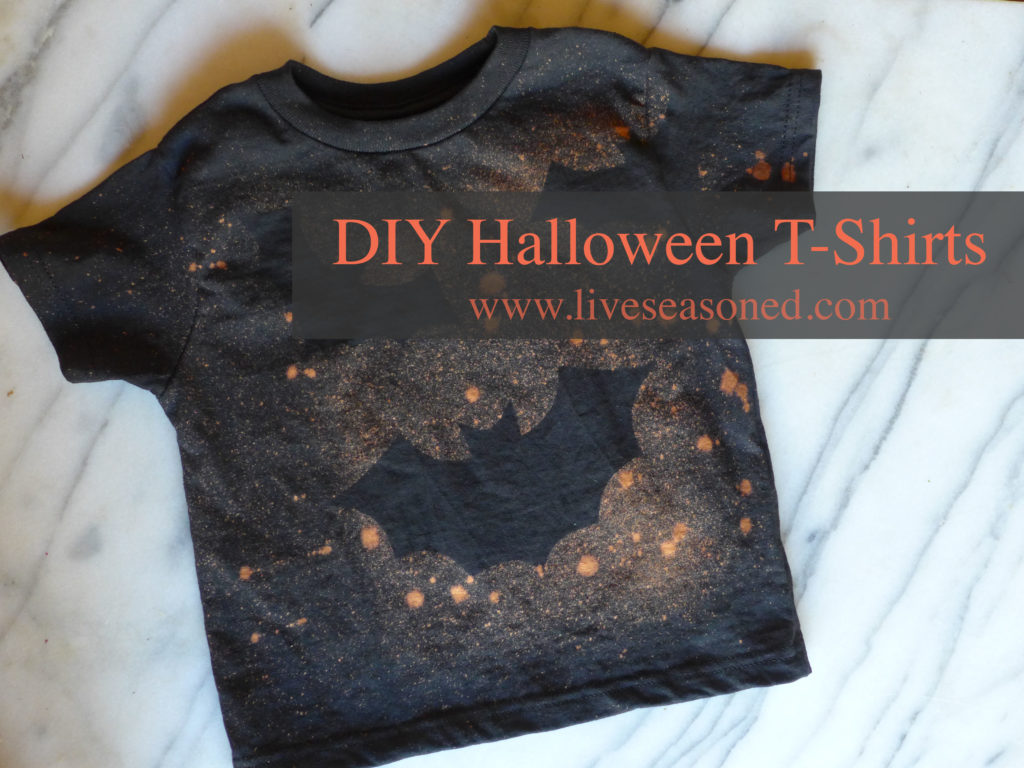
This project couldn’t be easier, but unfortunately, since you’re working with bleach, this is not necessarily a kid-friendly DIY. Don’t worry, they’ll have a great time watching the “magic formula” work!

bat_shirts

Supplies

  • black or navy blue t-shirt
  • freezer paper (it has a wax coating on only one side whereas wax paper has a wax coating on both sides)
  • bat stencil (I free-handed on, but you could print out a bat clipart silhouette)
  • piece of cardboard (an empty cereal box works well!)
  • toothbrush
  • bleach
  • water
  • latex glove (to protect your hand will applying the bleach splatters)

bat_shirts8

bat_shirts2

bat_shirts4

Hints

  • Trace and cut-out bat silhouettes from the freezer paper. I made large and small bats, but you have complete flexibility with the size and number of bats you use (whatever you think will look good on your shirt).
  • With the iron on low heat, carefully iron the freezer paper bats onto the shirts (make sure the waxy side of the paper faces the fabric). Keep the iron relatively still, pressing into the paper and fabric and moving it slowly across the stencil. The freezer paper should will stick to the fabric, forming a bond that will stop the bleach from getting under the wax paper.
  • Make a 50-50 water and bleach solution.
  • With a gloved hand, dip the toothbrush into the bleach solution and splatter the solution on the t-shirt around the bats. It’s ok, and even looks great, to make both large and small splatter marks.
  • You should see the bleach start working on the fabric after a few seconds. Continue to splatter the shirt until you’re happy with the density of “stars” on the fabric, being sure to thoroughly splatter the shirt around the bats so that you get a noticeable silhouette once the wax paper is removed.
  • Watch the bleach activity – when you’re happy with both the density and intensity of the stars, remove the paper stencils and quickly rinse the shirt under water to stop the bleach activity.
  • Wash the shirt, and you’re done!

bat_shirts7

And look at that kid, he loves his new shirt! Such a simple project and it brought this little guy so much joy.

bat_shirts6

Happy Halloween!

Last Minute Gift for Pre-schoolers

liveseasoned_winter2016_sewingbag3
liveseasoned_winter2016_sewingbag5
It’s Christmas week!!! We’ve been having so much fun with Alex this year since he really understands that Christmas is something special, but he’s still asking a lot of questions and trying to make sense of what’s going on around him. “When can we open the presents?” “We get to put the tree in our house?!” “It’s Christmas season, but not Christmas day, right?”

Continue reading

Wedding Crafts : Purses

This June I’m sharing some of the crafts that we made for my wedding, which was four year ago this month! Last week I showed you the bunting that decorated everything from our reception tent to our ceremony backdrop. Today I’m giving you a glimpse at the clasp purses that I made as gifts for the bridesmaids!

liveseasoned_summer2015_purses7

Continue reading