

Click through for the simplest project I’ve made this year… Err, I know it’s only February, but I’m pretty sure that I won’t be able to come up with another one-seam project for the next 11 months. It’s in the photo above, can you spot it?
It’s a Buff!
Have you tried a tubular bandana/neck gaiter yet? The most famous brand we’ve seen are called Buffs.
I bought one last year when I was doing a lot of trail running. Having a Buff was the perfect cover for my neck, protecting it from both the sun and the cold. Around the same time, Sarah sent one to Alex and he looked so stinking cute with his little neck warmer.
These are really such a great accessory for kids.It protects their neck from the cold but without the bulk of a scarf. They’re easy to throw in our pack for nature play and hikes. They’re lightweight and easy to wear. And again, they look so stinking cute!
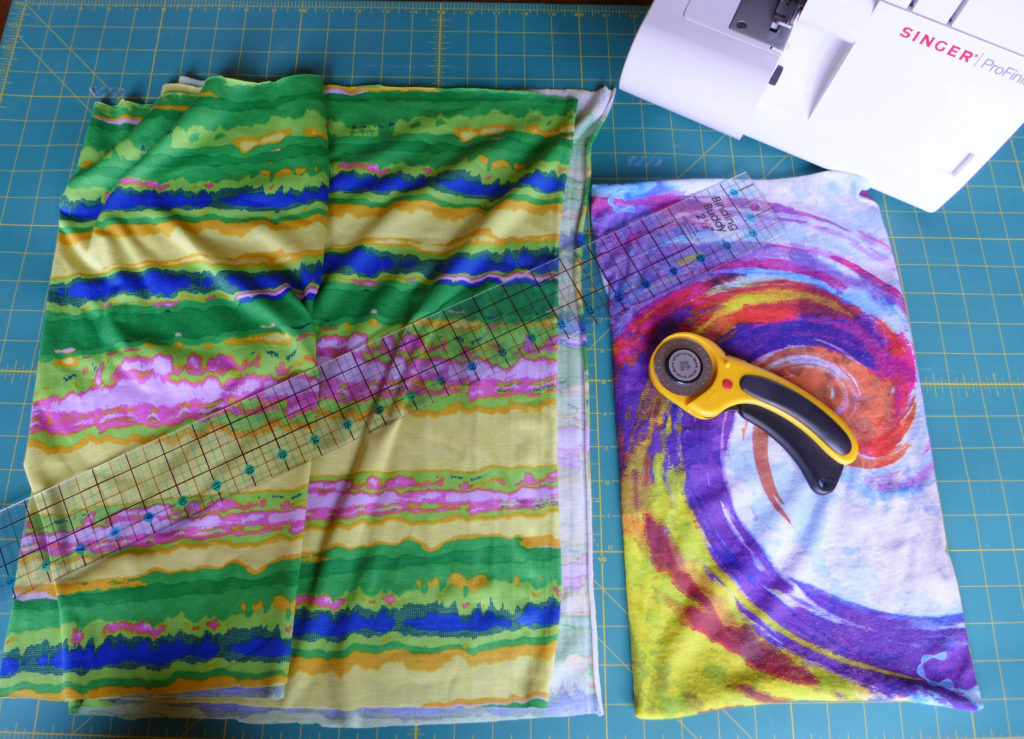
Because we’ve found them to be so handy, I wanted a few more, but didn’t want to pay for something that I could easily make much (MUCH) more cheaply. So, here you have it: three “tubular bandanas” for $1.50. In the photo above, you can see Alex’s gaiter on the right, and the piece of fabric that I used on the left.
How-to
I picked up a half yard of jersey fabric from Joann’s clearance section. It was $3/yard, so I got this piece for $1.50 and used every inch of it to make the buffs. Since jersey fabric doesn’t fray, you won’t have to hem the raw edges of your bandana, as a result, you’ll only have to sew one seam to make each item.
Test the stretch of your jersey. Some jersey fabrics are super stretchy in all directions (you can read more about stretch here). My fabric was more stretchy in one direction than the other, so I made sure that the direction of stretch was perpendicular to my neck, giving the extra stretch it’d need to slip on and off over my head.
The pieces were each 18 inches high and about 20-21 inches wide. I would fold the piece in half so that the 18 inch-long sides were touching, sewing along that edge. That’s it.
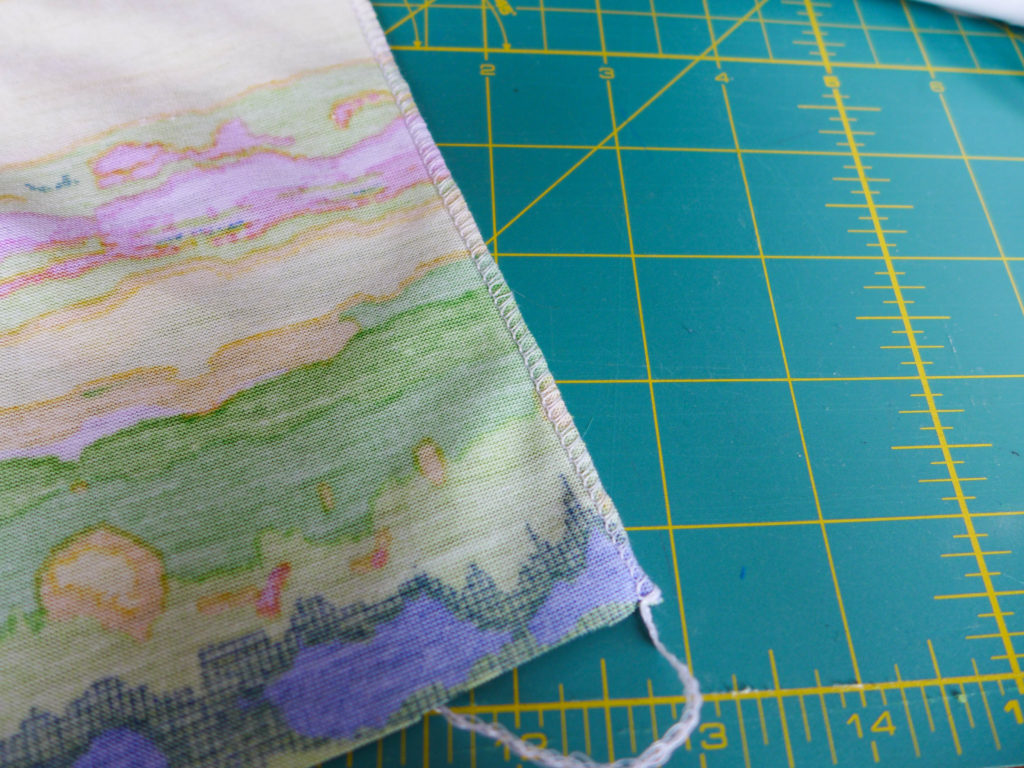
I used a serger to sew my seam. Sergers are great for sewing knits and other stretchy fabrics, BUT you can also sew this project on your regular sewing machine using a zigzag stitch (some machines come with a dedicated “stretch” stitch that is a modified zigzag).
So easy. Let’s see one more pic of that cutie in his gaiter.

Epilogue
I am so excited by my thrifty project, BUT while looking up Buffs online, I learned that you can buy multipacks of colorful gaiters for just over $1/piece. Passing on that little bit of info in case you’re the instant gratification type. No judgement here.