On Wednesdays we like to share ideas, big and small, for reducing our environmental impact.
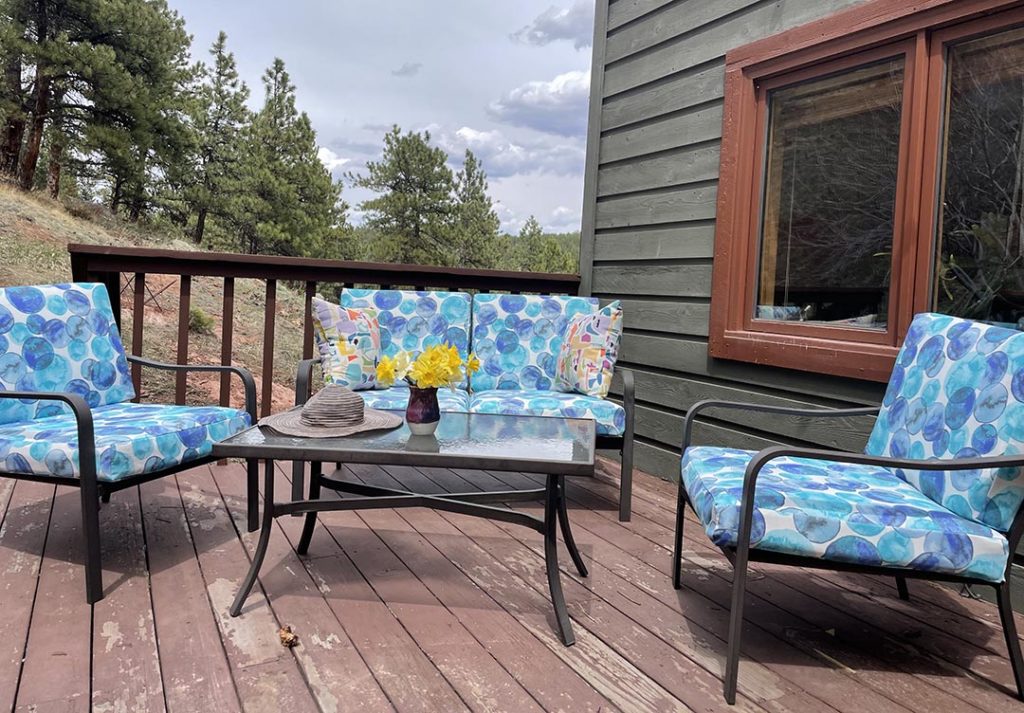
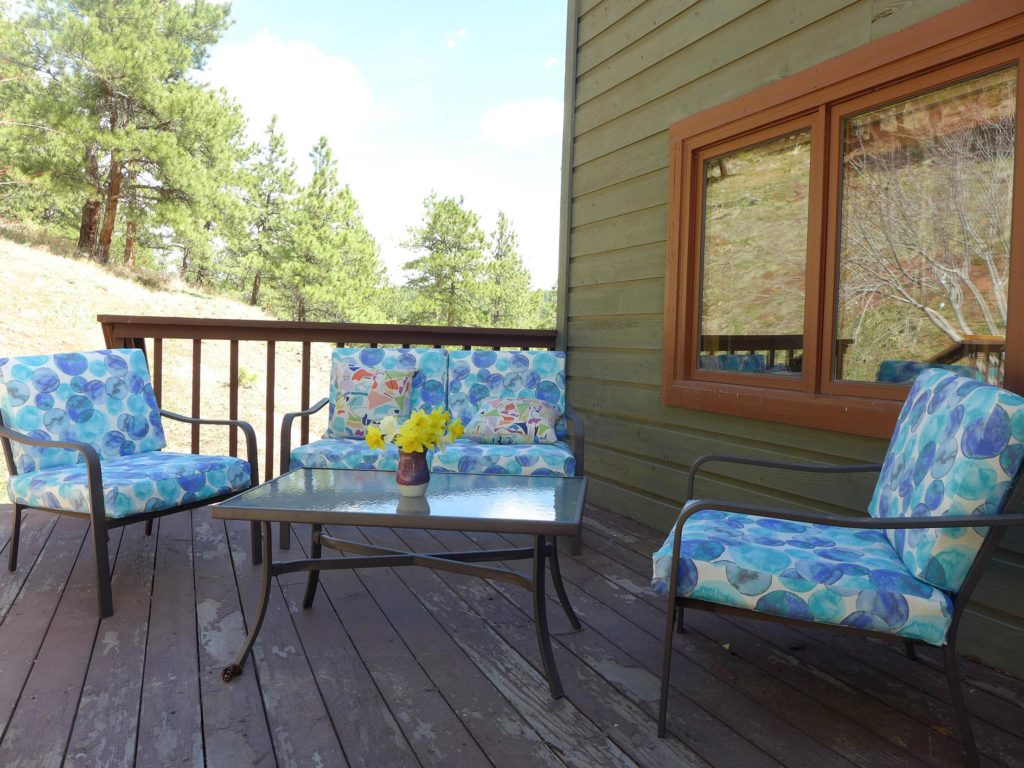
With the summer season upon us, we’re excited to share this colorful patio upgrade.
Our patio furniture is about five years old, and unfortunately over that time it’s taken quite a beating from the intense Colorado sun. Replacing the set would cost a few hundred dollars, but reupholstering it cost about $60 and a few hours. Plus, this project gave me the opportunity to personalize our set with a more colorful design.
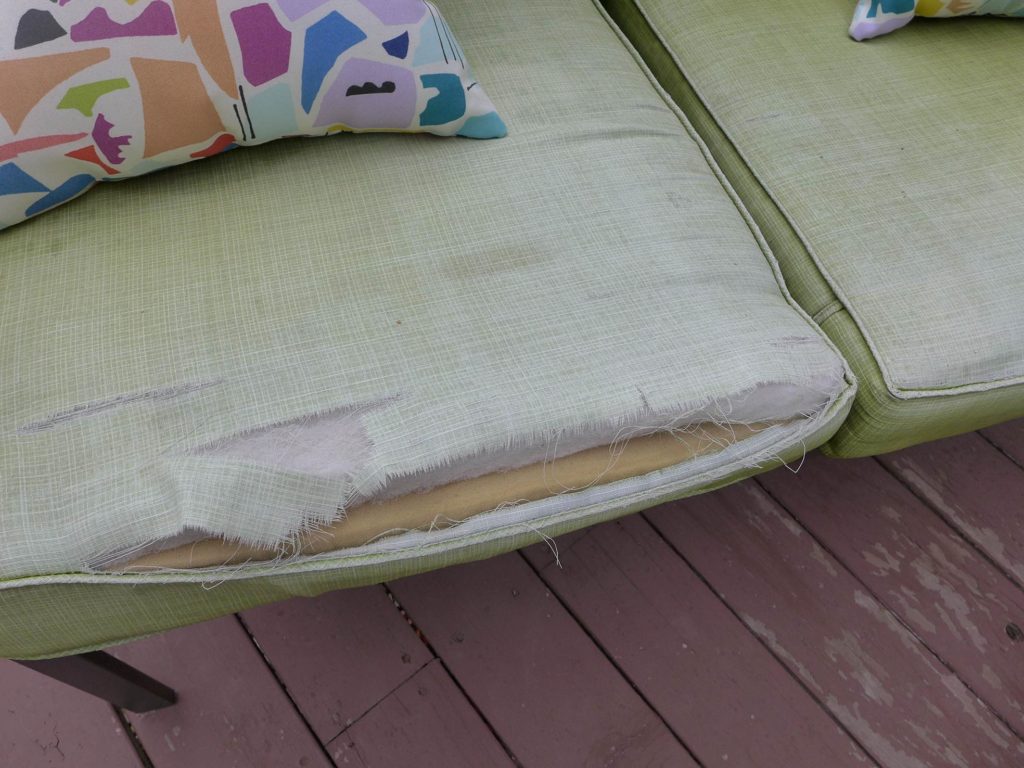
The cushions that came with the furniture were torn to bits. Fortunately the inner padding was still in great shape, so I decided to try reupholstering them. This may sound like a complex project, but I really want to encourage anyone with a sewing machine to try it!
Sewing Details
I consider myself a beginner to intermediate sewer in that I’ve done a lot of sewing, but haven’t sewn anything too complex. Most of my projects required sewing straight lines, and fortunately, the covers for all of these cushions are put together with straight lines!
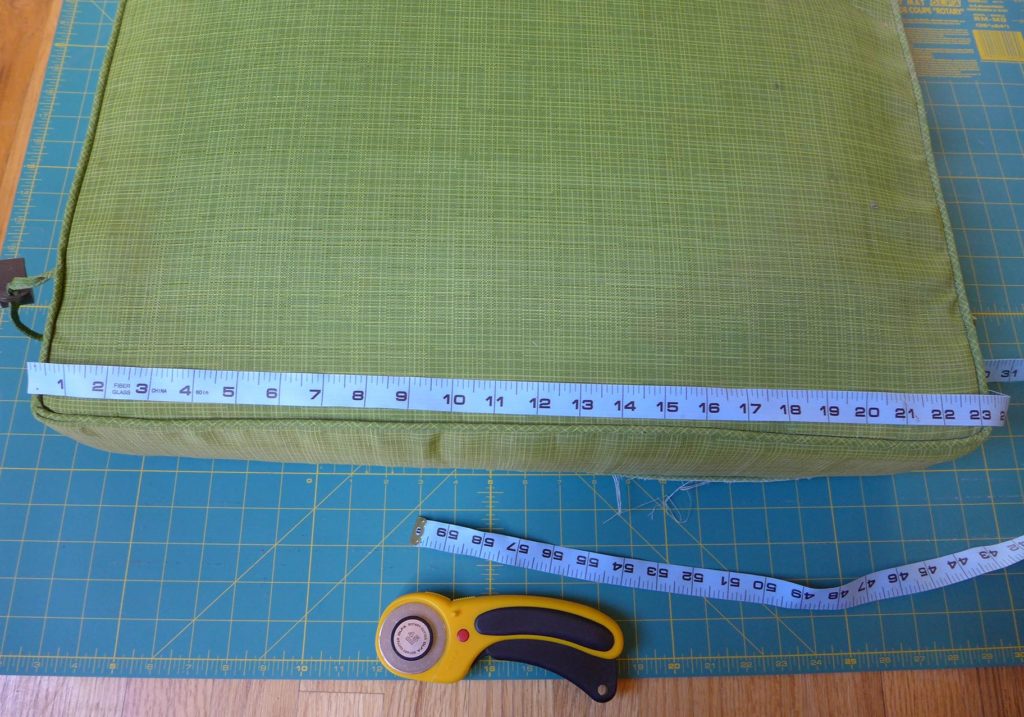
When you are cutting and sewing a bunch of straight lines, having a metal ruler, rotary cutter, and gridded cutting mat really help to keep everything square.
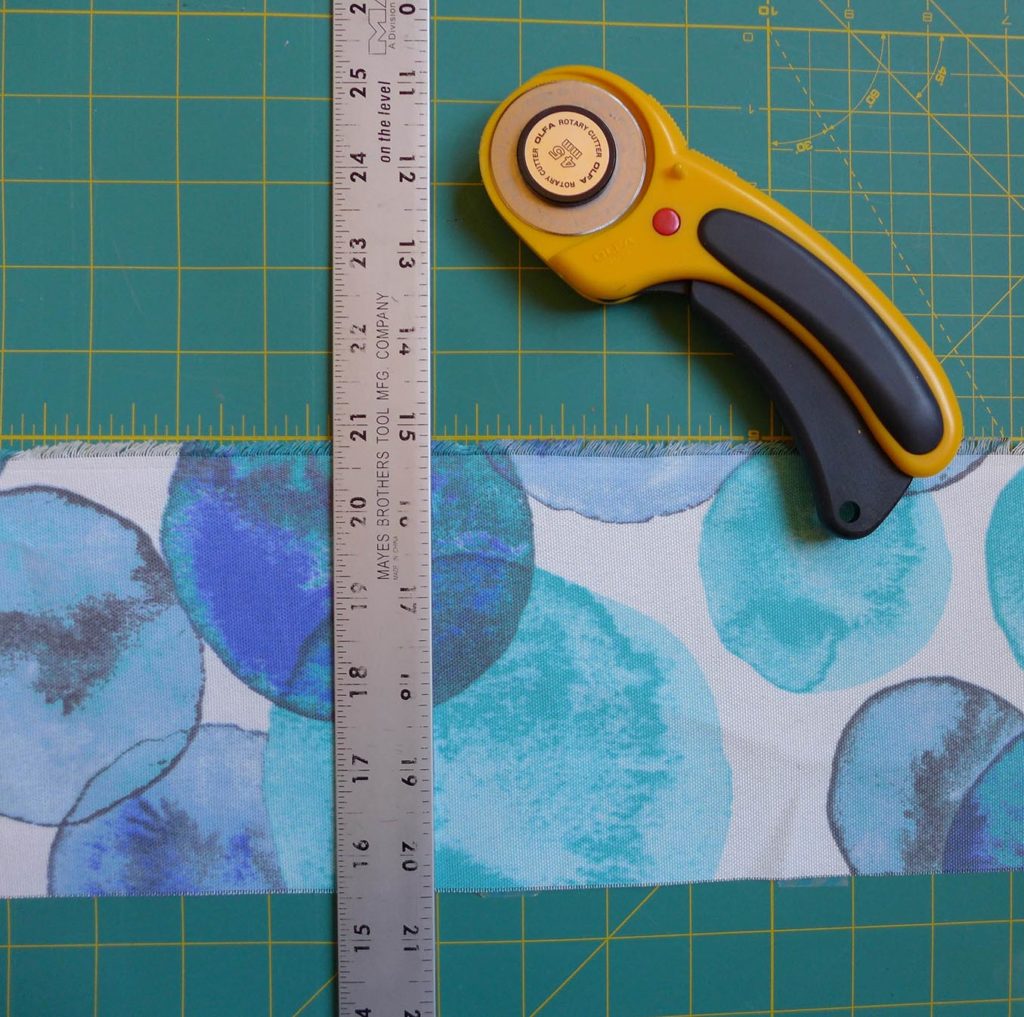
A note on picking fabric: if you’re picking a patterned fabric, I would recommend staying away from fabrics with a clear geometric pattern that should be lined up. It’s more likely to show slanted cuts and you may not be able to get as much use out a yard if you have to keep the pattern going in a specific direction. This bubble fabric was great because I could easily use it horizontally or vertically without worrying about how things would line up. And I definitely didn’t have to worry about straight or crooked cuts.
Once you have your fabric, take the time to carefully measure your cushions, adding the appropriate hem allowances. Since I had four seat and four back cushions to sew, I started by sewing one of each. I worked on those first cushions carefully, and once I was happy and confident with the results, I replicated them for the rest of the covers.
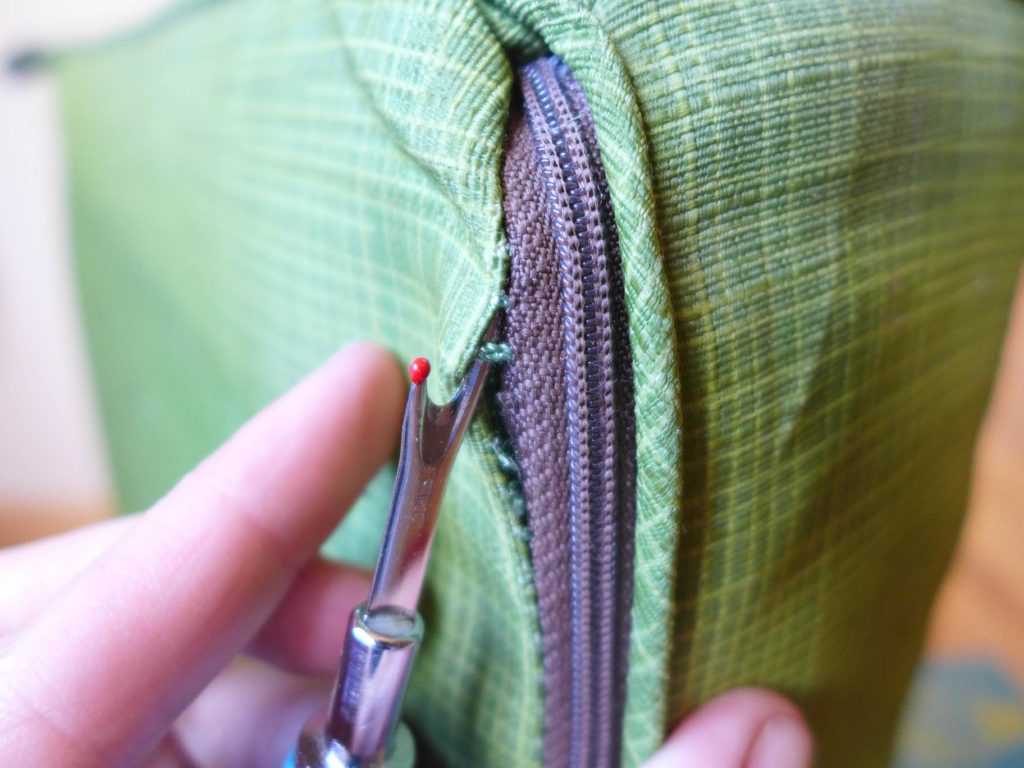
The one thing that I changed after the first cushion was that I decided to use the zippers from the original covers. Since we had never taken the original covers off, I thought that there was no reason to sew in the zippers. But I didn’t like having to sew the covers onto the cushions and realized that it would look more professional with the zippers. So I removed them with a seam ripper and sewed them into the final seams of the new covers.
Cost
It’s fairly easy to make this project affordable. Outdoor fabric can be expensive, but if you’re shopping at Joann’s, always remember to wait for sales or a a good coupon. I picked up this outdoor fabric last fall at an end-of-season sale and got a great deal.
As I mentioned above the full cost of this project was about $60. Considering the fact that the furniture frames are still in great shape, I think it was definitely worth the cost and effort to reupholster these cushions.
Final Verdict
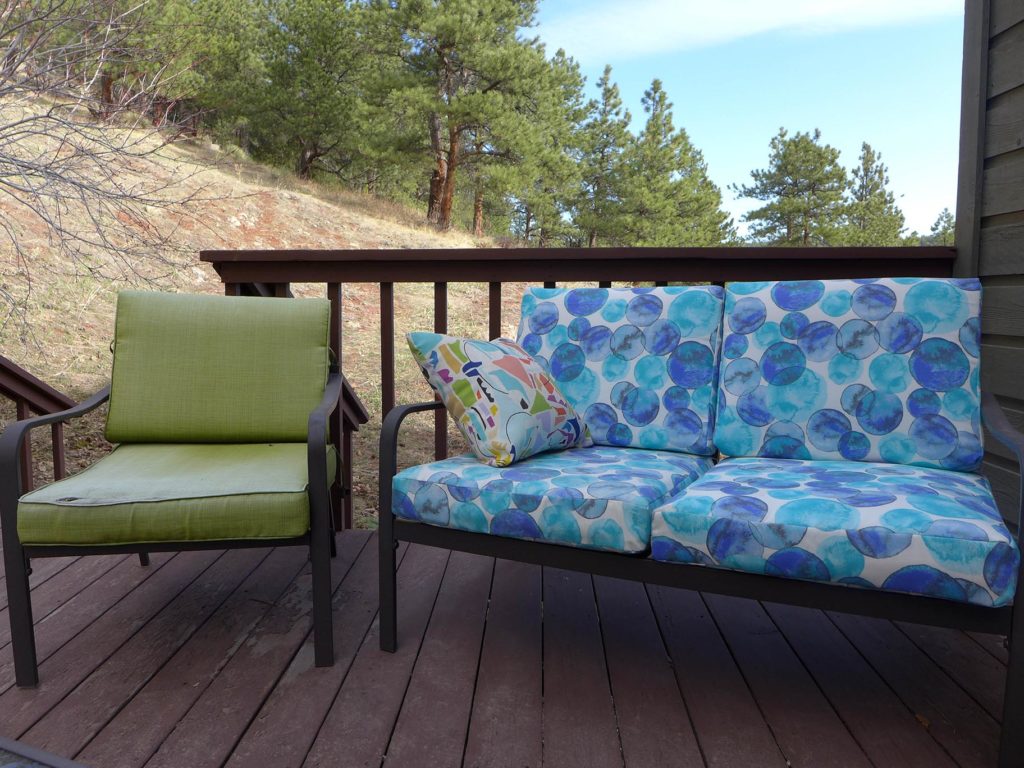
Looking at the side-by-side photo above, I’m so happy with the results!
The next test will be to see how long these new cushions last. I’ve read in a number of places that the fabric that comes with a lot of these box store sets is not the best quality. I’m hoping that my new fabric lasts longer. Of course it would help if we covered the cushions or put them in storage for the winter… for now we’re just going to focus on enjoying our colorful update and worry about that in a few months.