Wedding Crafts : Bunting!

Hey there! We can’t believe it, but four years ago in June, Calder and I got married! It was such a fun day, and whenever the topic of our wedding comes up, we always look back on it with fond memories. Just the other day we were telling new friends about our “meat and greet” line, where Calder grilled the steak and salmon and got to say hello to every guest as he served them their main course. While we can’t offer you a fillet of salmon, we thought it would be fun to look back at our wedding and share some of the other homemade elements that we incorporated into the big day.

liveseasoned_summer2015_bunting13

{I had to include the photo above, because when do you ever get to use the wedding outtakes?!… and sometimes they’re so cute.}

We had the wedding at my parents’ farm in central PA, and being the hands-on, crafters that we are, everyone in my family was excited to help personalize the wedding. My brother designed and printed our invitations, my mom made the cakes and hand-beaded the sash for my wedding dress, my sisters helped with homemade signage, and styling the dancing barn that our dad had just finished rebuilding, and the list goes on.

Continue reading

Felt Ornaments

Hey! I looked at our calendar and realized that we have entered a week of Christmas crafting making on the blog! This isn’t necessarily gift crafting, just more little projects to decorate the tree, your walls, to send off in the mail (technically, I guess that’s giving), and maybe we’ll even have something to eat or drink by the time the week’s complete.

liveseasoned_w2015_feltornament1_wm

Today I’m talking about the felt ornaments and wreath that were pictured in this post. Both of these ideas came from my Christmas board on Pinterest, but unfortunately the links associated with the pins won’t take you to the original source for attribution. You’ll see that I’ve pinned many different felt ornaments, and I’m thinking that over the next few years I may make quite a few as we become a house with two little boys! Felt ornaments are just so kid-friendly, with a big loop, they are easy for little hands to hang and pull off the tree, and there’s so little investment in terms of both time (the the case of the ones I’ve made) and money, that I don’t mind if little A throws them around a bit while playing. Plus, they look really cute.

liveseasoned_w2015_feltornament9_wm

liveseasoned_w2015_feltornament3_wm

For today’s ornaments, I was first inspired by this photo. In addition to the stars, I added a few hearts with white stitching to our collection, inspired by these red felt ornaments. I personalized the stars by using a red blanket stitch around the edges, and I drastically simplified my hearts from the inspiration photo, eliminating the stuffing and choosing simple stitches that would follow the hearts’ edges.

liveseasoned_w2015_feltornament7 copy

Supplies & Tools

  • Felt
  • embroidery floss
  • thin jute
  • sewing needle
  • scissors
  • shape template

liveseasoned_w2015_feltornament8_wm

Instructions

  • Find or draw your template. For my templates, I did a Google image search for  “heart clipart” and “star clipart”. I was able to find images that included hearts and stars of different sizes, so I printed them out and cut out the size that I liked for each.
  • Trace your template on the felt and cut out two of the same shape. As you can see from my template, I traced around it with a marker. Having those marker images on your felt isn’t a problem, because you can have the marked sides face inwards.
  • Sew your pieces together. Use three stands of embroidery floss for the embroidery. Holding the two felt pieces together (marked sides in), use your favorite stitch to hand sew the pieces together. I used blanket stitch for all of the stars, but was more creative with the hears, using blanket stitch,  back stitch, and a simple combination of long and short running stitches to create the third.
  • Add your loop for hanging. I used skinny jute for the hanging loops. You can find this in craft stores, and it’s usually sold in a smaller quantity than the bigger balls of fat jute (you can see the packaging in my supplies photo). The jute will not pull through your felt as easily as the embroidery floss. I found that it was easiest to thread the jute through the eye of my needle, pierce the felt with my needle, and then move the needle in circles to create a larger hole (but one that is still snug) for the jute to fit through.

liveseasoned_w2015_feltornament12_wm-1024x768 copy

liveseasoned_w2015_feltornament10_wm

While we were so excited to put the tree up, after the lights were hung it looked so pretty that we’ve been really lazy about adding more decorations. But a few nights ago we were looking for one more activity for little A before bath time, so I pulled out these ornaments and a few others for him to add to the tree. The pictures aren’t great, but I think you can tell that he was excited to get in on the tree action (clapping after each ornament was hung), and now it’s become a daily activity to remove and rehang a few.

In addition to making their way onto the tree, I used one of the stars in our new wreath. Again, I’m borrowing and modifying this idea from something brilliant I saw online. 
liveseasoned_w2015_feltornament13_wm

Supplies

  • grapevine wreath
  • white bottle brush trees
  • moss roll (you can see the packaging below)
  • hot glue gun & glue

How cute is that wreath? It came together easily with a few supplies from the craft store. The project is relatively self-explanatory : wrap the moss around your wreath, slipping it under a few of the larger vines if possible (this just takes a bit of wiggling). Glue the trees where you would like them. Tie a star ornament from the top of your wreath. Bam!

liveseasoned_w2015_wreath3_wm

Once I hung this and the green garland above the door, I realized that we have a lot of brown and green going on out on the front porch. Maybe this year it would have been nice to go with something brighter? But I’m loving the peaceful look every time we walk in the door.

liveseasoned_w2015_wreath1_wm So, that’s my little felt project for the season. It’s been a long time since I’ve done anything with felt (or even had a little supply of it in my craft room), and I’m excited work with it more in the future. I really enjoyed making these ornaments because they were so easy and mindless to put together, creating a polished result. What does that mean for you? If you want to slow this weekend, but still feel a little bit productive, this is a great meditative project

liveseasoned_w2015_feltornament2_wm

Post-Halloween Costume Update

Last Monday I shared a progress post of our Halloween costumes. At that point Little A’s disco ball costume was all ready to go, but his strong man still needed some work. Today I’m back to share the final strongman costume and some family photos from our fun weekend.

halloween_fall2014_family3

Here we are, ready for the disco, and I have to mention that Alex’s costume really worked like a disco ball! On Saturday we went to a party at our friend’s house, which had plenty of large windows and sliding doors facing the setting sun. Anytime Alex would walk past a window or in/out the doors, his shirt would reflect sunlight all over the room, just like a disco ball! Needless to say, everyone, especially the adults in the room, loved it!

Finishing the Strongman

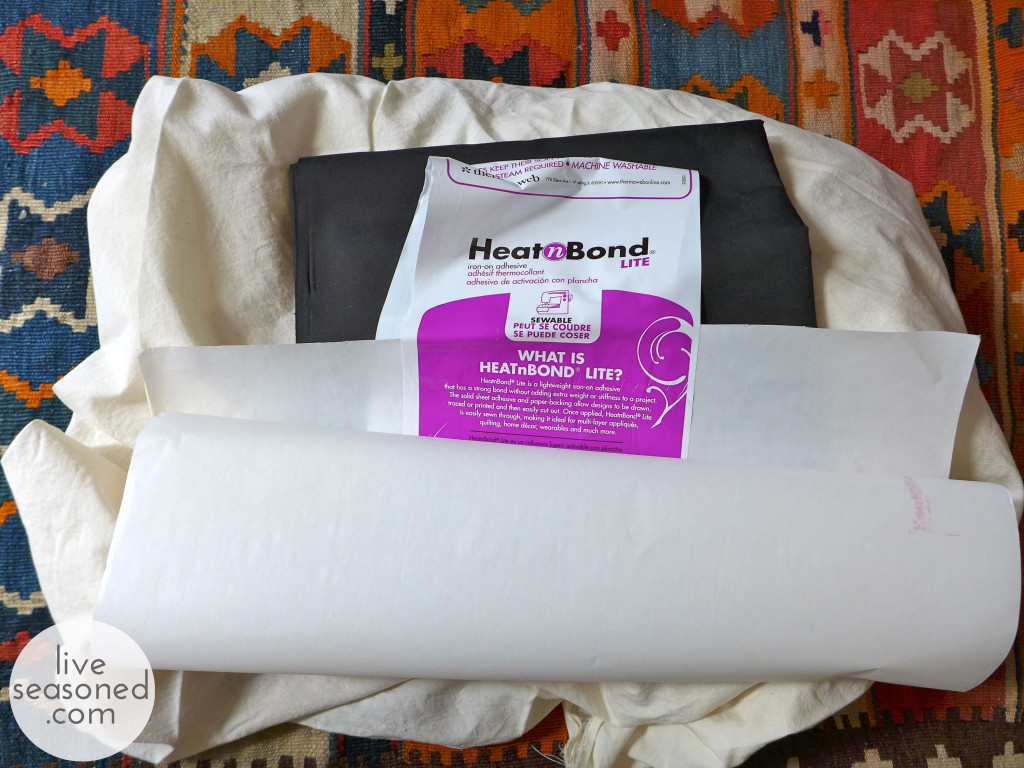
When we left off, I had the onesie and leggings for Alex’s costume, but was still working on his tattooed arms. I made the original set shown in the previous costume post out of a pair of women’s stockings, but they were pretty large, so the tattoos were super wrinkly unless I decided to stuff the arms and give him BIG muscles. I thought about stuffing them, but knew that our finicky guy might refuse that look, so I decided to go back to the store and pick up a pair of girl’s stockings.

After buying them, I immediately realized a second benefit – if I turned the stockings upside down, and cut a hole in the crotch area, I could slide the one piece over Alex’s head rather than cut off the stocking legs to create two sleeves (that I would then have to attach to the onesie in order to keep them up)! win. win. In addition to cutting the hole for his head, I cut off the tighter elastic material around the stocking’s waist area as well as cutting off the toe seams.

I then drew the tattoos (a heart, cloud with lightening, kite, mermaid, whale, sailboat, anchor, spiderweb, rose, stars, and a shell). I only drew the tattoos from his shoulder area down to about his wrist, this still left a bit of stocking length, and rather than cut it off, I folded it under the sleeves to create a double layer for added warmth. They were still a touch wide for his arms, but his cuteness totally distracted anyone from noticing ;-).

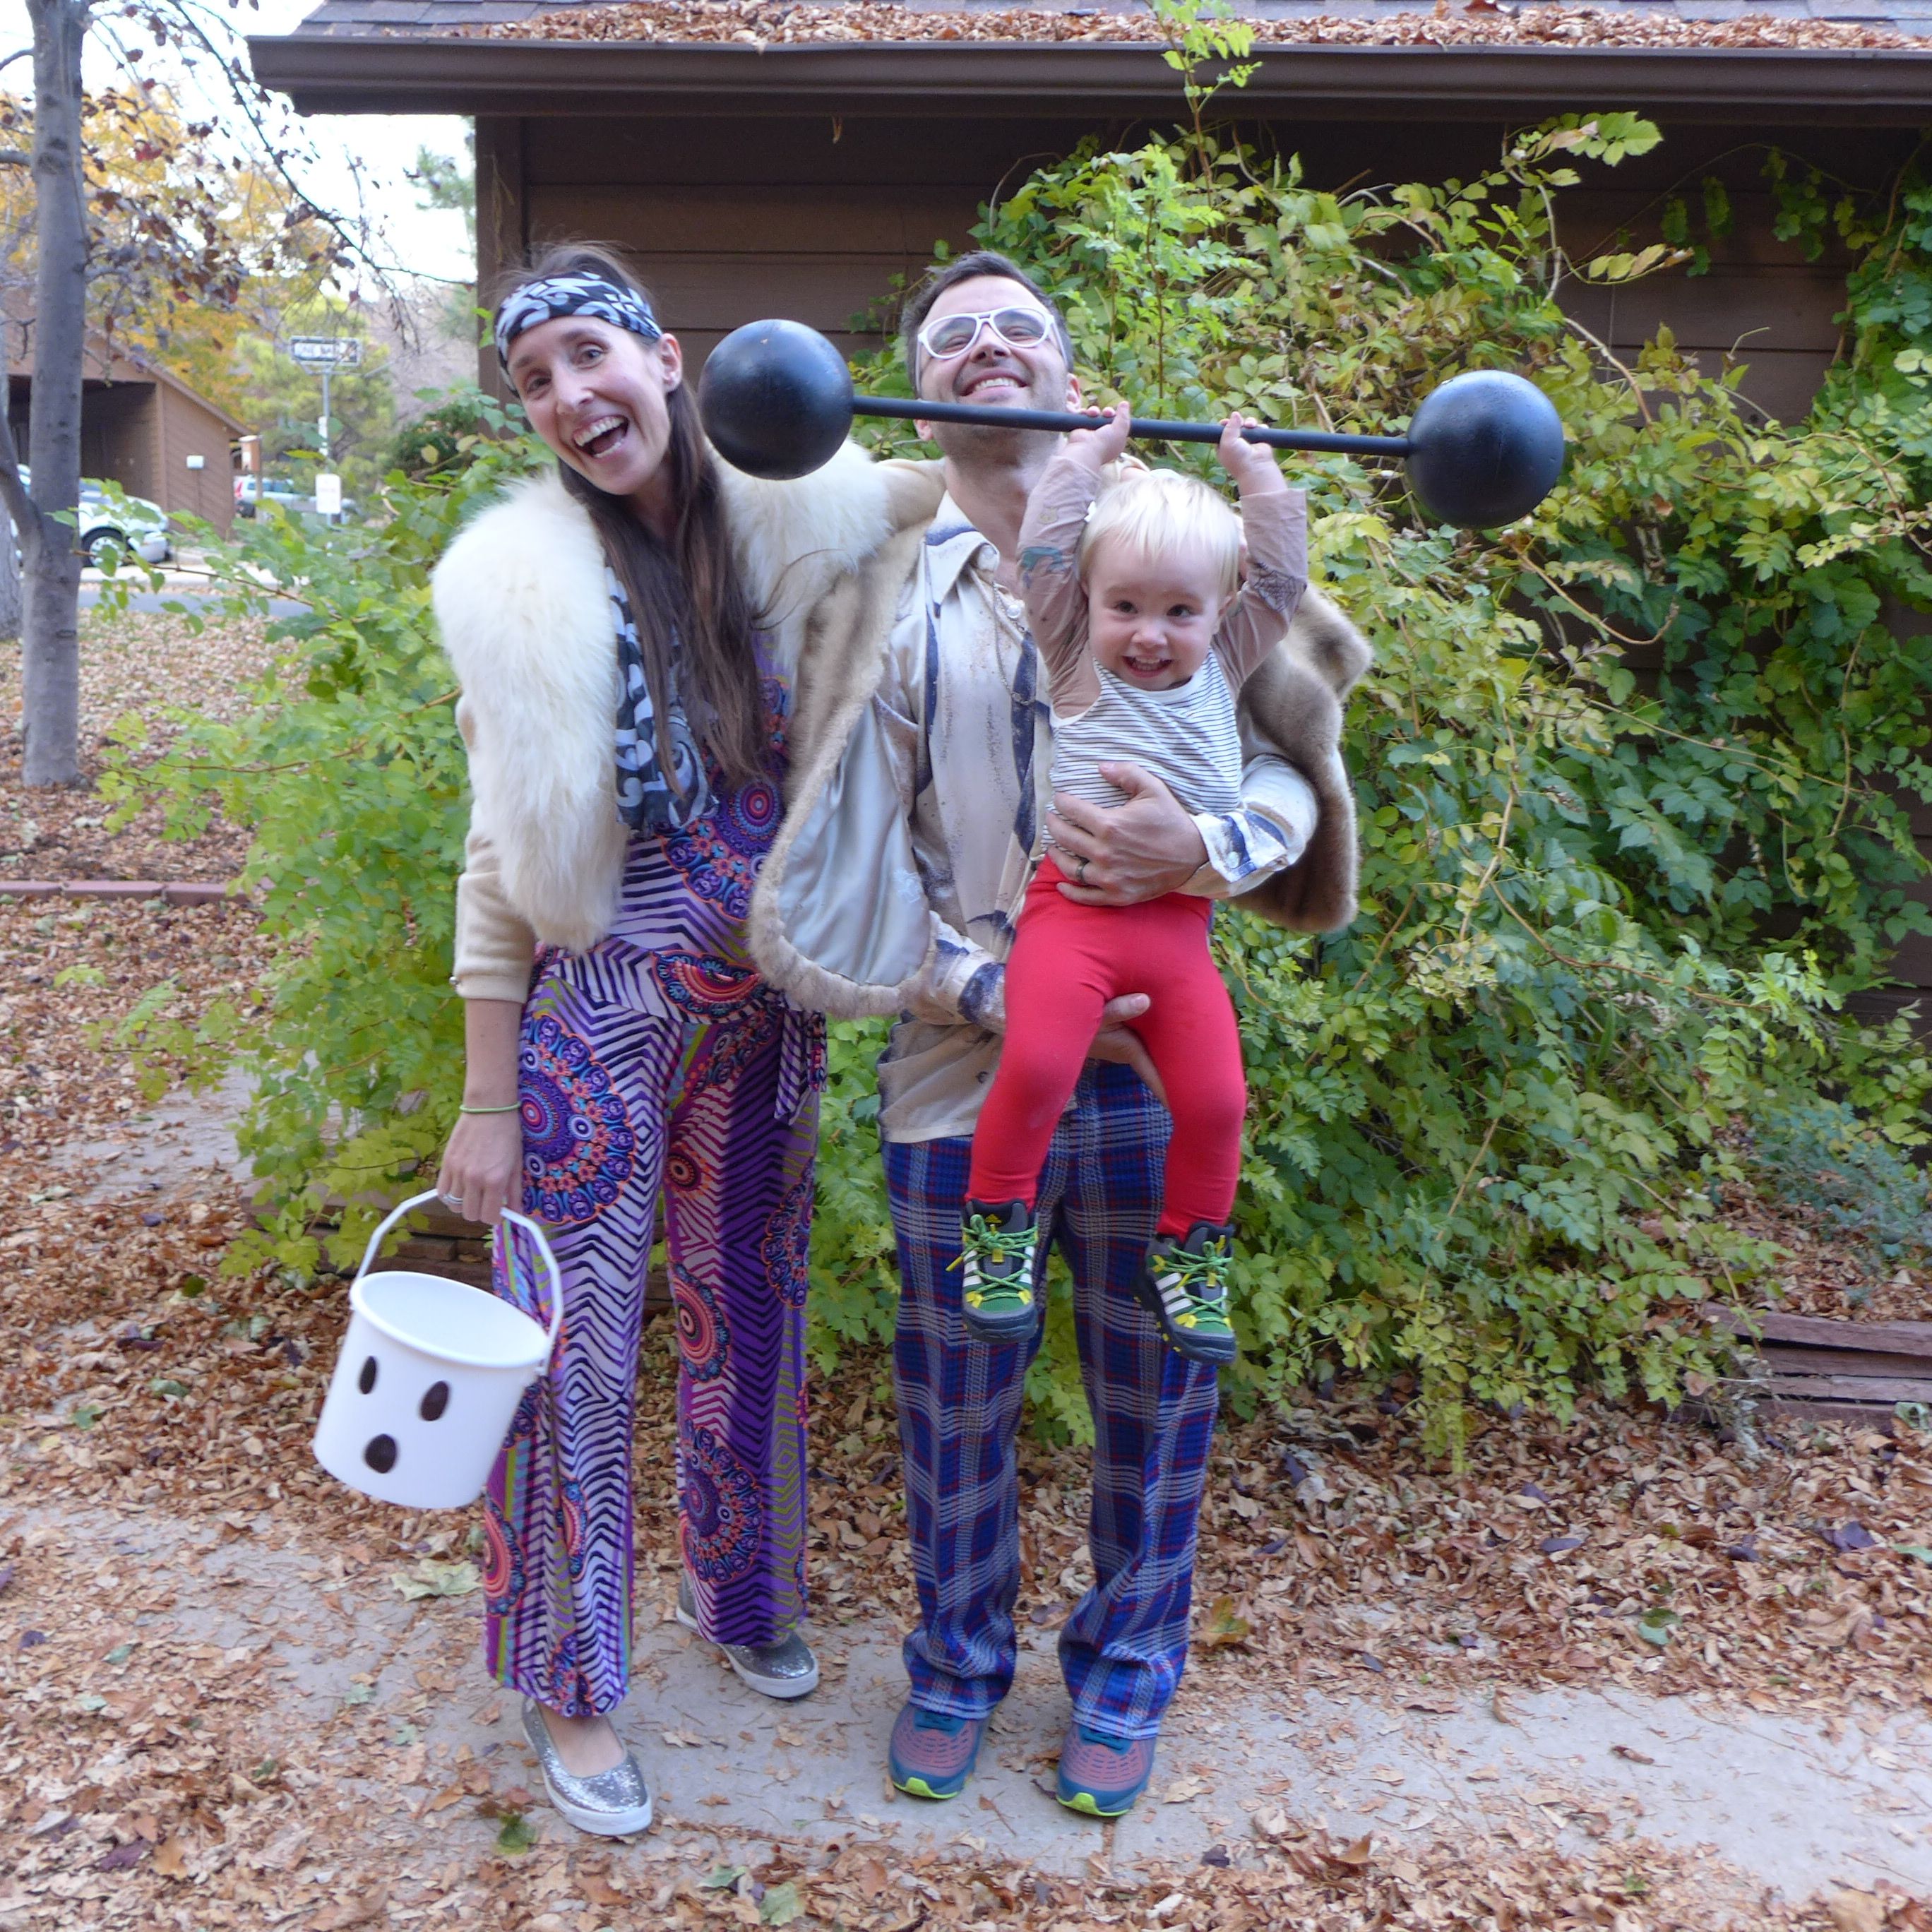
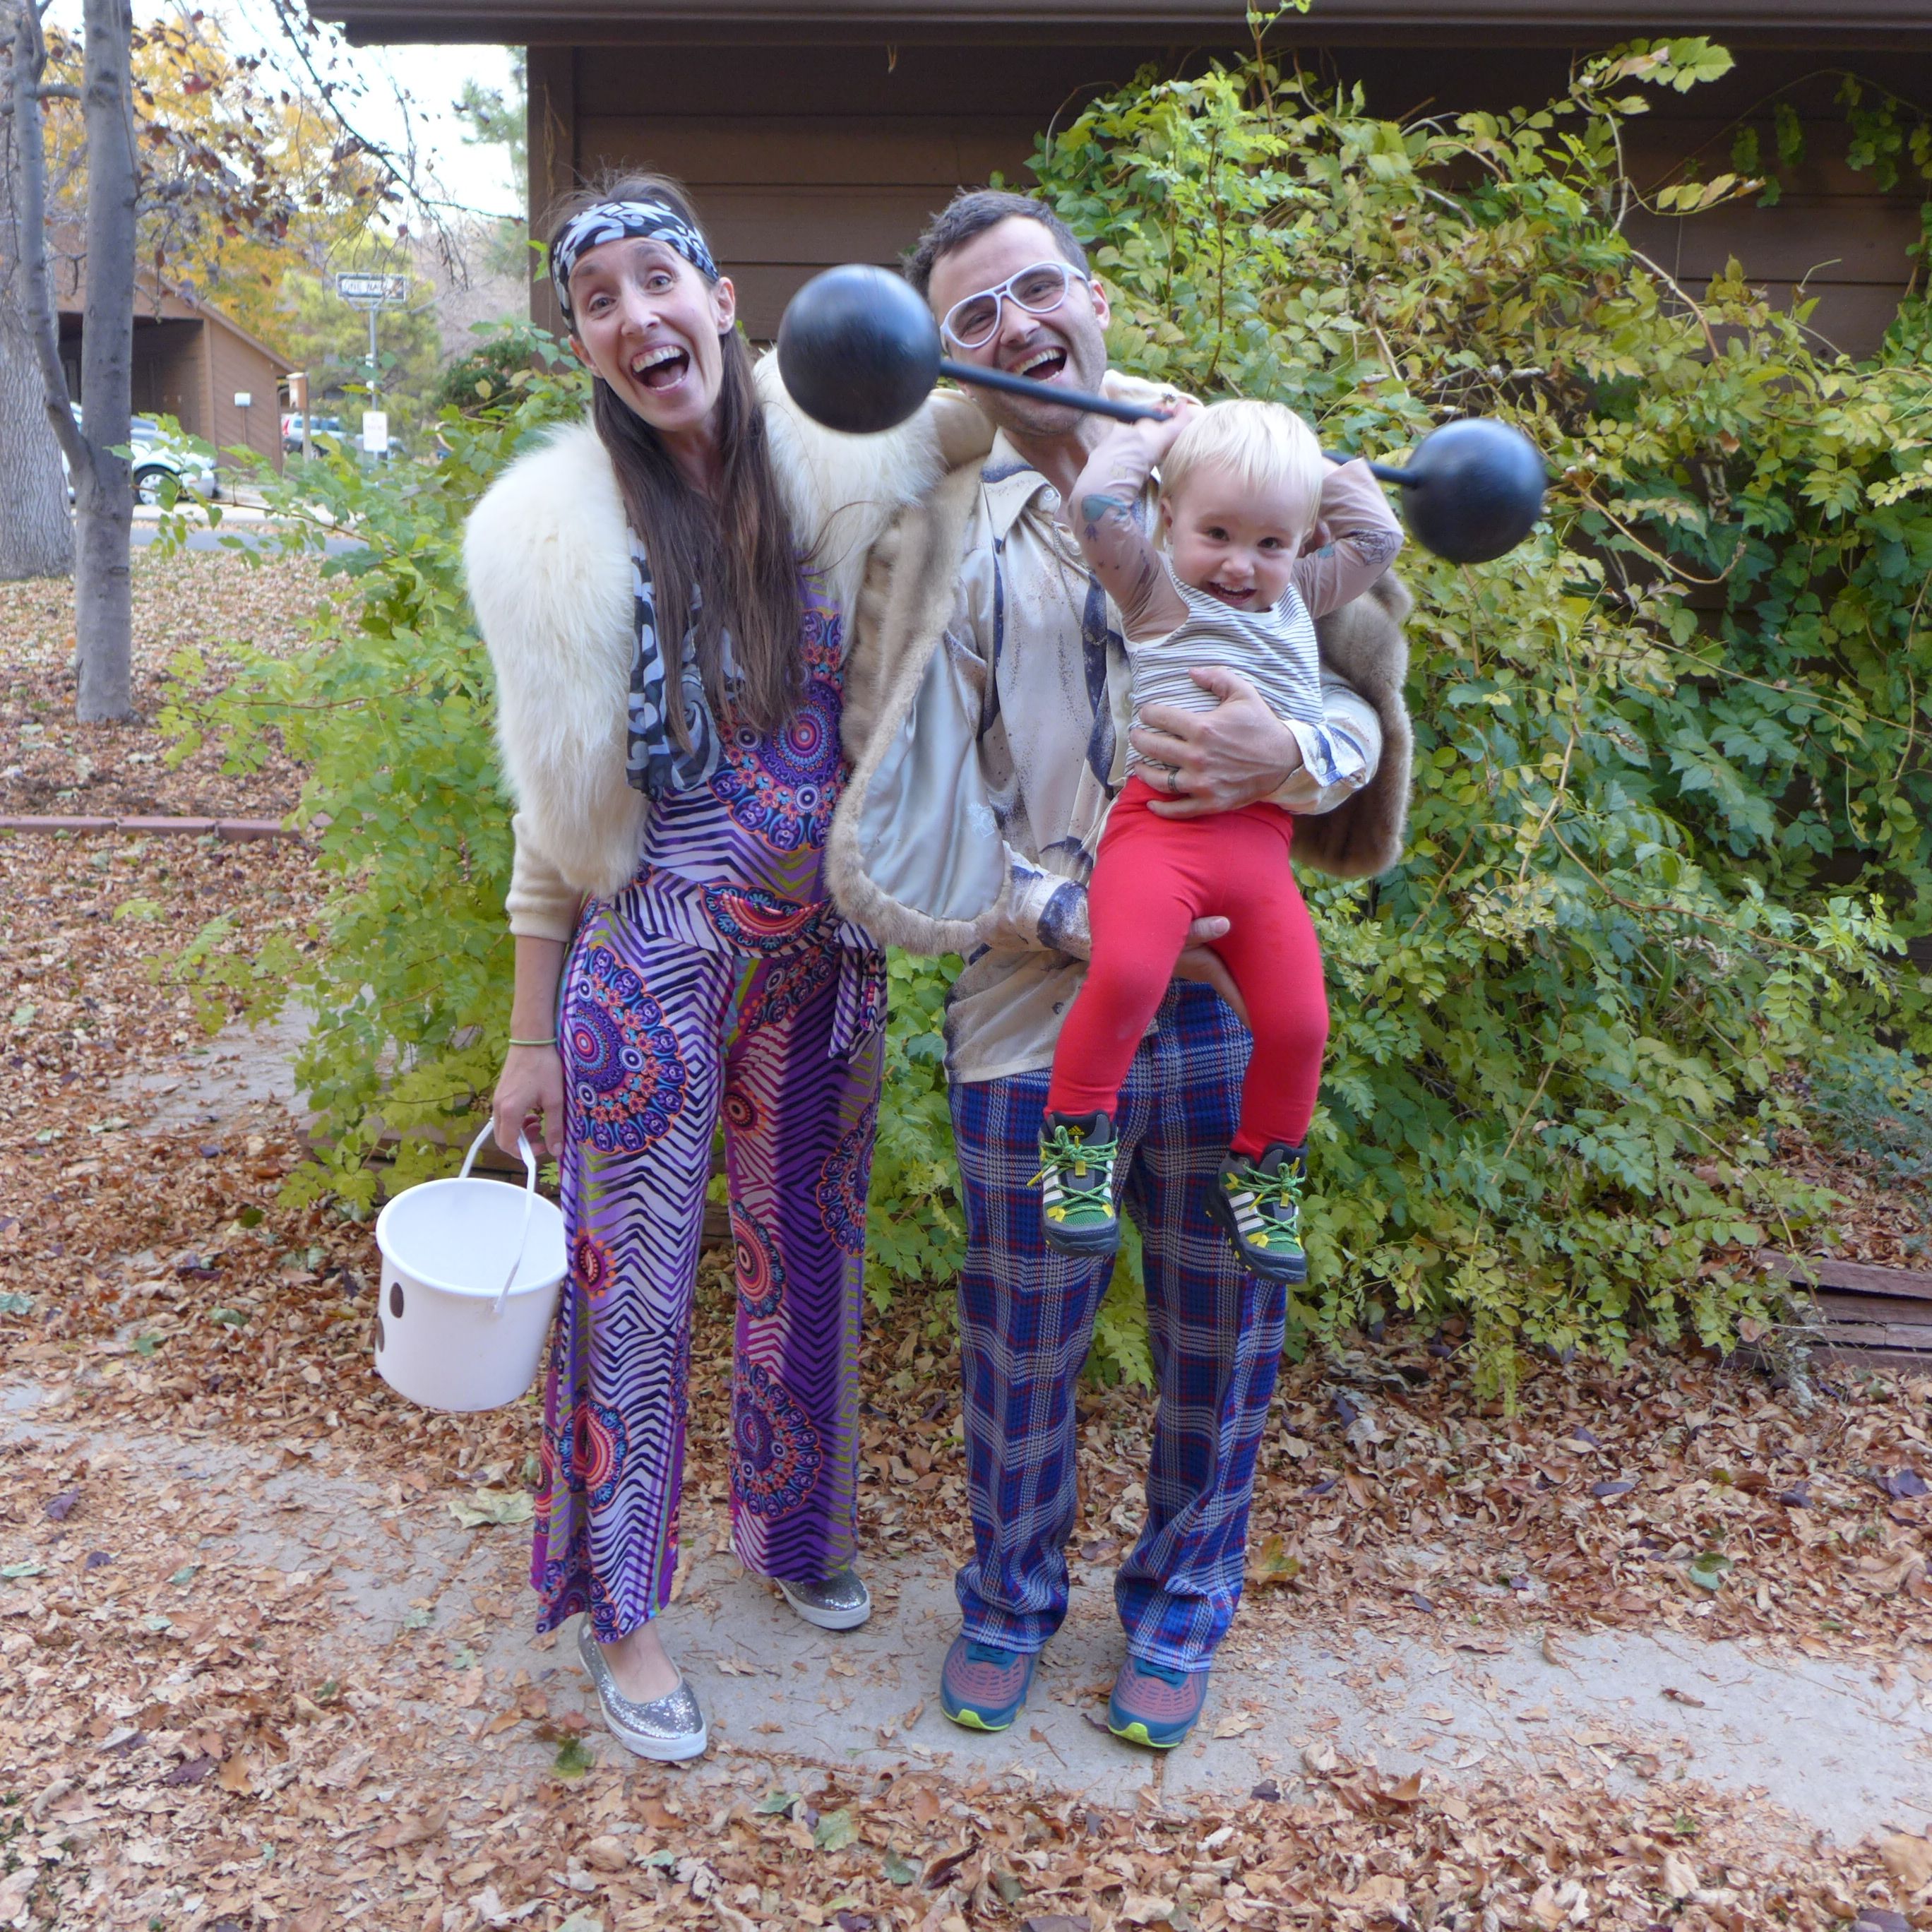
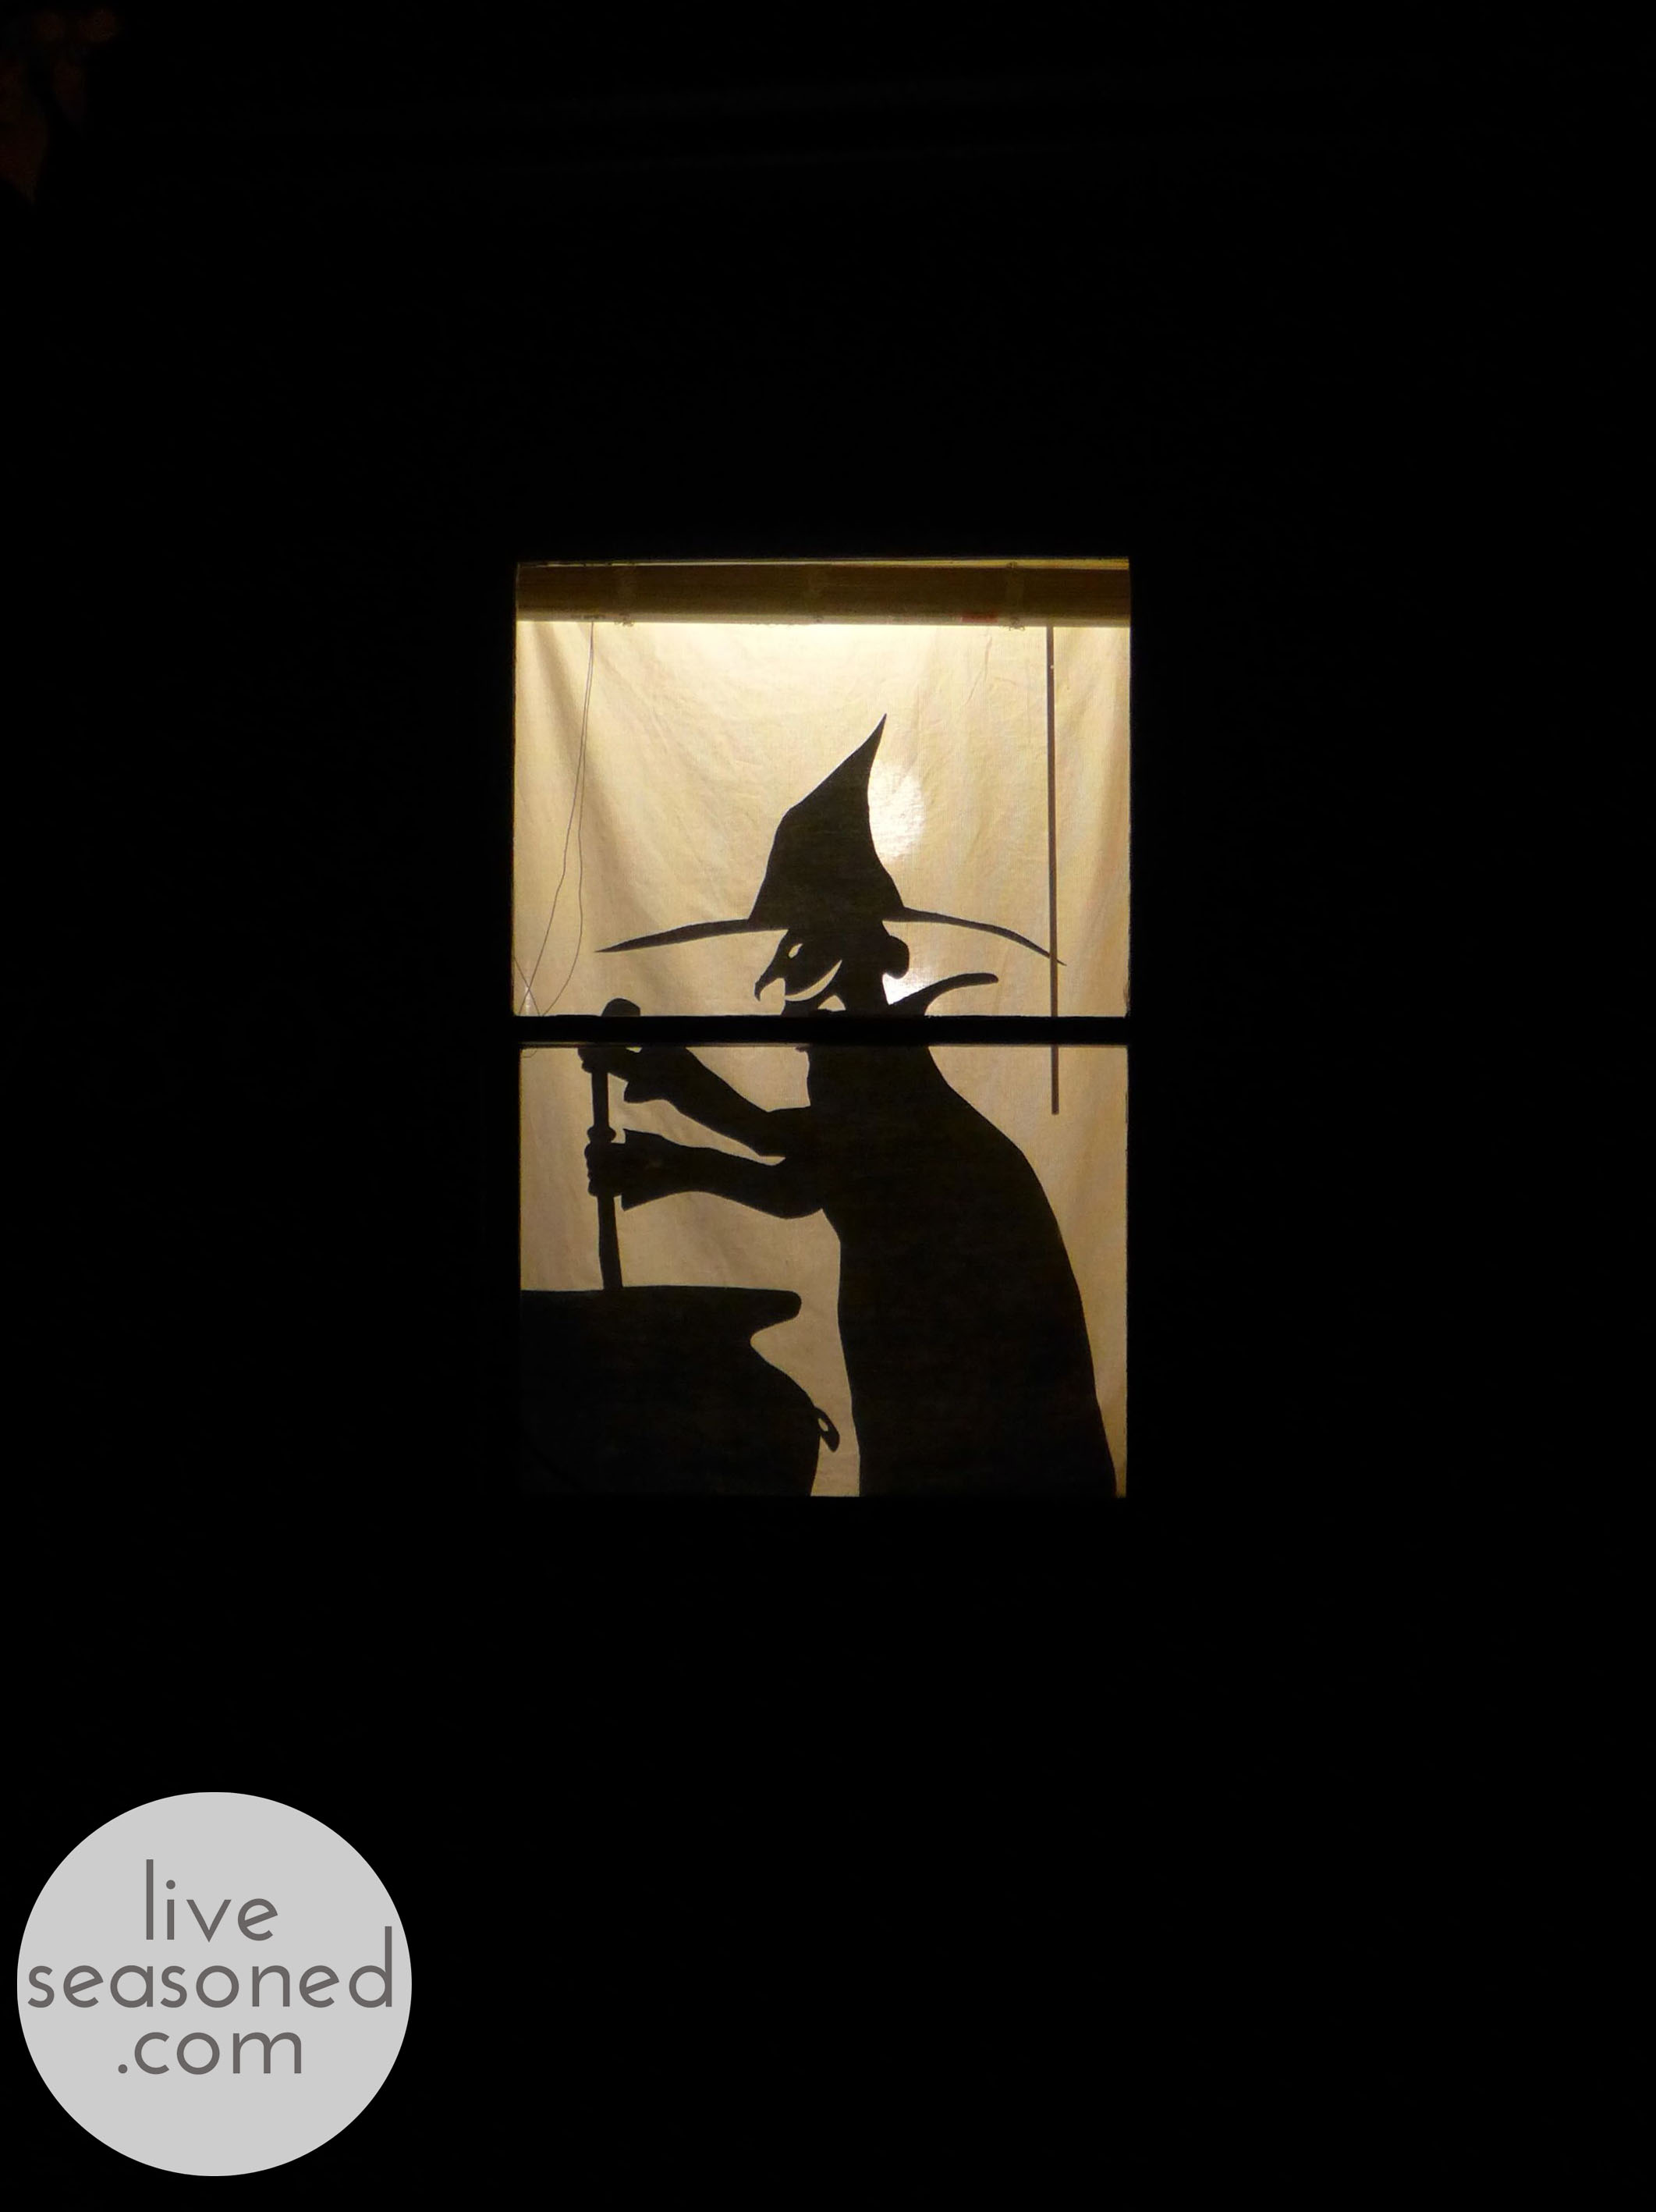
And speaking of cuteness, here we are on Friday night, just before going trick-or-treating at the most amazing/bizarre house (we only went to two houses, because that was more than enough for the little guy).

halloween_fall2014_family

Funny thing, I had just finished Alex’s barbell (two styrofoam balls and a wooden dowel spray painted black), so this is his first time holding it. As we were about to take the picture, we told him to hold his barbell in the air, and he surprised everyone by doing it!  So that’s us, surprise smiling/laughing as he performs on cue.

halloween_fall2014_family2

After these photos, he was more than happy to walk down the street holding his barbell and lifting it up whenever prompted. What a little guy! And what a great Halloween.

A Bewitching Window!

Other than decorating our mantel, my Halloween preparations have been totally stalled, but with Halloween so close I really wanted to do something at the front of our house. We have a small porch area and a single window that faces the sidewalk. I was extra motivated to make this happen because we’re also close to the mailbox cluster, so a lot of neighbors pass by, and I wanted them to see something fun. I haven’t made any progress on the ghosts I mentioned, but while walking the Halloween isles I came up with an idea for the window : create a fabric panel with a witch silhouette! 


I know that they sell window silhouettes, and some look like they’re great (a full-window design with a translucent background), but others are just the silhouette, so if you don’t have translucent shades or a curtain, the silhouette won’t have as much of an impact because peepers will be distracted by everything else in your window (know what I mean?). Plus, I thought it would be a creative challenge, and if it worked I would be able to re-use it for years!

I’m going to share my general how-to and materials, but not a specific pattern. This is such a simple project that you should be able to easily tailor it to your window and decoration theme (bats! ghosts! ghouls!).

liveseasoned_fall2014_halloweenwitch1_wm

Materials & Tools

  • thin white or creme colored fabric measured an inch wider and at least two to three inches longer than your window. It will be enough to cover your window with a half inch seam along the two sides and bottom and a to sew a wider “hem” in the top for a tension rod.
  • black fabric large enough for your design
  • Heat’n’Bond large enough for your design. I accidentally bought the thin version that you can sew through, but you should buy the thicker stuff that doesn’t require sewing (note, I still didn’t sew mine, but I’m worried that it might not bond as well over the long run).
  • pencil
  • ruler (optional)
  • scissors
  • sewing machine and thread

liveseasoned_fall2014_halloweenwitch10_wm

How-to

  • pre-wash and iron all fabrics
  • Sew the seams around your white panel.
  • Iron the Heat’n’Bond to one side of your black fabric (it comes with instructions for iron temp and timing).
  • Draw your design on the paper of the Heat’n’Bond (This panel works when turned either way, so you don’t have to worry about your design coming out backwards – you just flip the curtain, but if you include words, then one side of your window will always read them backwards).
  • Cut out your design – cutting through the Heat’n’Bond paper and your black fabric.
  • Remove the paper backing from the Heat’n’Bond, place your silhouettes on your white panel. Iron the silhouettes following the Heat’n’Bond instructions.
  • Hang your curtain and settle in for a spooky night!

Tips & Tricks

  • I Googled “witch silhouette” and found the image that I very closely followed for this project. If you’re looking for ideas just search for “halloween silhouette” and you’re sure to find something perfect.
  • Once I had my image, I free-handed the drawing. To help with this process, I began by putting references points on the paper (for example, points where I wanted the top and brim of the hat to be, others for the hands and face, etc.). You can see them in the image above to the left. I then stood back and looked at those points to make sure that I liked the proportion and placement of my witch.
  • With those points in place I sketched a witch. I did this relatively quickly (5-10 minutes max), I didn’t go back and erase lines, and I didn’t aim for perfection. I always believe that if you give people the impression of an image they can fill in the details and overlook slight imperfections (our brother will whole-heartedly disagree with me). For example, is the bump at the back of her head a bun (my intention) or a wonky ear? You decide, but either way, you may not have focused on it until I brought it to your attention.
  • Finally, as well as giving you a paper to draw on, having the Heat’n’Bond stiffens your fabric so it also makes cutting and placing your silhouette so easy!

For being a random idea, I really love how this project turned out! It looks great in our window during both day and night. We hung the side with the silhouette facing out. So during the day, we get to see a shadowy silhouette image inside the house as the sunlight shines through, while everyone outside still sees the witch (I don’t think their view would be as good during the day if we hung it the other way around). You’ll get the same shadowy effect at night if there’s a street or porch light outside of your window. And one last hanging tip – Alex loves looking out of this window during the day, so I just use a couple of binder clips to secure the bottom of the panel to the top; it’s folded in half and we can see out of the bottom half of the window.

liveseasoned_fall2014_halloweenwitch11_wm

**Costume update: C and I felt the costume pressure when we realized that the little guy has no less than 3 costume parties to attend! So we had a brainstorming session tonight and came up with some fun ideas!