Welcome November

On the first Wednesday of each month we like to pause and take a look at what’s going on in the world around us, with a particular focus on animal activity, celestial events, and our farmers’ fields.

liveseasoned_fall2014_nov5_wm

I don’t know what happened this year, but as soon as the calendar flipped to November I had a twinge of nervousness that the season’s passing to quickly. Did you feel that way? It’s the mix of looking forward to and preparing for Christmas while at the same time trying to live in the moment and enjoy every bit of the slow days before Thanksgiving. In an effort to mix the two, I have big plans for long evenings in front of the fire slowly crafting away on holiday projects… we’ll see how that goes. It was nice to look through photos from Novembers past and realize just how much we are able to pack into this one month. From the ones I’m sharing in this post, it’s a pretty even mix of travel, time outside, and of course, the Christmas prep that I love. I hope your month is a mix of all the good things you love too.

We’ve had such a mild fall in Boulder so far, it’s hard to believe that at the end of the month we’ll be visiting Calder’s family in CA, where, if we’re lucky we’ll be knee deep in snow, risking our life sledding, and (unsuccessfully) dodging stray snowballs!

Earth & Sky

As the seasons change from summer to winter, fall is another important and busy time for migrating animals. I thought it would be fun to move from land to sea this month and look up the migration activities of animals that live in or are closely linked to an ocean.

Humpback Whales

Every year populations of humpback whales cross the Pacific from north to south as they move from their summer feeding grounds along the shores of Alaska and Russia to their winter breeding grounds off the coasts of Hawaii, Mexico, and Asian Pacific Islands.


The largest winter calving grounds are in the waters around Hawaii, and particularly off the island of Maui in the Humpback Whale Marine Sanctuary. You can expect the first whales to begin arriving in these waters by September or October, but you are guaranteed to see them starting in November. The whales will stay in the area through May, birthing their young and teaching them basic behaviors, from breaching to tail and fin slapping. If you’re lucky enough to vacation in Hawaii this winter, listen for the male humpbacks singing!

Christmas Island Red Crabs

Christmas Island, located in the Indian Ocean, is home to an endemic species of land-dwelling crabs. For most of the year, the crabs live a solitary life inland, eating leaves and flowers, but every year between October and January, the crabs migration en mass to the coast to mate and spawn. With a population of over 40 million crabs all moving at once, this migration is awe-inspiring, and can cause a bit of a headache for local travels. The crabs can take-over roadways, and often roads that cross their migration route are closed off to let the crabs pass. The start of the migration coincides with the wet season on the Island. Generally, the crabs have to be very conservative with their movements in order to conserve body moisture, but with the rains, they are able to move more freely and make the migration to the coast.

Once at the beach, the male crabs will create a burrow where they will mate with the female crabs. After mating, the males will return to the forest while the females will stay in the burrows for up to two weeks as the eggs develop. The females will then deposit their eggs in the ocean where the larva will hatch and spend 3-4 weeks before returning to land as young crabs. What’s really interesting about the whole event is that the female crabs deposit their eggs in the ocean precisely at the turn of high tide during the last quarter of the moon!

Understanding the timing of that activity, the possible spawning dates for this year are October 19th, November 18th, or December 18th. It all depends upon when the rains begin to fall.

Fields & Festivals

I think of November and I think about good, hearty, home-cooked meals. What about you? Our farm share continues to deliver into December, so I’ve started researching some new-to-me savory veggie recipes for the season. On Monday I made my own version of this savory galette using fresh kale, leeks, and butternut squash. Tonight it’s a spinach and salmon quiche, and tomorrow it’s short ribs with a side of roasted acorn squash.
liveseasoned_fall2014_welcomenov1_wm

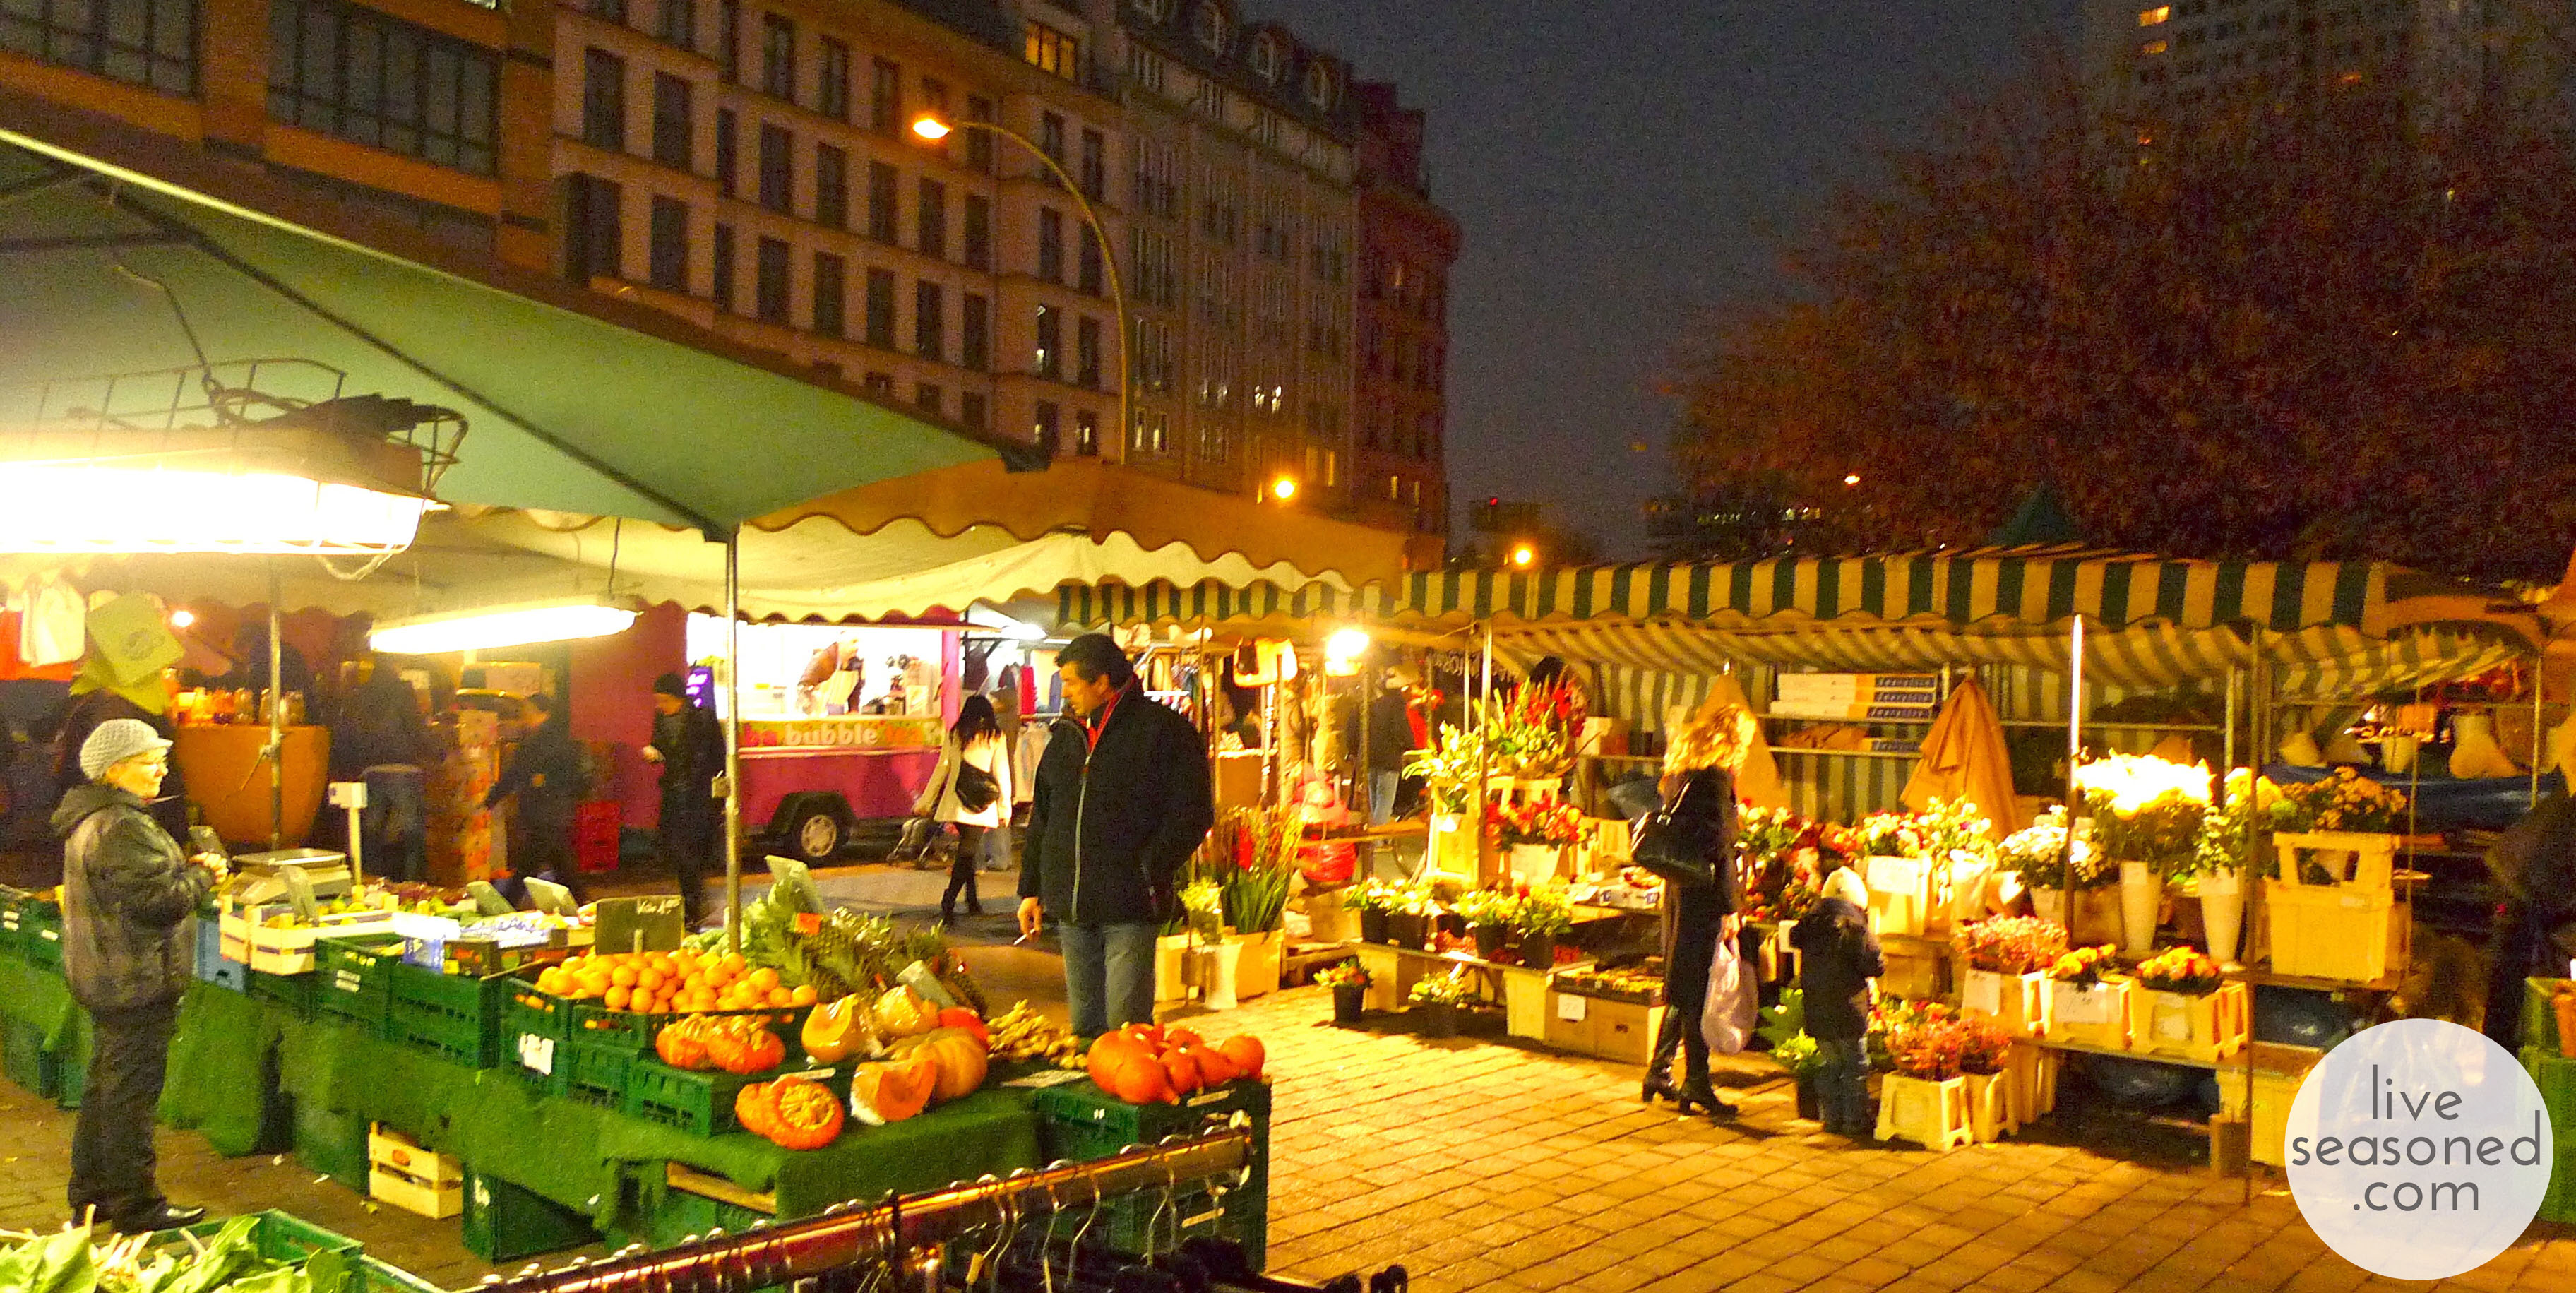
There are still plenty of veggies coming out of the farmers’ fields, and plenty going into storage for the winter, so don’t reduce yourself to iceberg lettuce and applies shipped from New Zealand yet! If you’re lucky, your local farmer’s market may still be in operation. Don’t wait to get out there and pick up something fresh. I took the photo above at an evening market in Berlin as I passed through a couple years ago for work.
liveseasoned_fall2014_nov7_wm

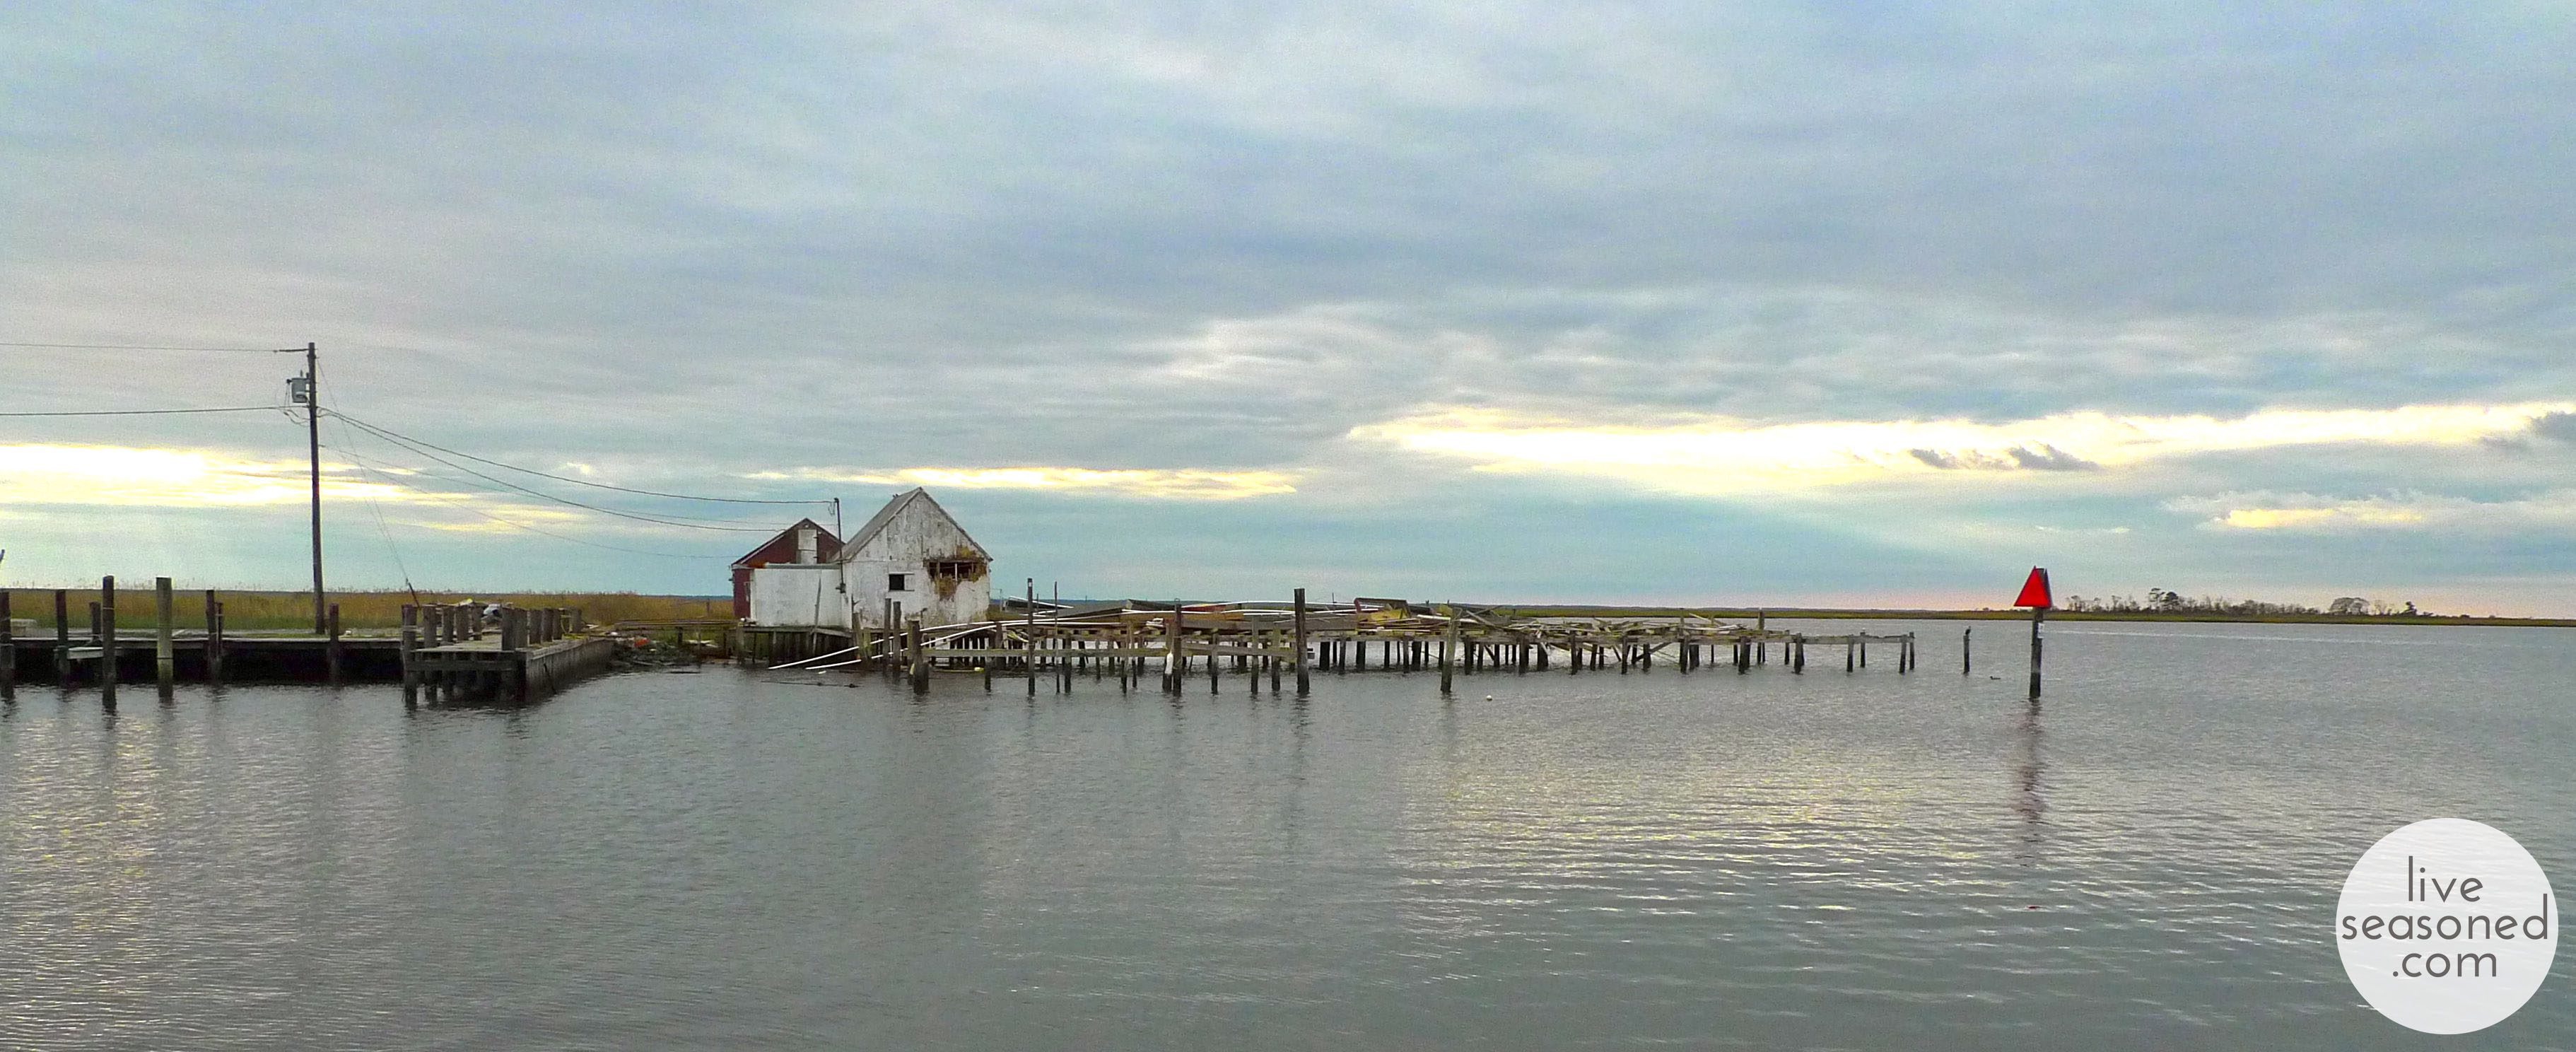
When it comes to festivals, there are still some great food-focused events going on. Sarah’s heading to Saxis (photo above taken as the sun rose over the town’s marina two Novembers ago) to hit up the Saxis Oyster festival this weekend! If you’re looking for something fun to do this weekend, you may find the calendar dominated by craft fairs and festivals – we think they’re a great way to support independent artists and pick up unique gifts for holiday giving. Below are a few we would love to check out. If there’s anything fun going on in your area, let us know!

liveseasoned_fall2014_nov6_wm


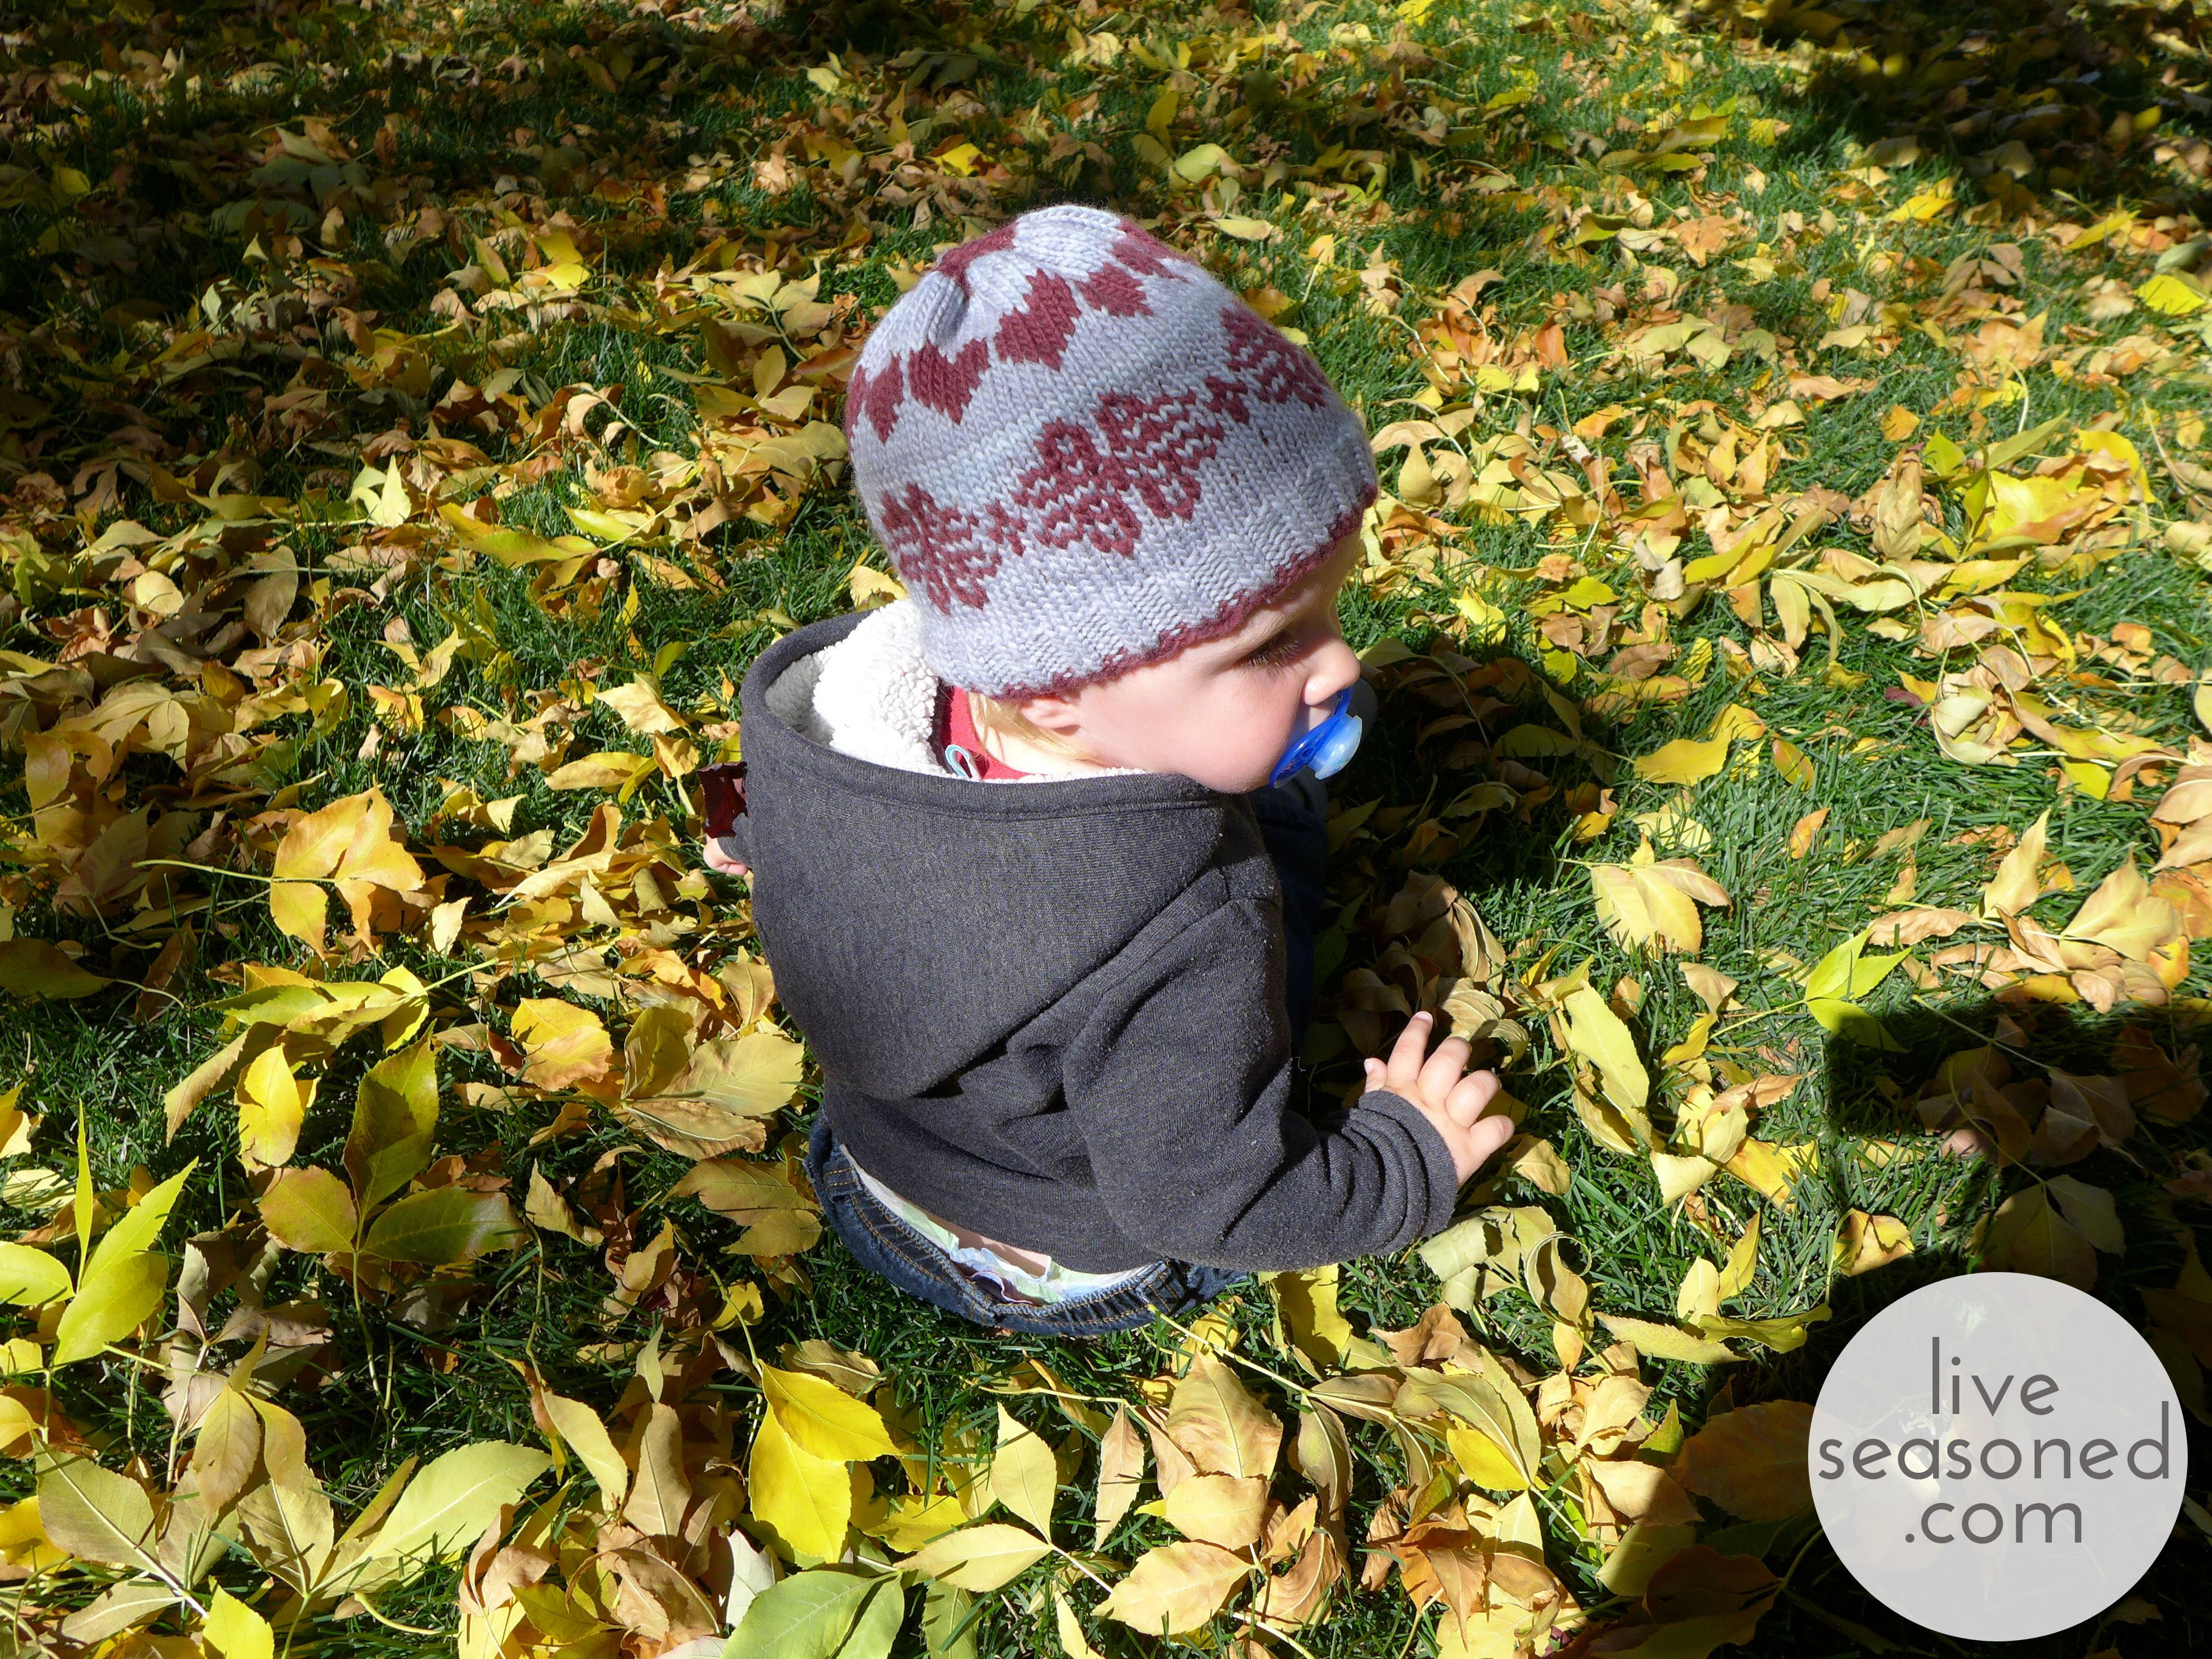
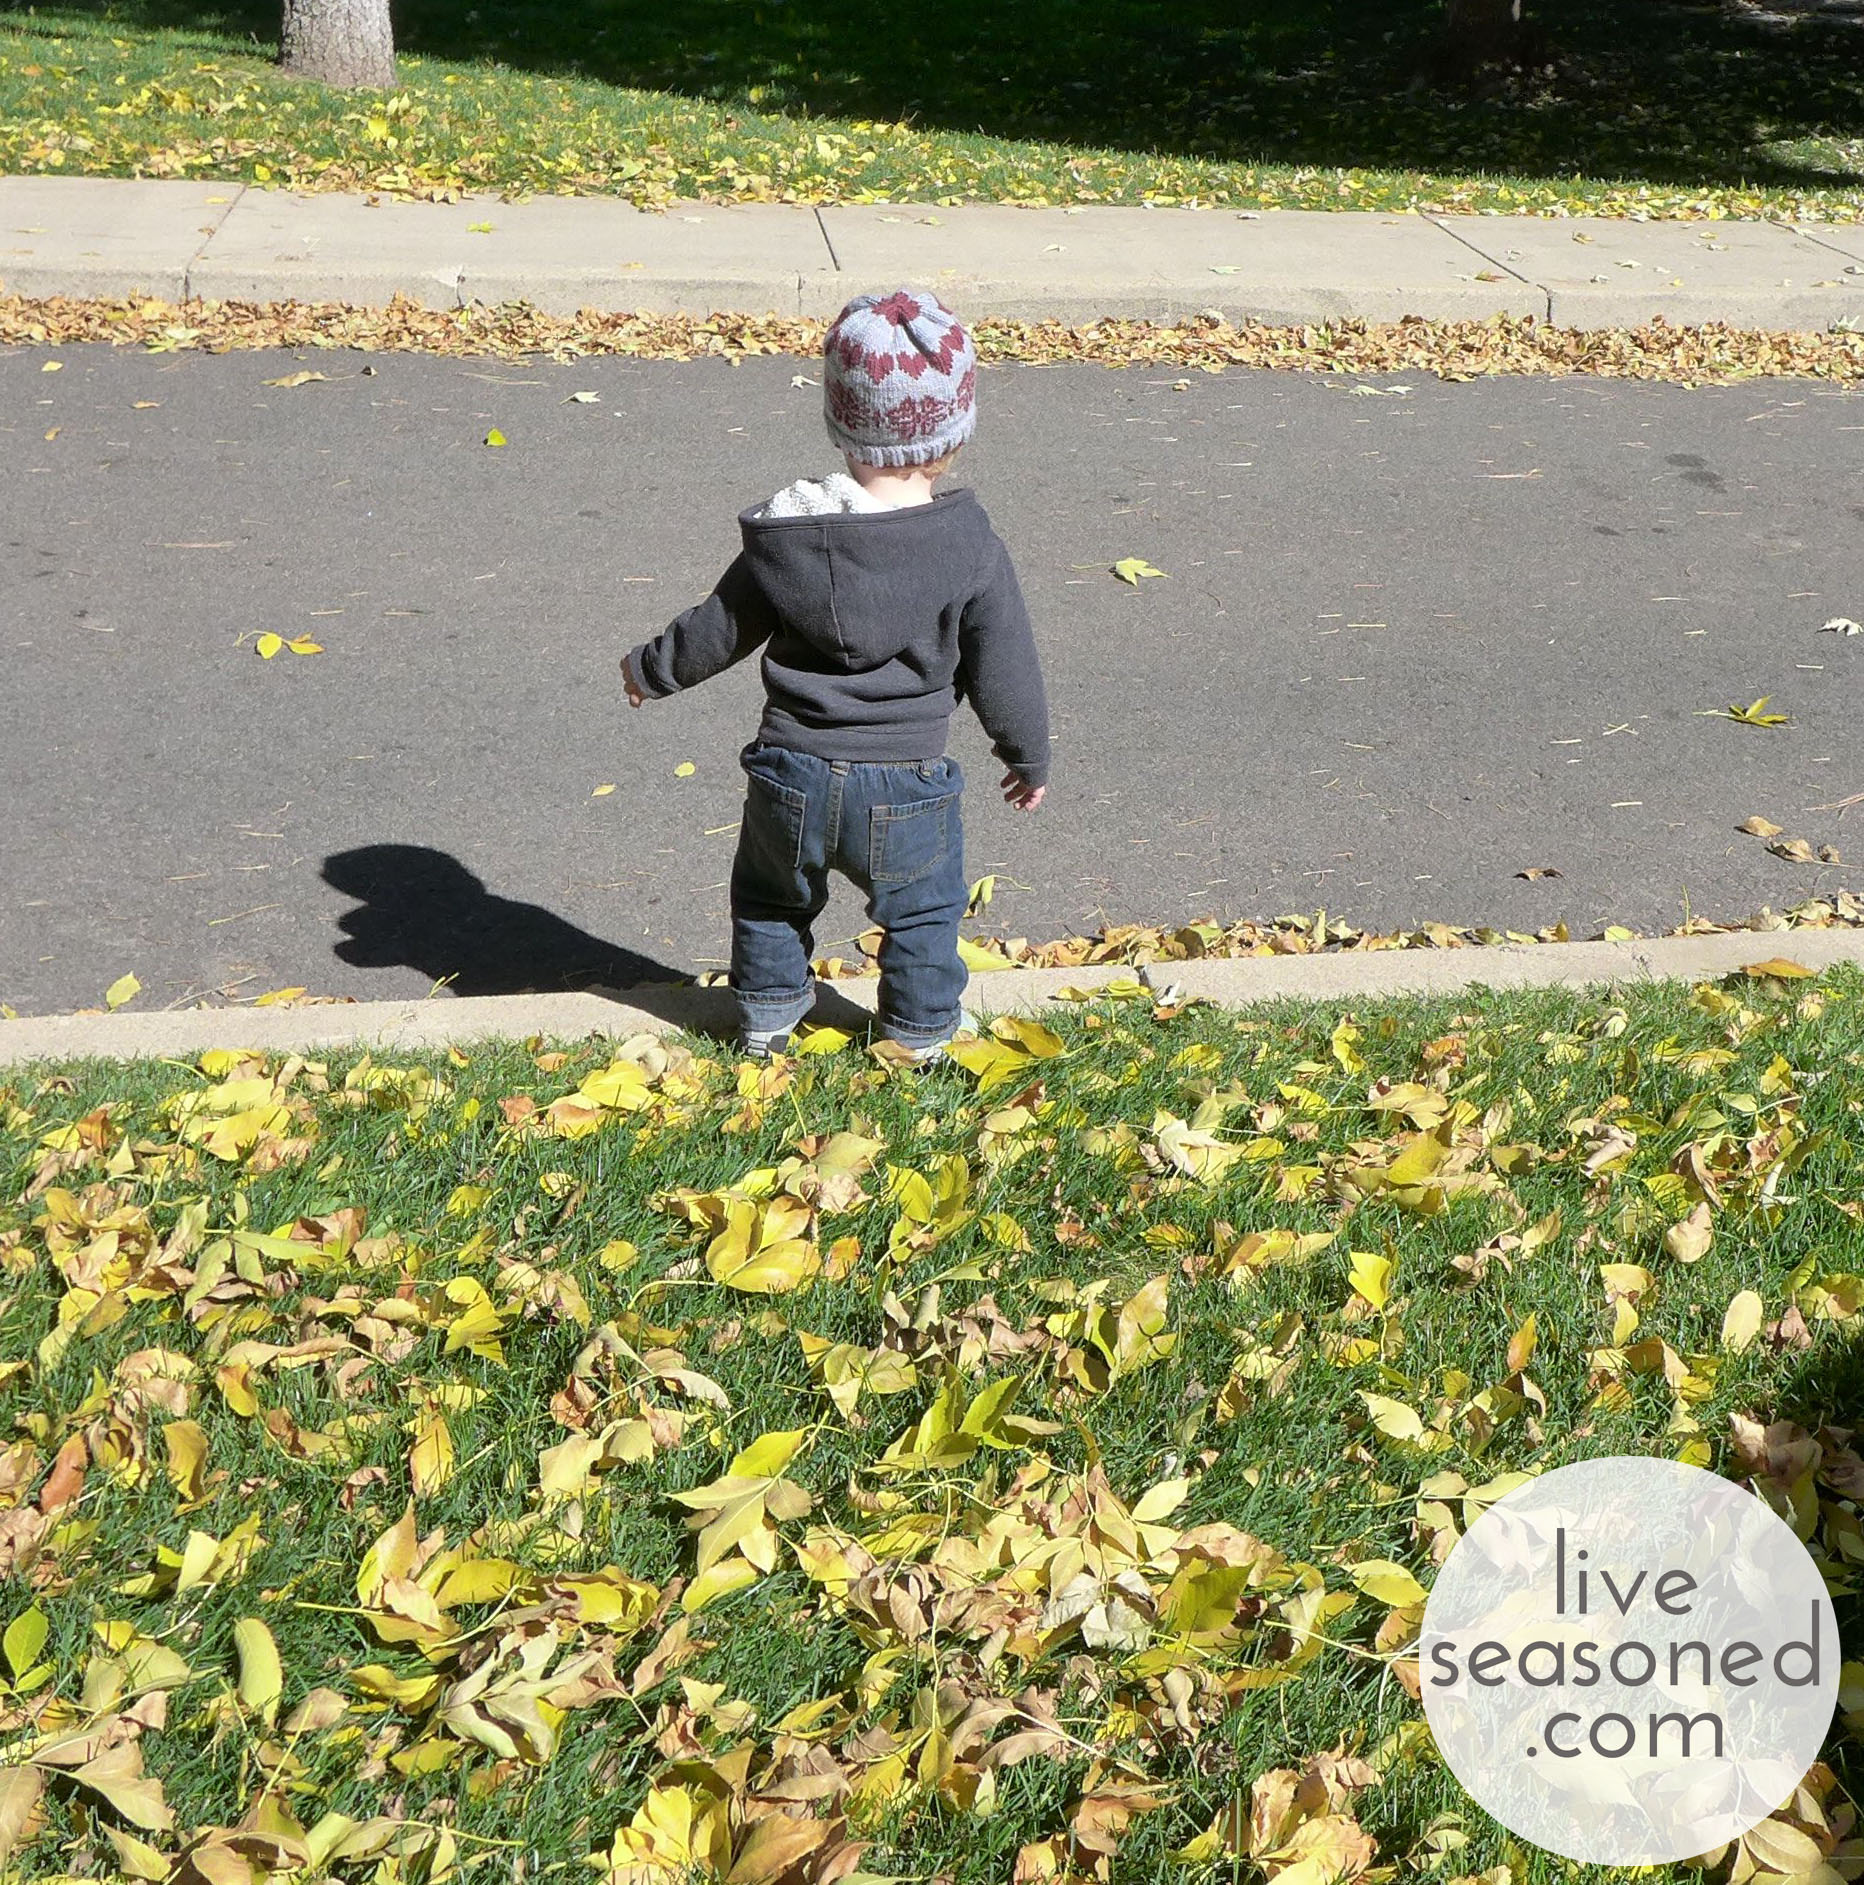
As I’m signing off, I’m thinking about ways to wrangle this baby-turned-toddler for some Christmas card photos!

Whale map from KQED. Whale image from Animalians wikispace. Red Crab image from here.

Post-Halloween Costume Update

Last Monday I shared a progress post of our Halloween costumes. At that point Little A’s disco ball costume was all ready to go, but his strong man still needed some work. Today I’m back to share the final strongman costume and some family photos from our fun weekend.

halloween_fall2014_family3

Here we are, ready for the disco, and I have to mention that Alex’s costume really worked like a disco ball! On Saturday we went to a party at our friend’s house, which had plenty of large windows and sliding doors facing the setting sun. Anytime Alex would walk past a window or in/out the doors, his shirt would reflect sunlight all over the room, just like a disco ball! Needless to say, everyone, especially the adults in the room, loved it!

Finishing the Strongman

When we left off, I had the onesie and leggings for Alex’s costume, but was still working on his tattooed arms. I made the original set shown in the previous costume post out of a pair of women’s stockings, but they were pretty large, so the tattoos were super wrinkly unless I decided to stuff the arms and give him BIG muscles. I thought about stuffing them, but knew that our finicky guy might refuse that look, so I decided to go back to the store and pick up a pair of girl’s stockings.

After buying them, I immediately realized a second benefit – if I turned the stockings upside down, and cut a hole in the crotch area, I could slide the one piece over Alex’s head rather than cut off the stocking legs to create two sleeves (that I would then have to attach to the onesie in order to keep them up)! win. win. In addition to cutting the hole for his head, I cut off the tighter elastic material around the stocking’s waist area as well as cutting off the toe seams.

I then drew the tattoos (a heart, cloud with lightening, kite, mermaid, whale, sailboat, anchor, spiderweb, rose, stars, and a shell). I only drew the tattoos from his shoulder area down to about his wrist, this still left a bit of stocking length, and rather than cut it off, I folded it under the sleeves to create a double layer for added warmth. They were still a touch wide for his arms, but his cuteness totally distracted anyone from noticing ;-).

And speaking of cuteness, here we are on Friday night, just before going trick-or-treating at the most amazing/bizarre house (we only went to two houses, because that was more than enough for the little guy).

halloween_fall2014_family

Funny thing, I had just finished Alex’s barbell (two styrofoam balls and a wooden dowel spray painted black), so this is his first time holding it. As we were about to take the picture, we told him to hold his barbell in the air, and he surprised everyone by doing it!  So that’s us, surprise smiling/laughing as he performs on cue.

halloween_fall2014_family2

After these photos, he was more than happy to walk down the street holding his barbell and lifting it up whenever prompted. What a little guy! And what a great Halloween.

Two Bits

Each Friday we share some tidbits from our week.  We want to break down these internet barriers and invite you into our lives and we’re hoping you’ll do the same.  You are welcome to share a bit of your week or day in the comments, or if they’re better represented by a photo, tag us on instagram @liveseasoned

Katie here :

Weren’t Sarah’s photo tips from yesterday great? I’m still trying to figure out how to put them into practice with a running toddler. I place him in that nice big shady spot and he runs towards the sun! So over the past week I’ve taken plenty of blurry shots with speckles of bright sun and shade covering the little guy’s face. Hopefully we’ll get a few great pictures tomorrow and Saturday while he’s wearing his yet-to-be-completed Halloween costumes. I know, I had all week!

And I hate to admit this, but I may have been procrastinating with the costumes because I spent way too much time this week thinking about (and scanning Pinterest for) Christmas and decorations. I’m excited to add some toddler-friendly decorations to the mix, and I’m starting to realize that the sooner I can work on them the better. You know what I’ll be doing with my 25% off coupon at Joann’s this week.

Sarah here:

mario-1-2

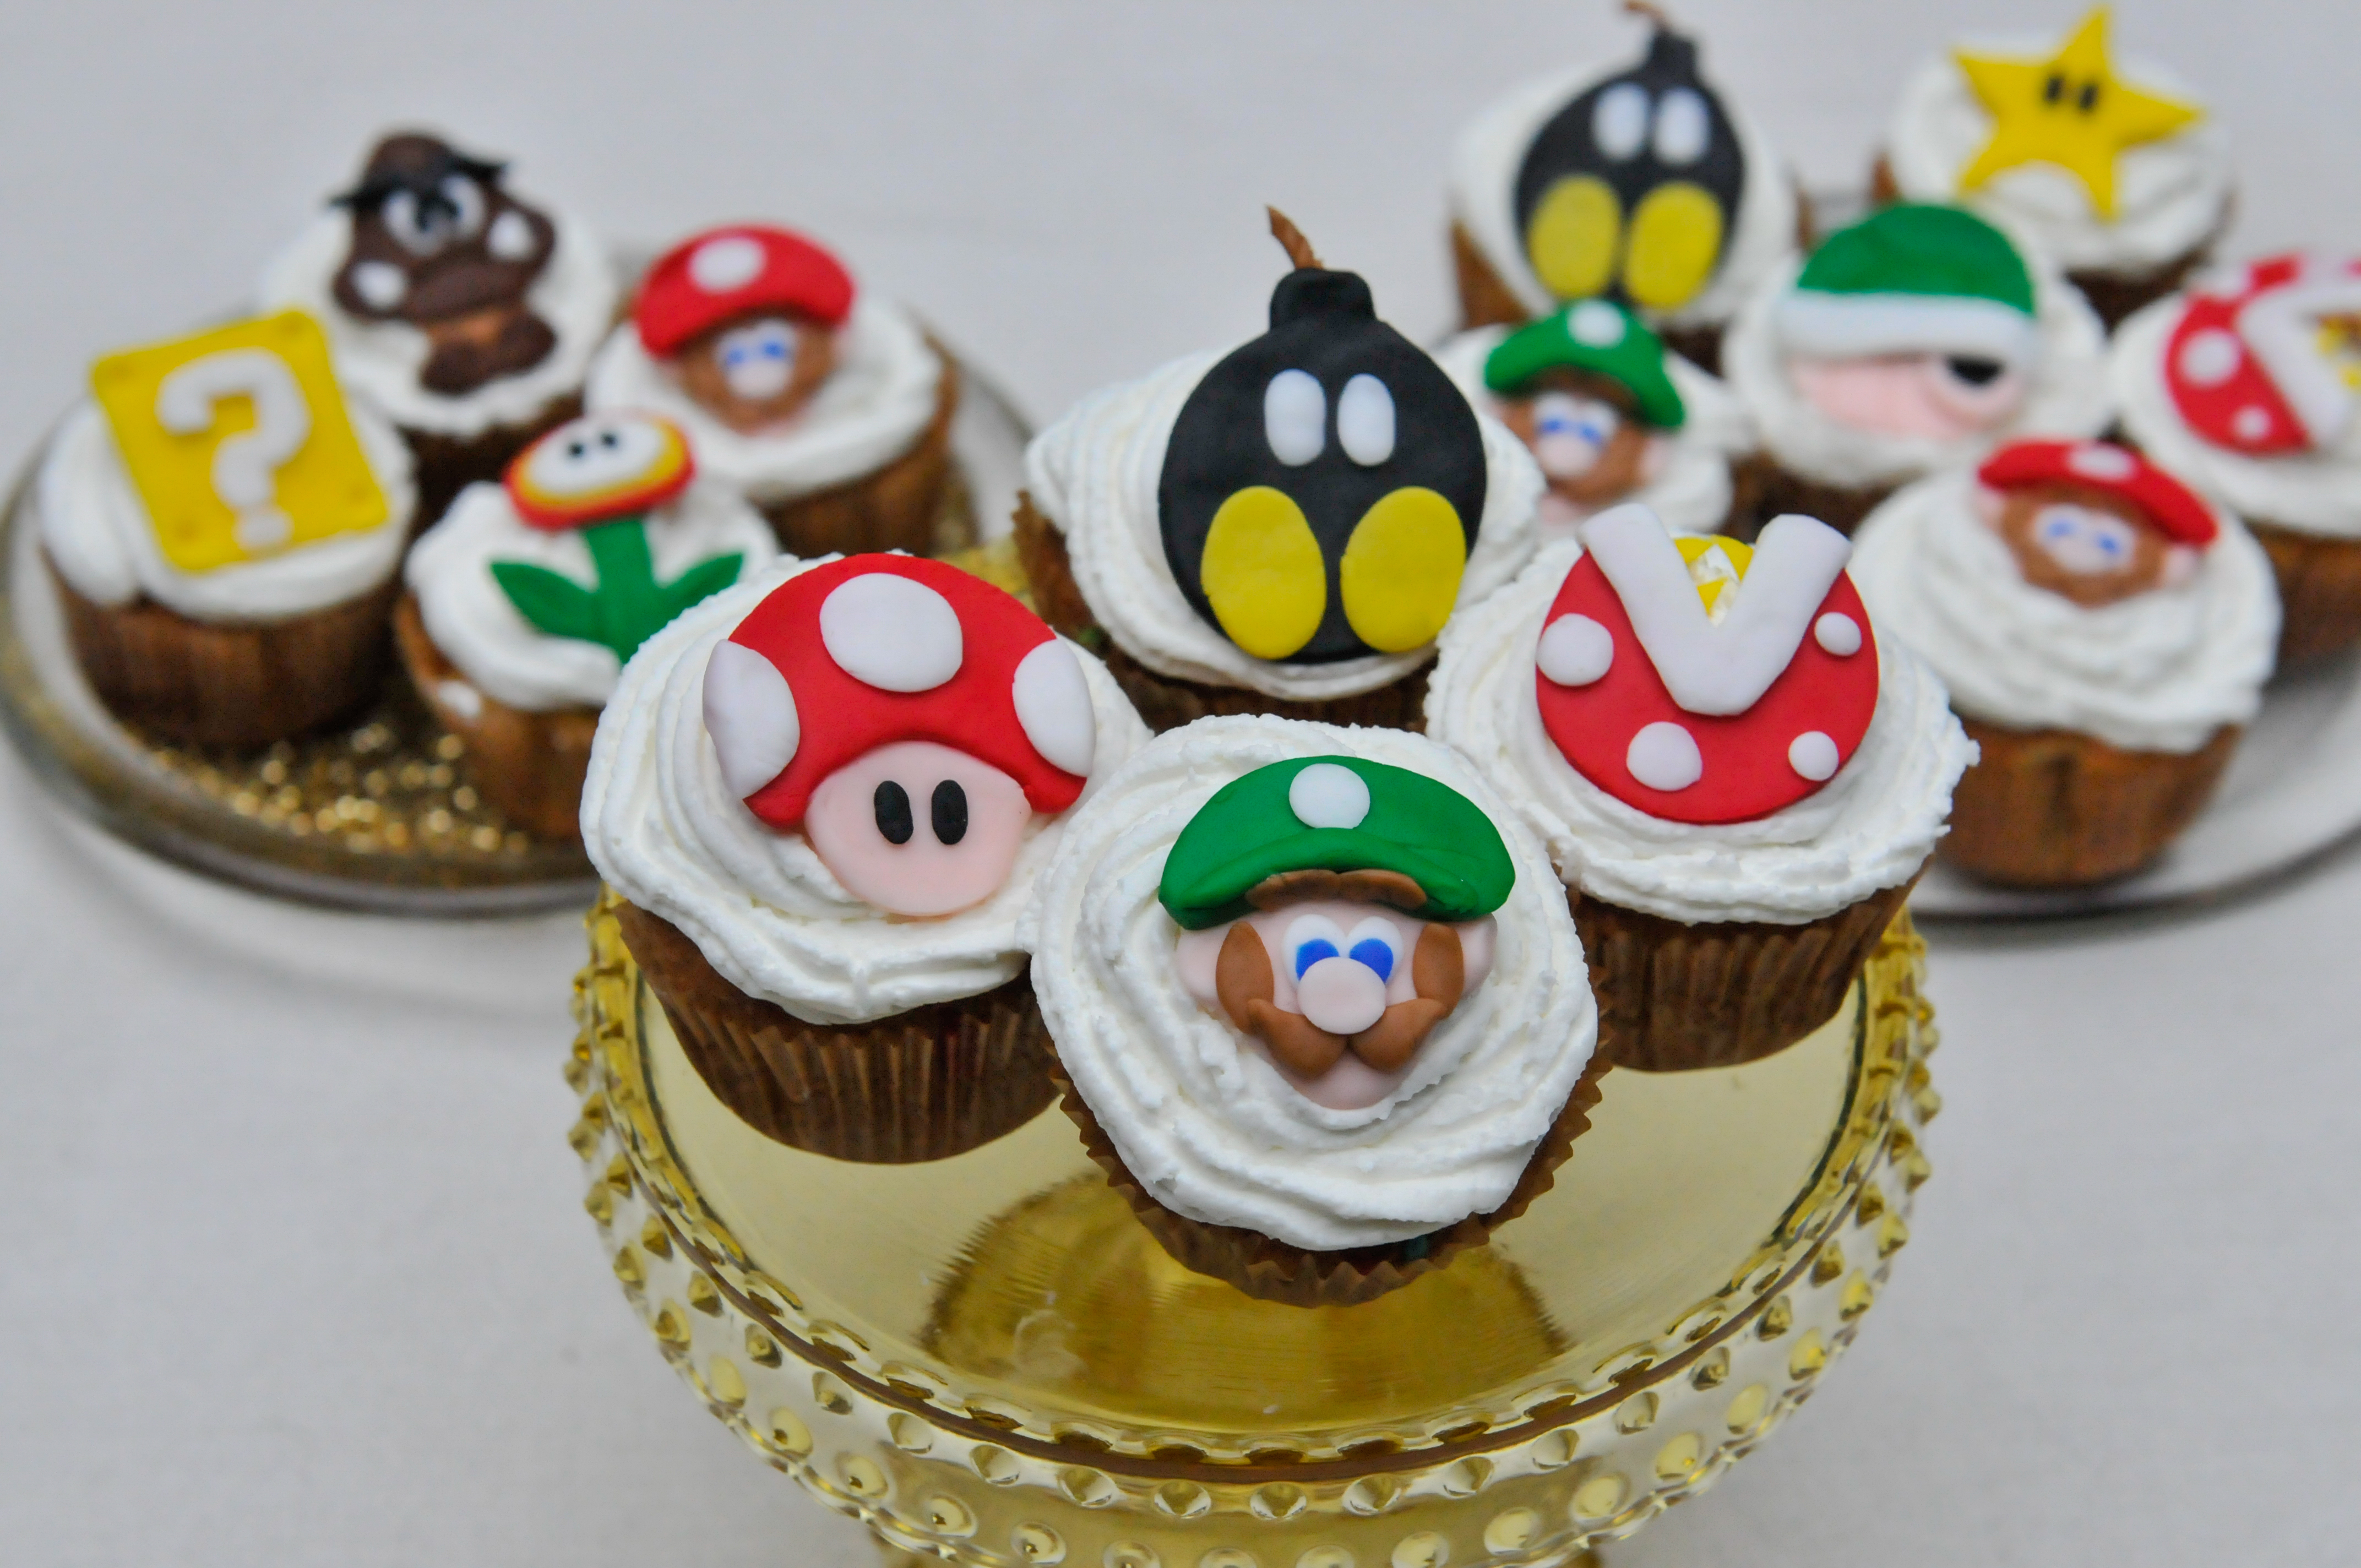
Sounds like Kate and I have had similarly productive weeks.  I made numerous trips to the craft store this week and last night I spent three hours playing around with fondant.  I made Super Mario inspired characters to adorn cupcakes for my man’s birthday this coming Saturday.  He is turning 25, but he’s really 9 at heart.

I’ve also made very little progress on my Cleopatra Halloween costume. I was making progress in the beginning of October..  I ordered a wig two weeks ago and it still hasn’t come in.  I’ve been holding off buying one just hoping that I’d wake up and it would be on my doorstep, but as of 1:10 a.m. on October 31st, I’m officially giving up hope.  I plan on going to a beauty supply store tomorrow and picking one up.  I still need to add beads and adornments to the wig; I’m inspired by this image of Elizabeth Taylor.   So far, I have gathered an old gold prom dress that I’ll be wearing along with lots of chunky gold jewelry and these amazing metallic temporary tattoos!  I’m tempted to find a curved staff stick in the woods and spray paint it gold tomorrow, but we’ll see, maybe this empress doesn’t need a staff.

Happy Halloween everyone! This is quite possibly my favorite holiday of the year! How are you celebrating? Giving out candy? Dressing up? Partying the weekend away? Sippin’ on some cider in your everyday clothes and sayin’ bah humbug or would it be booooo?

Fall Cheese Trifecta

While apples may be our ingredient of the season, cheese is definitely our snack of the season. So far we’ve spent more time exploring condiments to pair with our favorite cheese rather than the vast world of cheese varieties, but we’re ok with that, because these combinations are top notch!

liveseasoned_fall2014_cheese_applebutter6_wm

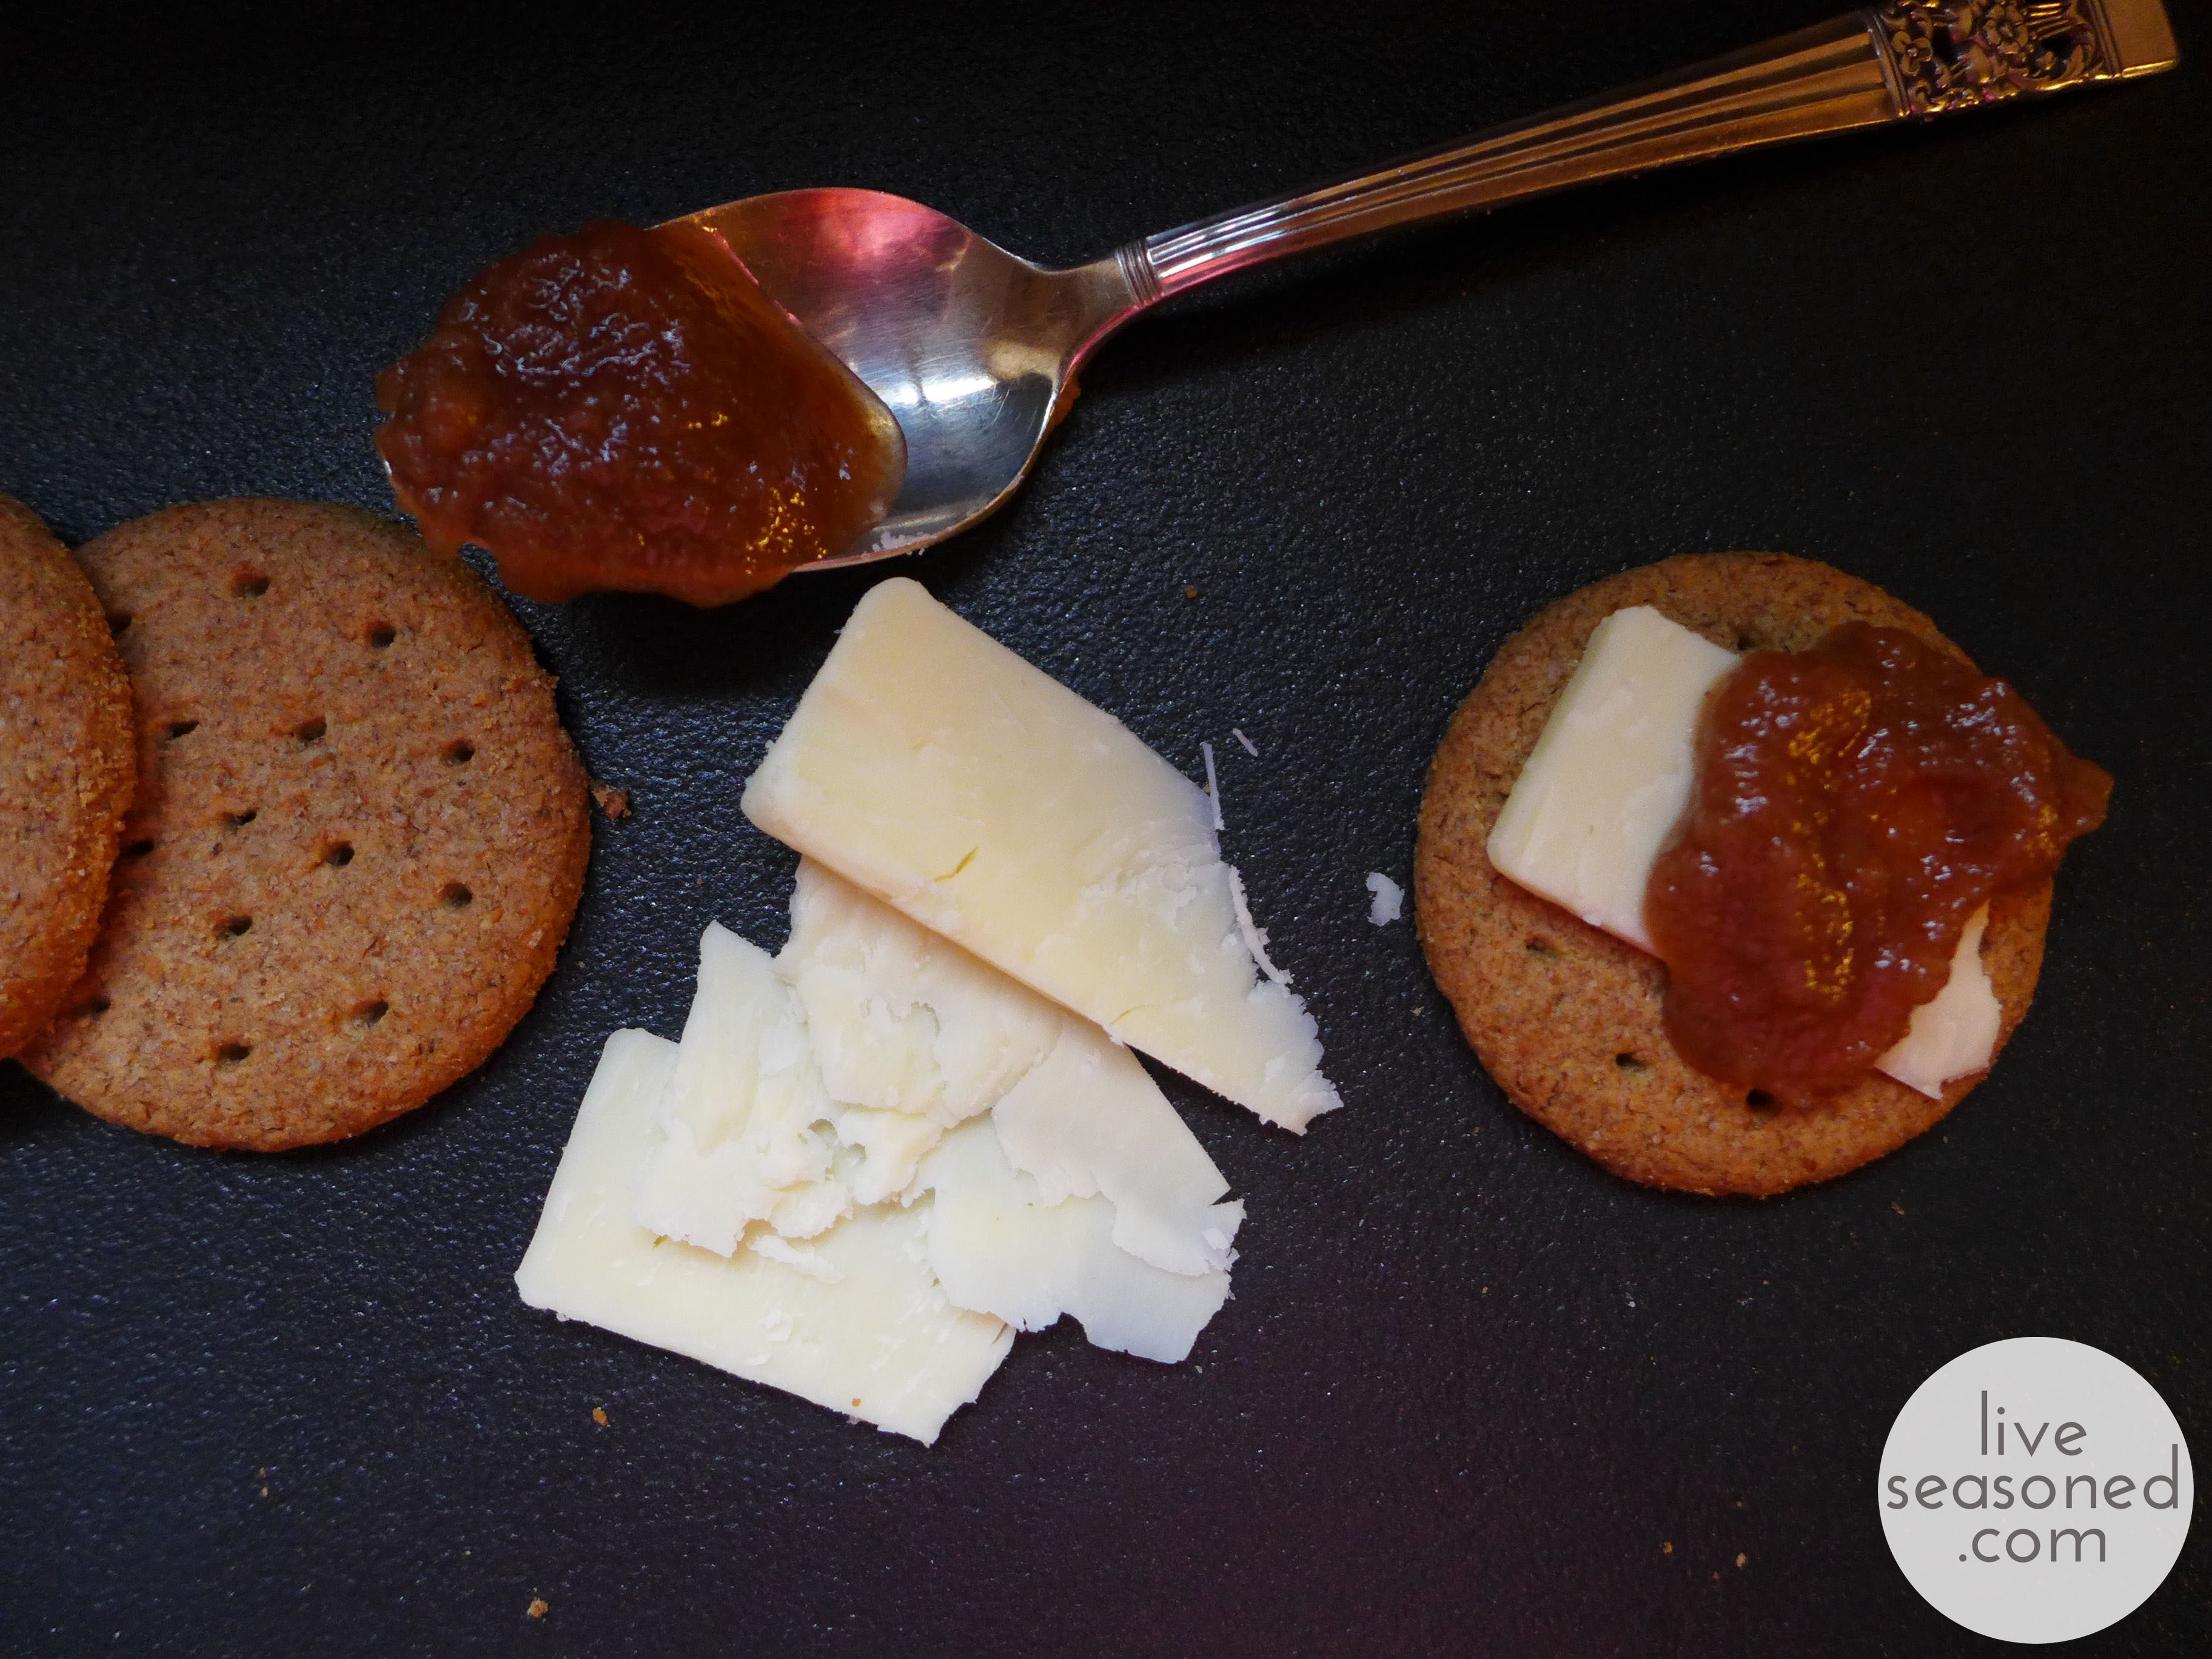
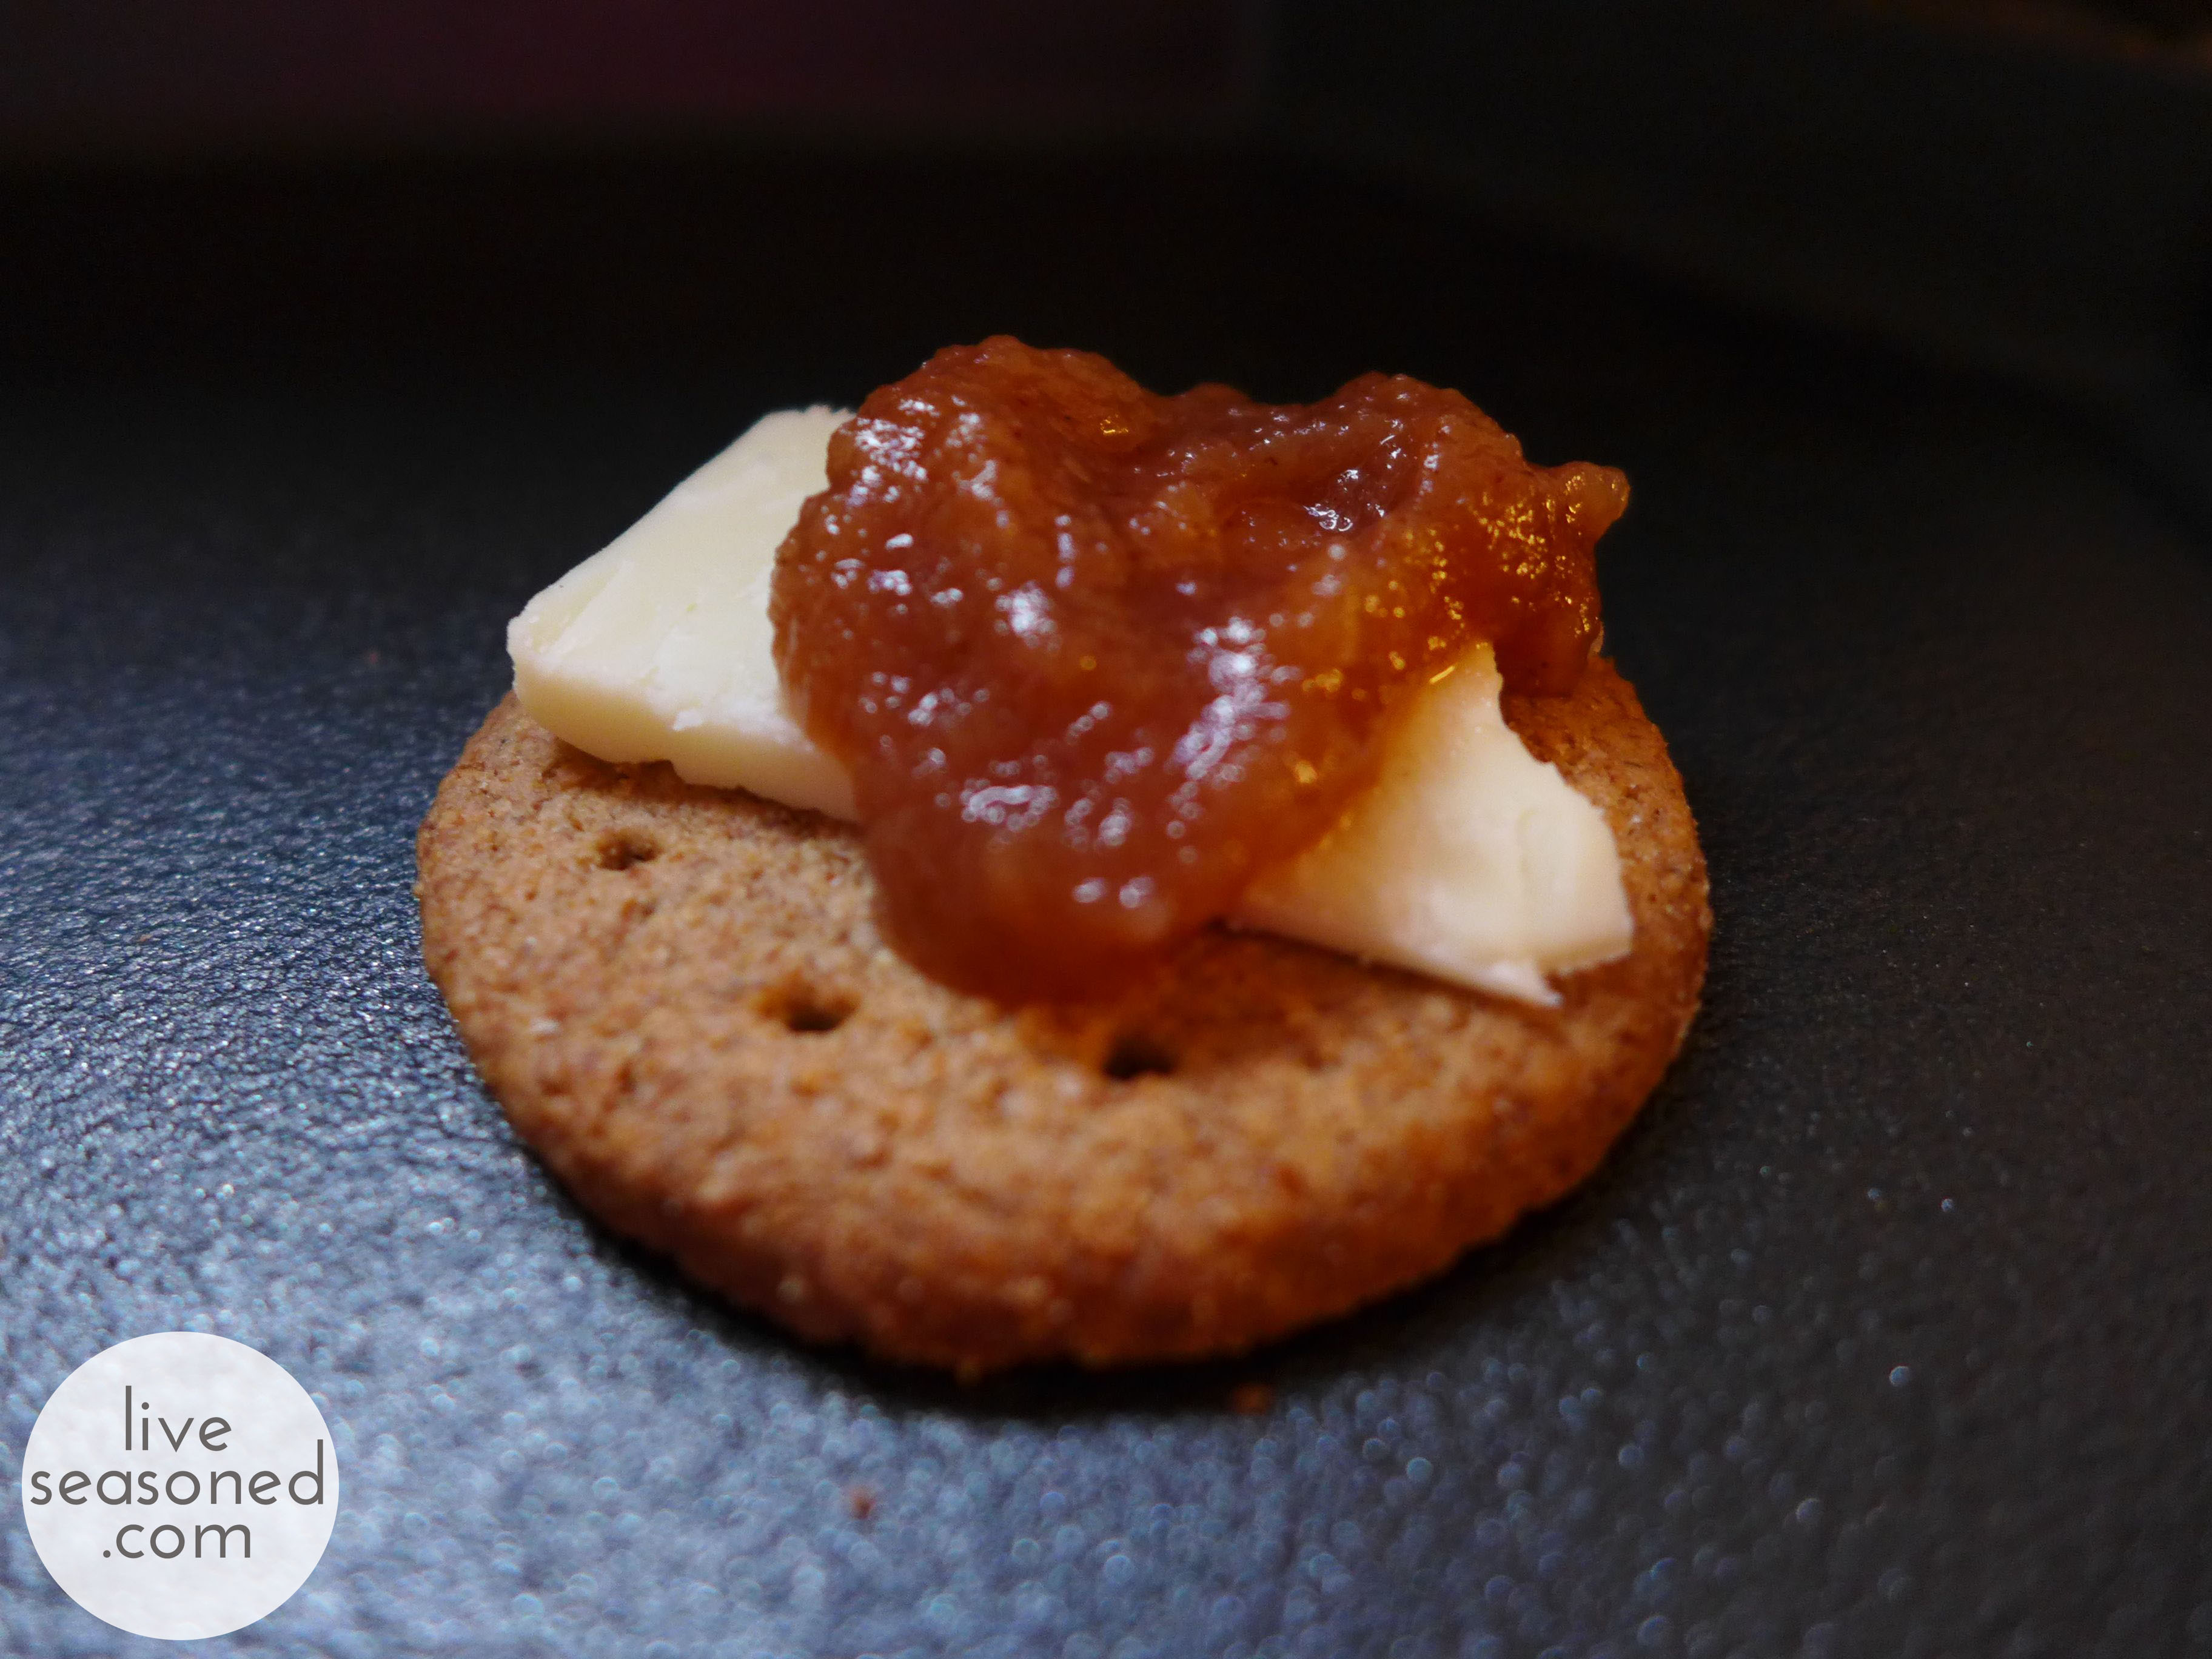
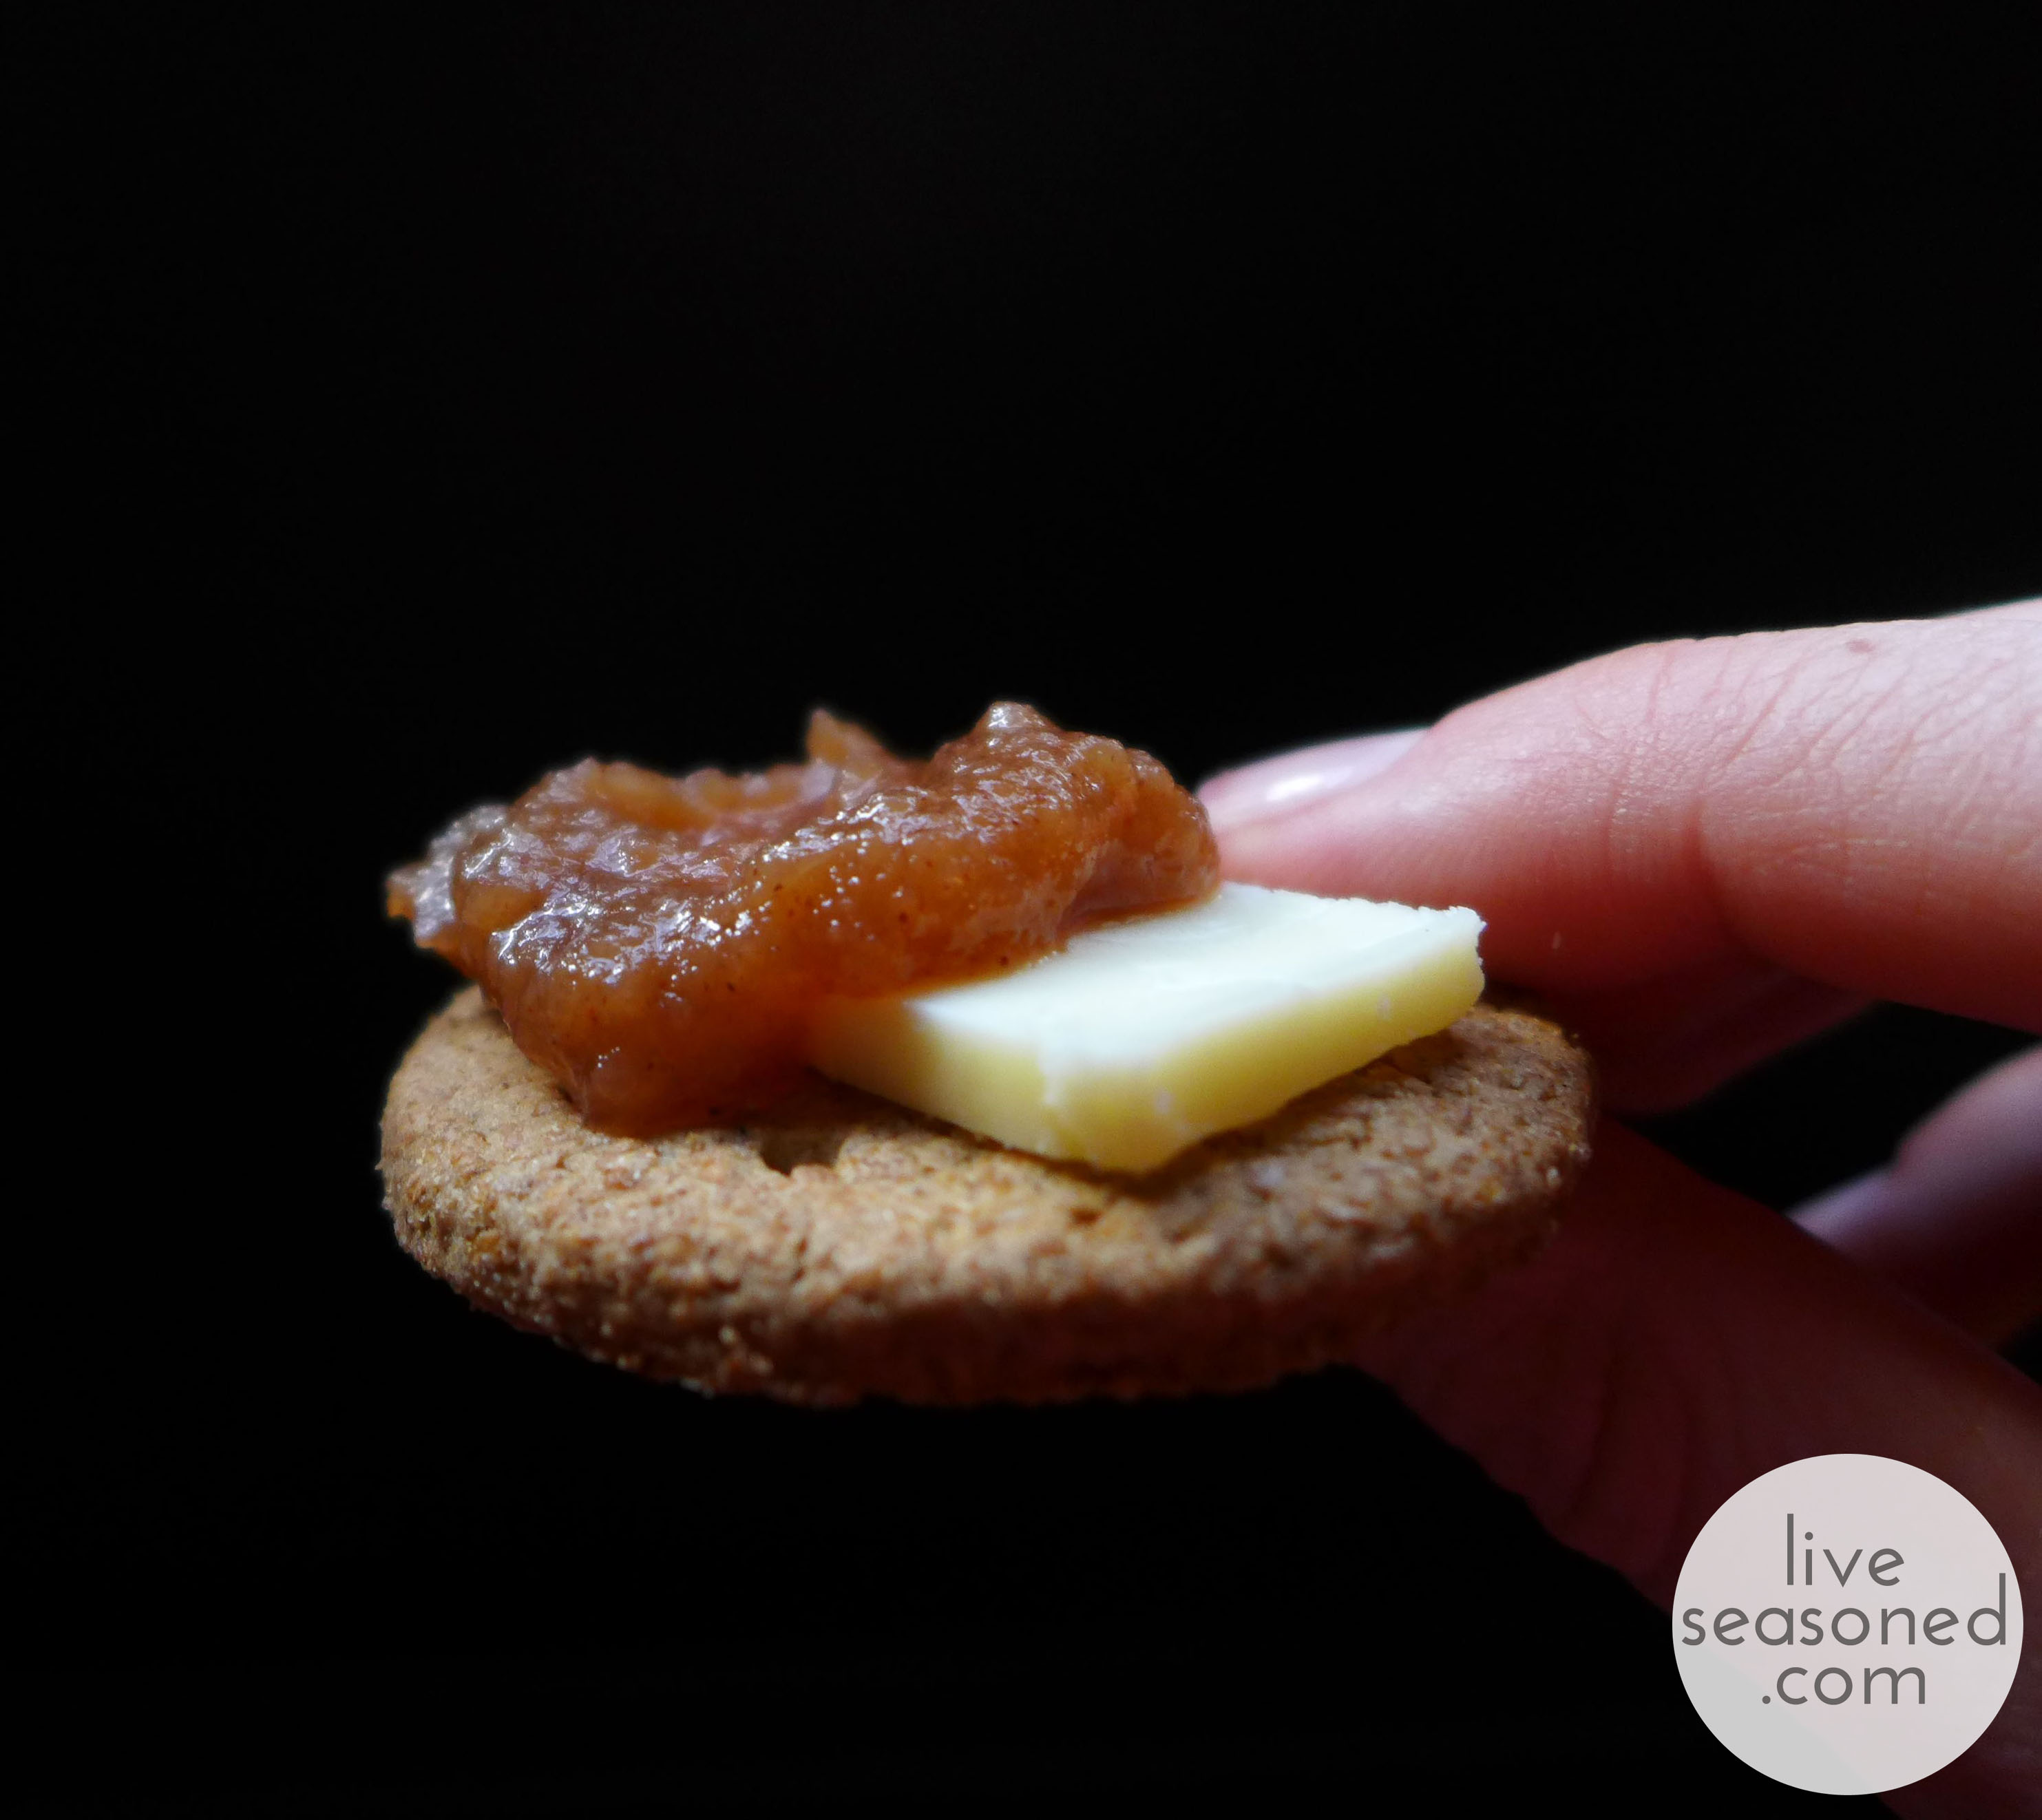
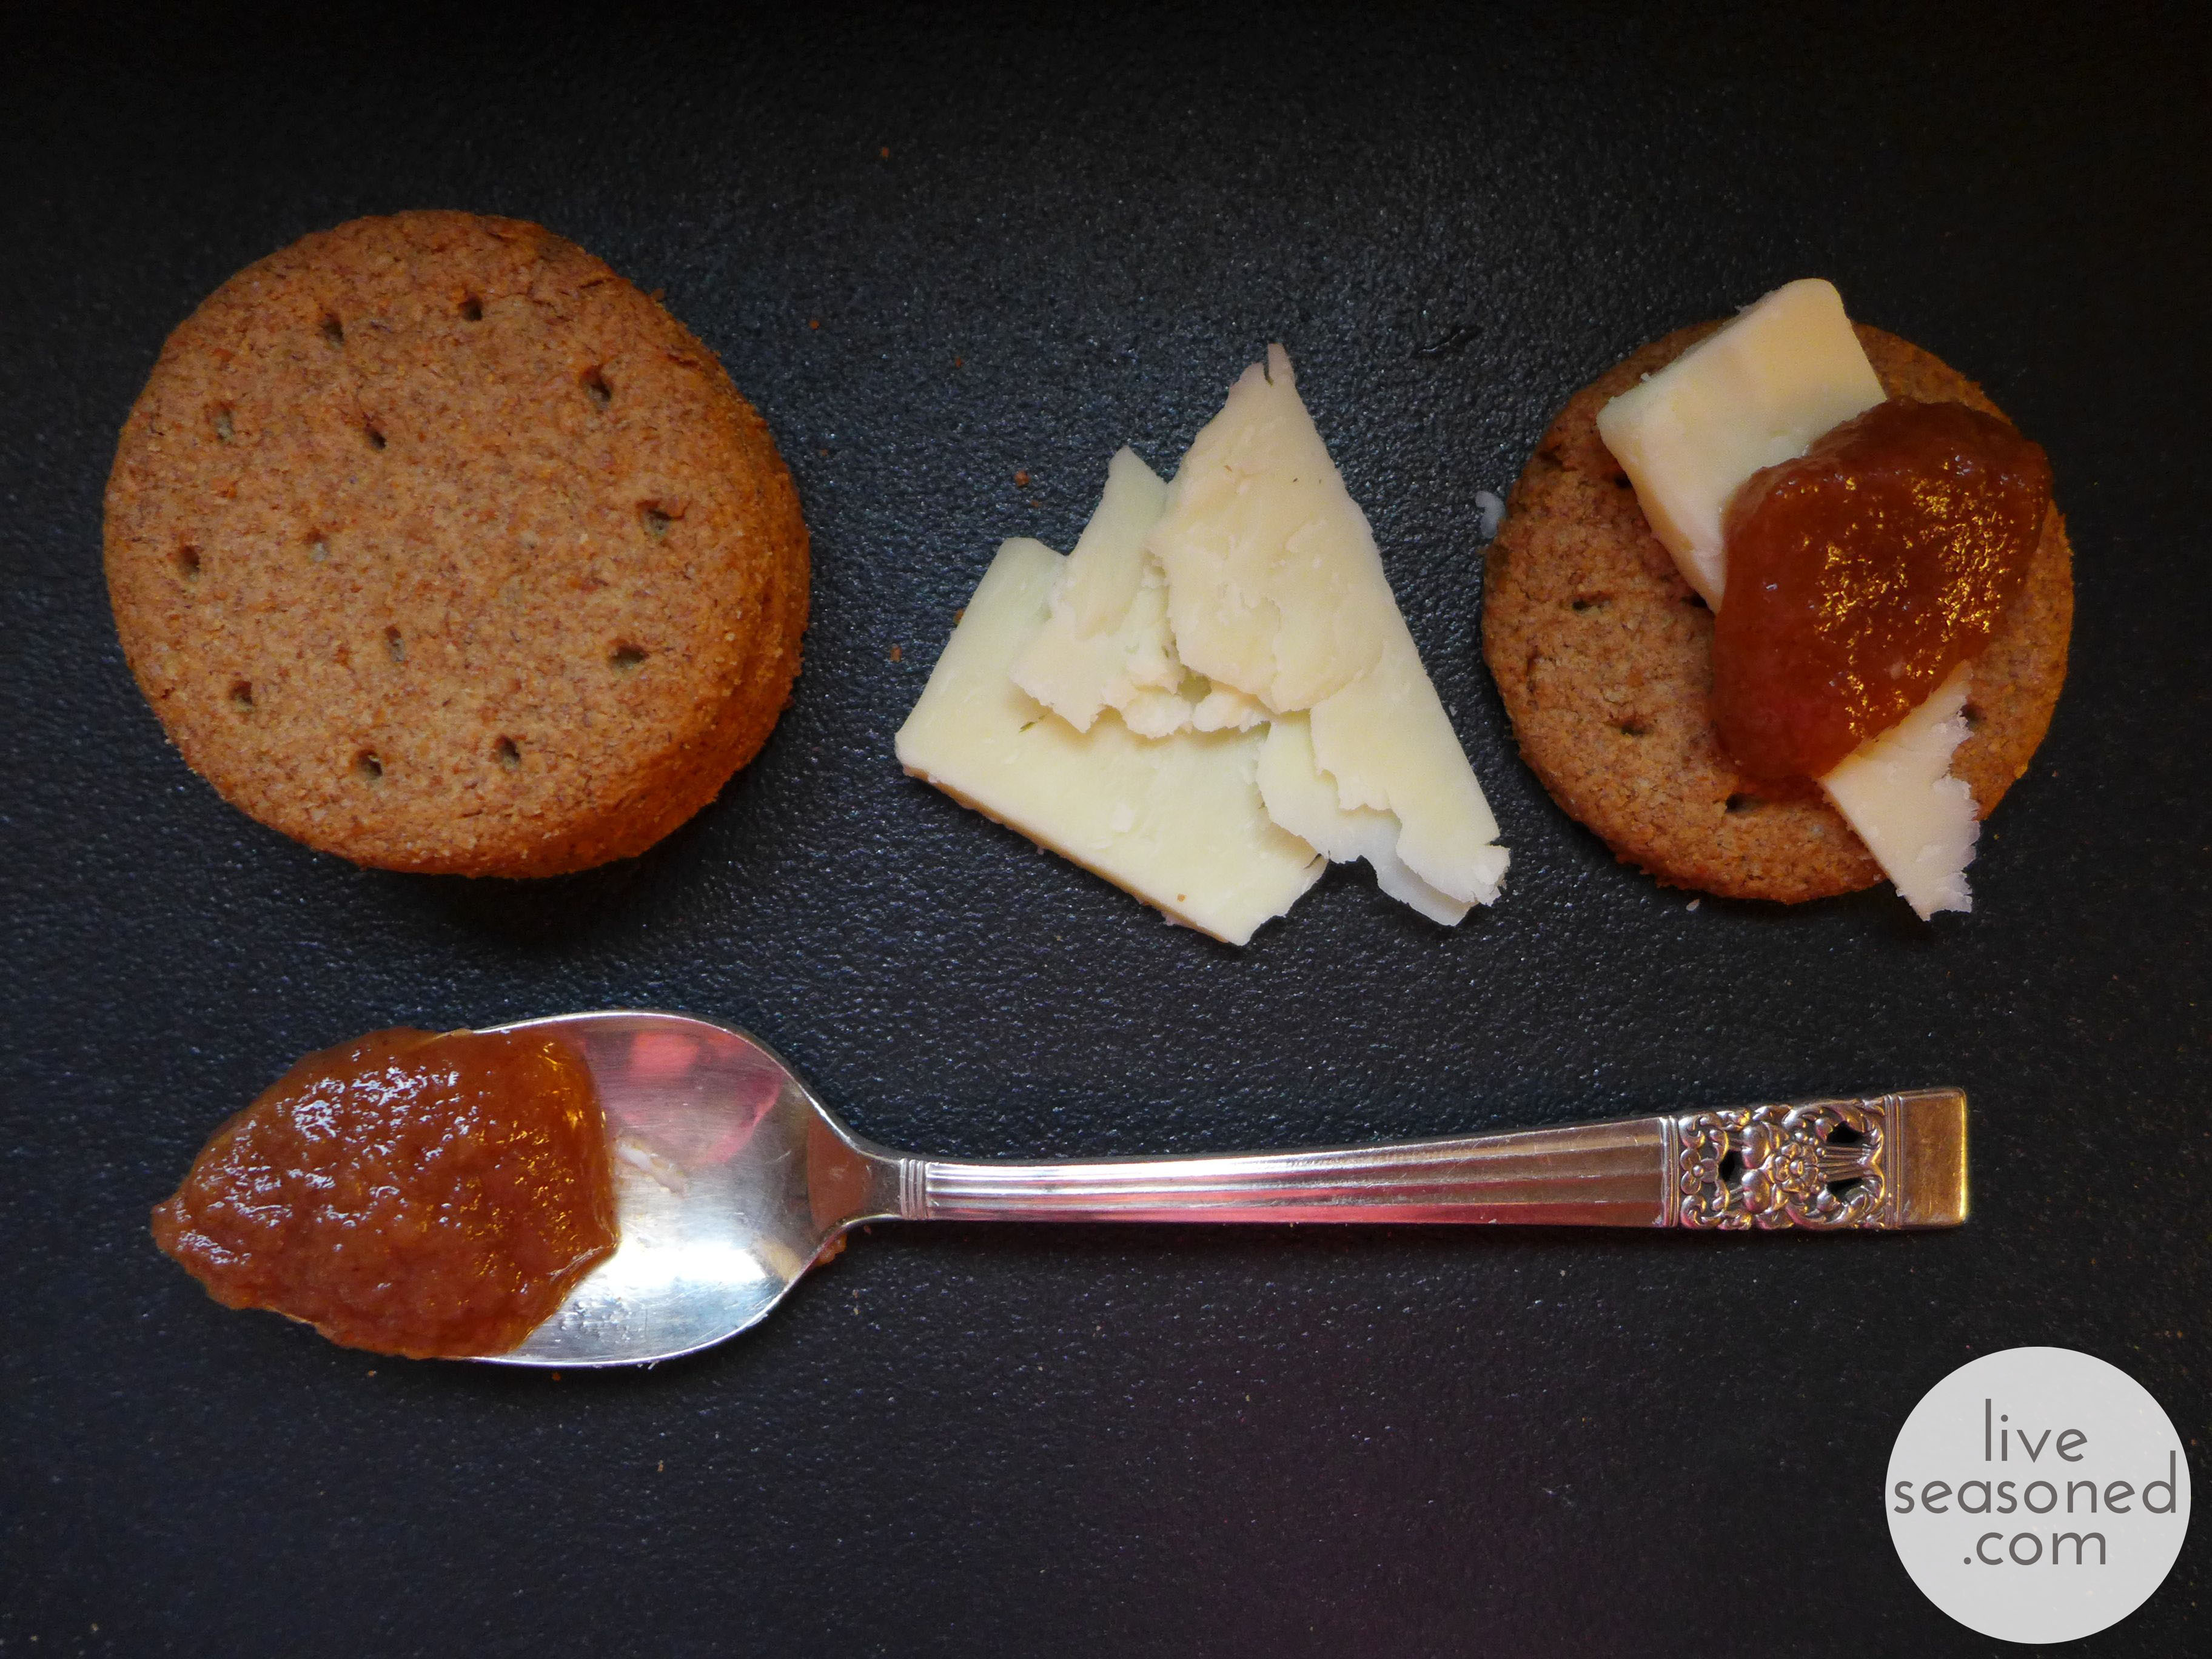
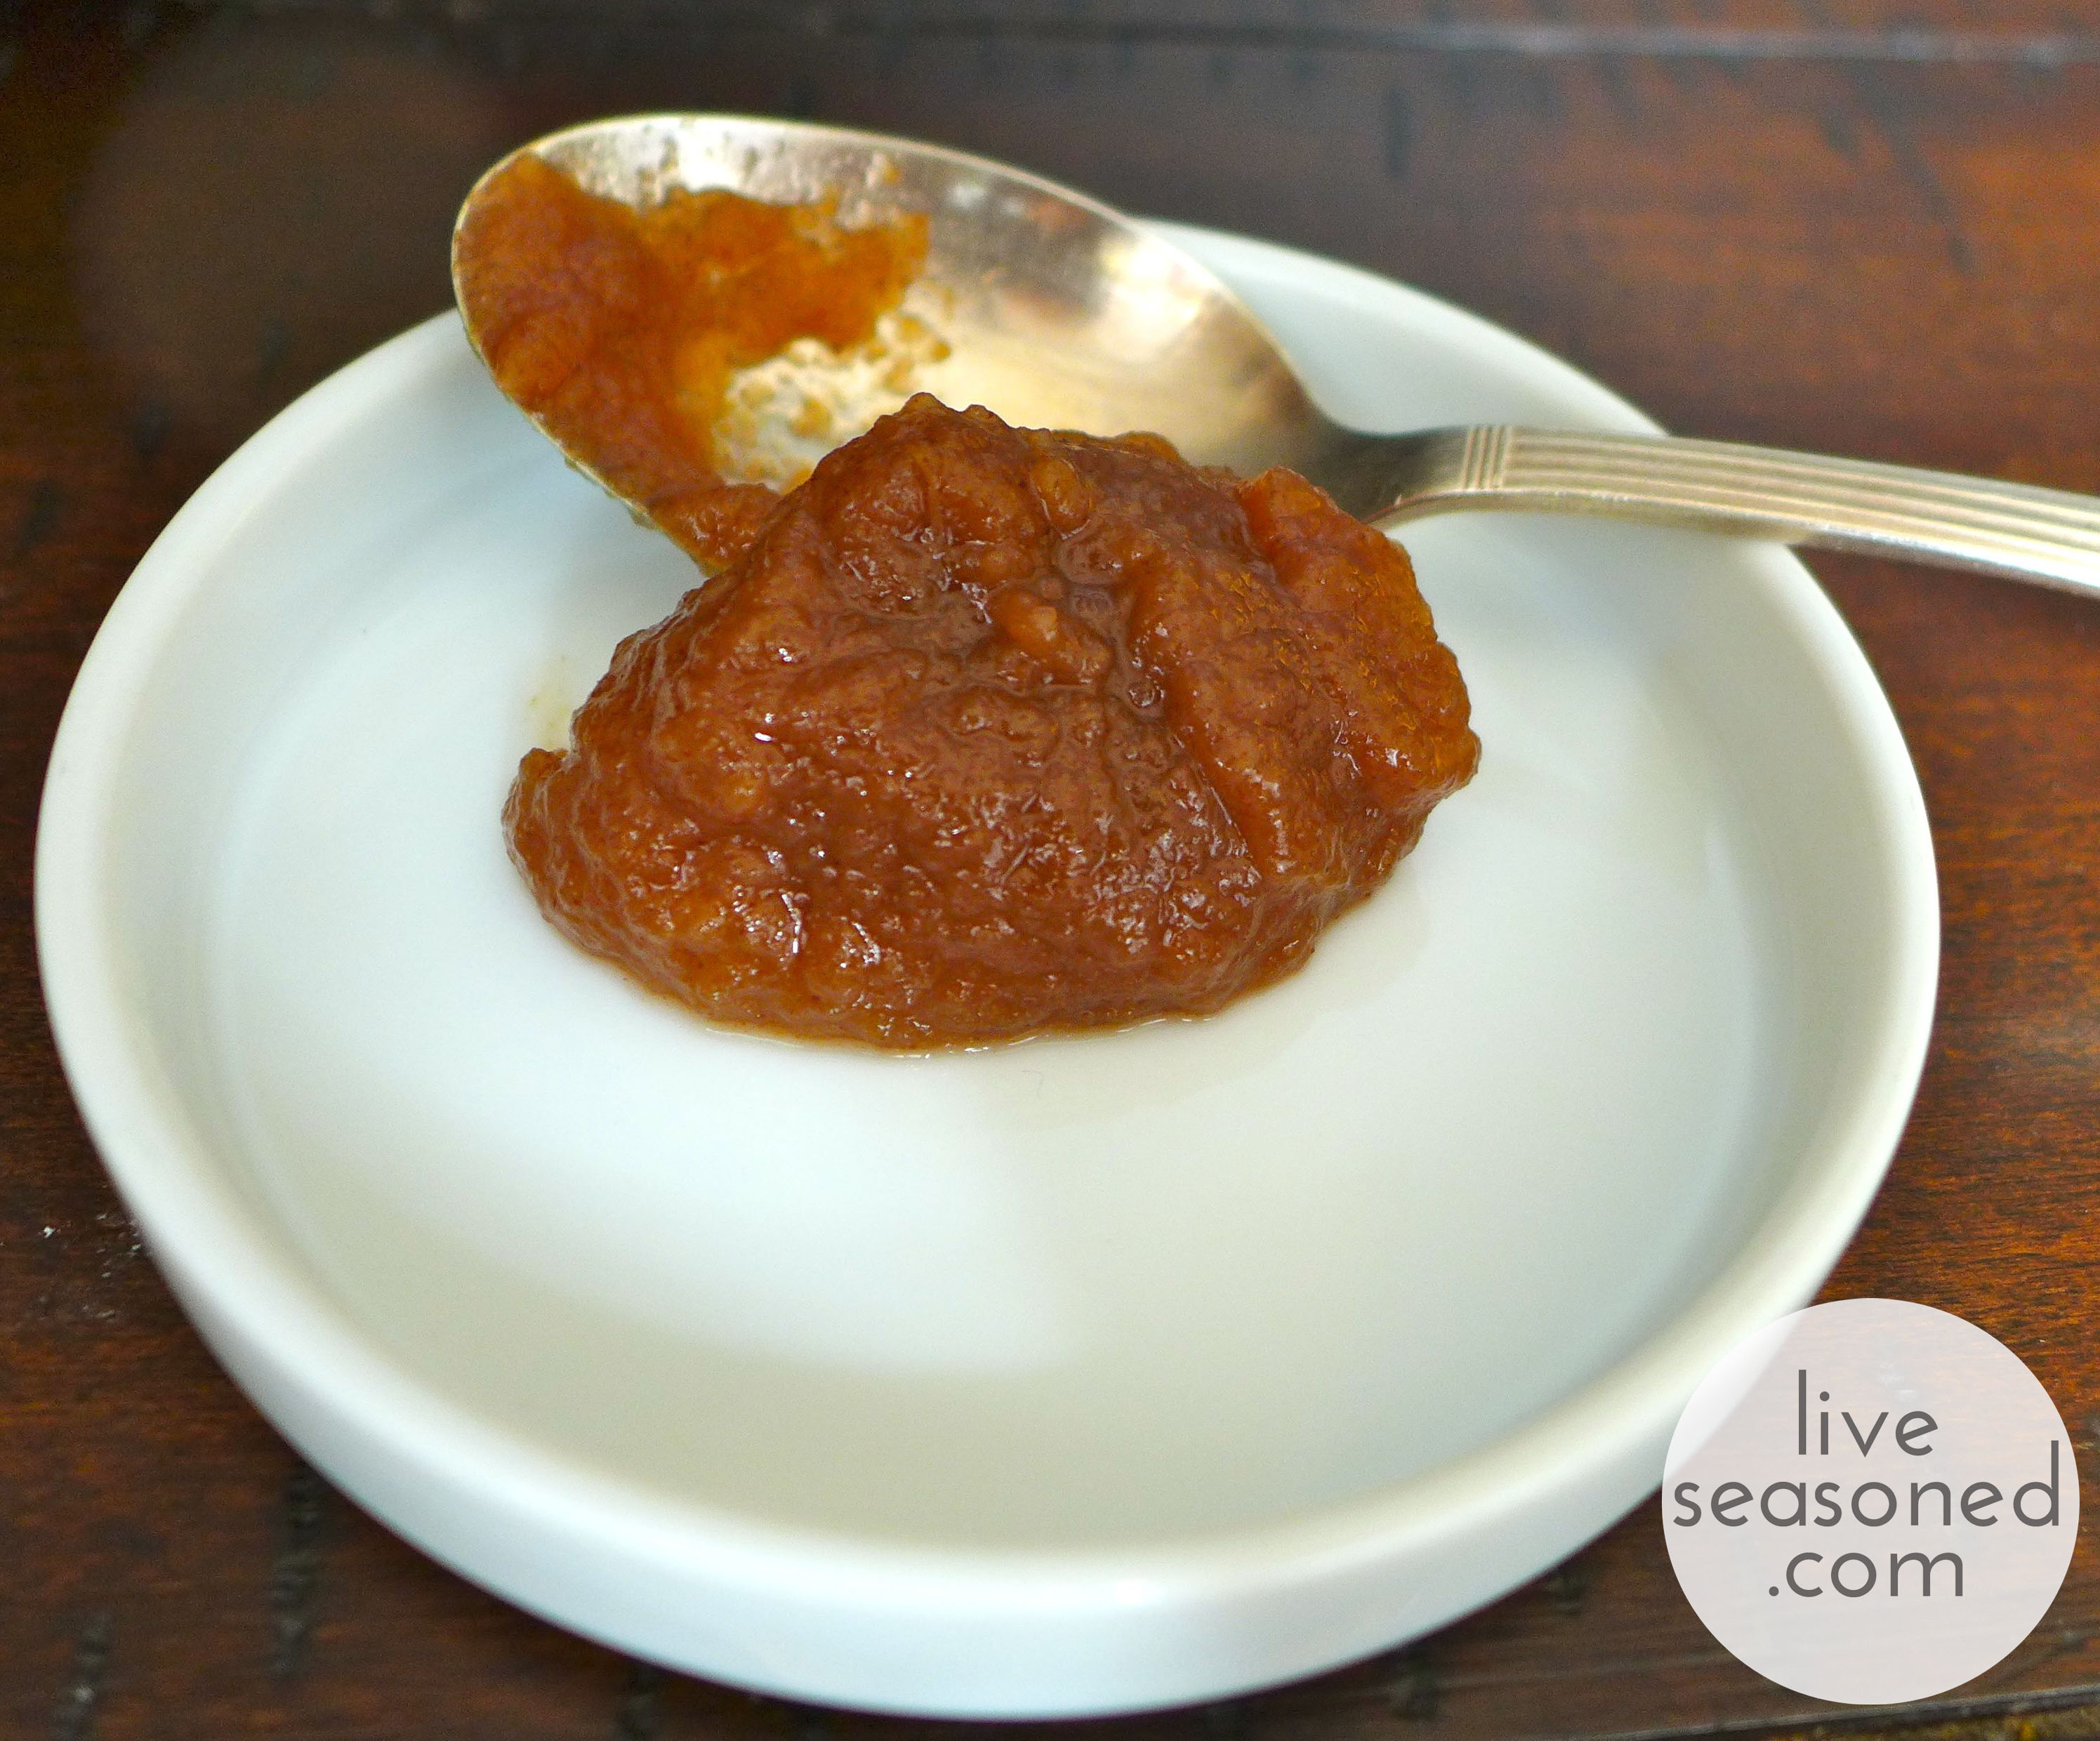
With today’s combination, I’m not sure who’s the star. Our delicious homemade apple butter? Carr’s hearty whole wheat crackers biscuits? Or the ever reliable bite of Cabot’s Extra Sharp cheddar? I do know that when you put the combination together you create a hearty snack that evokes the flavors of season and will satisfy the hunger you build up while outside on these crisp fall days.

liveseasoned_fall2014_cheese_applebutter5_wm

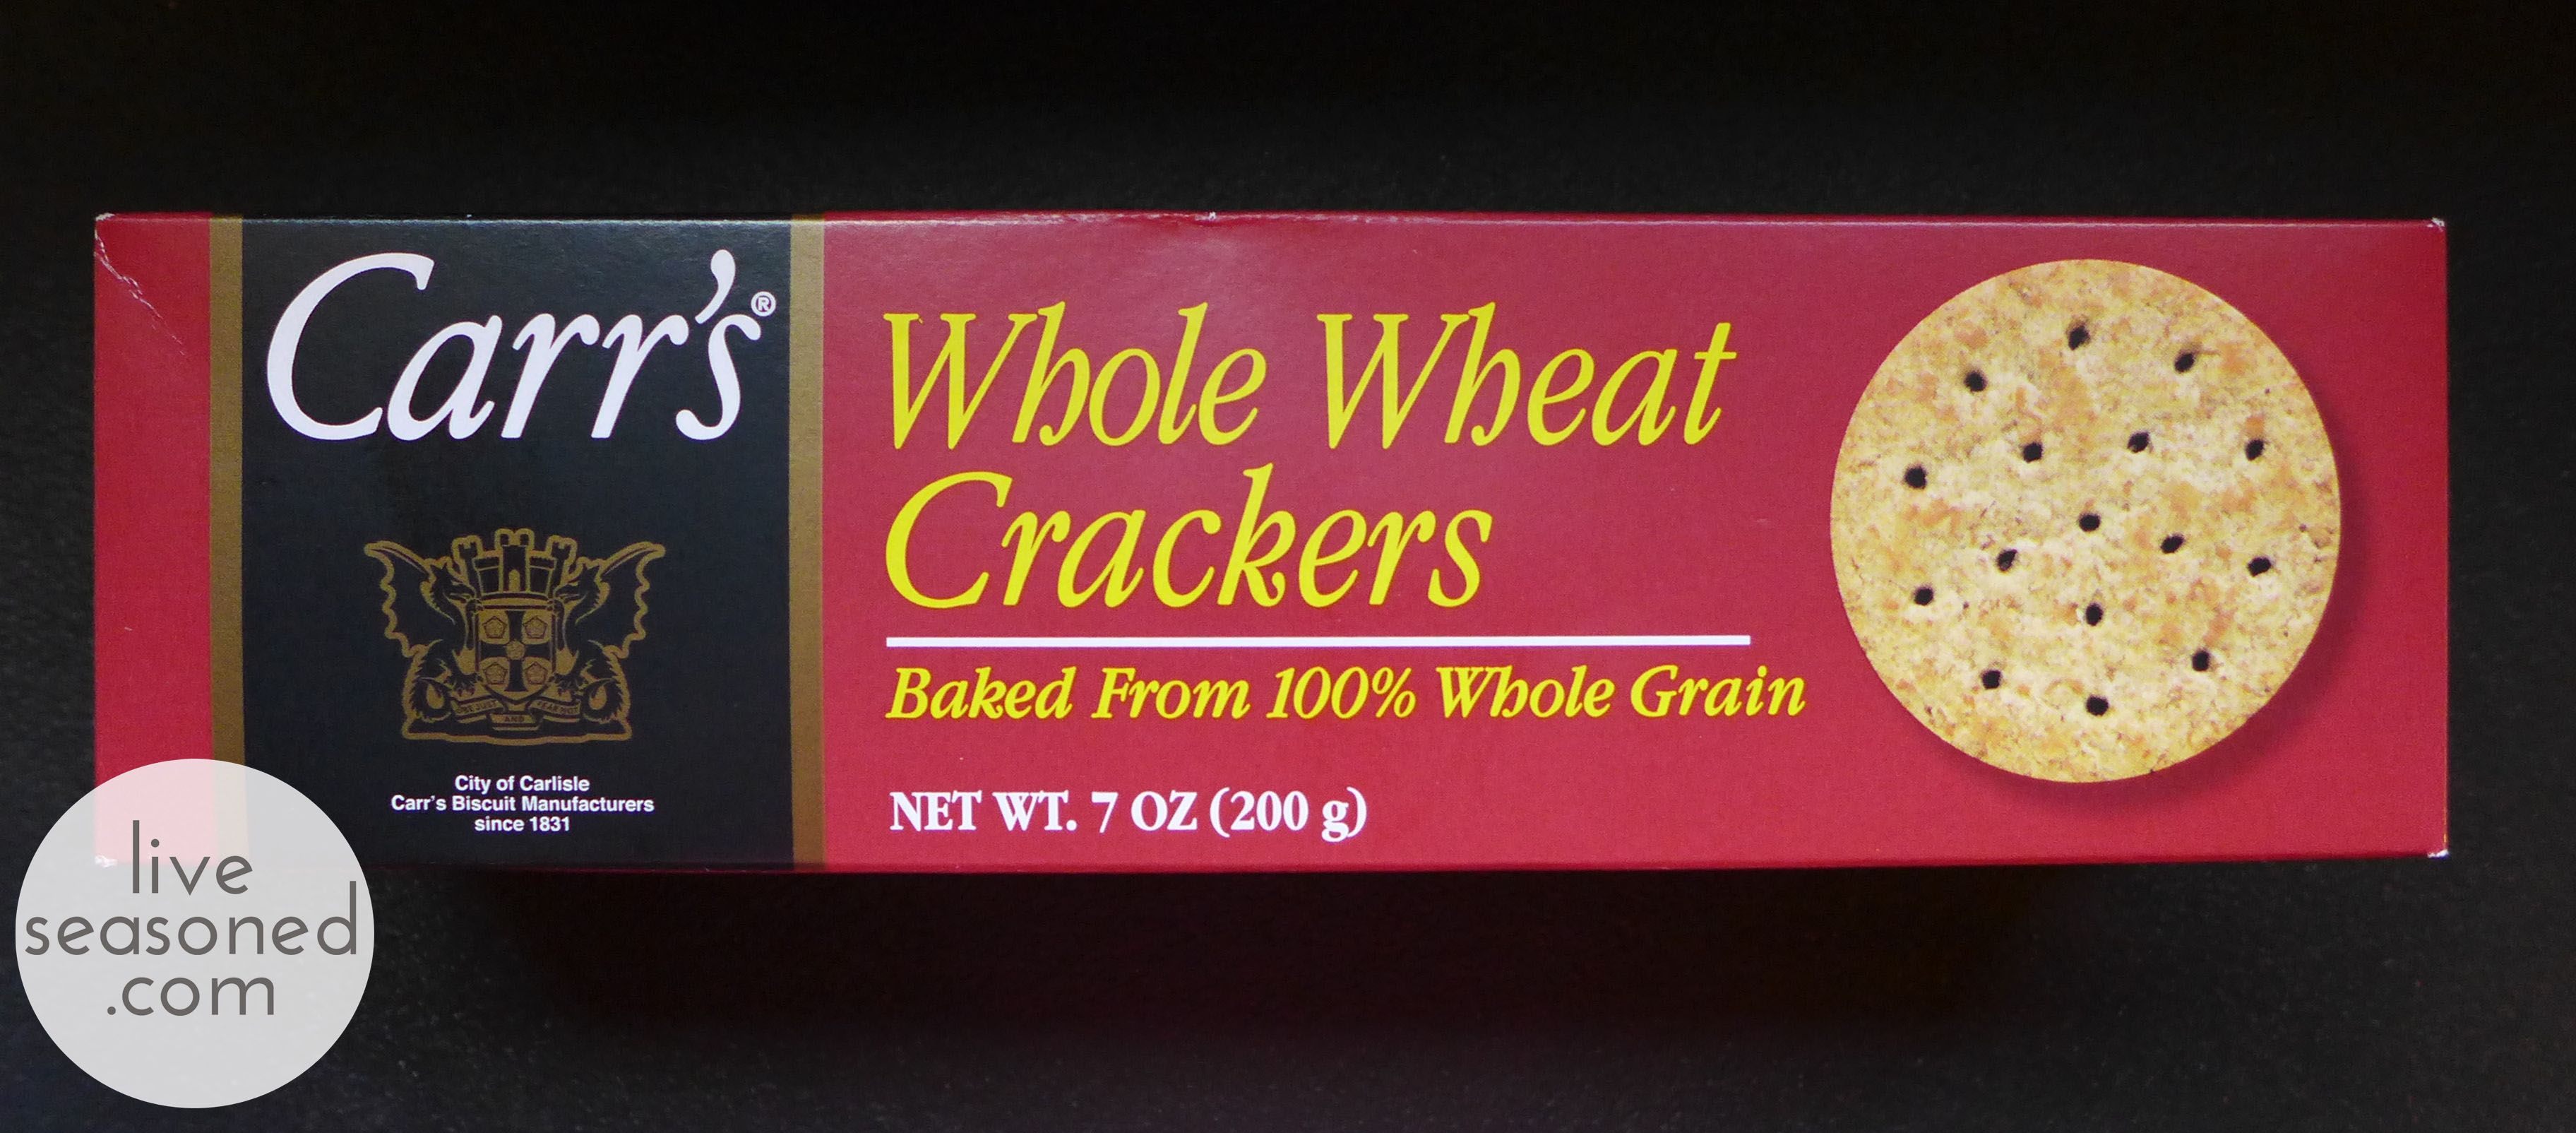
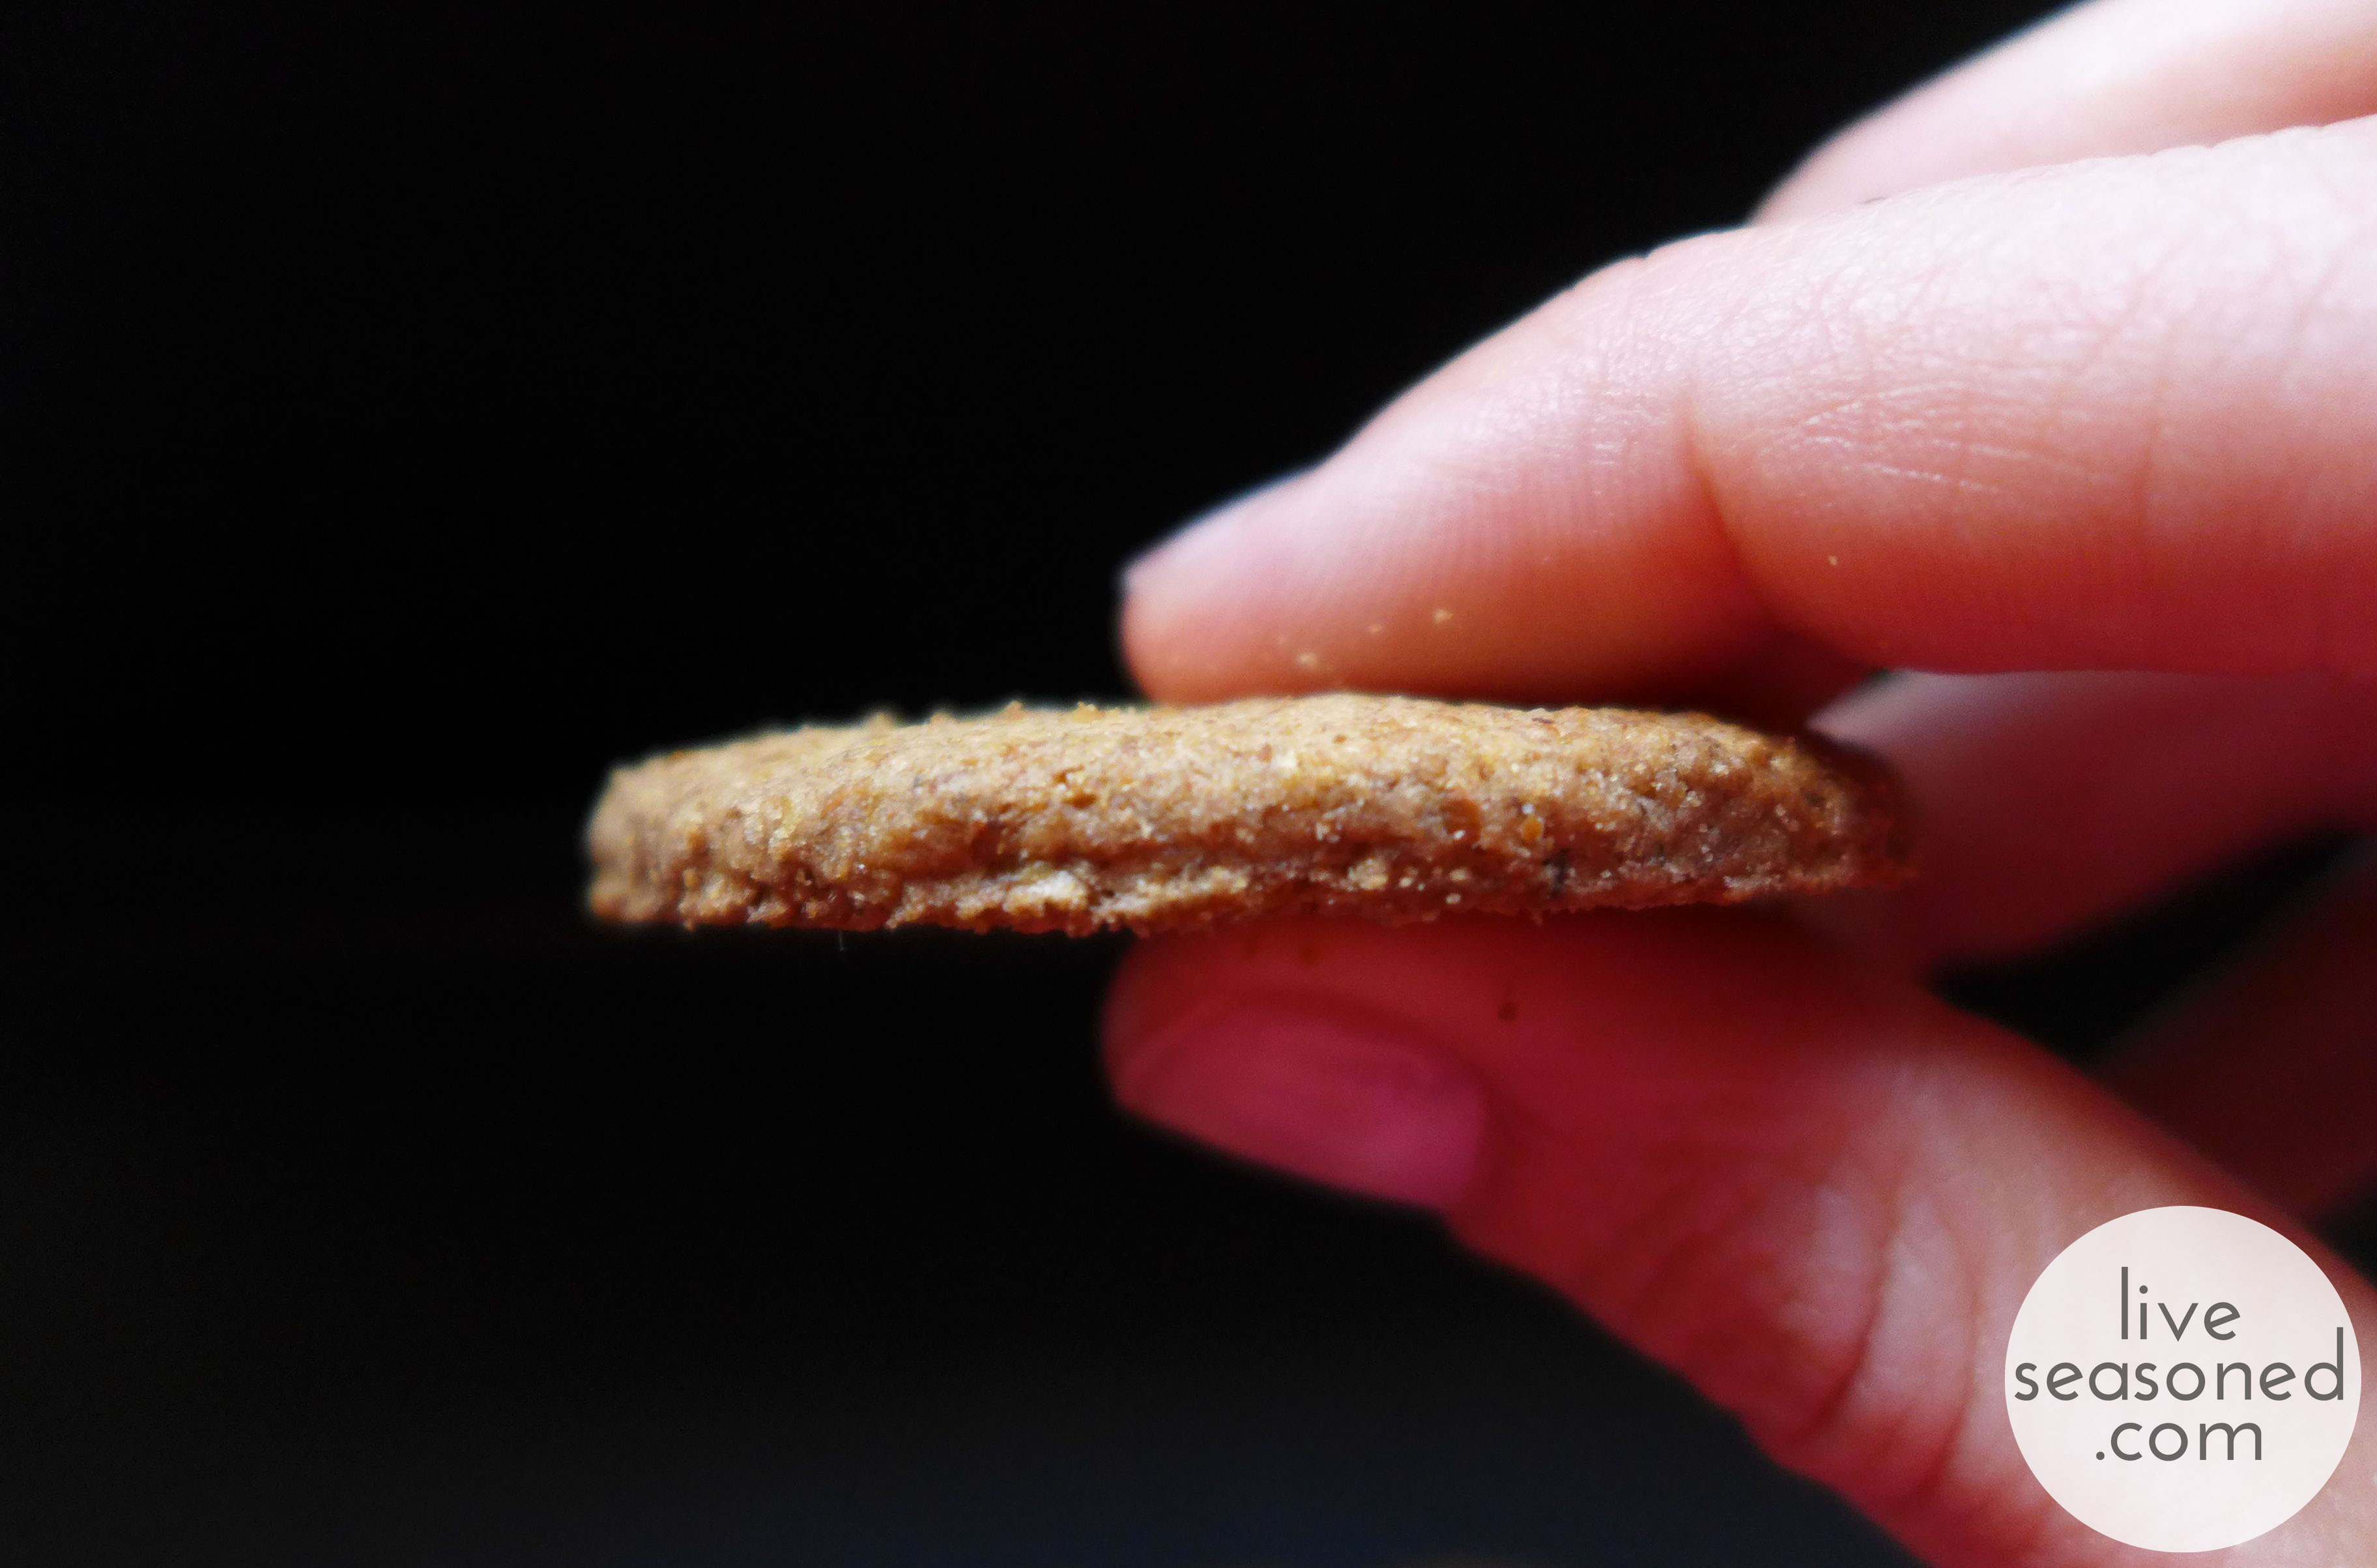
If you haven’t had a Carr’s whole wheat cracker yet, add them to your next grocery list. You’ll find them to be much more substantial than a typical cracker. The whole wheat really fills you up, but they also have a touch of sweetness that makes it seem like you’re eating more of a cookie than a cracker. It’s hard to explain, but I know that I can eat two or three with a cup of tea and consider it the perfect mid-morning snack. 

liveseasoned_fall2014_cheese_applebutter1_wm
liveseasoned_fall2014_cheese_applebutter3_wm

We’ve already raved about our love of apple butter in this post, so there’s not much more to say there. Other than to remind you to pick up a sack of apples and get yourself a jar.

Then there’s the cheese. Do you have a favorite cheddar? Whenever I want a basic, not too expensive cheddar that has that perfectly sharp bite, I look for Cabot’s Extra Sharp. The description on their site says it best, the cheese is “creamy white in color with an almost crumbly texture and has a sophisticated, citrusy tang”.

liveseasoned_fall2014_cheese_applebutter7_wm

Cheddar gets its name from an extra step in the cheese-making process called cheddaring where loaves of curds are allowed to set until they reach a certain acidity, they are then cut into loaves, stacked, and turned every 10 minutes until further acidity points are reached. While changing the acidity, this process adds flavor and creates the crumbly texture that cheddars are known for. After the batch has been cheddared and salted, the curds are placed into cheese molds and aged for anywhere from 1 month to over 10 years, depending upon the type of cheddar being made. The Cabot Extra Sharp is aged for anywhere from 9 to 14 months (whereas their mild cheddar is aged for just 2 to 3 months).

liveseasoned_fall2014_cheese_applebutter8_wm

Want a few more fun cheddar facts?

  • It’s the second most popular cheese in the US behind mozzarella
  • Our average annual consumption is 10 lbs per person!… my personal consumption is more like 20 lbs (minimum)
  • The cheese originated in the English village of Cheddar in the 12th century
  • Easy Cheese is not cheddar
  • A single 1 oz serving gives you 20% of your daily calcium requirements
  • And what do you call the hunk of cheddar sitting in my fridge? Nacho cheese! ha!

A Bewitching Window!

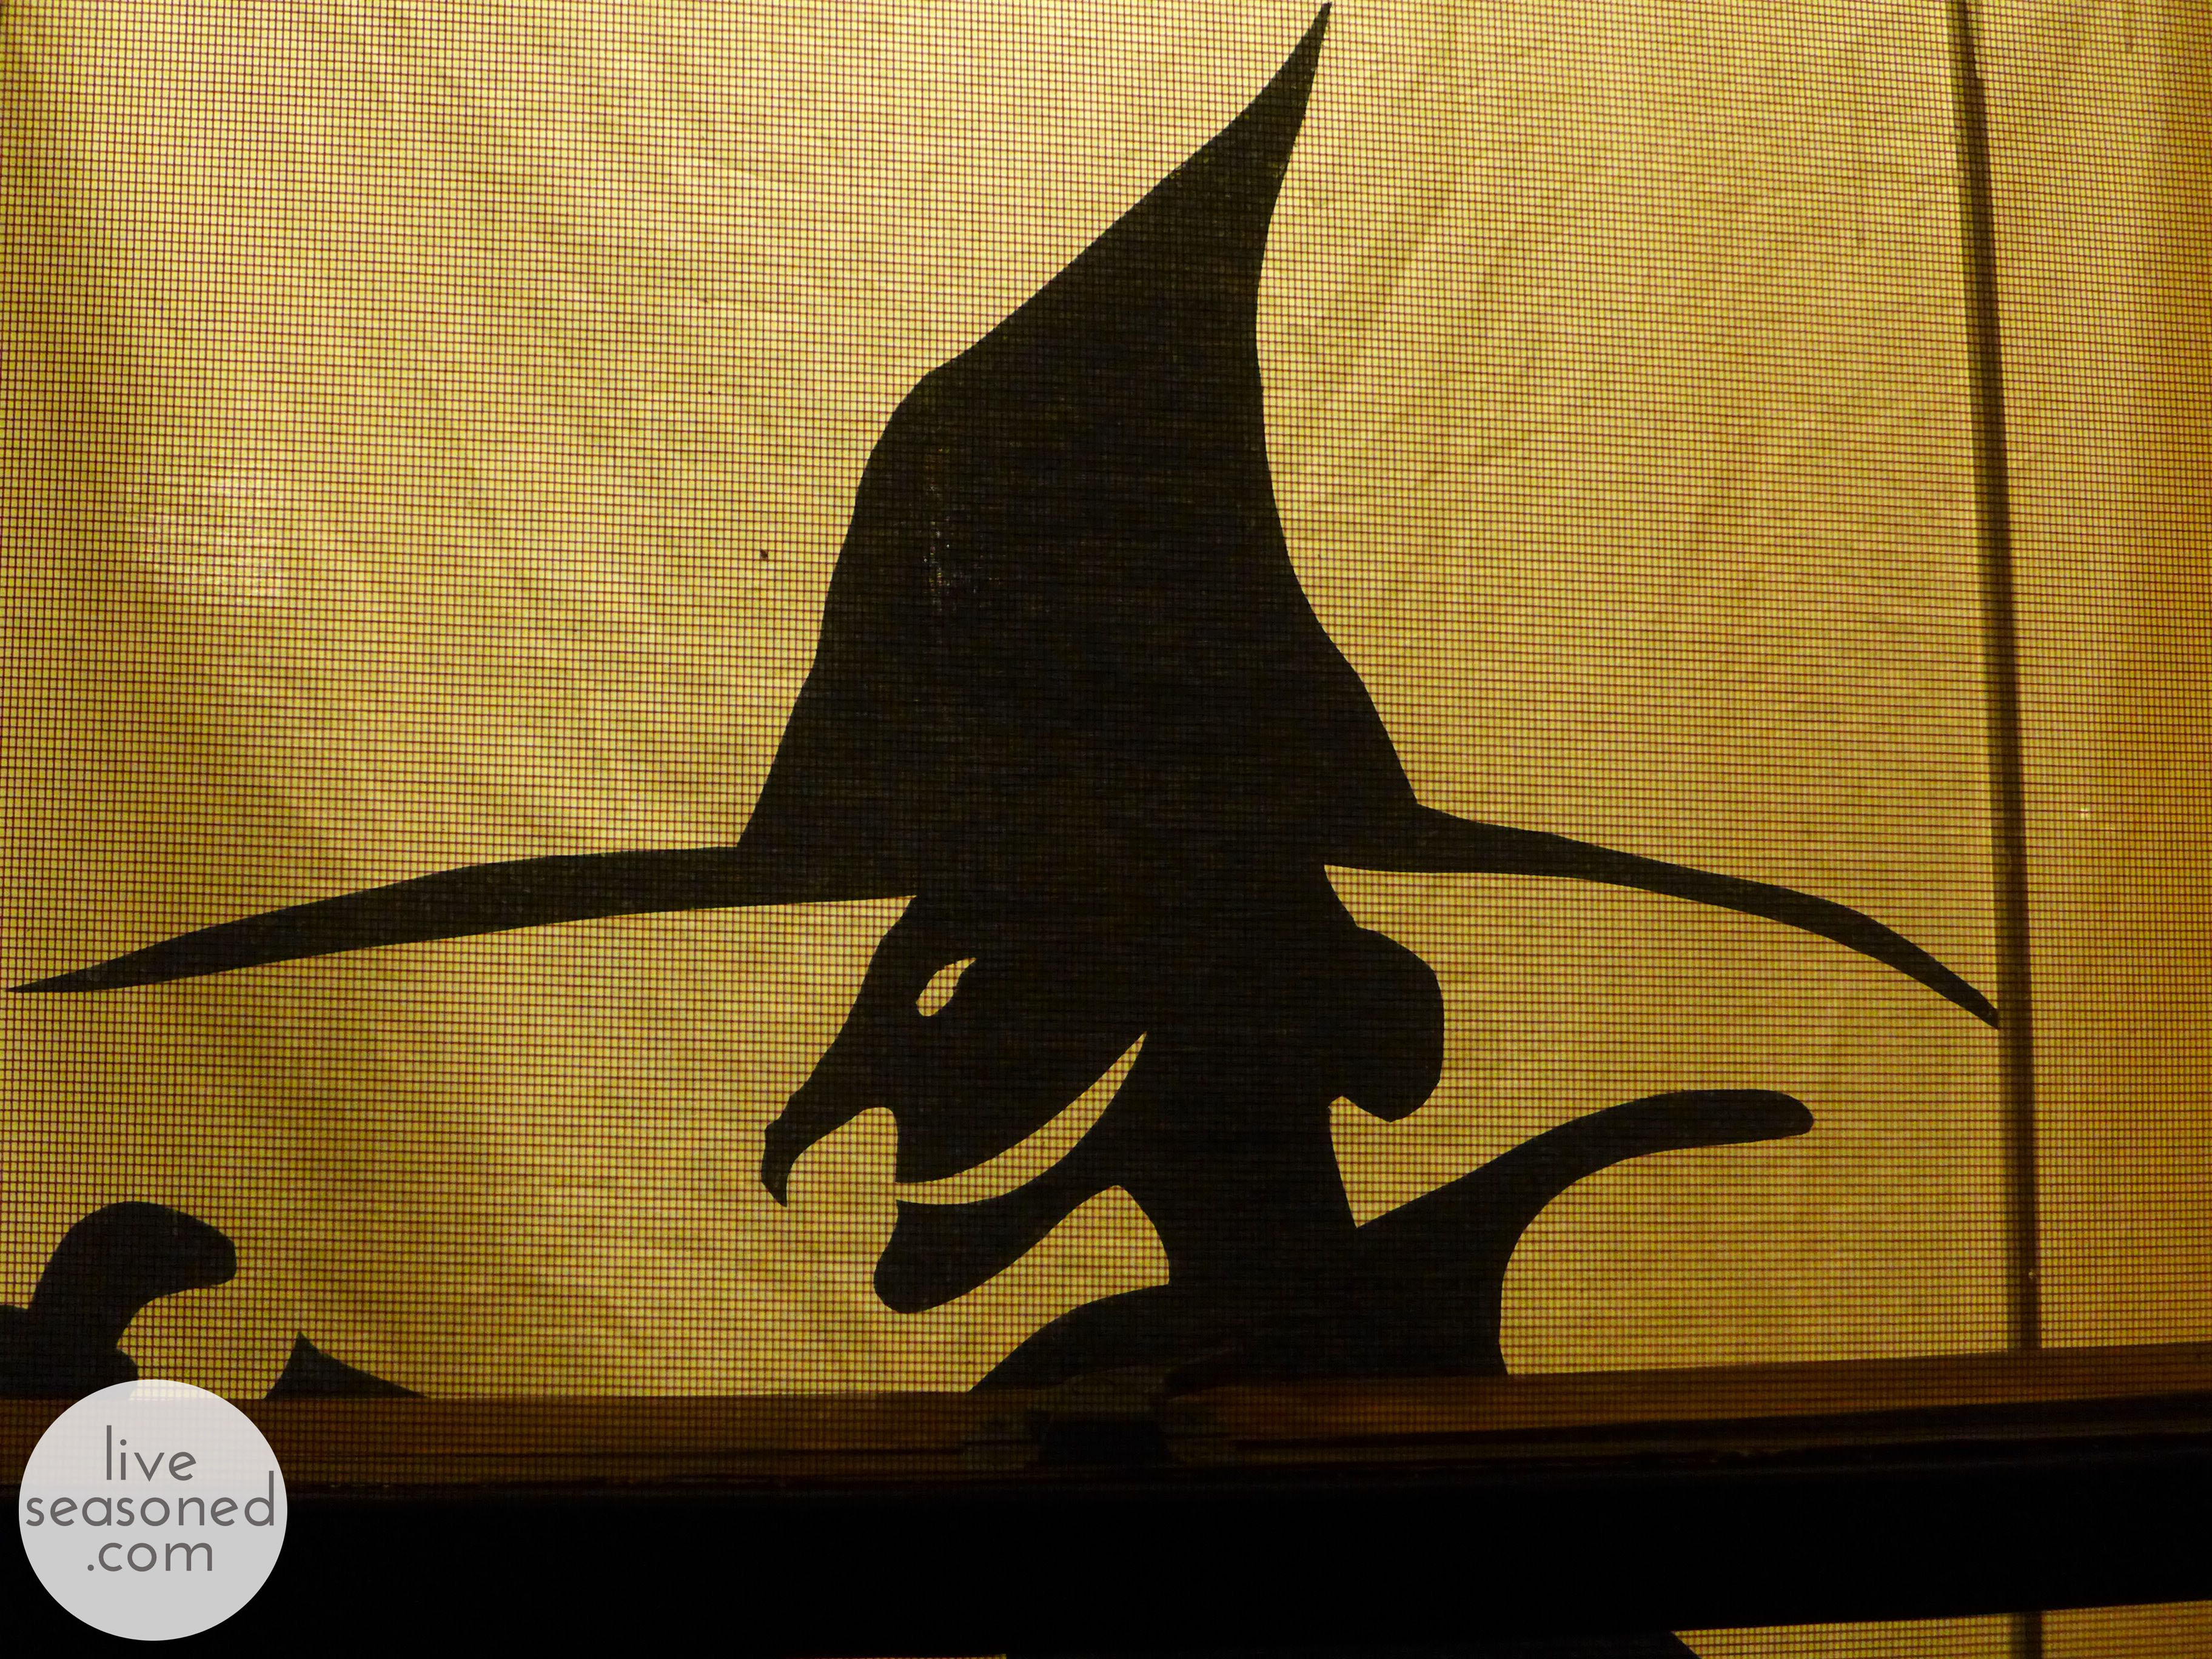
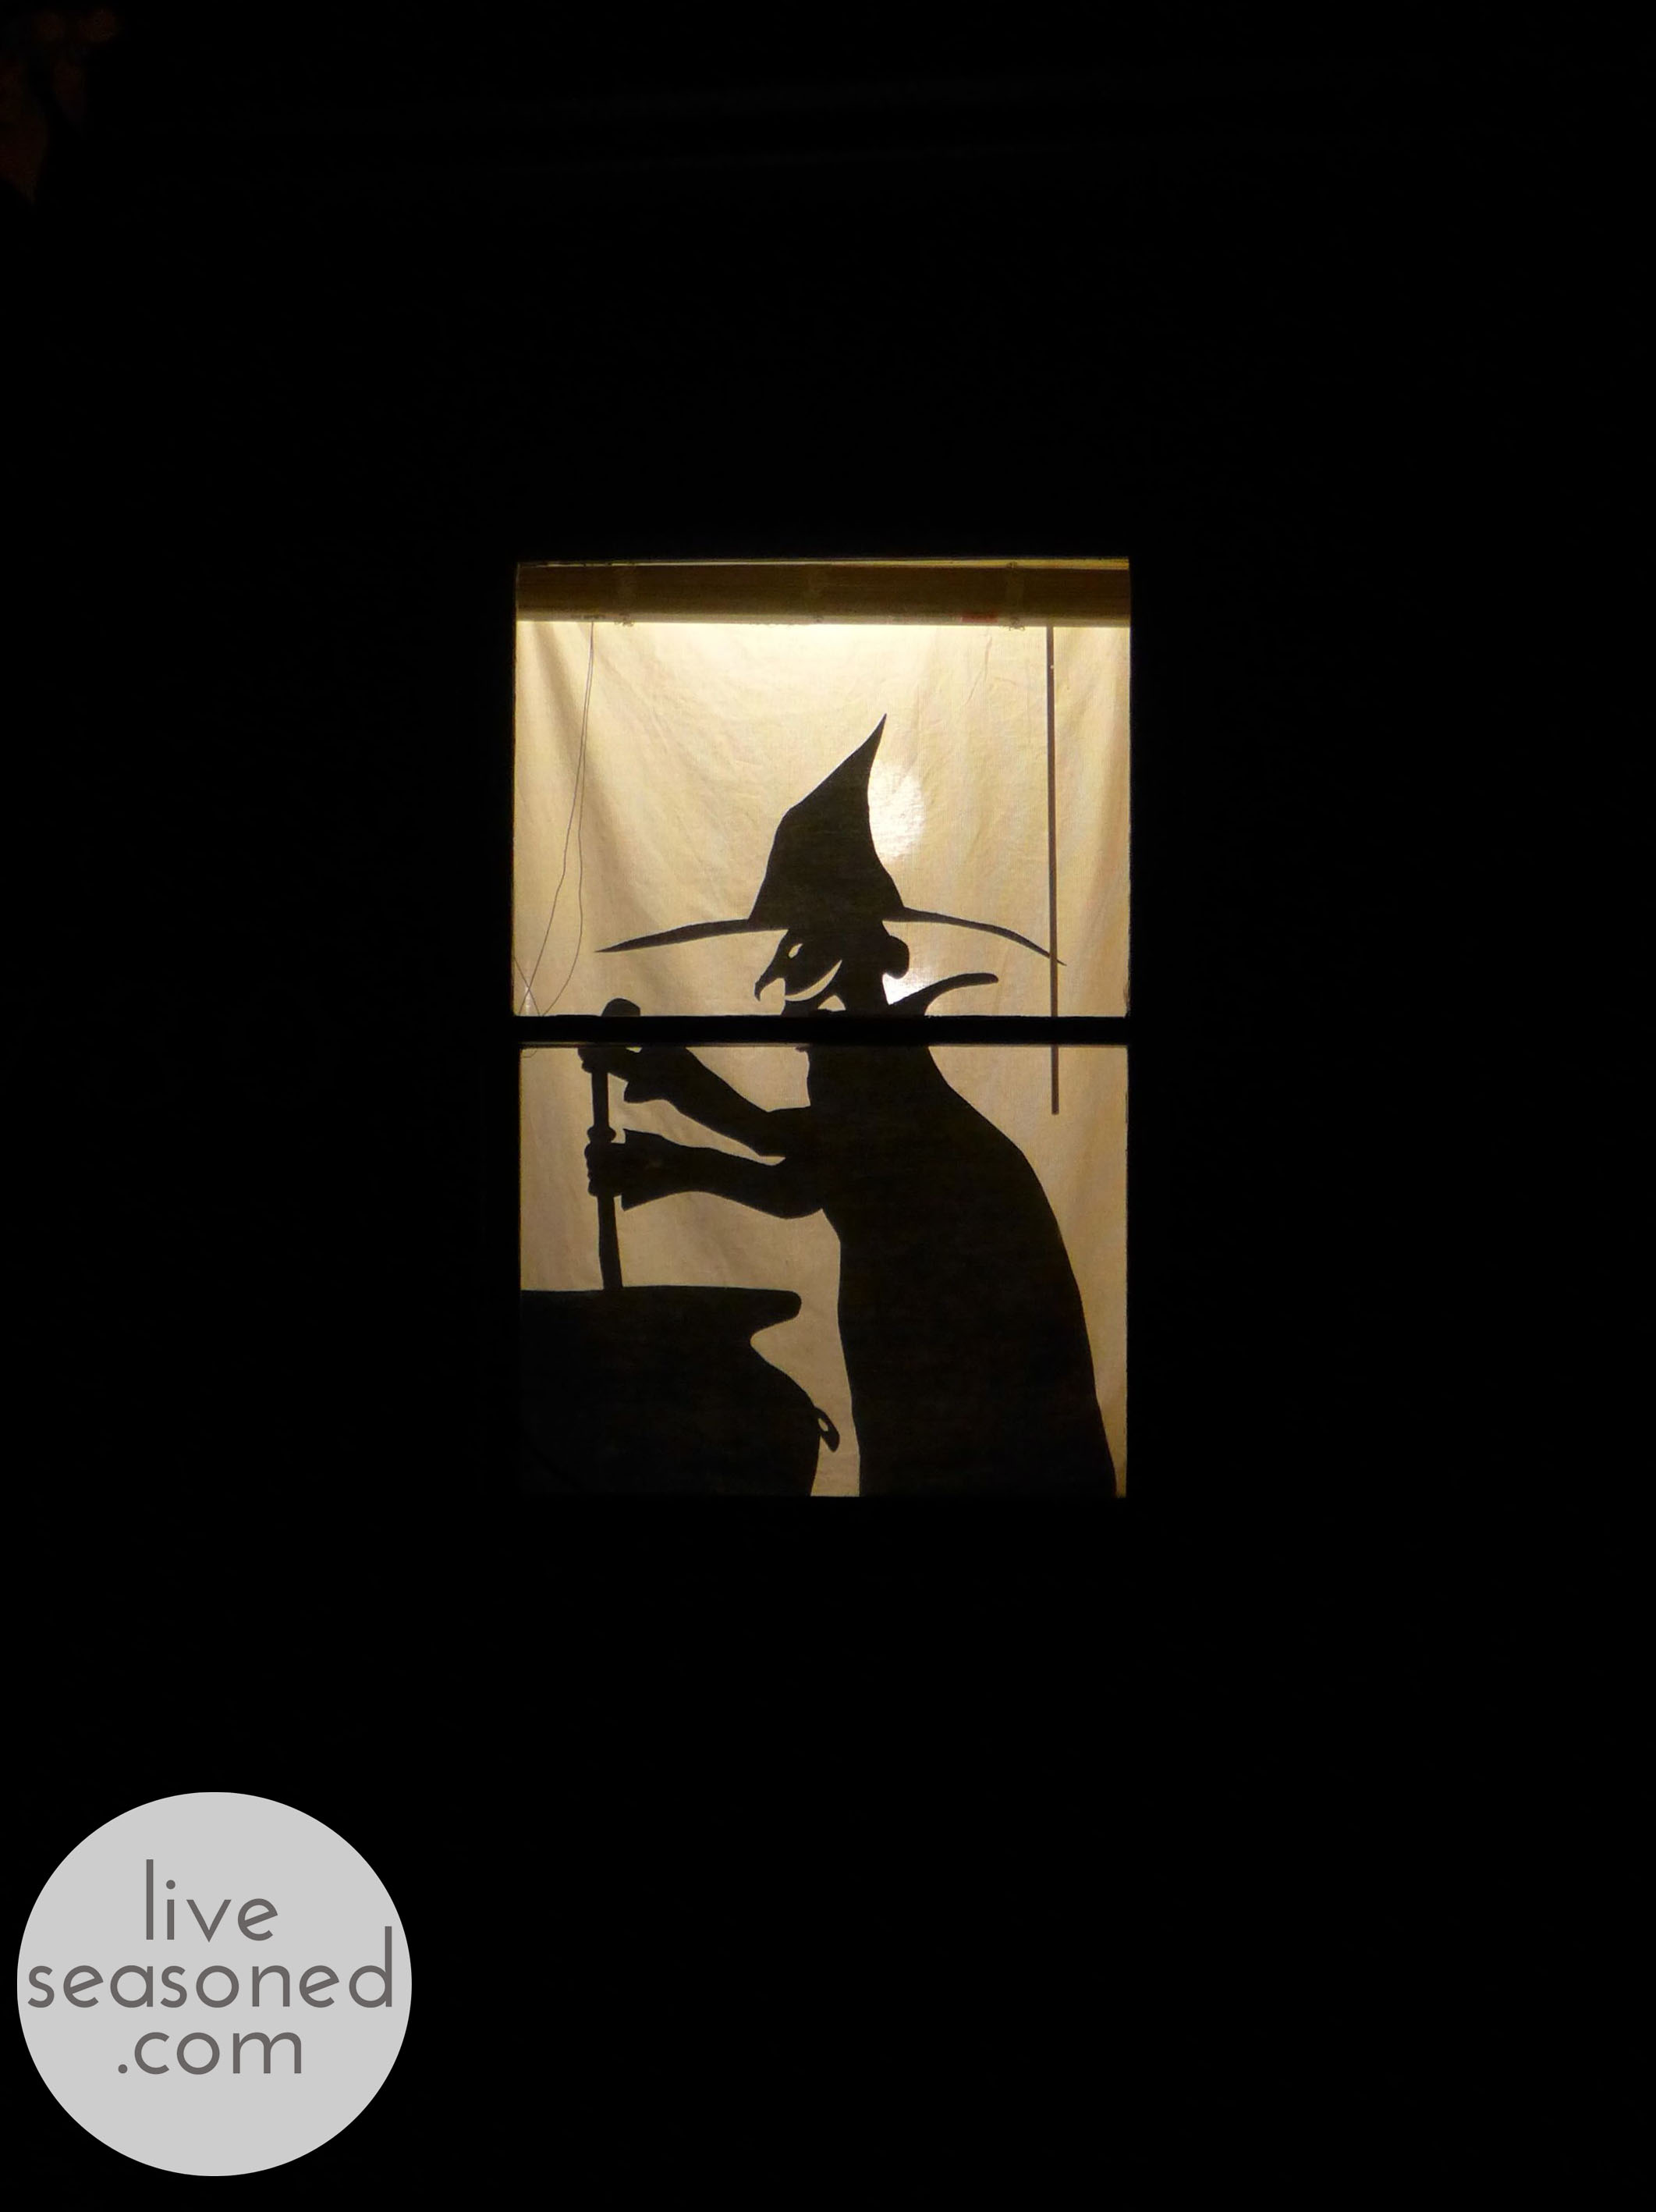
Other than decorating our mantel, my Halloween preparations have been totally stalled, but with Halloween so close I really wanted to do something at the front of our house. We have a small porch area and a single window that faces the sidewalk. I was extra motivated to make this happen because we’re also close to the mailbox cluster, so a lot of neighbors pass by, and I wanted them to see something fun. I haven’t made any progress on the ghosts I mentioned, but while walking the Halloween isles I came up with an idea for the window : create a fabric panel with a witch silhouette! 


I know that they sell window silhouettes, and some look like they’re great (a full-window design with a translucent background), but others are just the silhouette, so if you don’t have translucent shades or a curtain, the silhouette won’t have as much of an impact because peepers will be distracted by everything else in your window (know what I mean?). Plus, I thought it would be a creative challenge, and if it worked I would be able to re-use it for years!

I’m going to share my general how-to and materials, but not a specific pattern. This is such a simple project that you should be able to easily tailor it to your window and decoration theme (bats! ghosts! ghouls!).
liveseasoned_fall2014_halloweenwitch1_wm

Materials & Tools

  • thin white or creme colored fabric measured an inch wider and at least two to three inches longer than your window. It will be enough to cover your window with a half inch seam along the two sides and bottom and a to sew a wider “hem” in the top for a tension rod.
  • black fabric large enough for your design
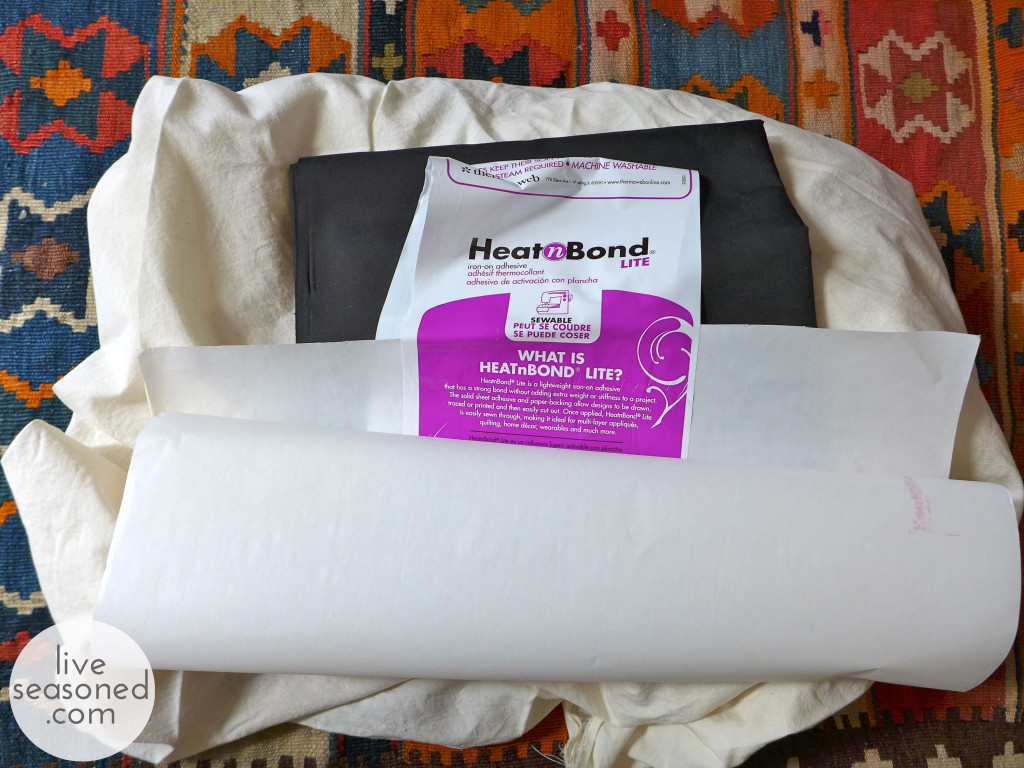
  • Heat’n’Bond large enough for your design. I accidentally bought the thin version that you can sew through, but you should buy the thicker stuff that doesn’t require sewing (note, I still didn’t sew mine, but I’m worried that it might not bond as well over the long run).
  • pencil
  • ruler (optional)
  • scissors
  • sewing machine and thread

liveseasoned_fall2014_halloweenwitch10_wm

How-to

  • pre-wash and iron all fabrics
  • Sew the seams around your white panel.
  • Iron the Heat’n’Bond to one side of your black fabric (it comes with instructions for iron temp and timing).
  • Draw your design on the paper of the Heat’n’Bond (This panel works when turned either way, so you don’t have to worry about your design coming out backwards – you just flip the curtain, but if you include words, then one side of your window will always read them backwards).
  • Cut out your design – cutting through the Heat’n’Bond paper and your black fabric.
  • Remove the paper backing from the Heat’n’Bond, place your silhouettes on your white panel. Iron the silhouettes following the Heat’n’Bond instructions.
  • Hang your curtain and settle in for a spooky night!

Tips & Tricks

  • I Googled “witch silhouette” and found the image that I very closely followed for this project. If you’re looking for ideas just search for “halloween silhouette” and you’re sure to find something perfect.
  • Once I had my image, I free-handed the drawing. To help with this process, I began by putting references points on the paper (for example, points where I wanted the top and brim of the hat to be, others for the hands and face, etc.). You can see them in the image above to the left. I then stood back and looked at those points to make sure that I liked the proportion and placement of my witch.
  • With those points in place I sketched a witch. I did this relatively quickly (5-10 minutes max), I didn’t go back and erase lines, and I didn’t aim for perfection. I always believe that if you give people the impression of an image they can fill in the details and overlook slight imperfections (our brother will whole-heartedly disagree with me). For example, is the bump at the back of her head a bun (my intention) or a wonky ear? You decide, but either way, you may not have focused on it until I brought it to your attention.
  • Finally, as well as giving you a paper to draw on, having the Heat’n’Bond stiffens your fabric so it also makes cutting and placing your silhouette so easy!

For being a random idea, I really love how this project turned out! It looks great in our window during both day and night. We hung the side with the silhouette facing out. So during the day, we get to see a shadowy silhouette image inside the house as the sunlight shines through, while everyone outside still sees the witch (I don’t think their view would be as good during the day if we hung it the other way around). You’ll get the same shadowy effect at night if there’s a street or porch light outside of your window. And one last hanging tip – Alex loves looking out of this window during the day, so I just use a couple of binder clips to secure the bottom of the panel to the top; it’s folded in half and we can see out of the bottom half of the window.

liveseasoned_fall2014_halloweenwitch11_wm

**Costume update: C and I felt the costume pressure when we realized that the little guy has no less than 3 costume parties to attend! So we had a brainstorming session tonight and came up with some fun ideas!

Little A’s New Winter Hat

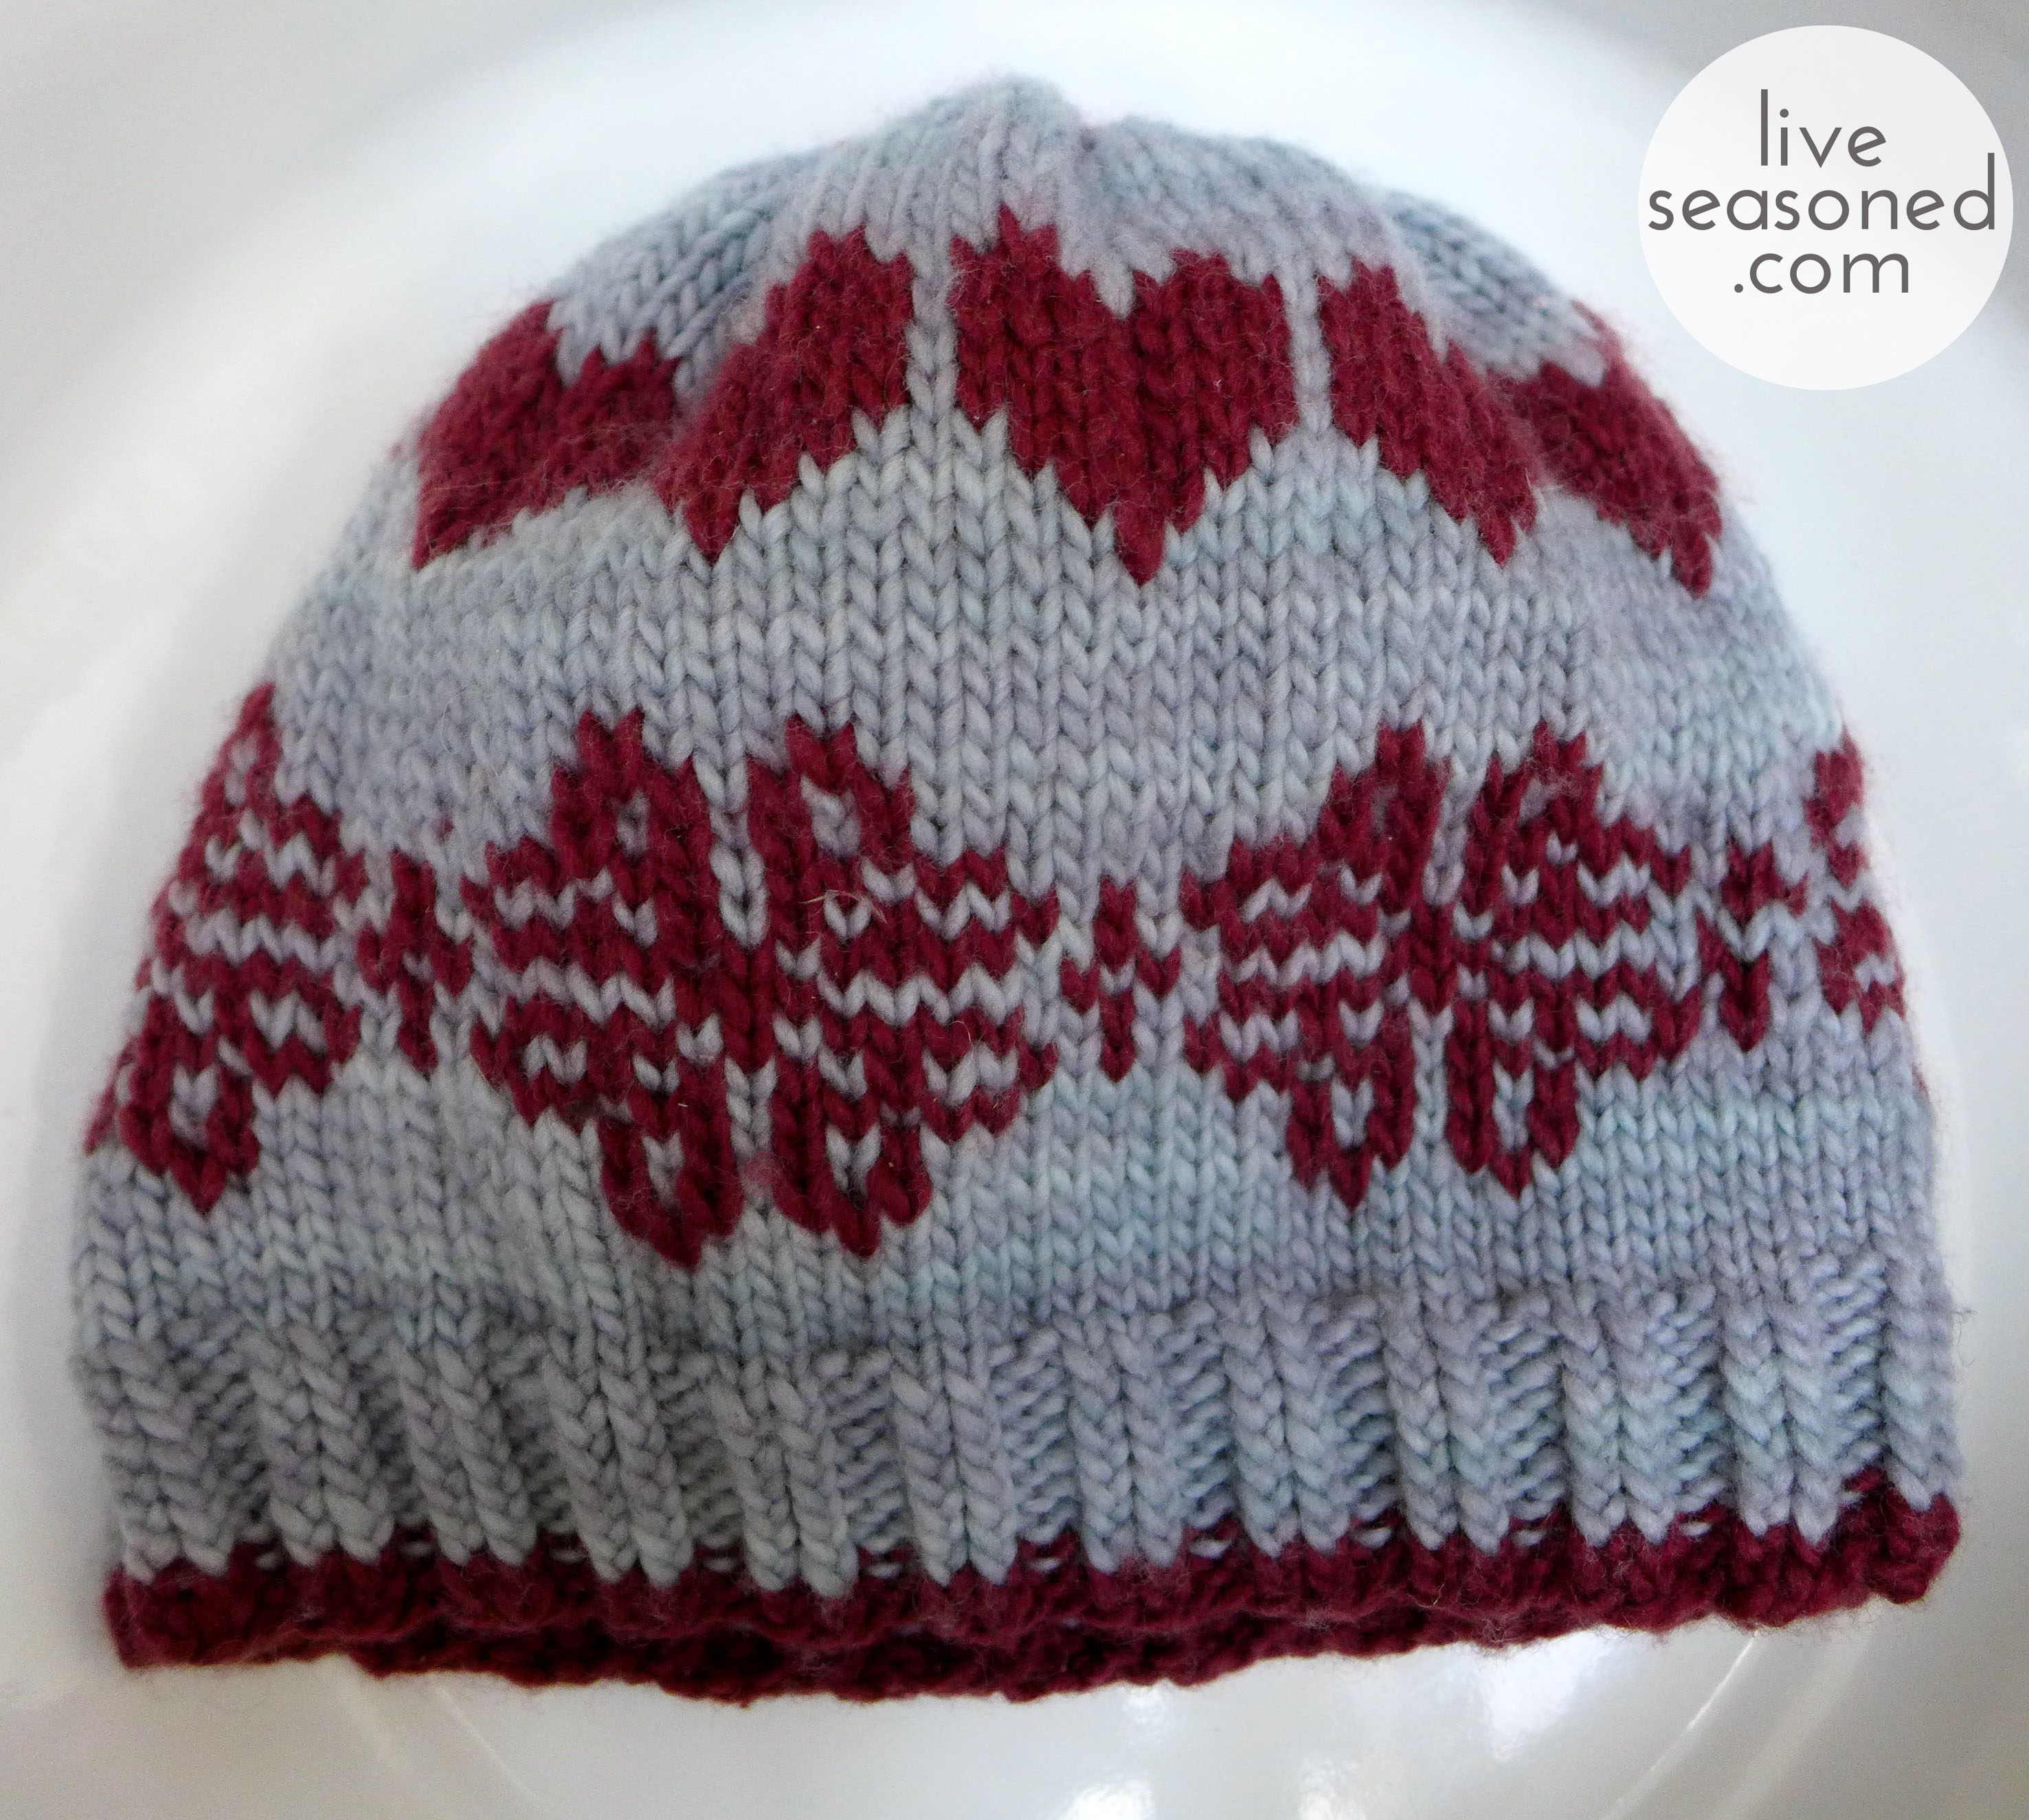
Two months ago I shared some of the projects sitting in my knitting basket. Since then there’s been a bit of progress made on almost everything in that post. The socks have doubled in length. I’ve repaired a few of the moth-eaten hats (going to share some of that soon!). I gave you a detailed update about the sweater and am working on a second post in that series. Today, I’m sharing the pattern for Alex’s little hat, which doesn’t look anything like it did in the previous post. All in all not bad work considering those long winter knitting and TV evenings are just getting started!

liveseasoned_fall2014_littleahat5_wm

I tried Alex’s hat on his big head before the last post, and thought it was a bit snug, but didn’t want to admit it to myself. Trying it on him again last week, which involved wrestling that little 18 month old to the ground for a tickle-fest, confirmed my worries that he would quickly outgrow it. Over the weekend I finally ripped out the original hat and started again. A small sacrifice for that little cutie.

liveseasoned_fall2014_littleahat6_wm

In the process I scrapped the tire track pattern for something that was more detailed, would cover the whole hat, and that included at least one traditional motif.  This hat is knit from the bottom up, and I developed the patterns as I went, completing one row of color before thinking about what to do next. A quick Google image search for “fair isle knitting” turned up this sample (shown below) and I decided to use the bottom snowflake for the lowest band on Alex’s hat. I knew I wanted to incorporate a heart somewhere (because how many more years do I have to knit hearts into his clothes), so why not a whole band of hearts? Then I finished the top with a red circle to keep the color repeats going.

Fair-Isle-Knitting-Design-Idea

I’m sharing the pattern here for the exact hat that I knit. I haven’t put any work into up- or downsizing this pattern, but I do think that it would be a fun experiment to knit it with bright chunky yarn and big needles to create an adult-sized hat (just a different version of the simple fair isle hat I knit for our sister Kristin a few Christmases ago).

liveseasoned_fall2014_littleahat1_wm

Pattern

Yarn : Malabrigo worsted in two colors, I will refer to the color that you use for the patterns as the contrast color

Needles : US 7, 4.5 mm

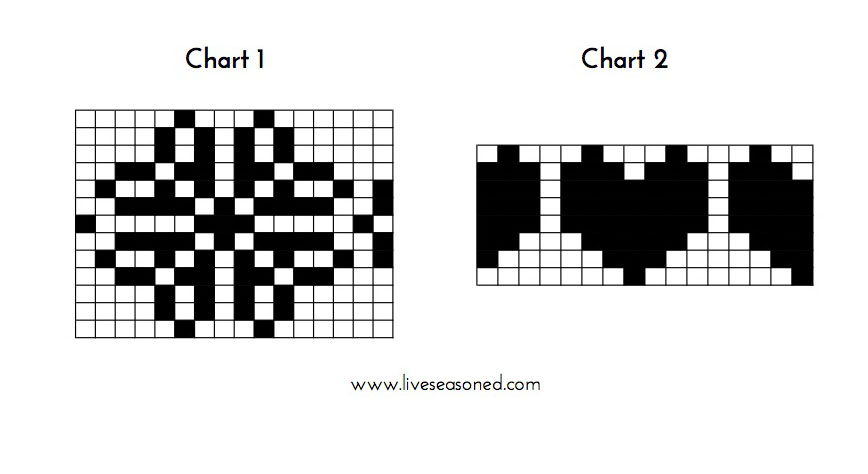
Pattern Chart : Charts are  below, but you can also download a PDF of the charts by clicking here.

  • Using your contrast color cast on 96 stitches. Use your preferred stretchy cast-on method (I like the long-tail method).
  • Row 1: Begin a K2 P2 rib using the contrast color.
  • Rows 2-9: Switch to your primary color and continue the K2 P2 ribbing for 8 more rounds.
  • Rows 10-15 : Using the primary color, knit in stockinette for 5 rounds (knit all stitches).
  • Rows 16-29 : Snowflake pattern. Repeat Chart 1 six times around each row (you should read the chart from right to left and bottom to top, with the dark squares representing stitches knit with the contrast yarn).
  • Rows 30-35 : Using the primary color, knit in stockinette for 5 rounds.
  • Rows  36-43 : Heart pattern. Repeat Chart 2 six times around each row.
  • Rows 44-51 : Using the primary color, knit in stockinette.
  • Row 52 : Decrease row. *K2 K2tog*, repeat ** for the entire row. 72 stitches remaining.
  • Row 53 : Knit all stitches.
  • Row 54 : Switch to the contrast color. Knit all stitches.
  • Row 55 : Decrease row. *K1 K2tog*, repeat ** for the entire row. 48 stitches remaining.
  • Row 56 : Knit all stitches.
  • Rows 57 & 58 : Decrease rows. *K2tog*, repeat ** for both rows. 12 stitches remain.
  • Finish off the hat by cutting your working yarn, weaving it through the active loops, tightening and weaving in all ends.

charts2
 All in all it’s a super simple hat that will keep any Colorado kid’s head warm with its double layering of yarn from the fair isle knitting. I love it, but I think if I were to knit another one, I might add more little color flourishes between the rows of pattern. Who knows. I do know that I still have yarn left on both of these balls – possibly enough to knit a baby hat for Little A’s little bro!


Crockpot Apple Butter

Apples are our ingredient of the season, so far we’ve covered a variety of baking and drinking recipes. Today it’s all about the condiment!

Have you tried apple butter yet? Apple butter is a more concentrated form of apple sauce, taking all of fall’s best flavors and turning them into the perfect little condiment. It was originally developed as a form of preserved apples that would last longer than apple sauce because of its higher sugar content. If you’ve never had it, it may be because it’s more of a regional food. Apple butter was developed in Germany and the Netherlands, making it a more popular condiment in regions of the US that were settled by people from those countries, particularly the Amish. If you haven’t had it, I encourage you to seek out a jar (or jump in with both feet and make our version below) ~ it’s soooooo good! Stumped on how to eat it? The spread is often eaten with bread, but I’ll share a few more fun ideas below.

I have to admit, two weeks ago when I was making this batch of apple butter, I was exhausted and little A was squawking because he wanted to go outside, making me question why I wasn’t just running to the store to pick up a commercial jar. But I quickly had a change of heart. Other than the hour of peeling and chopping, this butter required so little work, that I’m solidly convinced it’s worth the effort, especially since I can tailor the recipe to my wants, being sure to buy organic apples, lowering the sugar, and upping the spices. Plus, the concentrated apple and spice flavor is such a perfect condiment for the season, and that’s what we’re all about!

I have made apple butter many times, and never the exact same way, but every time it turns out delicious. I’ve made batches that started with 40 lbs of apples all the way down to this measly batch that started with 4.5 lbs. I’ve also made it in an electric roaster, an electric frying pan, and a crockpot. I’ve found the crockpot to be the easiest, but use what you have! That’s all to say – this particular condiment is so forgiving. As long as you start with a big pile of apples and allow them to cook down slowly with a touch of spices, liquid, and sugar, you’ll end up with something delicious. I promise.

liveseasoned_fall2014_applebutter2_wm

 Ingredients

Recipe makes approximately 5 cups of apple butter.
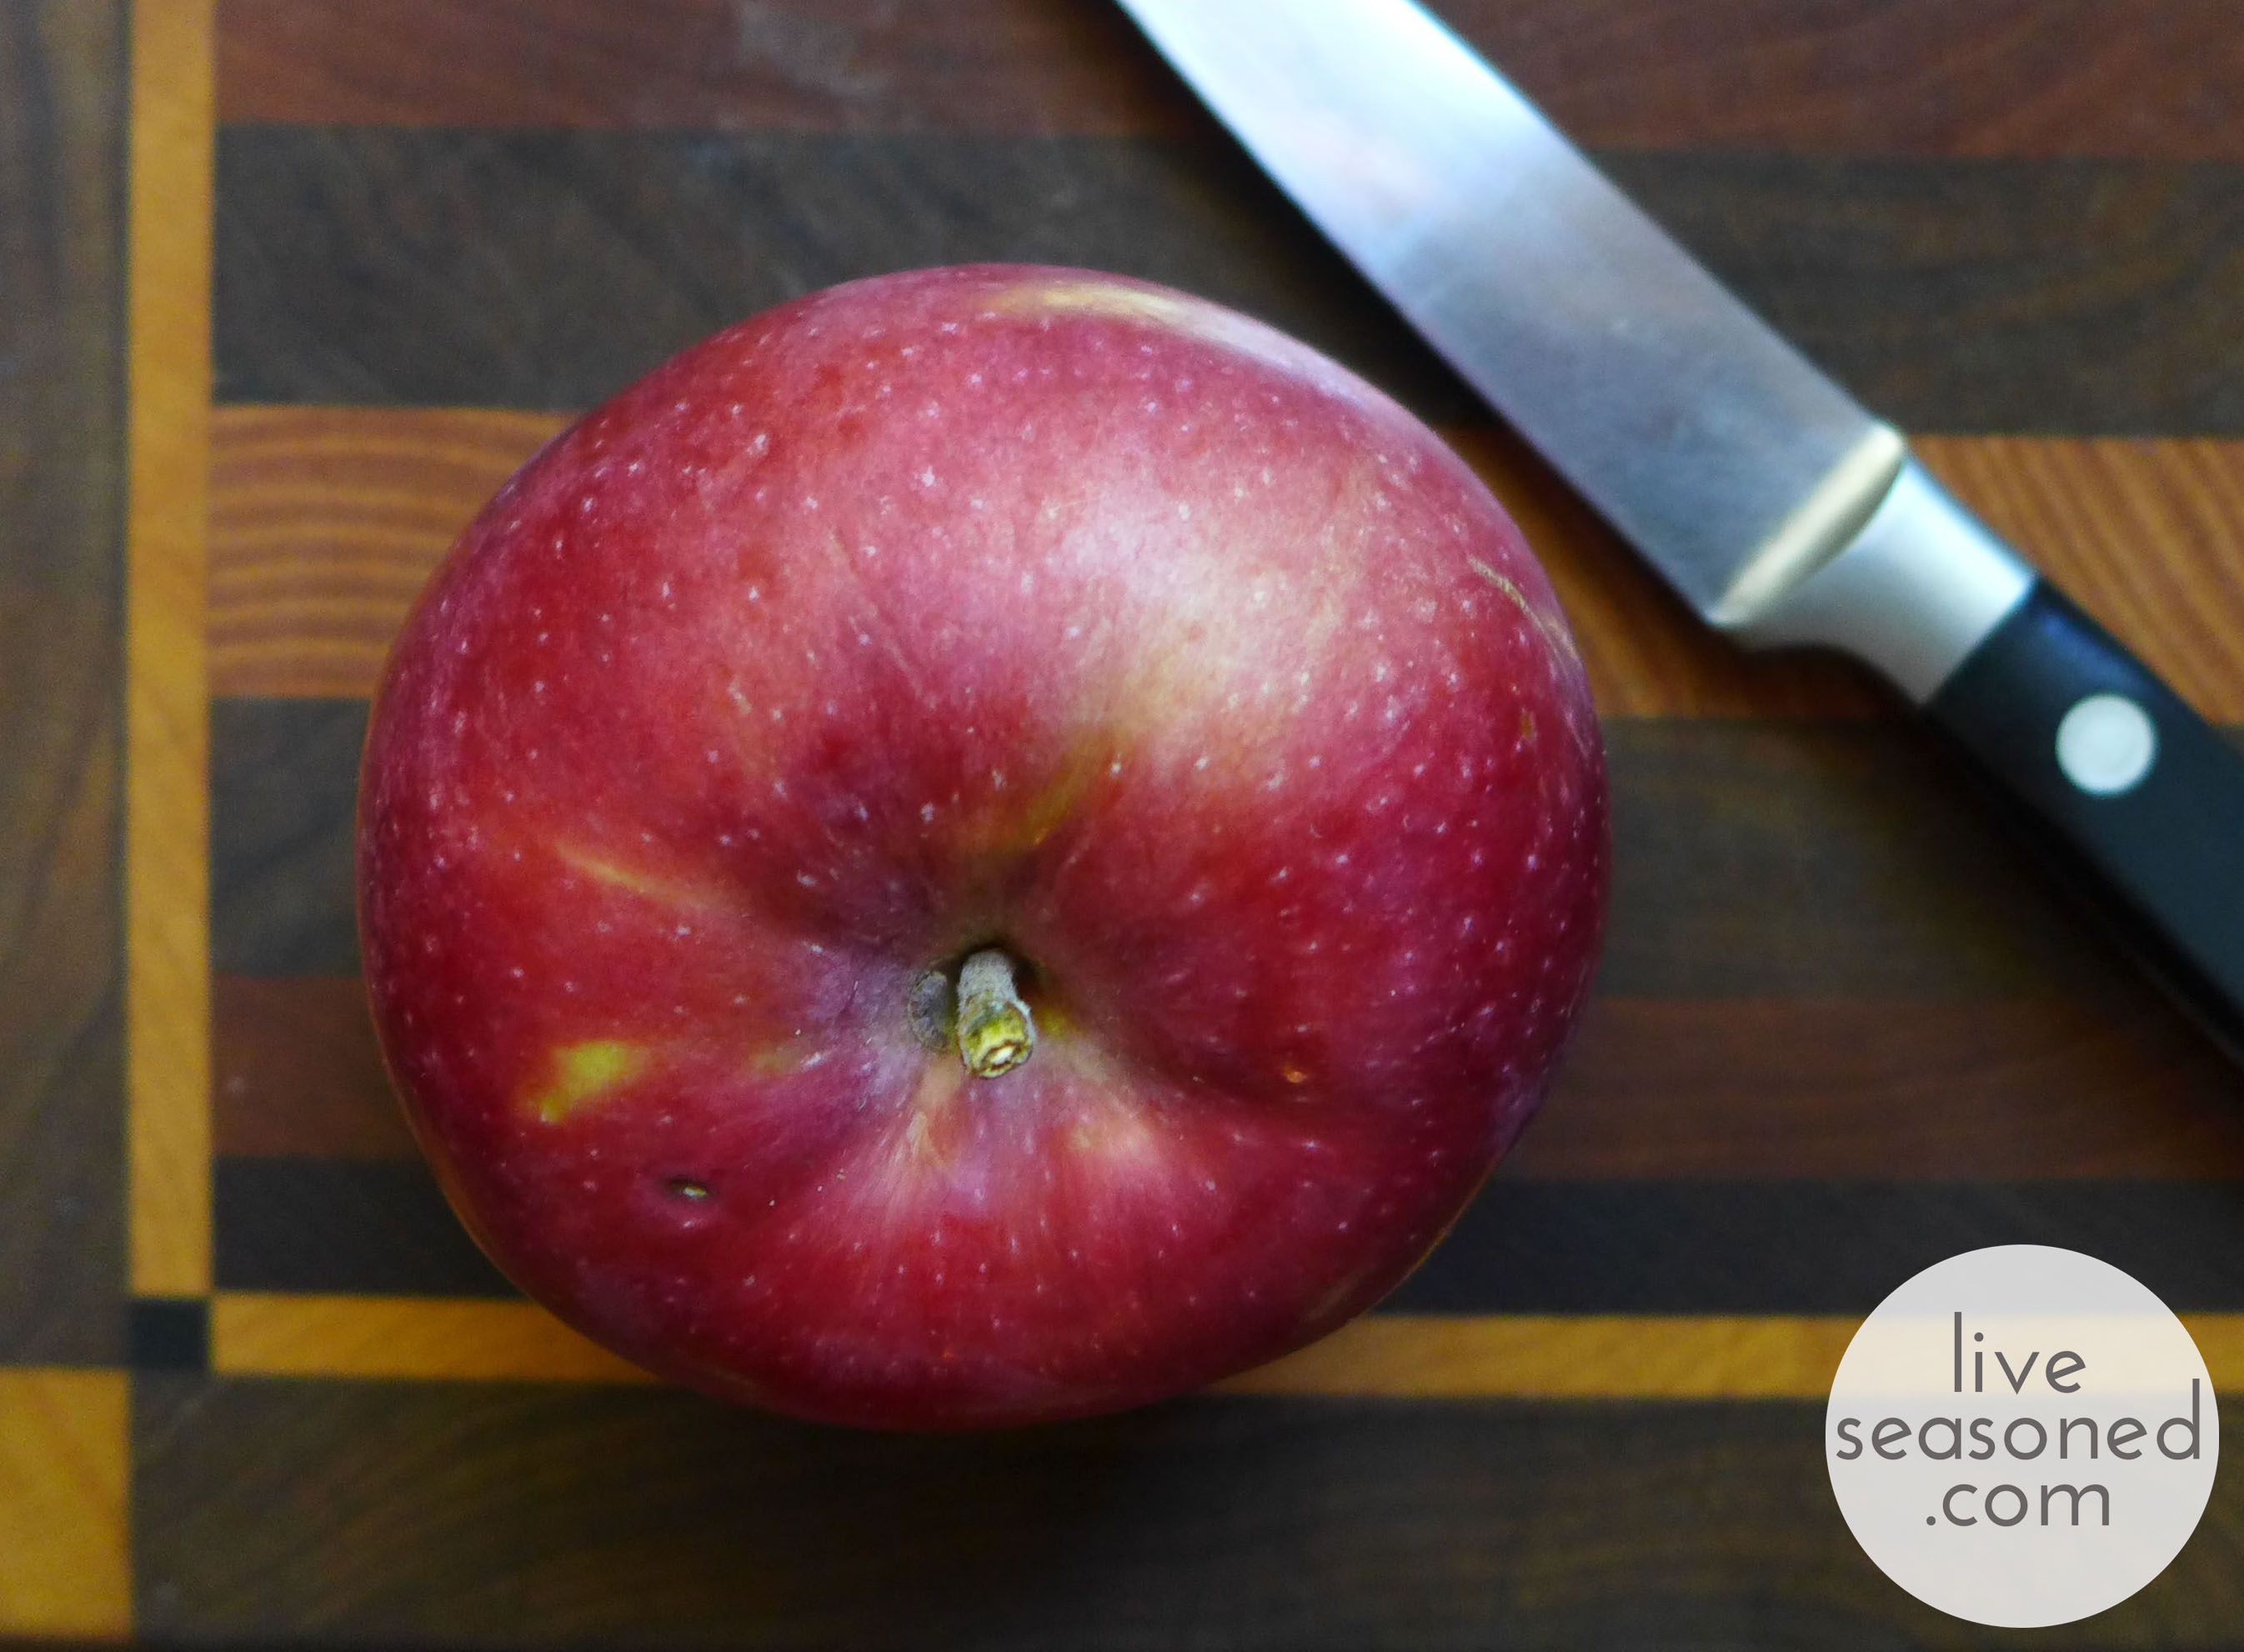
  • 4.5 pounds of McIntosh Apples, peeled, cored, and chopped
  • 1 cup brown sugar
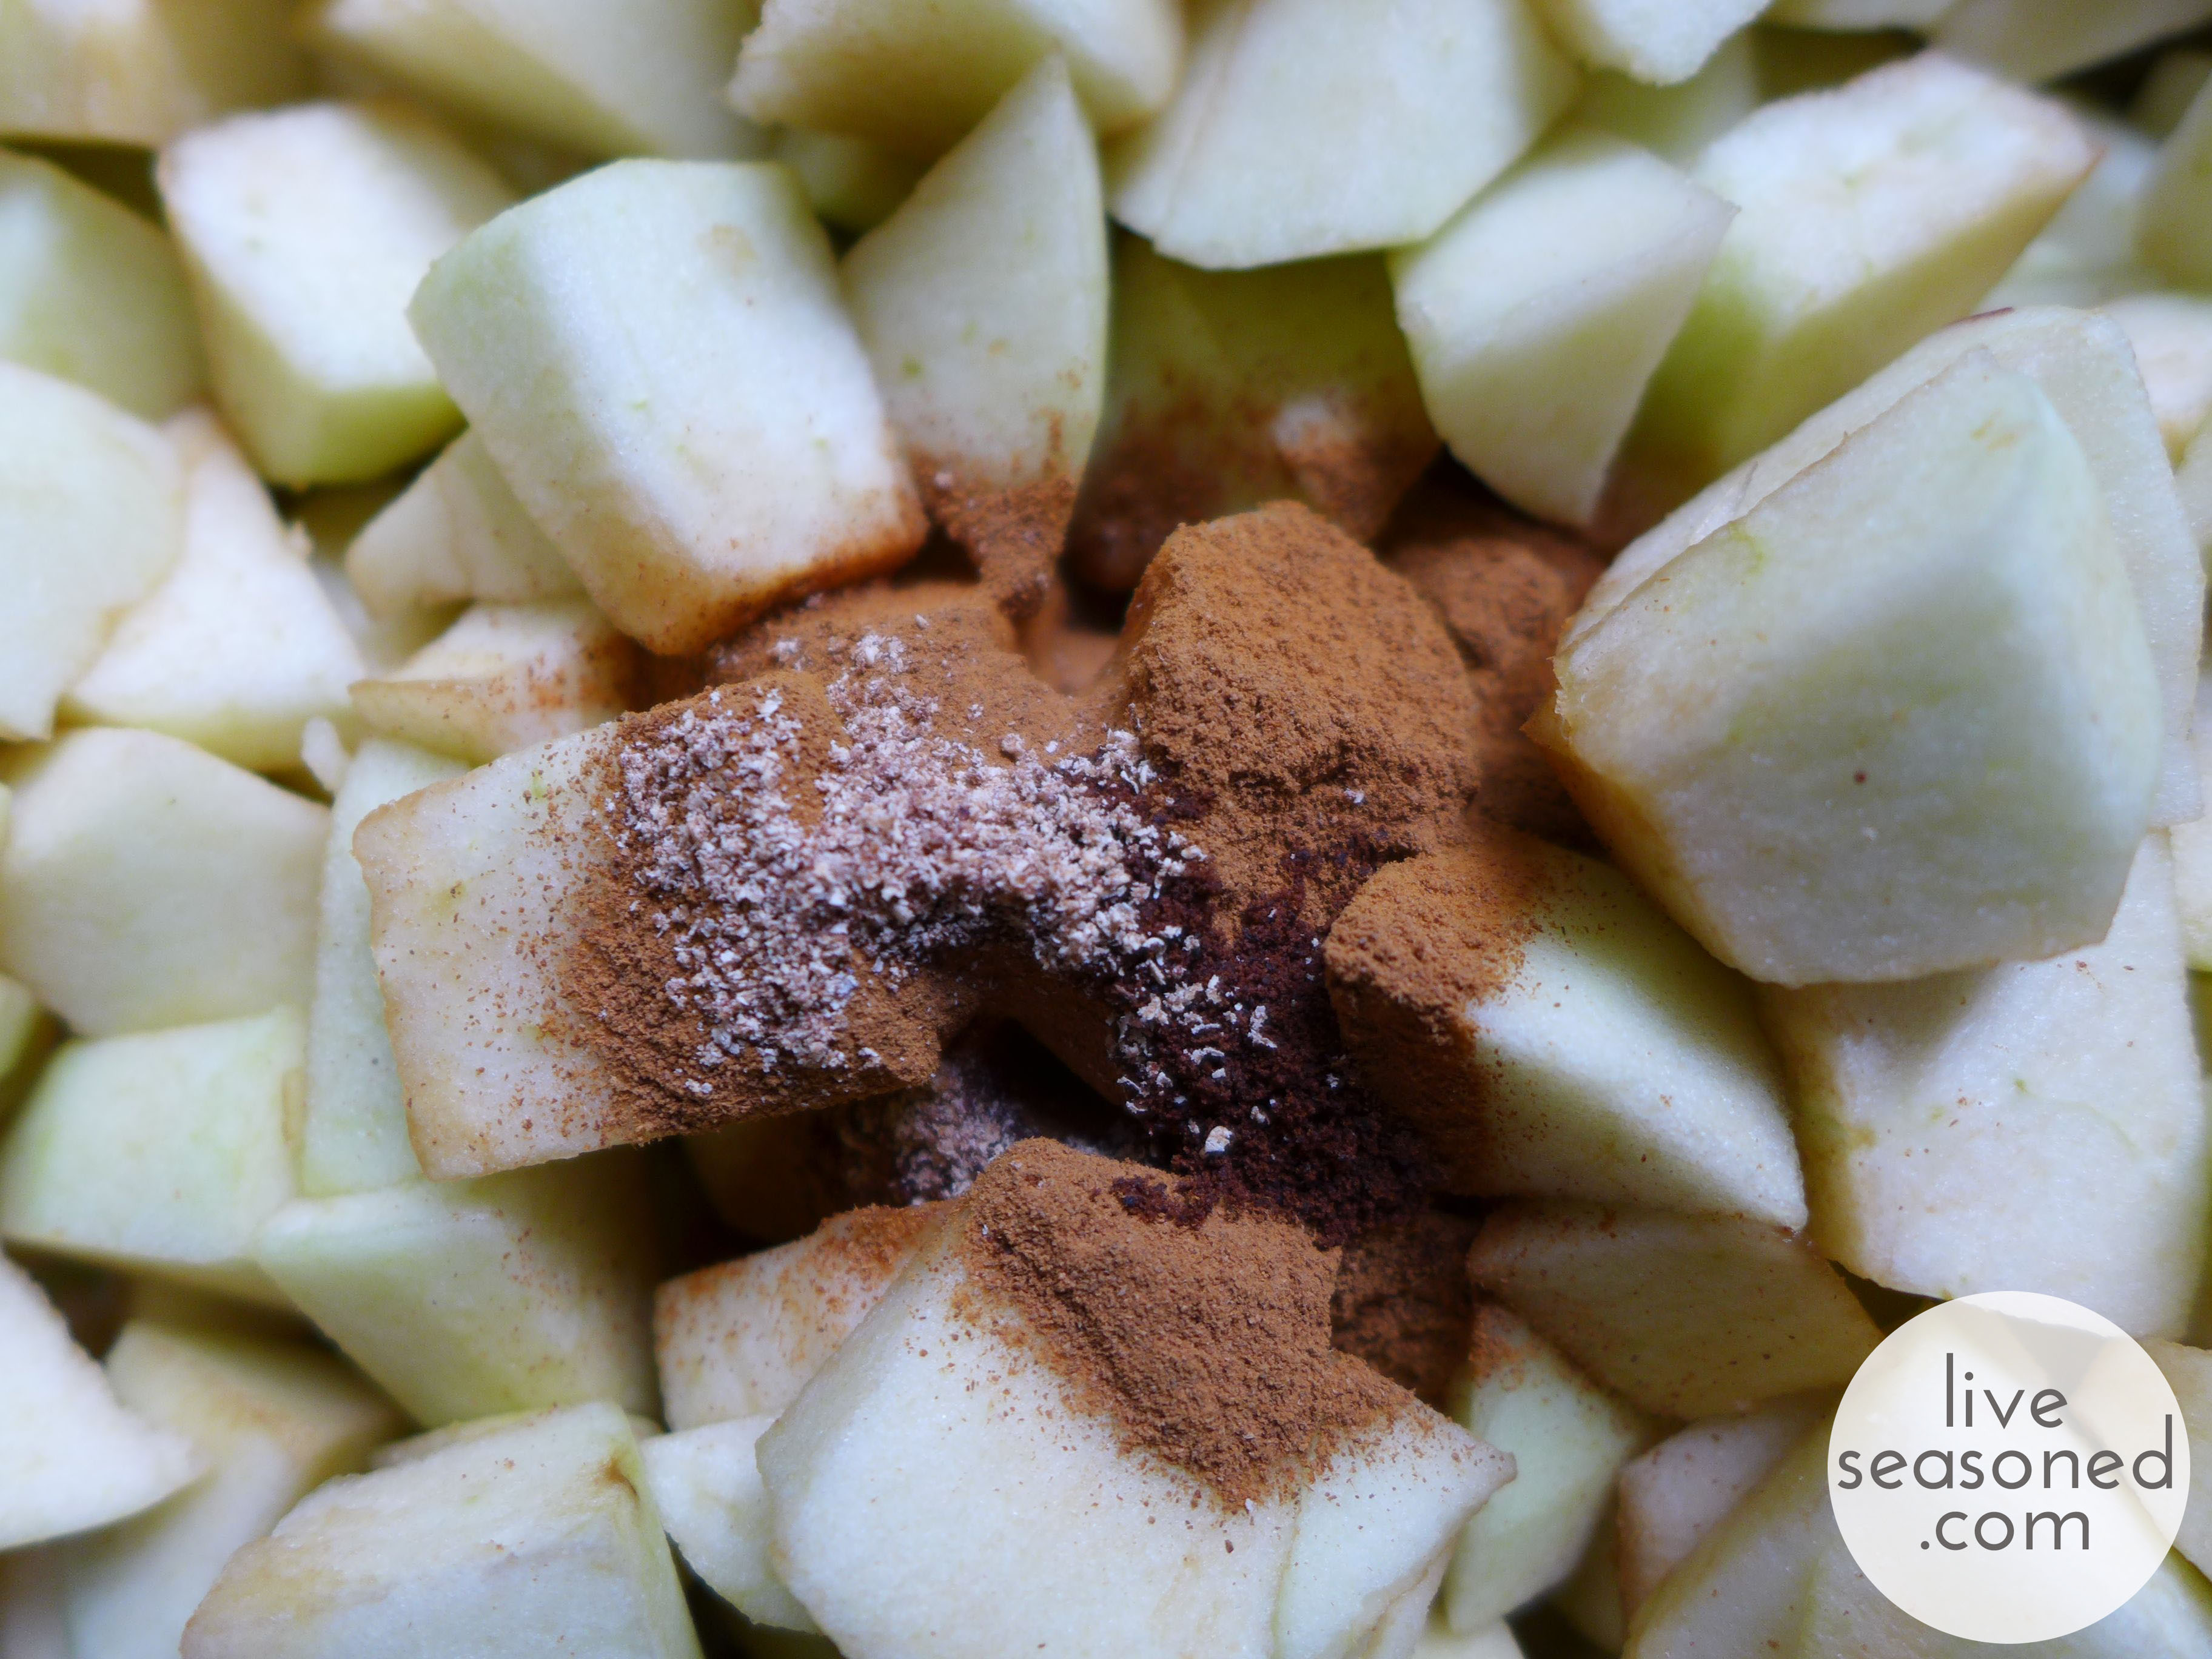
  • 1 tbsp ground cinnamon
  • 1/2 tsp ground nutmeg
  • 1/4 tsp ground cloves
  • 1/4 tsp salt
  • 1.5 cups water (or you could substitute apple cider for half or all of the water)
liveseasoned_fall2014_applebutter3_wm

How-to

  • Mix all ingredients together in your slow cooker and put the lid on, but leave it slightly ajar to allow steam to escape.
  • Turn it on high for 3 hours, at the end of three hours give it a good stir and assess the pot. If there’s a lot of liquid, you could keep it on high for another couple of hours before turning it to low. If the apple butter is more concentrated, you can turn it to low immediately and let it cook for an additional 4-5 hours (or longer) until you reach your desired apple butter consistency. You can even remove the lid in the last few hours of cooking if you want to let more steam out, but as your butter nears the end, be careful to stir it and watch for any signs of burning (this is less of an issue if the lid is partially on, slowing the evaporation).
  • When your butter is done cooking, let it cool. I do this with the lid off to allow for that final dose of evaporation and concentration. Transfer it to a container and refrigerate.

Tips and Tricks

  • Use a wire whisk for all of your stirring. It’s a great way to break up the apples and get a smoother consistency than if you use a spoon.
  • If you have to leave the pot for while at work, just start with the crockpot on low for that time. Similarly, some people will start their butter at night and let it cook on low while they sleep. After 8 or so hours, give it a good stir and then you can always turn it up to high for a few hours if there’s still a bit of liquid in the pot (I’ve made apple butter while at work and it’s always turned out fine).
  • If you’re unsure about when it’s finished, you can scoop out a bit on a spoon and pour it onto a plate – if it holds its shape and doesn’t become a pool of liquid, then it may be done.
  • If you feel like the liquid is evaporating too fast and your apples aren’t cooking down and creating that caramelized brown color, then you can always add more liquid! This was the case for me when I was making big batches in the electric roaster, with such a large opening, it would let out a lot of steam (unless I had the lid positioned just right). Just add a cup at a time, stir it in well, and let the mixture continue to cook.
  • As I said, I’m prone to using less sugar and more spices than other recipes may call for. Feel free to adjust those levels as you see fit. There really is so much wiggle room ~ I’ve really never had a bad batch!
liveseasoned_fall2014_applebutter10_wm

Serving Suggestions

This batch made 5 cups of apple butter. We’re currently down to about 2.5 cups, so yes, we have plenty of serving suggestions!

  • As I mentioned, it’s common to spread apple butter on bread. As with my jam, I like to spread on a layer of butter first and then the apple butter. It’s particularly good on bagels.
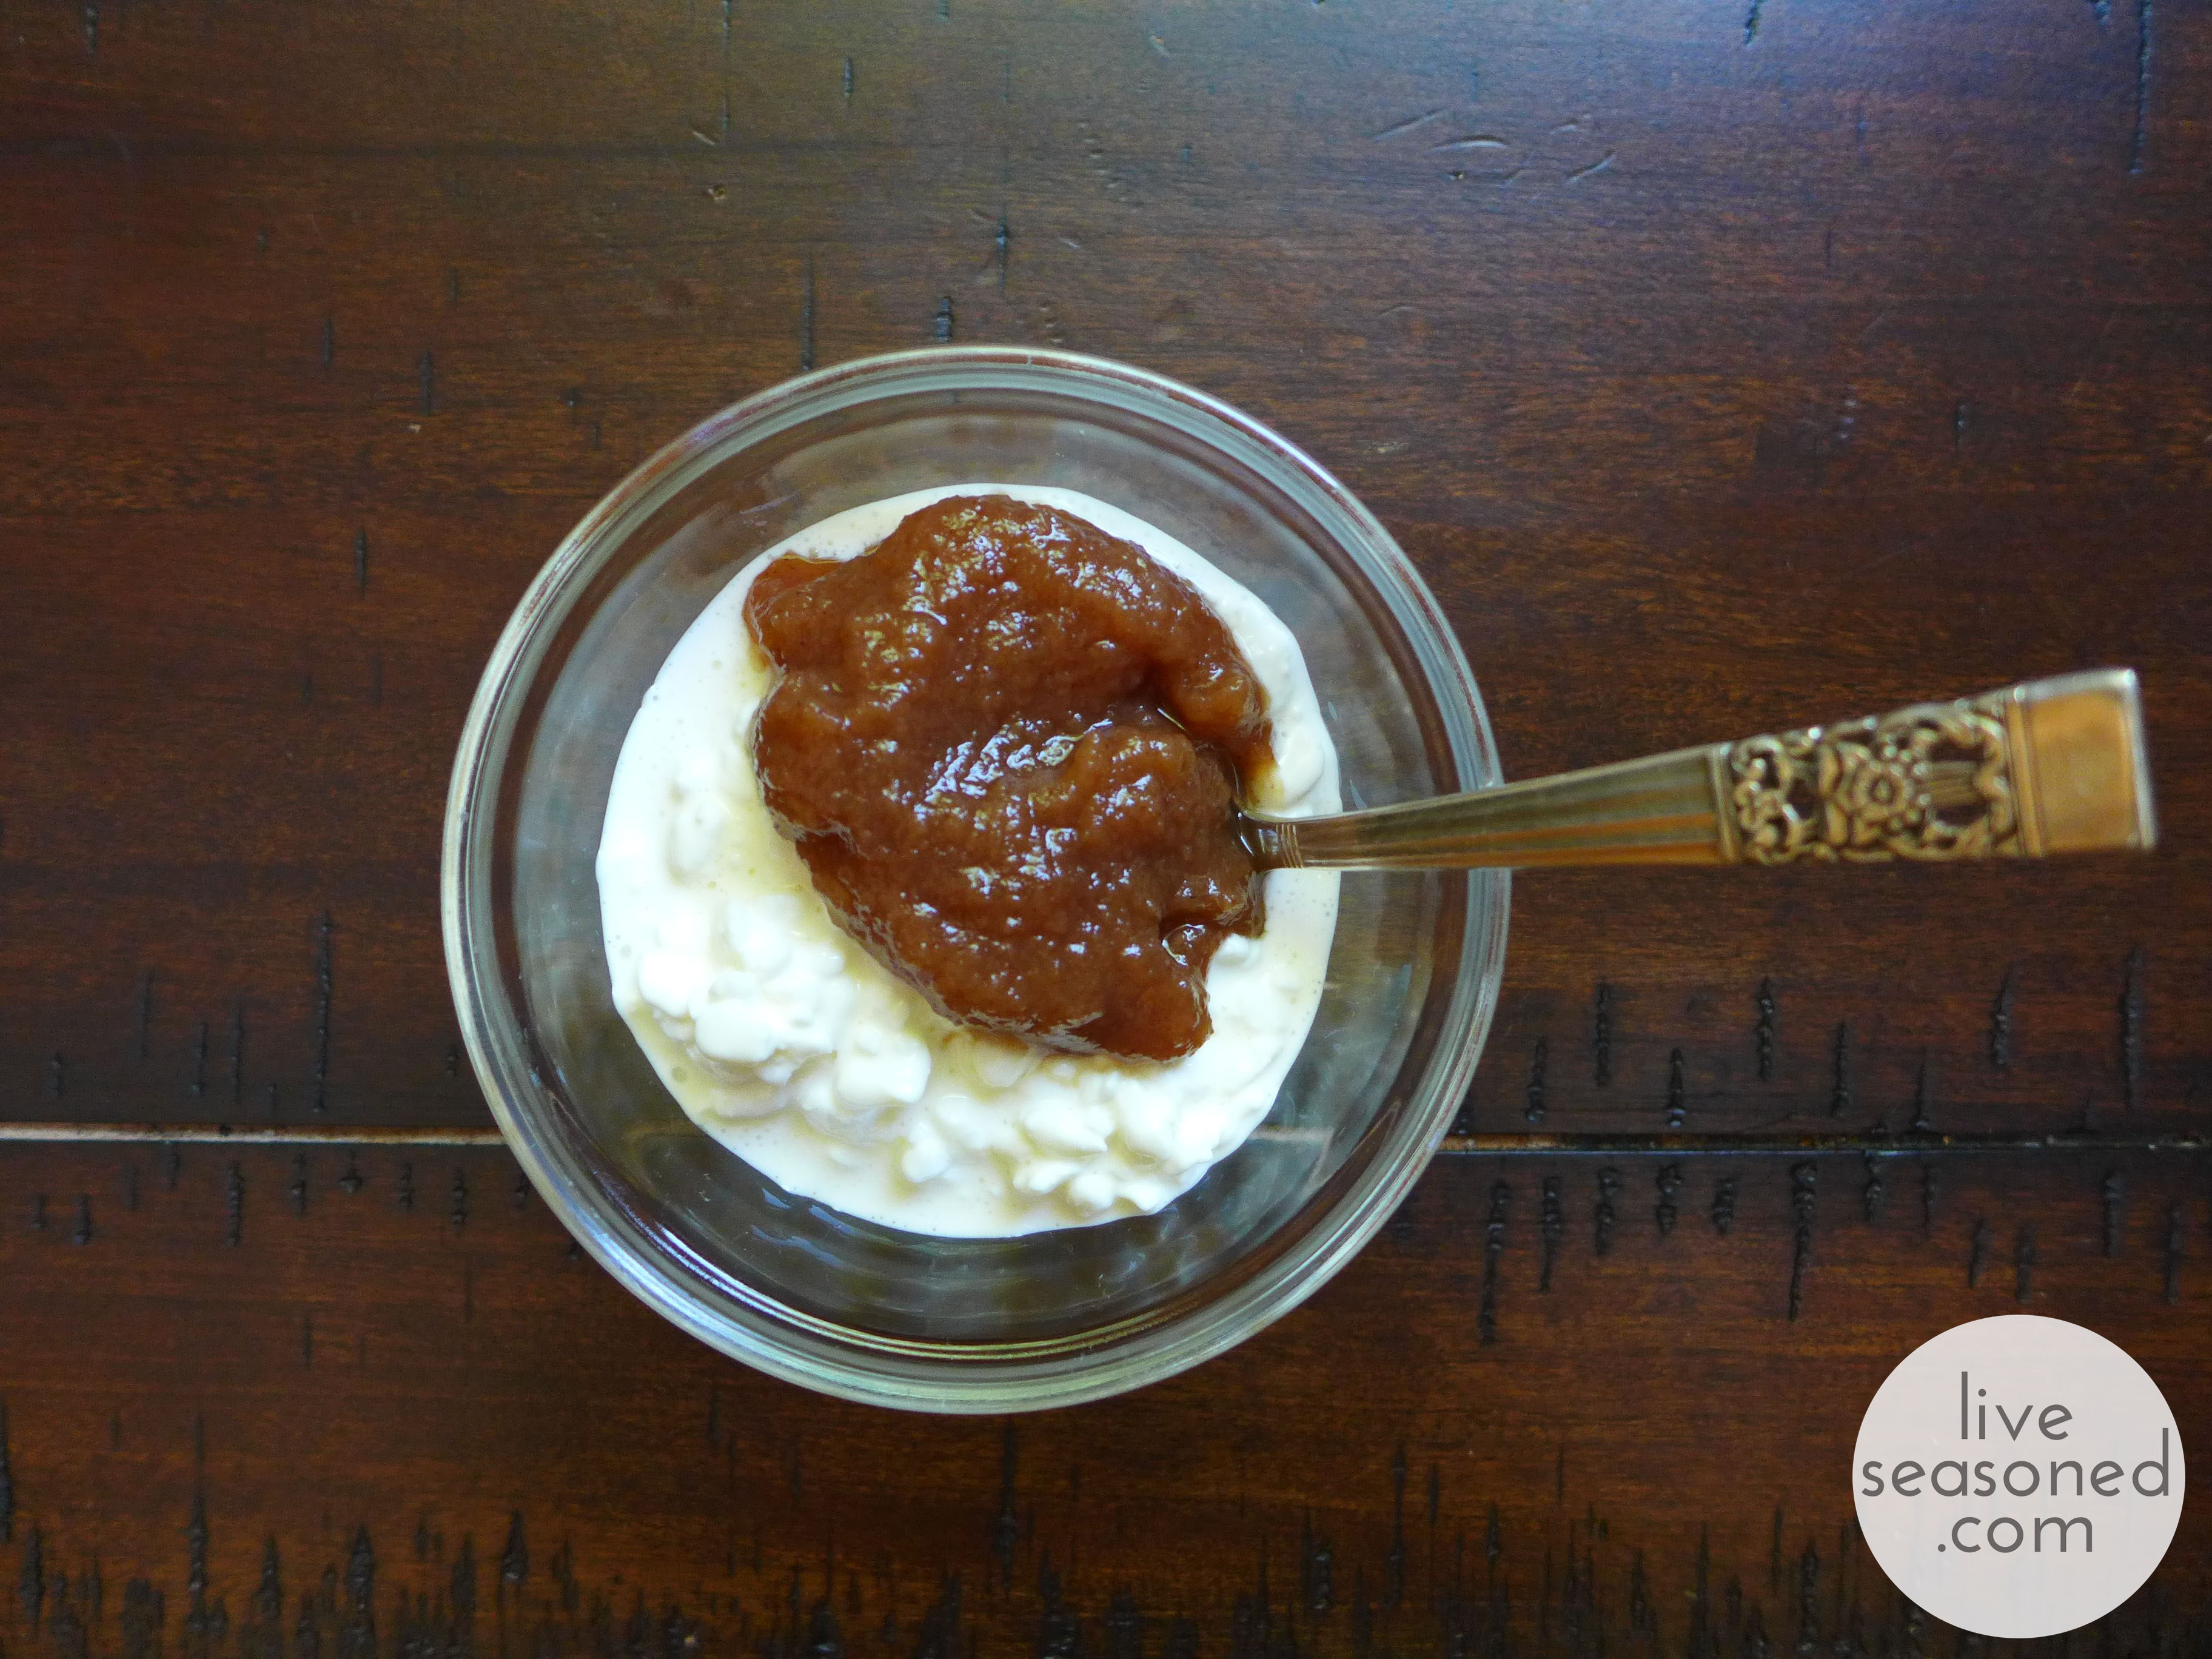
  • A very common way to serve apple butter in Amish communities is with cottage cheese. This is one of my favorite ways to eat it (and Alex’s too!). If you’ve ever eaten at a salad bar in the area around Lancaster, PA, it’s very common to see cottage cheese and apple butter next to each other in the salad bar (and now you know why!).
  • Similar to cottage cheese, I like to stir some into plain yogurt.
  • Last weekend we added a spread of apple butter to our Saturday morning crepes with ham and cheddar cheese (Calder’s figured out a super easy way to use Bisquick for crepe-making, we’ll have to share the recipe soon!).
  • When we had some dinner guests last week, I added a ramekin of apple butter to the cheese plate. It was delicious spread on baguette with either brie or cheddar!
liveseasoned_fall2014_applebutter7_wm

Brie with Truffle Honey

We plan on eating a whole lot of cheese this fall, and then we’ll talk abut it here. Sarah kicked off the cheese-fest with a nut crusted brie, and while there are many different cheeses in the world, I couldn’t help but share another delicious brie idea. Next time a hard cheese, we promise.

I love the flavor of truffles, and whenever there is a truffled this or that on a menu, I’m going to order it. My last truffle indulgence was the delicious Lamb Bolognese with Truffled Ricotta Gnucchi at The Pullman in Glenwood Springs, CO. So good! And what a great guy Calder is by indulging my truffle love – he hates the flavor (thinks it tastes like gasoline!), but he knew that a jar of truffle honey would be the perfect Valentine’s Day gift.

liveseasoned_fall2014_briehoney6_wm

The Honey

Truffle honey is made by adding shaved truffles to honey and then heating it to speed up the extraction of the truffle flavor. You should be able to find some at gourmet cheese shops, but it’s also easy to buy online. It’s not cheap, but a single jar goes a long way. The jar I have has an intense flavor, so just like dishes that use truffle oil or real truffles, this may not be for everyone. Of course, if you know a truffle lover, I guarantee you that they will love this!

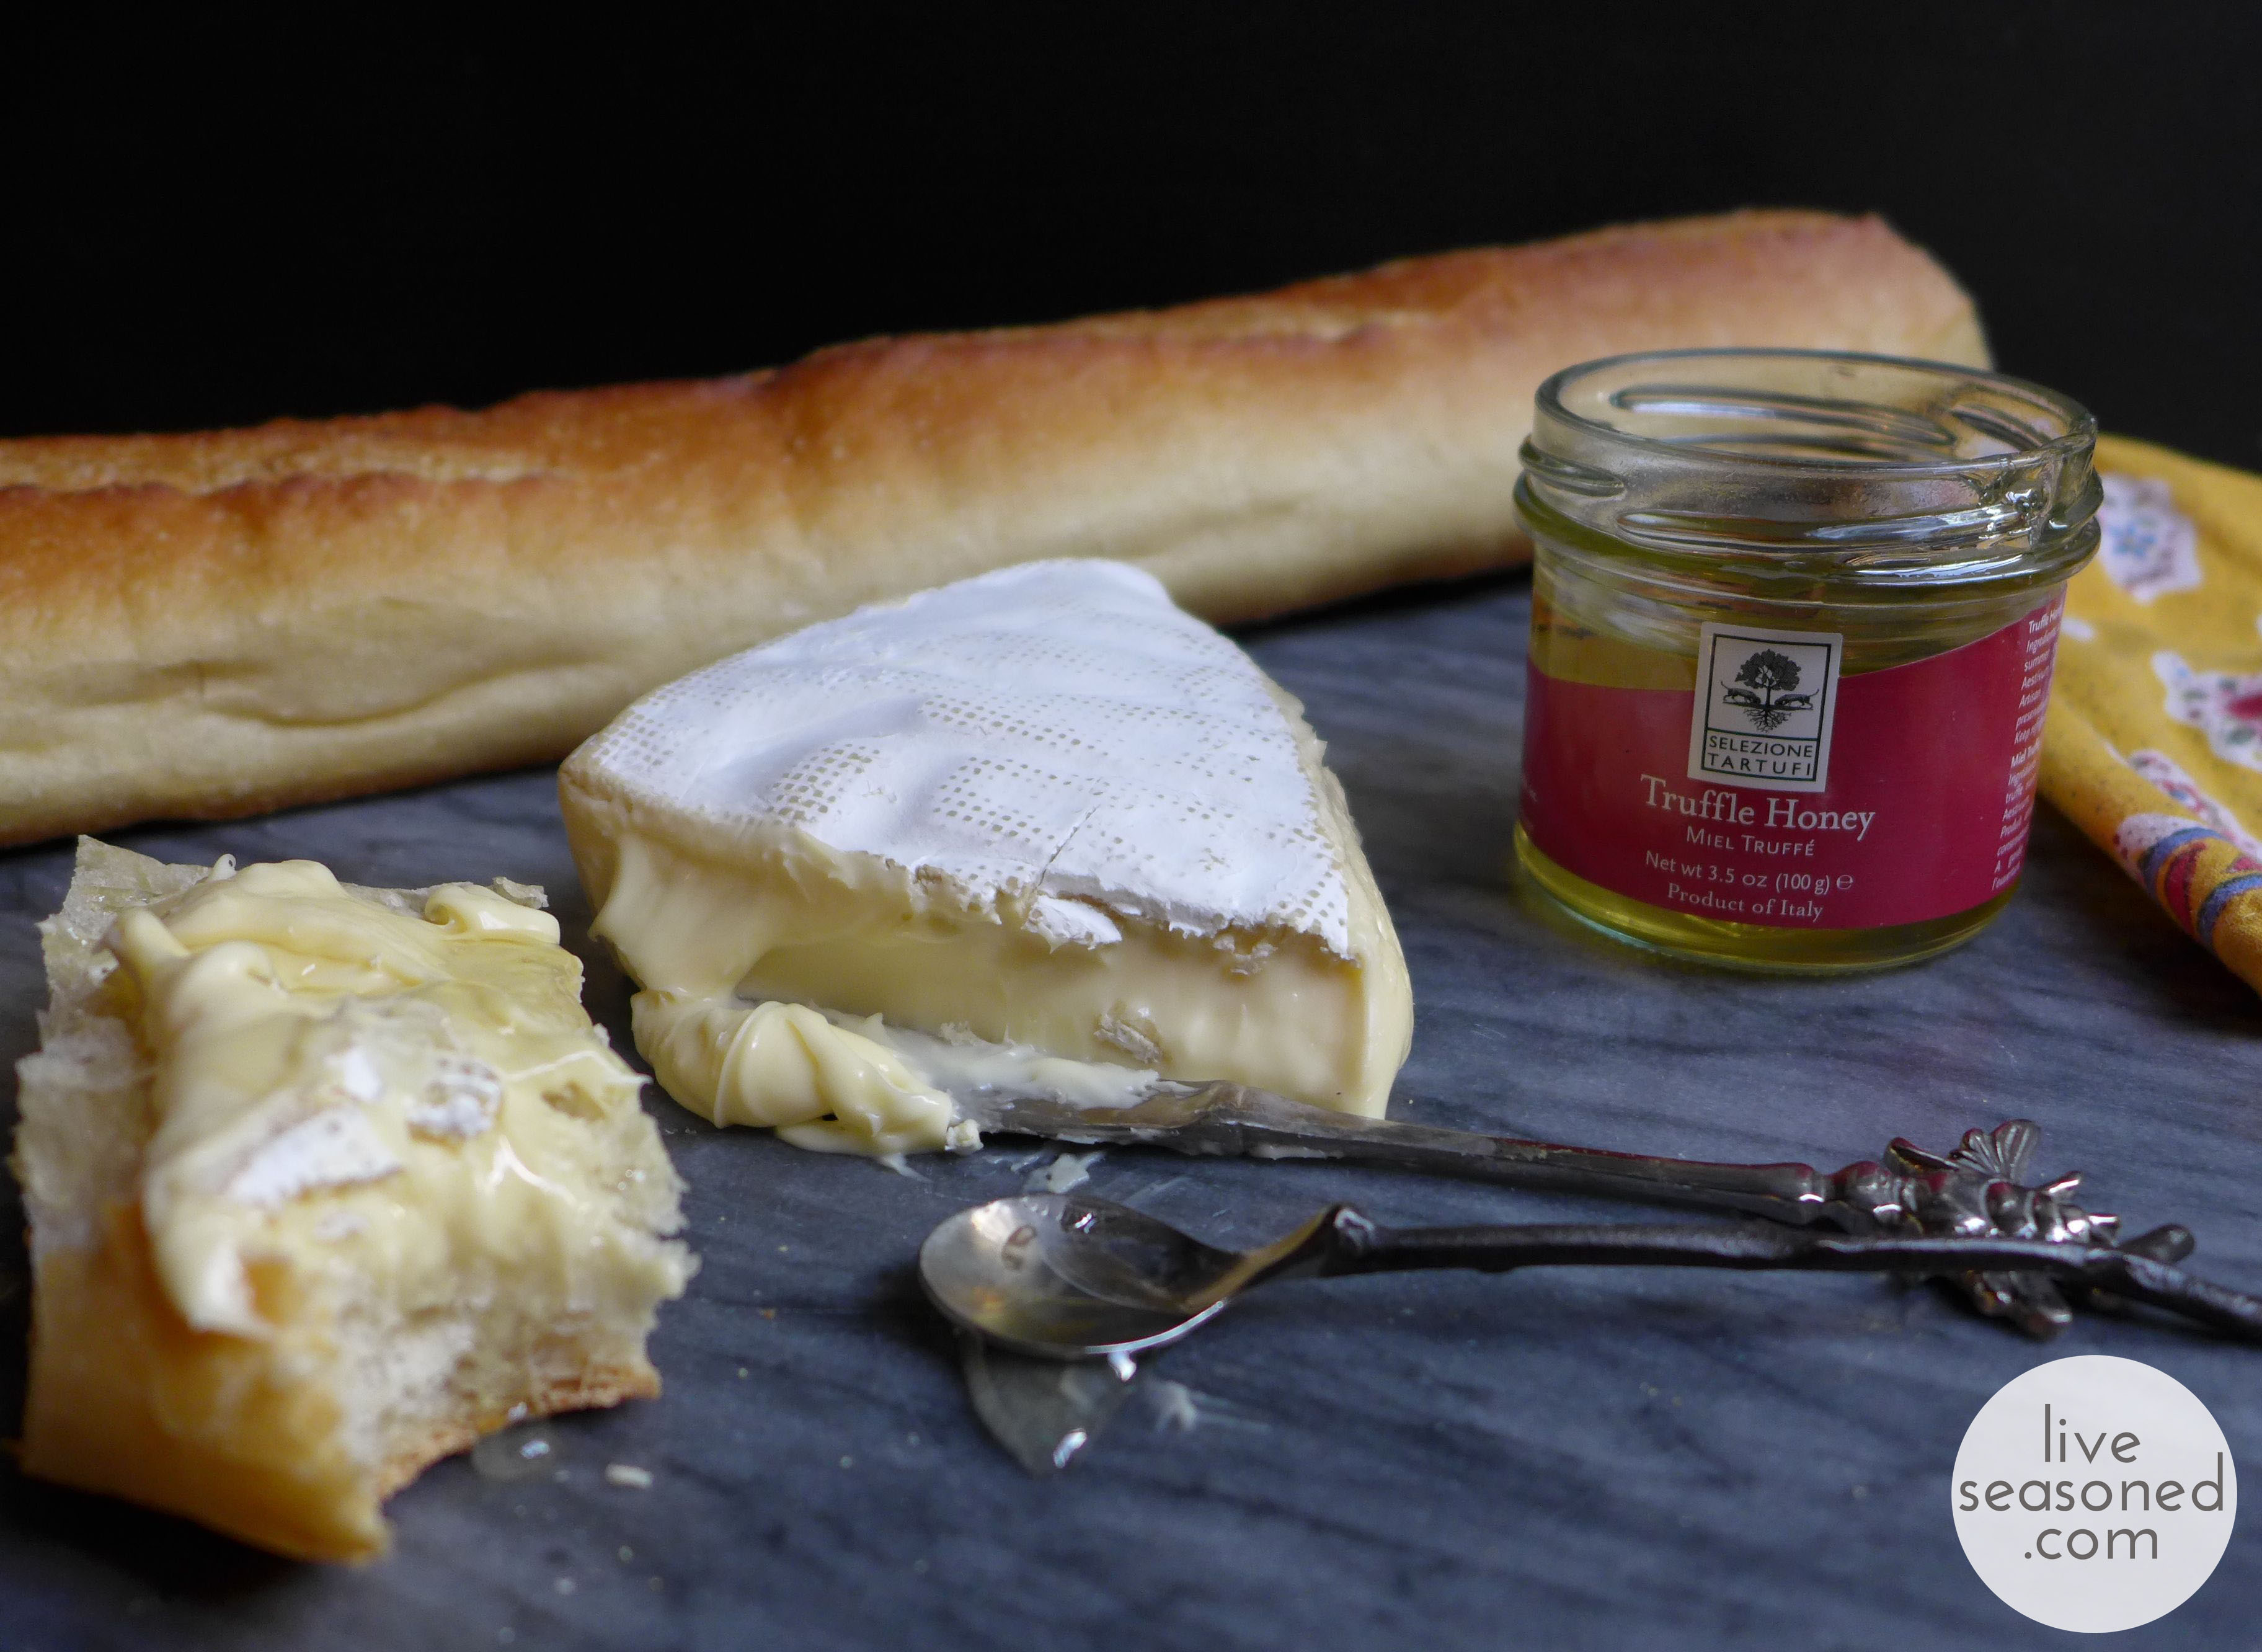
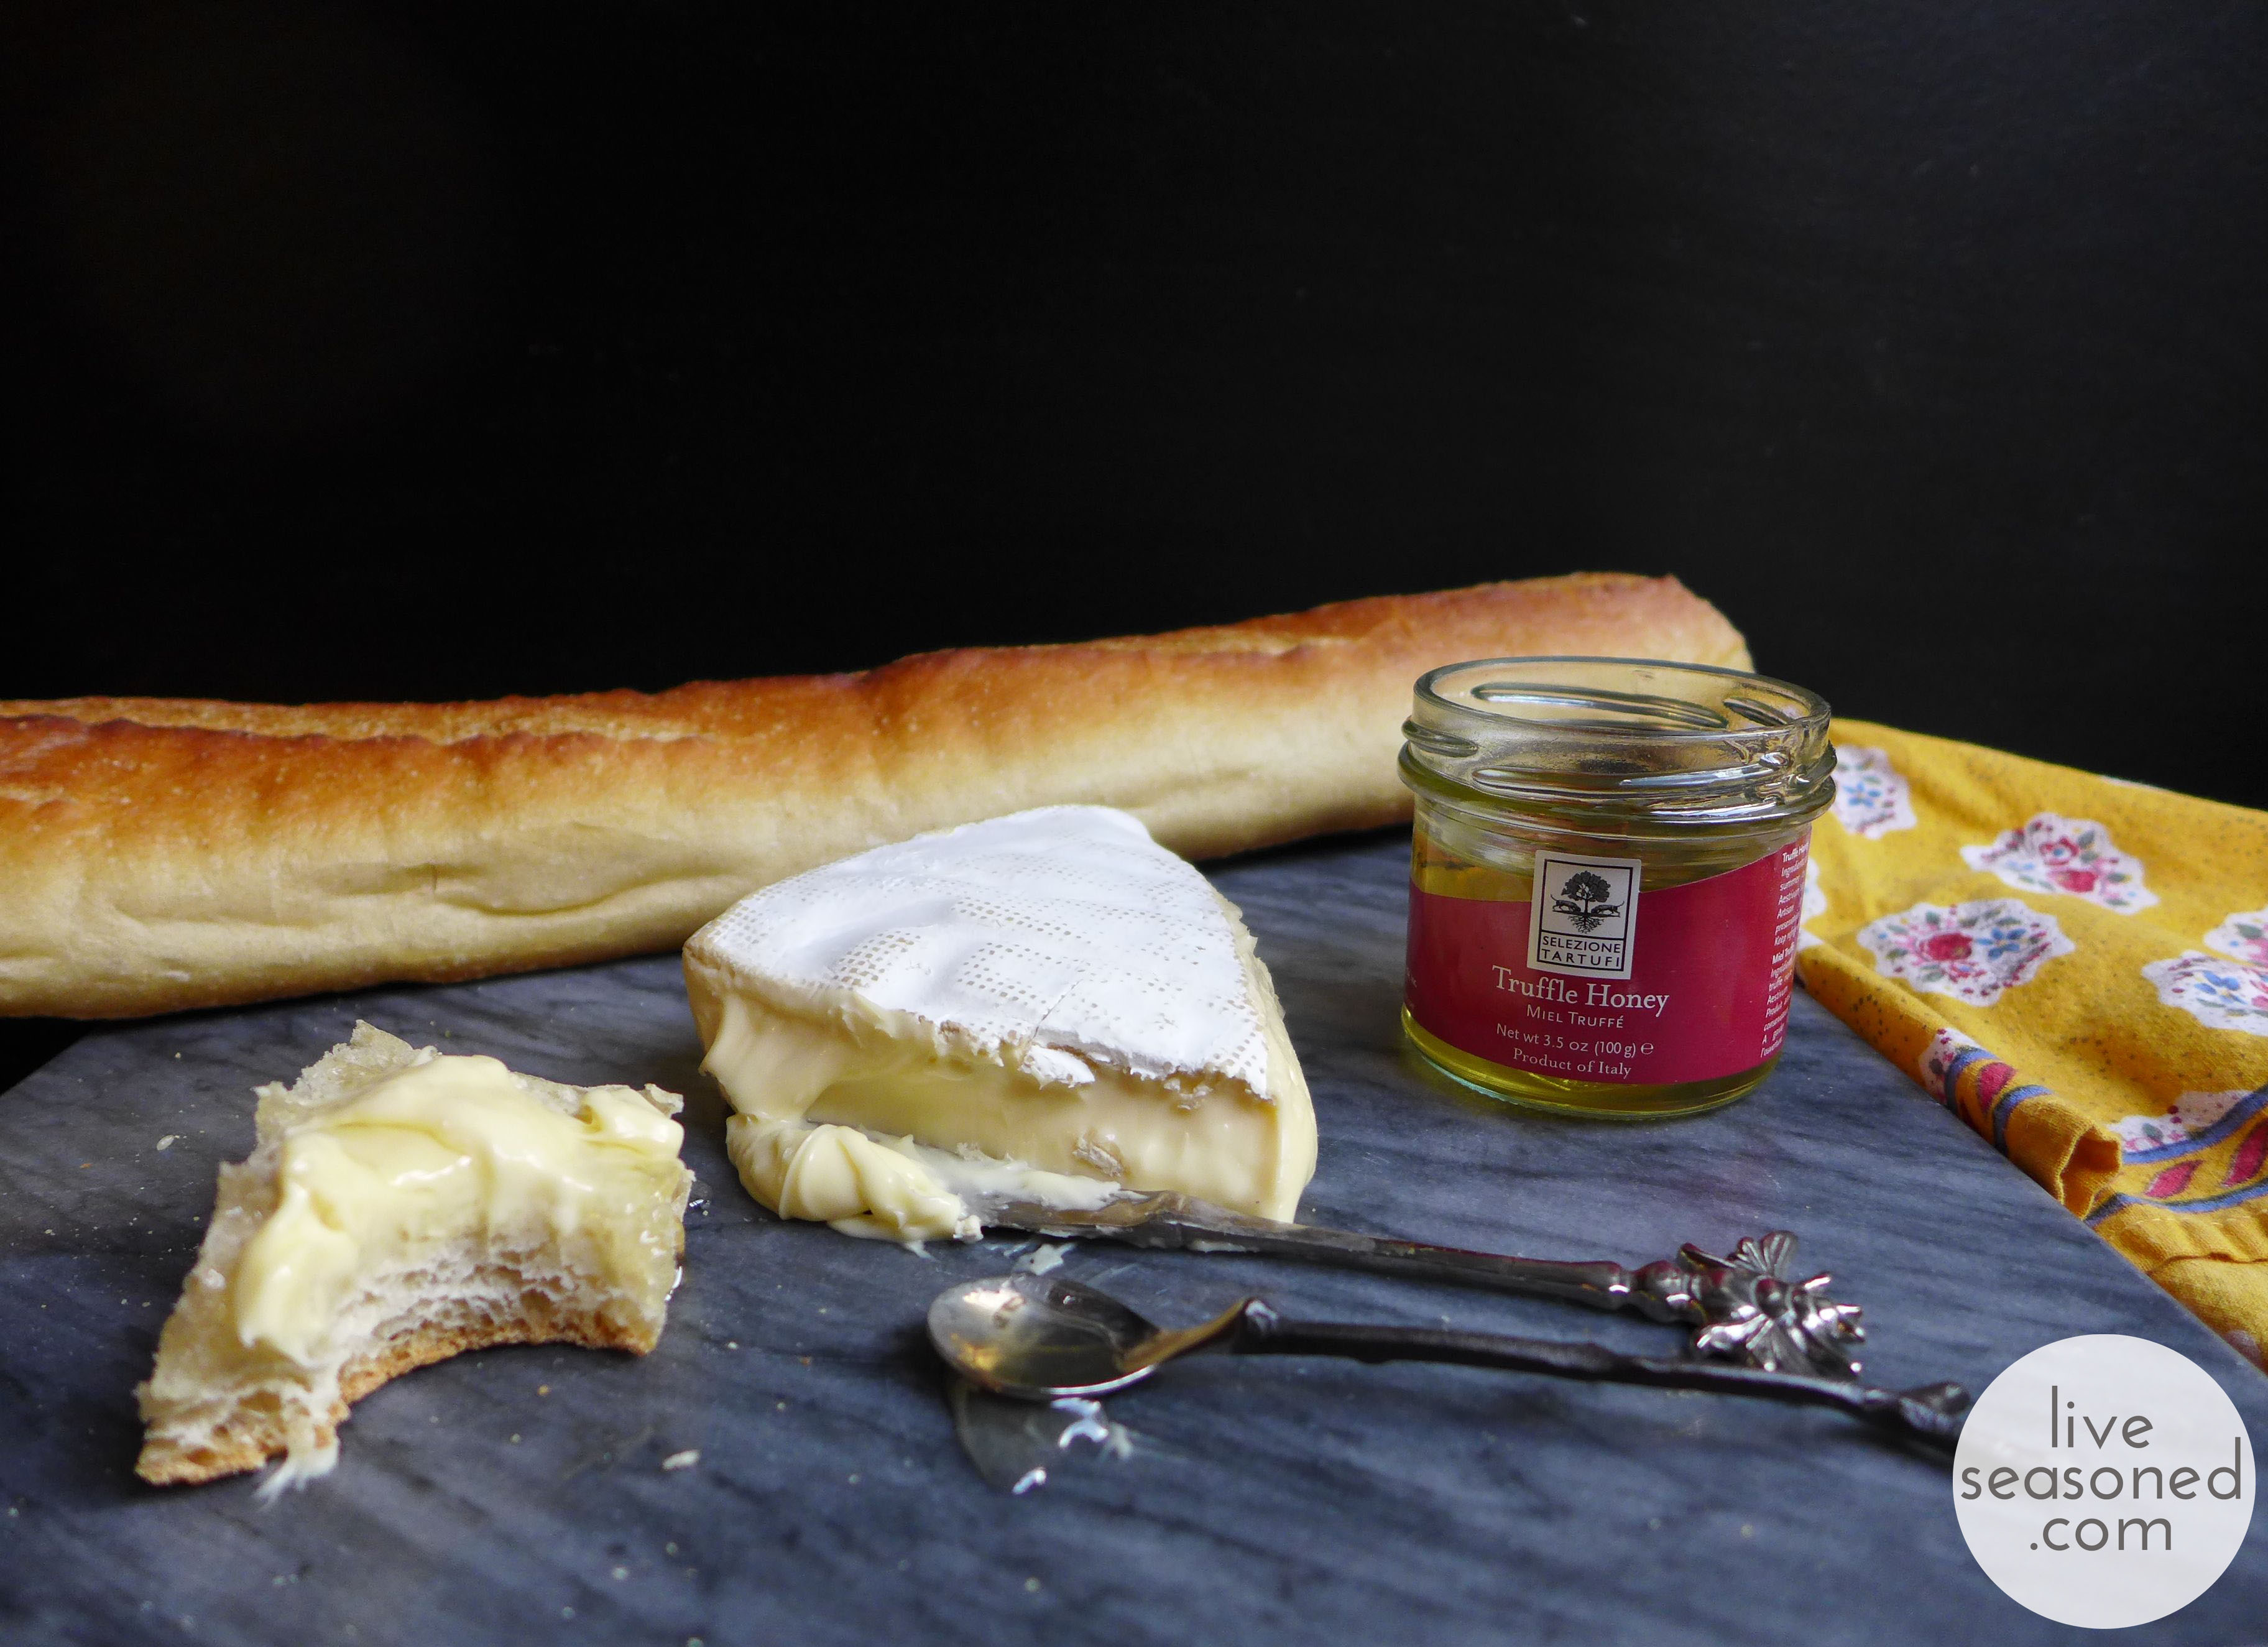
Until receiving this gift, I never had or heard of truffle honey and wasn’t sure what to do with it, but quickly discovered that it’s commonly paired with cheese and bread. But what cheese? It seems that everyone has their favorite pairing, some swear by a hard and strong cheeses like parmesan or cheddar while others gush over a soft and mild brie. I decided that I didn’t want to pair the honey with a strong flavored cheese, so I went with a relatively mild and rich brie. Once I had my cheese, I knew that the soft cheese/honey combination was calling out for a chewy bread that wouldn’t crumble with each bite. So I threw a baguette into my cart and we had the makings for a perfect appetizer.

liveseasoned_fall2014_briehoney5_wm

The Cheese

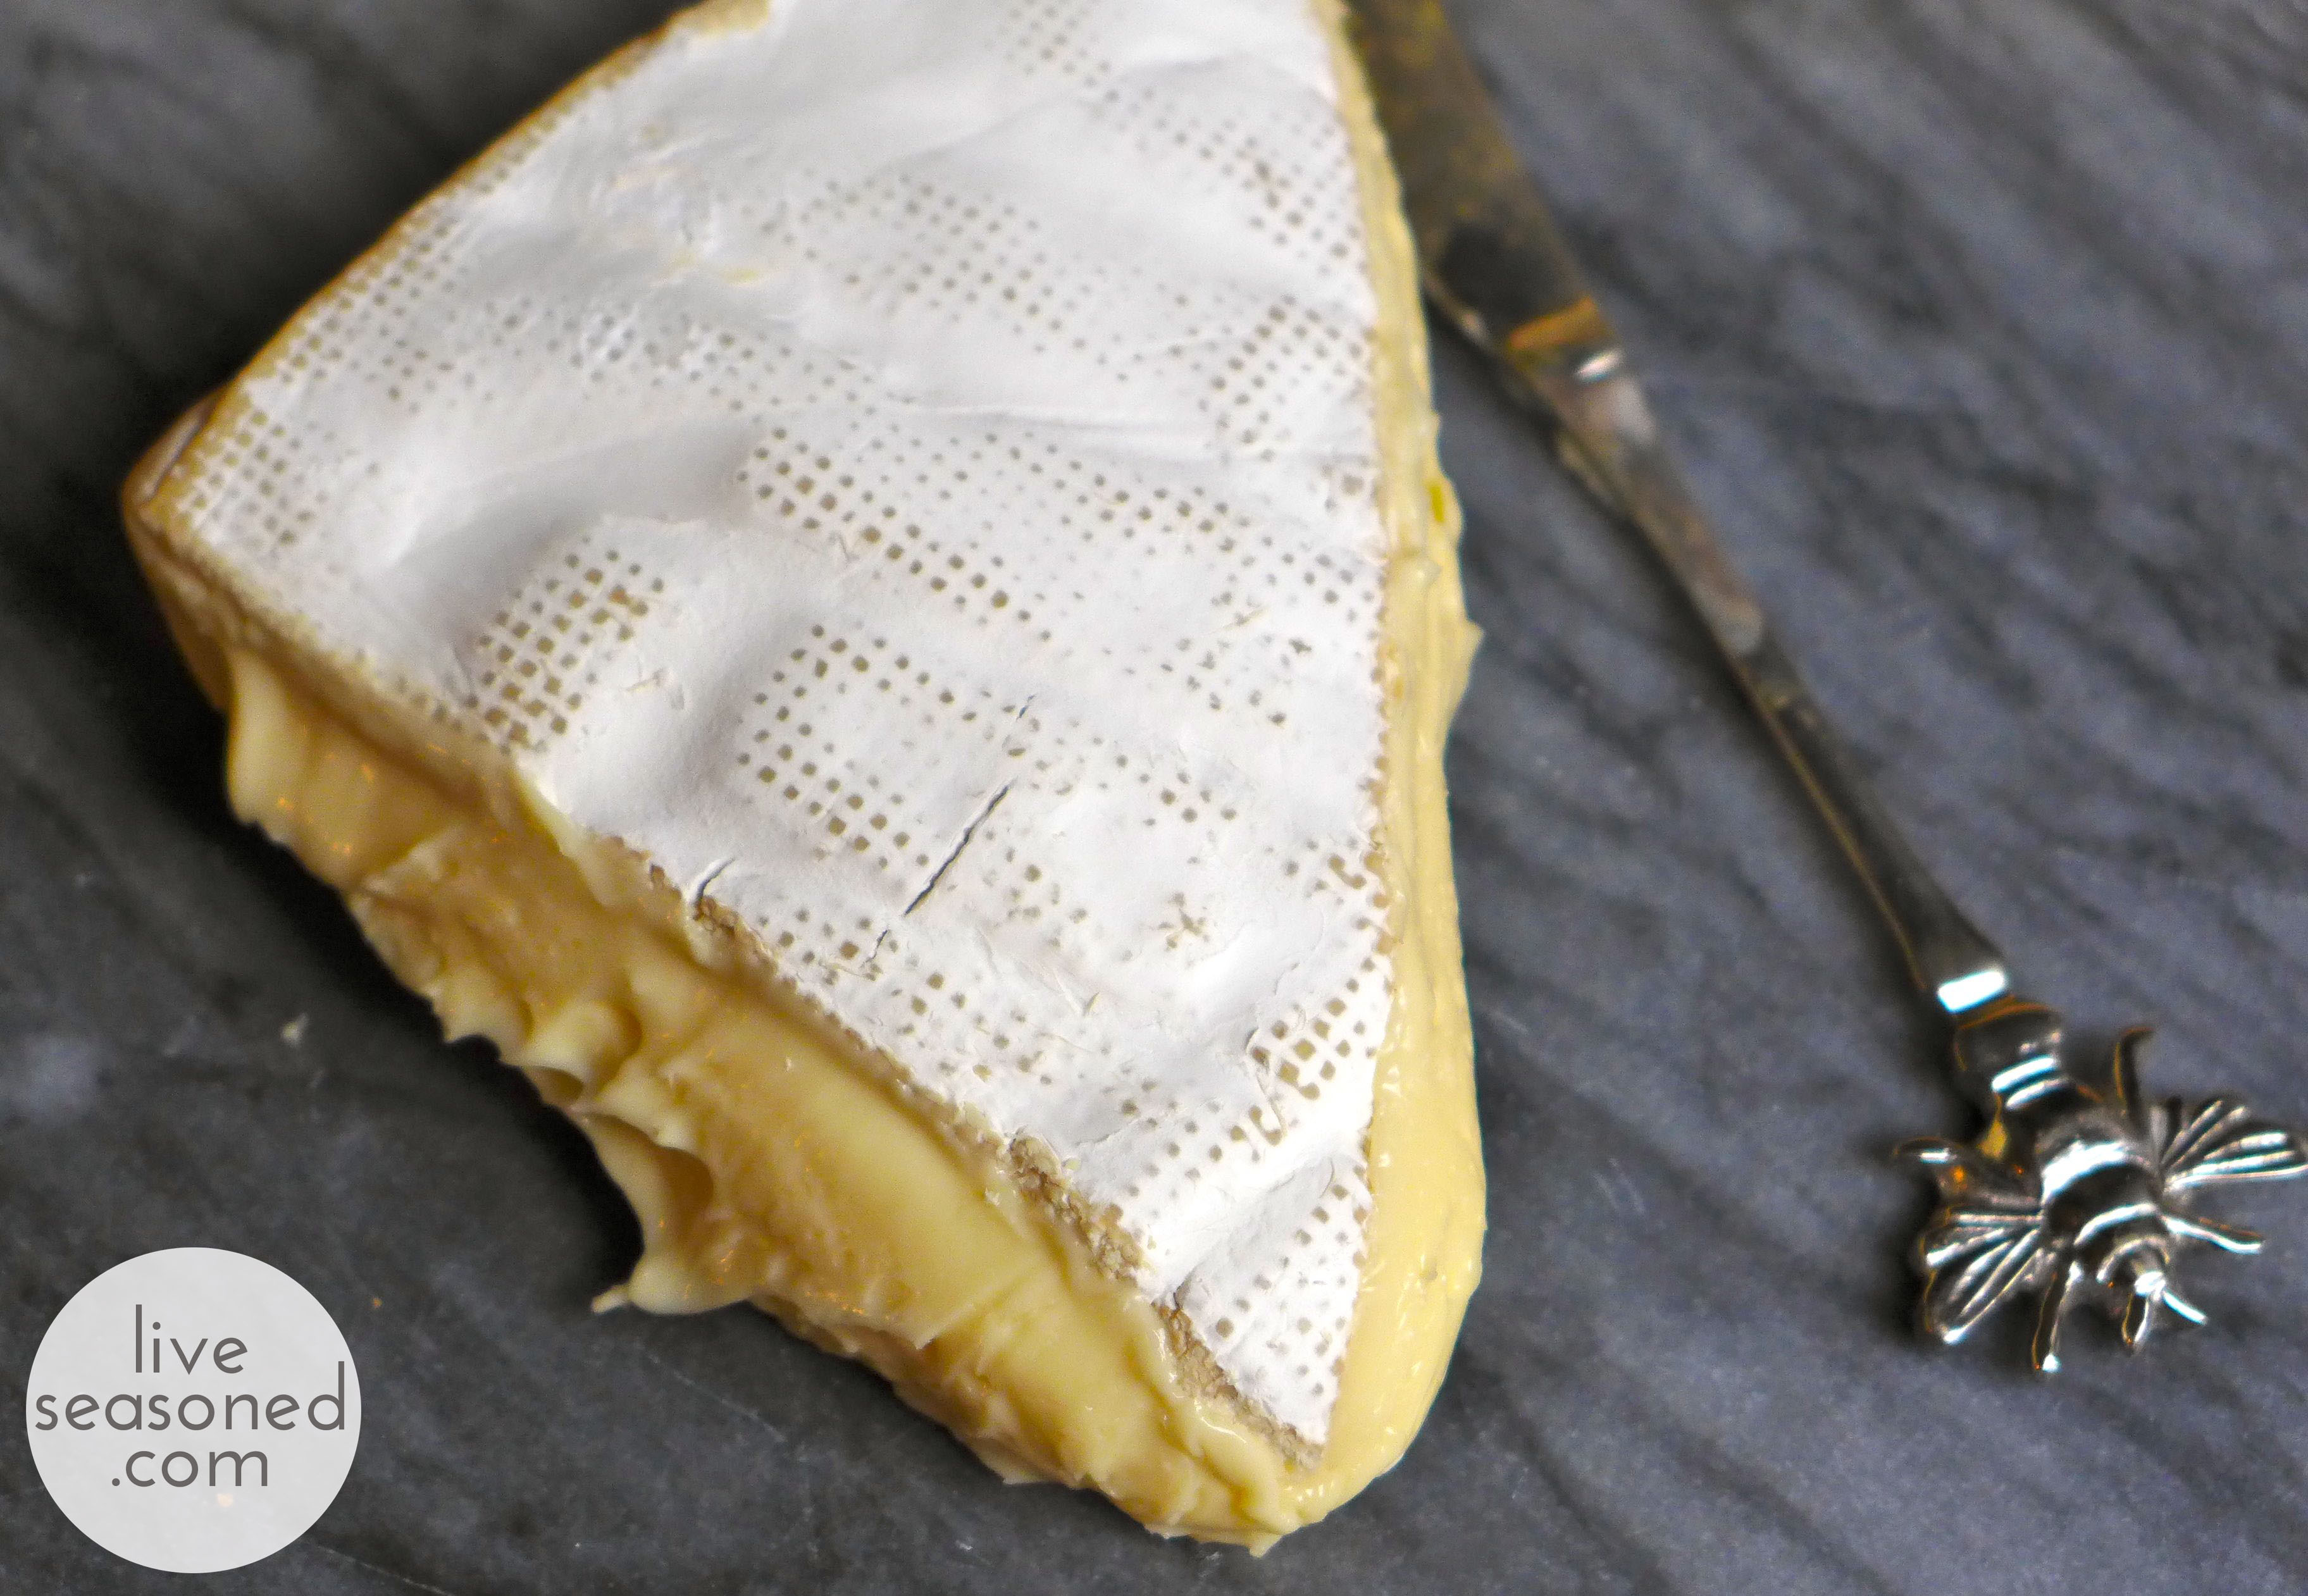
Bries are soft cheeses from France. They’re made from cow’s milk and surrounded by a hard, moldy or “bloomy“, edible rind. The mold will have a white to light yellow color (not the blues of the molds that come to mind when talking about blue cheese). The mold is essential to creating the cheese as it works to break down the fat and proteins of the milk and cream. Bries vary by the amount of cream used to make them, you may see “double” or “triple” on the label signifying increasing amounts of cream. Increasing the cream level increases the richness and buttery-smooth texture of the final cheese.

liveseasoned_fall2014_briehoney1_wm

When picking a brie you want to look for a “ripe” cut. When brie is perfectly ripe, it won’t be runny or pungent (there are other soft cheeses that are made to be purposefully pungent, brie isn’t one of them). As a brie ripens, you may notice that the wheel of cheese will bulge slightly, especially when cut. You’ll likely buy a wedge from a larger wheel, which makes picking easier. Look for a wedge with a uniform interior consistency that is slowly falling out of the rind. For comparison, an unripe wedge will have a firm interior (or combination firm and soft) that is the same shape as the wedge, i.e. not expanding beyond the original cut.

There are a variety of bries on the market, and I think Supreme is a great, basic example that’s affordable and readily available at many grocers (including Trader Joes if you’re looking for a source).

Serving Suggestion

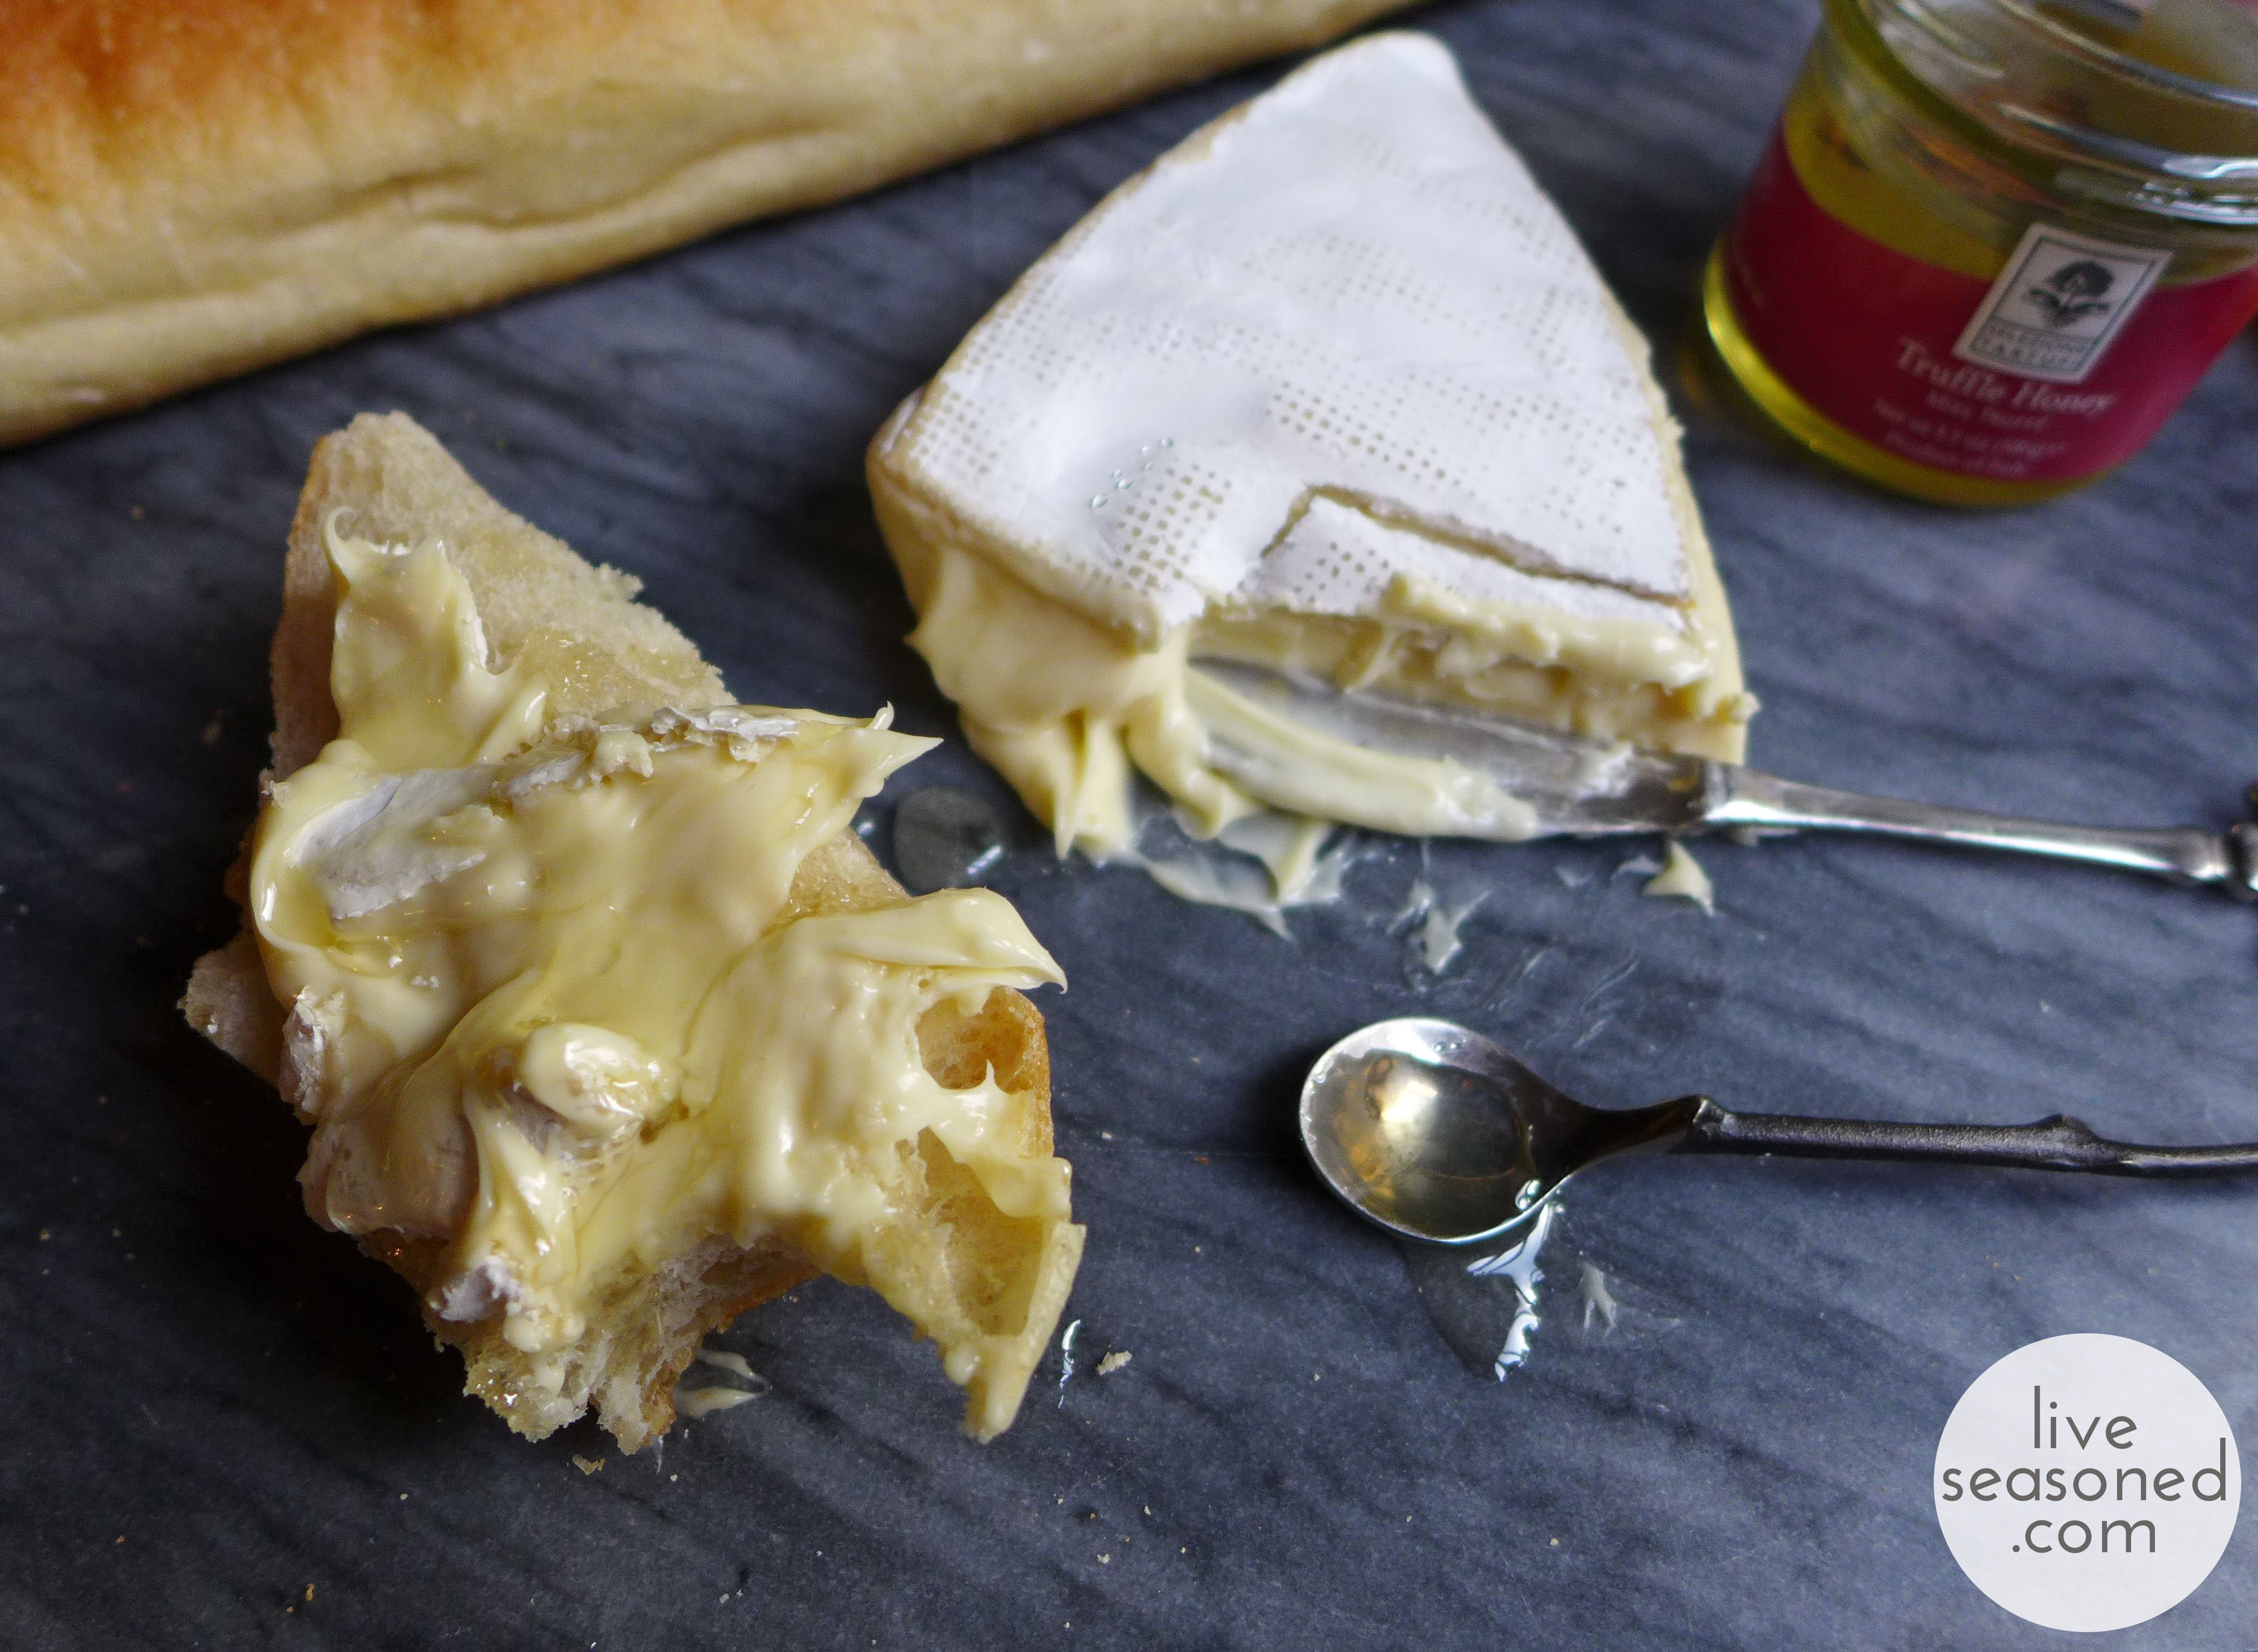
Once you have your cheese, honey, and bread, serving is easy. We placed everything on a marble board with utensils for self-service. A bread knife for the baguette, a spreader for the cheese, and a small spoon for the honey. That way everyone could personalize their serving. Calder could skip the honey, I could pile it on (and then eat it straight from the spoon), and our civilized guests could take as much or little as they wanted with each slice.

liveseasoned_fall2014_briehoney4_wm

If you have the opportunity, I hope you’ll give truffle honey a try. And with the upcoming holiday/entertaining season, this makes a fantastic surprise to any cheese plate or gift for your truffle-loving friends!

Dandruff Shampoo. seriously.

You are now well aware that Sarah and I like to mix our own cosmetic and beauty products, which we jokingly refer to and tag as potions. So far we’ve shared the gamut from dry shampoo to pore strips to deodorant along with the more mundane (yet totally sinus opening and skin smoothing) body scrubs. Just to add fuel to the fire, I recently learned that my local herbal apothecary offers classes in mixing your own salves, balms, perfumes, and more. It looks like our potion blending isn’t going to slow down anytime soon! But today I’m going to share a potion that’s a bit less glamorous ~ homemade dandruff shampoo. 

liveseasoned_fall2014_dandruffshampoo

I moved to Colorado and my head turned into a blizzard. Why? In general terms, dandruff is caused when the skin cells on your scalp grow and die off too fast. In some people it coincides with the dry air of winter, in others it may be compounded by stress, and commonly it’s due to the fungus malassezia. The fungus requires fat to grow, and so it’s commonly found on our scalps, where we have plenty of oil producing sebaceous glands.

In my case, I would like to blame the outbreak on a change in my body chemistry after becoming pregnant, or Colorado’s dry weather, but if you ask Sarah, she will quickly laugh and tell you that I’m a great host for fungus*. We won’t go into detail, but being the great host that I am, I have some experience treating the fun-guys, and every time I’ve turned to tea tree oil. A vast number of studies have shown that it’s a great fungicide and has proven effective in treating a number of different fungal infections on and in humans (everything from dandruff to toenail fungus to athlete’s foot). You’re starting to get grossed out, aren’t you? How about some cute mushrooms to return you to your happy place?

mushrooms-fungus_00358422

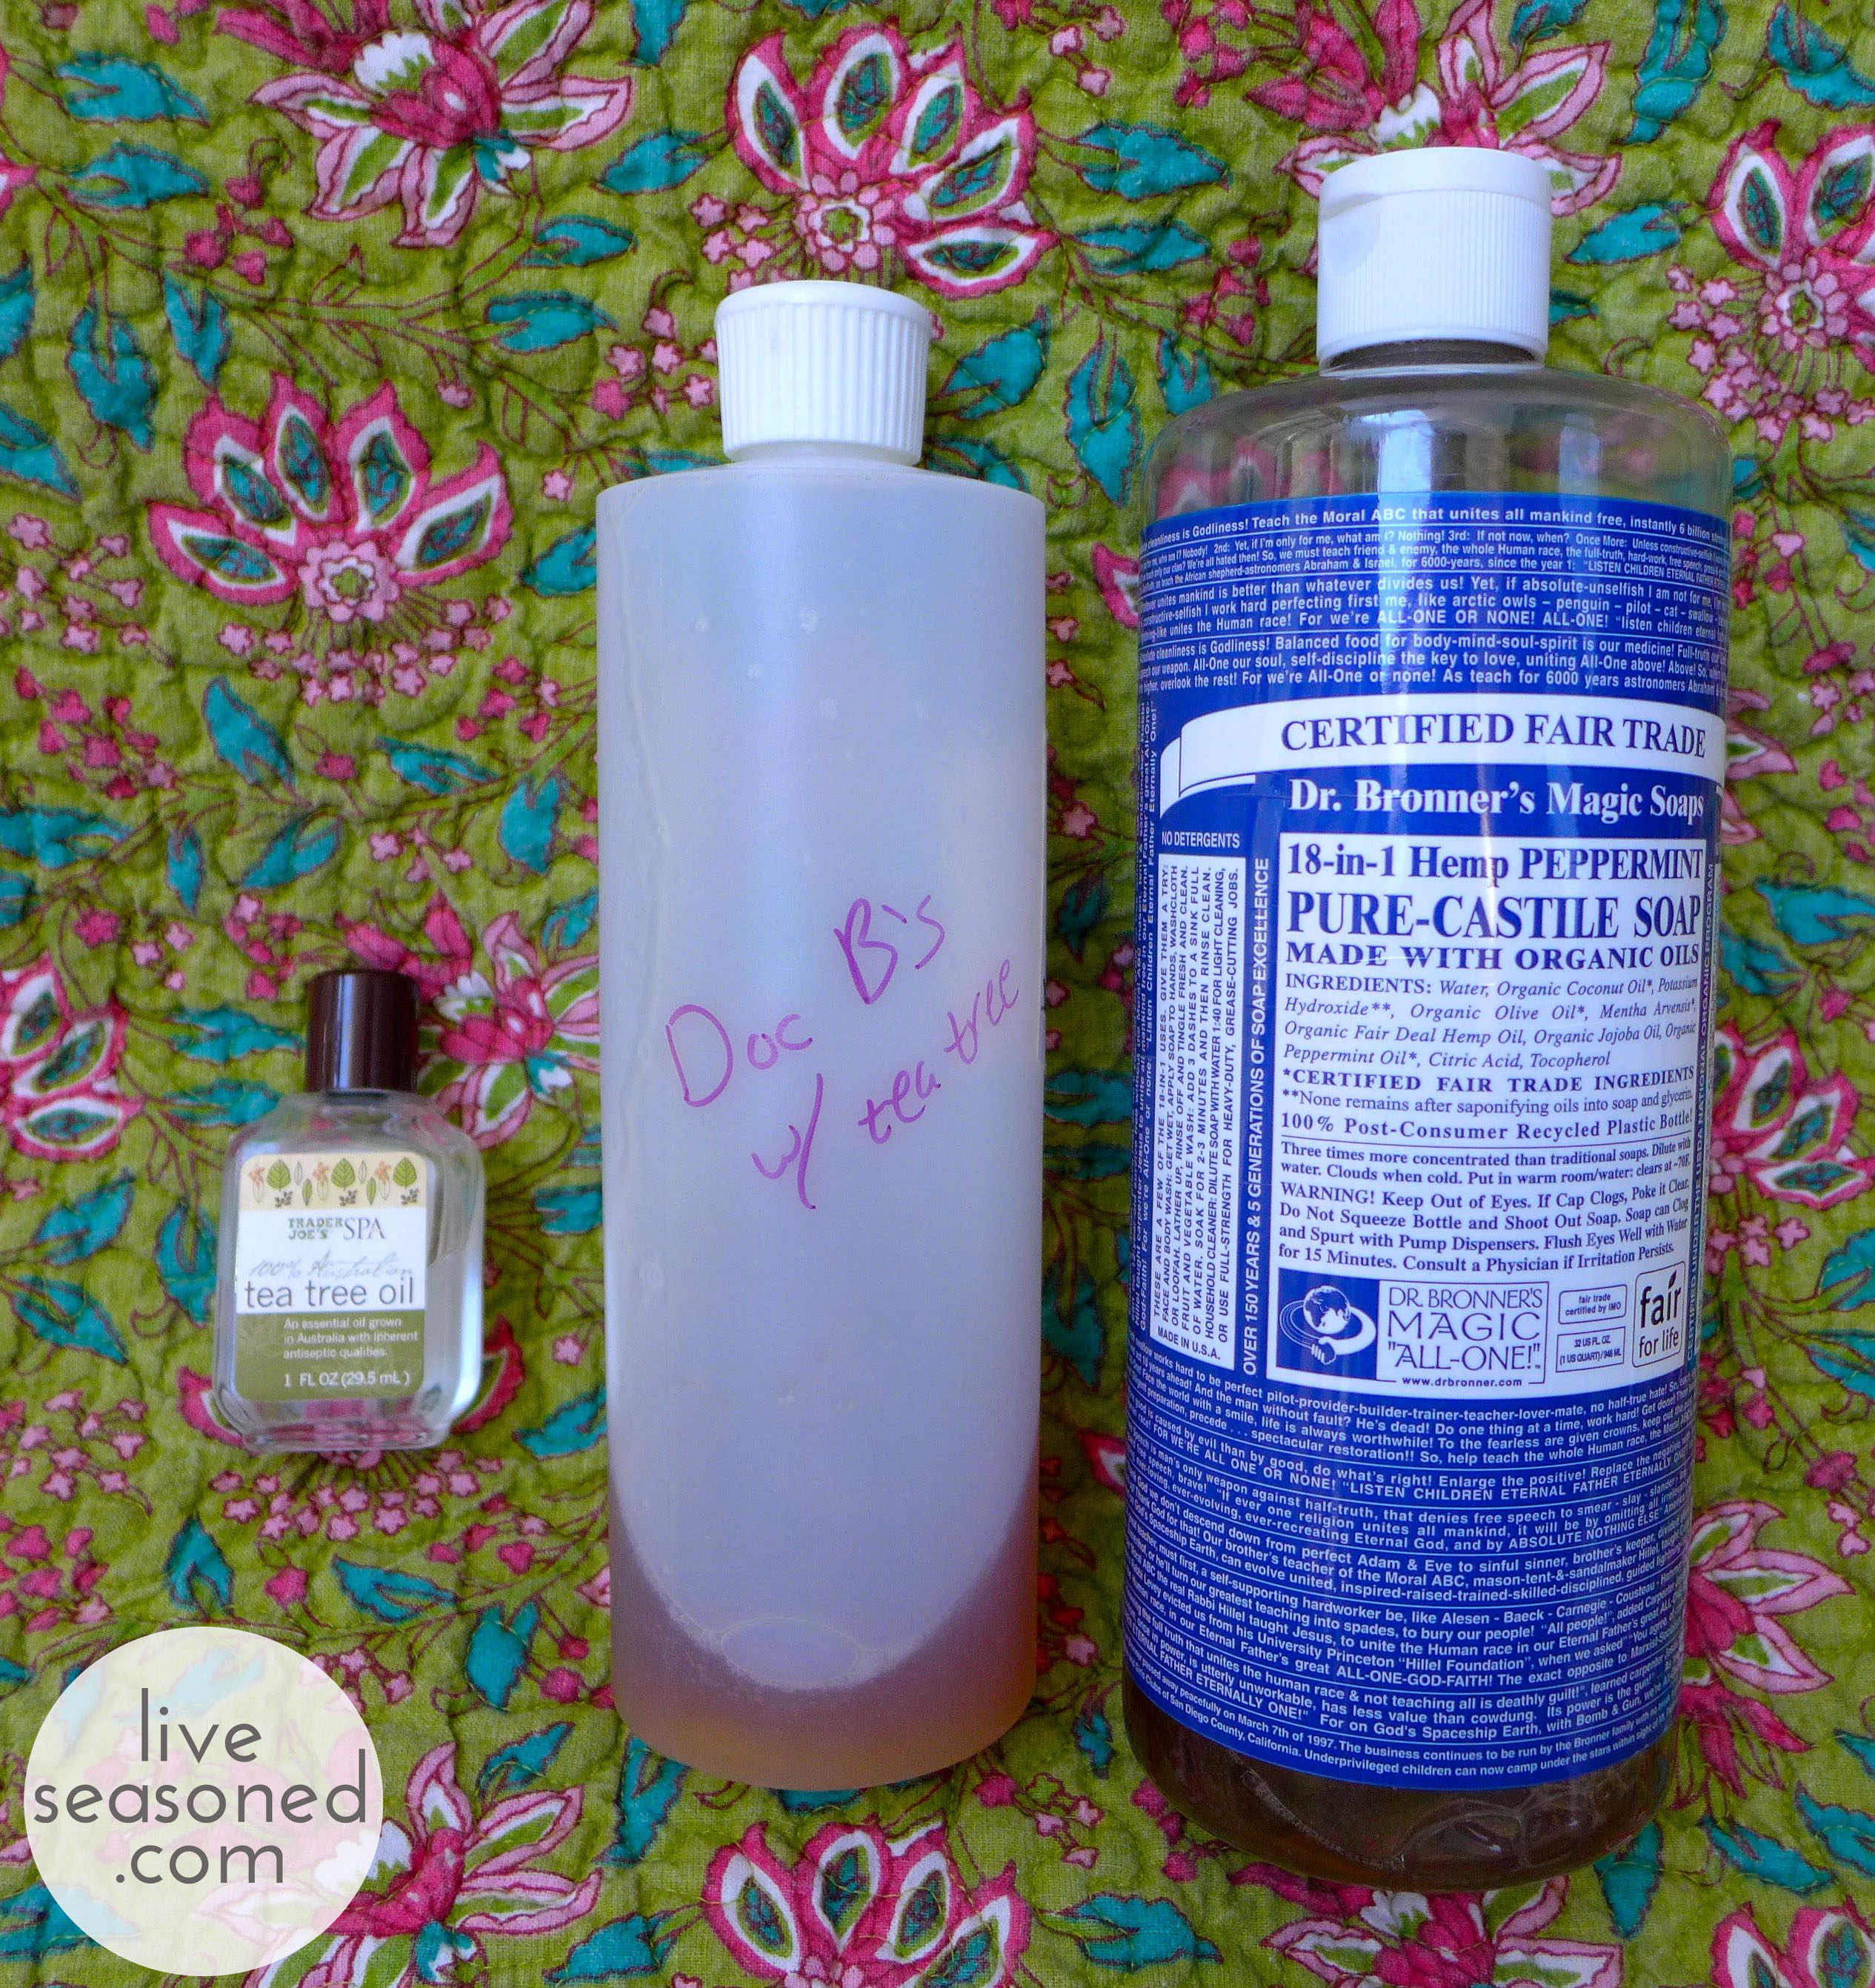
Since tea tree oil is powerful in its concentrated form, you want to be careful about using it at full strength (and some people are extra sensitive or allergic, so test your sensitivity if you’ve never used it before). An easy way to use tea tee oil as a cure for dandruff is to mix it into your shampoo. As little as 5% tea tree oil is enough to do the job. Rather than mixing it with each shower, I like to make up a large batch using 5% tee tree oil and 95% Dr. Bronner’s crazy magic amazing wonderful liquid heaven. As you can see in the photo, I put it in its own labeled bottled and am good to go.

I’m sure you never get dandruff, but if you happen to run into a stranger with flakes, now you have a homemade and totally effective potion to share with them!

 *If you’re interested in learning more about the fungus world, Sarah’s been reading Mycophilia by Eugenia Bone. She’s been raving about it and has me excited to read about the fungus among us. 

Mushroom image from createnature.com.

Quick Pickles

If you’ve been following along, you may have heard and seen that our farm share started. I’m still in disbelief that we were able to get a share that is this awesome so late in the season! And now I’m remembering what it’s like to have (the wonderful) pressure of a fridge full of veggies pushing me to get creative with dinner.

liveseasoned_fall2014_quickpickels2_wm

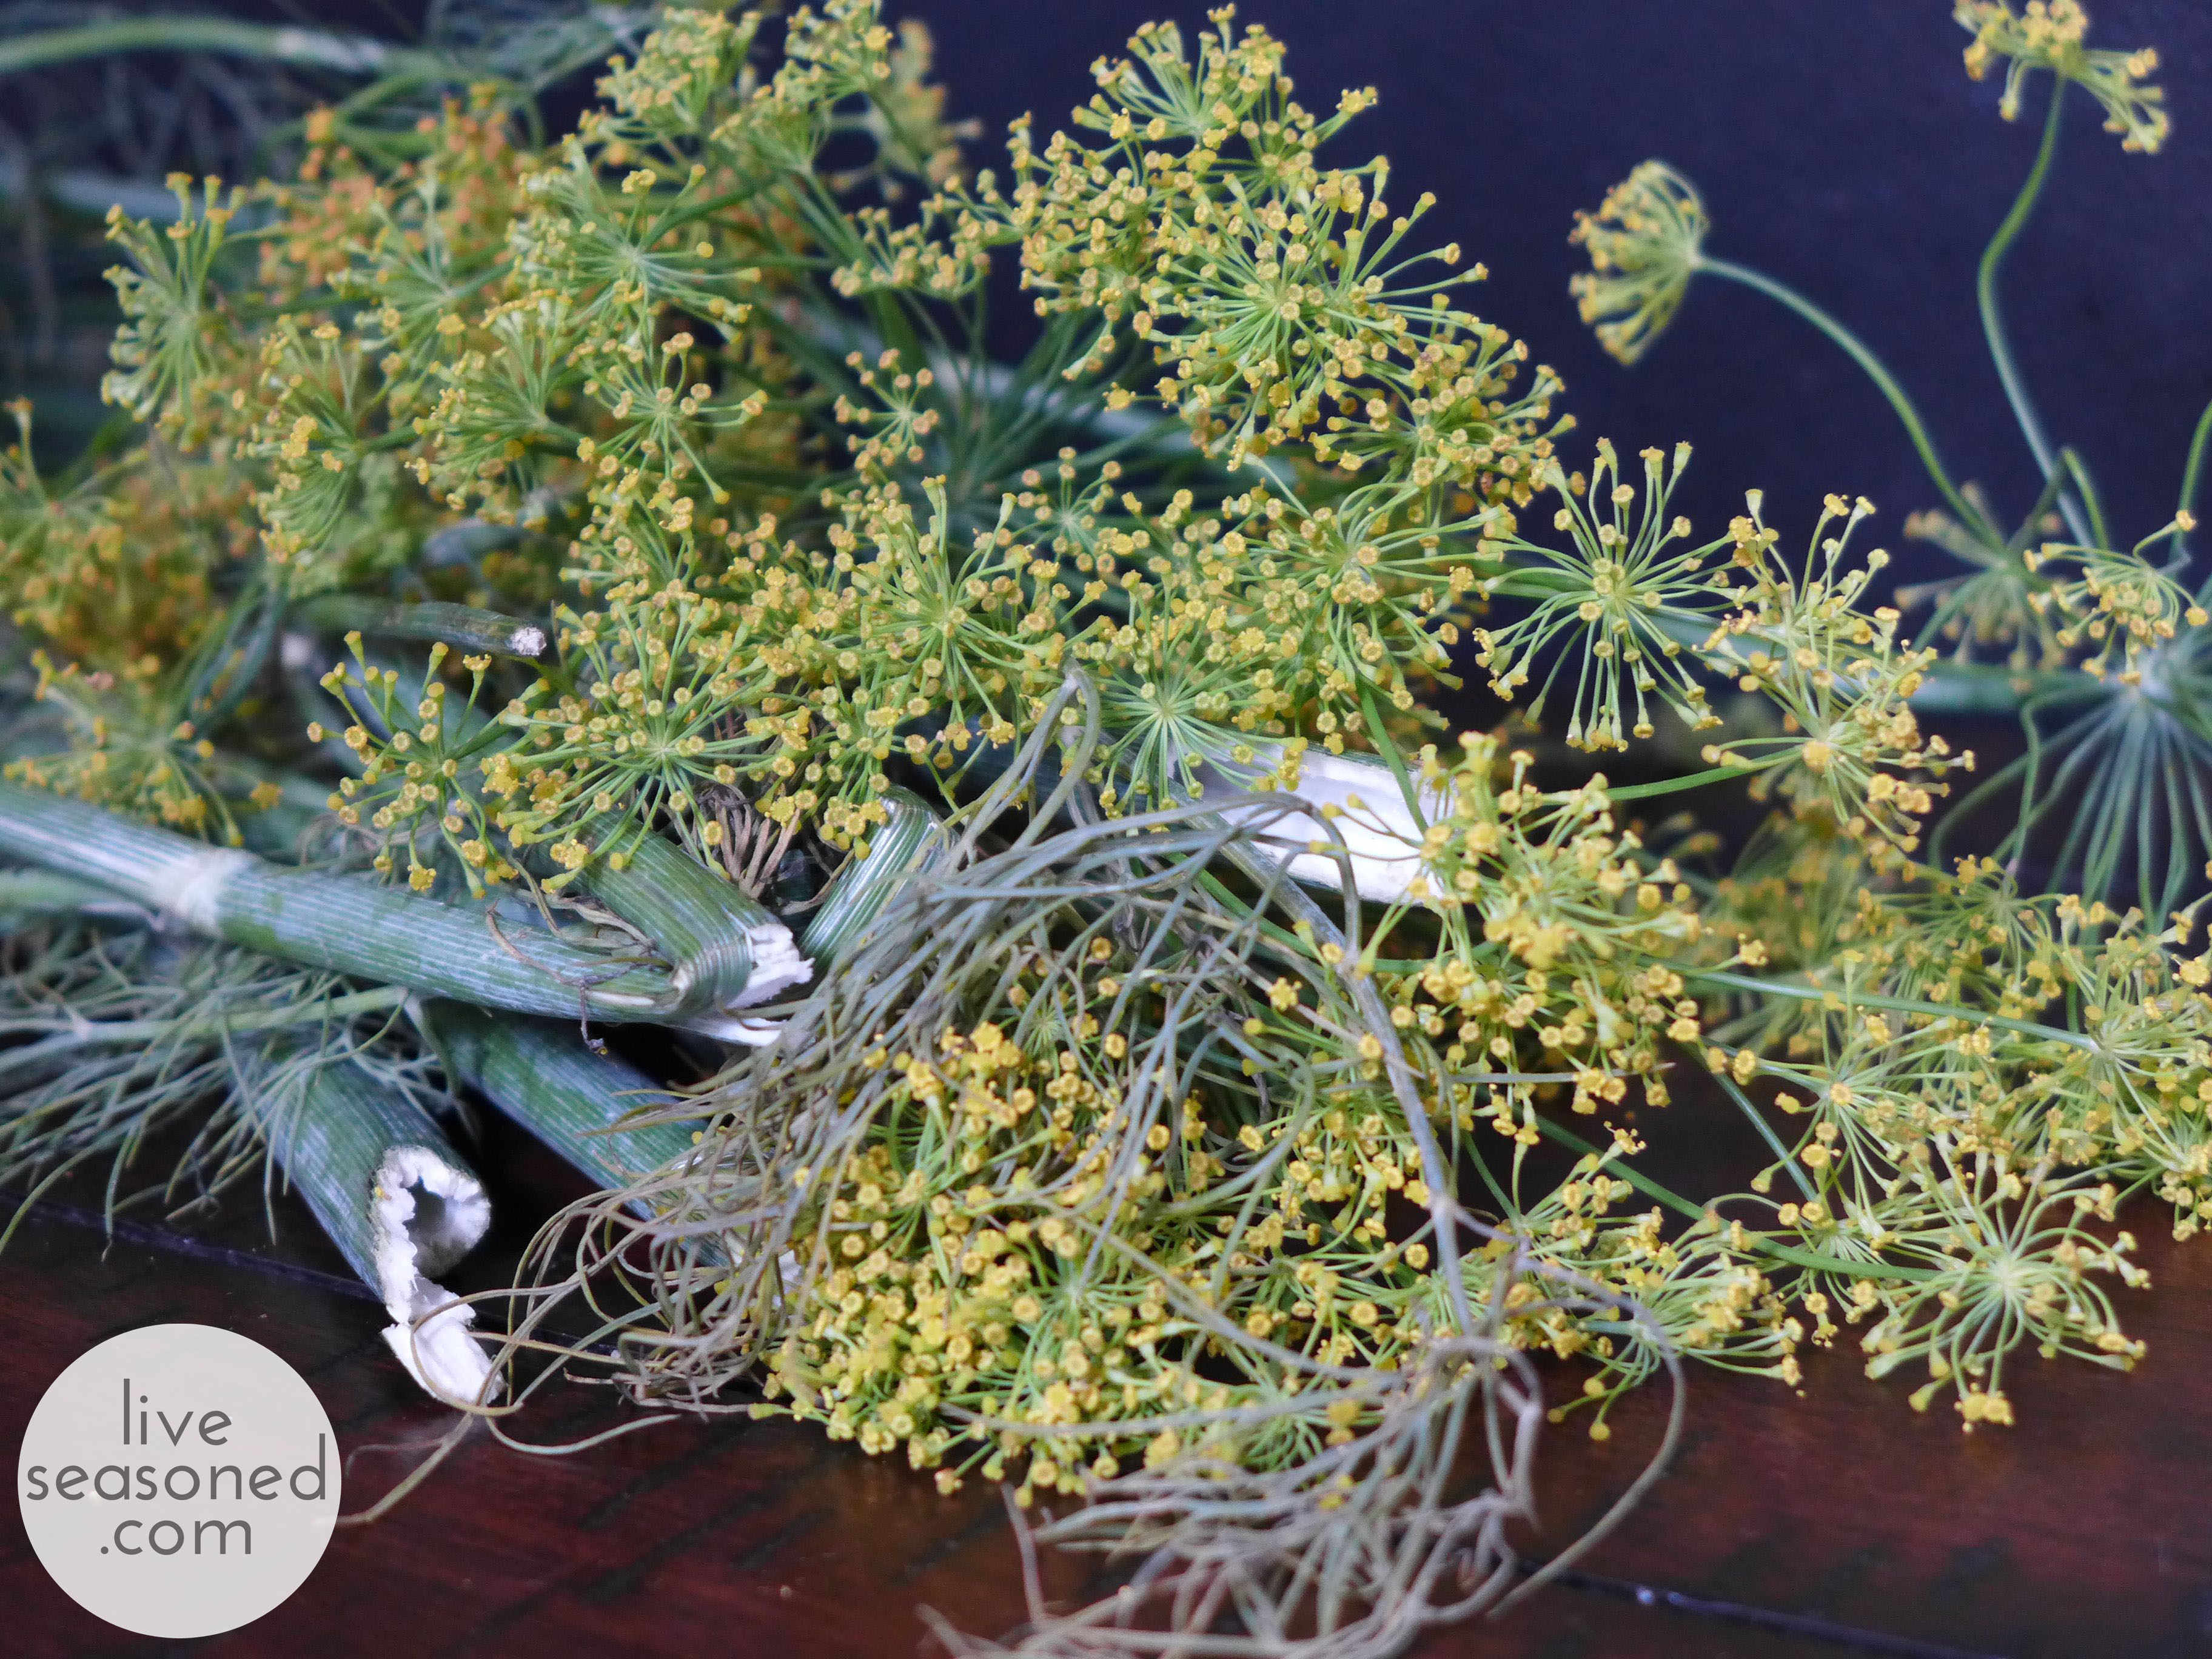
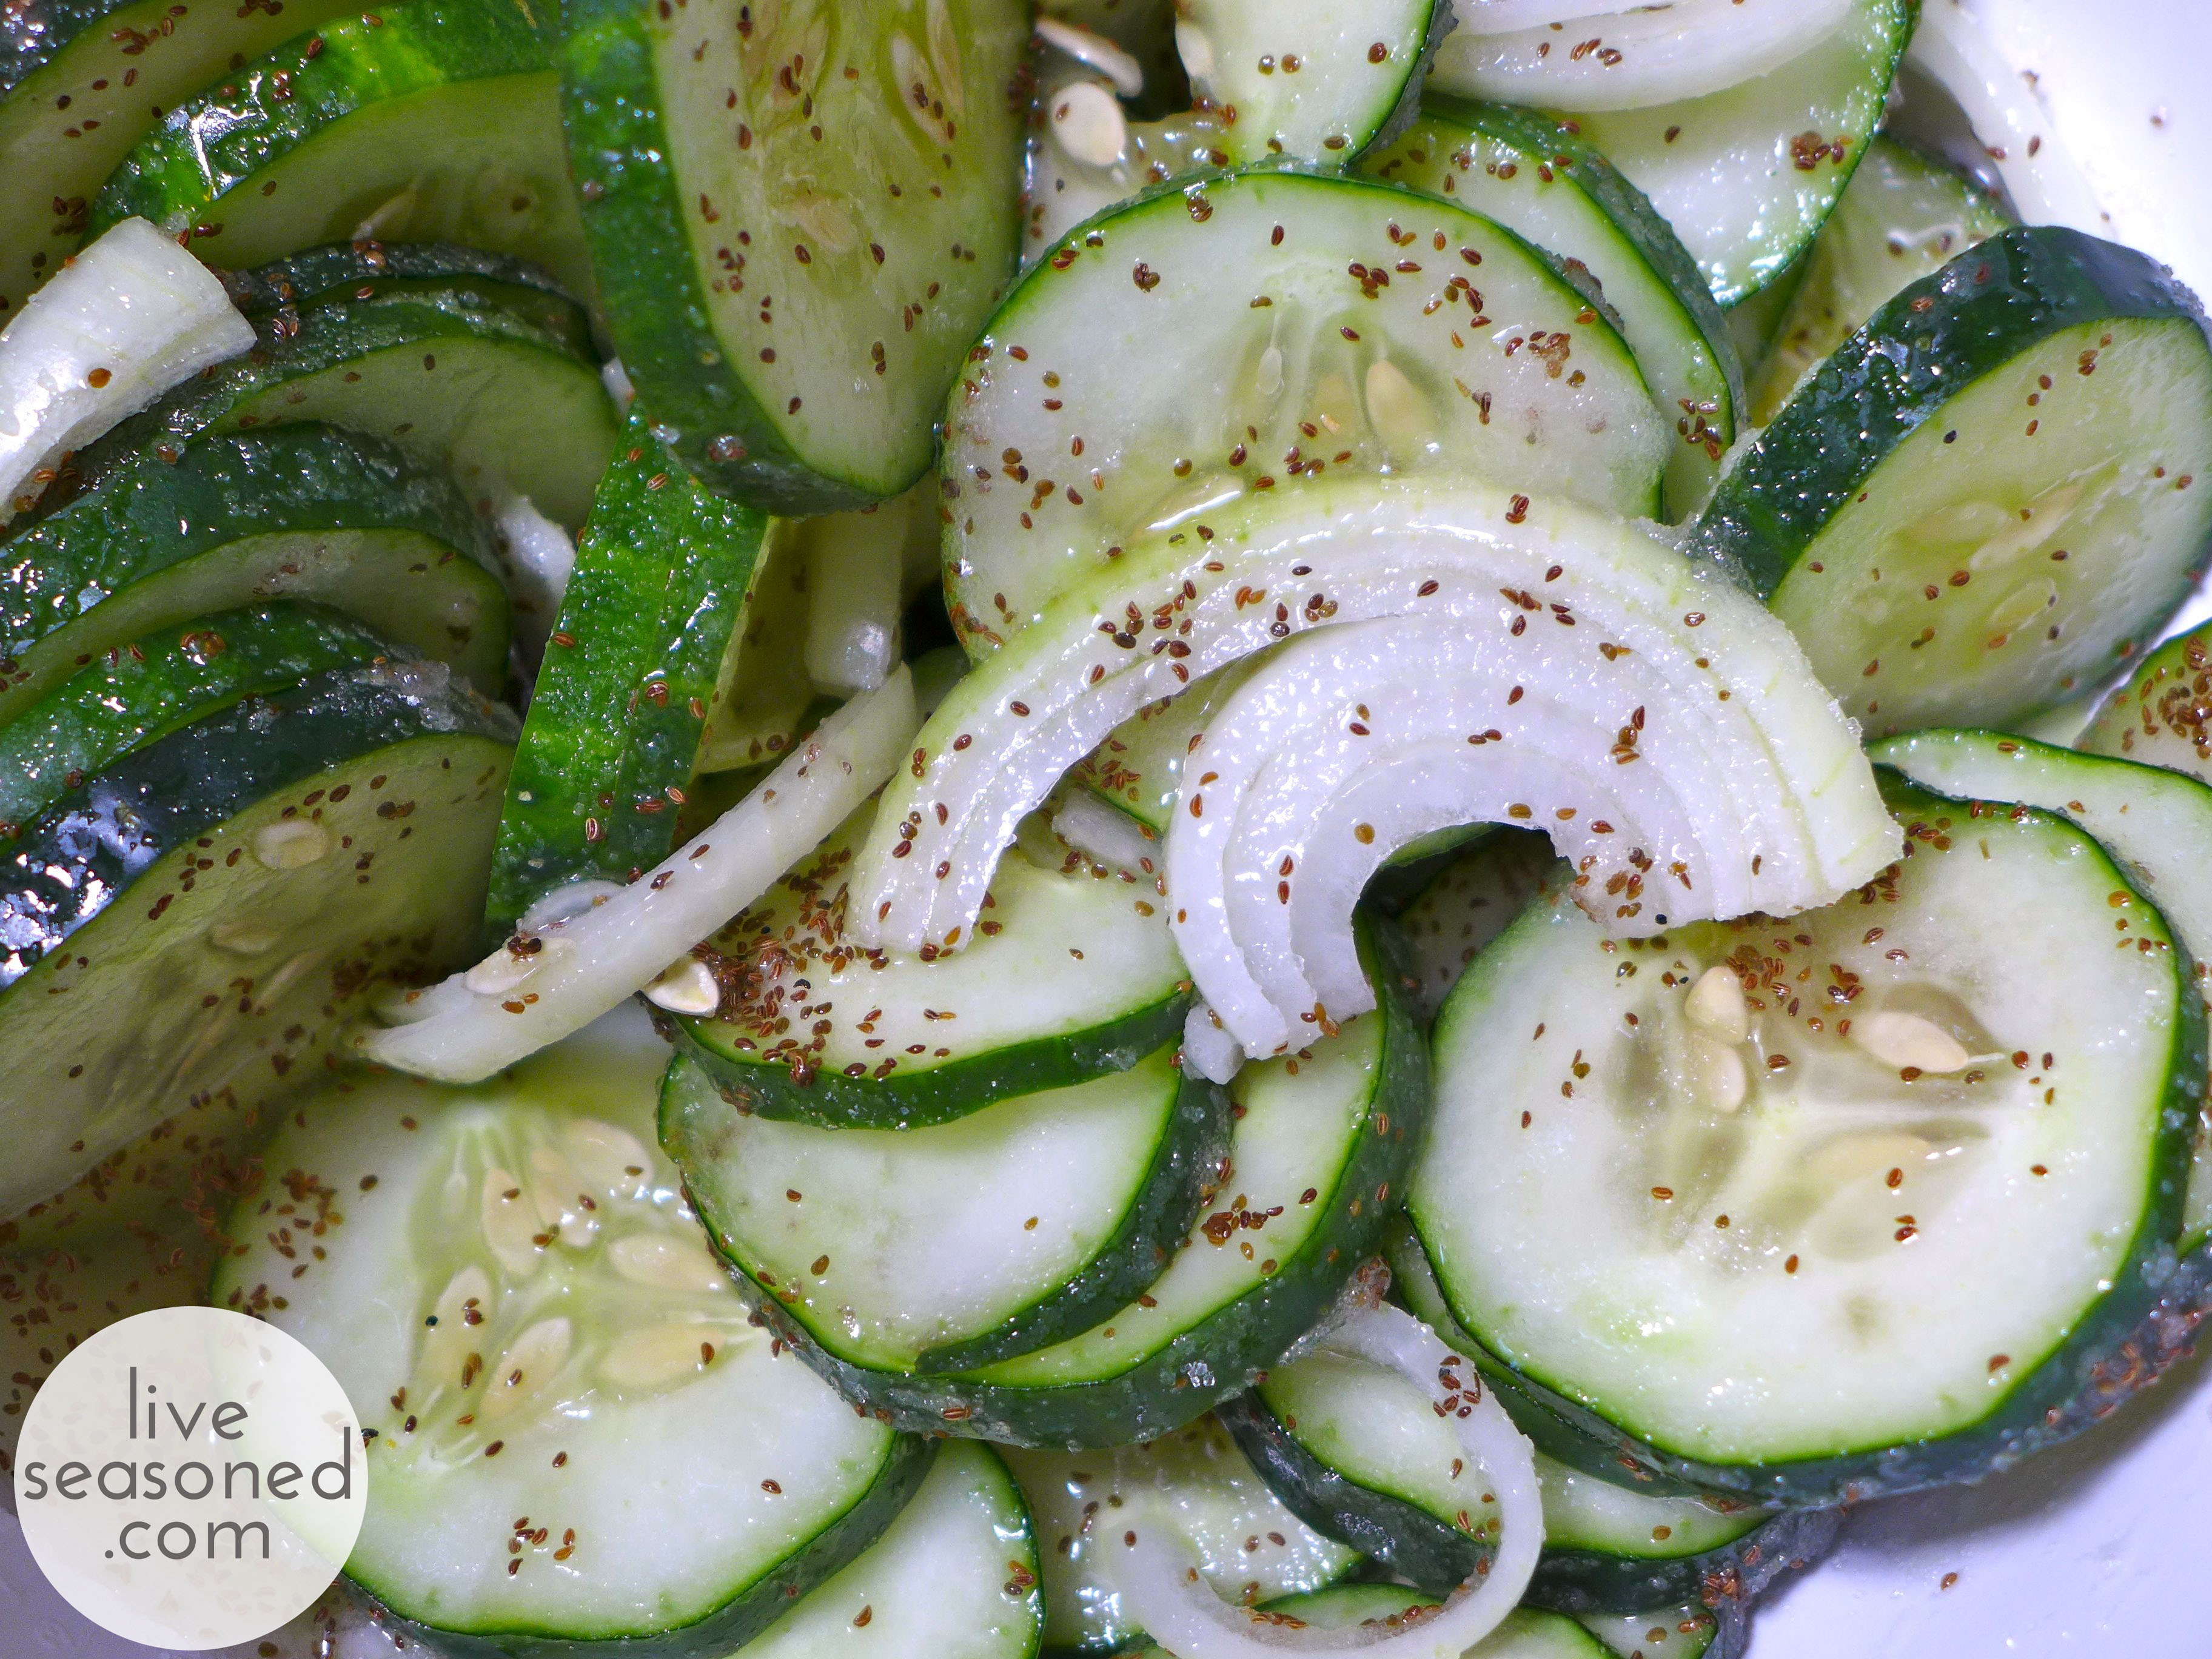
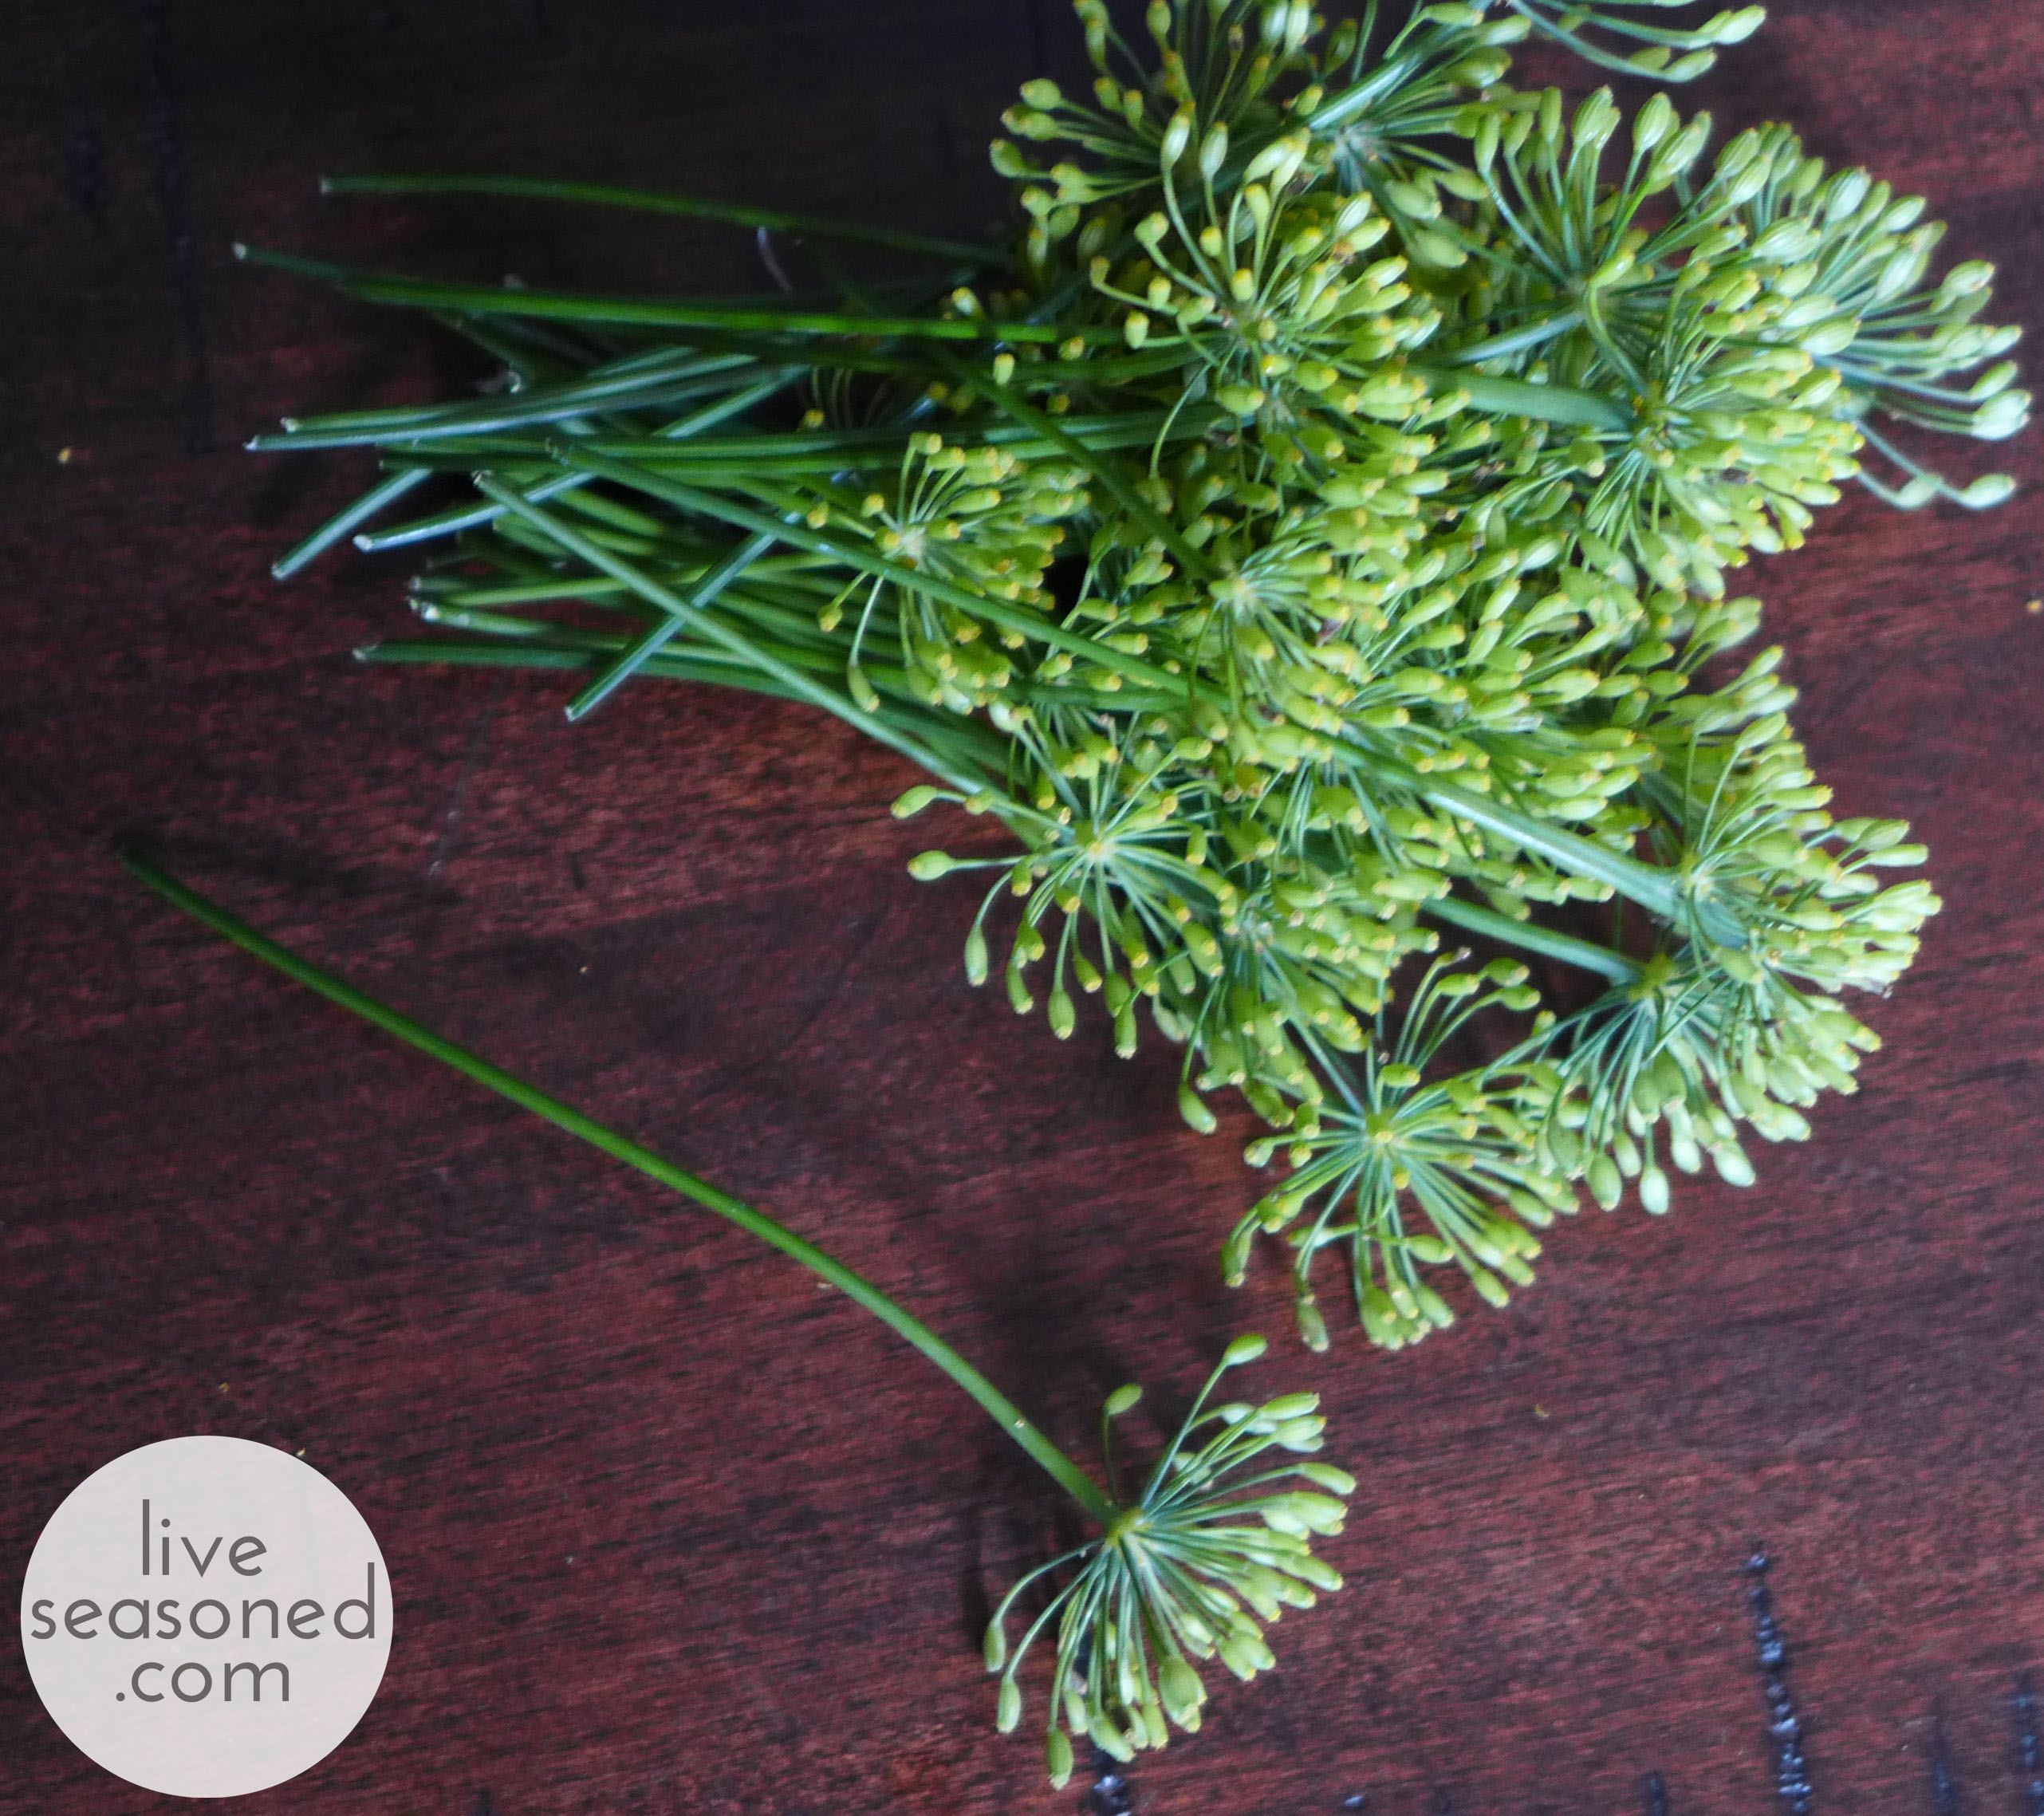
In this first box we received your typical fall fare: a few bunches of kale and chard, potatoes, squash, etc. What I didn’t expect were the couple of cucumbers and the big beautiful bunch of dill blossoms. I thought cucumber season had passed, and I’ve never received the dill blossoms, so this was a new and unexpected surprise. I have to admit that I have a tendency to buy cucumbers and forget about them, but I didn’t want to let that happen this time. So I turned to one of my favorite easy ways to use up those cukes in a jiffy: overnight pickles! We don’t buy pickles often (and when we do they tend to sit in the fridge for months), but these are different. They are so fresh and delicious,  barely lasting a week in our house.

liveseasoned_fall2014_quickpickels4_wm

This recipe comes from my mom, but I adjusted it to make use of what I had on hand: eliminating the green pepper and adding the dill blossoms and a bit of fresh dill. Do you hear that? The blossoms were totally a bonus, this recipe is just as delicious without the fresh herb, but as you’ll see, they sure add a touch of something beautiful to the jar.

Ingredients

  • 3 average-sized cucumbers (here I used 2 large)
  • 1 green pepper
  • 1 onion
  • 1 Tbsp salt
  • 2 tsp celery seed
  • 3/4 cup sugar
  • 1/2 fresh lemon juice
  • 1 sliced lemon
  • optional – dill blossoms

liveseasoned_fall2014_quickpickels3_wm

How-to

  • Slice the cucumbers, green pepper, and onion, and mix them in a bowl with the salt and celery seed. Let this mixture stand for one hour.
  • Mix together the sugar and lemon juice and add it to the cucumber mixture. Add the sliced lemon and stir.
  • Cover the container and refrigerate for 24 hours before eating. I like to go in there and give it a stir once in a while, or if using a jar I just give it a gentle shake, slowly turning it upside down. The juices may not cover your mixture right away, but they will as the 24 hours progresses.

liveseasoned_fall2014_quickpickels5_wm

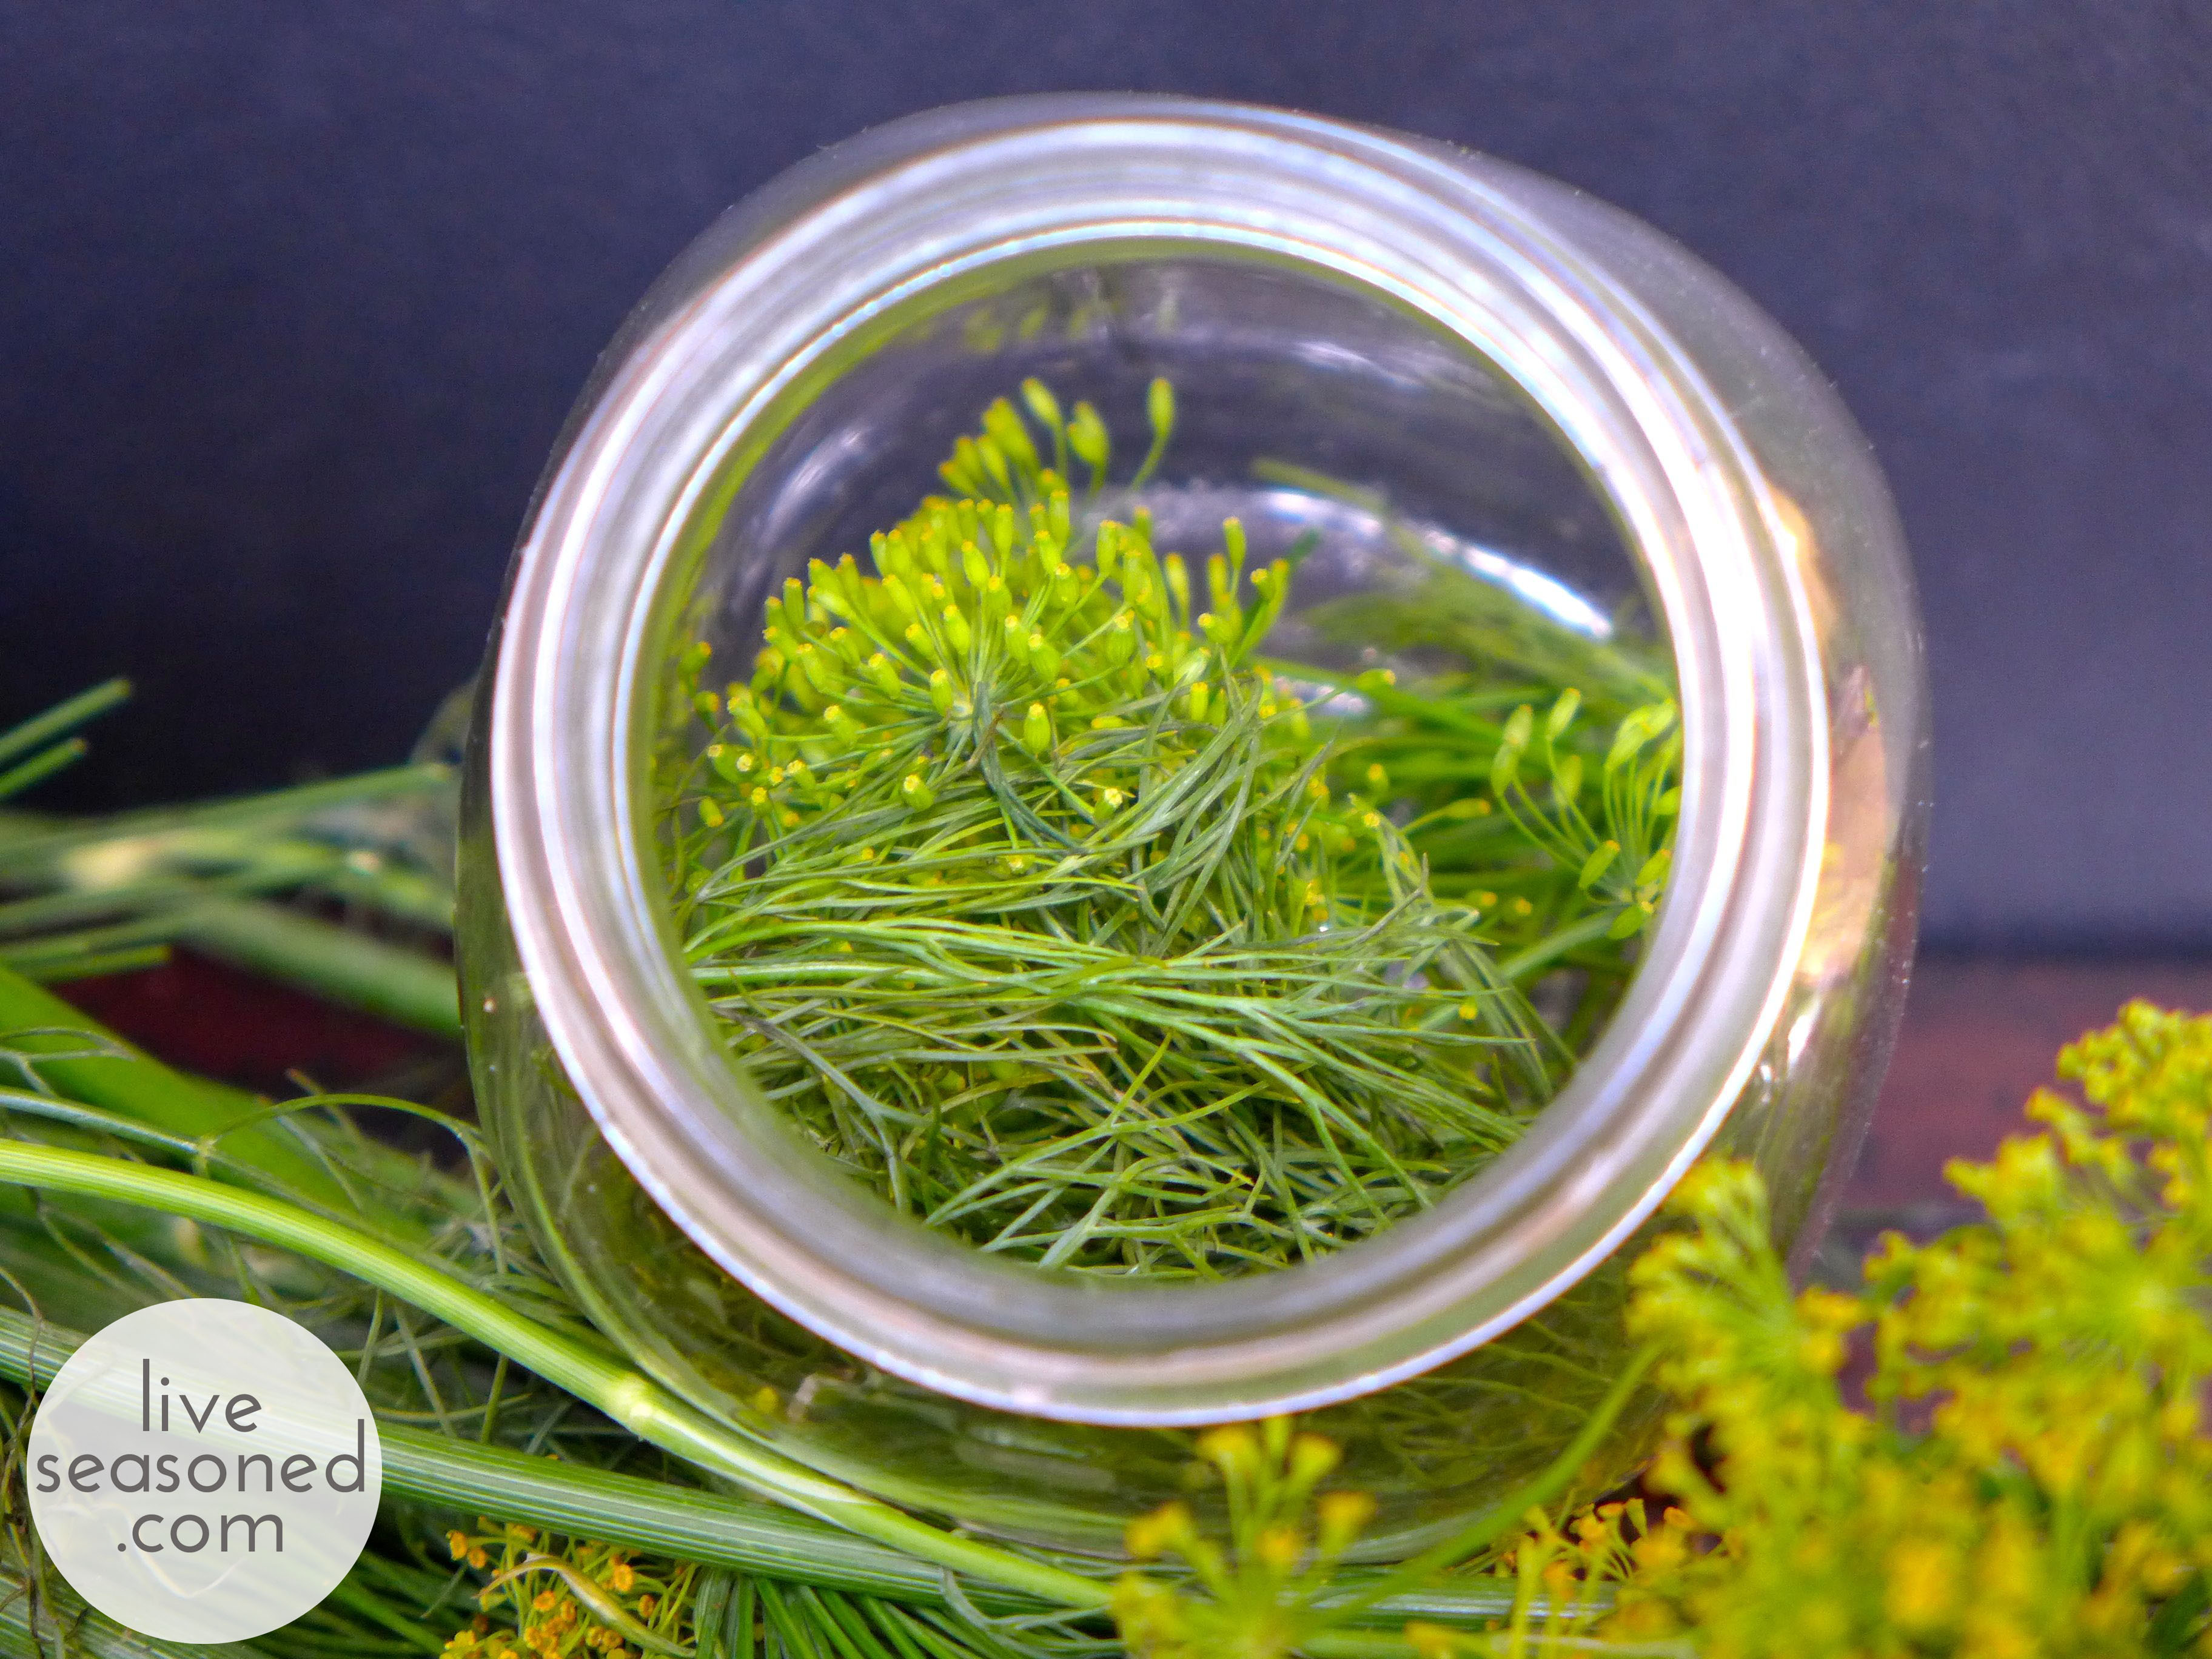
The blossoms are a really flavorful part of the dill plant. I added a few to a warm veggie mixture as it cooked, and they imparted a fantastic but not overpowering dill flavor. I found that they did a same thing here ~ creating a batch of pickles that had a sweet dill flavor. I added blossoms that weren’t fully open to my jar before filling it with the cucumber mixture (I’m not sure if there’s any difference in the flavor imparted by open versus closed blossoms?).

While the pickles taste delicious, I think I get just as much fun out of opening my fridge and seeing this beautiful jar sitting on the shelf (for the whole 2-3 days that it’s there!).

Ack, ok, maybe it’s even more fun seeing little A gobble them up and then sign for more with celery seeds sticking to his face!