Best of the Season

At the end of each season, we take a look back and highlight our favorite posts. See previous Seasonal Bests here.

I don’t know about you, but for me fall seemed to creep along during September and October, and then November passed in a flash! I can’t believe that Monday will be December. I can’t put my finger on exactly what’s making it seem different this year, it probably most definitely has something to do with Little A being old enough to start enjoying the magic. Anyway, while we’re excited to jump into winter with both feet, we also love taking a moment to look back and relish all things fall.

Best of Main Dishes
liveseasoned_fall14_thanksgivingtapas-7

  • Sarah’s pick : I’m a big fan of Katie’s Roasted Root & Squash Soup for three reasons.  First, it is a dish that spans two seasons and can easily be modified to include whatever roots and squash you have on hand.  Second, it is packed with veggies and can be vegan if you leave out the cheese garnish.  Third, it is a great recipe for a beginner cook.  No tricky steps or hard to find ingredients in this dish.
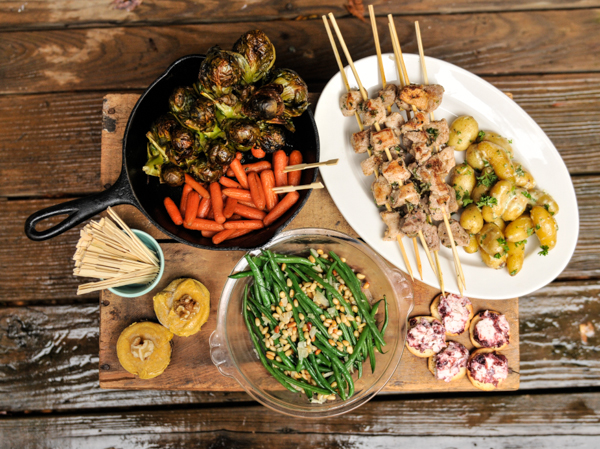
  • Katie’s pick : Sarah’s Thanksgiving Inspired Tapas! Every time I look at that post, I wish I were a guest at the table. It’s a perfect twist on the traditional Thanksgiving dinner and looks delicious. And I have to admit that I usually shy away from tapas restaurants because I assume that I’m going to leave hungry, so I really like the idea of serving tapas at home, and know that I won’t be craving more because the leftovers are in the fridge.

Best of Desserts
liveseasoned_fall2014_applecrisp2_wm

  • Sarah’s pick : I’m in love with the mini no bake pumpkin pies.  They’re creamy and chewy and they are packed with protein.  I’m not going to pretend that I always eat healthy desserts, but these pumpkin pies are my new favorites.
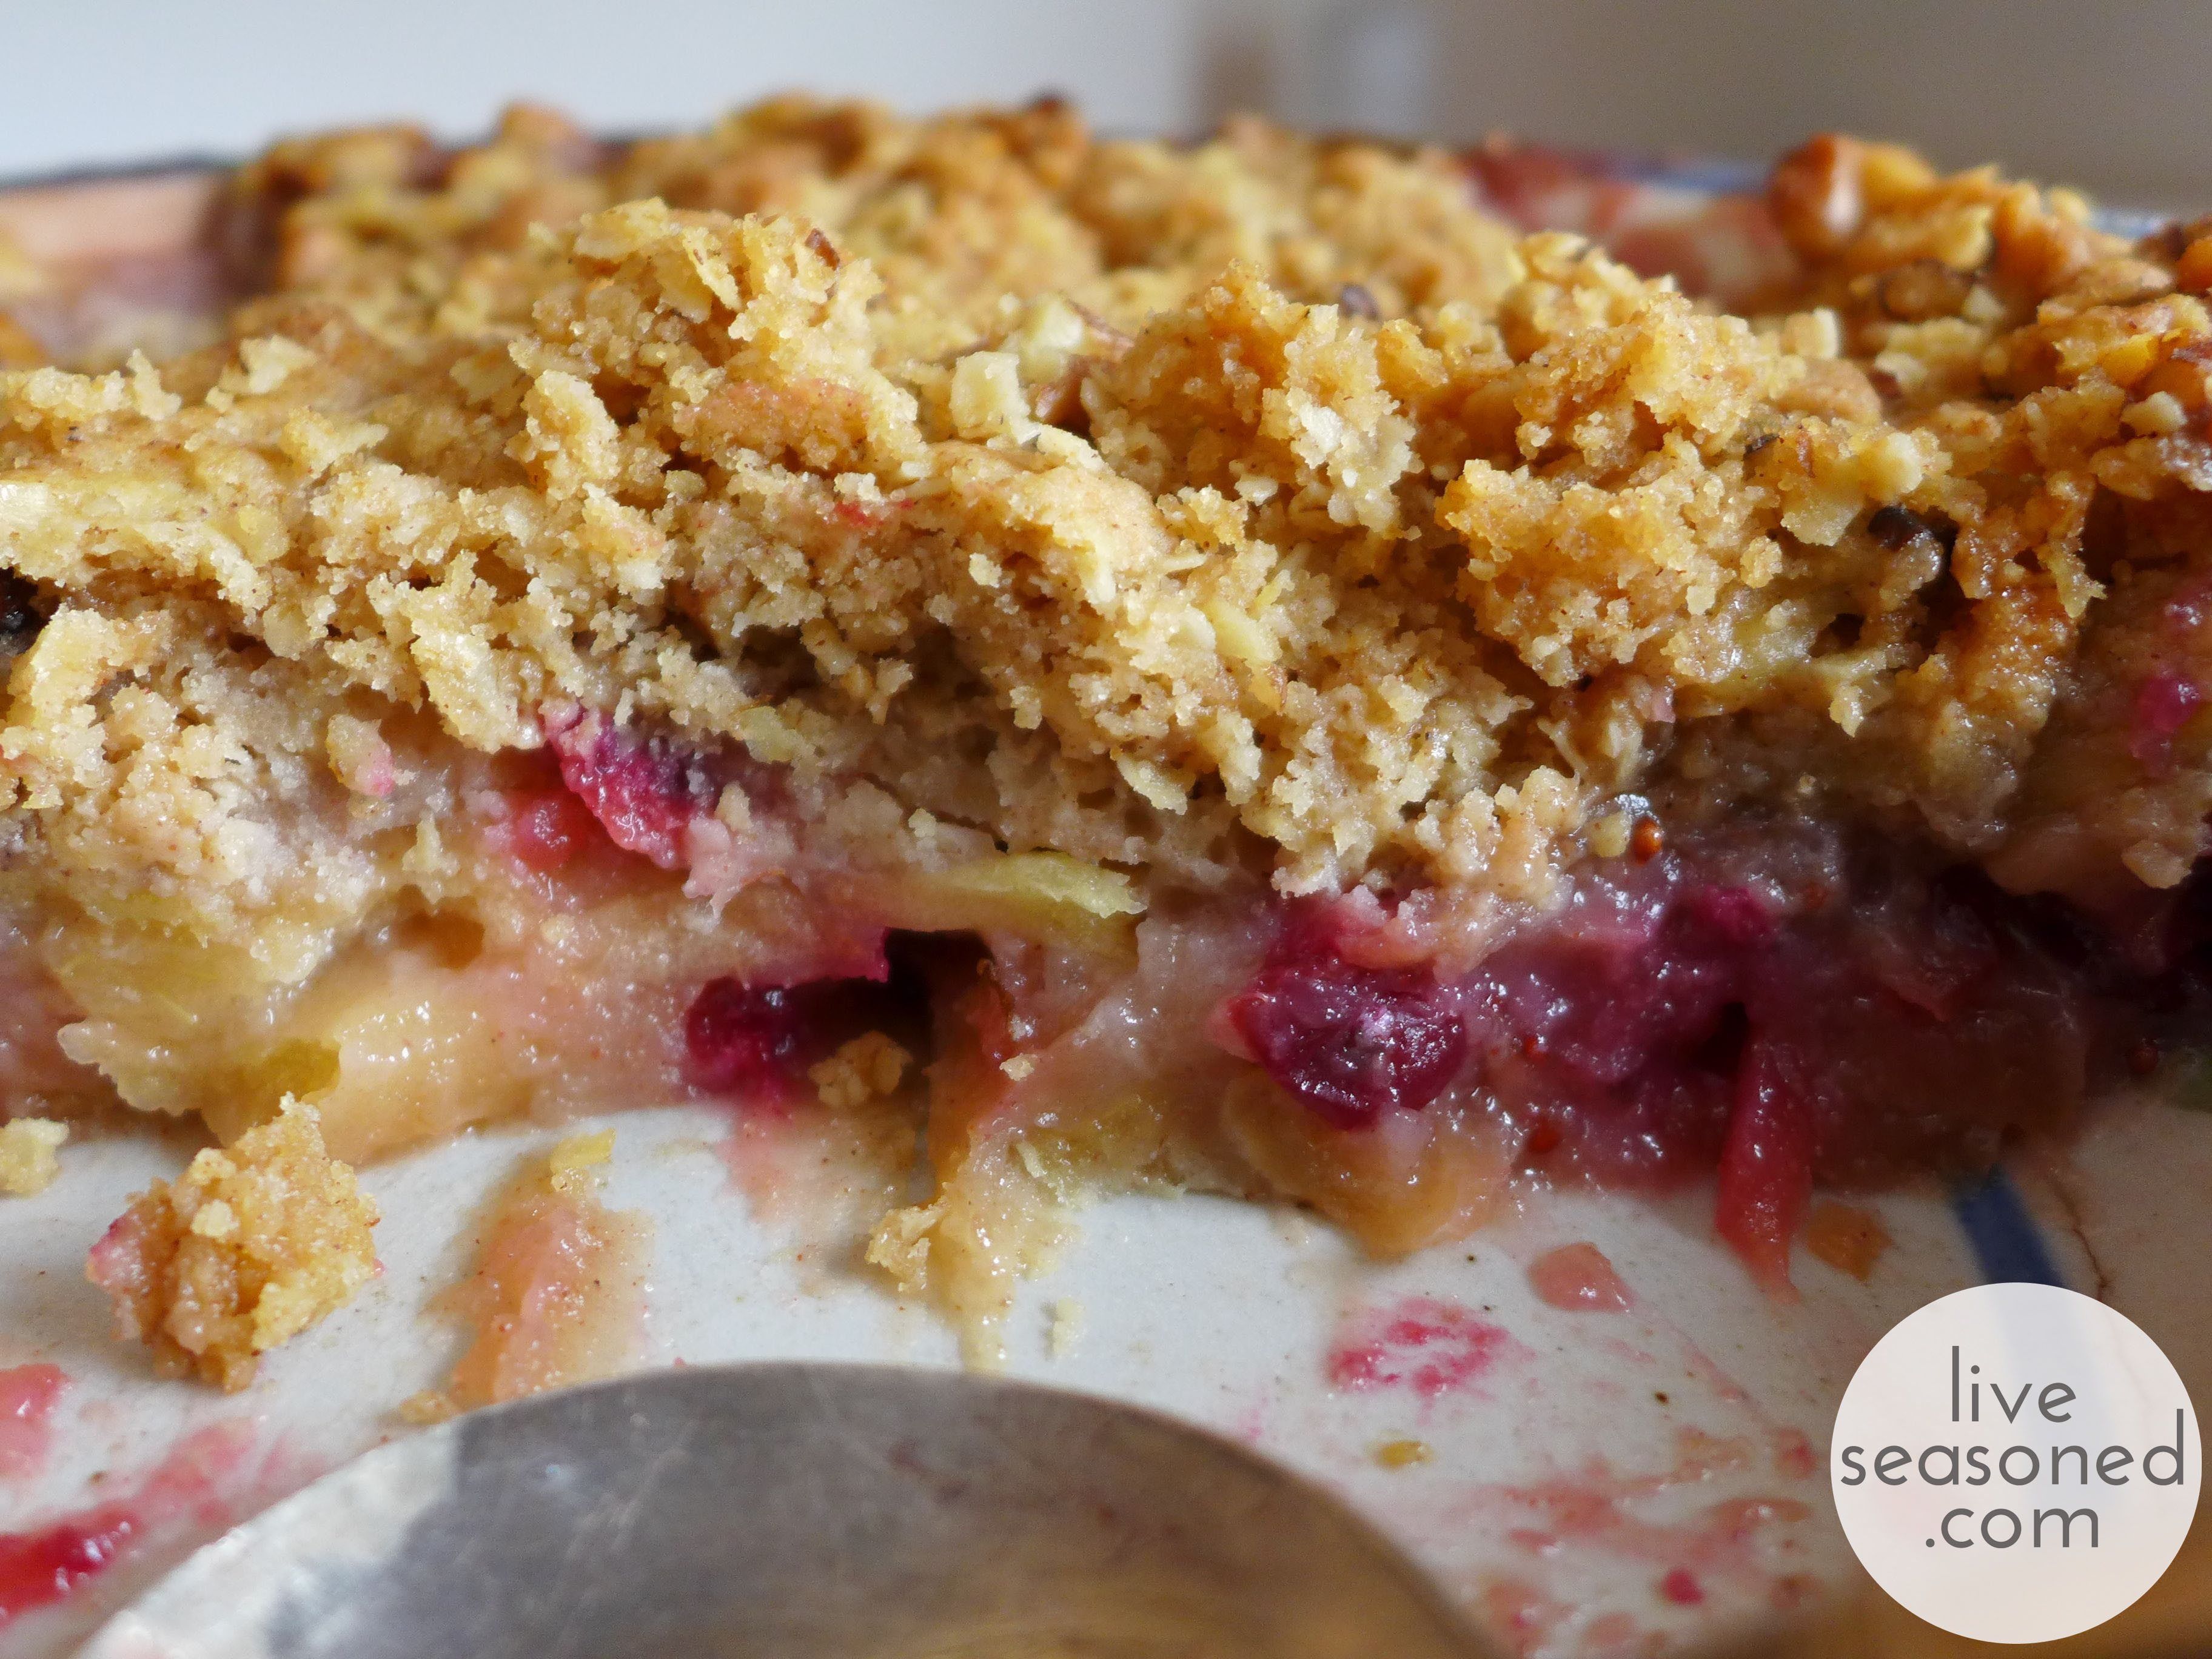
  • Katie’s pick : I’ll take a good apple crisp any day, especially one with cranberries! And yes, I’m totally cheating, because this should be in the “Best of Breakfasts” category for me.

Best of Alcoholic Drinks
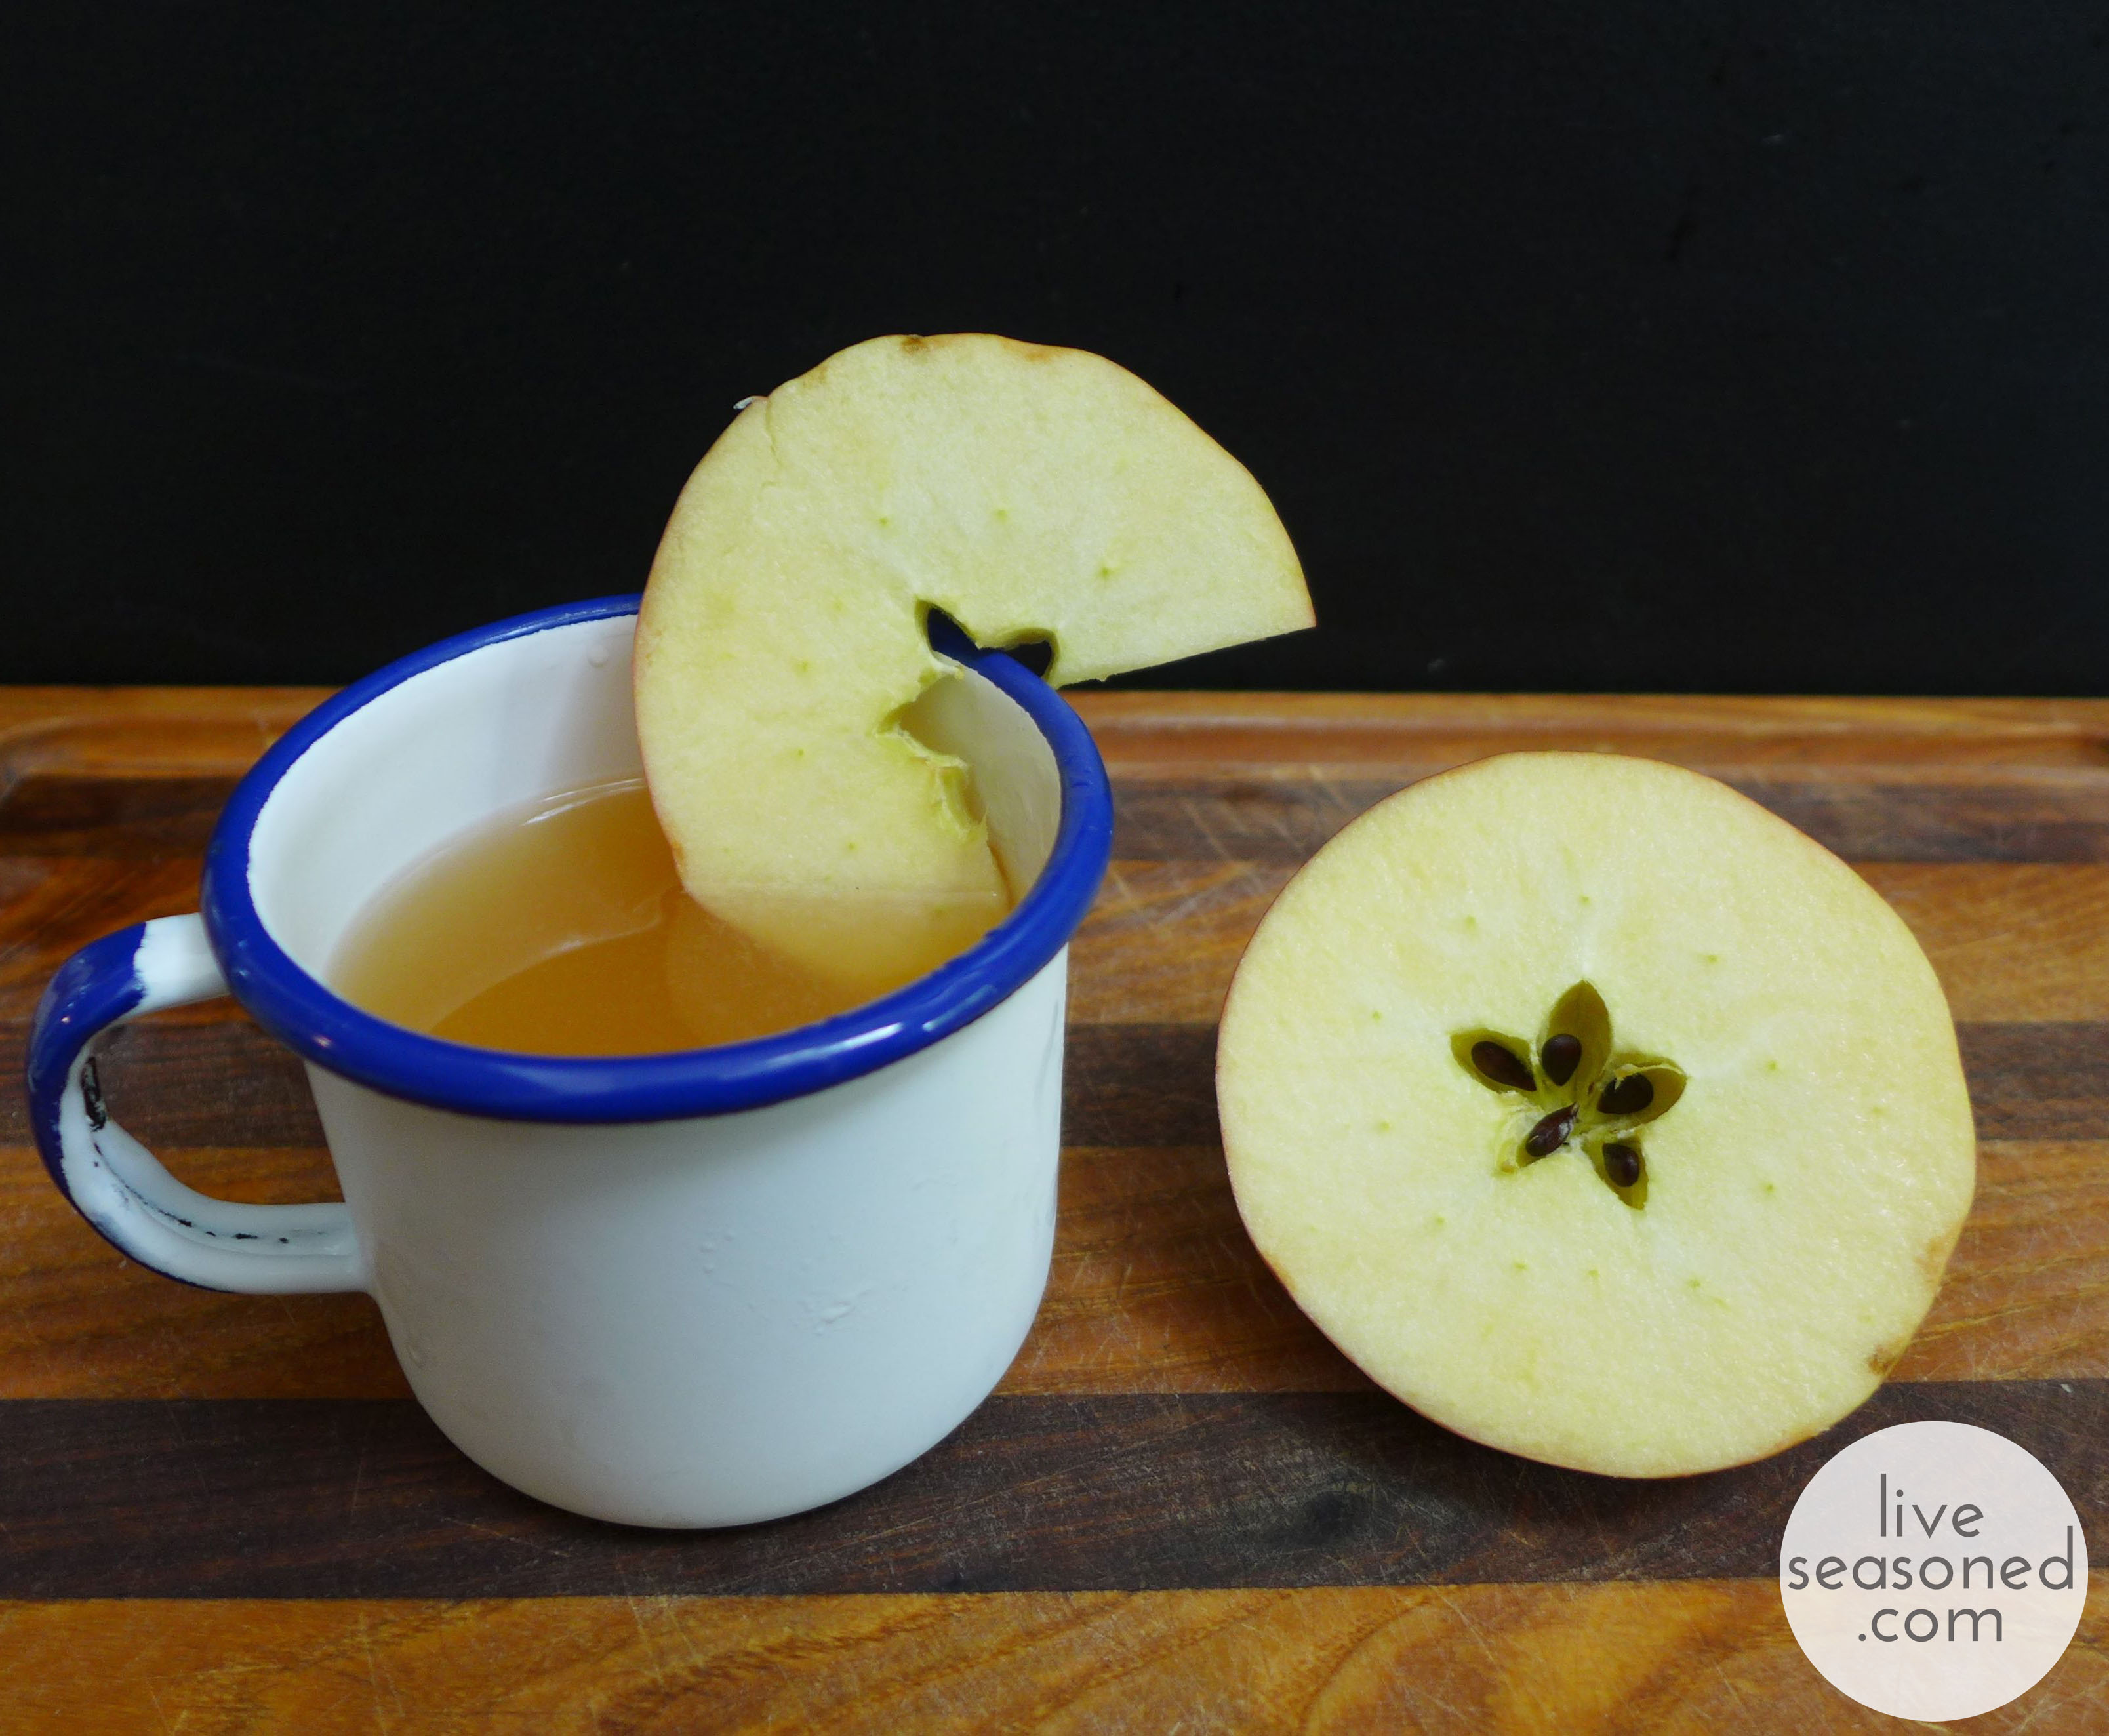
liveseasoned_fall2014_sidecar3_wm

  • Sarah’s pick : Katie served me my first Apple Sidecar and I remember taking a nap immediately afterwards.  This time I took her advice and added a big chunk of ice to my drink. Delicious and festive, this apple sidecar deserves a spot on your holiday cocktail menu.
  • Katie’s pick : It’s been a long time since I had an Appletini, but Sarah’s post took me right back to a bar in Philly where we would get cheap appletinis at happy hour. I’m sure they have nothing on Sarah’s well-garnished drink. I’ll just add it to the growing list of post-baby drinks!

Best of Non-Alcoholic Drinks
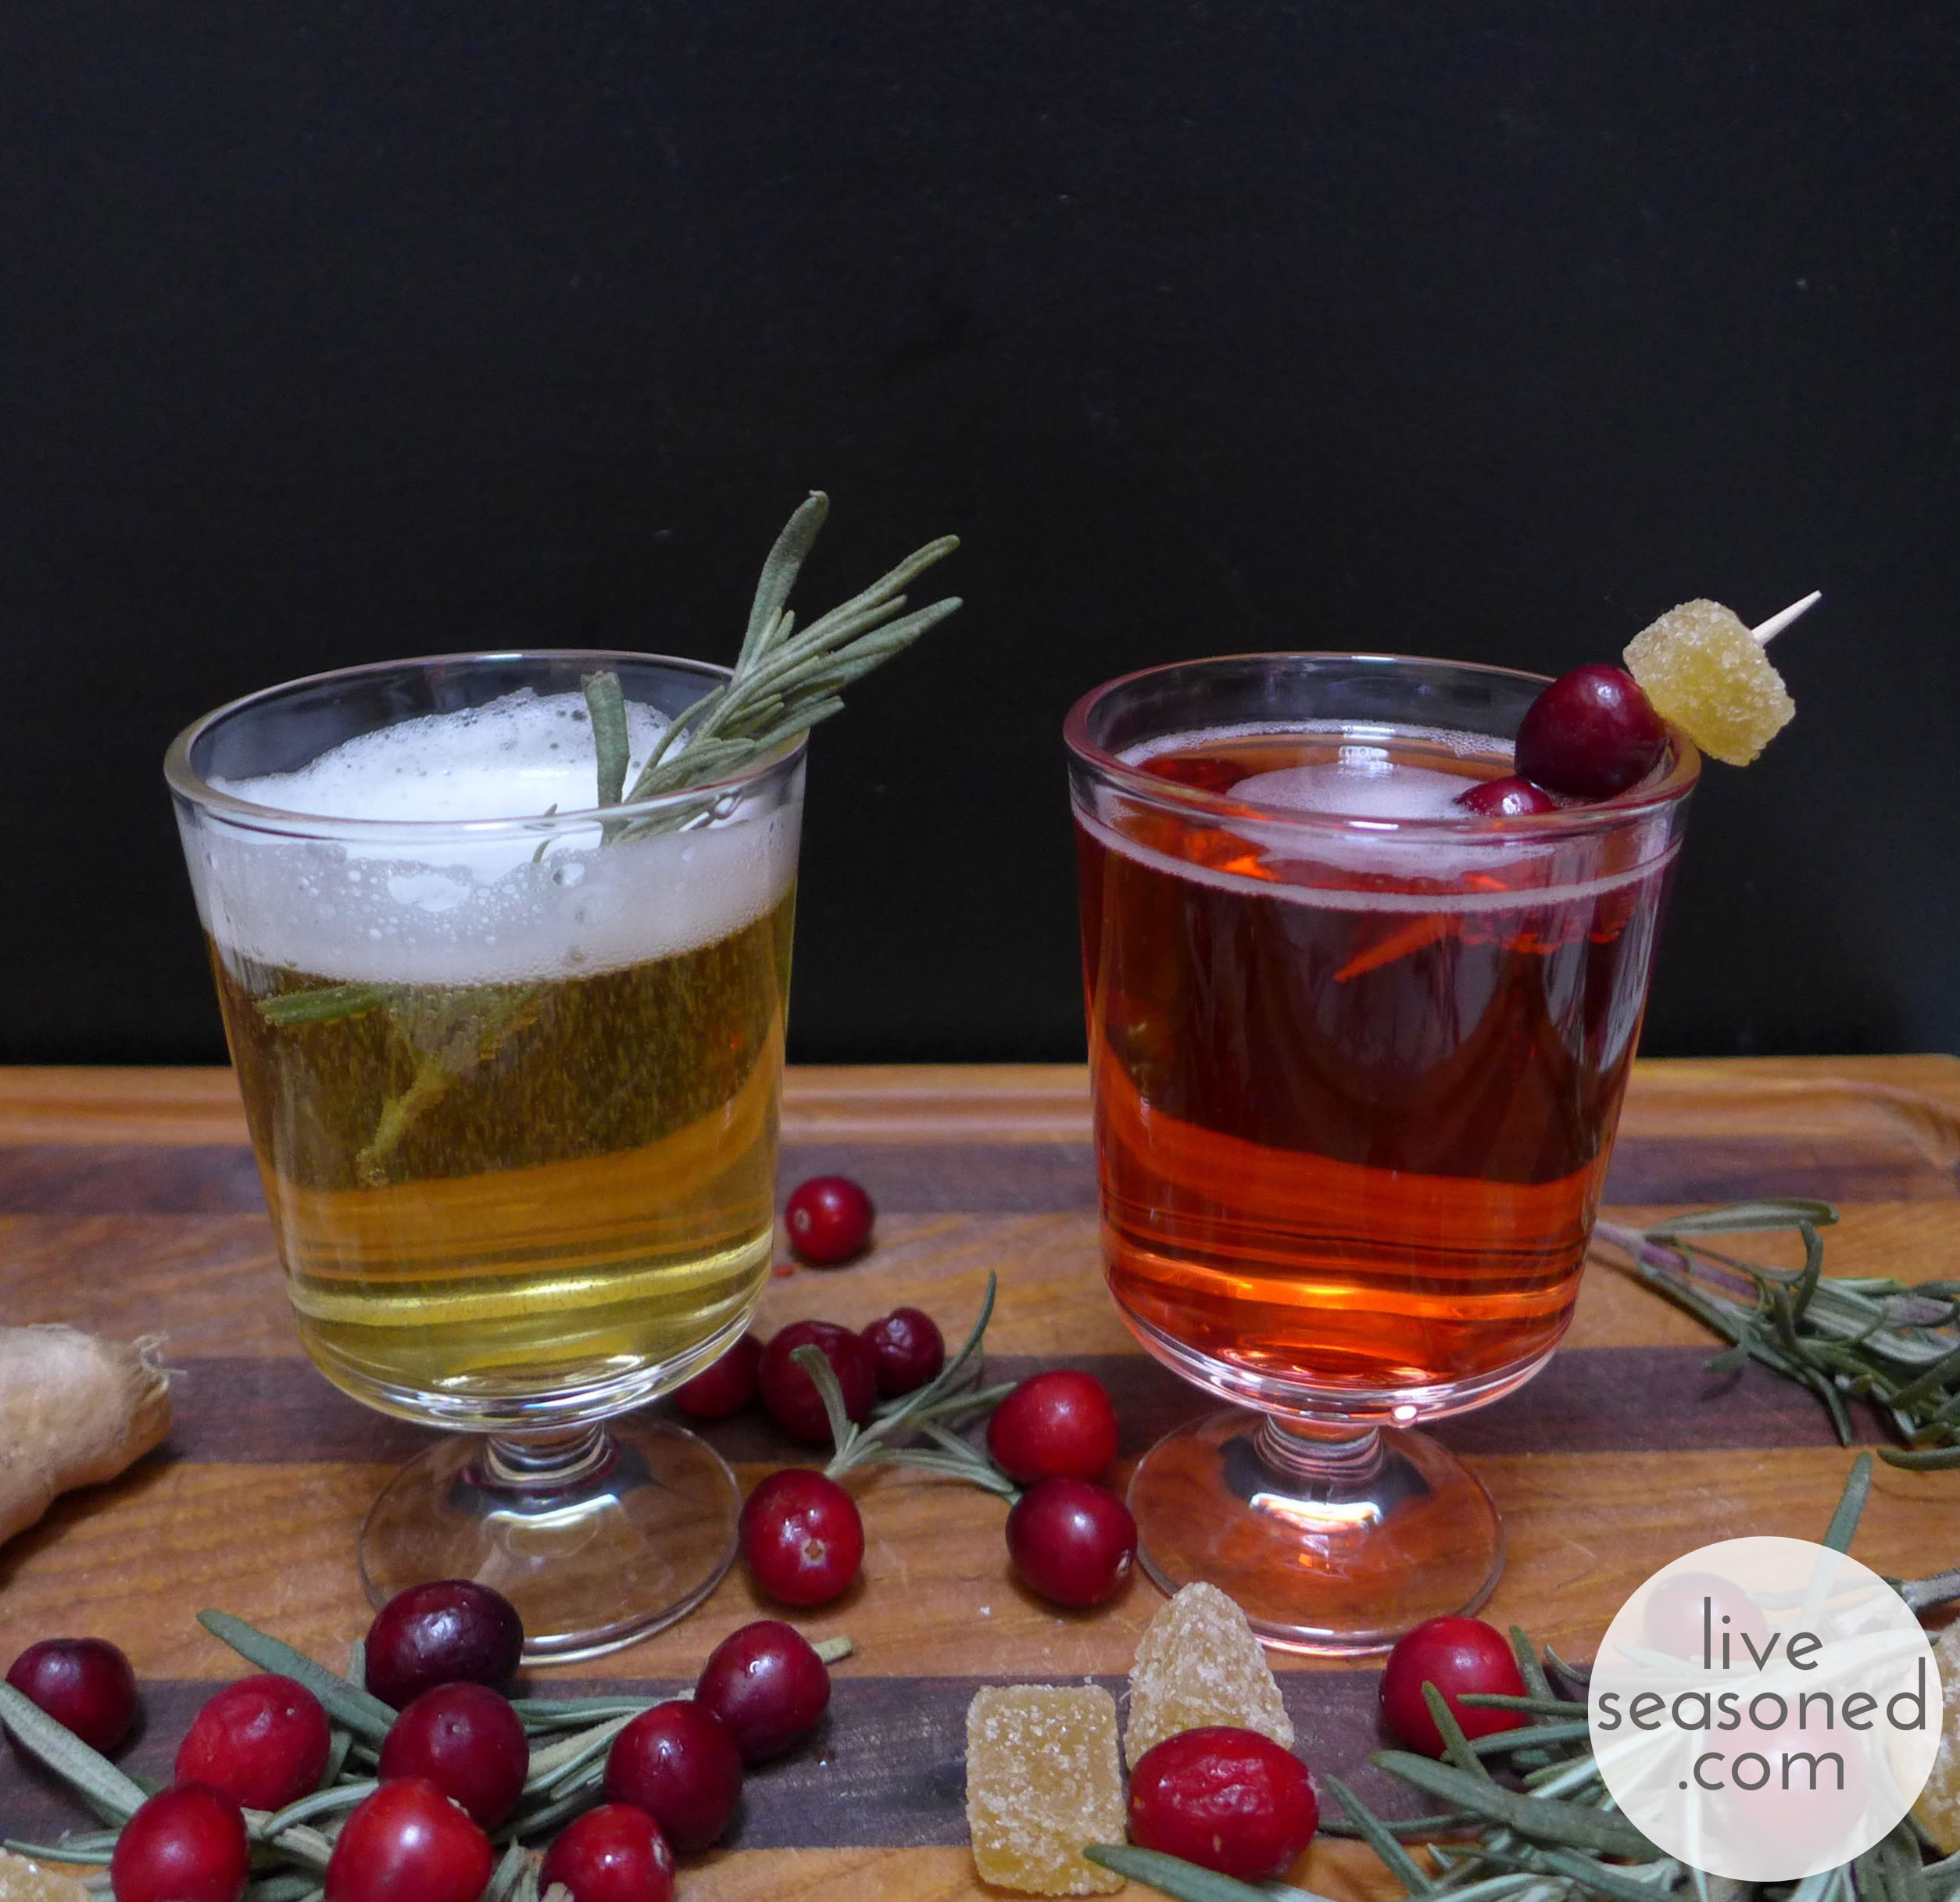
liveseasoned_fall2014_thanksgivingmocktails5_wm

  • Sarah’s pick : There was no contest here, Kate’s Sparkling Cider Mocktails are by far the best non-alcoholic drink of the season.  I wish I had a little crew of kids to serve up these special drinks to.  I know they would really appreciate them.  I always loved Shirley Temples growing up, but they’re no comparison to these special sparkling holiday mocktails. Without any kiddos around, I make these mocktails during the middle of the day as motivation to keep editing and accomplishing menial tasks around the house.
  • Katie’s pick : I’m eyeing Sarah’s Fresh Apple, Carrot, Ginger Juice. That sweet and spicy combination, just seems so perfectly refreshing at any time of year, but especially have a good fall hike… and really, really miss when Sarah and her juicer lived with us!

Best of Cheese
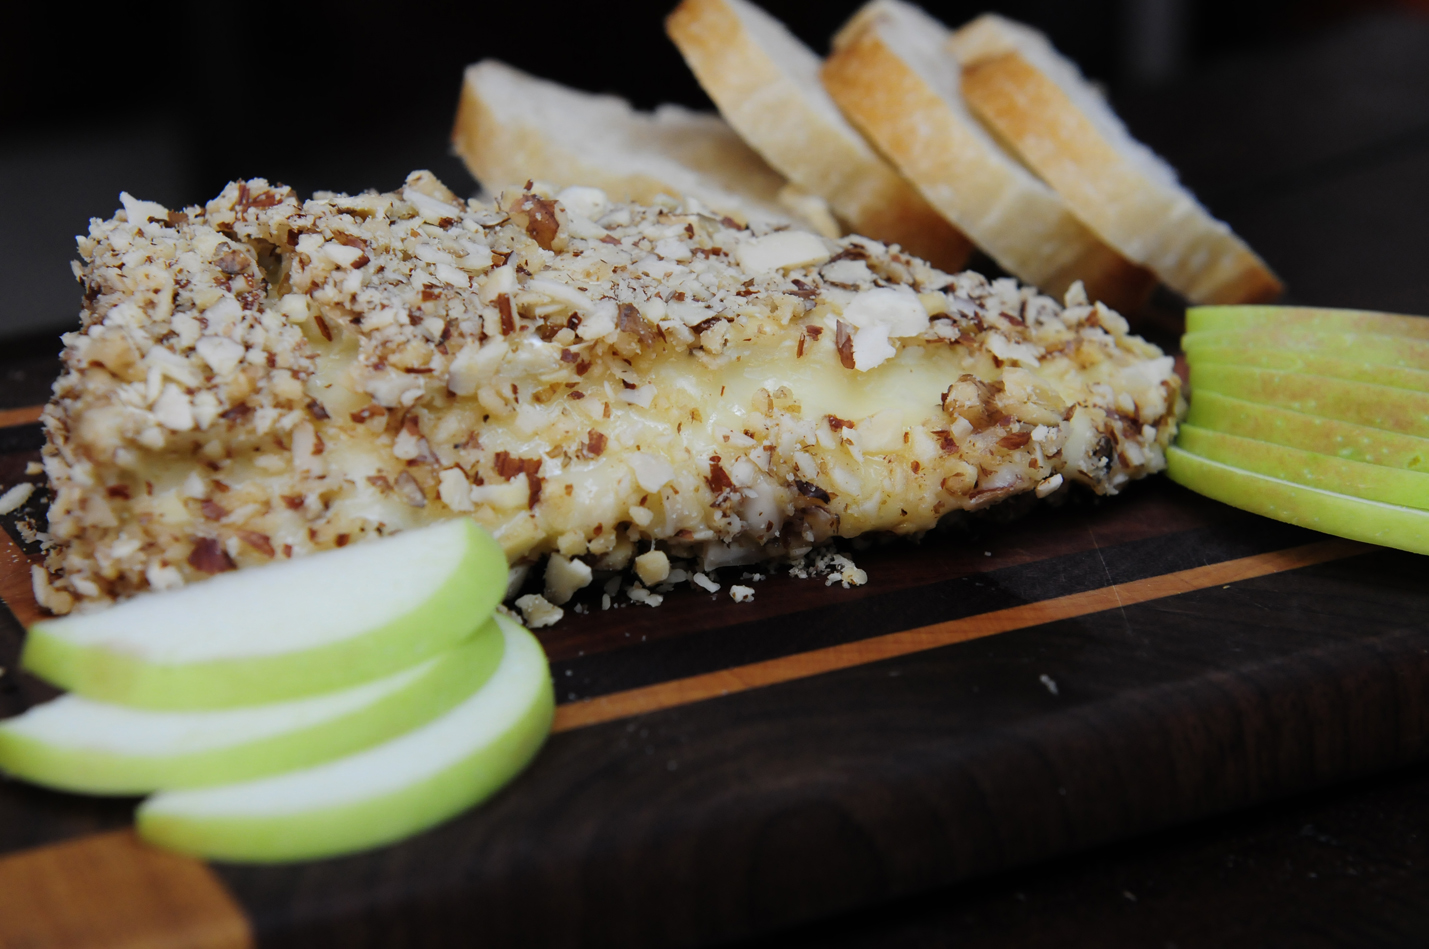
LIVESEASONED_fall14_brie2

  • Sarah’s pick : My favorite was the first cheese we featured, Nut Crusted Brie. I love the gooey baked cheese along with the crunch of the nuts.
  • Katie’s pick : Brie with Truffle Honey. I want to eat it every day.

Best of Crafts

  • Sarah’s pick : I loved looking back at the craft category and seeing how many natural crafts we made this fall.  I enjoyed making the leaf garland and outdoor twig wreath, but my favorite has to be Kate’s dried fruit garland.  I just love the look of sliced oranges and apples, if you haven’t made it yet, turn on that oven!
  • Katie’s pick : I had as much fun making the witch window silhouette as I did seeing it every night in our window. I also think it’s a project that was worth the time and effort, because we should be able to reuse it for years to come.

Best of Style
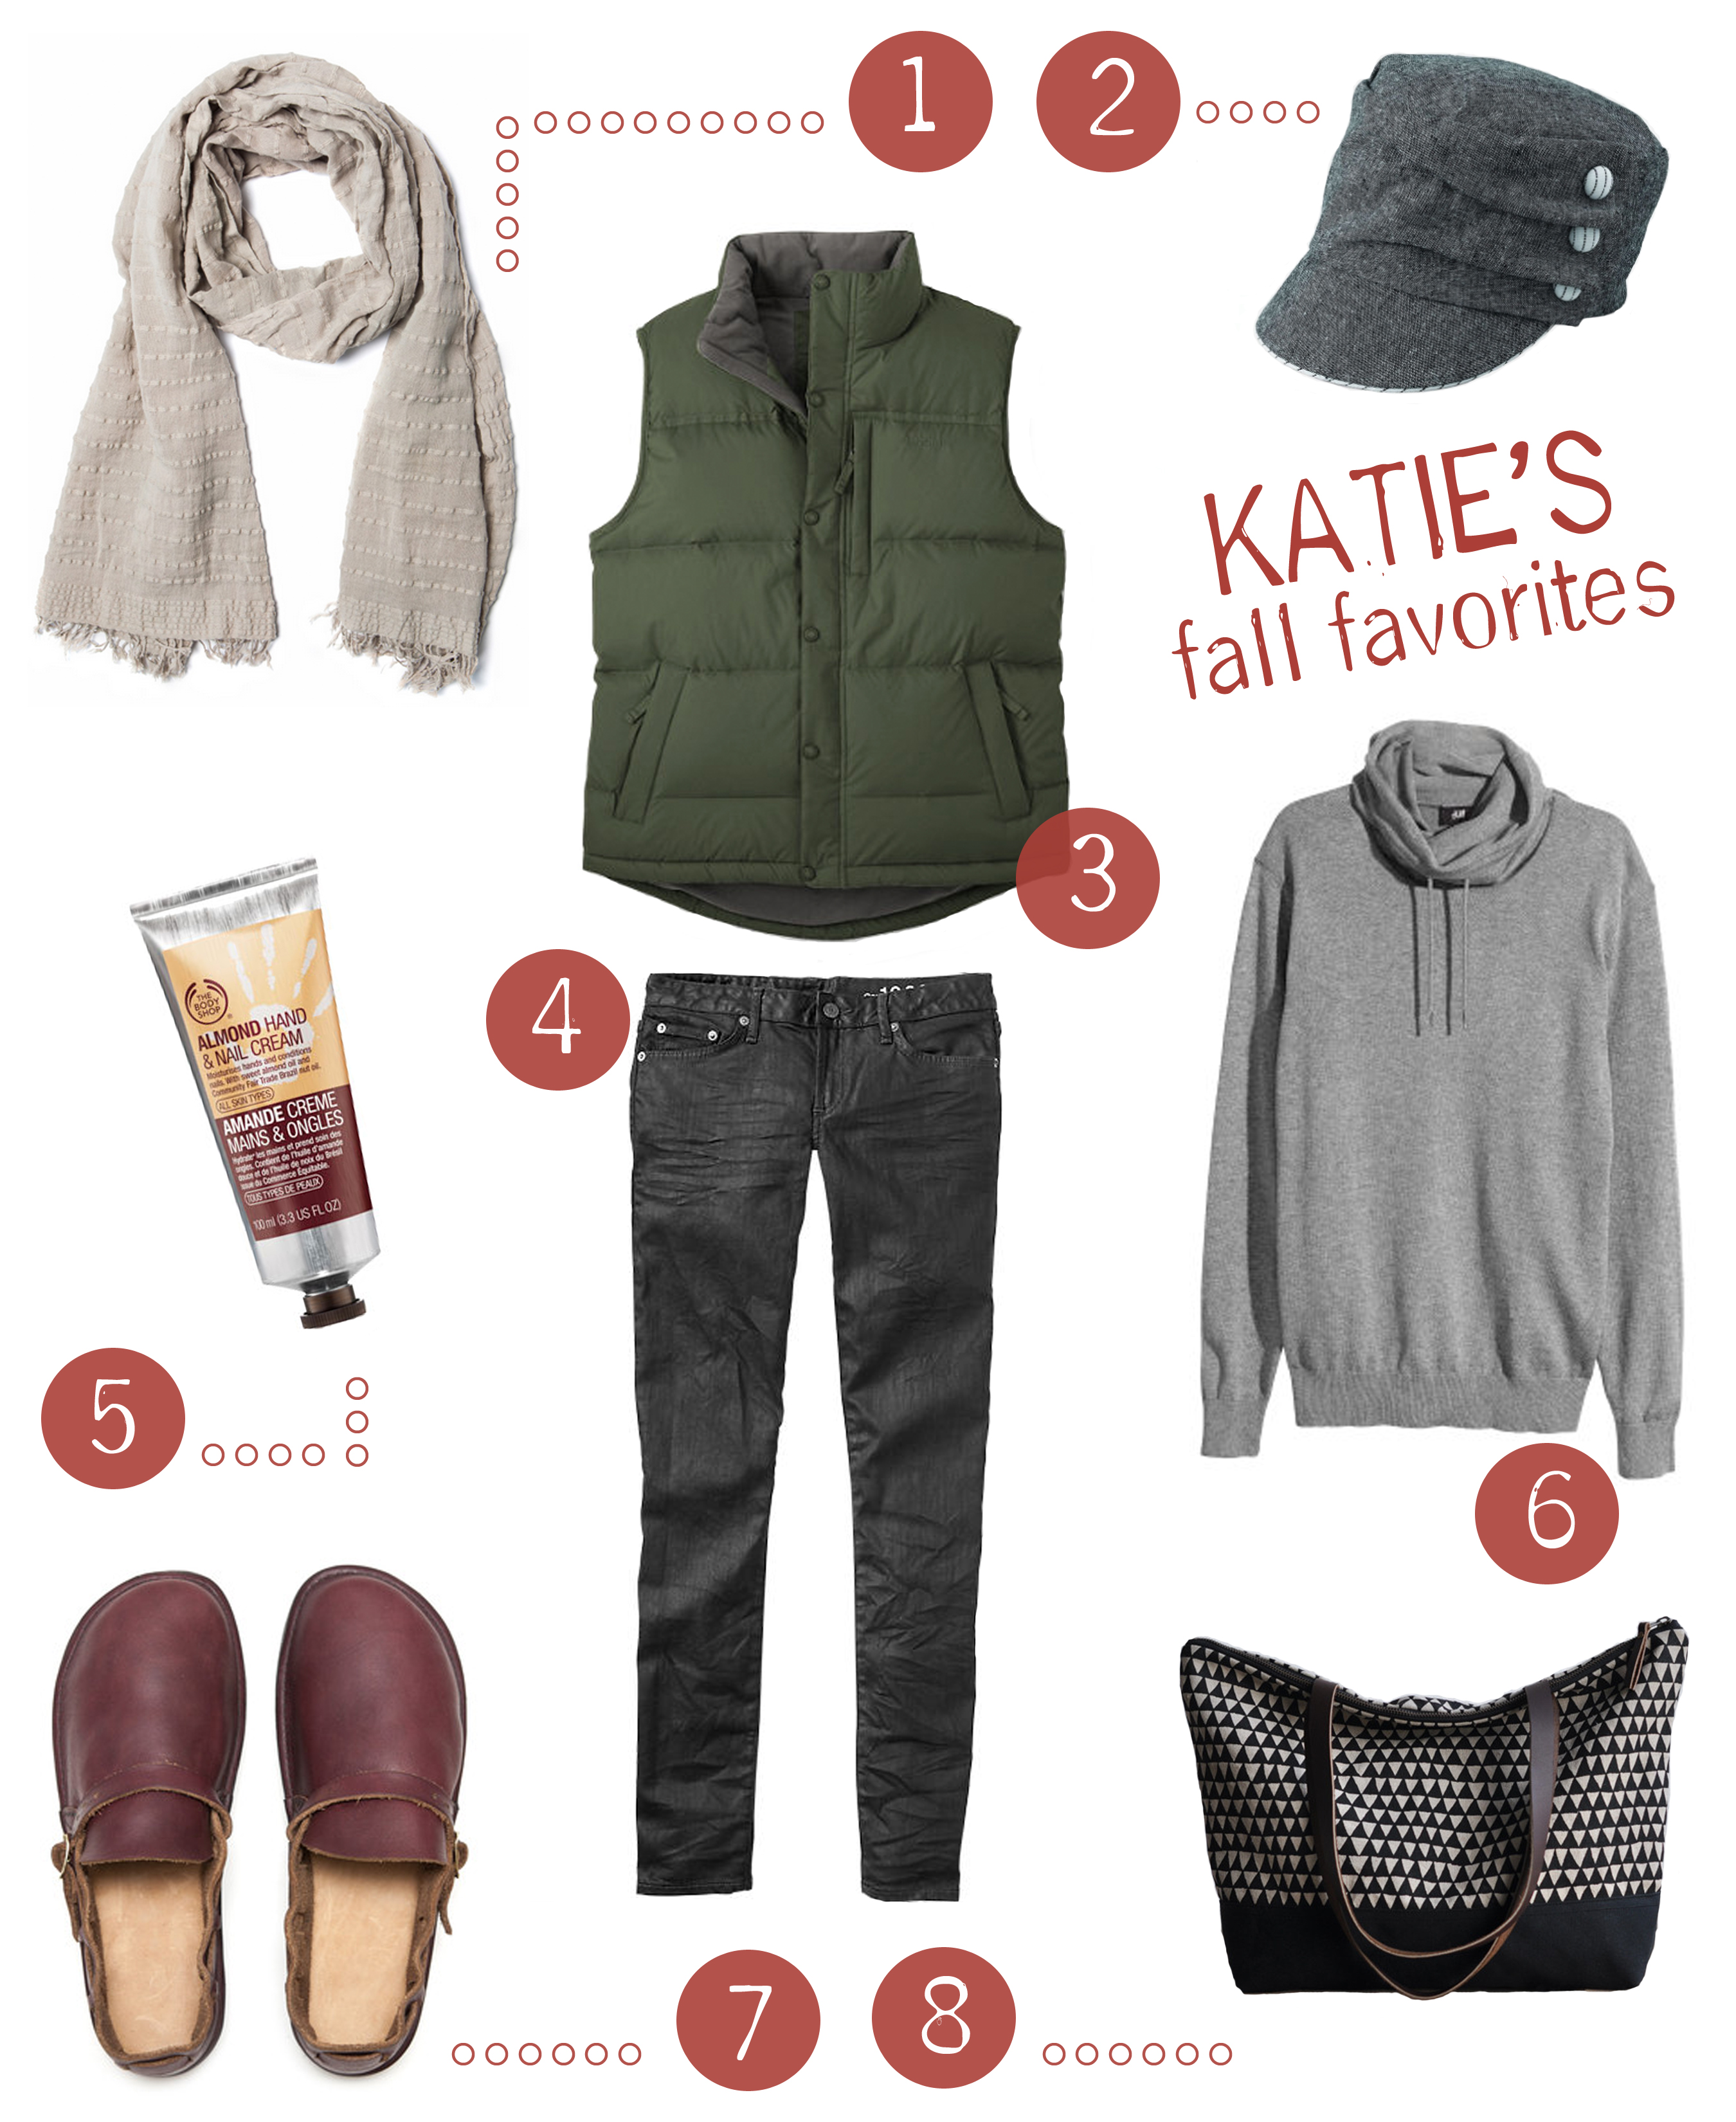
LIVESEASONED_fall14_favorites

  • Sarah’s pick : We don’t do many fashion features on Seasoned, but I do give glimpses of my daily threads.  I’m loving these dressed yet comfortable pixie pants that I picked up at Old Navy.
  • Katie’s pick : Admittedly most days you’ll find me in yoga pants, but when I do get dressed to leave the house, I’m wearing some version of my Fall Favorites. So maybe I’m picking it not necessarily because it’s the best style, but because it’s my perfect fall wardrobe, and it never gets old.

Best of Potions

  • Sarah’s pick : Even though this potion was a tiny bit smelly, I enjoyed making my own pore strips.  Super duper cheap and really easy too.
  • Katie’s pick : I’m going with the Dandruff Shampoo because it was so stinking easy to make, and it worked!

Best of Nature
liveseasoned_fall14_autumn-2

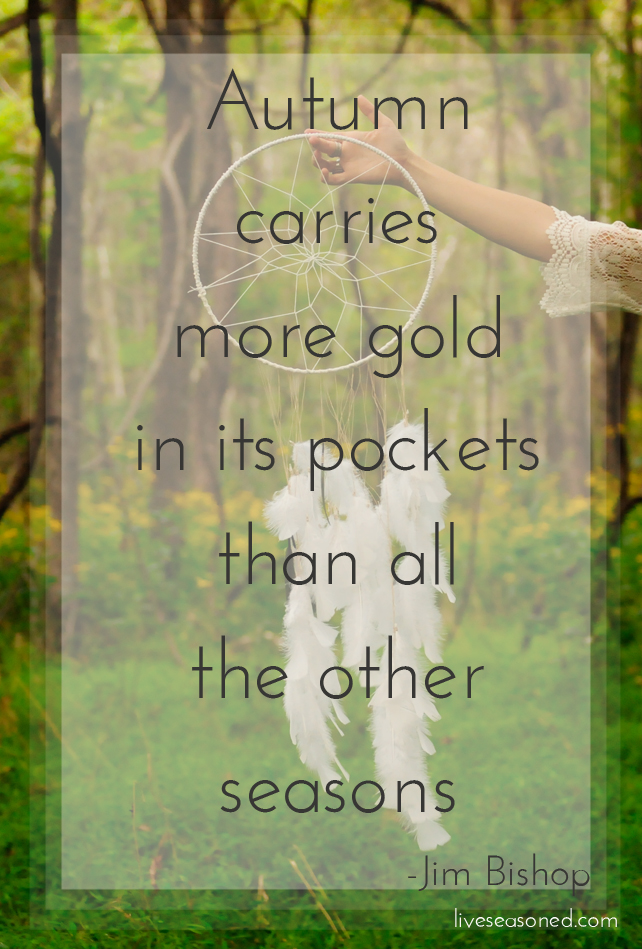
  • Sarah’s pick : Can I cheat and mention two posts? First, I loved researching and writing about the Boulder Flat Irons Hike almost as much as I enjoyed the trek itself.  It is so much easier to take photos and really enjoy the landscape when you don’t have a crazy hound dog along for the walk. Second, I had a great time making the photograph and turning it into a quote celebrating the Autumnal Equinox.  Celebrating natural holidays is very important to me so spending time outside this year and creating this image was my way of thanking the earth.
  • Katie’s pick : I found Sarah’s Tips for Taking Fantastic Fall Photos to be so helpful. It’s not specifically a nature post, but it’s the type of post that inspires me to get out there and enjoy nature a bit more, even if it is through the lens of my camera.

Best of Around Town
liveseasoned_fall14_kombucha-8

  • Sarah’s pick : While this better suits the category Best of Around the World, I had a great time revisiting Thailand for this Bangkok City Guide.
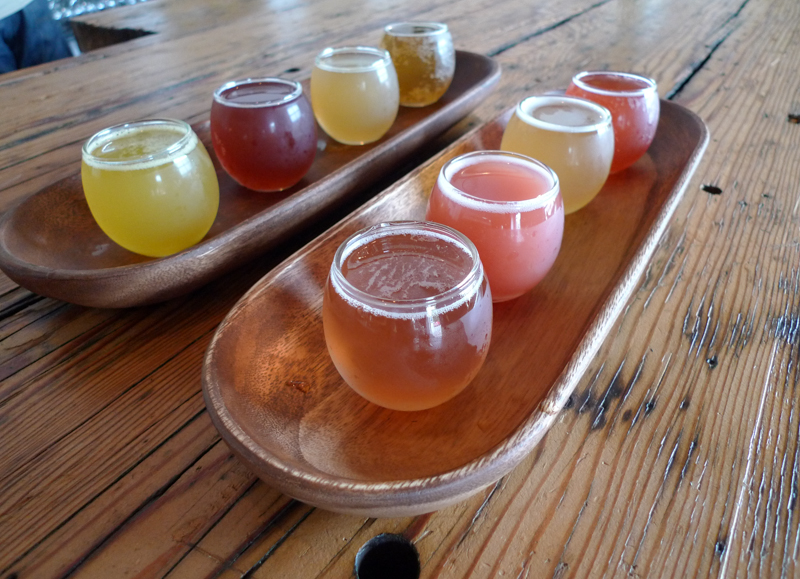
  • Katie’s pick : I loved our visit to the local Kombucha brewer. Getting the chance to taste-test so many flavors at once was a great exploratory mission. I now know that I love so many flavors beyond my old stand-by. And it was awesome to discover this Boulder gem with Sarah.

Any favorite posts that you didn’t see on the list? Let us know in the comments 🙂
 

Elving : Part 1

Ok, after I hit publish on this post, my attention will turn back to Thanksgiving (at least until Thursday!), but today we thought it would be fun to jump ahead and give you a sneak peek of the Christmas crafting that’s begun in our house. Somewhere along the way, Calder and I started referring to this as “elving” ~ sneaking away to my craft room to either work on Christmas presents or decorations. Today is labeled “Part 1” because I’m sure this will be the first of many elving posts from the Seasoned sisters!

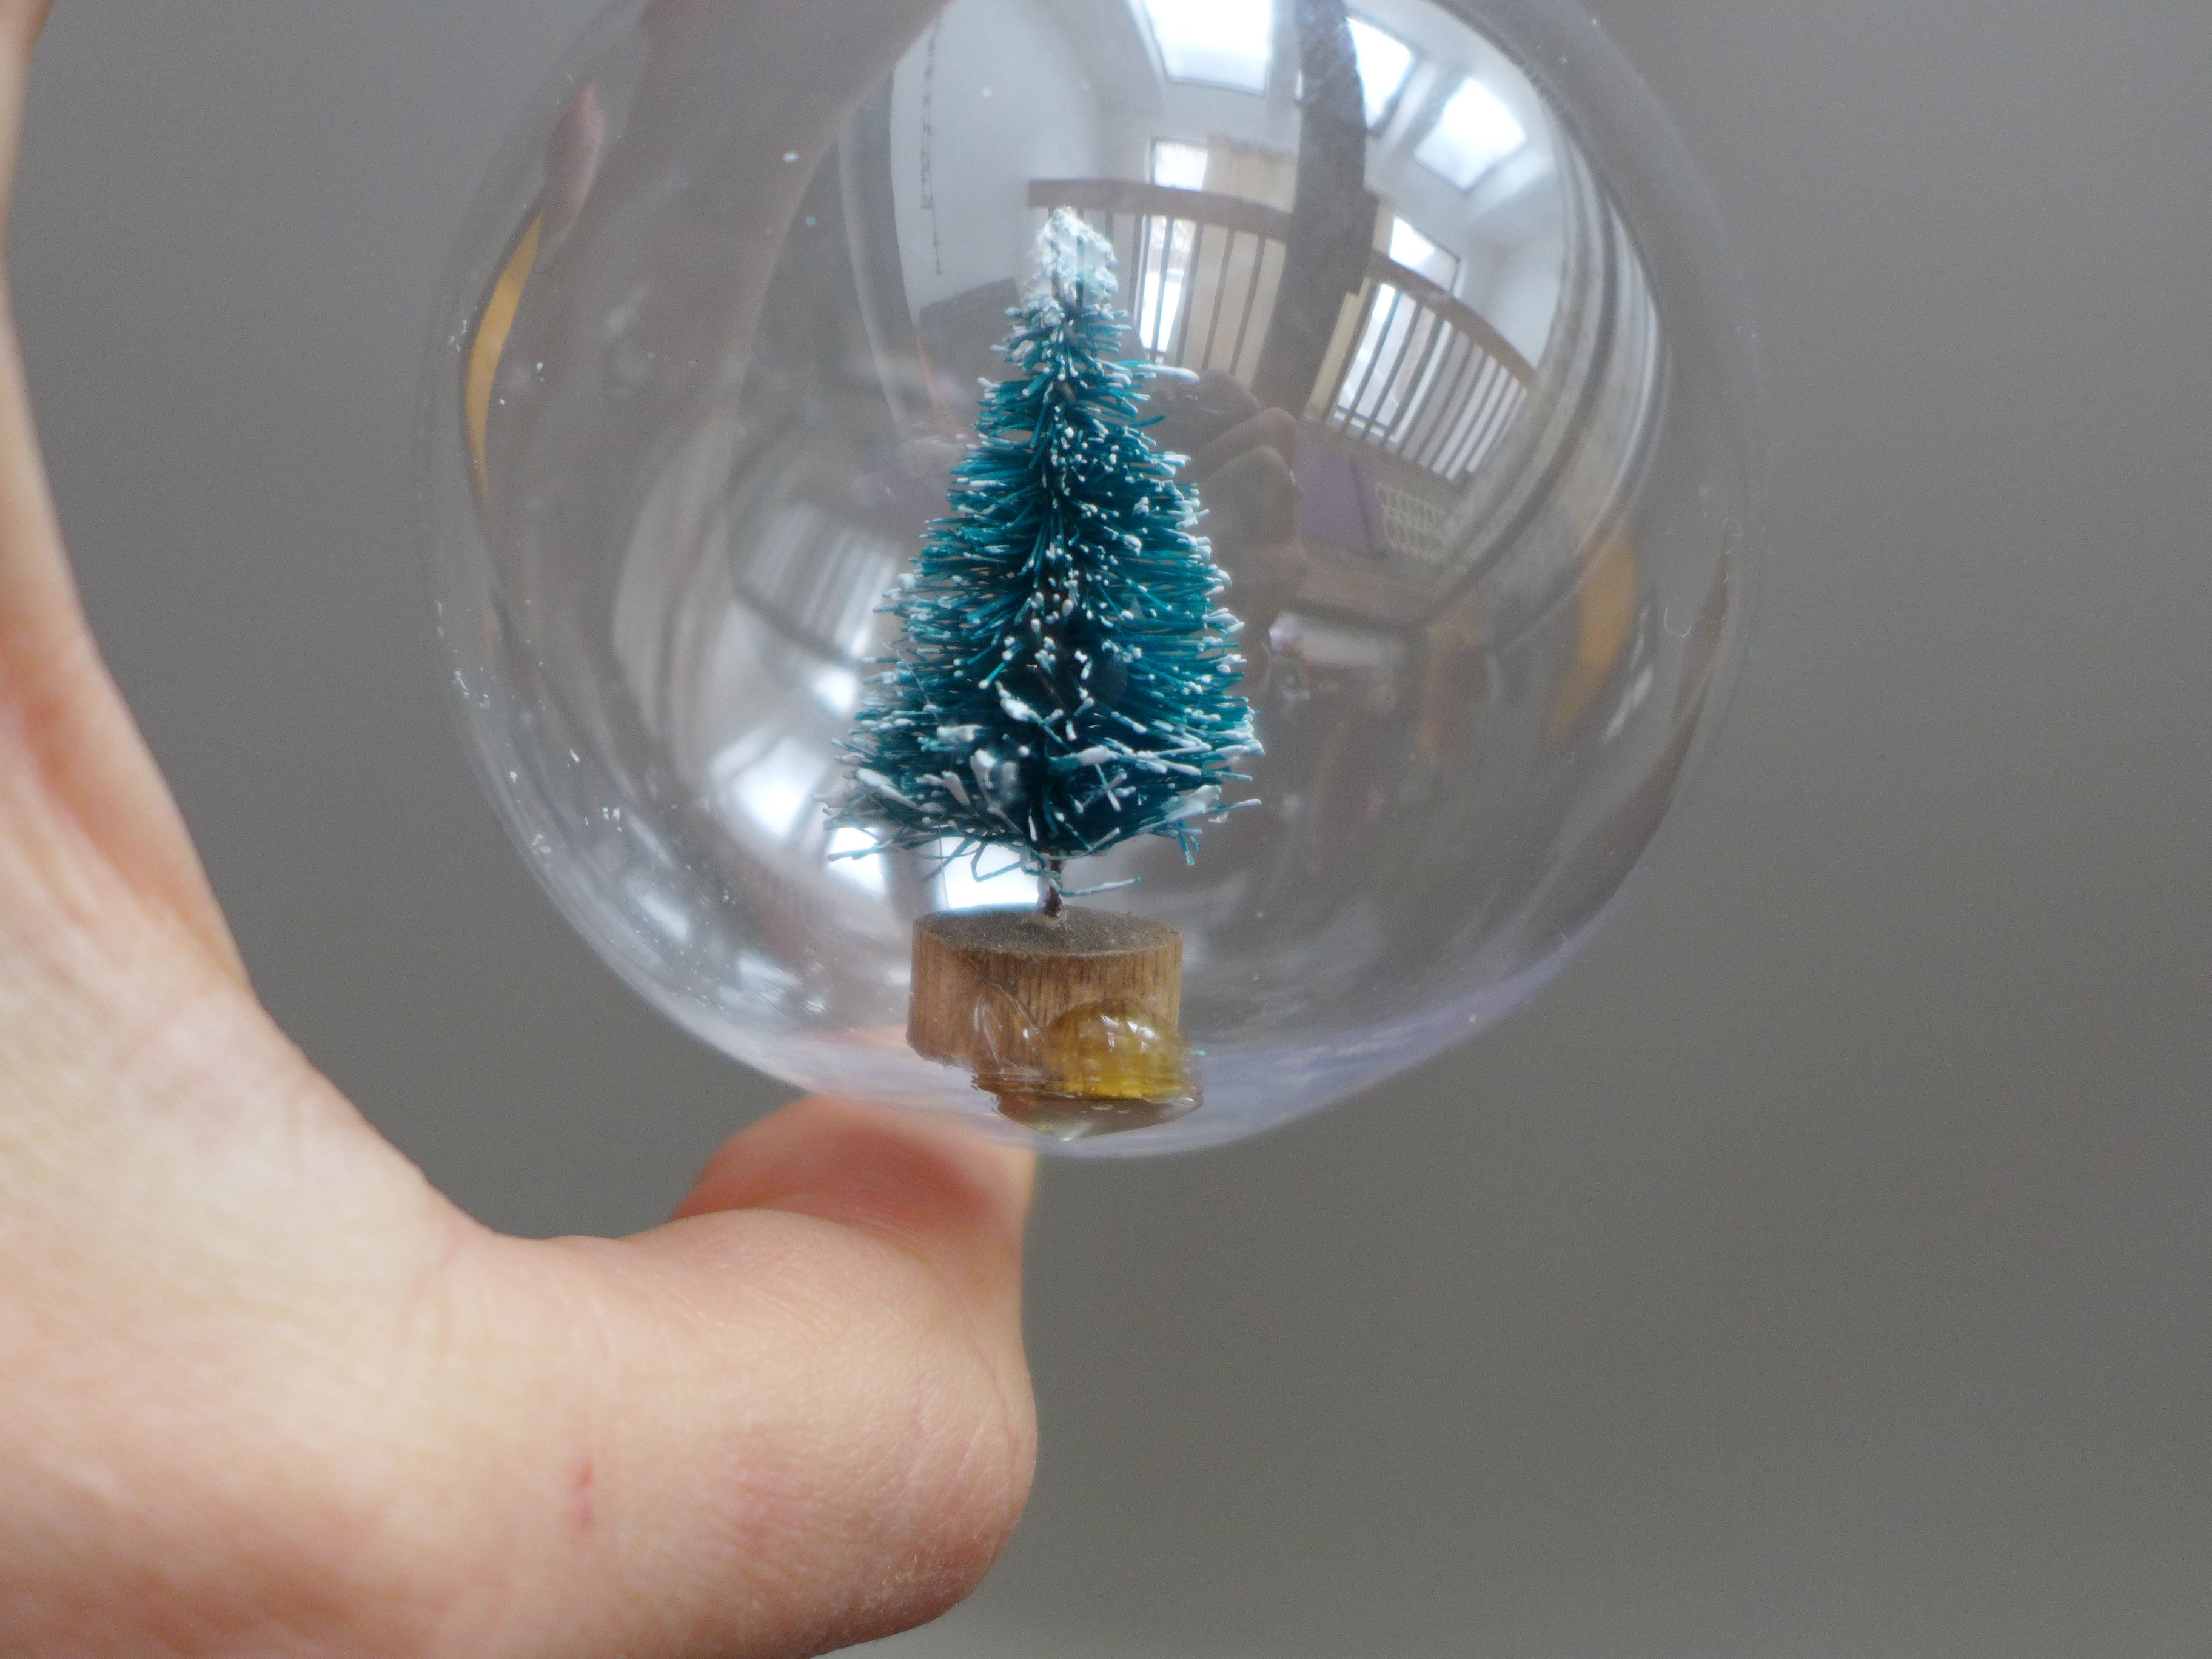
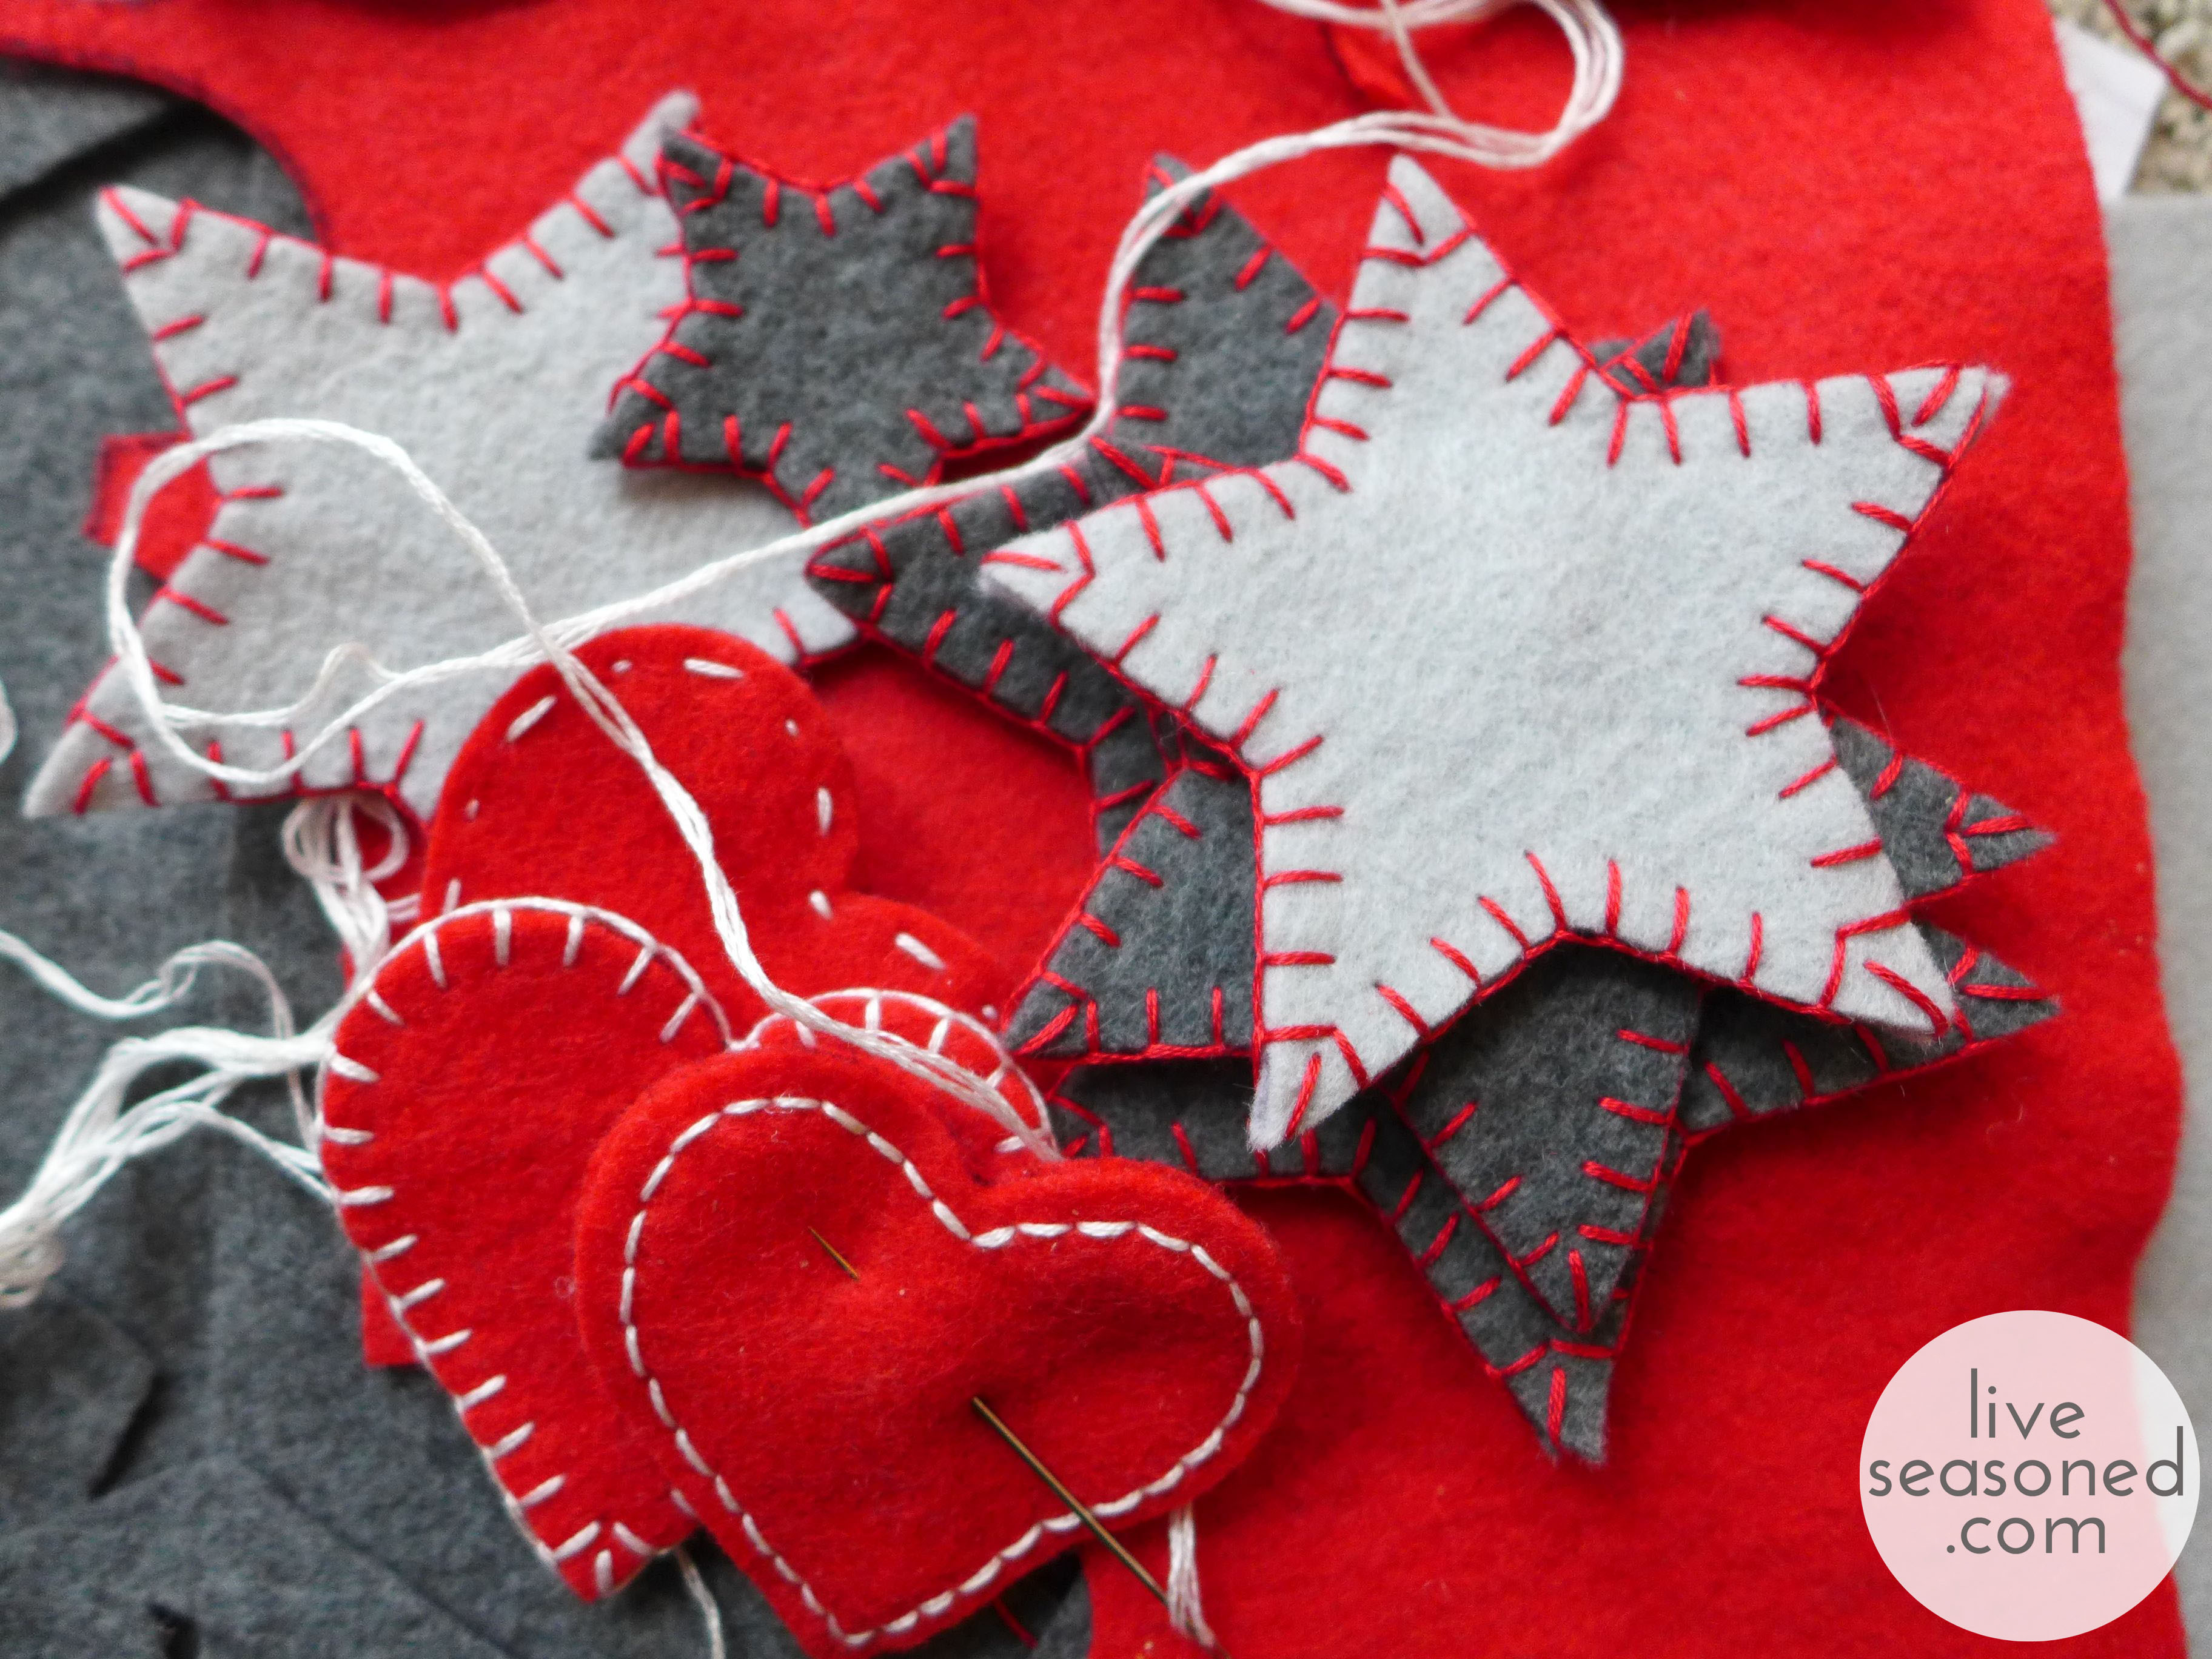
On Friday, I shared a picture of one of the Alex-friendly ornaments for the tree. Along with the filled balls, I’m also sewing a few simple felt ornaments. I have to admit that I really leaned on Pinterest for ideas this year, getting my inspiration for the ornaments from photos I saw while browsing pins and then just putting my own spin on them.

liveseasoned_fall2014_xmas_crafts3_wm

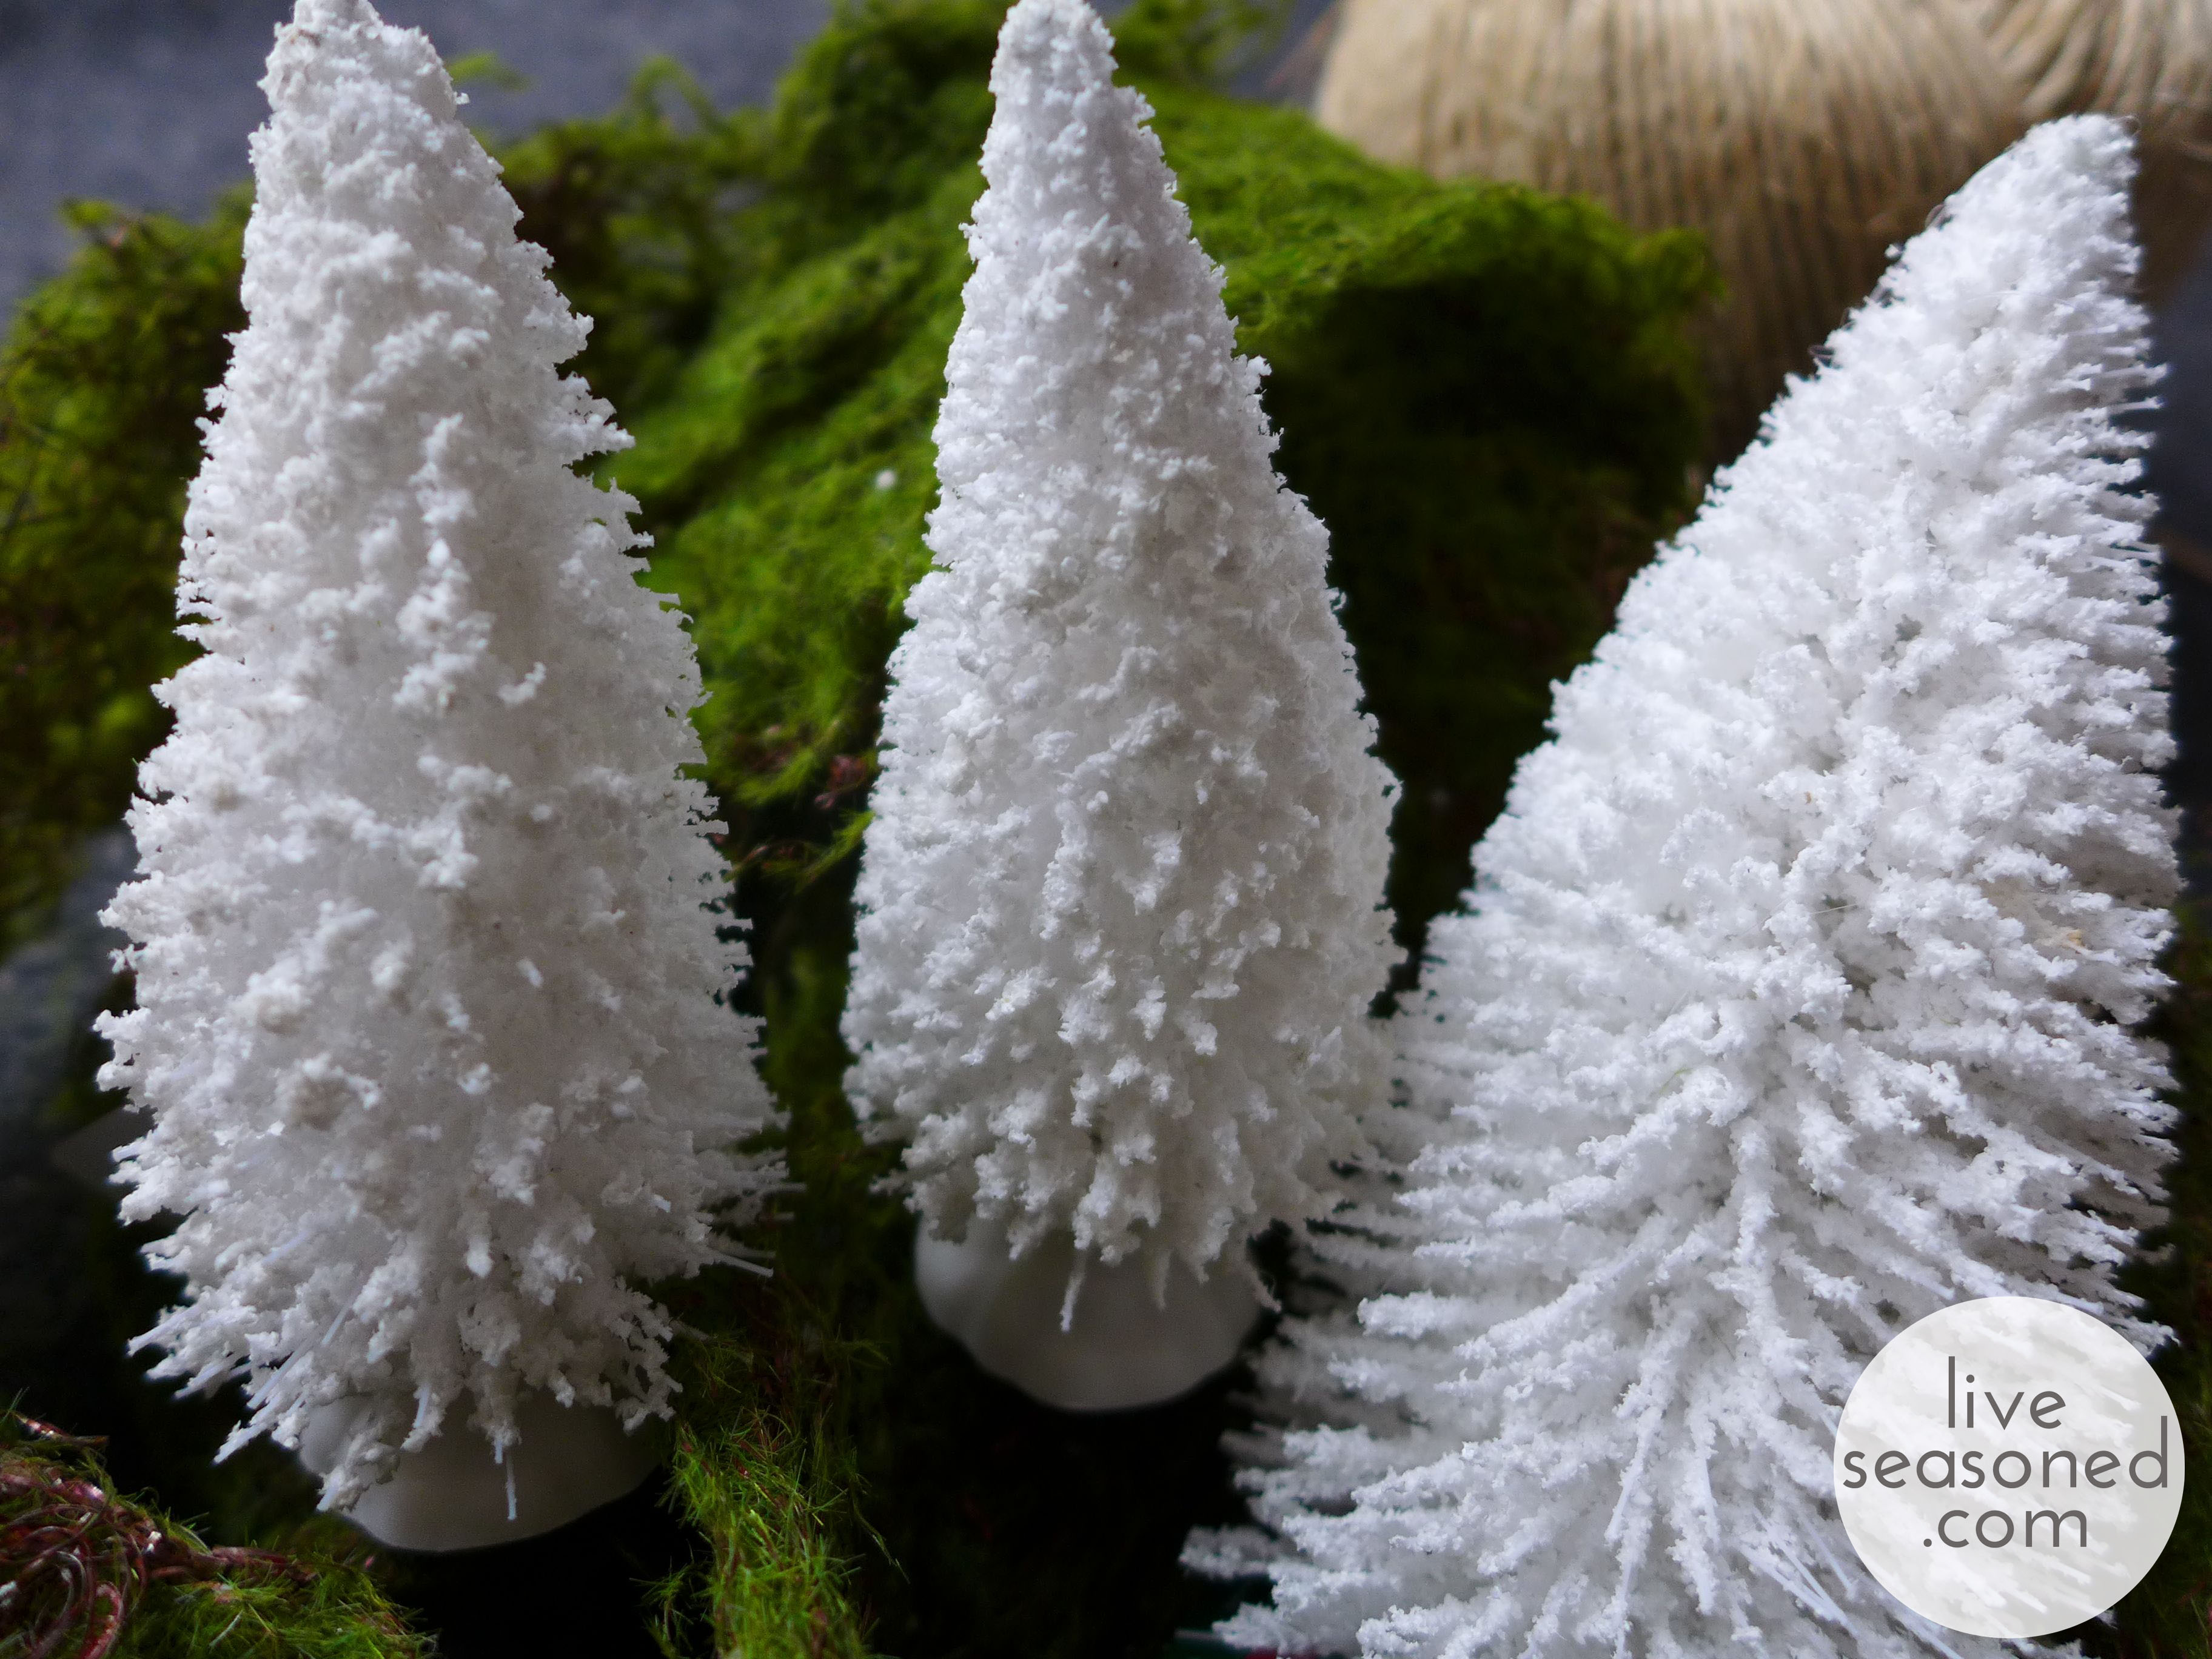
Another Pinterest-inspired project is going to come from the white trees and ribbon of moss in the photo below. This little project surprise is something that’s so simple, and I’ve wanted to make it for years. So I may be a little too excited that it’s finally happening.

liveseasoned_fall2014_xmas_crafts2_wm

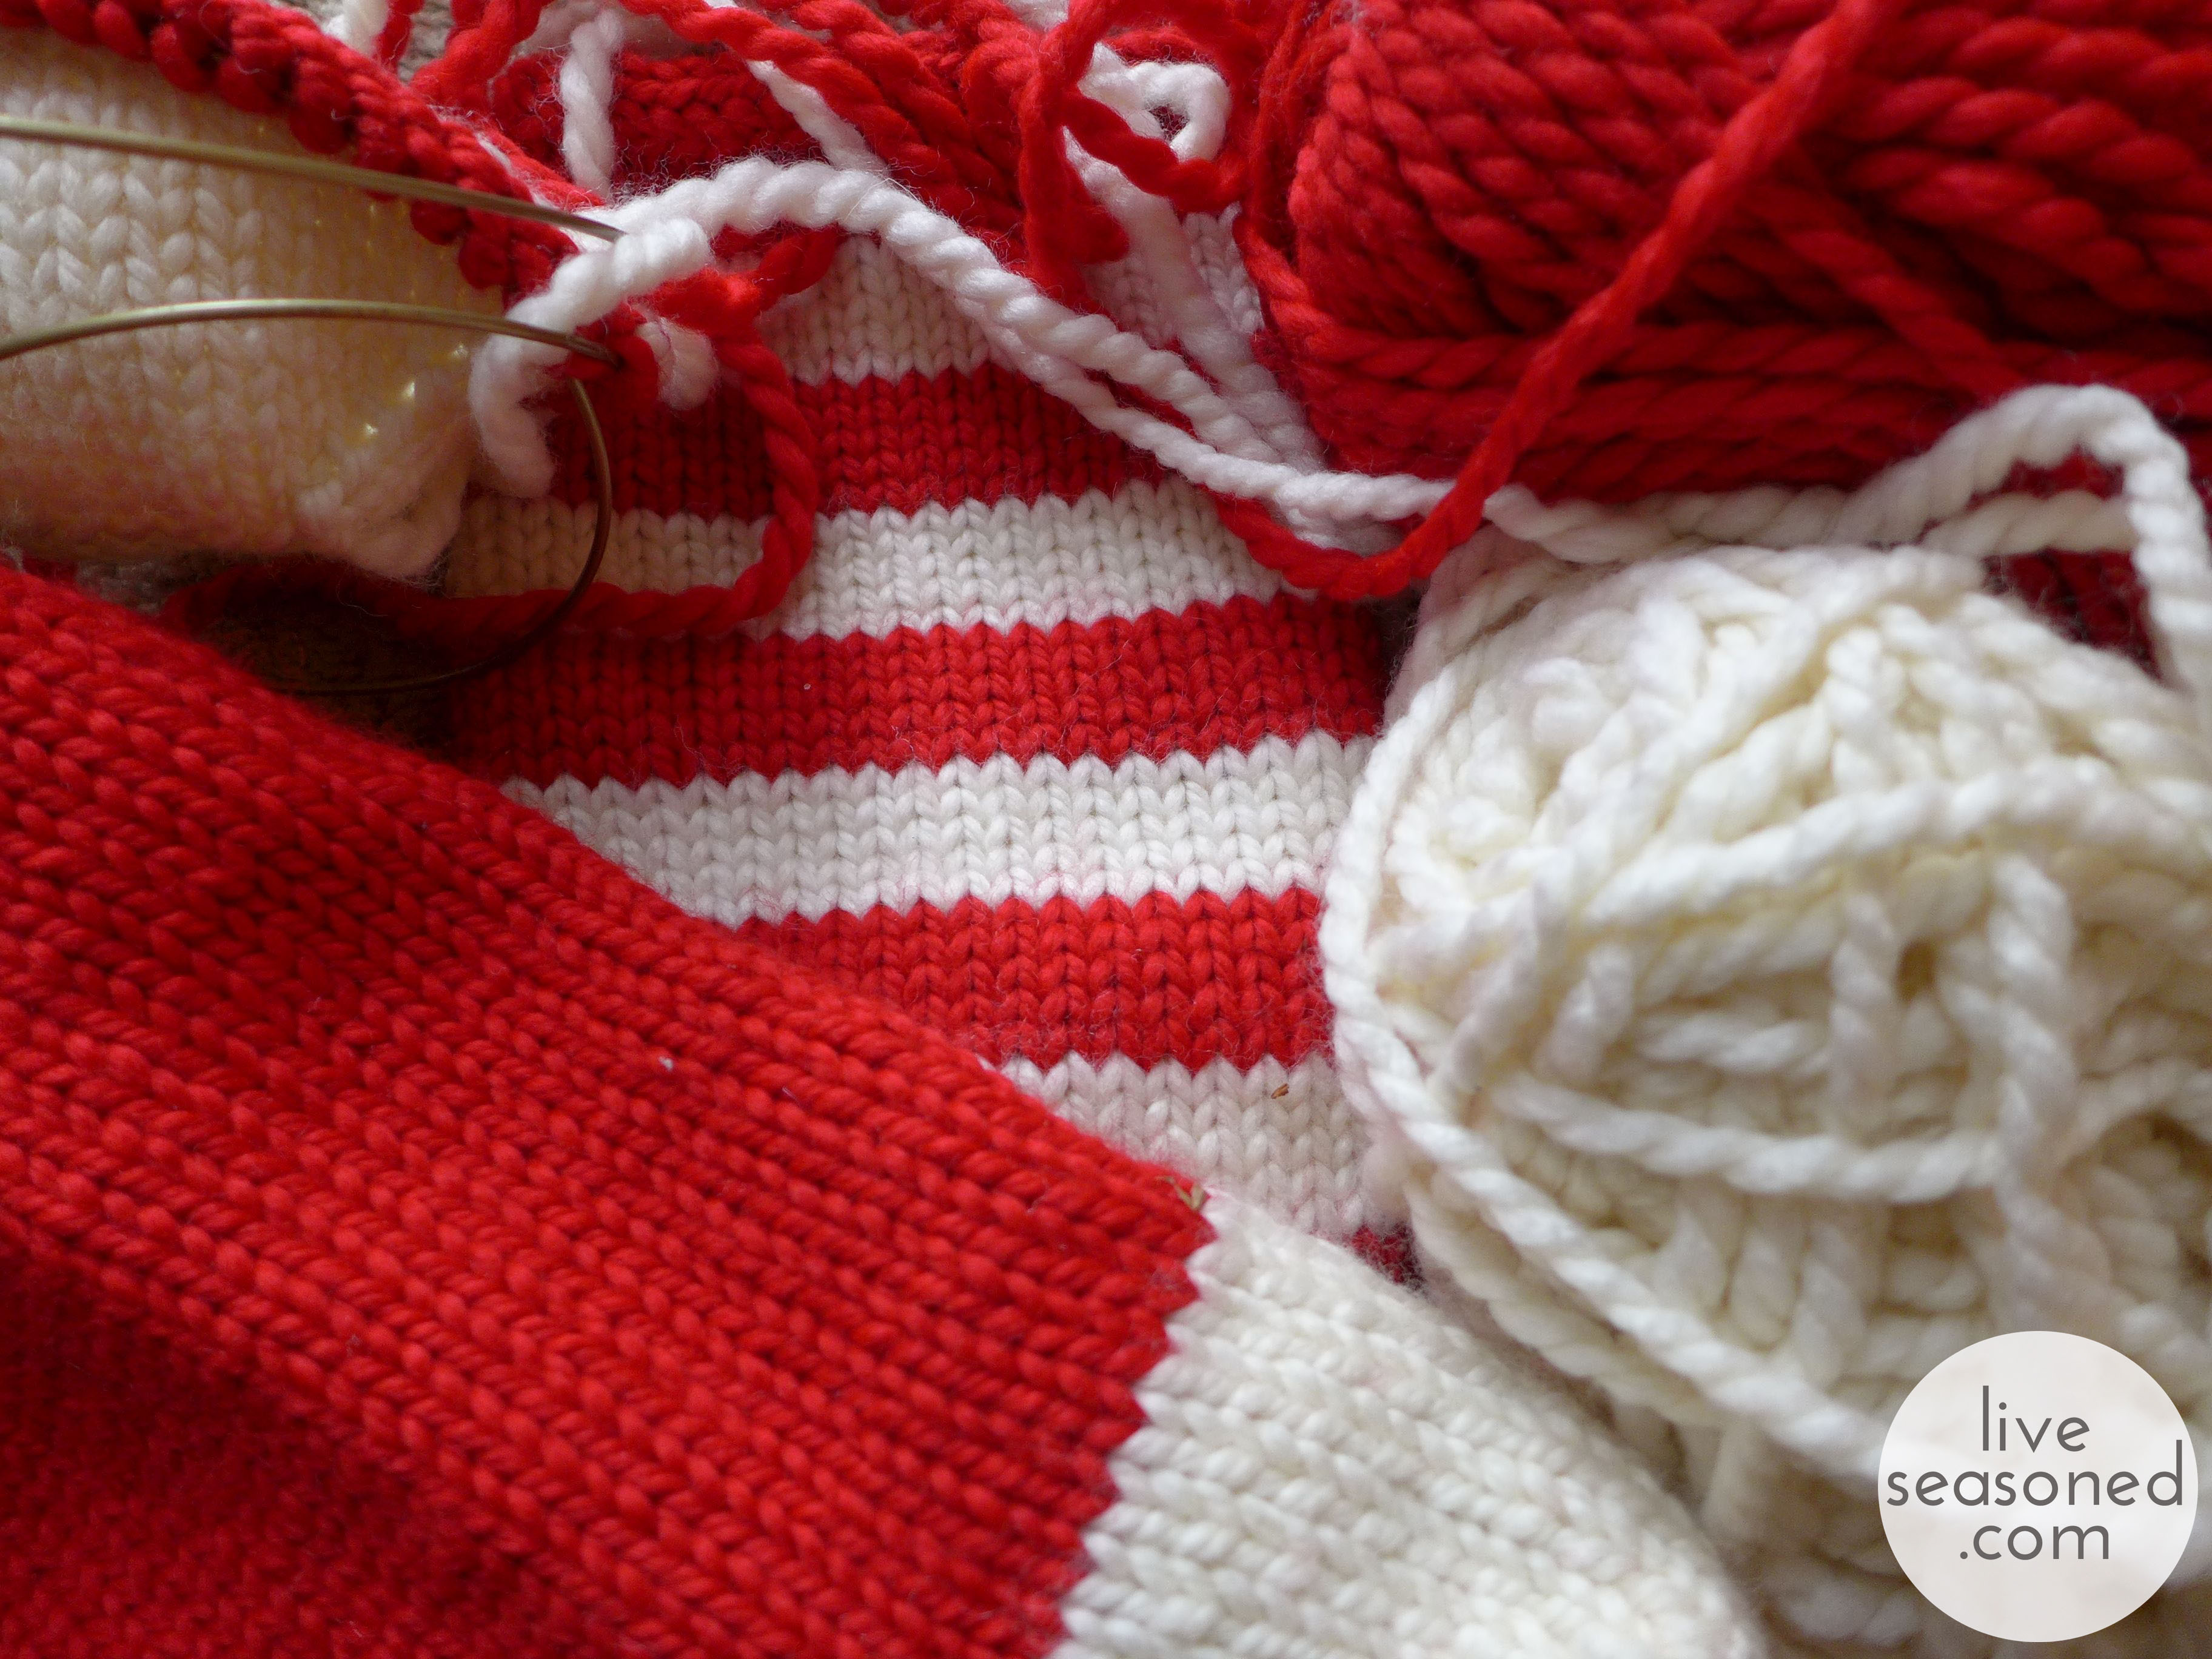
Then, there’s my impulse buy of yarn last weekend that is turning into some fun red and white stockings for our house. I saw the yarn in Michaels, and knew it was bulky enough to knit up quickly, but I didn’t want to commit to knitting the stockings if it turned out to take longer than I expected (there are too many other little elving balls in the air to add a big unexpected knitting one!). I picked up two skeins, and they made one cute stocking. When I went back to the store for more yarn, I discovered that the white was out of stock in most stores and online (it’s a holiday made-for-tv tragedy in the making!). After calling a few more stores, I found some in stock and bought enough of both colors to make the remaining two stockings for this year and to add another to our mantel for next year… maybe I went a bit overboard and bought enough to knit stockings for every possible future family member, including future pets.

liveseasoned_fall2014_xmas_crafts4_wm

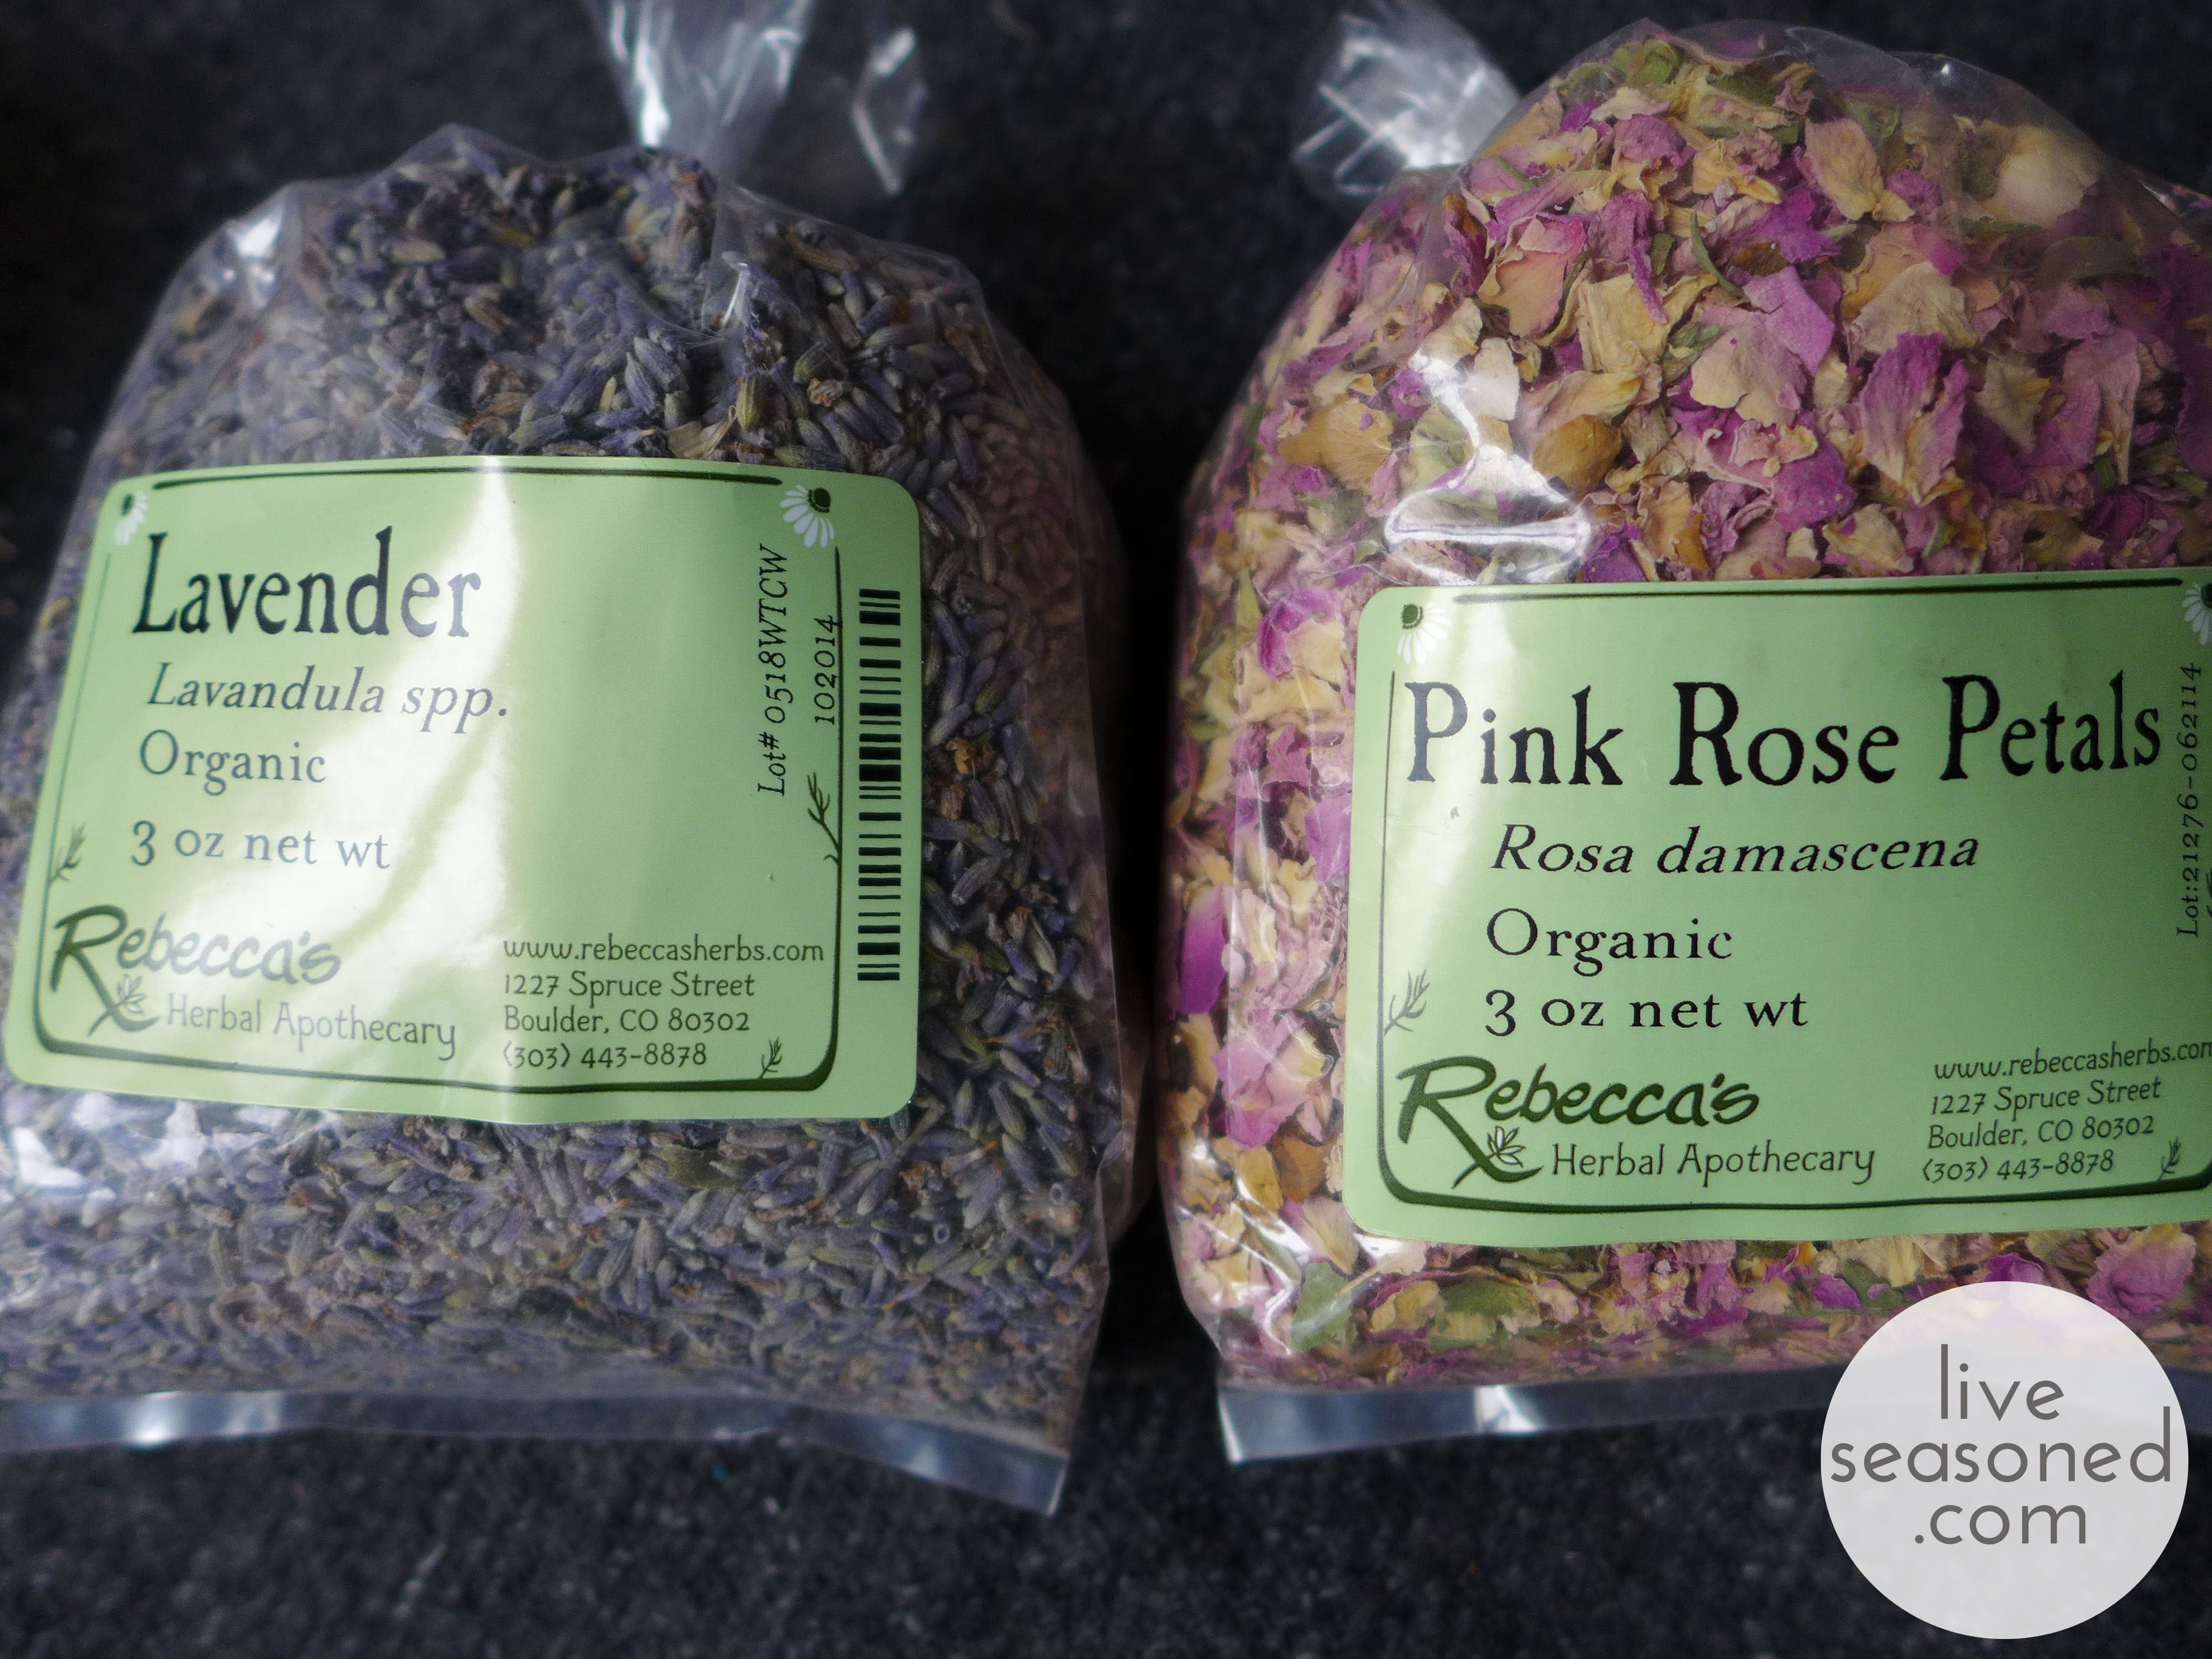
I’ve mentioned our local apothecary a few times. I love that place, and it’s quickly becoming my number one elving resource this year. I stopped in this week to pick up oils, herbs, and other ingredients to make a few different gifts for giving. These are my top secret projects that I’ll be so excited to share come January when the gifts are all finally opened.

liveseasoned_fall2014_xmas_crafts1_wm So that’s just a snippet of what’s going on around here. What doesn’t come through in this post is that I may have already started playing my Pandora Christmas station and downing glasses of eggnog nonstop whenever crafting… I promised myself that I would hold off until Thanksgiving, but the mood struck when the elving started.

Two Bits

Each Friday we share some tidbits from our week.  We want to break down these internet barriers and invite you into our lives and we’re hoping you’ll do the same.  You are welcome to share a bit of your week or day in the comments, or if they’re better represented by a photo, tag us on instagram @liveseasoned

Katie here:

liveseasoned_fall2014_nov21

I know that Sarah’s been busy all week with a photo shoot, so of course the Friday post is late when left in my hands. And me? I’ve been busy all week with the general busy-ness of life – doctor’s appointments, dog sitting, haircuts, generally rough stuff :). But I was lucky enough to sneak in a few moments of Christmas planning here and there. I tested out a few methods for making some toddler-safe tree ornaments (that’s a work-in-progress shot above). And I was finally able to take that lip balm course at the local apothecary. It was so good! I made lip balm before, but it was nice to get the informed and tested tricks from someone who has a lot more practice. We also learned some simple and natural techniques for adding color to our balms and for making glosses too. I’m so excited to try making a batch for holiday giving!

Sarah here:

eats-1

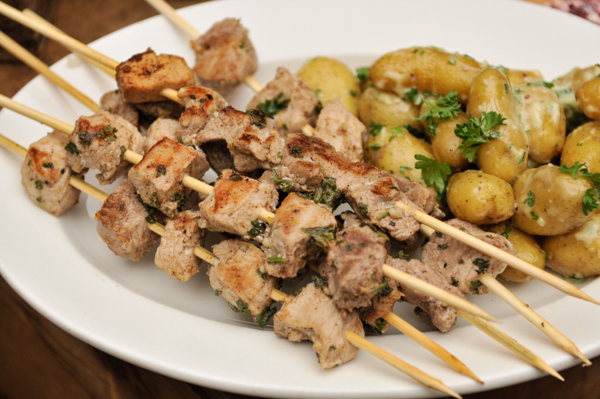
What a week! I cooked up a storm, which I’ll be sharing this week and I went on a work trip to Charlotte.  Lately I had been feeling uninspired in the kitchen. I realized that was because I wasn’t spending much time in there.  I would make a quick dish, something unsatisfying and then feel bummed about it.  This past week I spent a few hours cooking up new recipes and creating different spice blends and it felt so therapeutic.  I guess I just had to get back on the horse. Yehawwww, get ready for some tasty dishes this week and this winter 🙂 Pictured above are grilled pork skewers with a warm marinade including nutmeg, cayenne, cinnamon, lemon juice and much more.

Thanksgiving is upon us! I usually forget about holidays until the week before and then I get uber excited about them.  Tomorrow I’m headed to Florida for the next ten days to help my best friend plan her wedding.  I’m so excited to chitchat and lounge and have a laid back little holiday with a sweet lady.  I’m thinking about stopping by the Everglades before I drive back home.  I’ve never been, have you?


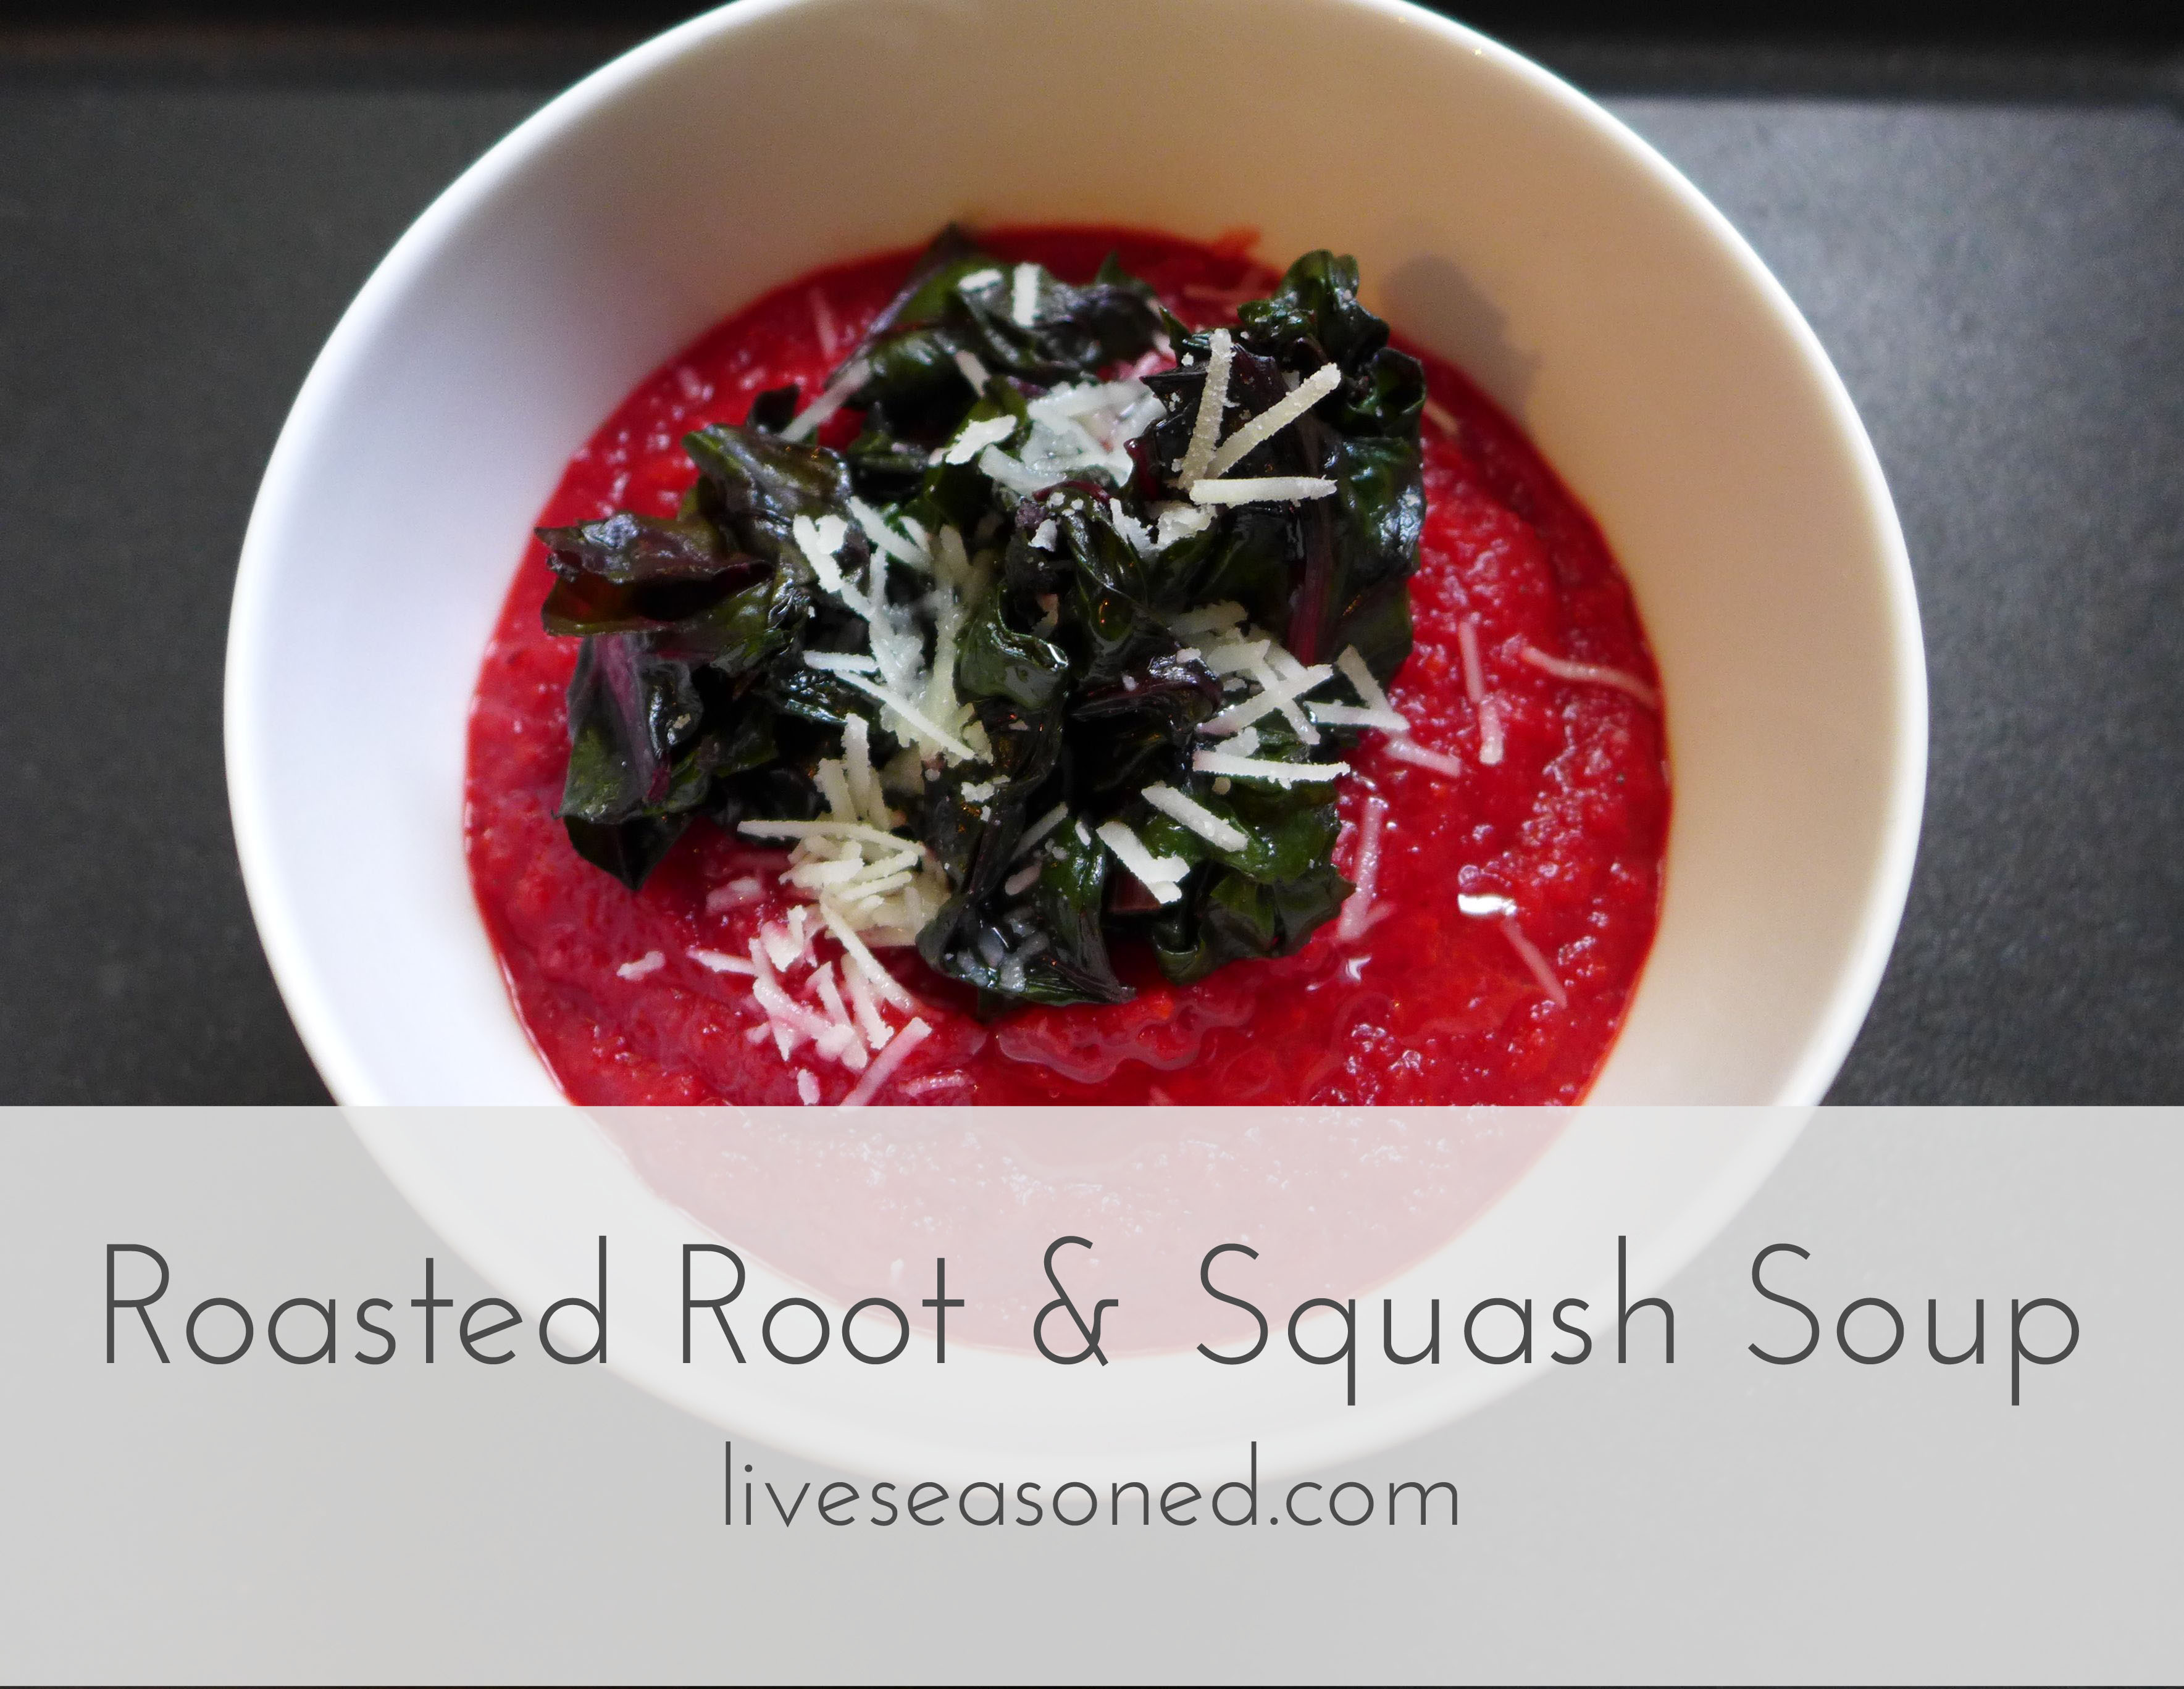
Roasted Root & Squash Soup

Last week Sarah shared her fantastic recipe for squash soup with a citrus zing. Then we debated: should share another soup recipe this week, especially another one that uses squash? The answer was yes, because for us, it’s most definitely soup season and squash season! I was also jumping at the bit to share this recipe before Thanksgiving because I think it could make a fantastic addition to your feast, but it’s also a great way to use up leftover roasted vegetables, turning them into a completely new dish so you’re not eating the same leftovers for days.

liveseasoned_fall2014_roastedvegsoup14_title

I made up this recipe a few years ago, and I never make it exactly the same way twice. I truly believe that anything goes when it comes to the vegetables. In this post I’m giving you an example of a typical vegetable mix in our house, but you could easily add more vegetables to the mix and subtract the ones you don’t like. The same goes for the garnish. I don’t buy anything special for the garnish and always make a point of using what I have on hand. If you do the same, I’m sure you’ll come up with some pretty surprising and delicious combinations.

liveseasoned_fall2014_roastedvegsoup1_wm

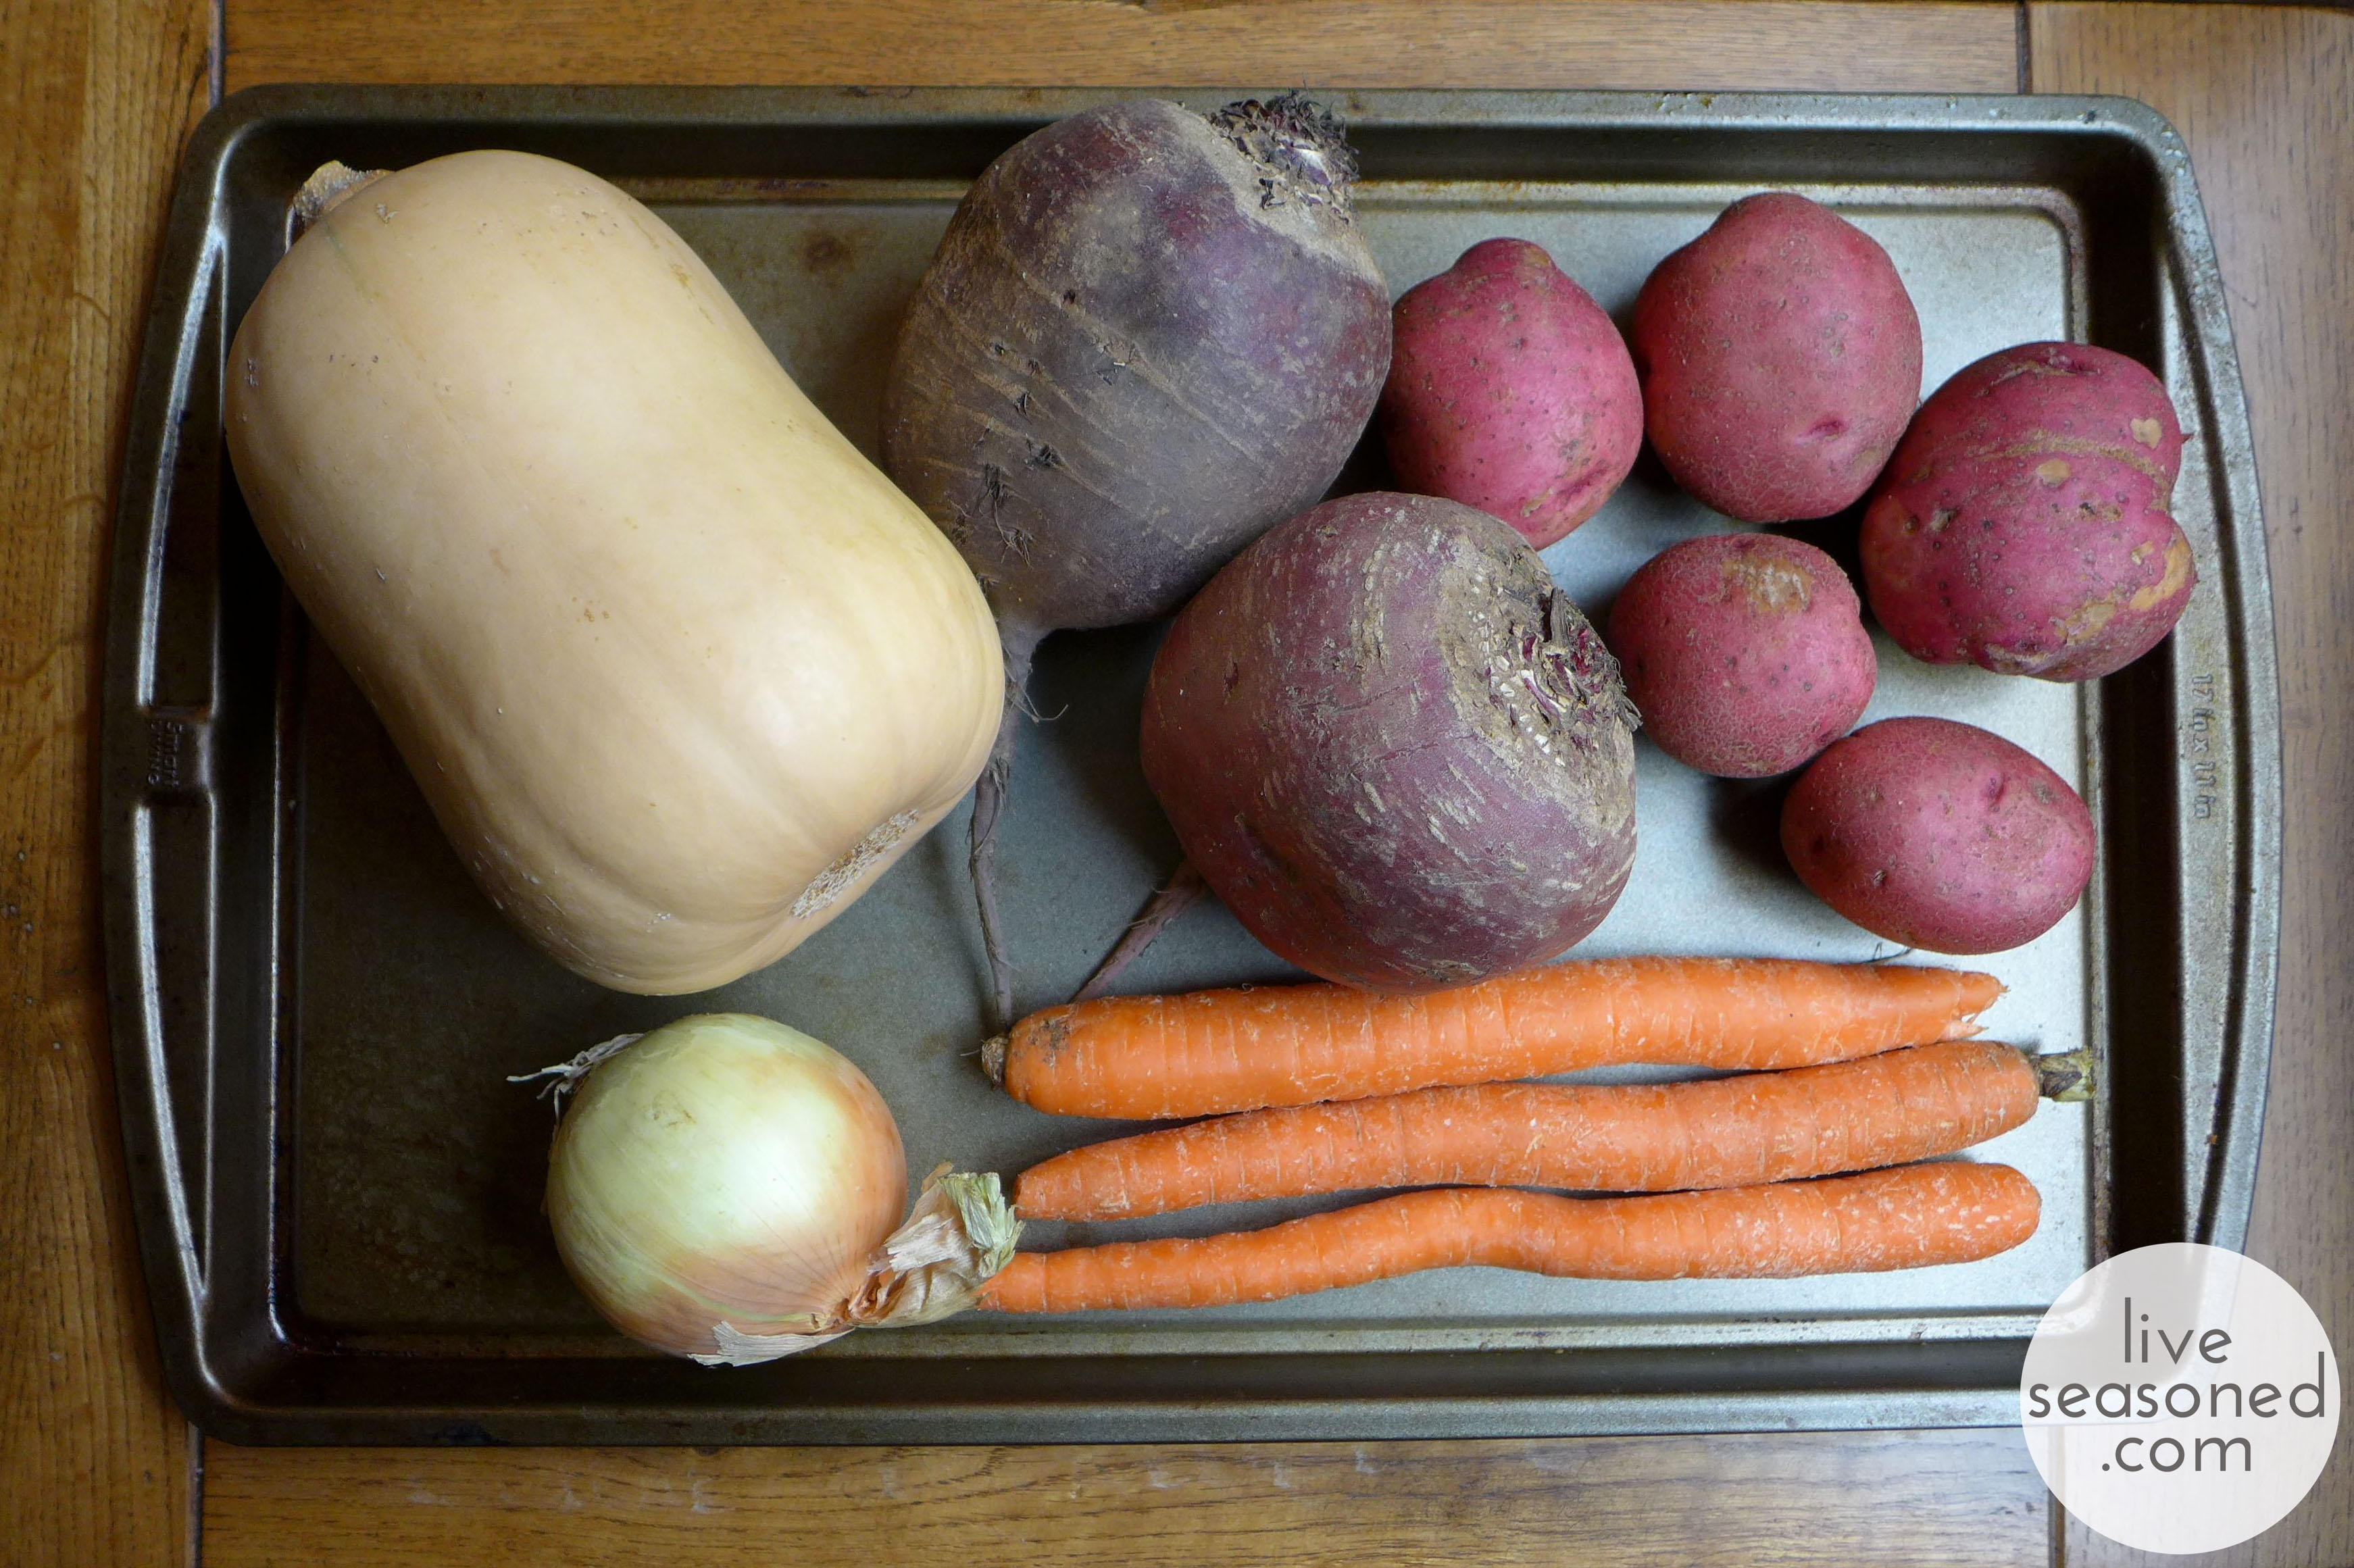
Soup Ingredients

  • olive oil
  • 4 cups vegetable or chicken broth + additional water
  • 1 medium/large butternut squash
  • 3 large carrots
  • 1 medium/large onion
  • 2 large beets
  • 3-5 medium potatoes

Garnish Suggestions

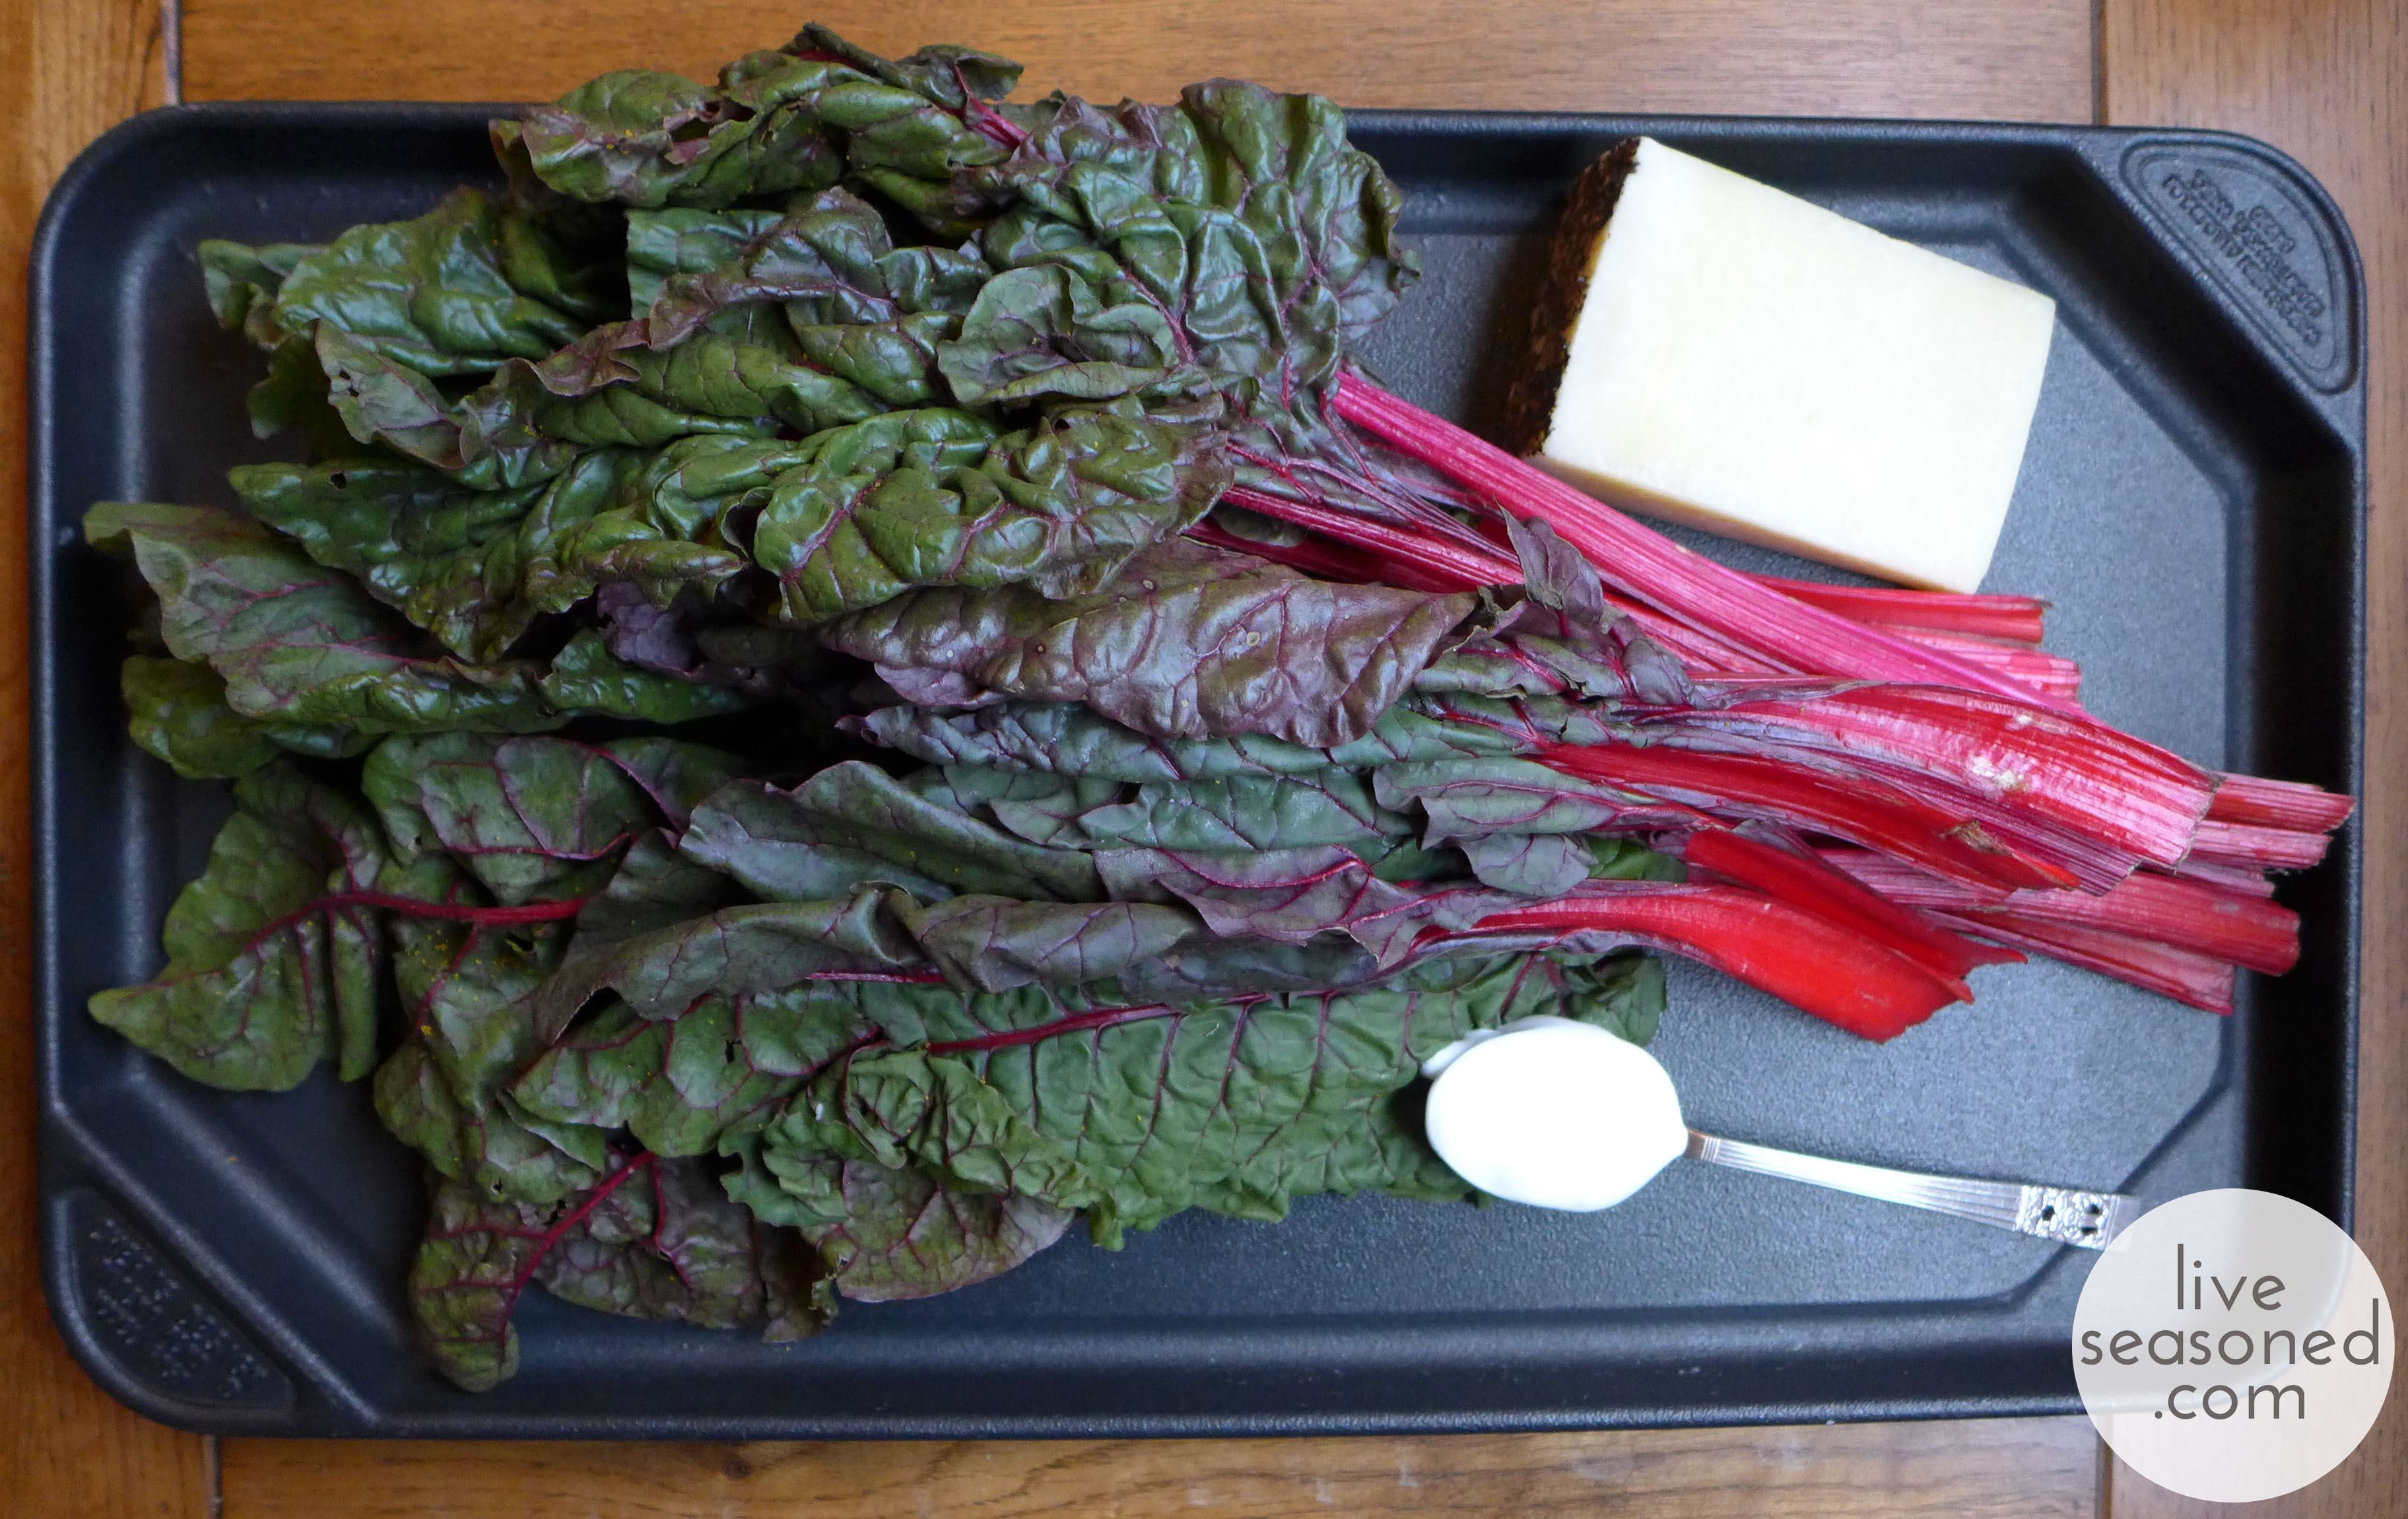
  • beet or chard greens
  • tuffle oil
  • parmesan cheese
  • sour cream

liveseasoned_fall2014_roastedvegsoup2_wm

 How To

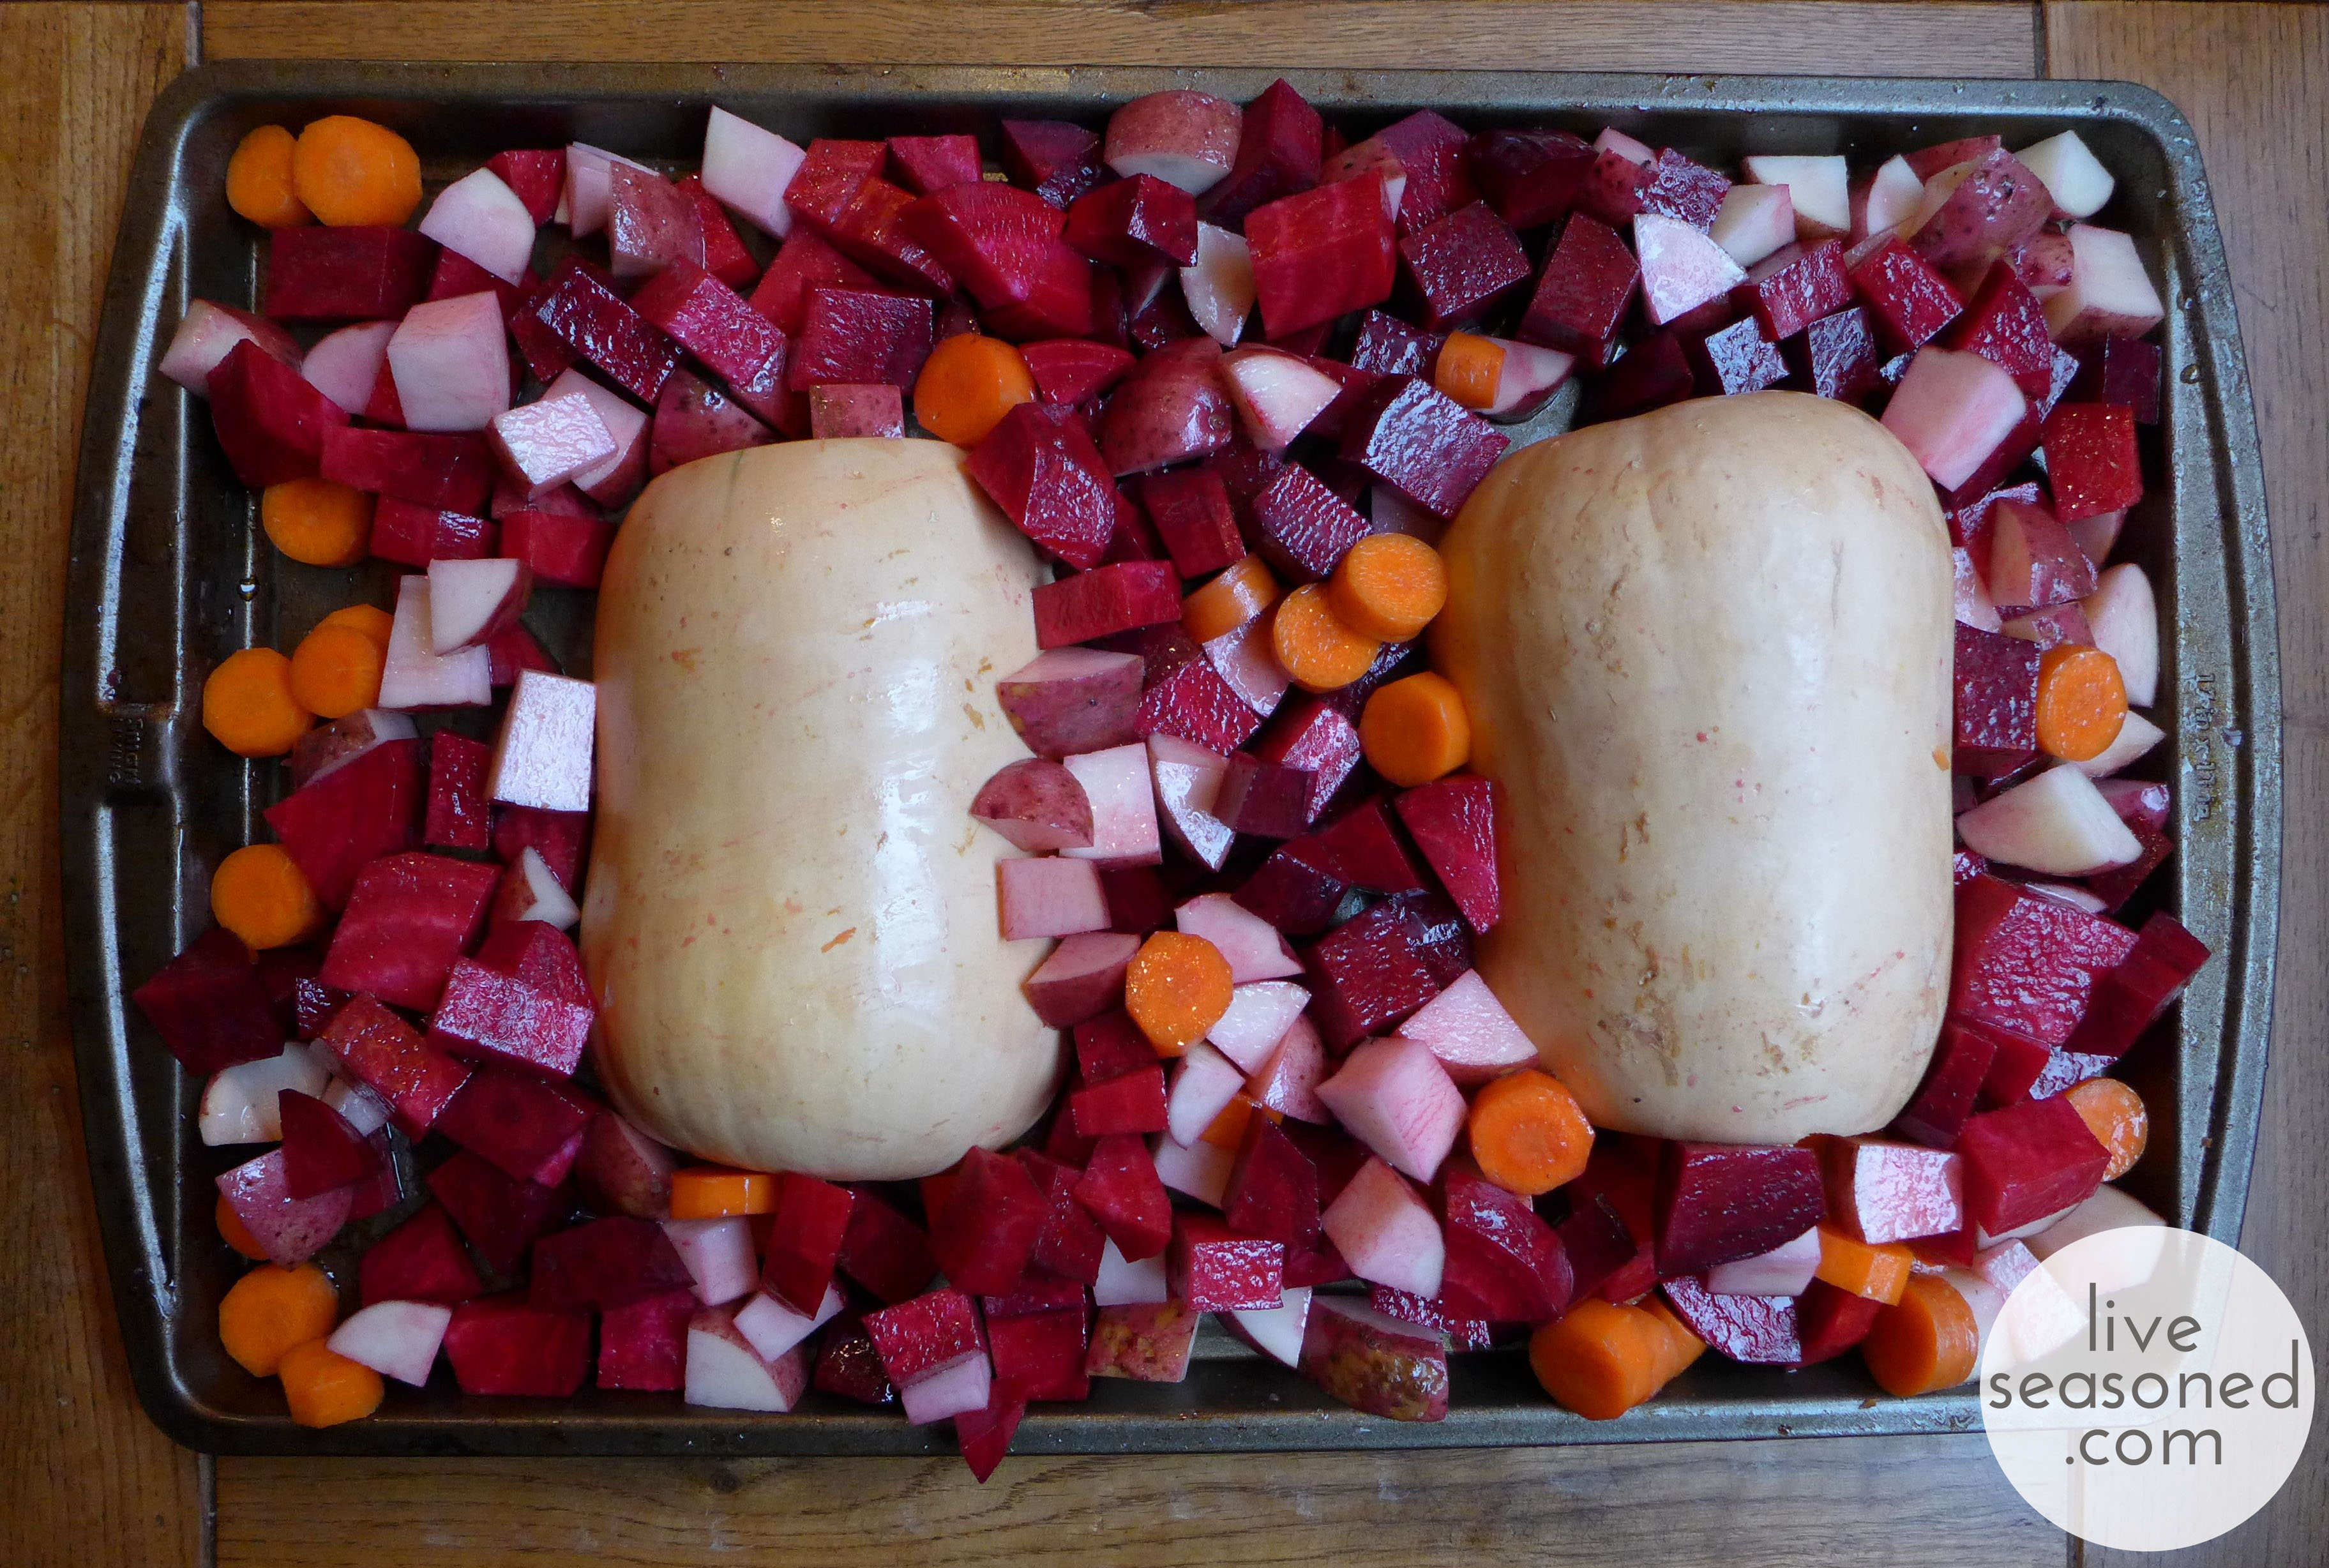
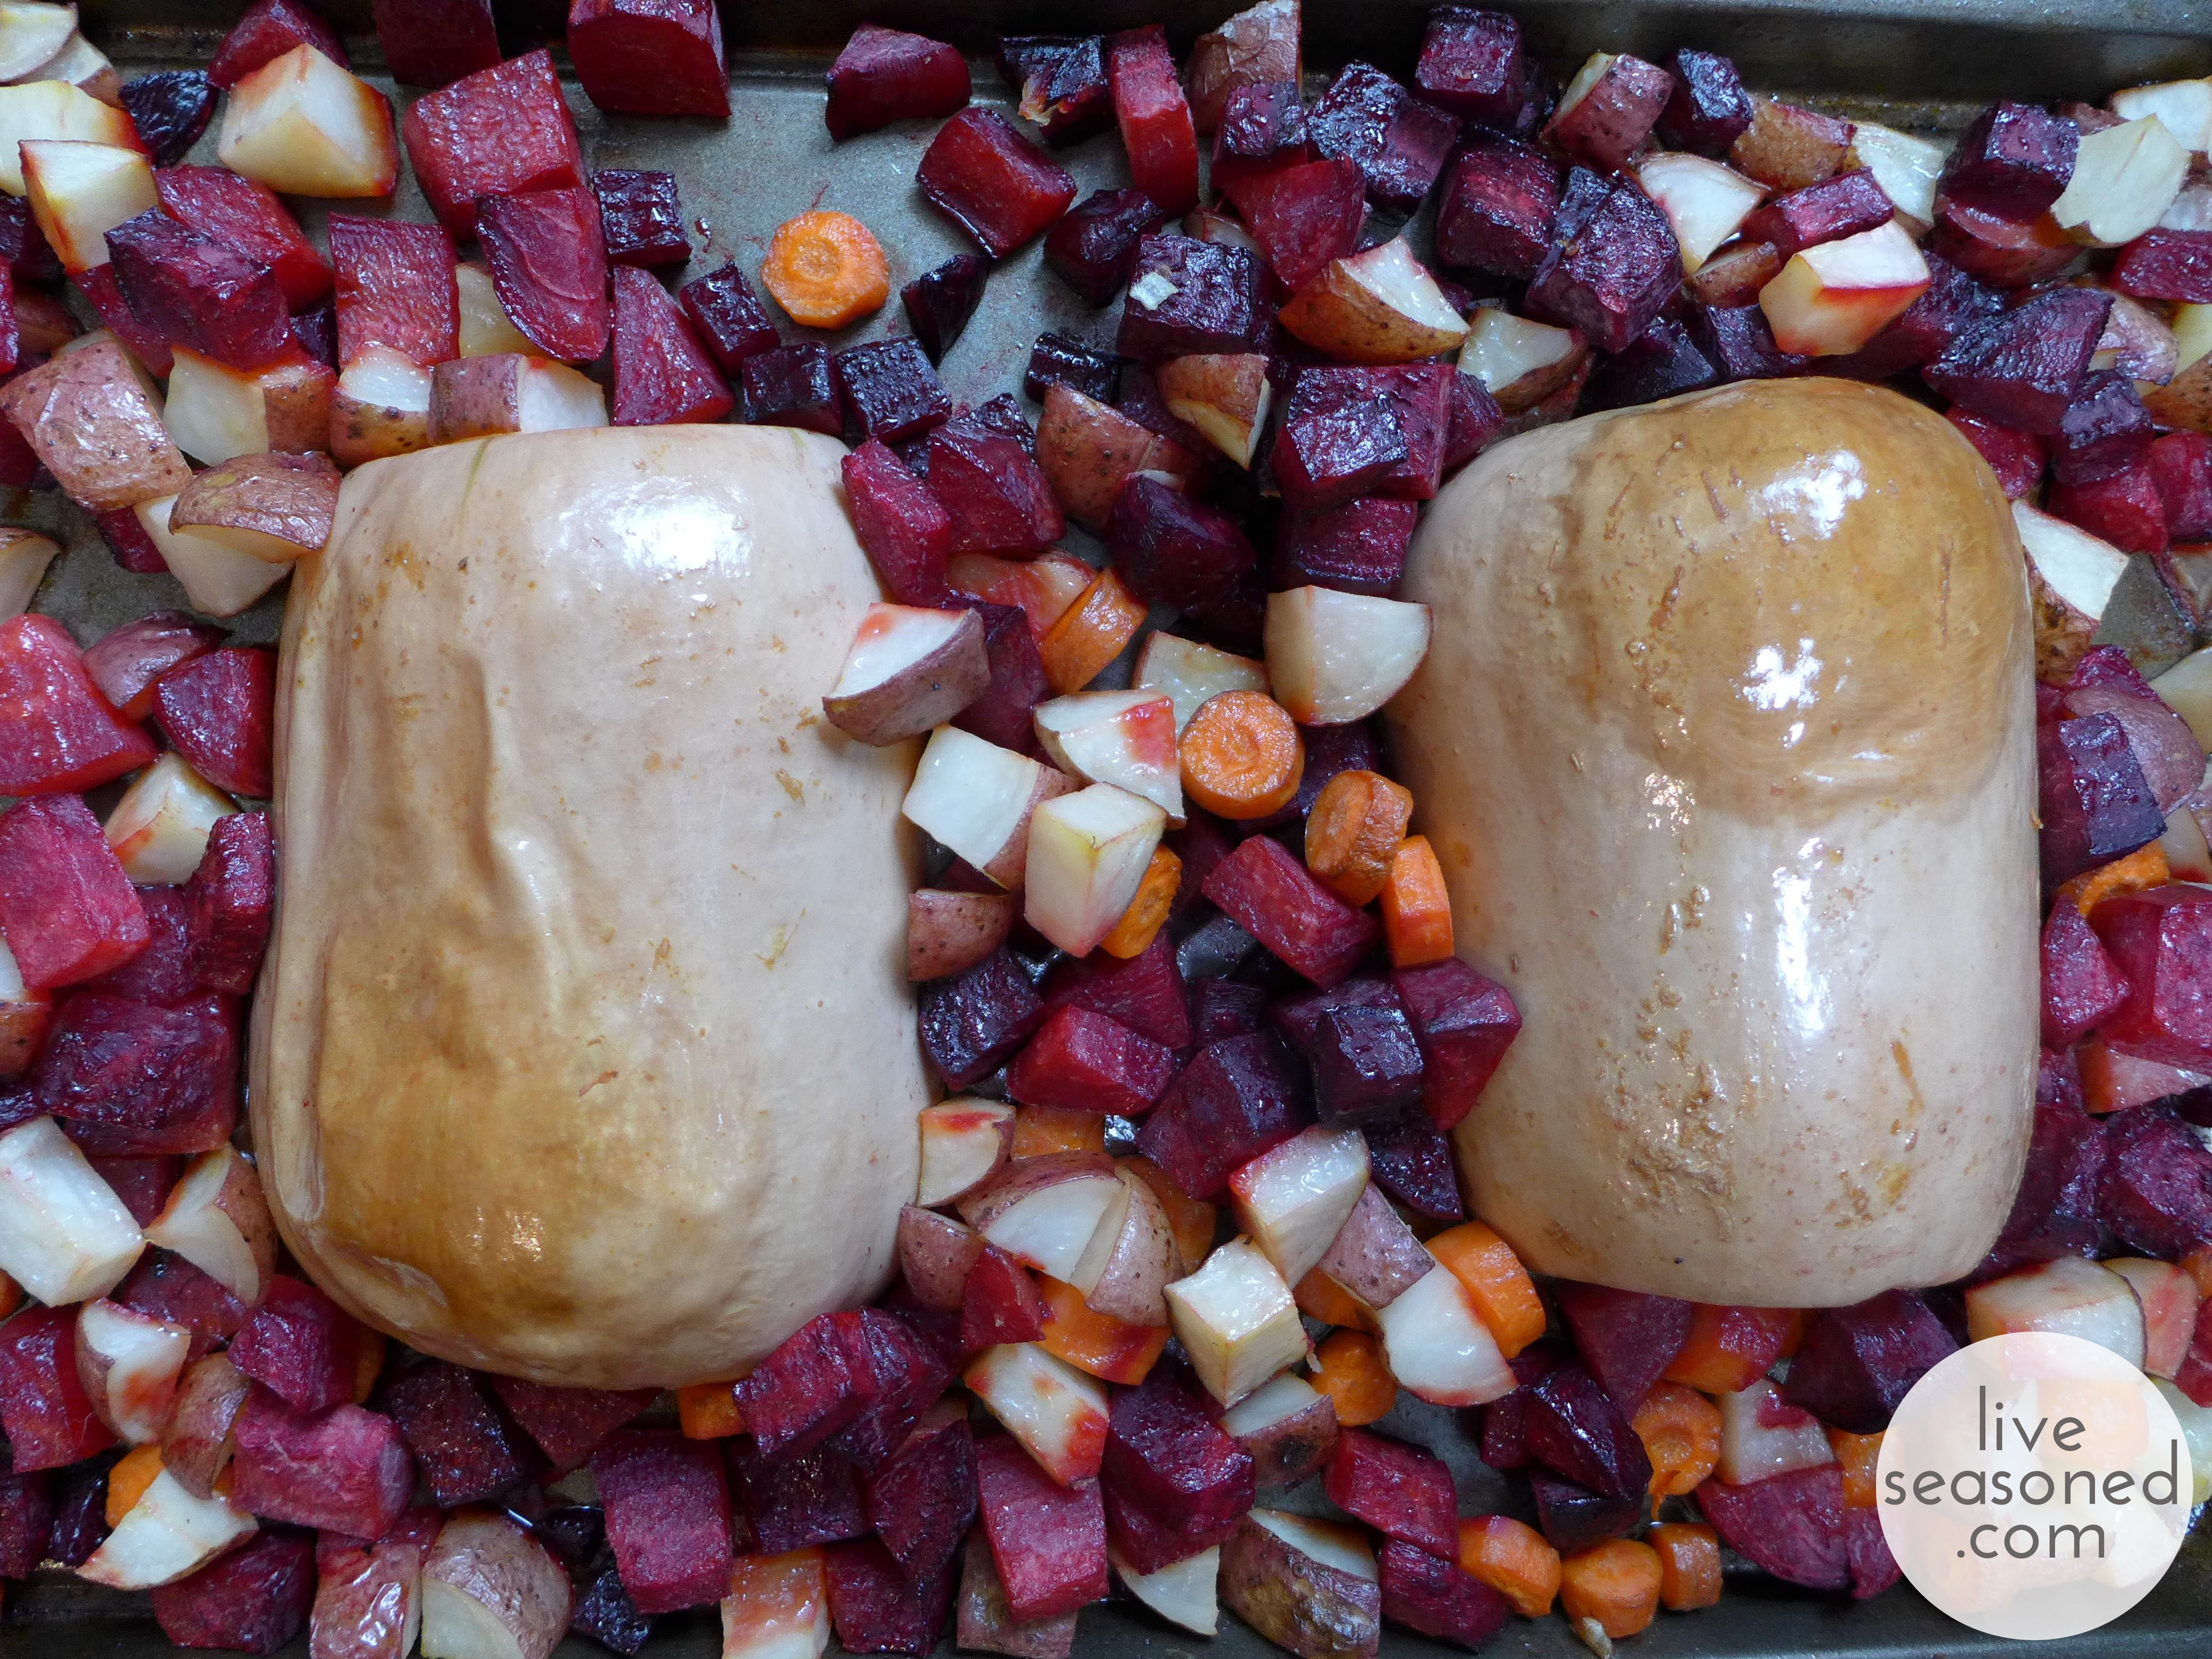
  • Prepare the vegetables for roasting. Cut the squash in half and clean out the seeds. Coarsely chop the beets, potatoes, and two carrots. Place all vegetables on an oiled cooking sheet or baking pan and roast until soft (about one hour), stirring halfway through.
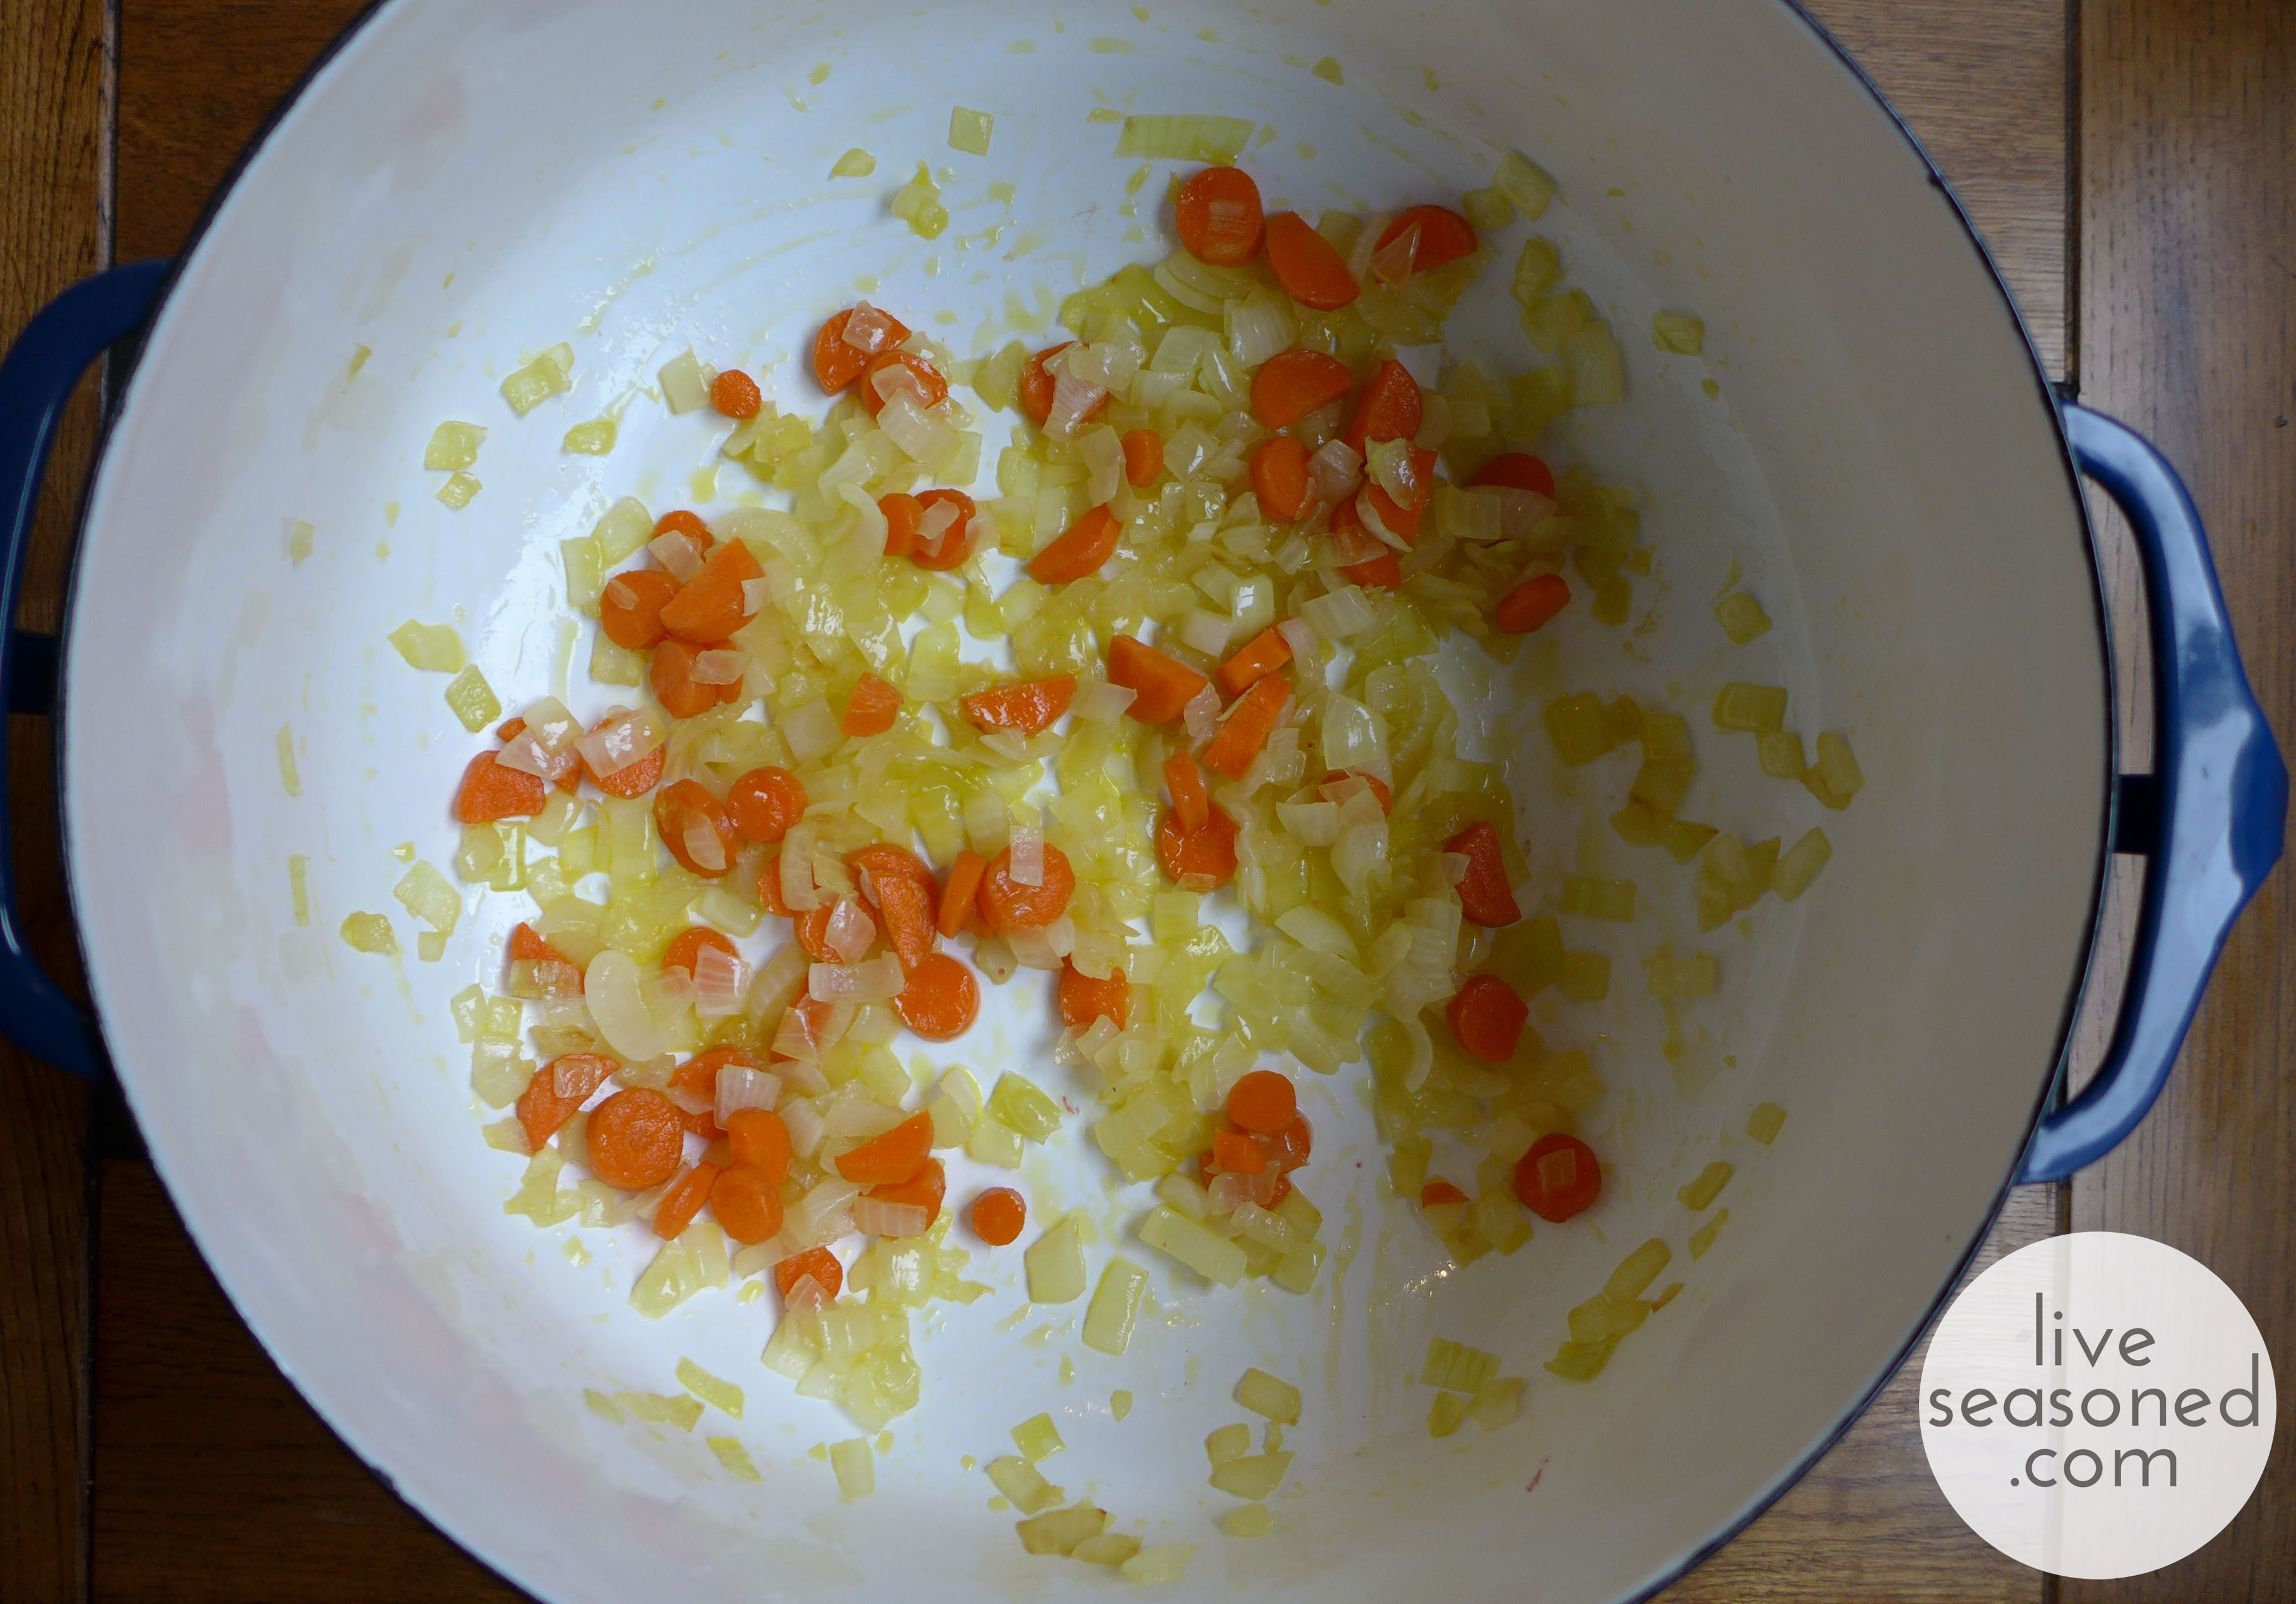
  • While the vegetables are roasting, dice the onion and remaining carrot and saute them in olive oil until the onions are translucent.

liveseasoned_fall2014_roastedvegsoup7_wm

liveseasoned_fall2014_roastedvegsoup9_wm

  •  When the vegetables are done roasting, add them to the soup pot (removing the squash from its rind) with the broth and enough water to reach the top of the vegetables. Bring this mixture to a boil and then turn down to low heat for blending.
  • Carefully puree the soup using either an immersion or upright blender. Return the soup to the pot and bring to a slow simmer. Simmer for about 10 minutes, and then you’re done!

liveseasoned_fall2014_roastedvegsoup5_wm

About the Garnishes

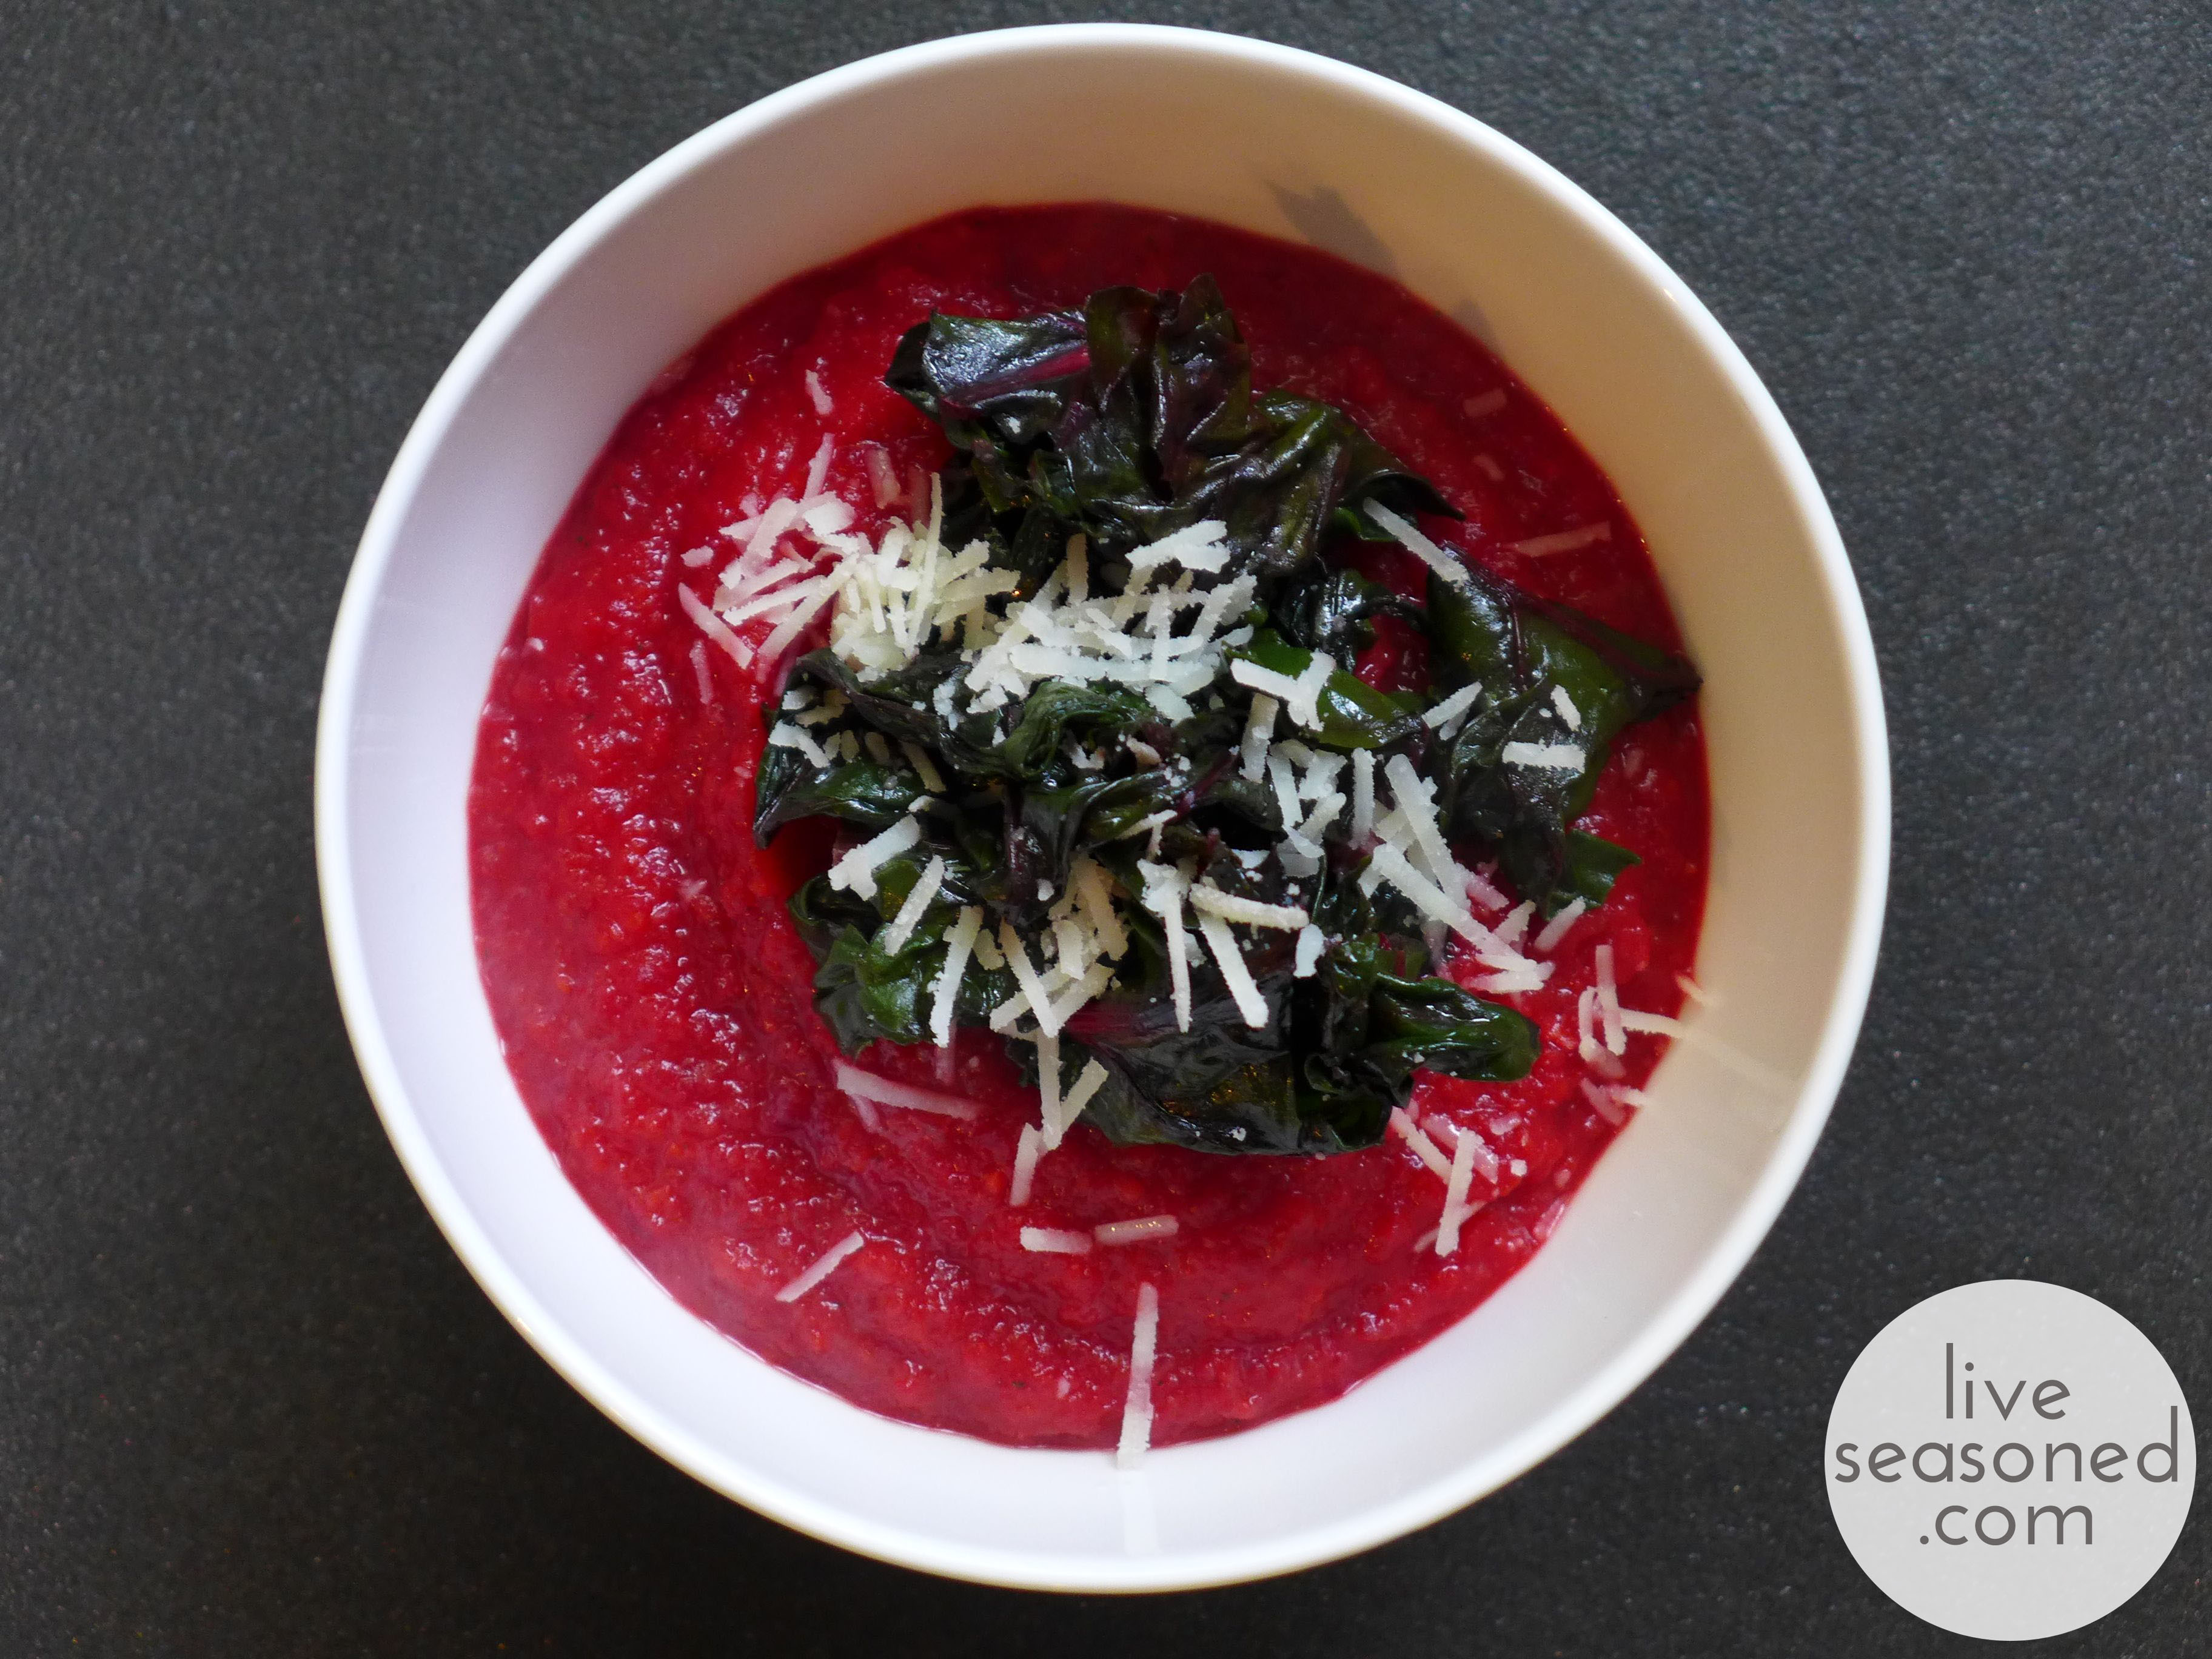
I think garnishes add a special touch to what is otherwise a homogeneous soup (not that that’s a bad thing). As I mentioned, there’s no particular right or wrong when it comes to the garnish, but you may want to think about using things that will add a different color, texture, or flavor to the soup. I often use some cooked greens because they add both color and texture to the smooth, pureed base. I like parmesan or cheddar cheeses for their nutty taste, but the tang of yogurt or sour cream is also a great compliment to the sweet flavor of the vegetables. And, as you know, I love the taste of truffles, and a dash of truffle oil works really well on this soup.

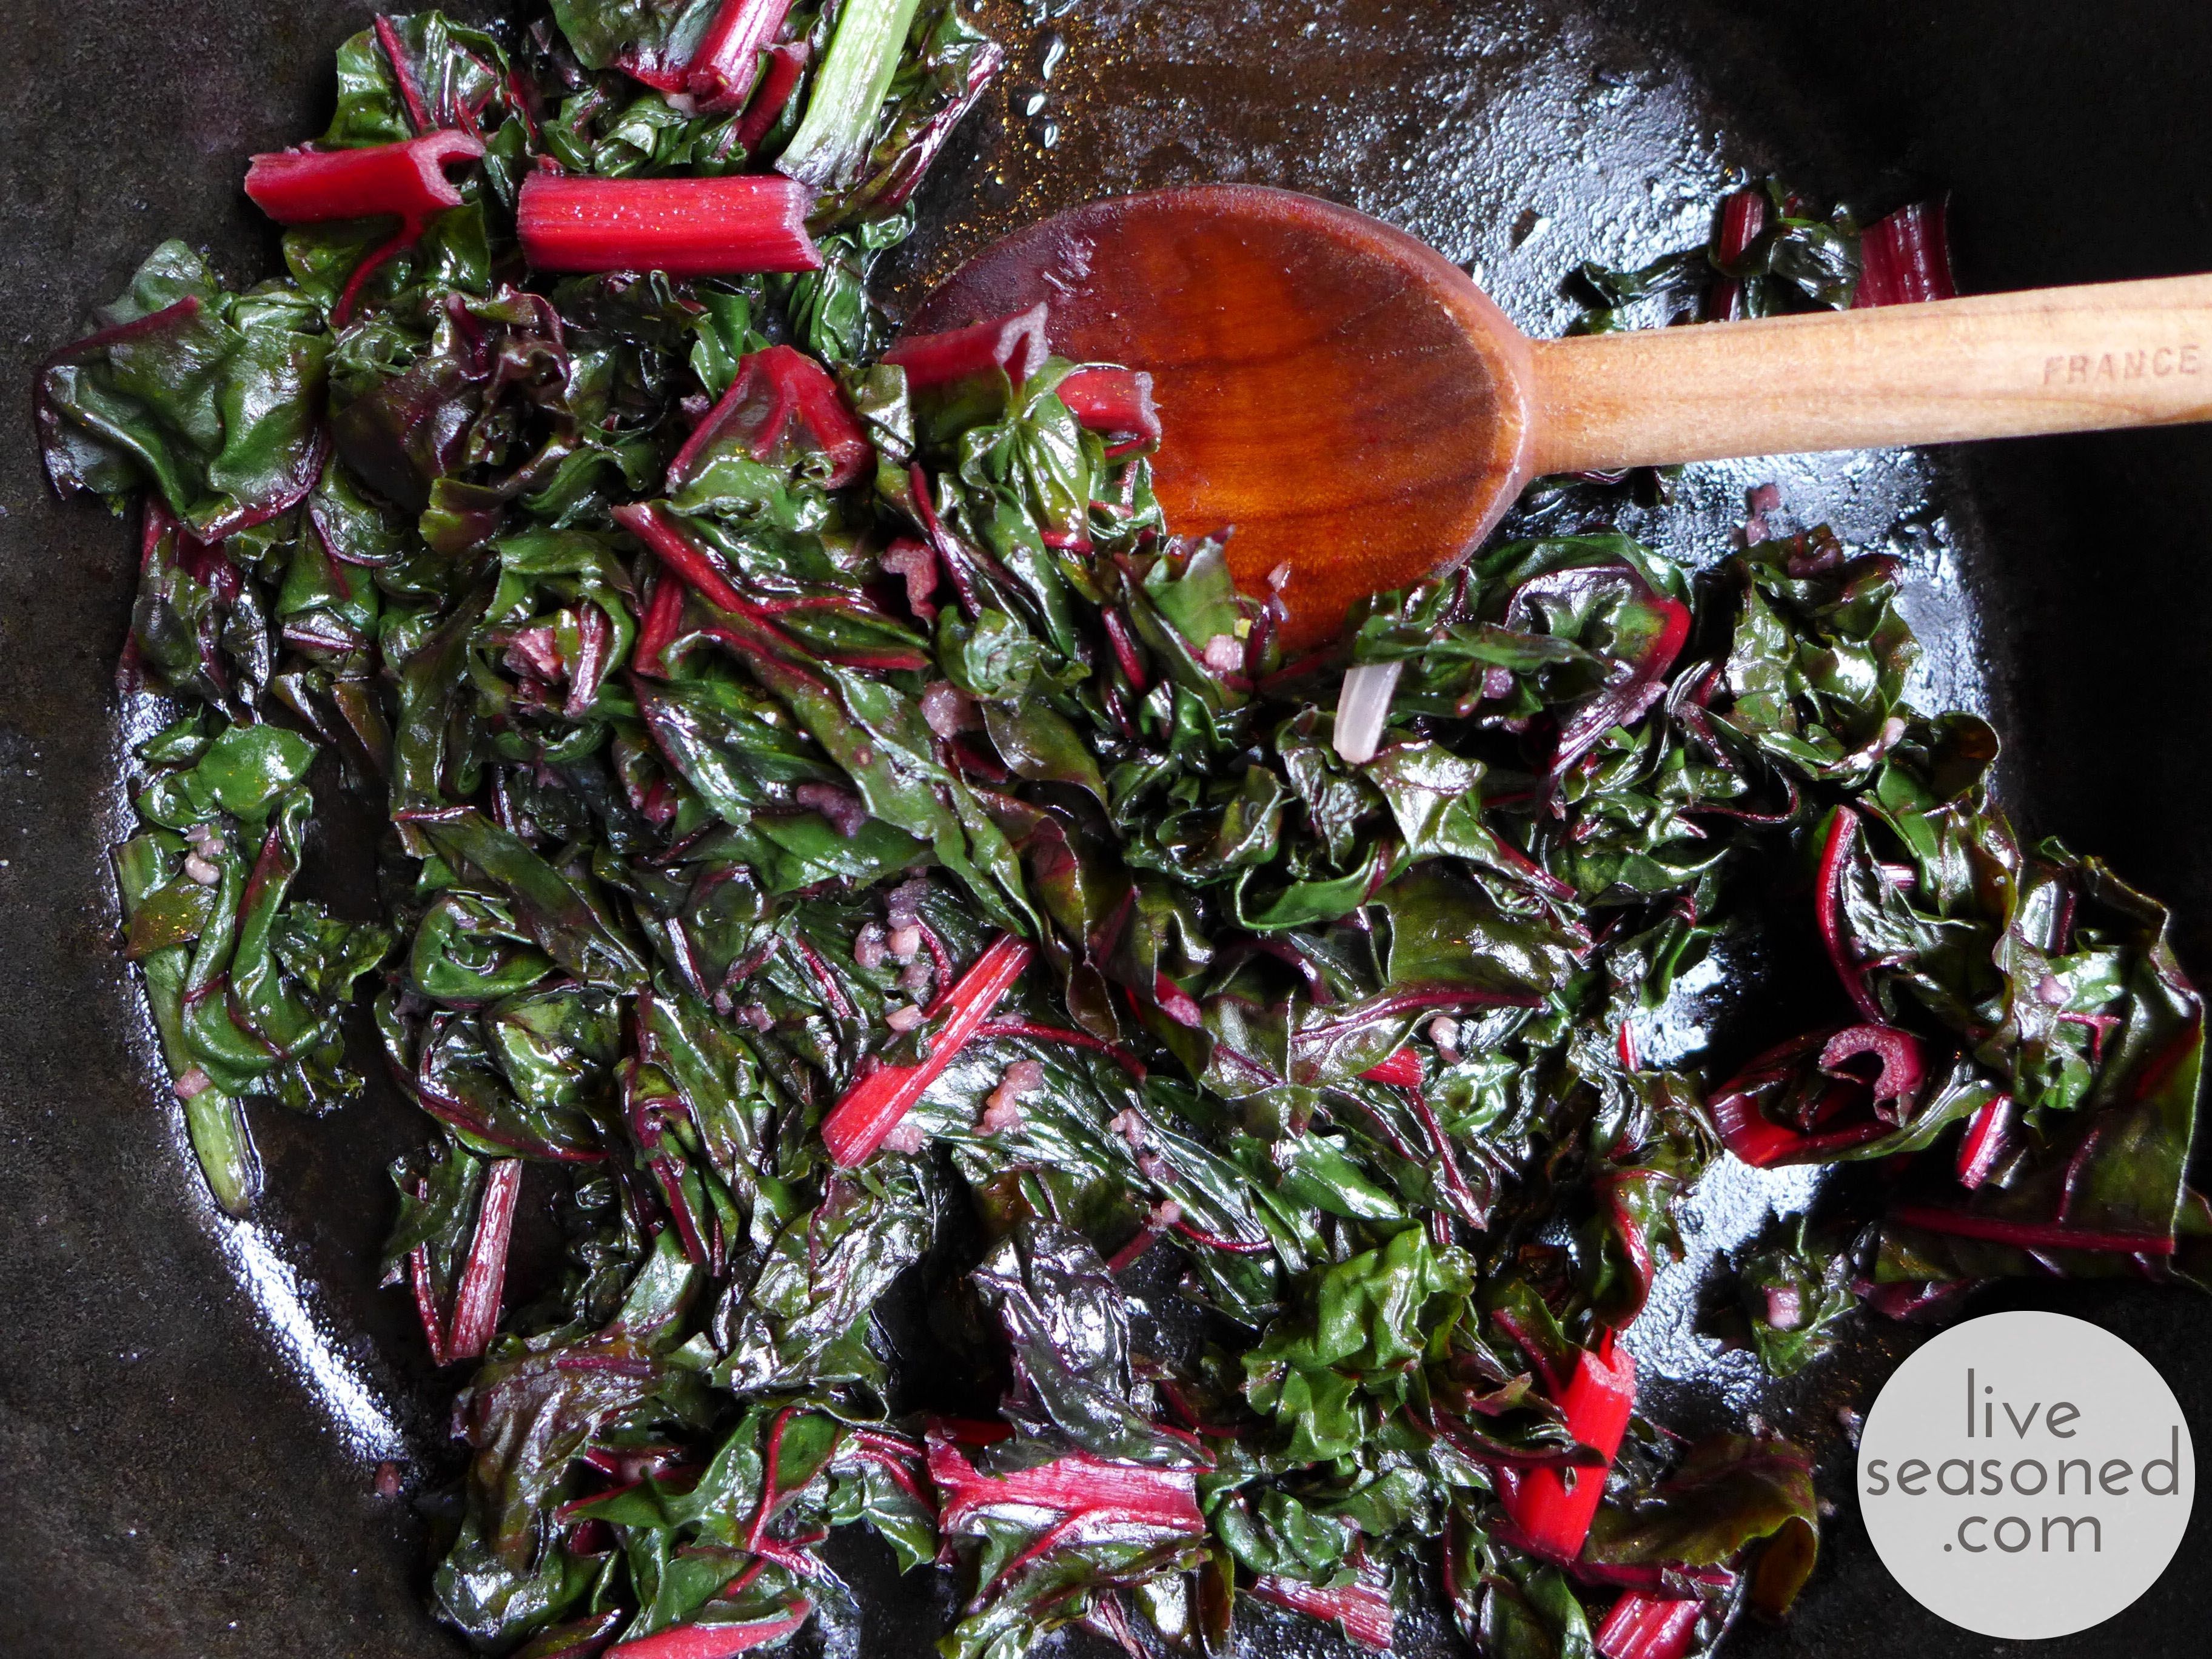
If using greens, saute them in some olive oil to prepare them. You can do this with a touch of salt and some diced onion and/or crush garlic or garlic powder.

liveseasoned_fall2014_roastedvegsoup8_wm

Alex loves this soup, I’m sure it has something to do with the sweet/savory combination from the roasted vegetables and the easy-to-eat pureed texture. I love knowing that he’s eating such a wide variety of vegetables with every bite. Oh, and I already have two quarts of this frozen for when I’m too tired to cook!

There you have it! A relatively simple soup that is so easy to prepare, packed with flavor, and with so many different veggies! Try making this for friends and family over the holiday season and I’m sure it’ll be a hit… if not, just send it to my house, I have a freezer that I’m looking to fill ;-).  
liveseasoned_fall2014_roastedvegsoup12 copy

Katie’s Pregnancy Favorites

If all goes well, we’ll be adding another little guy to the fam this spring! Of course we’re super excited, and we thought it would be fun to do a series of posts on pregnancy and baby-related products and tips that worked for me. Maybe they’ll work for you too?

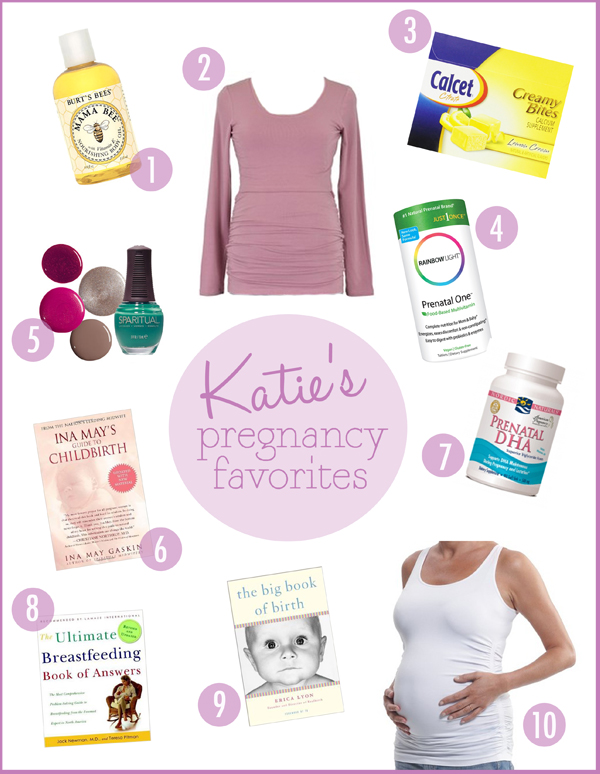
First up, I wanted to share some of the products or tricks that I found useful while pregnant with A. Max, and that have proved helpful this time around too. I’ve made it a point of trying to be low maintenance when it comes to pregnancy and baby-related items, but even with a minimalist attitude, there are still some things that are worth the purchase. Below are my essentials along with some of the tips & tricks that made it easier to buy less maternity-specific stuff. To go to the product pages, you can click the numbered links below each collage or the links provided within the post’s text.

liveseasoned_fall14_pregnancy copy

1/2/3/4/5/6/7/8/9/10

Prenatal vitamins.

Ugg. I hate taking them every day, but am serious about doing it before, during, and after a pregnancy. Luckily I’ve found the brands that work well for me and minimize some of the negatives associated with other vitamins. I really like this multivitamin. It doesn’t have as strong as a smell as other vitamins, I never get an upset stomach with it, and generally felt healthy (although I never took another vitamin, so I don’t have a good counter example there). I also took a DHA supplement. DHA is one of the omega-3 fatty acids that’s important for brain development. Taking a prenatal DHA supplement is helpful because you won’t get as high of a dose of DHA if you take a basic omega-3 supplement. Also, while this supplement is made from fish oil, I’ve never had any issues with a fishy smell or aftertaste. I didn’t take a calcium supplement with Alex – I just tried to get plenty through my diet, but this time around I found Calcet’s lemon creamy bites, and no I’m hooked! I use them as a healthy treat when I need just a little something sweet, and I like them so much more than the other calcium chews that I took years ago but got tired of. The only thing I don’t like about these is that each chew is individually wrapped in a plastic shell – not that great for the environment, but it seems to be the key to their fresh, creamy texture. So I’ll probably be done with these after this pregnancy or this box… but I had to mention them, because if you need a calcium supplement, these are outstanding.

Clothes

When it comes to clothes, I’m fortunate in a number of ways. First, I’m pregnant during the exact same time of year, so I’m able to use all of those maternity clothes again.  Second, I mainly work from home, and while last time I had to go in to a job, I really only saw people a couple of days a week. So, many days yoga pants and long stretchy t-shirts or tanks were enough to cover my belly and keep me comfortable. I found that many of the dresses I already owned (I love ones from Title Nine with a touch of spandex, like this) were stretchy enough to fit over my growing belly for at least the first 6-7 months of my pregnancy. I was also lucky that sweater dresses came back into fashion – so I picked up a few of the boxier ones, some tights, and my favorite boots to get me through the rest of my pregnancy – this was an especially great outfit for days I had to teach.  Once my stomach got too large for my pre-pregnancy pants, I bought four pair of maternity pants and a few shirts to go with them – that’s it!

But, even so, there are a couple of specific items that are worth sharing. This maternity tank from Target is so comfortable, and I love how long it is. Late in pregnancy, it was hard for long non-maternity tanks to stretch around my stomach, but this tank does without trouble. I still have the only one I bought, and am thinking it’s time to add a second one to my closet – they are a perfect first layer under any shirt.

As I mentioned, I bought a few maternity shirts, mainly for work days to go with the pants I picked up. I didn’t know it at the time, but there are whole lines of nursing shirts with ruched fabric around the torso – making them perfect for a growing stomach during pregnancy and a slowly shrinking one afterwards. Buy these, especially if you want to try nursing, rather than buying a maternity-only shirt (I found that the BOOB brand really held up well to the wear and tear that is nursing and carrying a little guy).

Books & Other Info

We are just over halfway through this pregnancy, and it was around this time with Little A that I was ready to start learning about labor, labor support, and breastfeeding. Along with taking a labor class, there were a few books that I found really useful.

  • The Big Book of Birth – this book is packed with useful information, so at times it can seem a bit dense, but I really loved the straightforward and concise writing. She covers basic biology of labor as well as types of medical interventions and natural methods for easing discomfort and dealing with different problems that may arise during birth. Calder didn’t read the whole book, but I marked some sections that I thought would be particularly useful for him to read before our delivery, and I think it was helpful to both of us.
  • Ina May’s Guide to Childbirth – This book focuses more on natural childbirth and methods for finding comfort and support through it. I have to admit that I didn’t read this one cover to cover like I did the Big Book of Birth, but I did find it extremely useful, and Ina May’s an expert if ever there was one.
  • The Ultimate Breastfeeding Book of Answers – Before I had Alex, it seems like I often heard about how hard or tricky breastfeeding could be, but I knew I wanted to do it. Knowing that I didn’t want to find myself with a newborn in my hands and unsure of what to do next, I decided to read and learn about the process before having the baby. I found both Jack Newman’s book and his website to be extremely helpful for covering the basics of breastfeeding and providing many useful images and videos of successful and unsuccessful breastfeeding – so I was able to get a sense of what I should look for and red flags for when things weren’t working.

In addition to these books, Calder and I took a seven-week prenatal and labor class together. Our class covered everything from the baby’s development in utero, to the biology of labor, support for labor, types of medical interventions, caring for a newborn, etc. It was so amazing, and really helps you to work through all of that material, especially when you’re working and are so tired that you would rather crash on the couch than read a book. We had the option of taking that class or shortened version of the class over the course of a weekend. I highly recommend spreading your course out over a few weeks – there’s so much information to learn, and you may find that questions develop only after you’ve had days/weeks to think about something from class – there’s no way you and your labor partner would get as much out of a weekend course (but, if that’s all you have time for, it’s better than nothing!).

General Beauty Products

In general, I use very few beauty products, but when I do, I try to stay as chemical-free as possible. One place where that’s hard to do is with nail polish. I would skip it altogether (and that’s what I did with my first pregnancy), but this time around, my nails are really suffering from the dry air. When they are dry, they crack, peel, and just become a general mess. A coat of polish along with daily applications of cuticle oil really helps to keep them healthy. So, this time around I tried Spa Ritual’s 5-free polishes, and really (really) love them. I use them with a base and top coat, and have found that they can go at least 5 days without chipping (less if I’m really doing a lot of mess work with my hands).

Another product that I’ve been devoted to throughout both pregnancies is Burt’s Bees Momma Bee Body Oil. I slather it on my belly after every shower throughout the whole pregnancy and for a few weeks postpartum (about 3 times per week). I was really lucky to end up with no stretch marks last time around. We’ll see what happens this time!

liveseasoned_fall14_stayinghealthycollage copy

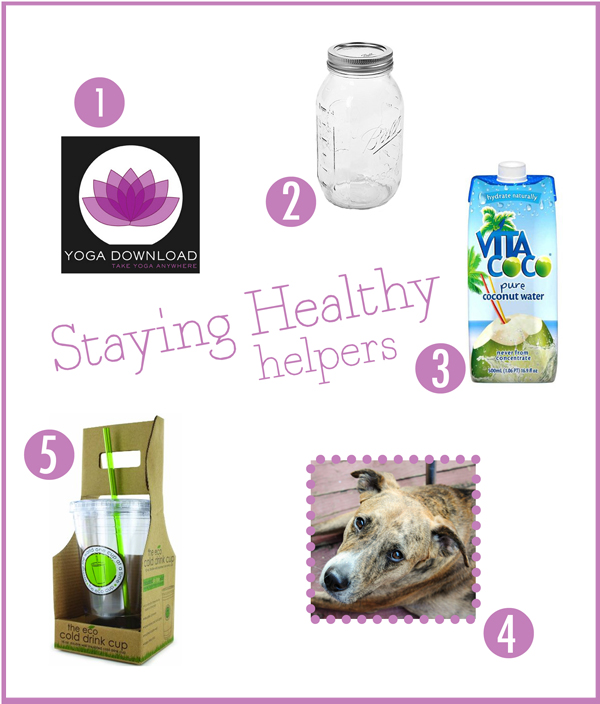
1/2/3/4/5

Staying Healthy

When you’re pregnant, you hear over and over again that it’s important to get plenty of exercise and stay hydrated. Staying hydrated is even more important for me this time around since we’re in a dryer climate.

Honestly, after months of drinking water, tea, and chocolate milk, I start to go crazy for anything else to drink (we’re not big juice drinkers, just as a rare treat). I found a few tricks to help me stay hydrated. I’ll treat myself to cartons of coconut water – you get an electrolyte bonus! Trader Joes’ brand is always a good price, but I’ll take any brand that’s on sale. I also mix up my drinking vessels. The first time around I picked up one of those cold cups with a straw, and found that just switching between my drink bottle and that would have me drinking more. I also found the cup easier to drink out of while breastfeeding and rocking a newborn (rather than having to tilt my head back to use the drink bottle).

When it comes to exercise, having Ca$h the dog was such a big motivator. When he’s with us, I’m his main walking companion – so that meant that I went out on long (30 minutes to an hour+) walks with him twice a day. I did that all the way until the end of my first pregnancy and I know that it really helped me to stay in shape and stay a healthy weight. This time around we don’t have the pooch with us (he’s with Sarah!), but I’m making sure to get plenty of play time in with Alex, and it seems to be working :-).

In addition to the dog walks and Alex adventures, I liked to take some time to do some good, deep, yoga stretching. I tried out a few prenatal yoga classes, and they were great, but I also found it really hard to fit them into my schedule. After a bit of searching, I came across Yoga Download and was an immediate fan. There are a number of ways to access their classes, but I purchased a couple of prenatal yoga classes and downloaded them onto my laptop. It was nice to have access to them at any time and without having to worry about an internet connection. I’ve since purchases some regular (not prenatal) classes and have used them whenever I need a yoga boost – while I would love to go to a studio, practicing at home has become my new norm since Alex arrived.

Finally, there’s one other simple thing that I’ve done during both pregnancies to help myself eat right. Whenever I make a big pot of soup or stew, I put a quart jar of it in the freezer. So far I have about six jars in the freezer this time. This takes zero thought or planning, just fill the jar, label it, and freeze. They are so useful towards the end of pregnancy and during the first few months with a newborn when you’re too tired or busy to cook.

~~~

Wow, I know that was a wordy post, but I’m hoping some other expectant moms may find this helpful… or if you know a momma-to-be, you may get some useful gift ideas from this post. A case of coconut water with a big bow around it never hurt anyone!

Did I miss anything that you found essential? I would love to hear what you found essential.

Apple Cranberry Crisp

Apples are our ingredient of the season. We love to eat them, but we also love to preserve them, drink them, and craft with them!

liveseasoned_fall2014_applecrisp1_wm-1024x768 copy

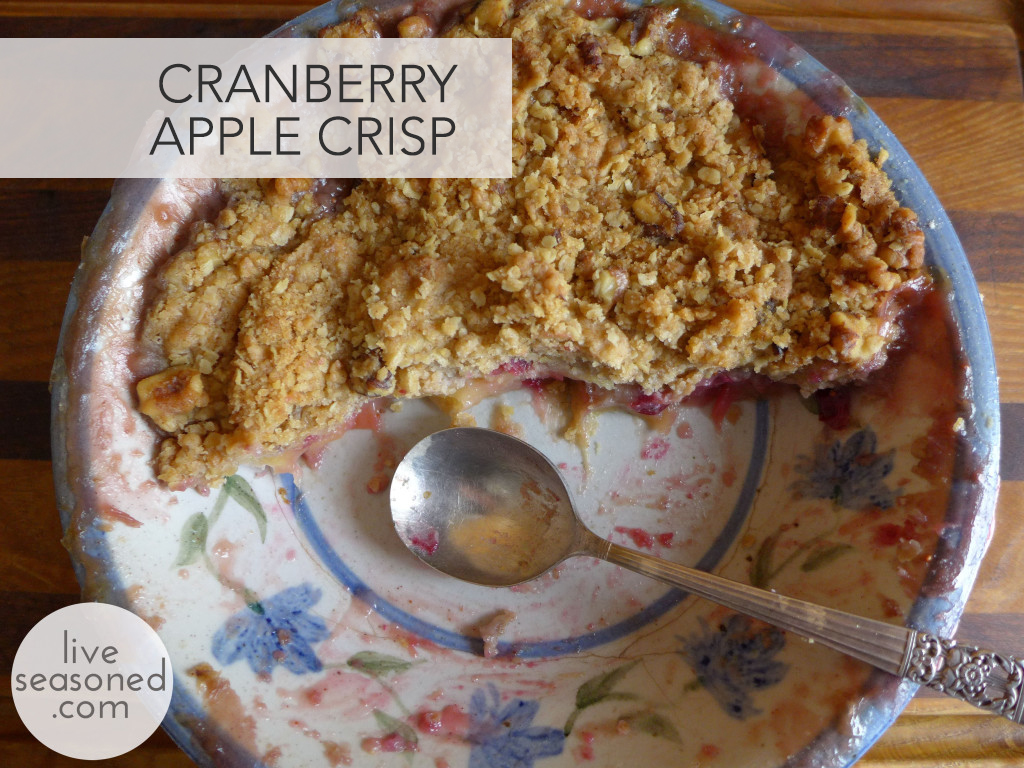
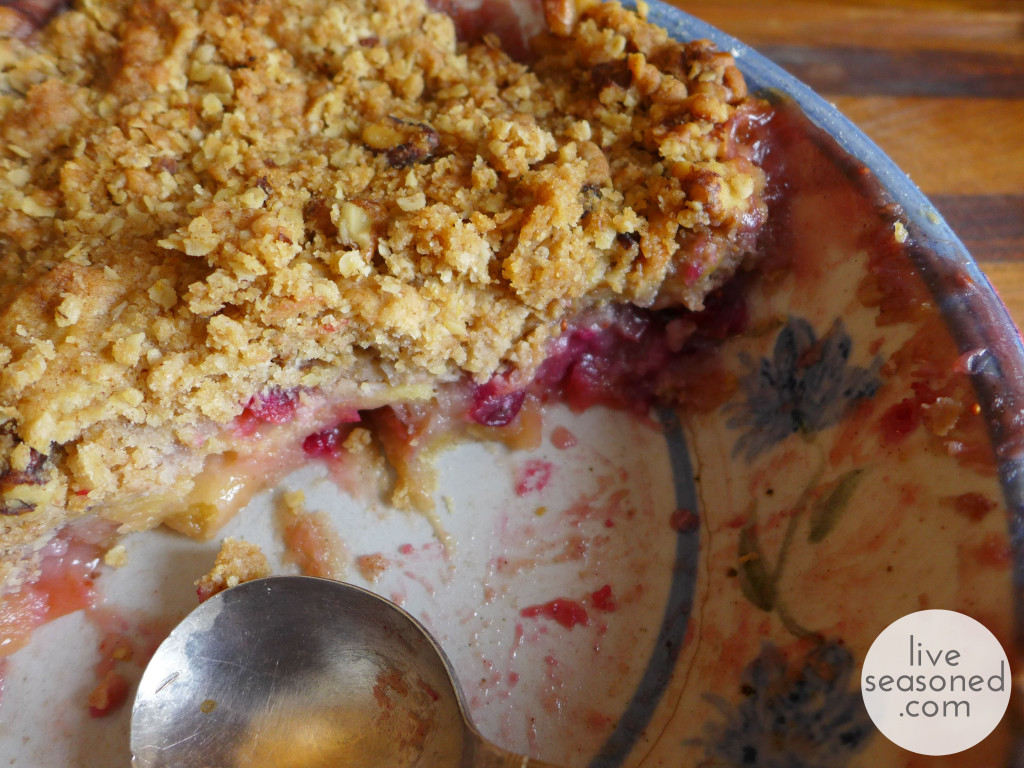
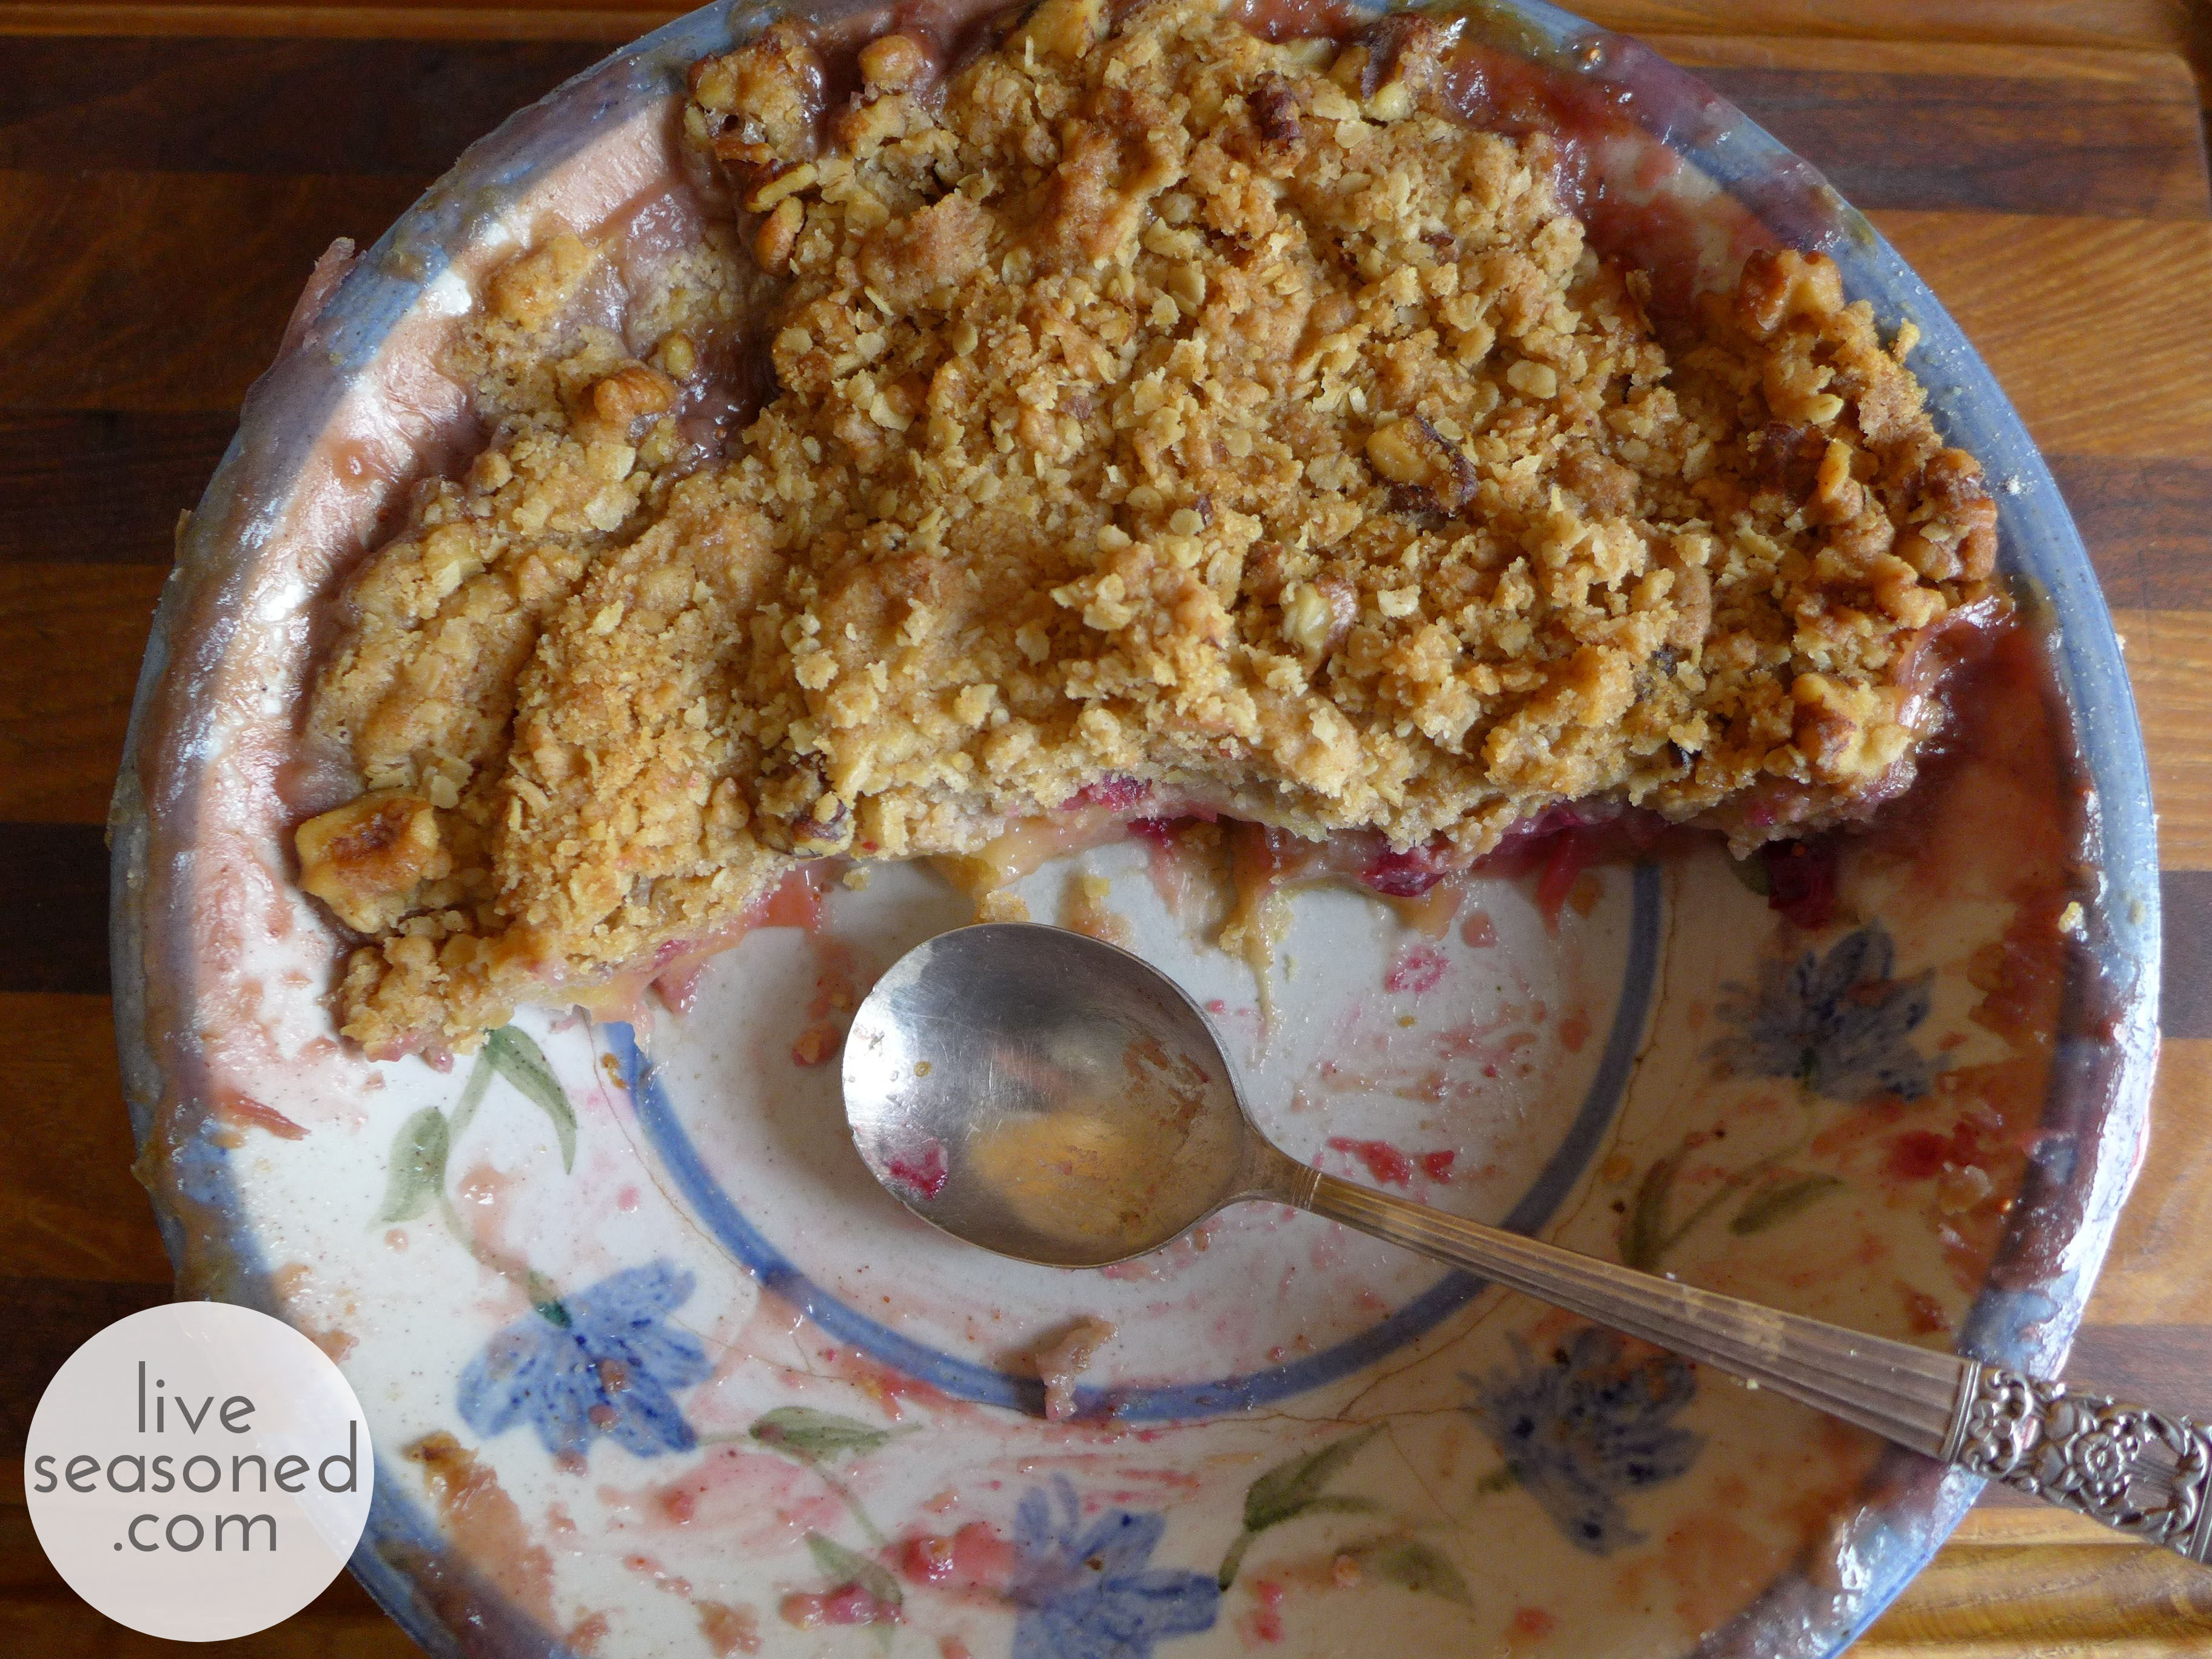
It’s about time we shared the staple of all apple desserts ~ a crisp! What’s not to love? They are packed with fruit, covered in a hearty and nutty oat crumb. With the right combination of sugar and salt you can get that irresistible sweet yet salty flavor. Still warm, they make vanilla ice cream melt to produce a delicious sweet cream running through every bite. You can totally eat them for breakfast with plain yogurt and know you’re getting your day off to a great start. Or is that just me?

liveseasoned_fall2014_applecrisp5_wm

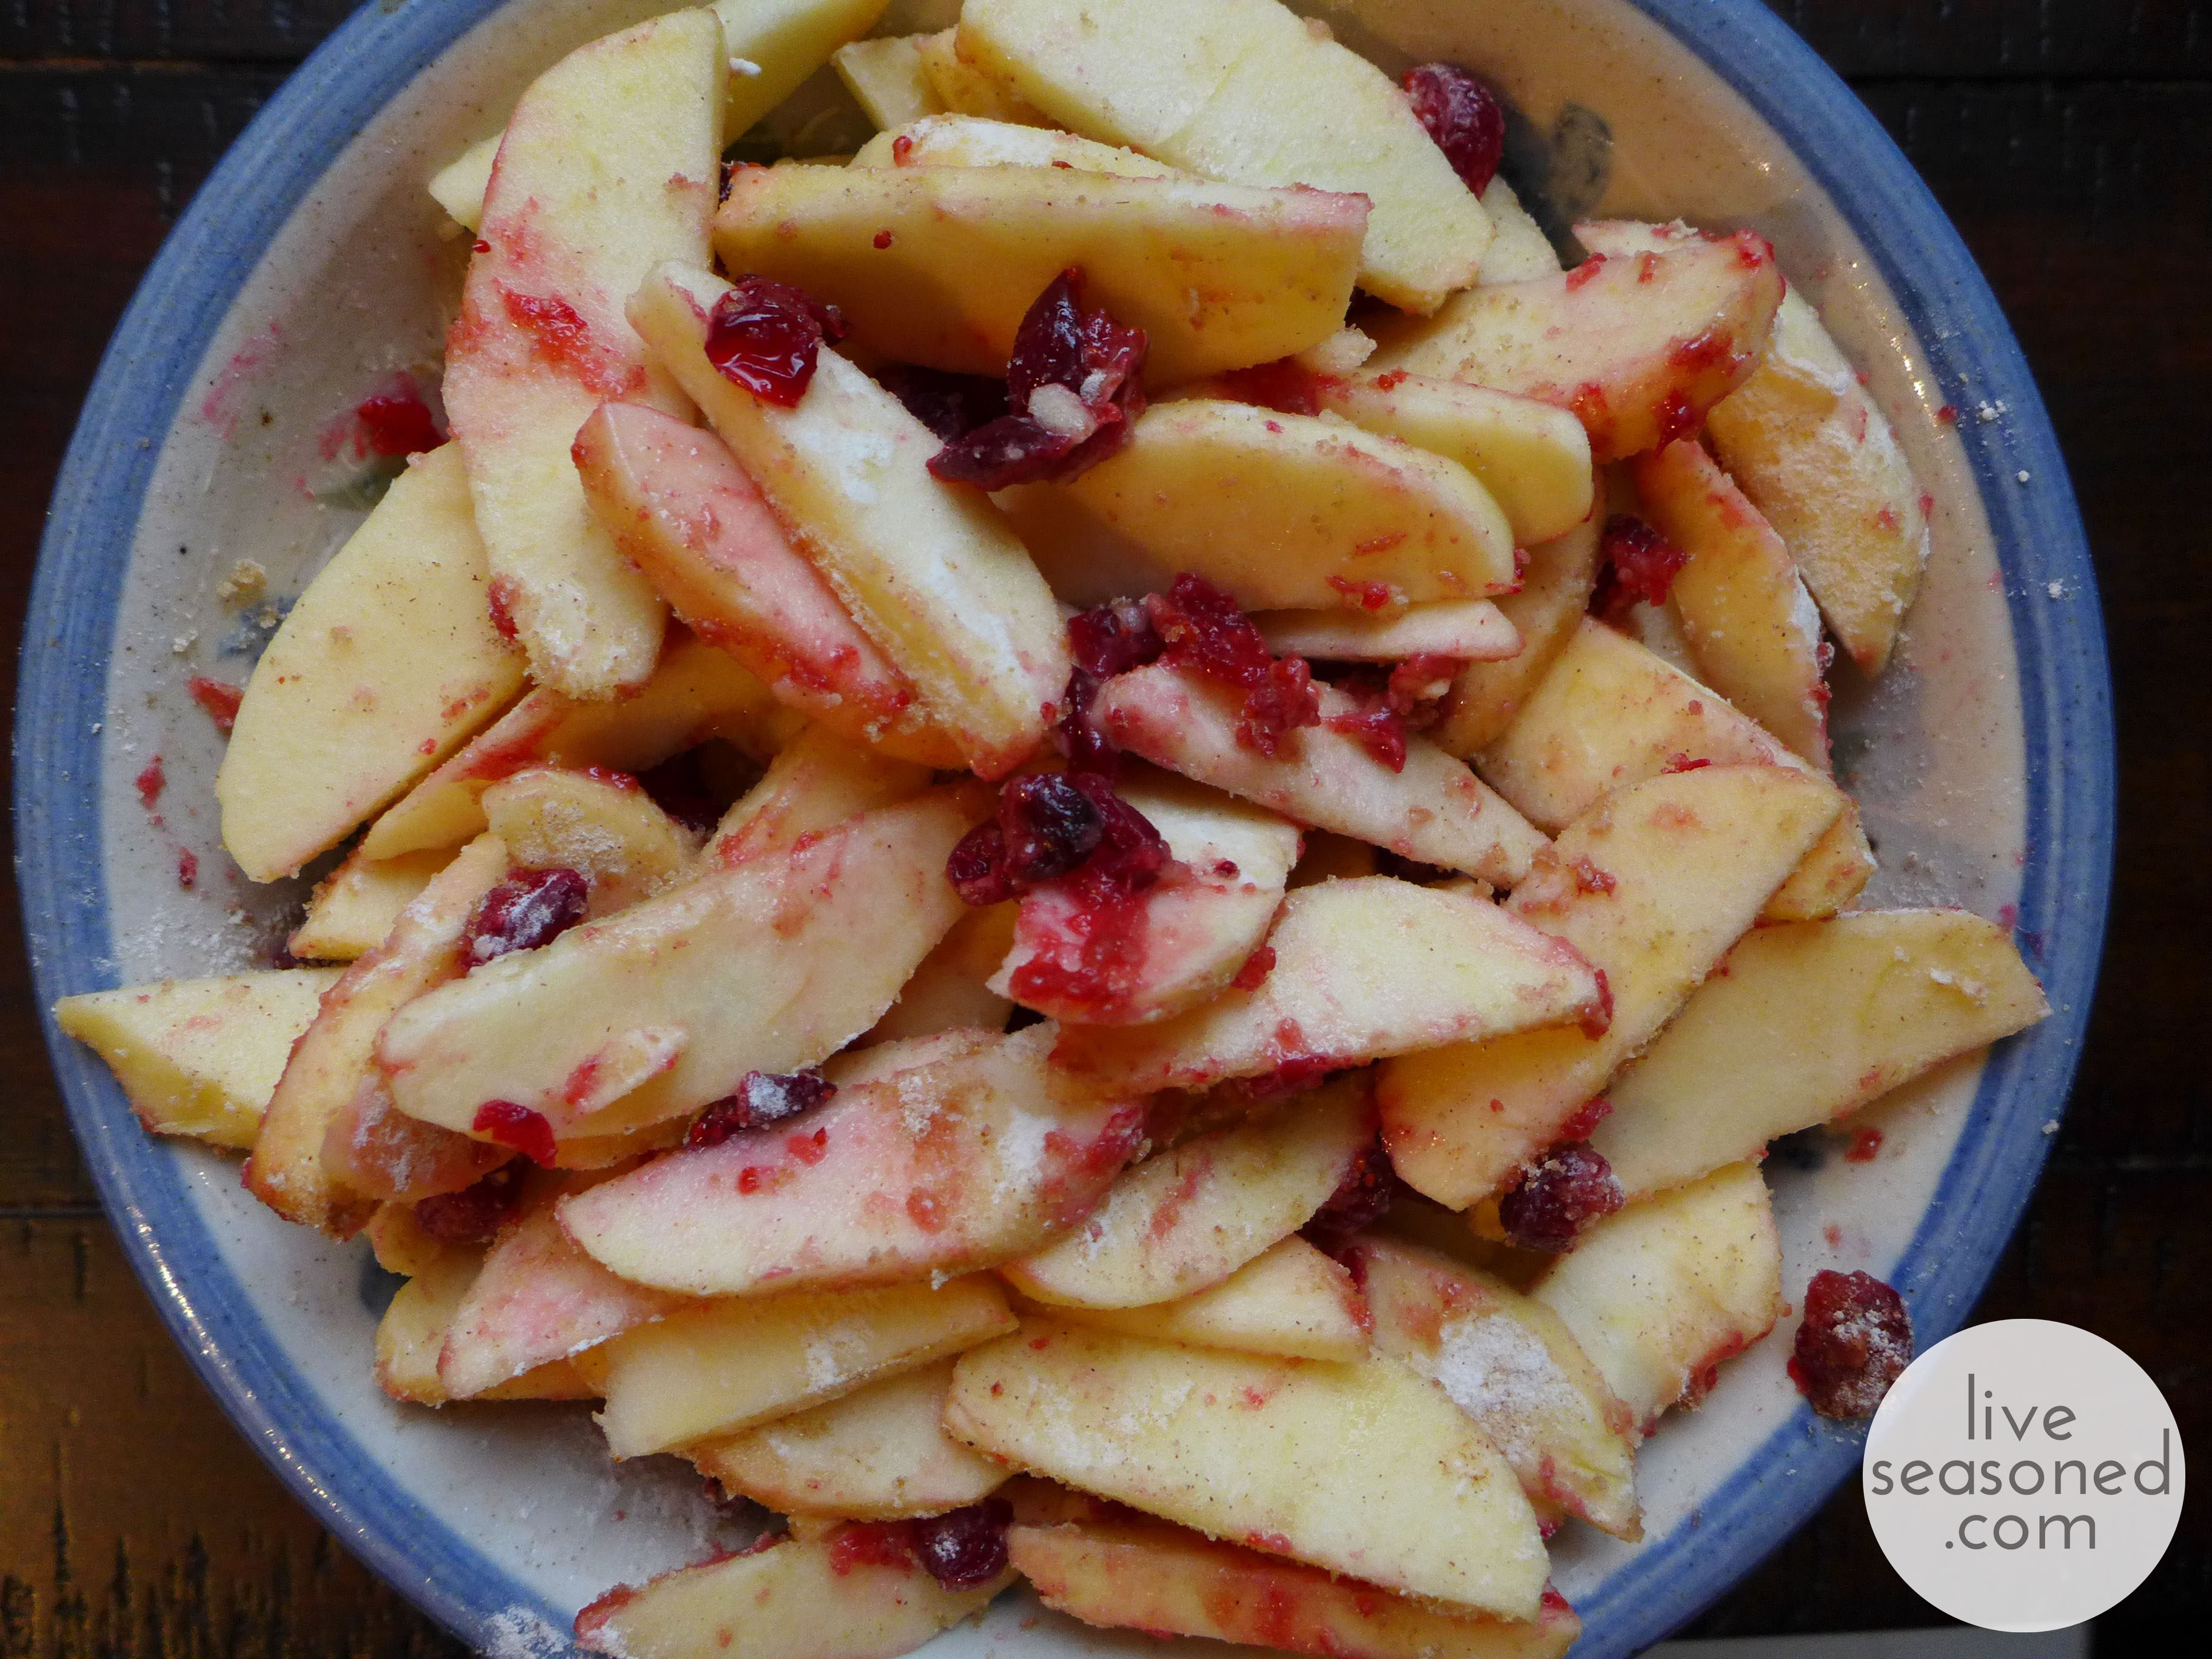
I made this crisp yesterday. It was our first unbelievably cold day of the season that also blanketed us with snow. A perfect day for finding any reason to stick close to the stove. So I did a whole bunch of cooking and baking. One of the recipes I cooked earlier in the day resulted in boiled cranberries that were then filtered out of that recipe (that’s vague, but you’ll get the full details next week!). The berries looked so perfect that I thought it wouldn’t hurt to experiment and see if I could re-use them in a crisp. I used my standard crisp recipe, it’s a simplified version of something I found in the King Arthur Baker’s Companion (my go-to for all sorts of standard baked goods).  While I don’t do it every time, I’ll often add fresh cranberries to the crisp, luckily, yesterday’s “used” cranberries still had a lot of flavor and worked just as well as fresh ones. 
liveseasoned_fall2014_applecrisp2_wm

Filling Ingredients

  • 5-6 apples, or enough to fill a pie dish, peeled and sliced
  • 1 cup fresh cranberries, coarsely chopped (I even leave some whole)
  • 1/3 cup water
  • 1/2 cup brown sugar, separated
  • 1 tsp cinnamon, separated
  • 1/4 tsp nutmeg
  • 1/4 tsp ginger
  • 3 Tbsp flour
  • 1/4 tsp salt

Crumble Ingredients

  • 1/2 cup flour
  • 1/2 cup quick oats
  • 1/2 cup chopped walnuts
  • 1/8 tsp salt
  • 1/3 cup brown sugar (or 1/2 cup not packed down)
  • 1/2 tsp cinnamon
  • 3/4 tsp baking powder
  • 8 Tbsp butter

liveseasoned_fall2014_applecrisp3_wm

How-To

  • Preheat the oven to 350F and heavily butter your pie dish (I will use about 2 Tbsp of butter and leave any excess within the pan).
  • Place all filling ingredients in a bowl and mix vigorously then transfer to the buttered pie dish.
  • Place all topping ingredients in a food processor and mix until crumbly. If you don’t have a processor, you can mix everything except the butter and walnuts, then cut in the butter and once crumbly lightly mix in the walnut pieces.
  • Sprinkle the topping over the apple mixture. Bake for about 1.5 hours, or until it’s bubbly and a nice golden brown color.

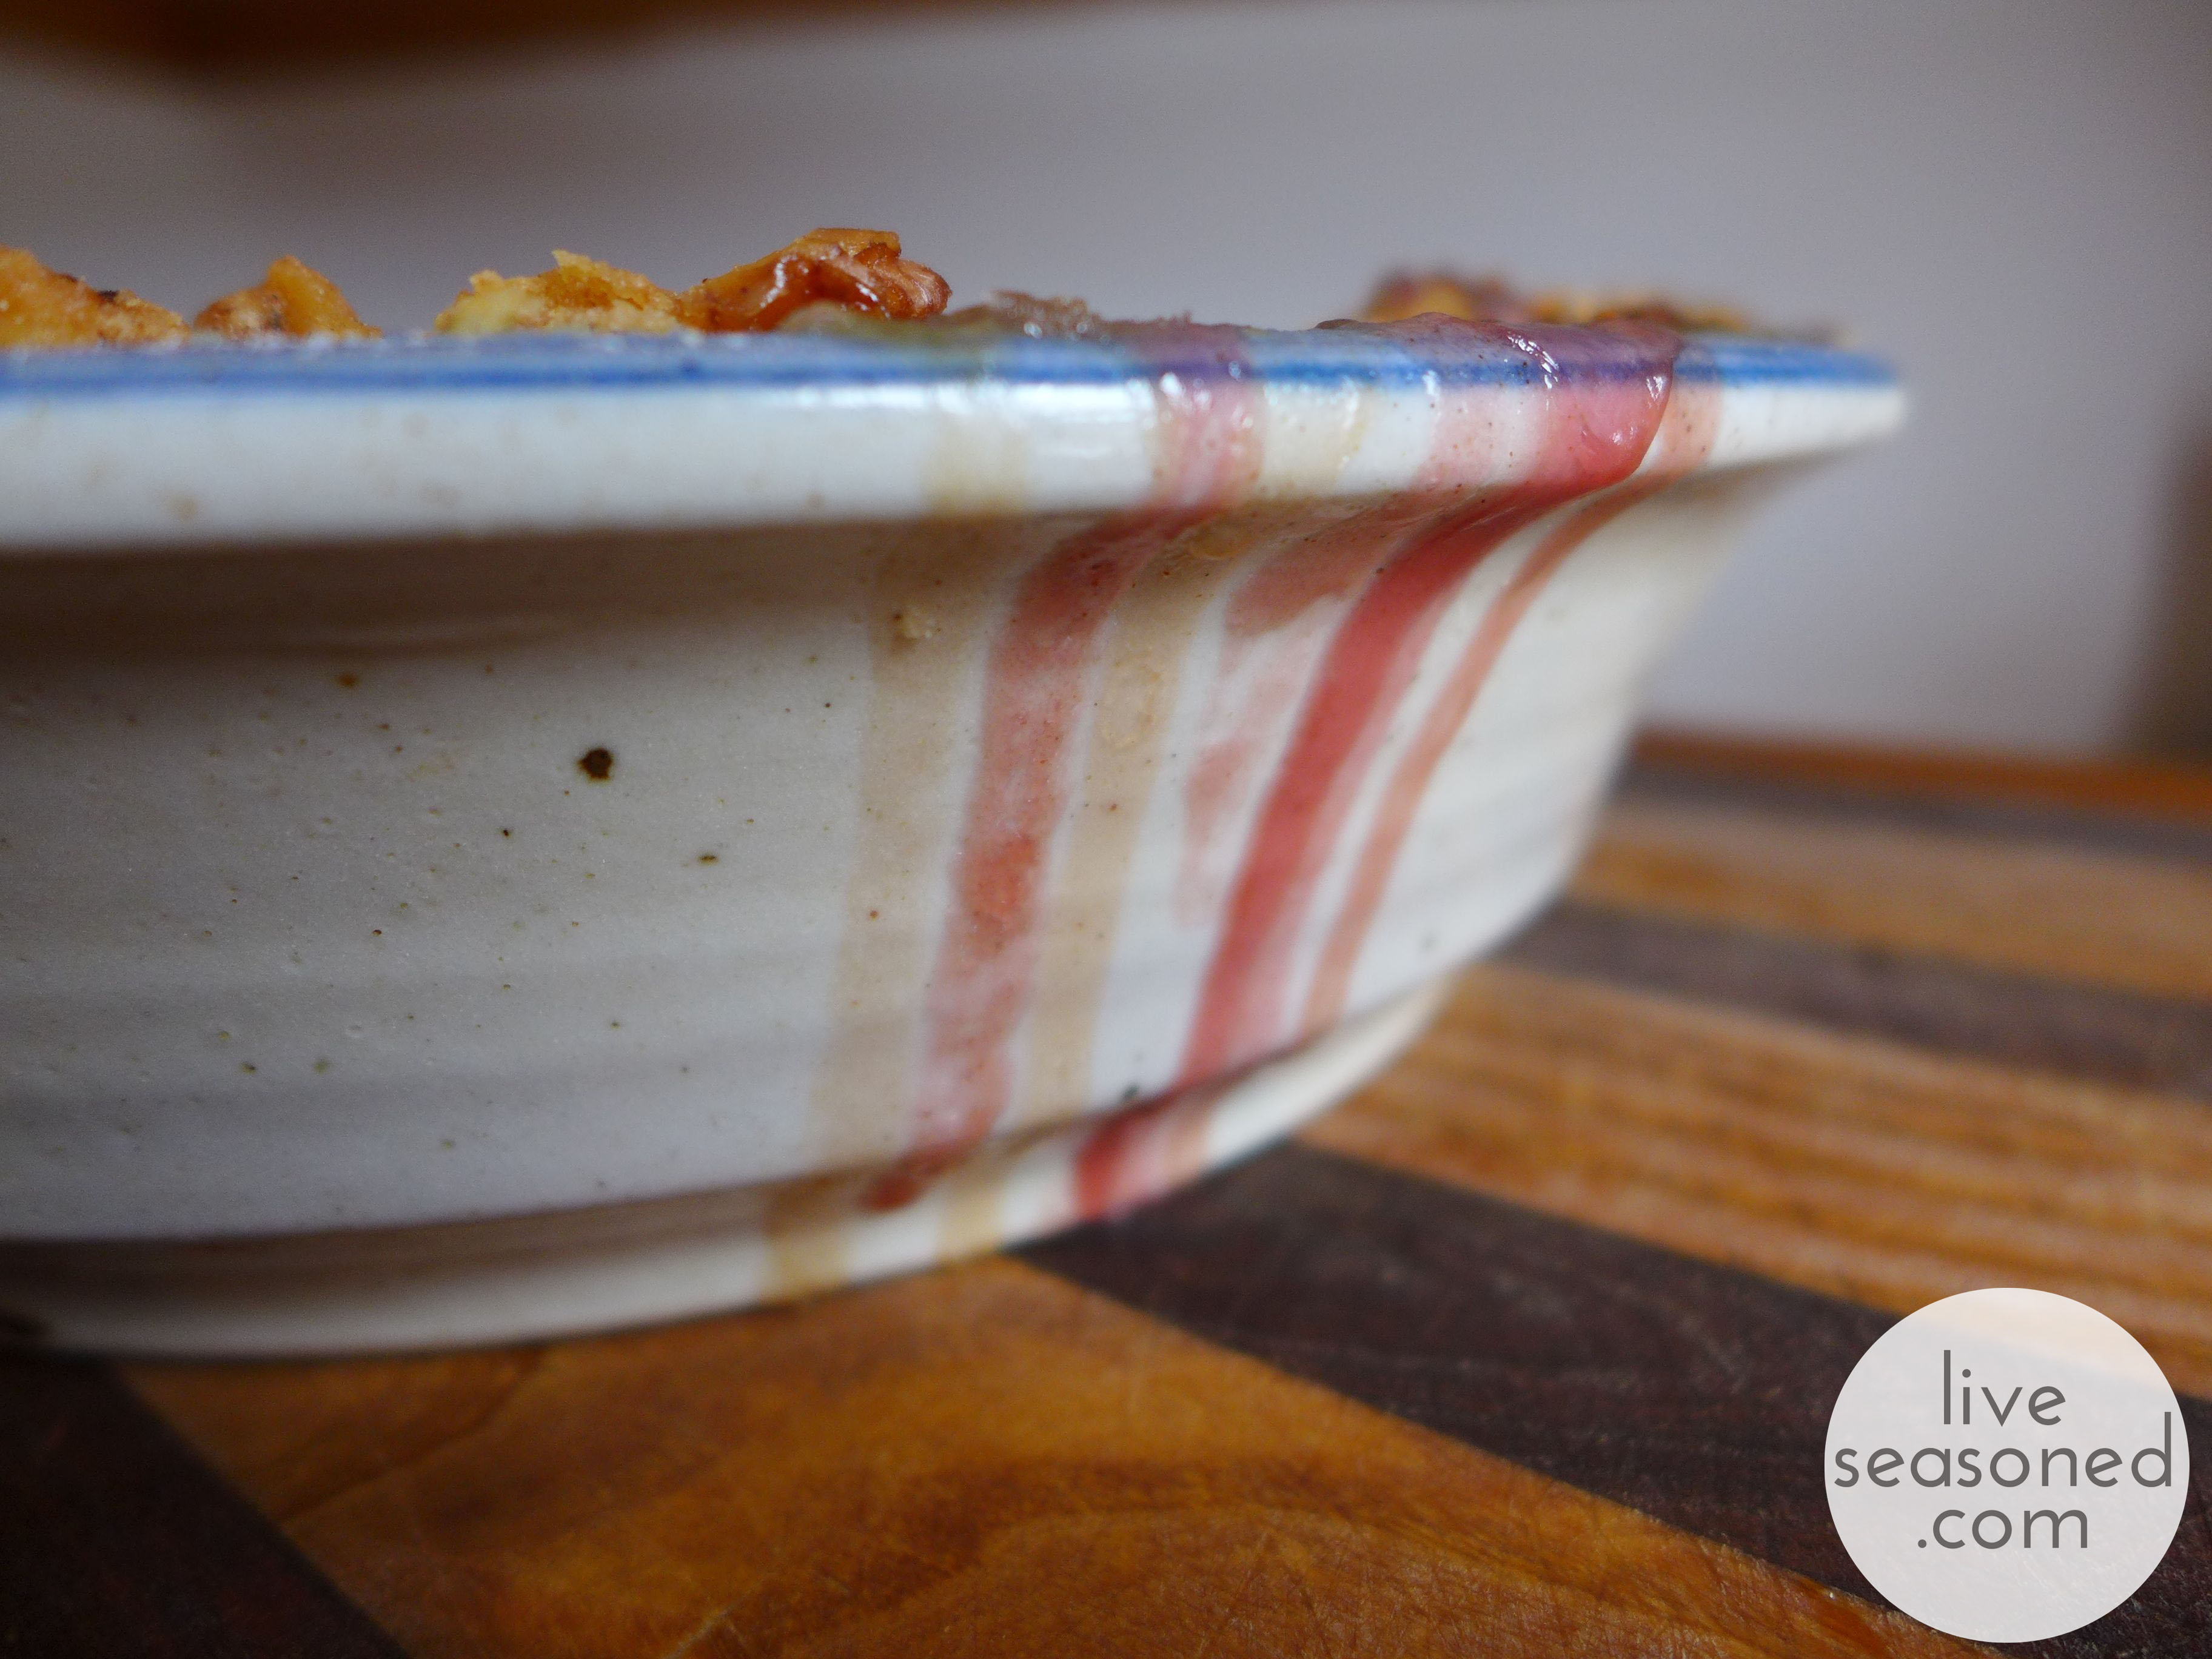
As you can see, the juices from this crisp ran over the side of my dish (producing those beautiful yellow and pink streaks on the outside of the dish – isn’t it cool that the apple and cranberry juices didn’t completely blend?). Depending upon how much I’ve over-stuffed my dish, I will often use a cookie sheet to catch the droppings – it’s much better than have the sugary syrup burn on the bottom of your oven!

liveseasoned_fall2014_applecrisp4_wm

This recipe is easily customizable. You can begin by keeping or skipping the cranberries and/or walnuts. You can replace the water in the filling with apple cider or orange juice. You can play with the spice combinations and amounts. But whatever you do, don’t forget the vanilla ice cream (and yogurt for breakfast!).

Dried Fruit Garland

Apples are our ingredient of the seasons. So far we’ve gone crazy with them in the kitchen, but today we’re filing getting crafty!

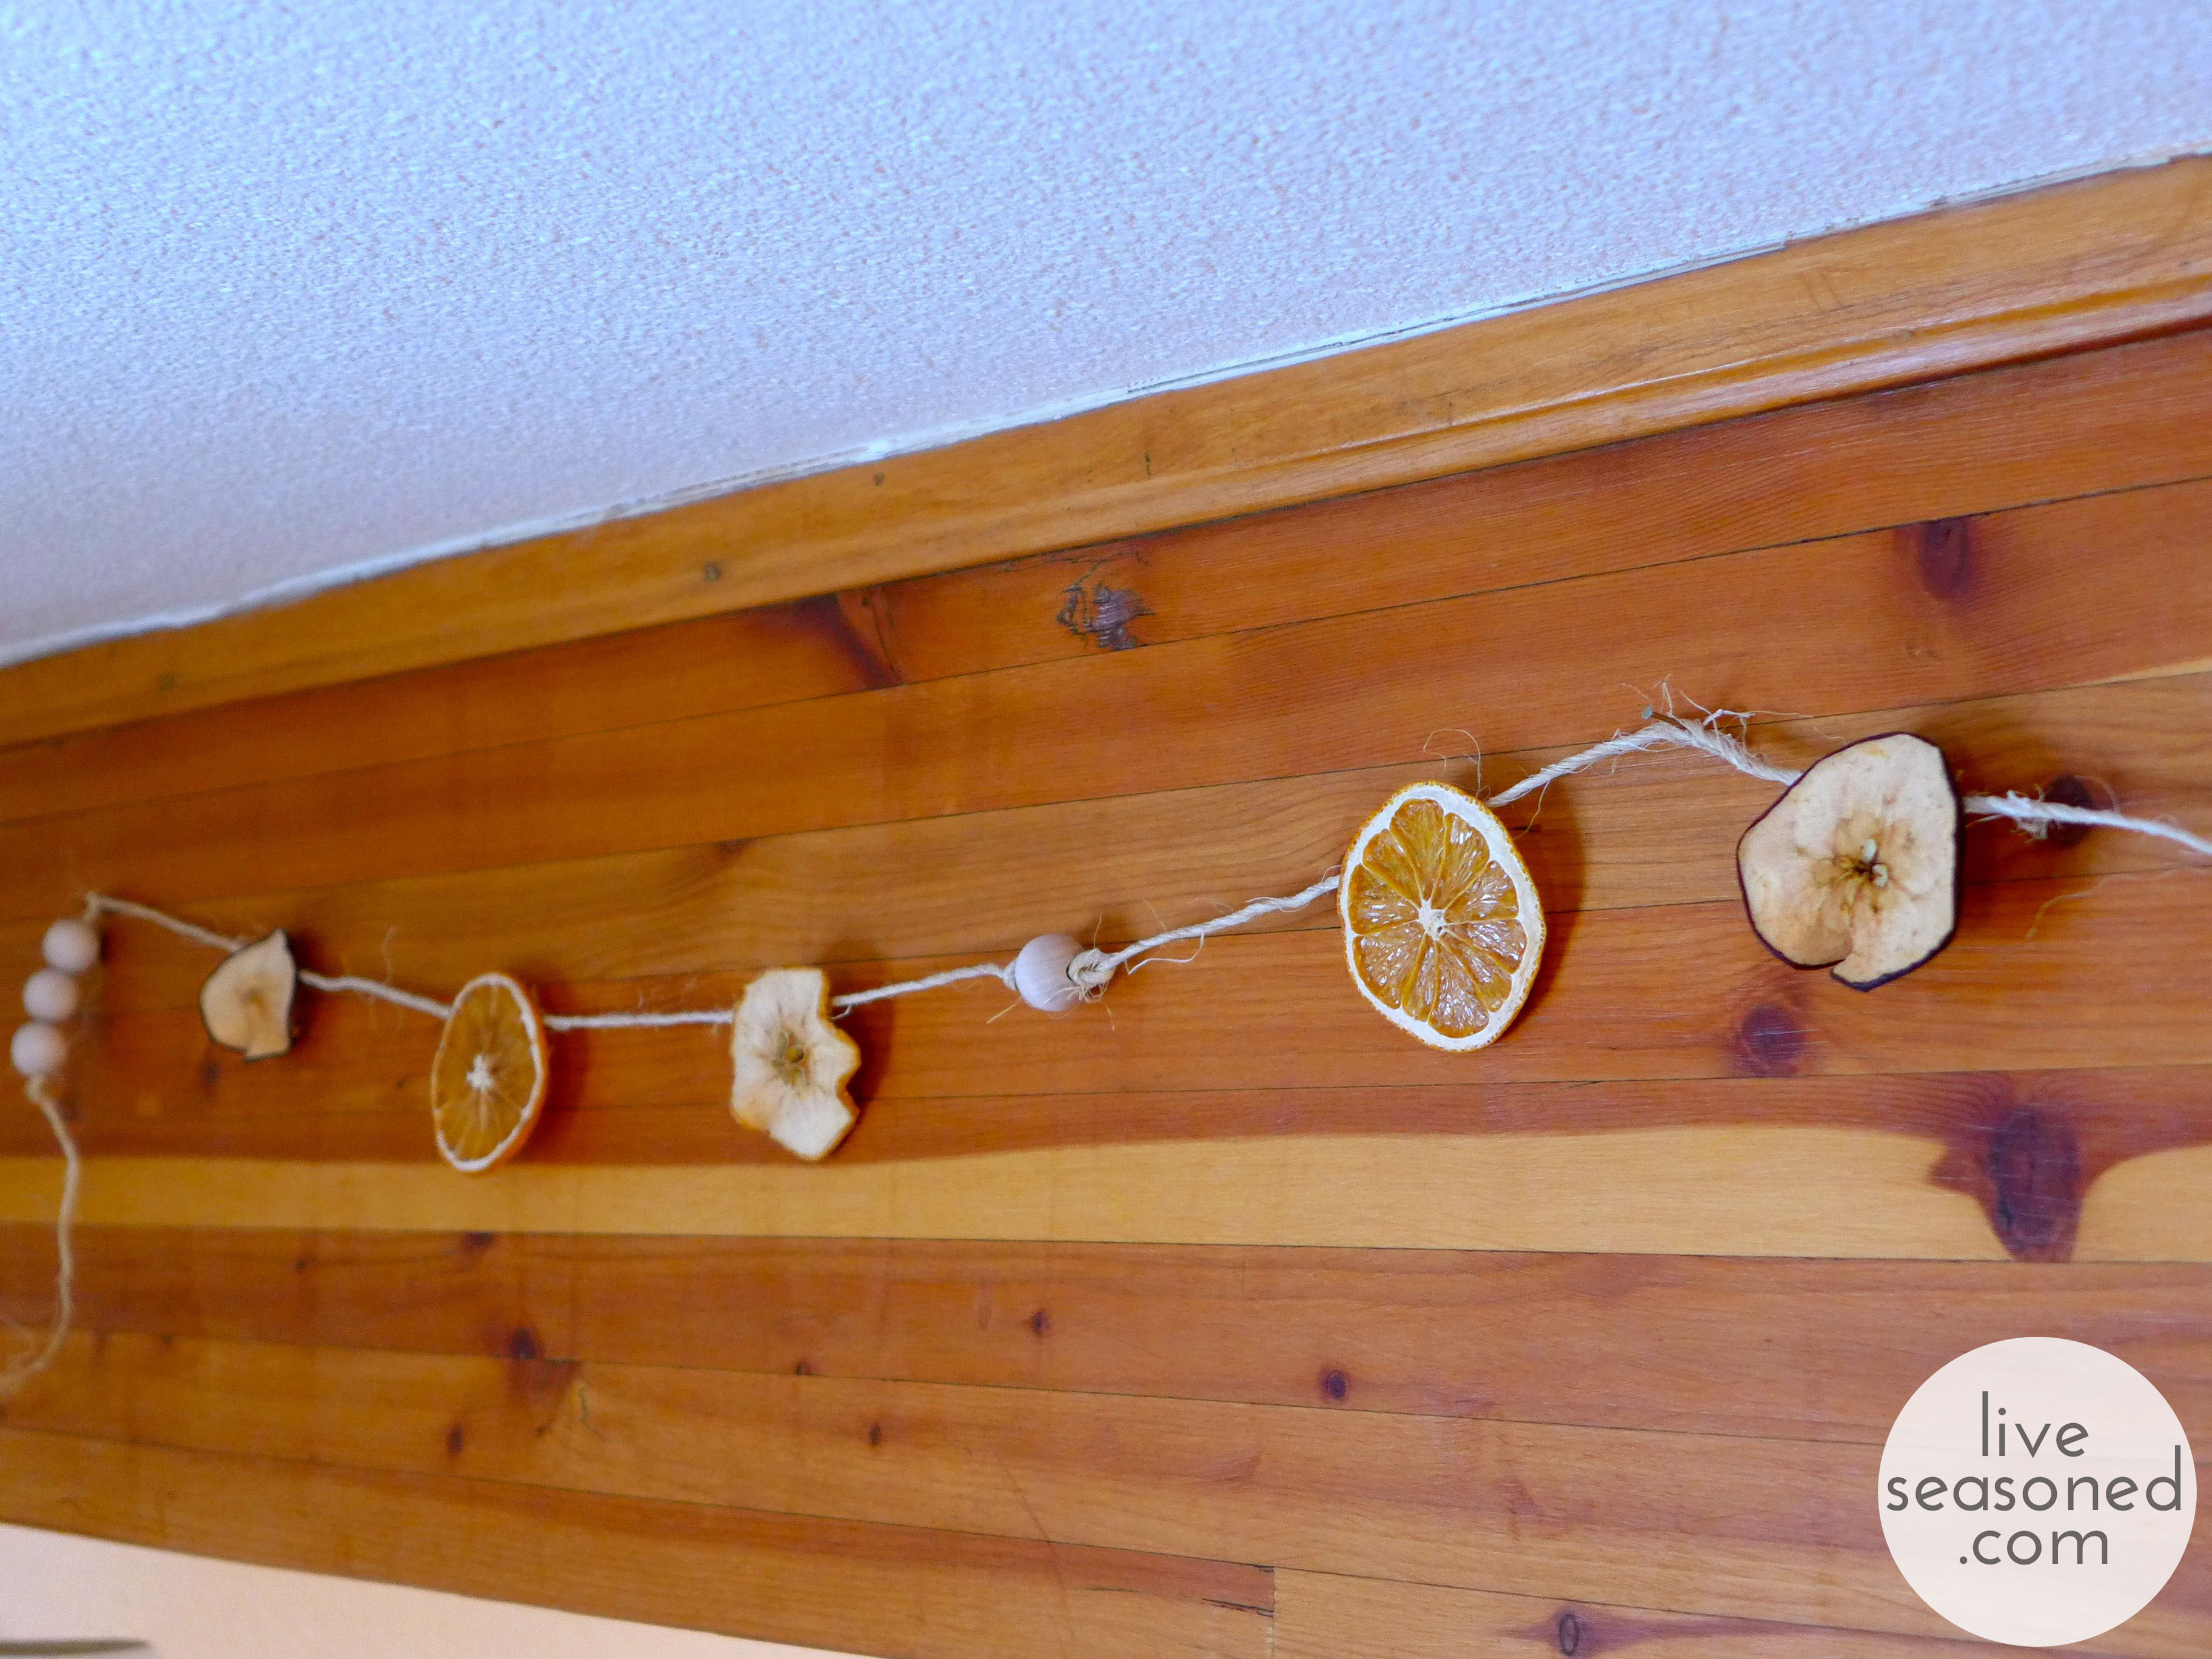
This year, after taking down our Halloween decorations and while waiting to up a Christmas tree, I was really feeling the urge to decorate. So I put together this simple garland that’s a snap to make, celebrates the bounty of the season, and is perfectly suited for my need to add a little touch of something to our November walls.

liveseasoned_fall2014_fruitgarland19_wm

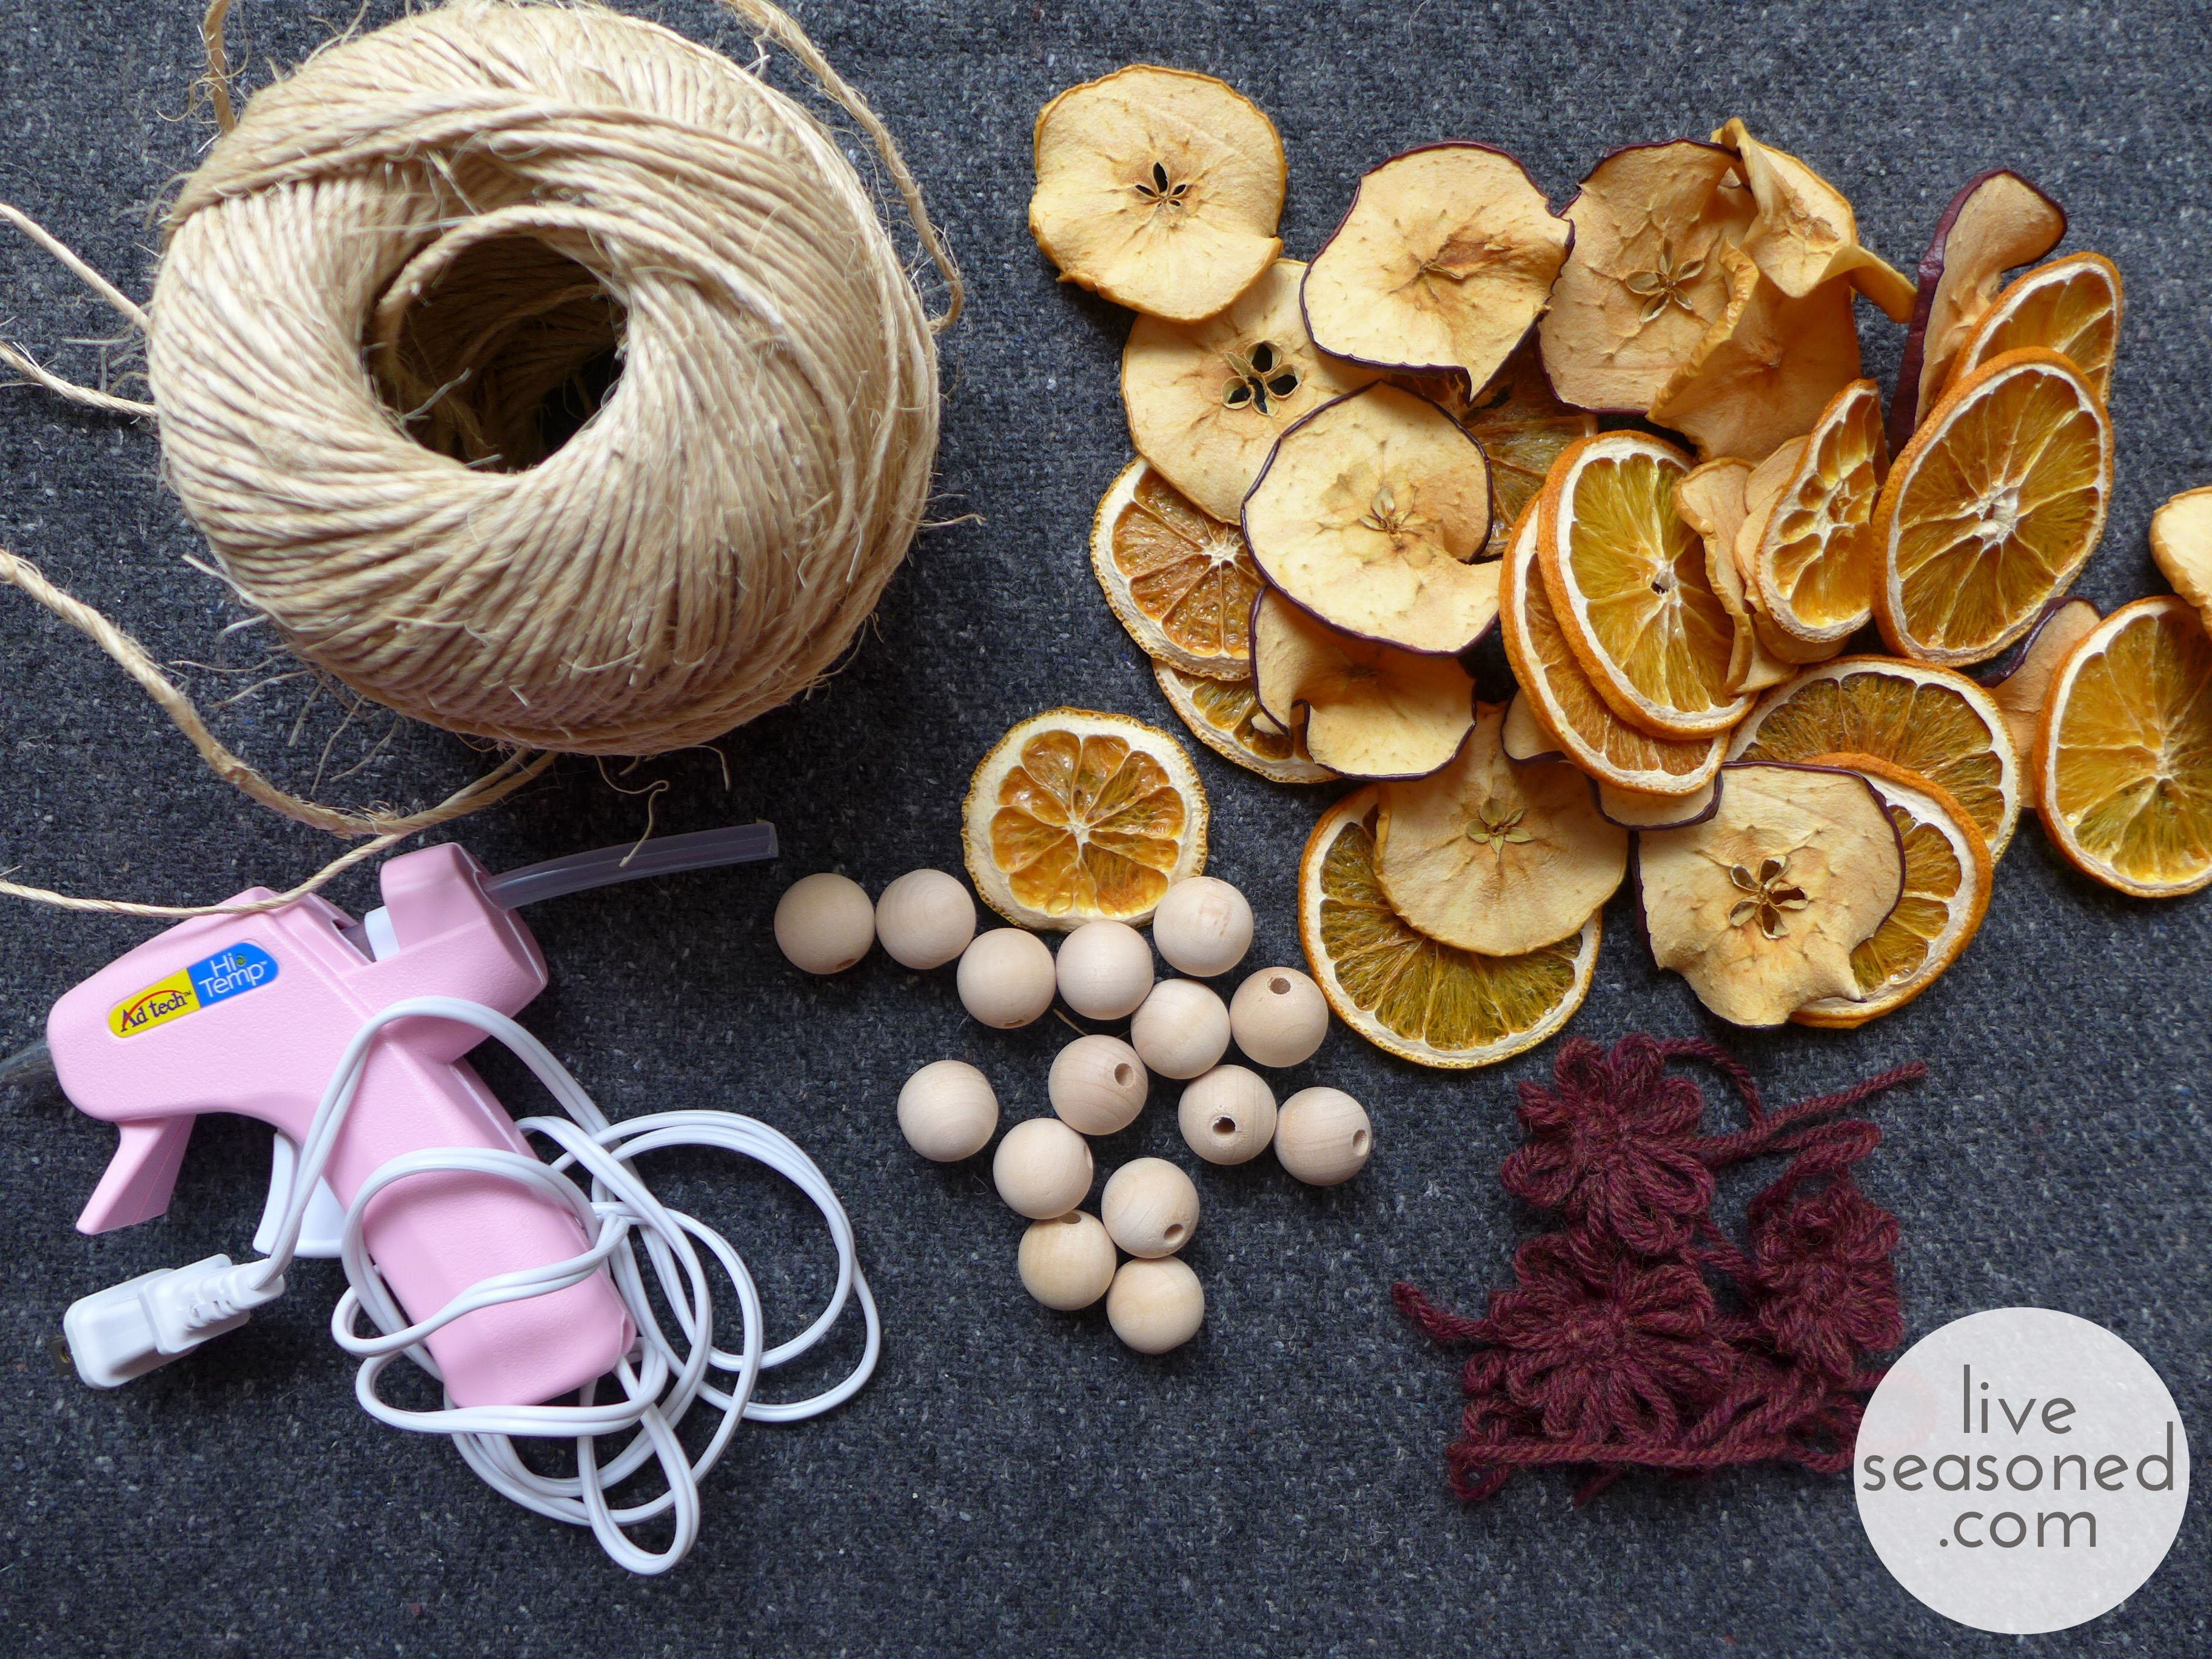
Supplies:

This project requires relatively few supplies, but as with everything we do around here, the garland is easily customizable, so look around your craft room and get creative!

  • twine
  • dried fruit (more on this below)
  • wooden beads
  • simple yarn flowers (how-to below)
  • hot glue gun
liveseasoned_fall2014_fruitgarland10_wm

Drying the Fruit

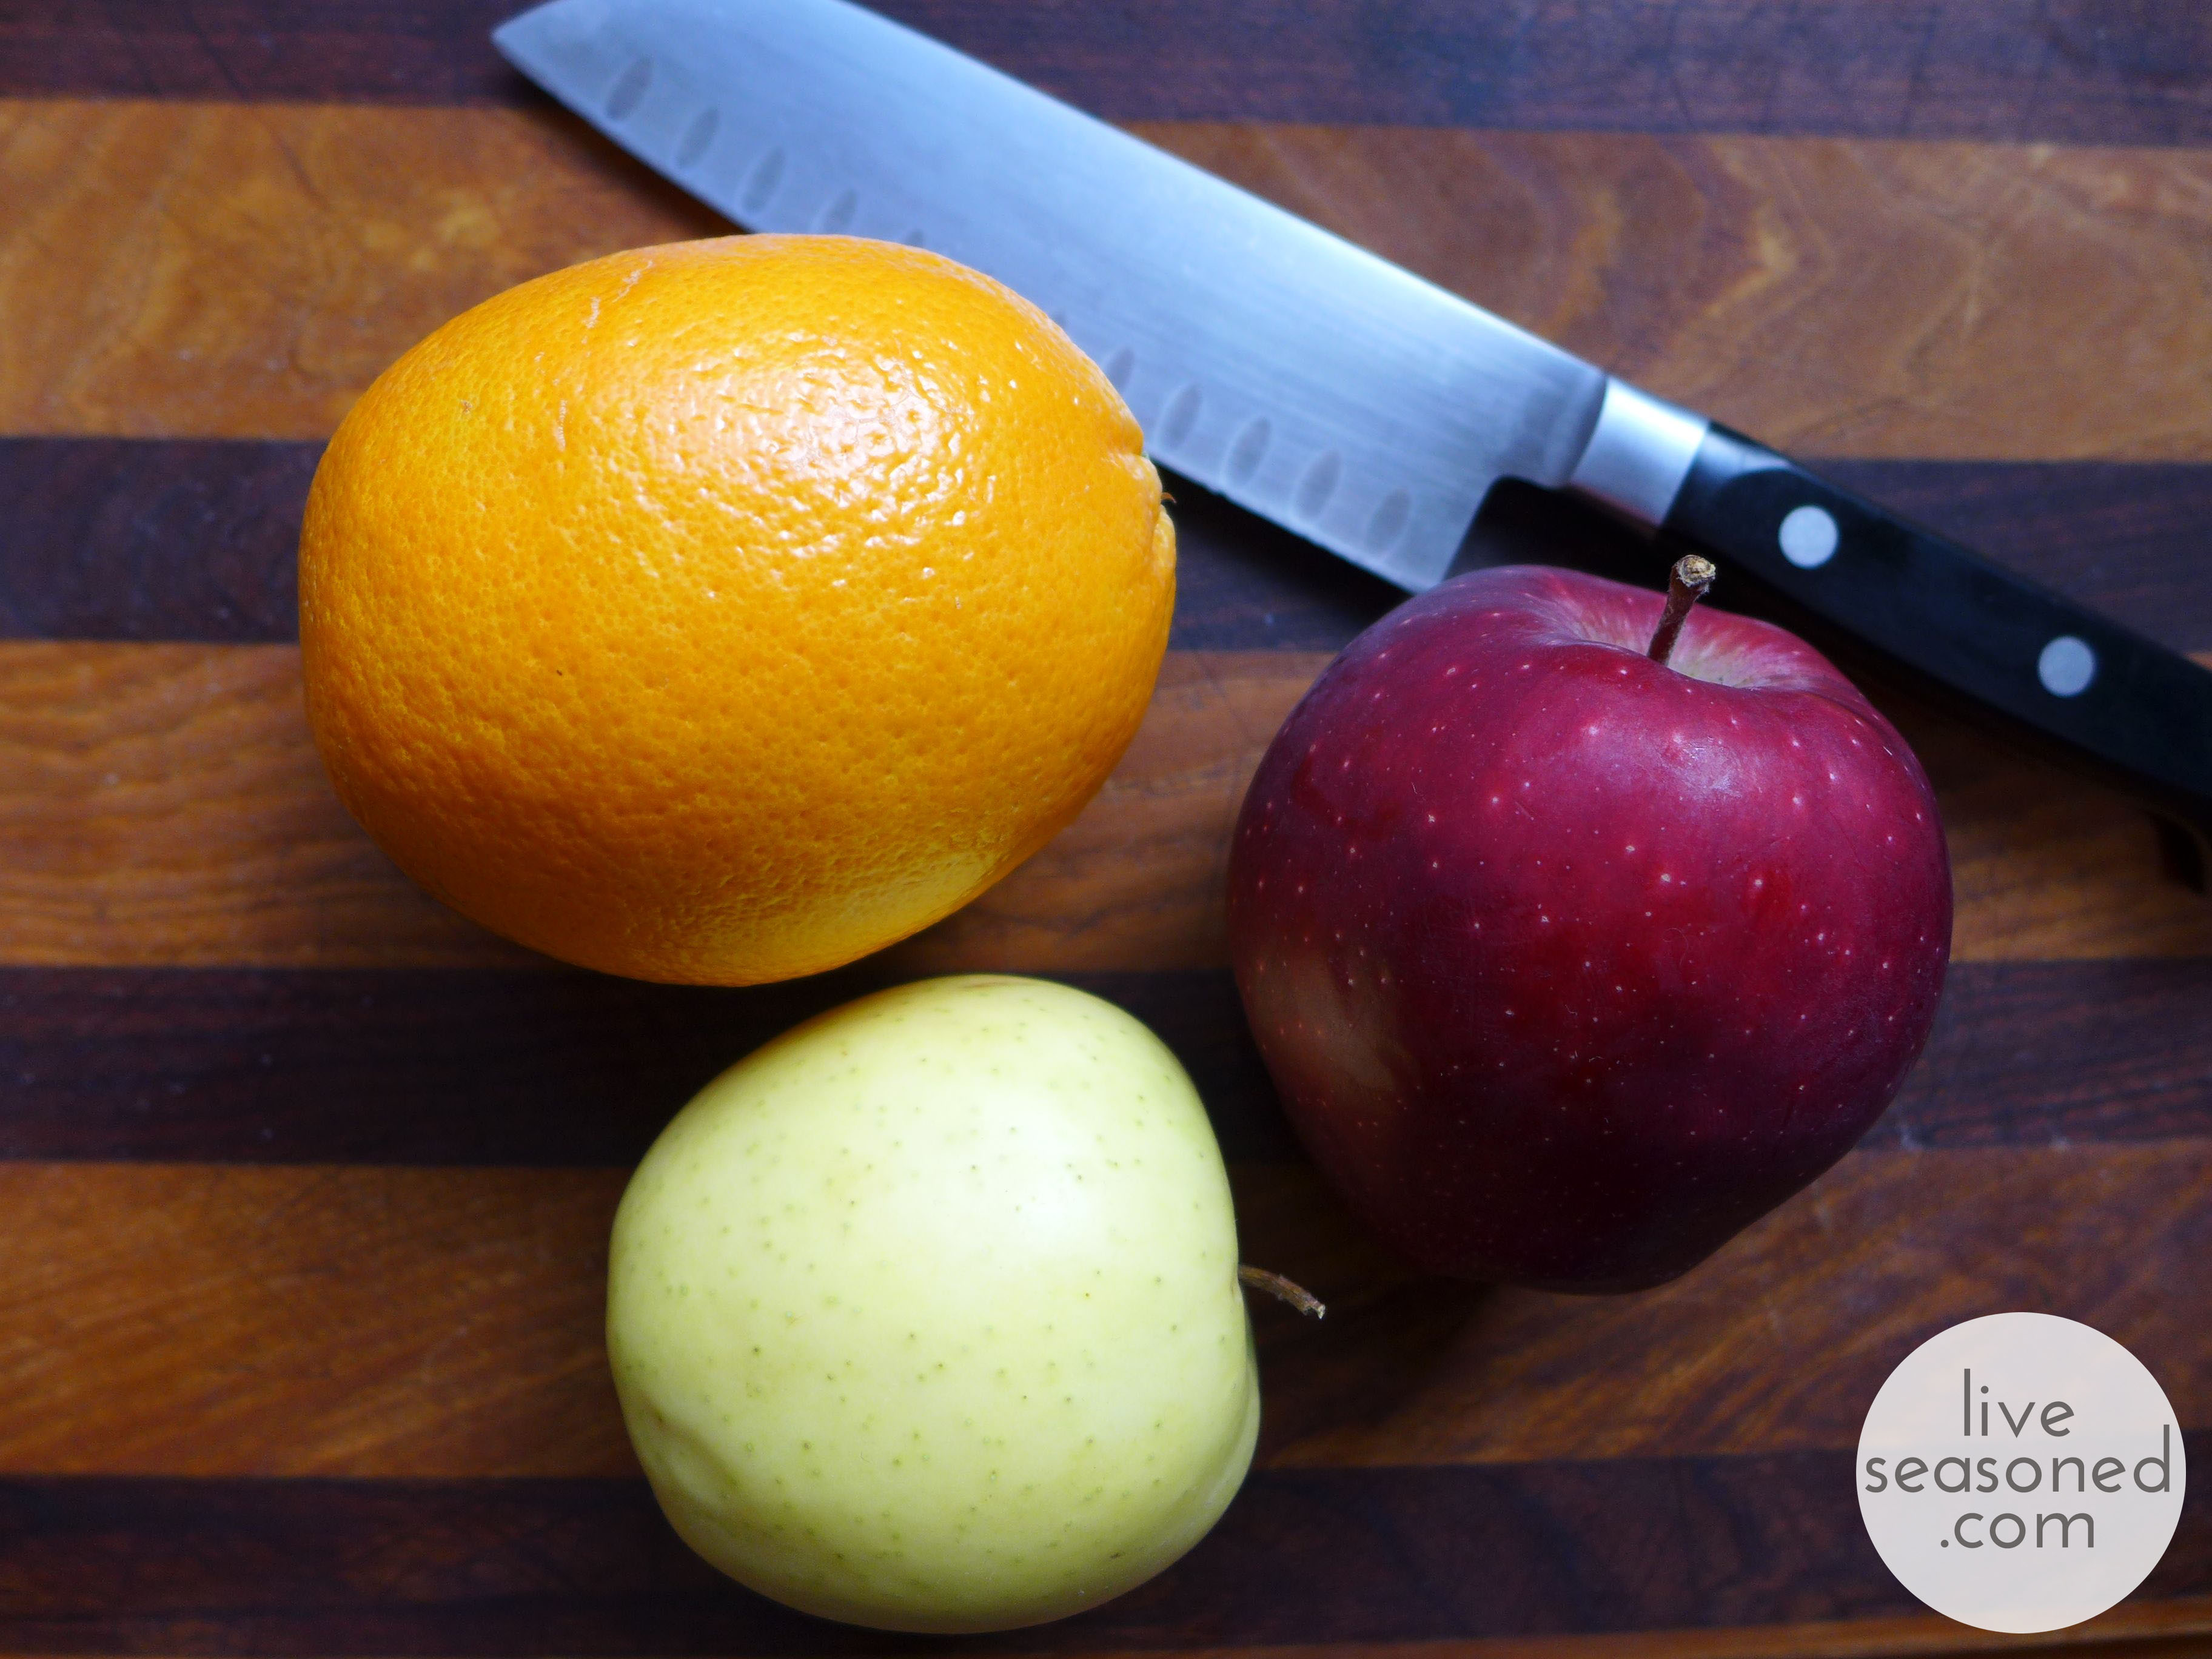
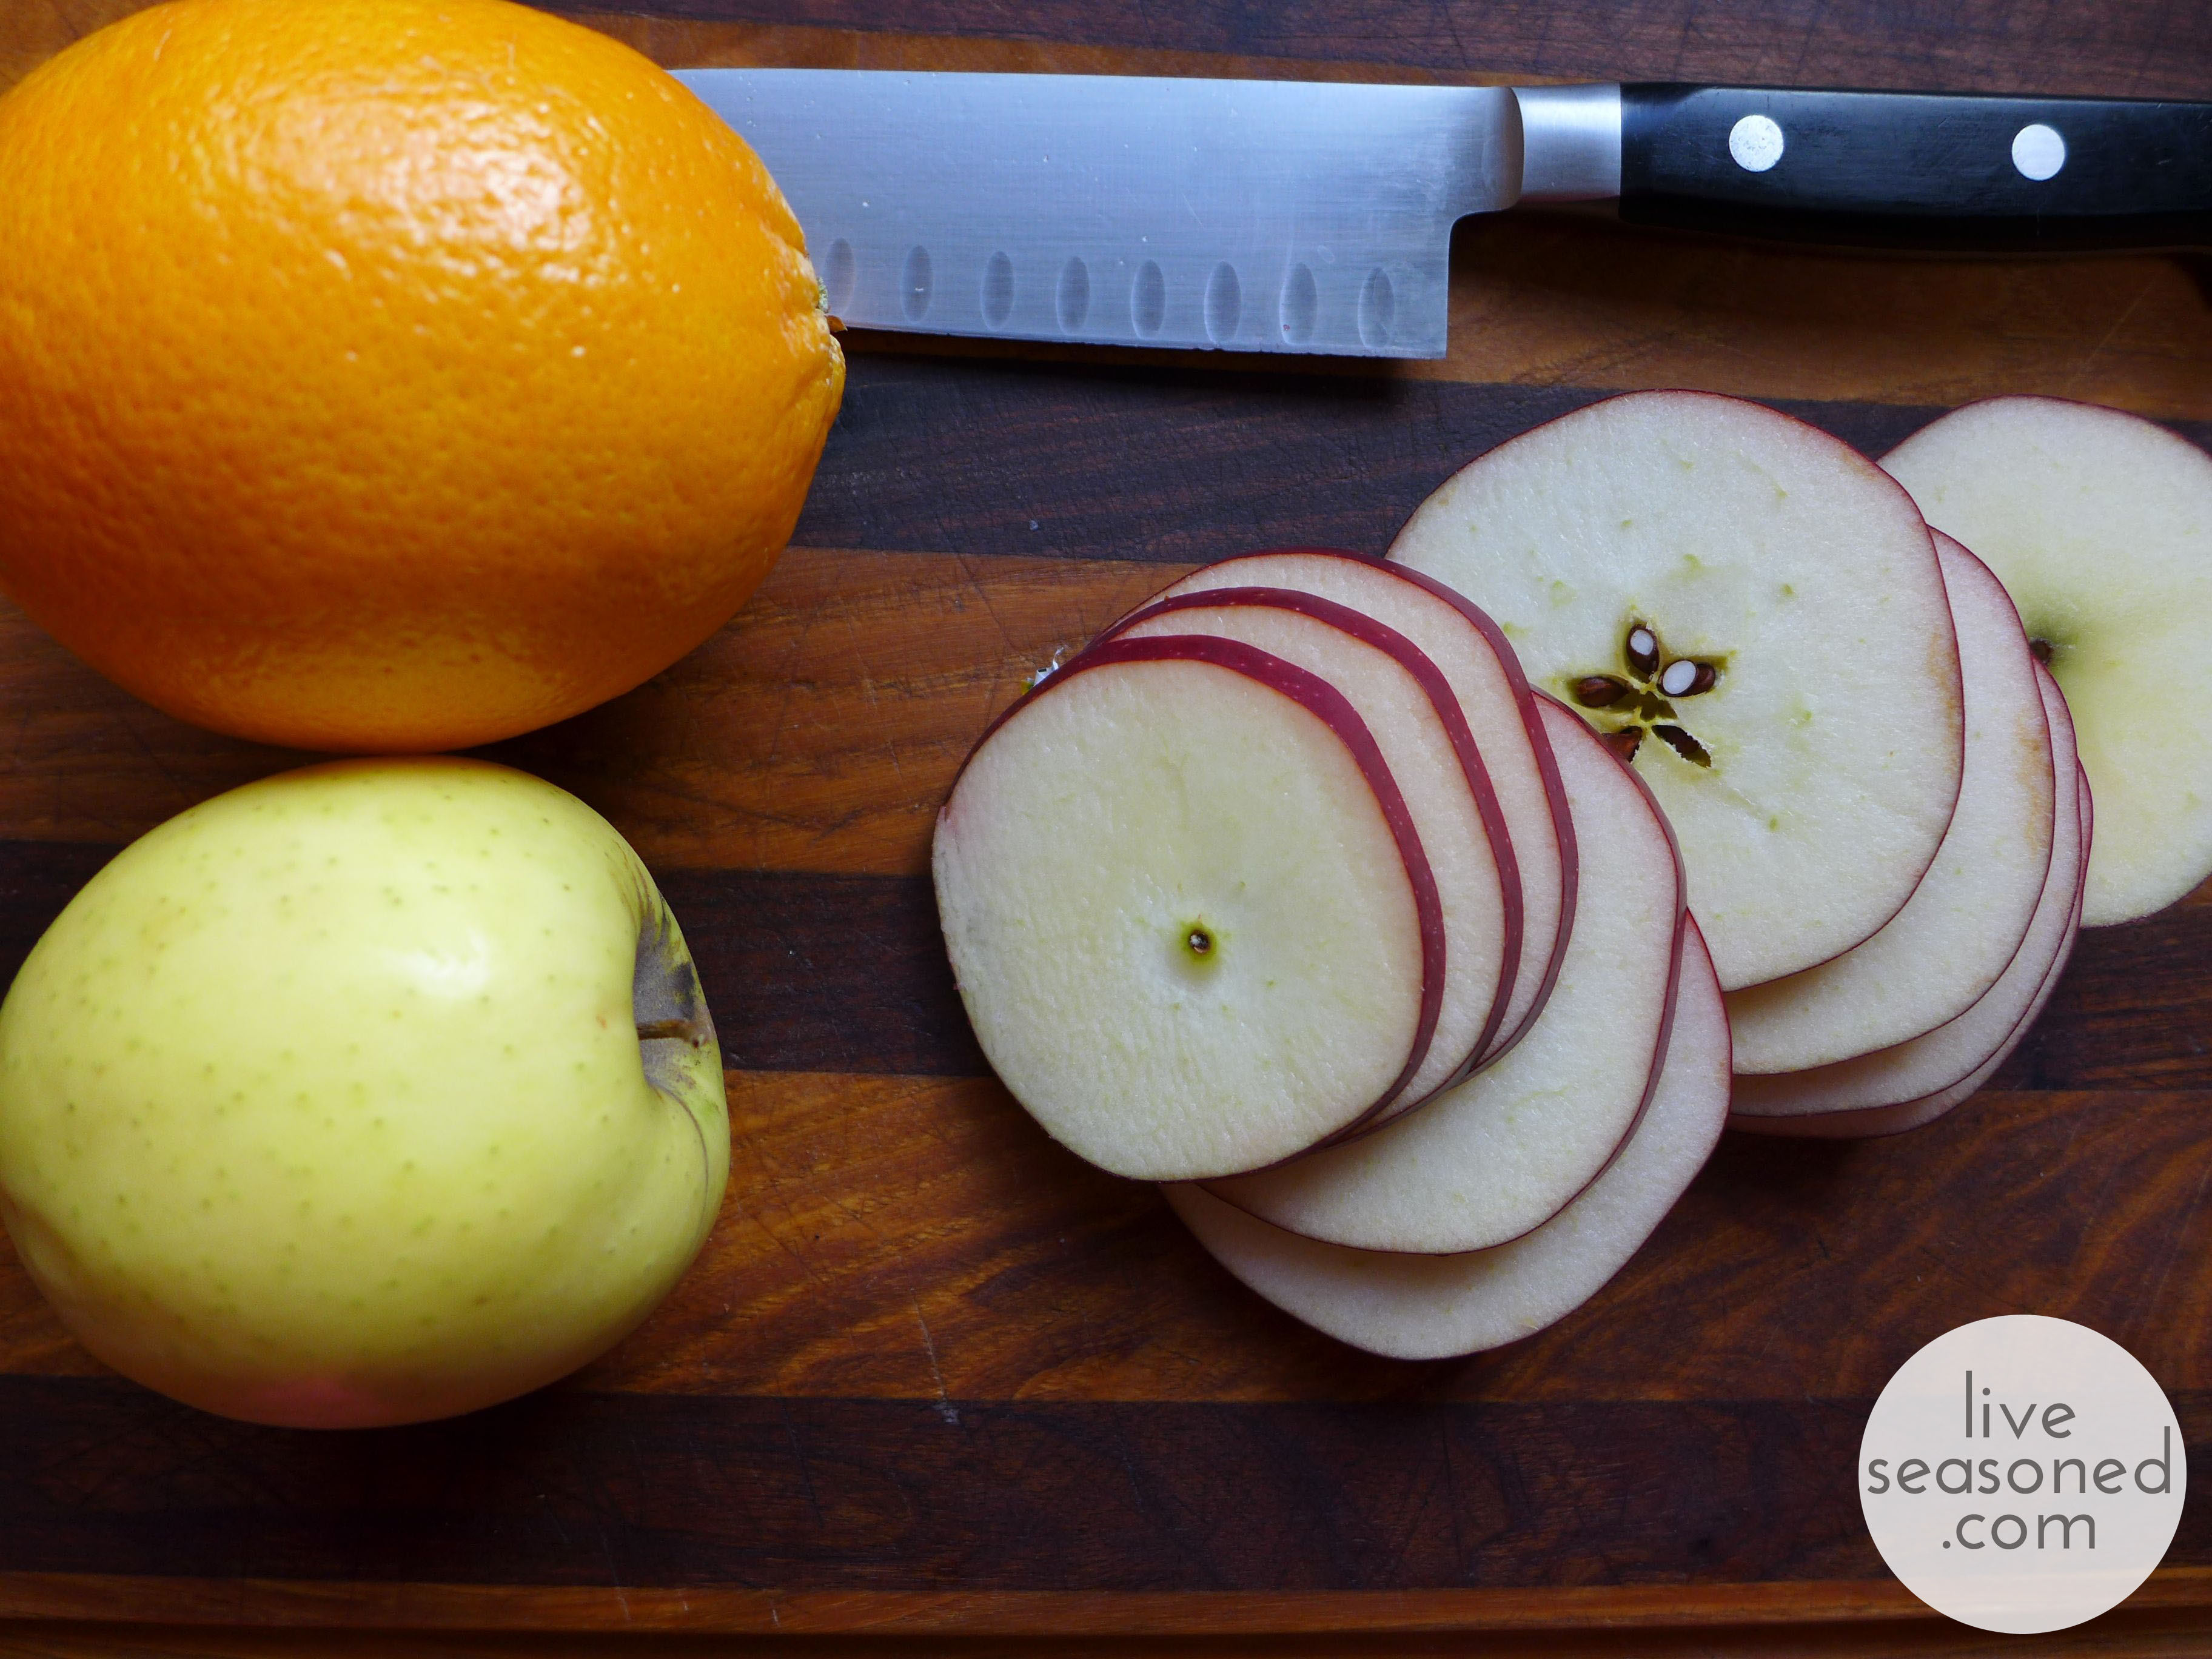
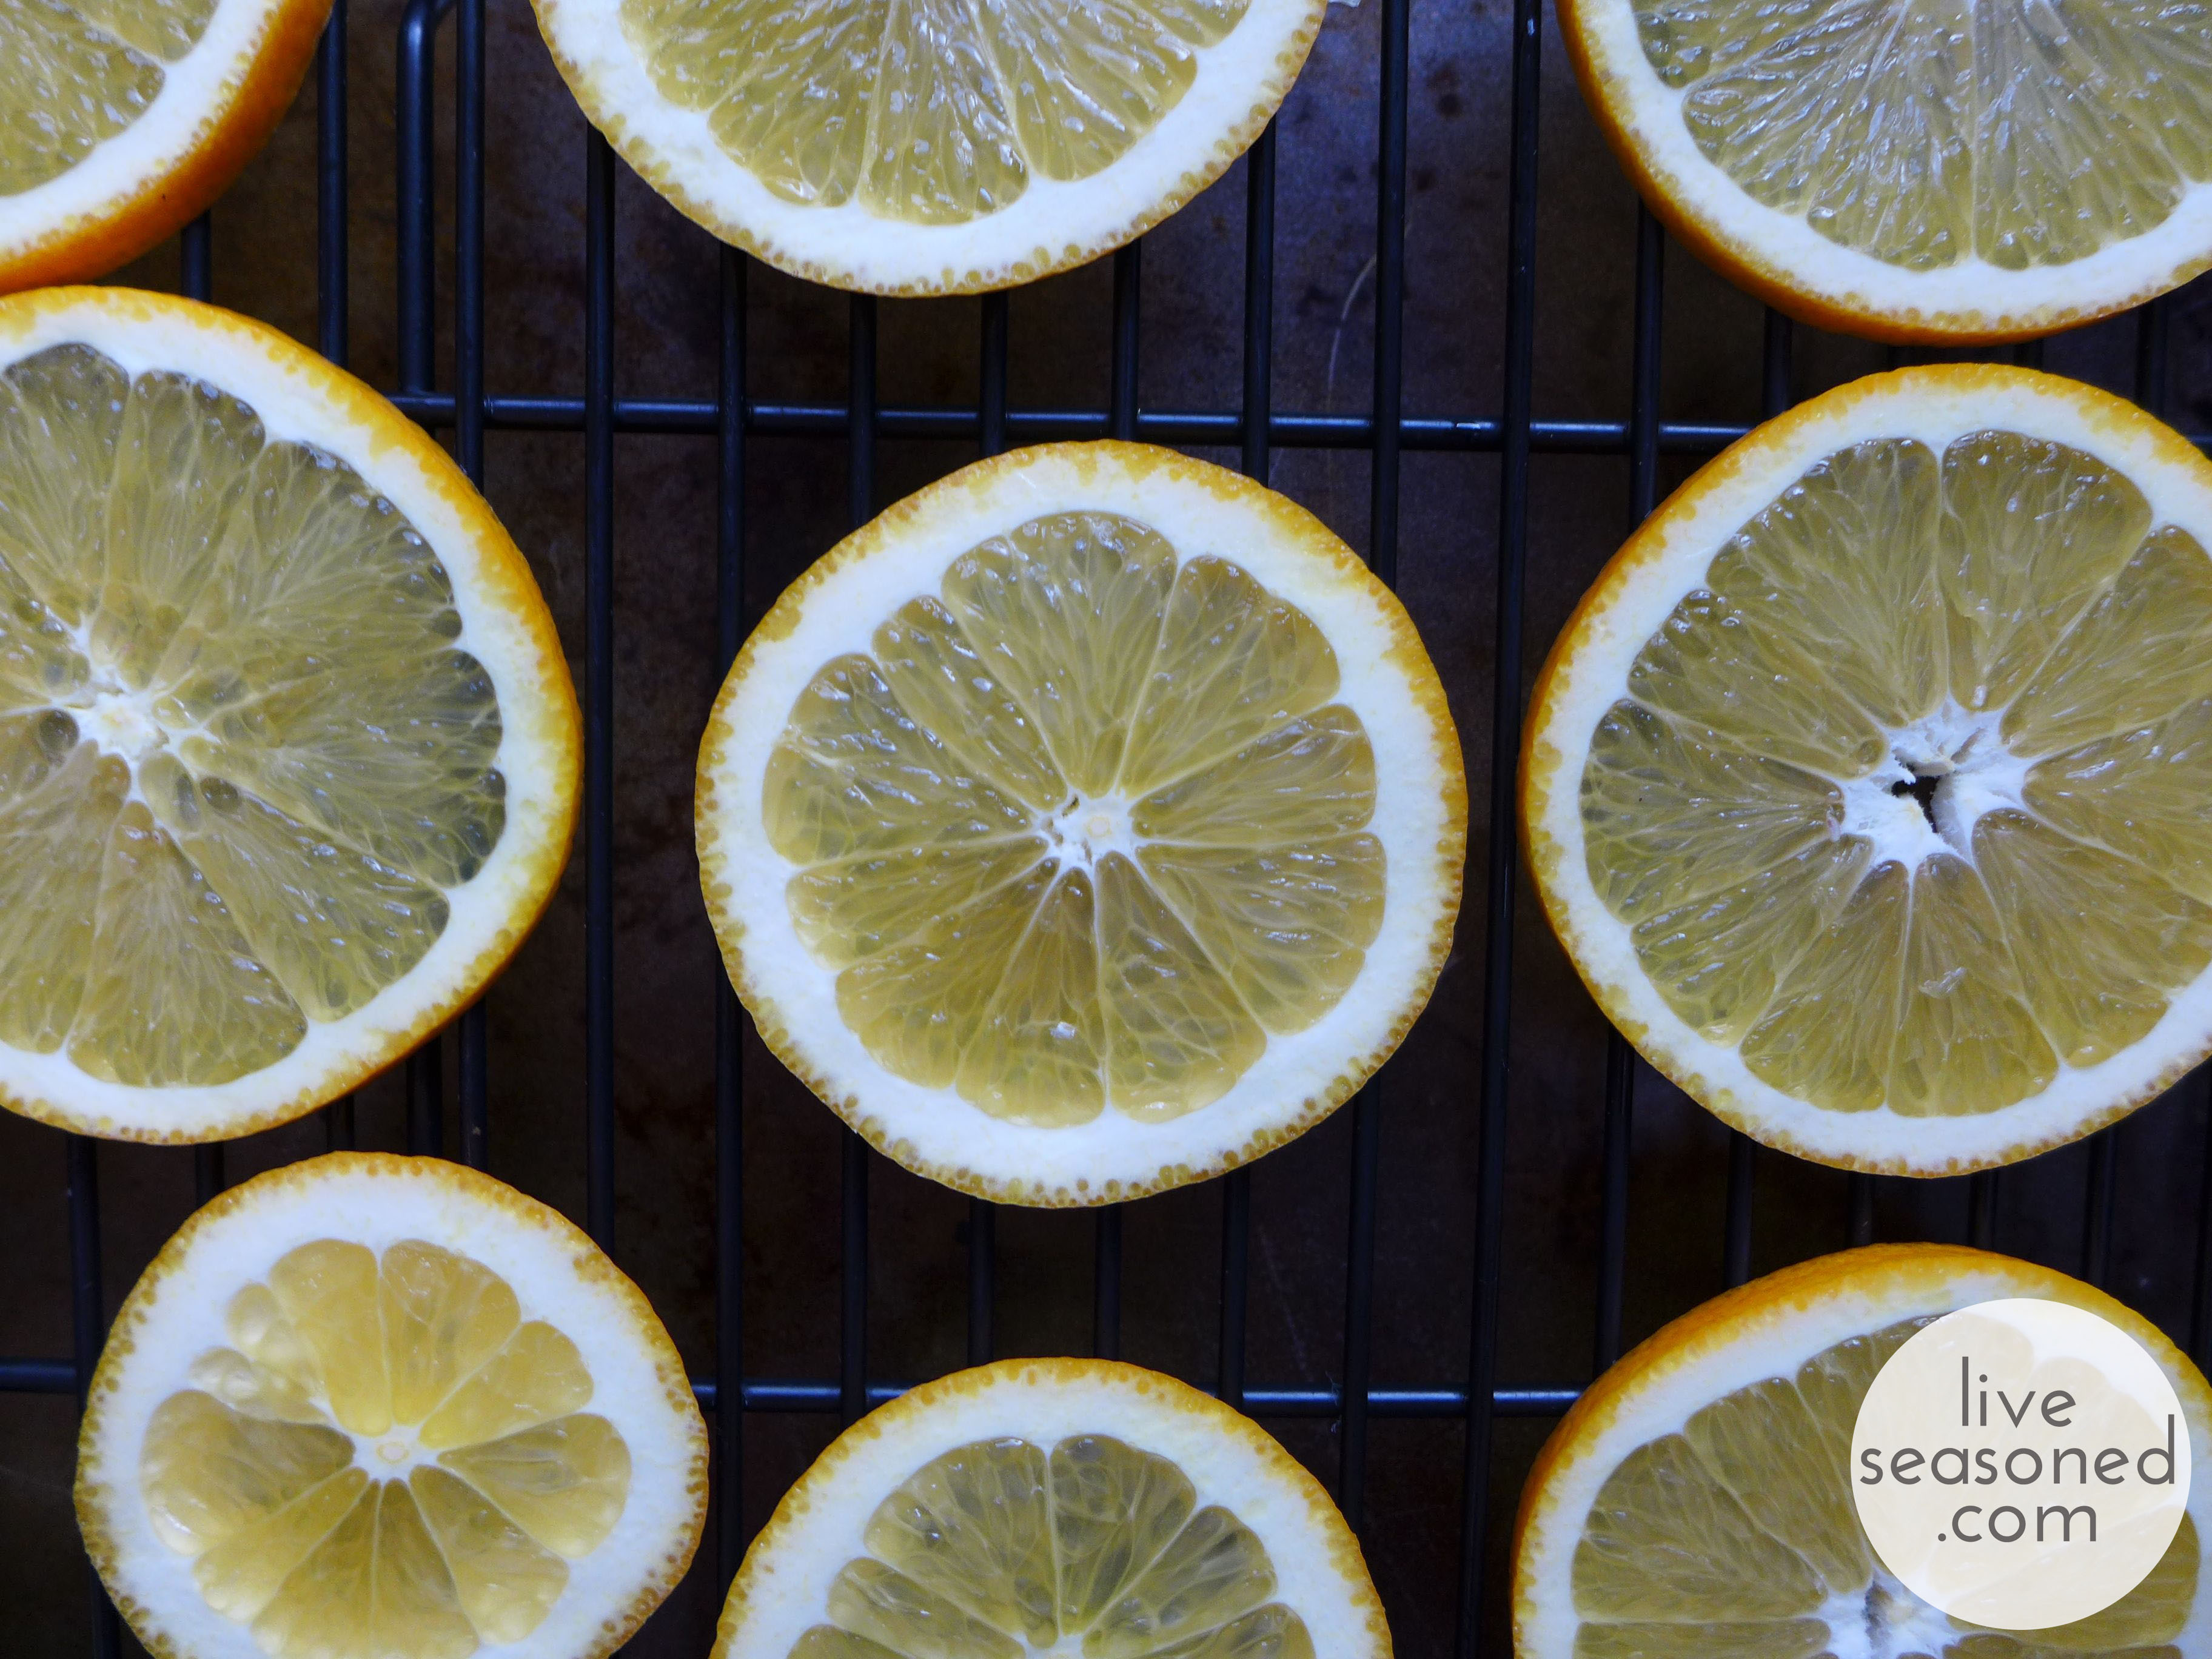
I began the project by slicing and drying three pieces of fruit: red and gold delicious apples and a seedless navel orange. The fruit were sliced into quarter inch discs. Sharpening your knife will go a long way towards helping you make even slices with nice smooth surfaces. You’ll find it difficult to cut through the seeded area of the apples, but my advice is to keep your knife horizontal (rather than pushing the point or handle ends up and down) and to saw back and forth with even pressure.

liveseasoned_fall2014_fruitgarland1_wm


liveseasoned_fall2014_fruitgarland2_wm

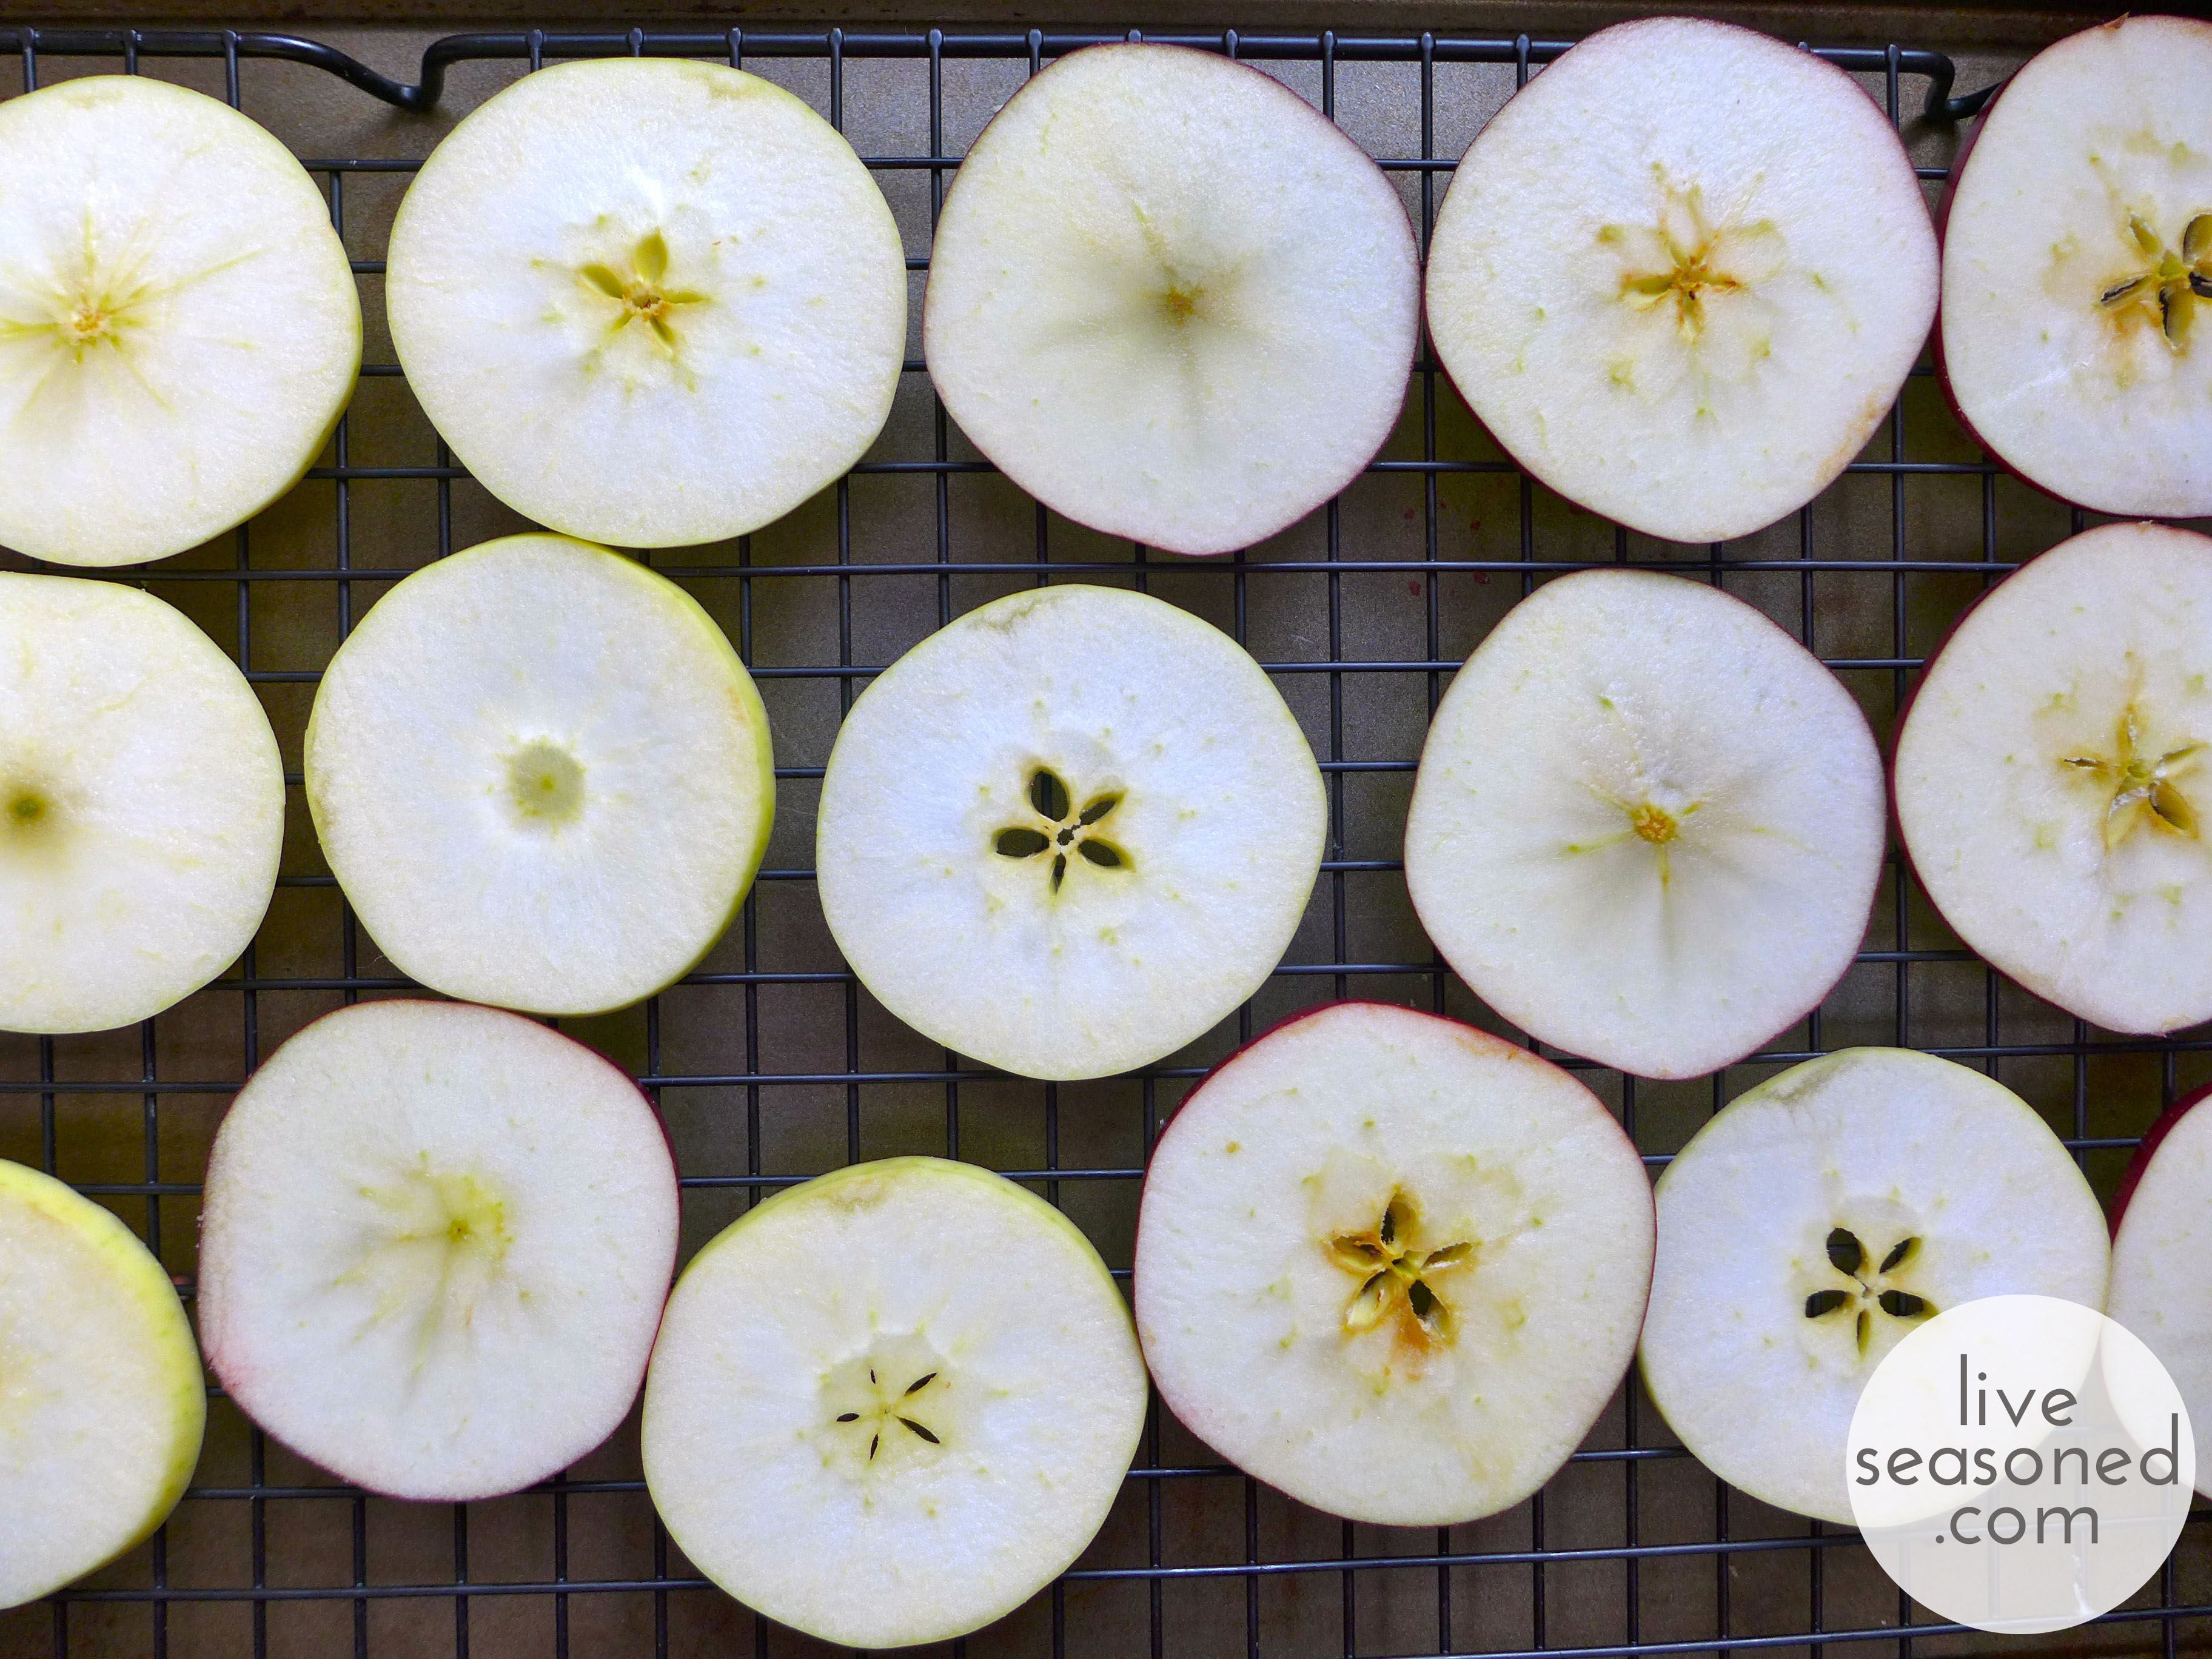
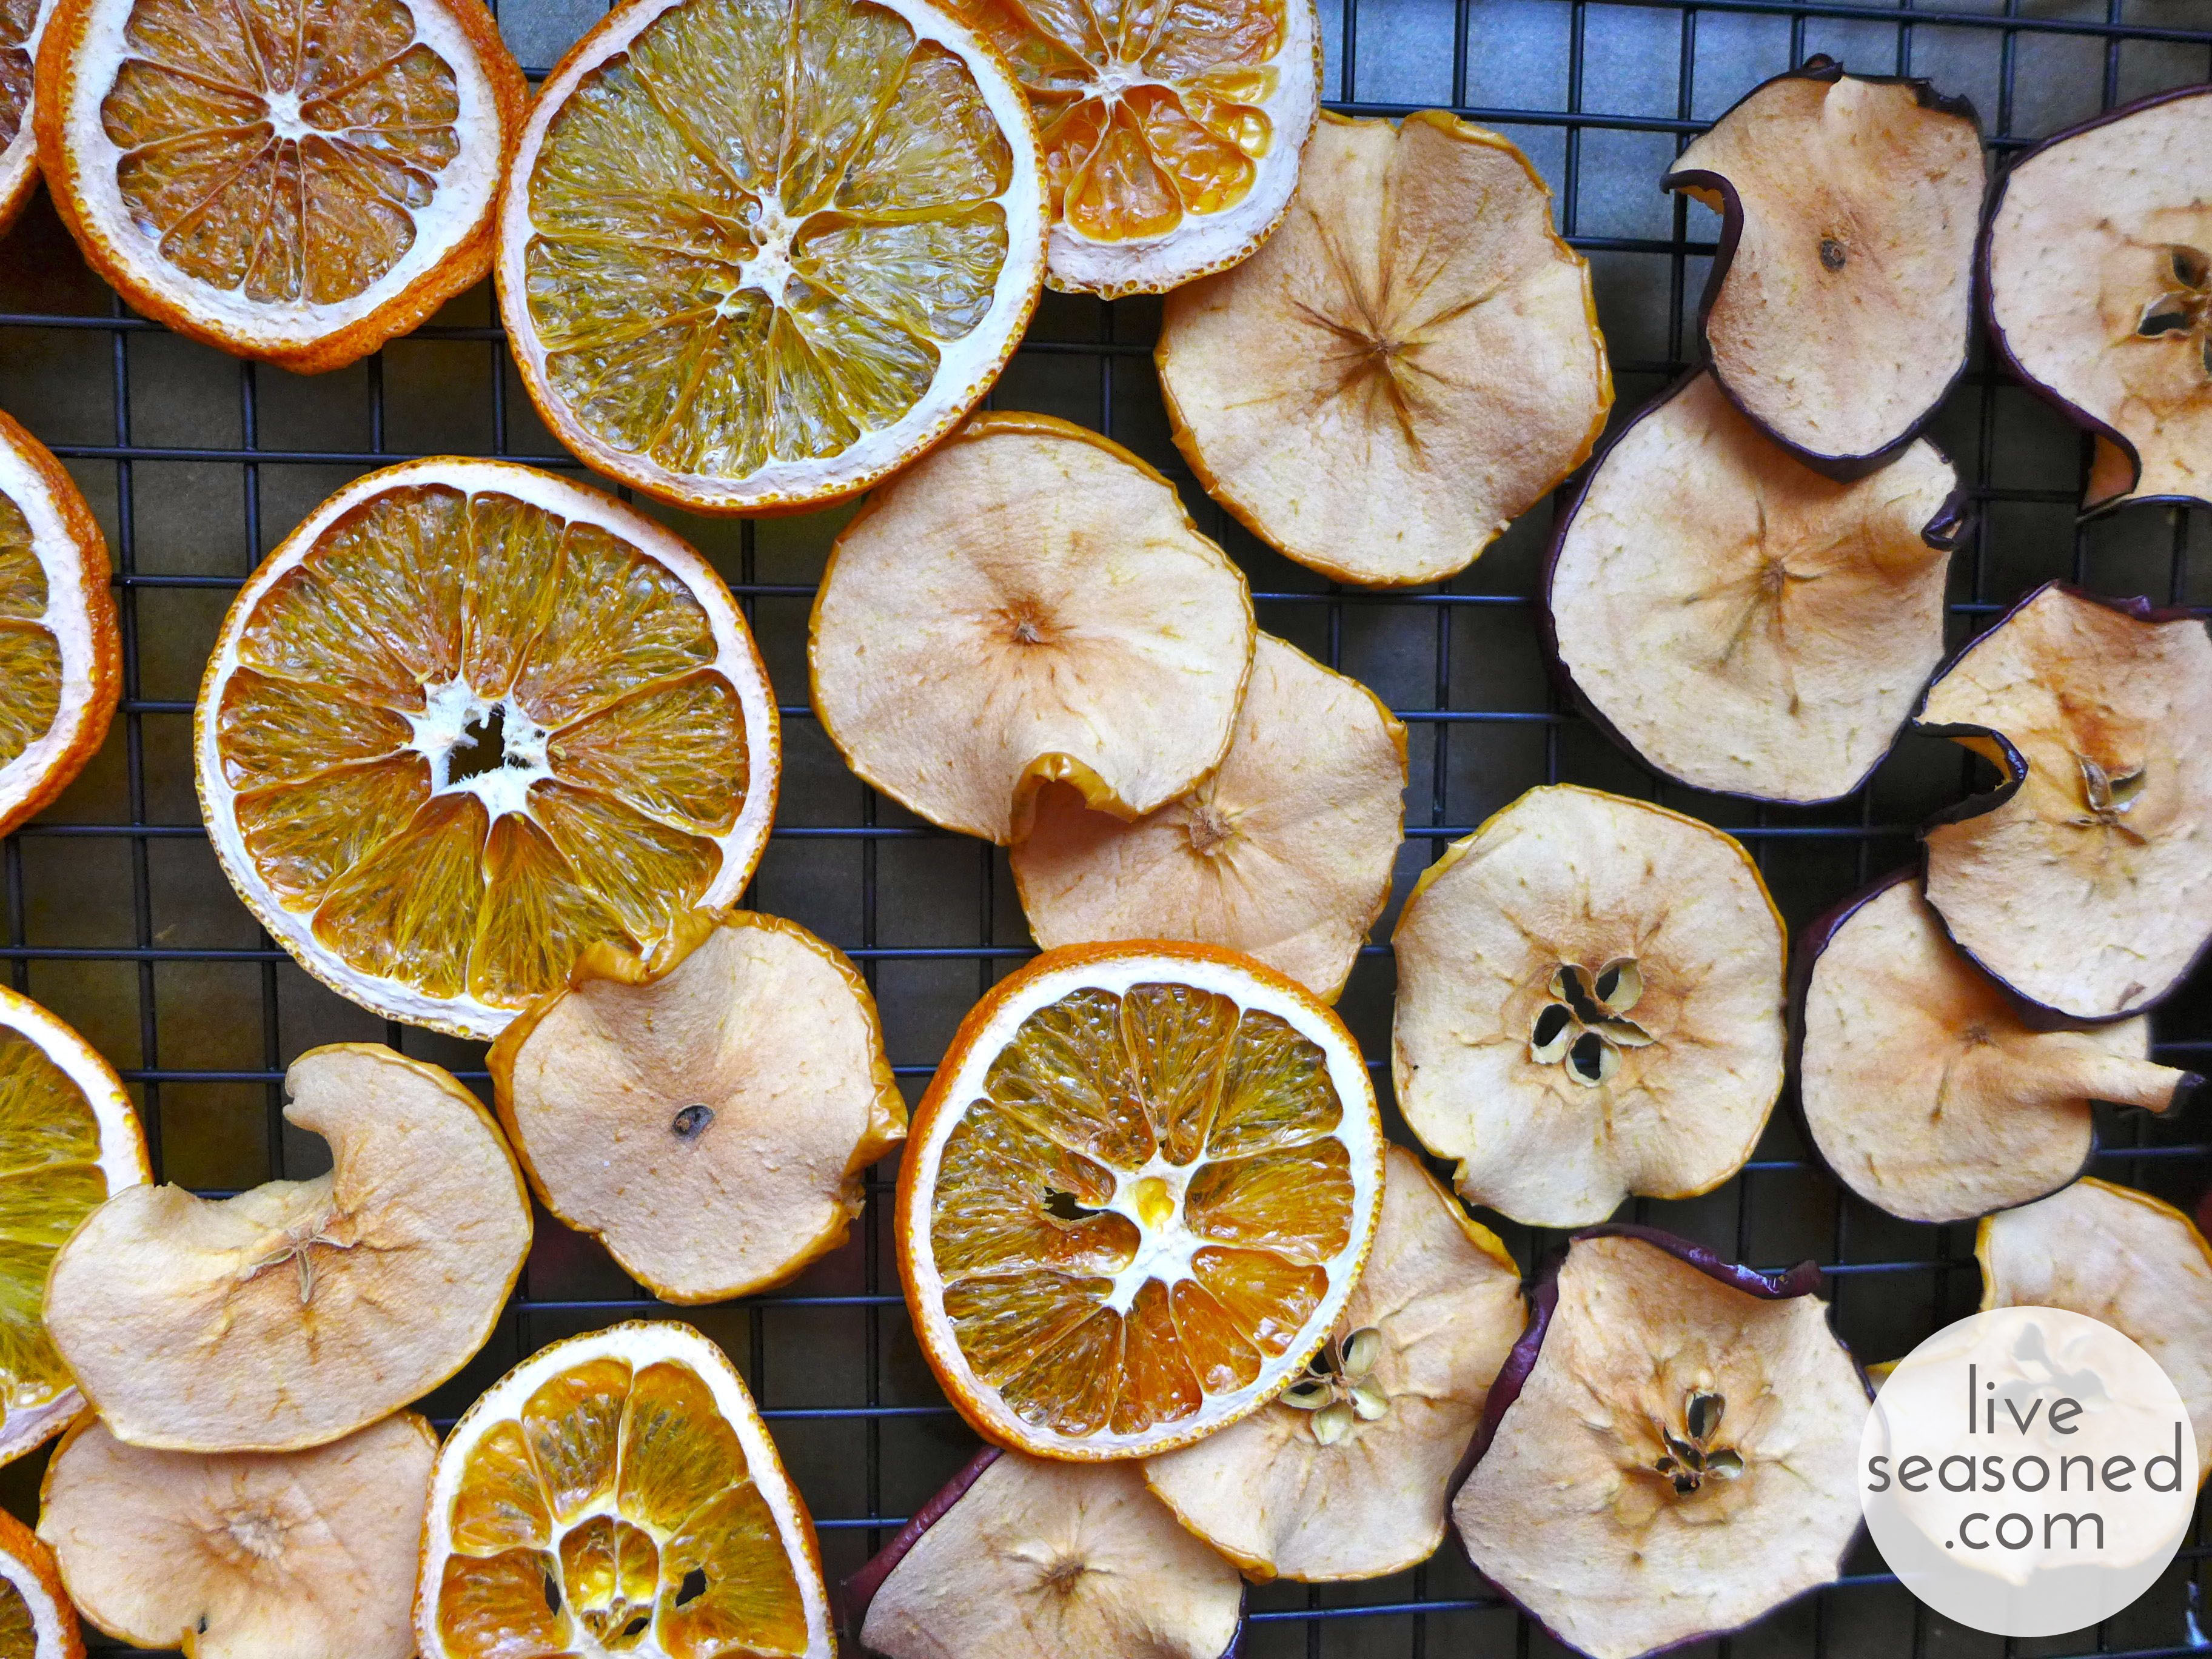
Once sliced, I removed all seeds and placed the pieces on cooling racks over cookie sheets for drying.  I then dried the fruit in a 200F oven for about 5-6 hours, flipping the slices twice to help minimize curling of the fruit.

liveseasoned_fall2014_fruitgarland3_wm
liveseasoned_fall2014_fruitgarland4_wm


liveseasoned_fall2014_fruitgarland5_wm

The Beads

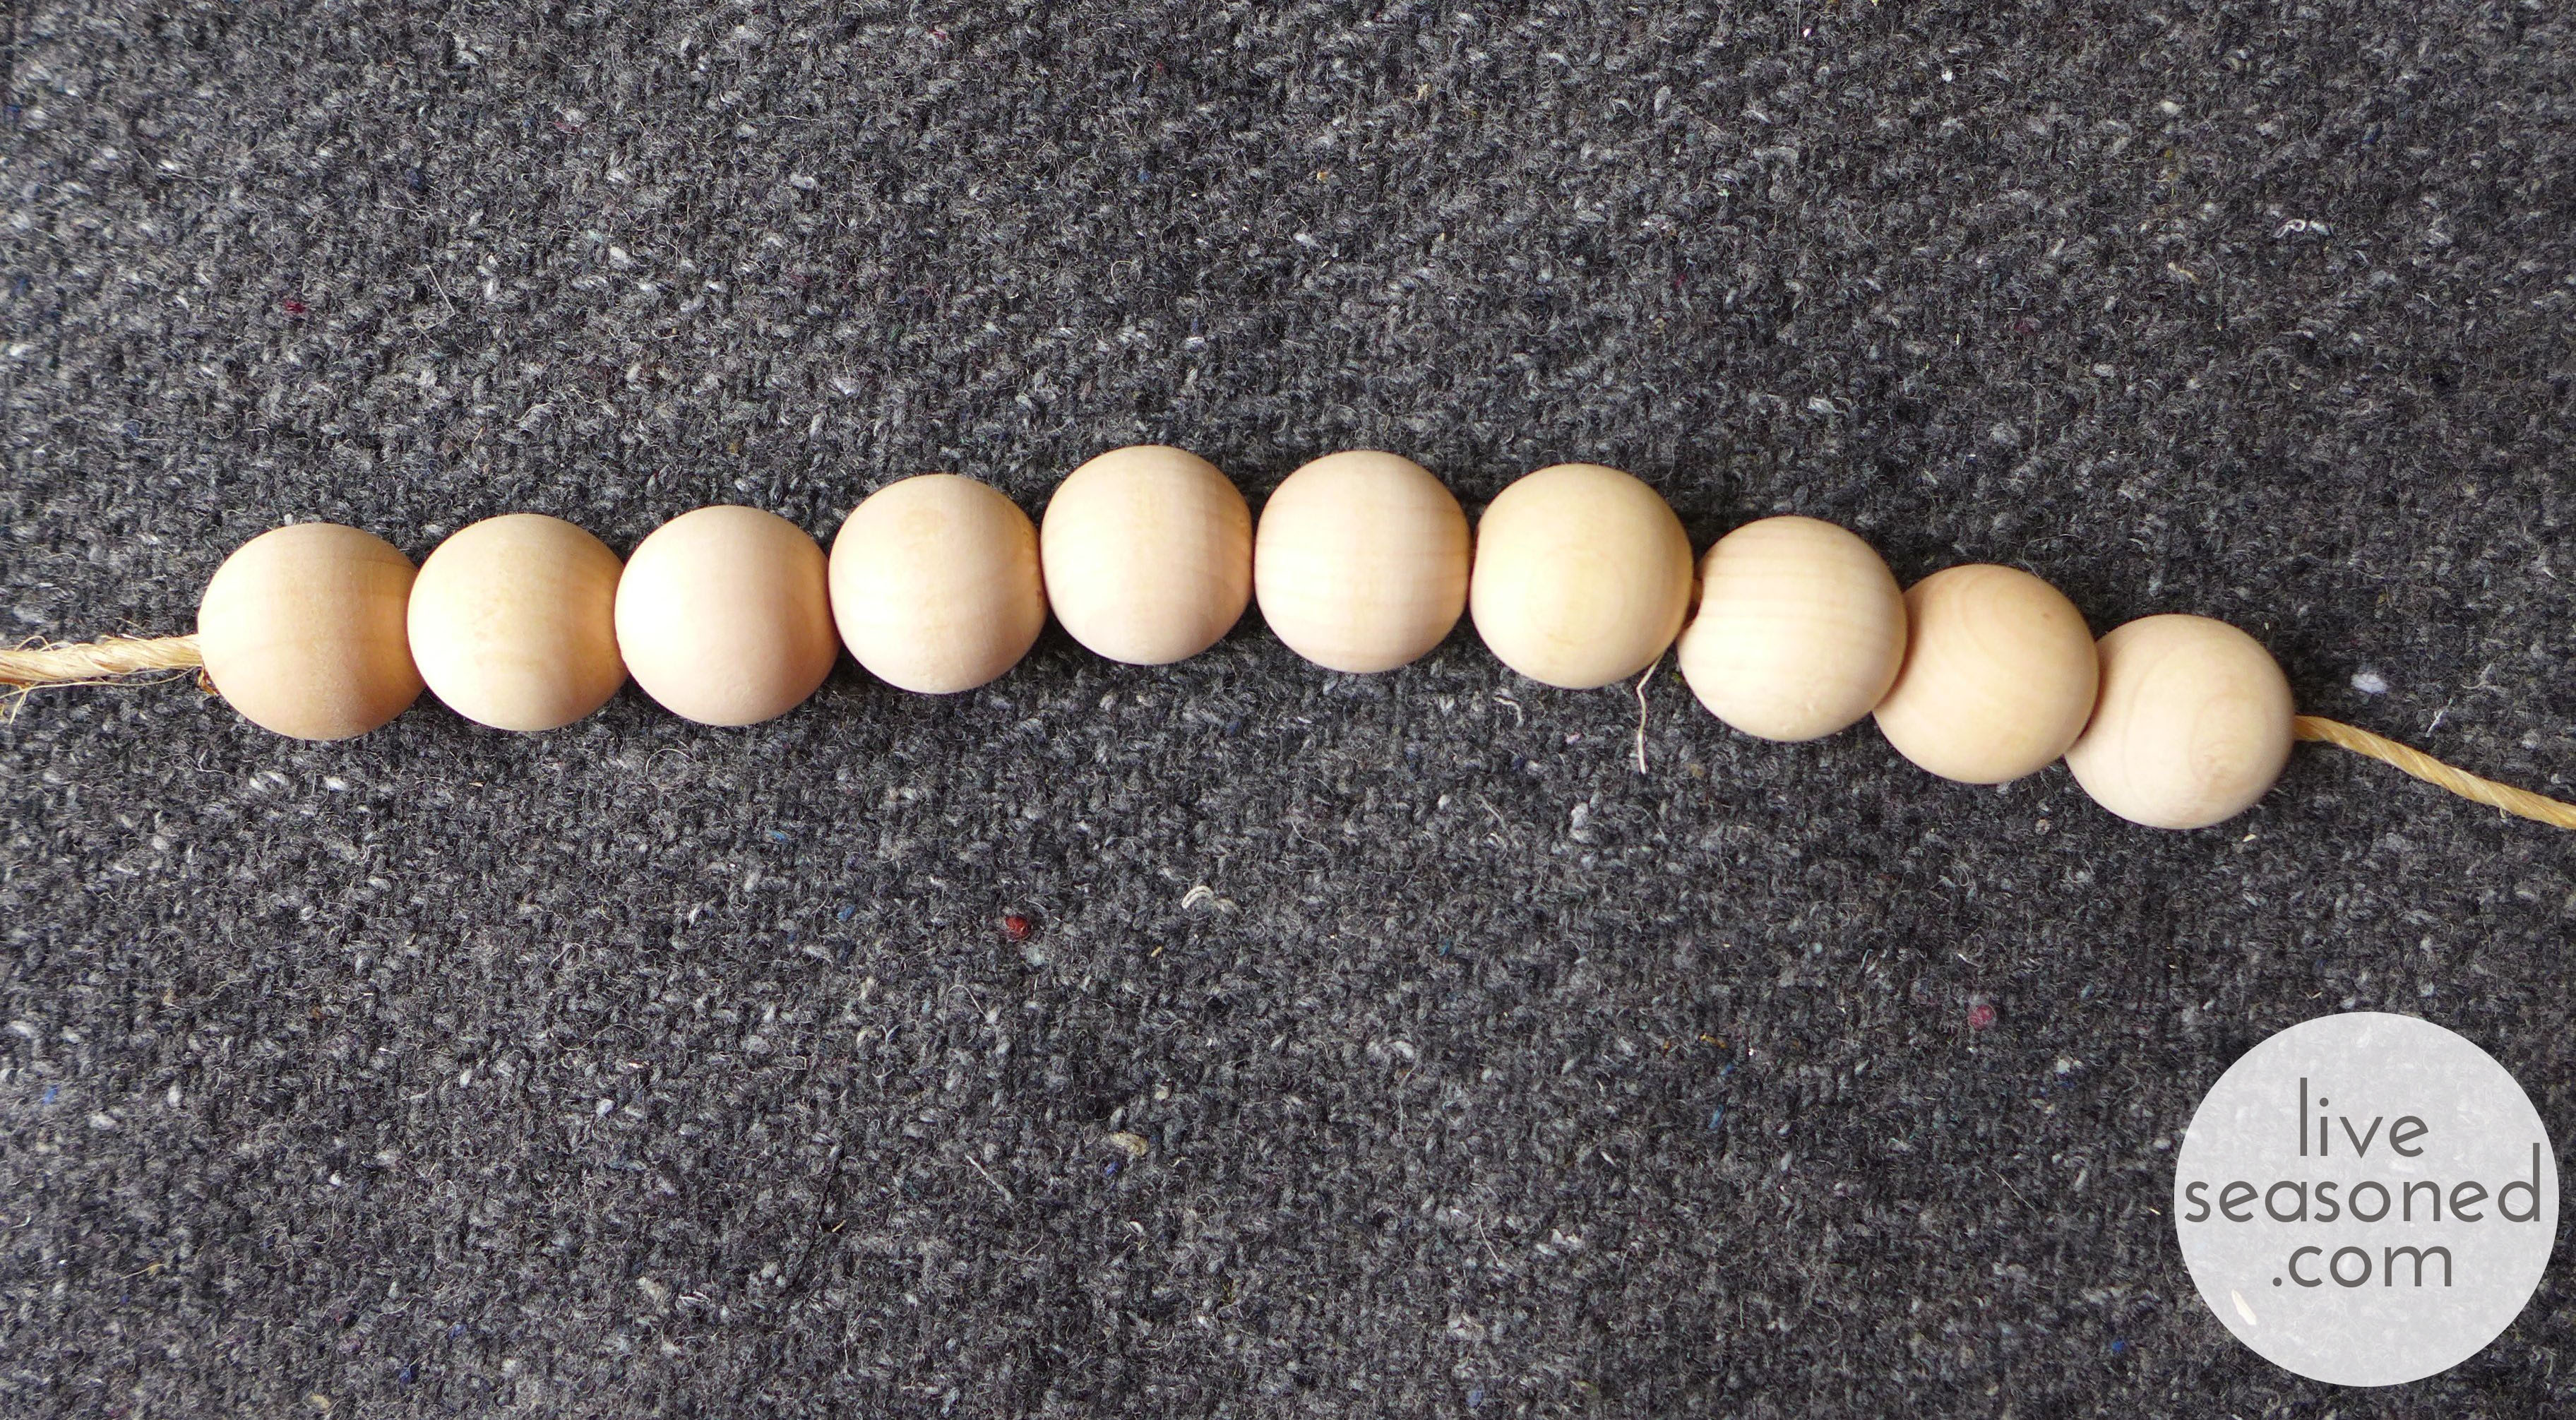
In addition to the fruit, I wanted to add a few other textures and colors to the garland. First up, some natural wooden beads. I bought a 20-pack of these beads at Joann’s. Once home I thought about painting these, but didn’t have any craft paint, so decided to keep them natural and add color with a bit of yarn (something I have plenty of!).

liveseasoned_fall2014_fruitgarland11_wm

The Flowers

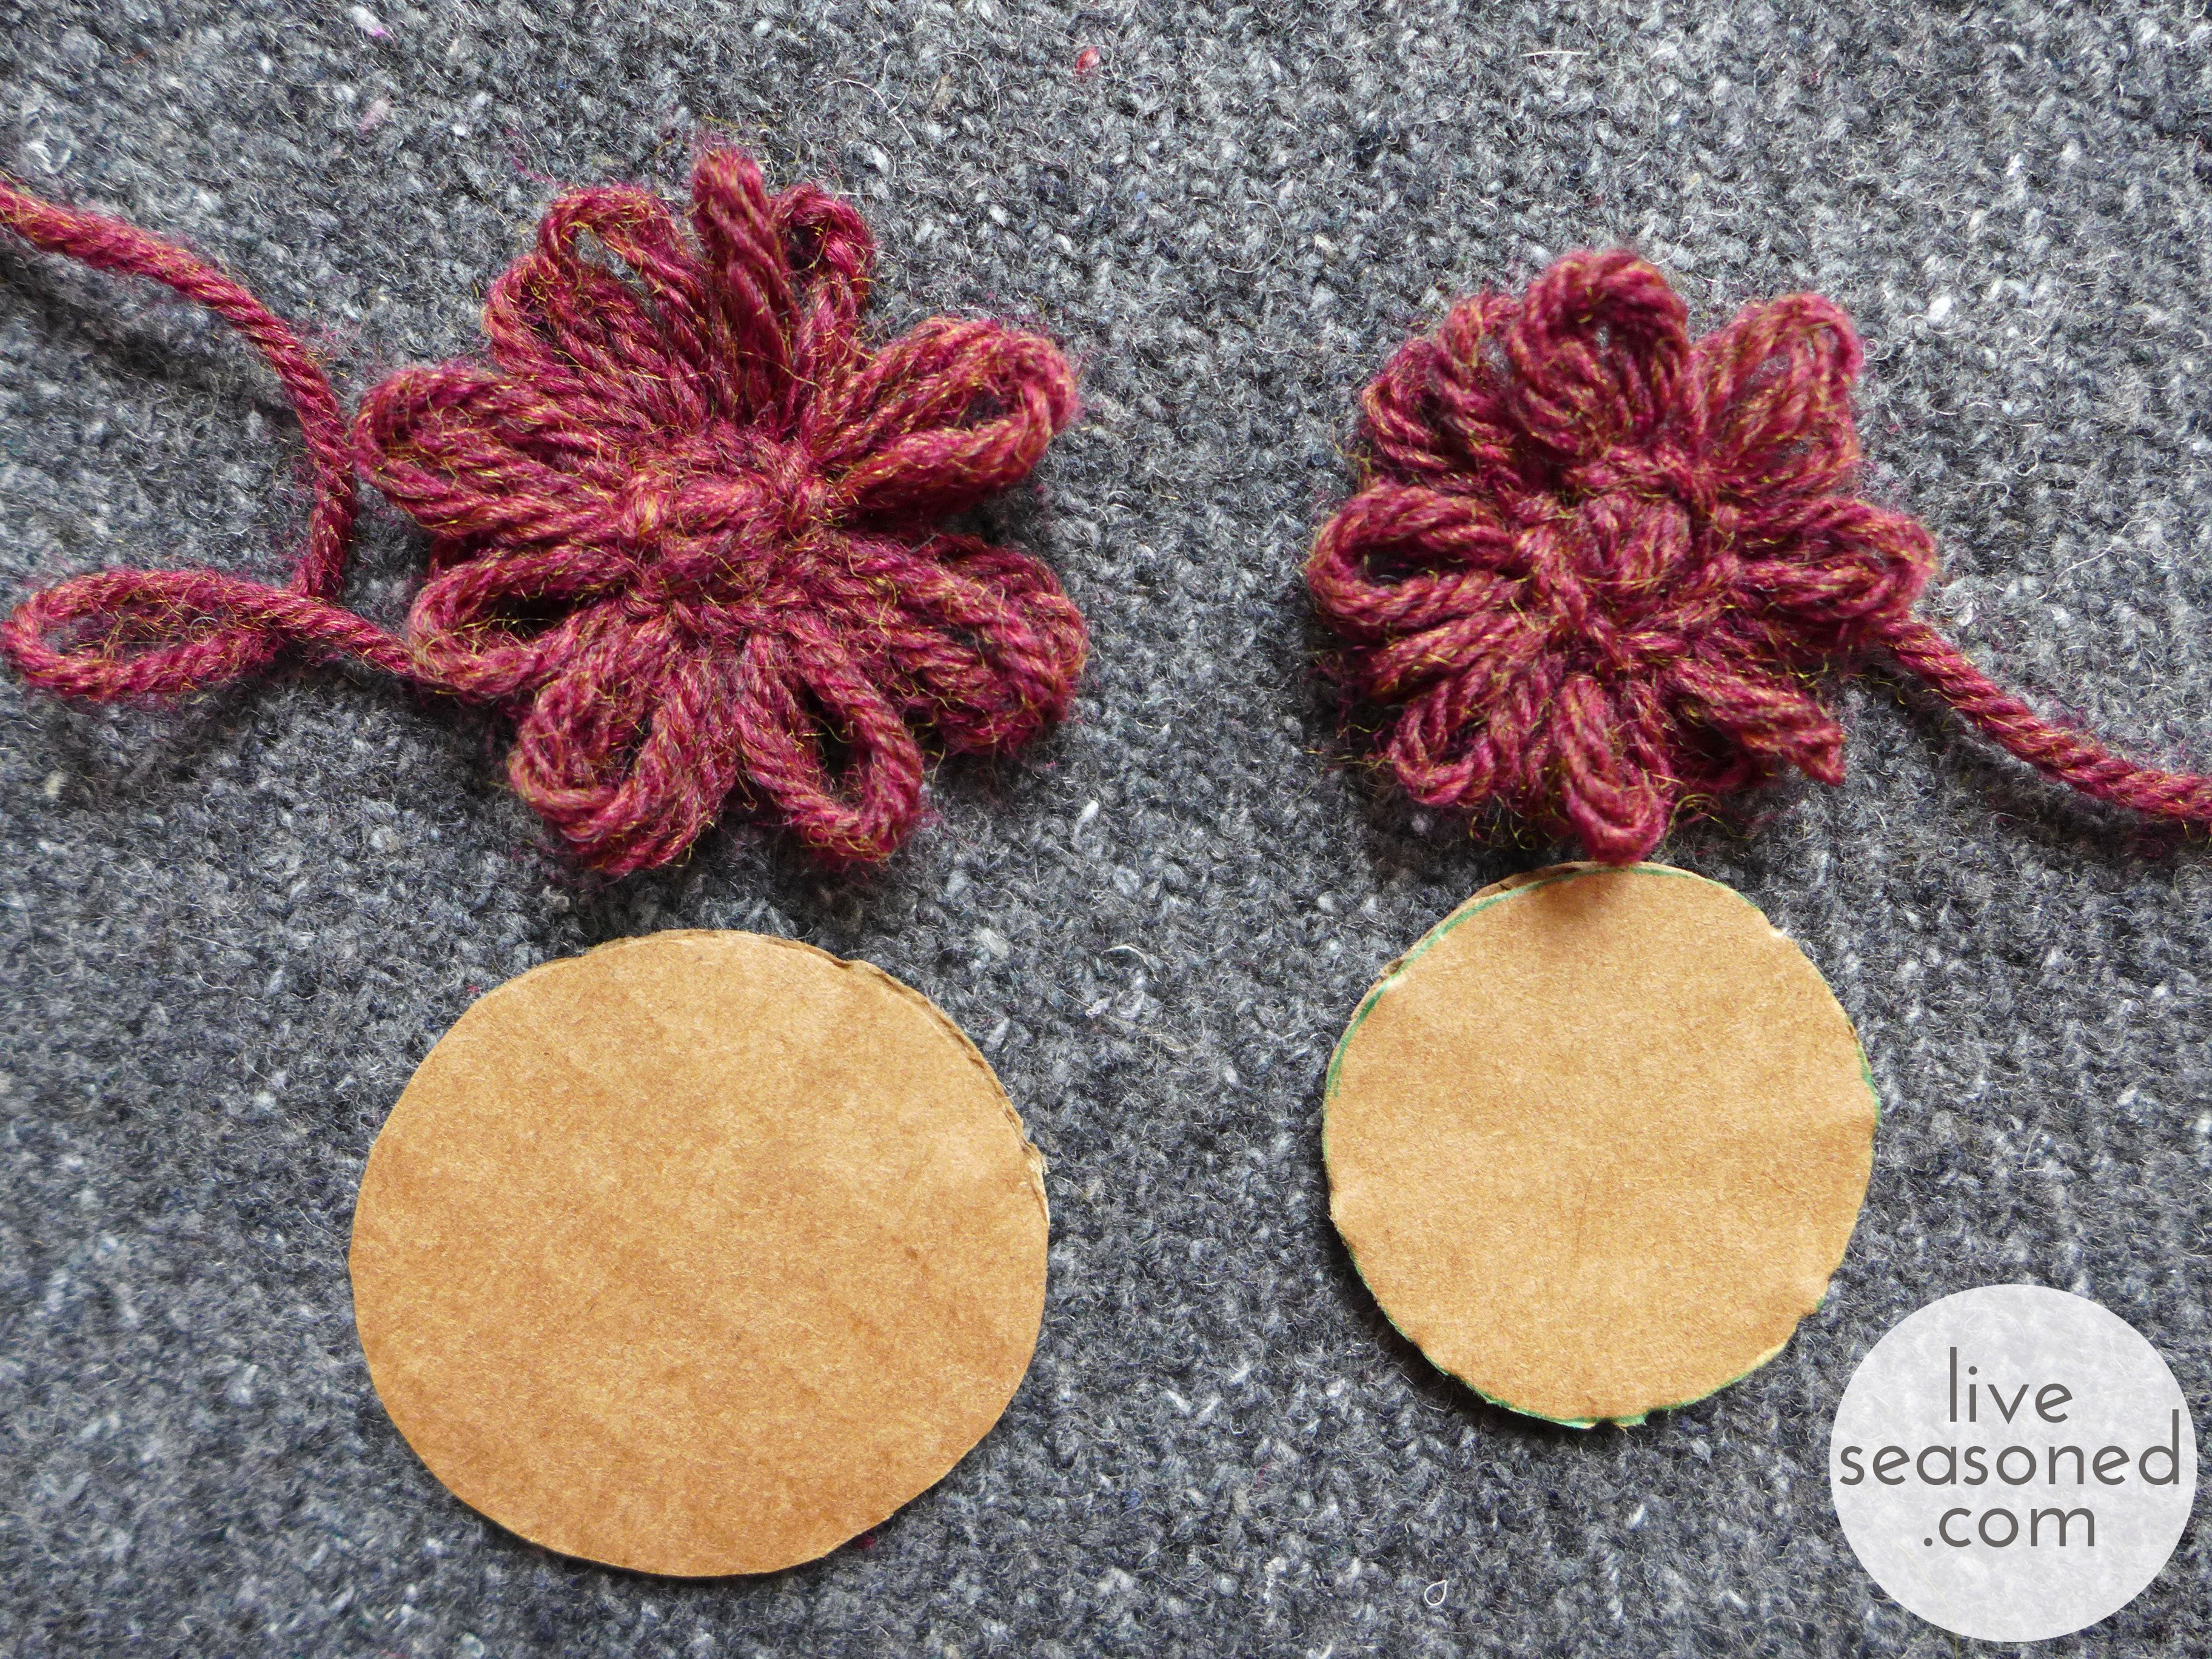
Using some rusty-red yarn, I made a few very simple flowers. I originally saw these flowers on Pinterest and made from twine. The link to that Pin was bad, but a quick Google search led me to this really helpful how-to video.

liveseasoned_fall2014_fruitgarland9_wm

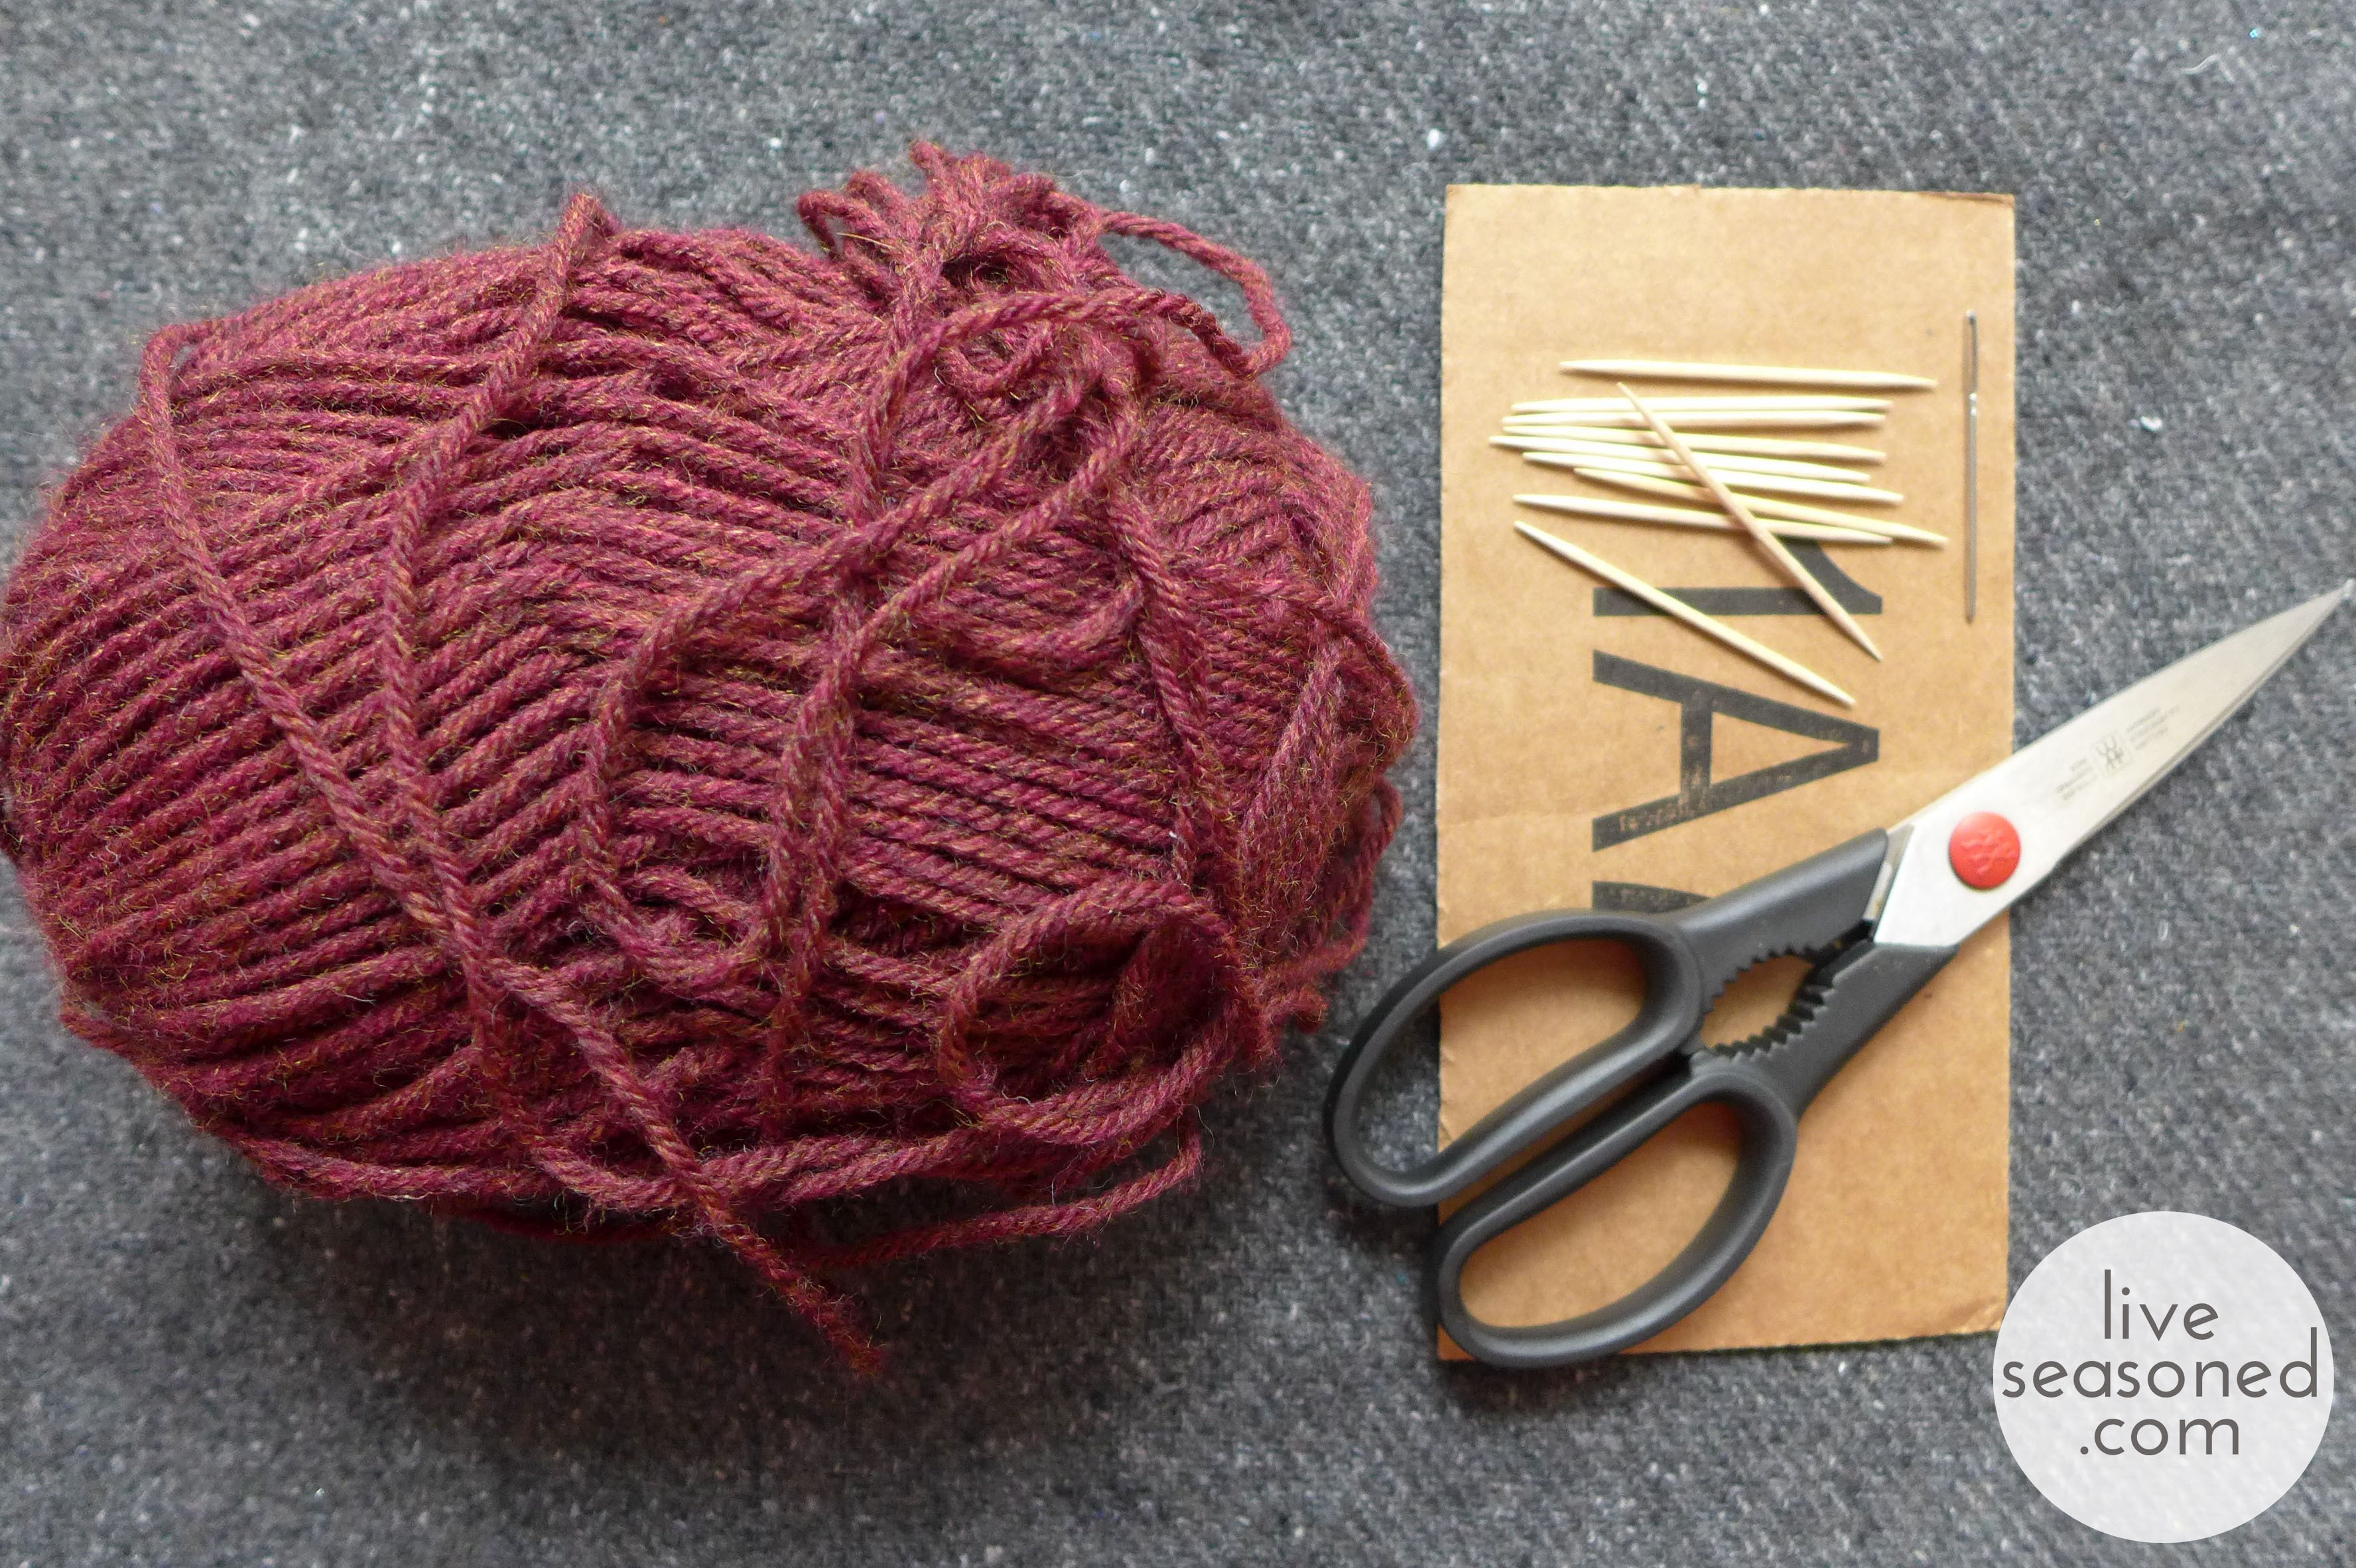
The only supplies you’ll need to make these are a piece of cardboard, yarn or twine, scissors, a yarn needle, and 8-12 toothpicks. If you assemble that, you’ll be able to make a flower right along with the video because she explains everything at a nice slow speed.

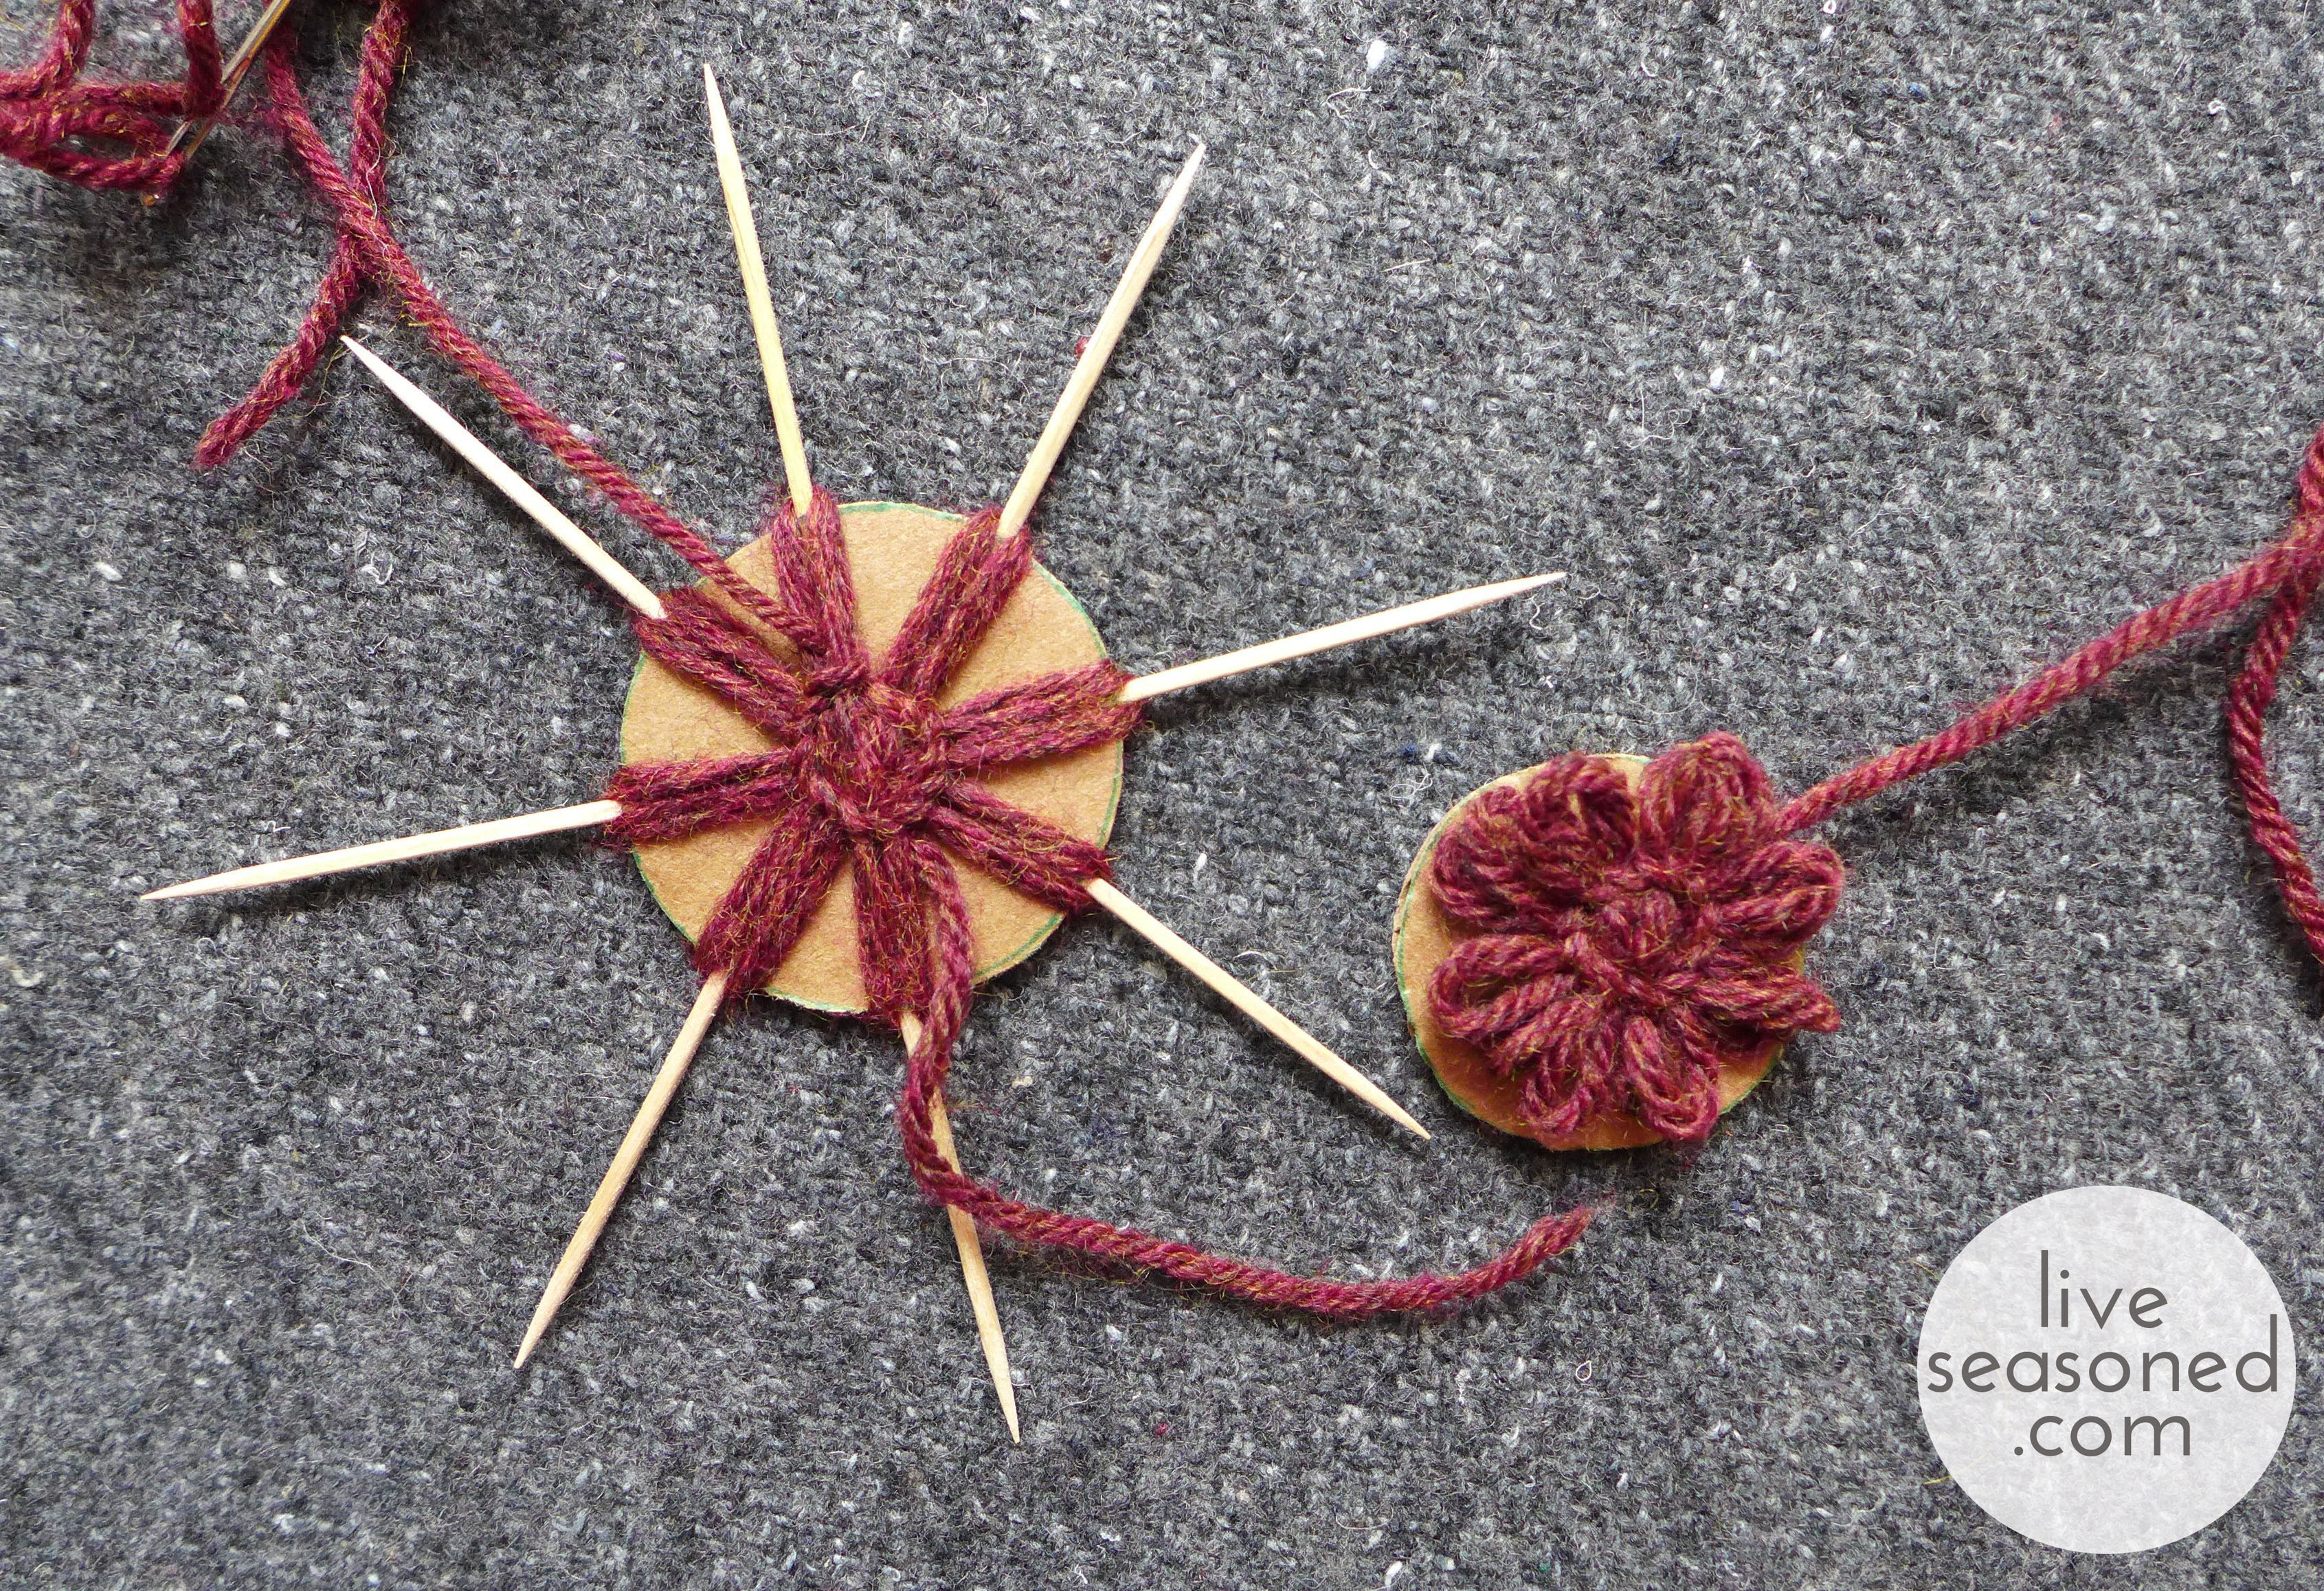
liveseasoned_fall2014_fruitgarland6_wm

In the video, 12 toothpicks are used, but as I mention, you may need as few as 8, depending upon how large and full you make your flower. I made my flowers with cardboard discs that were 1.5 and 2 inches in diameter. As you can see in these photos, the diameter of your disc determines the final diameter of your flower.  I wouldn’t go any smaller than 1.5 inches, and if I were to do it again, would probably uses discs that were 2 and 2.5 inches. As you can see, my flowers are quite full with only 8 petals, and I think 12 would have been too much, but may be just right for a 2.5 inch flower.

*Don’t cut off the extra yarn ends when you’re done making your flower – these come in handy for tying the flowers to the twine.

liveseasoned_fall2014_fruitgarland8_wm

Assemble the Garland

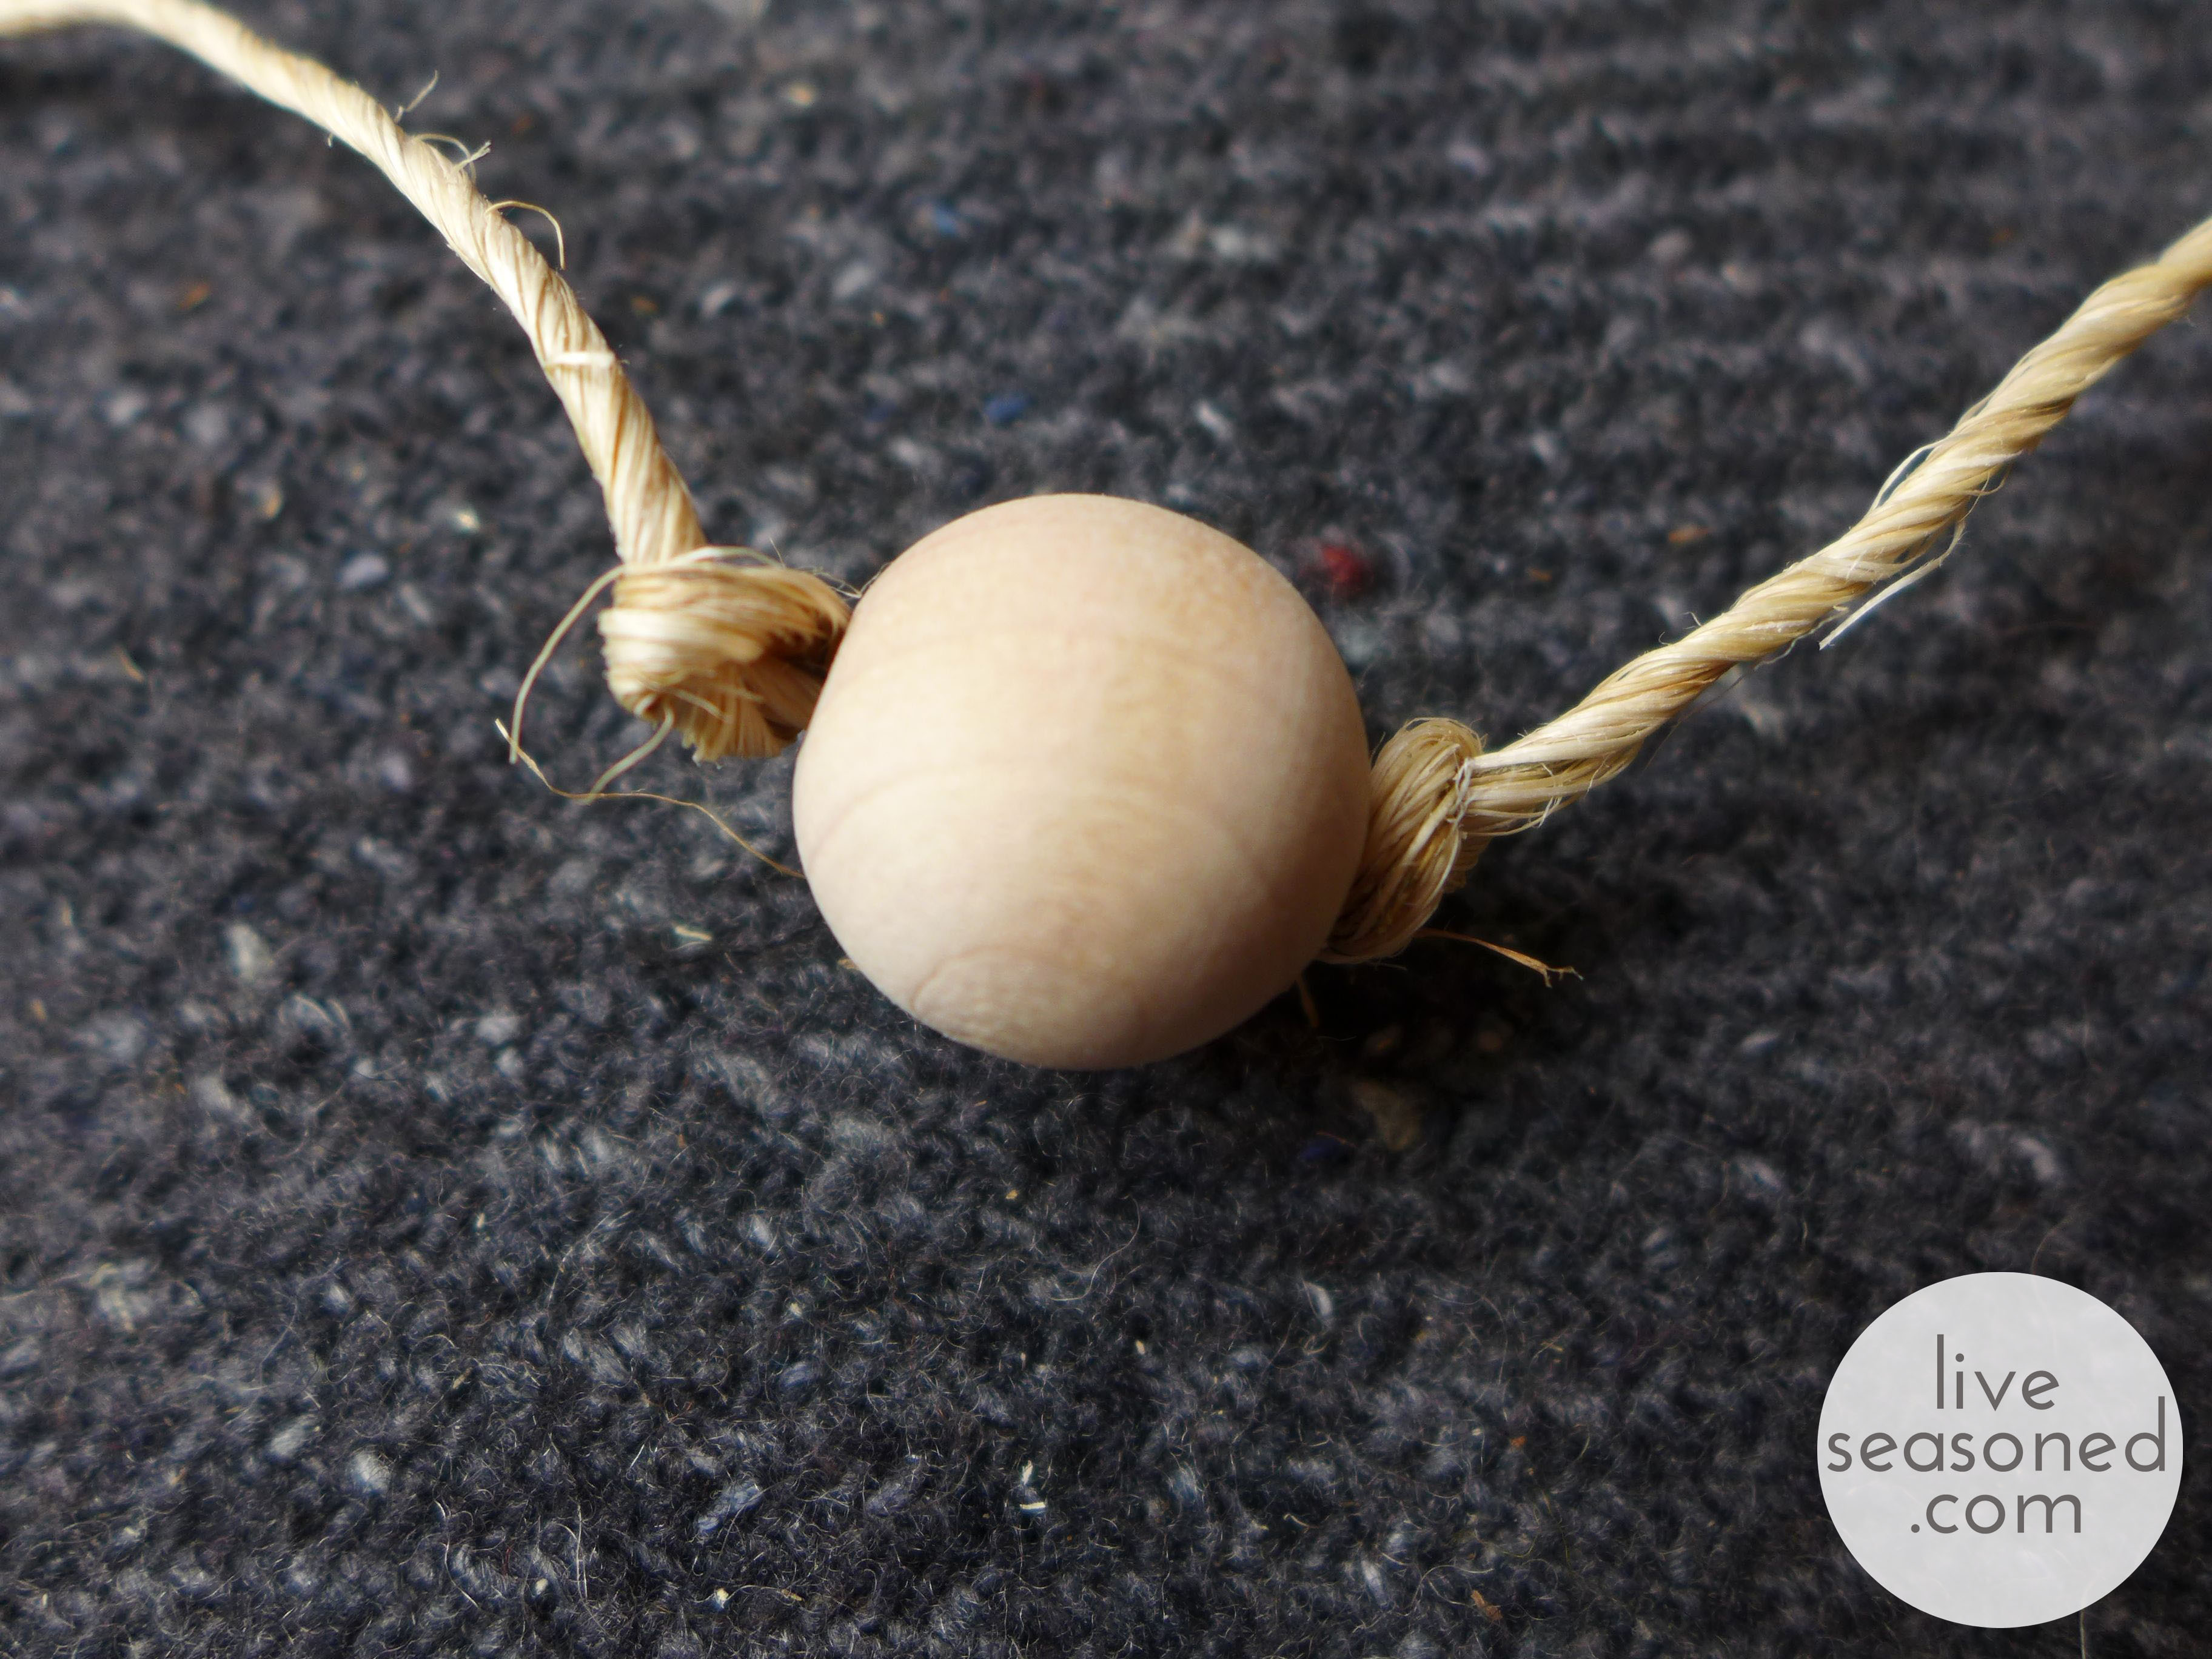
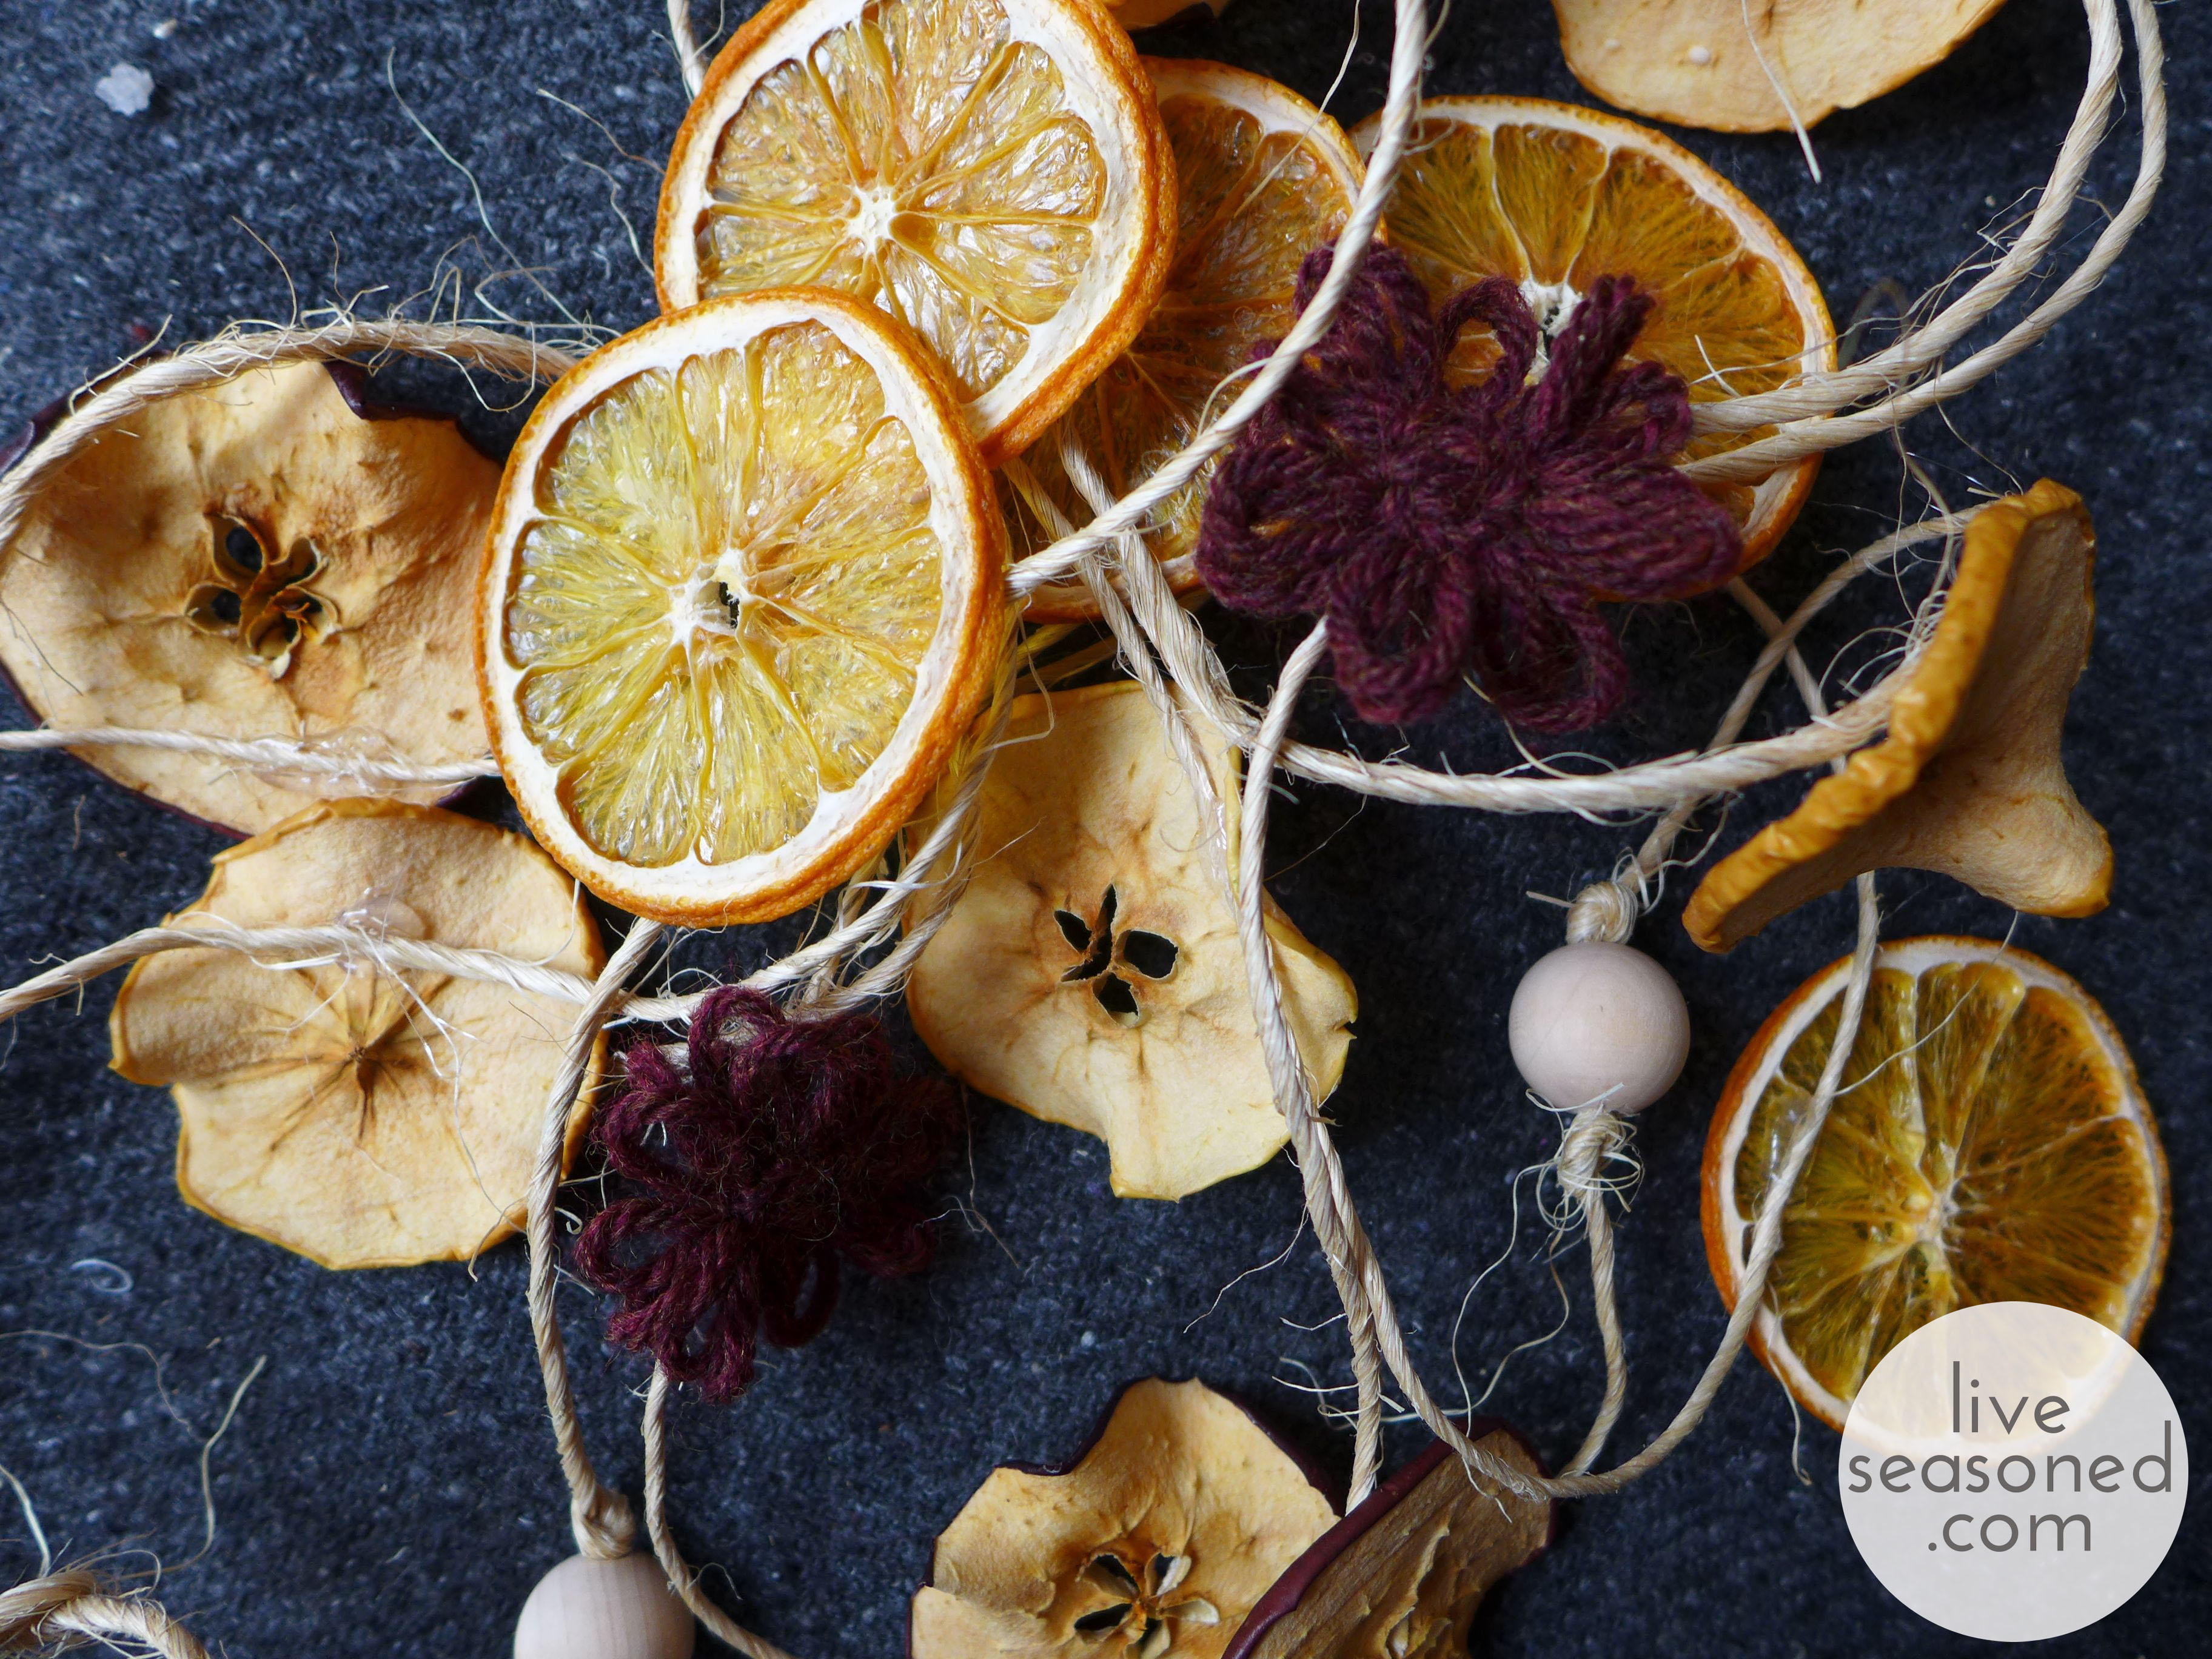
With your garland swag in order, it’s time to assemble! I attached the fruit with hot glue. In order to get the fruit to hang nicely, you should glue the twine on no more than 1/3 of the way down the slice (rather than along the widest part, if that makes sense?). If you glue the twine too far down, the weight of the fruit will cause them to face downwards rather than out. The flowers were tied on by the extra yarn ends. If you cut off the yarn ends, you could easily hot glue these too. Once tied, I then cut any excess yarn off. And to make bead placement easier, I strung a whole bunch at once (as you saw in the photo above), then just knotted the twine on either side of the bead.

liveseasoned_fall2014_fruitgarland12_wm

With those instructions, just go for a random placement of your items, but still keeping in mind that odd-numbered groupings are more appealing. The beads sort of act as breakpoints in your garland, so I thought it was useful to place 3 or 5 of the fruit and flower items between any two beads.

liveseasoned_fall2014_fruitgarland13_wm

 Hang it up!

And now comes the hardest part, figuring out where to hang your garland. I started by stringing mine along one of our ceiling beams and thought that it looked OK, but maybe a little bit too puny for that space? What do you think?

liveseasoned_fall2014_fruitgarland14_wm

From there I took the garland over to our fireplace. First, I tried stringing it along the mantel and letting the excess hang down on either side. I loved the look of the garland along the skinny front of the mantel, but knew that if we were to keep it here, I’d have to shorten the ends to keep Little A from pulling on or trying to eat it.

So I moved the garland with the same hanging profile to above the mantel. I’m not completely in love with how it looks here, I feel like there’s nothing specific that’s anchoring the garland to that spot (am I wrong?). I do love being able to see it as we sit on the couch, especially when I catch a look at the fruit in the glow of the candle light. But, now what’s this renter to do with those ugly brown vents? Any tips?

So, that’s our simple bit of decoration for November. Just enough to tide me over until I go evergreen and light crazy!

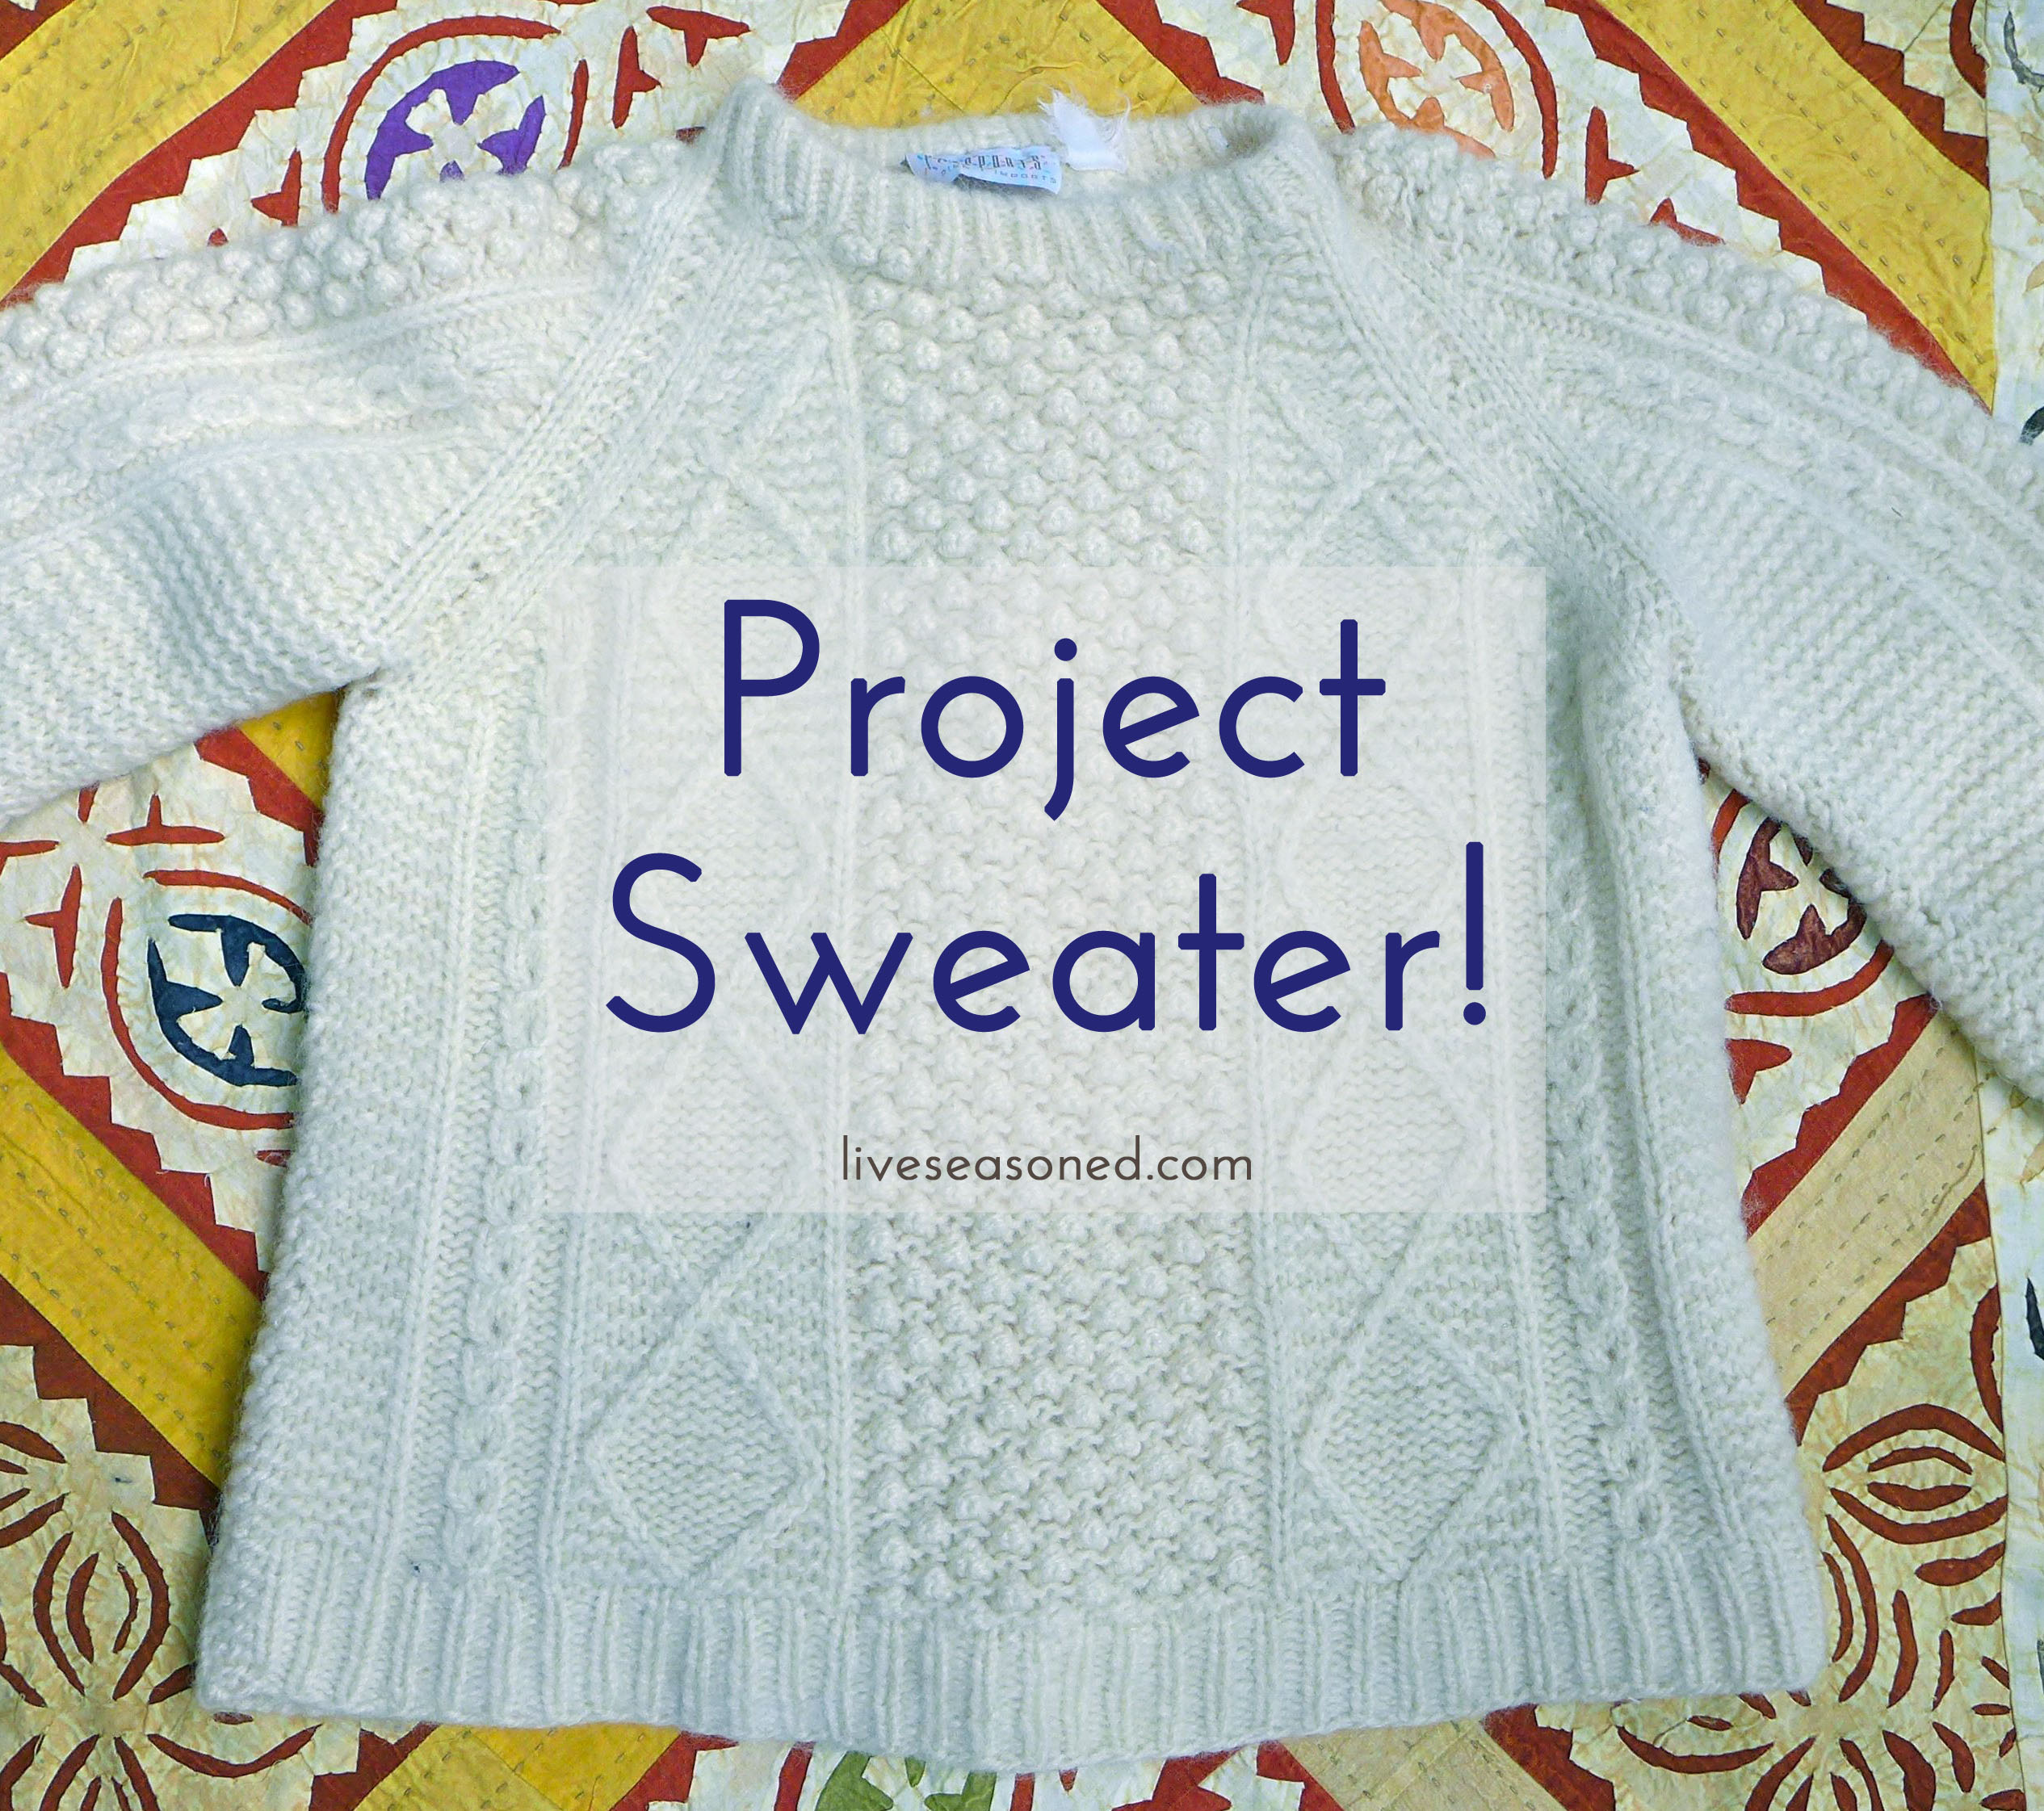
Project Sweater : Update 1

liveseasoned_summer2014_sweaterproject1_wmb

A little over a month ago I introduced you to my big fall sweater project. At that point, I introduced you to the sweater’s main stitches and showed you my first two swatches. Neither swatch was spot-on, as both reproduced the stitch pattern at a smaller scale than the sweater. I was able to decide that I liked the bulkier second yarn better than the worsted weight first yarn, so my plan was to make at least one more swatch (and maybe more) with the second yarn using larger needles. In this post, I’m going to share the rest of my swatching and final yarn selection.

I began by adding a third swatch to the initial two using the Knit Picks bulky yarn (the same used for Swatch #2) and US size 11 needles. Below I listed the yarn and needle combinations for the first three swatches. After finishing the swatches, they had to be blocked.

  • Swatch #1 : Yarn: Cascade Eco ~~~ Needles: US9
  • Swatch #2 : Yarn: Knit Picks Wool of the Andes ~~~ Needles: US10.5
  • Swatch #3 : Yarn: Knit Picks Wool of the Andes ~~~ Needles: US11

Blocking Wool

Whenever knitting with wool and other natural fibers, the last step of your project or swatch should always be to block it. Blocking wool helps to relax the stitches into their final formation, it will even out the stitches within their rows and columns, making a swatch more square. Additionally, blocking may be used to adjust the size and fit of a finished garment (to some extent you can make something a touch bigger if needed such as adding length to sleeves or adding curves to a sweater if to fit more appropriately around your bust or hips without using darts).

There are a number of different ways to block your fibers, but I’m partial to the wet method. In this case I soaked the swatches in a lukewarm bath for 15 minutes. Removed them from the bath and gently squeezed out as much excess water as I could before laying them out in their final dimensions to dry. When I placed these pieces on a yoga mat for drying. I wasn’t interested in increasing their size, I was just interested in staying as true to their natural size as possible, so I tried not to stretch them at all, just to lay them down keeping the stitch rows and columns even. Once in their final place, I added a few straight pins around the edges to keep the swatches from shrinking for morphing as they dried.

In the photos above, you can see the difference between the unblocked (right) and blocked (left) swatches. Notice that the blocked swatches have a neater shape with straighter edges… except for swatch #3, where I tried something slightly different to start the bobble section and it ended up backfiring by adding too many stitches to that section.

liveseasoned_fall2014_sweaterupdate8_wm

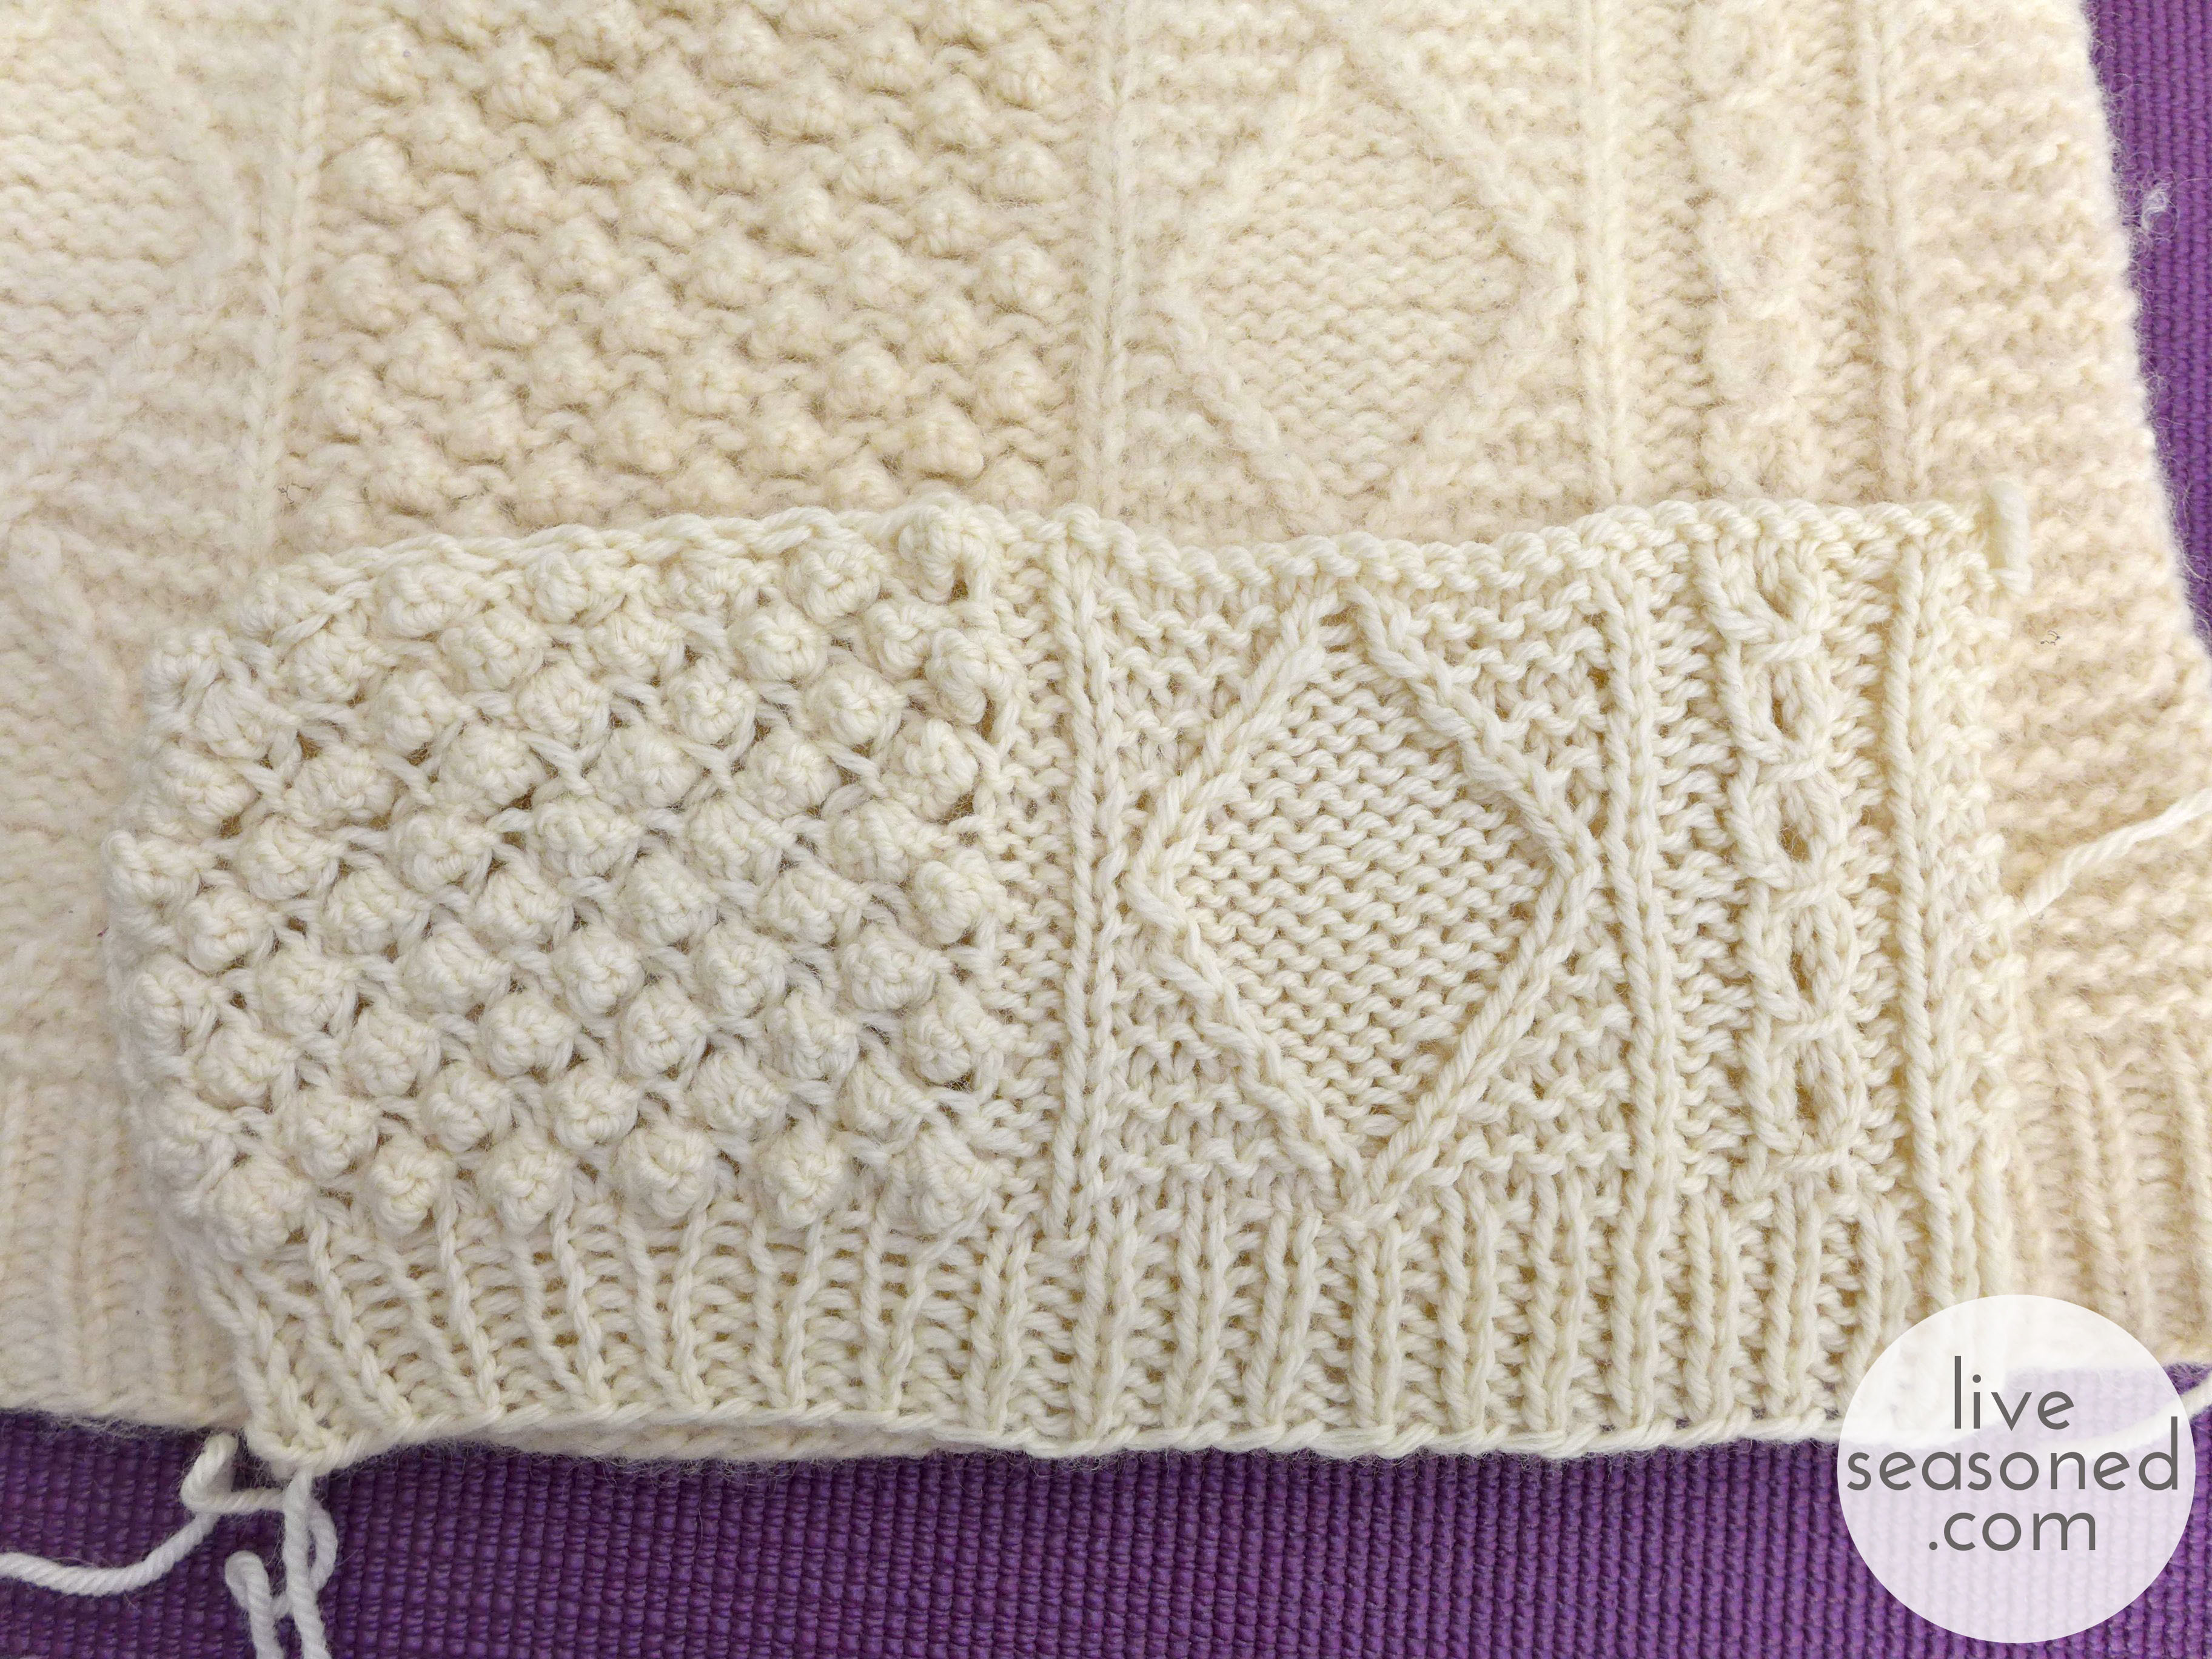
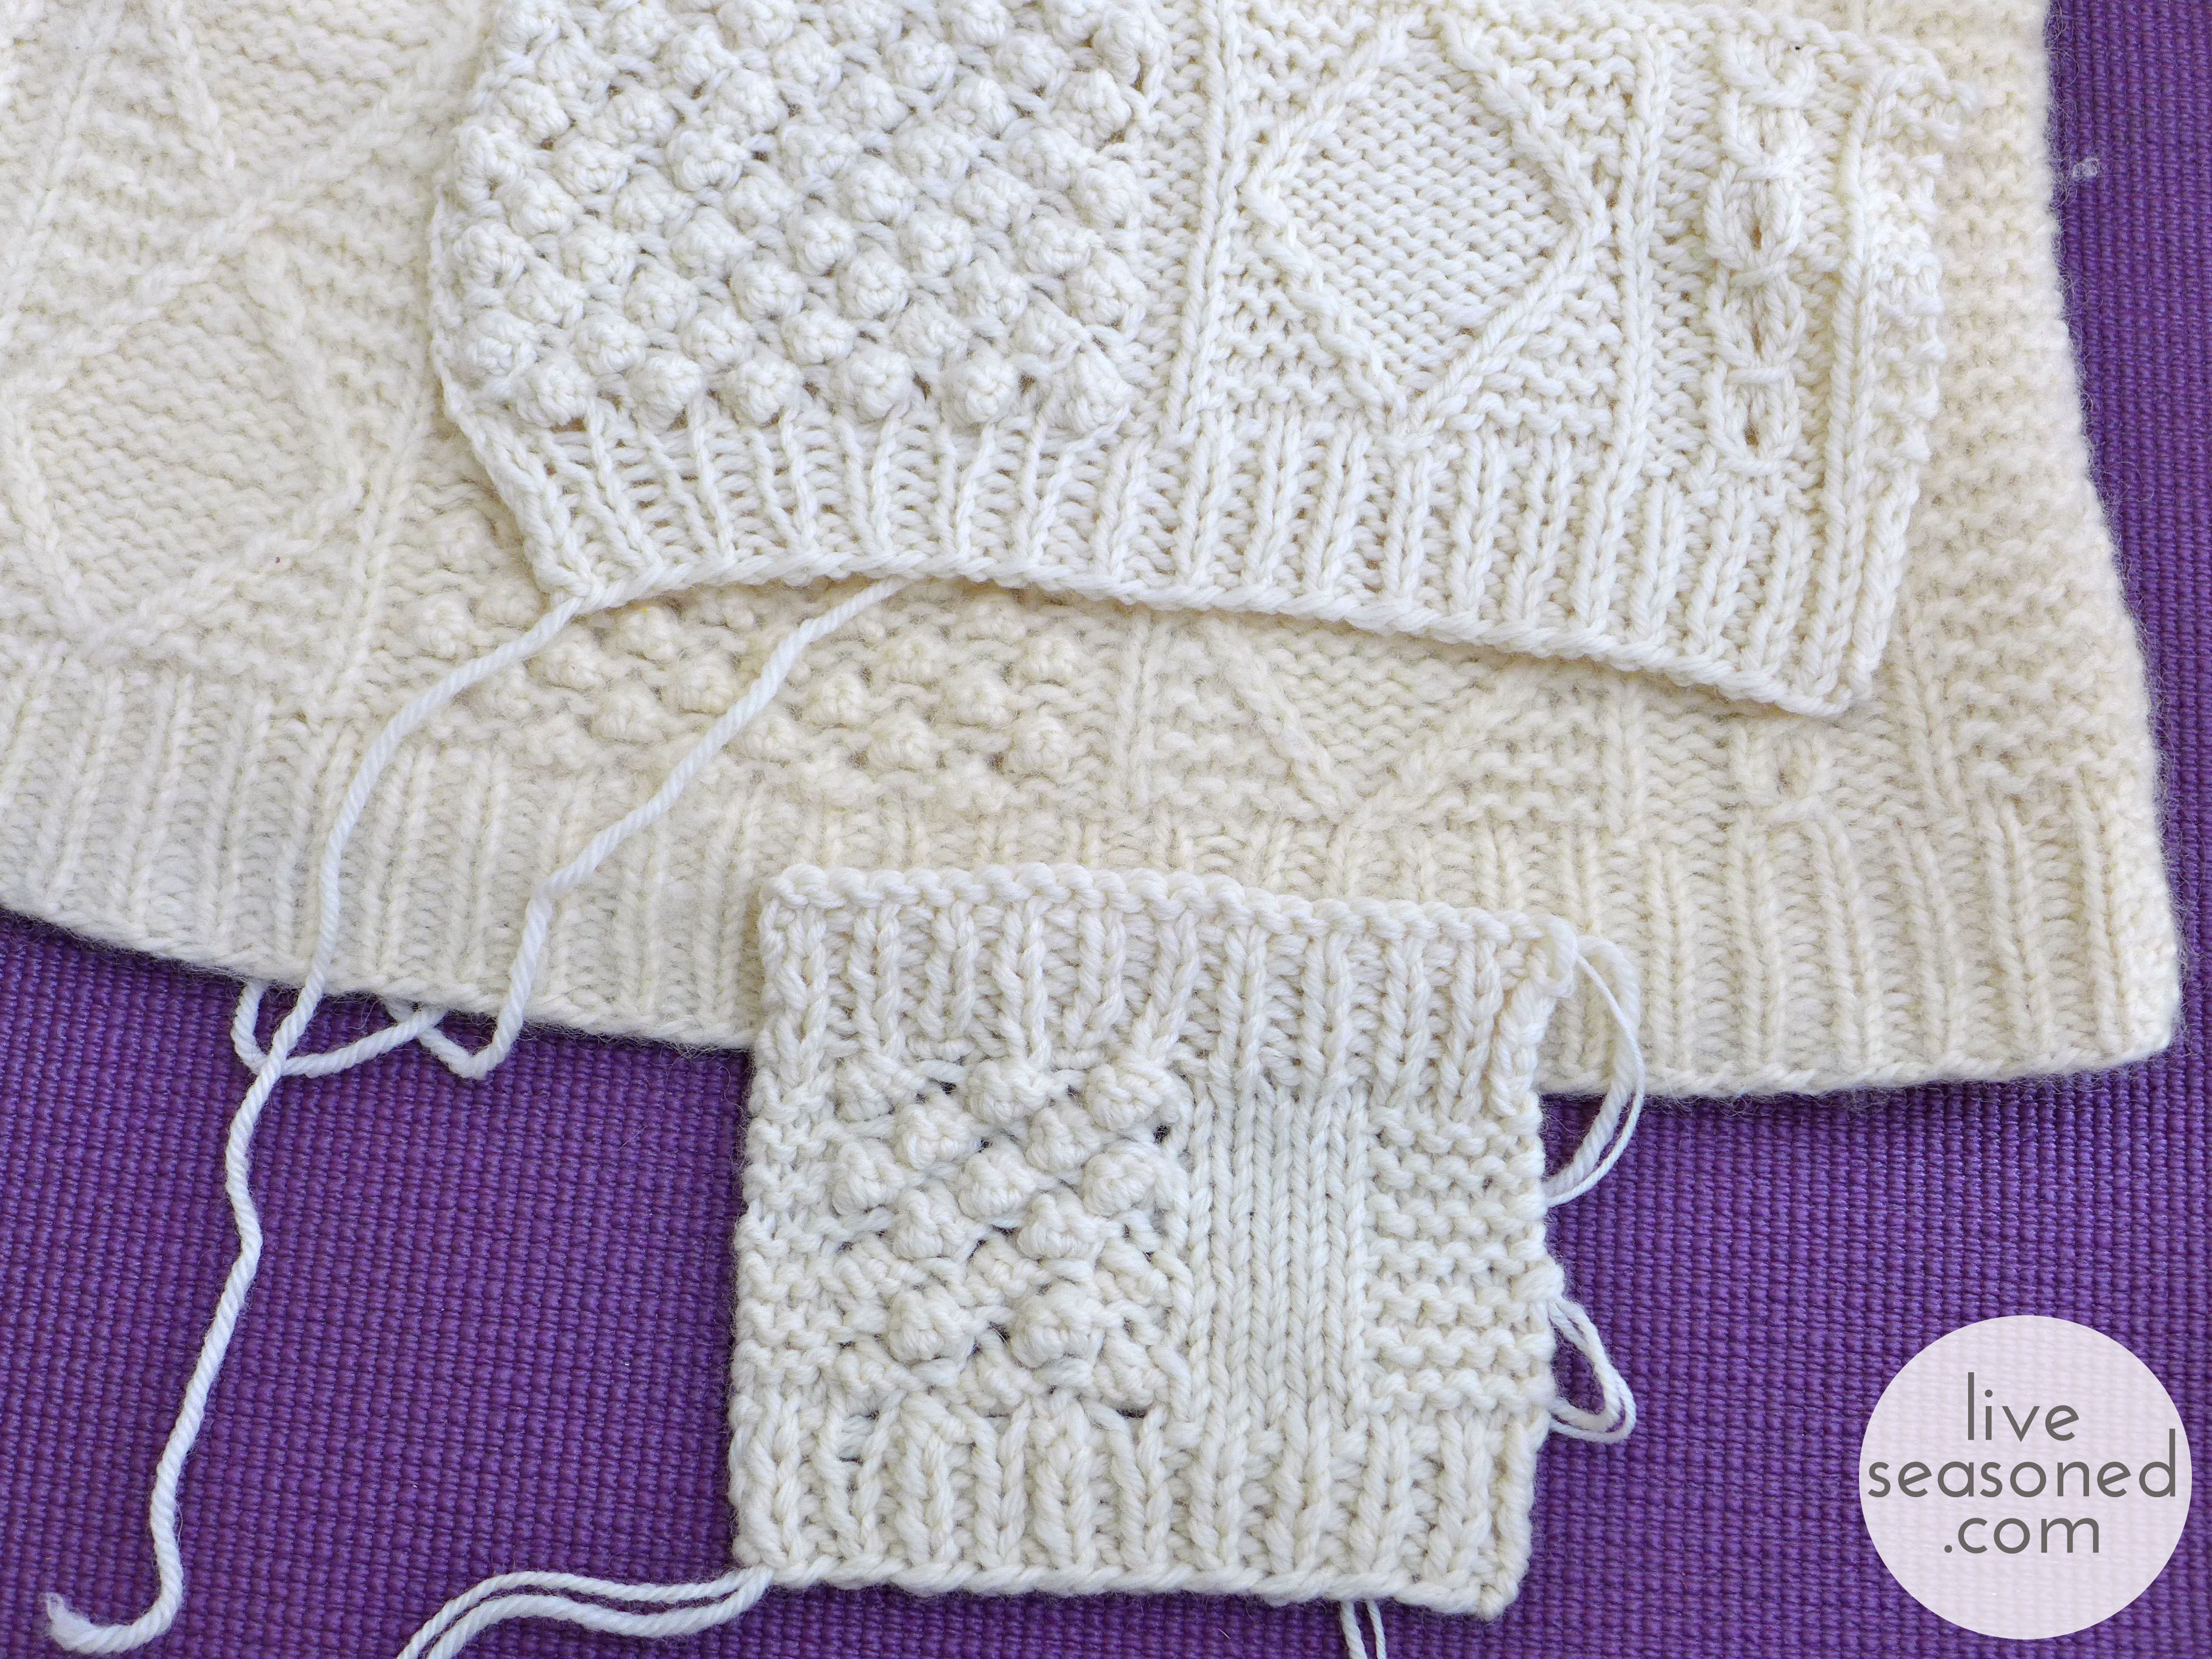
The photo above shows the blocked swatch #3 laying on top of the sweater. You can see that it’s a spot-on match for the sweater’s pattern gauge. Exciting! My one concern was that with the larger needle, the stitches were starting to look slightly too loose for my liking. What would this mean for the final sweater? When it’s being worn, the stitches that are carrying a lot of the weight, such as the ones over your shoulder, would look really stretched out and you would be able to see through them.

One way to fix this would be to find yet another thicker yarn (this is why I switched yarns between Swatch #1 and #2). But I really liked the feel and shade of this wool, and I was concerned that that search could lead to many dead ends (and unsuccessful swatches) before I found another contender. So, I decided to go in another direction: hold a smaller gauge yarn together with the bulky weight, increasing the thickness of the yarn being stitched. So it was time to swatch again.

liveseasoned_fall2014_sweaterupdate4_wm

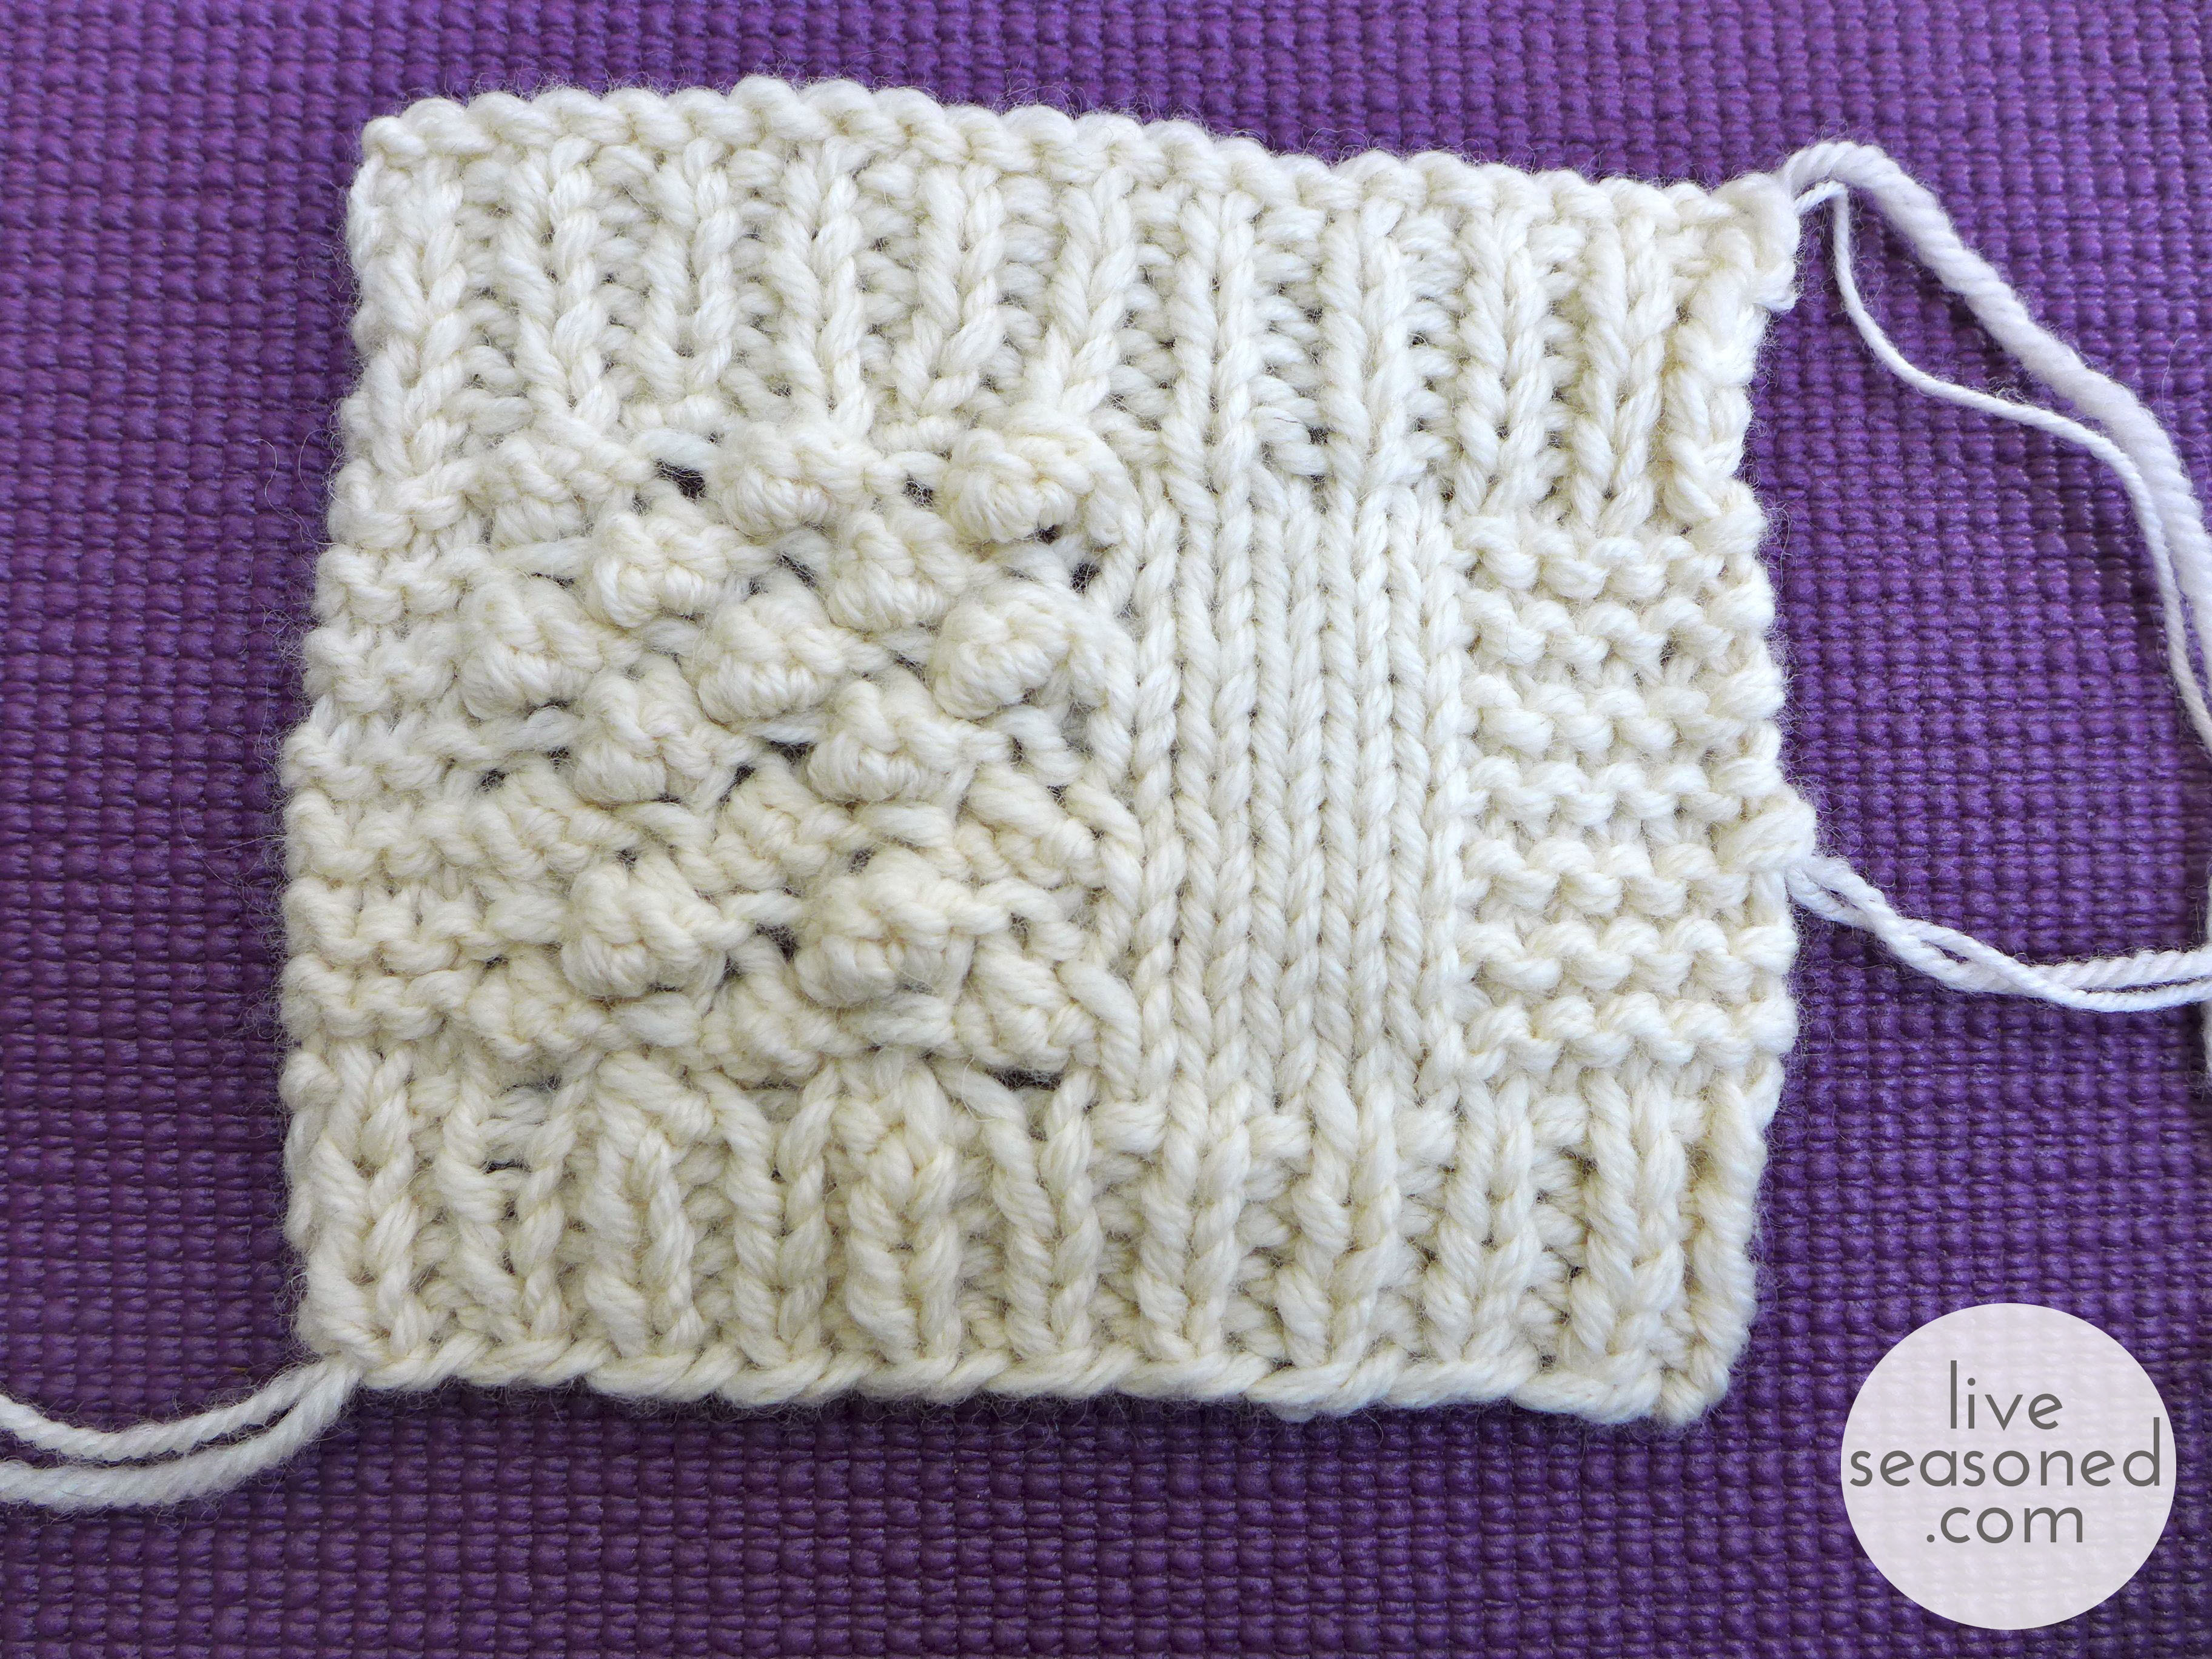
For this swatch I simplified things and just tested the ribbing, bobbles, stockinette stitch, and garter stitch. I started by holding the bulky yarn with a worsted weight yarn and then switched to a fingering weight yarn halfway up the swatch. The worsted-bulky combination was too thick, but the fingering-bulky combo was just right!

liveseasoned_fall2014_sweaterupdate5_wm

In the photo below, I placed Swatch #3 and #4 over the sweater. You can see that the gauge is still great – matching the sweater. I “fixed” the bobble problem by going back to my methods from Swatch #2 (specific stitch details will come in a future post).

liveseasoned_fall2014_sweaterupdate1_wm

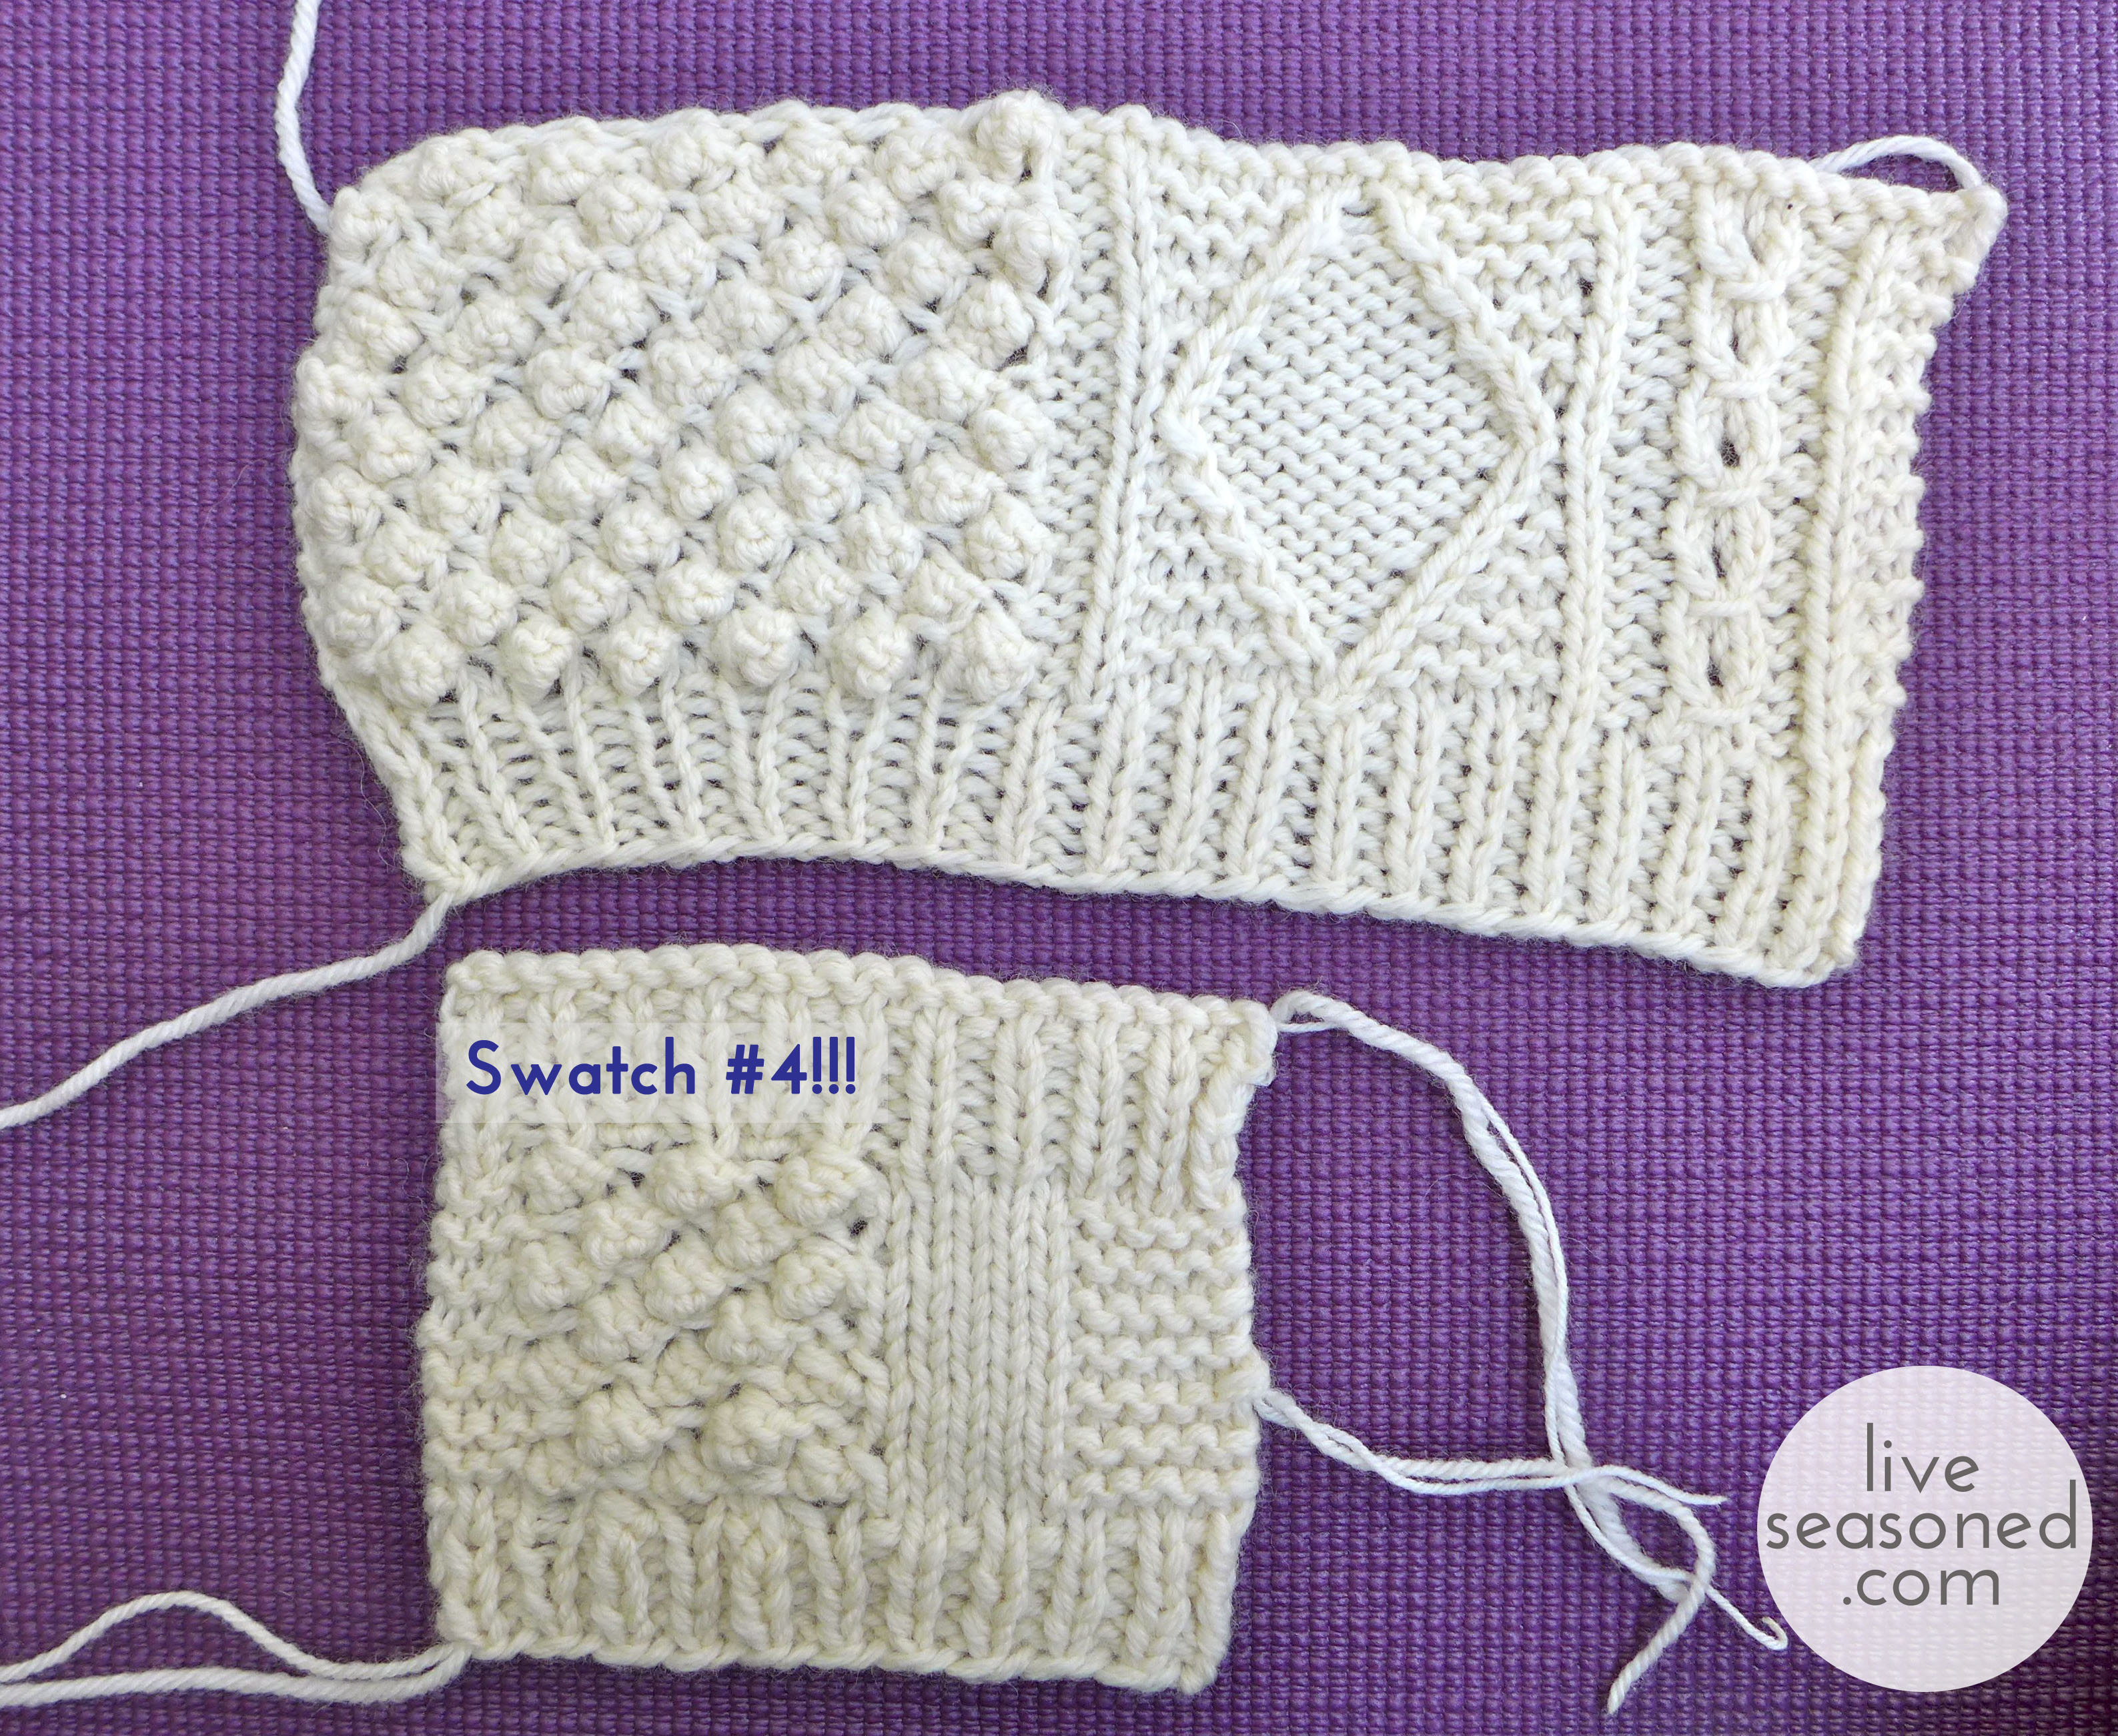
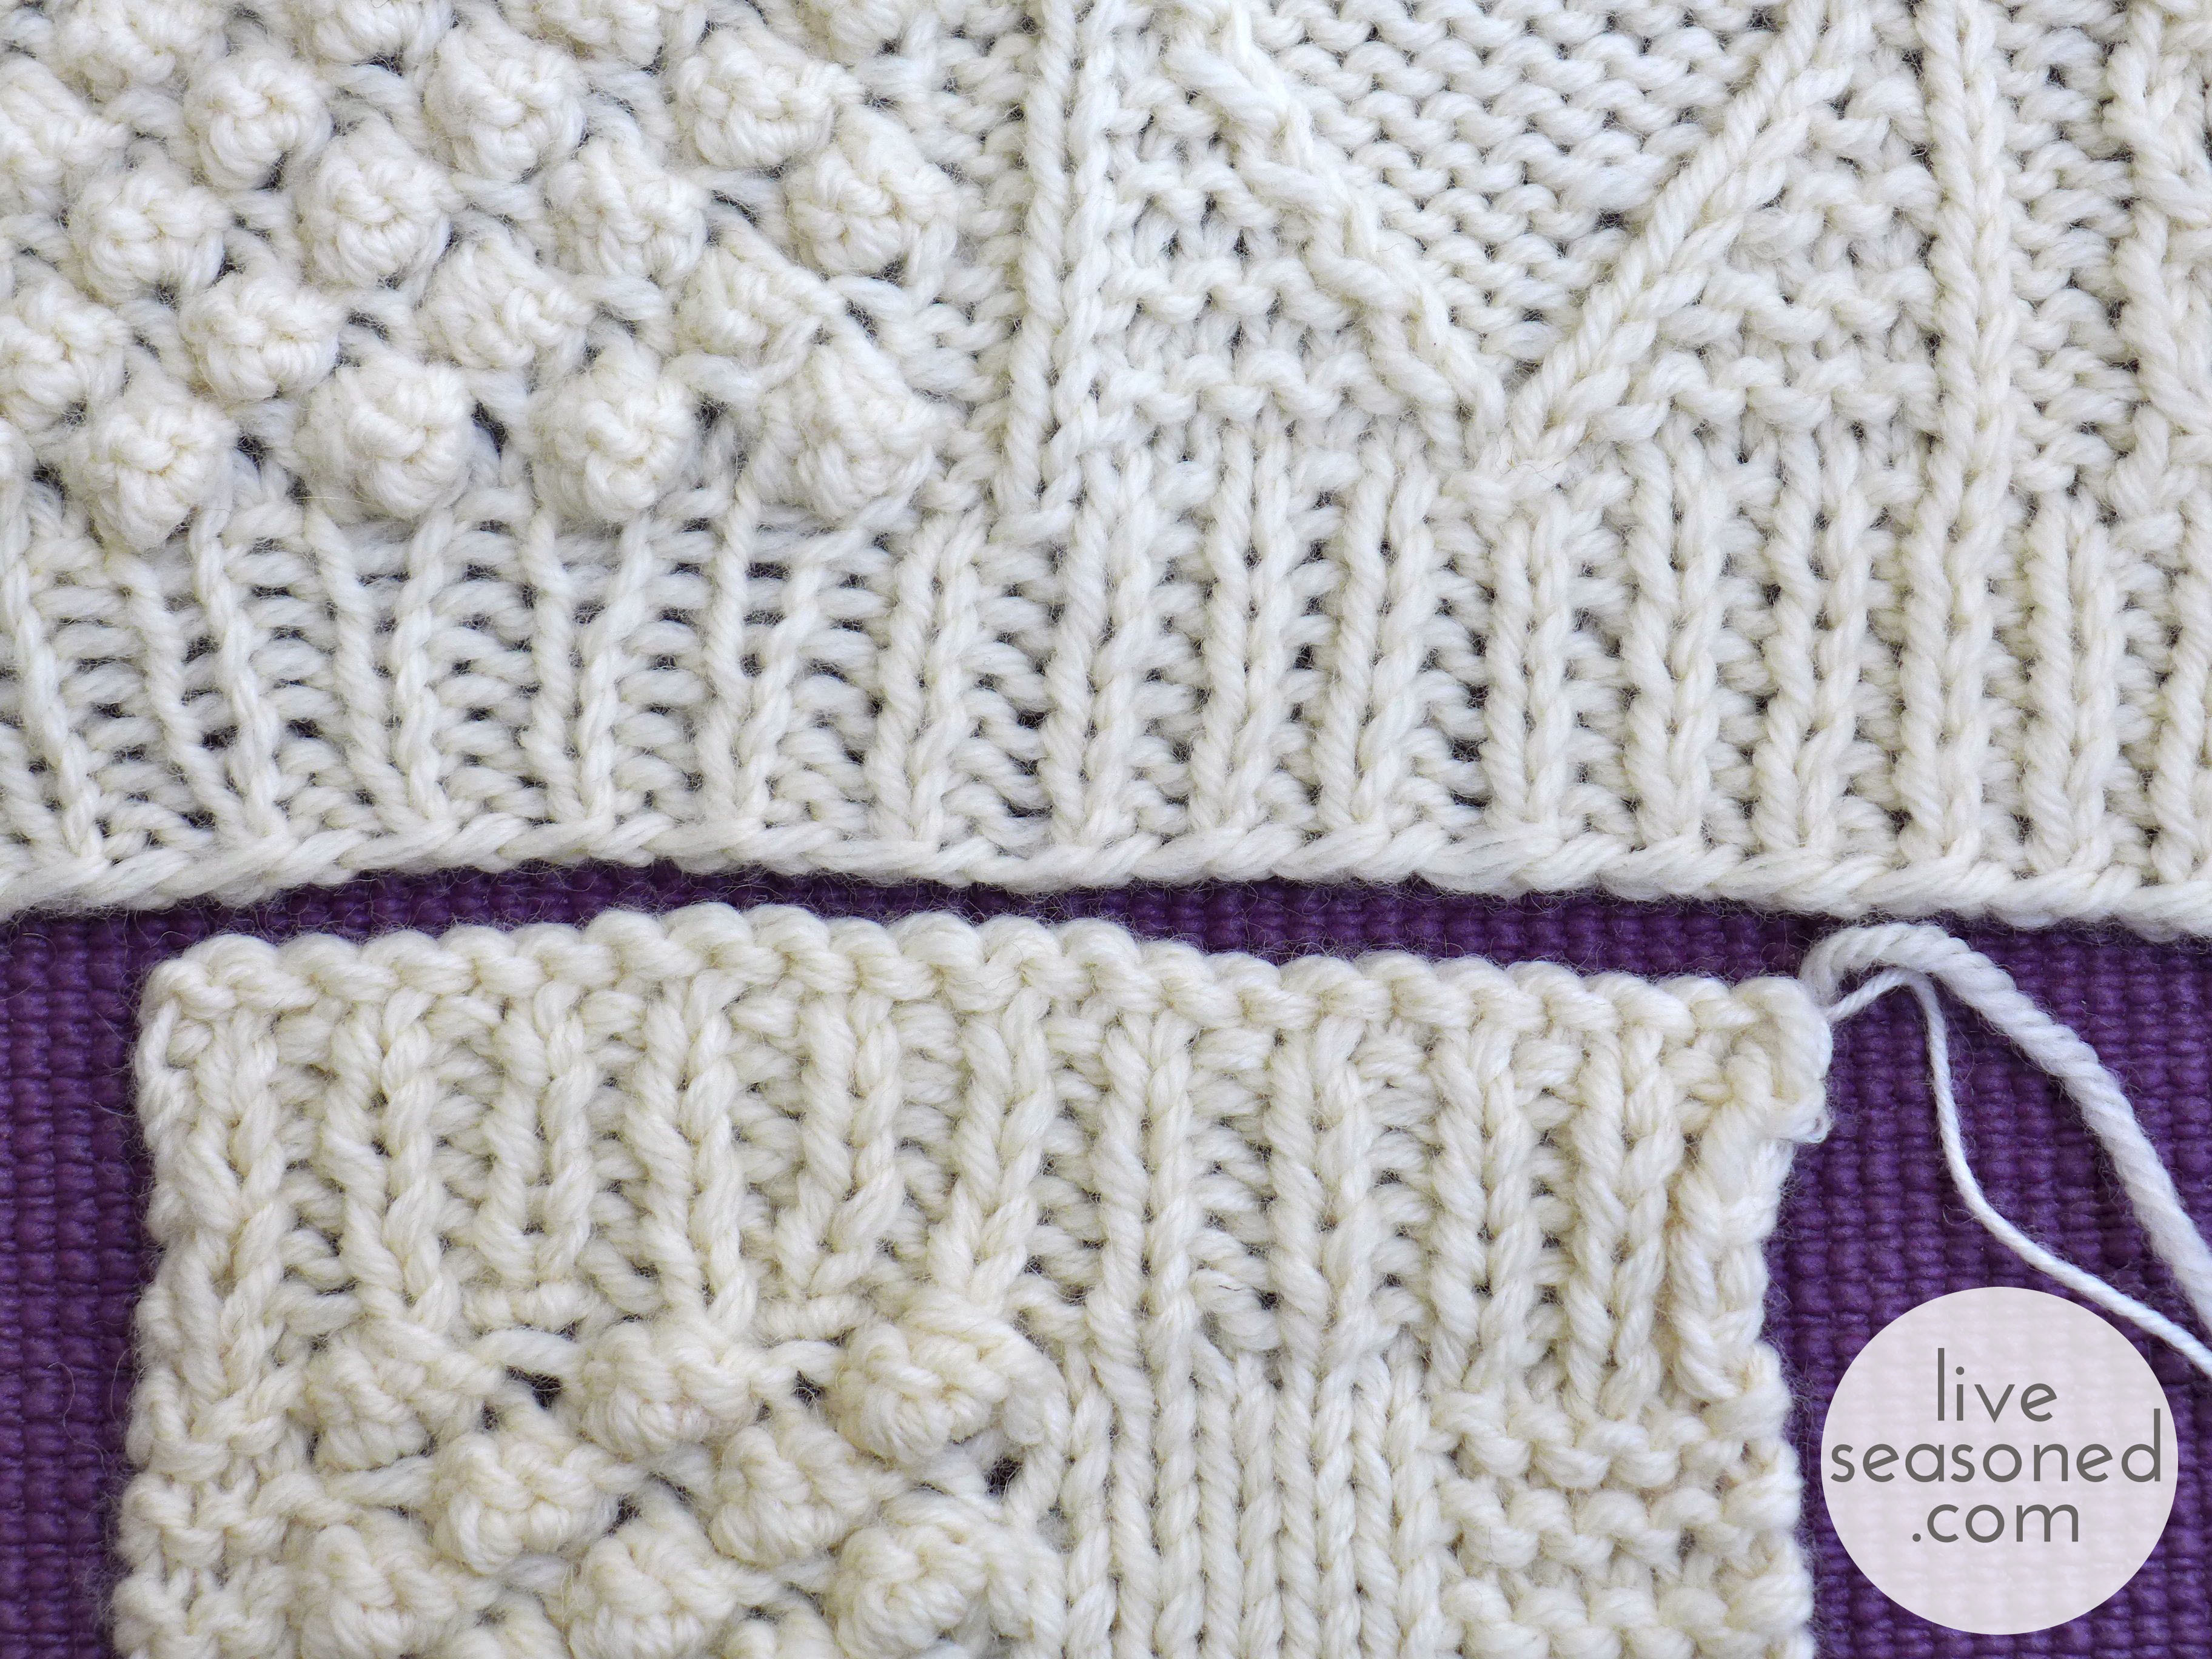
Below is a final closeup of the two swatches, with Swatch #3 on top and #4 on the bottom (fingering-bulk yarn combo showing). In that photo it’s obvious that there isn’t as much empty space between the stitches, rather they are producing a nice fabric. So, that’s my final solution – to knit the sweater holding the Knit Picks bulky yarn with a fingering weight yarn on size US 11 needles. I’ve ordered the yarn and my next post will be an actual sweater-knitting update!

liveseasoned_fall2014_sweaterupdate3_wm

Tid Bits

Each Friday we share some tidbits from our week.  We want to break down these internet barriers and invite you into our lives and we’re hoping you’ll do the same.  You are welcome to share a bit of your week or day in the comments, or if they’re better represented by a photo, tag us on instagram @liveseasoned

Katie here  :

liveseasoned_fall2014_nov6


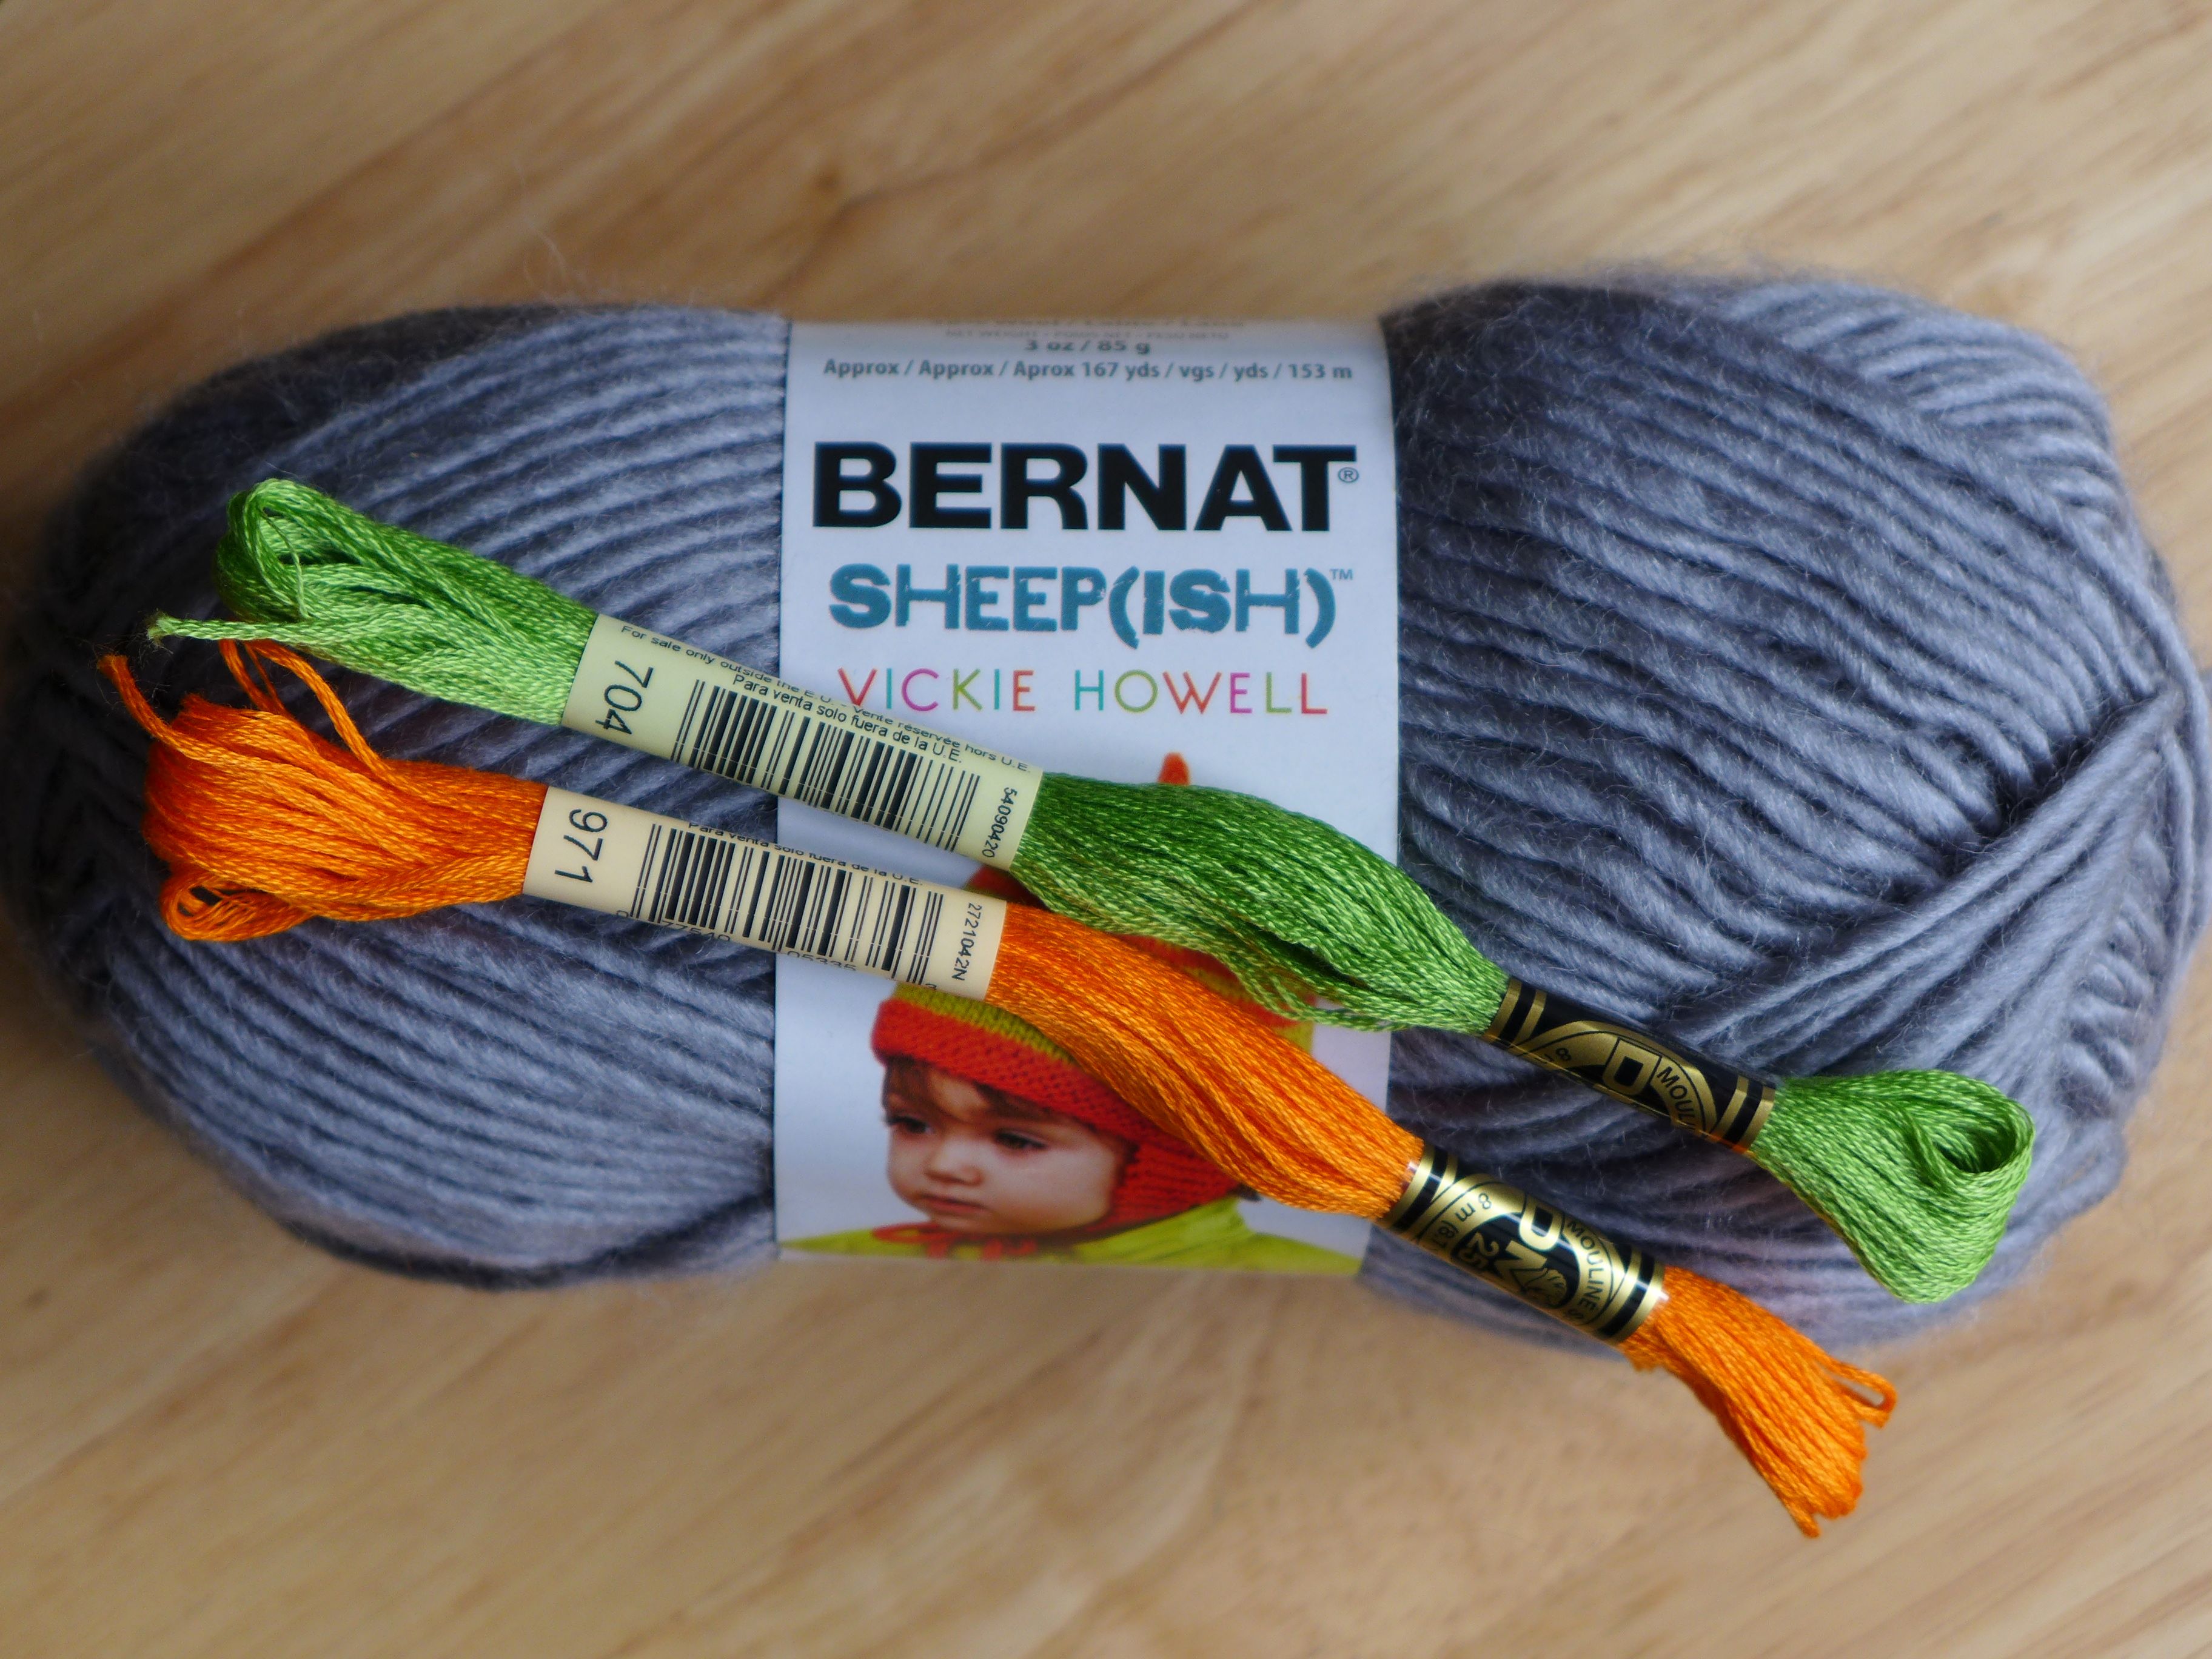
I totally felt like this week was recover from Halloween week. As you know, our costumes weren’t even that involved, but not having them done was weighing on me all last week. So, when Monday evening came, it was nice to sit down and work on a project without that Halloween guilt. I started a hat for Calder. It’s a bit of an experiment using the yarn and thread in the photo above… I realized that I’m going to need about twenty more skeins of thread to finish this puppy (in fact, I took the photo so that I wouldn’t forget the numbers for the colors I’m using). If it’s a successful venture, I’ll be sure to share the finished hat here!

My other bit of fun this week was going for our 20 week ultrasound. That means we’re about halfway through this pregnancy. It was so much fun to see the little guy and know everything was developing as it should, but it also makes me so impatient for a few days afterwards – I can’t wait to meet him for real! (and you don’t know how much willpower it took to not use an exclamation point after every sentence in this paragraph)


Sarah here:

halloween

Just like Kate, I felt like this week was recover from Halloween week. Chapel Hill is the place to be on Halloween!  There were over 40,000 costumed lads and ladies roaming around Franklin street until all hours of the morning and I was one of them.  I was huuuungover on Saturday, which prompted me to create The Morning After blog.  If you ever have one heck of a night and you’re feelin’ it the next morning, submit your Morning After photos here.

Screen shot 2014-11-07 at 1.11.48 AM

After the great work distraction that is Halloween passed, I got down to business and edited hundreds of photos this week.  Sitting in front of my computer hour after hour got old pretty fast. I started daydreaming about alternate careers and future travels and I decided I really want to complete my yoga teacher training abroad.  For the past few years, I’ve toyed with the idea of getting my RYT200 certification and I think 2o15 is the right time. I’ve been looking into this program in Nepal, but of course I have a lot of research to do about teachers, ashrams and programs.  I’d love to return to Nepal (pictured above), but I’m also open to traveling to whichever country hosts what I think to be the best fit for me. Let me know if you or someone you know has been certified abroad. I’d love to chat about the experience.


Sampling Cheese from the Nibble Nook

We’re snacking on a lot of cheese this season. So far we’ve talked about our favorite way to eat a few staples, but today we’re going out on a limb and trying some new varieties!
liveseasoned_fall2014_nibblenook5_wm

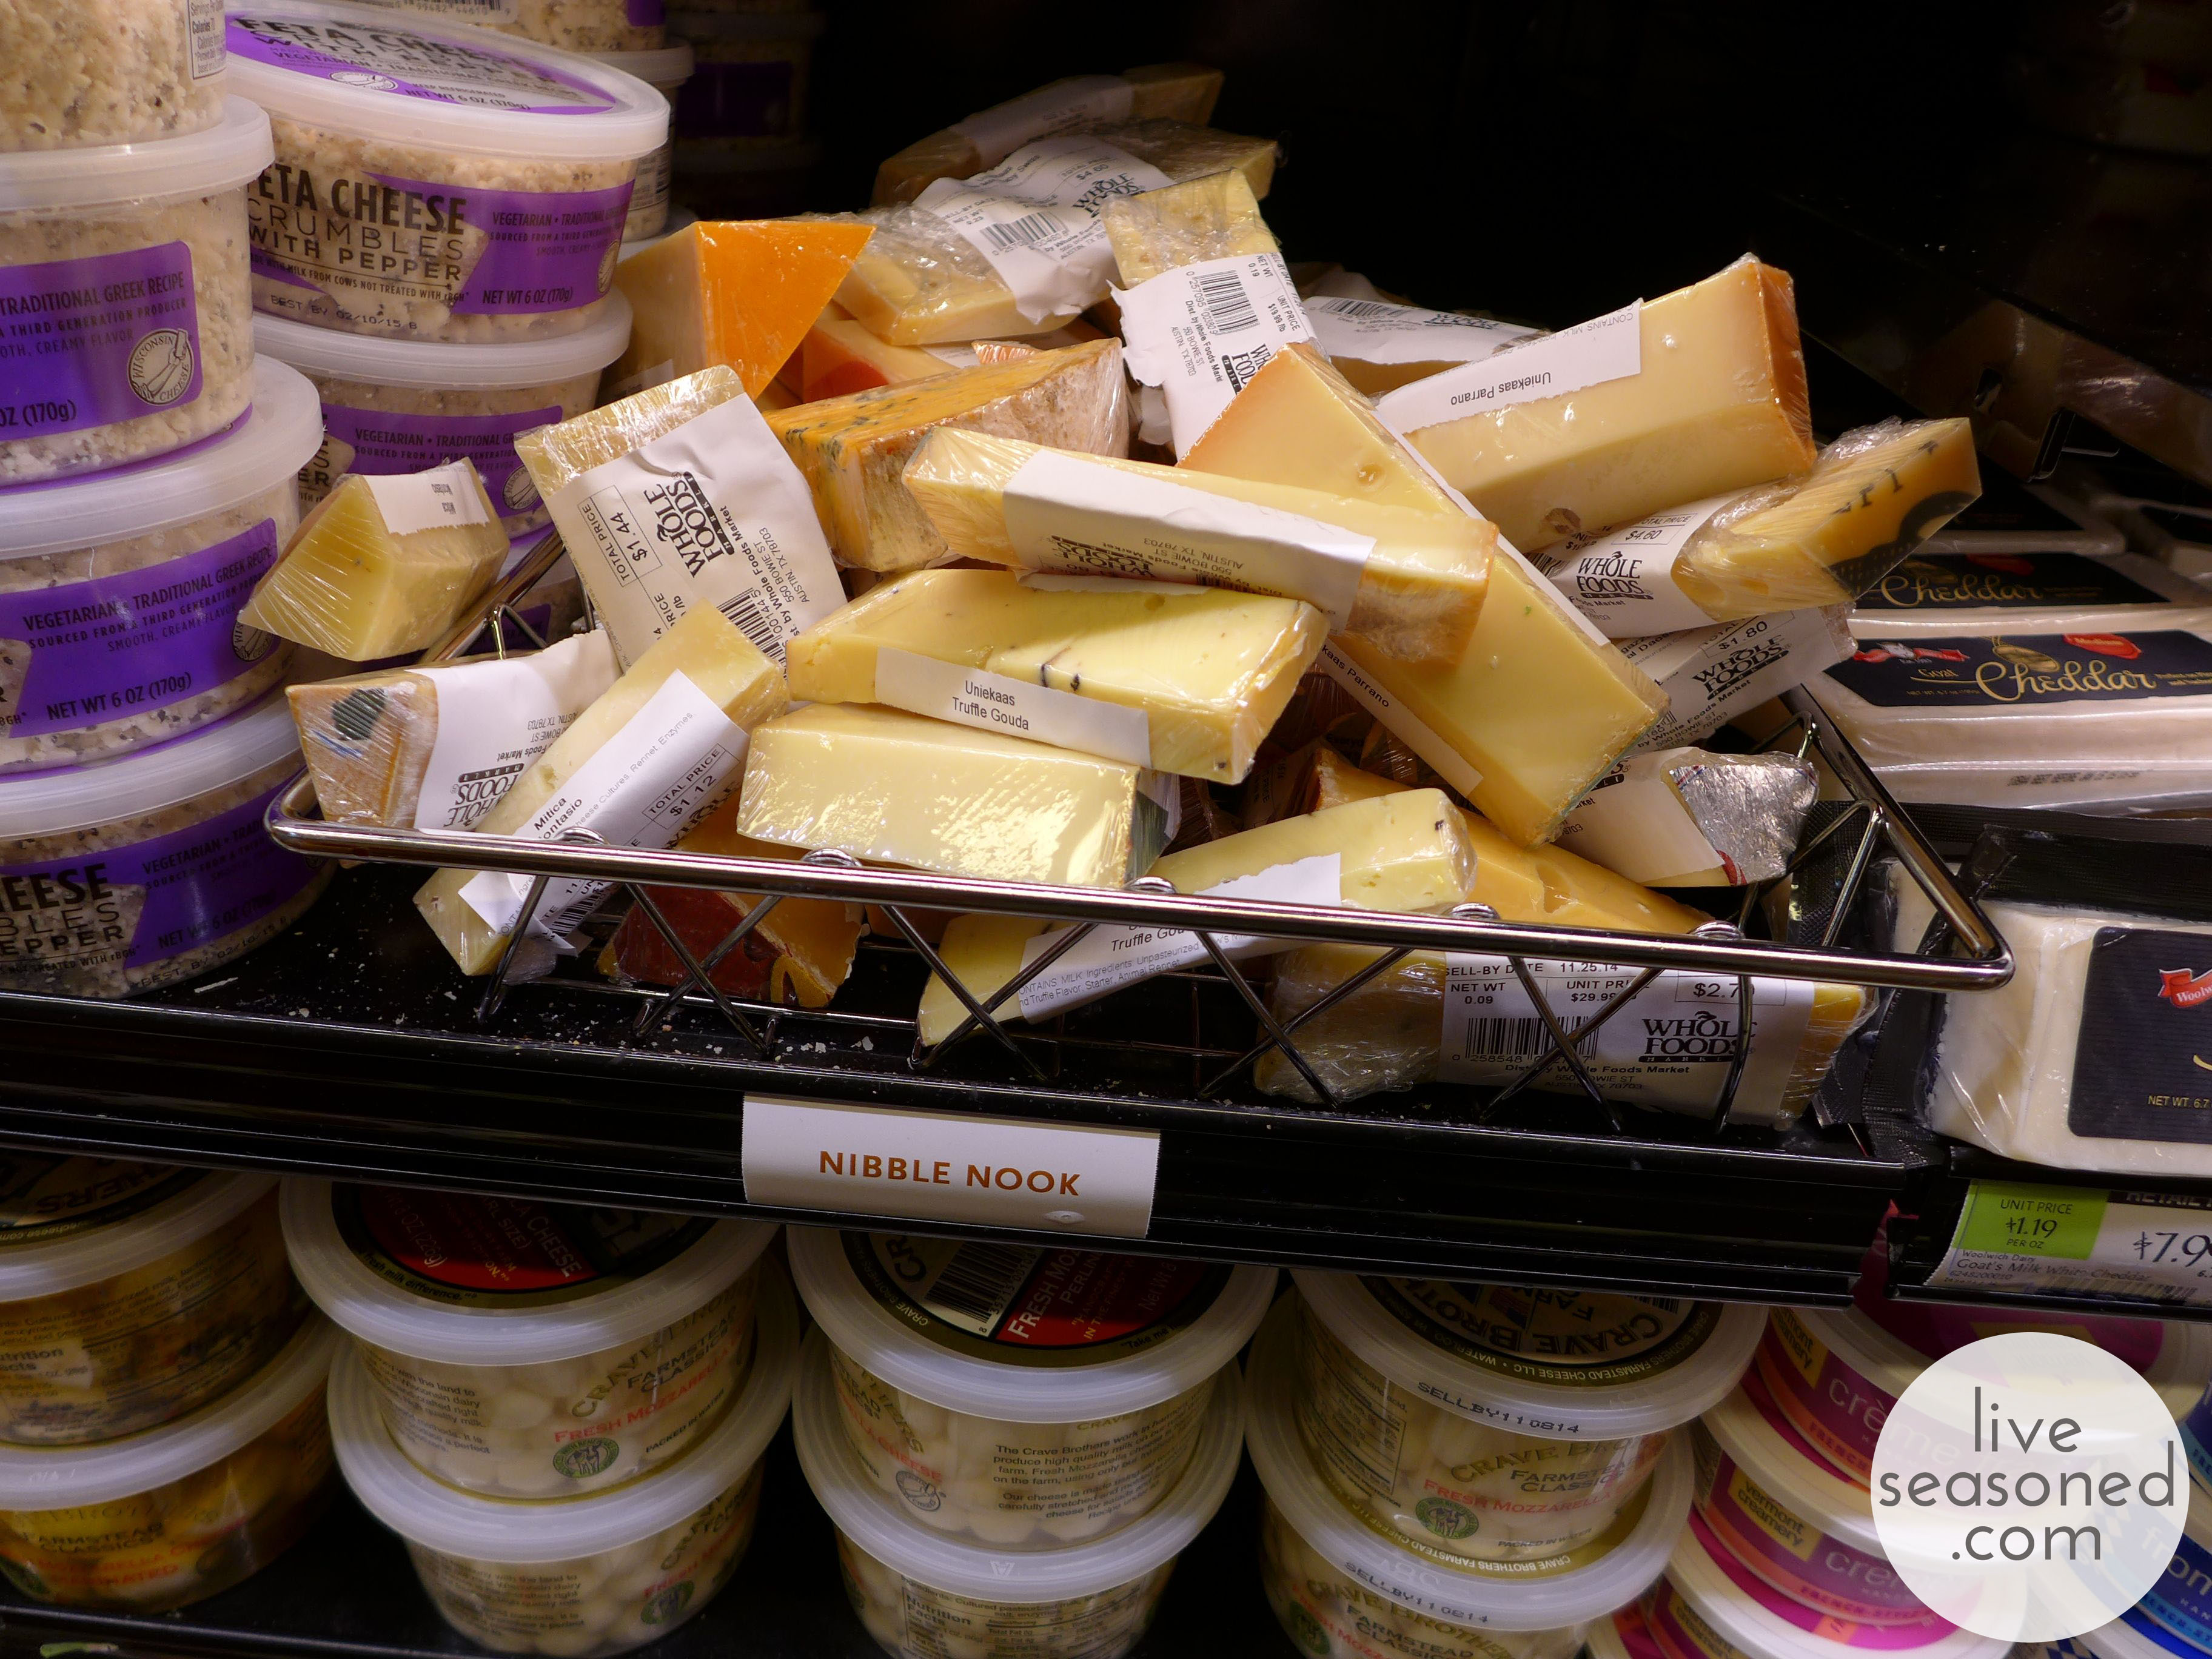
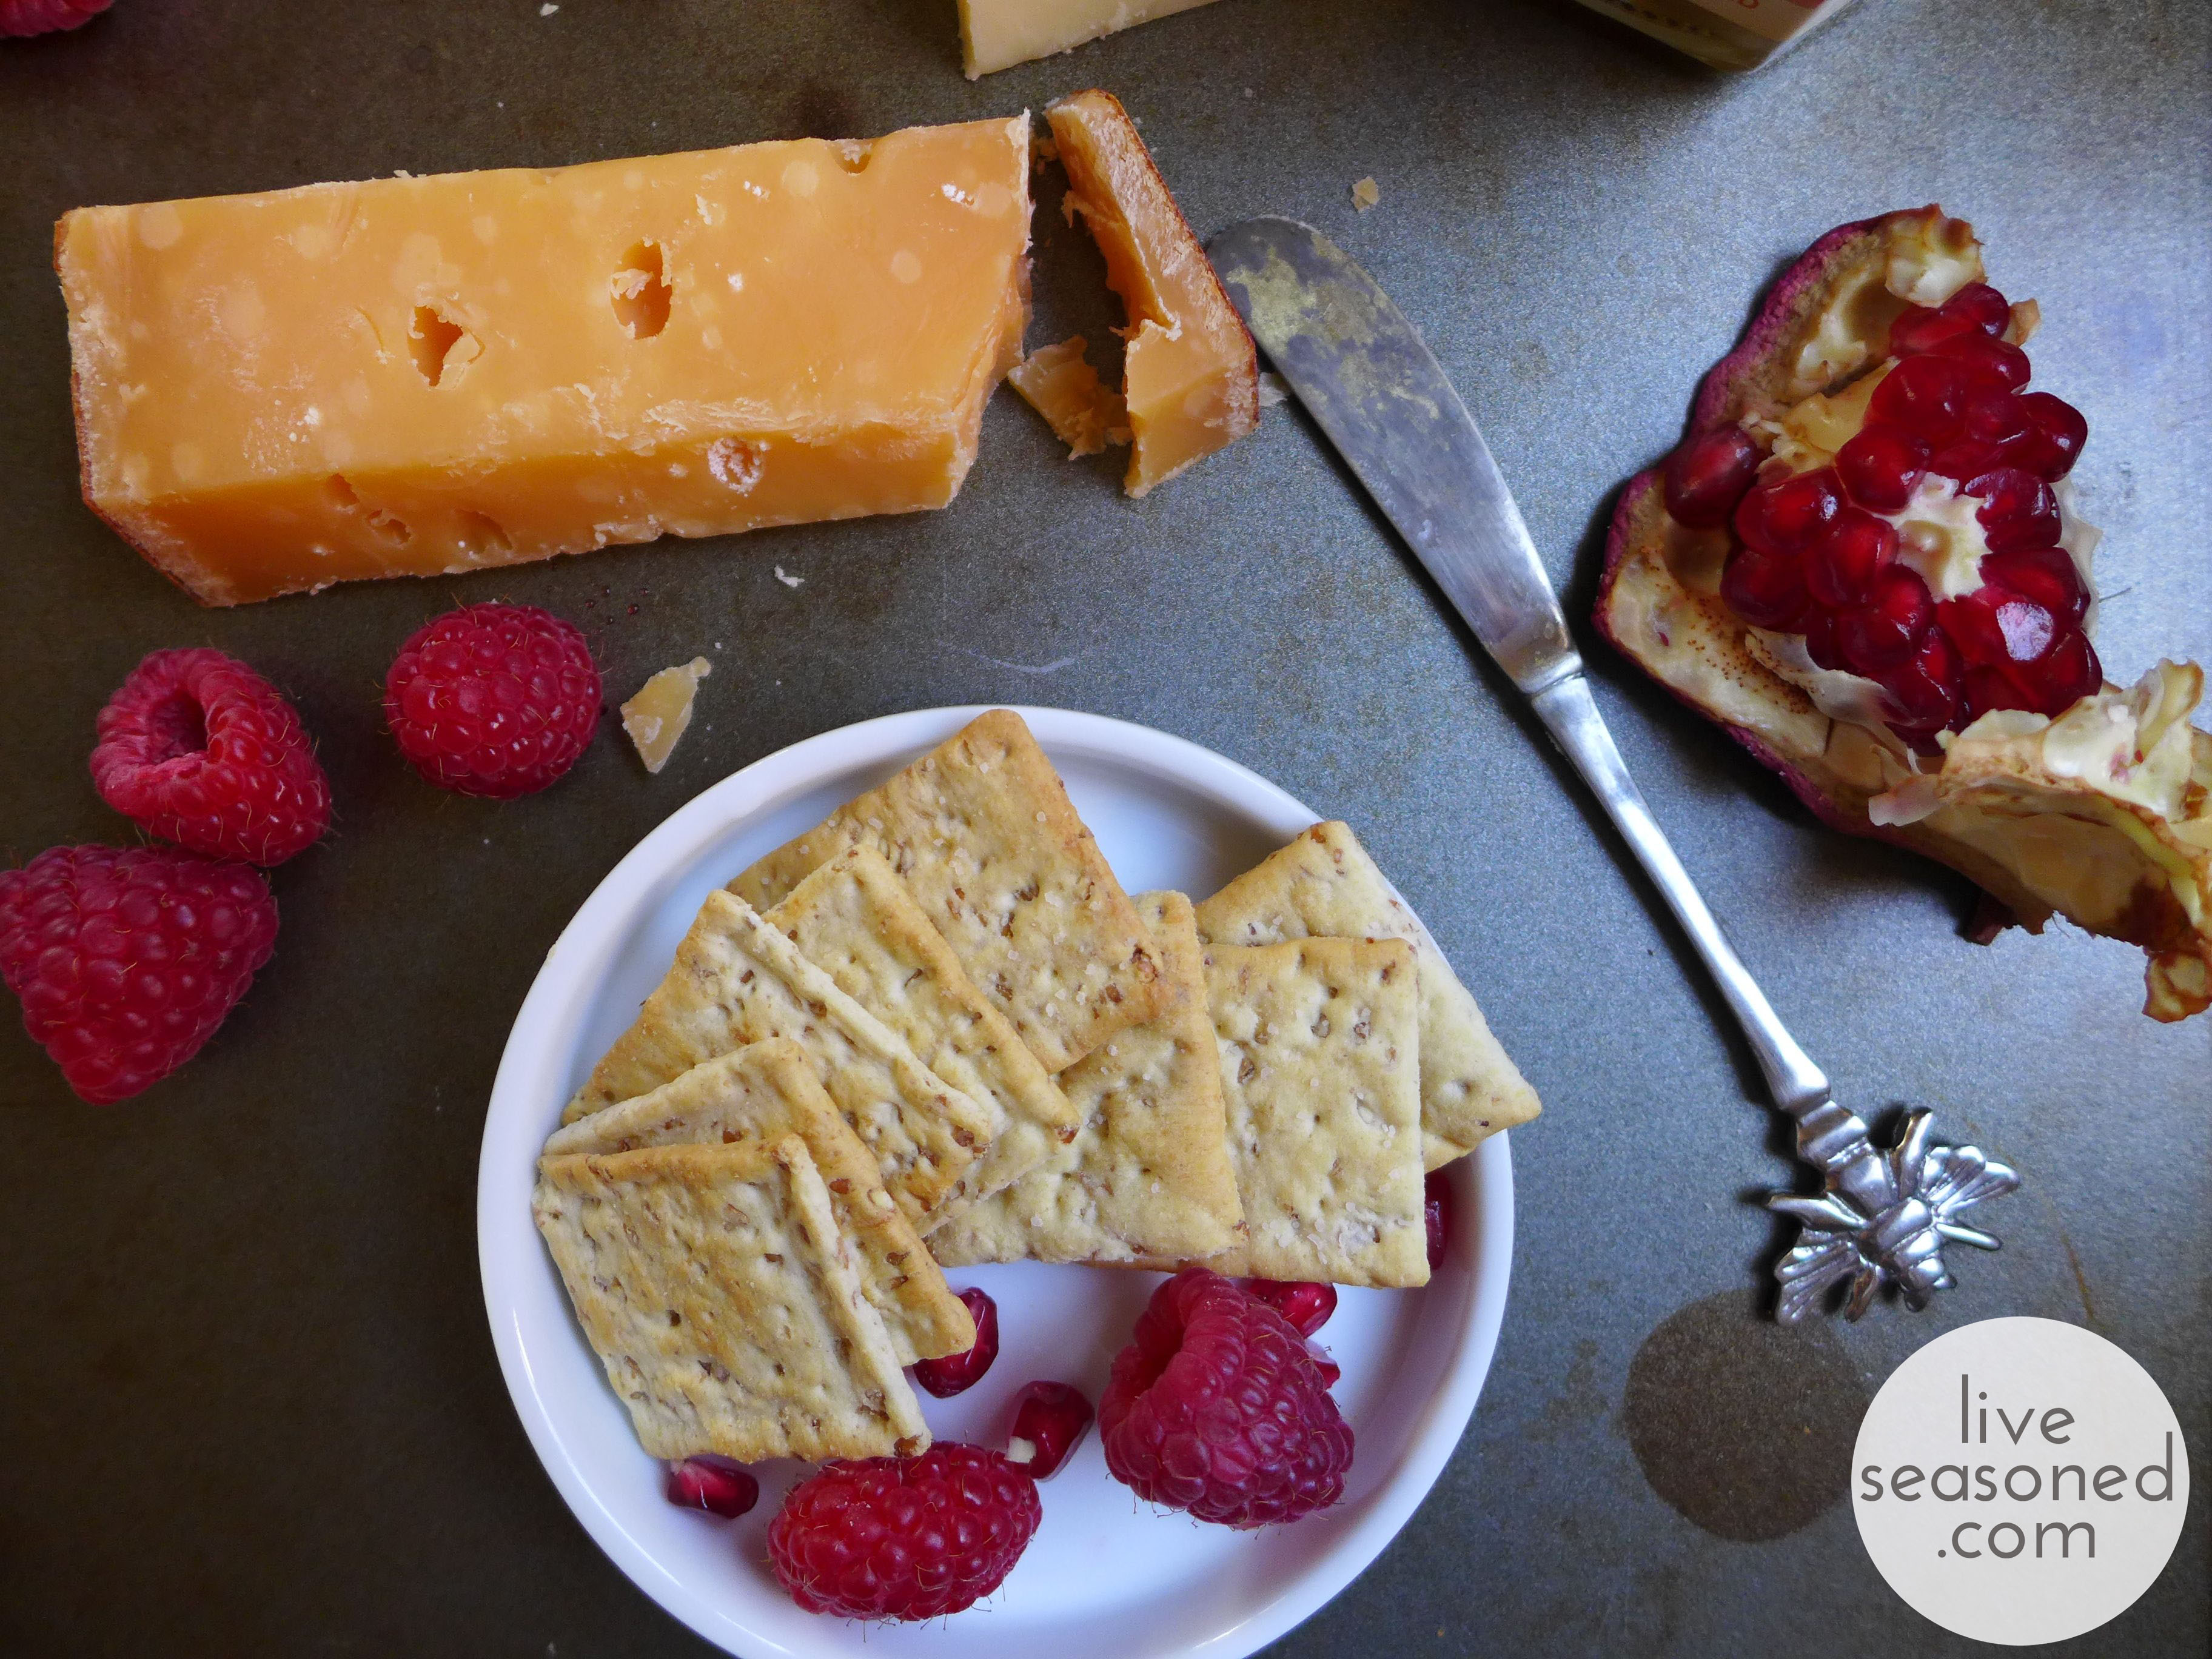
There really are so many cheeses out there, and while I’m an adventurous eater, I often find myself sticking to a handful of cheeses that I know and love. Just walking up to the cheese counter is overwhelming ~ so many varieties, where do I even start? And then I would look at some of the prices and just shyly turn around and pick up my Cabot or Brie Supreme and go on my merry way. Or, that was the scene until I discovered Whole Food’s Nibble Nook!

liveseasoned_fall2014_nibblenook1_wm

The Nibble Nook is a little basket of cheese ends/remnants (you can see it above tucked in between their off-the-shelf cheddar, feta, and mozzarella). My guess is that many grocers selling cuttings of large cheese wheels may have their version of a nibble nook. If you’re open to trying some new cheese and flexible as to the options available, the Nibble Nook is a great place to look. The selection within the basket is constantly changing as different cheeses are cut and as shoppers pick out their favorites. And the cuts are small, so while I would be hesitant to be a large wedge of a cheese that’s priced at over $20/lb, I’m happy to buy a small bit for nibbling.

liveseasoned_fall2014_nibblenook3_wm

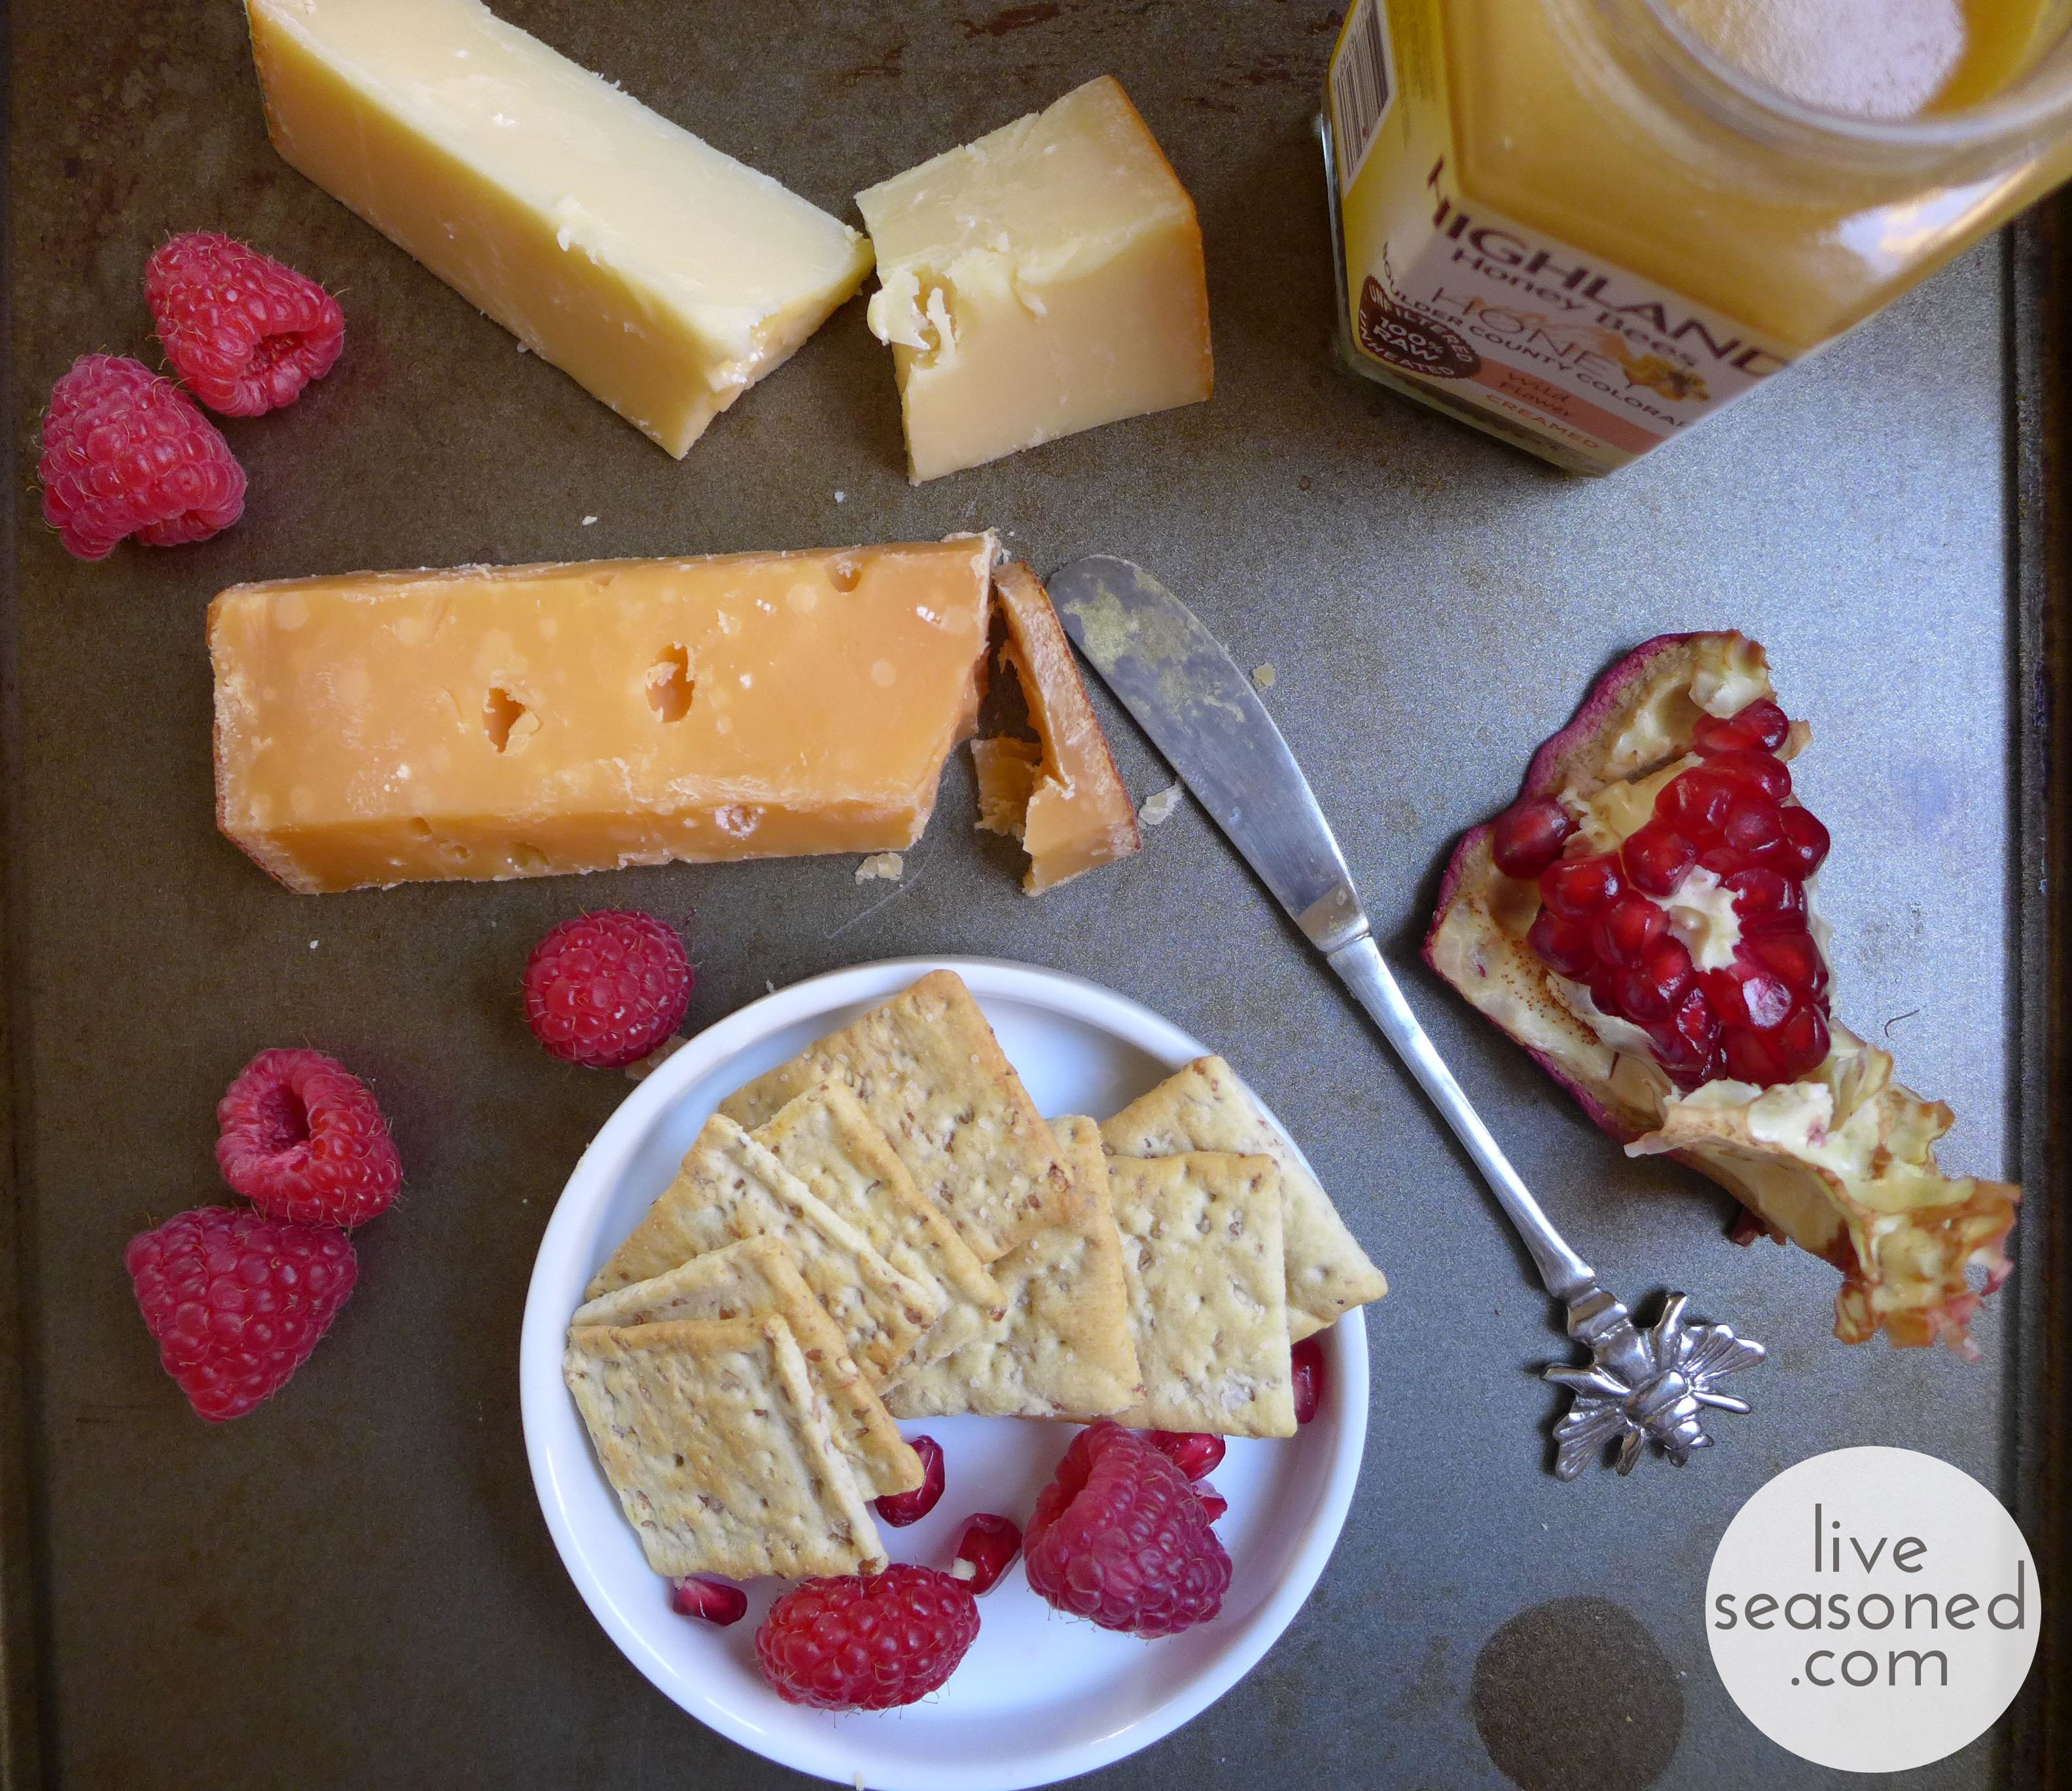
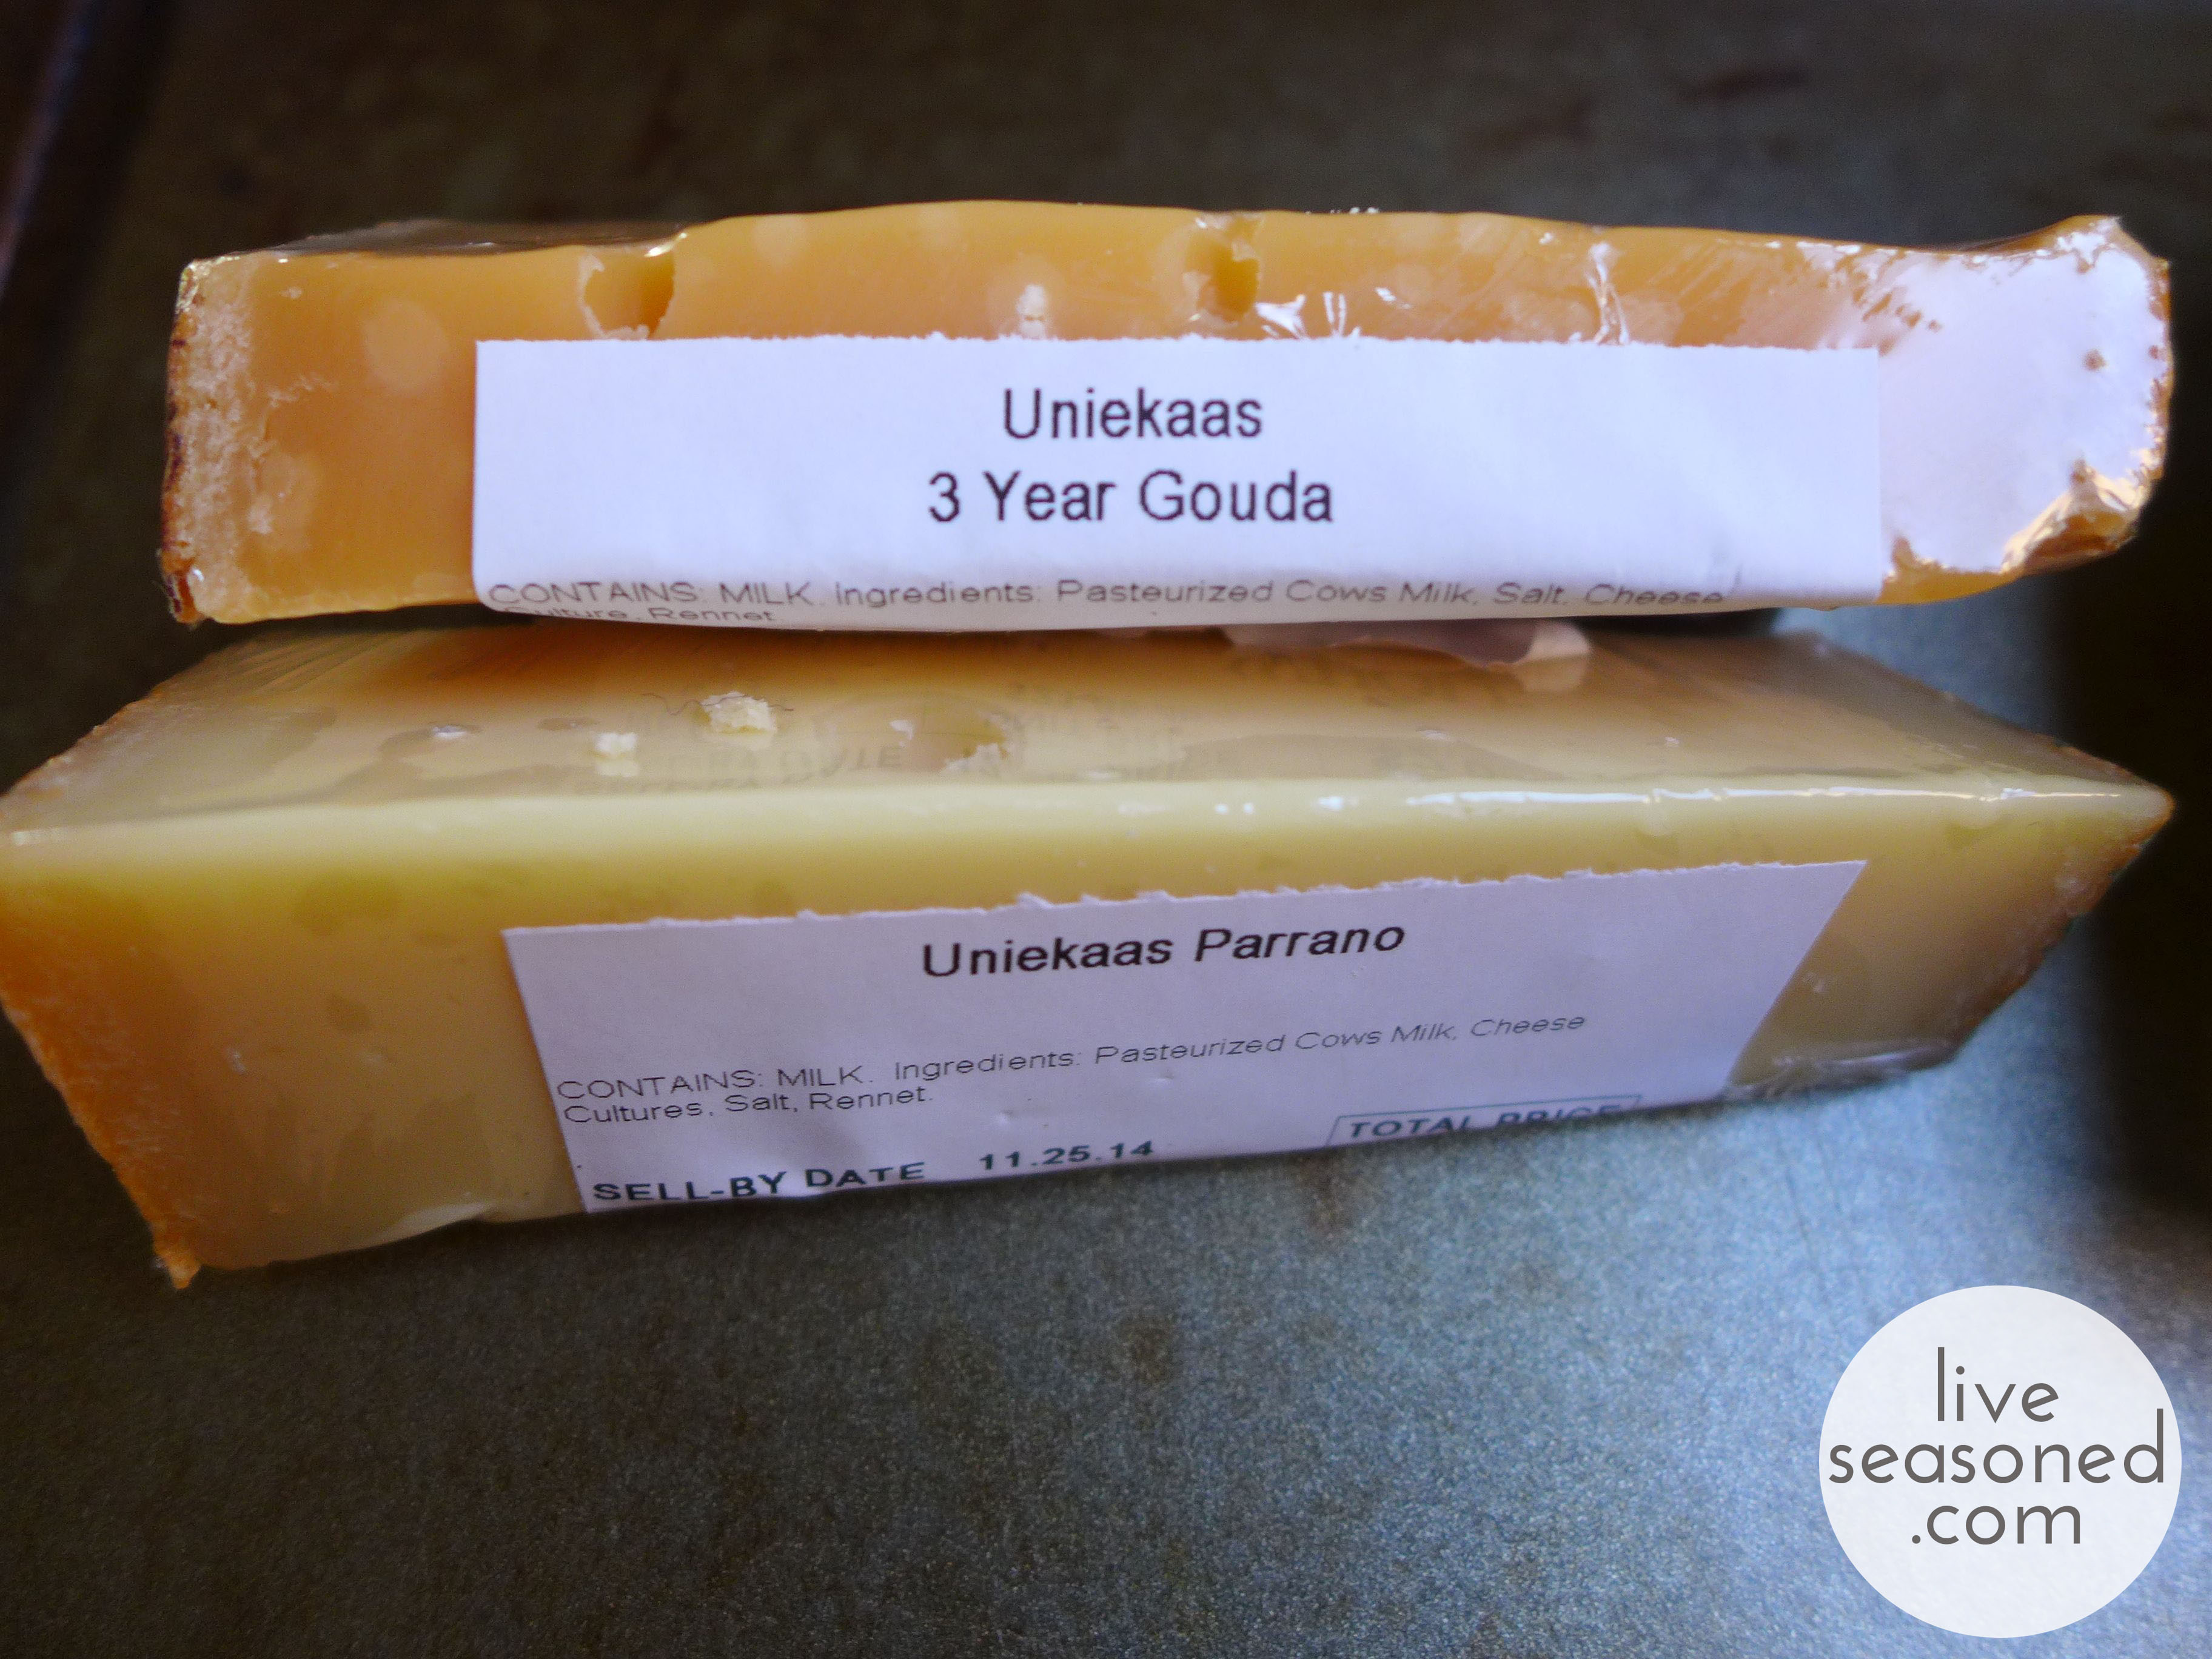
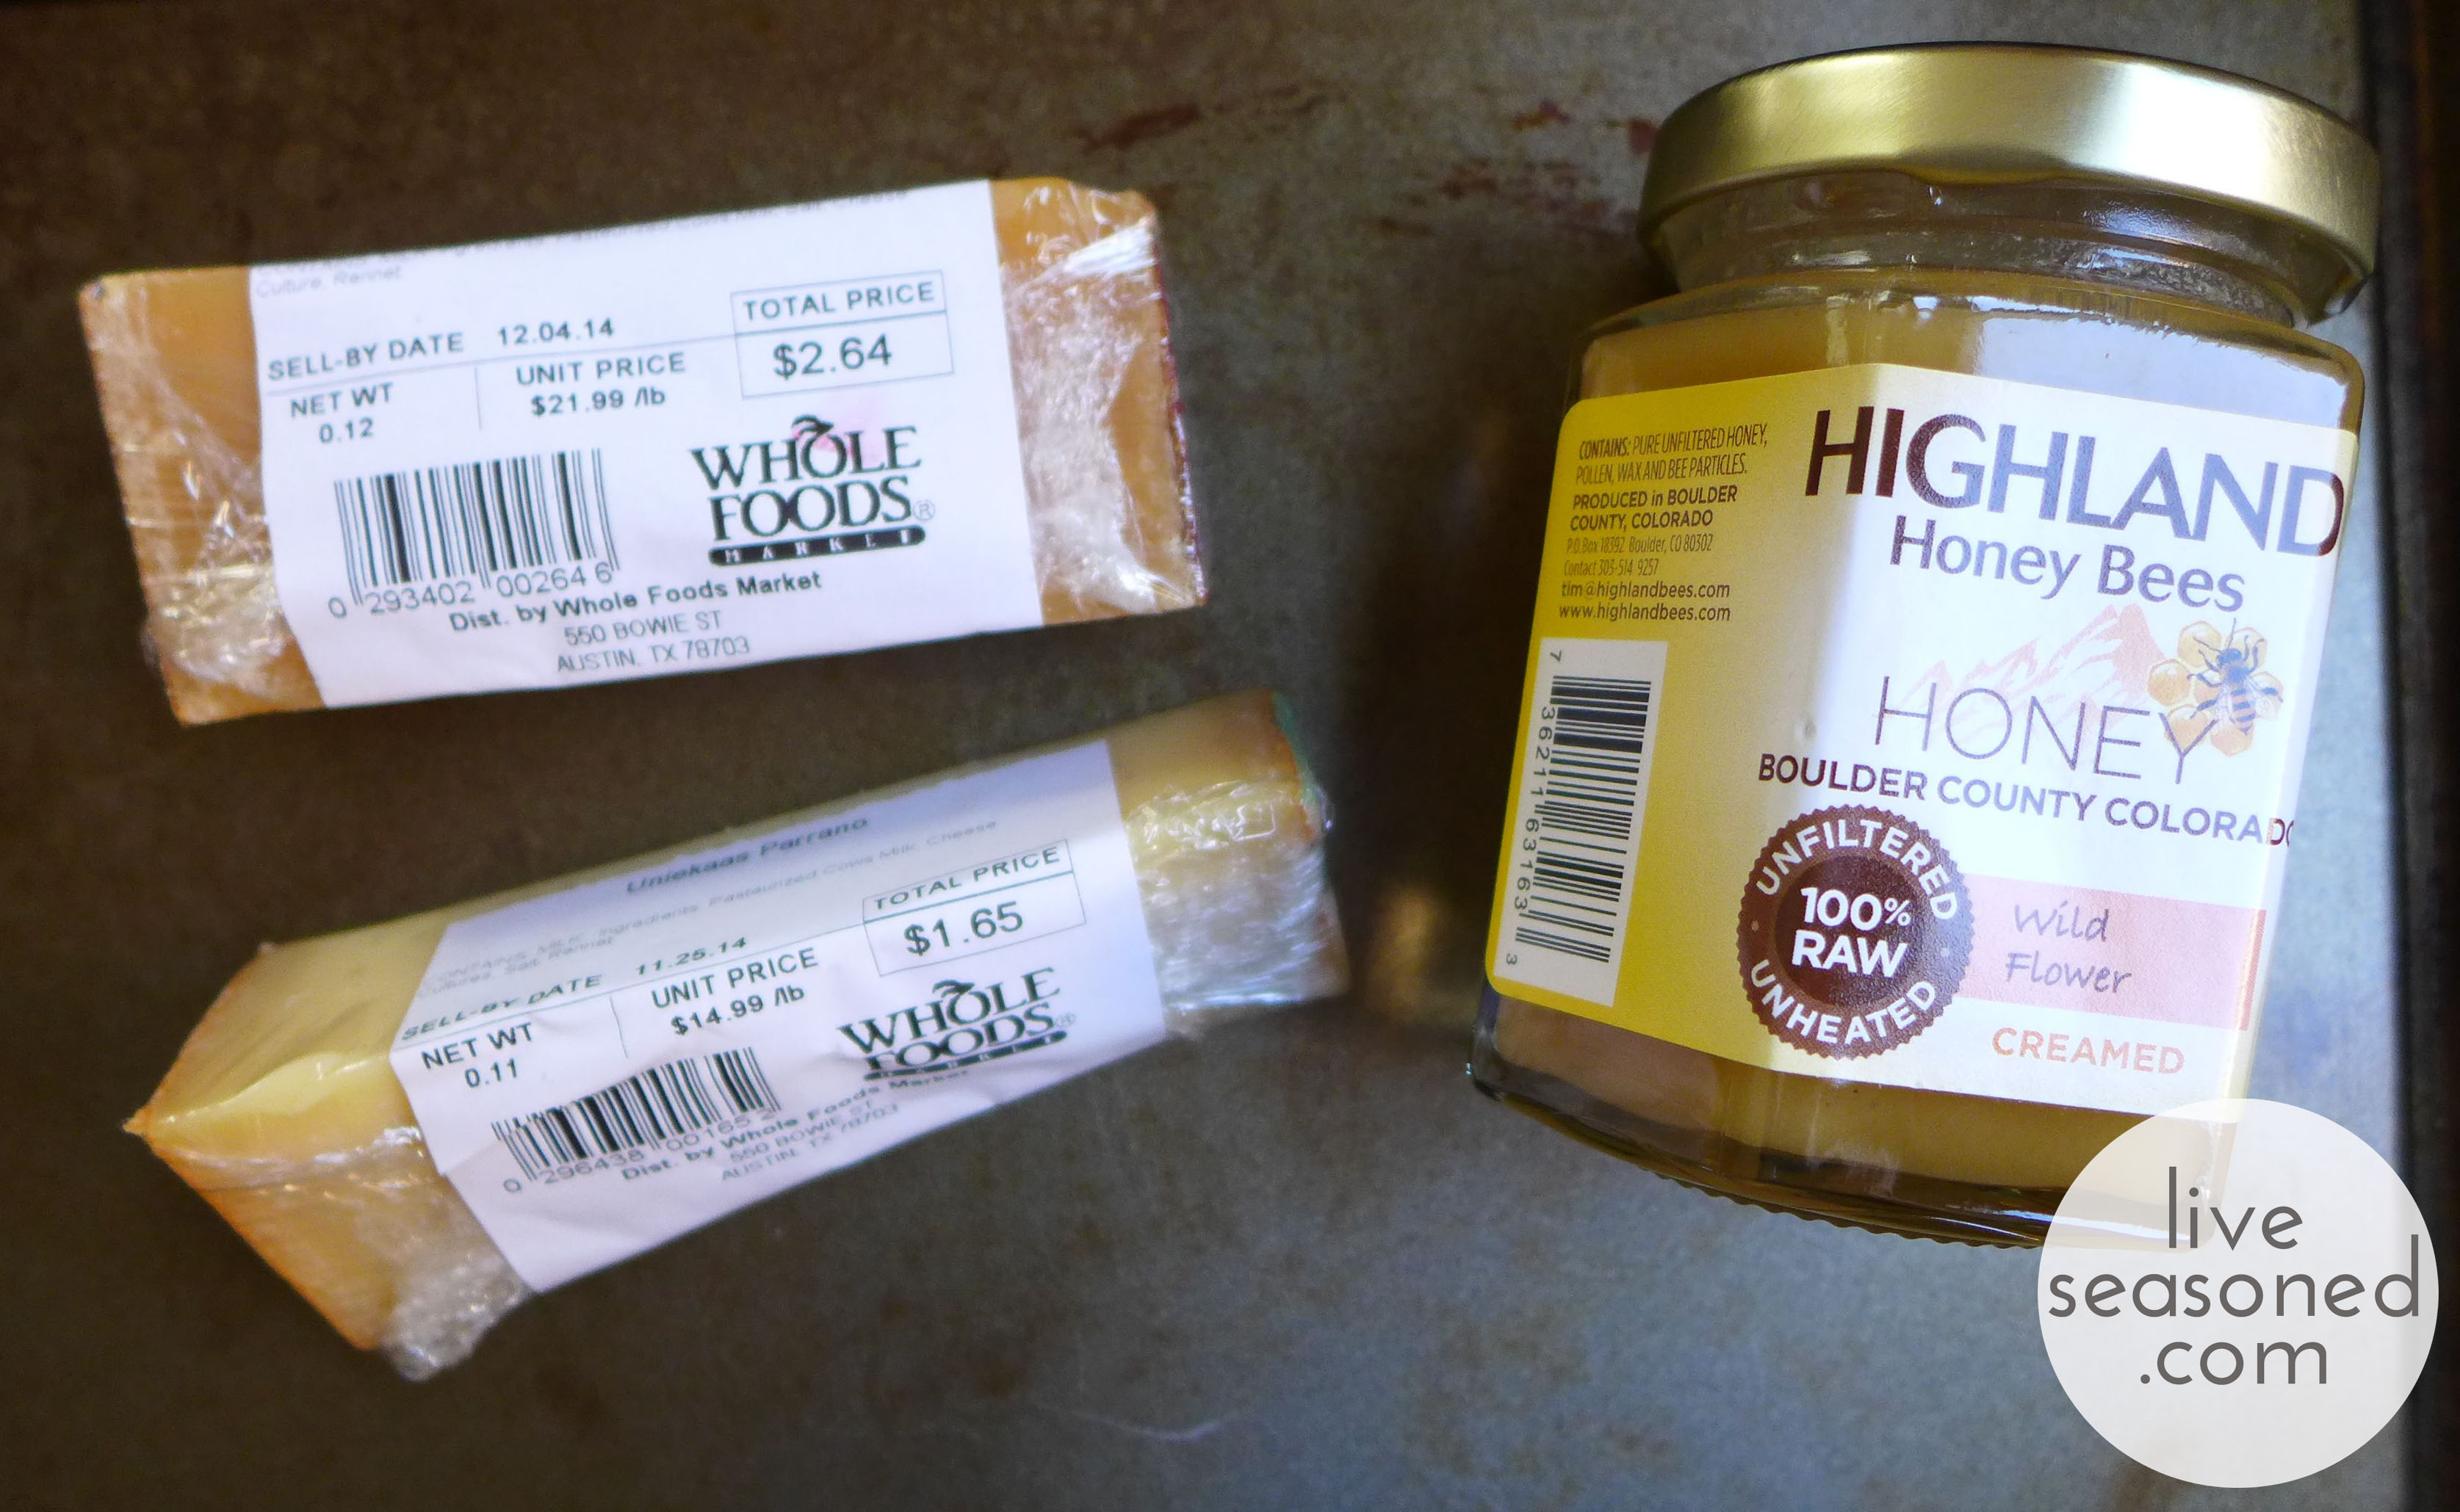
I always approach the bin with an open mind and pick out any cheeses that look promising (that’s every cheese), and right now I’m also sticking to only those made with pasteurized milk. On this particular visit, the bin was overflowing with two varieties of hard cheese from Uniekaas, a Dutch company: a 3 year Gouda and a Parrano. I’m sad to say, I had to pass on a beautiful looking cheese that had bits of black truffle throughout but was made with unpasteurized milk. From the labels, you can see that each of the cheeses I picked has a big price tag ($22 and $15 per pound), but the wedges are both close to a tenth of a pound, making it an affordable splurge (is that a thing?).

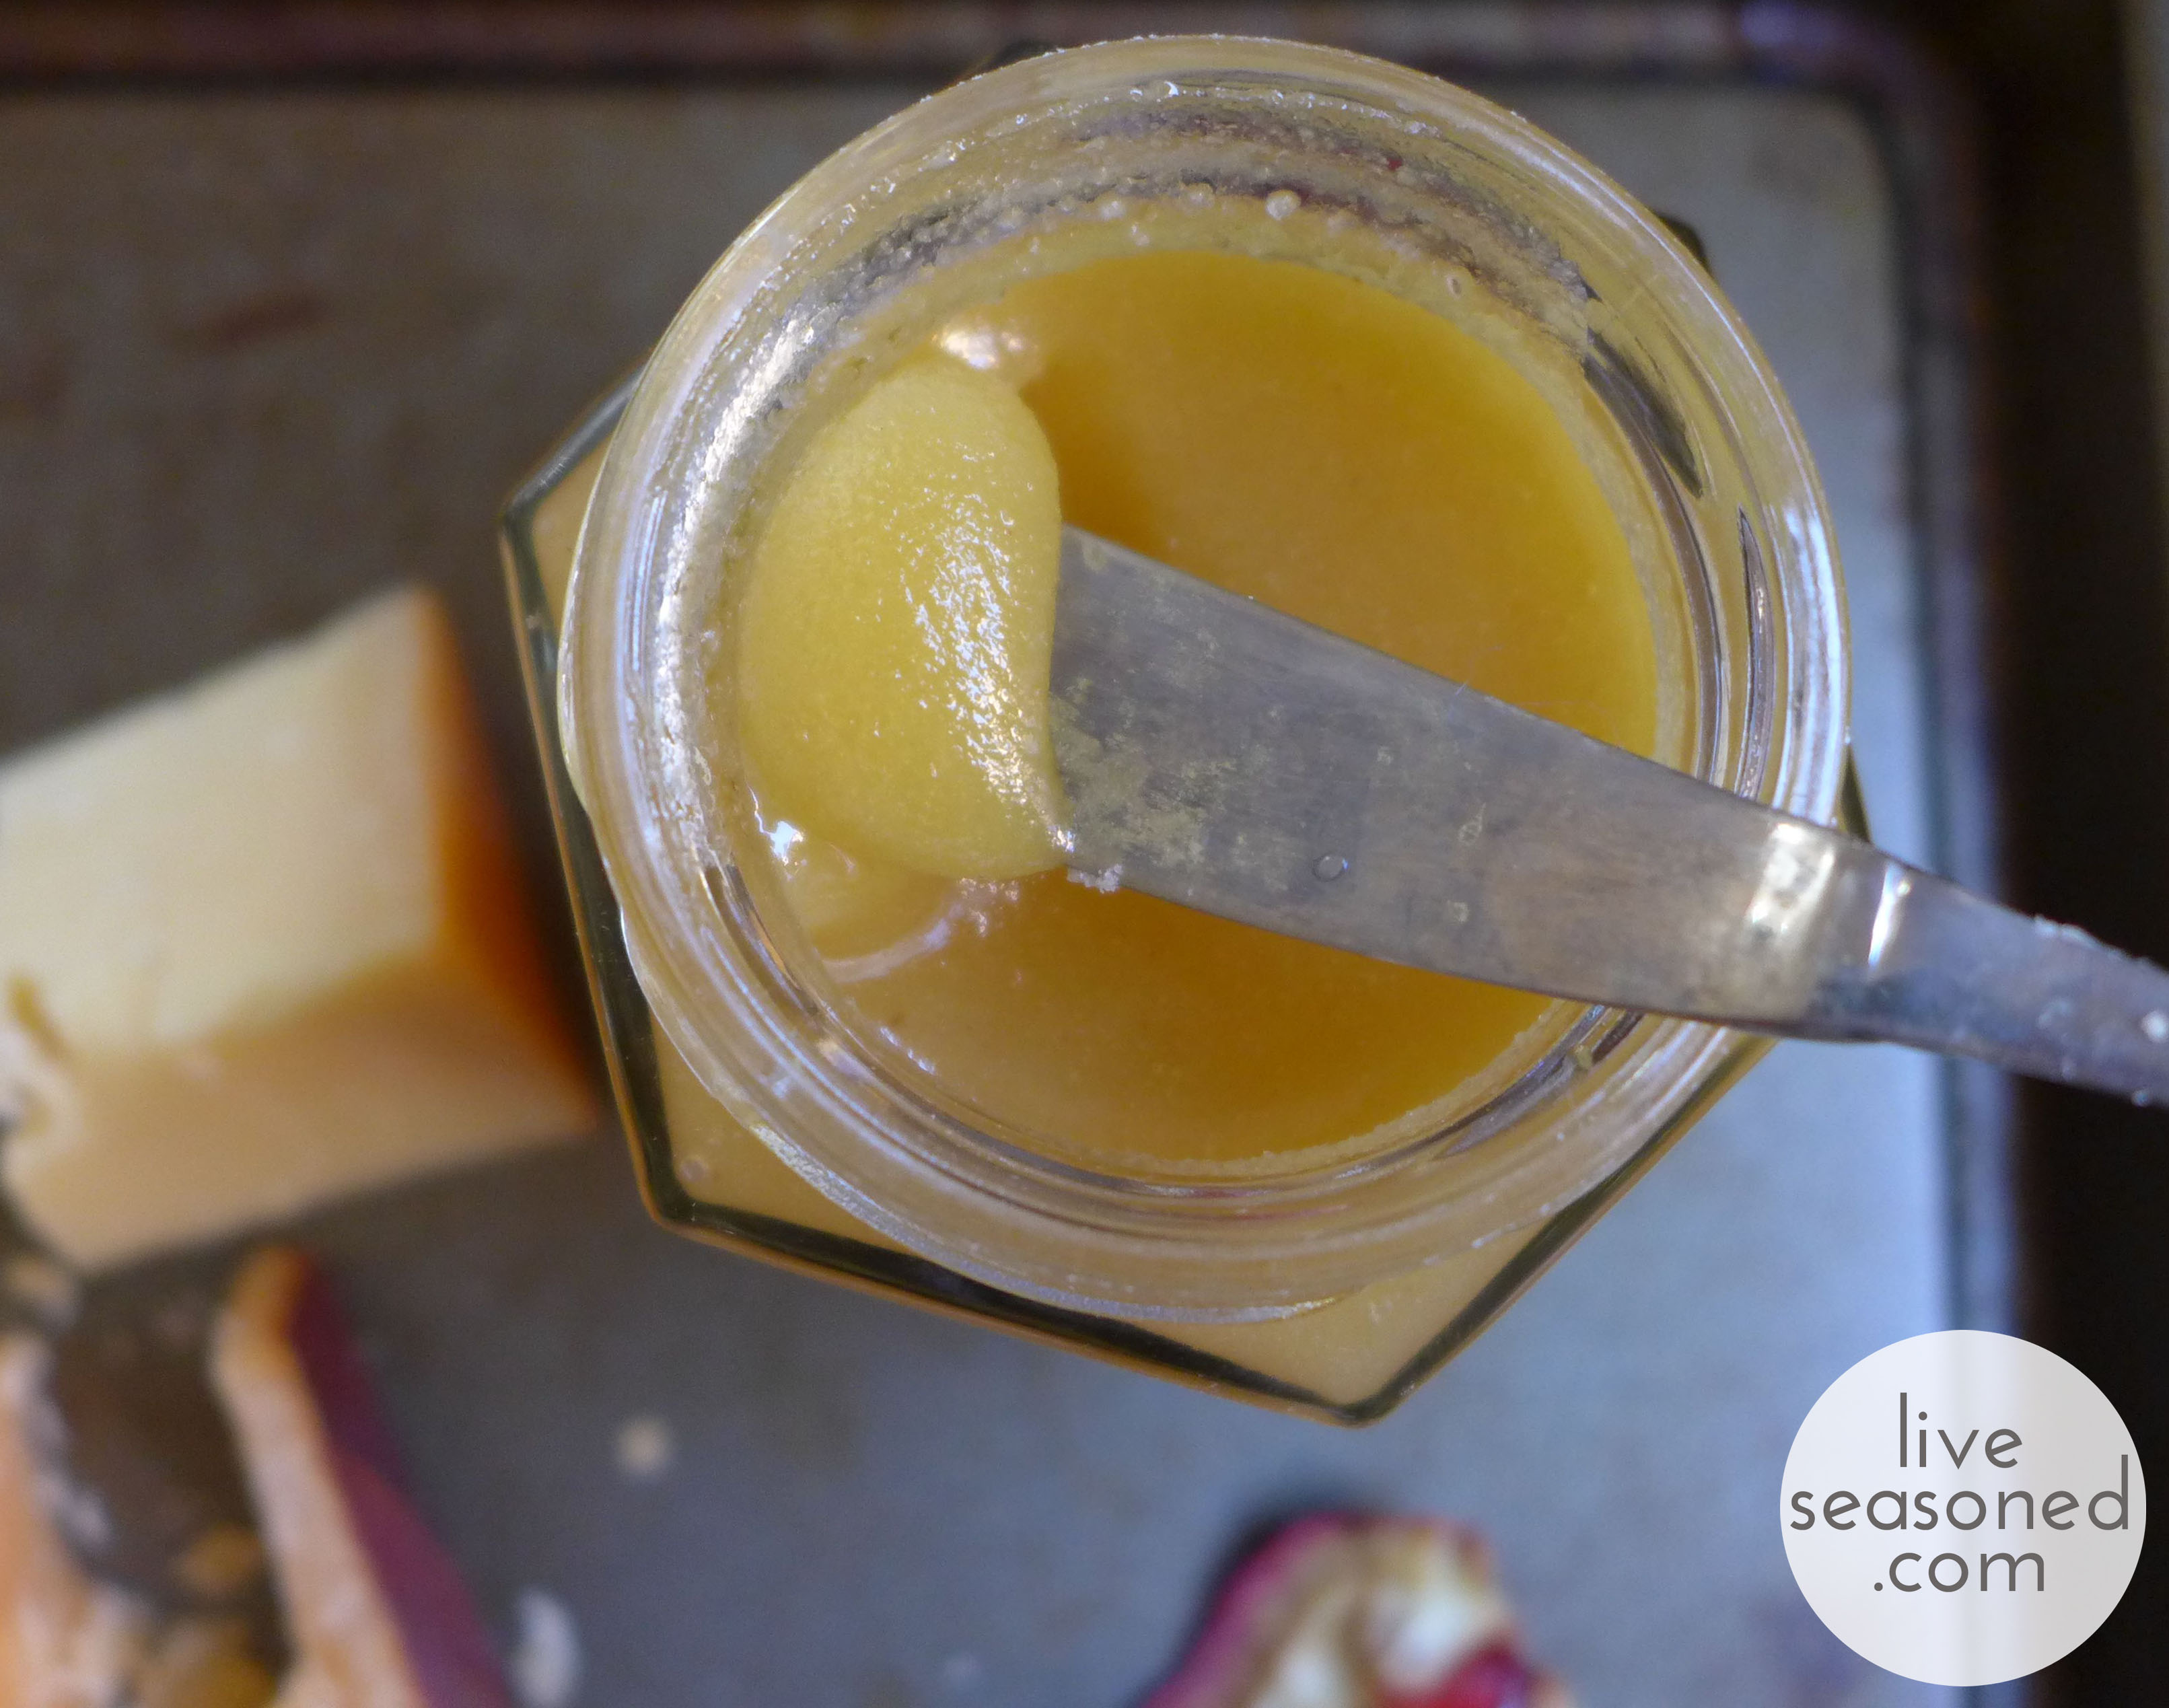
liveseasoned_fall2014_nibblenook2_wmI also love Whole Foods visits for their constant sample tables, on this particular day a table of raw uber-local honey (from hives within our county!), was perfectly positioned at the end of the cheese aisle. They even happened to be serving up the samples with a variety of Parrano, so I had to pick up a jar. And as you’ll see, it ended up making such a perfect treat!

liveseasoned_fall2014_nibblenook10_wm

A little bit about the cheeses. Both of these cheeses are considered great snacking cheeses in the Netherlands, their home country.

Gouda

(The orange cheese in these photos)

Gouda is a Dutch hard yellow cheese made from cow’s milk. The cheese may be aged anywhere from a month to many years. This particular Gouda was aged for three years, classifying it as a “very old cheese”.  As a Gouda ages it acquires a caramel sweetness and develops a slight crunch from cheese crystals that form as water within the cheese evaporates. The cheese’s sweetness is due to removing some of the whey, which also removes some of the lactic acid, early in the cheese-making process and replacing it with water.

Parrano

(The white cheese in these photos)

Parrano is also a technically a Dutch Gouda, but with a flavor similar to aged parmesan. Parranos are aged for about 5 months, giving them a semi-firm texture. As described on the company’s website, Parrano is “slightly sweet, a little bit nutty but still with a deliciously strong flavour”.

liveseasoned_fall2014_nibblenook6_wm

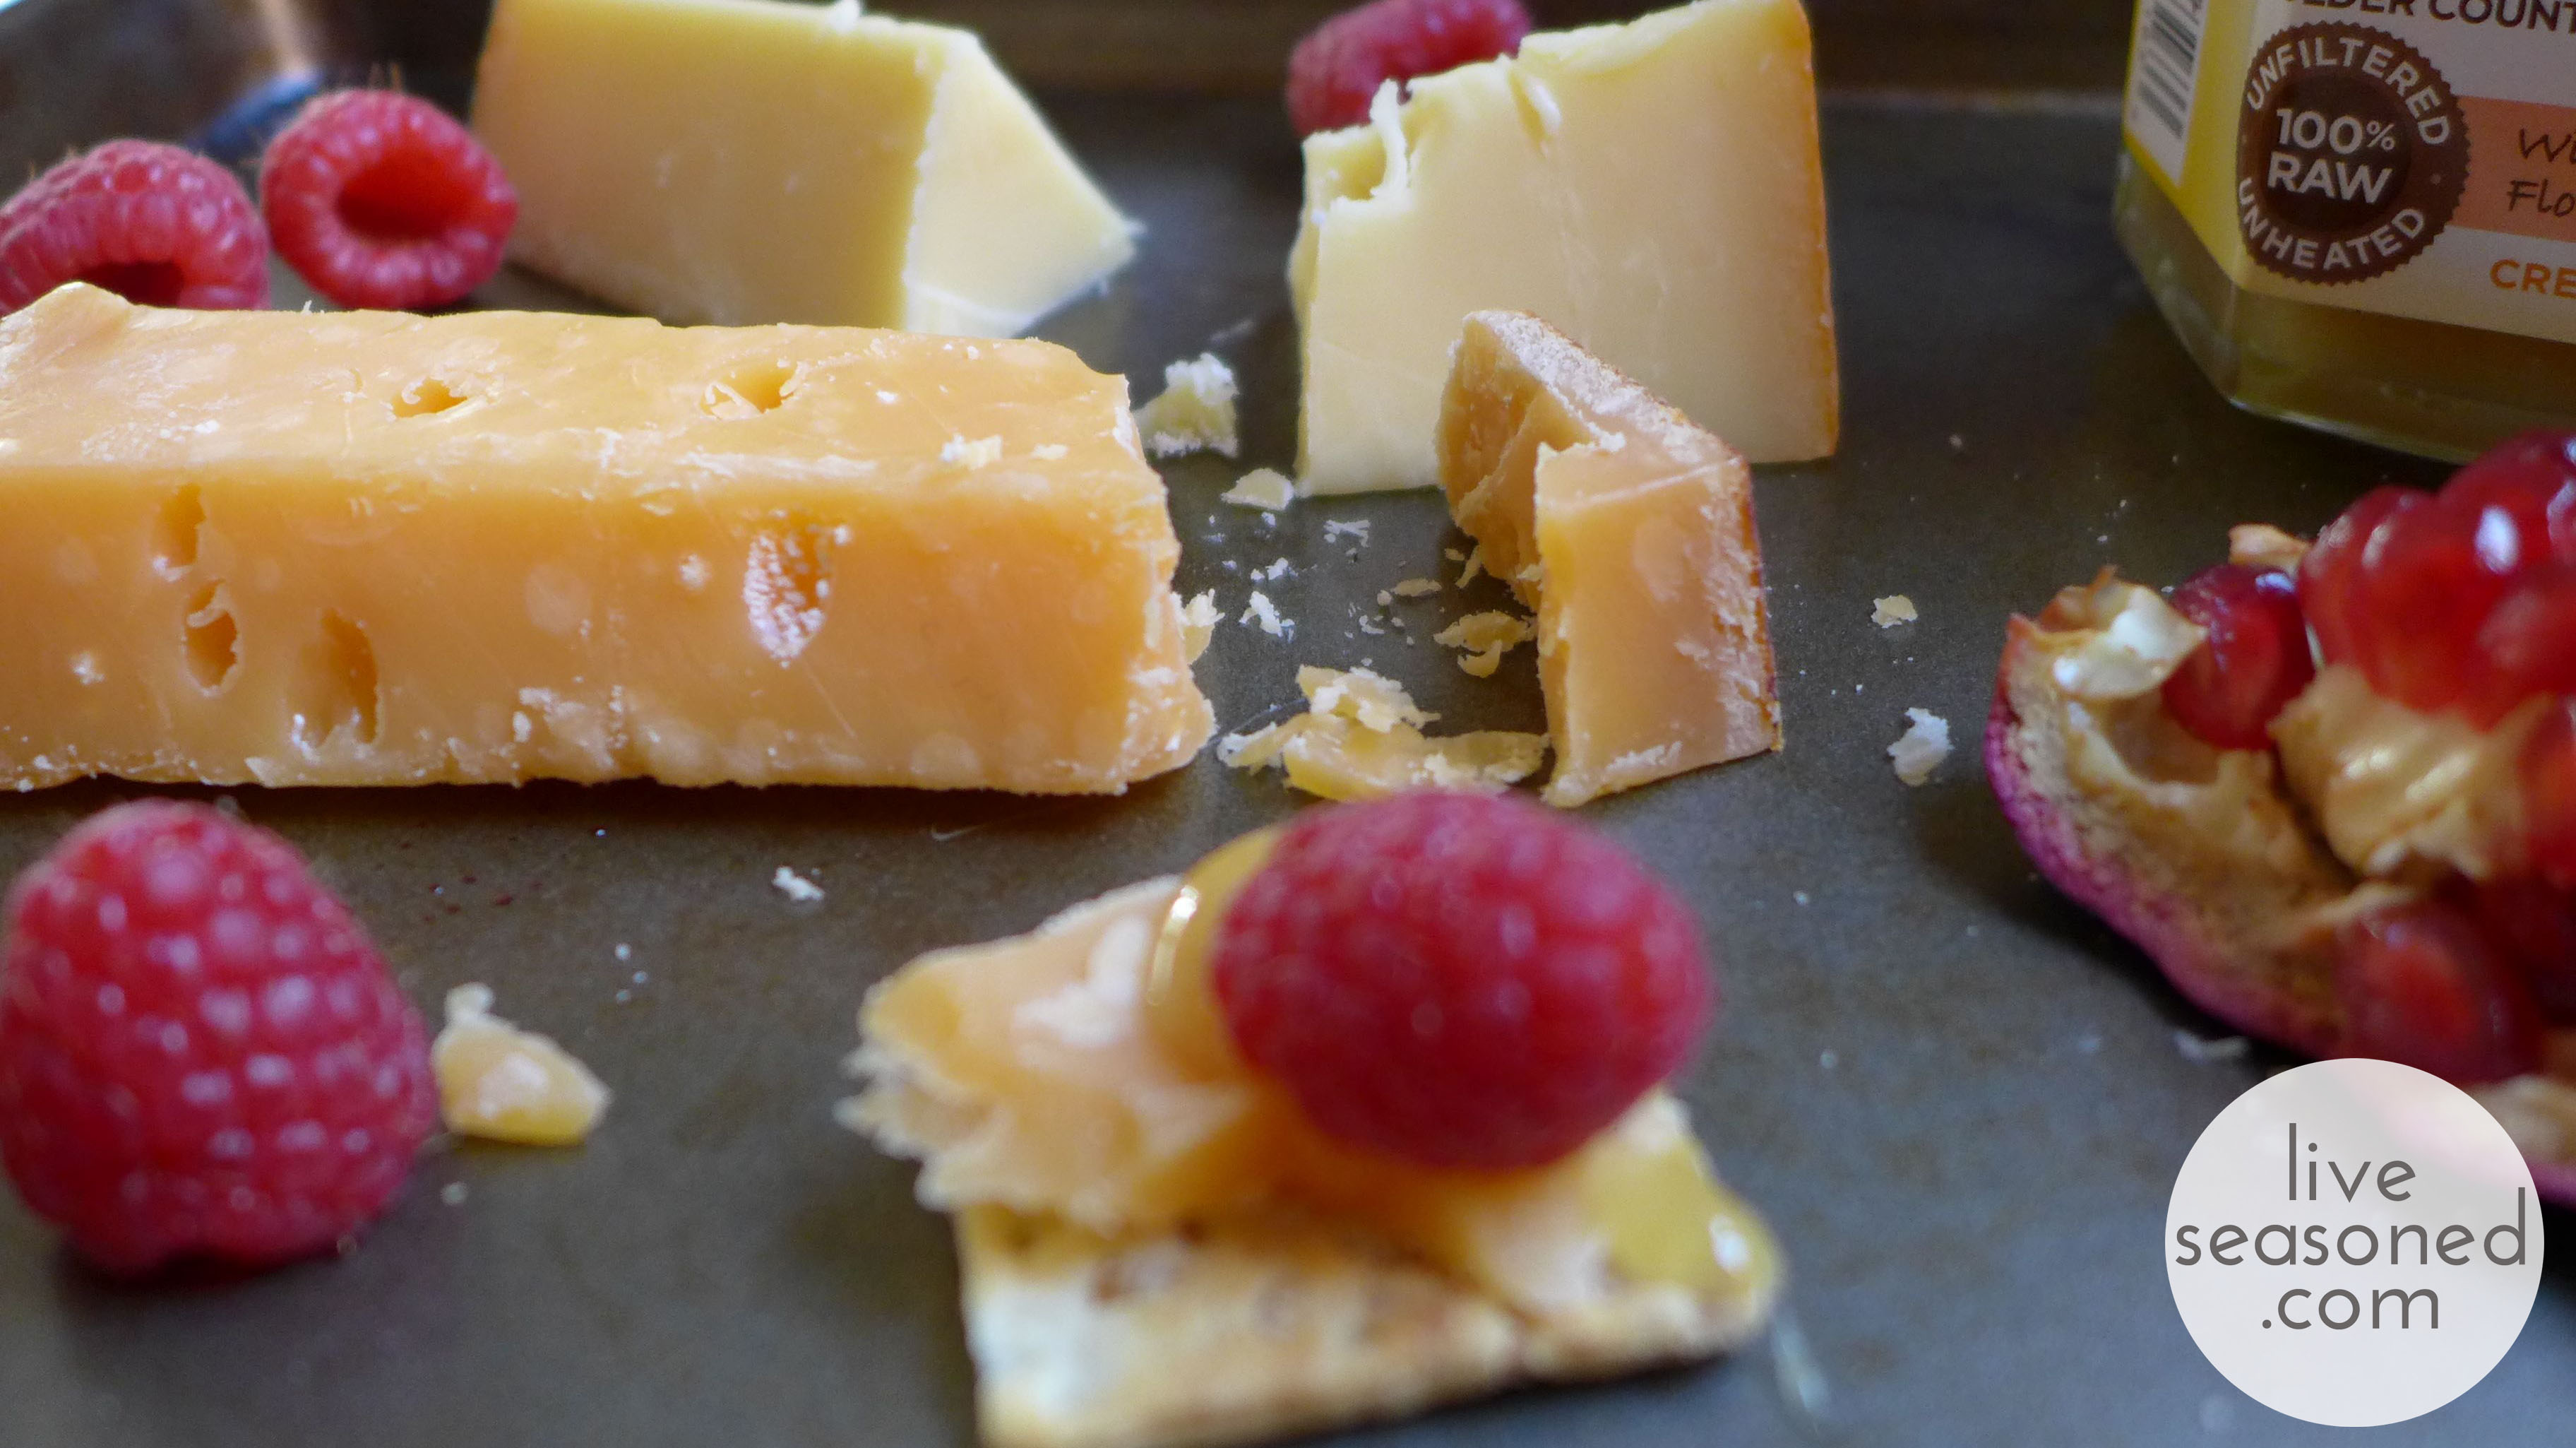
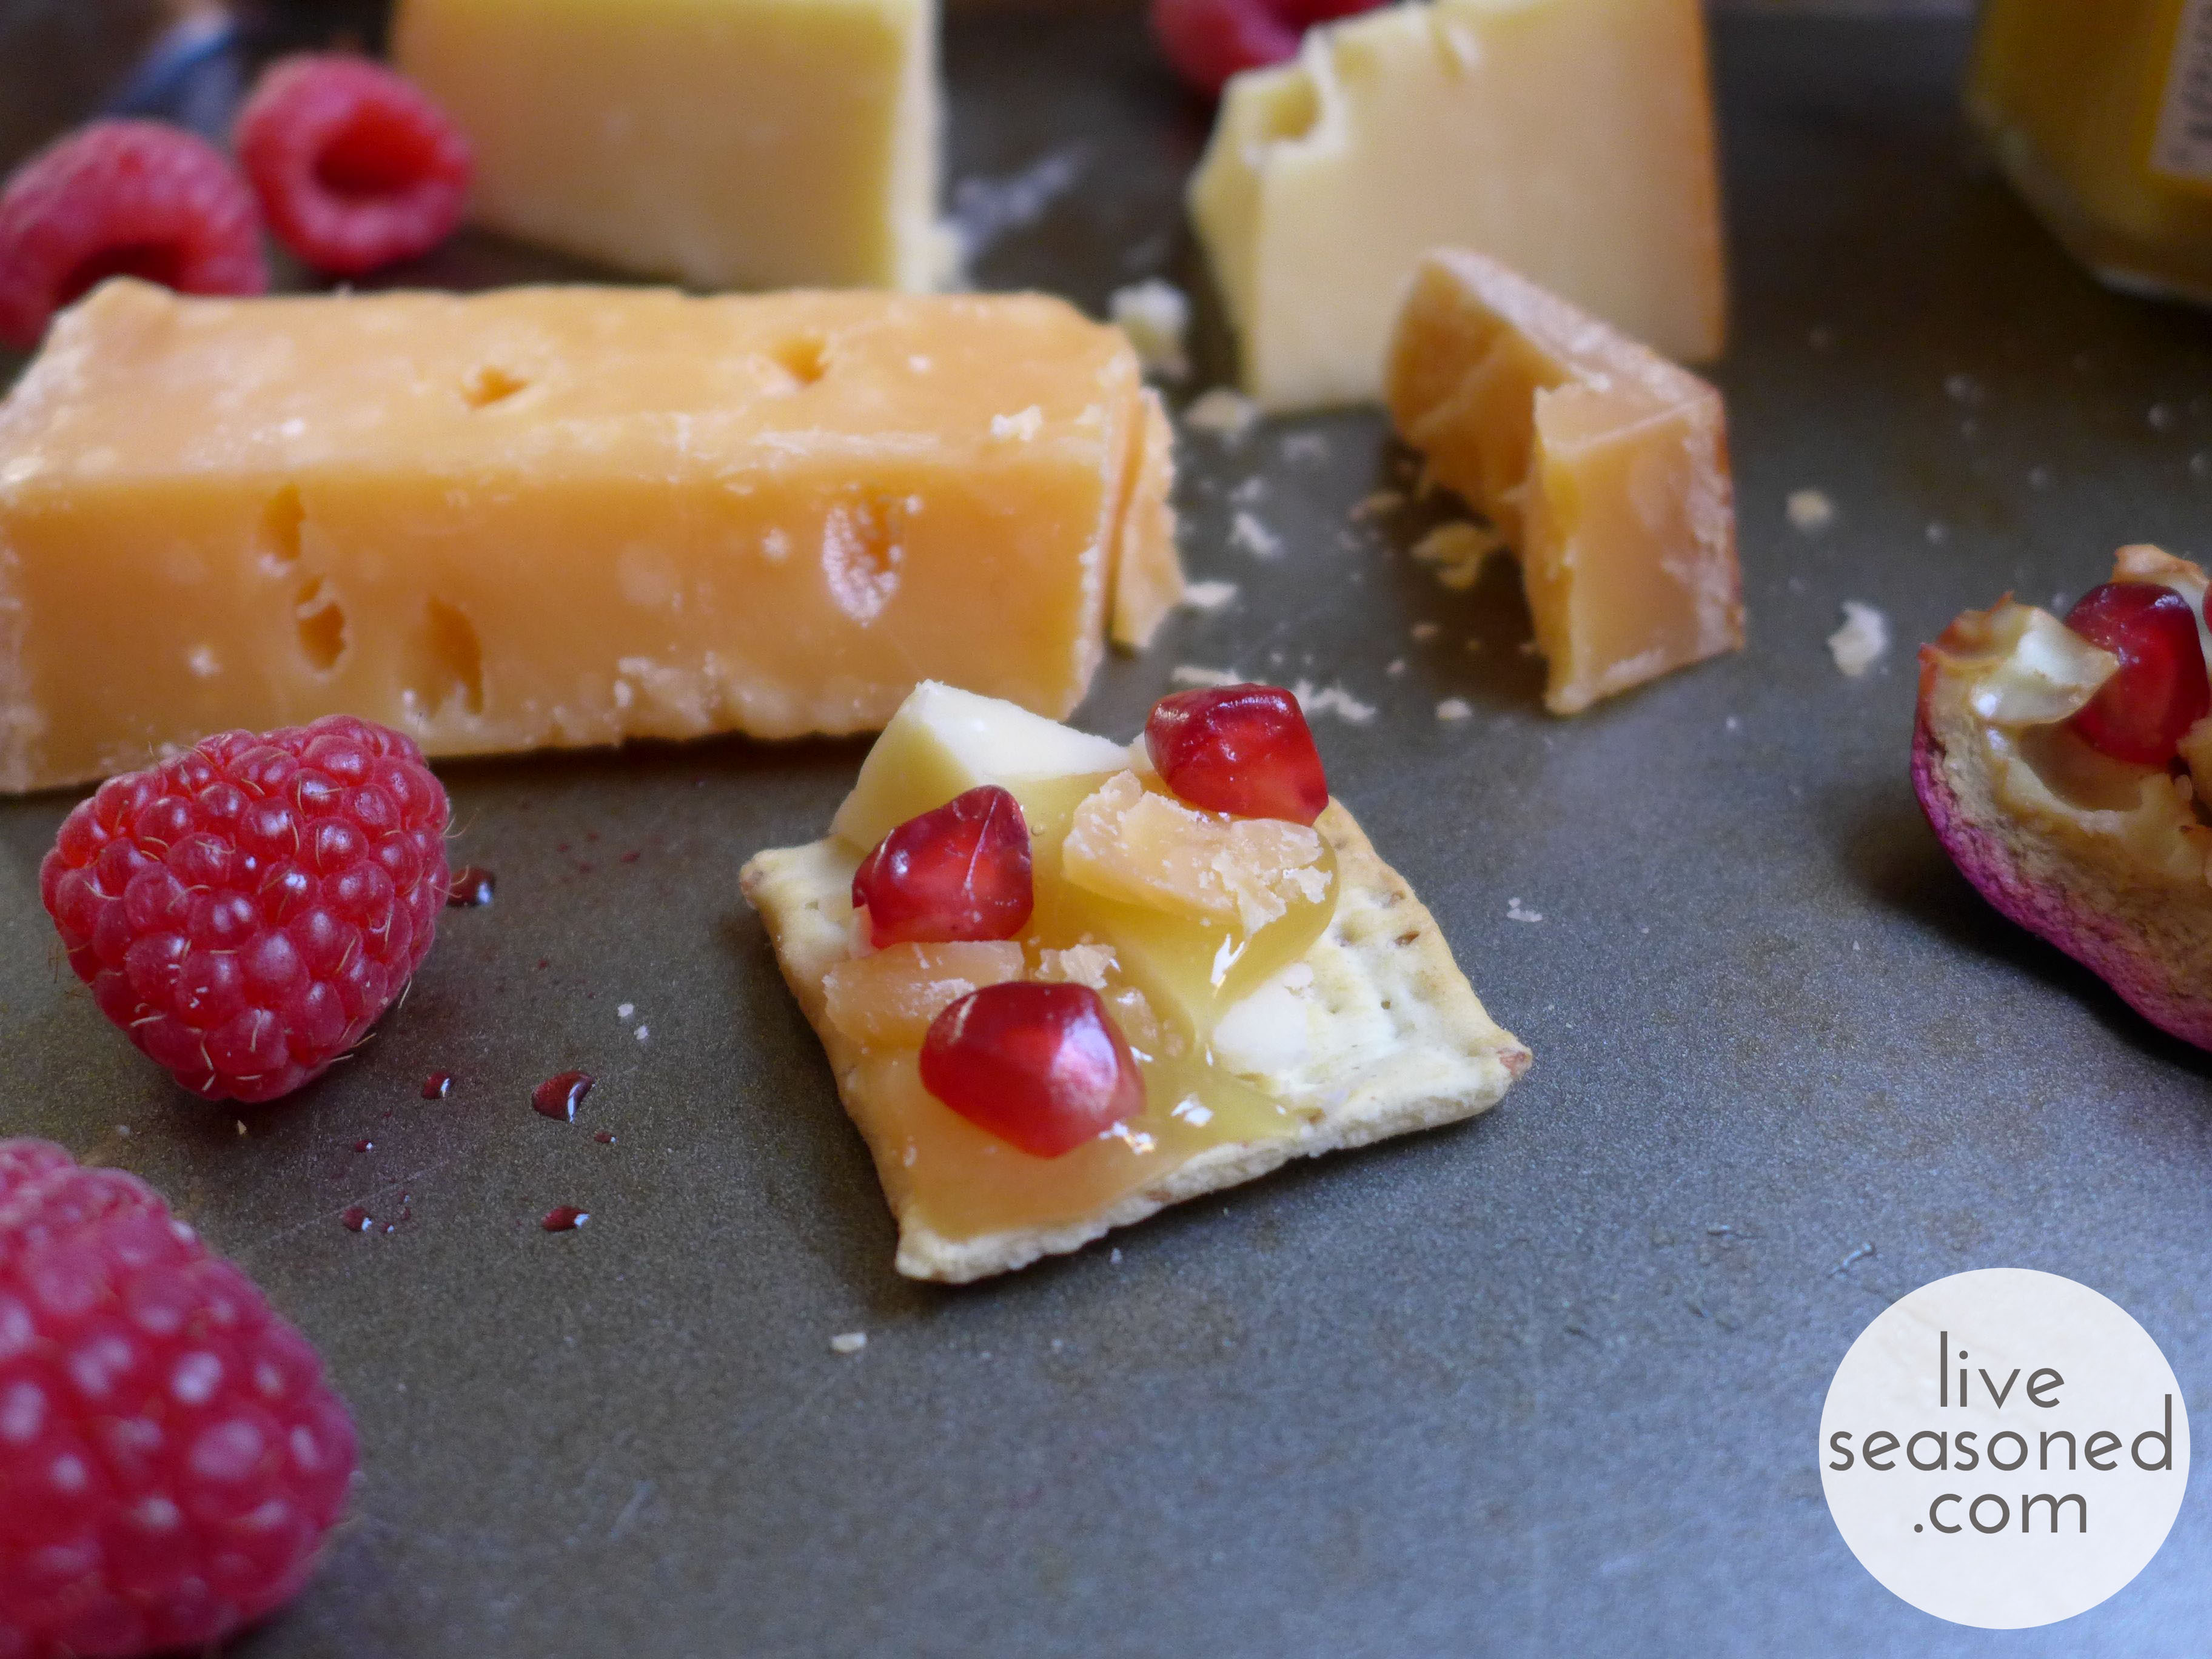
As is common, I like to include some fruit on my cheese plates. Continuing with my adventurous ways, I’m not too picky when it comes to the fruits I choose. I’ll often look for anything in season and deliciously ripe (there’s no point in serving out-of-season strawberries that taste like water, right?). On this particular day, I already had some raspberries and pomegranate in my fridge. As it turns out, their slight tartness was a perfect complement to the sweet honey and sharp cheeses!

liveseasoned_fall2014_nibblenook7_wm

 The Honey

This is a raw, unfiltered, and unheated honey. As a result, it has a cloudy appearance from the honey crystals that have begun to form (it may also have some bits of wax, pollen, bee wings, and such in the jar). If you put a dollop of raw honey on a plate, you’ll find that it spreads more slowly than crystal clear honey. It turns out that this is really useful for gluing some fun cheese/cracker/berry combos together! And here you thought raw honey was just good for its enzymes.

liveseasoned_fall2014_nibblenook9_wm

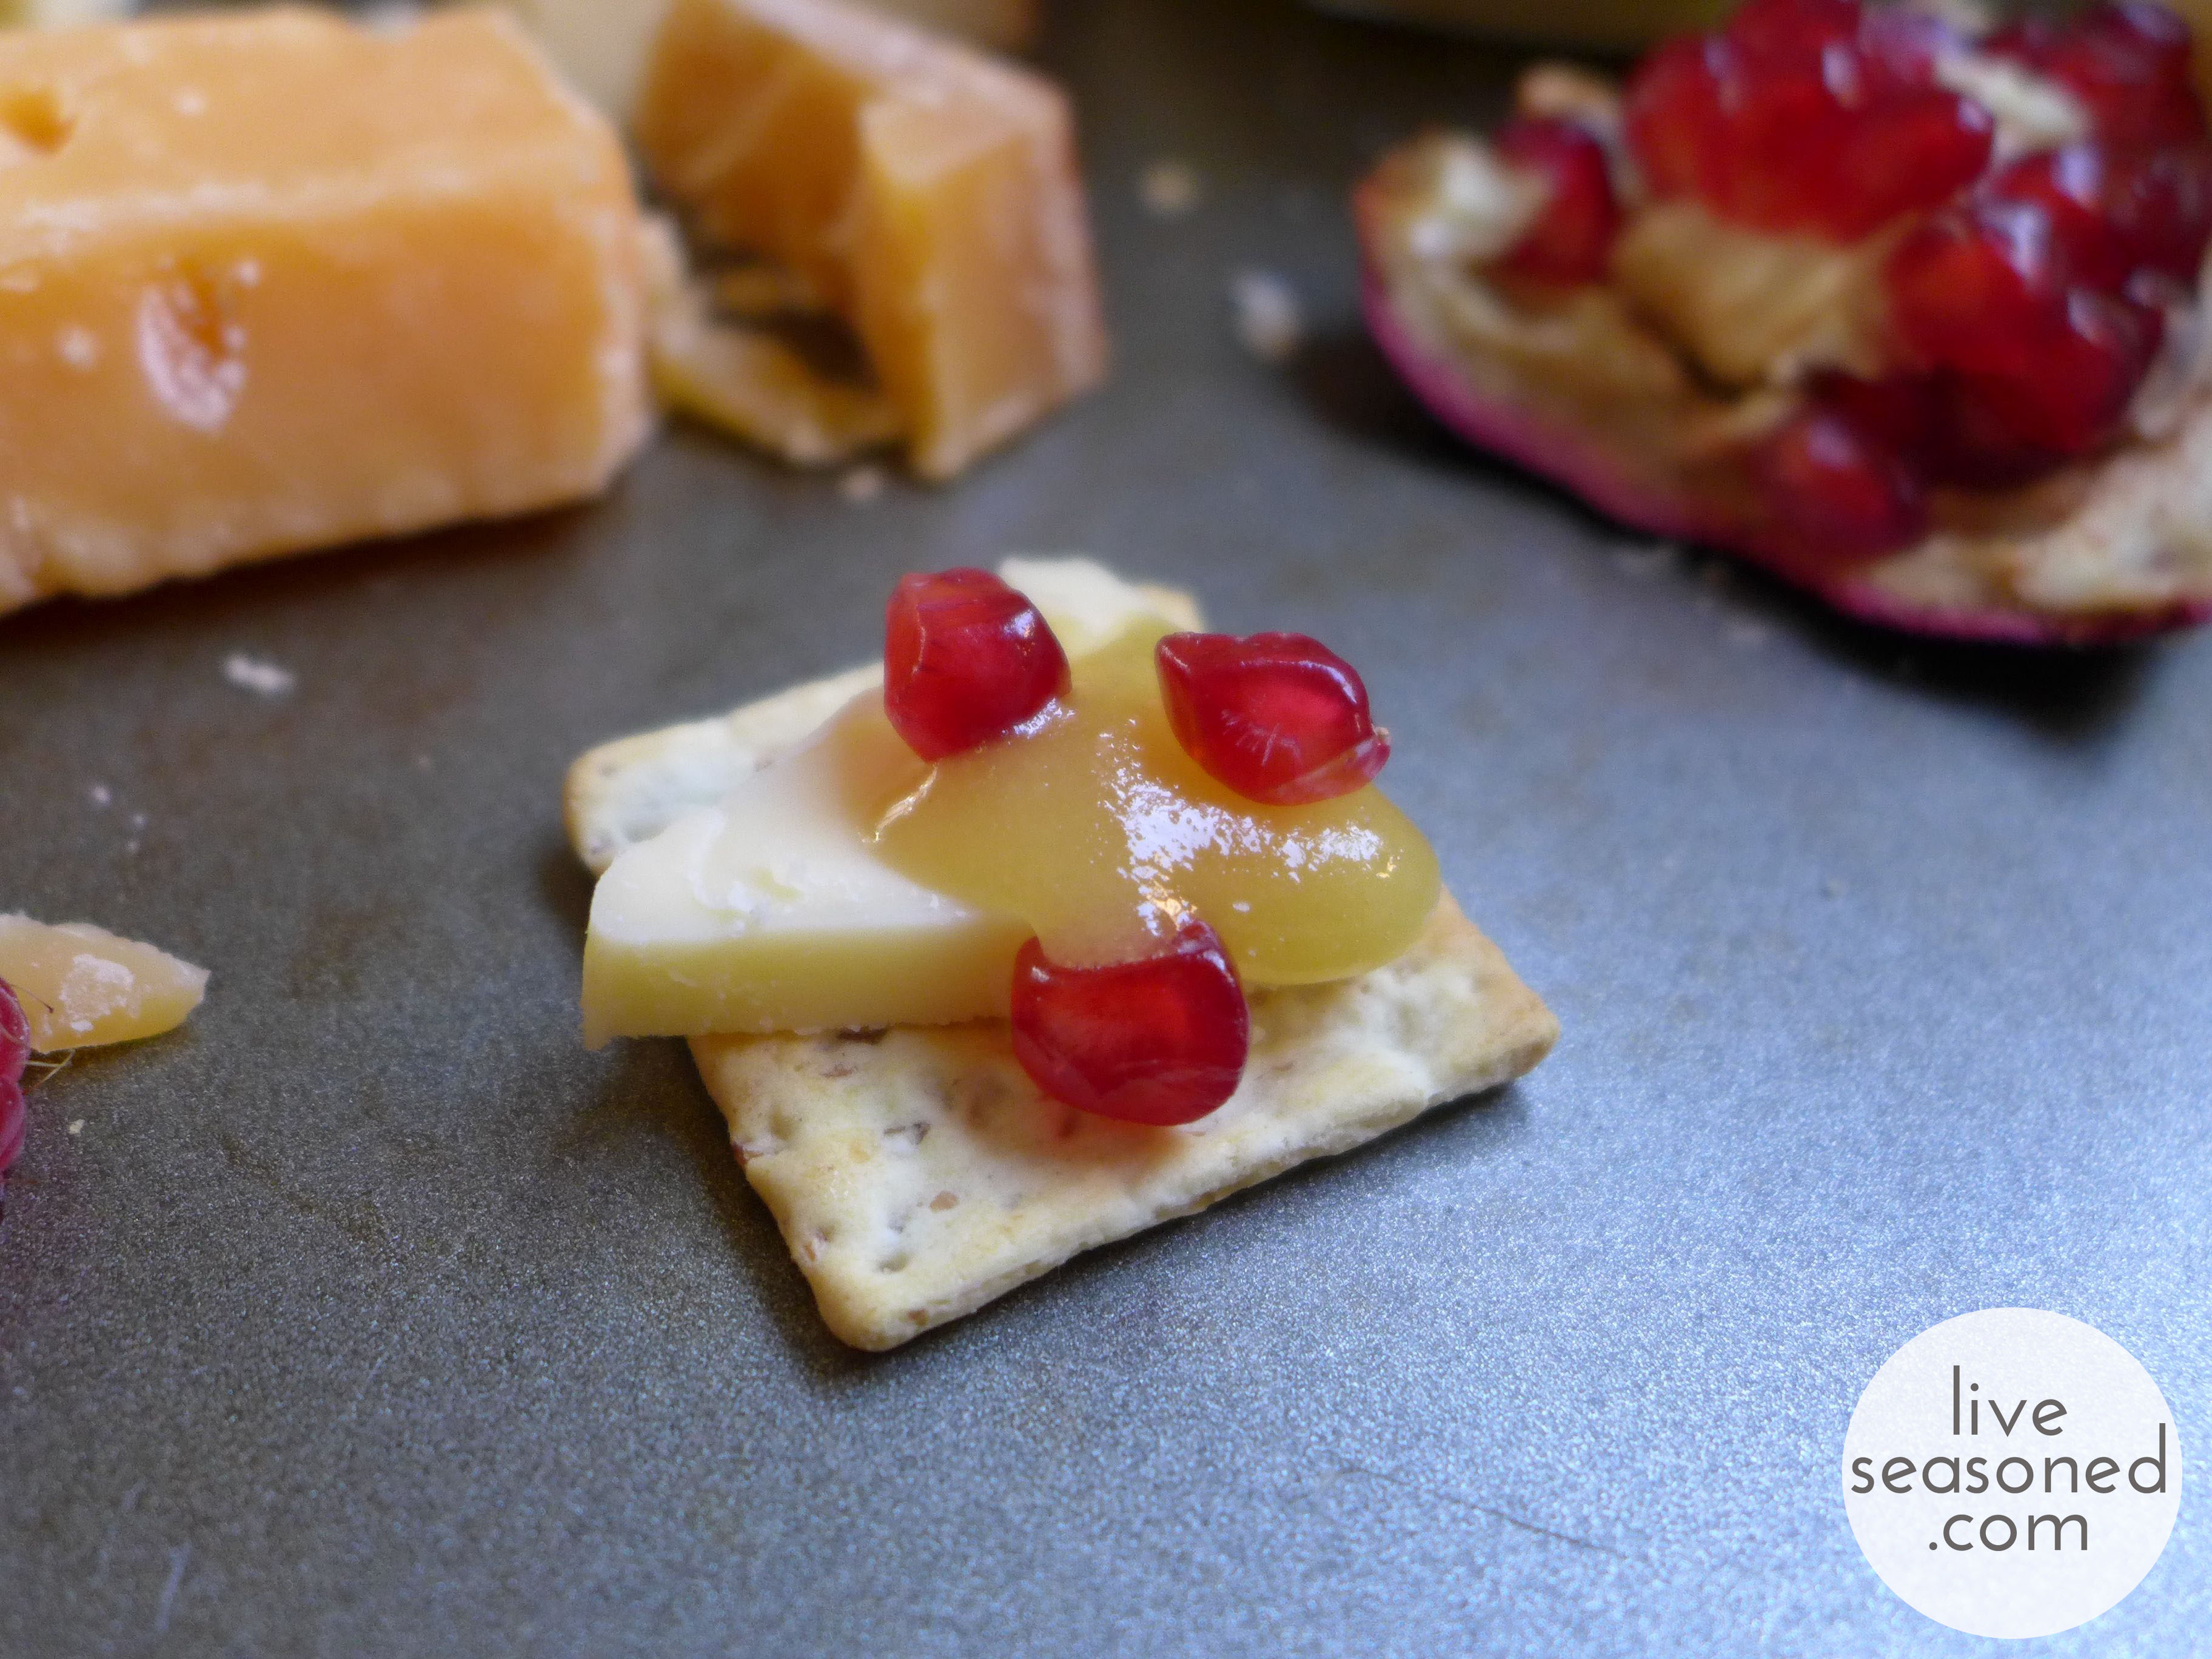
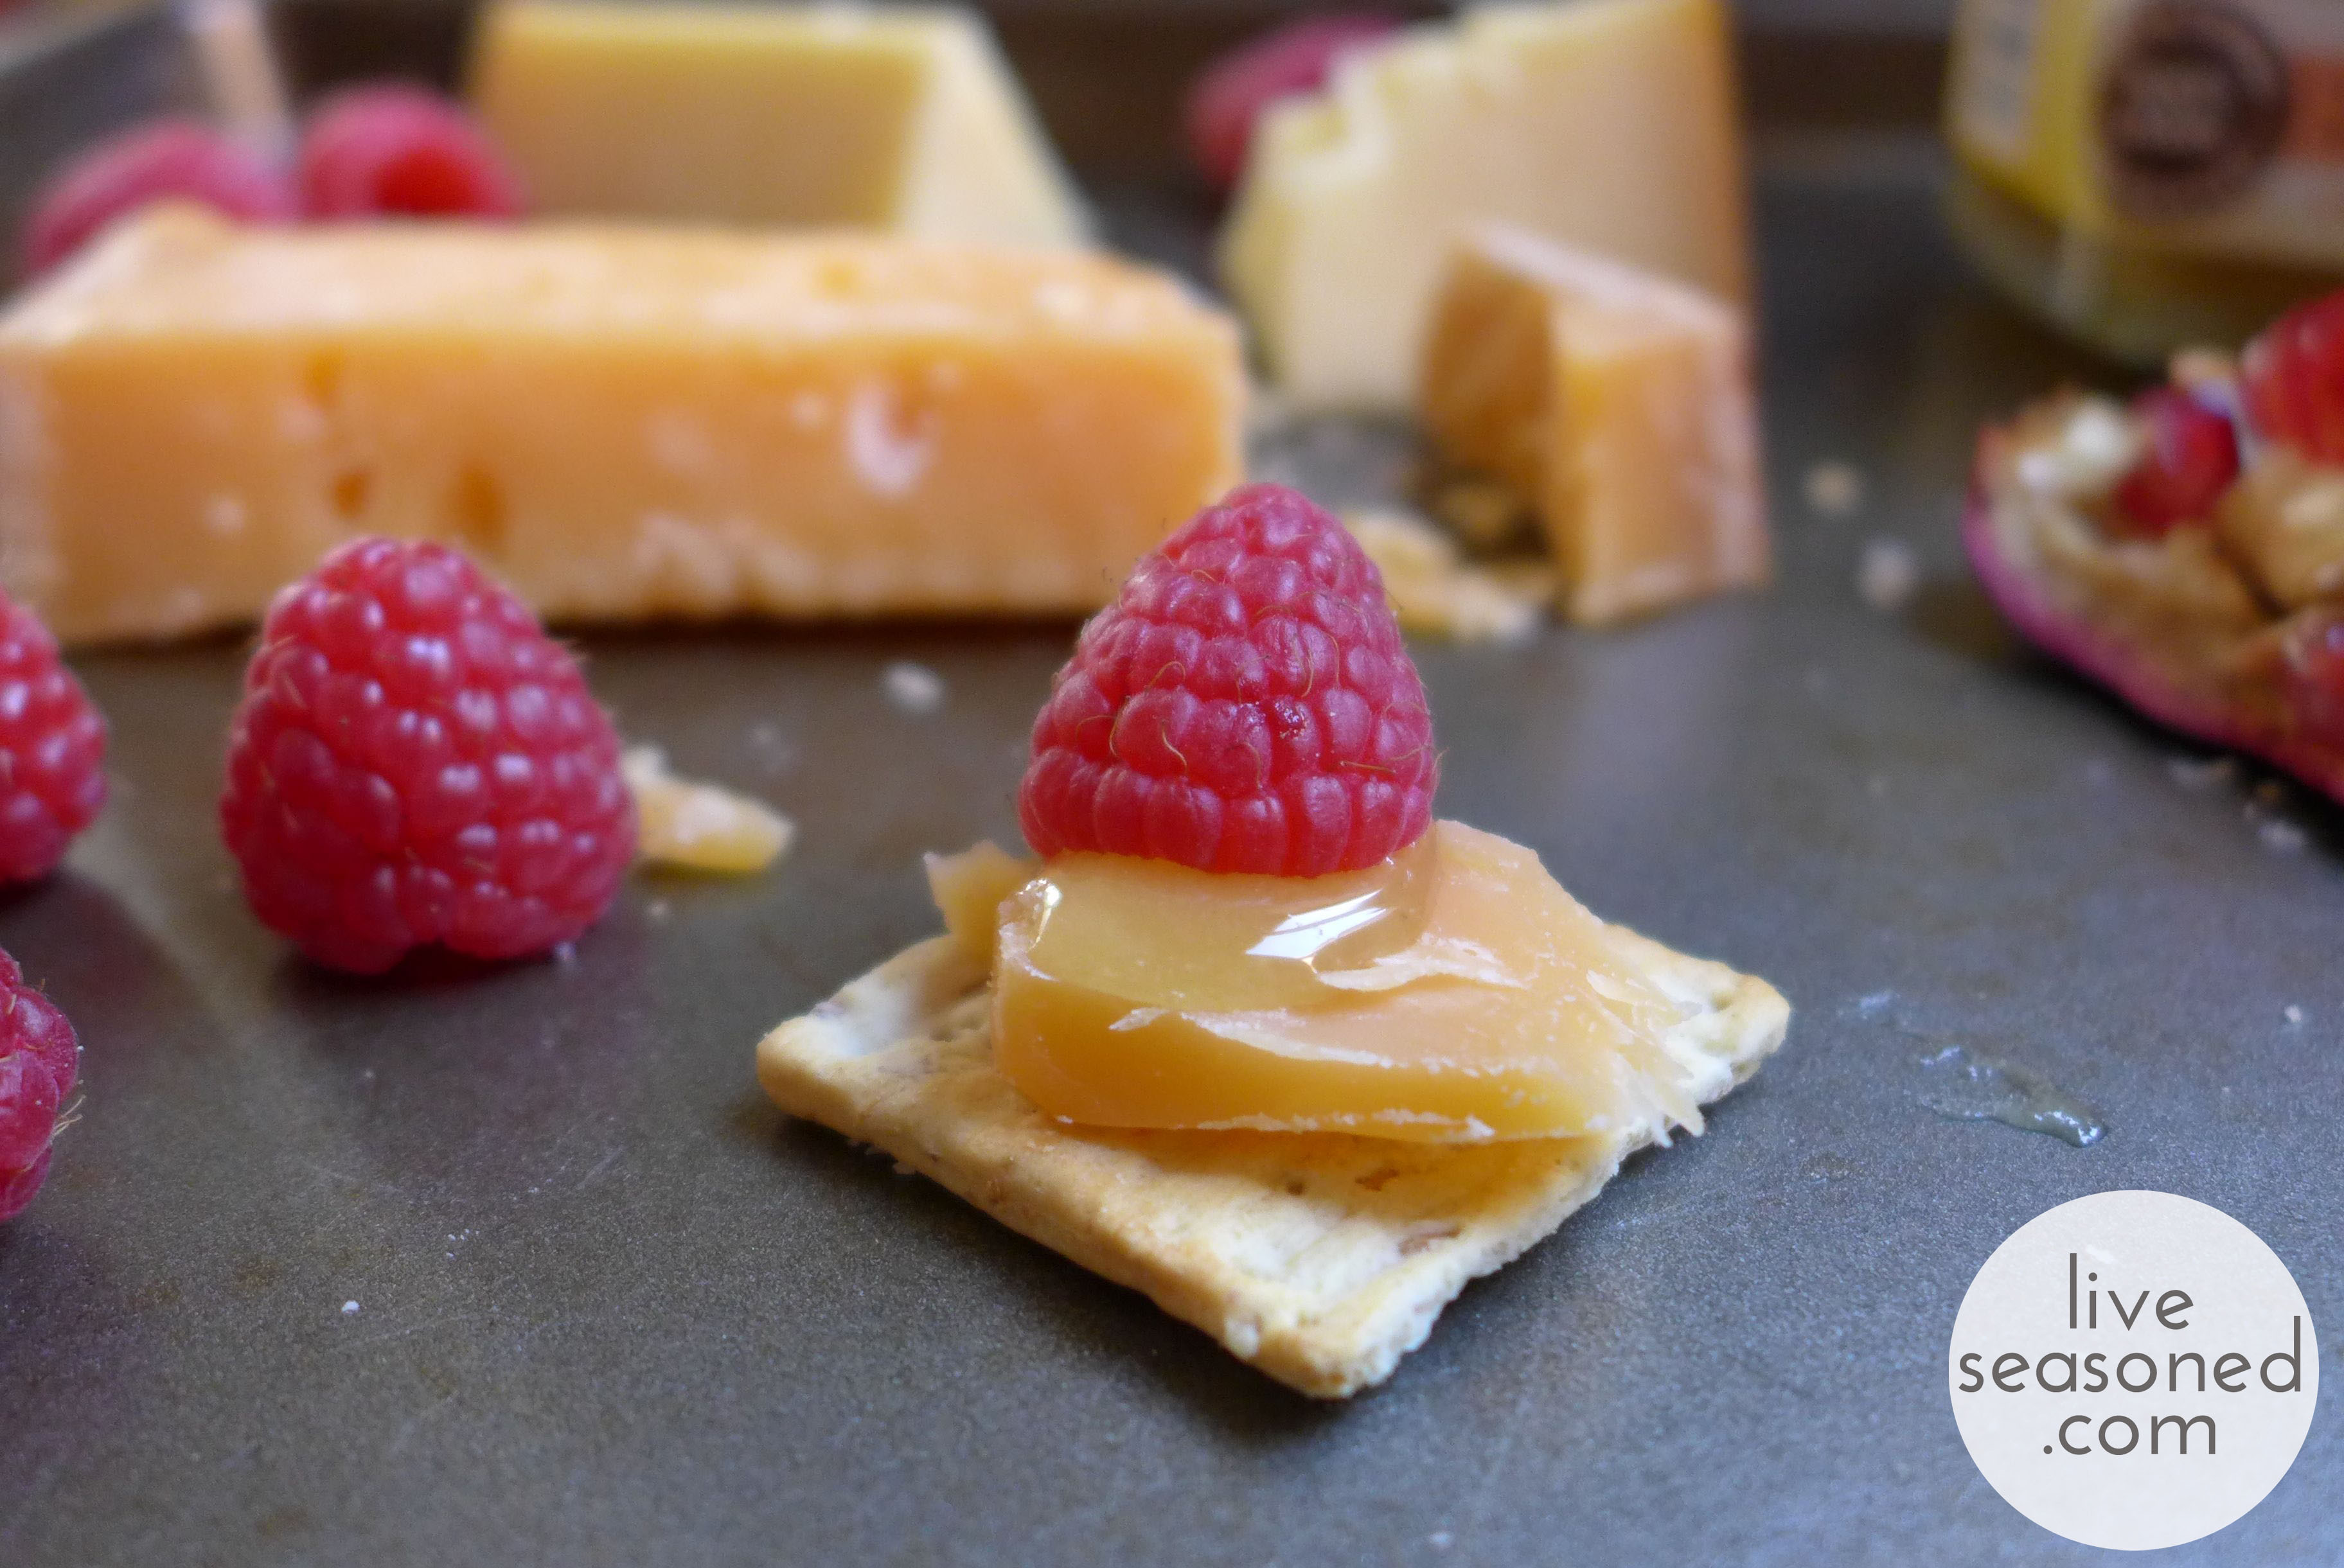
Look at how beautiful that cracker looks with a bit of cheese, dollop of honey, and a few perfectly placed pomegranate seeds! There’s no way those seeds will fall off on the way from the plate to your mouth. This is a particularly handy trick for cocktail parties if you want to make a few fancy cracker/cheese combos rather than having guests make their own. You definitely don’t have to worry about the appetizer falling apart before it’s served. I also found honey to be particularly useful for keeping the crumbly gouda on my cracker. You can see that I double-dipped in the last photo – starting with a slice of Parrano and then adding crumbles of Gouda over the honey. indulge much?

liveseasoned_fall2014_nibblenook11_wm

I can’t emphasize enough how delicious these particular combos were. The crackers were just a basic wheat thin. Both cheeses had a bit of a nutty flavor. The honey added that touch of sweetness. And then, as I already mentioned, the fruit added a bit of a tart note. Plus it was extra fun to get that little spray of juice and crunch when biting down on the pomegranate seeds.

liveseasoned_fall2014_nibblenook12_wm

And this adventure all started with a quick trip to the Nibble Nook. Who knows what next week’s visit will hold… and I can only hope that come April they add some of that truffle cheese back to the bin!

So tell us – does your grocery store have their own version of the nibble nook? Did you find any really outstanding cheeses there?