In the Snow with Little A

liveseasoned_w2015_snow_a

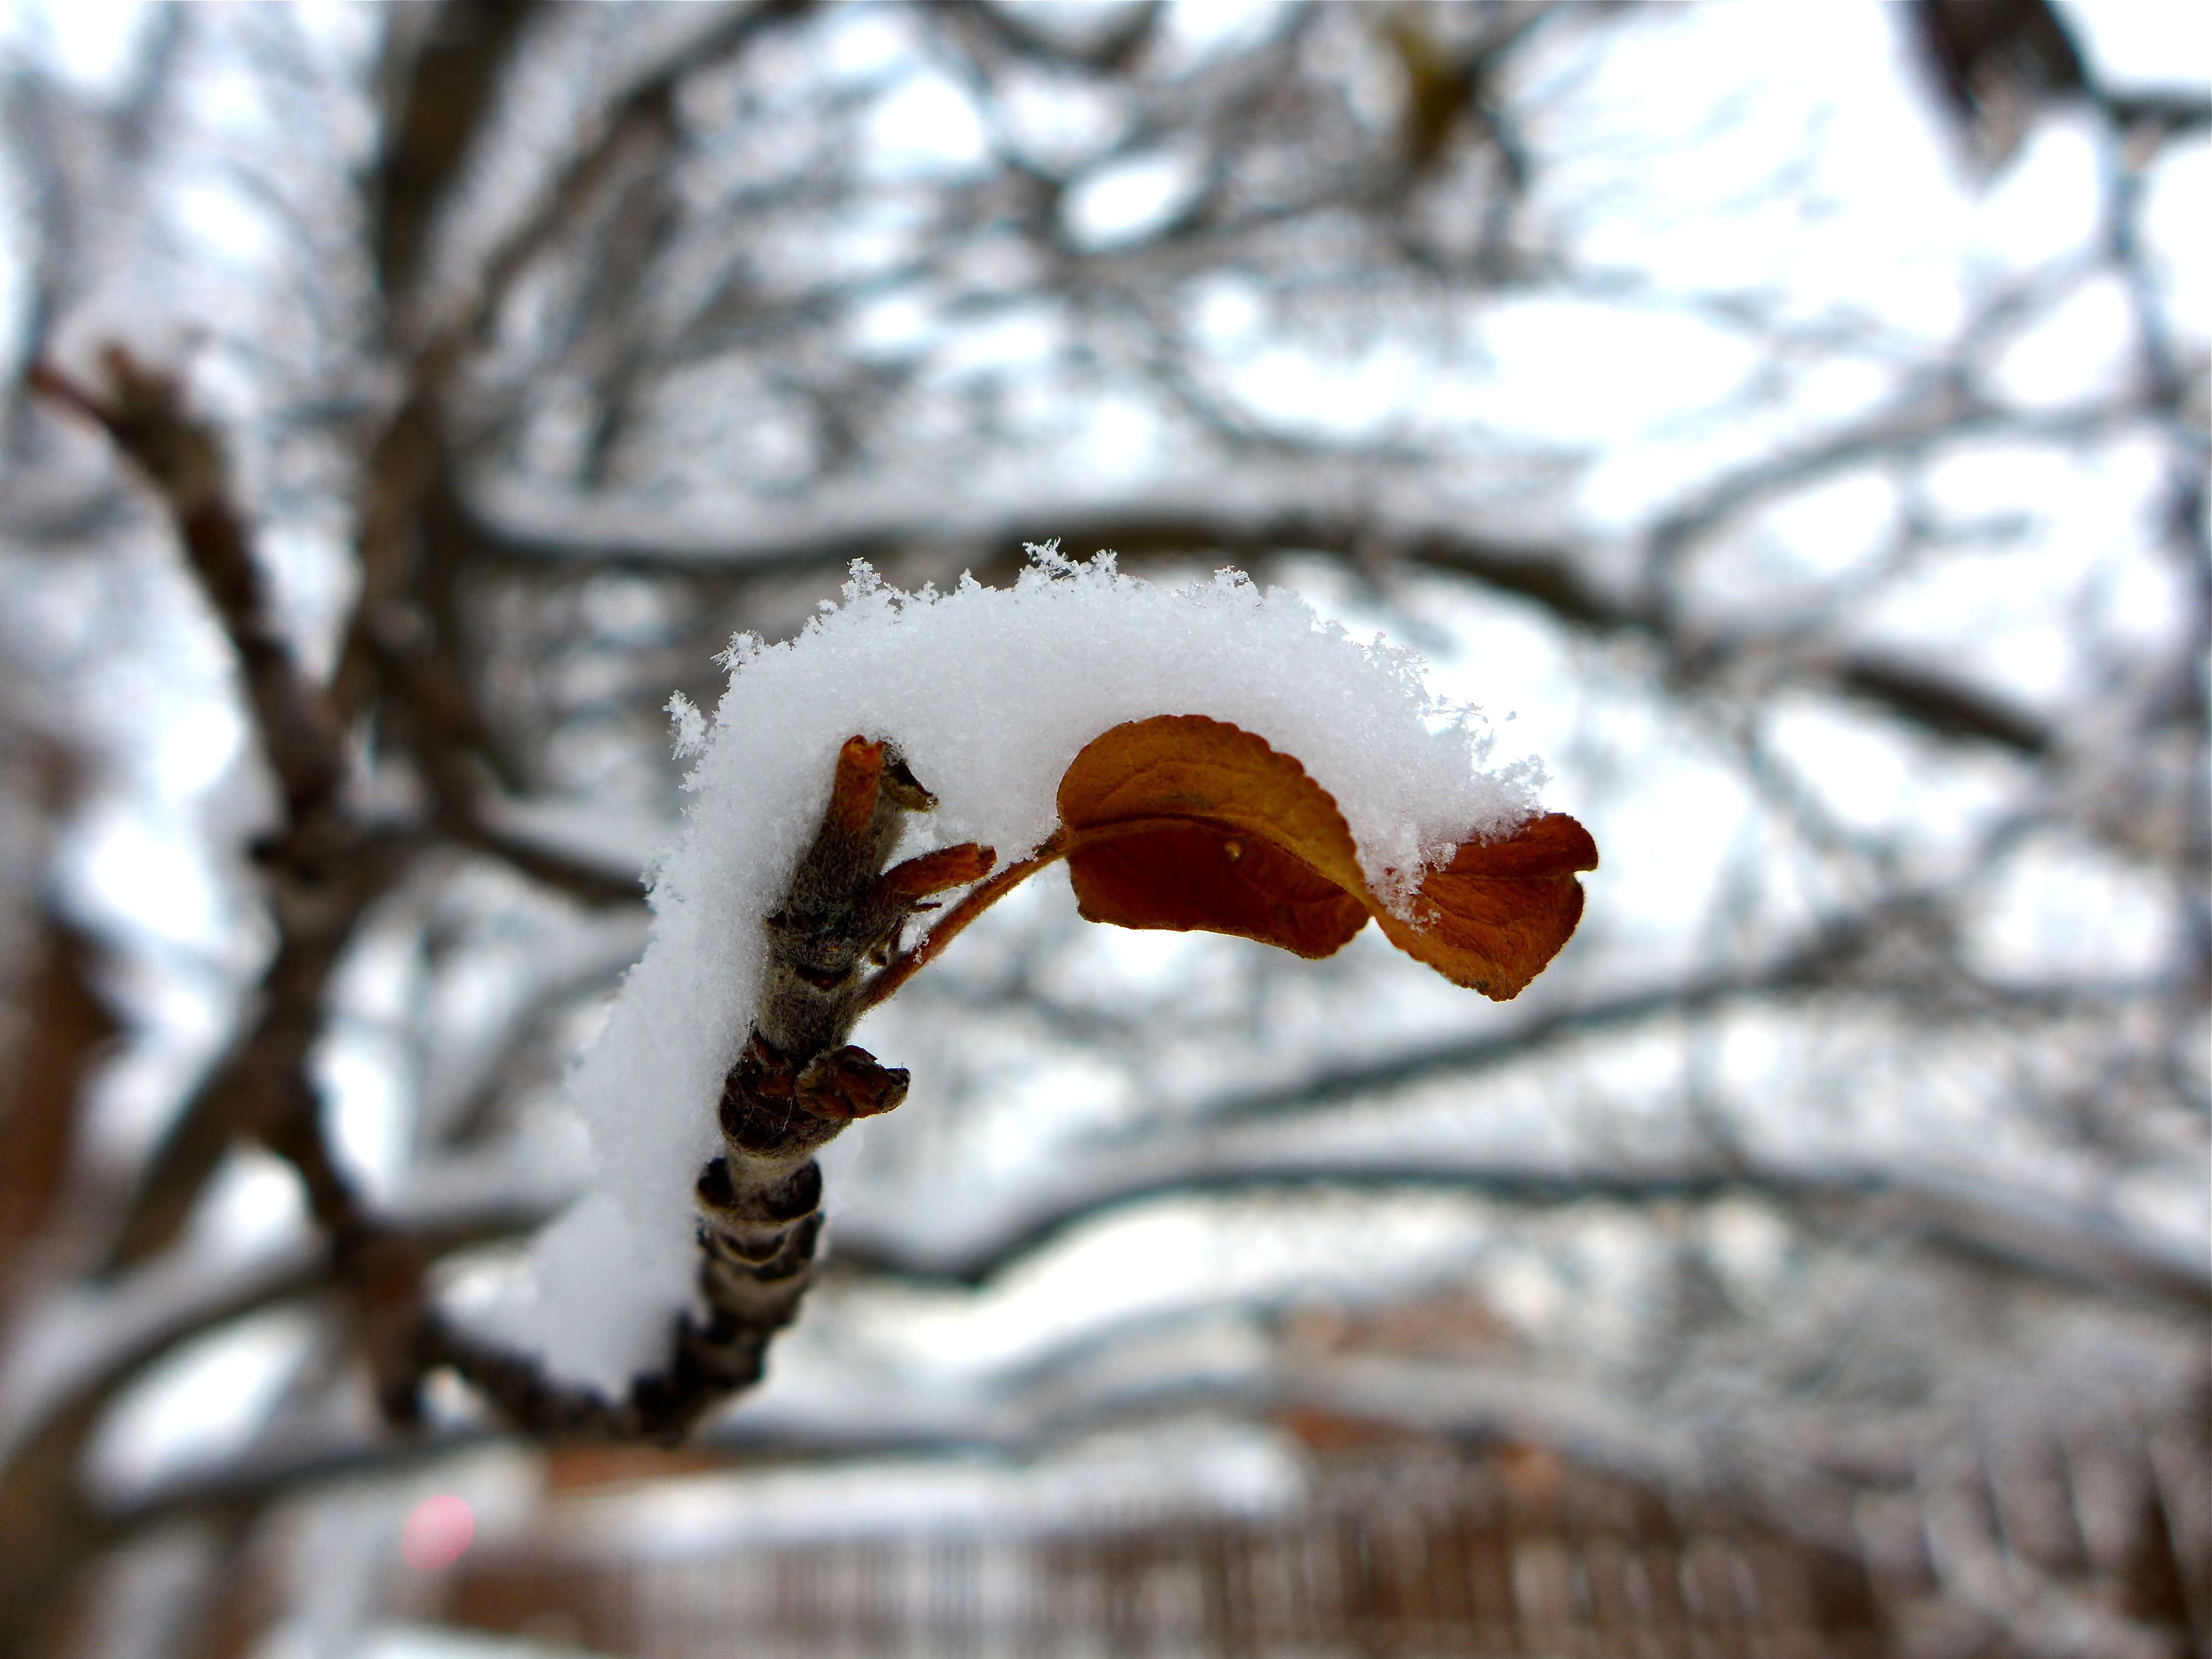
We waited until late in the afternoon to venture out into yesterday’s snow. I admit that I had to build up my courage to face the cold temps, but after a big bowl of soup and a few layers of wool, I was ready. Alex’s mission was simple : eat as much snow as possible, and my mission even simpler : quietly follow behind the little guy as he explored.

I think we’d both declare the mission a success.

liveseasoned_w2015_snow8

2015 : Finding Peace in the Impending Chaos

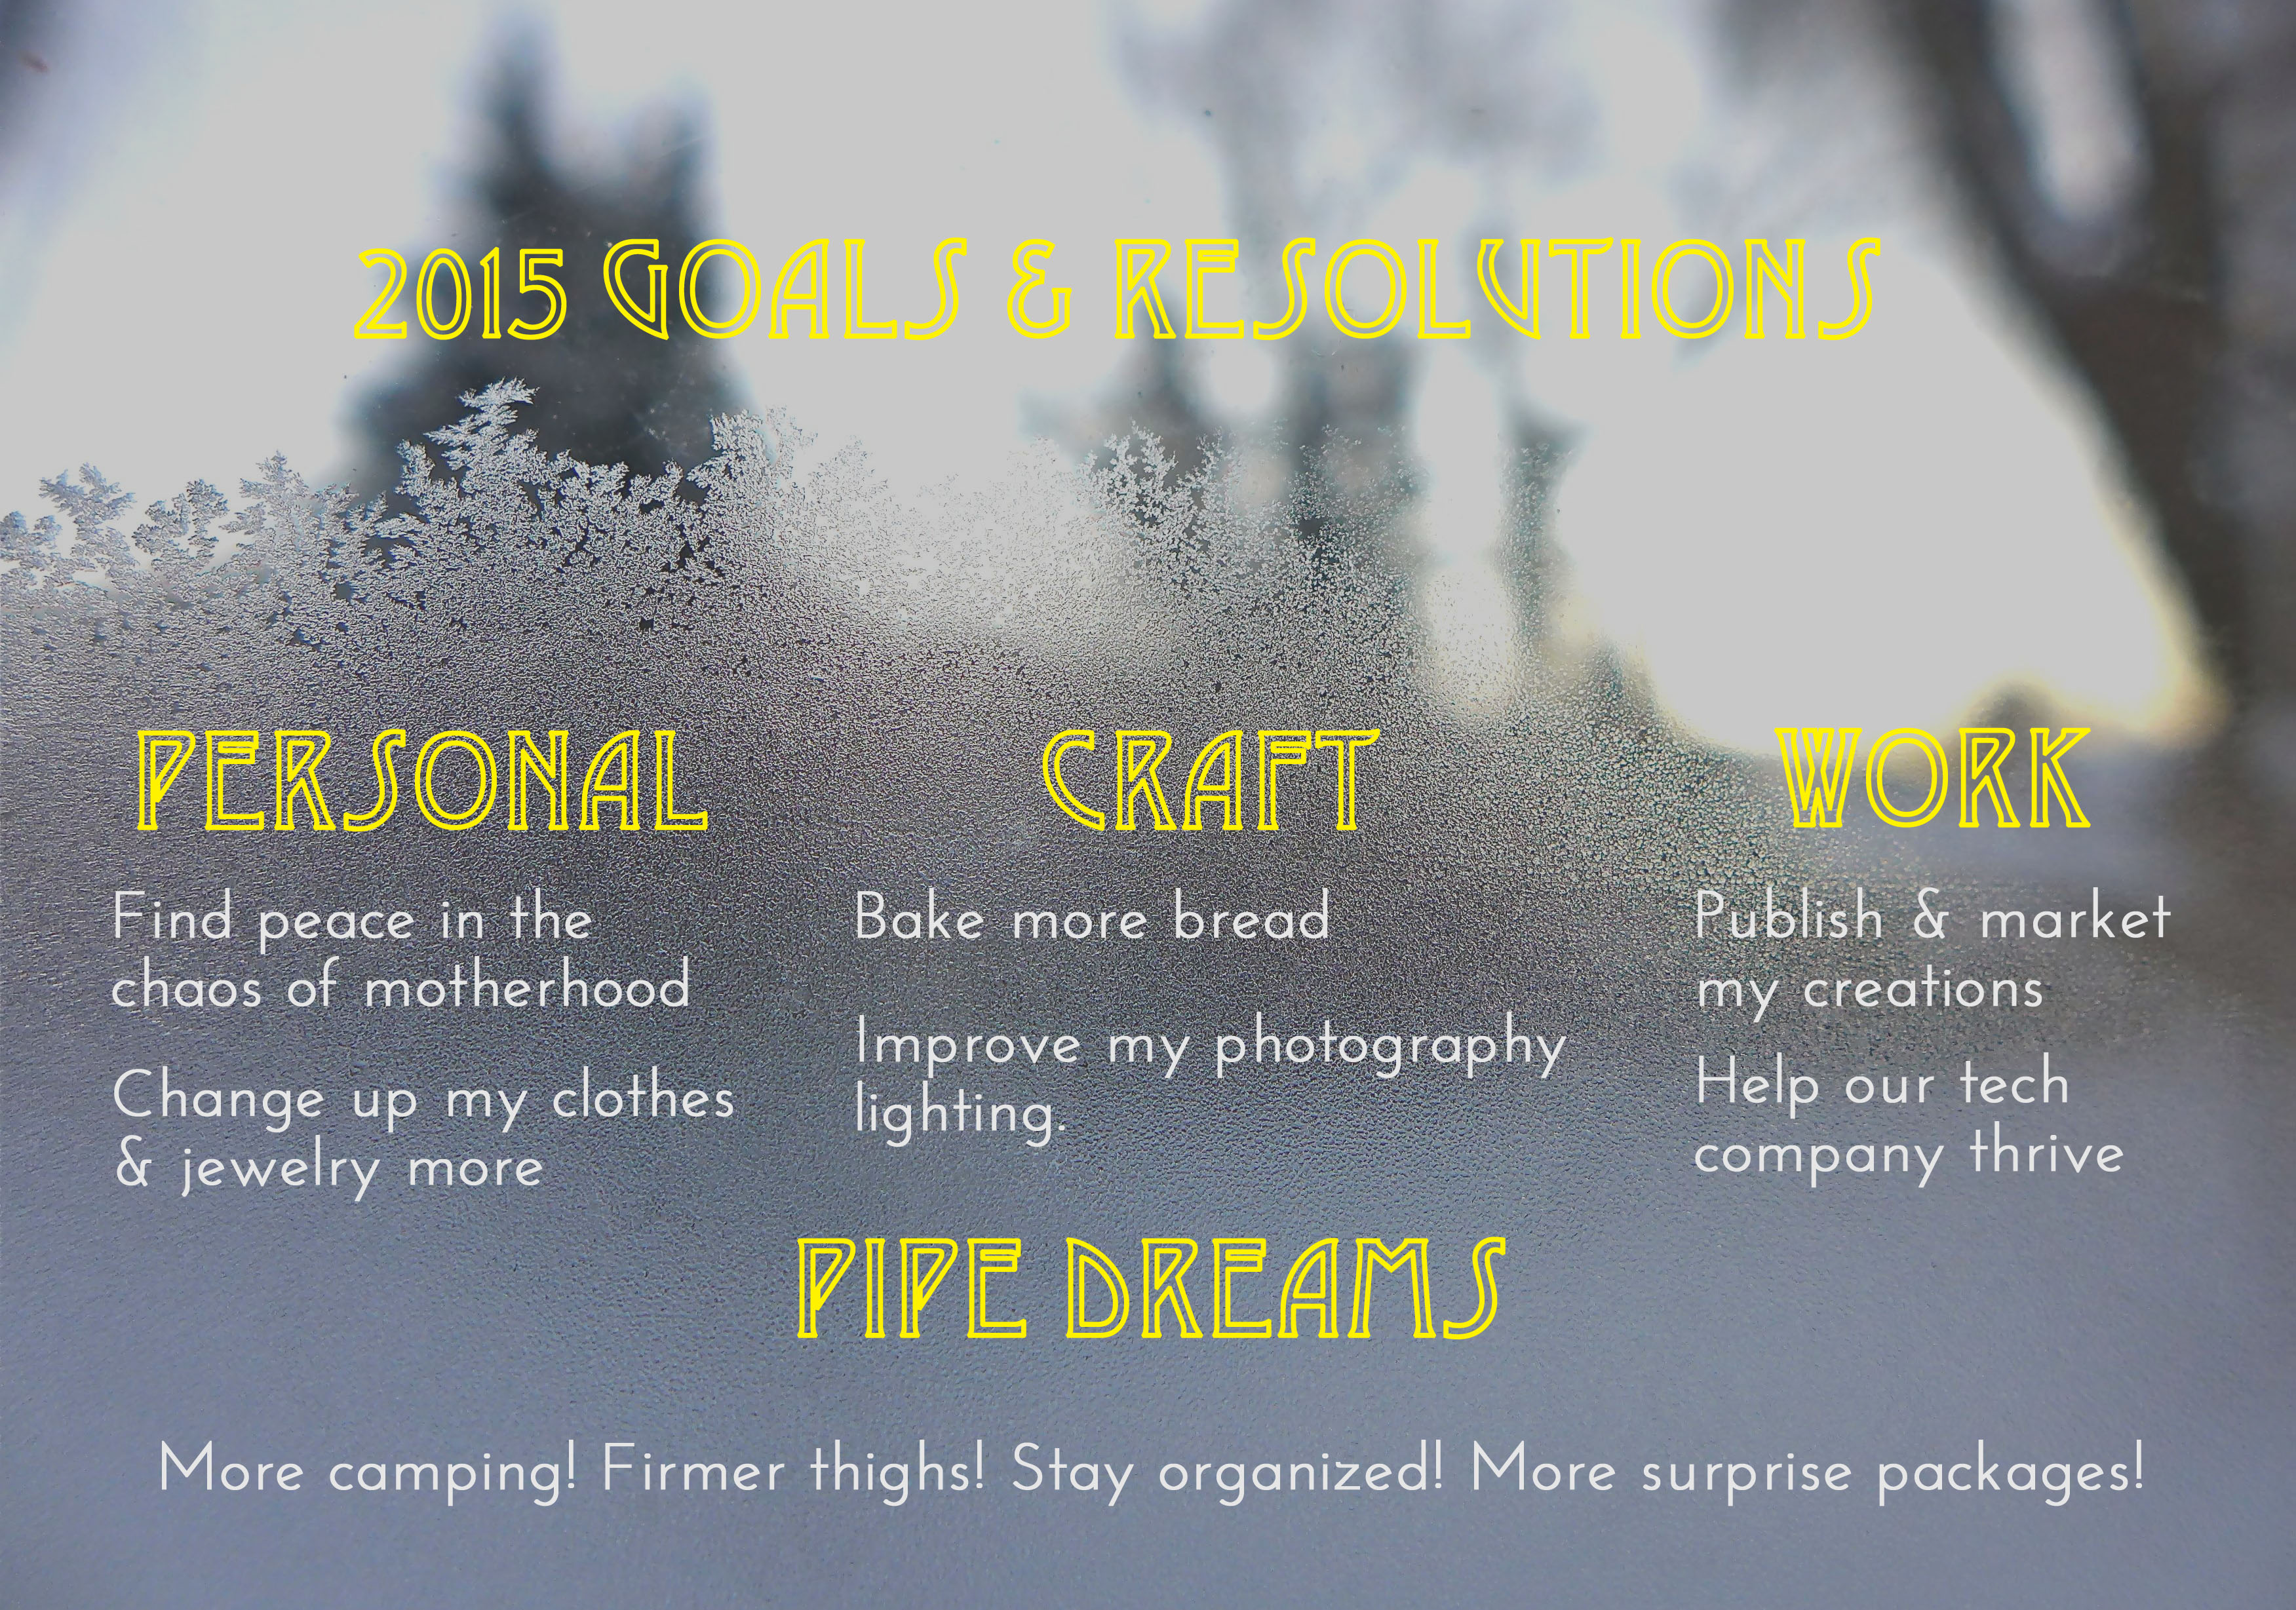
I love Sarah’s 2015 resolutions, don’t you? Such a perfect blend of goals to improve her body, mind, and spirit, while thinking about others too. I’ve set a few resolutions for the coming year, but mine are a bit more modest, because if there’s anything I’ve learned since Little A came along, it’s that I’m not always the one steering this ship, and that’s ok.

liveseasoned_w2015_resolutions4

Over the past couple of years I would come up with a long list of specific goals and resolutions, and then be woefully disappointed when I realized how few I accomplished. So this year, I tried to keep it simple, most of these are goals that easily integrate into my daily life ~ I’m already mothering, so why not try to do it with more grace? I’m taking photos every day; let’s make them better. As I was writing this post, I couldn’t help but also share a few of my pipe dreams ~ I didn’t declare these as resolutions when Calder and I were sharing our goals for the year, but secretly, it would be awesome if I woke up tomorrow with some kicka$$ leg muscles.

Personal

  • Find peace when surrounded by chaos. Anyone who spends time with a little kid, or at least our little nugget, knows that it can be chaotic. There’s the awesome, mess-making, creative chaos, and then there’s the screaming/moaning, what-the-heck-does-he-want chaos. Over the past two years there were moments when I would get frustrated because I wanted a bit of peace and quiet, but there’s nothing like a baby to remind you that you can’t always get what you want, and that even if the world around me feels chaotic, I can take a deep breath and use it to center myself and approach the situation with a calmness and peaceful demeanor (i.e. get what I need). I realize that with two little guys, the chaos will only grow, and so I’m entering this year with the intention of maintaining a calm presence. I’m well aware that this chaotic baby phase will pass quickly, but also that my attitude while mothering the little guys is so important; I want to be able to look back and be proud of how I interacted with them and Calder even during those weeks of no sleep, piles of diapers, and delivery pizza for dinner.
  • Change up my wardrobe and jewelry. I love my closet of clothes and am so happy when I put together a good outfit, but I often find myself reaching for the same outfits fresh from the dryer. This week I straightened up my closet and my jewelry is visibly hanging on my bedroom wall, so there’s nothing stopping me from putting together a good combo when we’re leaving the house.

Craft

  • We are a bread-loving house, living off of the sourdough loafs from Whole Foods. While they are delicious and we won’t stop buying them anytime soon, I would love to perfect my bread baking. This comes with the added challenges of wanting to bake with whole grains, living in a dryer climate, and at a high altitude. I’m looking at it as a fun science experiment for the year, and I’m going to start with this recipe.
  • Improve the lighting in my photographs. Up until this point, I relied on whatever natural light I could find, but wasn’t always happy with the results. Our sister Kris gave me this reflector set for Christmas, so I’m starting there and with these tips.

Work

  • With the second little guy arriving this spring, I’m taking a big step back from my previous job, and while I love the full-time baby care, I know that I’m happiest when I’m still pursuing some work projects. So, I’m hoping that this will be the year that I finally turn some of my knitting and other creative pursuits into paid projects. This may be as simple as publishing a few patterns. You know that I love to give them away, but I wouldn’t mind being compensated for some of the more challenging patterns that I’ve created.
  • The second goal in this category relates directly to a few projects that Calder has up his sleeve. He’s developing a few apps for the iPhone, and we’ve begun to work together on their design and features; it’s something we’re both excited to see continue and grow this year.

Pipe Dreams

… because if I’m magically able to make these things happen amid the chaos and the bread baking and the new work pursuits, then I’m a magician.

  • More camping. Nothing makes me feel more at peace than a weekend in the woods. Luckily everyone in the family loves it too. Our only challenge is planning the trips and getting out of the house.
  • Firmer thighs. I’m moving all day, and I feel like I’m getting exercise, but what I’m missing are intense sessions that target my legs. I would love a combination of running and yoga, but I’d like to do both without the little guys in tow. Scheduling that time is the challenge.
  • Stay organized. I’m happy with the organization of my craft supplies, the kitchen, and the house in general, but it’s easy to fall into periods of laziness where things don’t get put back in their place (sometimes for months). I know that I’m more efficient and the whole house runs better when I put things away, so that’s the goal.
  • Send more surprise packages. Now that we live so far away from many of our friends and family members, I would love to use the mail to stay in touch. It can be hard to find the time for phone calls (baby chaos is the theme of this post), but it makes me so happy to put together a package and send it off. I would be happy if I could send holiday cards and birthday packages this year.

Boy oh boy, the whole process of setting resolutions makes me excited for the year ahead. What about you? Do you have any resolutions? We would love to hear them, and I’m sure we’ll continue to share our progress throughout the year. Happy 2015!!!

Welcome January!

Typically, on the first Wednesday of each month we like to pause and take a look at what’s going on in the world around us, with a particular focus on animal activity, celestial events, and our farmers’ fields, but our January’s off to the most fantastic slow and lazy start, so excuse us for this delayed post!

Screen Shot 2015-01-12 at 1.41.57 PM

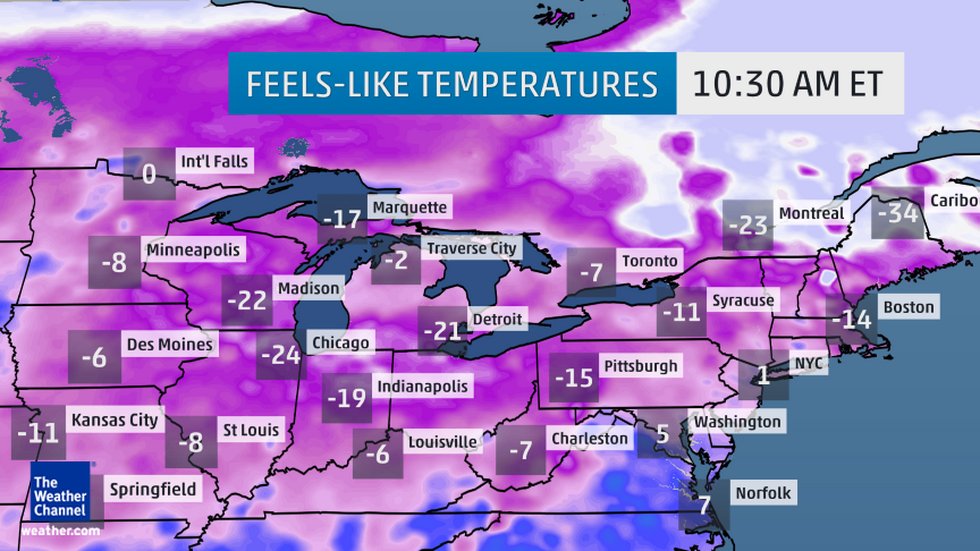
Baby it’s cold outside. so. so. cold. At least that’s the case on the East Coast where we’re being hit with an Arctic cold front that’s bringing the coldest temperatures of the winter so far and setting records. We’re considering ourselves lucky that we woke up to single digit positive and not negative temps the past few days. Bundling up to go outside got us thinking about all the non-migratory animals and their strategies for surviving the long, cold winter. So, we’ll be exploring that today along with this month’s celestial events and a touch of what’s planned for our kitchens this month.
arctic_temps

Earth and Sky

There are a number of different strategies that non-migratory animals use to survive the winter. In addition to the freezing temperatures, these animals are also faced with low food supplies and little to no water. Some mammals will hibernate, finding or creating a safe space where they will hunker down, reduce their metabolic activity, thereby lowering their body temperature, and wait out the winter. Some reptiles will bruminate, going into their own form of dormancy that’s similar to hibernation. Other animals will remain relatively active, living off of the food supplies they stored the previous winter.

Black Bears

Growing up in the woods of central PA, we are well aware of the local bears’ annual cycle. Catching glimpses of them in the fields and woods during the summer, knowing that they were gorging on food in the fall to build up their fat supplies, thinking of them “sleeping” the winter away, and then seeing that they raided the bird feeders in early spring when they are starving for food and in need of an easy meal. The bears typically hibernate for 3-5 months, and during this time they don’t eat, drink, urinate, or defecate.

The black bear’s method of hibernation is atypical in that they do not lower their body temperature as far as many other mammals, but they are still able to lower their metabolic rate by up to 75%. Their heart rate can fall from an average of 40-50 beats per minute down to 8! Because their body temperature doesn’t fall, the bears are able to remain relatively alert and may take advantage of relatively mild winters by leaving their den to forage. The bears may lose 25-40% of their body weight over the winter, using their stored fat to meet their nutrient and water needs, but surprisingly, they do not lose much muscle over this period. Since the bears are not urinating or defecating over the winter, they are able to process the nitrogen in their waste and use it to build lean muscle mass.

During this month or next, pregnant females will give birth to their young. The baby bears weigh less than a pound when born. They won’t open their eyes or begin walking for over another month, and even then they will weigh less than two pounds!

Beavers

Beavers are an example of a mammal that doesn’t migrate or hibernate, instead it remains relatively active and relies on food it stockpiles for the season.

Every fall with the return of frost, beavers begin preparing their dens for winter. They add a fresh coating of mud to their dens. The mud freezes with the colder temperatures, creating a solid barrier against predators. While preparing their dens, they are also gathering sticks and logs for their winter food supply. Beavers are herbivores, feeding off the tender underbark of Aspens, Willow, Birch, and Maple along with other aquatic plants. The beavers are able to leave their dens through underwater openings, giving them access to their food supply even when their pond is frozen.

Gray Tree Frog

Unlike the bears and beavers we’ve mentioned, many frogs have a very unique method for surviving the winter. The gray tree frog bruminates, which is often called hibernation, but involves different metabolic processes. As cold weather approaches, the frogs burrow under roots and leaves. As the temperatures drop below freezing, ice crystals will form under the frog’s skin, and in their bladder and body cavity, but not in their vital organs! A high concentration of glucose in their organs acts as an antifreeze protecting them until spring. When frozen, the frogs will also stop breathing and their heart will stop beating. Once the warmer temperatures of spring arrive, their bodies will thaw and their organs will begin functioning again. {amaze.balls.}

Sky

The January skies are quiet! We’re posting this so late in the month that we’ve already missed the Quadrantids Meteor Shower on the 3rd and 4th as well as the full moon on the 5th. But hey, there’s a new moon coming up on January 20th, and the dark skies will be a great time to bundle up and do some winter stargazing.

Fun Fact : many moons ago (heehee), we talked about the names given to the full moons. While researching today’s post, we learned about another name for the January full moon ~ the Bear Moon, because this is often the month when the hibernating bears give birth.

Fields and Festivals

While many farmers’ fields may be For us it’s going to be a month of eating like the beavers; digging into the potatoes, squash, and other hardy winter veggies that we’ve stockpiled from our farmshare. I’m sure there will be many soups, but Sarah just gave me the cookbook Plenty for Christmas, so I’m excited to do some experimenting with our vegetable dishes. I’m also armed with a new pressure cooker and our pantry full of dried beans, because, you know, they’re good for your heart. On the fruit front, we’ll still be eating piles of oranges and indulging in the final weeks of pomegranate season!

It seems like the whole world slows down in January. We didn’t see any amazing festivals or holidays on the horizon, but maybe we’re missing something? Do you know of any?

We’re planning on indulging in the quiet darkness of this month. Spending plenty of evenings in front of the fire, catching up on our reading, and planning for the coming year. We hope this month affords you the same mellow moments.

Black bear in grass found here. Black bear and cub found here.
Beaver lodge found here. Adult beaver found here.
Frozen tree frog image found here.

Snowshoeing in the Rockies II

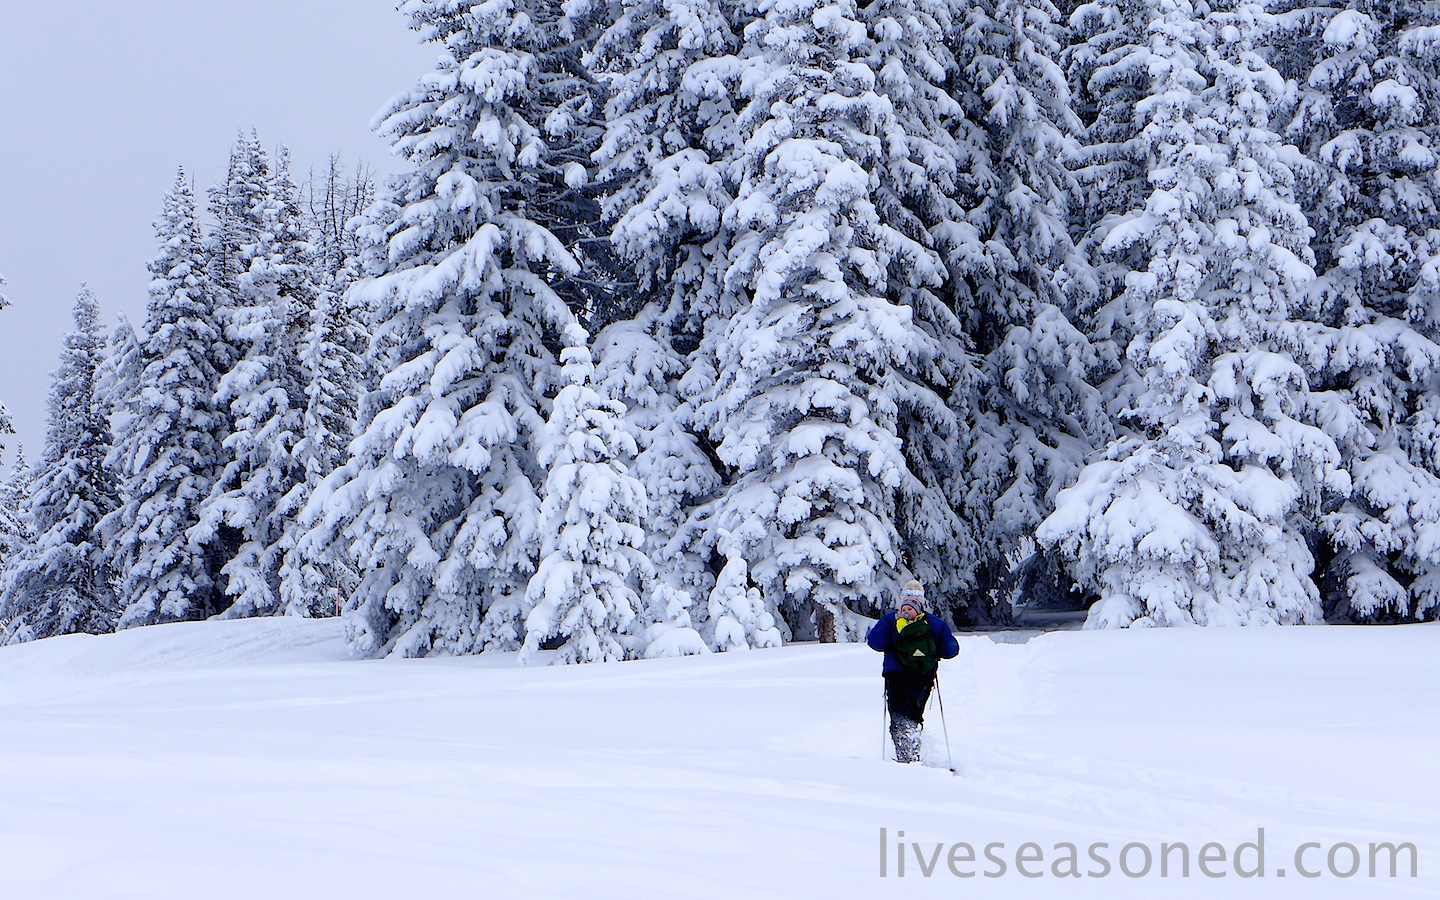
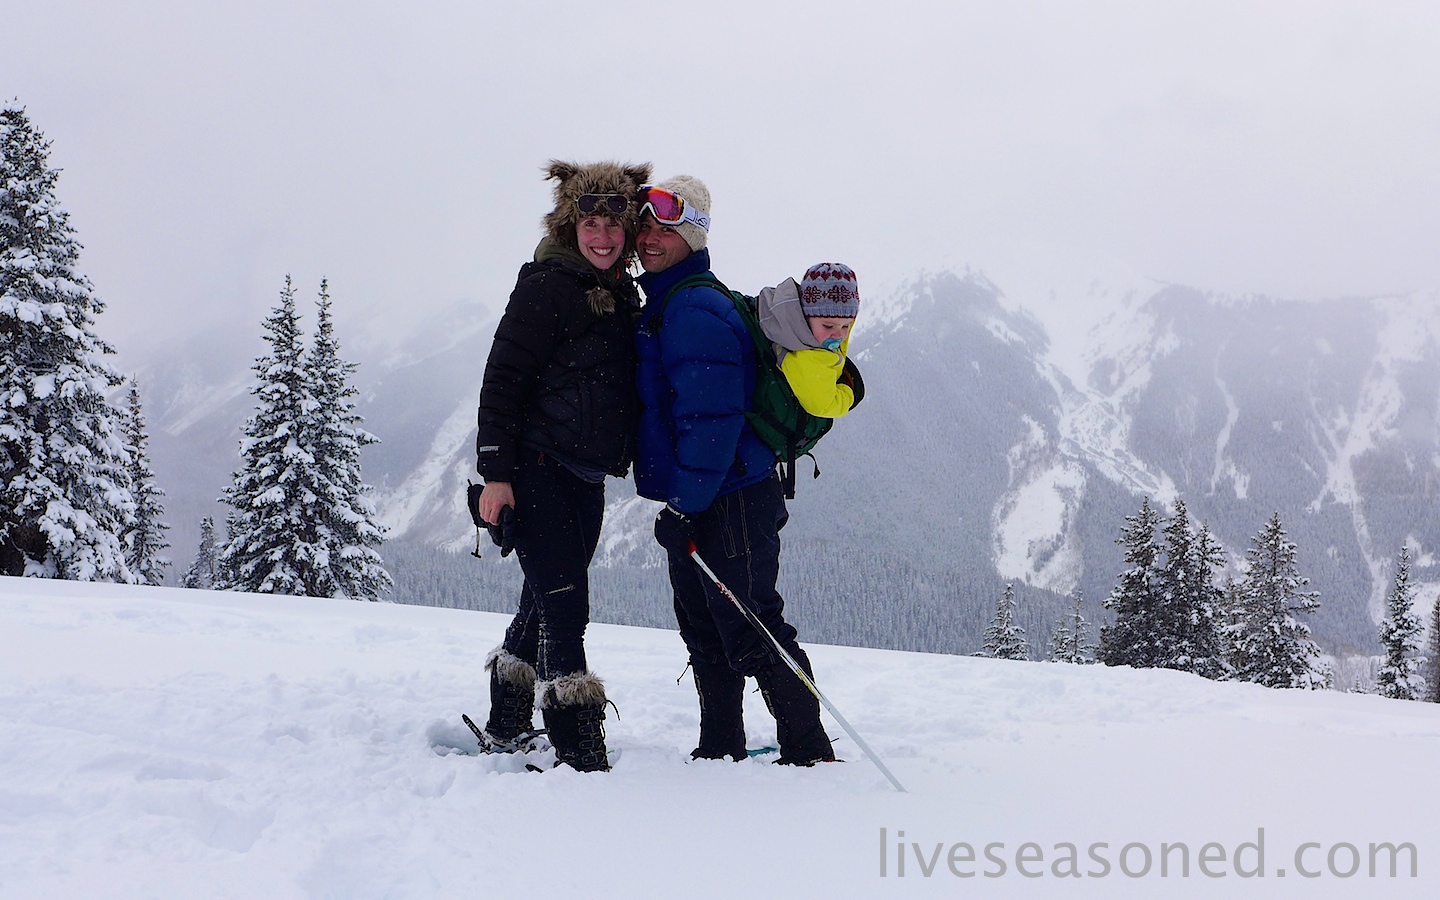
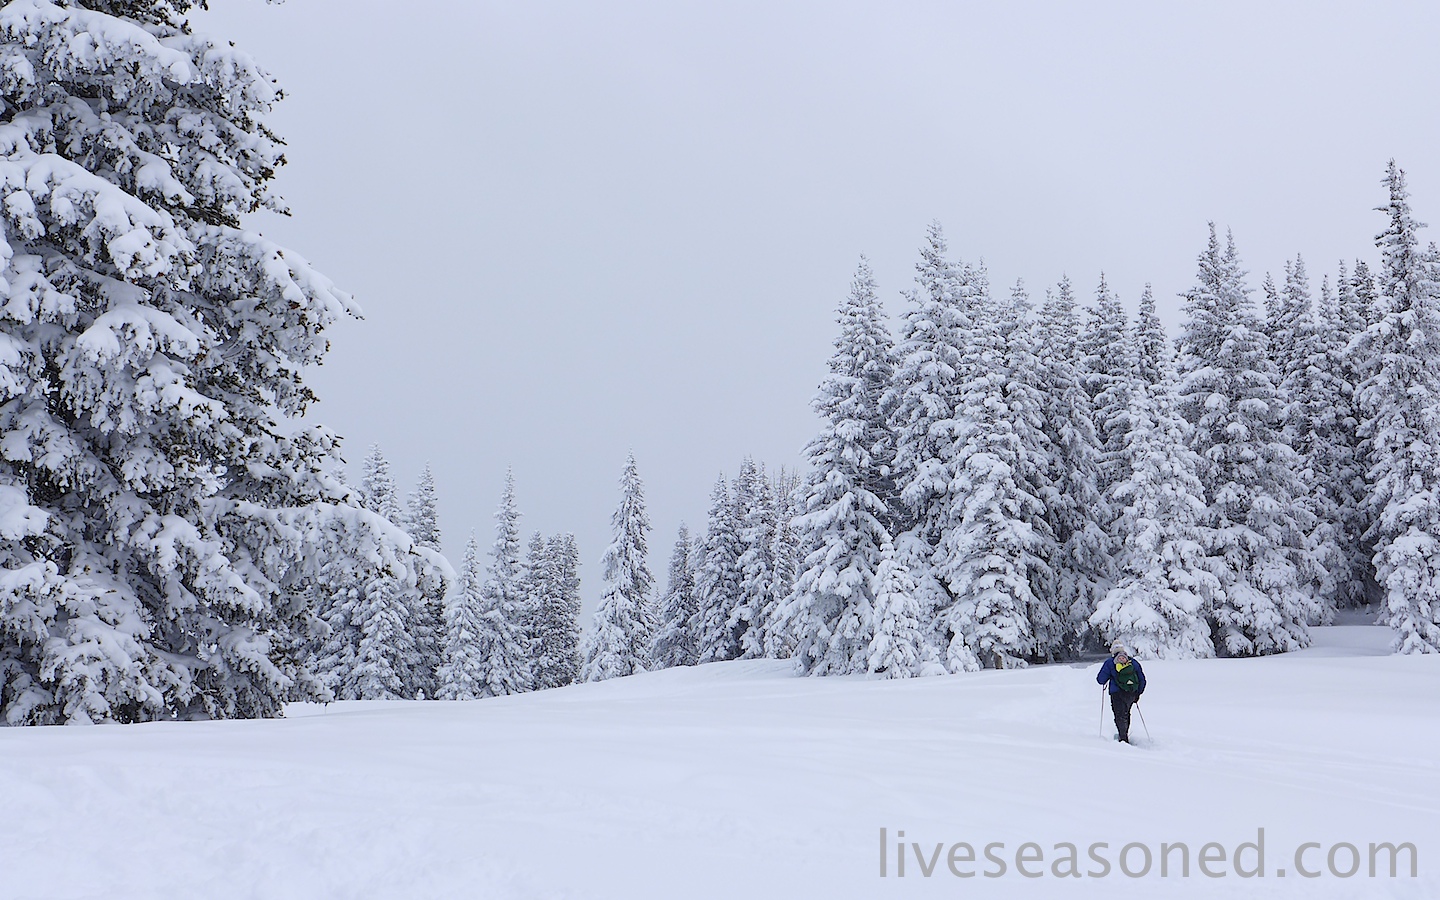
This is Alex’s second winter and the second year that we took the little guy out on a snowshoeing adventure during our Christmas break. If you like to get outside for exercise and have a little one that’s too small for many winter sports but is happy to be bundled up and spend a bit of time out in the cold, then this is a great family winter activity!

pops2

In our case, Alex is still too little to ski and pregnancy is limiting my options this year, but snowshoeing is the one outdoor activity that we can all do (other than our many, many walks around the neighborhood pulling the little guy in his sled!).

Planning for an afternoon snowshoeing adventure is relatively simple:

  • Special equipment. You’ll obviously need a pair of snowshoes. A good pair can be a bit expensive, but will provide years of entertainment if you like going out. On the other hand, there are only a few sizes of snowshoe, based upon the wearer’s weight, so why not borrow or rent a pair before buying your own?
  • Got your gators? If the snow’s particularly deep and fluffy, then you may want to wear a pair of gators. On this trip, Calder’s wearing gators, while I have a pair of tall boots; both work well.
  • We suggest dressing in layers ~ it may be cold outside, but it’s likely that you’ll quickly build up some body heat with each step, so you’ll want to be prepared to unzip and possibly take off your outer layer.
  • Plan on carrying little ones. As you can see, last year we were a bit more prepared for the adventure, using a proper baby carrier. This year, we forgot all carriers in our packing frenzy (rushing to get on the road before a Christmas day winter storm). BUT we had this regular old backpack, and, much to my surprise, Alex was more than happy to sit in it for the whole trip.
  • Don’t forget your sunscreen.
  • Tell someone where you’re going.

family2

It was a cold day, so we only stayed out for about 20-30 minutes, but that was plenty of time for a good walk. *** Quick note ~ this is where we should mention that if you’re pregnant you may want to proceed at your own risk (or, talk to your favorite doc first). While Calder and Alex went on a larger loop, I realized that at such a high altitude it was better for me to take it slow and walk with them at the beginning and end of their loop rather than push my limits. If you exercise regularly, a vigorous snowshoe at lower altitudes while pregnant is much less of an issue.

gondola

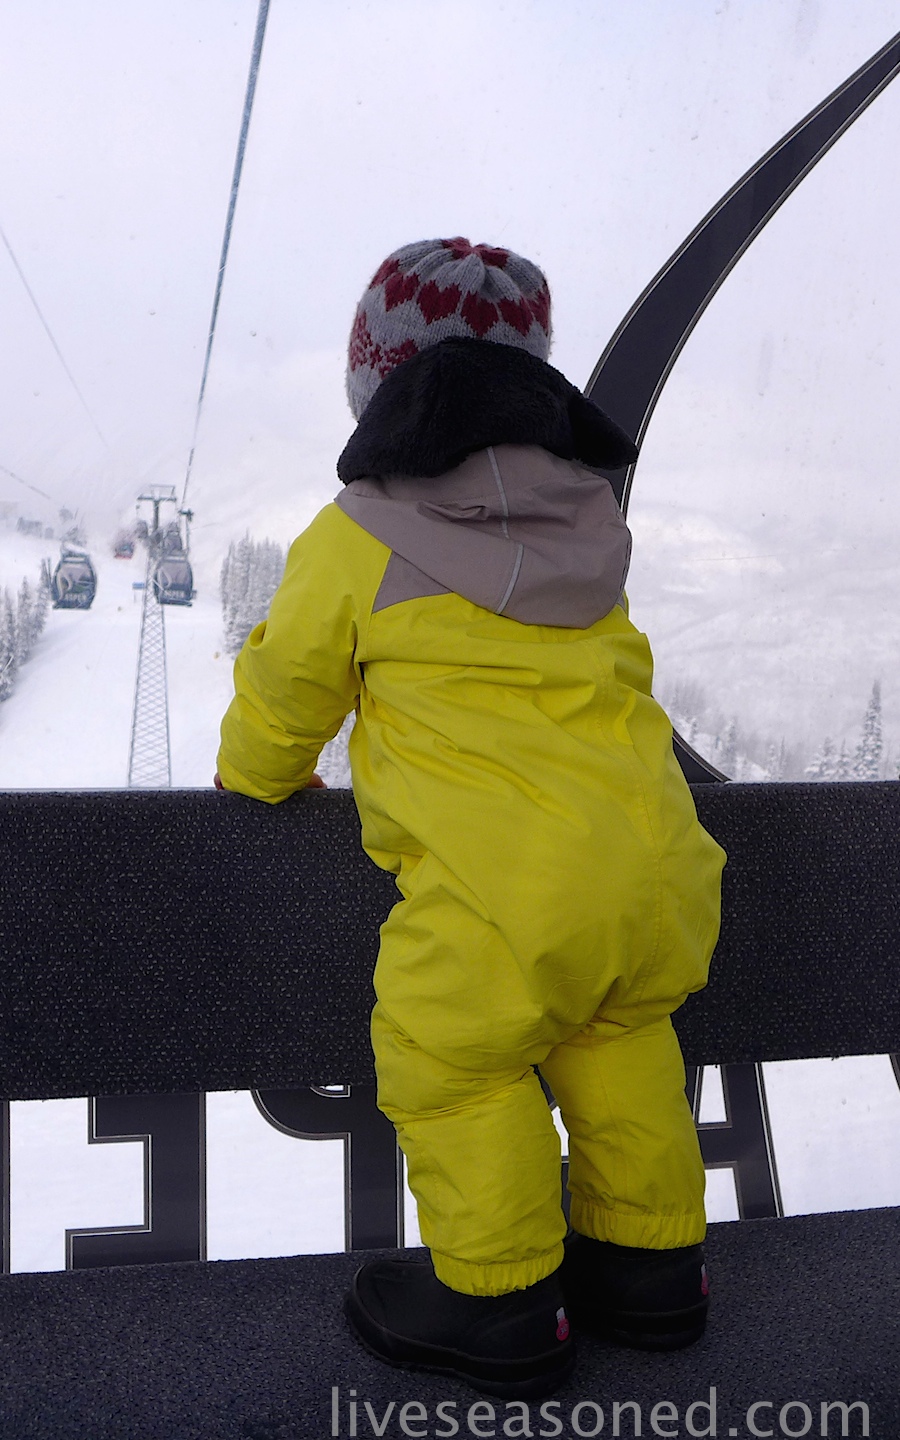
This turned out to be one of those perfectly planned days where we were able to meet everyone’s fun quota.  We rode the gondola to the top of the mountain, which makes the whole adventure even more fun for little ones! Calder carried along his skis and was able to put in a few runs after our walk while Alex and I warmed up by the lodge’s fir. Then we all had lunch before Alex and I rode the Gondola down and Calder took another run to the bottom of the mountain.

At that was it ~ our simple but fun snowshoeing adventure for the whole, growing family… we’re hoping to fit in a few more trips this winter, and I’m already imagining next year’s adventure when we’ll have two little ones in packs! 
pops

Easy Citrus Sweets

Oranges are our ingredient of the season. You can find our complete archive of orange posts here. Around the holidays we love to use them for crafts, drinks, and treats!

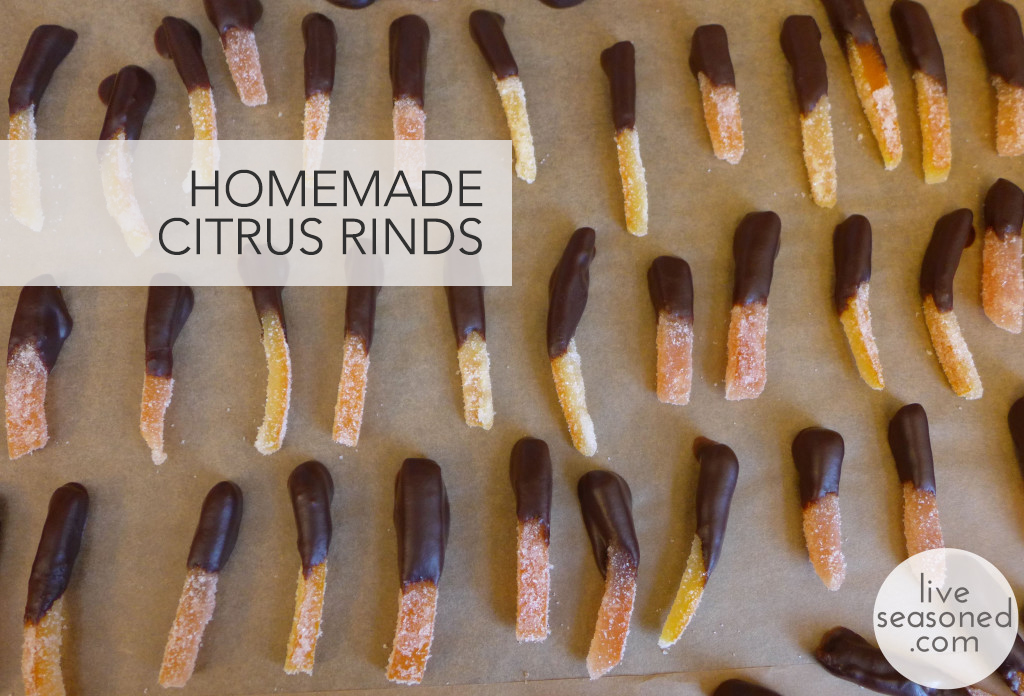
Christmas is so close! Today we’re popping in with a couple of orange treats : candied rinds and orange-flavored marshmallows. Both recipes are so easy to make, take relatively little time (so you’ll still have time to make them when you’re up late waiting for Santa), and they make a unique addition to any dessert table and hot cocoa mug!

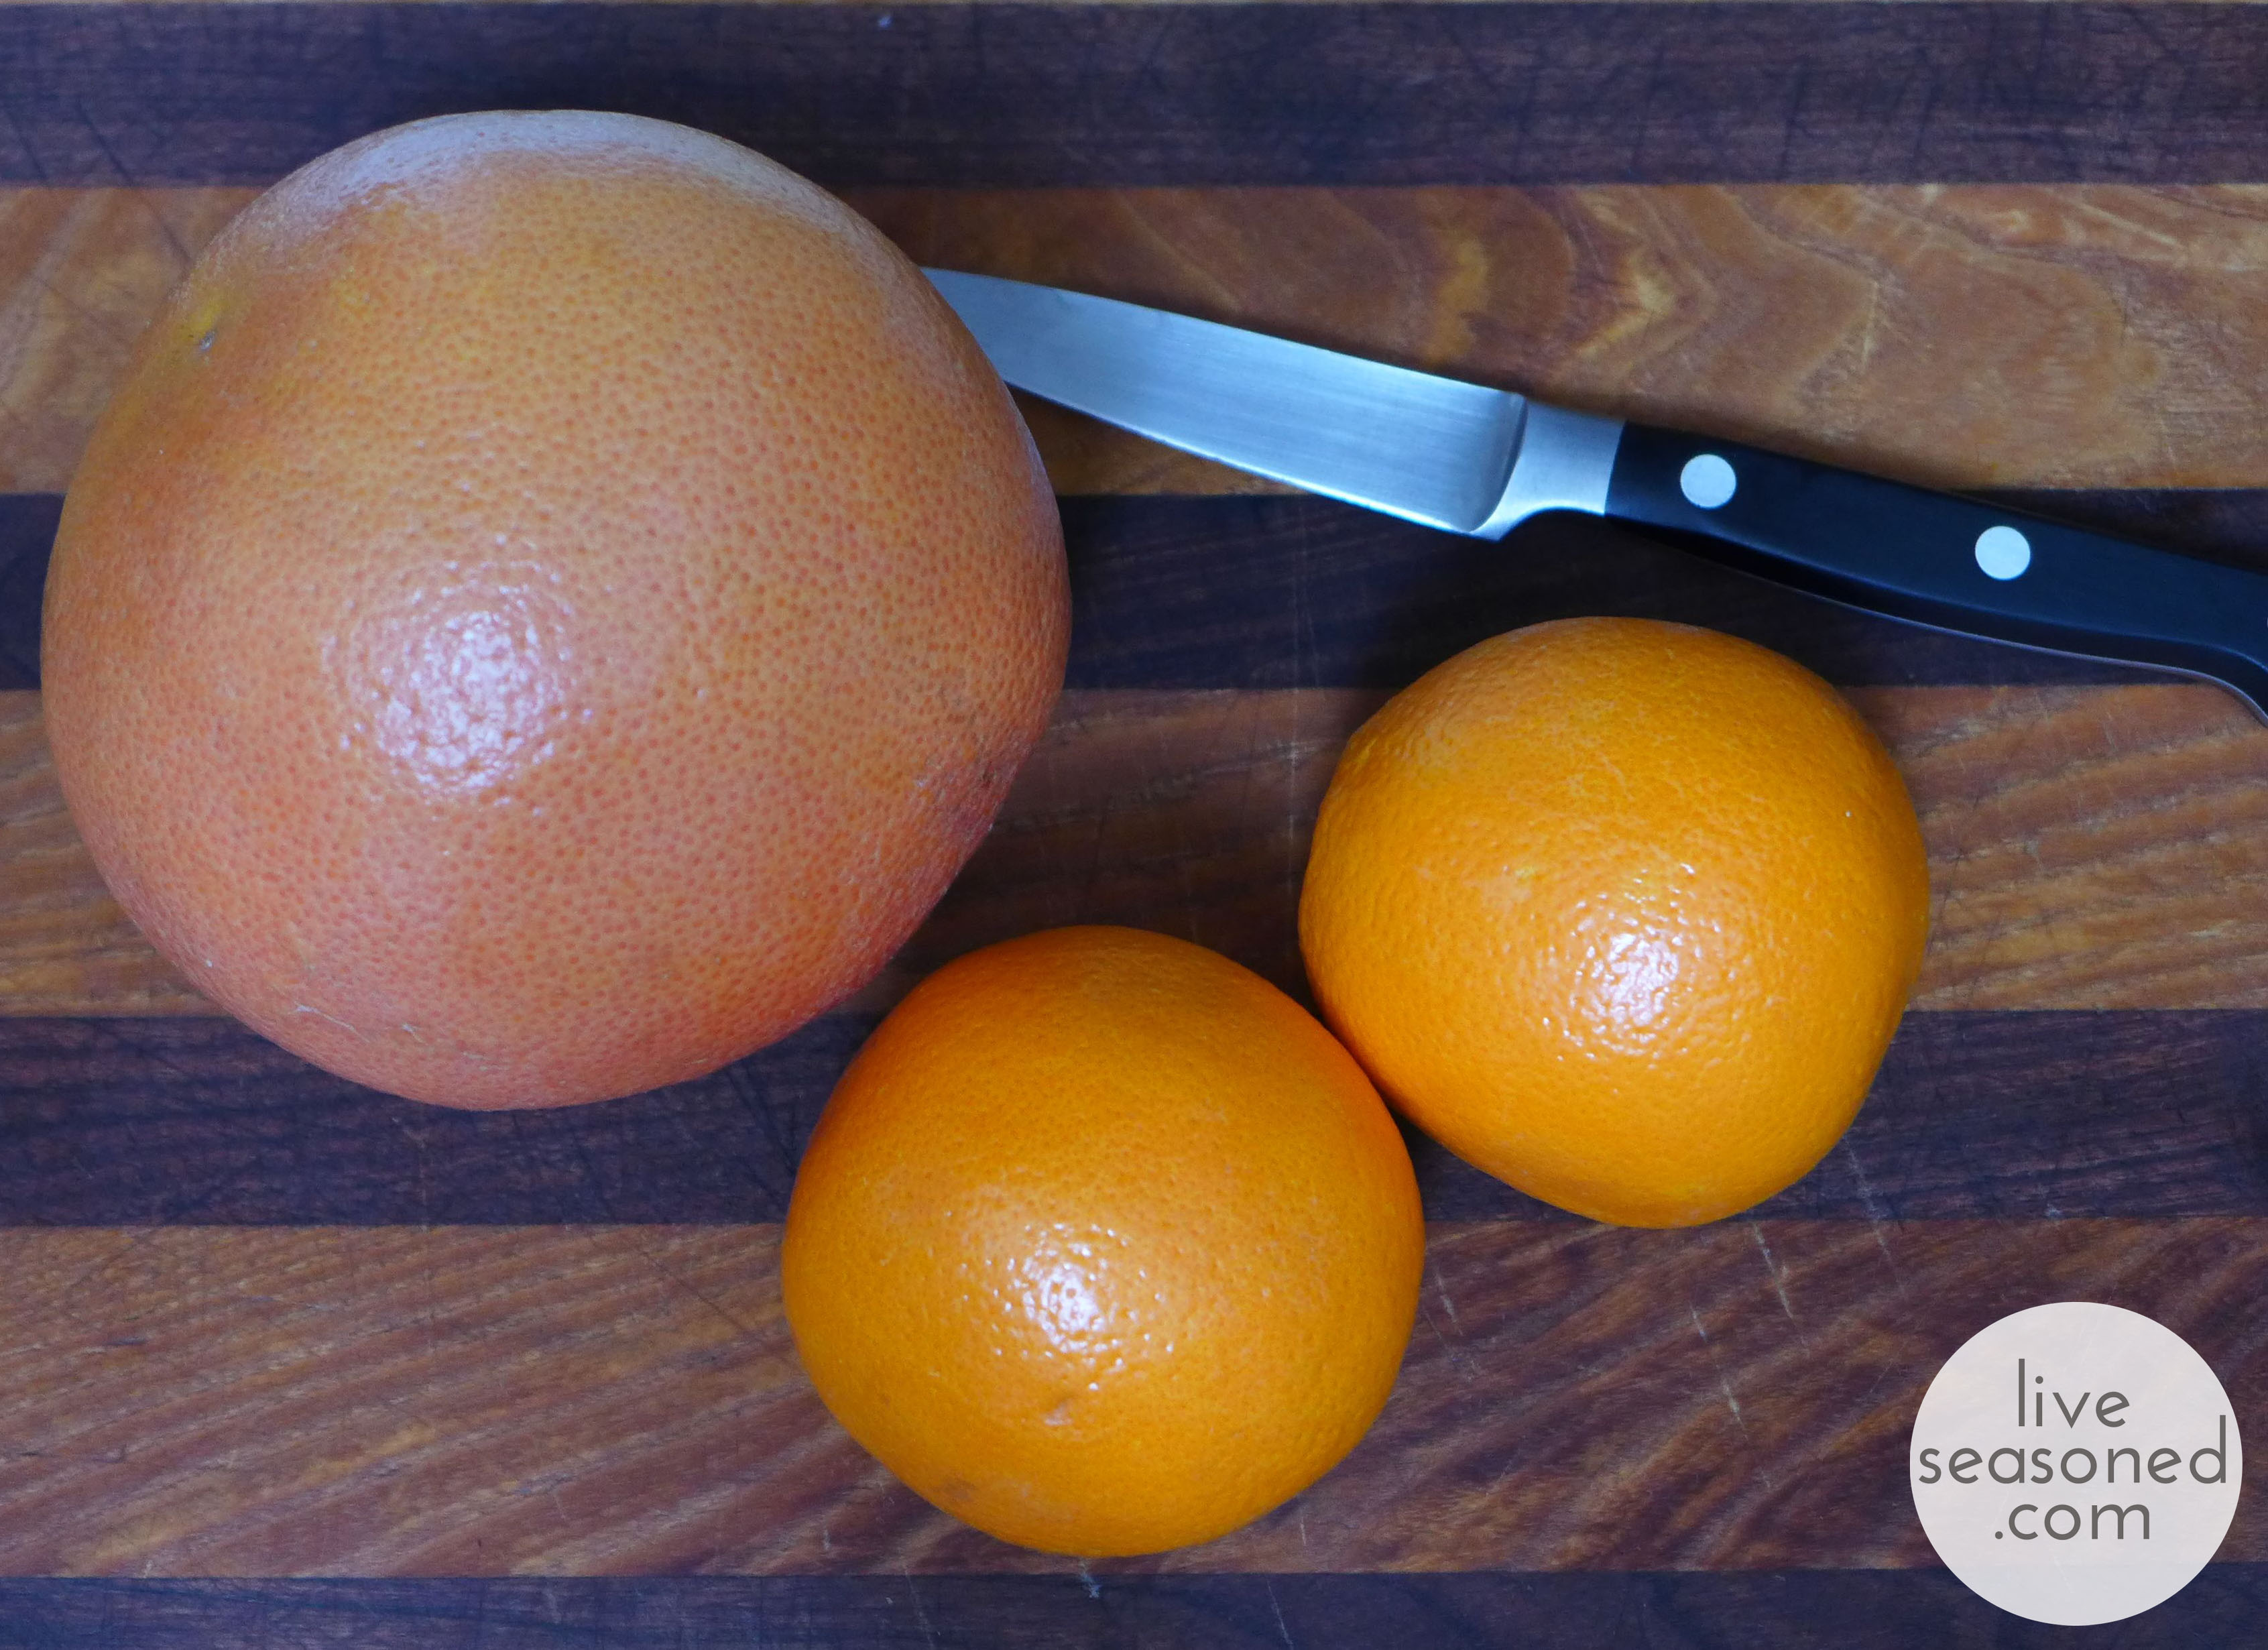
liveseasoned_w2015_orangetreats12_wm-1024x696 copy First up, the candied rinds. I like to use a combination of orange and grapefruit for this recipe. It’s nice having the two flavors, but I also really like the variation in color that using more than one variety of citrus provides. Candying the rinds requires boiling them in a sweet syrup before rolling them in sugar, and while both steps are meant to create a sweet, candy, the finished rinds can still have a some bitter undertones that may make your lips pucker. This is one of those flavors that keeps some people coming back for more while others (Calder) pass after their first sample.

liveseasoned_w2015_orangetreats1_wm

I use a technique that I learned years ago from Martha Stewart, and it’s consistently worked well over the years. But I’ve noticed that she offers a number of different methods for candying citrus rinds on her website, and they vary widely in both the ingredient ratios and the cooking times, so if your variation differs from my, by all means, stick with what you know.

Ingredients

  • 2 oranges & 1 grapefruit
  • 4 cups sugar, plus more for coating
  • 4 cups water, plus more for boiling
  • chocolate, optional

liveseasoned_w2015_orangetreats2_wm

 How-to

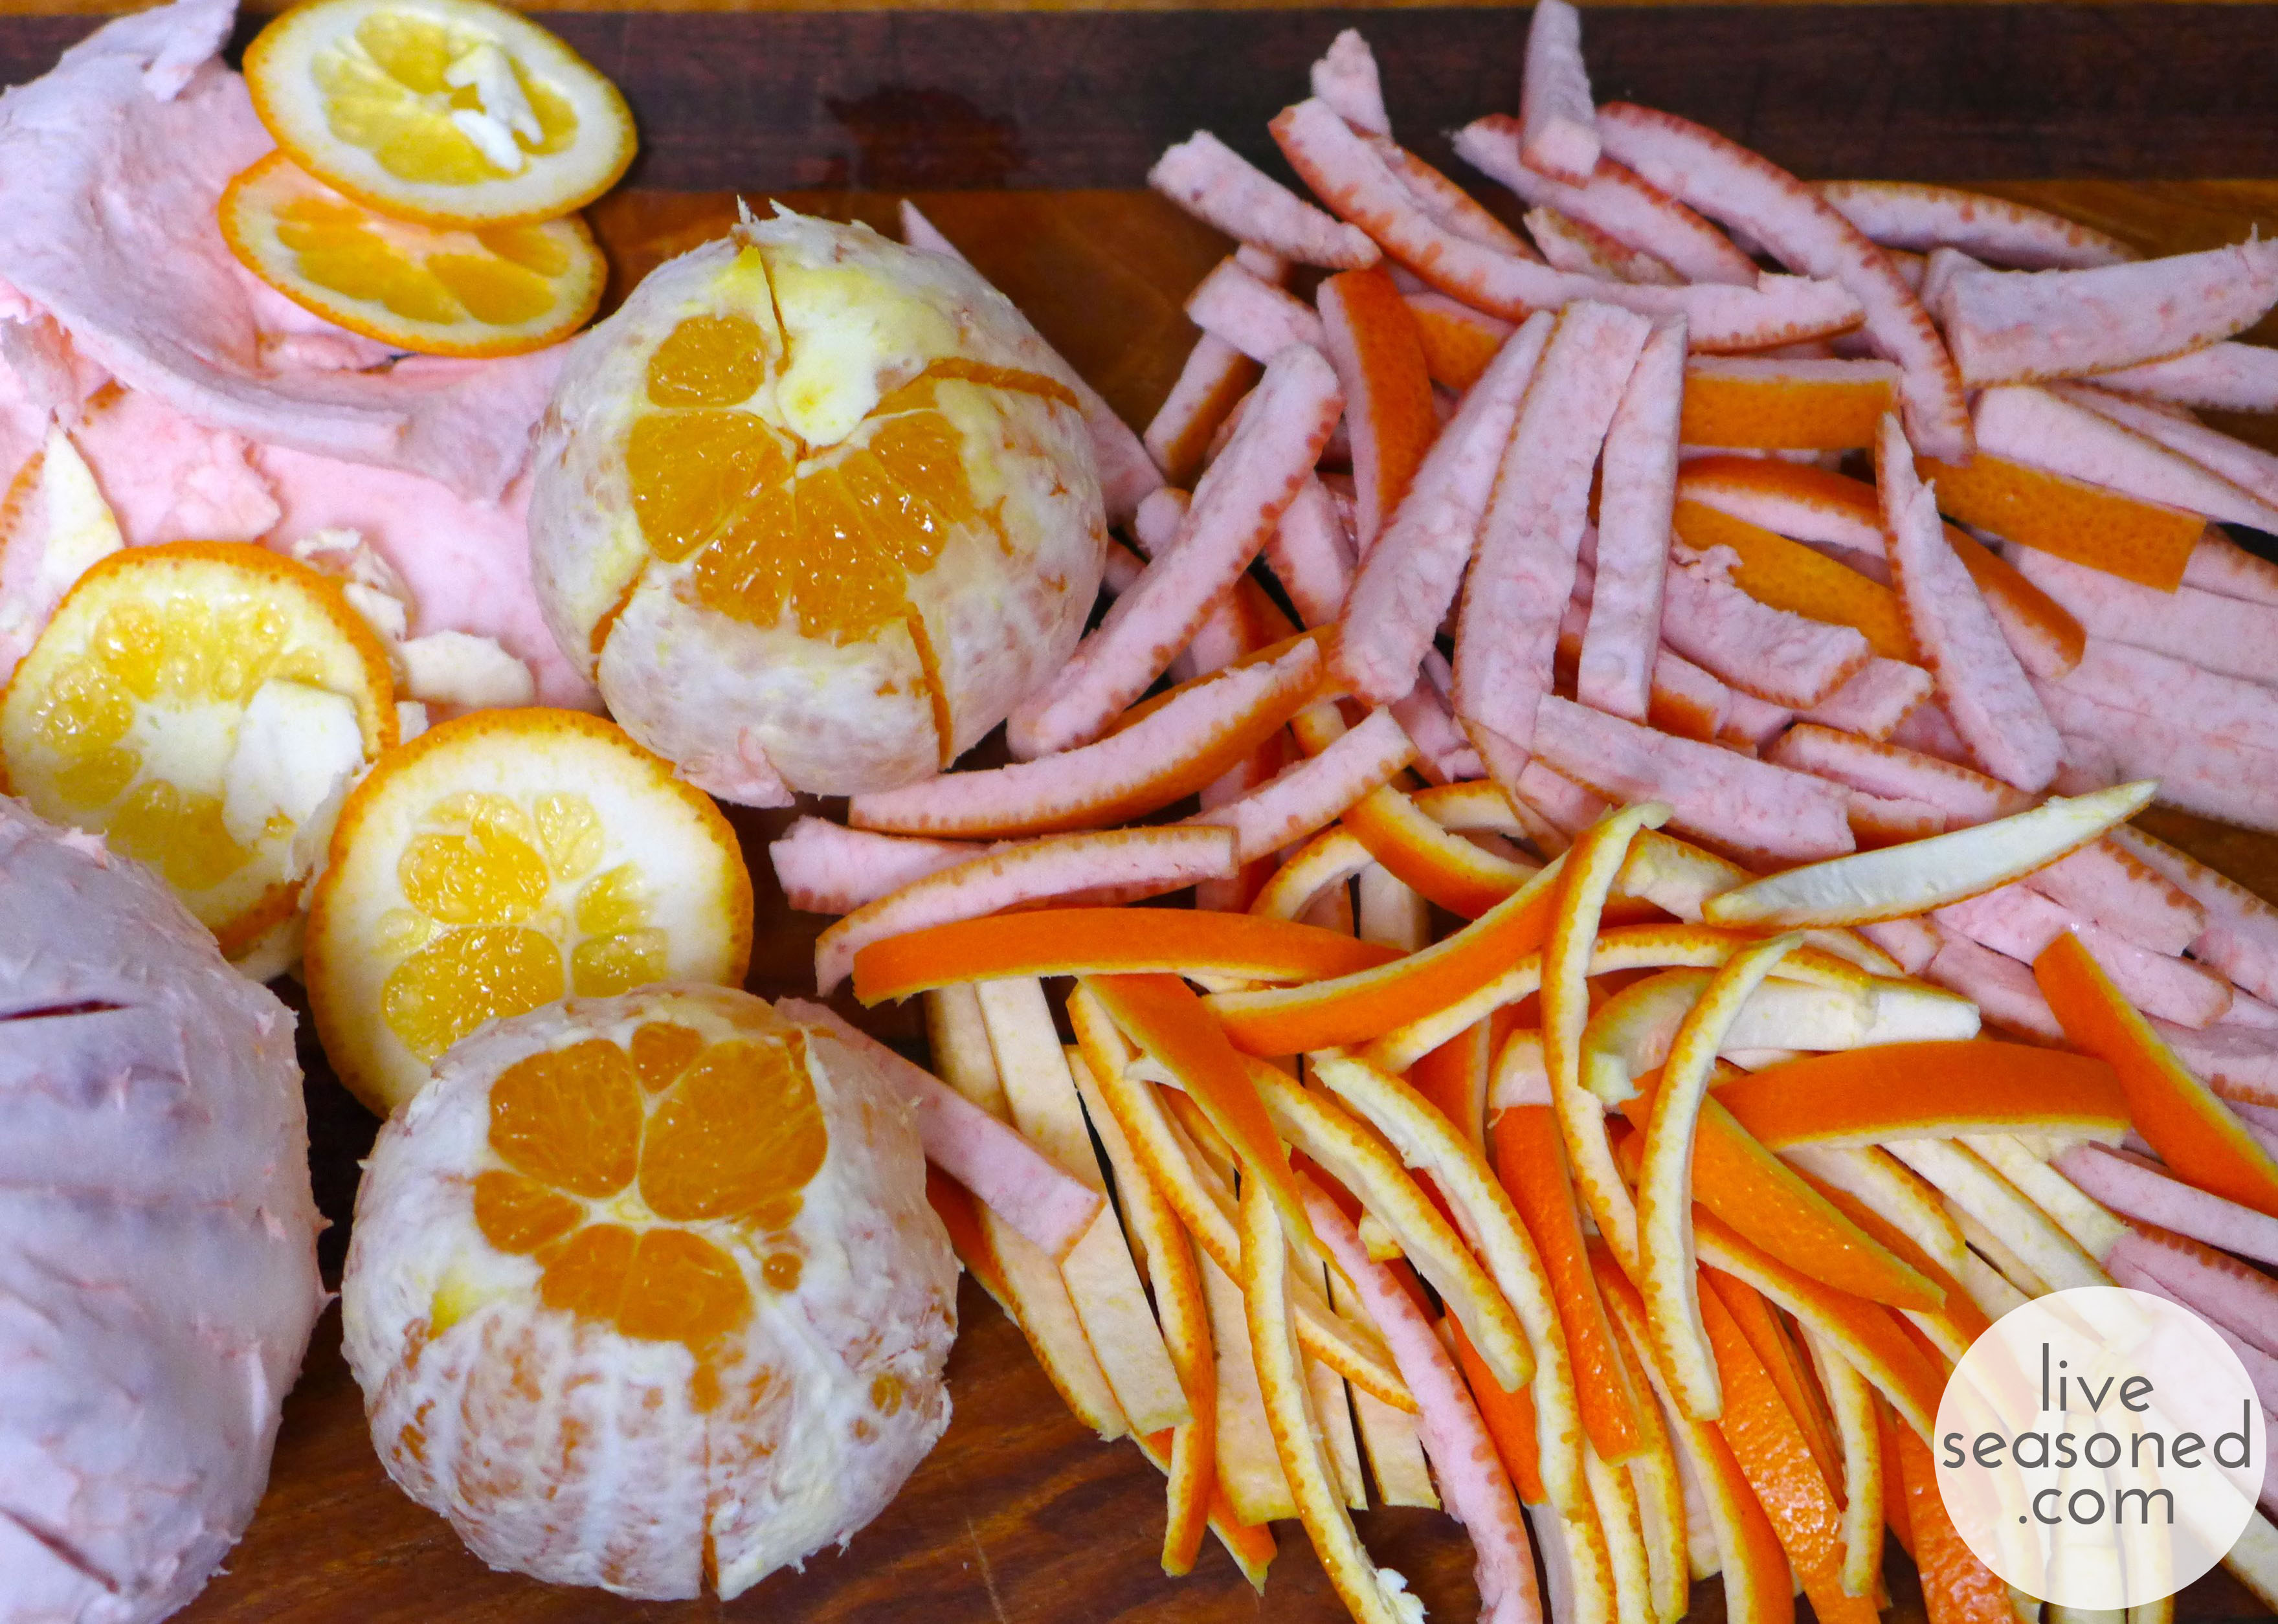
  • Prepare the rinds. Cut the ends off the fruit and make 5 to 6 slices through the rind, but not the fruit, from top to bottom. Gently remove the rind pieces with your fingers. You can leave most of the pith attached to the rind, but use your pairing knife to cut off any excess or particularly mangled sections. I use this opportunity to make the pith side of my rind smooth, and if I have a grapefruit with a particularly thick rind, I may slice of a little bit extra. Cut the rinds into 1/4 inch slices. If the grapefruit rinds are particularly long, I will cut them in half.
  • Place the rinds in a saucepan and cover with water. Bring to a boil, then drain. Repeat this process one more time.
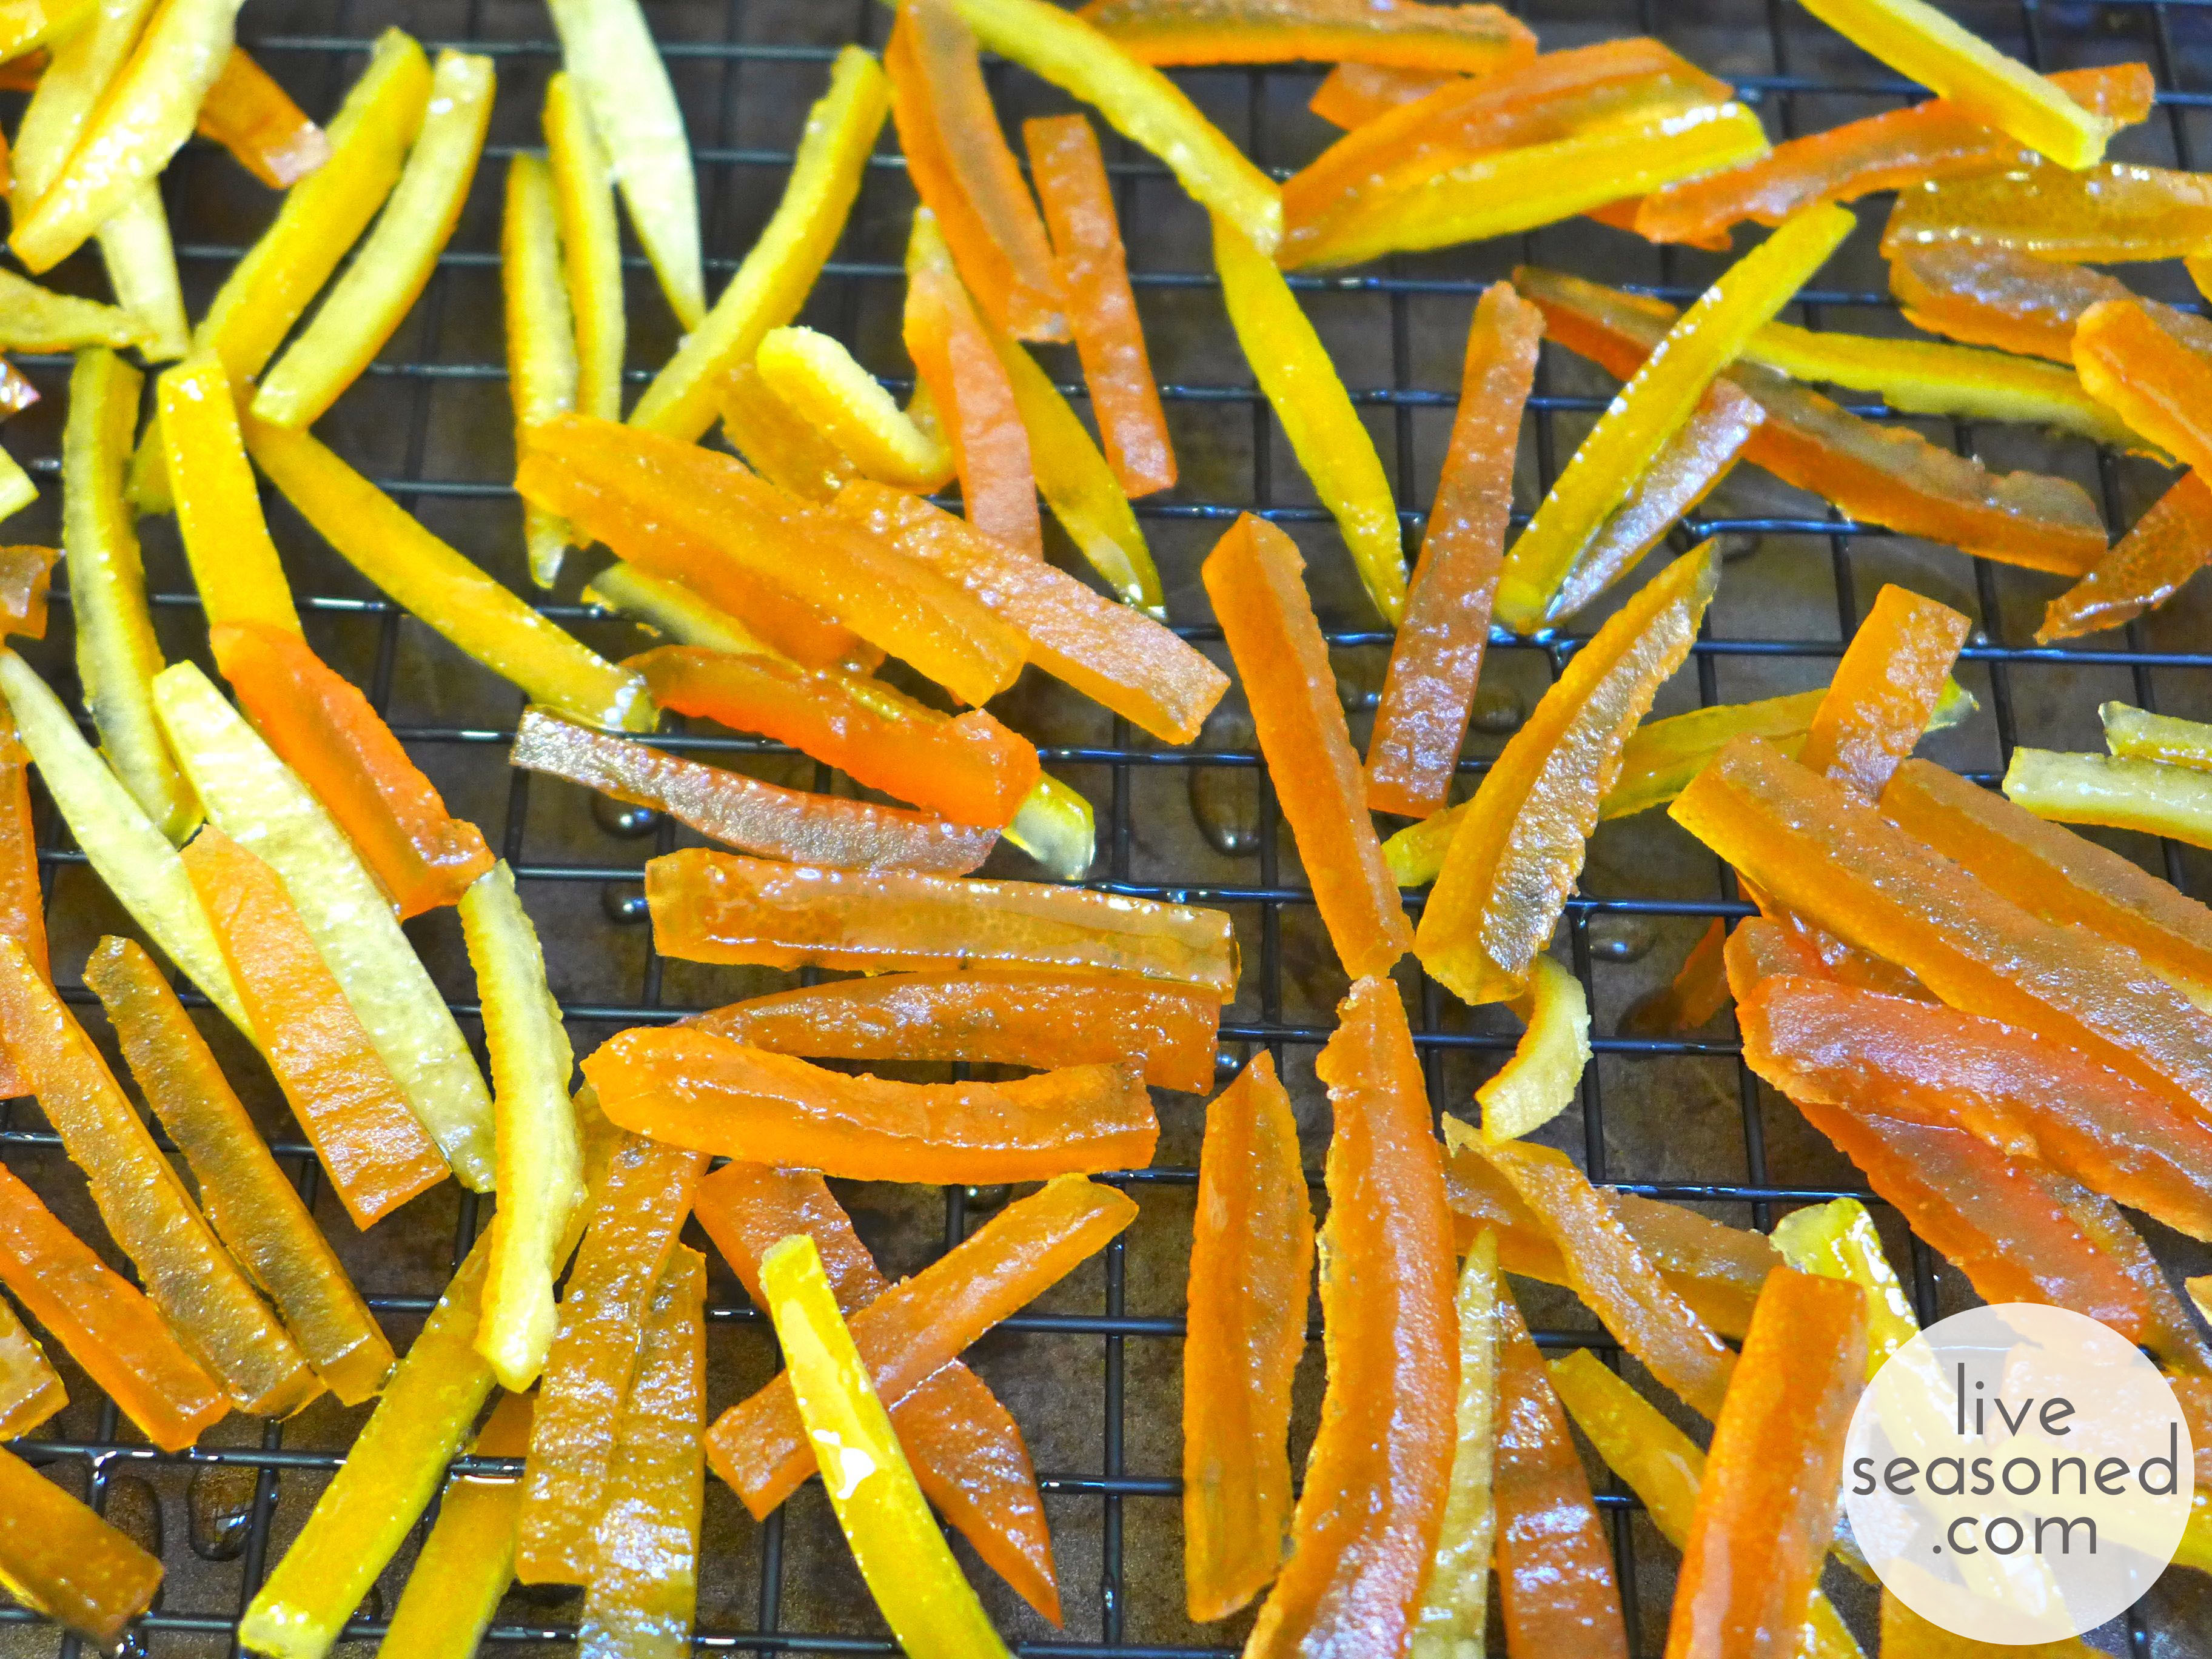
  • Place the sugar and water in a saucepan and bring to a boil, stirring until the sugar dissolves. Add the rinds and reduce pot to a simmer. Continue simmering for about an hour. At this point the strips should look translucent. Remove the rinds with a slotted spoon and let them cool on a baking rack.
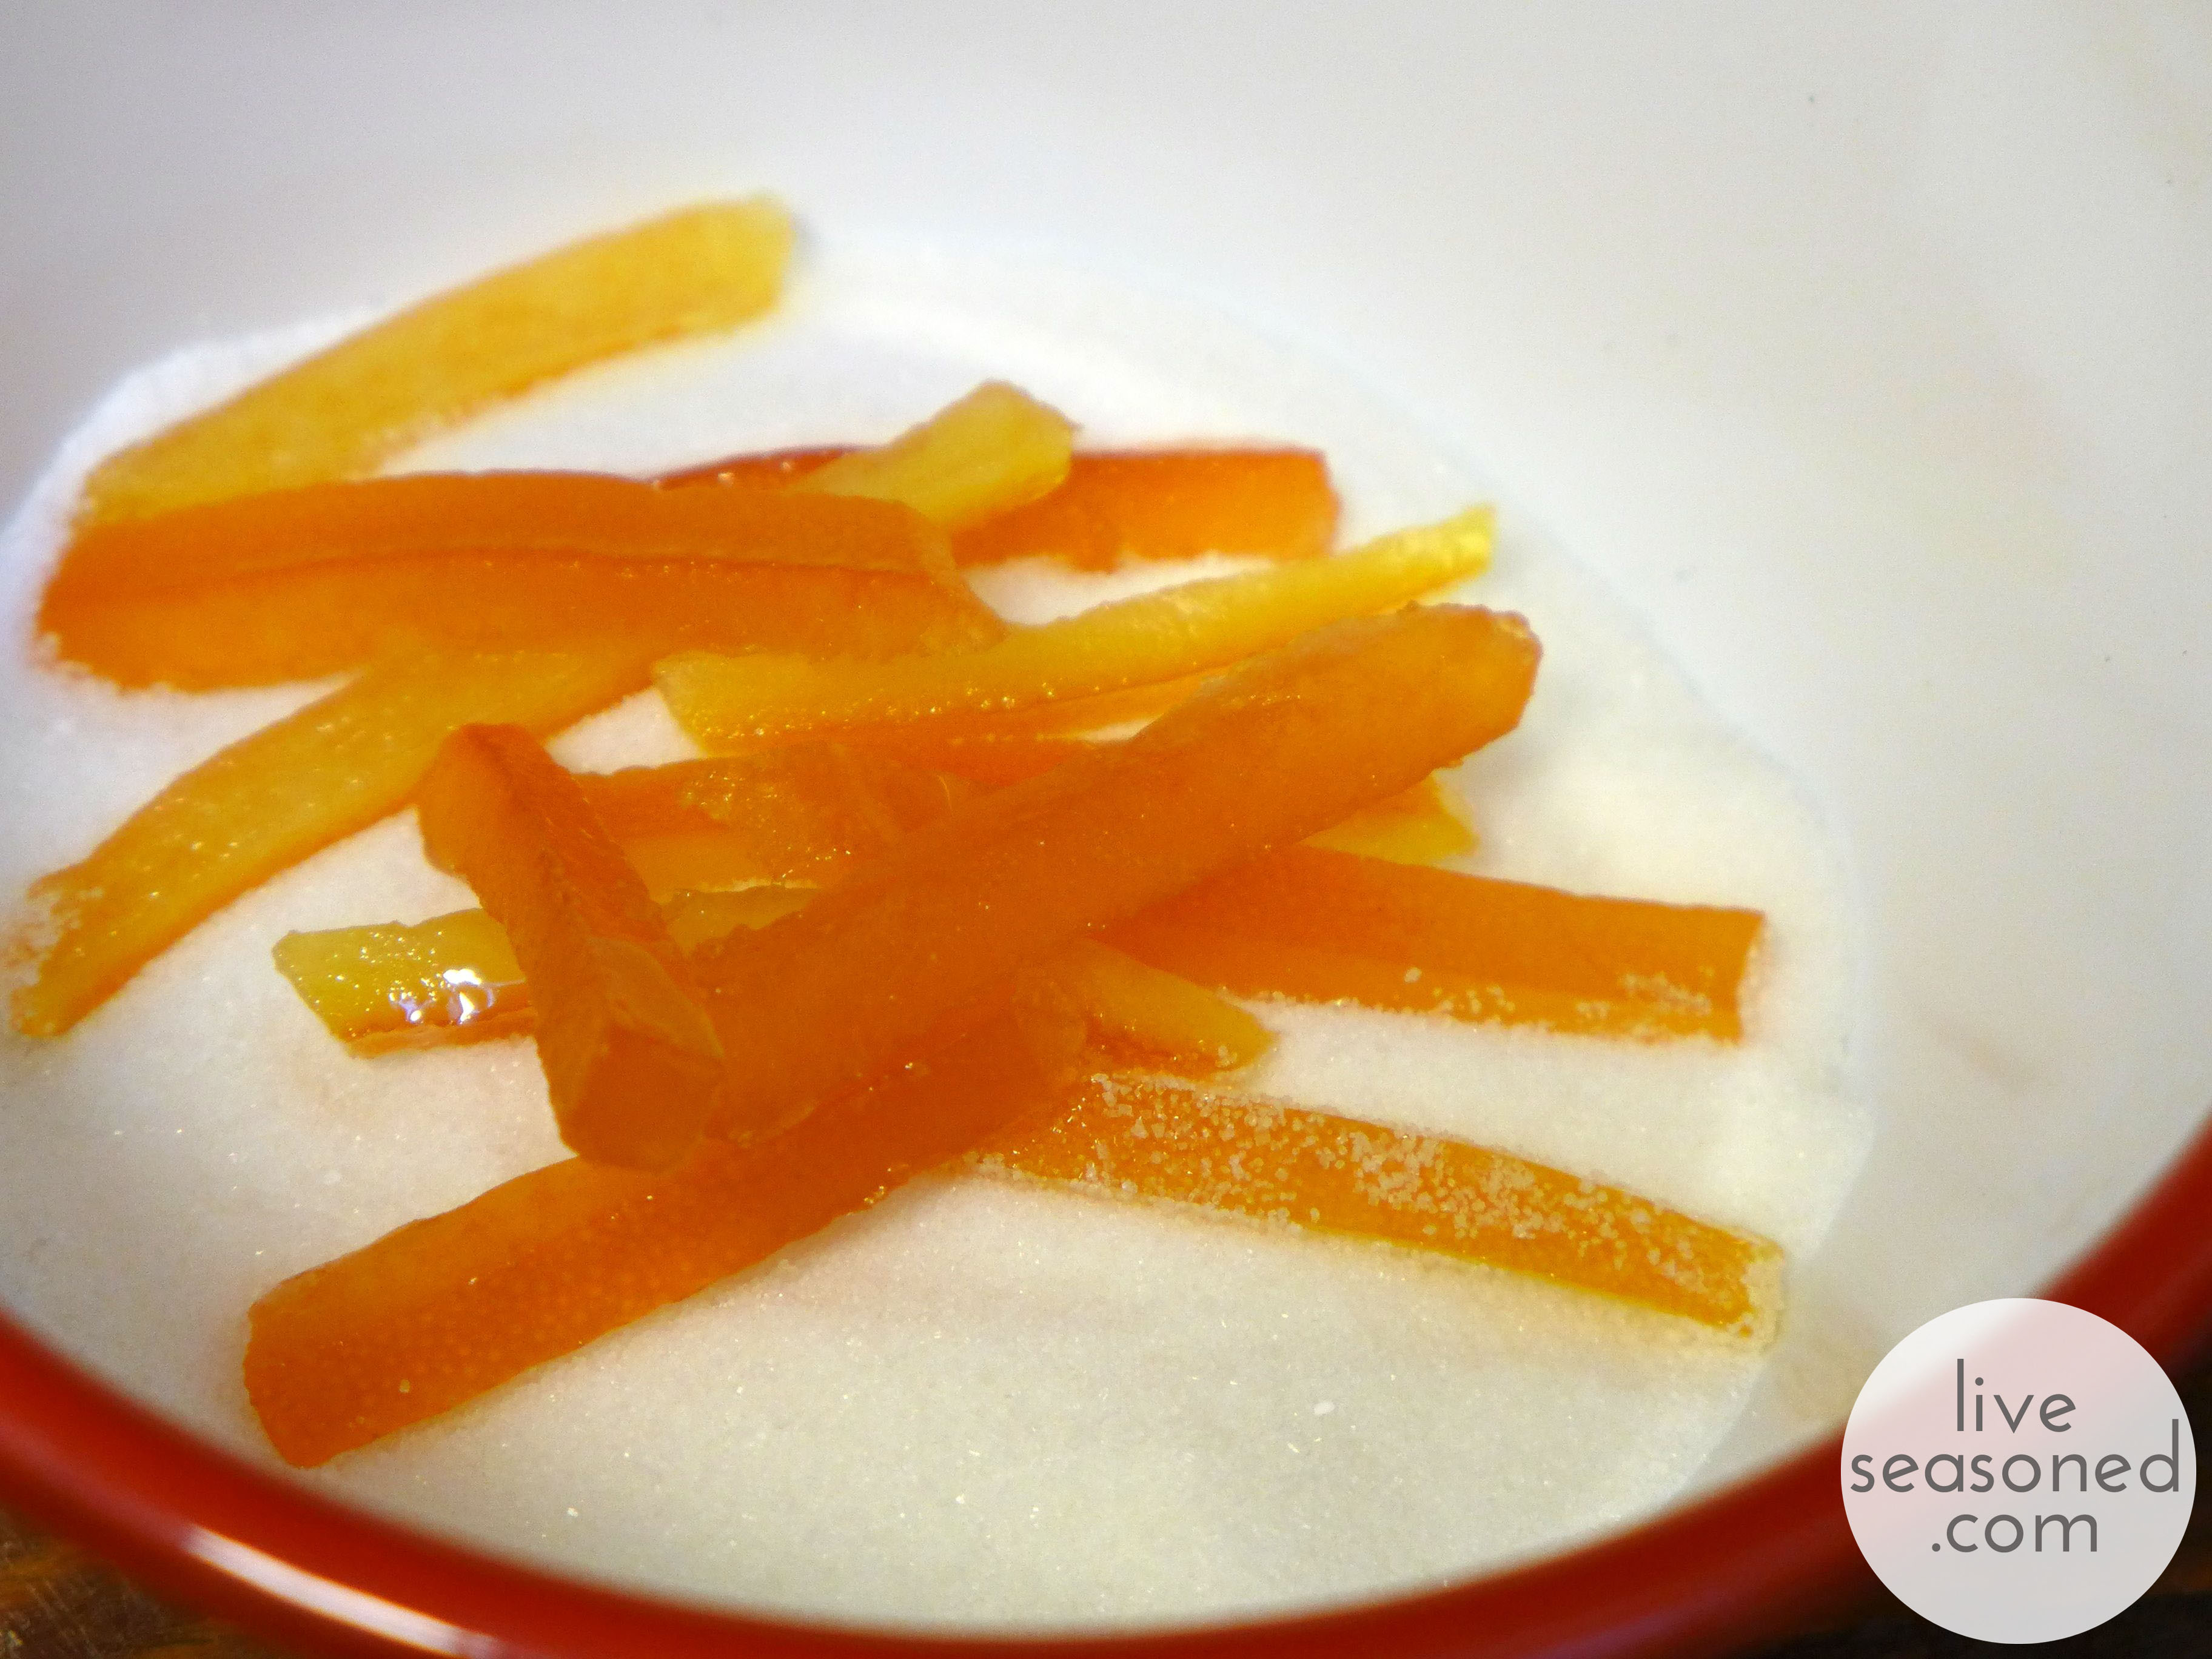
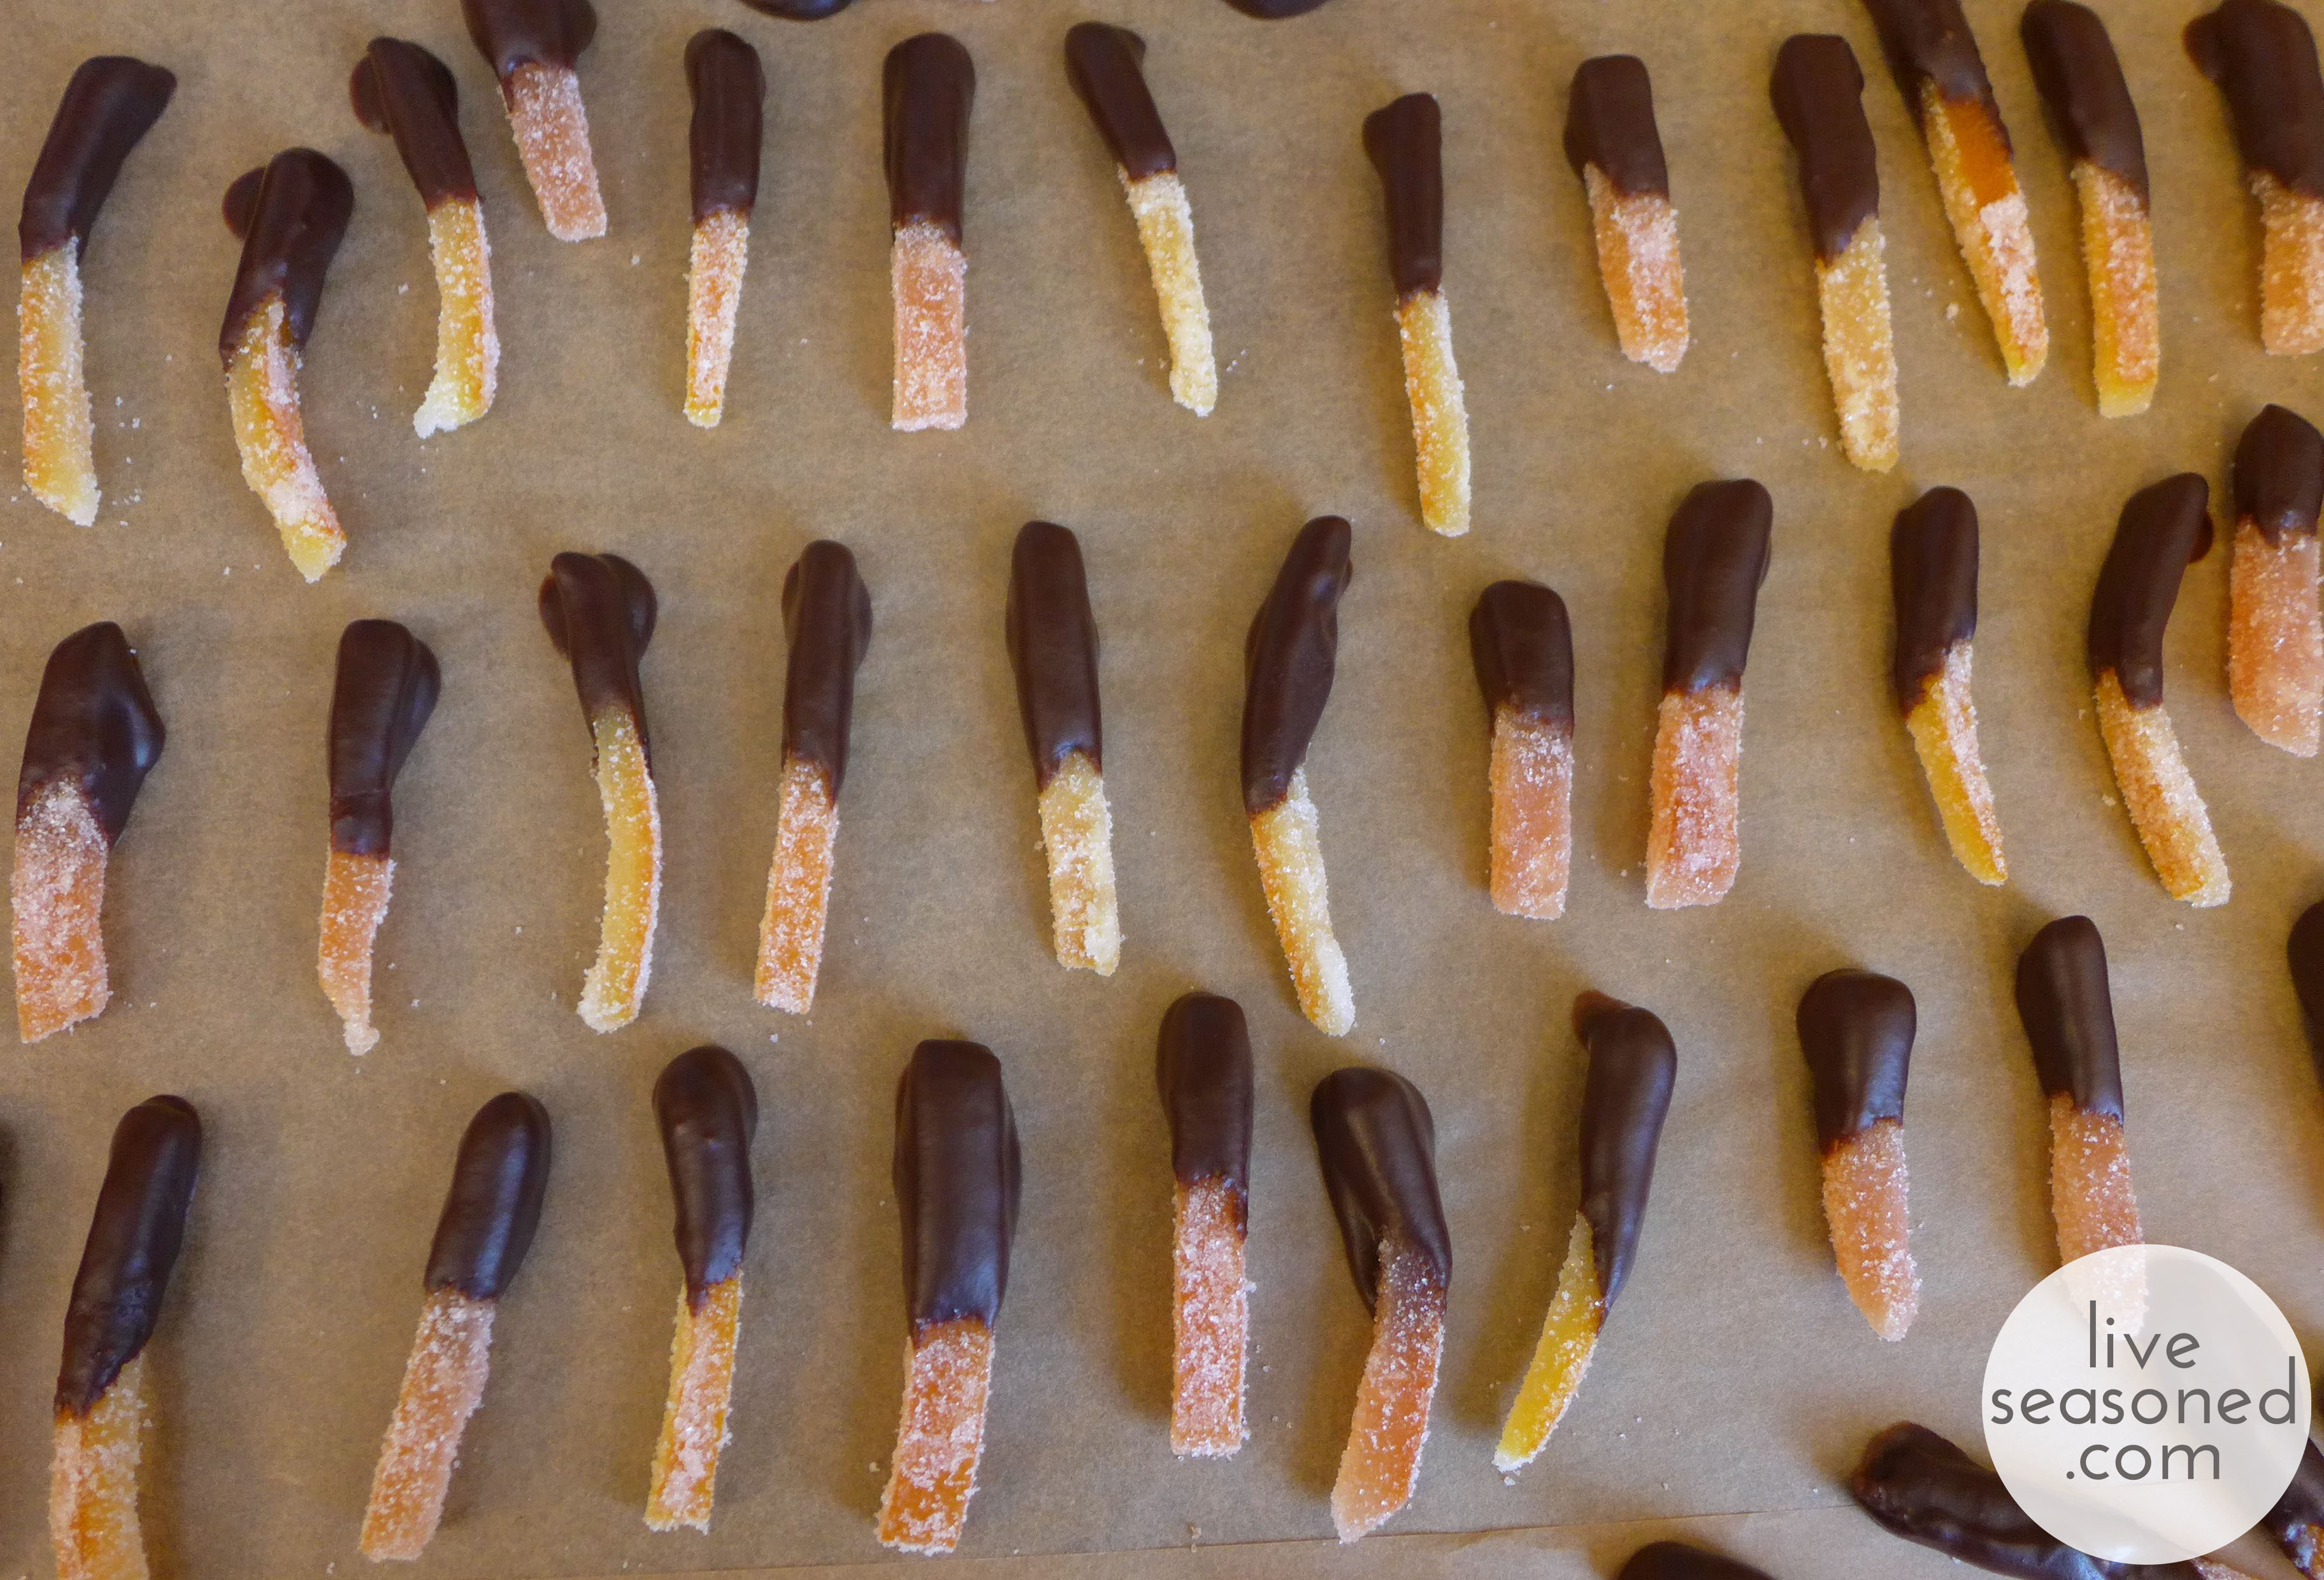
  • Once cool, roll the strips in  sugar. You can also dip them in melted chocolate for an extra special treat.

liveseasoned_w2015_orangetreats7_wm

liveseasoned_w2015_orangetreats8_wm

I think these make a great addition to any cookie or chocolate tray, but they would also be a fantastic garnish on a slice of chocolate cake or (minus the chocolate) in your Christmas-morning mimosas!

liveseasoned_w2015_orangetreats12_wm

Next up, orange-flavored marshmallows! I’m in love with these. The first time I made marshmallows was last February, and making them a second time just confirmed how easy it is to produce these light and fluffy sweets! I used the exact same corn syrup-free recipe, with the exception of using orange extract in place of the vanilla and orange dye in place of the red. Otherwise, I followed the tips and steps to a T, so rather than retype everything, I’ll just redirect you to that post and below I’ll share the fluffy orange-y goodness in photos.

liveseasoned_w2015_orangetreats17_wm

The real magic happens in this recipe when you start to beat the hot liquid with an electric mixer. Before your eyes the tan liquid turns white and expands as air is incorporated.

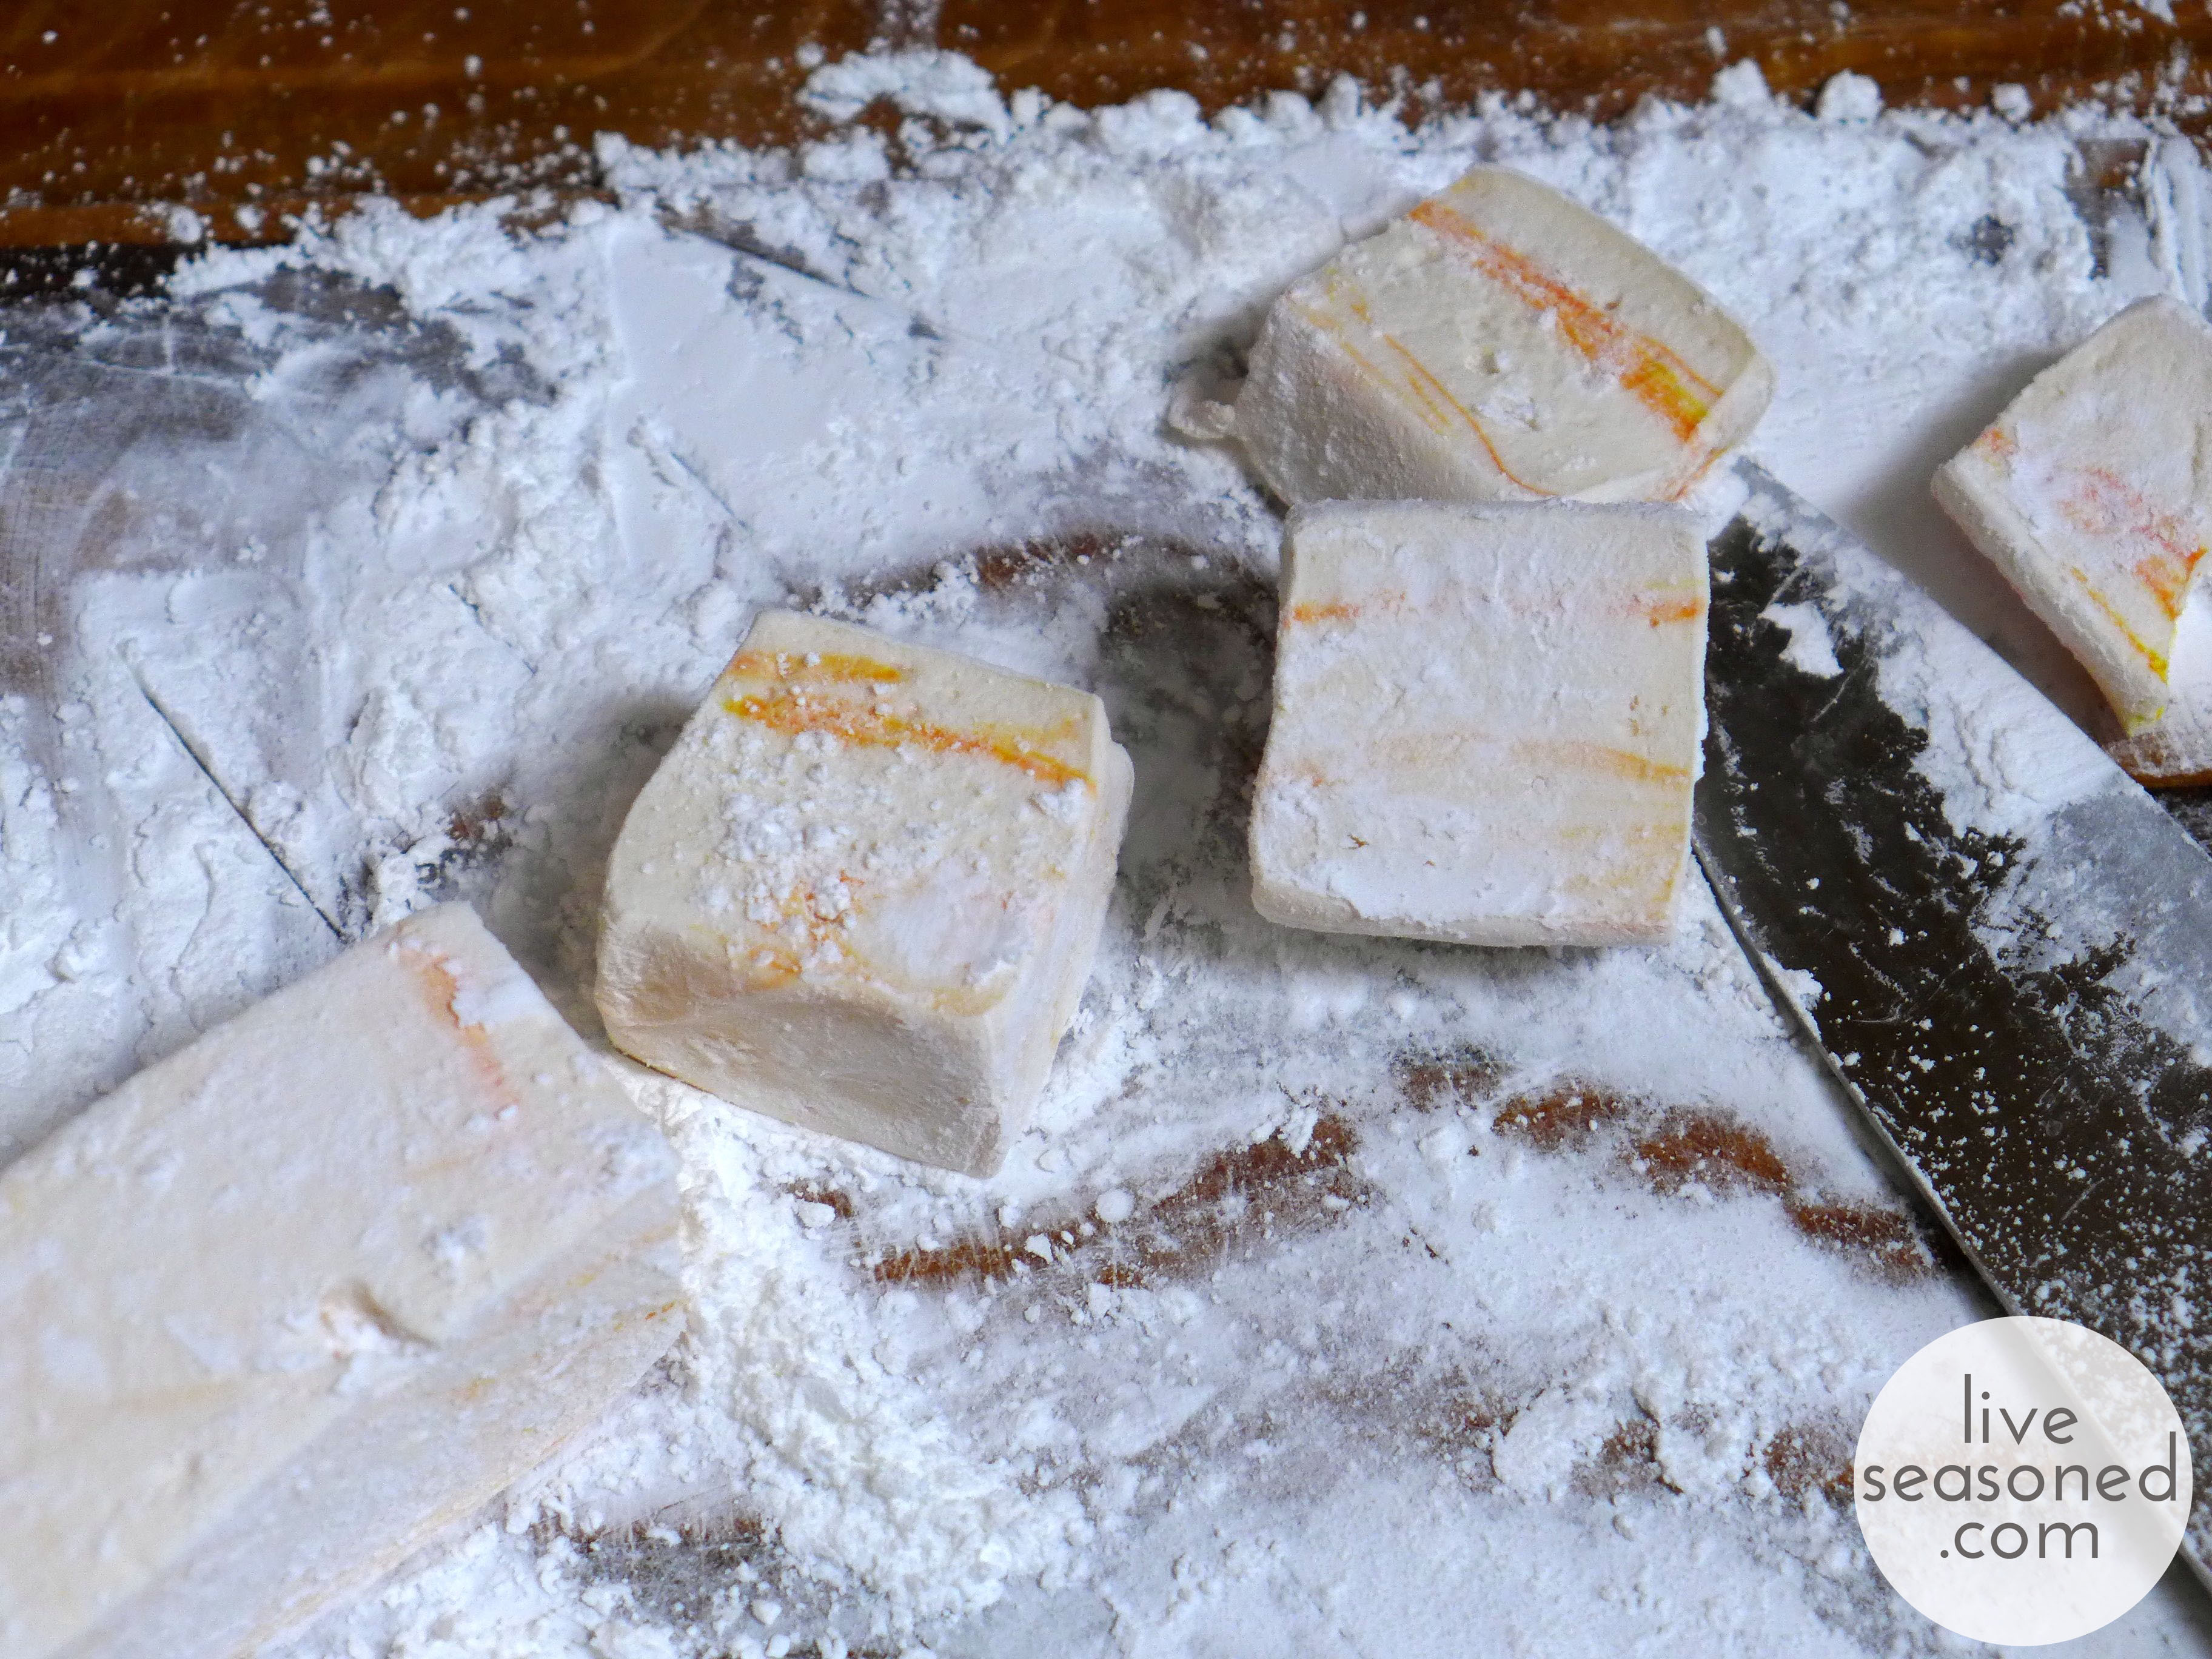
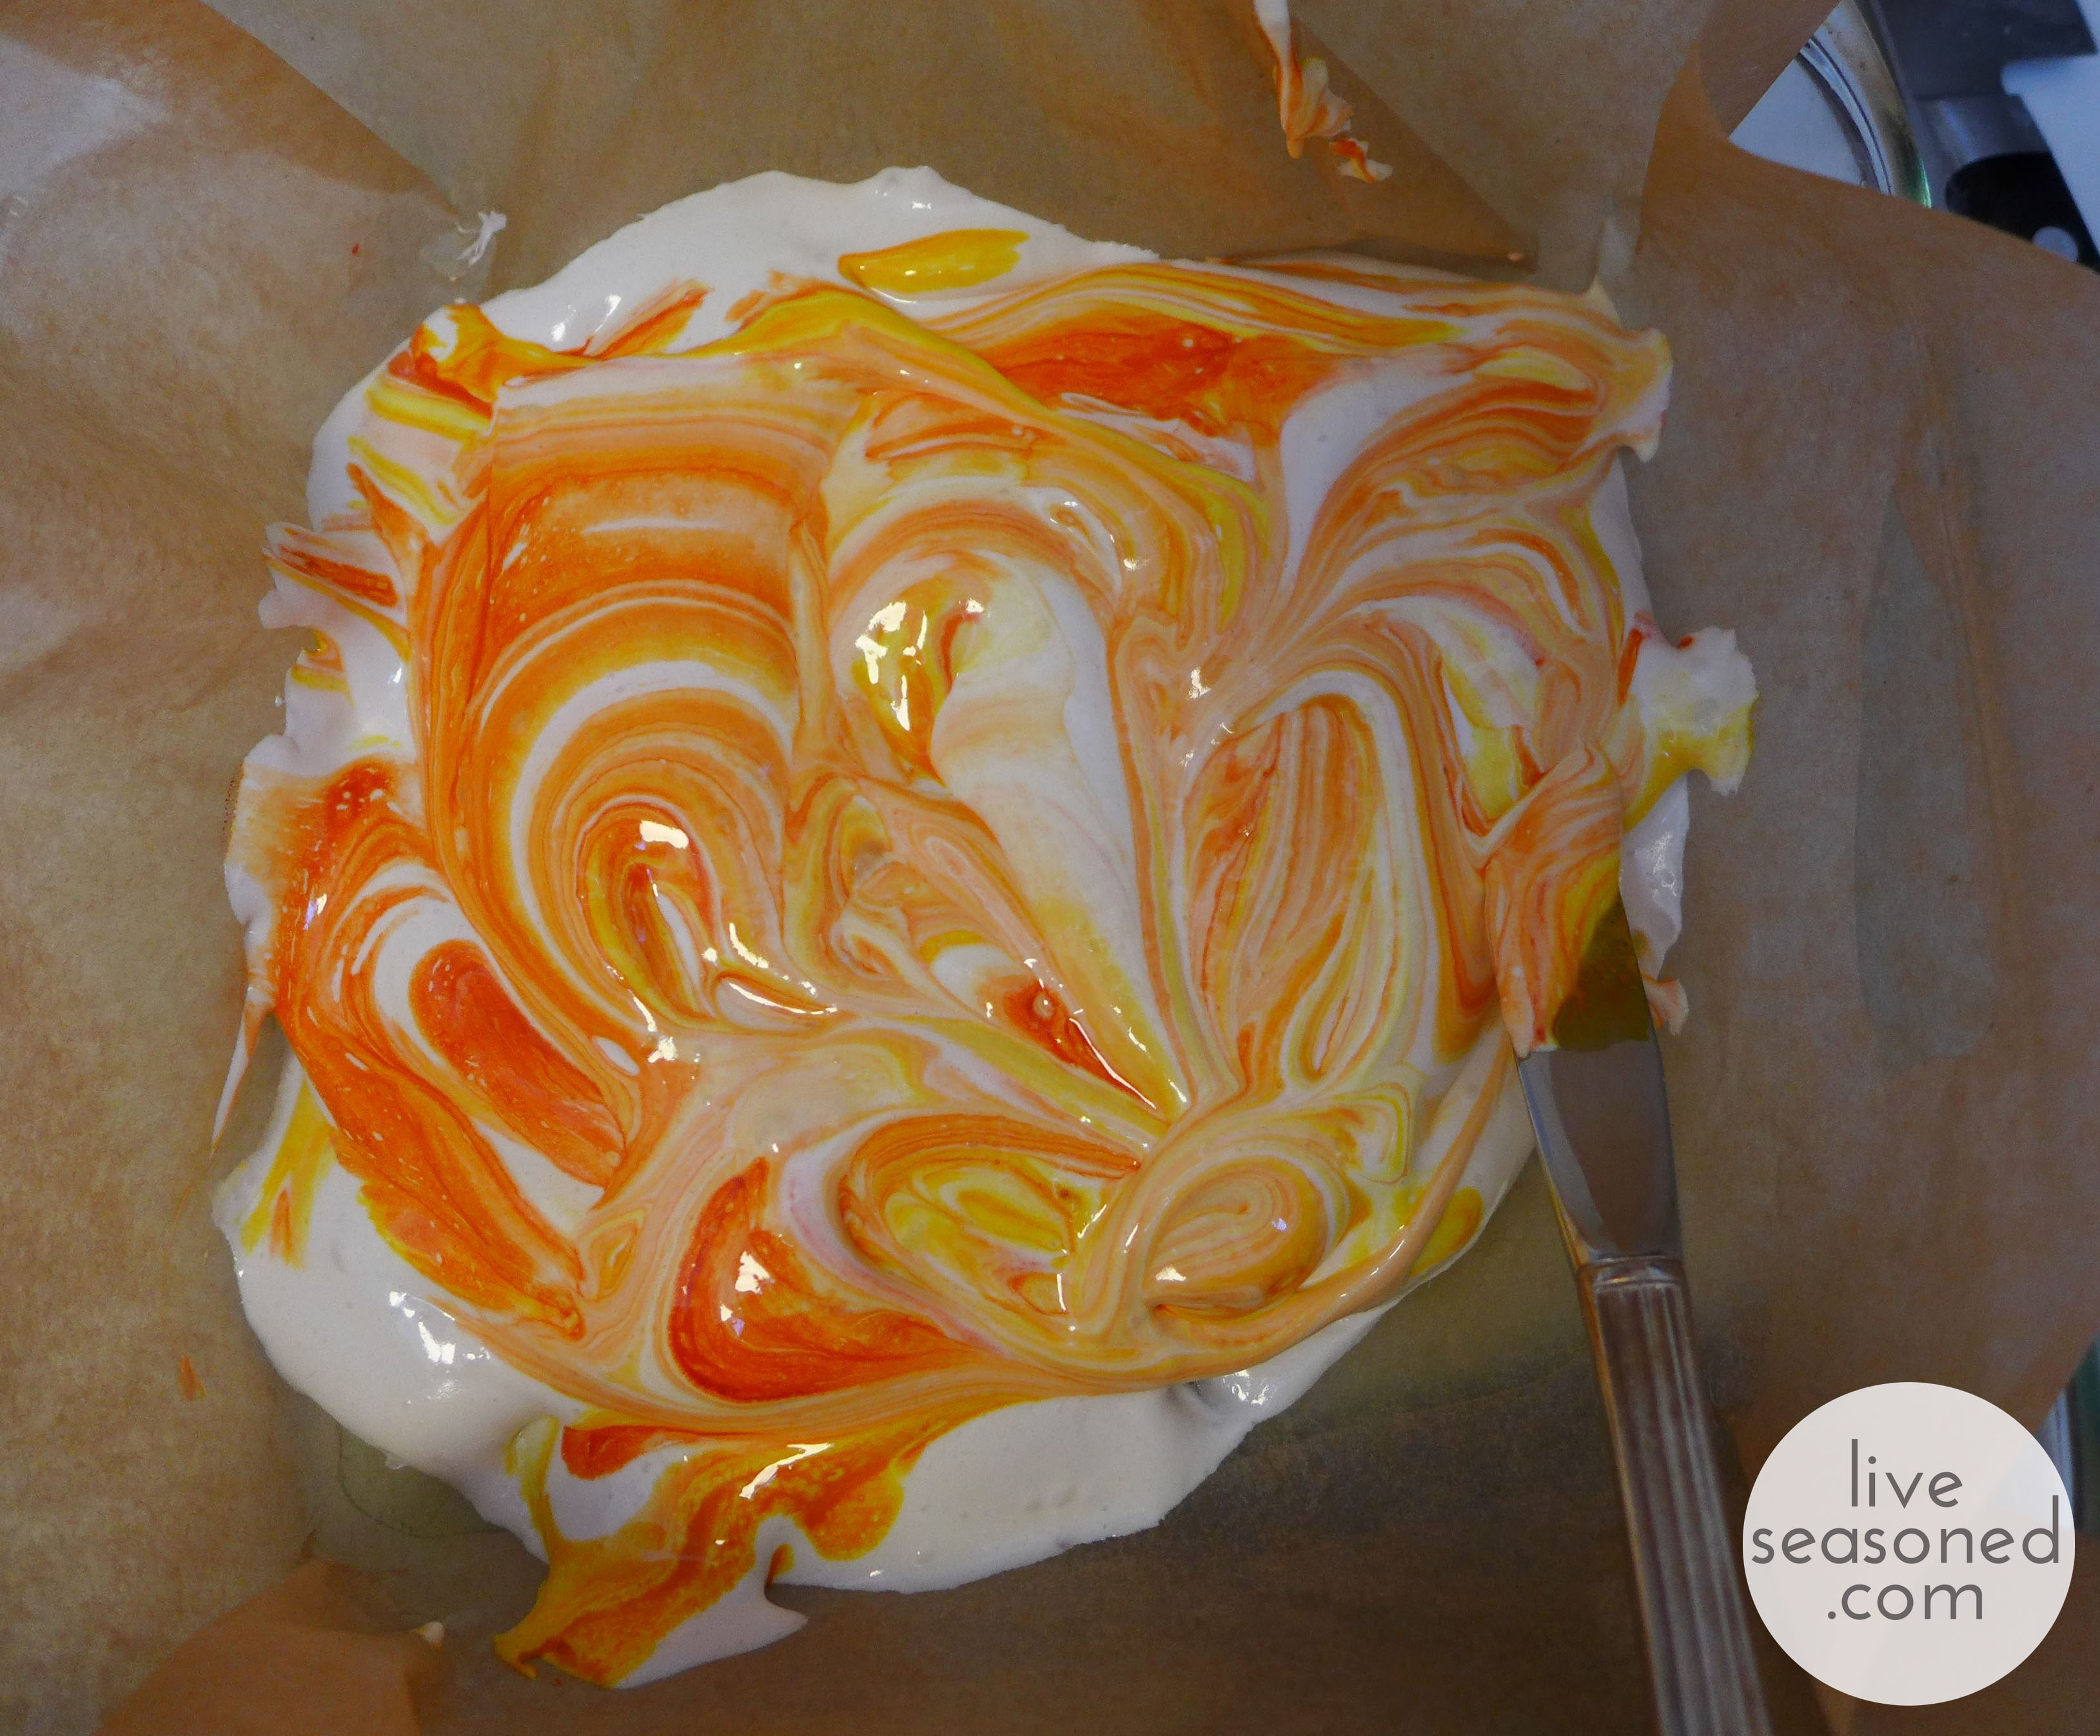
Once you’re done whipping the marshmallows, it’s just a matter of deciding what to do with them, and you have a few options. Are you going to add a color? I like playing with marbling. With my last batch, I mentioned that I was too reserved with the marbling, so I tried to go bigger this time. I poured half of the marshmallows into a square baking dish, then added red and yellow dye that I blended together as I marbled it through that layer. I then poured the rest of the marshmallow into the pan and again, mixed it slightly to move the dye up into the second layer. As you can see from the first marshmallow photo, I ended up with some pretty good orange streaks. You can also go with a solid color, or you can try stripes!

In addition to color, you can think about size and shape. I go for the big, fluffy squares, but since it’s the holiday, you may want to use cookie cutters to make shapes. If so, then pour your marshmallows into a larger dish to create a thinner layer that’s easy to cut out.

liveseasoned_w2015_orangetreats14_wm

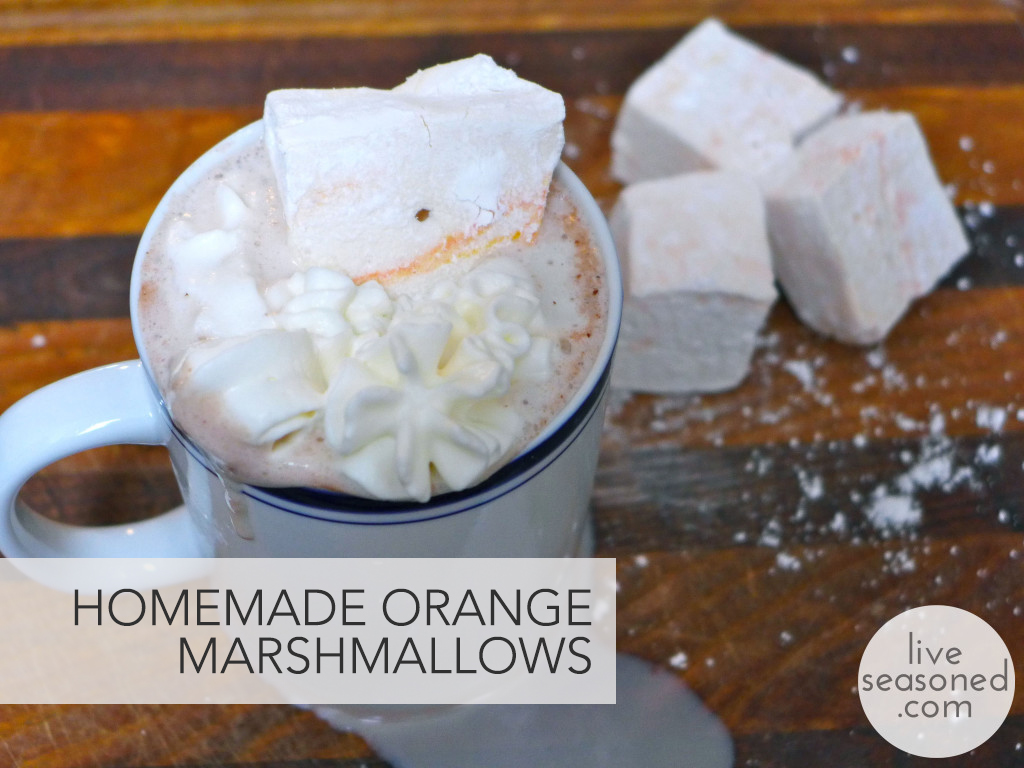
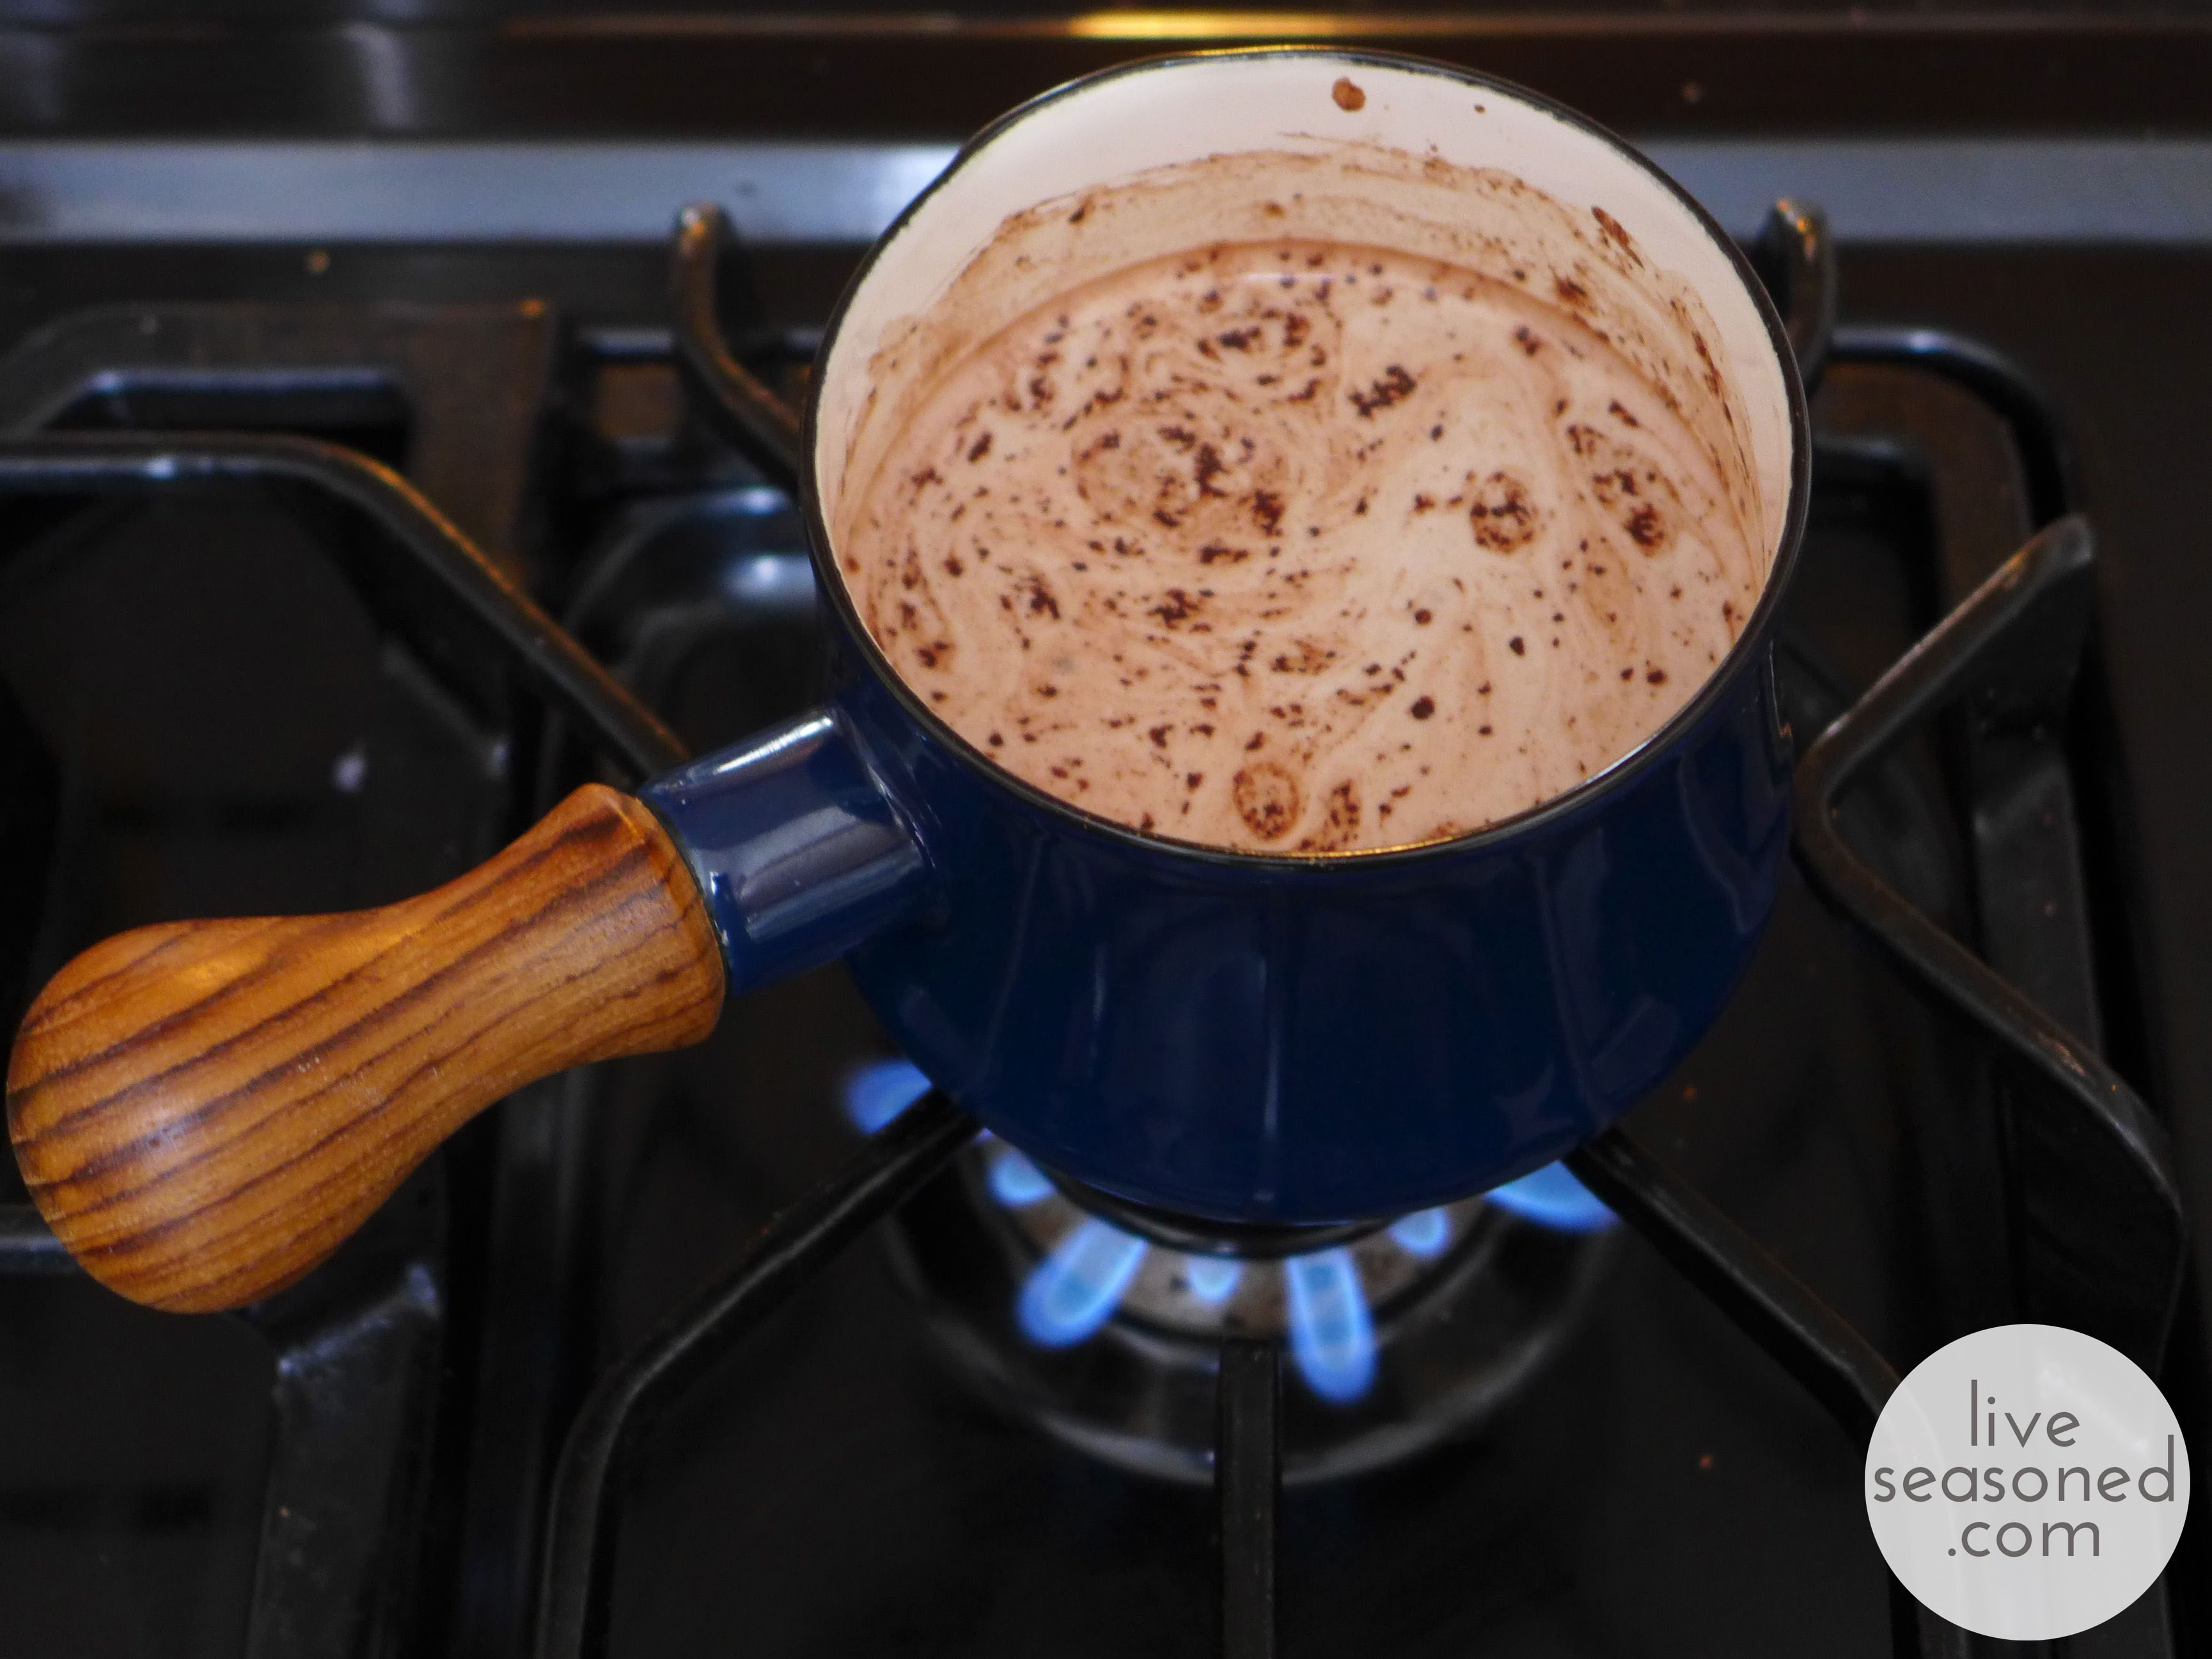
Ok, now once your marshmallows have cooled, you just have the hard job of deciding how to eat and gift them. Start by dipping some in a big mug of hot cocoa, or let them a while and melt right into your mug. I did that today, and it creates this really tasty orange marshmallow layer on top of the cocoa, with each sip you get a bit of the melted, gooey orange flavor and it’s amazing. If you’re not going to keep them all to yourself, you could package up a few marshmallows and pair them with a good cocoa as a stocking stuffer. Just make sure to use an airtight bag for packaging, because you don’t want them to dry out before they’re enjoyed. 

liveseasoned_w2015_orangetreats19_wm-1024x768 copy

There you have it ~ two ways to add a note of citrus to your holiday! Now we’re off to finish wrapping presents {and we’ll be doing it with that mug of cocoa above, obvs.}…. oh, I may be experimenting with one more way to add some citrus to my homemade chocolates. We’ll be back with the full report if it works!

Felt Ornaments

Hey! I looked at our calendar and realized that we have entered a week of Christmas crafting making on the blog! This isn’t necessarily gift crafting, just more little projects to decorate the tree, your walls, to send off in the mail (technically, I guess that’s giving), and maybe we’ll even have something to eat or drink by the time the week’s complete.

liveseasoned_w2015_feltornament1_wm

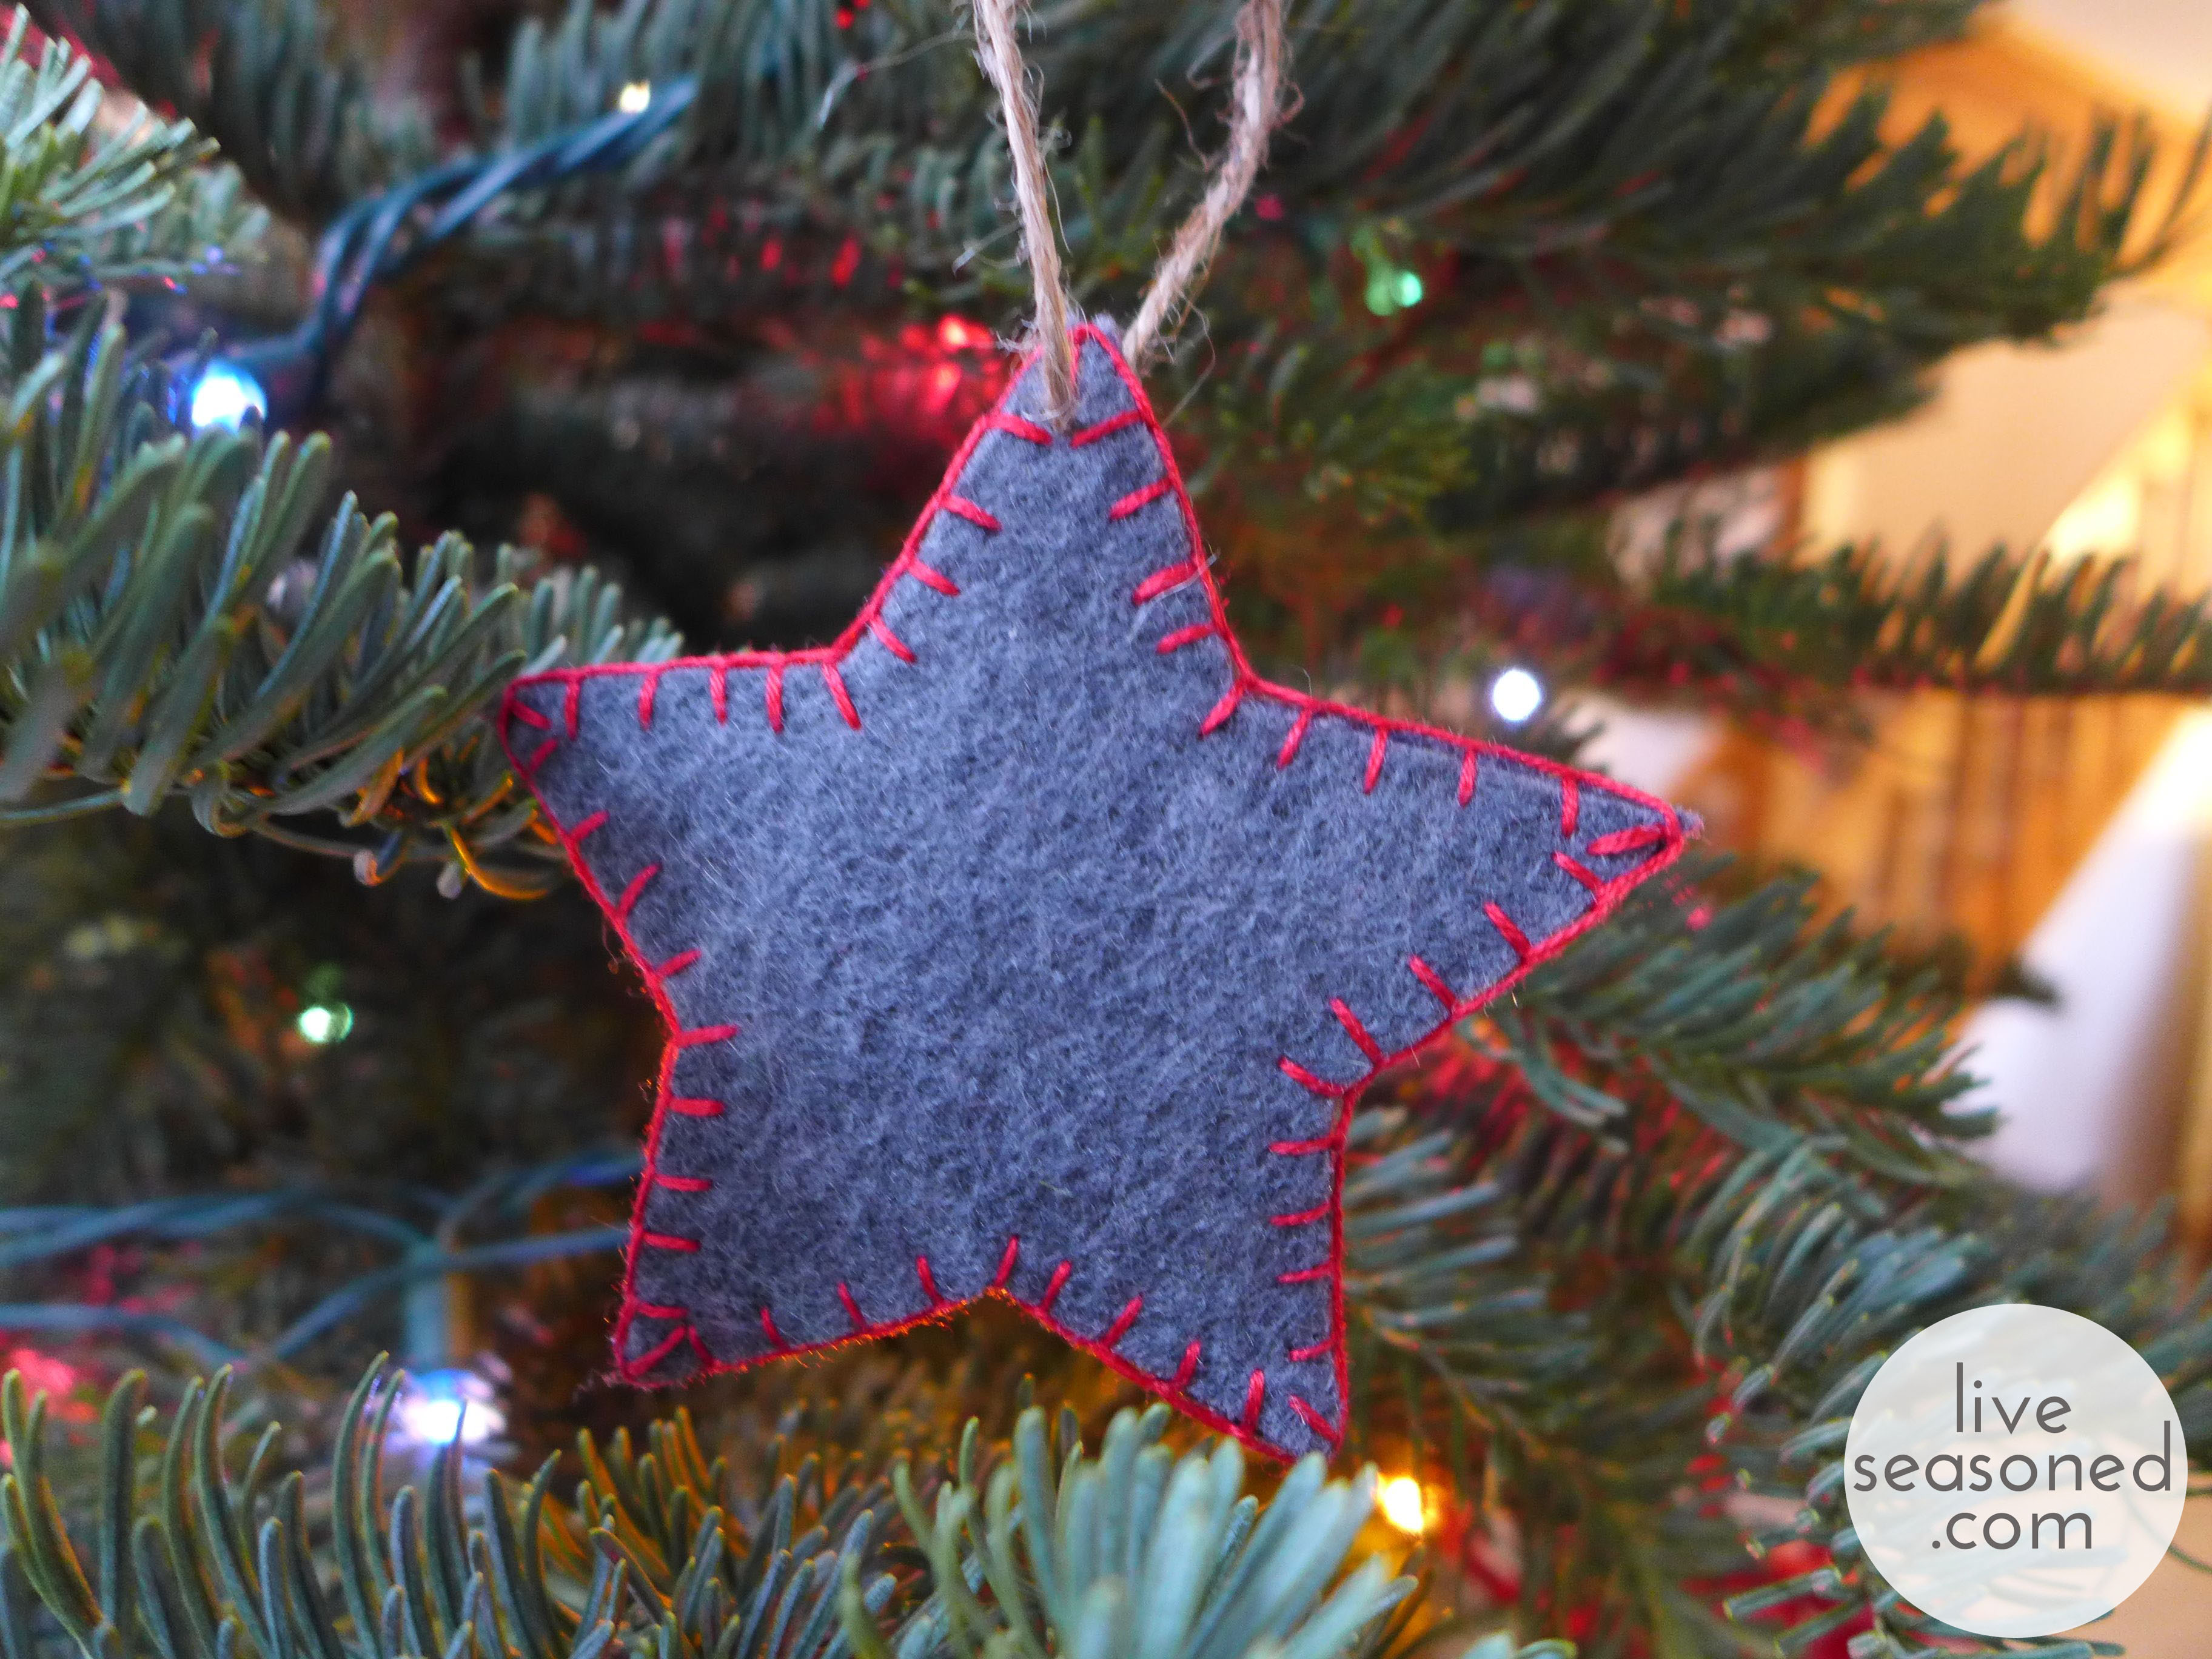
Today I’m talking about the felt ornaments and wreath that were pictured in this post. Both of these ideas came from my Christmas board on Pinterest, but unfortunately the links associated with the pins won’t take you to the original source for attribution. You’ll see that I’ve pinned many different felt ornaments, and I’m thinking that over the next few years I may make quite a few as we become a house with two little boys! Felt ornaments are just so kid-friendly, with a big loop, they are easy for little hands to hang and pull off the tree, and there’s so little investment in terms of both time (the the case of the ones I’ve made) and money, that I don’t mind if little A throws them around a bit while playing. Plus, they look really cute.

liveseasoned_w2015_feltornament9_wm

liveseasoned_w2015_feltornament3_wm

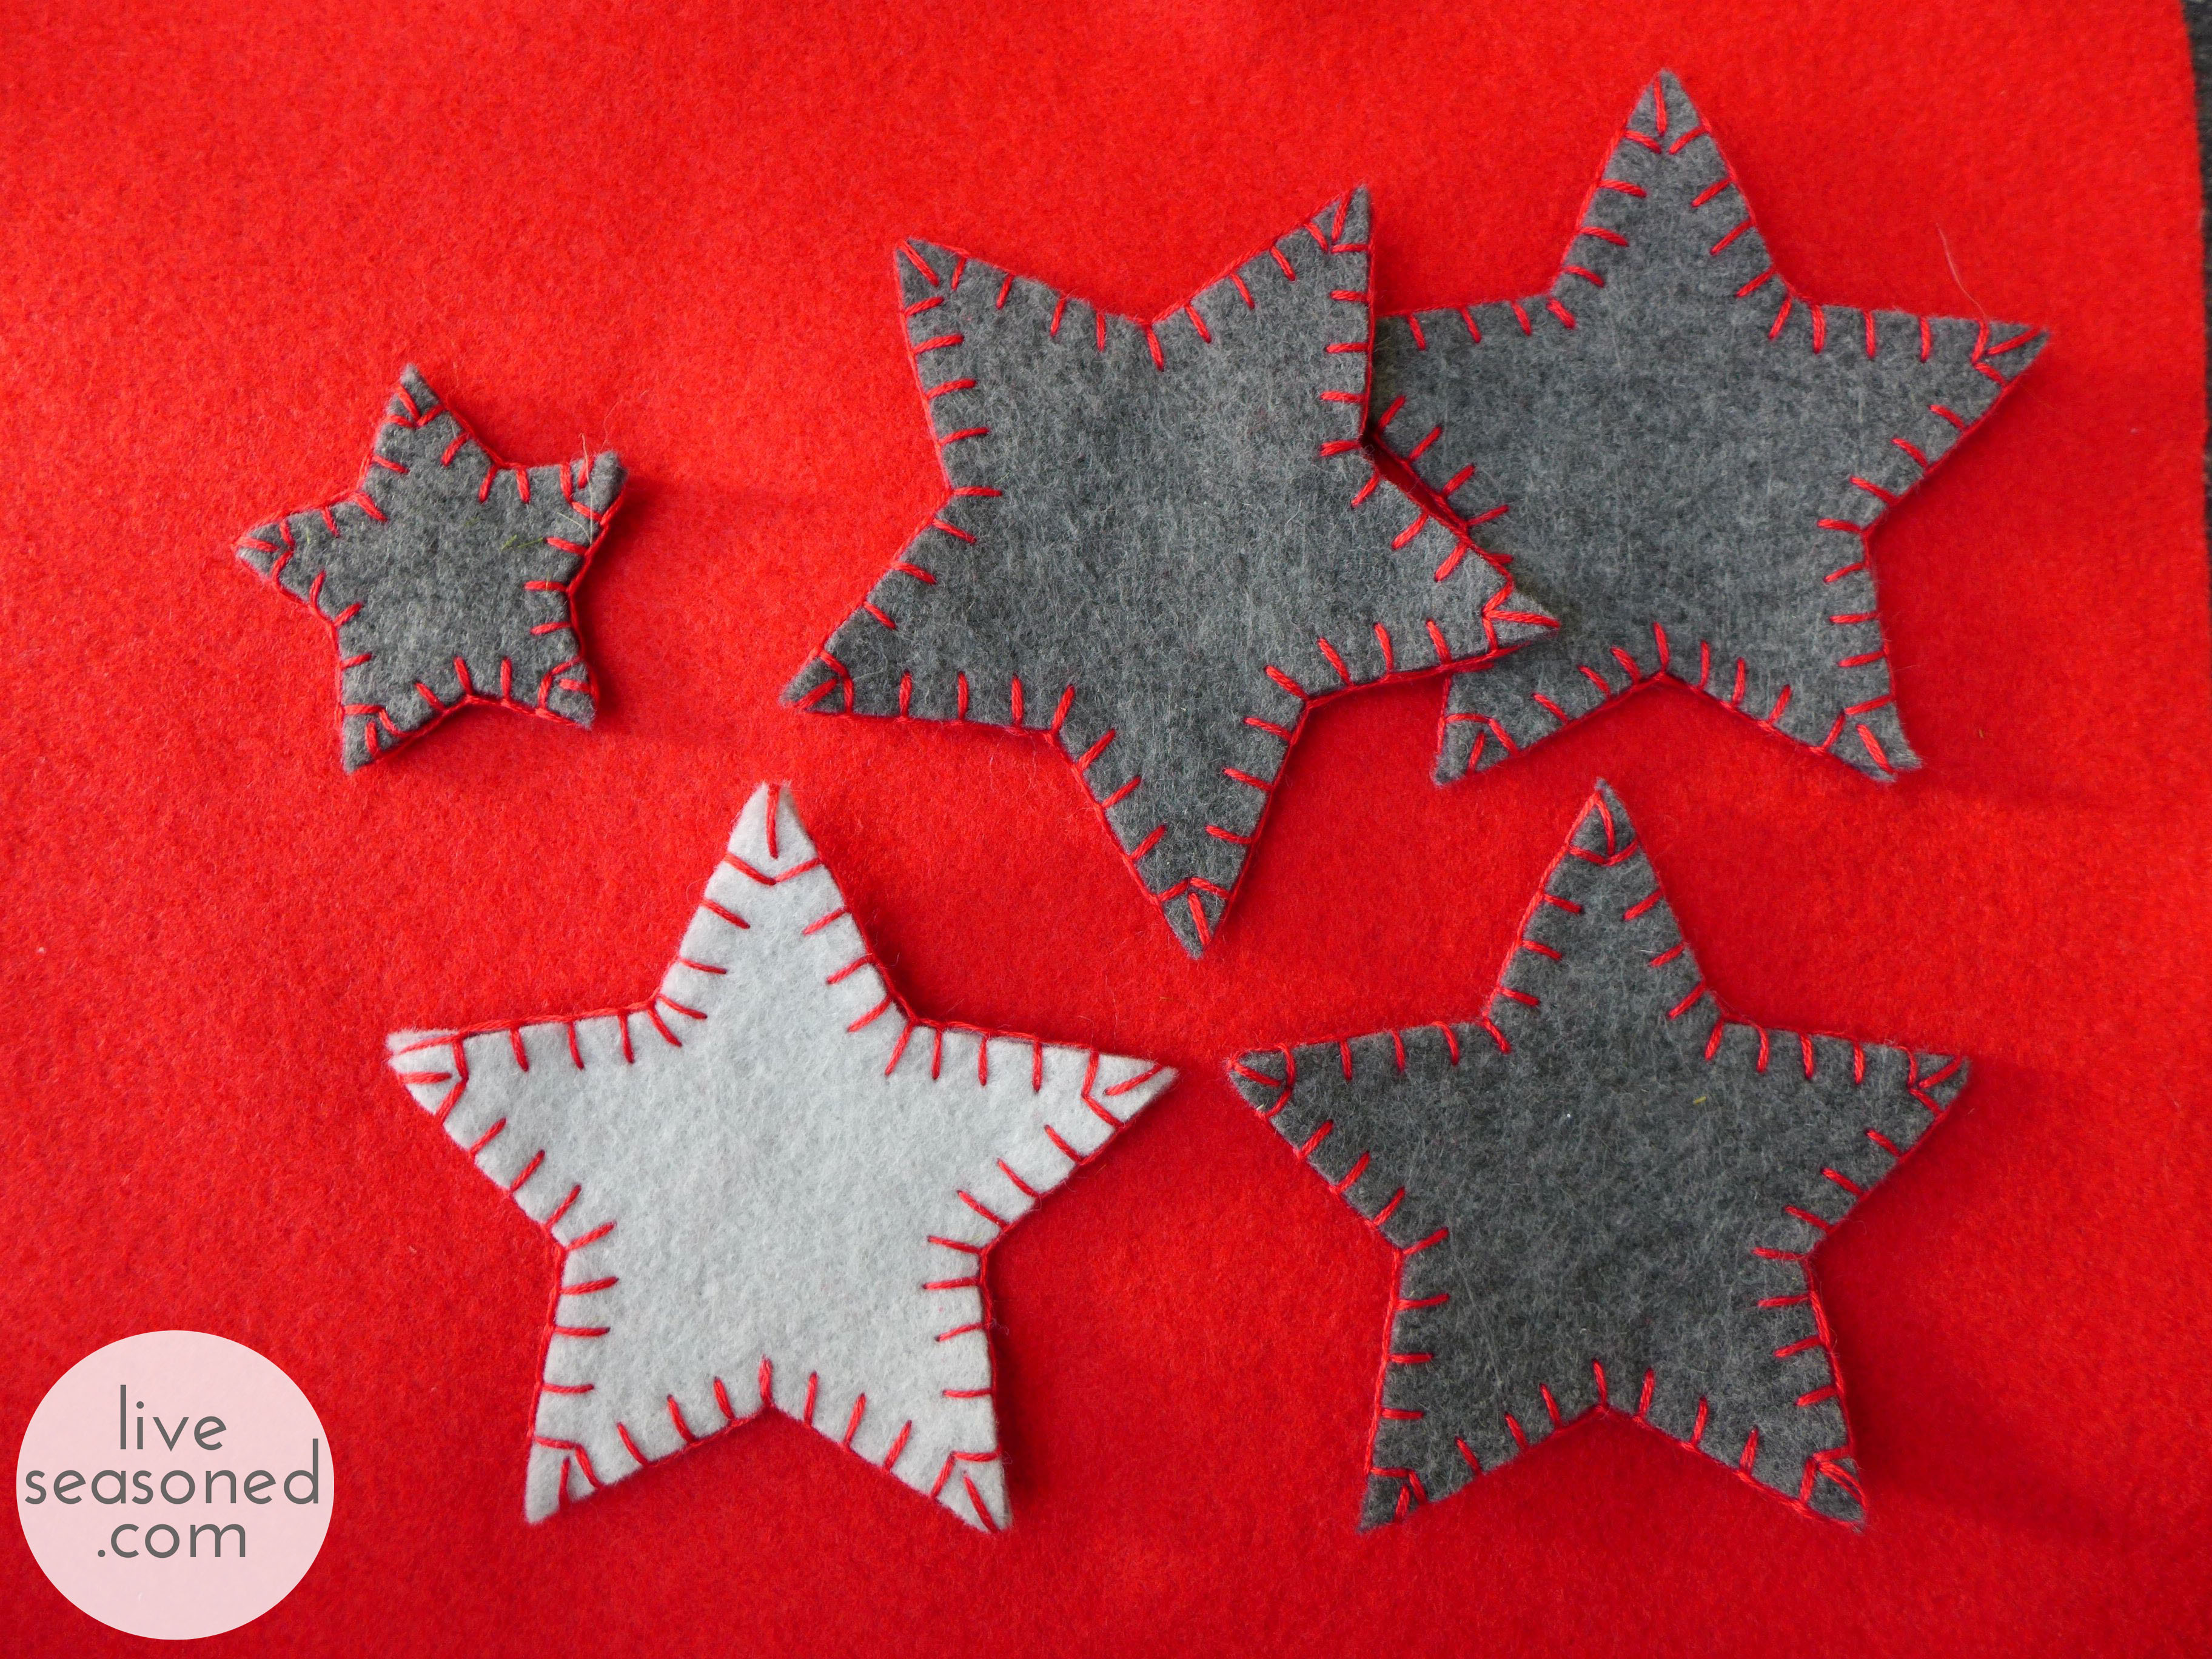
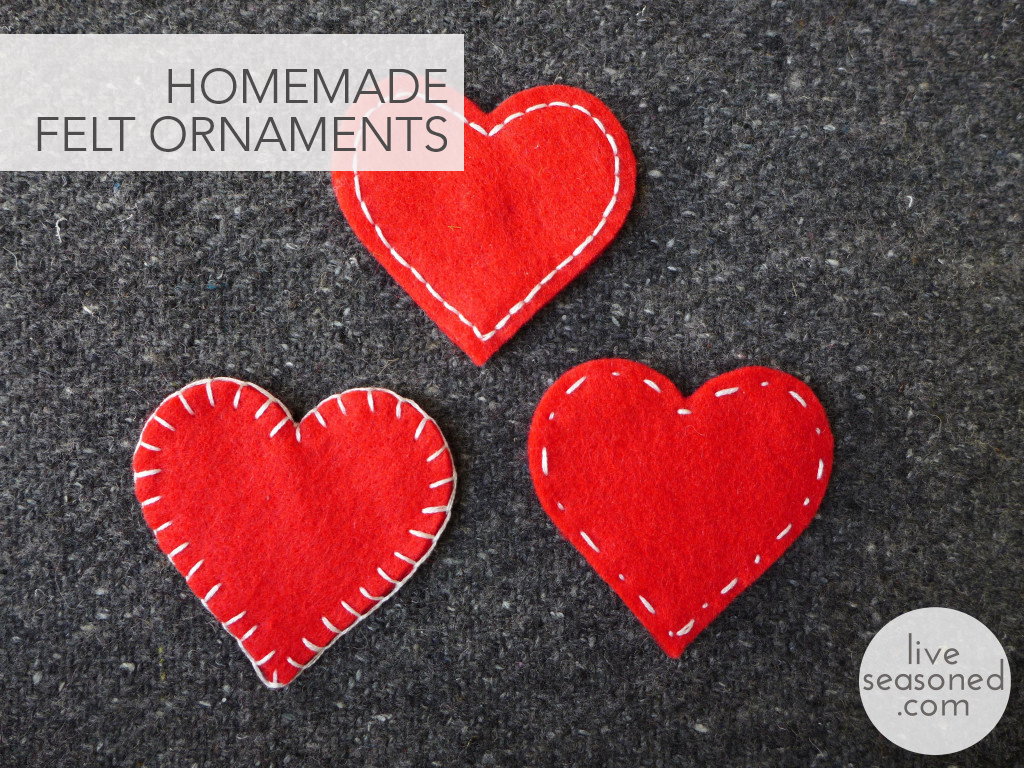
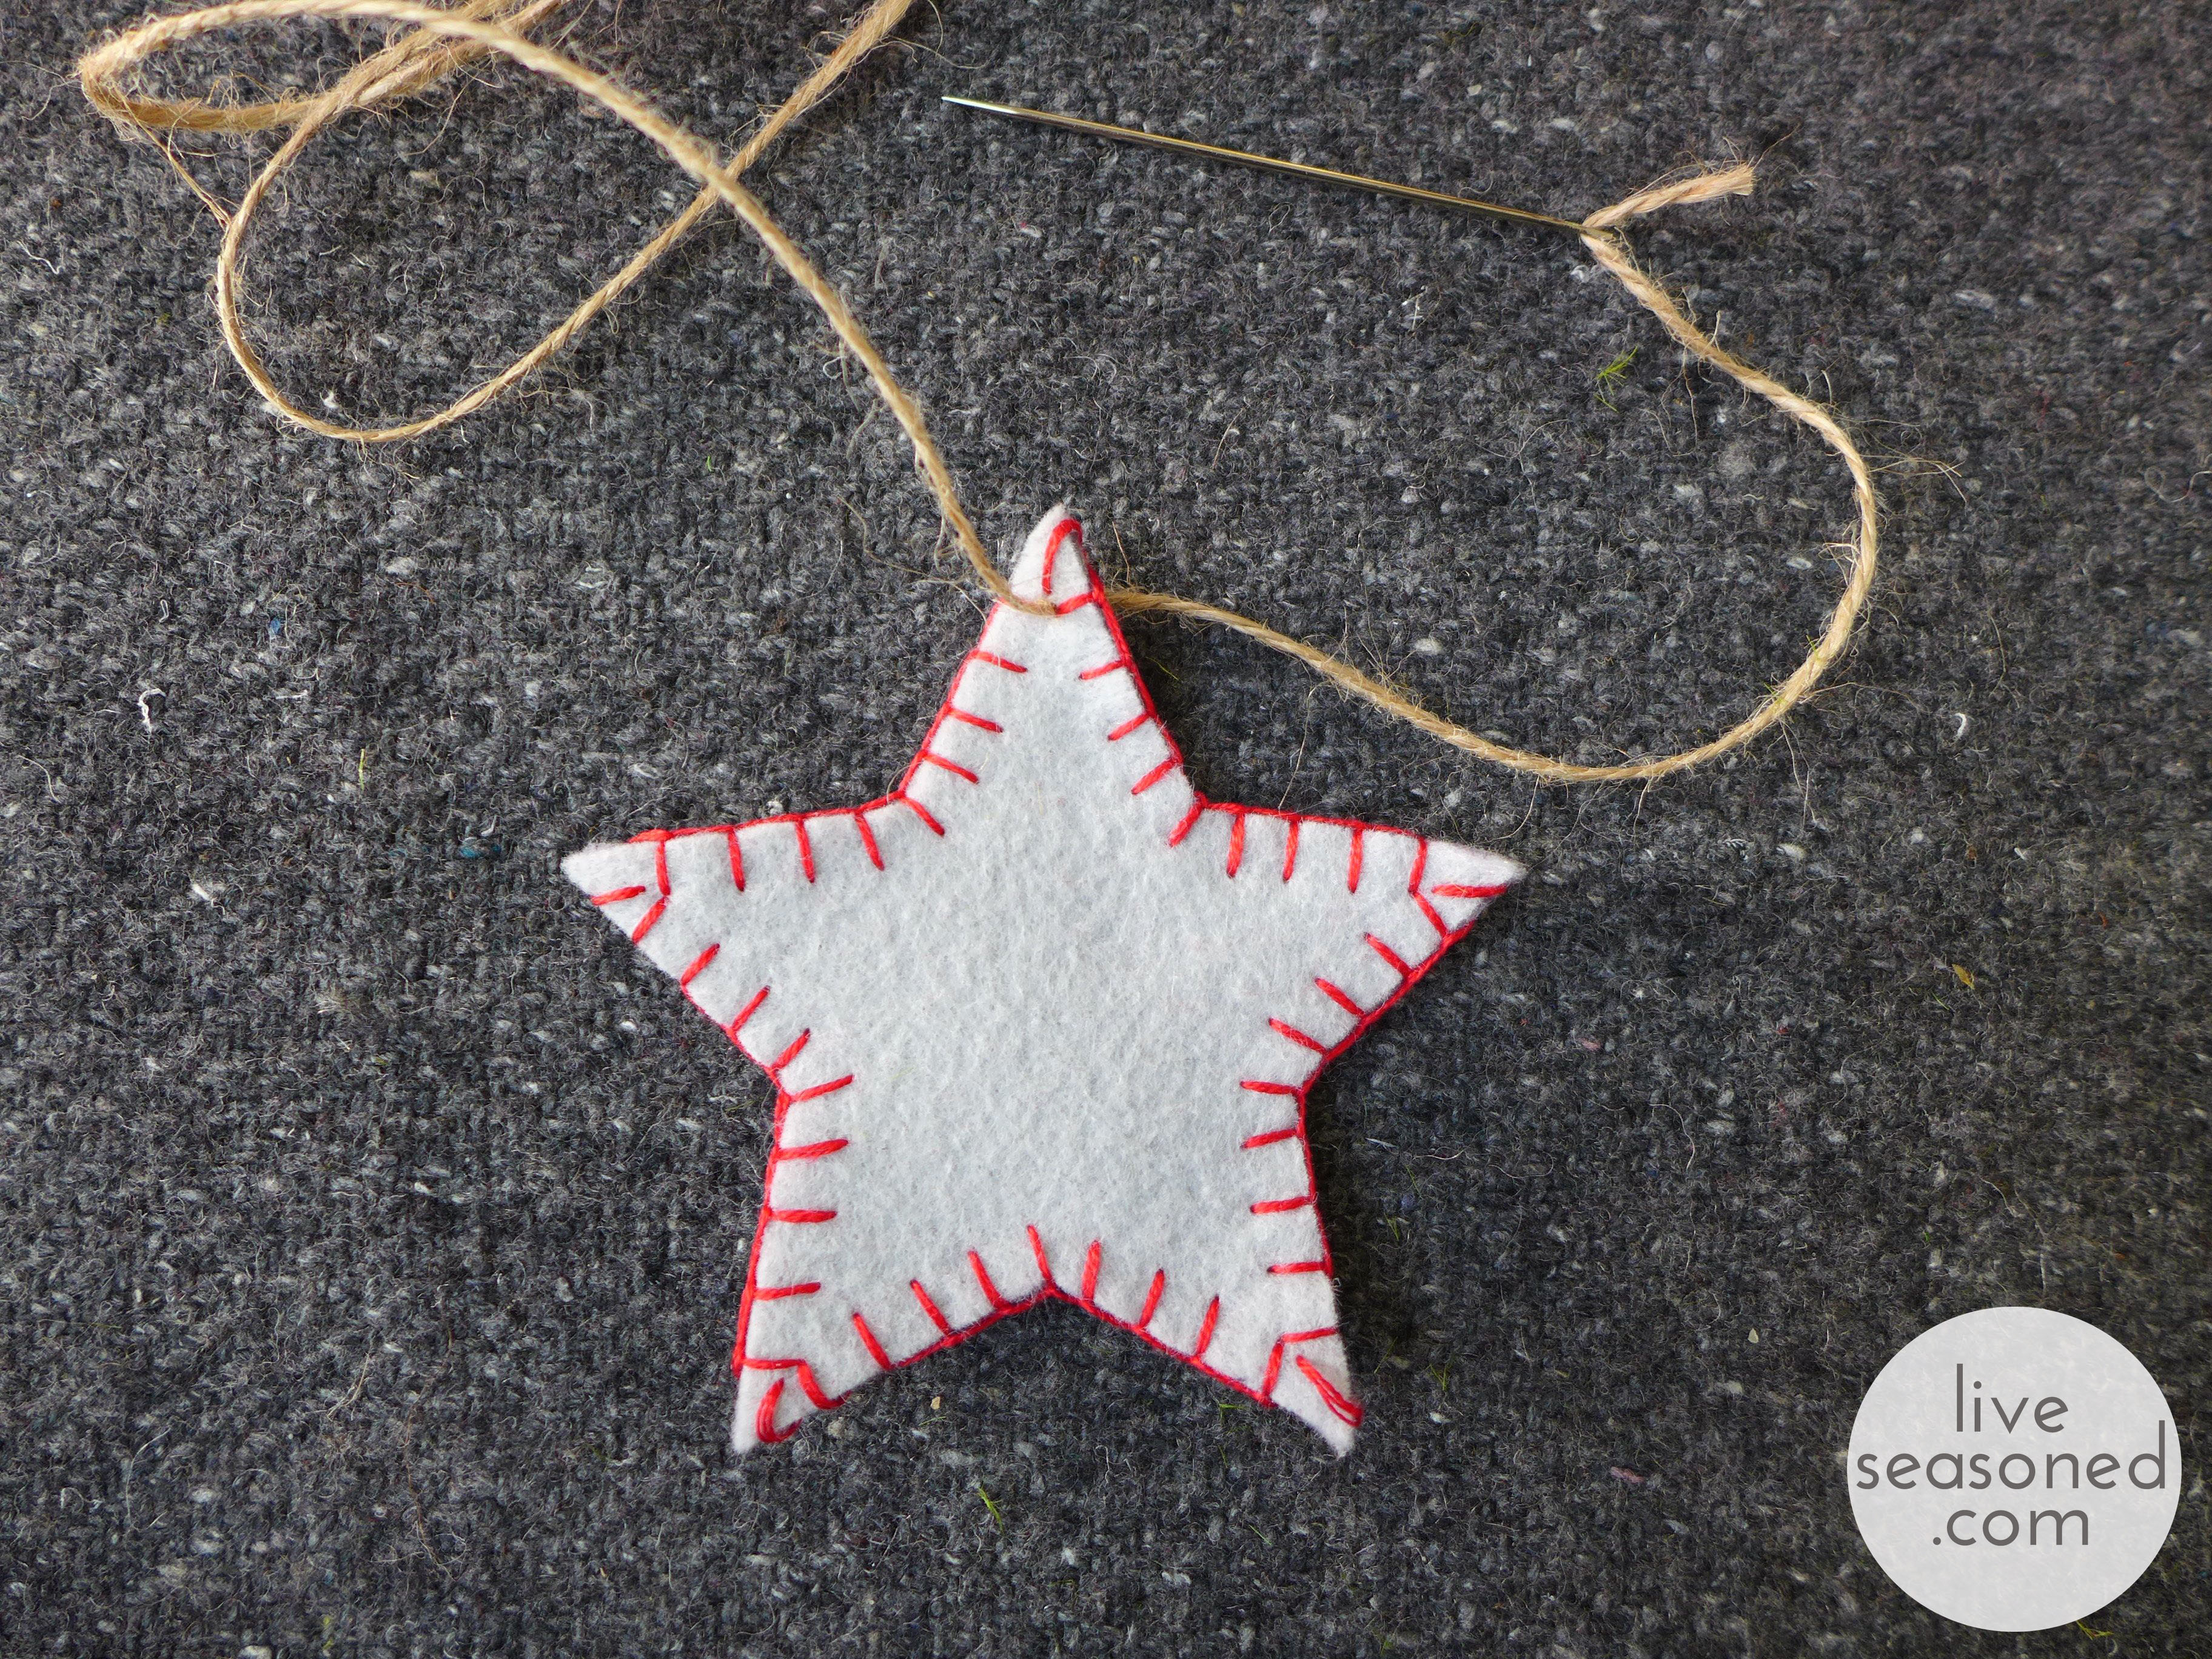
For today’s ornaments, I was first inspired by this photo. In addition to the stars, I added a few hearts with white stitching to our collection, inspired by these red felt ornaments. I personalized the stars by using a red blanket stitch around the edges, and I drastically simplified my hearts from the inspiration photo, eliminating the stuffing and choosing simple stitches that would follow the hearts’ edges.

liveseasoned_w2015_feltornament7 copy

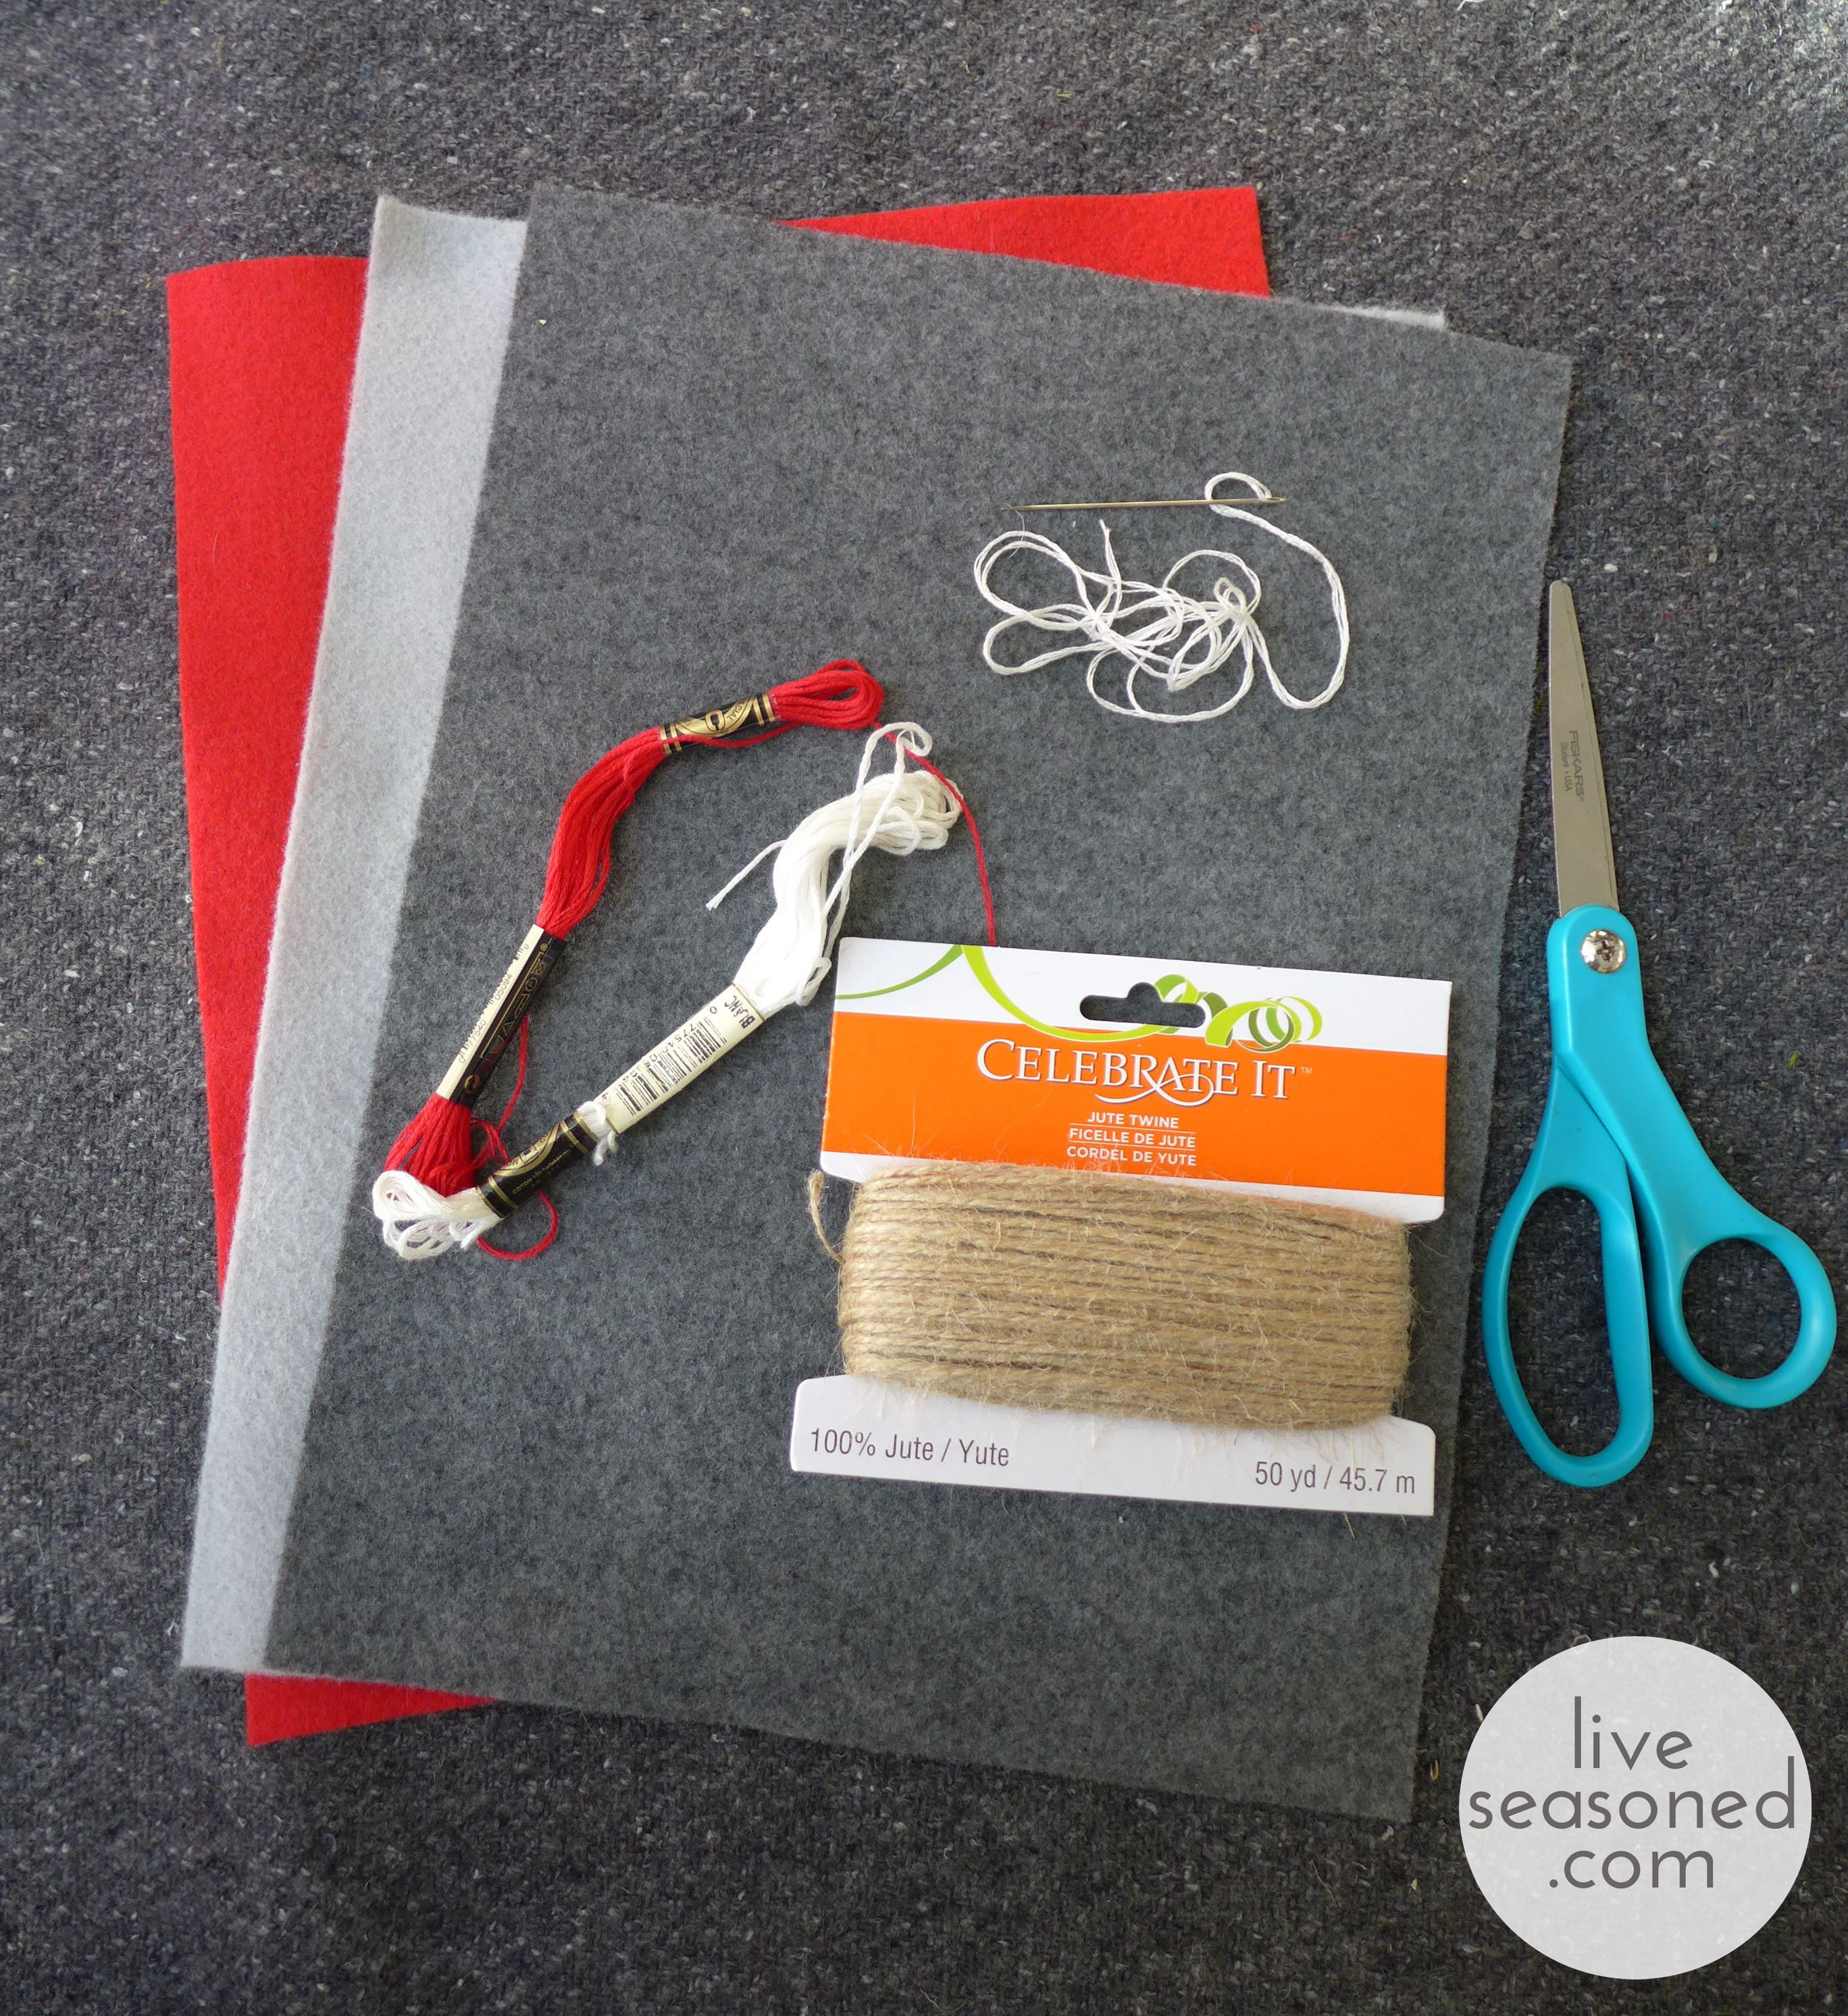
Supplies & Tools

  • Felt
  • embroidery floss
  • thin jute
  • sewing needle
  • scissors
  • shape template

liveseasoned_w2015_feltornament8_wm

Instructions

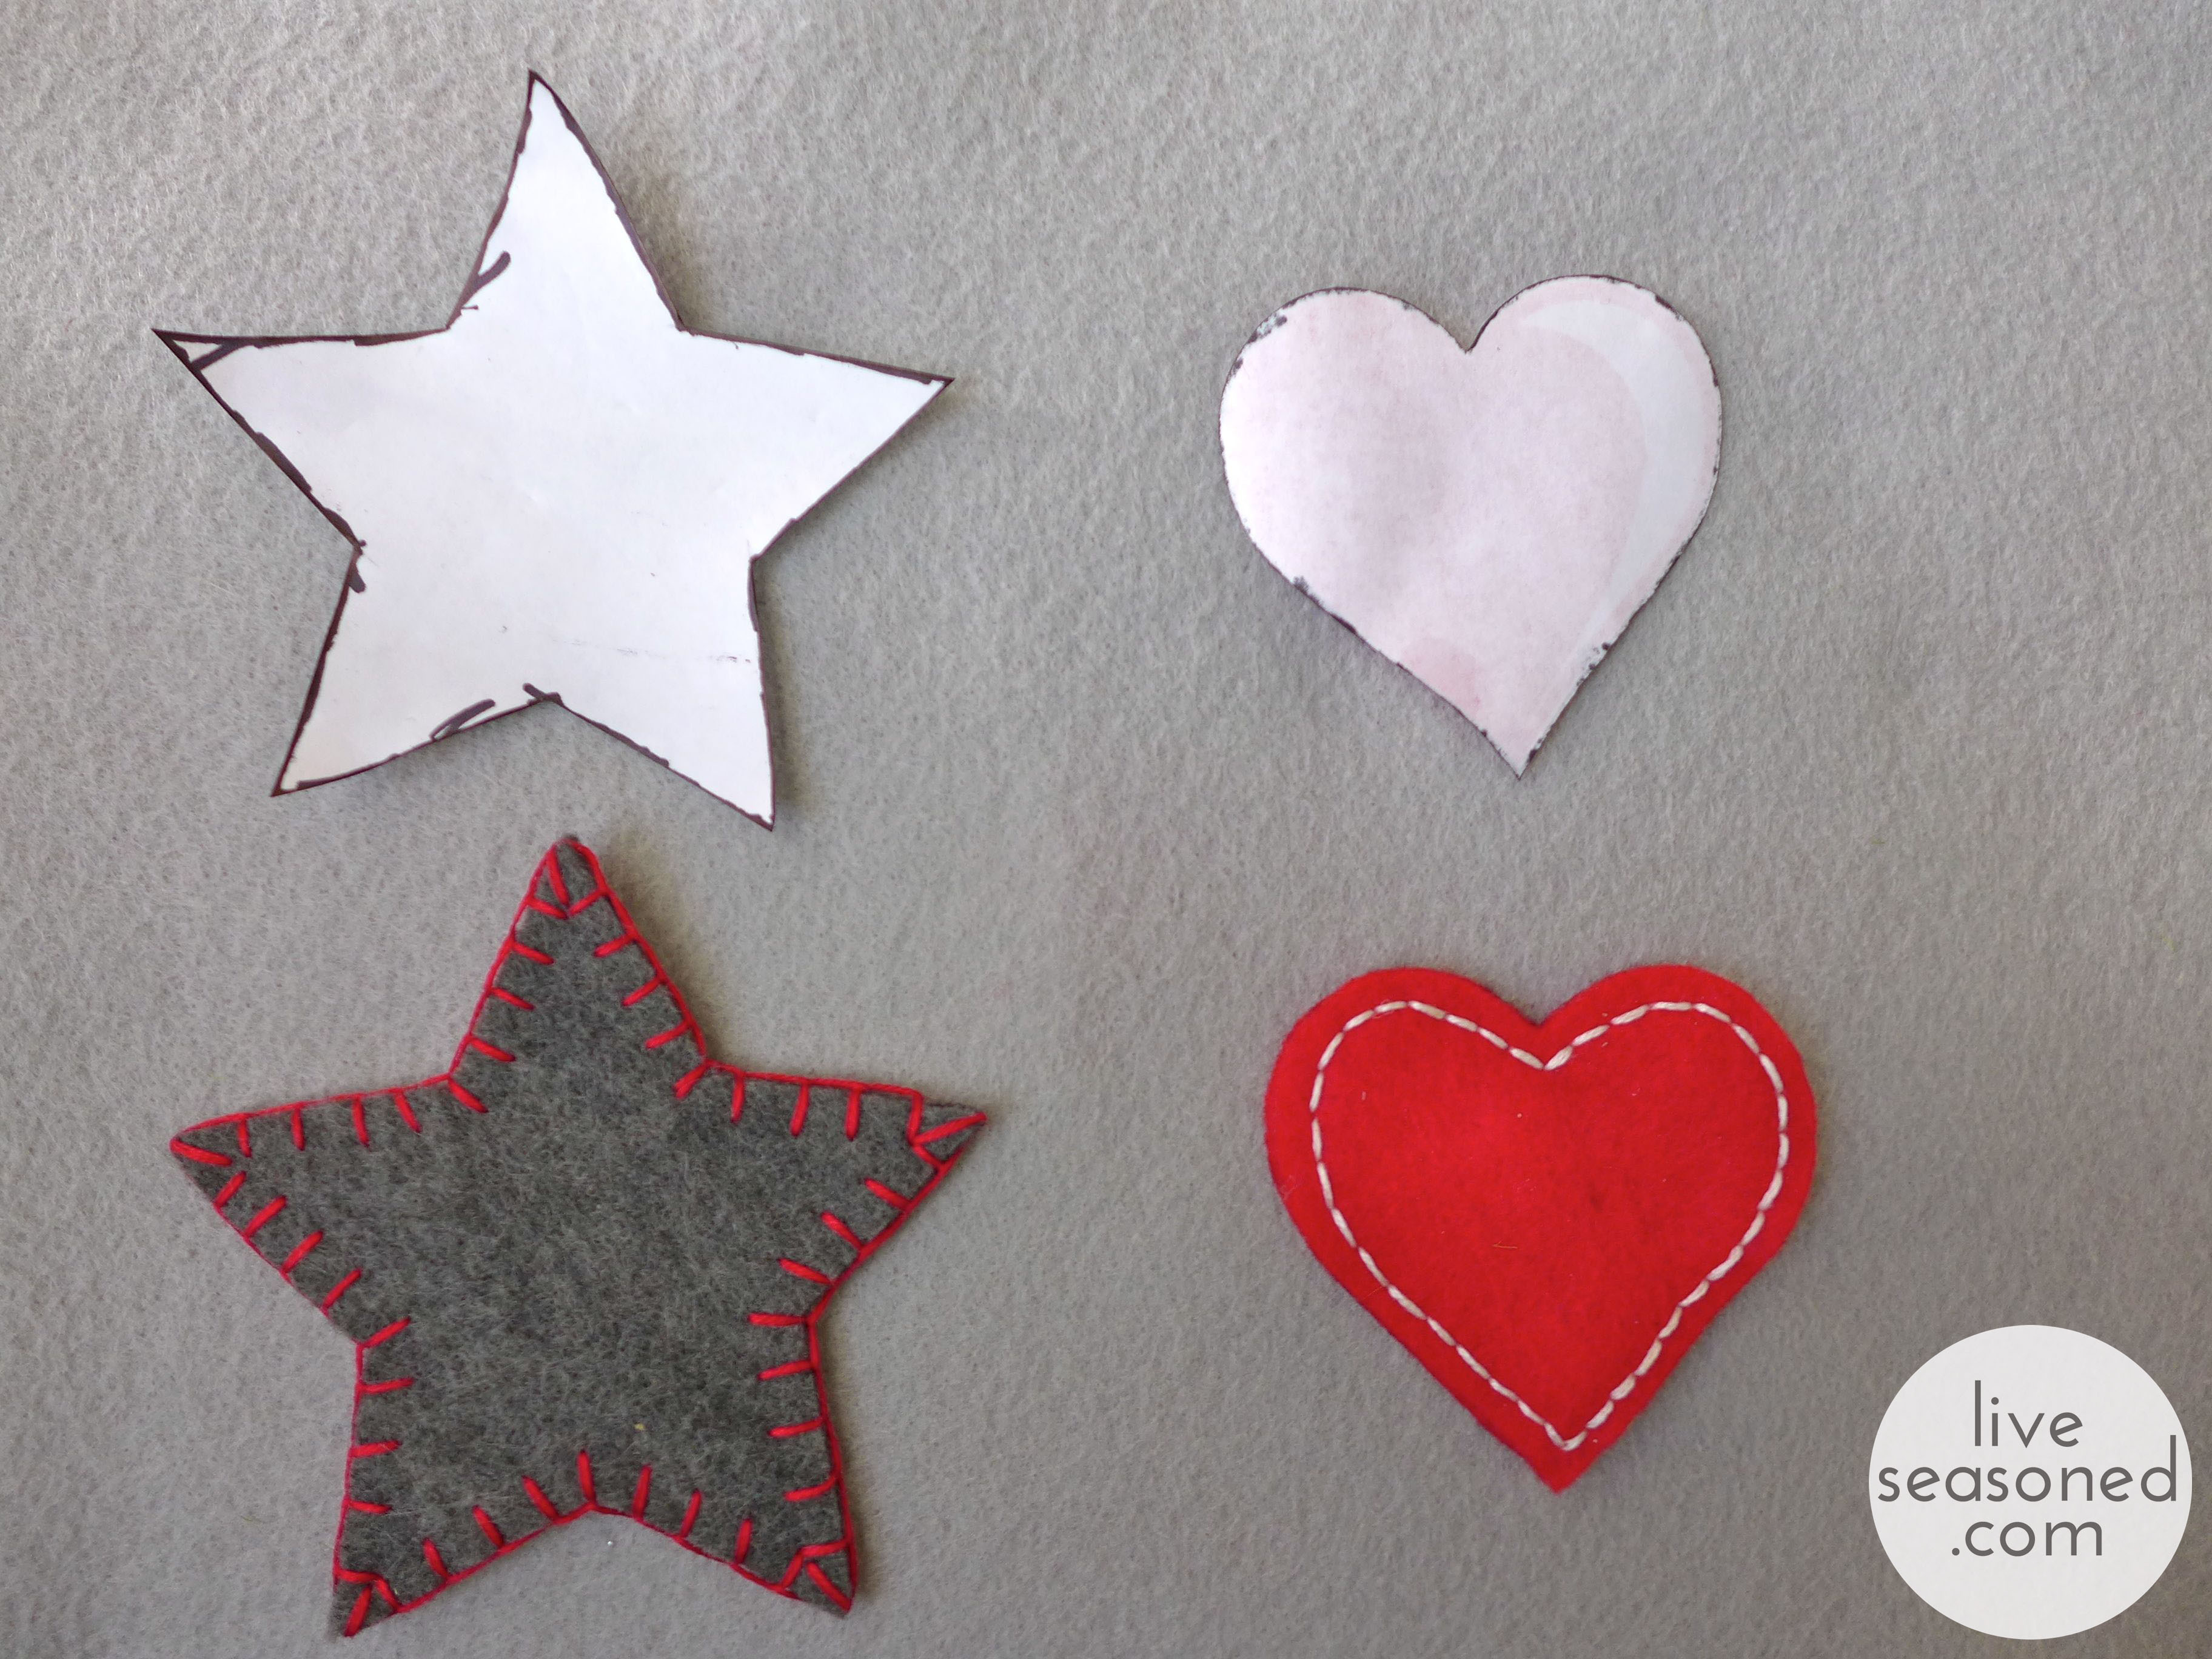
  • Find or draw your template. For my templates, I did a Google image search for  “heart clipart” and “star clipart”. I was able to find images that included hearts and stars of different sizes, so I printed them out and cut out the size that I liked for each.
  • Trace your template on the felt and cut out two of the same shape. As you can see from my template, I traced around it with a marker. Having those marker images on your felt isn’t a problem, because you can have the marked sides face inwards.
  • Sew your pieces together. Use three stands of embroidery floss for the embroidery. Holding the two felt pieces together (marked sides in), use your favorite stitch to hand sew the pieces together. I used blanket stitch for all of the stars, but was more creative with the hears, using blanket stitch,  back stitch, and a simple combination of long and short running stitches to create the third.
  • Add your loop for hanging. I used skinny jute for the hanging loops. You can find this in craft stores, and it’s usually sold in a smaller quantity than the bigger balls of fat jute (you can see the packaging in my supplies photo). The jute will not pull through your felt as easily as the embroidery floss. I found that it was easiest to thread the jute through the eye of my needle, pierce the felt with my needle, and then move the needle in circles to create a larger hole (but one that is still snug) for the jute to fit through.

liveseasoned_w2015_feltornament12_wm-1024x768 copy

liveseasoned_w2015_feltornament10_wm

While we were so excited to put the tree up, after the lights were hung it looked so pretty that we’ve been really lazy about adding more decorations. But a few nights ago we were looking for one more activity for little A before bath time, so I pulled out these ornaments and a few others for him to add to the tree. The pictures aren’t great, but I think you can tell that he was excited to get in on the tree action (clapping after each ornament was hung), and now it’s become a daily activity to remove and rehang a few.

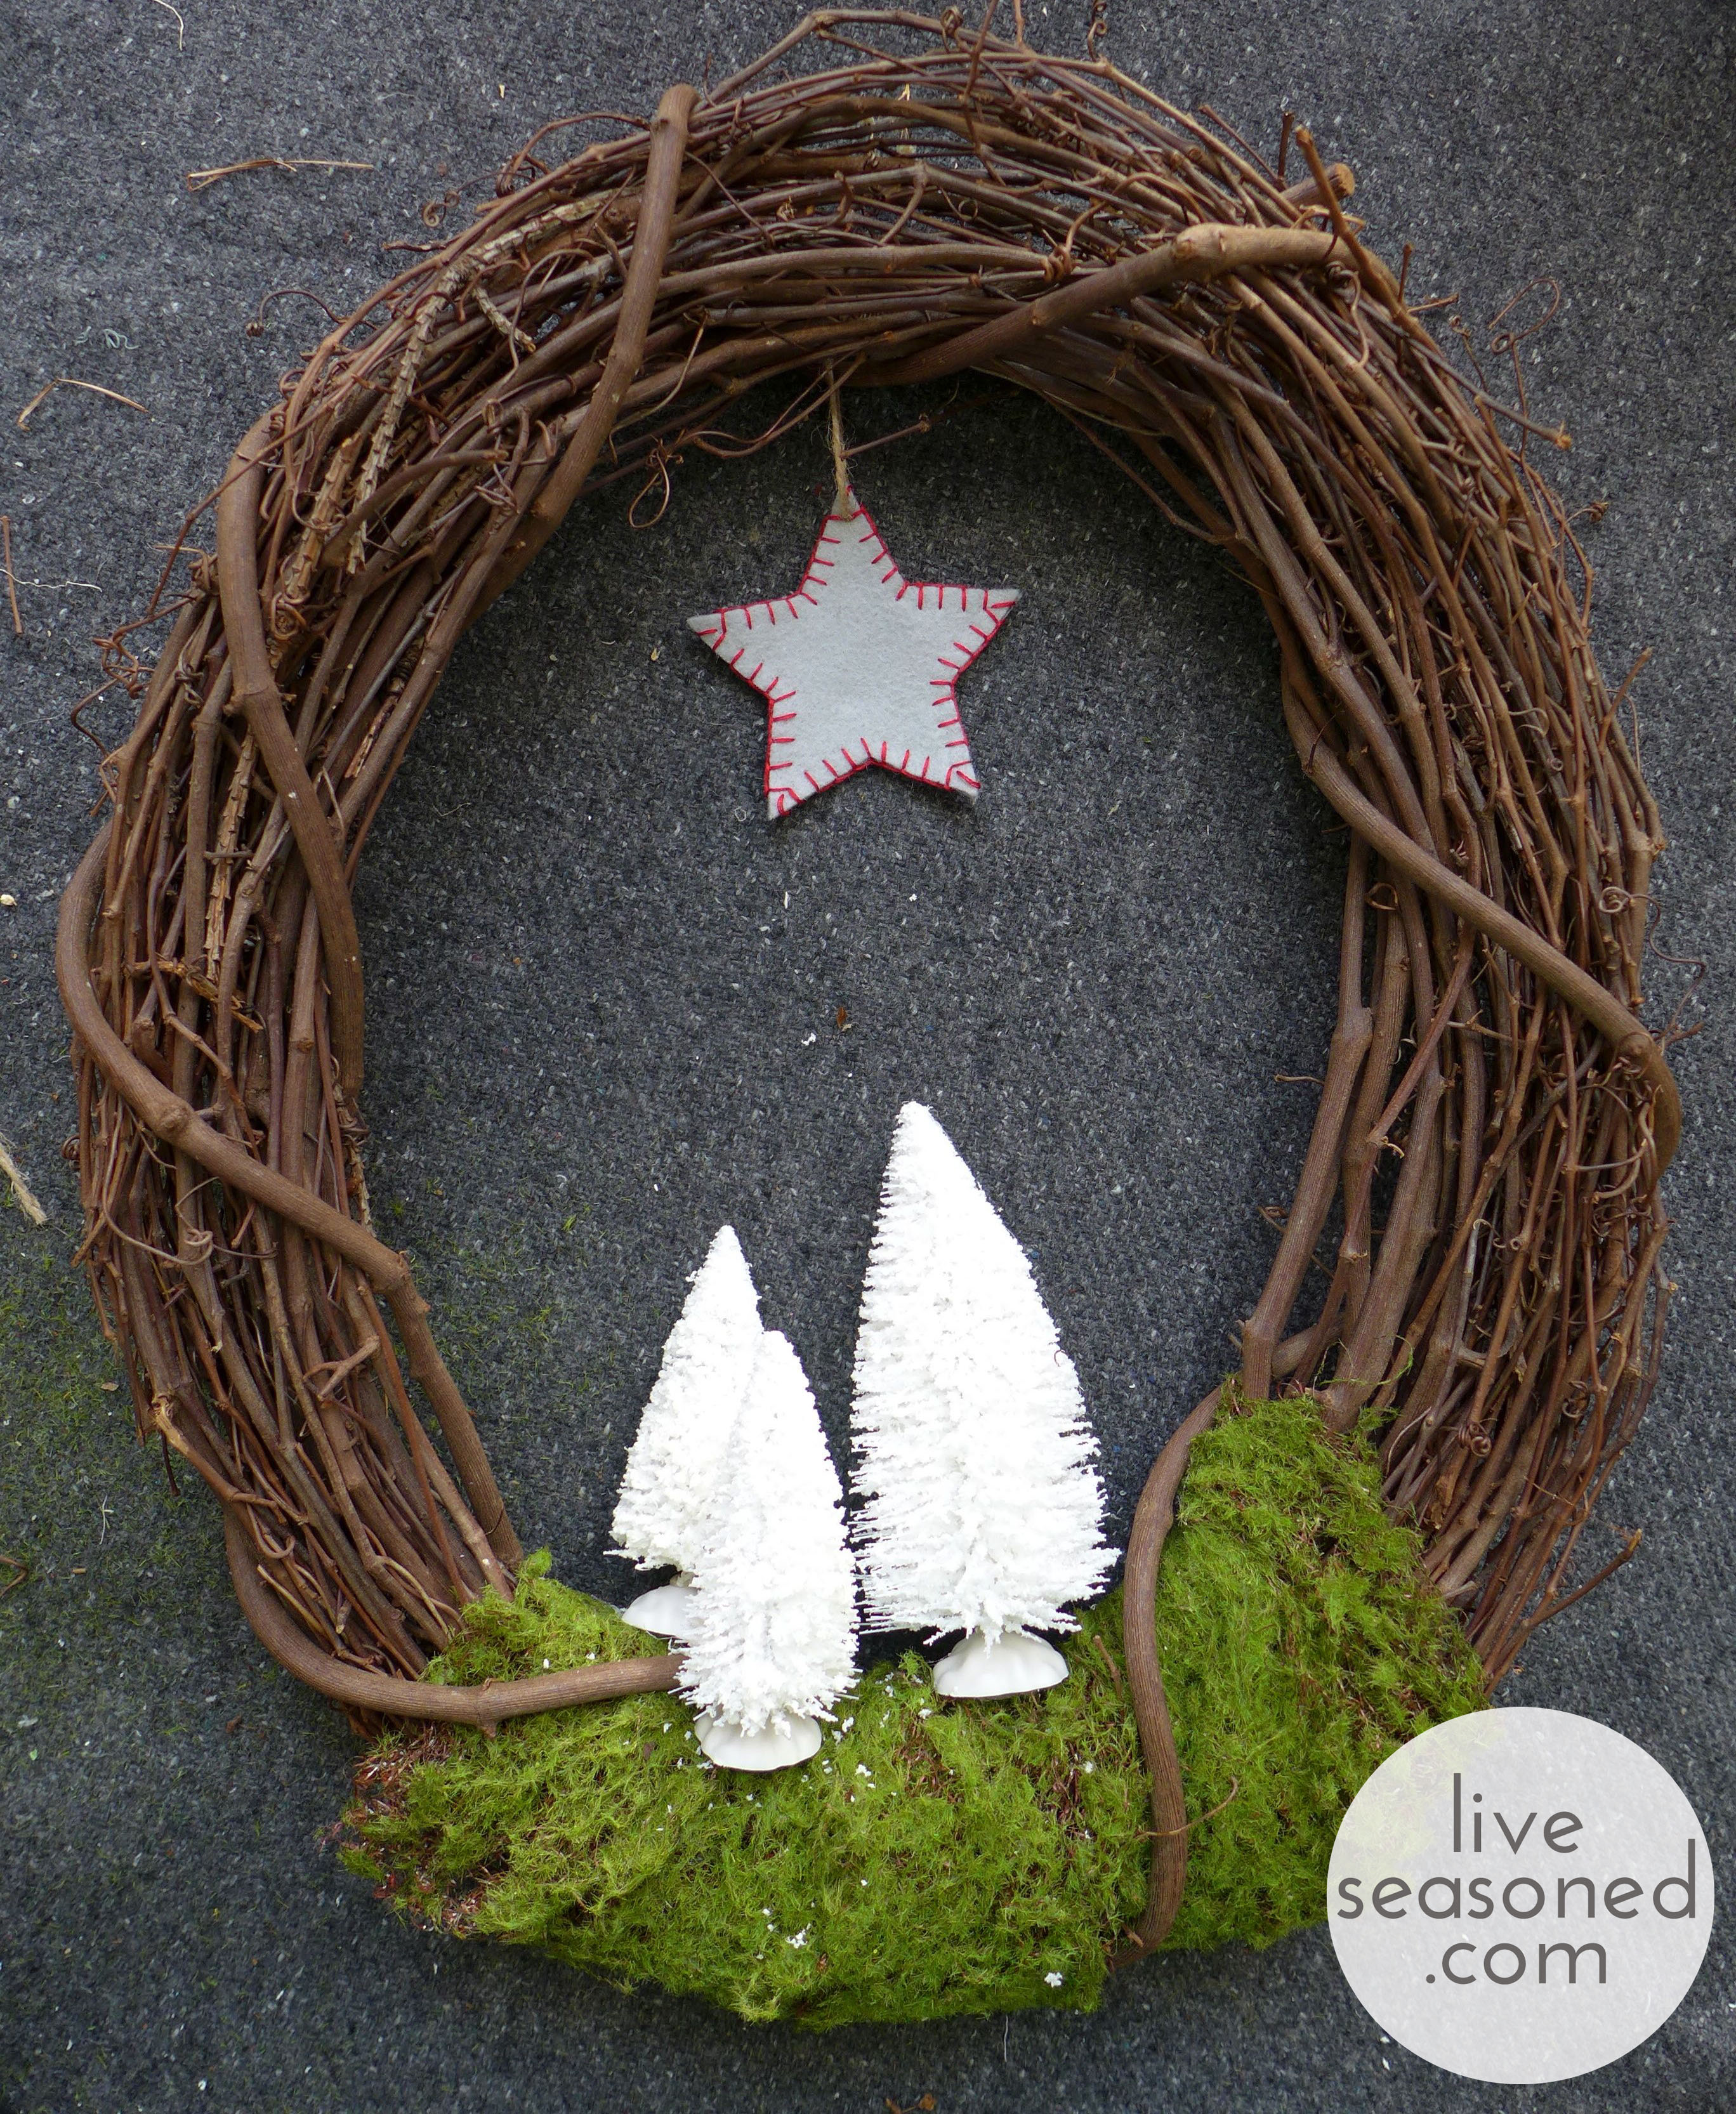
In addition to making their way onto the tree, I used one of the stars in our new wreath. Again, I’m borrowing and modifying this idea from something brilliant I saw online. 
liveseasoned_w2015_feltornament13_wm

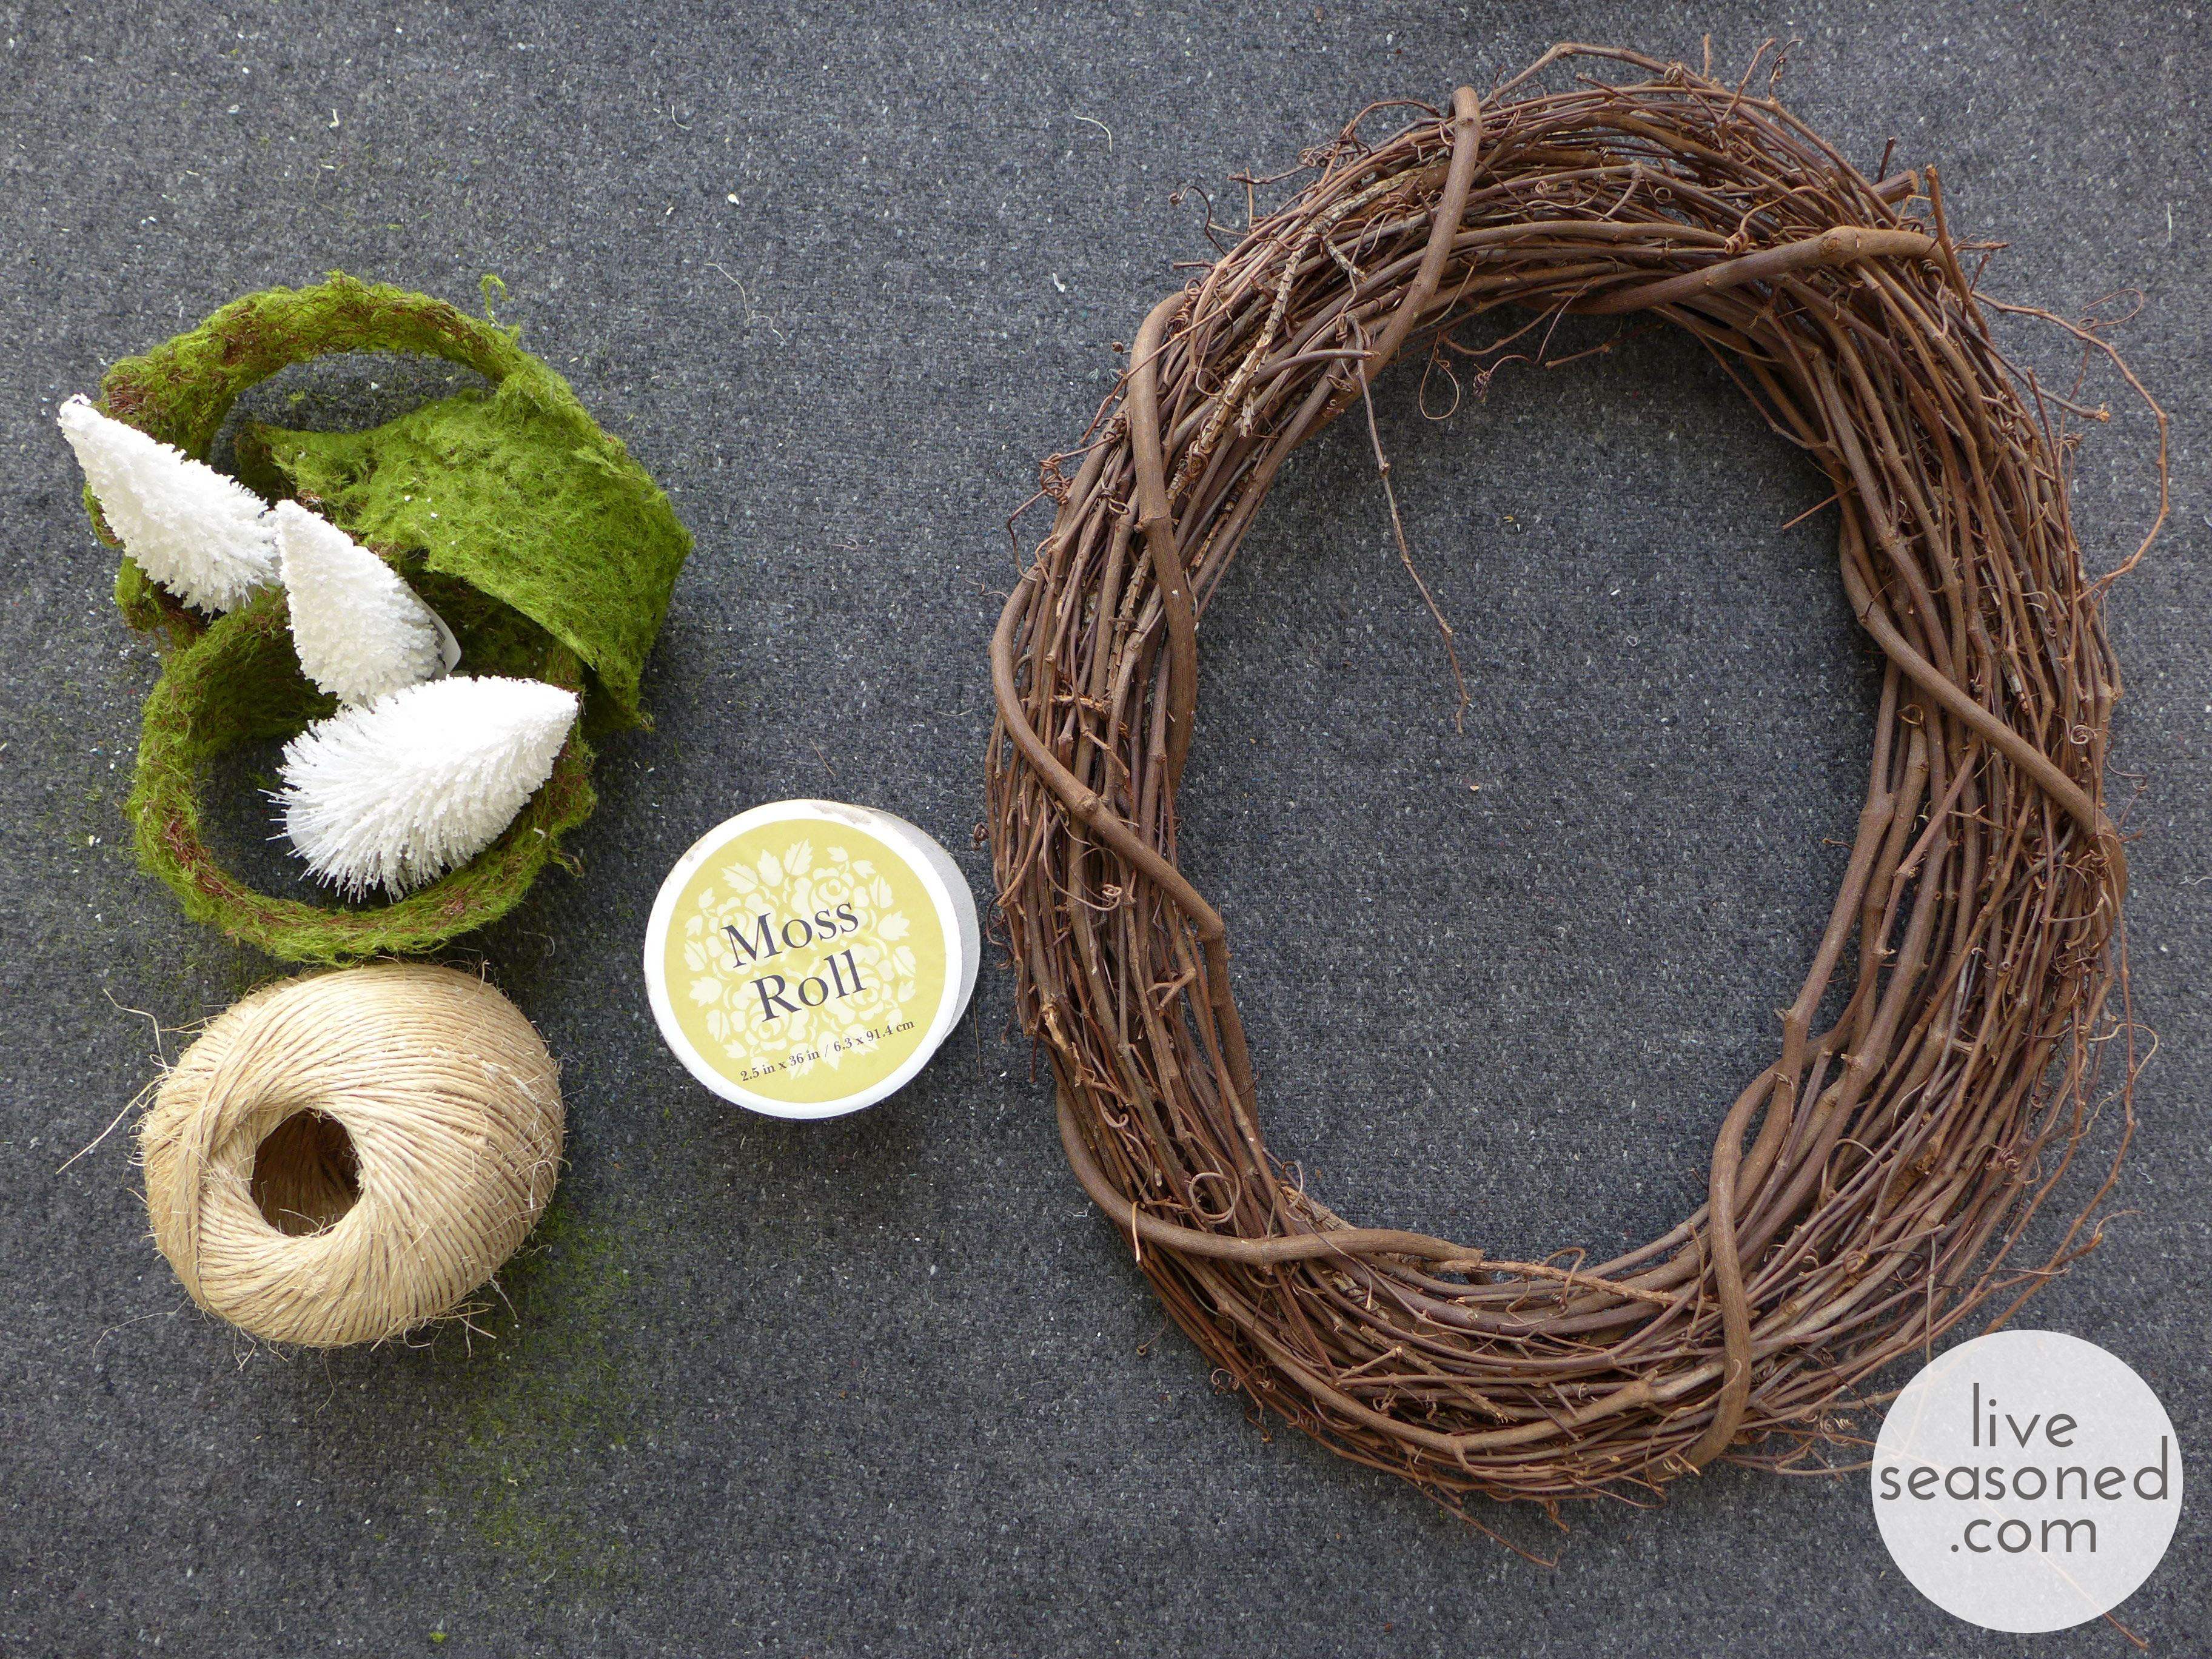
Supplies

  • grapevine wreath
  • white bottle brush trees
  • moss roll (you can see the packaging below)
  • hot glue gun & glue

How cute is that wreath? It came together easily with a few supplies from the craft store. The project is relatively self-explanatory : wrap the moss around your wreath, slipping it under a few of the larger vines if possible (this just takes a bit of wiggling). Glue the trees where you would like them. Tie a star ornament from the top of your wreath. Bam!

liveseasoned_w2015_wreath3_wm

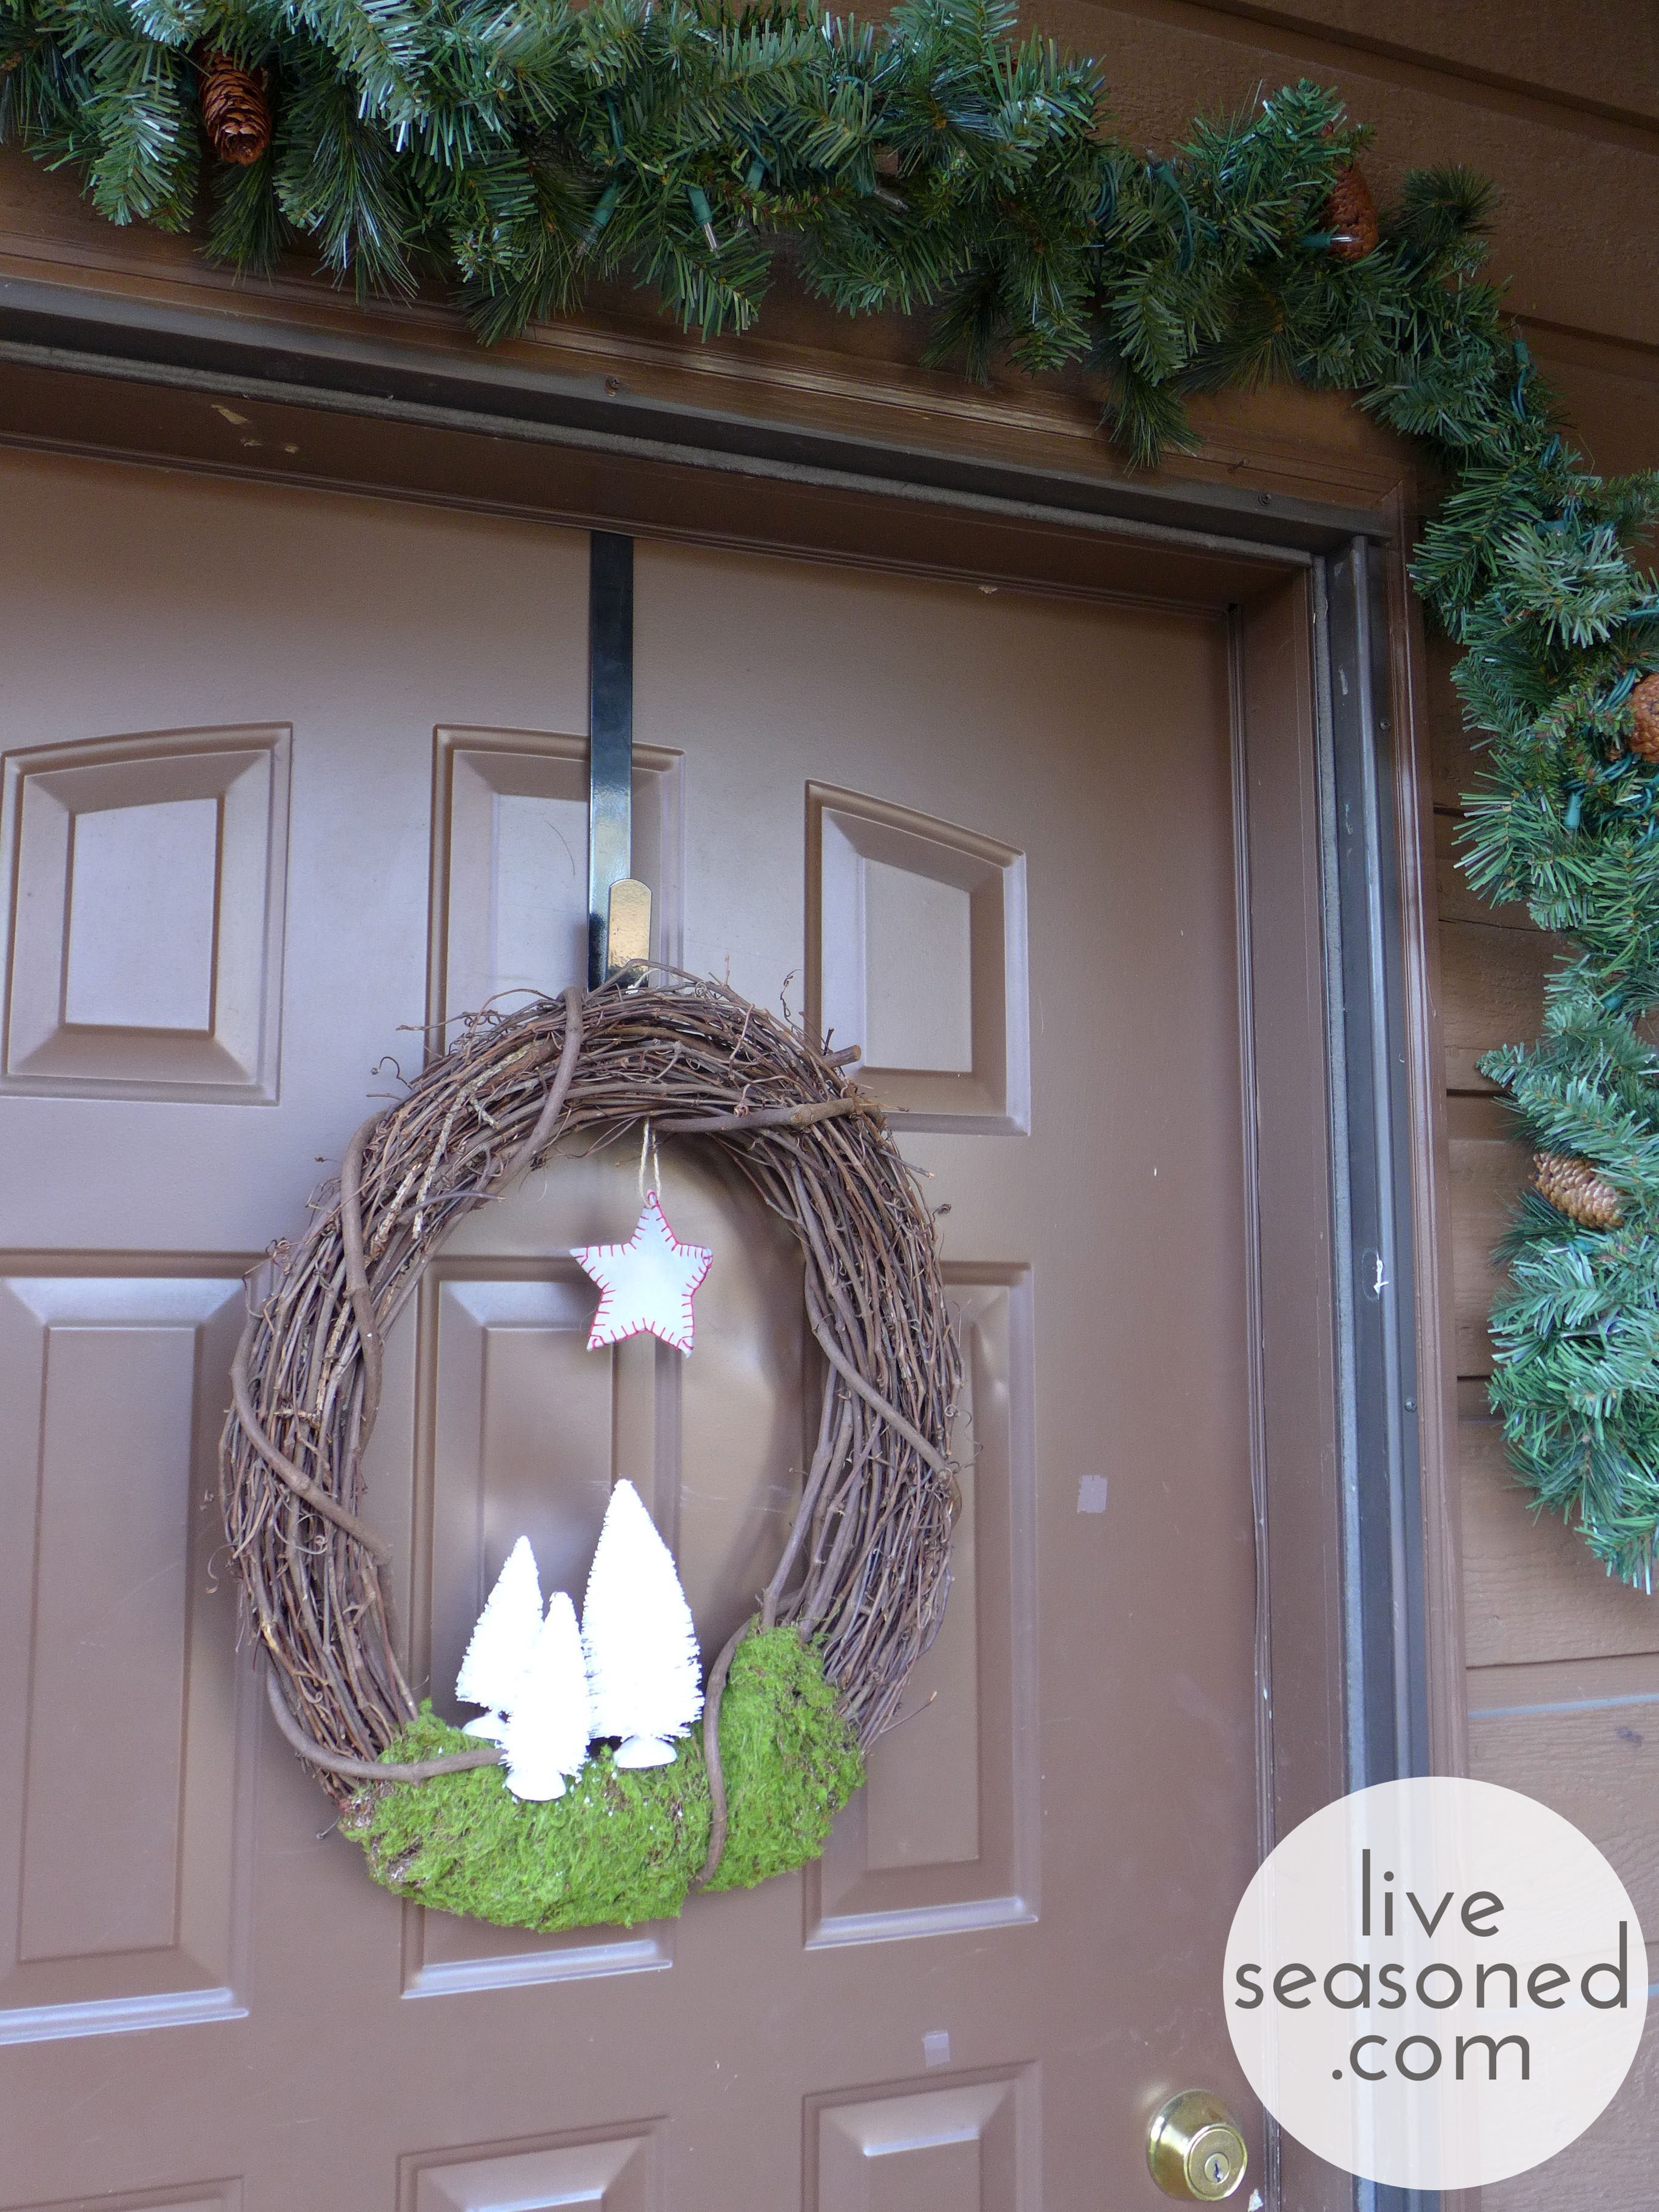
Once I hung this and the green garland above the door, I realized that we have a lot of brown and green going on out on the front porch. Maybe this year it would have been nice to go with something brighter? But I’m loving the peaceful look every time we walk in the door.

liveseasoned_w2015_wreath1_wm So, that’s my little felt project for the season. It’s been a long time since I’ve done anything with felt (or even had a little supply of it in my craft room), and I’m excited work with it more in the future. I really enjoyed making these ornaments because they were so easy and mindless to put together, creating a polished result. What does that mean for you? If you want to slow this weekend, but still feel a little bit productive, this is a great meditative project

liveseasoned_w2015_feltornament2_wm

Orange and Clove Pomanders

Oranges our our ingredient of the season. We have big plans for a winter of zesty recipes and sweet crafts.

liveseasoned_w2015_pomander6_wm

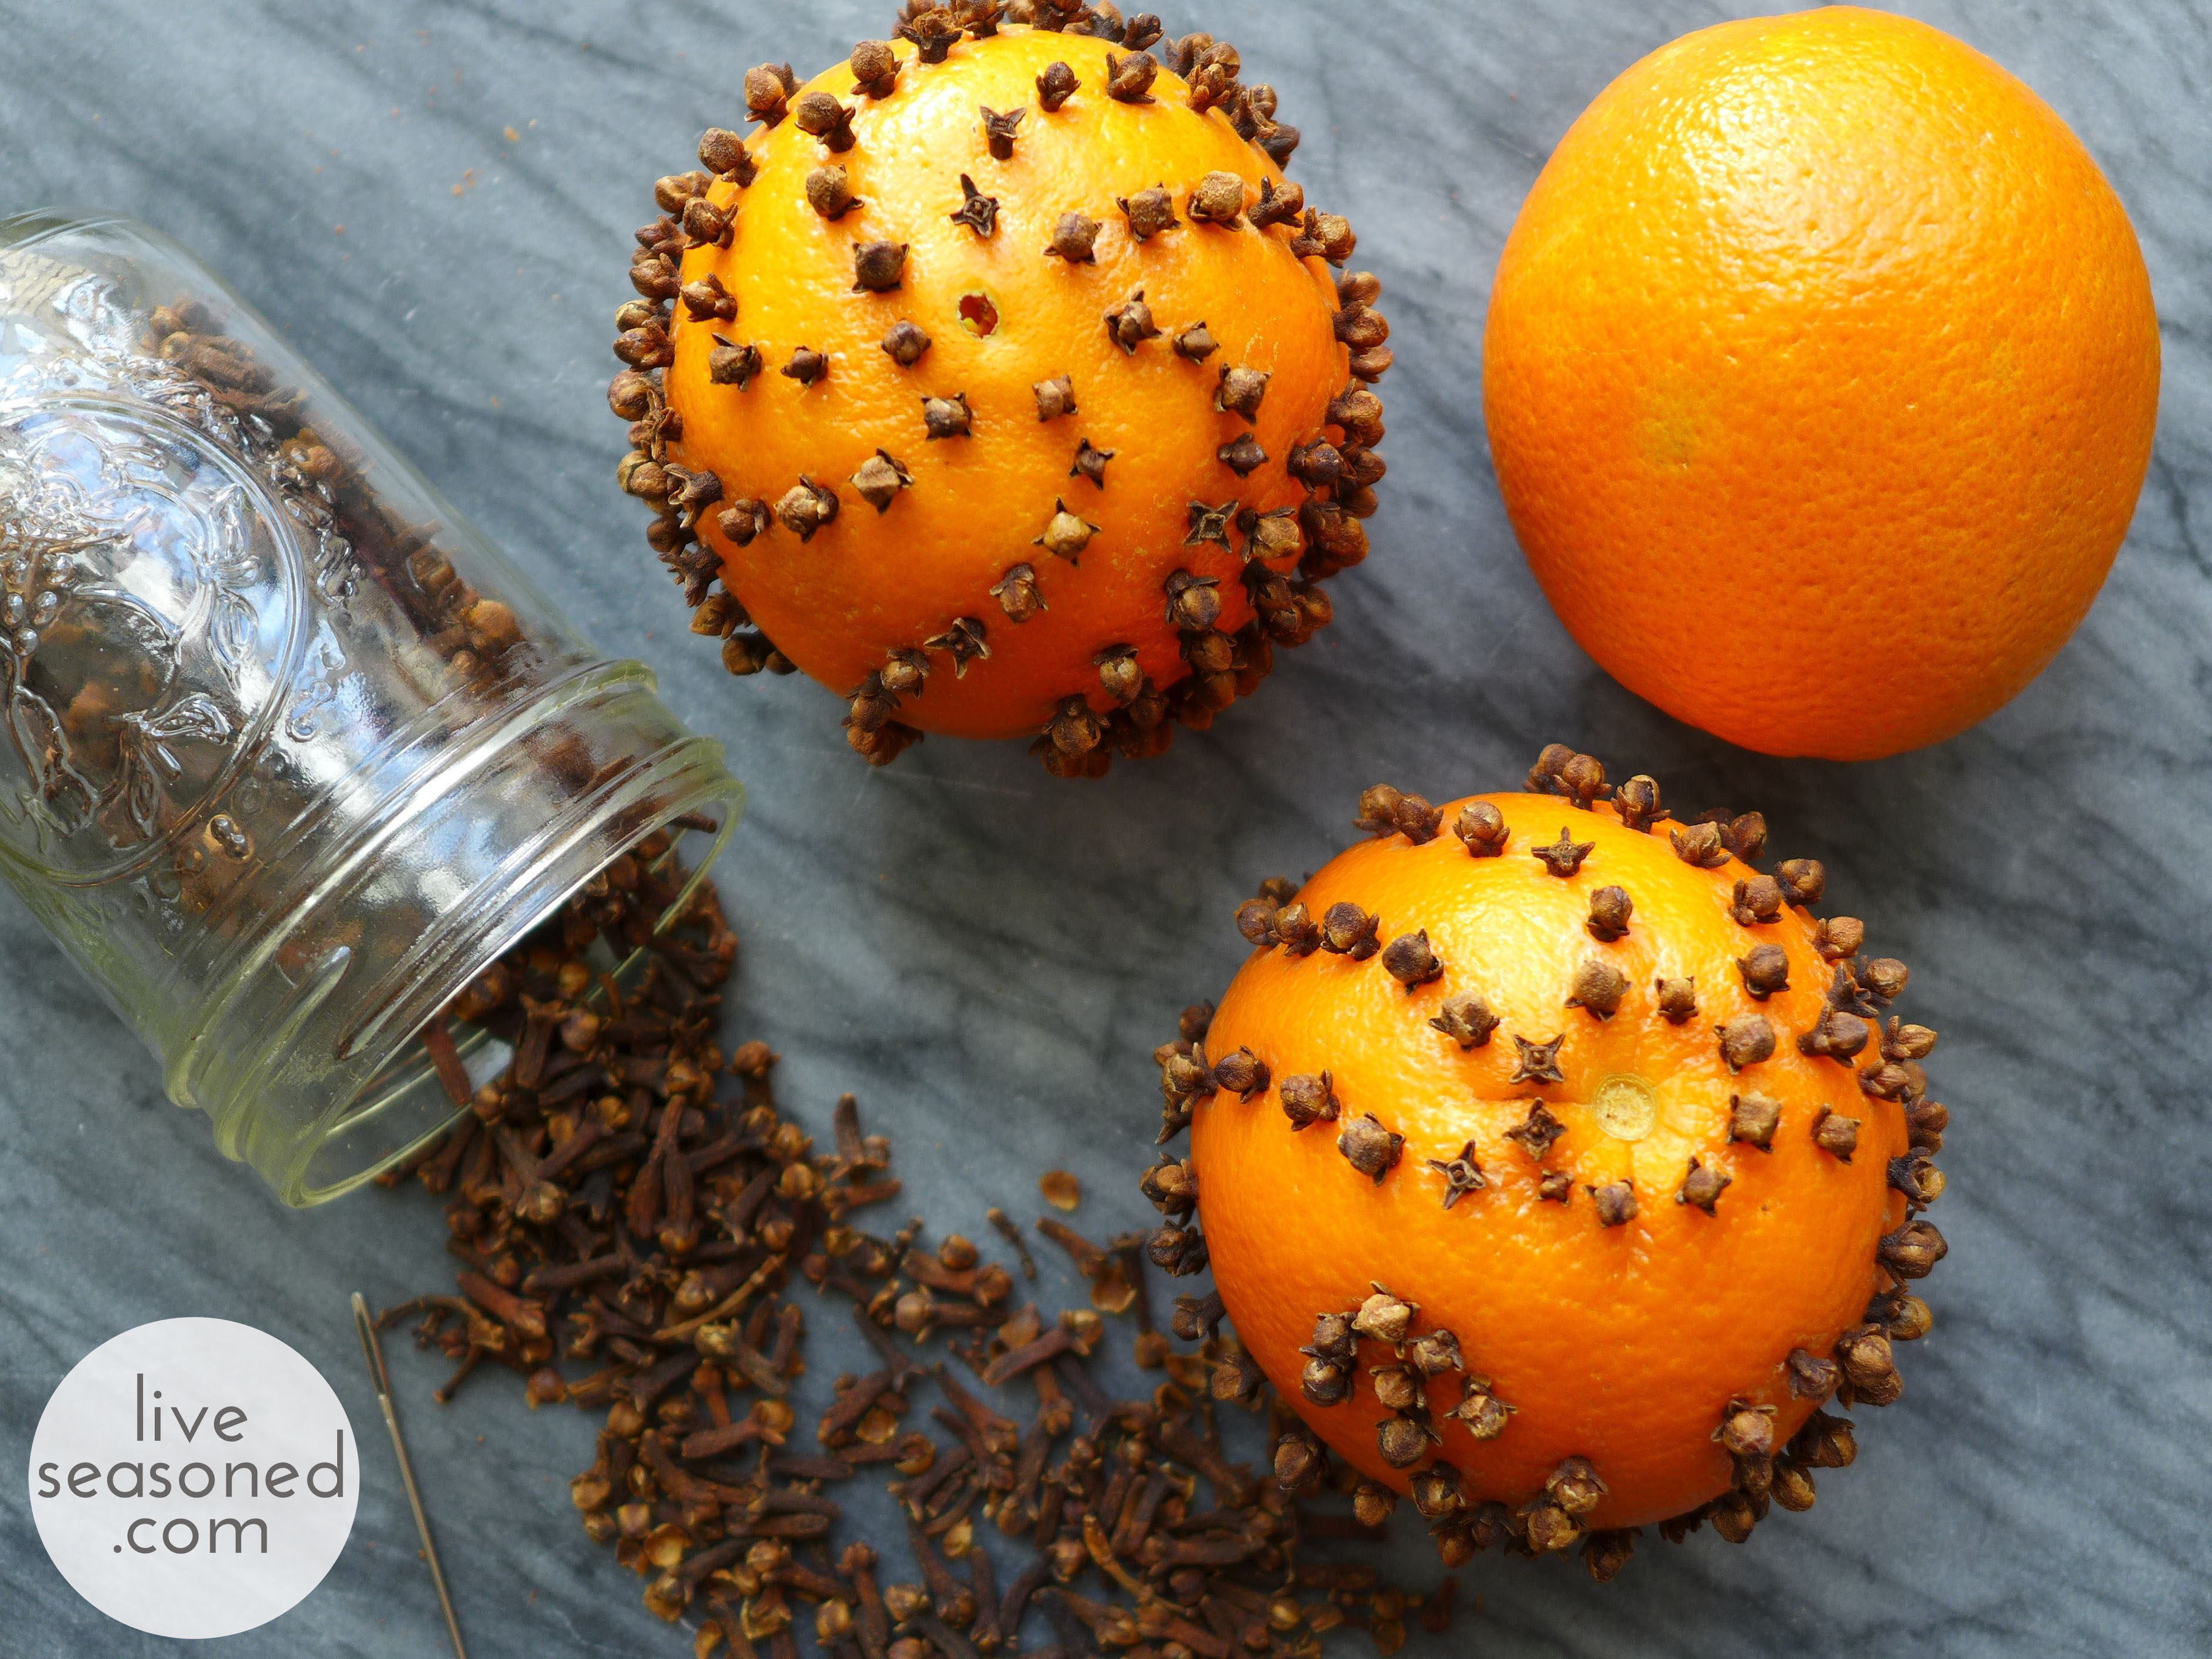
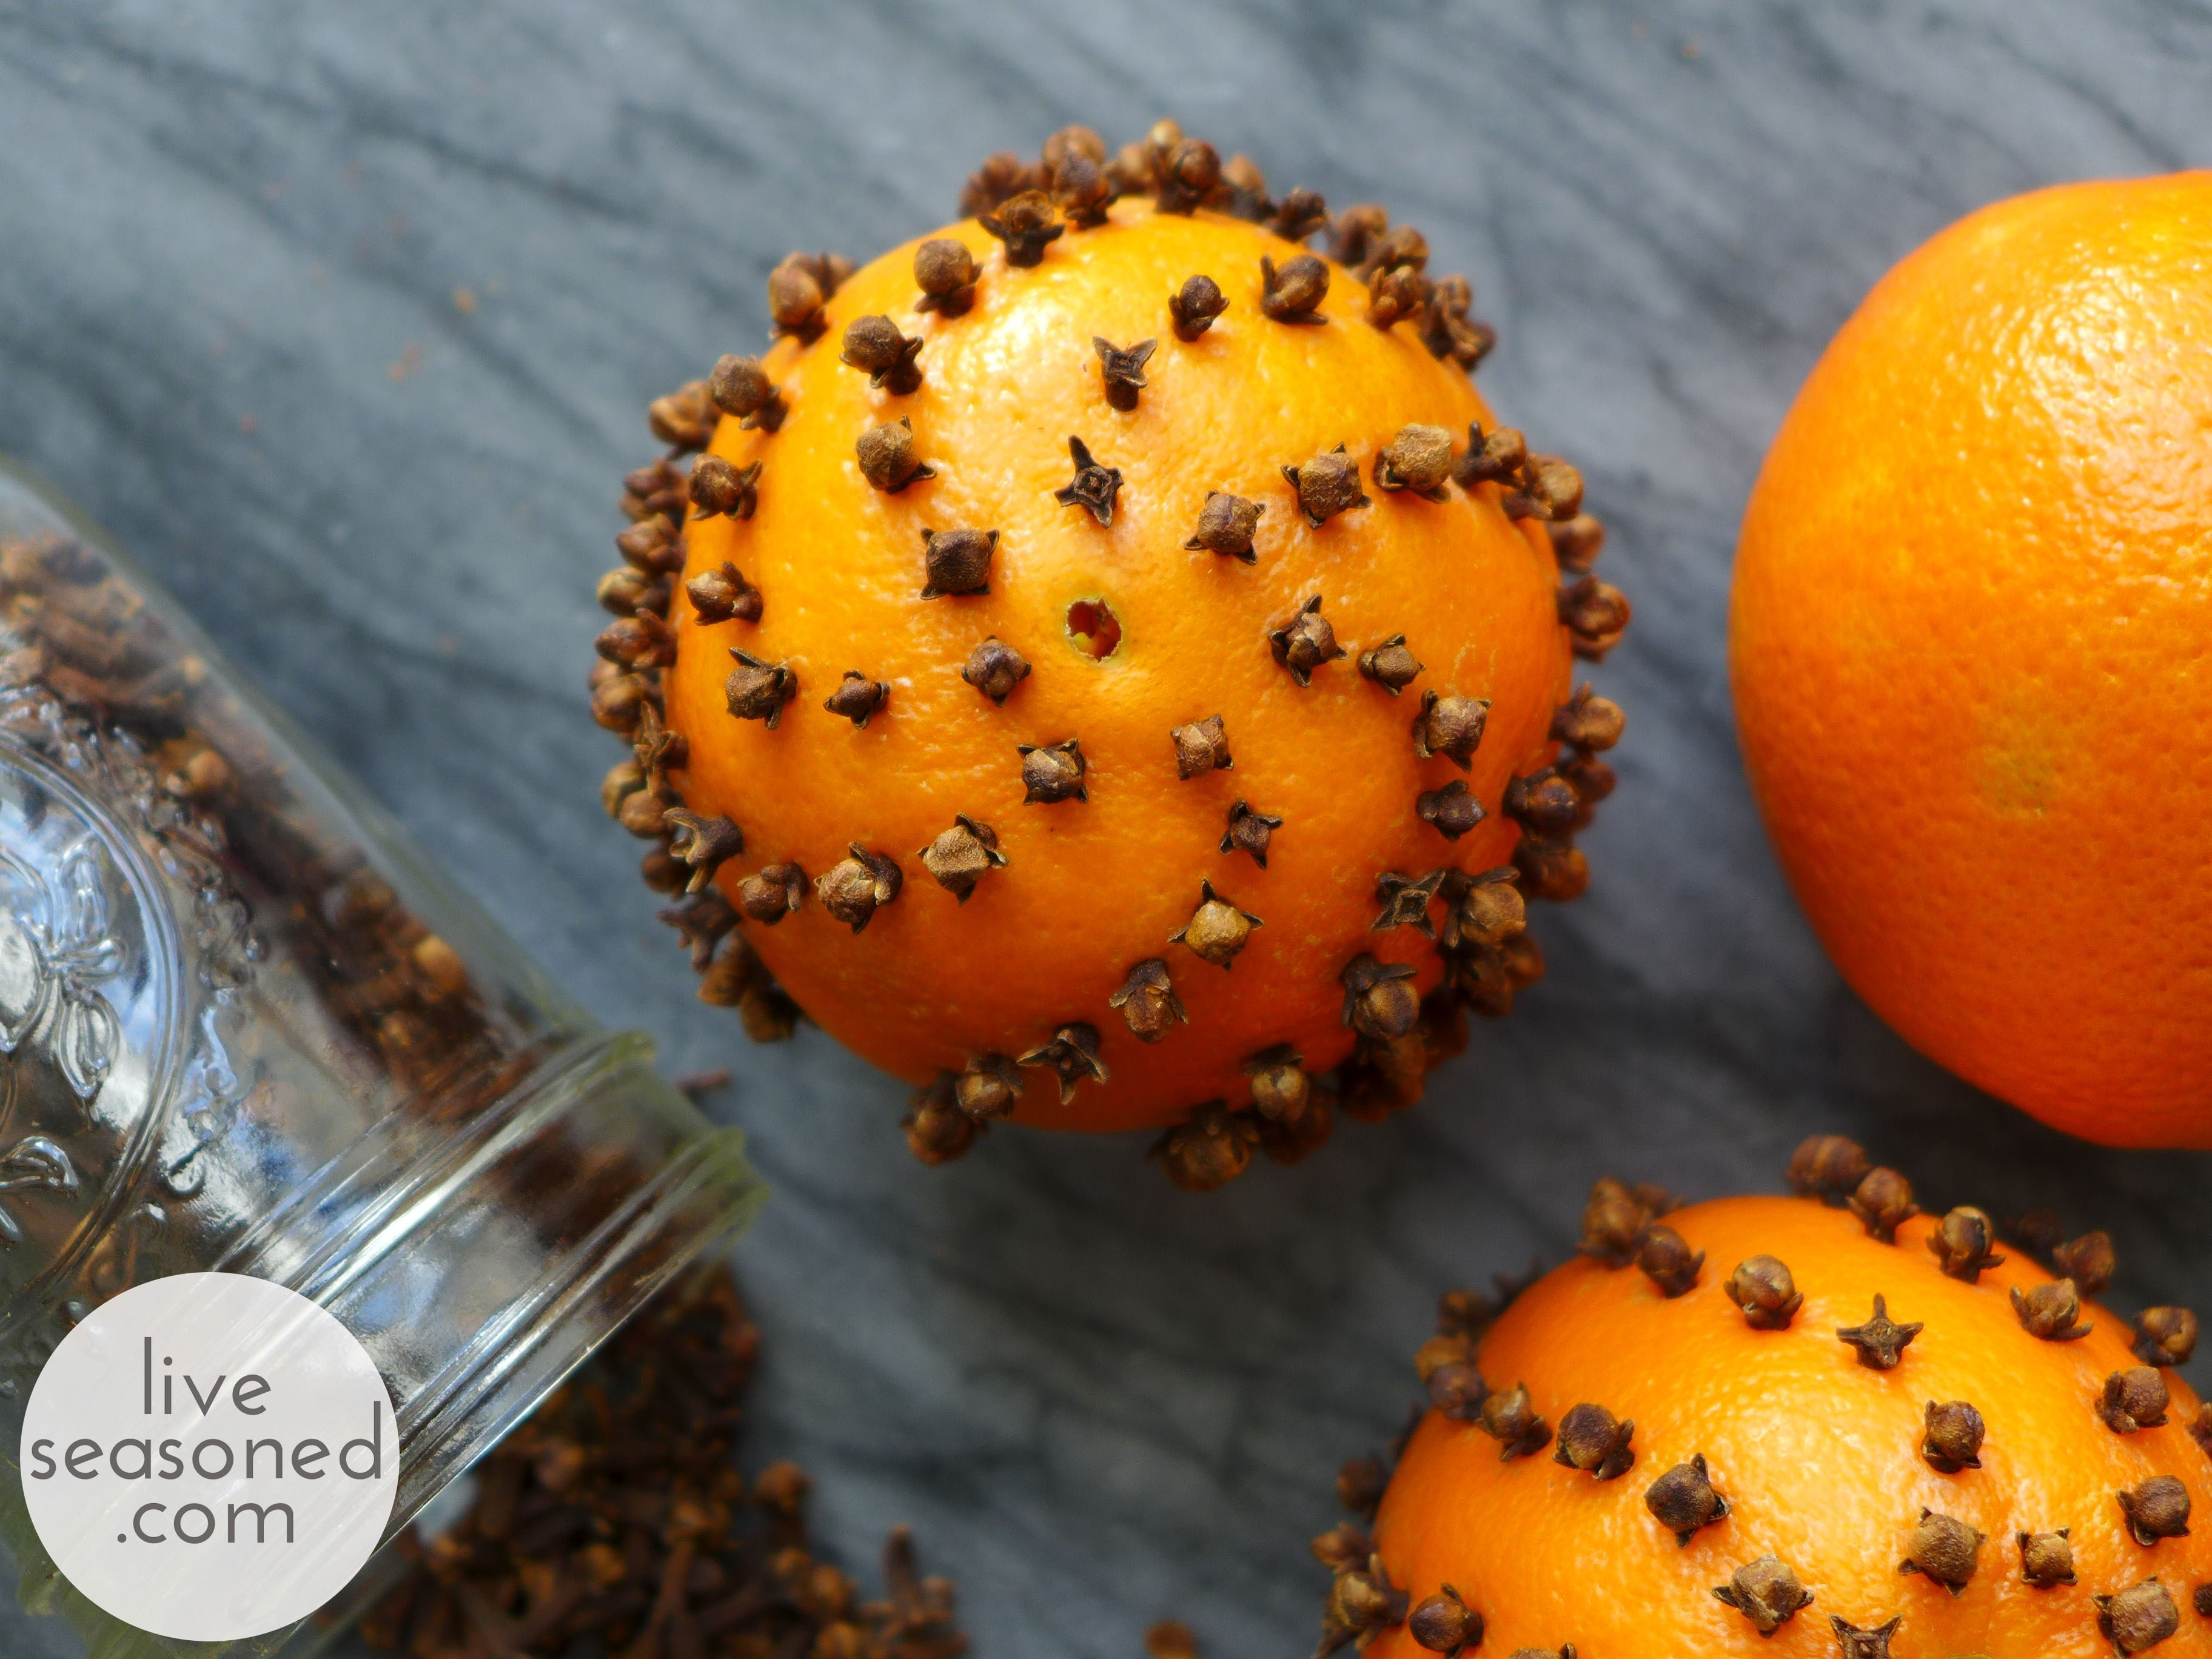
Today we’re sharing a super simple craft that you often see around the holidays : the orange and clove pomander.

Pomanders are balls made of some sort of scented or perfumed material. They are considered an original form of aromatherapy and have a long history dating back to the Middle Ages!

The orange and clove pomander is considered a modern version, and if properly dried, you can use these sweet and spicy smelling balls year after year as holiday decorations or in place of sachets in your dresser drawers.

liveseasoned_w2015_pomander1_wm

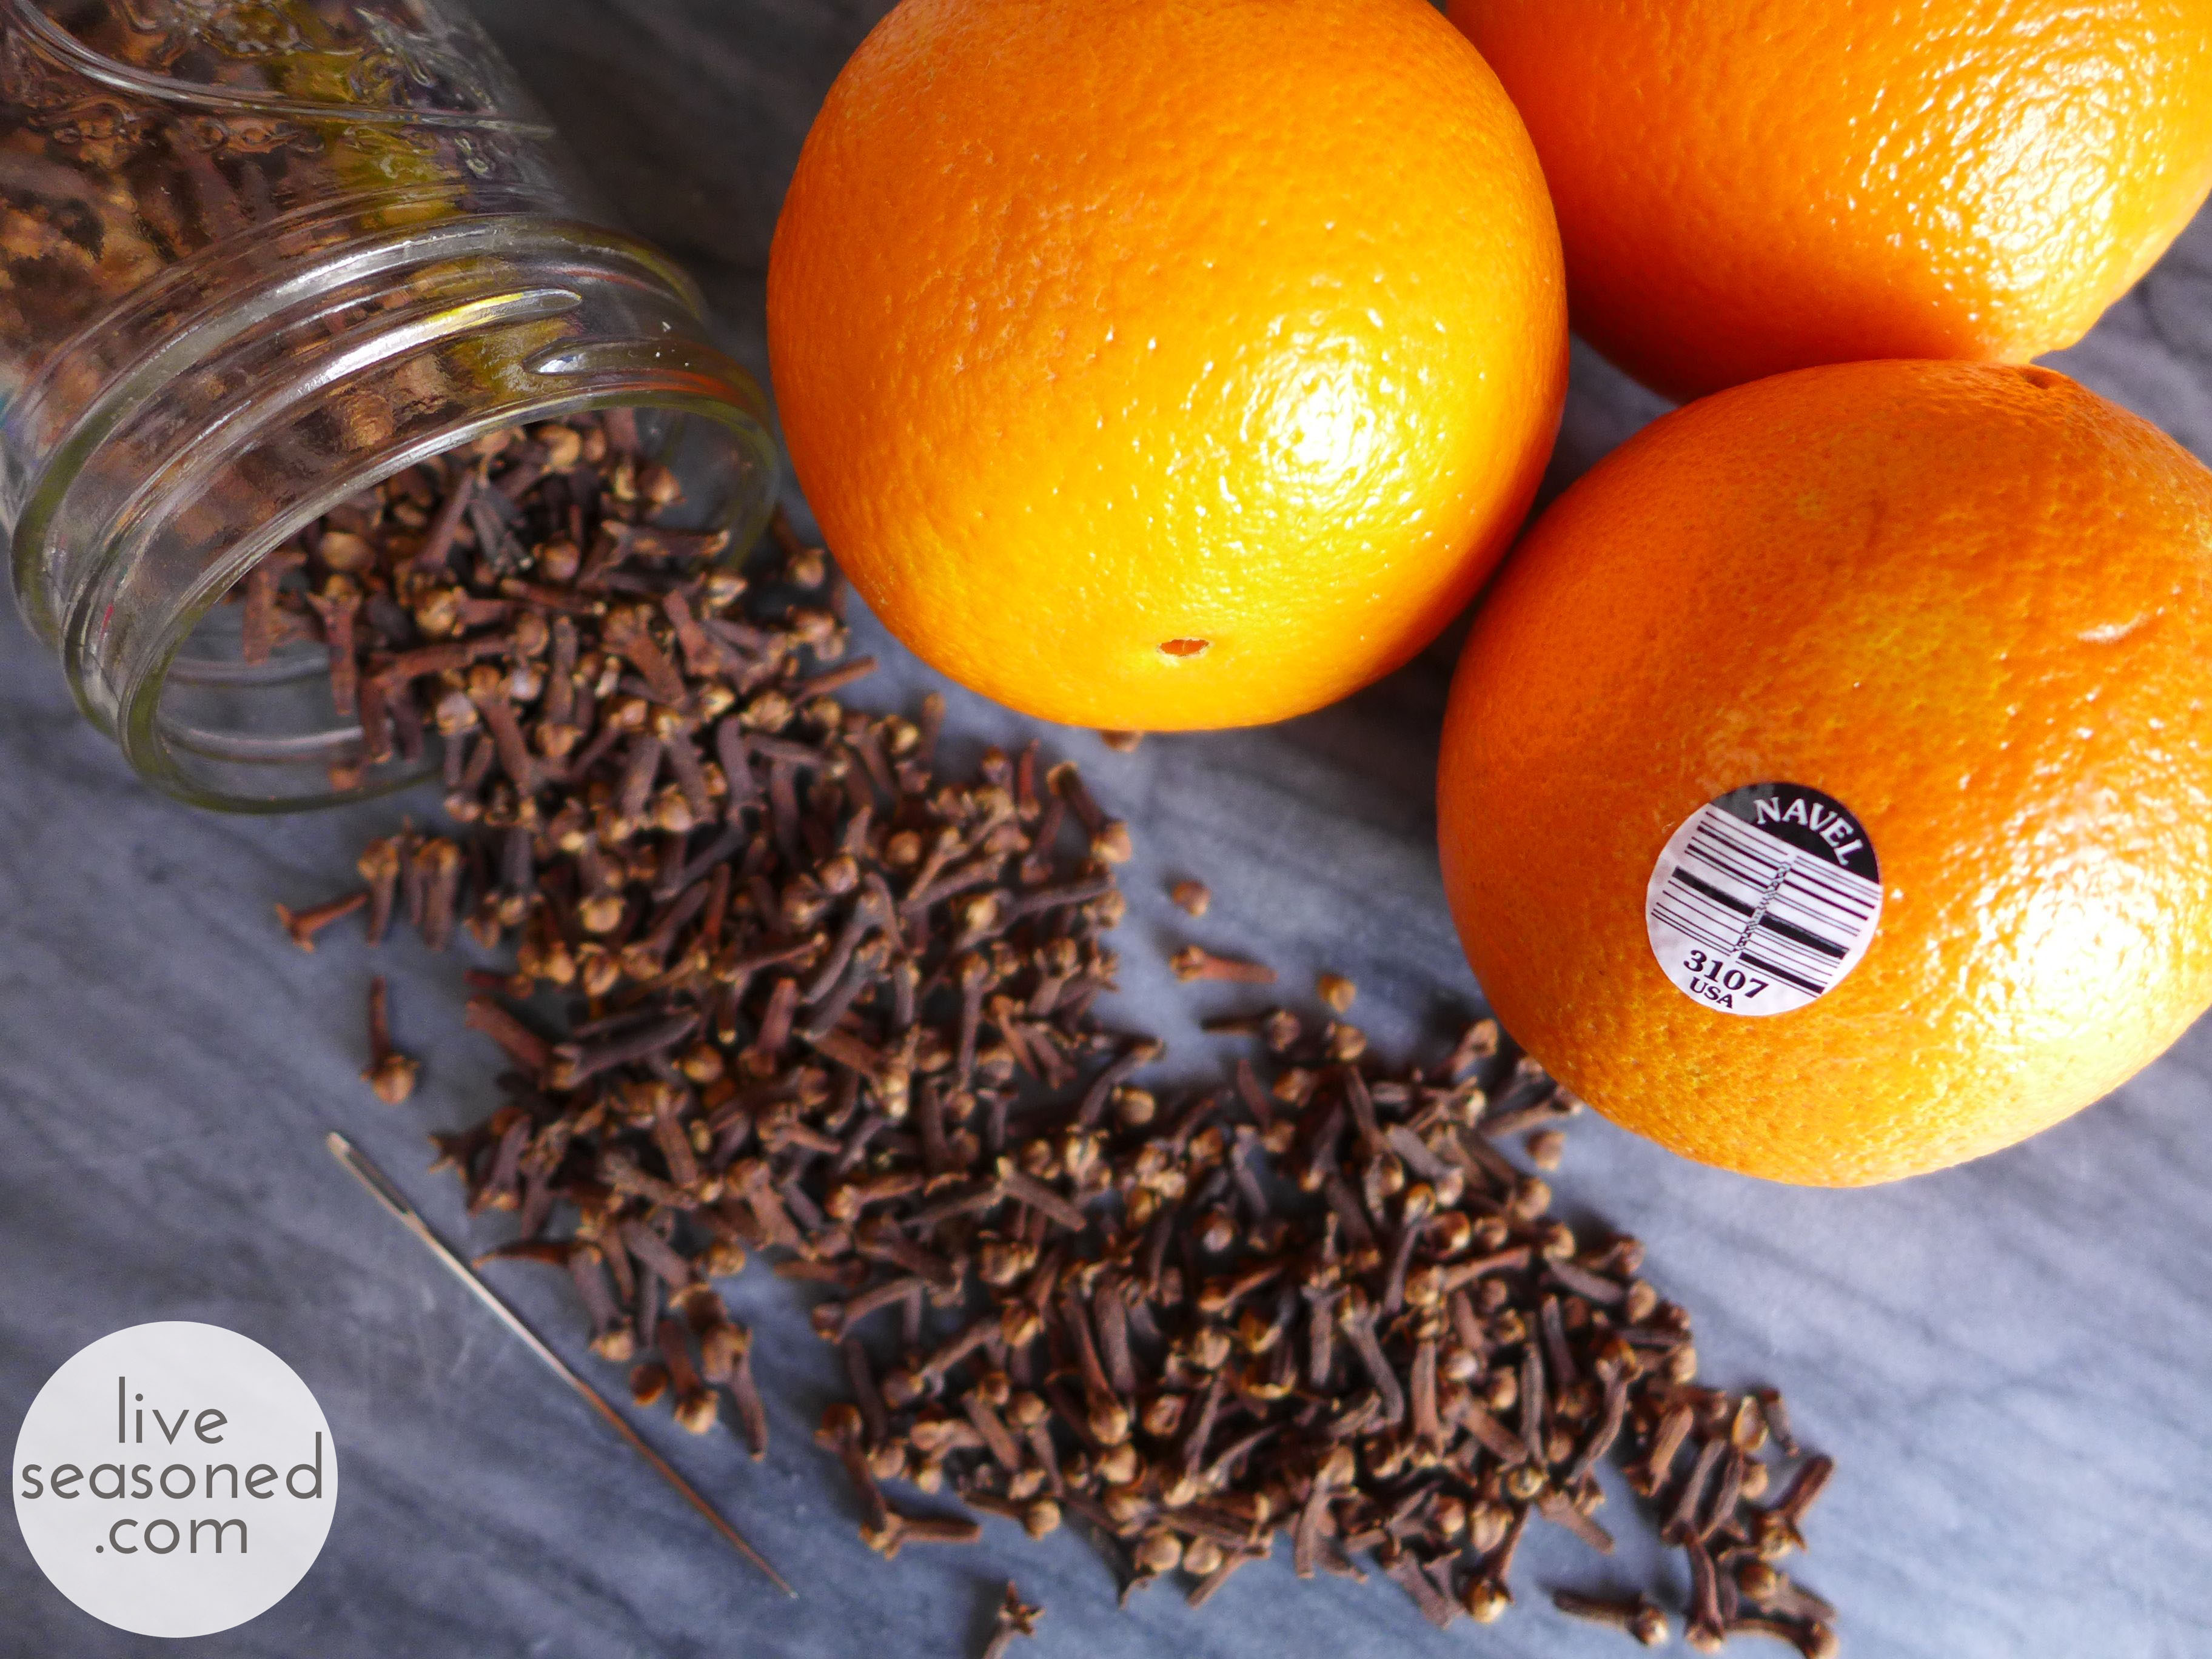
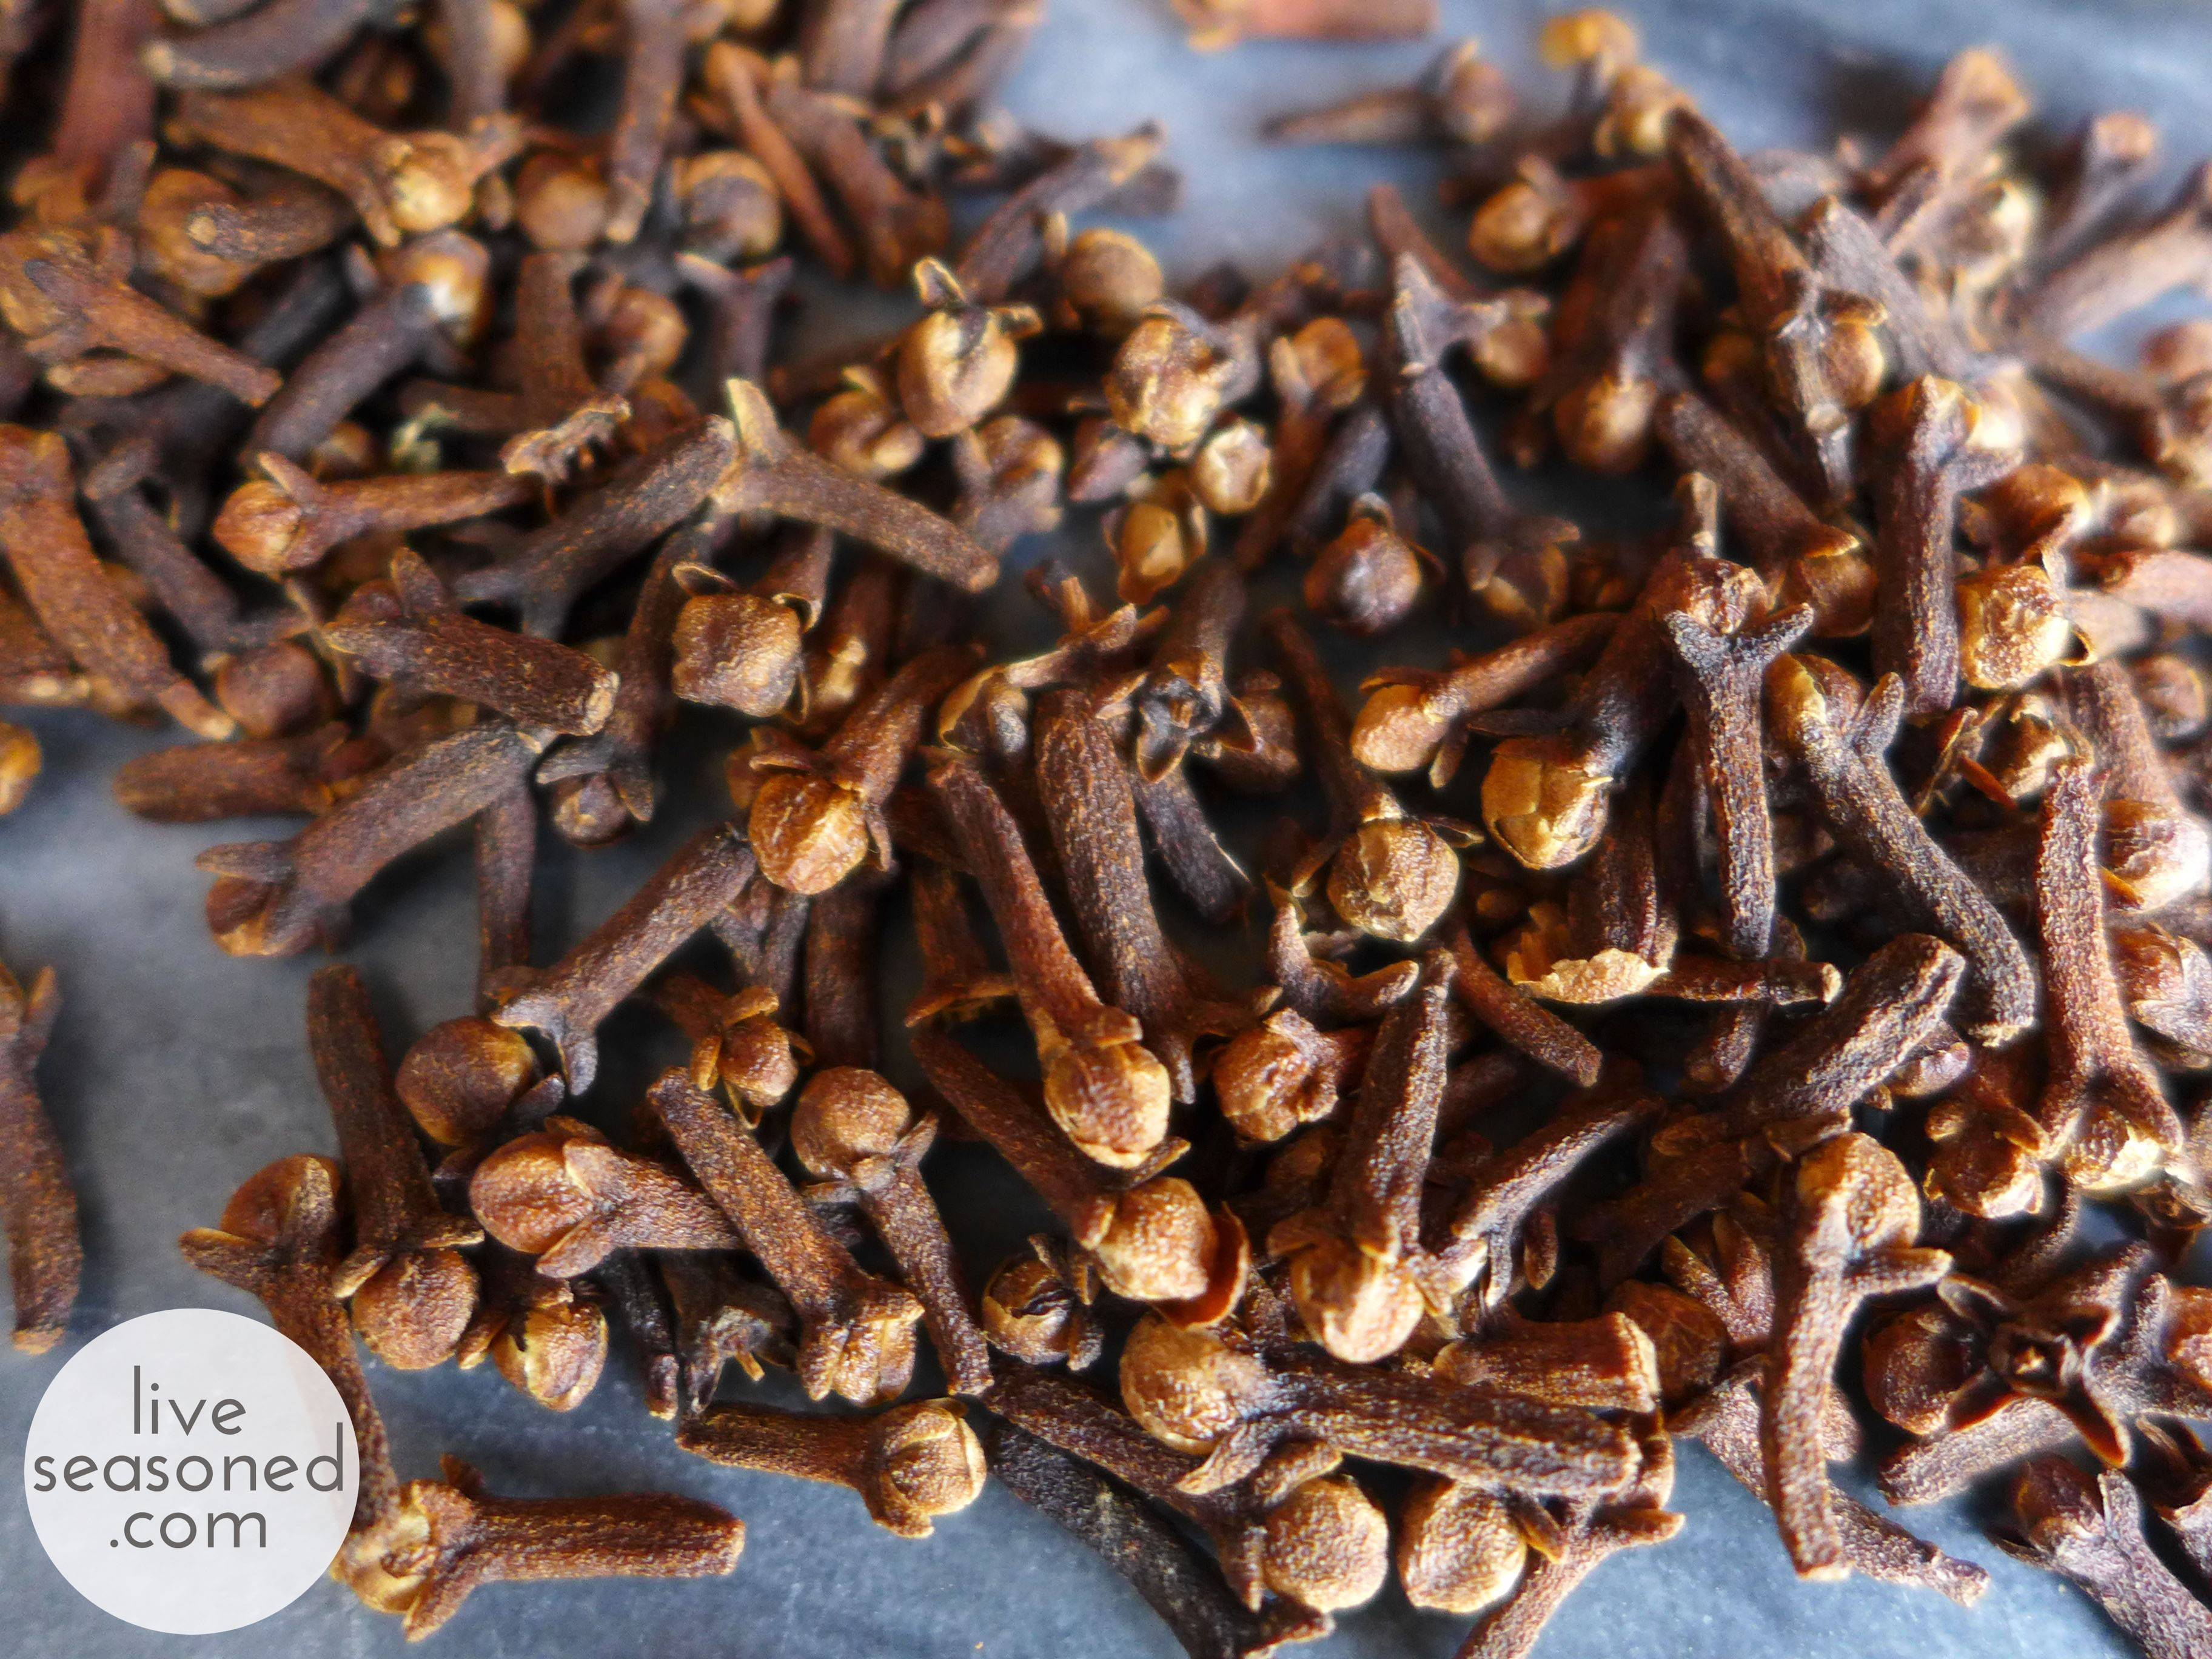
This is a very easy and kid-friendly craft! To make a bare-bones pomander all you need are oranges and cloves (buying your cloves in bulk is the way to go here). If you want to get fancy, you can add ribbon, either tied around your orange and incorporated into the design or looped through your orange for hanging.

liveseasoned_w2015_pomander2_wm

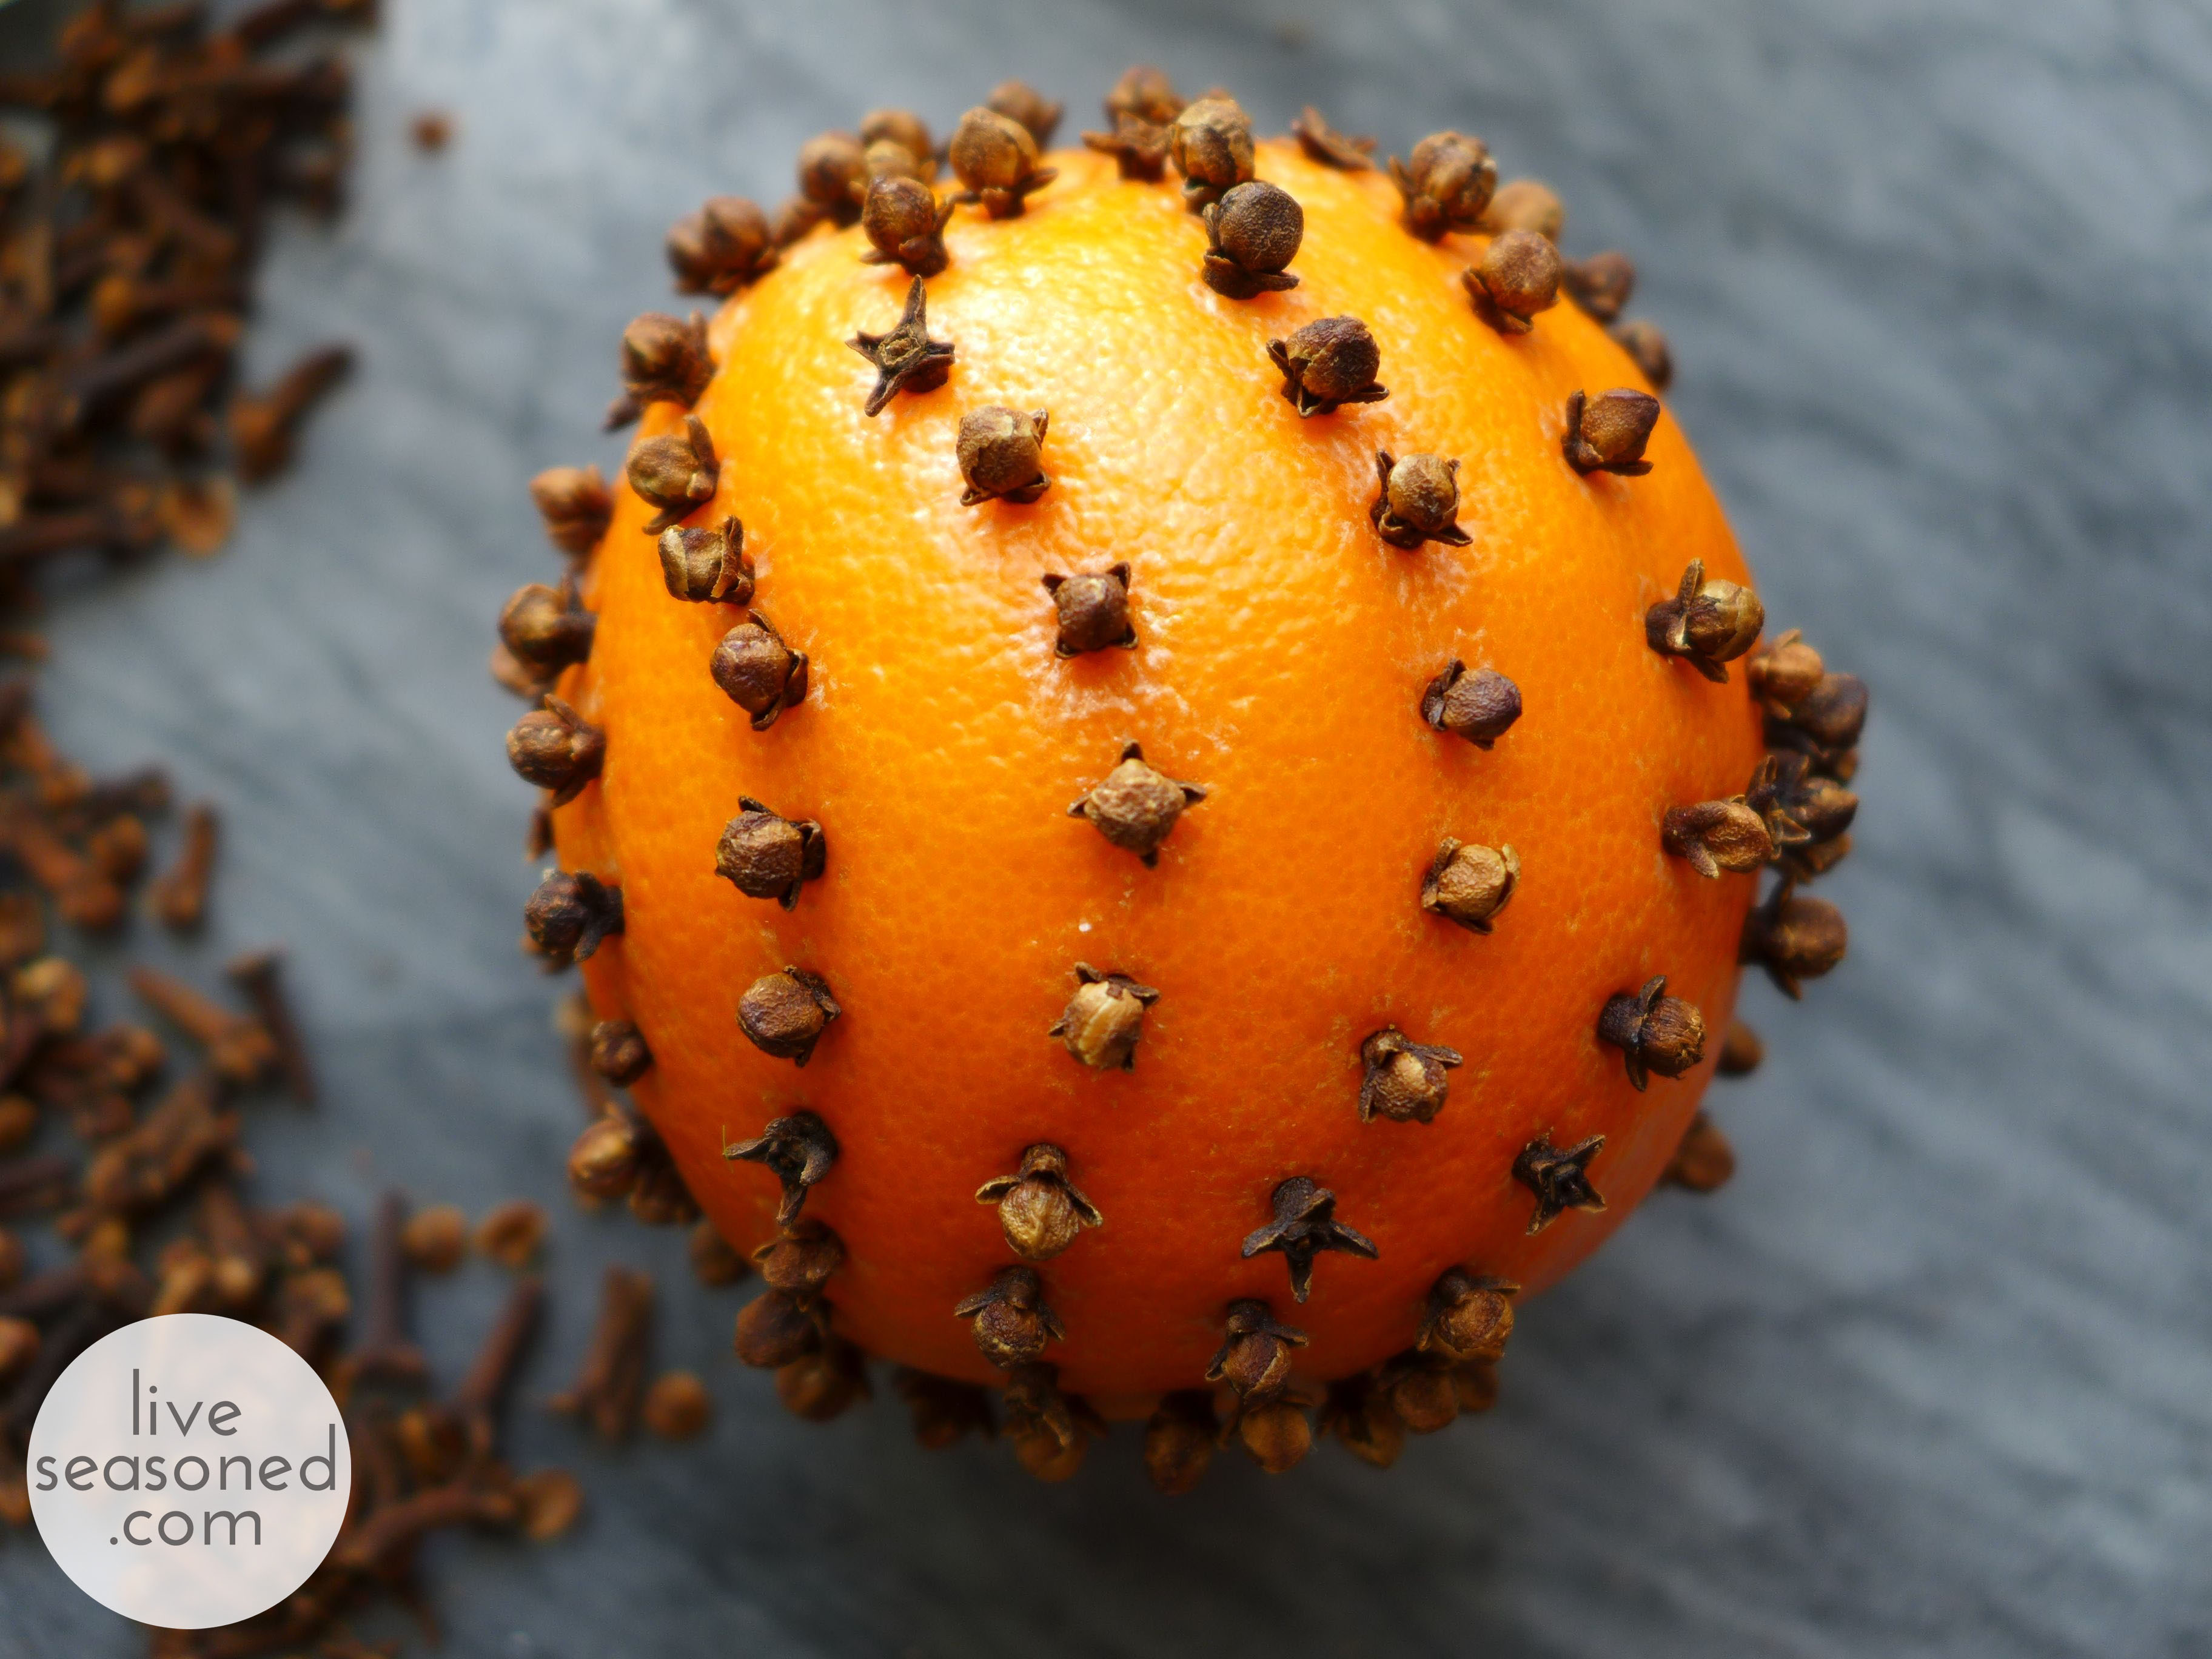
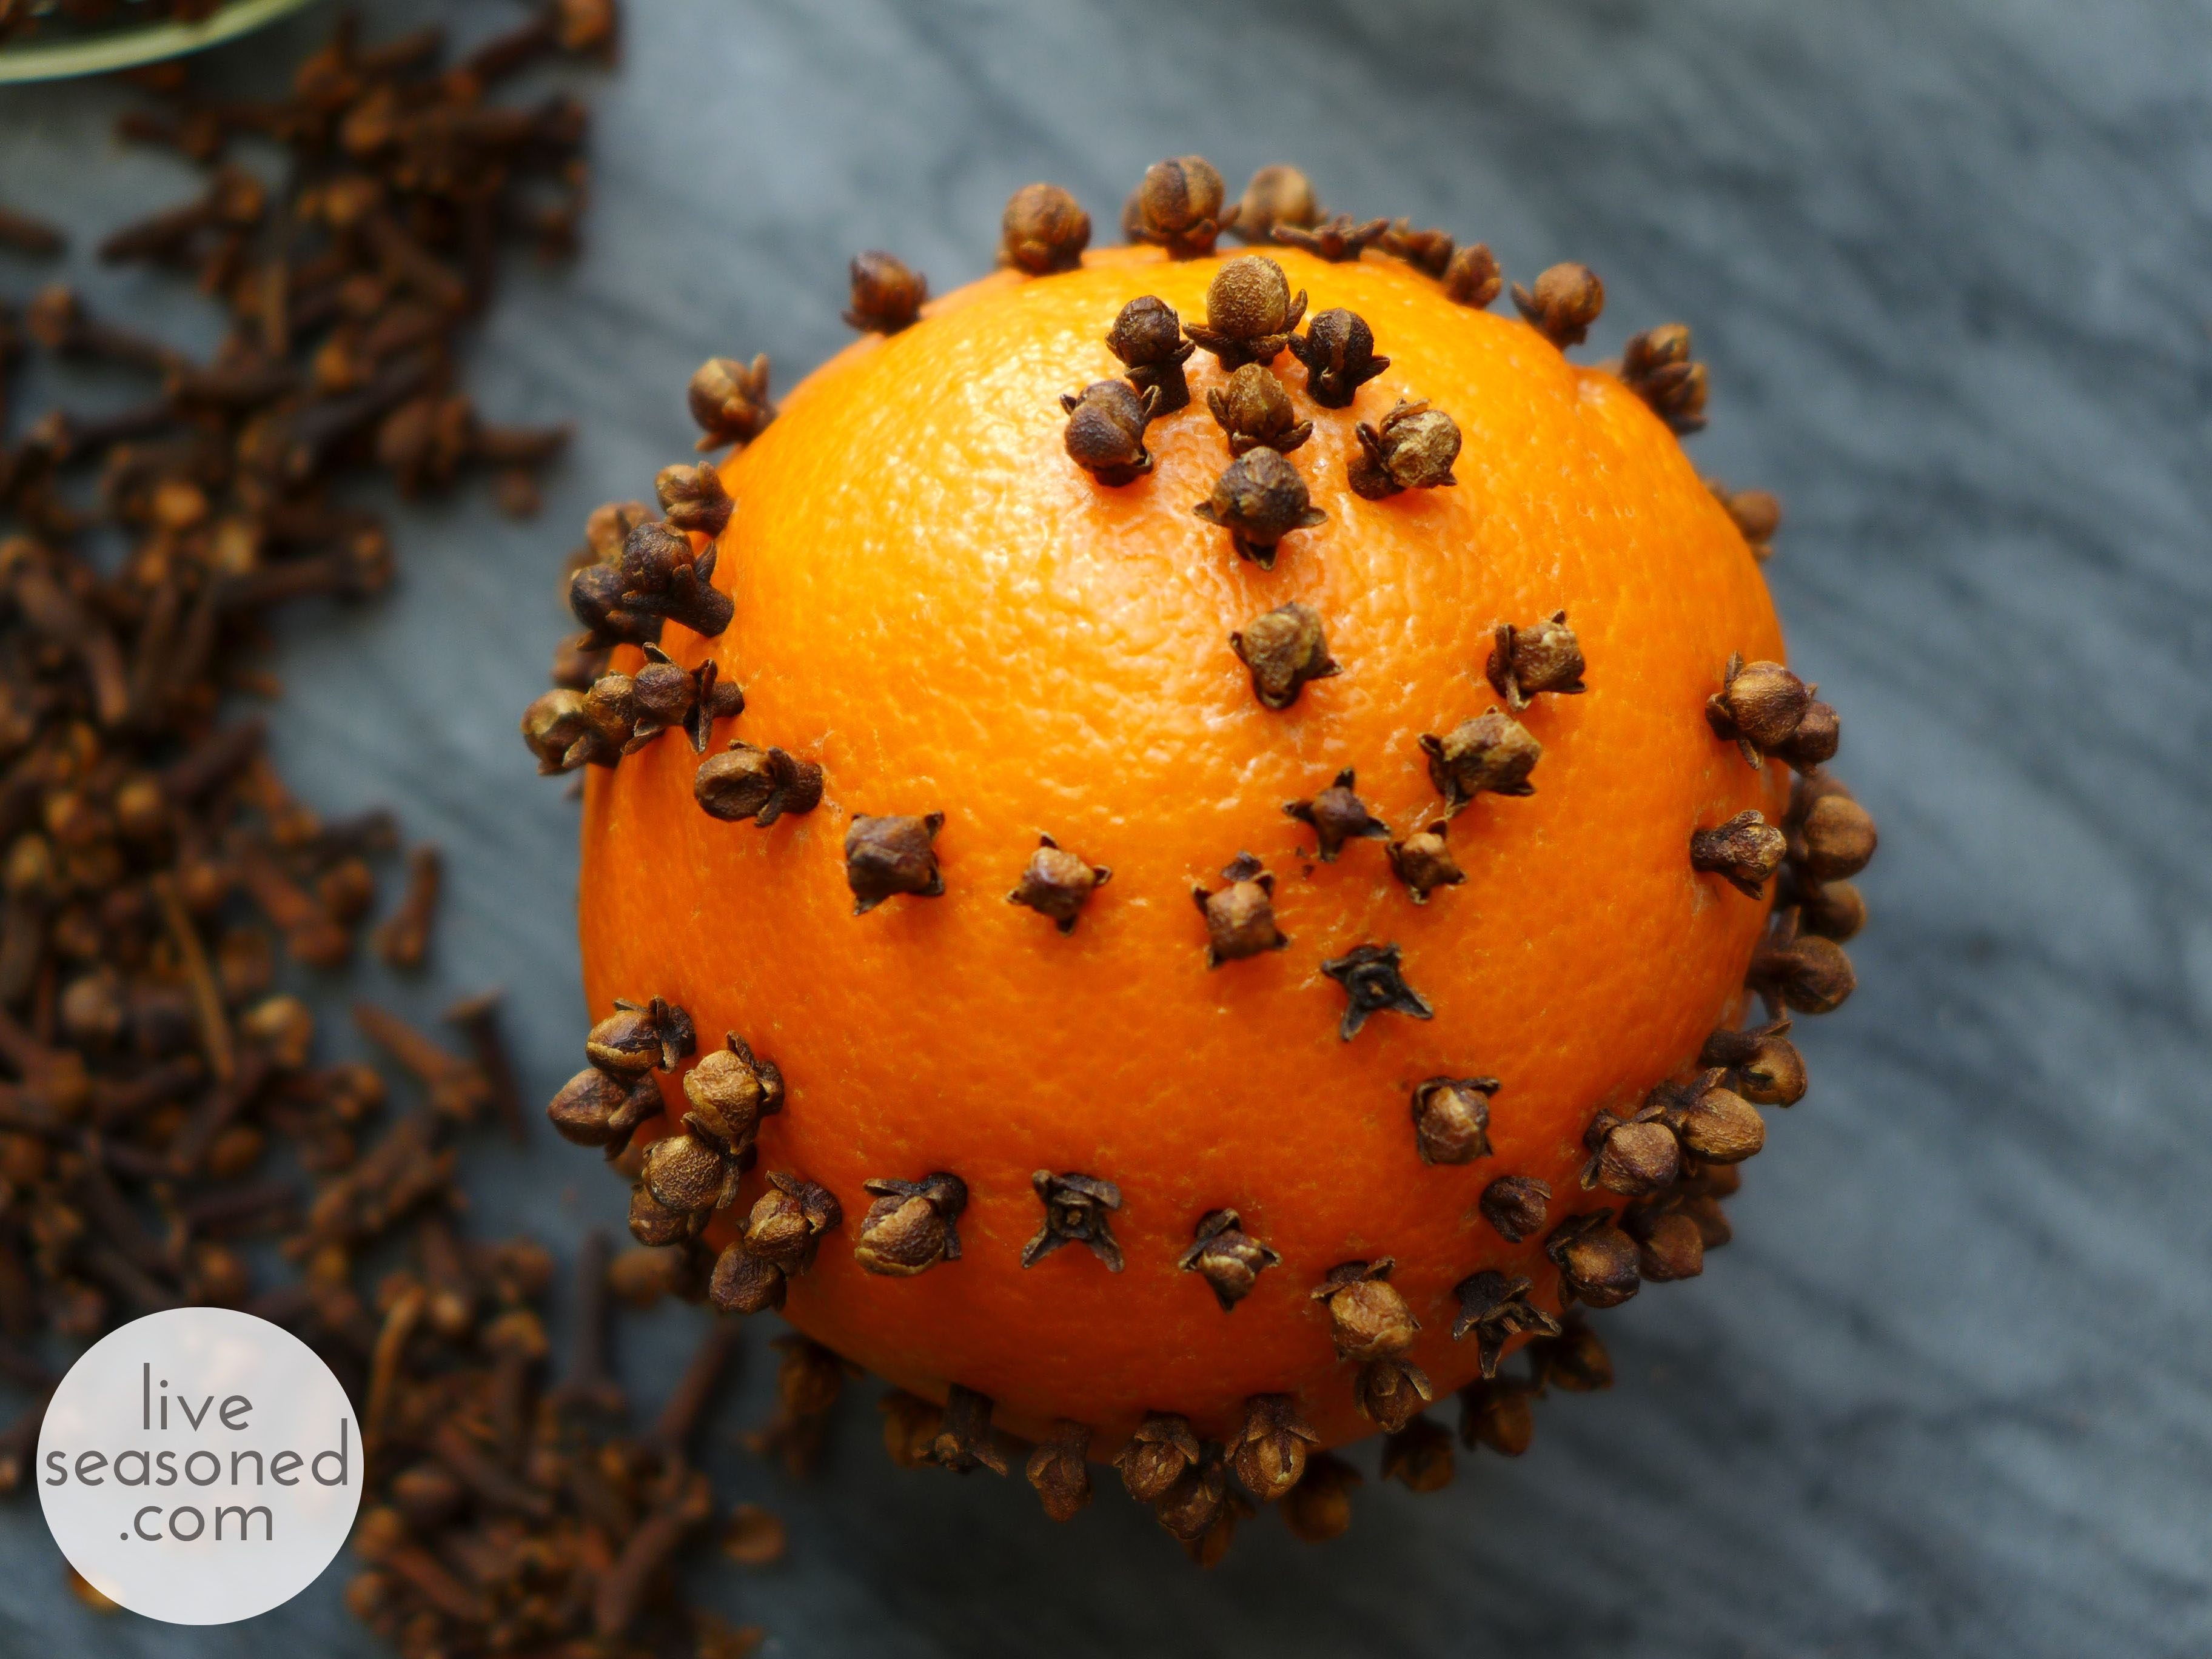
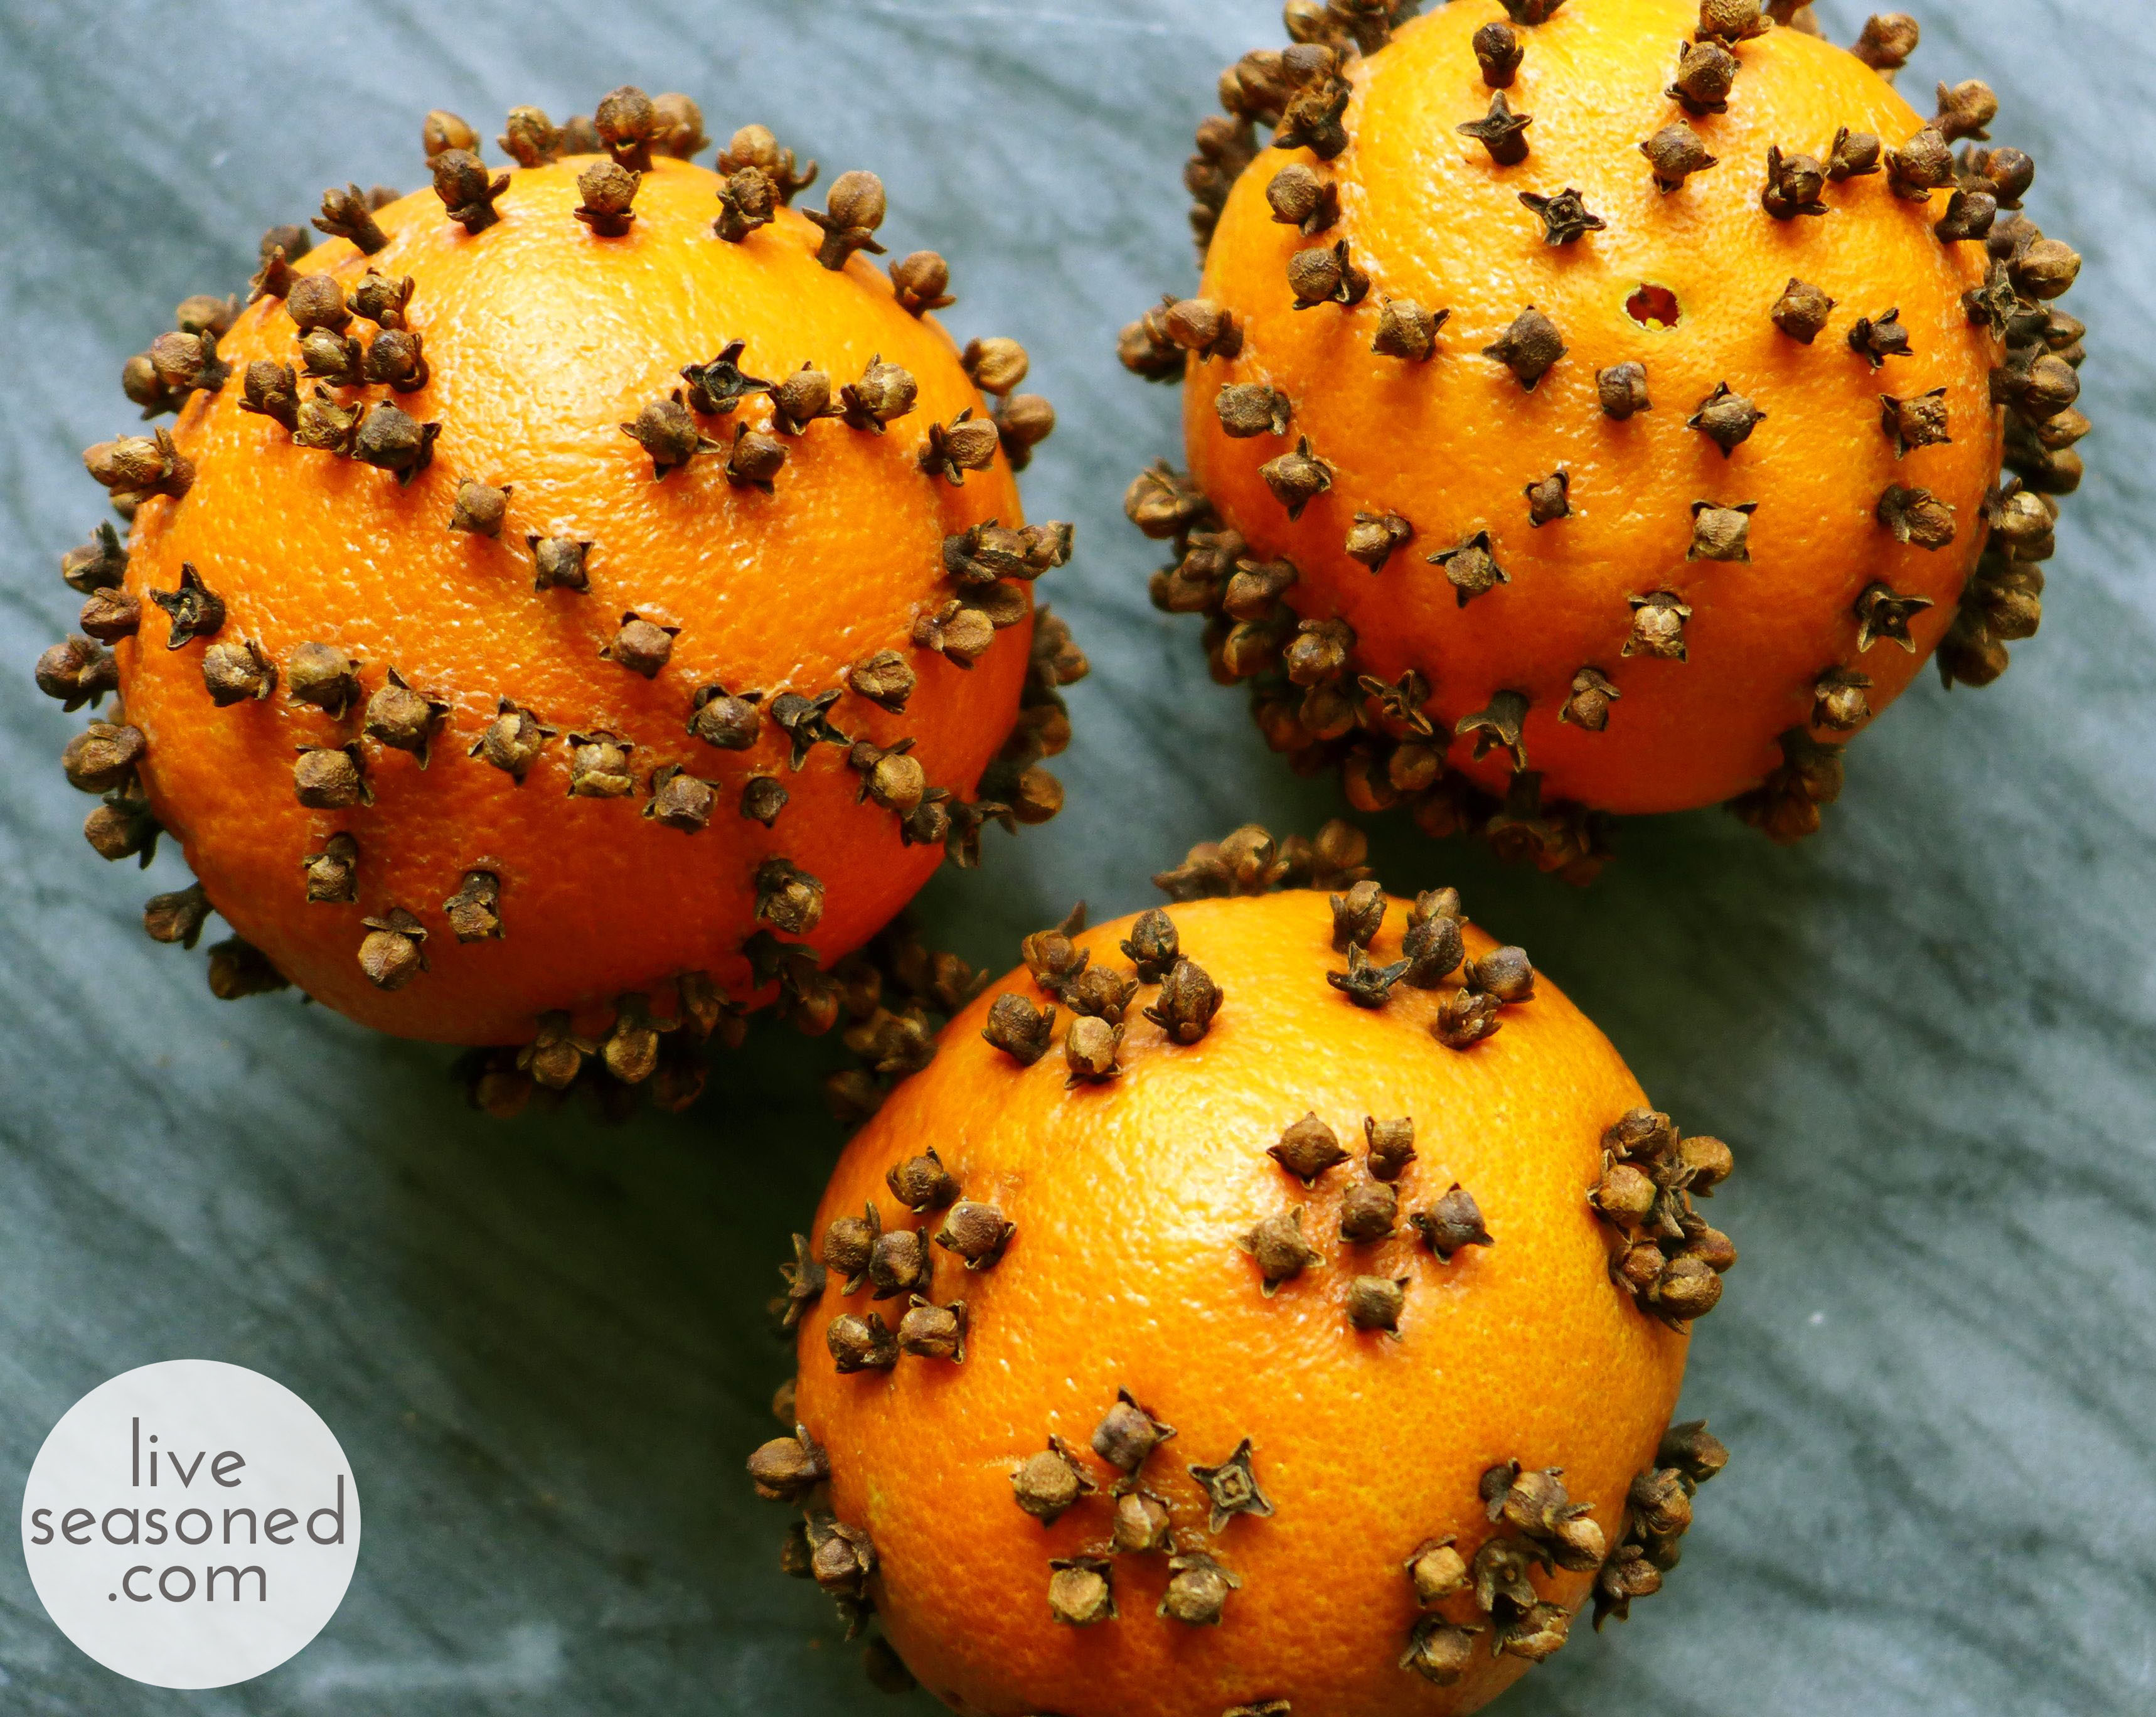
With your supplies ready, start making a design on your orange. I did all of these over the course of a couple of days ~ whenever A. Max was busy playing and I had a minute to myself. So rather than fuss over a specific design, I just played with the cloves and did a few free-form patterns.

liveseasoned_w2015_pomander3_wm

There were curved lines.

liveseasoned_w2015_pomander_wm

That looked like swirls from the top.

liveseasoned_w2015_pomander4_wm

One had a vine with flowers.

And there were polka dots!

The one issue you’re likely to have, especially if you’re in a more humid climate, is some mold growth. I’m hoping that the dry CO climate is going to help us out here! But to be on the safe side, once I was done with the designs, I put these in a cool, dark closet for about a week to dry out more. As they dry, you’ll notice that the cloves are sticking out a touch, so you can go around a poke them back in.

A traditional way to avoid mold growth is to sprinkle your finished oranges in orris root powder. This will help to dry out the orange and will add a violet scent to your pomander. In an effort to keep this project simple and low cost, I’m taking my chances and skipping the orris root!

liveseasoned_w2015_pomander8_wm

Putting them all together, it’s a nice little display of pattern that smells unbelievable! Alex loves to walk over to them and take a big whiff, which is unbelievably cute!

Winter Salad

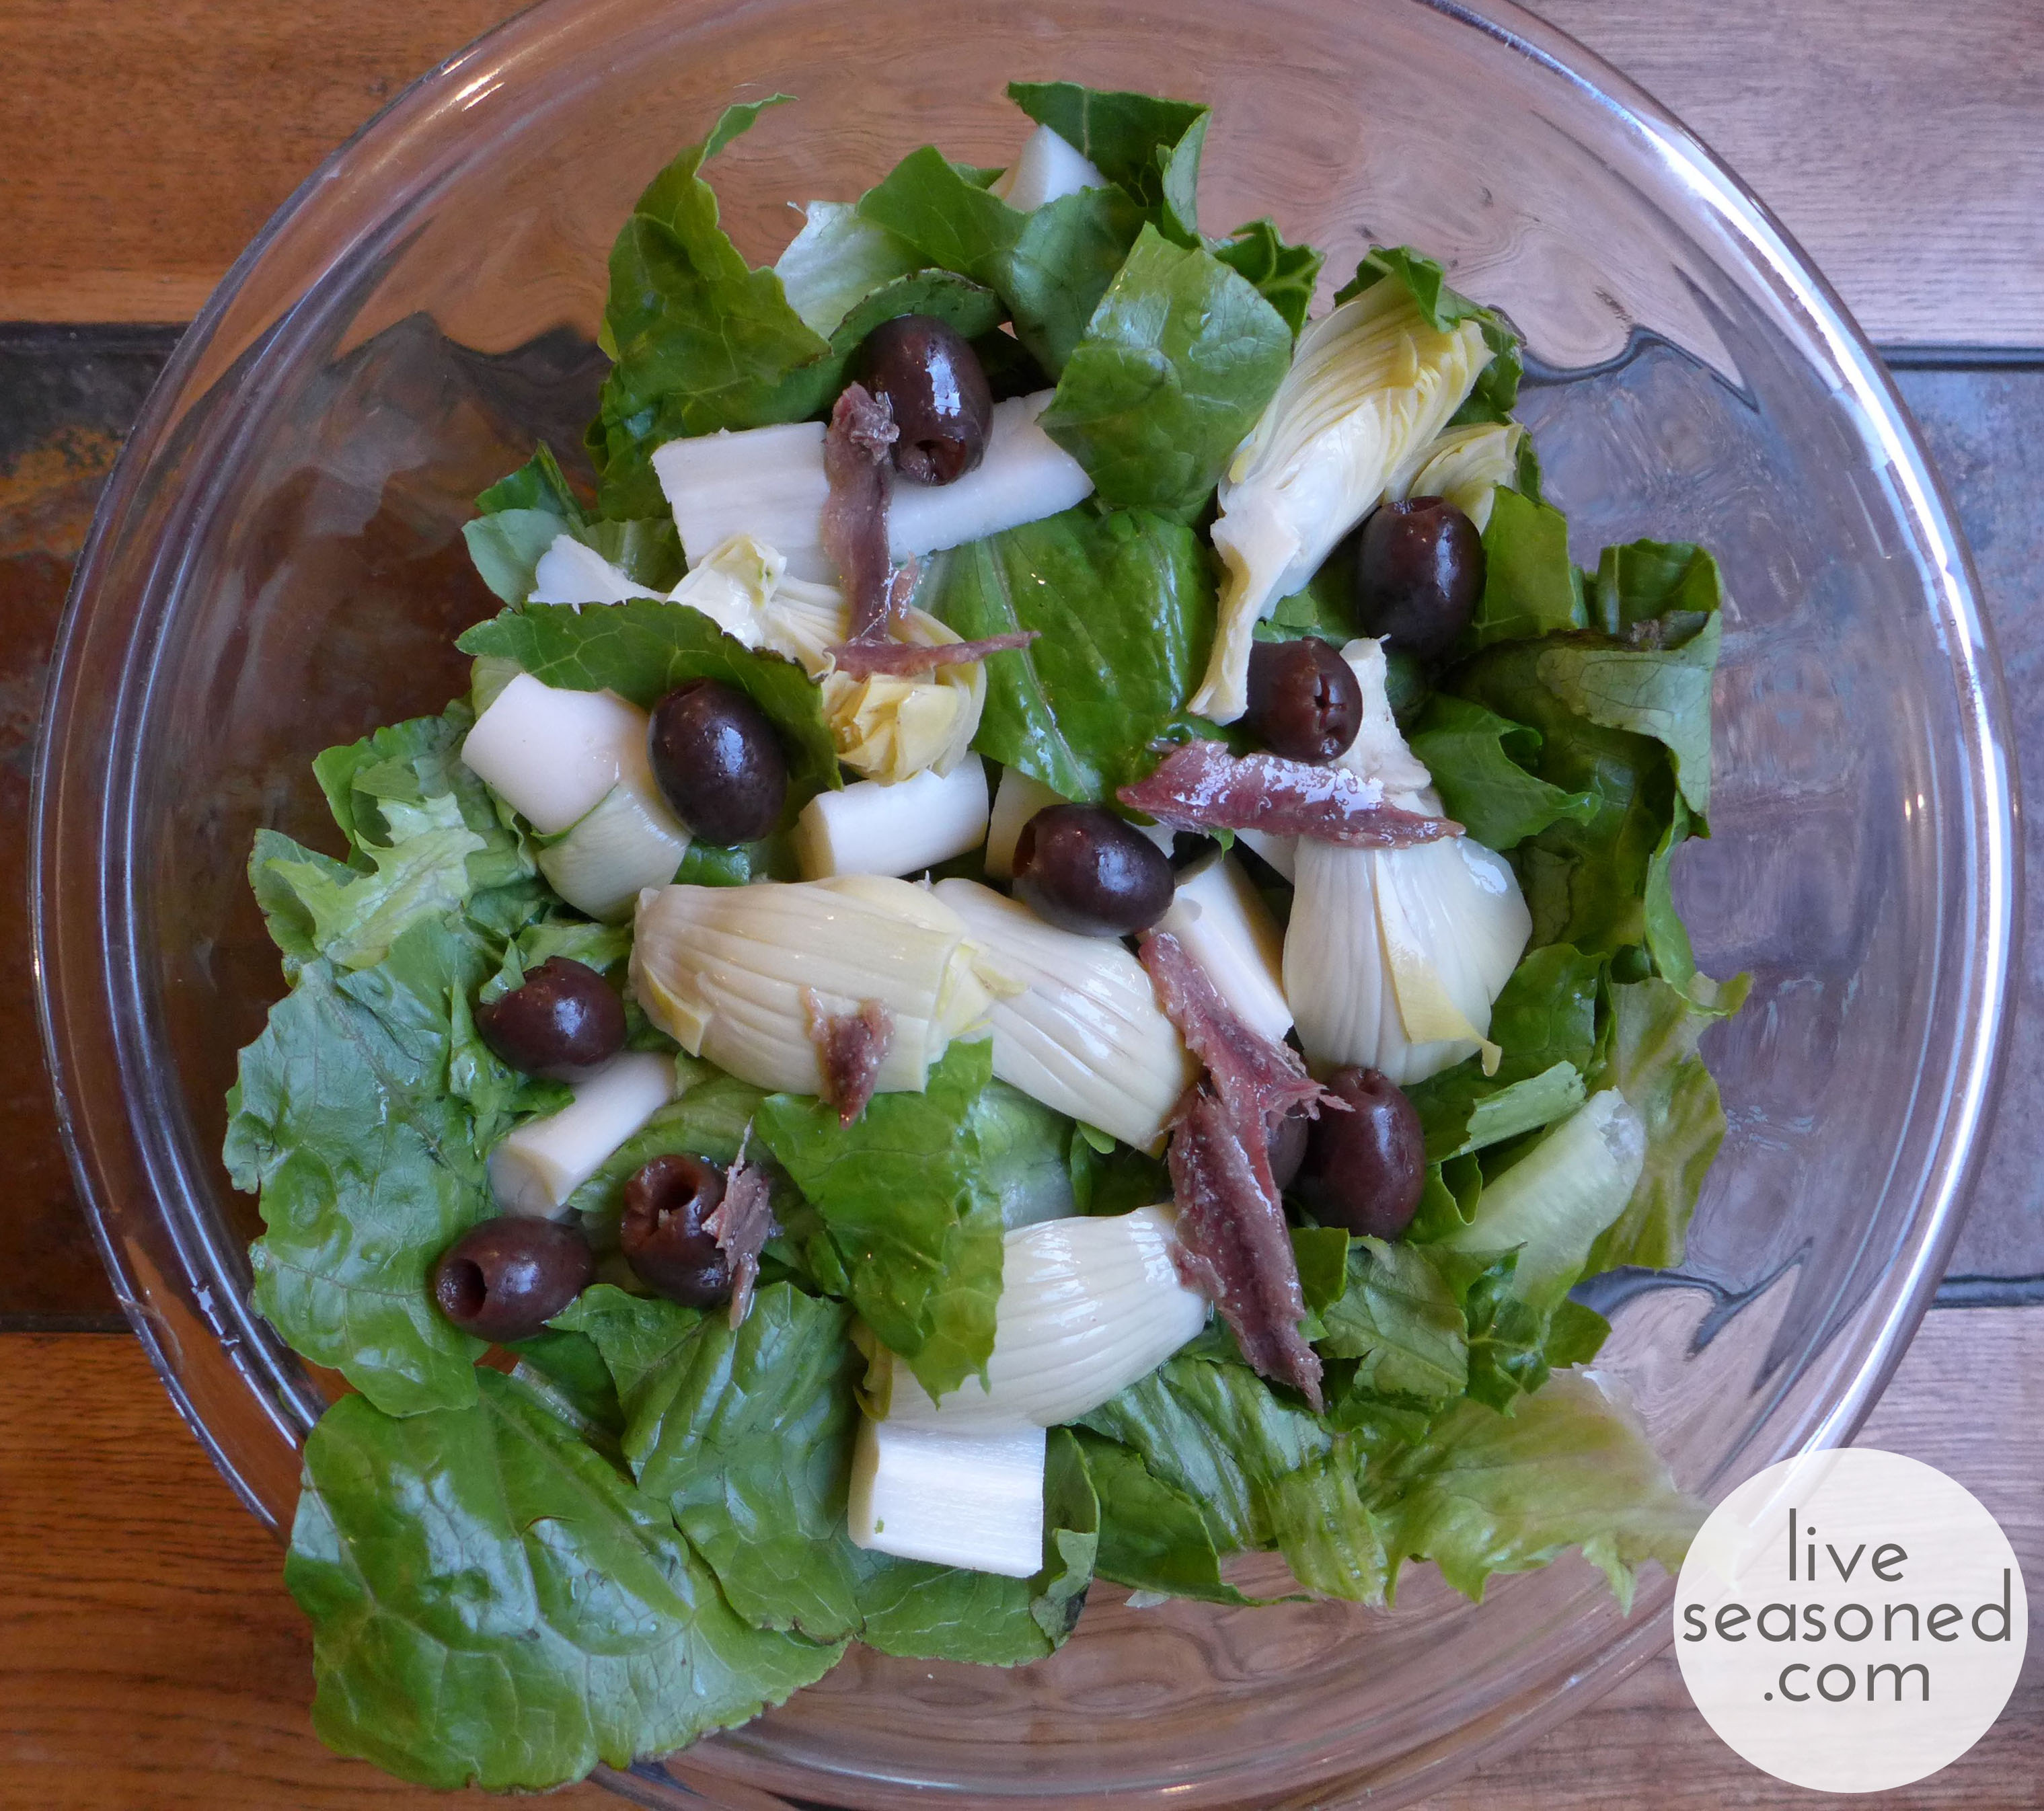
Before we even get started, let me acknowledge that this salad won’t be for everyone. But, if you have a palette for a few strong flavors, then this is the perfect antidote to those slightly depressing and less-than-fresh produce shelves. Why? Because, as you’ll see, other than the lettuce, we rely on a few key canned ingredients to prepare this uber-delicious twist on the Ceasar salad.

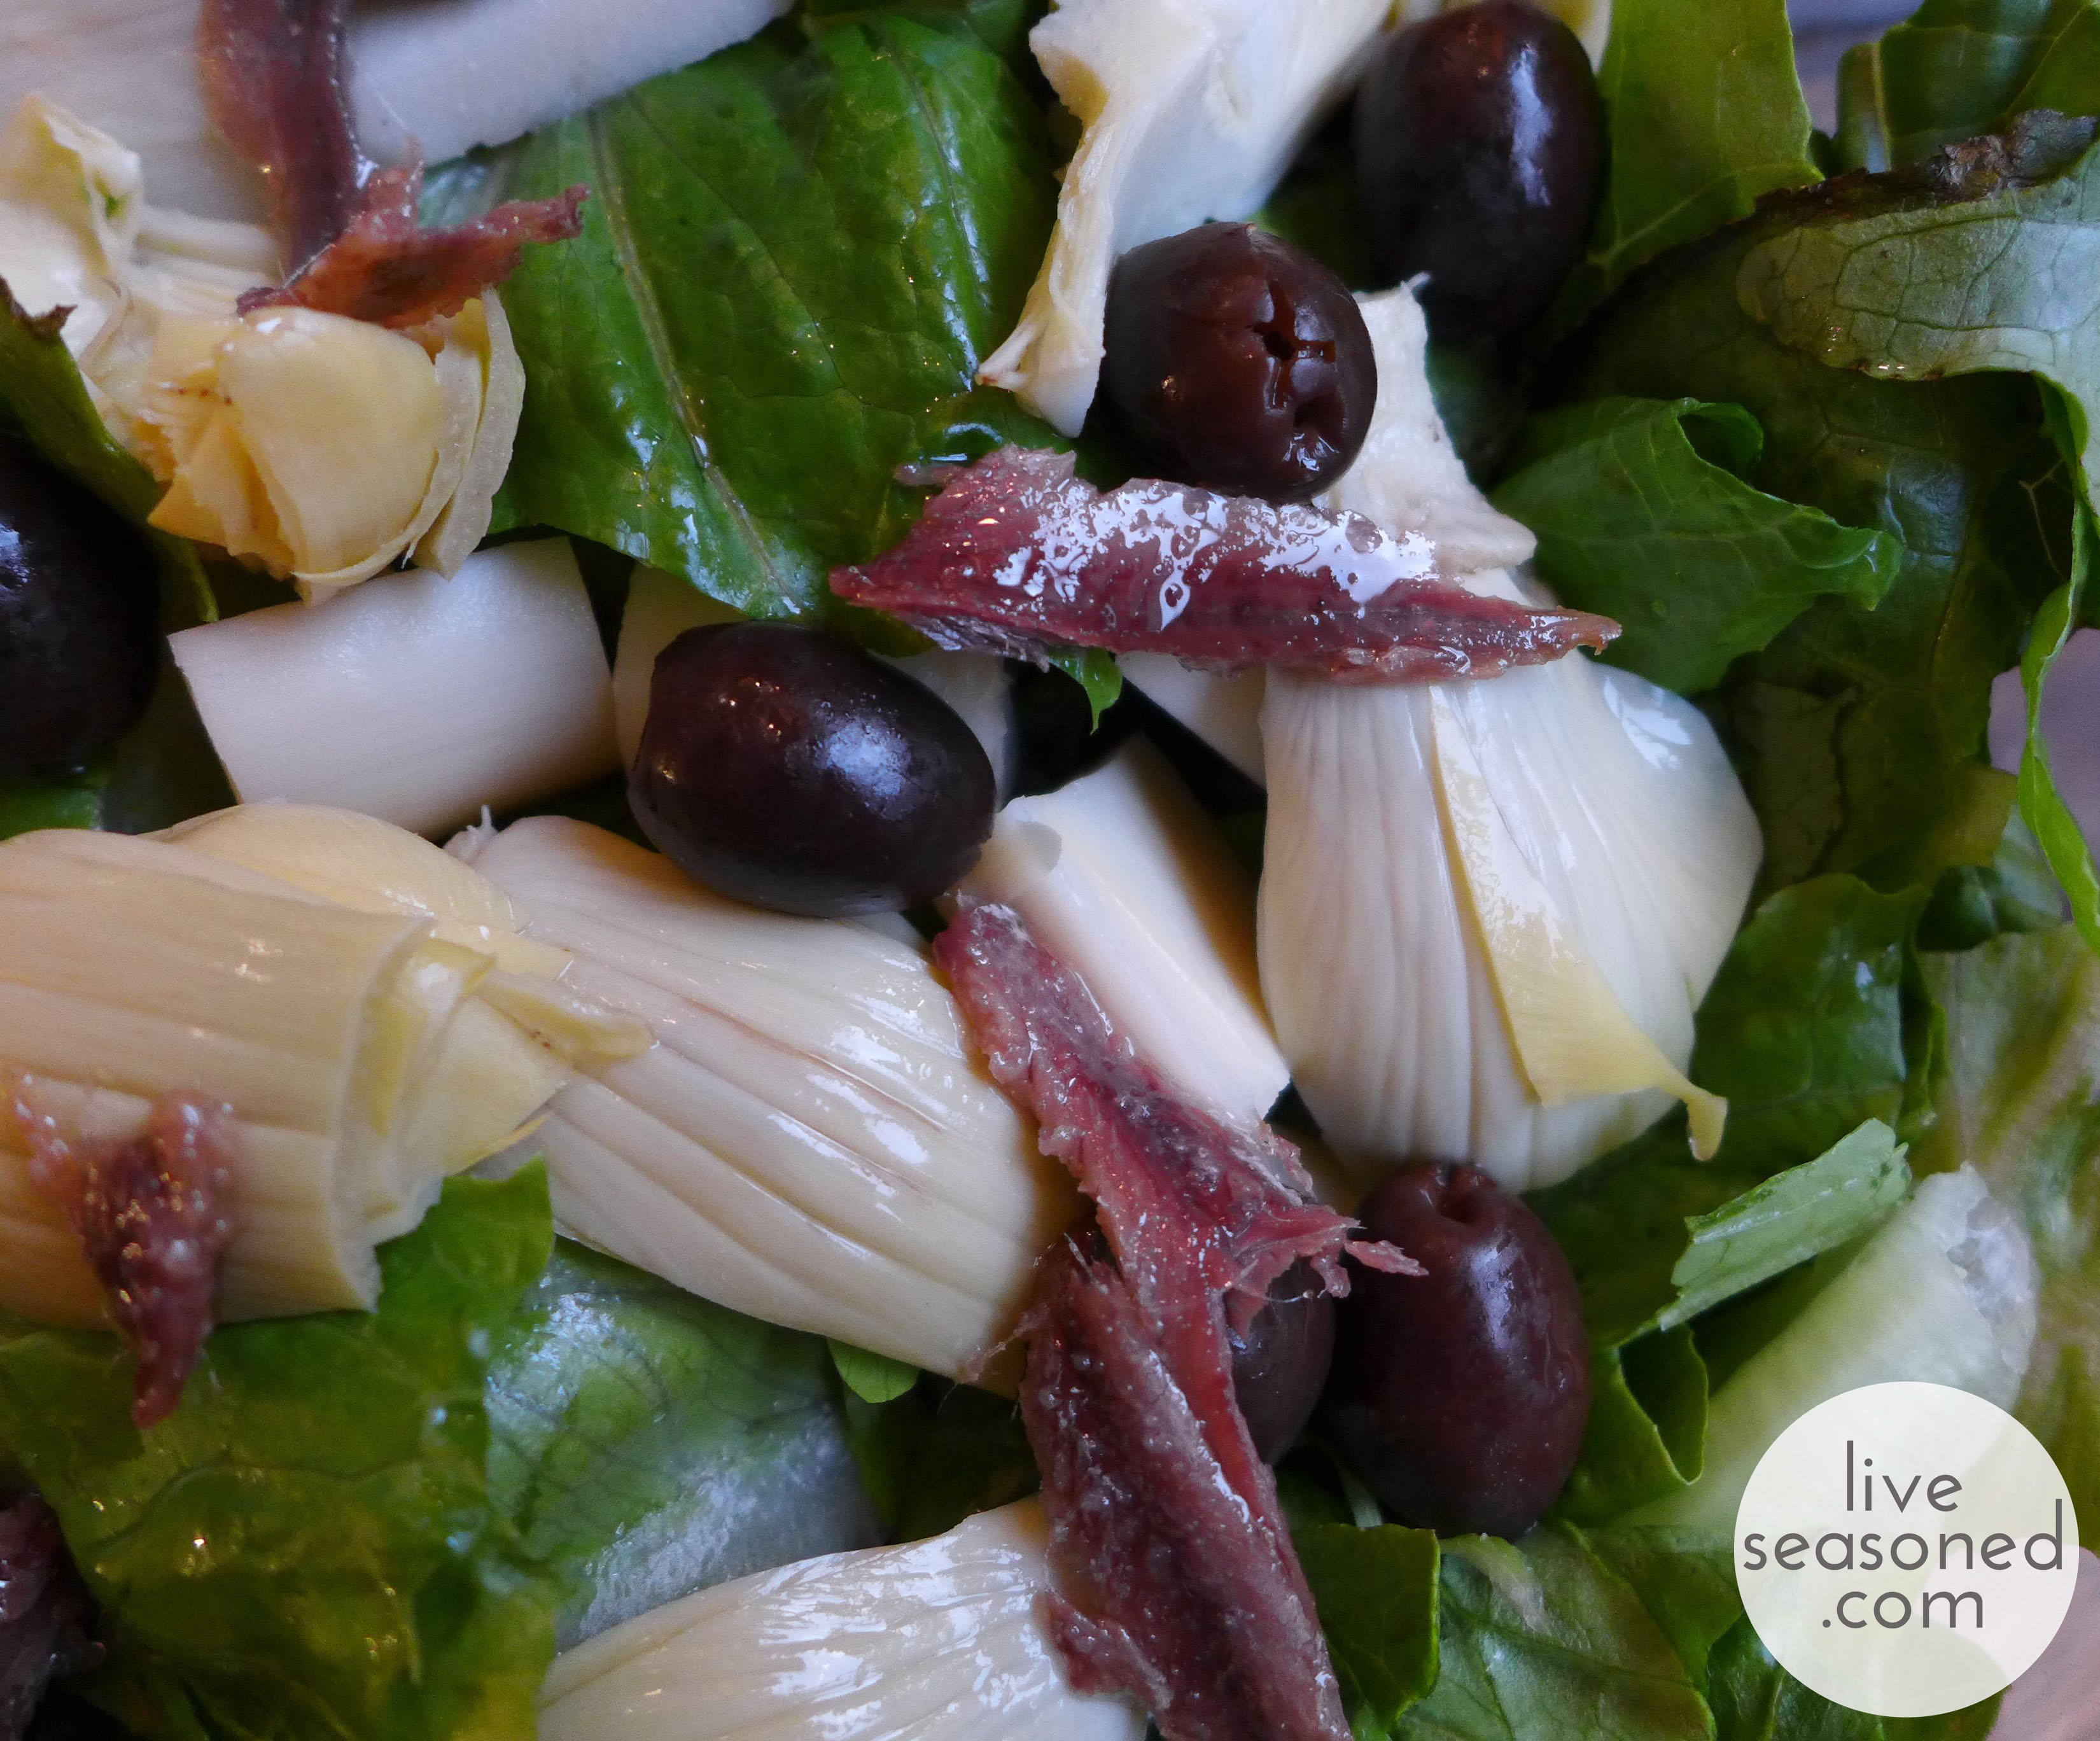
liveseasoned_w2015_wintersalad1_wm

While this may be the simplest recipe we’ve ever published, don’t underestimate it’s quality. I realized we had to share the dish after Calder and I ate it at least a half dozen times over the course of a few weeks!

Ingredients

  • romaine lettuce
  • hearts of palm
  • artichoke hearts
  • black olives
  • anchovies
  • hard boiled eggs (approximately 1 per person or serving)
  • grated parmesan
  • Caesar dressing (we like this creamy one)

Preparation & Serving Suggestions

  • I make this as a large side salad for the two of us, and find that I only need about 1/3 of the can of artichoke hearts and hearts of palm and about a quarter of a can of olives, but you can easily adjust those amounts to suit your taste.
  • Since anchovies aren’t for everyone, they can easily be served on the side, which is what I also do with the egg since I eat them but Calder doesn’t.
  • Finally, we think it’s fun to grate the cheese directly over our servings, so I put that on the table with a grater.
  • And what else can I say about a salad? Add your dressing, give it a thorough toss, and enjoy!

liveseasoned_w2015_wintersalad2_wmSo easy. So good. So perfect for a meal between the many holiday indulgences that arise at this time of year! enjoy*


Balsa Christmas Trees

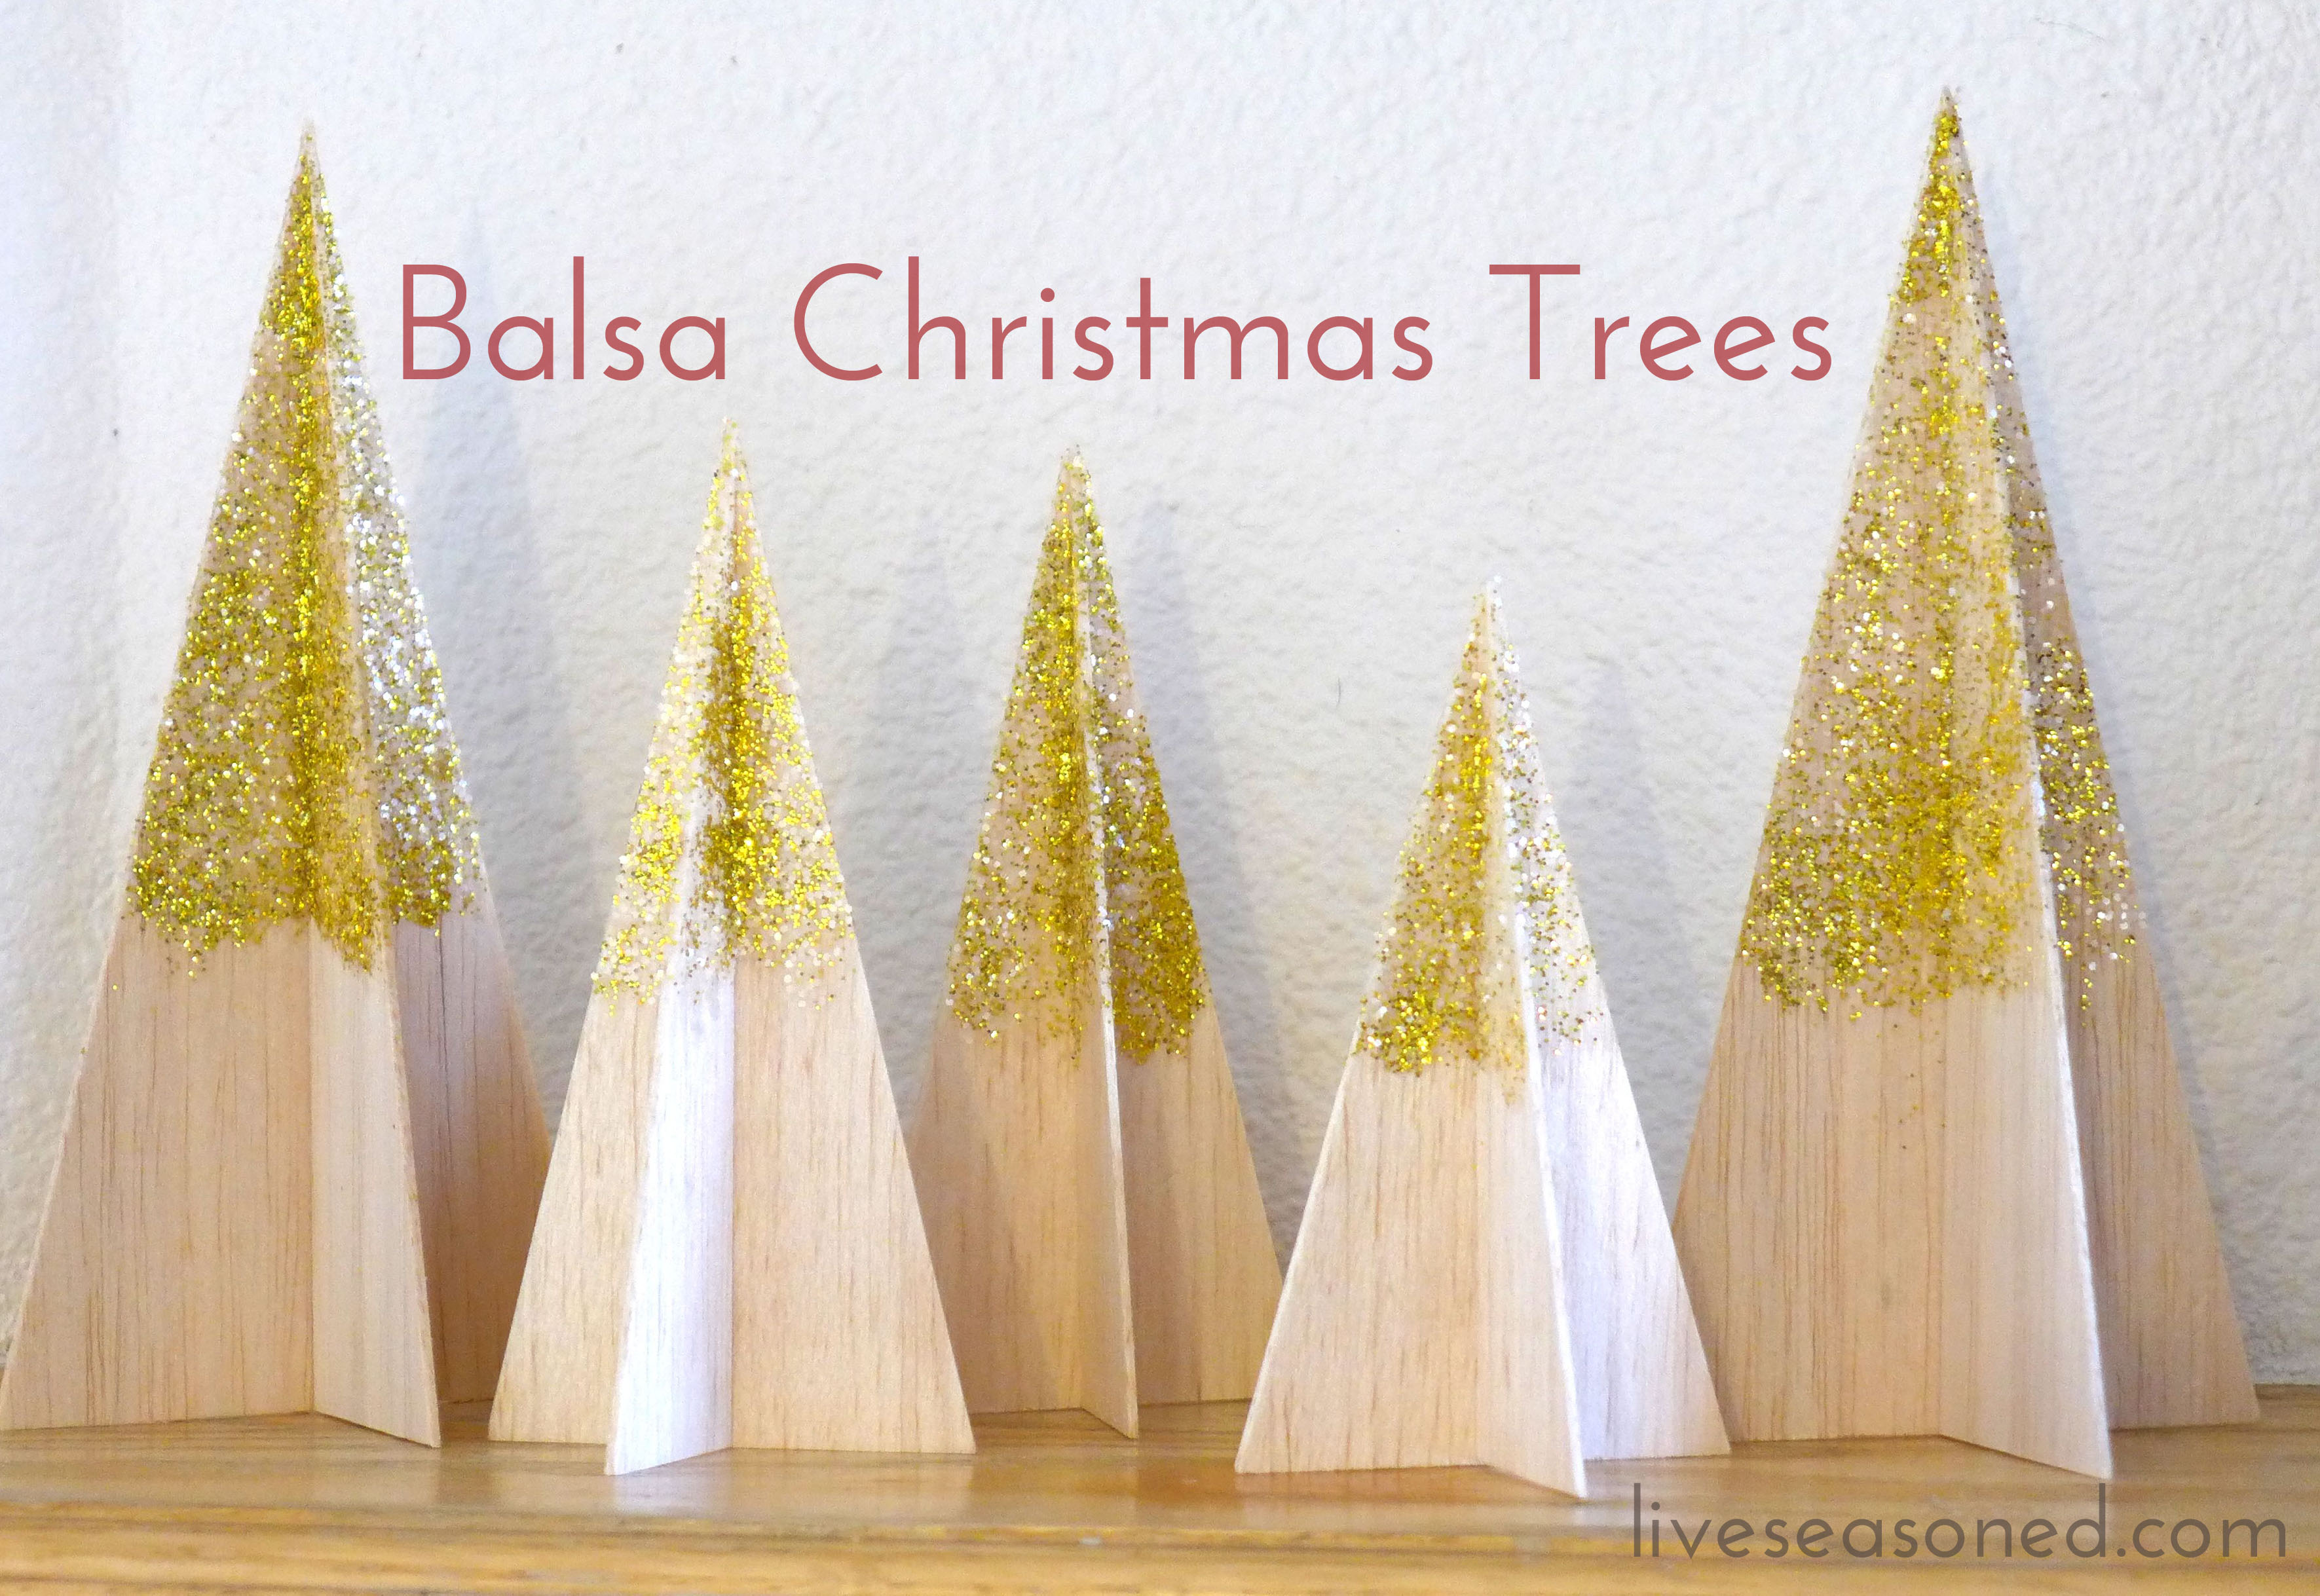
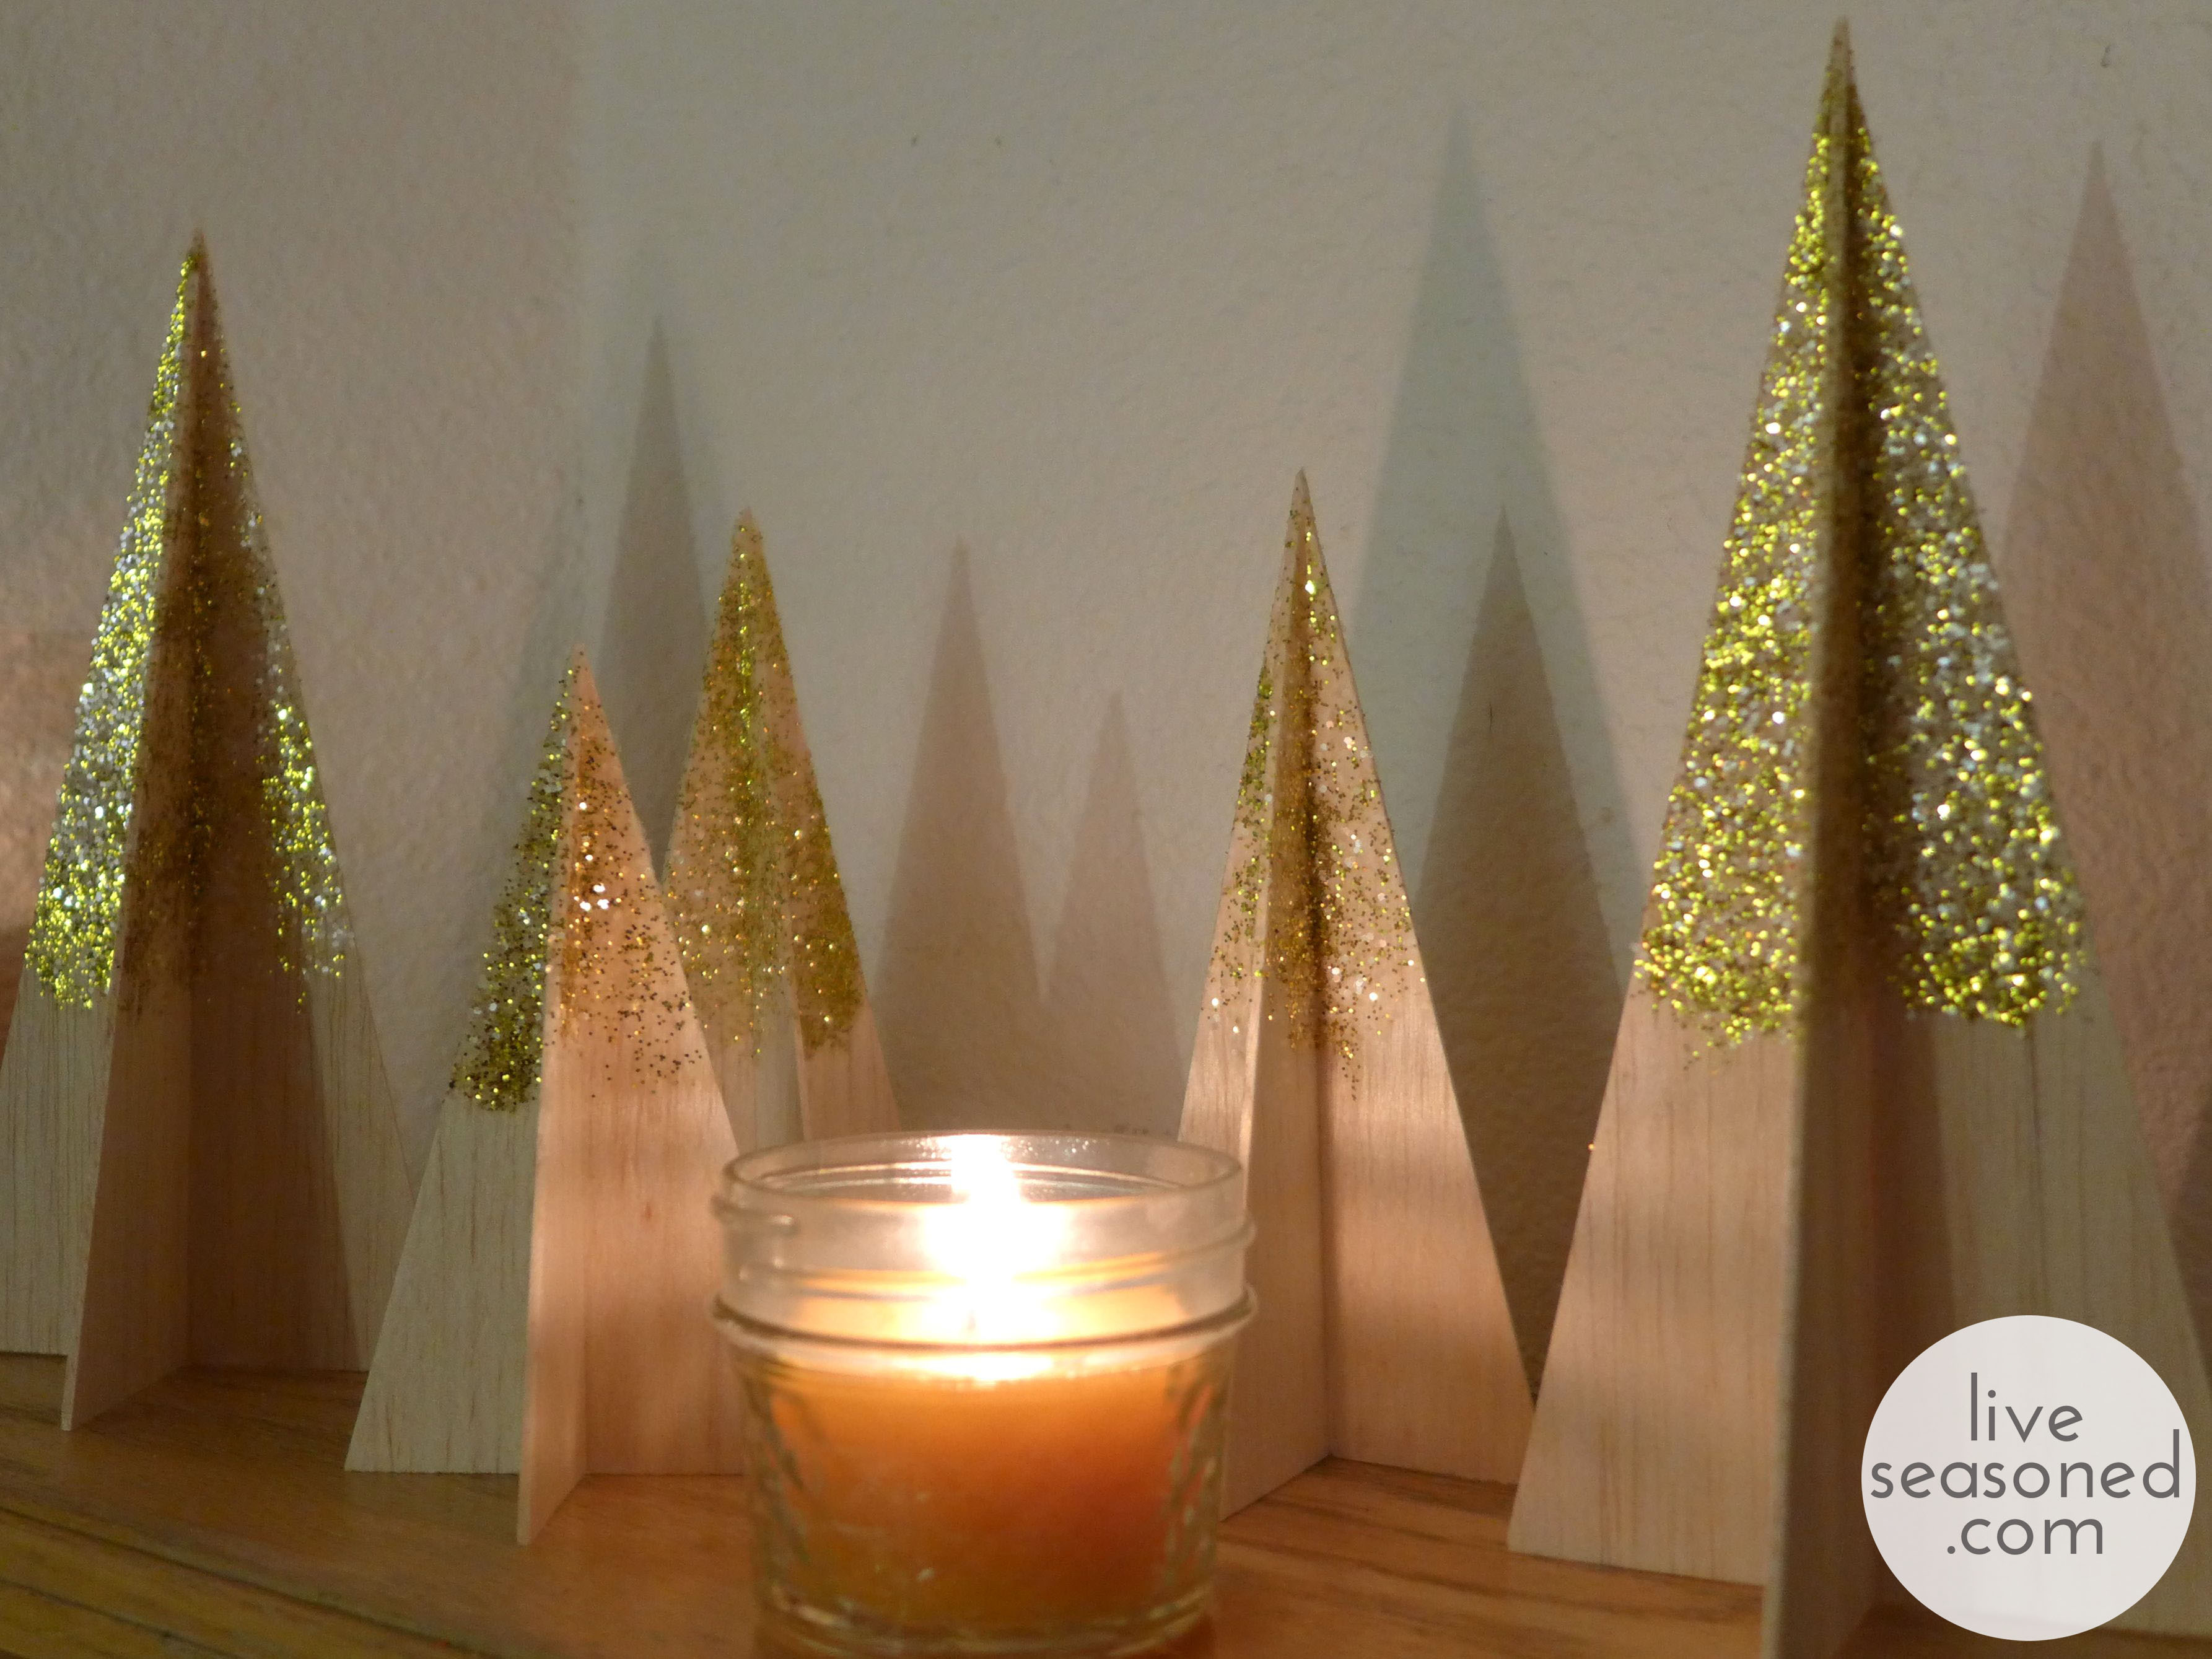
Happy Monday! How was your weekend? Did you get your tree? We had a disappointing, but funny, experience at a local tree “farm”. In more uplifting news, I was excited to realize that we’re almost done with the Christmas shopping! Unbelievable, right? Of course, there’s still a bit of Christmas crafting to do, but I’m feeling confident that it will get done. As a result, I had time to work on some of the decorations that have been on my list. First up ~ some super simple and quick Christmas trees for our mantel.

liveseasoned_w2015_balsatrees14_wm

As I mentioned in my Elving post a couple of weeks ago, browsing Pinterest provided the inspiration for many of my Christmas decorations this year, including these simple Christmas trees. It started when I found an image from this post. I liked the simplicity of those trees and that they were made using balsa wood (no power tools or hard cutting required). I wasn’t as excited about how they were put together – mainly using glue to hold the pieces together. Having also come across this wooden tree post, I knew there was an easier way to build the same tree. And really, between those two posts, you have all the information you need for this project, but I’m happy to share my process photos below. And again I want to stress how quick these trees were to make – with all of the materials on hand, it took me less than an hour and a half to make the five trees from first cut to last dash of glitter!

liveseasoned_w2015_balsatrees13_wm

liveseasoned_w2015_balsatrees1_wm

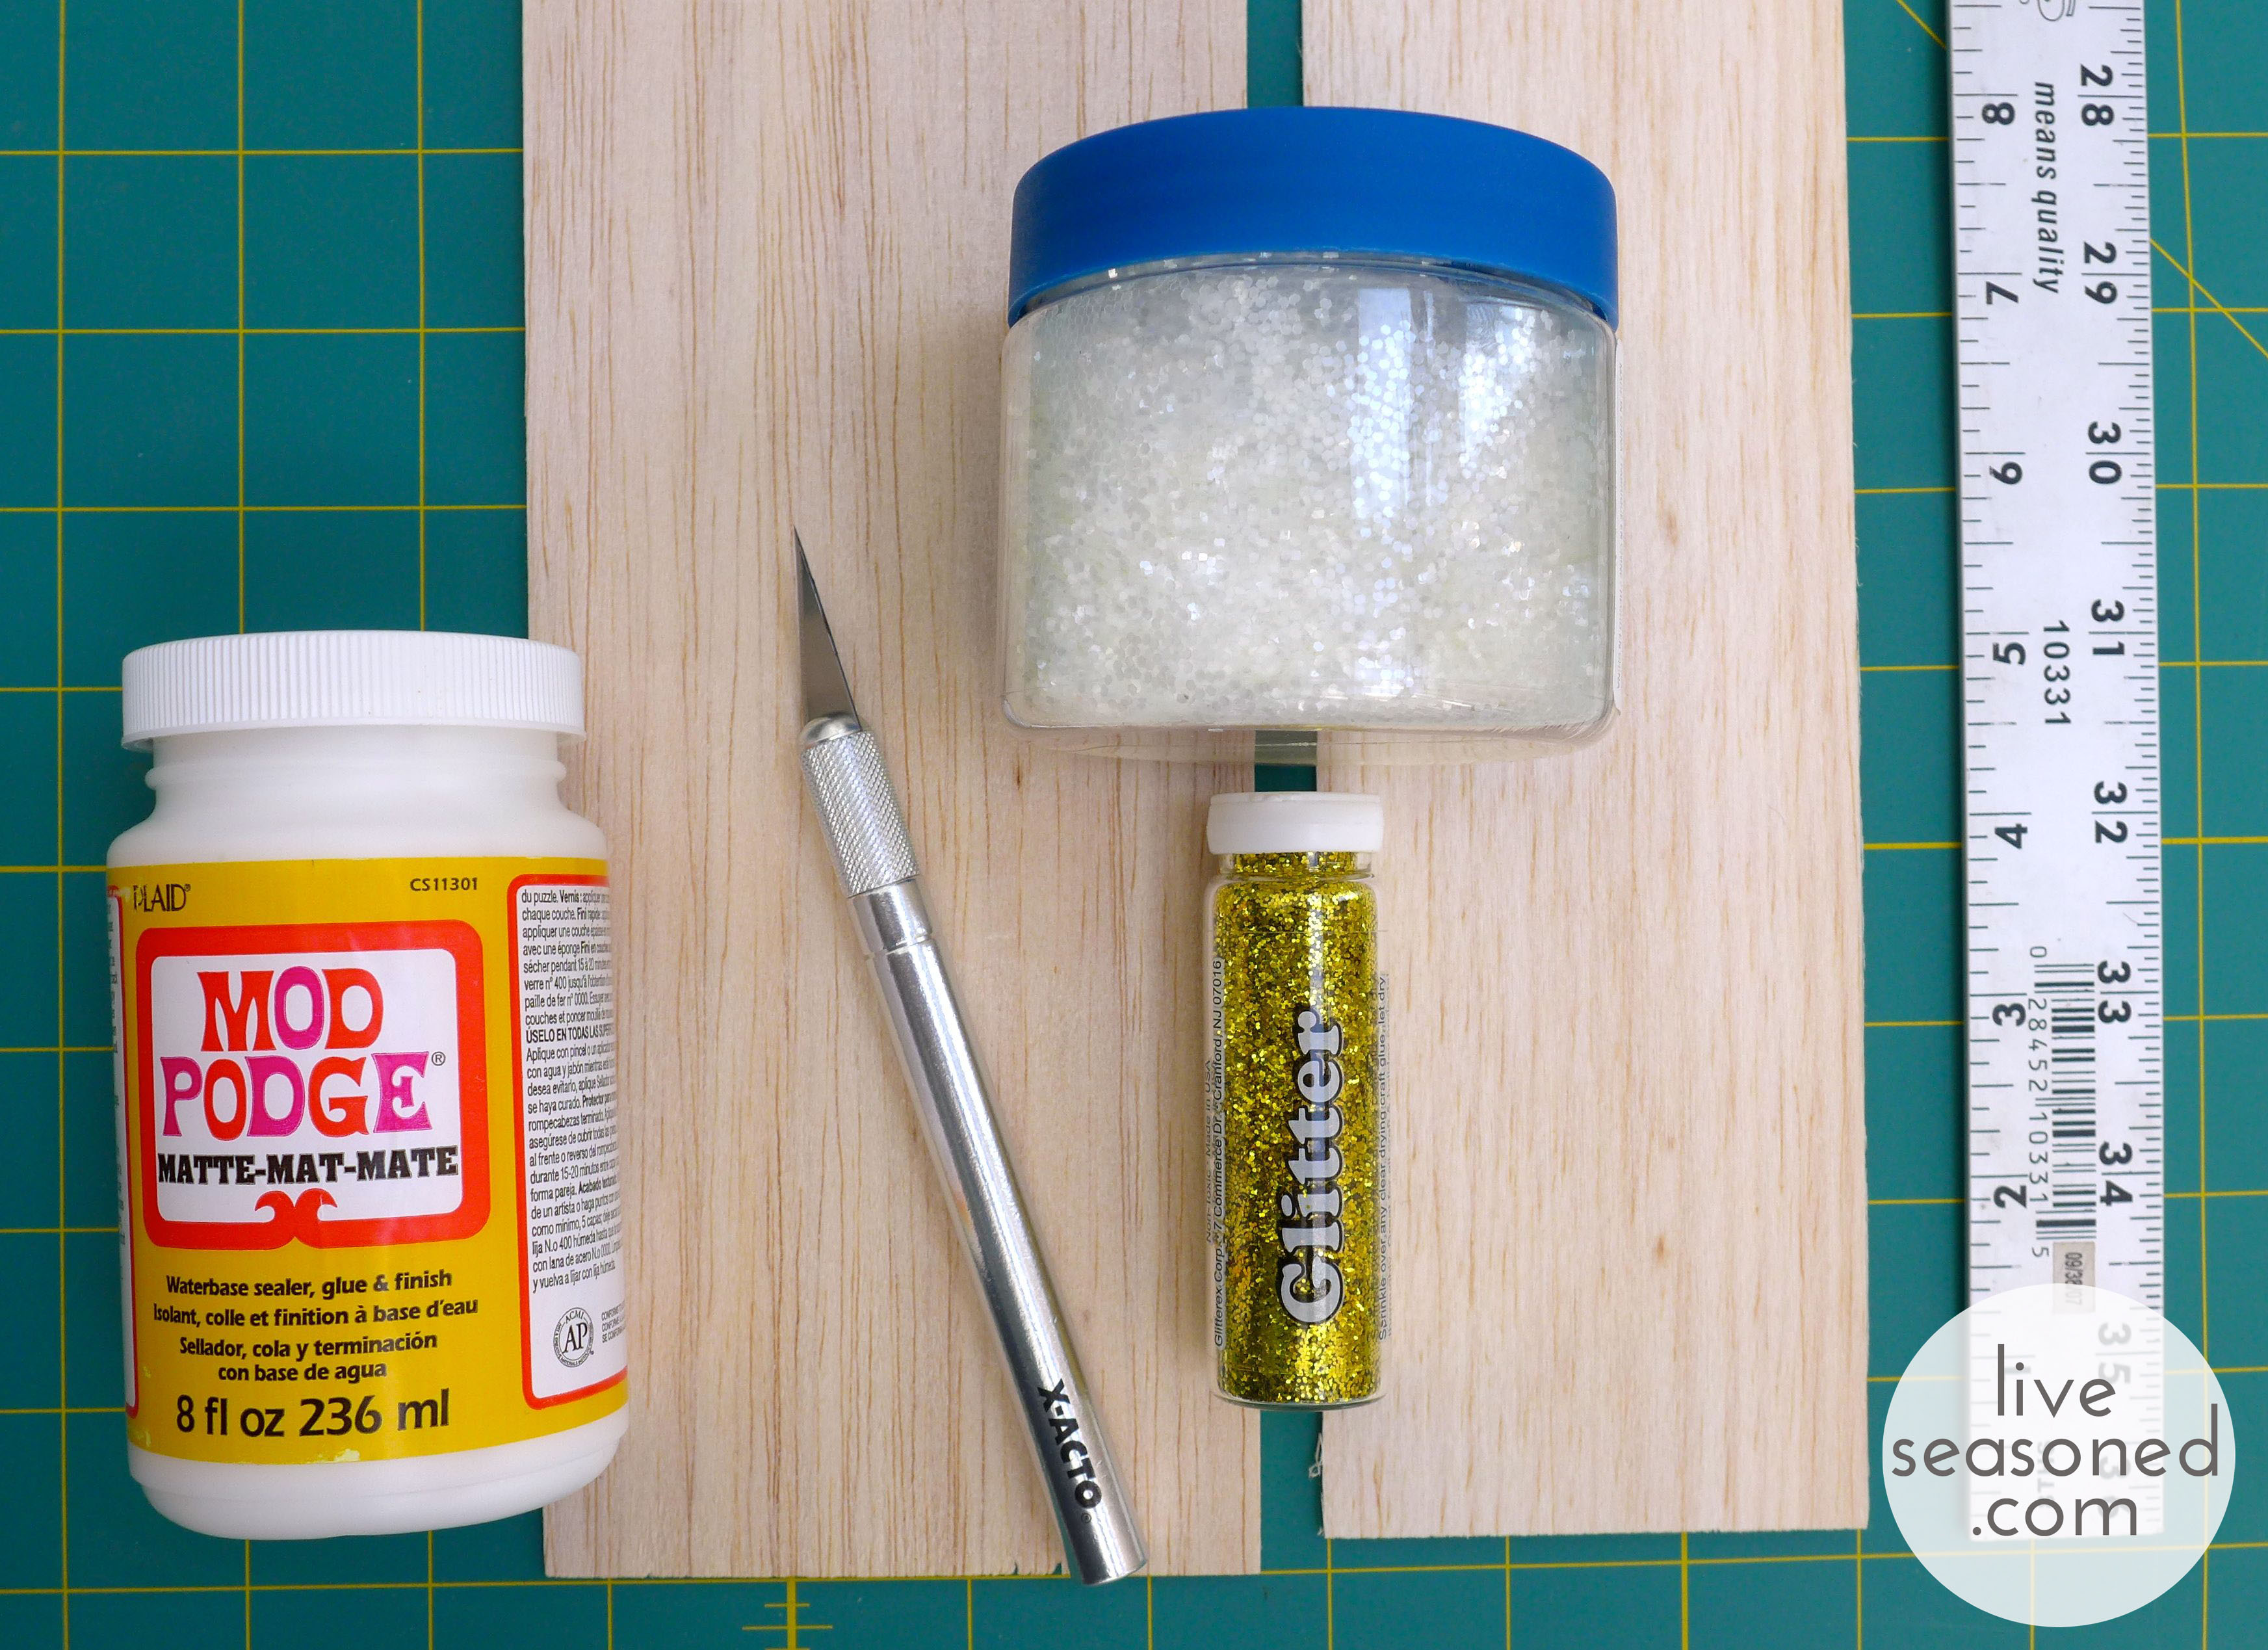
Materials & Tools

  • balsa wood
  • Mod Podge
  • glitter
  • Exacto knife
  • ruler
  • cutting mat or board

About the wood : You can find balsa wood at many crafts stores, but not all (some Joann’s and some Michael’s carry it, but not all). If you’ve never worked with it, balsa wood is extremely soft and very easy to cut with an exacto or craft knife. It comes is a variety of thicknesses and widths, and there is no strict rules as to what you should buy for this project.  I picked up two 36” long and 1/8” thick balsa boards; one was 3” wide and the other was 4” wide.

liveseasoned_w2015_balsatrees3_wm

Process

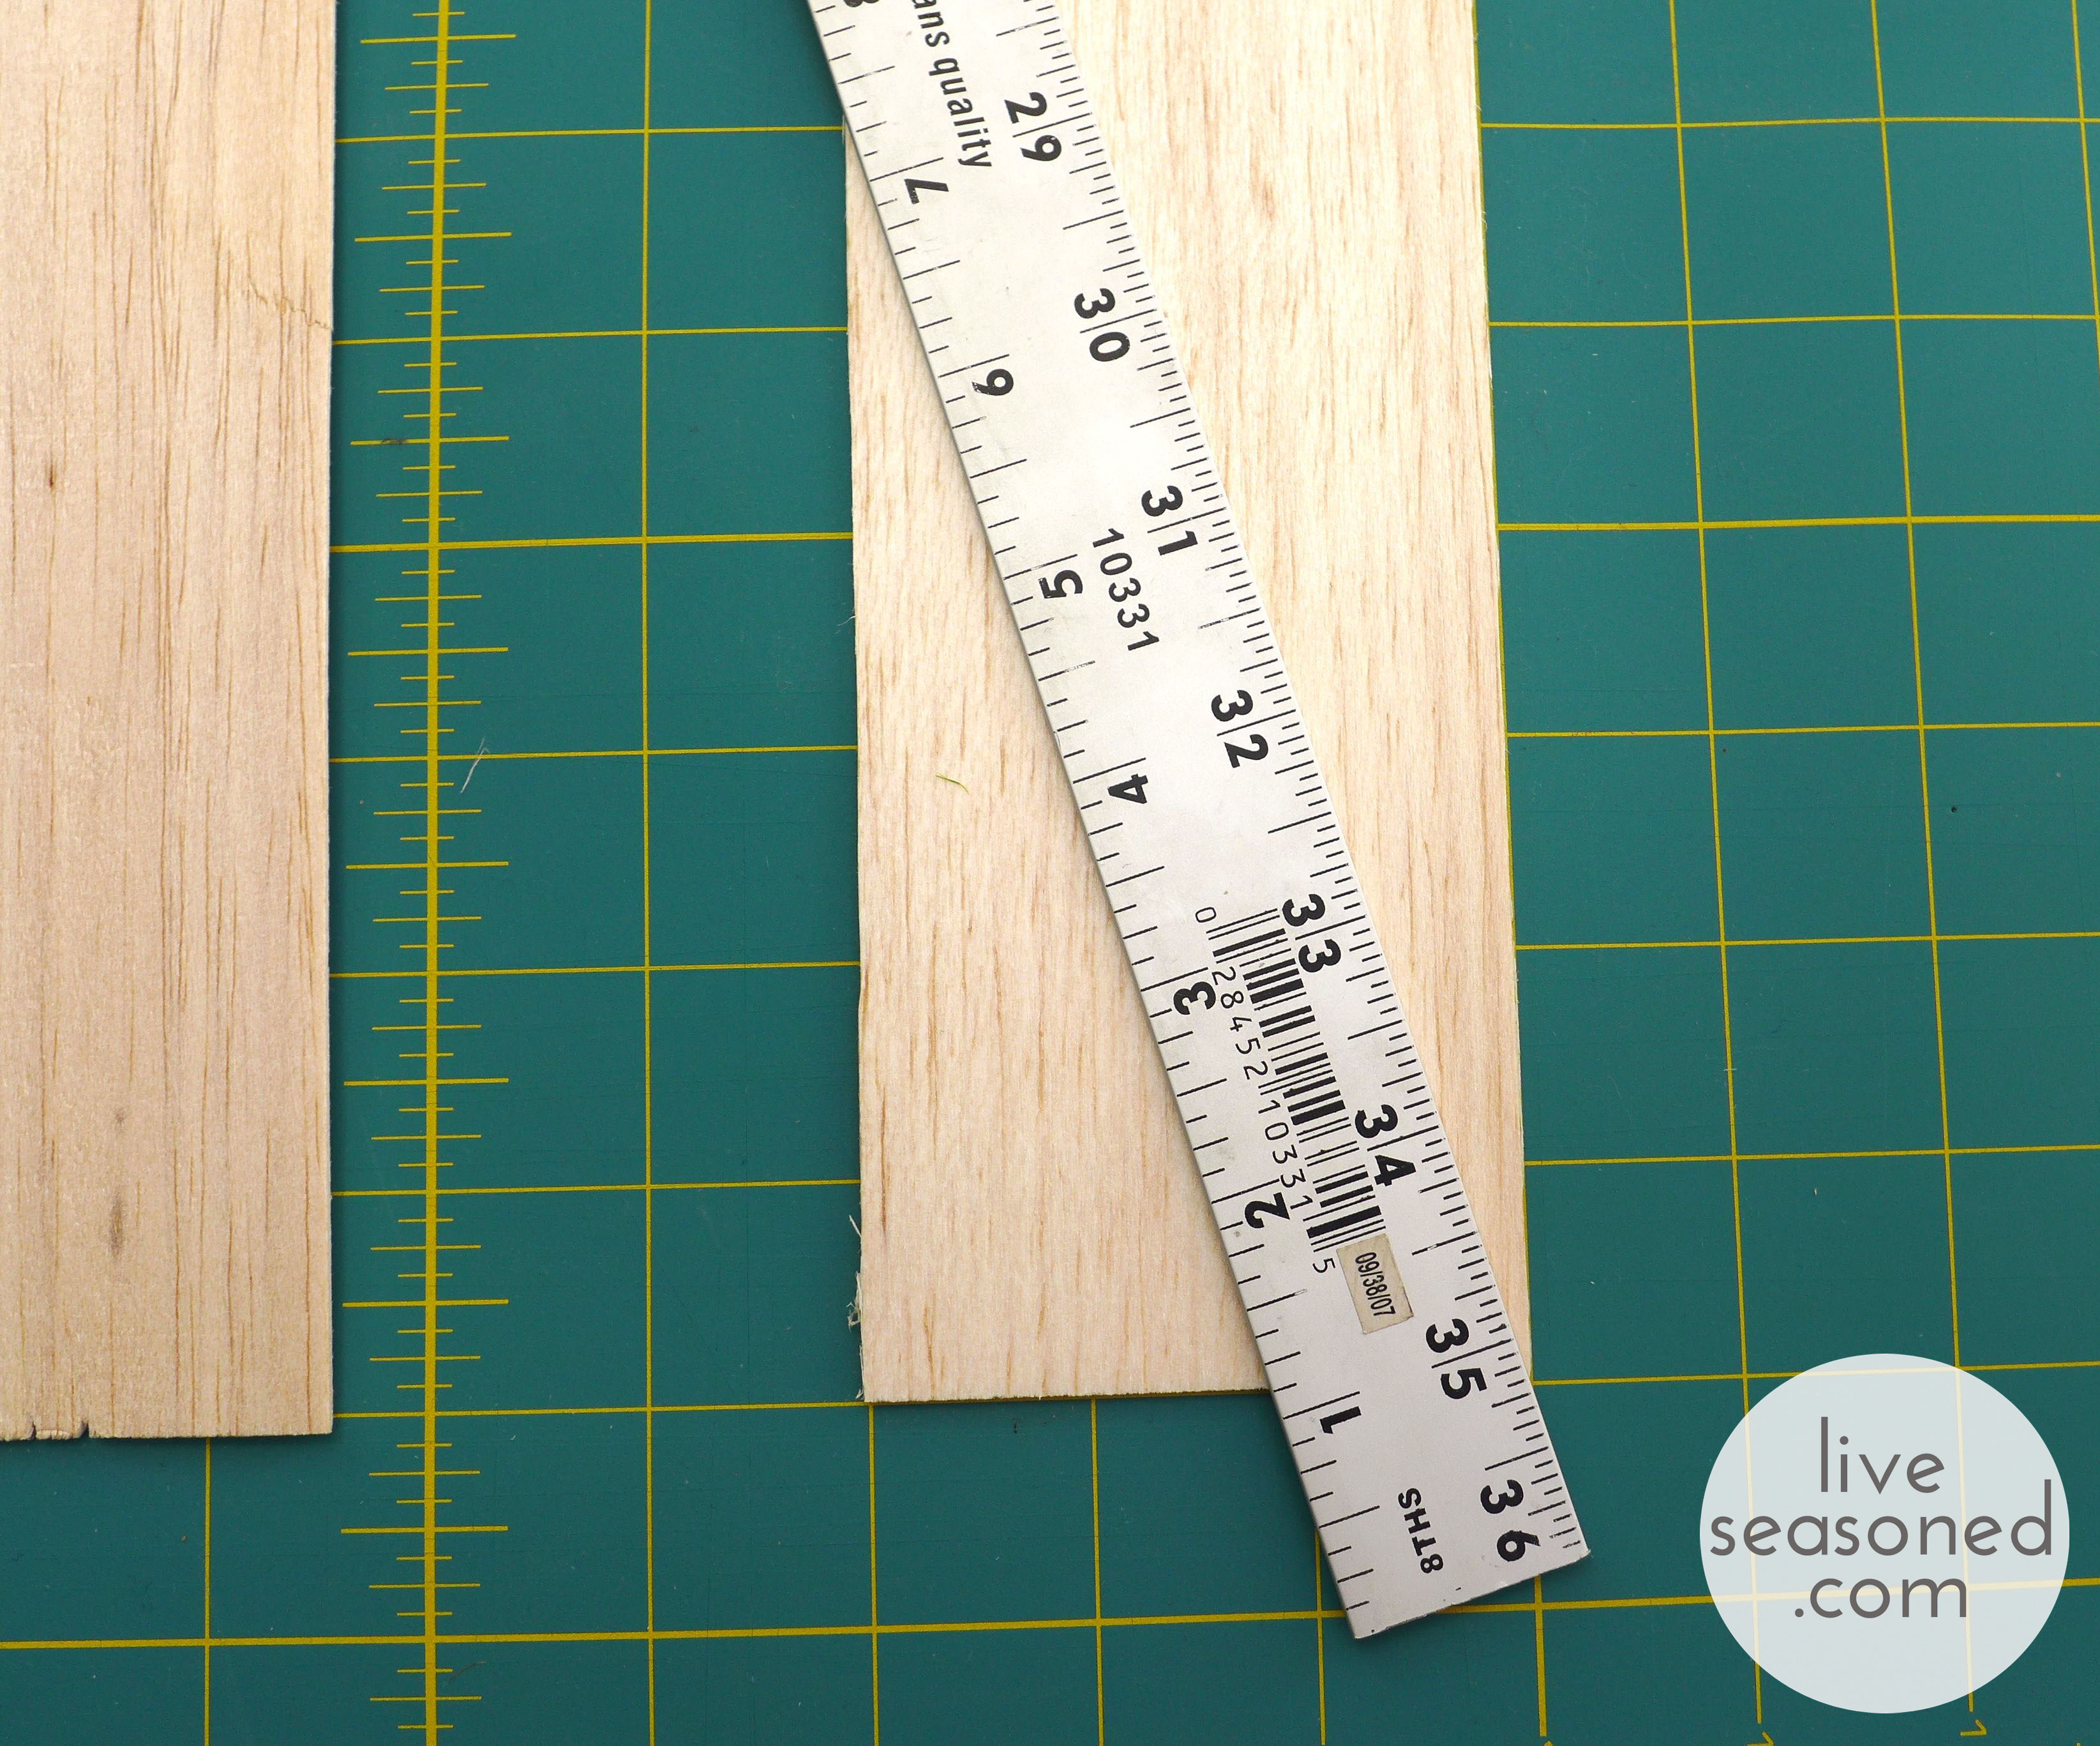
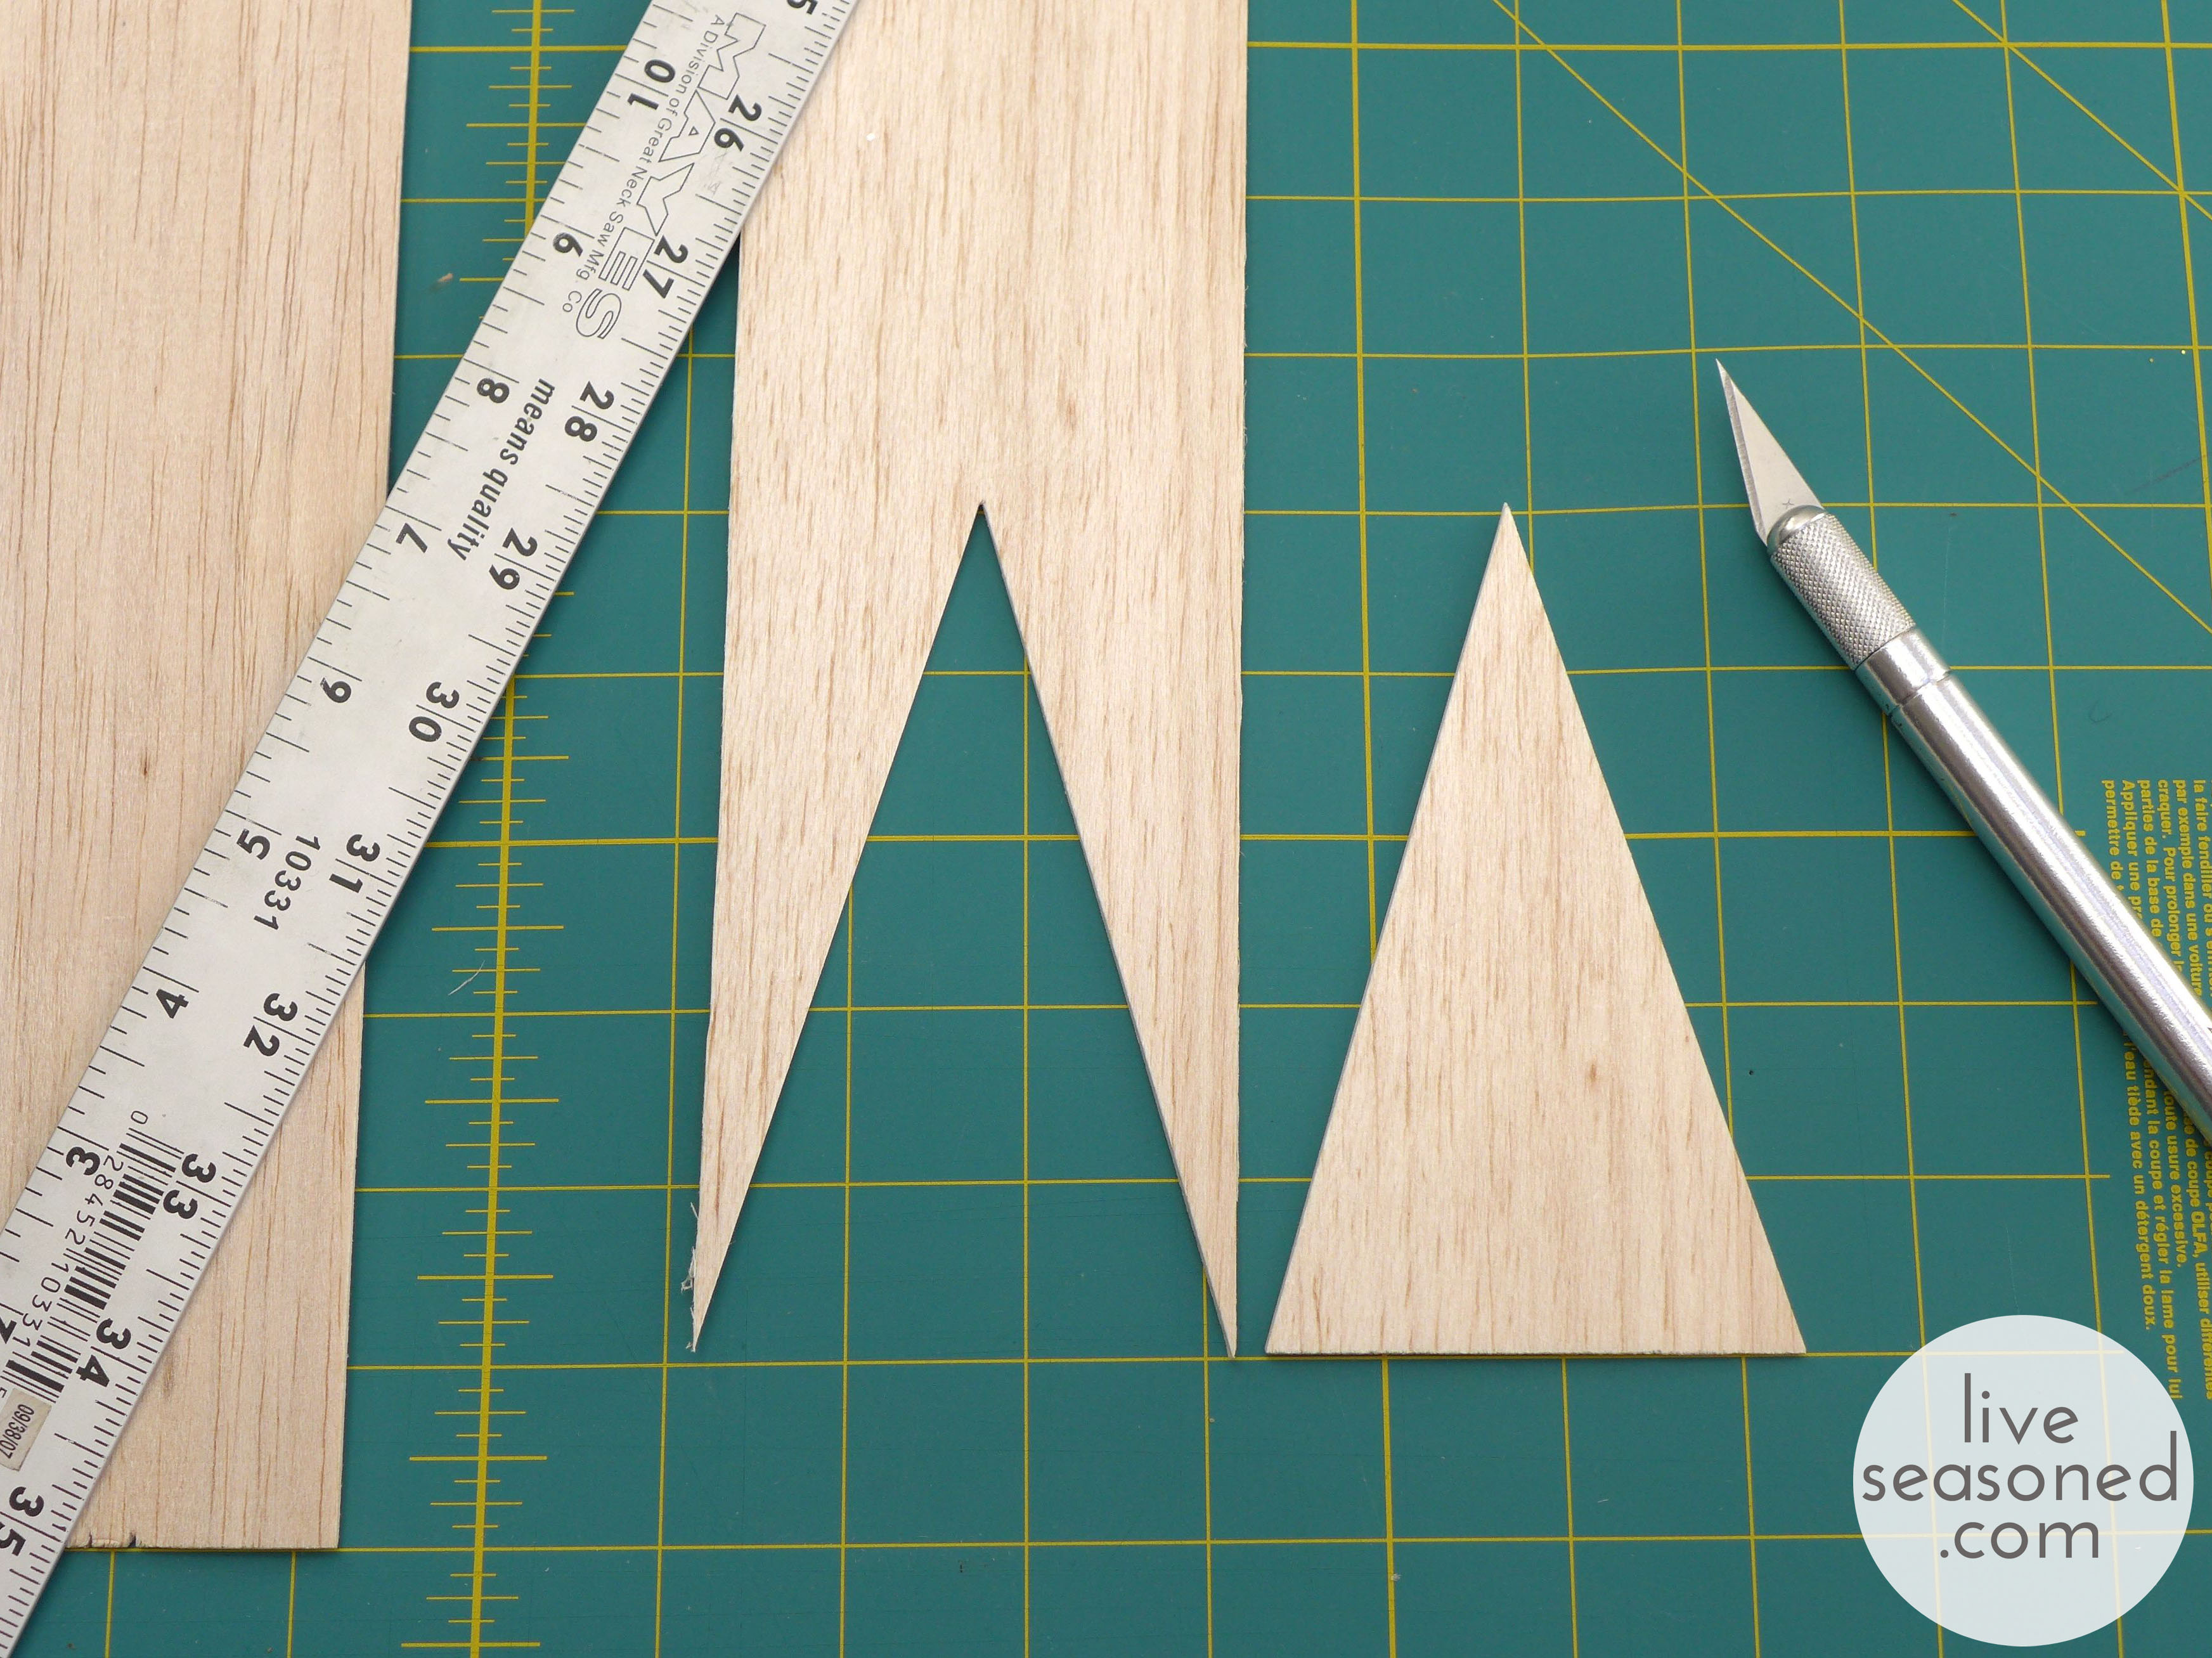
  • Cut two isosceles triangles of the same size. I found that it was easy to do this without using a pen or pencil. Just mark the height of your triangle with a small cut, noting with a poke of your knife where the middle point of the board is width-wise. For example, the tree I’m cutting in the photo above is going to be 5” tall on the 3” wide board. The middle top point of the triangle is at the 31” mark on the ruler above. To cut the sides of the triangle, just place your ruler on the board, so that the ruler’s edge is at a diagonal from one of the bottom triangle points to the top middle point (as I did in the photo above). Make a cut along the ruler, and then follow this same process to cut the other side of the triangle.

liveseasoned_w2015_balsatrees4_wm


liveseasoned_w2015_balsatrees5_wm

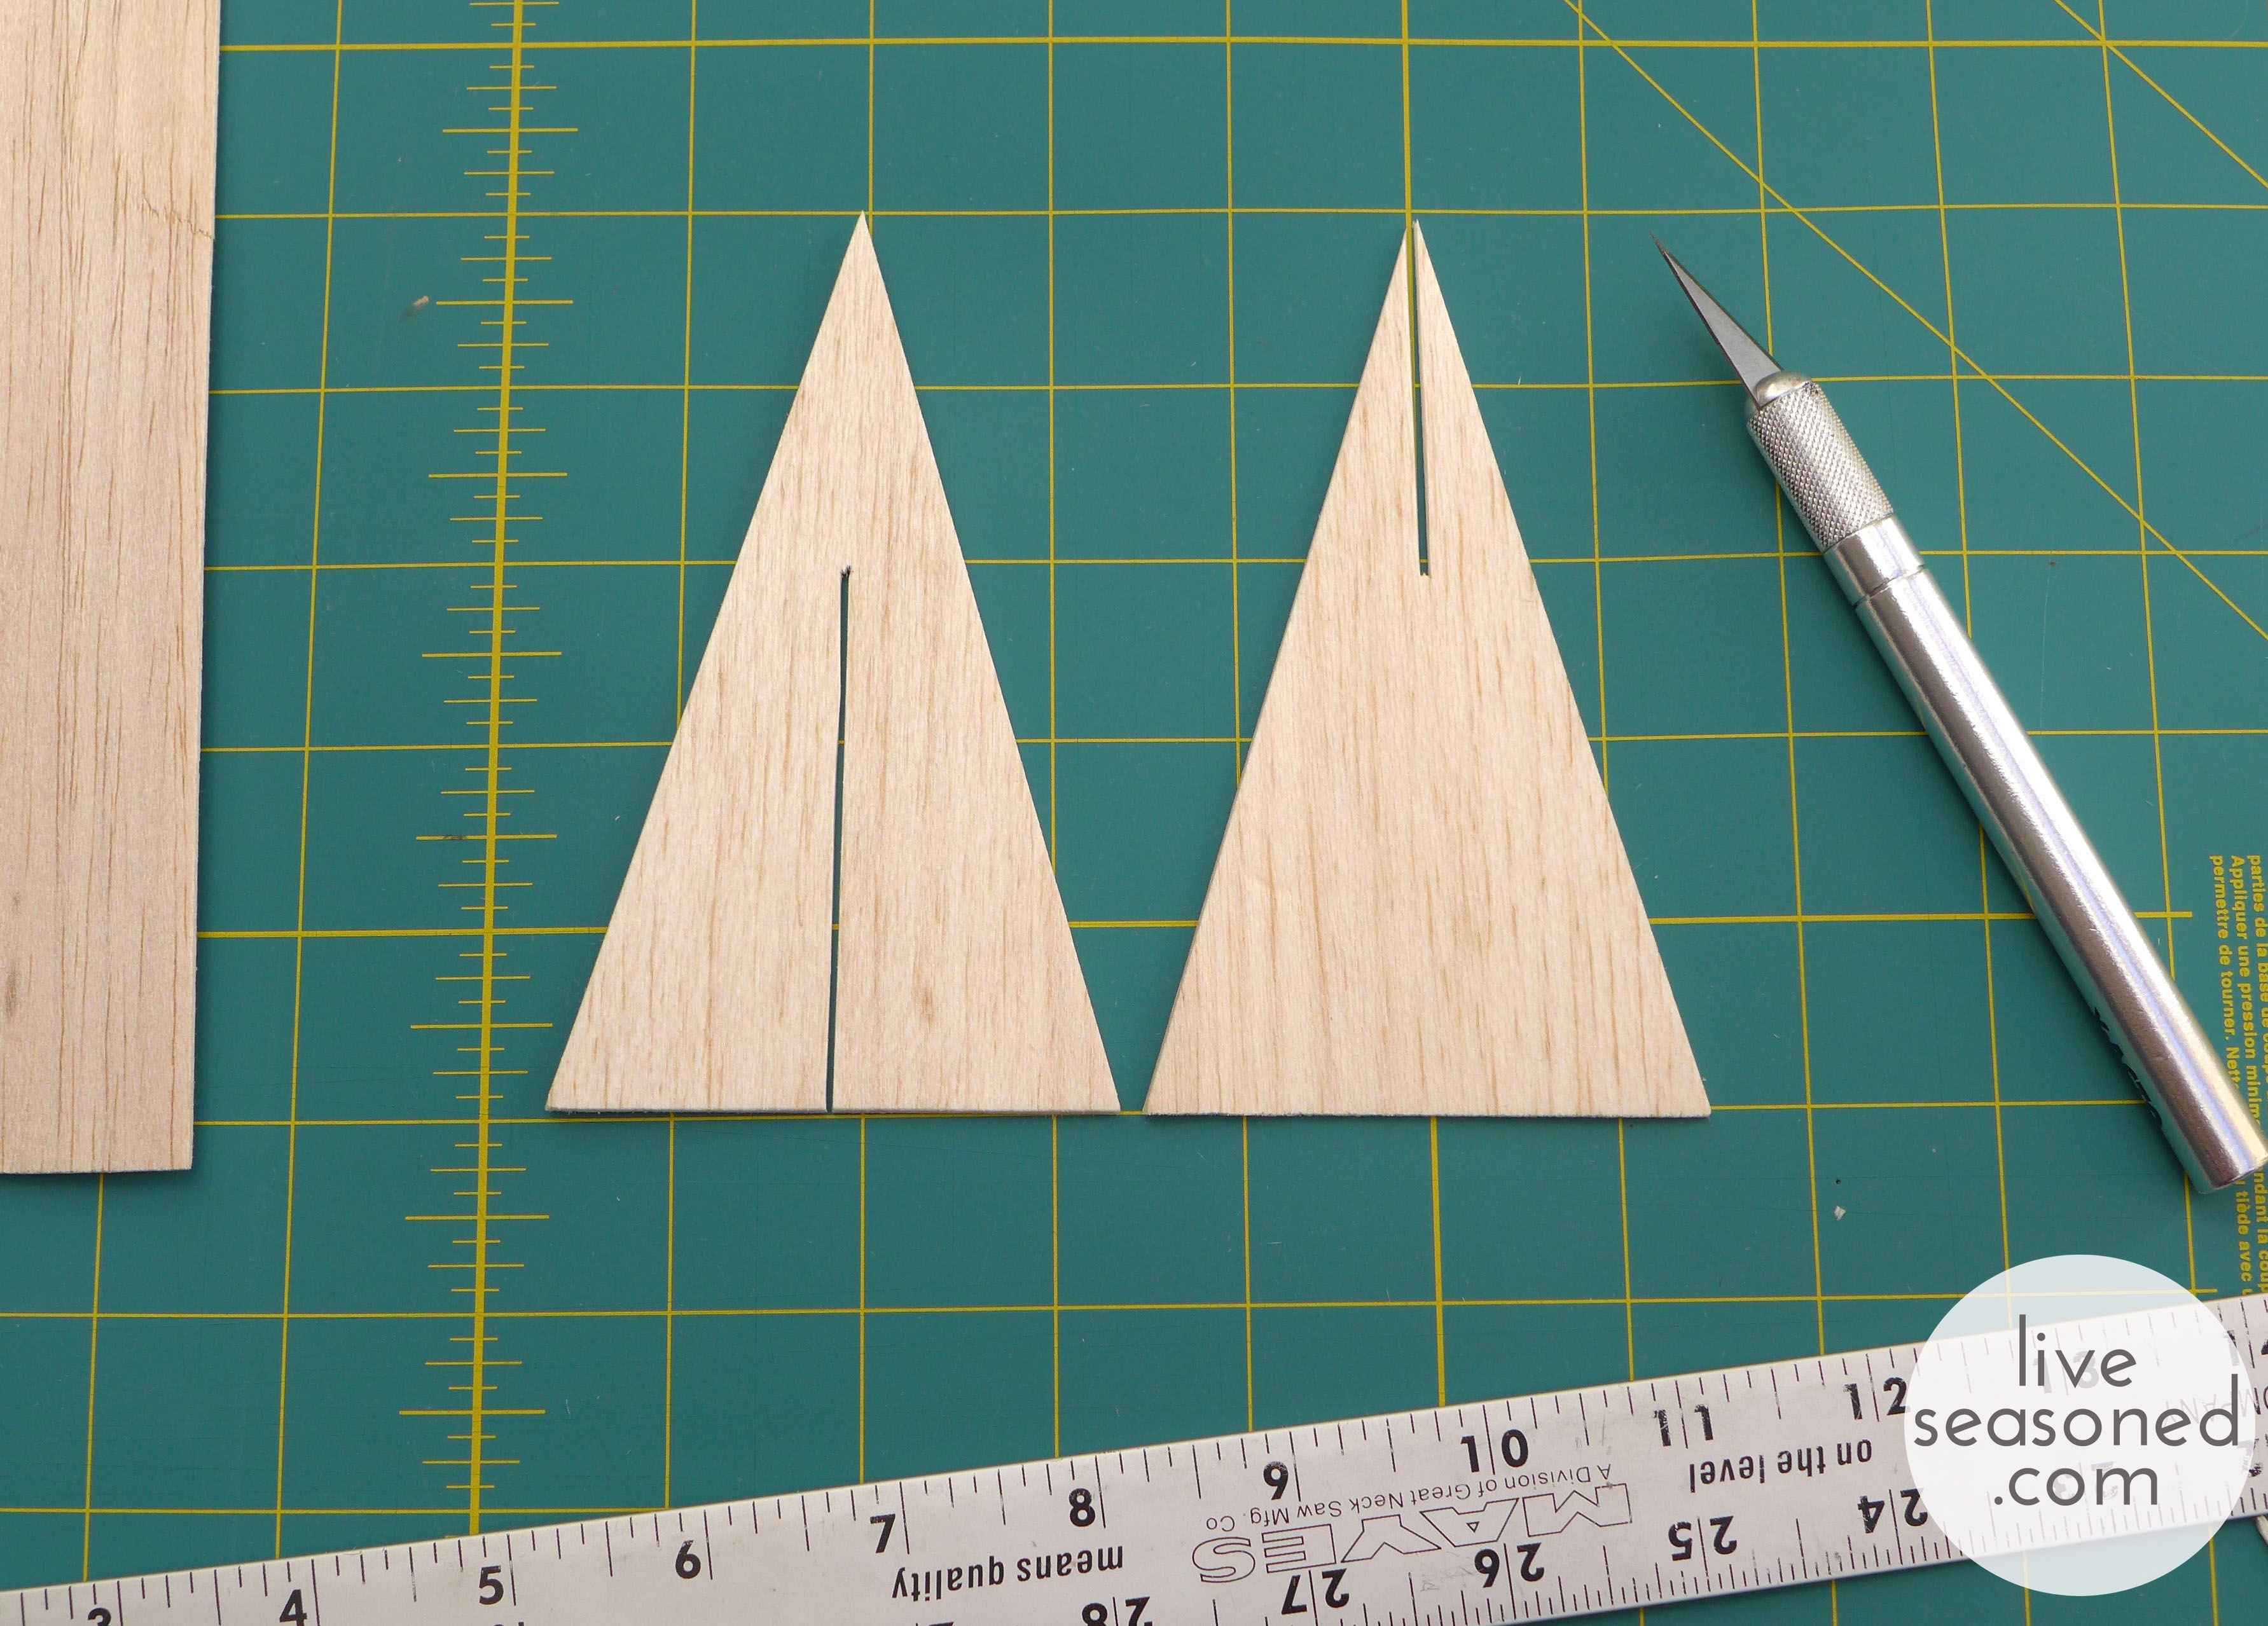
  • Following the image above, cut the slits that will be used to fit your triangles together. You want to cut a slit in each triangle that is as wide as the width of your wood (1/8” in my case). One piece will have a slit that runs from the top middle of the triangle halfway down the height of the tree. The other triangle will have a slit that runs from the bottom middle of the triangle halfway up the height of the tree.

liveseasoned_w2015_balsatrees6_wm

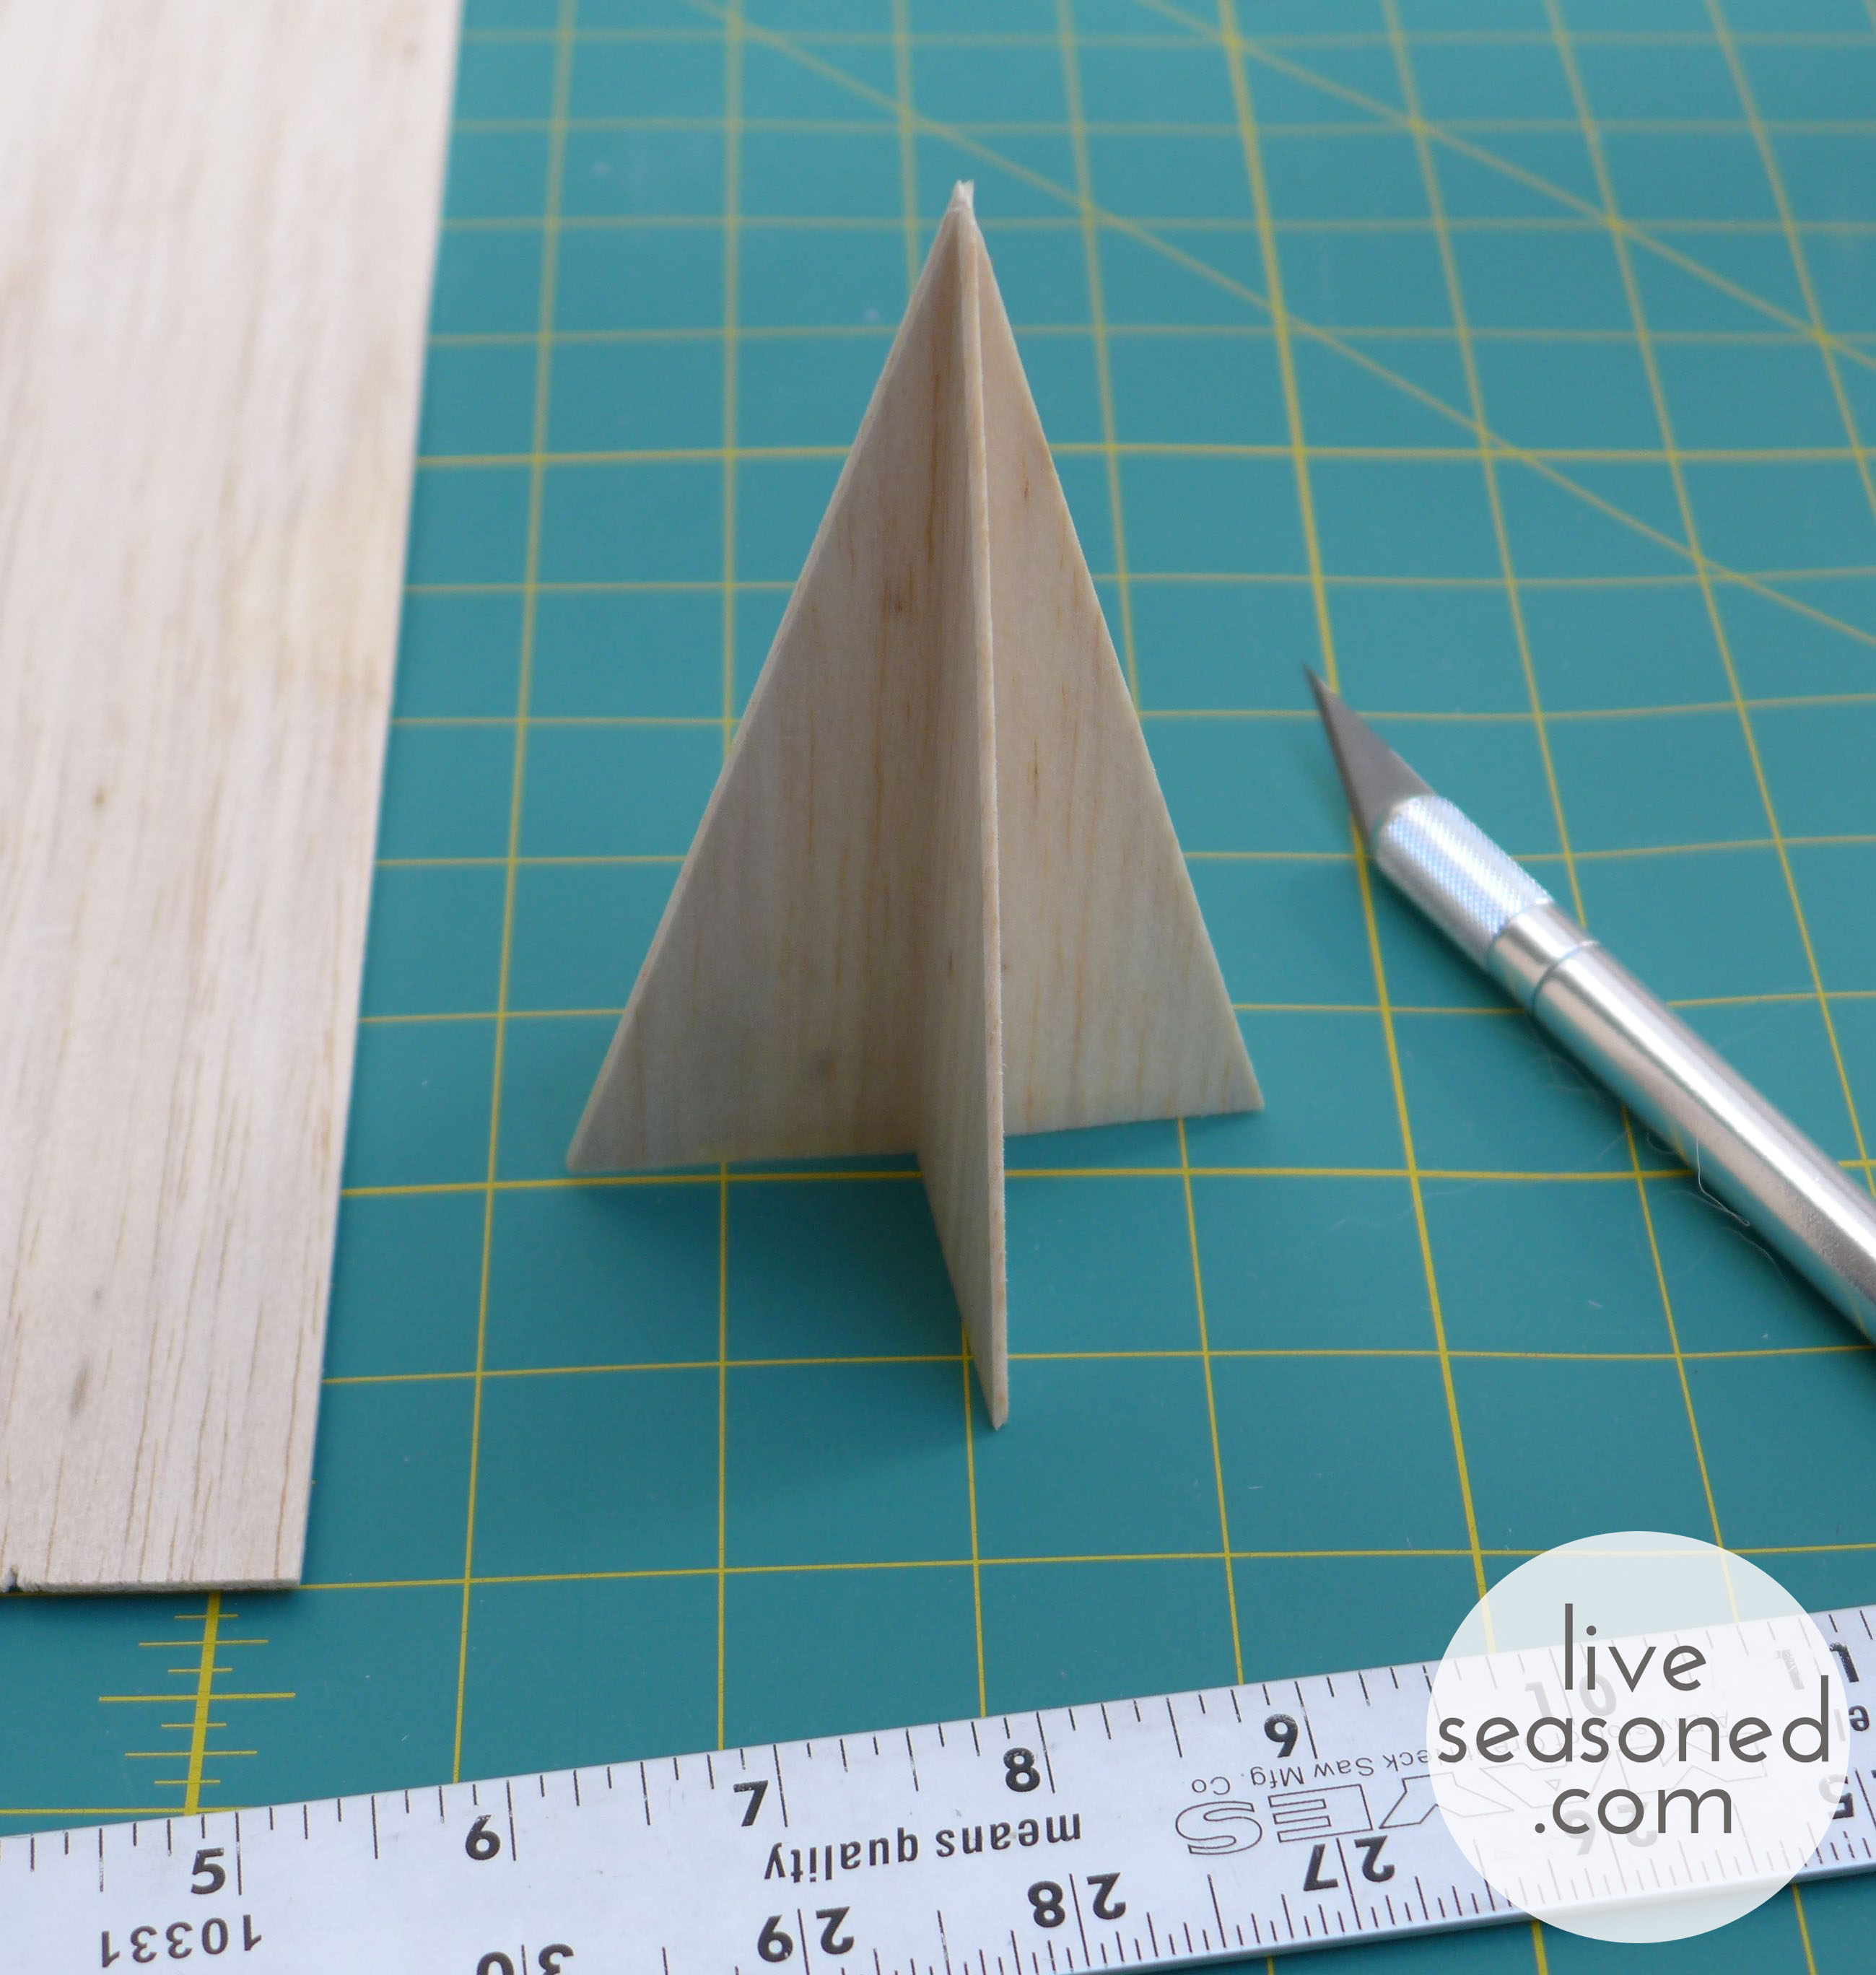
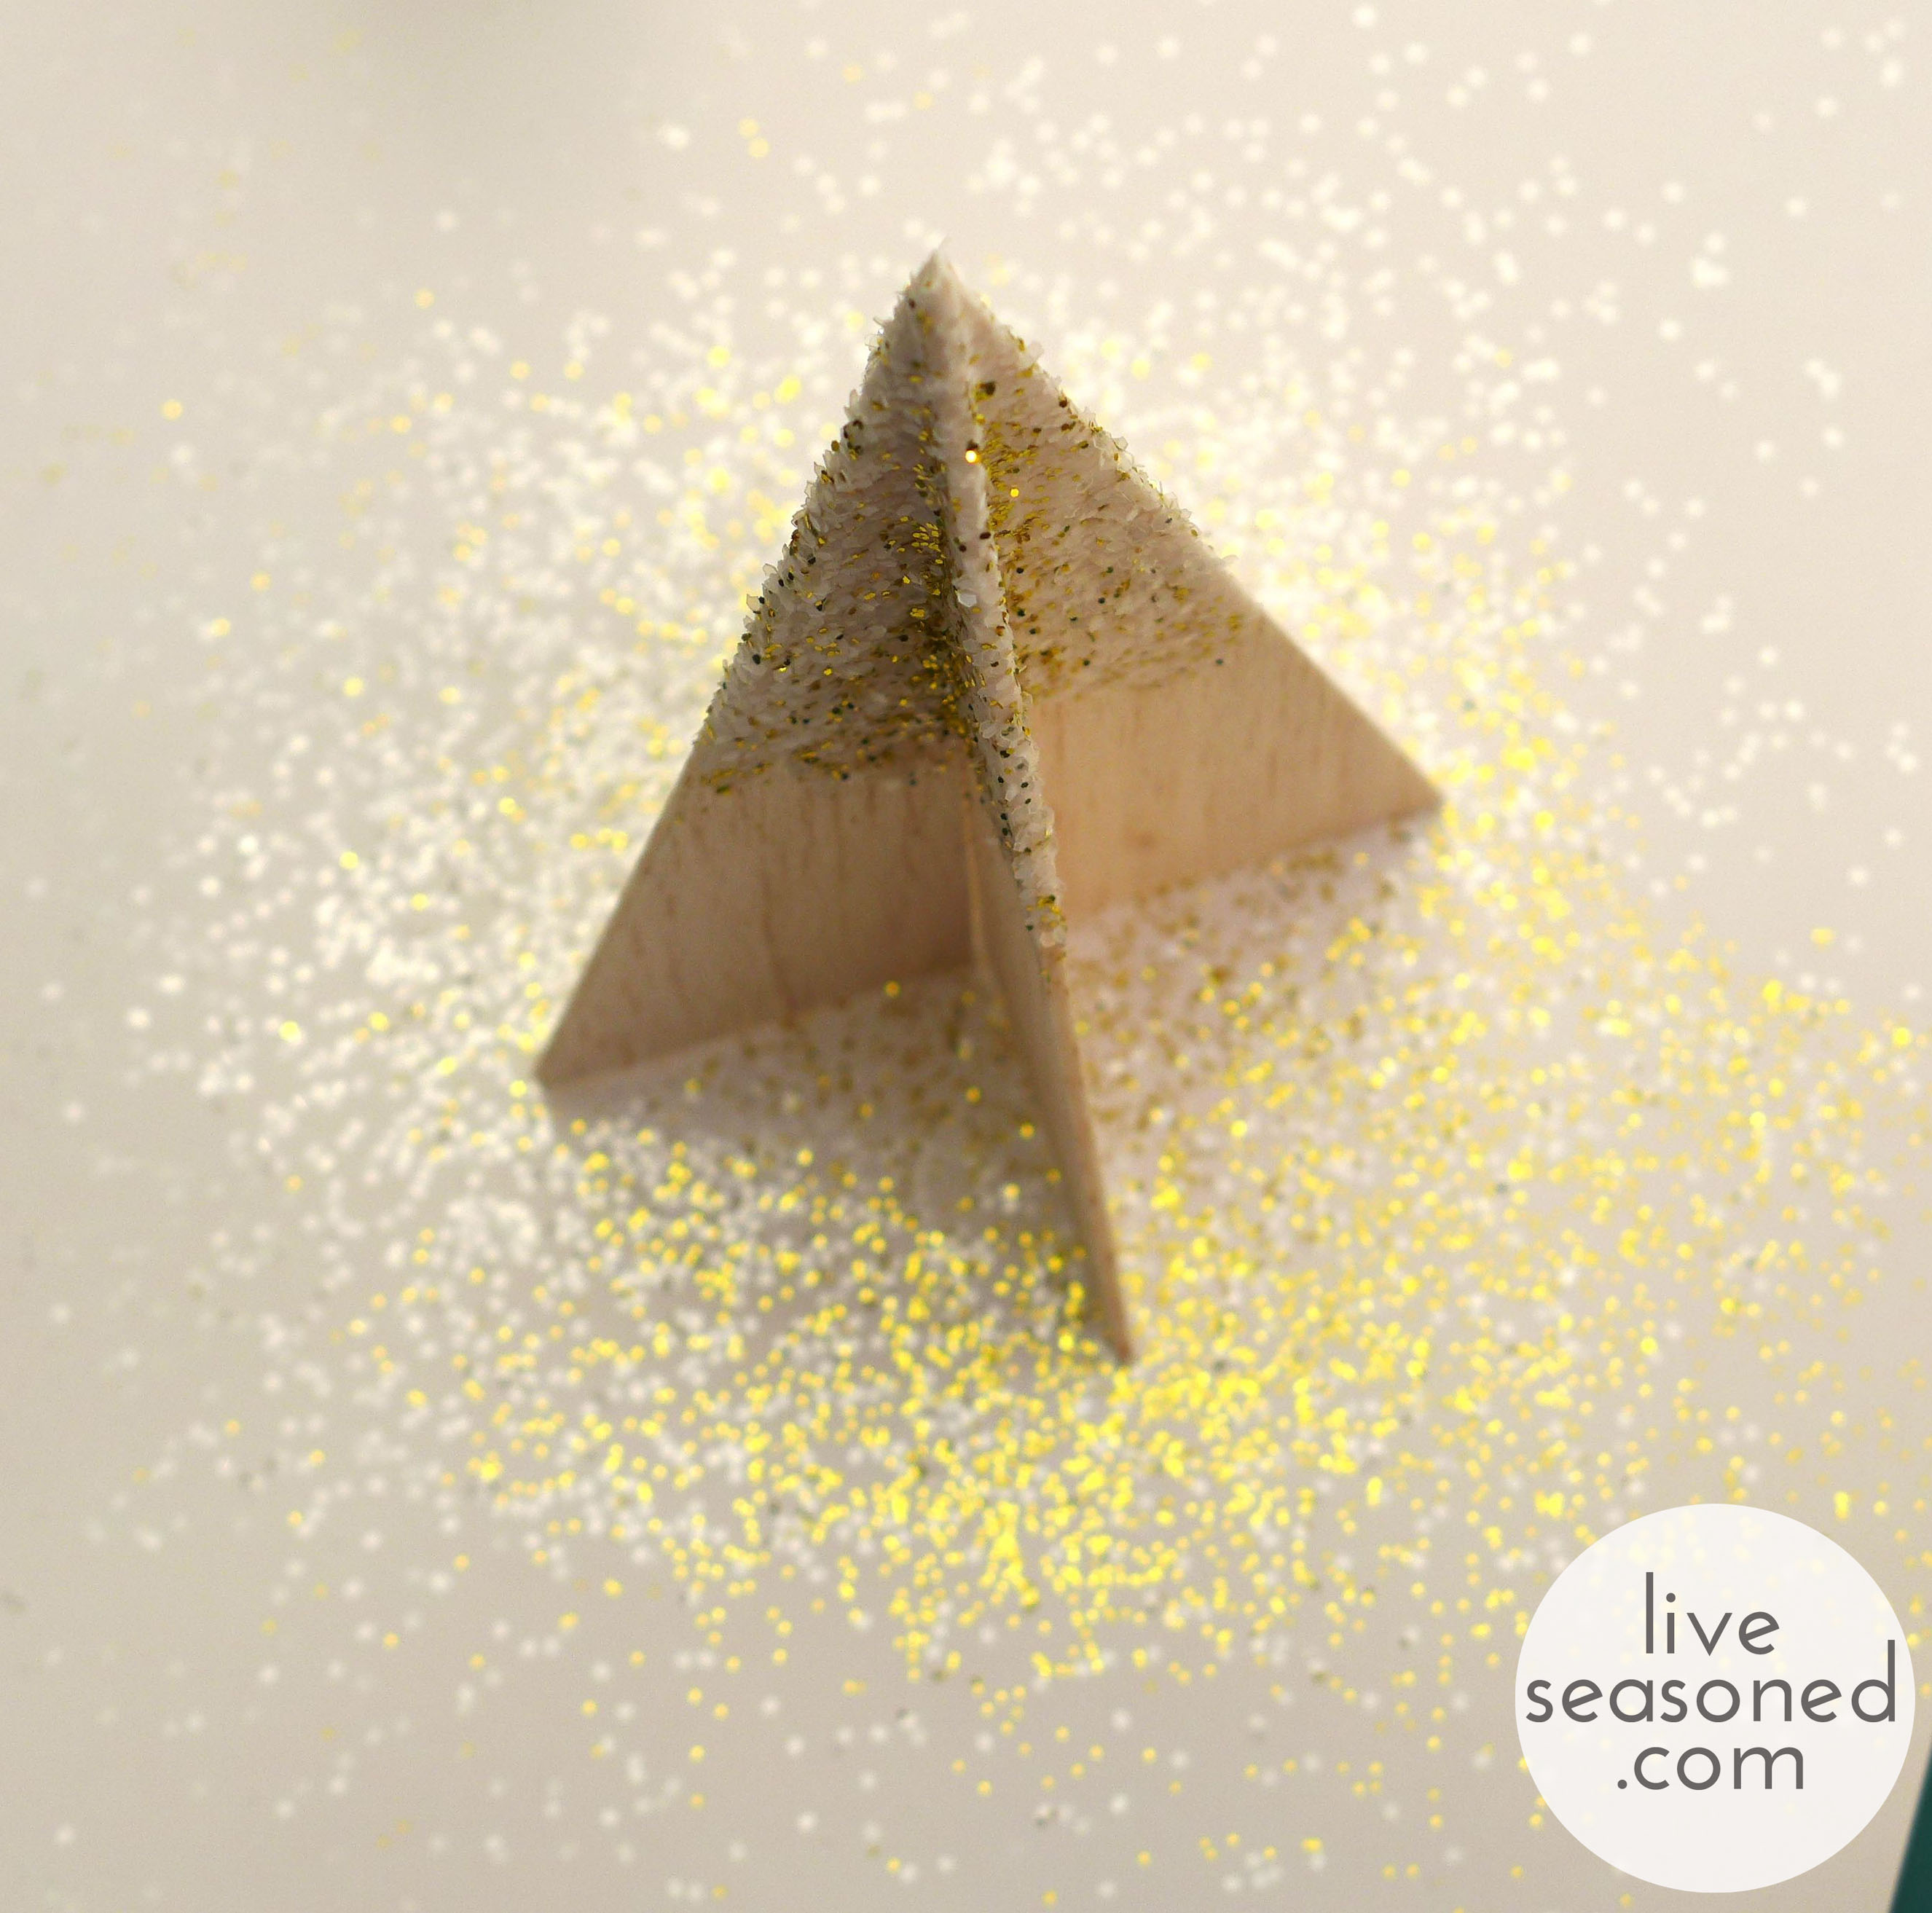
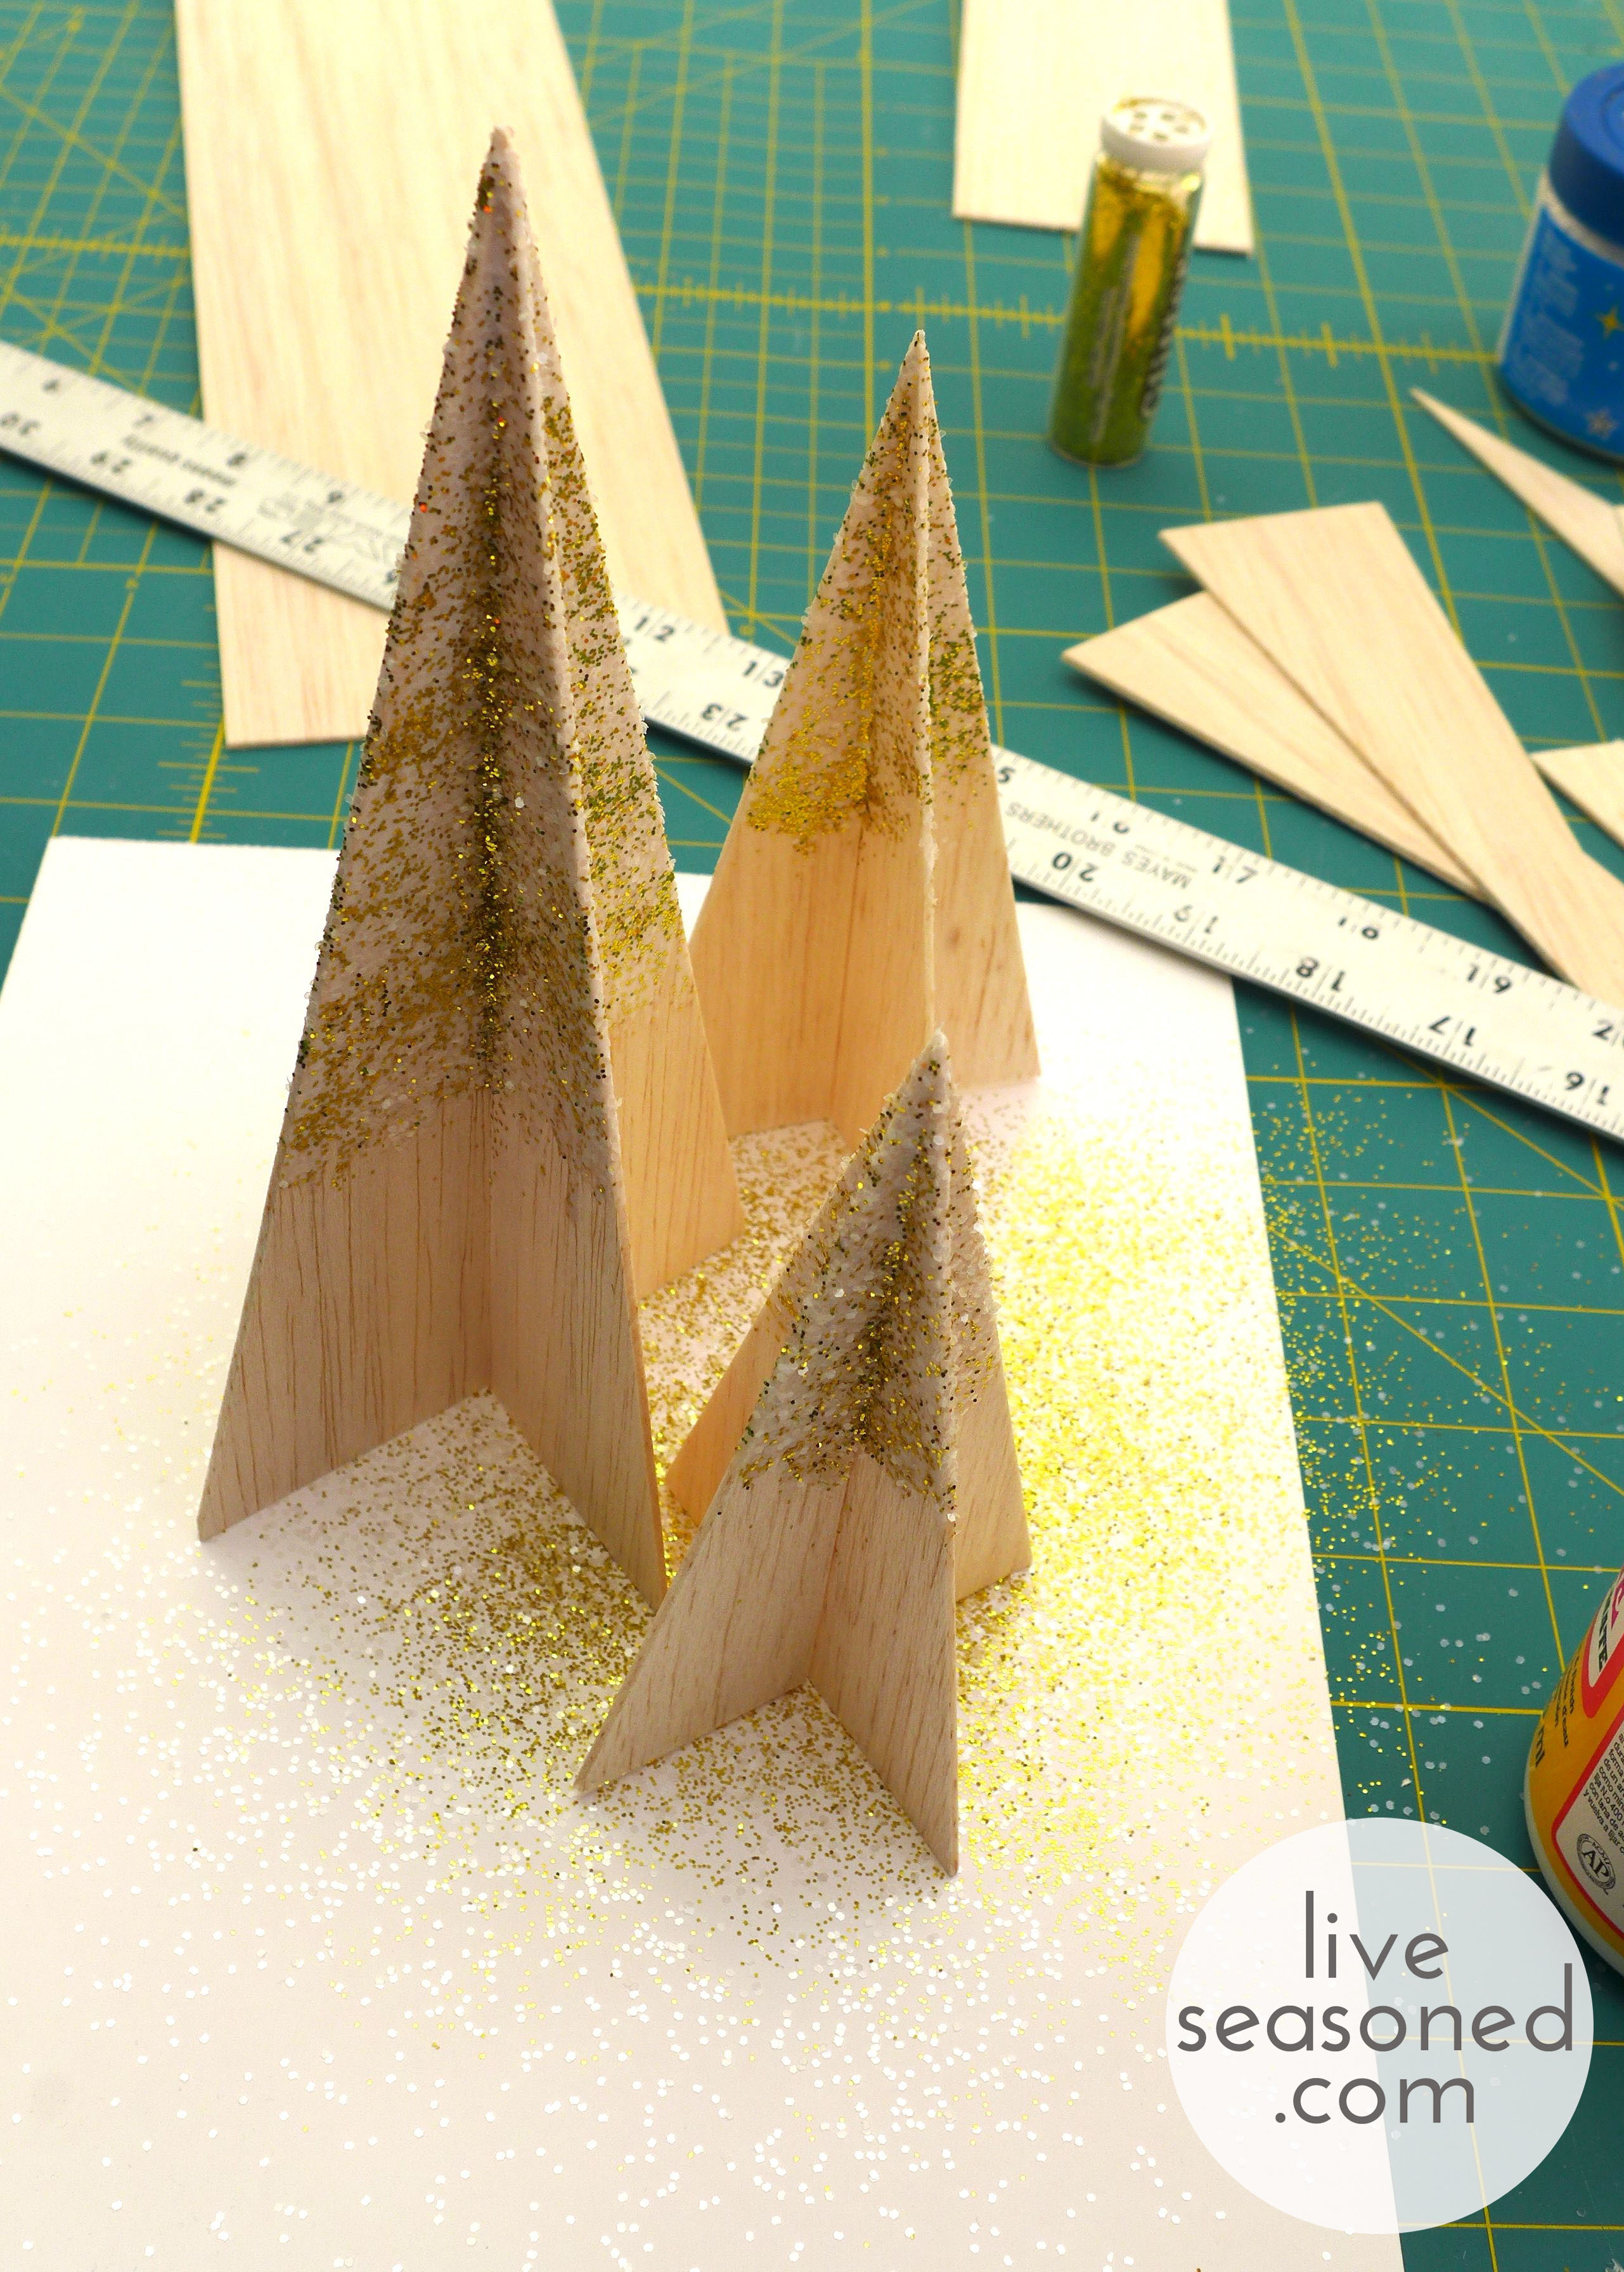
  • Put your tree together! Placing the triangles perpendicular to each other, slide the piece with the bottom cut down over the piece with the top cut. You’ll produce a free-standing tree that looks like the photo above.

liveseasoned_w2015_balsatrees8_wm

  • Decorate your tree! I put a layer of Mod Podge on the upper portion of my trees, and then sprinkled iridescent and gold glitters over the surface. Do what you want: you could leave your trees natural, add glitter, or paint!

liveseasoned_w2015_balsatrees9_wm

  • Repeat the process making trees of different heights. From the 3” wide board I made two trees that are 6” high and one that is 5” high. From the 4” board I made two 8” high trees.

liveseasoned_w2015_balsatrees13_wm

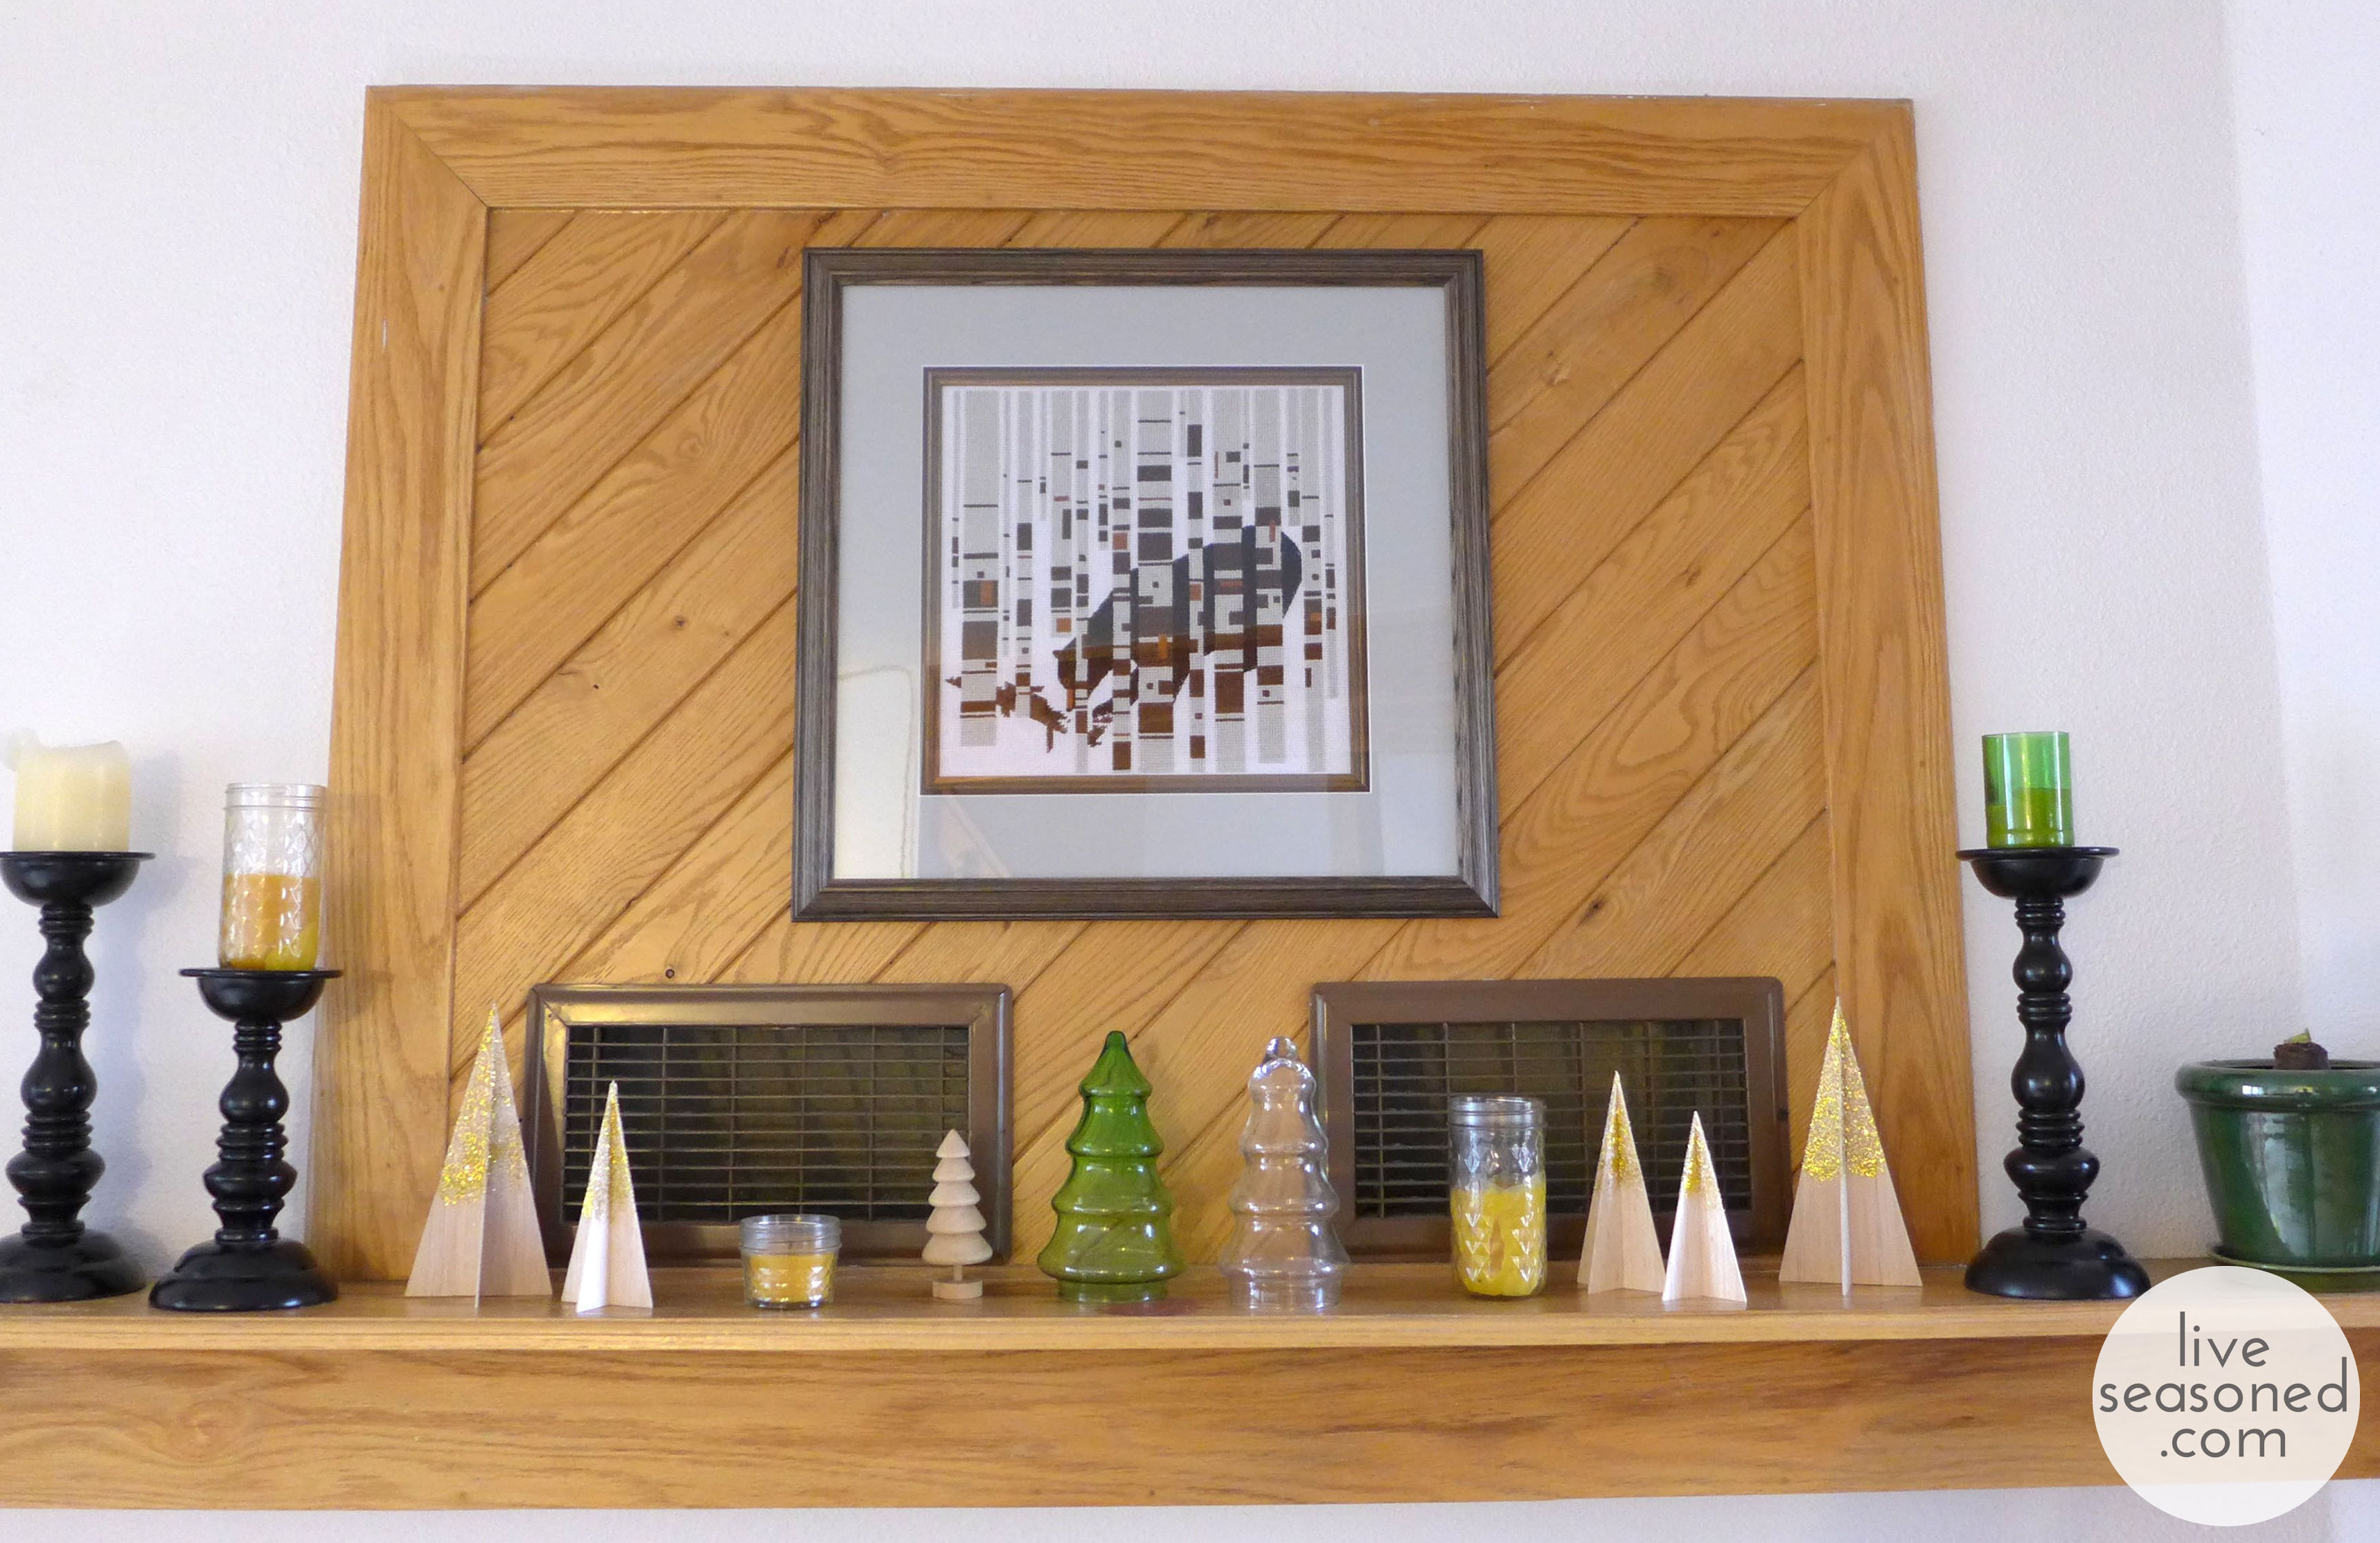
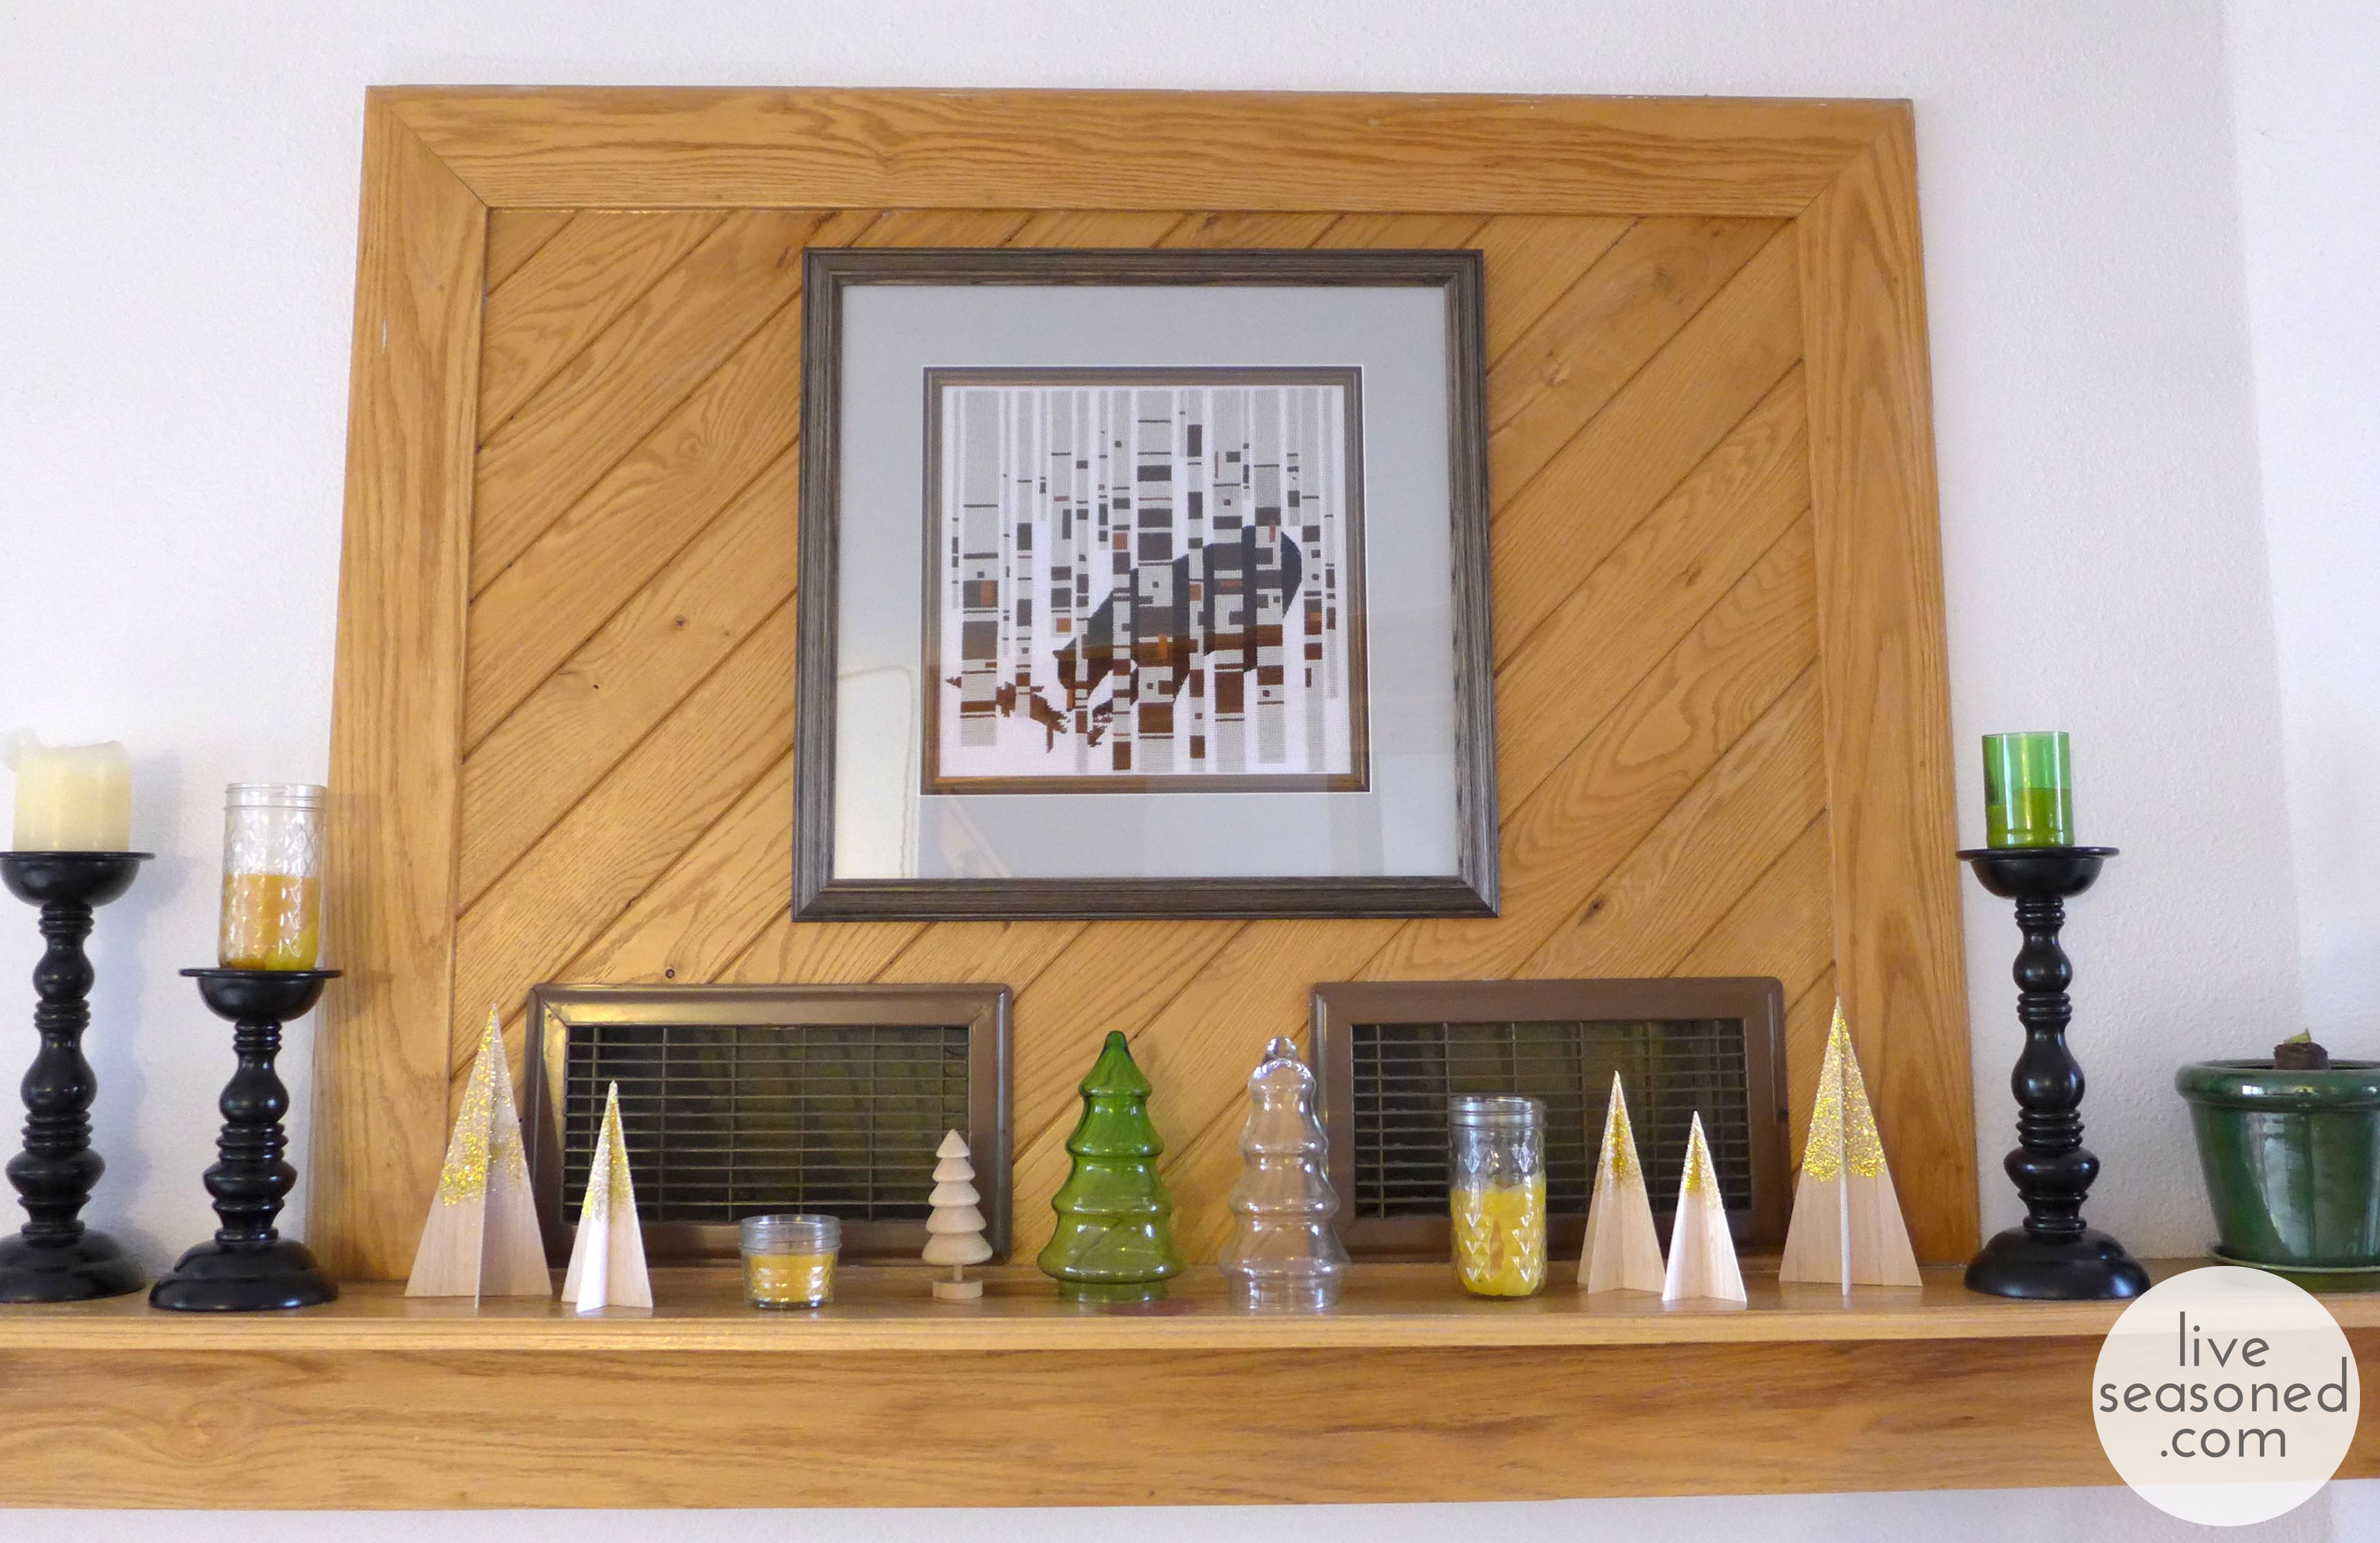
I used these trees for simple forest scene on the mantel ~ pairing them with a cute little wooden tree from Michael’s and a couple of old glass trees that were once candy dishes (they have an opening on the bottom, but without their lids, they’re just glass trees). In addition to the trees, I added a few beeswax candles that were leftover from our wedding. You can read about how we made the candles (choosing your wick is key) and cut the green bottles here and here.
liveseasoned_w2015_balsatrees10_wm

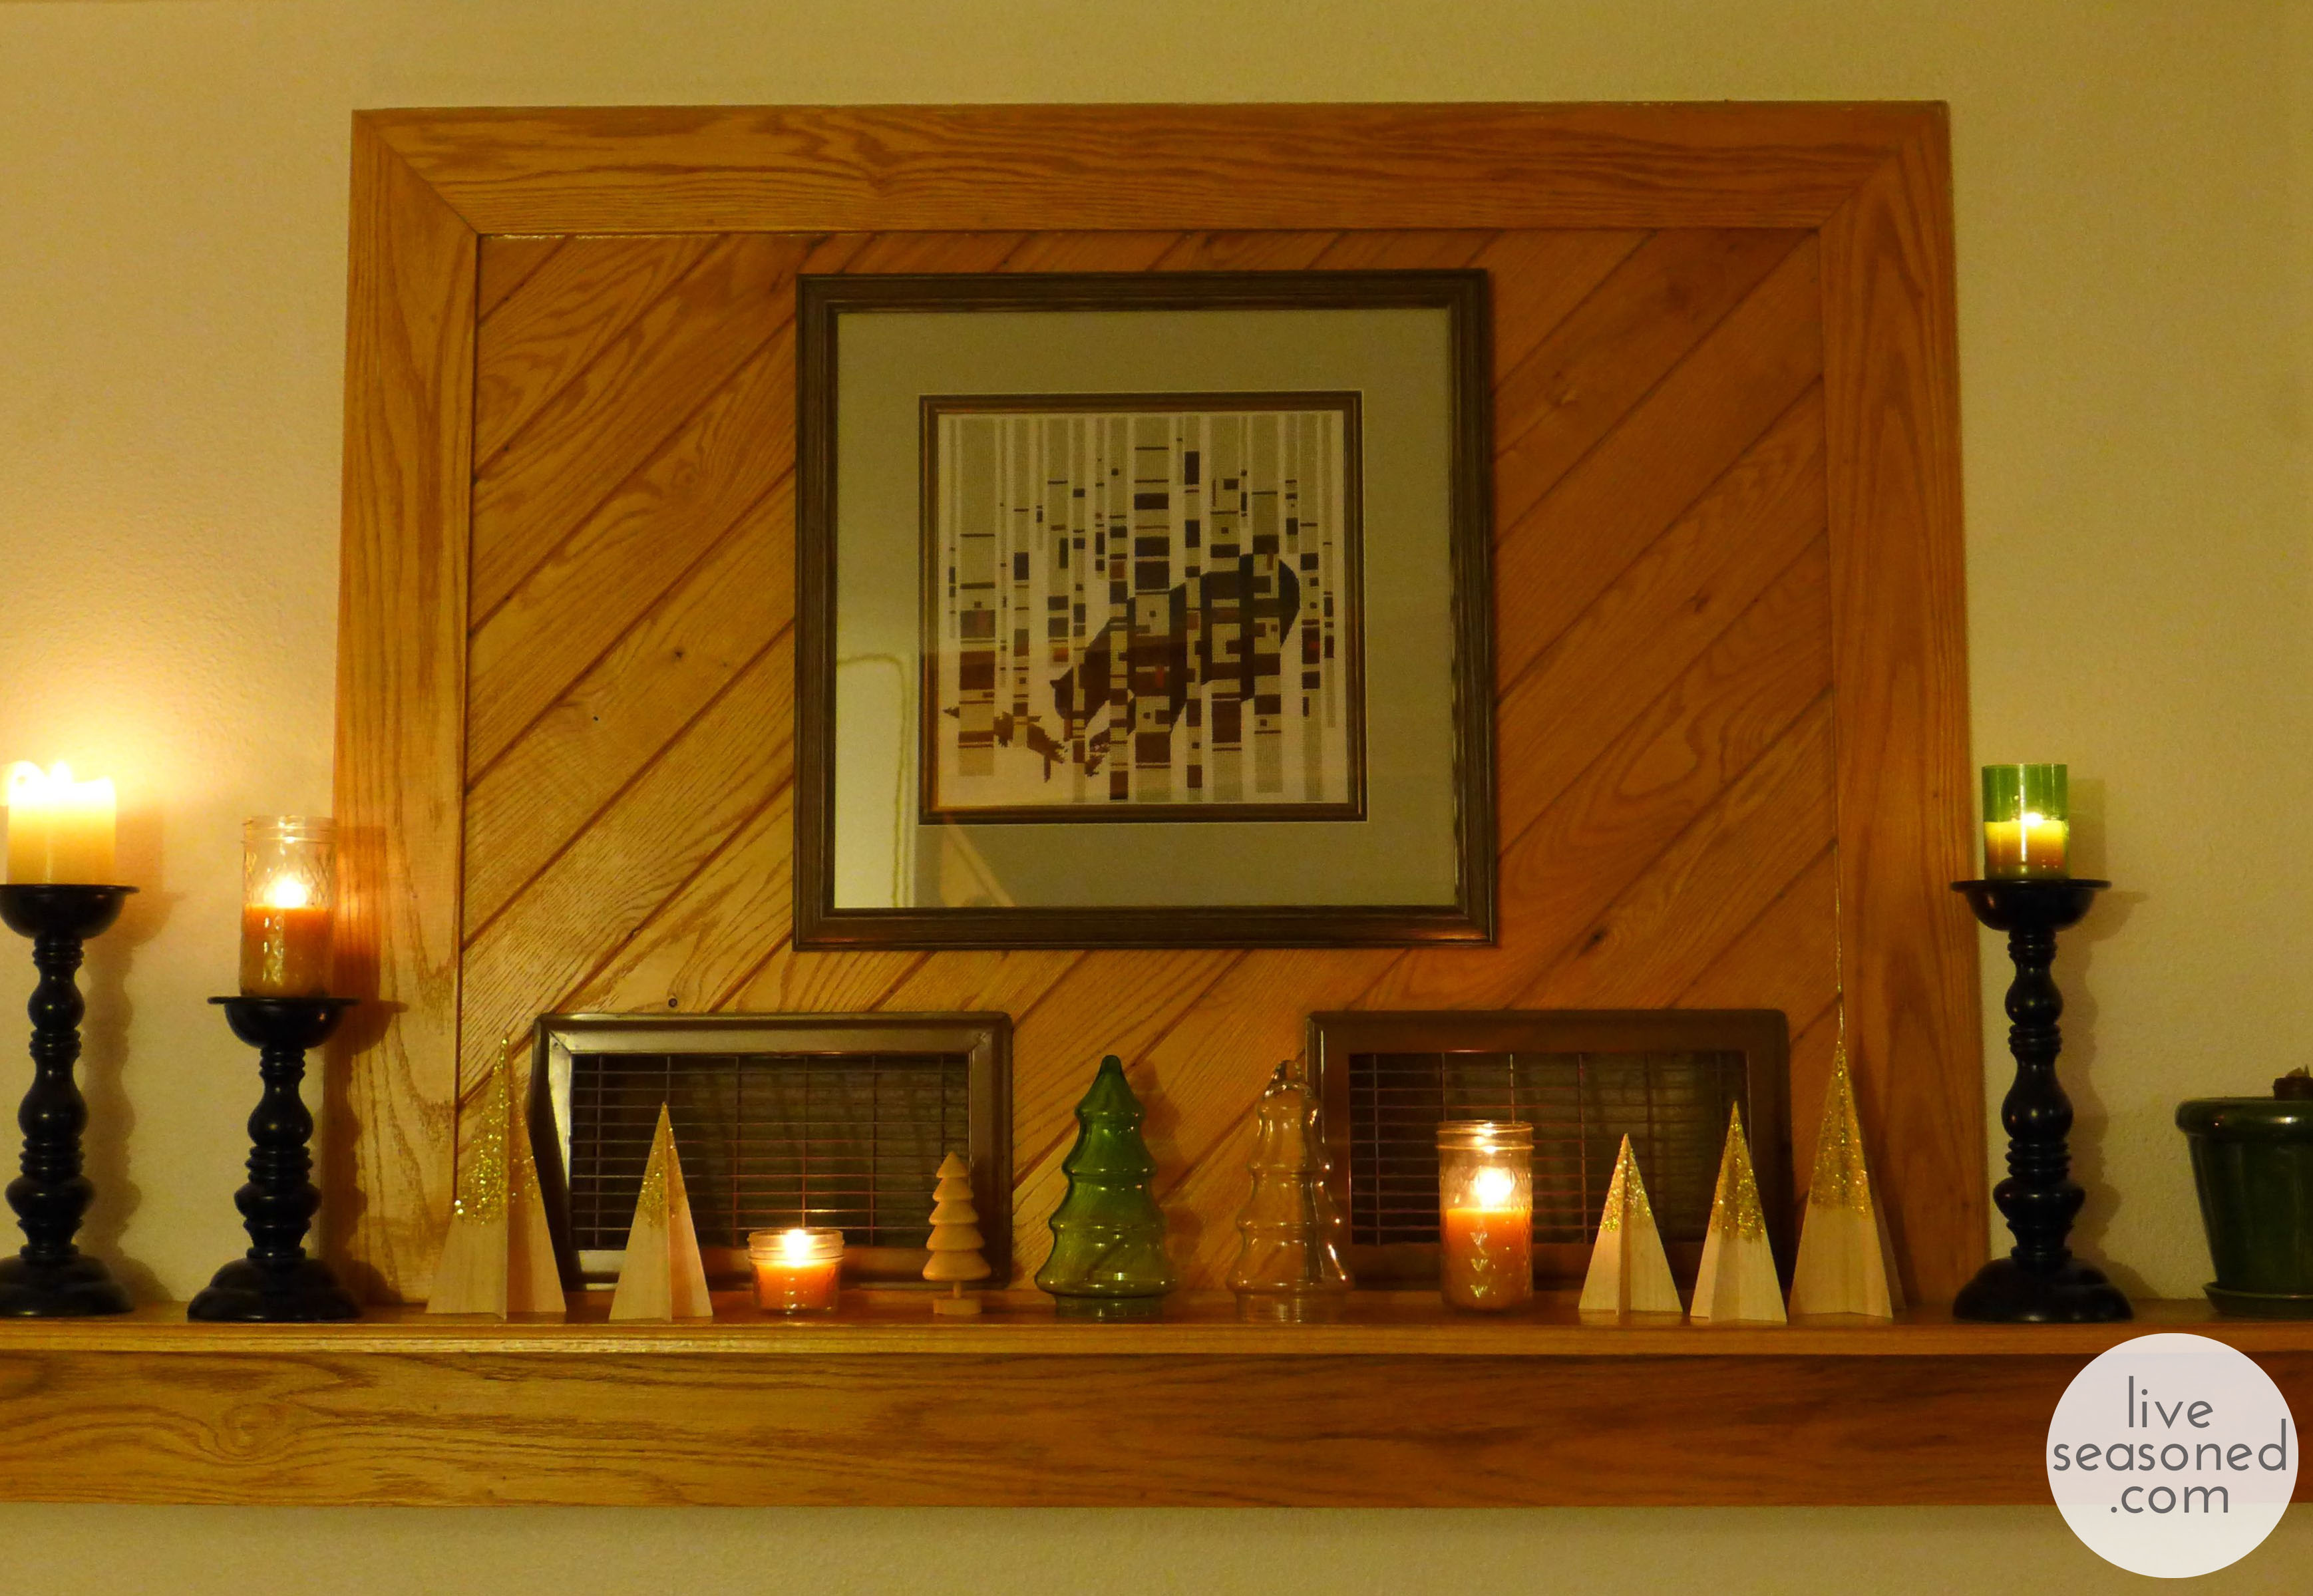
It’s so much fun to see the trees sparkle in the candlelight and to see their shadows on the wall. Calder mentioned that they also look like mountain peaks, which I think is really true when they are grouped together creating overlapping shadows!

liveseasoned_w2015_balsatrees12_wm


Ingredient of the Season : Oranges

Every season we like to pick one ingredient and find a variety of ways to love it and use it. You can find our complete ingredient archive here.

We’re decided that the orange, that zesty winter fruit, was the perfect choice as our ingredient of the season. As with past seasons, you can expect a slew of orange posts. The fruit will be a highlighted ingredient in our baking and candy making. We’ll use them around the house. And, of course, we have a few orange crafts up our sleeves; in fact, if you want to get a head start, you could make some dried orange garland!

We grew up ordering cases of oranges from our high school band’s fundraiser that would arrive around this time every year. As a result, we have fond memories of making our mom’s orangeade recipe (that she got from her mom), and it gave us our first education into the wide variety of oranges (note – use the hamlins for juicing, not the navels!). Having piles of oranges around the house at this time of year is such a tradition for us that we can’t think of a better ingredient to brighten our senses and the long, dark winter than oranges, and we’re excited to kick things off with a little profile of the fruit.

History

There are no known oranges growing naturally in the wild. It is believed that the species originated somewhere in Asia, possibly China or India, and that they were first cultivated in China in 2500BC. The sweet orange was not known in Europe until the 14 or 15 hundreds, having been brought to the Mediterranean region by Italian and Portuguese merchants. The orange then made its way to the Western Hemisphere with Spanish explorers in the late 1400s, and had spread across the US from California to Florida by the 1800s.

The word orange derives from a Sanskrit word for the fruit, nāraṅga. In English, and many other languages, the beginning “n” was dropped, and it is believed this happened when the word was translated into French, where the n may have sounded like it was part of the indefinite article preceding the word. For example, une norenge would have been the correct spelling, but would have sounded similar to une orenge. And you may have already guessed this by now, but the color orange was named after the fruit (something I’ve wondered when looking through my crayola 64 pack!).

Biology

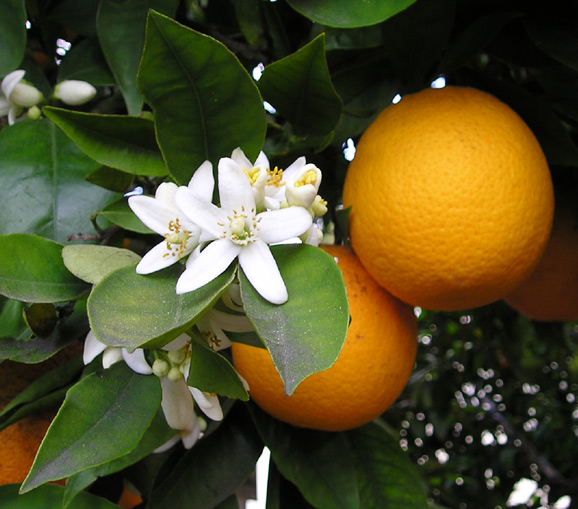
Orange typically refers to the sweet orange, not bitter oranges or mandarins. The orange tree is an evergreen, flowering tree that grows primarily in the warmer climates of the tropics and subtropics, requiring a lot of sunshine and water to thrive.

OrangeBloss_wb

One interesting fact about all citrus trees (oranges, grapefruits, lemons, limes, etc.) is that they appear to be interfertile, this means that they can interbreed, producing many hybrids. Due to this interfertility, it is difficult to keep track of the historical breedings that produced many of the varieties of oranges that are available today. It is believed that oranges are a hybrid between pomelos and mandarins. Since oranges are a hybrid, there are challenges to breeding the fruit. If you grew a plant from seed, it may be infertile or produce a fruit that is different from its parent plant. As a result, most propagation is done through grafting, creating clones of the parent tree.

Since the fruit often produces multiple seeds, is fleshy and soft, and derives from a single ovary, it is actually considered a modified berry! The fruit only ripen while on the tree (as opposed to avocados and bananas), but it is not unusual for the orange rind to remain partially green even on fully-ripe fruit. Recognizing that a green rind is unappealing to many consumers, ethylene gas, a common plant hormone, is often used to turn the rind of commercial fruit orange before they are sold. And knowing that the fruit will not ripen off the tree, there are laws in California, Florida, Arizona, and Texas that forbid the picking of unripe citrus for human consumption!

Varieties

There are many varieties of oranges, but some of the most common (at least in the States) are:

  • Hamlin : A small, light-colored, juicy orange that’s perfect for juicing because it’s seedless. In season from October through December.
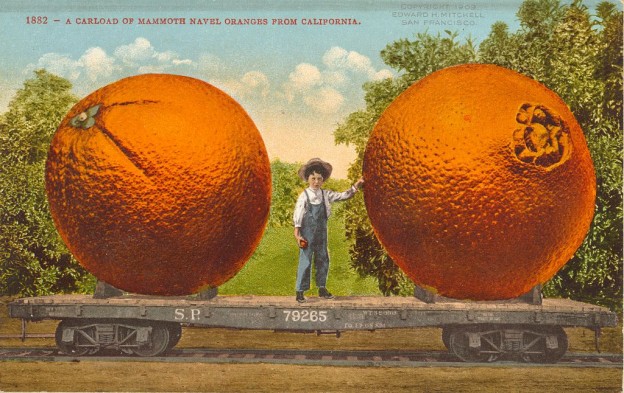
  • Navel : A very popular variety. They are easy to recognize because a second fruit will start to grow at one end of the orange, creating a belly-button-like bump (similar to our navel, get it?). They are less juicy than other varieties, but having a thick skin that is easy to peel, making them a great snacking orange. In season from November through April.
  • Valencia : Excellent for eating and juicing. A late season variety that ripens from March through June, making it a popular variety when most other orange trees are not in season.
  • Blood Oranges : A natural mutation gives these oranges their red color, which comes from the production of class of pigments call anthocyanin. They were first discovered in Italy, but are now grown world-wide.

CarloadMamothNavelOranges-624x393

Do you have any favorite orange recipes, crafts, or uses? Fond memories of knowing that there would be an orange at the bottom of your stocking every Christmas? Or hoping to start a new tradition of Christmas morning mimosas? Let us know, we would love to hear!

Orange tree with blossom image from here. Orange color square from here. Indian River label from here. Indian River bushel graphic from here. Blood orange image from here. Navel orange from here.  Black and white orange picker and boy from the LOC.