Christmas Candids: A few tips!

I just watched a video of people unwrapping puppies and I’ve never been more grateful for family photographers.  We all want to capture the cheer and joy during holidays and gatherings so here are a few tips for photographing this year’s festivities.  First off, it really doesn’t matter if you’re shooting with a phone, point and shoot or a DSLR, these tips will work for you. Second, have fun while photographing, try to capture candid moments and remember to put down your camera for a few hours and really enjoy the moment as it is unfolding.  Happy Holidays!

White Balance

  • Check it!  The camera’s default setting is Auto White Balance, but that may not be the best option for the scene at hand.  Change the white balance to Incandescent or Fluorescent to see which setting works best for your home and lights.  If that sounded like Chinese to you, check out this Photography 101 post.

liveseasoned_winter14_holidayphototips-1-2

Point of Focus

  • Pick one.  There is SO much going on at the holidays that you might see cookies, presents, lights and decorations all in one scene.  Decide what the point of focus is for your photo and zone in on that.  If it’s a little boy unwrapping a present, the photo is about his expression not the christmas tree behind him so frame the boy, not the entire living room.  Think about what you want to stand out about the photo and choose an angle that will highlight the subject not distract from it.

liveseasoned_winter14_holidayphototips-1-3

Shooting on Burst Mode

  • Anytime you’re shooting action like unwrapping presents, a New Year’s toast, someone blowing out candles, shoot on burst mode.  It might also be called continuous mode and depending on your camera and settings it will take anywhere from a couple to a dozen shots each second.  Shooting on burst mode is the perfect way to capture every expression especially in candid situations.

Out-of-focus Christmas Lights

  • Lots of folks are always asking me how to achieve a bokeh effect with Christmas lights – good news, it is super easy! Simply choose a low aperture a.k.a. fstop number and that will effectively blur whatever you are not focusing on, in this case it’s the lights.  An example?  If I’m photographing my nephew in front of our Christmas tree, I want the tree to be visible so I can set the scene, yet he is the main focus of the photograph so I would set my aperture to f2.8 and focus on his sweet little face.  The tree behind him would be out of focus and therefore the lights would attain the bokeh effect. In the photos above, all three photos are of the same scene, but the light circles grow bigger as they become more out of focus. I simply pointed my camera at a Christmas tree and turned my focusing ring just out of focus, a little out of focus and majorly out of focus.

Photographing Outdoor Lights and Decorations

  • There are a few things that are relatively difficult to photograph.  Outdoor Christmas lights are one of them.  You basically have a really bright object (the lights) against a really dark object (the house and sky), which makes a tricky situation to expose properly.    I feel like we have all been here before.  You see an amazingly gorgeous sunset and you think, ‘family photo opp!’ only to be completely disappointed by the results.  You either end up silhouetted against the sun or you use the flash and hate the unnatural outcome.  It’s the same type of deal, dark and light competing for a proper exposure.
  • Head outside during twilight when the sky is nice and blue – right after sunset, but before it gets dark.  You have a small window of time for these shots, only about twenty minutes.  Set up your camera and tripod.  Choose a low ISO number like 400.  Also choose a slow shutter speed somewhere around 1/25 of a second or slower.  Set your aperture according to your light meter and then experiment from there.  I usually set up the shot, ISO and shutter speed and then take a dozen shots adjusting my aperture by one stop (click) each time.  Then I’ll scroll through the shots, decide which I like the best and set the aperture accordingly.  This time I’ll play with the shutter speed a little bit by adjusting it a tiny bit faster or a tiny bit slower.  That way you get a good variety of exposures.

Good luck and let us know if you found any of these tips useful by posting your pics to IG and tagging us 🙂

Easy Citrus Sweets

Oranges are our ingredient of the season. You can find our complete archive of orange posts here. Around the holidays we love to use them for crafts, drinks, and treats!

Christmas is so close! Today we’re popping in with a couple of orange treats : candied rinds and orange-flavored marshmallows. Both recipes are so easy to make, take relatively little time (so you’ll still have time to make them when you’re up late waiting for Santa), and they make a unique addition to any dessert table and hot cocoa mug!

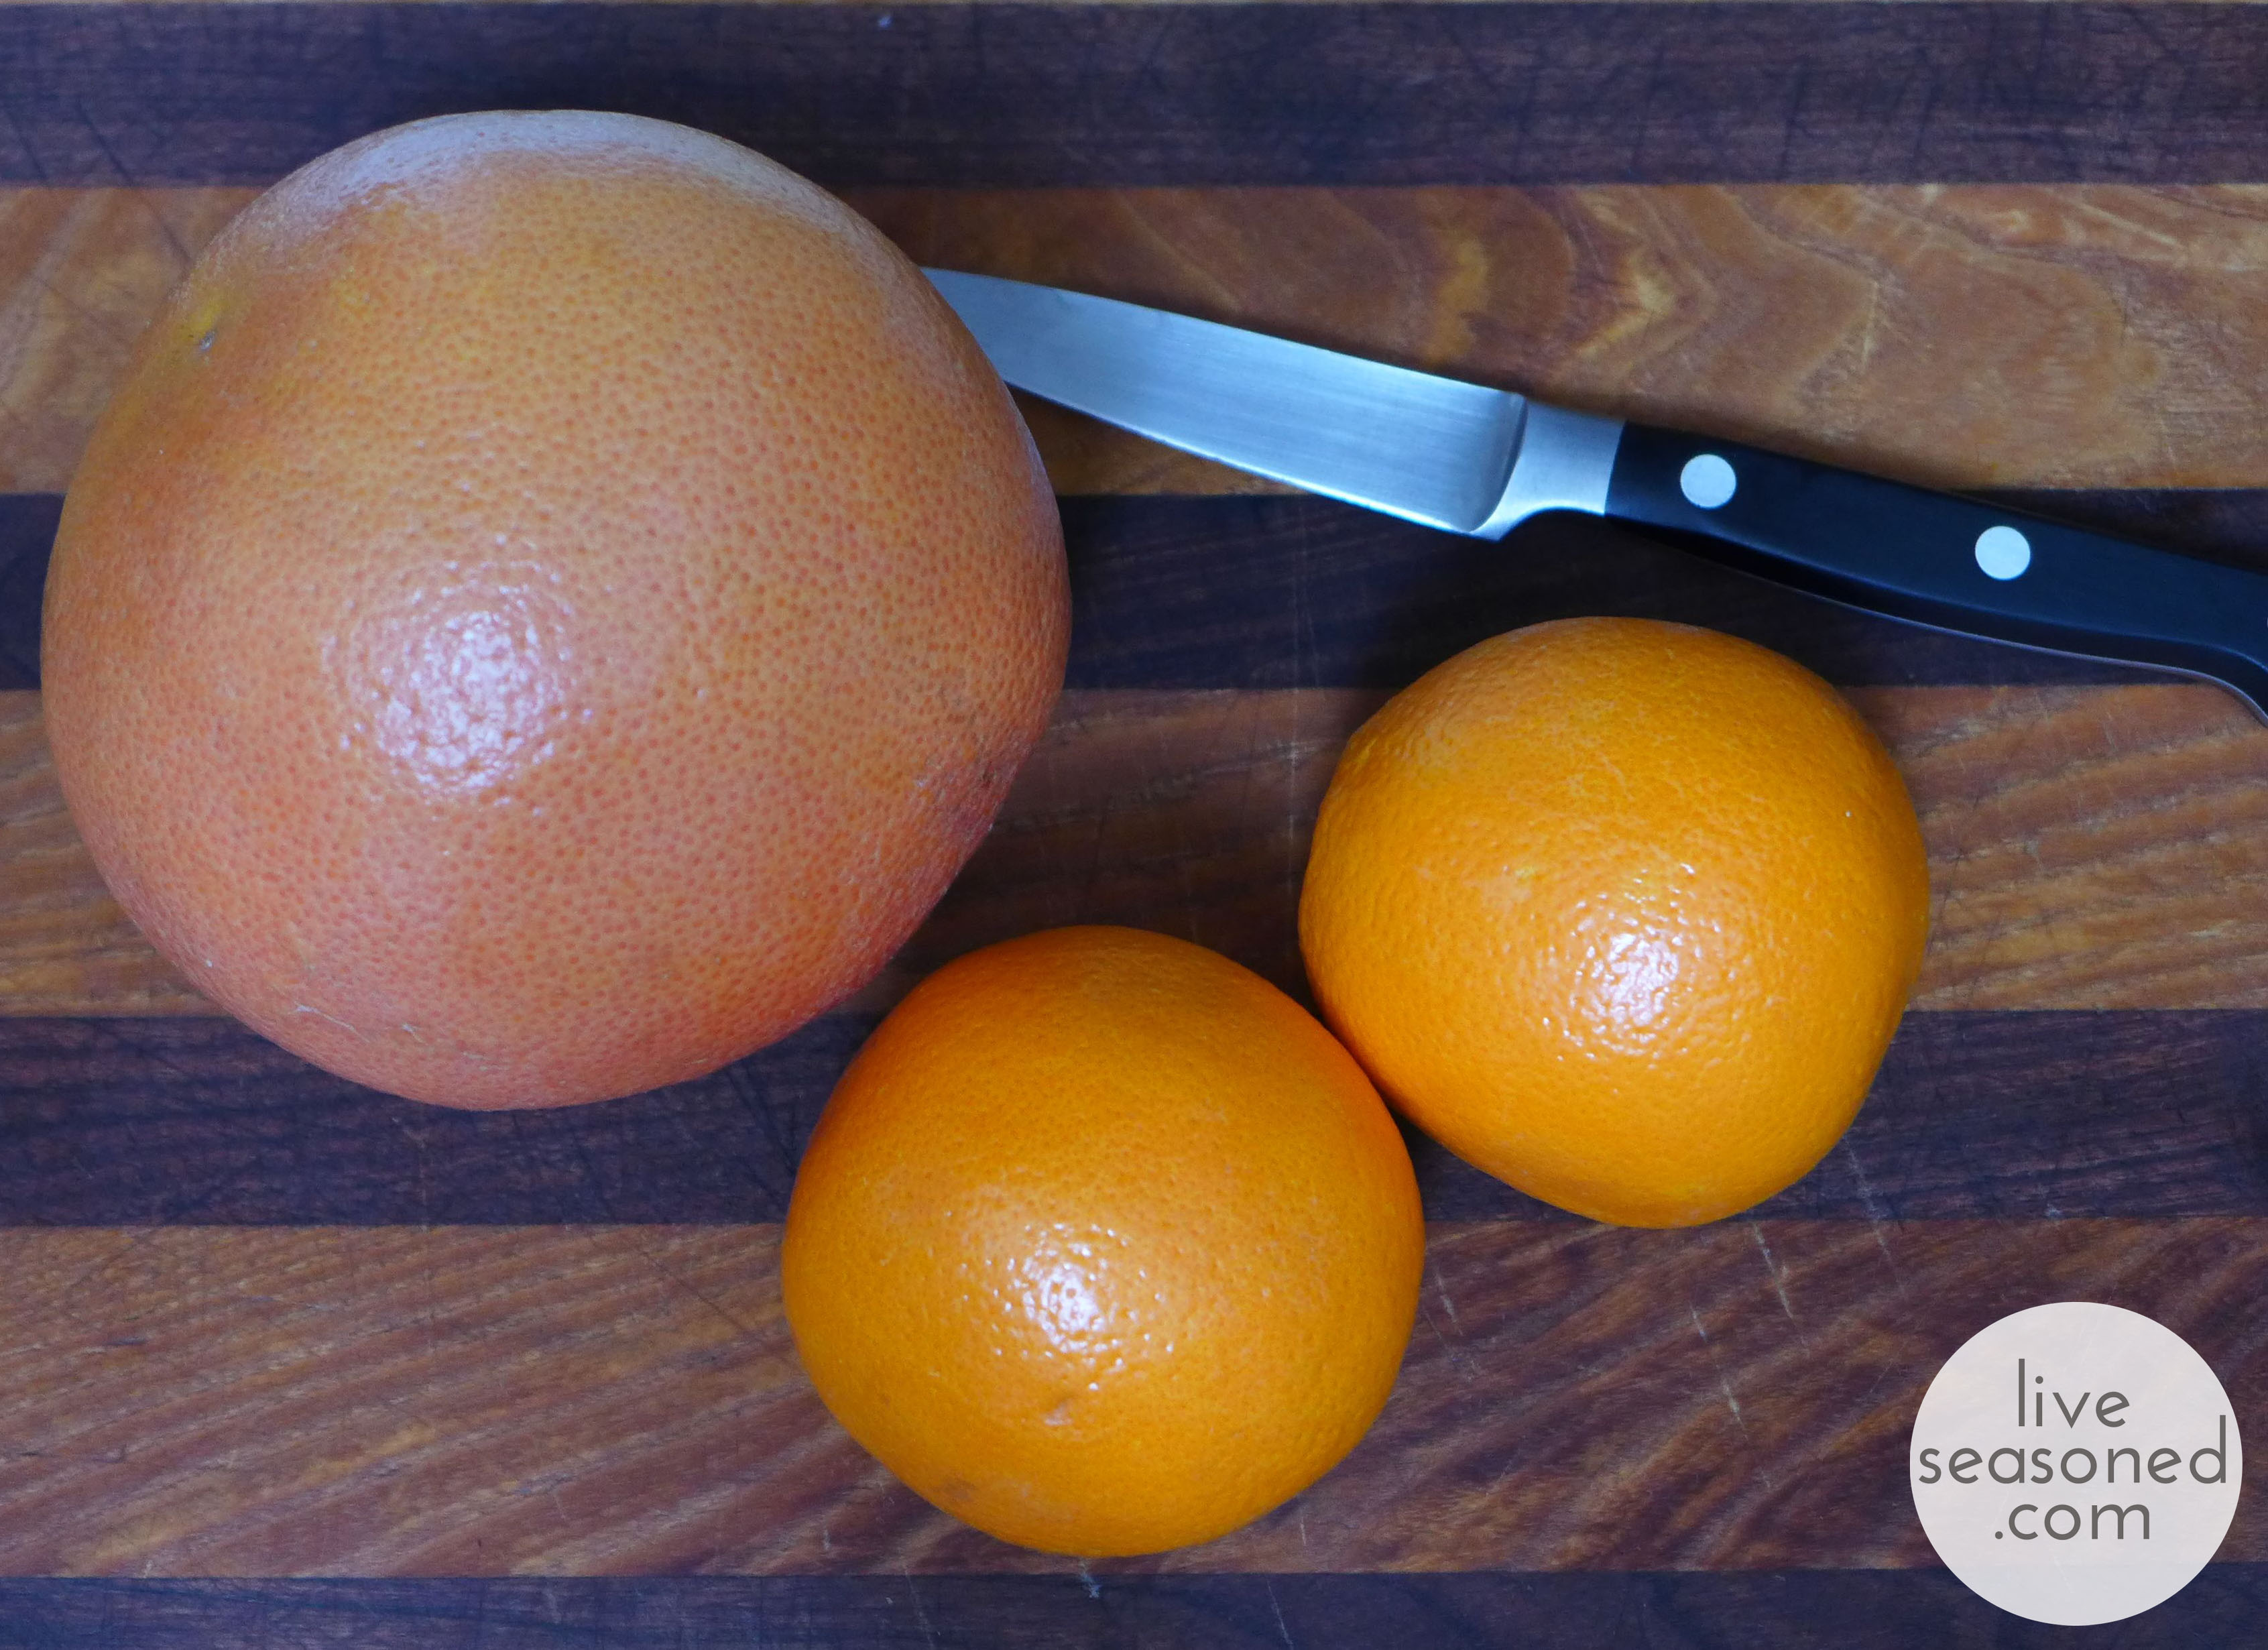
liveseasoned_w2015_orangetreats12_wm-1024x696 copy First up, the candied rinds. I like to use a combination of orange and grapefruit for this recipe. It’s nice having the two flavors, but I also really like the variation in color that using more than one variety of citrus provides. Candying the rinds requires boiling them in a sweet syrup before rolling them in sugar, and while both steps are meant to create a sweet, candy, the finished rinds can still have a some bitter undertones that may make your lips pucker. This is one of those flavors that keeps some people coming back for more while others (Calder) pass after their first sample.

liveseasoned_w2015_orangetreats1_wm

I use a technique that I learned years ago from Martha Stewart, and it’s consistently worked well over the years. But I’ve noticed that she offers a number of different methods for candying citrus rinds on her website, and they vary widely in both the ingredient ratios and the cooking times, so if your variation differs from my, by all means, stick with what you know.

Ingredients

  • 2 oranges & 1 grapefruit
  • 4 cups sugar, plus more for coating
  • 4 cups water, plus more for boiling
  • chocolate, optional

liveseasoned_w2015_orangetreats2_wm

 How-to

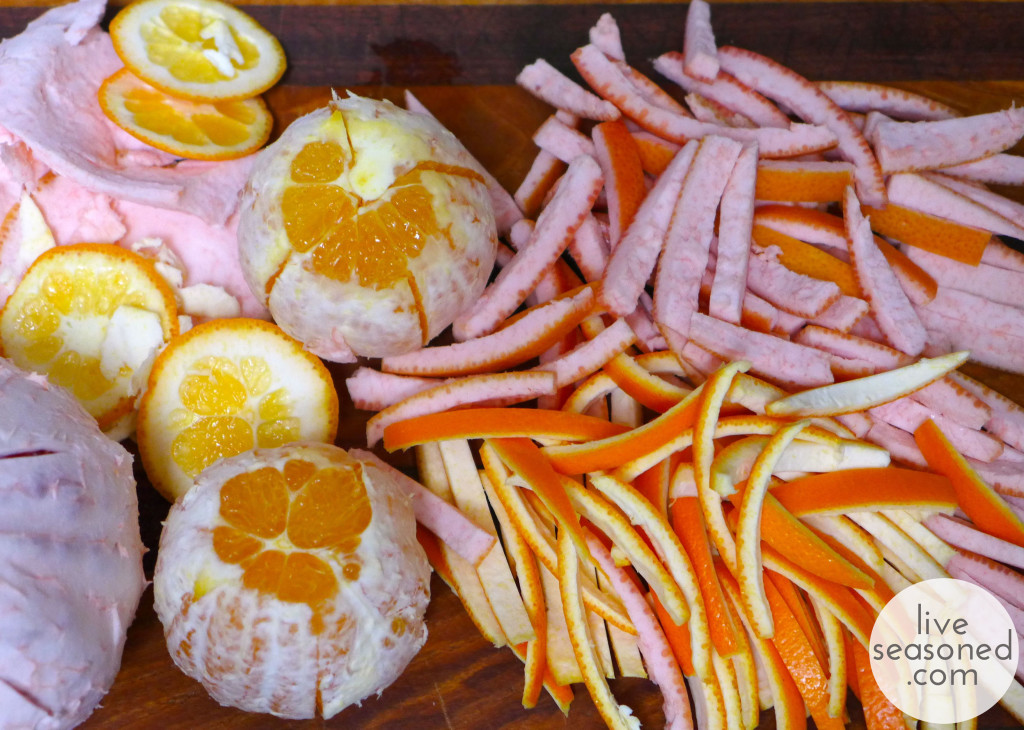
  • Prepare the rinds. Cut the ends off the fruit and make 5 to 6 slices through the rind, but not the fruit, from top to bottom. Gently remove the rind pieces with your fingers. You can leave most of the pith attached to the rind, but use your pairing knife to cut off any excess or particularly mangled sections. I use this opportunity to make the pith side of my rind smooth, and if I have a grapefruit with a particularly thick rind, I may slice of a little bit extra. Cut the rinds into 1/4 inch slices. If the grapefruit rinds are particularly long, I will cut them in half.
  • Place the rinds in a saucepan and cover with water. Bring to a boil, then drain. Repeat this process one more time.
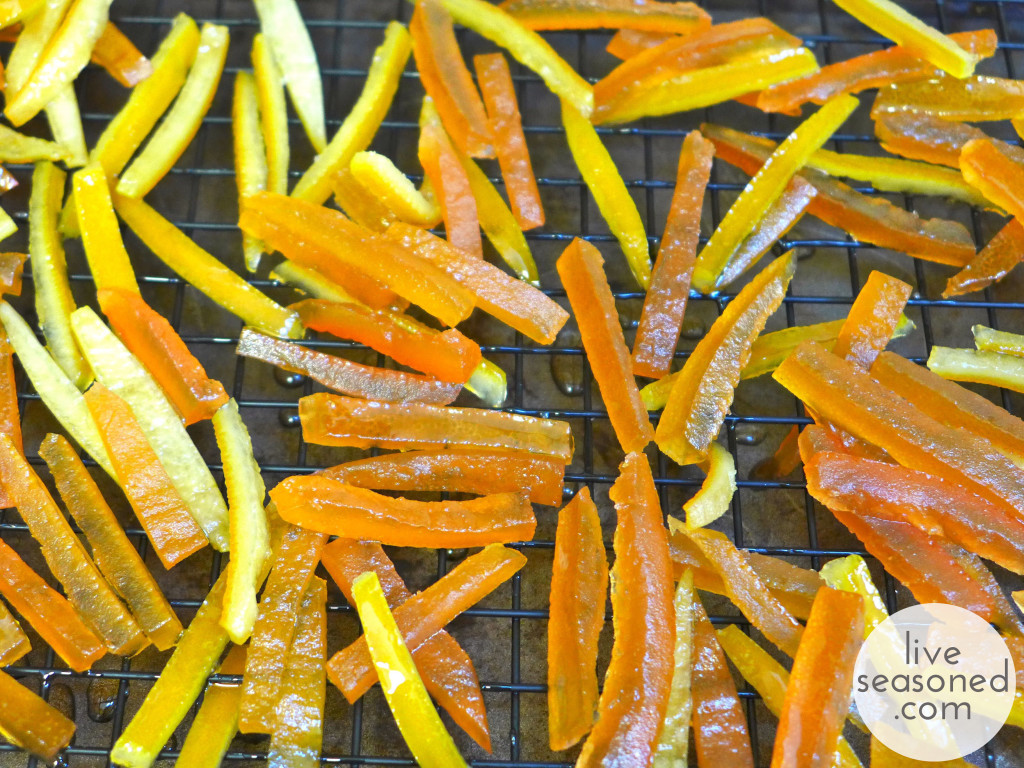
  • Place the sugar and water in a saucepan and bring to a boil, stirring until the sugar dissolves. Add the rinds and reduce pot to a simmer. Continue simmering for about an hour. At this point the strips should look translucent. Remove the rinds with a slotted spoon and let them cool on a baking rack.
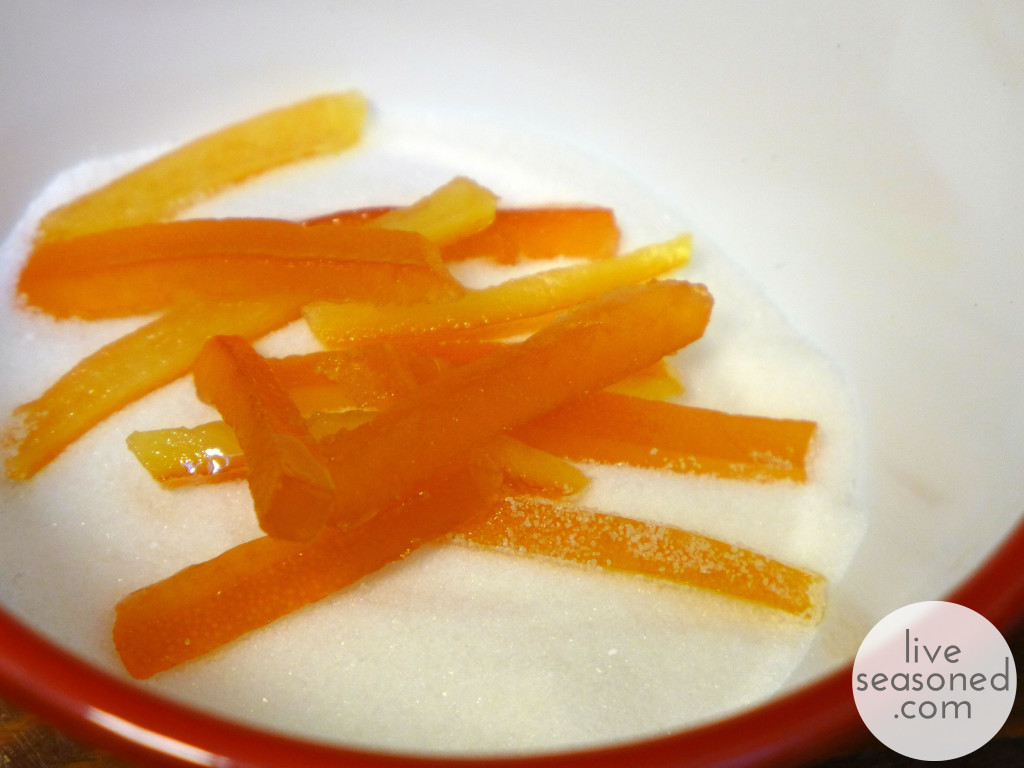
  • Once cool, roll the strips in  sugar. You can also dip them in melted chocolate for an extra special treat.

liveseasoned_w2015_orangetreats7_wm

liveseasoned_w2015_orangetreats8_wm

I think these make a great addition to any cookie or chocolate tray, but they would also be a fantastic garnish on a slice of chocolate cake or (minus the chocolate) in your Christmas-morning mimosas!

liveseasoned_w2015_orangetreats12_wm

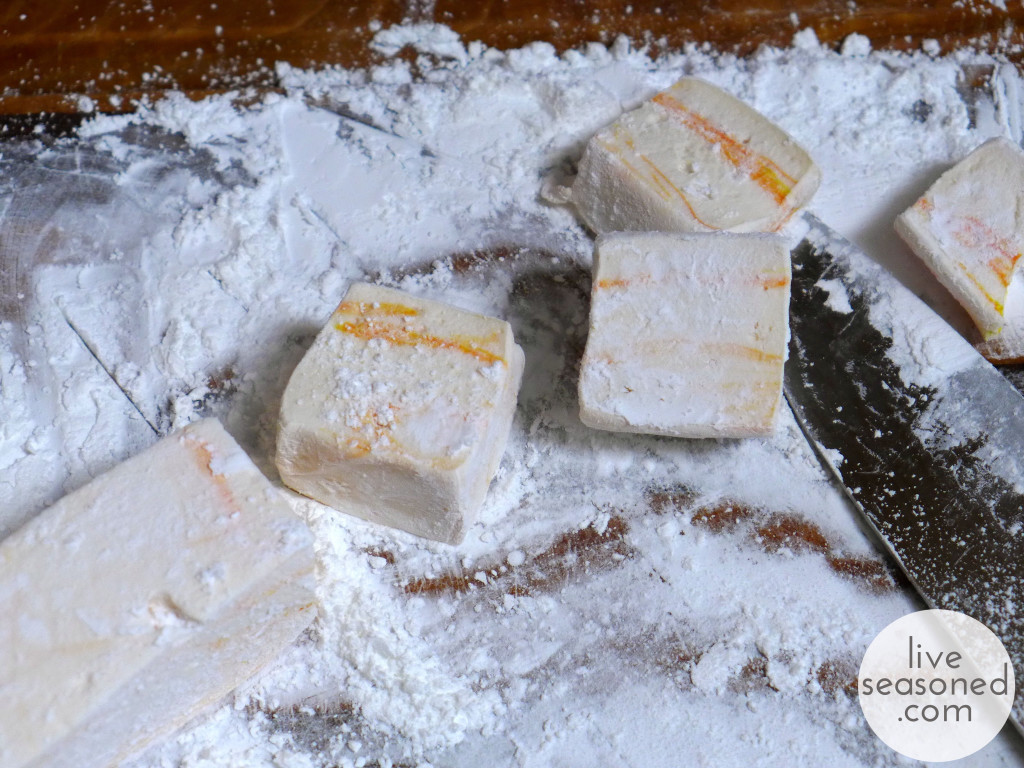
Next up, orange-flavored marshmallows! I’m in love with these. The first time I made marshmallows was last February, and making them a second time just confirmed how easy it is to produce these light and fluffy sweets! I used the exact same corn syrup-free recipe, with the exception of using orange extract in place of the vanilla and orange dye in place of the red. Otherwise, I followed the tips and steps to a T, so rather than retype everything, I’ll just redirect you to that post and below I’ll share the fluffy orange-y goodness in photos.

liveseasoned_w2015_orangetreats17_wm

The real magic happens in this recipe when you start to beat the hot liquid with an electric mixer. Before your eyes the tan liquid turns white and expands as air is incorporated.

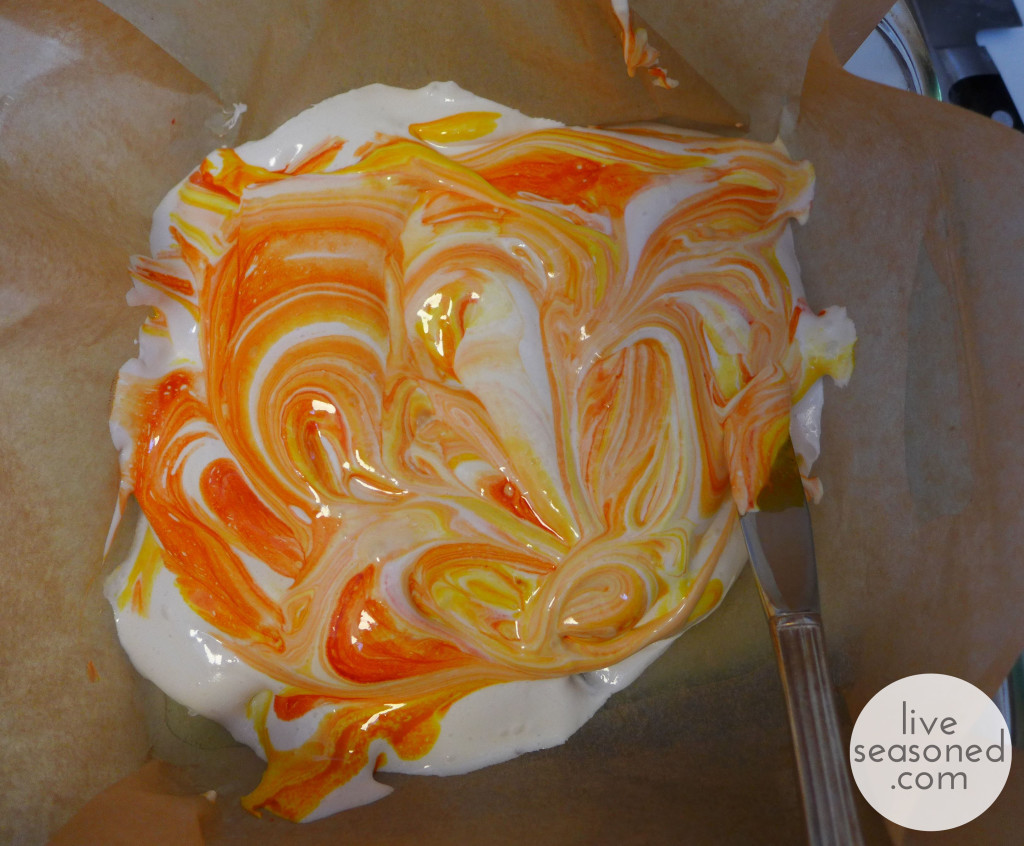
Once you’re done whipping the marshmallows, it’s just a matter of deciding what to do with them, and you have a few options. Are you going to add a color? I like playing with marbling. With my last batch, I mentioned that I was too reserved with the marbling, so I tried to go bigger this time. I poured half of the marshmallows into a square baking dish, then added red and yellow dye that I blended together as I marbled it through that layer. I then poured the rest of the marshmallow into the pan and again, mixed it slightly to move the dye up into the second layer. As you can see from the first marshmallow photo, I ended up with some pretty good orange streaks. You can also go with a solid color, or you can try stripes!

In addition to color, you can think about size and shape. I go for the big, fluffy squares, but since it’s the holiday, you may want to use cookie cutters to make shapes. If so, then pour your marshmallows into a larger dish to create a thinner layer that’s easy to cut out.

liveseasoned_w2015_orangetreats14_wm

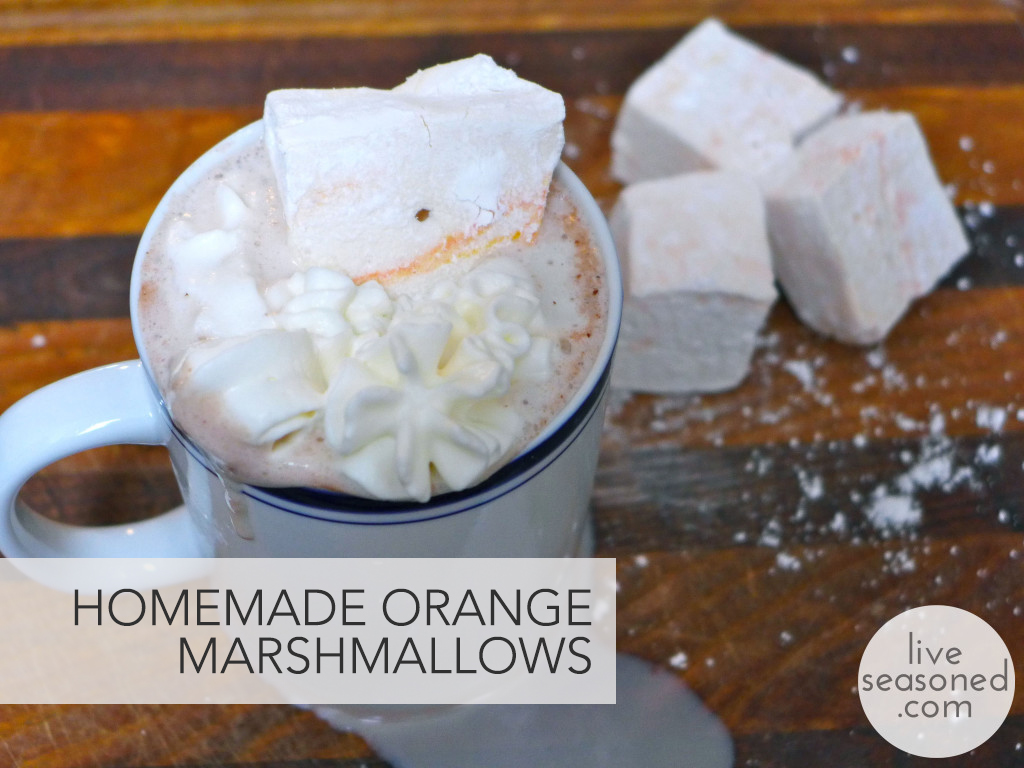
Ok, now once your marshmallows have cooled, you just have the hard job of deciding how to eat and gift them. Start by dipping some in a big mug of hot cocoa, or let them a while and melt right into your mug. I did that today, and it creates this really tasty orange marshmallow layer on top of the cocoa, with each sip you get a bit of the melted, gooey orange flavor and it’s amazing. If you’re not going to keep them all to yourself, you could package up a few marshmallows and pair them with a good cocoa as a stocking stuffer. Just make sure to use an airtight bag for packaging, because you don’t want them to dry out before they’re enjoyed. 

liveseasoned_w2015_orangetreats19_wm-1024x768 copy

There you have it ~ two ways to add a note of citrus to your holiday! Now we’re off to finish wrapping presents {and we’ll be doing it with that mug of cocoa above, obvs.}…. oh, I may be experimenting with one more way to add some citrus to my homemade chocolates. We’ll be back with the full report if it works!

German Christmas Markets

liveseasoned_winter14_germany-7-2

In October, we revisited our adventures in Thailand.  We thought we should give you a glimpse of what we were up to a few Decembers past.  In 2010 Katie and I went to visit Calder, her fiancé (they’re married now), who was living and working in Germany.  Our trip was amazing and I think it had to do with a few key factors: Katie, C and I all get along really well, C is fluent in German (hellllllo helpful!) and we kept the trip spontaneous and largely unplanned.  Mix great buddies with little stress and lots of snow and you have a Christmas adventure that will never be forgotten.  Oh and breakfast!  Almost every hotel offered a complimentary breakfast, which consisted of a big deli platter with lots of yummy meats, cheeses and the best baked bread.  You are also offered eggs, cereal, yogurts and fruit.  We started each day with coffees and cheese, please tell me how we could have possibly had a bad time? I actually had such a blast that I completely forgot to e-mail a final paper to a professor during the trip! Yep, I wrote a ten page research paper and forgot to turn it in that’s how awesome our Christmas trip to Germany was.

Now when I think of Christmas traditions, I actually think of the German Christkindlmarkt.  I feel like visiting the markets is the most historic lens I’ve ever looked through when it comes to the holiday season. The markets are held in the center of villages, towns and cities.  The backdrop and surroundings of each market is historic and stunning in itself.  Every Christkindlmarkt has a variety of gifts and holiday goodies.  The markets are a glimpse of the past; you won’t find tacky Christmas commercialization here.  Over the course of a week, we visited five markets ranging from enormous to quaint. Each market had crib figurines, ornaments, toys, wood carvings, decorations, candles, furs and a variety of other crafts and goods.  The markets also had the most amazing food.  It kicked any American fair food’s behind.  We usually ate some type of bratwurst and sauerkraut on a fresh, crusty roll. We kept warm by sipping glühwein and sampling dozens of treats throughout the day.  Each city’s market had a slightly different vibe and while I loved visiting every one, Esslingen’s medieval market may have been my favorite.  Read on to see why…

Continue reading

Citrus Champagne Spritzers

liveseasoned_winter14_spritzer-5


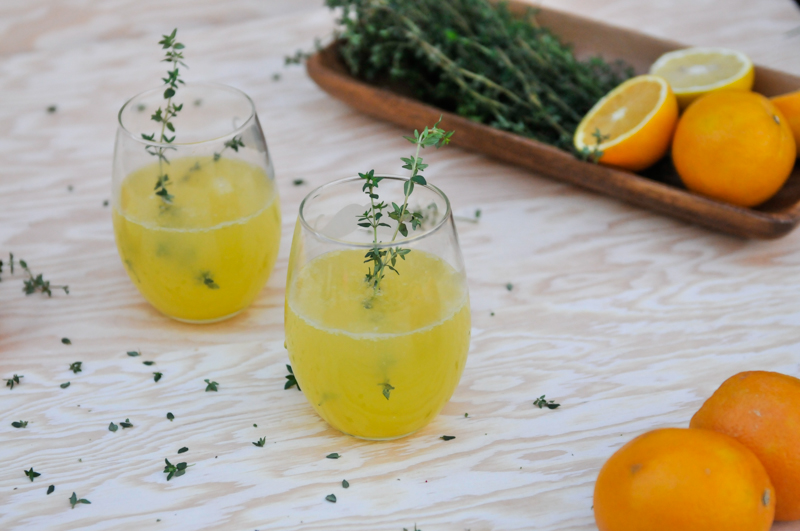
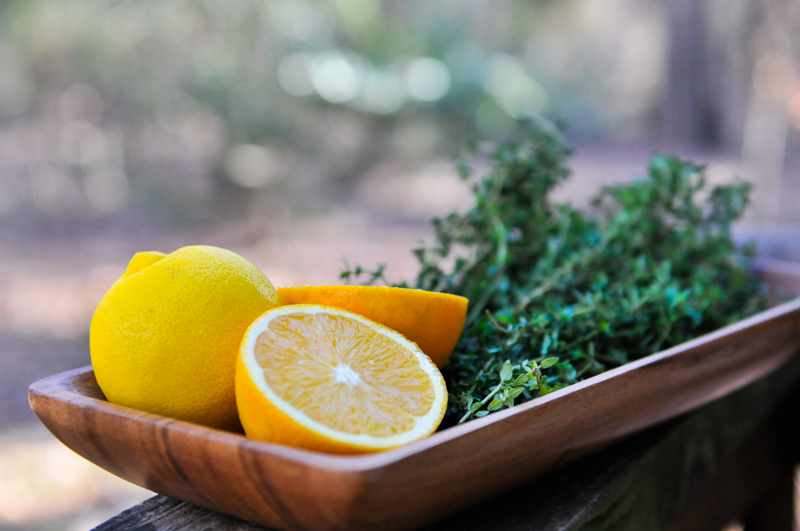
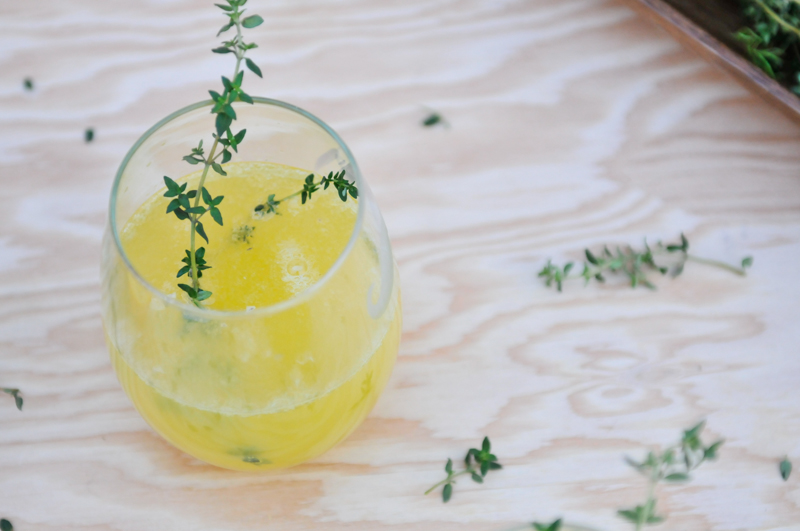
Cheers to citrus season!  Growing up, my mom would order a half dozen boxes of oranges from the marching band fundraiser, which meant orangeade all winter long.  I miss those big boxes and that orangeade so today I made something a little reminiscent of my childhood + alcohol 🙂  This citrus champagne spritzer has fresh squeeze oranges and lemons, but don’t fool yourself, it is still winter.

This bubbly and fresh drink turned my cheeks pink! It was the perfect pal for present wrapping today.  Do I sound like the loneliest person on the planet?! Wrapping presents with a drink that I’m calling pal? Don’t answer that. But hey, if your holidays are hectic and you need a mocktail, try this recipe sans champagne and cointreau.  Replace the alcohol with sparkling lemonade or use the sparkling orange and lemon soda as the base, but whatever you do, ENJOY IT!

Citrus Champagne Spritzer Ingredients:

  • Prosecco (1 bottle makes six+) refrigerated
  • Cointreau refrigerated
  • 3 TBSP orange juice
  • lemon or orange sparkling beverage refrigerated
  • 2 tsp lemon juice
  • 1 cup water
  • 1/2 cup sugar
  • 12 sprigs of thyme rinsed and dried

Some notes:

  • I use a one ounce shot glass to measure the ingredients, but if you don’t, one ounce equals two tablespoons.
  • You can leave out the cointreau if you want.  The flavor is wildly different, but just as amazing.
  • You could use Korbel Brut or a riesling instead of Prosecco.
  • This is a perfect big batch cocktail because there is no ice!*

liveseasoned_winter14_spritzer-1

 The how:

  • In a sauce pot, stir together a half cup of sugar and a cup of water.  Turn onto medium-low heat until the sugar is dissolved.  Remove from heat, add four or five sprigs of clean thyme and place a lid or plate on top of the pot. Let steep for ten minutes. After ten minutes passes, remove the thyme sprigs and strain simple syrup if necessary (all my thyme leaves were intact so I didn’t have to strain).
  • In a tumbler, mix 1 ounce thyme simple syrup, 2 ounce fresh squeezed orange juice, 2 teaspoons fresh lemon juice and half ounce cointreau. Stir well.  Add prosecco (I didn’t measure, just pour accordingly)
  • Top with a splash of sparkling lemon or sparkling orange soda.
  • Garnish with a thyme sprig or two and serve.
  • *If you are making these citrus champagne spritzers for a crowd, stir up a big batch all at once.  In a large pitcher combine 3/4 + 2 tablespoons simple syrup, 1 + 3/4 cup orange juice, 1/3 cup lemon juice and a 1/3 cup cointreau. Stir well, add the champagne and top with one can of sparkling orange or lemon.

liveseasoned_winter14_spritzer-8


These sparkling citrus champagne spritzers are perfect for a holiday party *ahem champagne toast ahem* or in my case a preholiday wrapping party.  Mix up a whole batch or put on Mixed Nuts and drink one by yourself 😉

liveseasoned_winter14_spritzer-3


Felt Ornaments

Hey! I looked at our calendar and realized that we have entered a week of Christmas crafting making on the blog! This isn’t necessarily gift crafting, just more little projects to decorate the tree, your walls, to send off in the mail (technically, I guess that’s giving), and maybe we’ll even have something to eat or drink by the time the week’s complete.

liveseasoned_w2015_feltornament1_wm

Today I’m talking about the felt ornaments and wreath that were pictured in this post. Both of these ideas came from my Christmas board on Pinterest, but unfortunately the links associated with the pins won’t take you to the original source for attribution. You’ll see that I’ve pinned many different felt ornaments, and I’m thinking that over the next few years I may make quite a few as we become a house with two little boys! Felt ornaments are just so kid-friendly, with a big loop, they are easy for little hands to hang and pull off the tree, and there’s so little investment in terms of both time (the the case of the ones I’ve made) and money, that I don’t mind if little A throws them around a bit while playing. Plus, they look really cute.

liveseasoned_w2015_feltornament9_wm

liveseasoned_w2015_feltornament3_wm

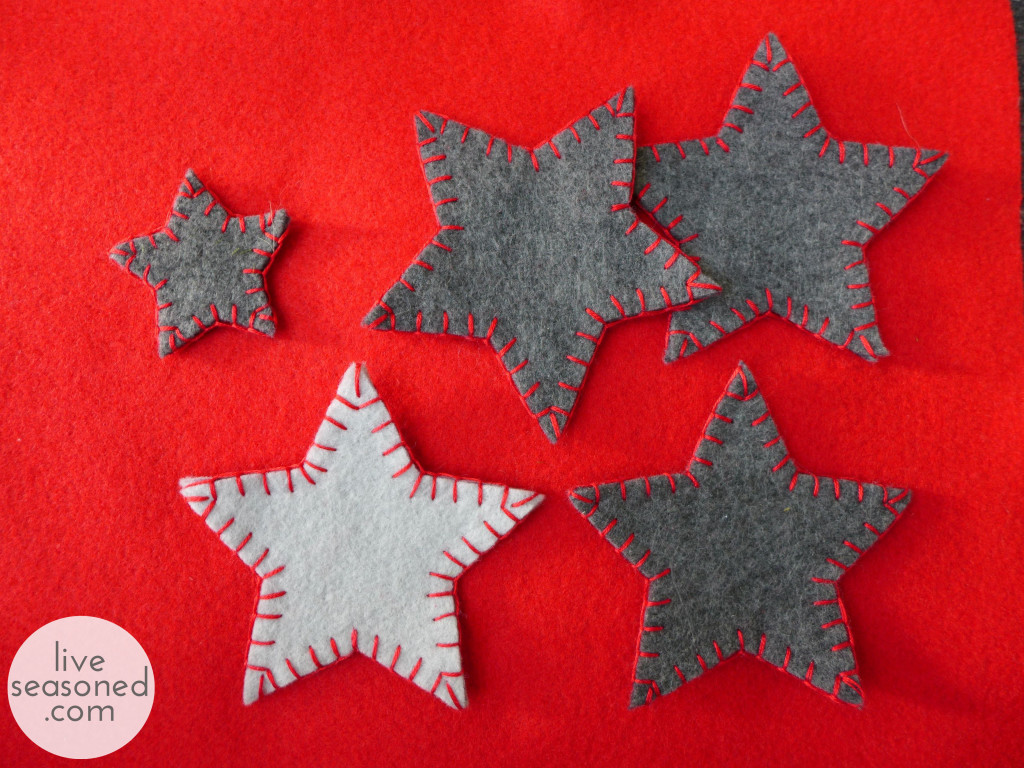
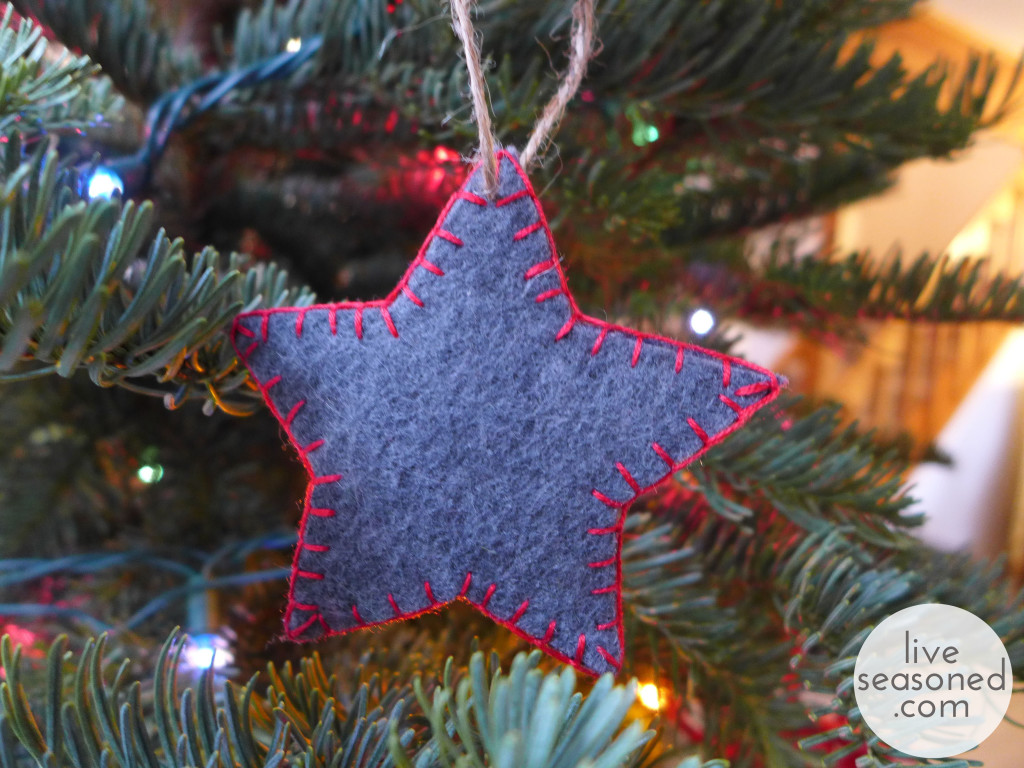
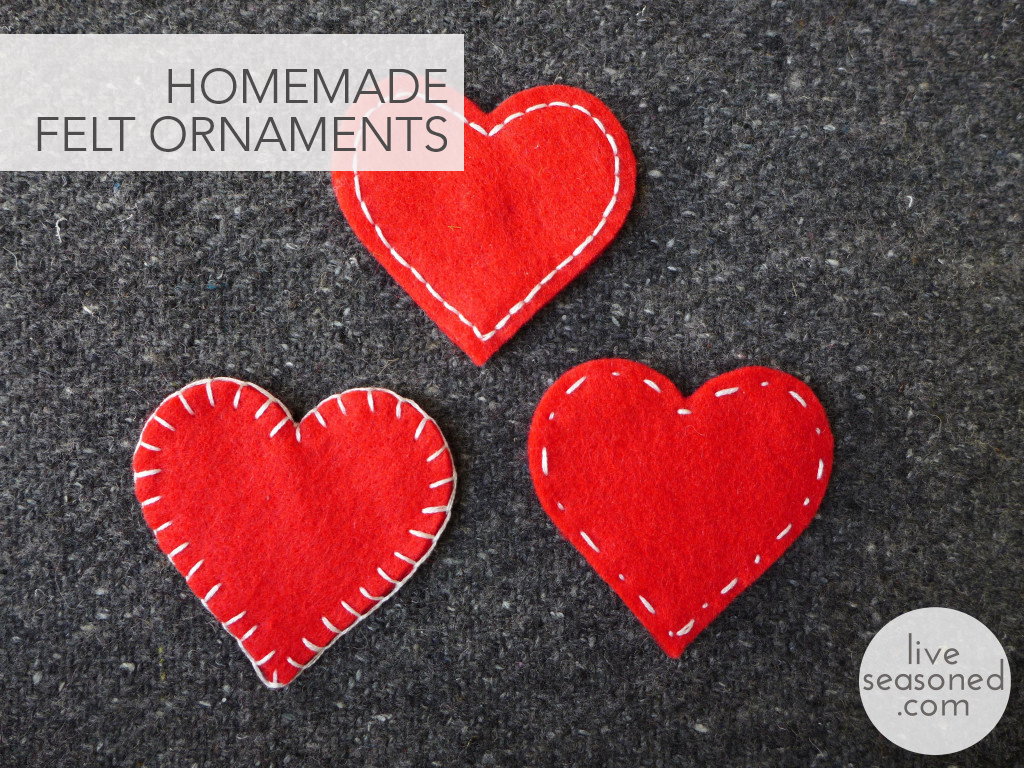
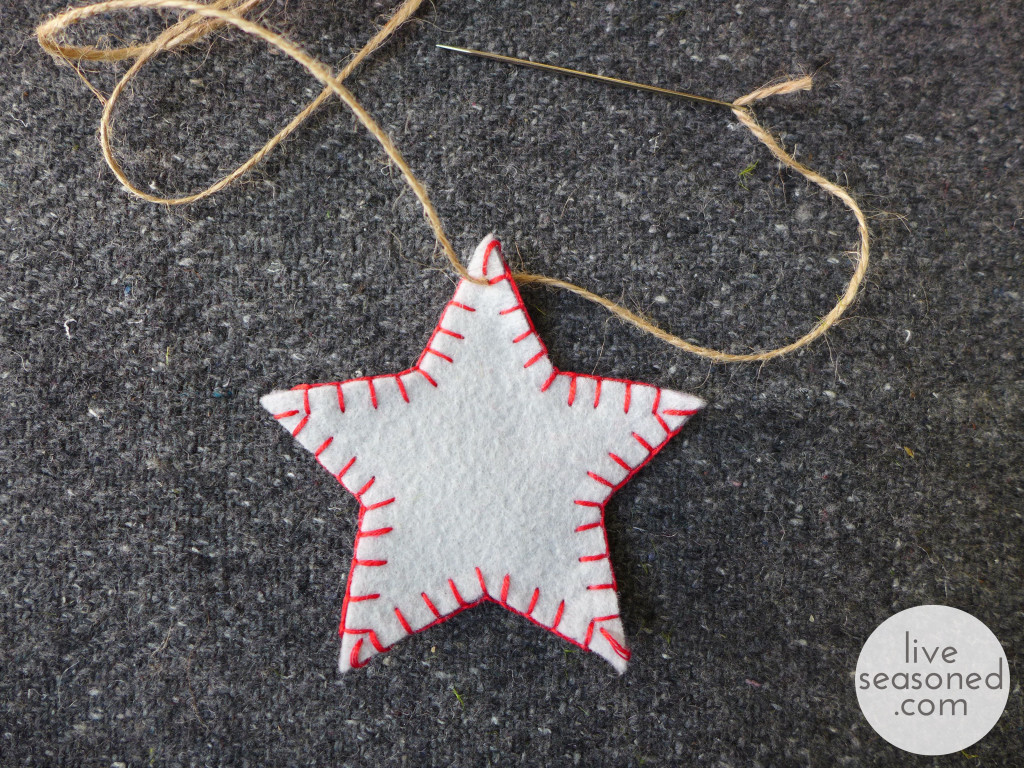
For today’s ornaments, I was first inspired by this photo. In addition to the stars, I added a few hearts with white stitching to our collection, inspired by these red felt ornaments. I personalized the stars by using a red blanket stitch around the edges, and I drastically simplified my hearts from the inspiration photo, eliminating the stuffing and choosing simple stitches that would follow the hearts’ edges.

liveseasoned_w2015_feltornament7 copy

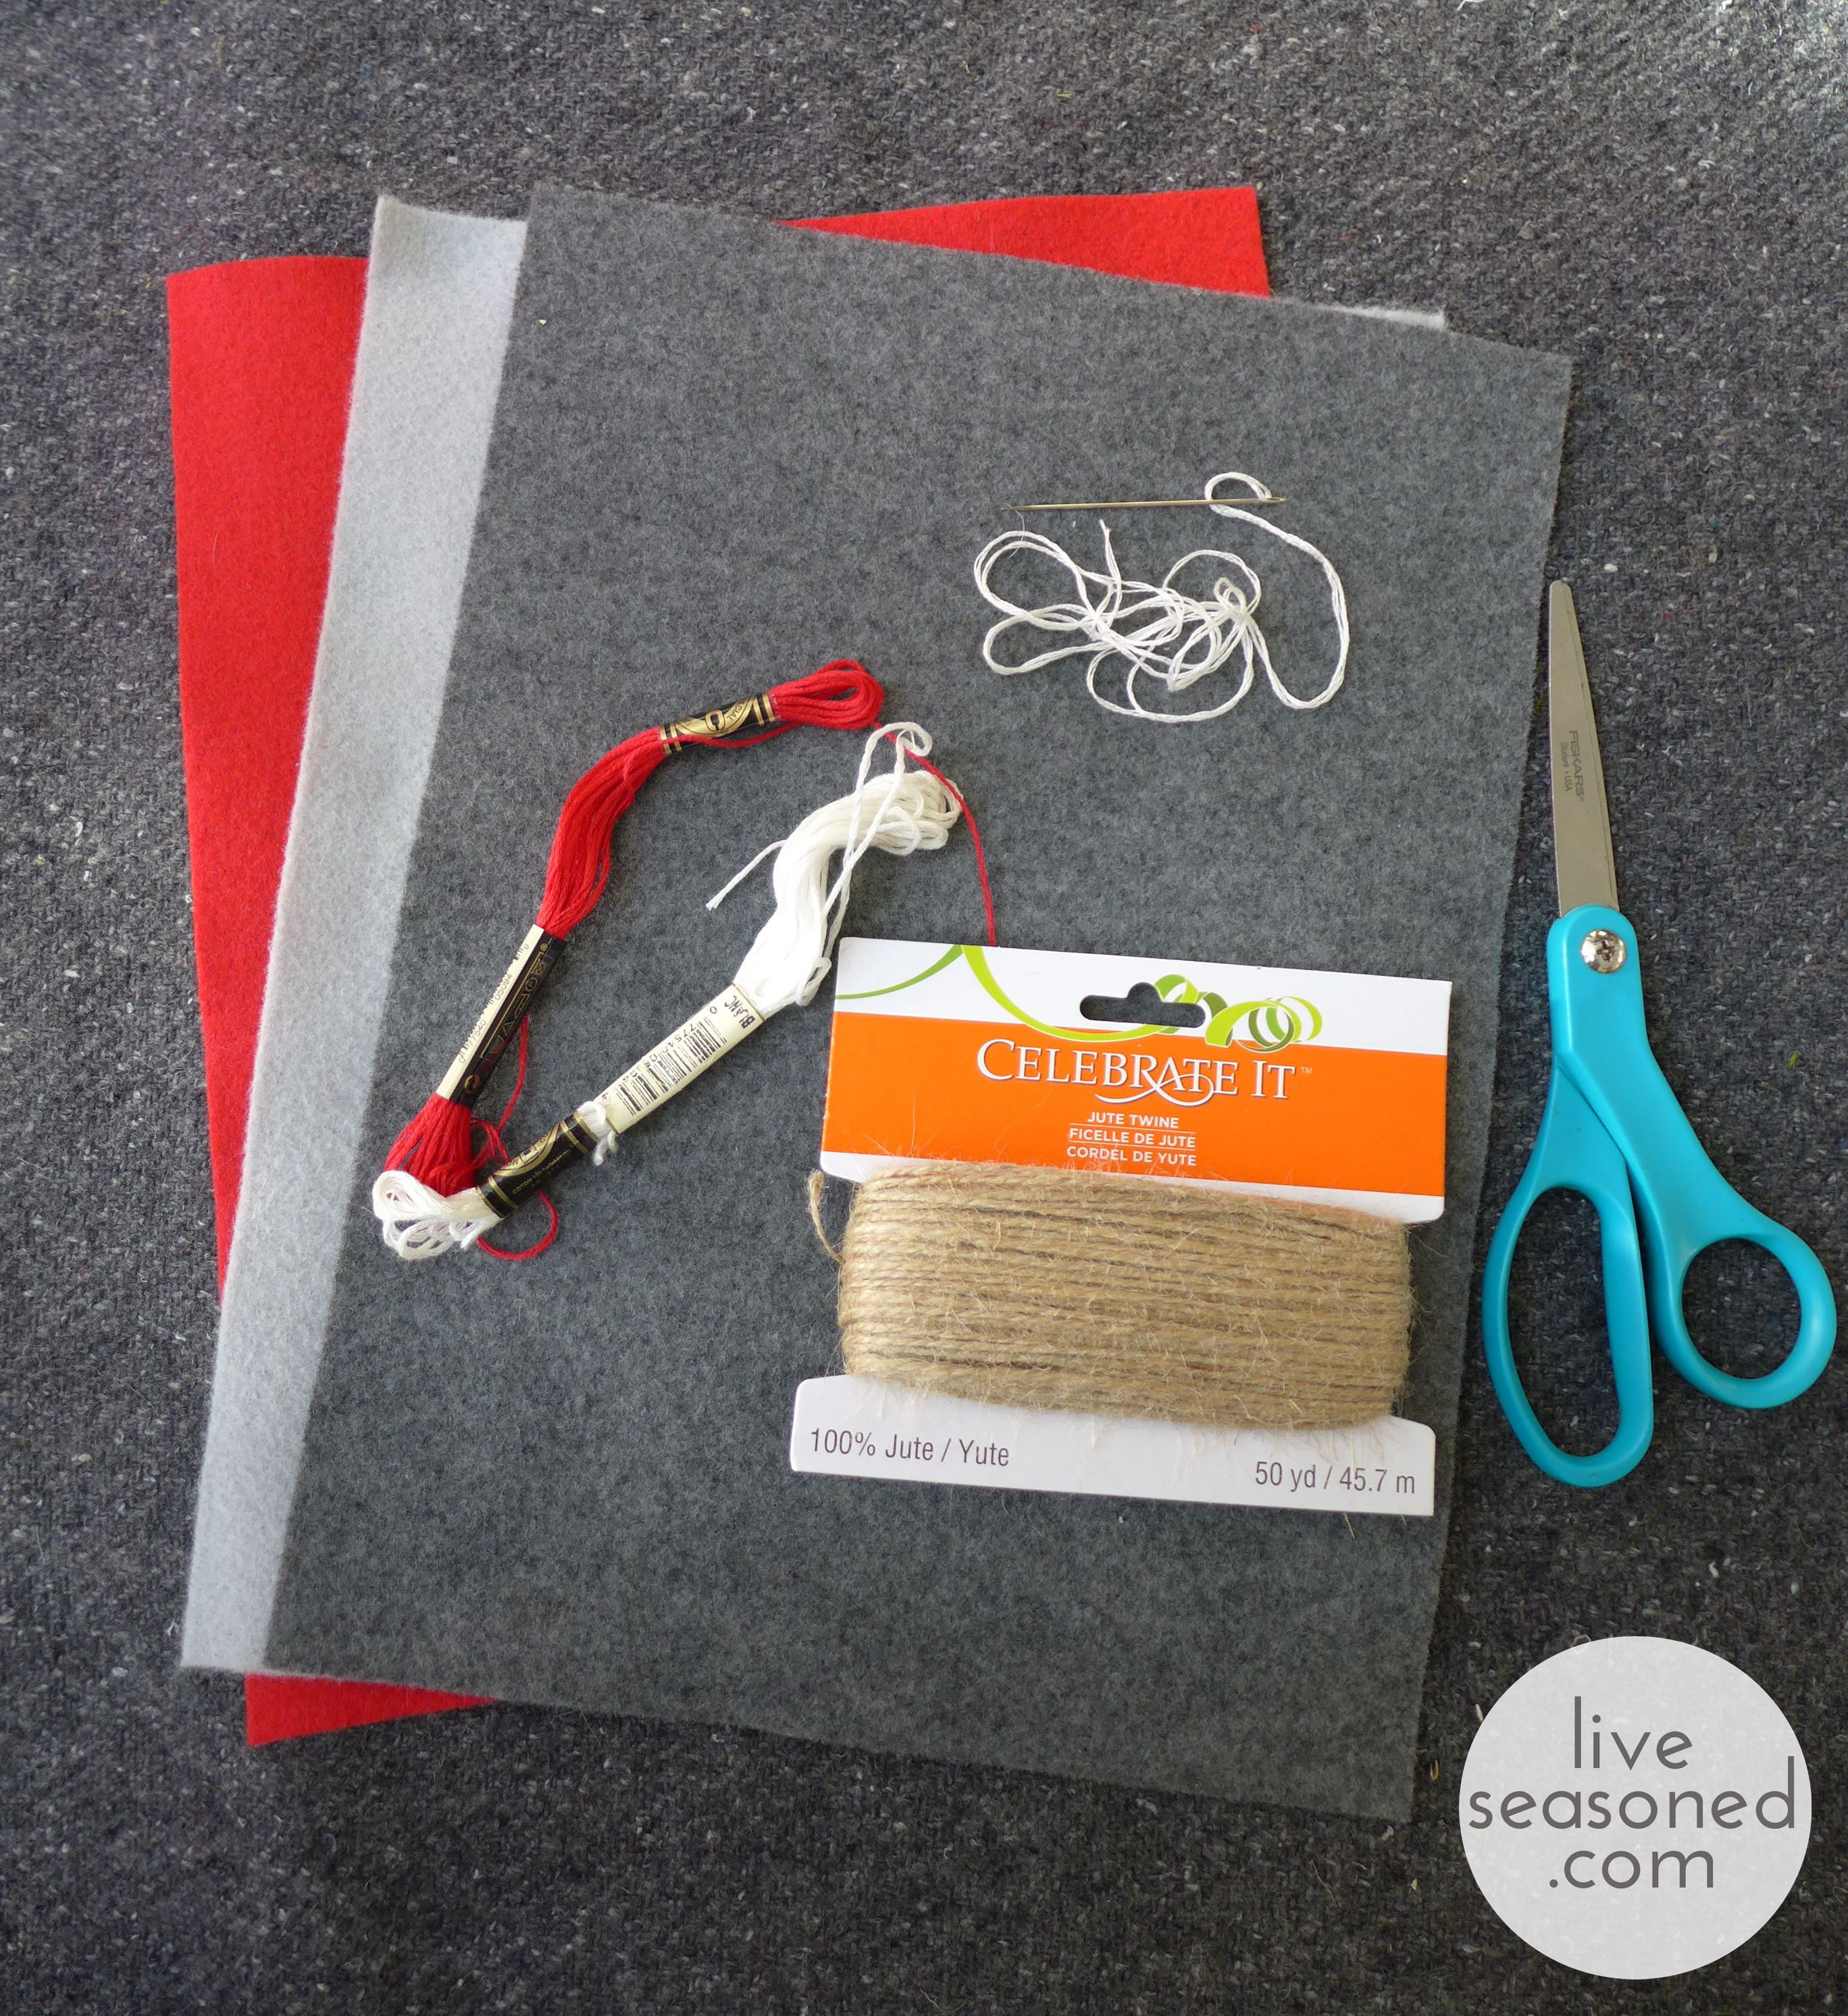
Supplies & Tools

  • Felt
  • embroidery floss
  • thin jute
  • sewing needle
  • scissors
  • shape template

liveseasoned_w2015_feltornament8_wm

Instructions

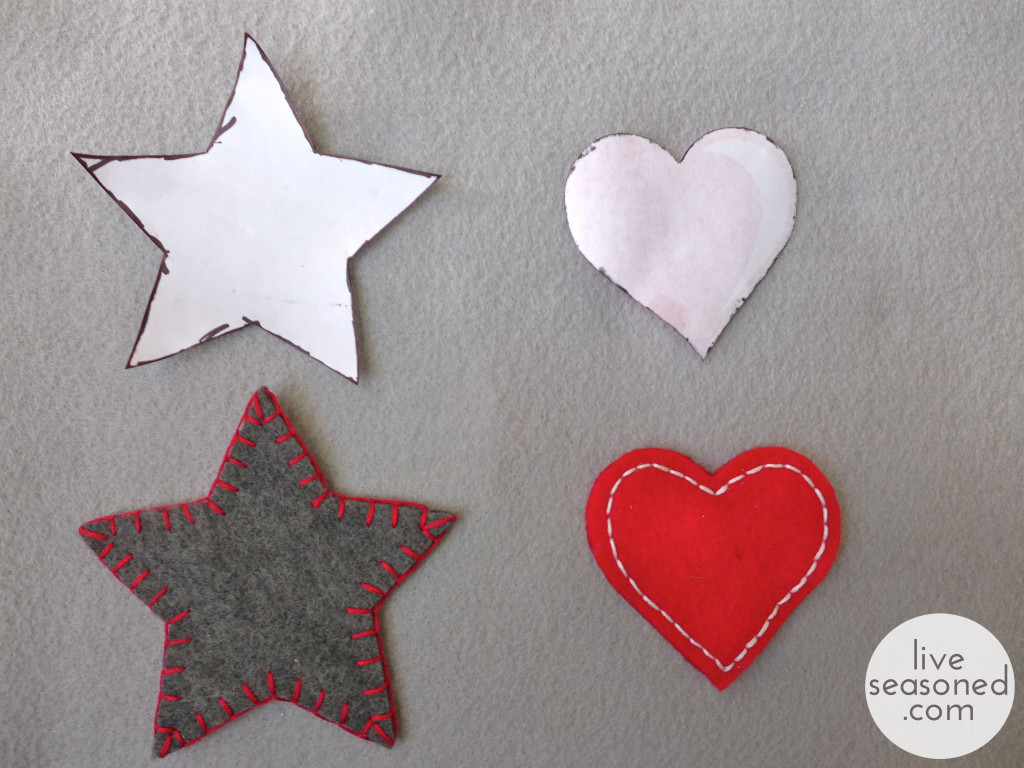
  • Find or draw your template. For my templates, I did a Google image search for  “heart clipart” and “star clipart”. I was able to find images that included hearts and stars of different sizes, so I printed them out and cut out the size that I liked for each.
  • Trace your template on the felt and cut out two of the same shape. As you can see from my template, I traced around it with a marker. Having those marker images on your felt isn’t a problem, because you can have the marked sides face inwards.
  • Sew your pieces together. Use three stands of embroidery floss for the embroidery. Holding the two felt pieces together (marked sides in), use your favorite stitch to hand sew the pieces together. I used blanket stitch for all of the stars, but was more creative with the hears, using blanket stitch,  back stitch, and a simple combination of long and short running stitches to create the third.
  • Add your loop for hanging. I used skinny jute for the hanging loops. You can find this in craft stores, and it’s usually sold in a smaller quantity than the bigger balls of fat jute (you can see the packaging in my supplies photo). The jute will not pull through your felt as easily as the embroidery floss. I found that it was easiest to thread the jute through the eye of my needle, pierce the felt with my needle, and then move the needle in circles to create a larger hole (but one that is still snug) for the jute to fit through.

liveseasoned_w2015_feltornament12_wm-1024x768 copy

liveseasoned_w2015_feltornament10_wm

While we were so excited to put the tree up, after the lights were hung it looked so pretty that we’ve been really lazy about adding more decorations. But a few nights ago we were looking for one more activity for little A before bath time, so I pulled out these ornaments and a few others for him to add to the tree. The pictures aren’t great, but I think you can tell that he was excited to get in on the tree action (clapping after each ornament was hung), and now it’s become a daily activity to remove and rehang a few.

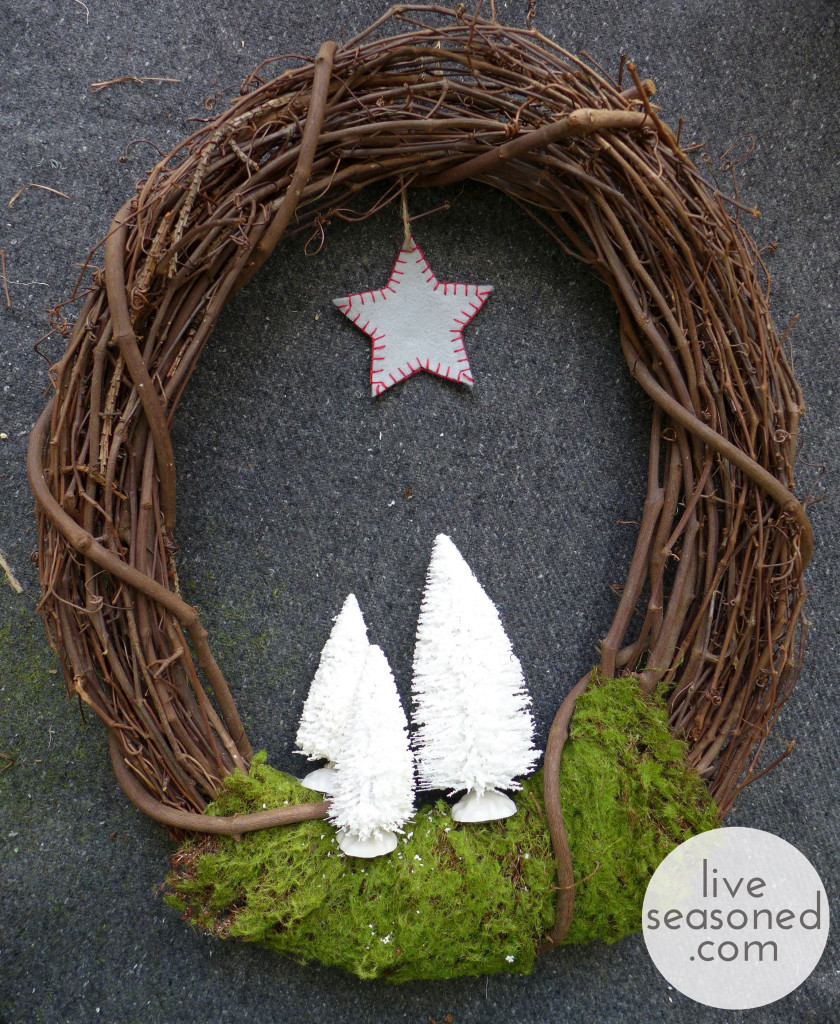
In addition to making their way onto the tree, I used one of the stars in our new wreath. Again, I’m borrowing and modifying this idea from something brilliant I saw online. 
liveseasoned_w2015_feltornament13_wm

Supplies

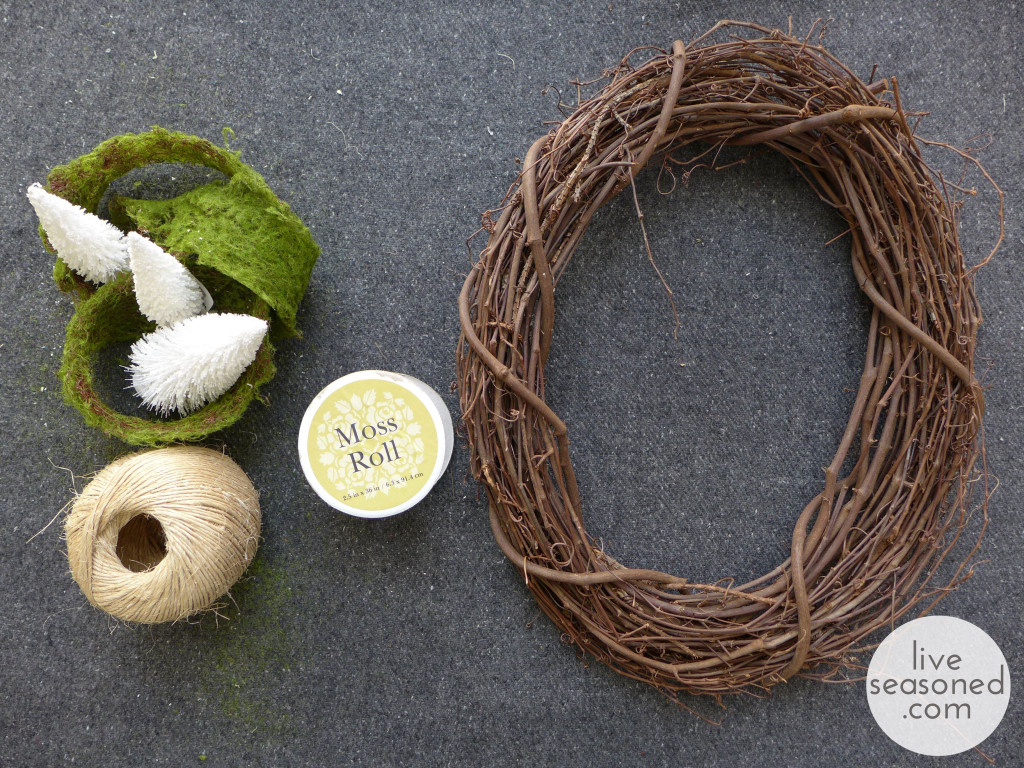
  • grapevine wreath
  • white bottle brush trees
  • moss roll (you can see the packaging below)
  • hot glue gun & glue

How cute is that wreath? It came together easily with a few supplies from the craft store. The project is relatively self-explanatory : wrap the moss around your wreath, slipping it under a few of the larger vines if possible (this just takes a bit of wiggling). Glue the trees where you would like them. Tie a star ornament from the top of your wreath. Bam!

liveseasoned_w2015_wreath3_wm

Once I hung this and the green garland above the door, I realized that we have a lot of brown and green going on out on the front porch. Maybe this year it would have been nice to go with something brighter? But I’m loving the peaceful look every time we walk in the door.

liveseasoned_w2015_wreath1_wm So, that’s my little felt project for the season. It’s been a long time since I’ve done anything with felt (or even had a little supply of it in my craft room), and I’m excited work with it more in the future. I really enjoyed making these ornaments because they were so easy and mindless to put together, creating a polished result. What does that mean for you? If you want to slow this weekend, but still feel a little bit productive, this is a great meditative project

liveseasoned_w2015_feltornament2_wm

Embroidered Christmas Cards

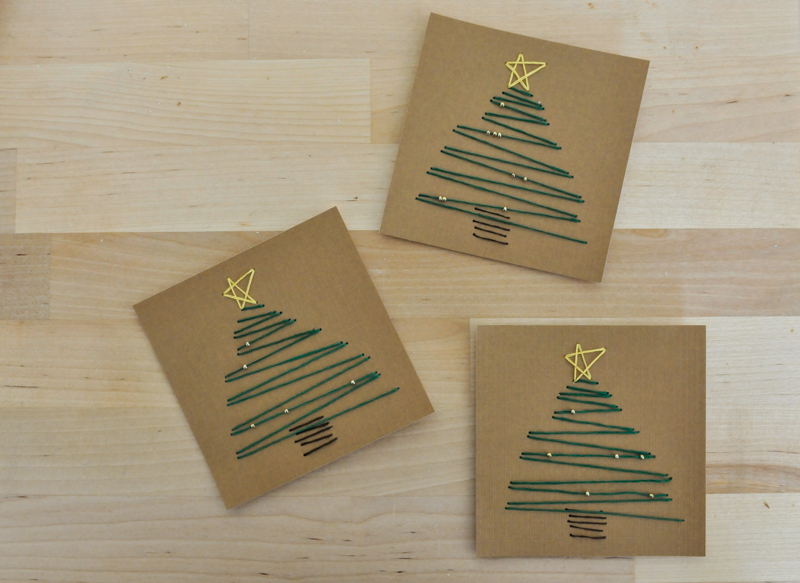
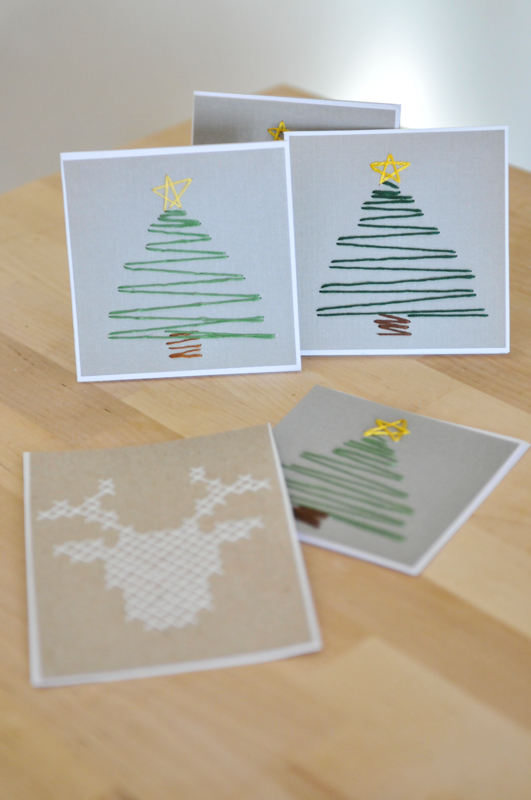
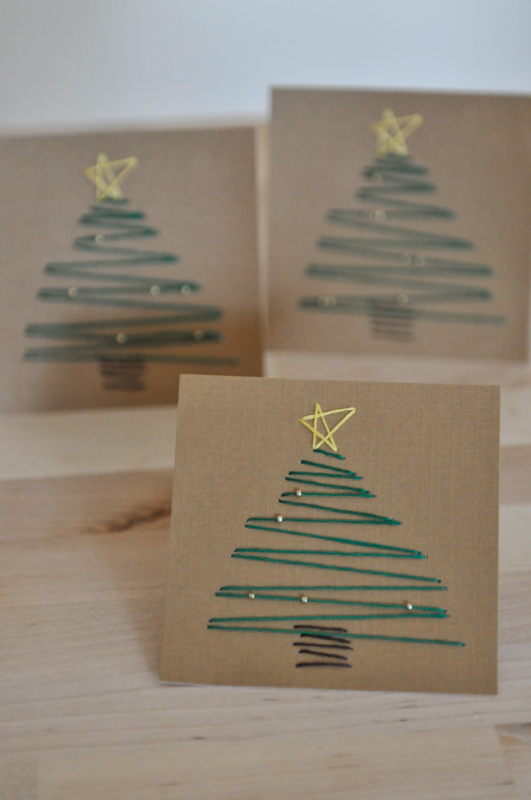
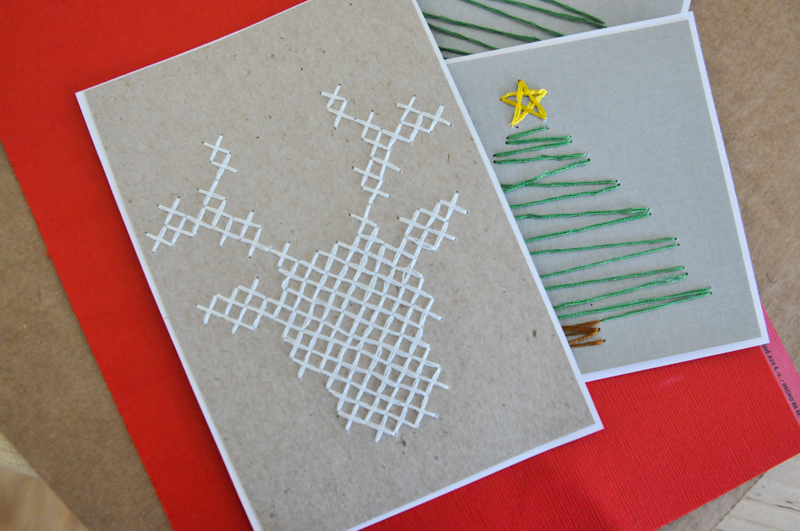
liveseasoned_winter14_stitchedxmascards-3-2I like to call them stitchmas cards.  I wanted to make cards this year, but I don’t have a printer so I had to think of an easy way to add a design.  I drew a few doodles, messed around with some graph paper and I came up with these simple card ideas.  Depending on how detailed you want to get, this is a great kids craft as well.  Add a few cute and easy stitches to your handmade Christmas cards this year.  I dare ya.

liveseasoned_winter14_stitchedxmascards-9liveseasoned_winter14_stitchedxmascards-1

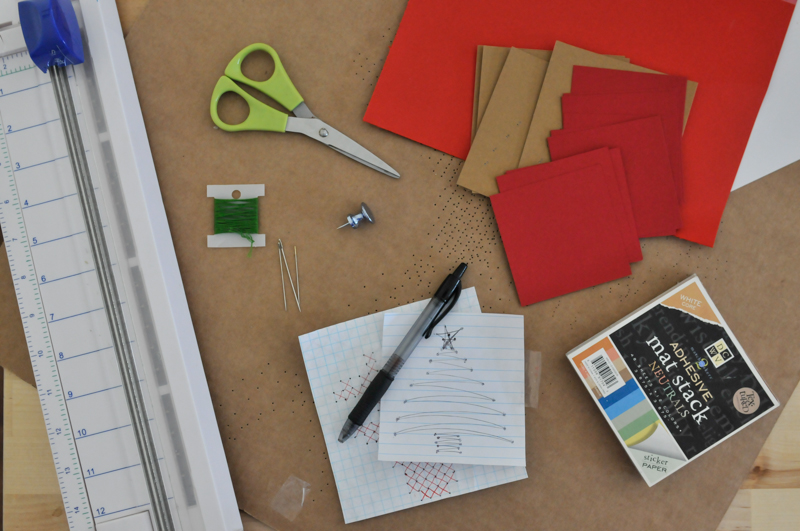
Supplies:

  • Piece of cardboard or foam to work on
  • Card stock (I used scrapbooking paper and these in neutral)
  • Blank cards or folded card stock
  • Paper cutter (optional)
  • Scissors
  • Thread
  • Needle
  • Thumbtack
  • Pen
  • Paper
  • Tape
  • Glue

The How:

  • Doodle a design on a piece of notebook paper.  It’s up to you how complex you want to make your cards.
  • Tape the design onto the card stock and the piece of cardboard you are working on. Use the thumbtack to poke holes at every angle in your design.  If you’re using graph paper, poke holes in each corner of the squares.
  • Carefully remove the tape and doodle.  At this point, I poked secondary holes onto my tree design adjacent to the original holes. I did this so I would not have to backstitch the entire design; instead it is similar to a running stitch.  The design and hole placement is really up to you.  There’s no strict rules for stitching cards, just a general practice.
  • Once you are finished stitching with a particular color, use a small piece of tape to secure the thread.  If you’re using paper with an adhesive backing leave the thread loose until the entire design is stitched.  Carefully remove the backing, pull the threads tight and stick them down.  Adhere the sticky sheet to the front of your card and place it under a stack of books.  If using regular card stock, use rubber cement to glue the design to the front of your card and place under a stack of books.

liveseasoned_winter14_stitchedxmascards-1-2

Have you already mailed out your holiday cheer this year? I like to wait until the last moment so that my friends and family open their card closer to Christmas and New Years. That or I procrastinate until the week before where you’ll find me hustling to make them all in time 😉liveseasoned_winter14_stitchedxmascards-8

Two Bits

We want to break down these internet barriers and invite you into our lives and we’re hoping you’ll do the same.  You are welcome to share your a bit of your week or day in the comments, or if they’re better represented by a photo, tag us on instagram @liveseasoned

Katie Here:

liveseasoned_w2015_dec12

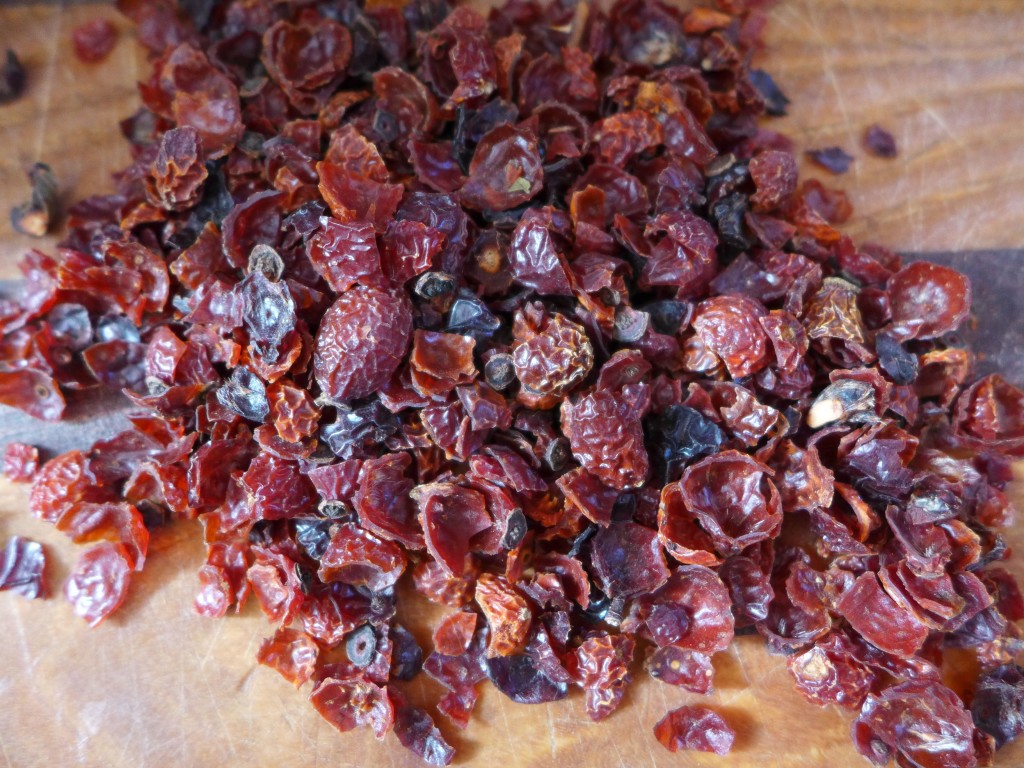
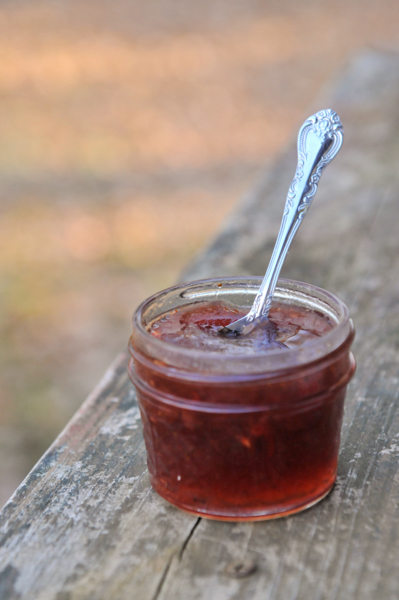
I had a fun time and learned a lot at an herbal-infused chocolate class that was put on by our local apothecary. As well as coming home with some amazing chocolates and a head full of ideas for Christmas, I learned how to make rose hip jam! It was something completely new to me, so it was fun to both learn about it and sample it in some of the chocolates. Now I’m making my own in hopes of recreating that deliciousness ~ more details to come. A chocolate making post is definitely in the works!

liveseasoned_w2015_dec12b


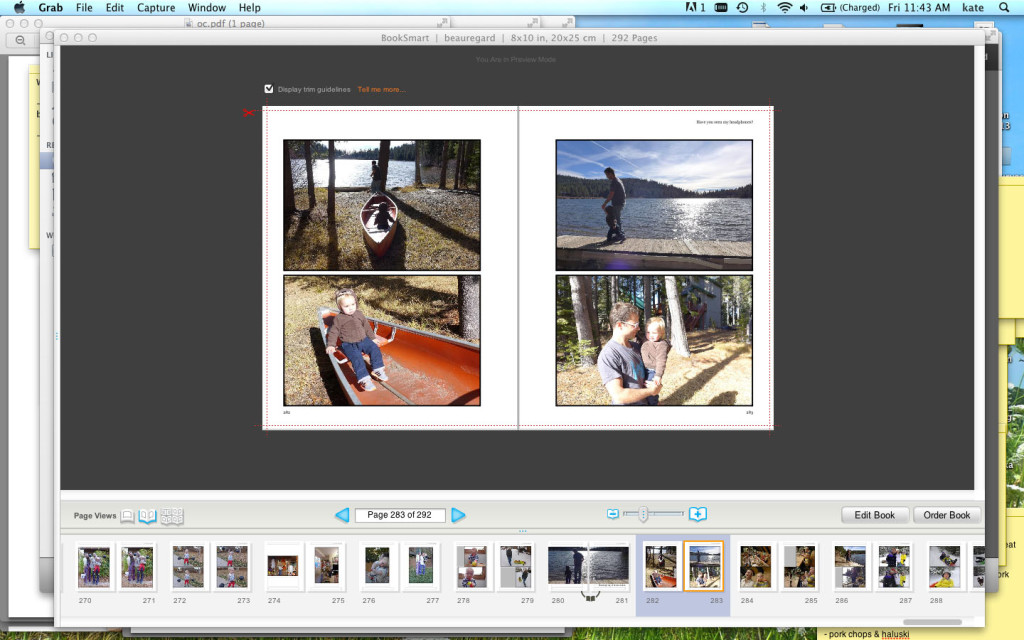
I was also busy this week finishing up the photo book that I give to Calder every Christmas. The book is fill with photos taken over the course of the year. They always start with the previous year’s Christmas and end with the current year’s Thanksgiving – that way we don’t miss any holidays and there’s some consistency. This is a little tradition that both of us really look forward to. While it’s hard to fit the time in to make one, it’s so much fun looking back over the year in photos, and Calder loves opening it on Christmas morning and taking a moment to slow down and flip through the pages. At close to 300 pages and over 400 photos, this is our longest one yet, but with a kiddo as cute as A. Max, it was hard to keep my photo number down! We’ve also found that with all photos being digital, this is a great way for us to print out a selection and having them on the bookshelf. Do you have any fun photo-related traditions that get them off your computer and into your house?

Sarah Here:

liveseasoned_winter14_twobits-1

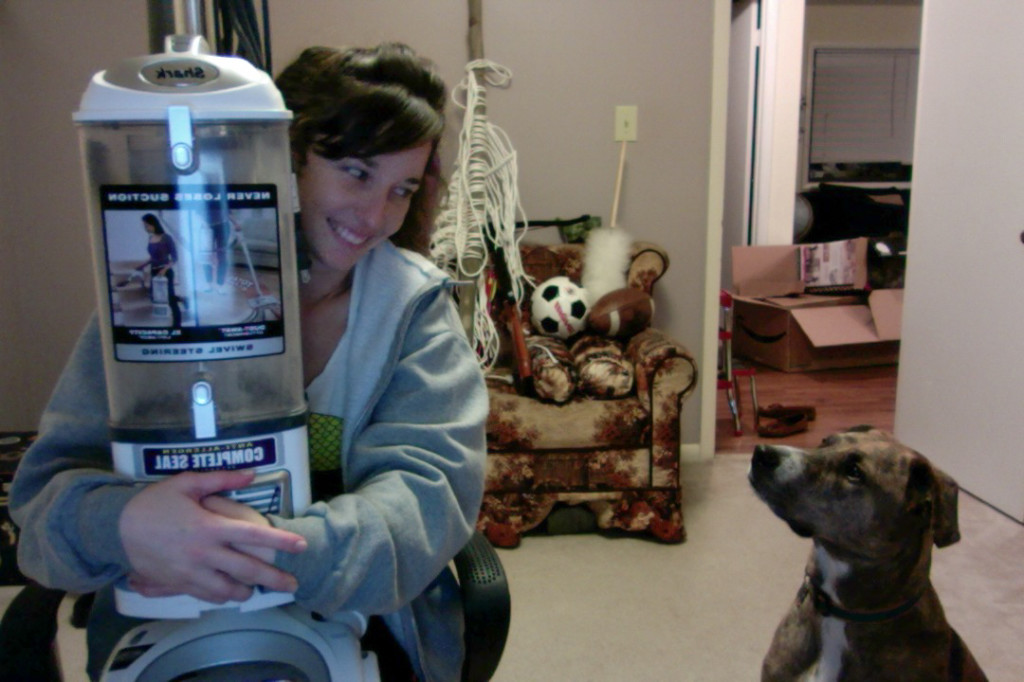
I had a pretty relaxing week at home.  Christmas came early when my UPS man delivered a brand new vacuum cleaner to my door on Monday.  Receiving an enormous unexpected package was really exciting! I love mail and I send care packages a lottttt, but it’s rare that I receive one myself.  The new vacuum gave me an intention for my week: clean. everything.  I finished up my cleaning spree by carrying my weight in cardboard and recyclables to the center tonight. I also took a trip to the laundromat where I had eleven washers running simultaneously. I was in and out of there in an hour and a half. It was pretttttty sweet. Yes, I just wrote a whole paragraph about the joys of cleaning one’s home.  I love this vacuum cleaner more than I thought was Sarahly possible.

liveseasoned_winter14_bestjammuffins-2

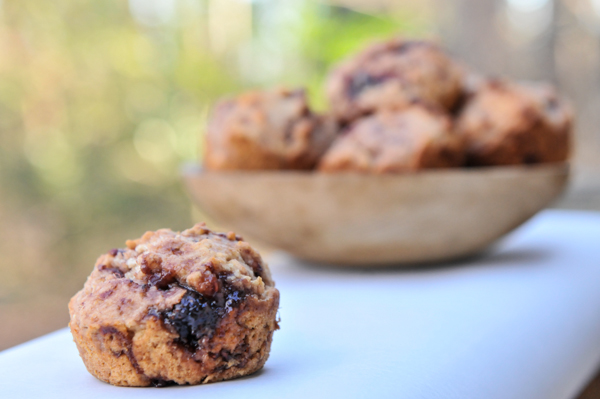
In between elving Christmas projects, I spent a lot of time in the kitchen this week.  I shared the almost vegan jam muffins yesterday.  I made sloppy joes for the first time in at least a decade and I realized, they are not that good. Just a pile of saucy crumbly meat.  I also channeled my brother Jeff and made a pizza casserole that was delicious and devoured within 24 hours.   I also made some pasta e fagioli soup and lots of cookies! I’ll be sharing some of those recipes with you at some point soon. Right now I’m snacking on a big bowl of couscous that I seasoned with cumin, tarragon, ground cloves, salt and butter.  Happy weekend! If you don’t have breakfast plans for the next couple days, whip up those jam muffins!


Almost Vegan Jam Muffins

liveseasoned_winter14_bestjammuffins-2

A couple months ago, I was invited to a JAMboree hosted by a dear friend.  She described it as, “a sweet swap and contest of sorts.” She had us all cook up a favorite jelly, jam chutney or conserve and bring eleven quarter-pint or half-pint jars of our entry to her home.  She served wine as everyone had a taste of all the entries.  After all the wine sipping and socializing all the guests voted on their favorite and a winner was chosen.

liveseasoned_winter14_bestjammuffins-5

I’m not here to tell you I won. Before this, I had never canned solo.  I’ve done it plenty of times in my mom’s or Katie’s kitchen, but never in my own little apartment.  I was a little bit intimidate and overwhelmed by the possibilities.  I went to the farmer’s market to purchase supplies and I came home with 12 pounds of onions.  I was in a burger with blue cheese and onions phase.  I decided to can caramelized onions, which I now realize was the most unexciting offer, but at the time I was really excited about to make a big batch of them.  I cried. A lot. It was glorious.  Anyway, I mailed in my entry because I couldn’t attend in person (you’ll see me at the 2nd annual JAMboree!) and a month later my mom gave me eleven jars of delicious and interesting jams to try.  I had totally forgotten that I would be receiving jars of jam in exchange for my caramelized onion slop.  I’m over my blue cheese burger phase and well into my what do I do with all this jam phase.

I intended on creating a vegan jam muffin recipe, but in my morning daze I added honey to the muffins.  Technically honey isn’t vegan, which is why I hereby name this batter creation the almost vegan jam muffins!  You could swap out the honey for maple syrup or another preferred sweetener, but I love them just the way they are.  For the milk, I simply used almond milk; you can use whatever you prefer.  Instead of adding an egg, I created a flax meal egg substitute, the easiest and most reliable in my experience.

liveseasoned_winter14_bestjammuffins-3

 Ingredients:

  • 1 + 1/2 cup whole wheat flour
  • 1/2 cup all purpose flour
  • 1 TBSP baking powder
  • 1/2 tsp salt
  • 3/4 cup almond milk (or whatever milk you prefer)
  • 1/4 honey
  • 1/4 vegetable oil
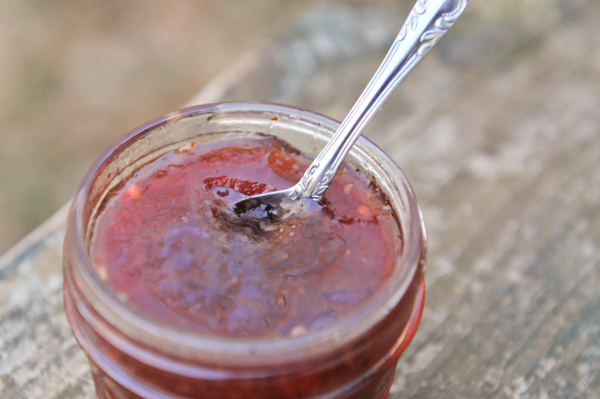
  • 2/3 cup jam (I used a friend’s strawberry balsamic)
  • 1 tsp vanilla extract
  • 1 TBSP ground flax meal
  • 3 TBSP water

 The How:

  • In a small cup stir 1 tablespoon of ground flax into 3 tablespoons of water and set aside.  This will transform into your egg substitute.
  • Preheat the oven to 350° and grease a standard-sized muffin tin.
  • Combine the flours, baking powder, and salt in a large mixing bowl.  In a separate bowl whisk together the milk, honey, vegetable oil and vanilla extract.
  • By now the flax and water mixture should have a gelatinous texture resembling that of an egg. Incorporate the flax egg into the wet ingredients.
  • Pour the wet ingredients into the flours and mix with a wooden spoon until just combined.  Pour the jelly into the batter and stir just a few times.  You want the jelly to appear in large swirls throughout the batter.  Add some more jelly if you want sweeter muffins.
  • Fill each muffin tin about 3/4 of the way.  Batter should make 12-15 muffins.
  • Bake for 16-20 minutes. Test by inserting a toothpick into the center of the largest muffin.  If it comes out clean they are done.  Remove the jam muffins from the tin and set on a wire rack to cool completely.

liveseasoned_winter14_bestjammuffins-4

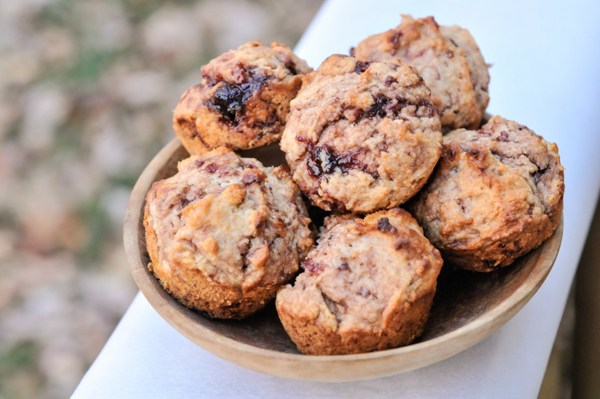
Enjoy with tea, coffee or juice 🙂  These almost vegan jam muffins are hearty enough for breakfast, but delicious enough for dessert too!  The strawberry balsamic jam was SO tasty.  I was tempted to add nuts or oats to the muffins, but I really wanted the jam to shine in this recipe and it really does.  These whole wheat muffins have the perfect about of moisture and sweetness for a breakfast snack.  Now that they’re all gone, I’m left wishing I had more strawberry balsamic jam!
Orange and Clove Pomanders

Oranges our our ingredient of the season. We have big plans for a winter of zesty recipes and sweet crafts.

liveseasoned_w2015_pomander6_wm

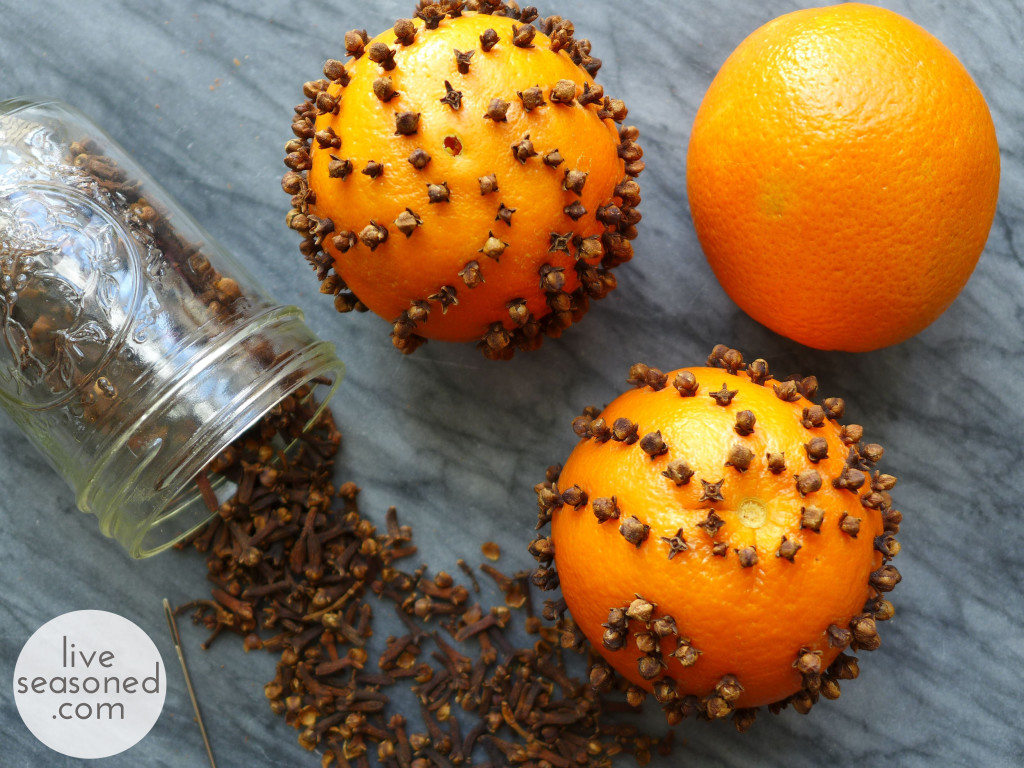
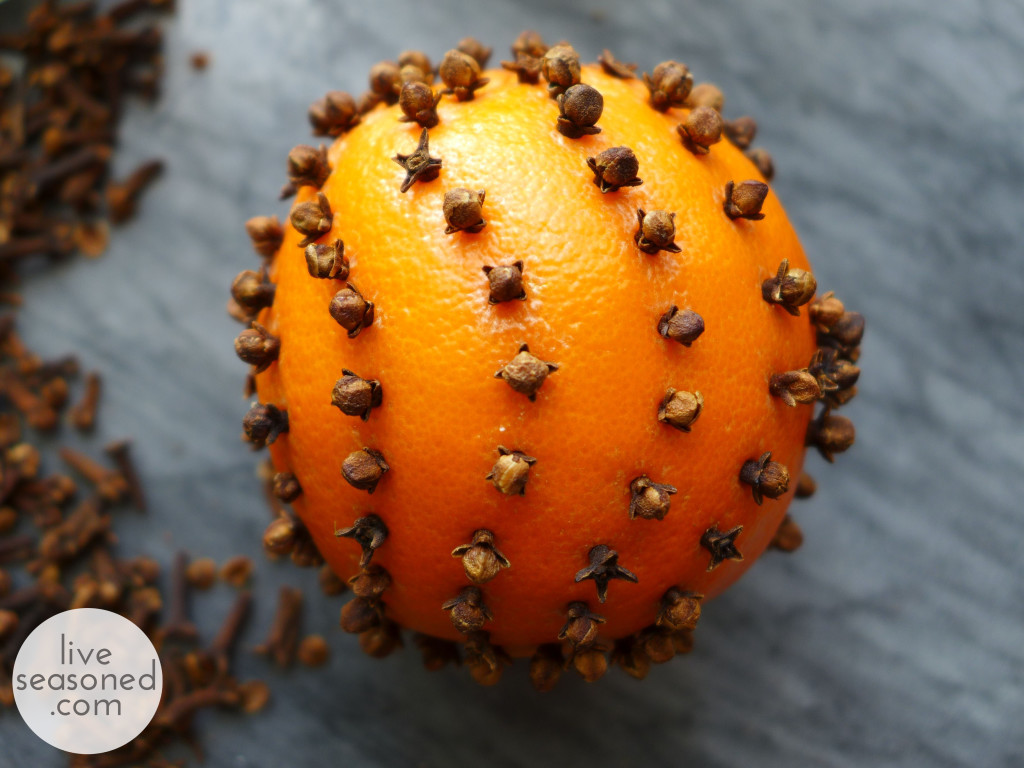
Today we’re sharing a super simple craft that you often see around the holidays : the orange and clove pomander.

Pomanders are balls made of some sort of scented or perfumed material. They are considered an original form of aromatherapy and have a long history dating back to the Middle Ages!

The orange and clove pomander is considered a modern version, and if properly dried, you can use these sweet and spicy smelling balls year after year as holiday decorations or in place of sachets in your dresser drawers.

liveseasoned_w2015_pomander1_wm

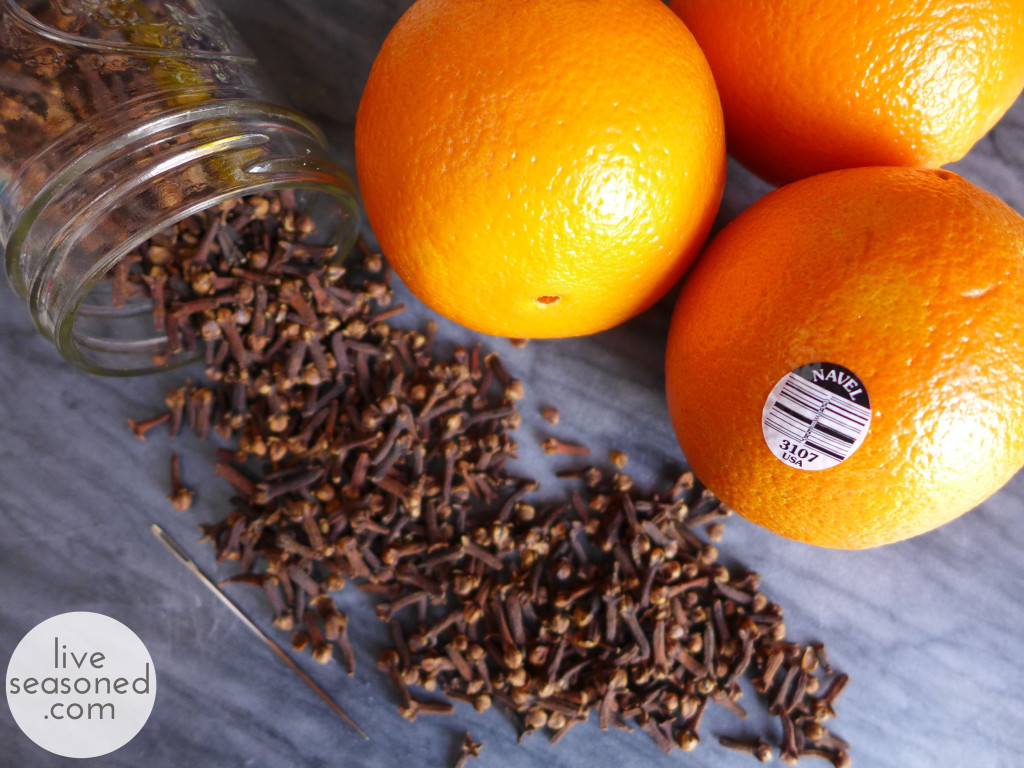
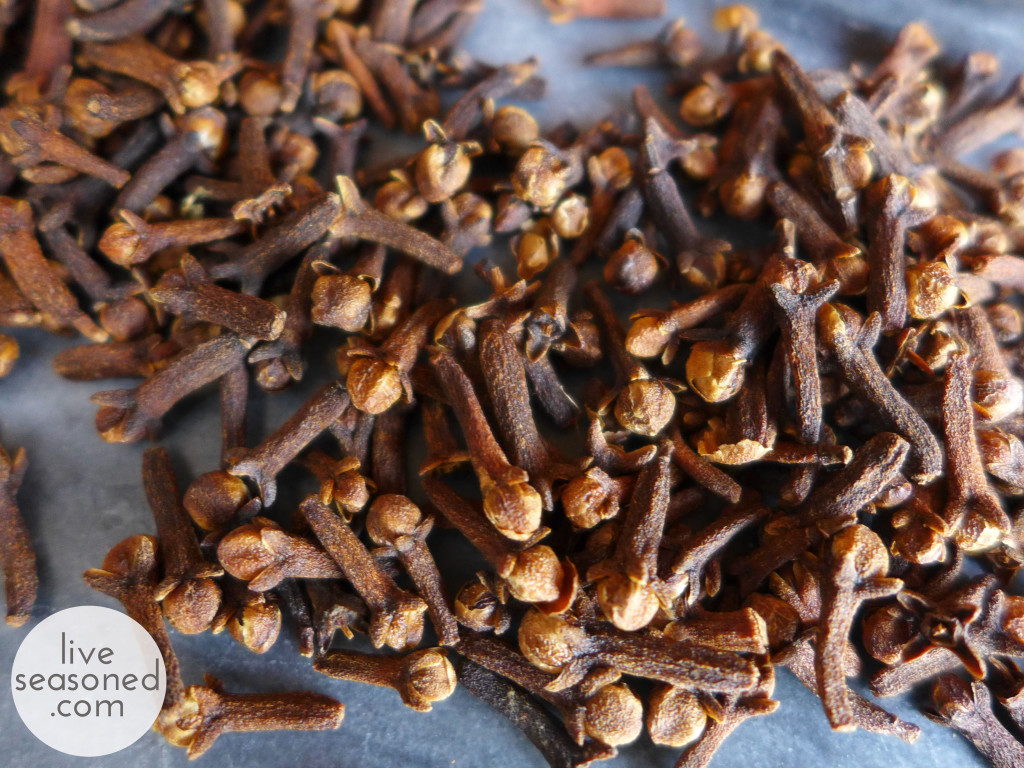
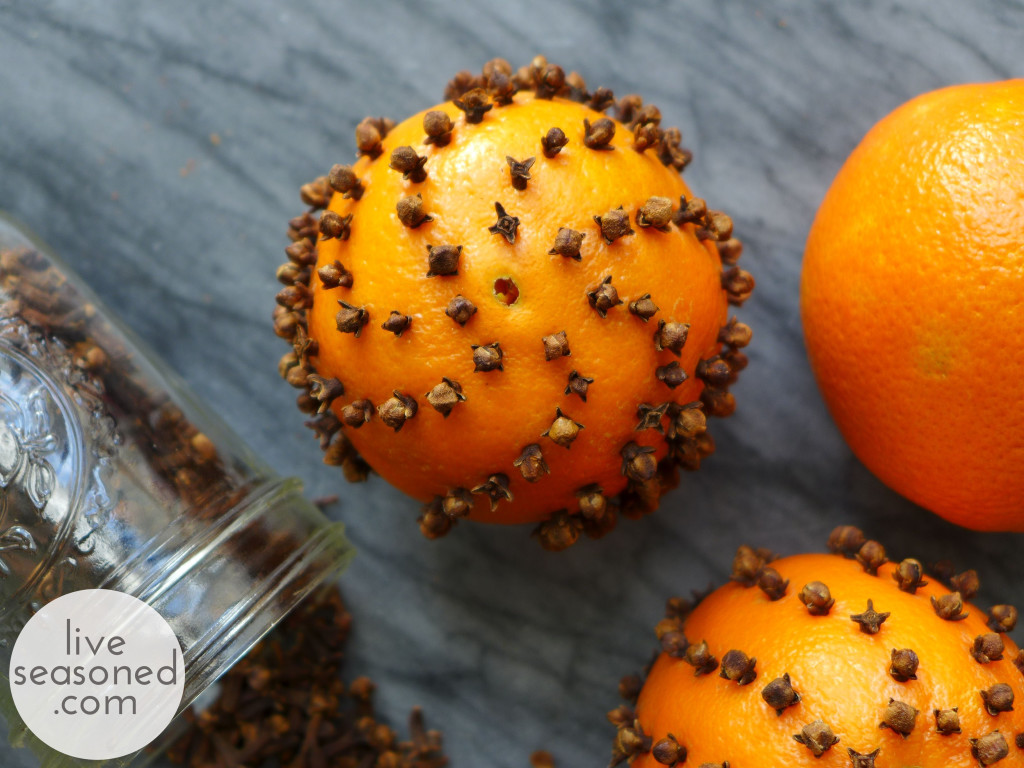
This is a very easy and kid-friendly craft! To make a bare-bones pomander all you need are oranges and cloves (buying your cloves in bulk is the way to go here). If you want to get fancy, you can add ribbon, either tied around your orange and incorporated into the design or looped through your orange for hanging.

liveseasoned_w2015_pomander2_wm

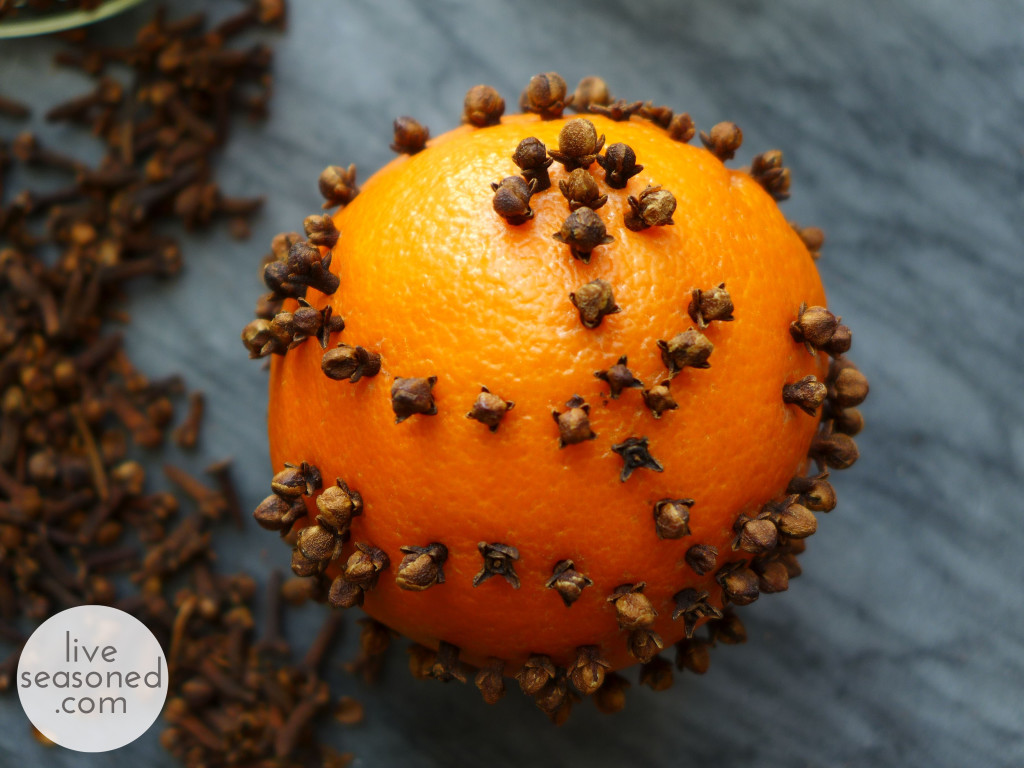
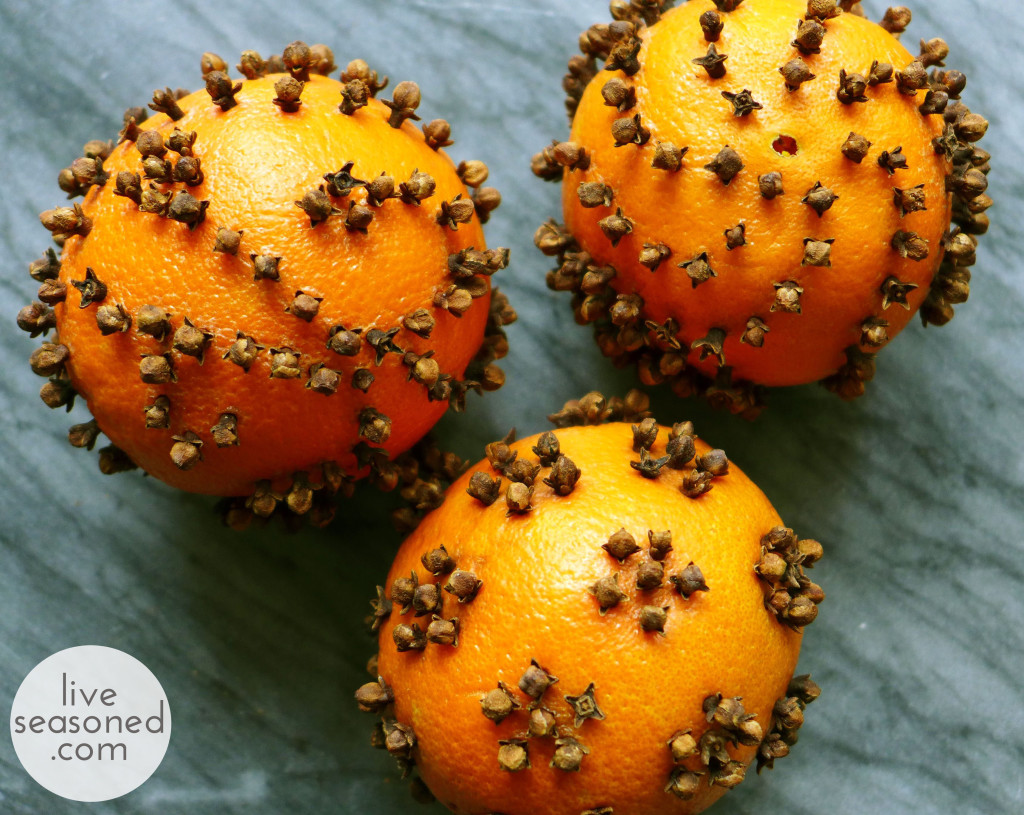
With your supplies ready, start making a design on your orange. I did all of these over the course of a couple of days ~ whenever A. Max was busy playing and I had a minute to myself. So rather than fuss over a specific design, I just played with the cloves and did a few free-form patterns.

liveseasoned_w2015_pomander3_wm

There were curved lines.

liveseasoned_w2015_pomander_wm

That looked like swirls from the top.

liveseasoned_w2015_pomander4_wm

One had a vine with flowers.

And there were polka dots!

The one issue you’re likely to have, especially if you’re in a more humid climate, is some mold growth. I’m hoping that the dry CO climate is going to help us out here! But to be on the safe side, once I was done with the designs, I put these in a cool, dark closet for about a week to dry out more. As they dry, you’ll notice that the cloves are sticking out a touch, so you can go around a poke them back in.

A traditional way to avoid mold growth is to sprinkle your finished oranges in orris root powder. This will help to dry out the orange and will add a violet scent to your pomander. In an effort to keep this project simple and low cost, I’m taking my chances and skipping the orris root!

liveseasoned_w2015_pomander8_wm

Putting them all together, it’s a nice little display of pattern that smells unbelievable! Alex loves to walk over to them and take a big whiff, which is unbelievably cute!

Winter Salad

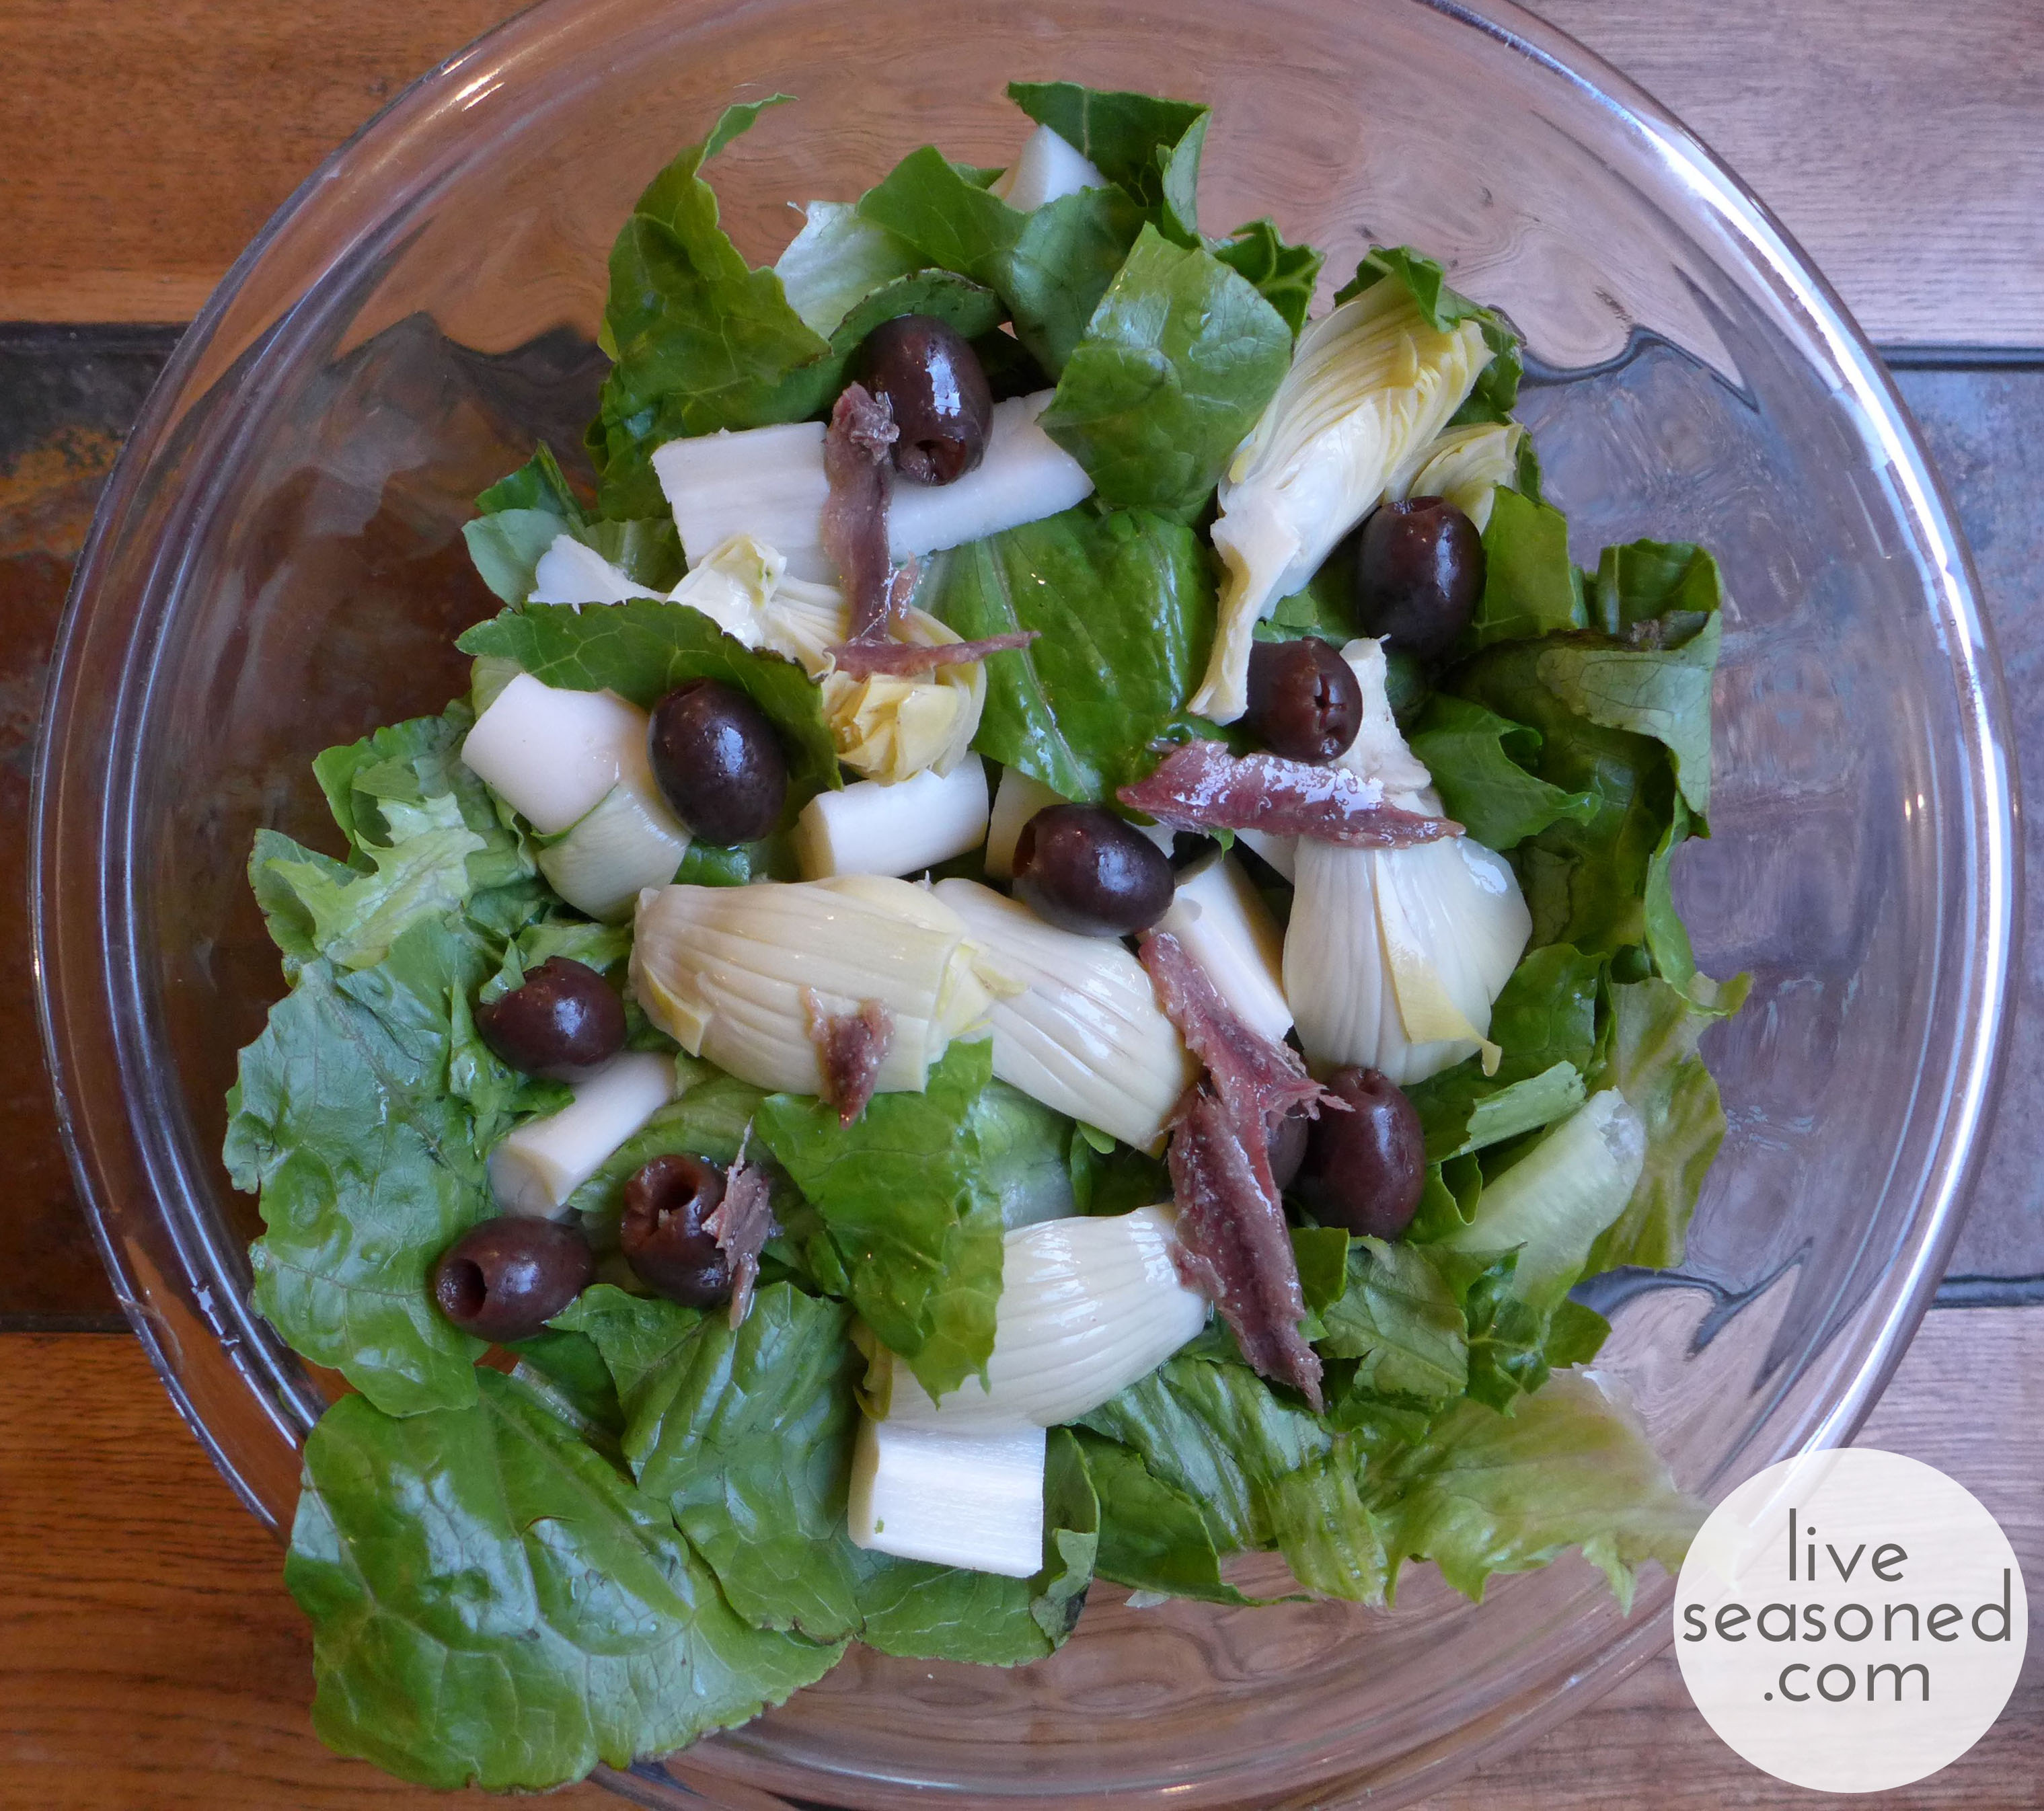
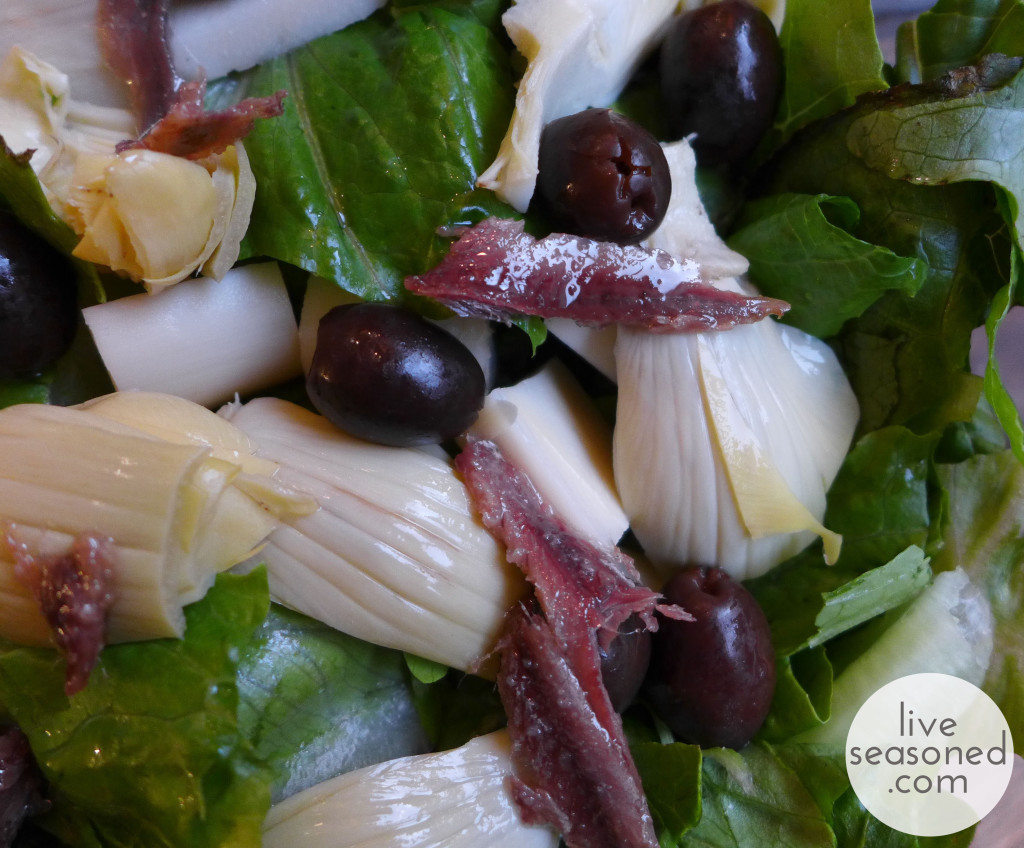
Before we even get started, let me acknowledge that this salad won’t be for everyone. But, if you have a palette for a few strong flavors, then this is the perfect antidote to those slightly depressing and less-than-fresh produce shelves. Why? Because, as you’ll see, other than the lettuce, we rely on a few key canned ingredients to prepare this uber-delicious twist on the Ceasar salad.

liveseasoned_w2015_wintersalad1_wm

While this may be the simplest recipe we’ve ever published, don’t underestimate it’s quality. I realized we had to share the dish after Calder and I ate it at least a half dozen times over the course of a few weeks!

Ingredients

  • romaine lettuce
  • hearts of palm
  • artichoke hearts
  • black olives
  • anchovies
  • hard boiled eggs (approximately 1 per person or serving)
  • grated parmesan
  • Caesar dressing (we like this creamy one)

Preparation & Serving Suggestions

  • I make this as a large side salad for the two of us, and find that I only need about 1/3 of the can of artichoke hearts and hearts of palm and about a quarter of a can of olives, but you can easily adjust those amounts to suit your taste.
  • Since anchovies aren’t for everyone, they can easily be served on the side, which is what I also do with the egg since I eat them but Calder doesn’t.
  • Finally, we think it’s fun to grate the cheese directly over our servings, so I put that on the table with a grater.
  • And what else can I say about a salad? Add your dressing, give it a thorough toss, and enjoy!

liveseasoned_w2015_wintersalad2_wmSo easy. So good. So perfect for a meal between the many holiday indulgences that arise at this time of year! enjoy*