Christmas is so close! Today we’re popping in with a couple of orange treats : candied rinds and orange-flavored marshmallows. Both recipes are so easy to make, take relatively little time (so you’ll still have time to make them when you’re up late waiting for Santa), and they make a unique addition to any dessert table and hot cocoa mug!
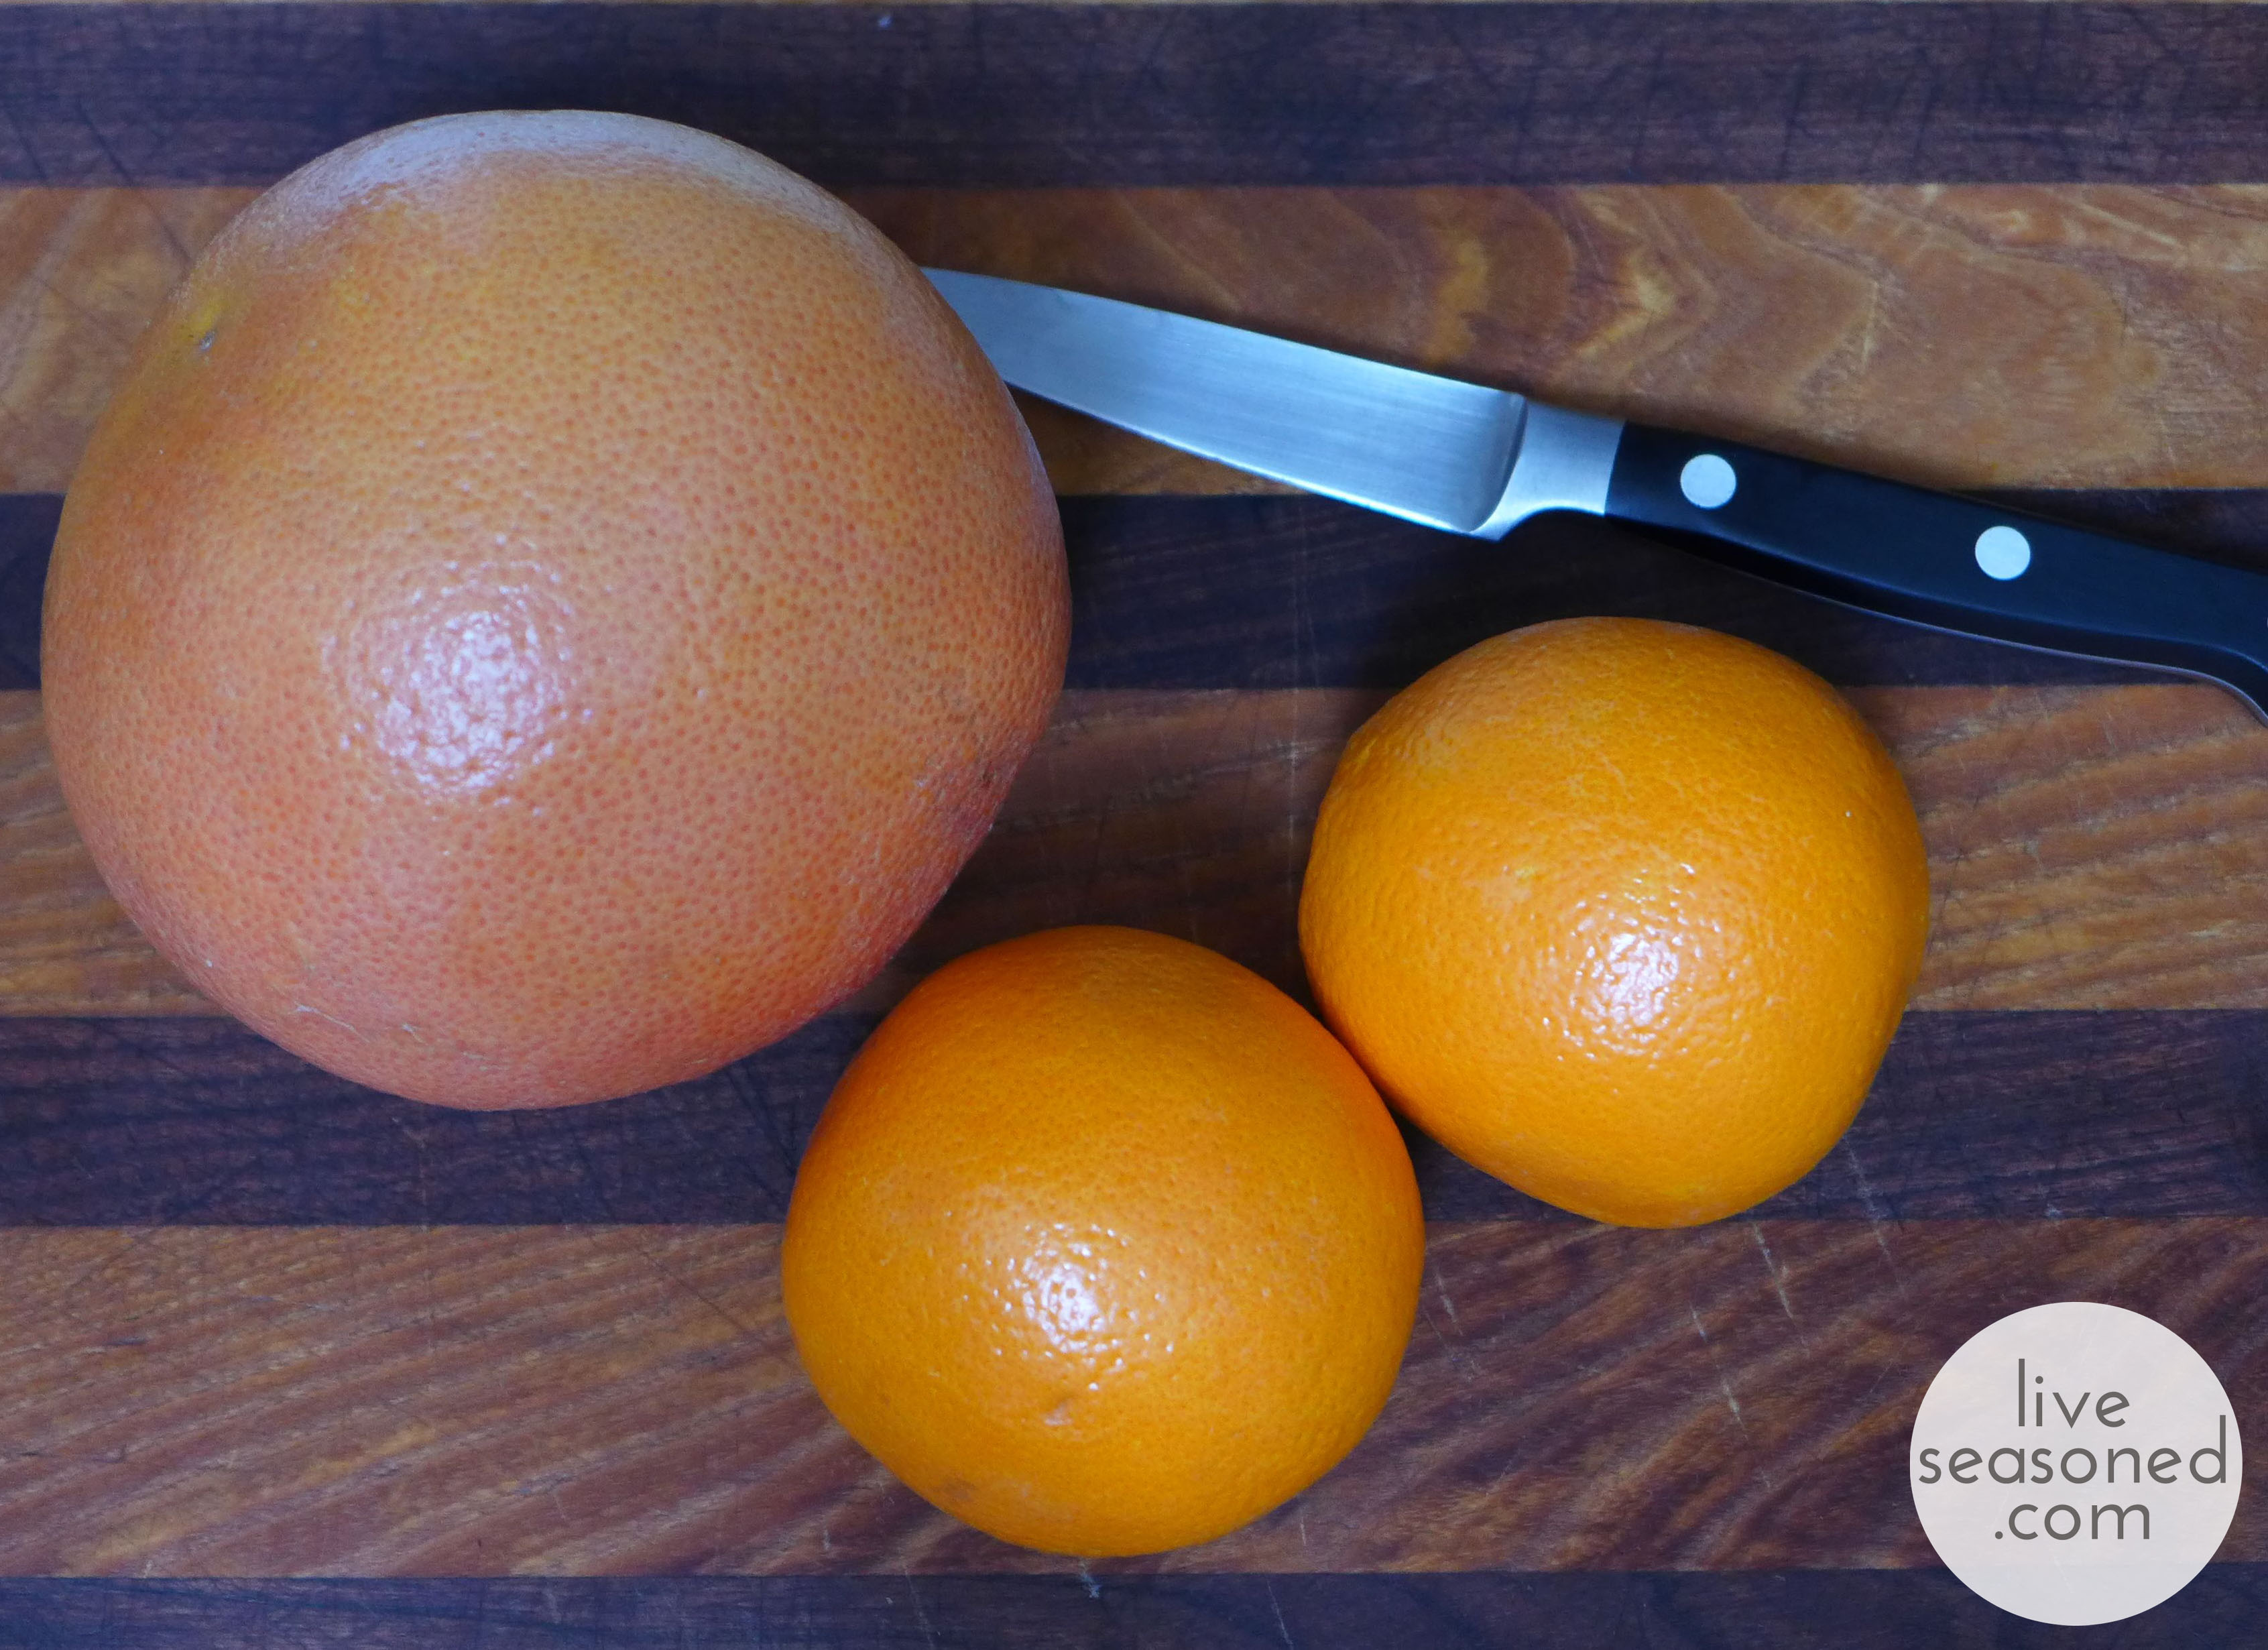
 First up, the candied rinds. I like to use a combination of orange and grapefruit for this recipe. It’s nice having the two flavors, but I also really like the variation in color that using more than one variety of citrus provides. Candying the rinds requires boiling them in a sweet syrup before rolling them in sugar, and while both steps are meant to create a sweet, candy, the finished rinds can still have a some bitter undertones that may make your lips pucker. This is one of those flavors that keeps some people coming back for more while others (Calder) pass after their first sample.
I use a technique that I learned years ago from Martha Stewart, and it’s consistently worked well over the years. But I’ve noticed that she offers a number of different methods for candying citrus rinds on her website, and they vary widely in both the ingredient ratios and the cooking times, so if your variation differs from my, by all means, stick with what you know.
Ingredients
- 2 oranges & 1 grapefruit
- 4 cups sugar, plus more for coating
- 4 cups water, plus more for boiling
- chocolate, optional
How-to
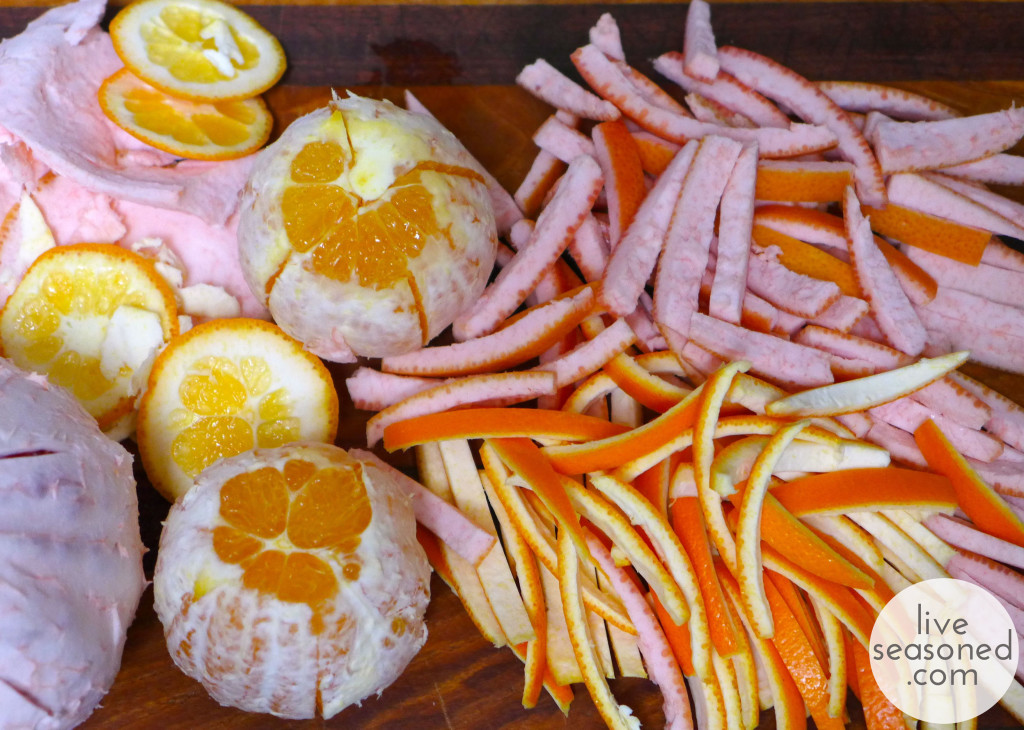
- Prepare the rinds. Cut the ends off the fruit and make 5 to 6 slices through the rind, but not the fruit, from top to bottom. Gently remove the rind pieces with your fingers. You can leave most of the pith attached to the rind, but use your pairing knife to cut off any excess or particularly mangled sections. I use this opportunity to make the pith side of my rind smooth, and if I have a grapefruit with a particularly thick rind, I may slice of a little bit extra. Cut the rinds into 1/4 inch slices. If the grapefruit rinds are particularly long, I will cut them in half.
- Place the rinds in a saucepan and cover with water. Bring to a boil, then drain. Repeat this process one more time.
- Place the sugar and water in a saucepan and bring to a boil, stirring until the sugar dissolves. Add the rinds and reduce pot to a simmer. Continue simmering for about an hour. At this point the strips should look translucent. Remove the rinds with a slotted spoon and let them cool on a baking rack.
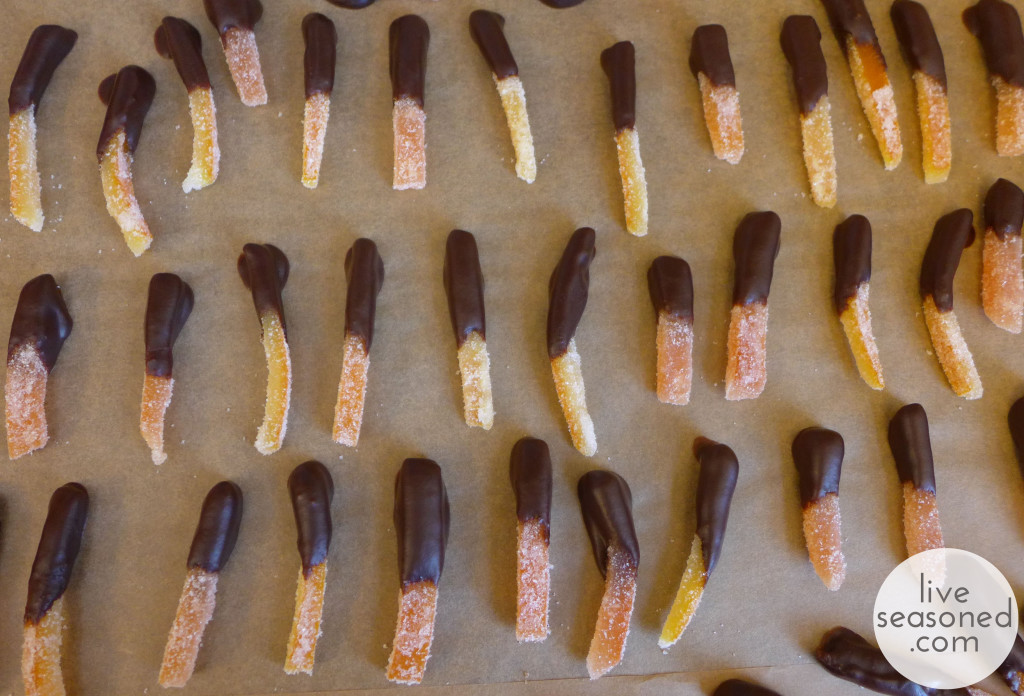
- Once cool, roll the strips in sugar. You can also dip them in melted chocolate for an extra special treat.
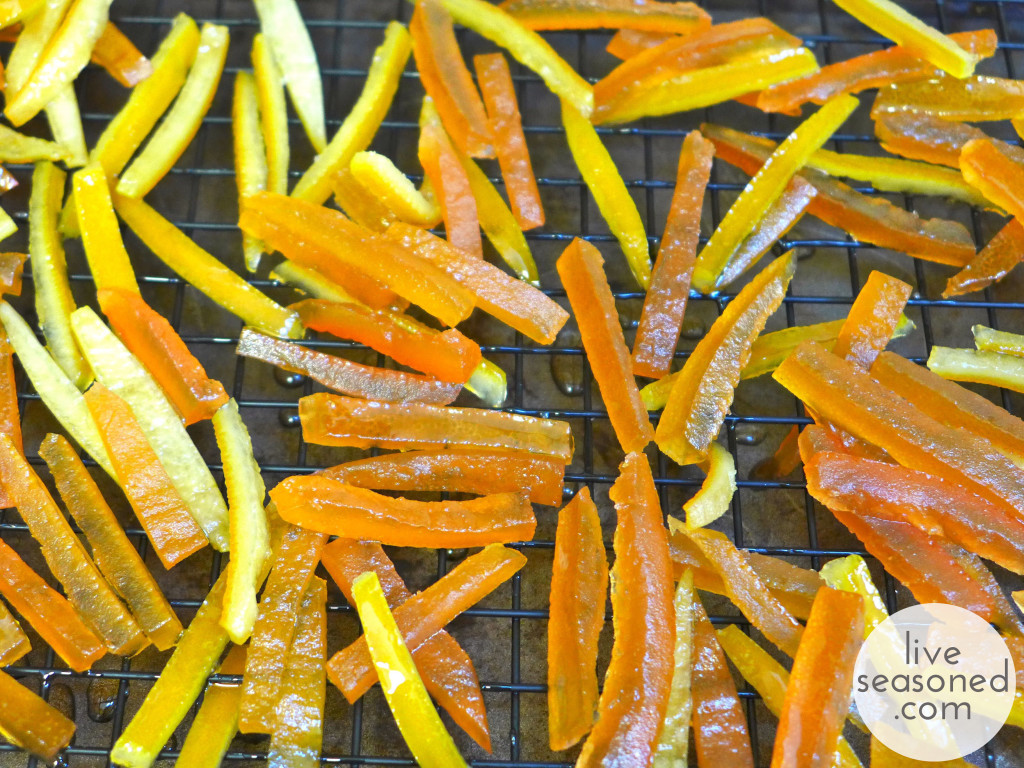
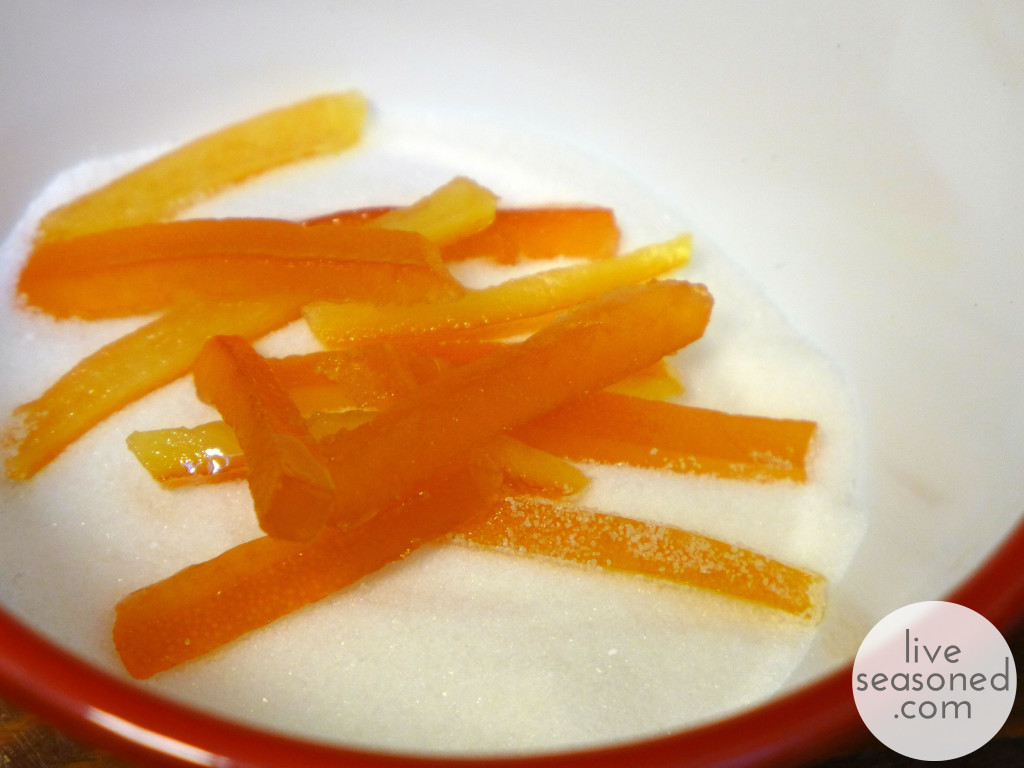
I think these make a great addition to any cookie or chocolate tray, but they would also be a fantastic garnish on a slice of chocolate cake or (minus the chocolate) in your Christmas-morning mimosas!
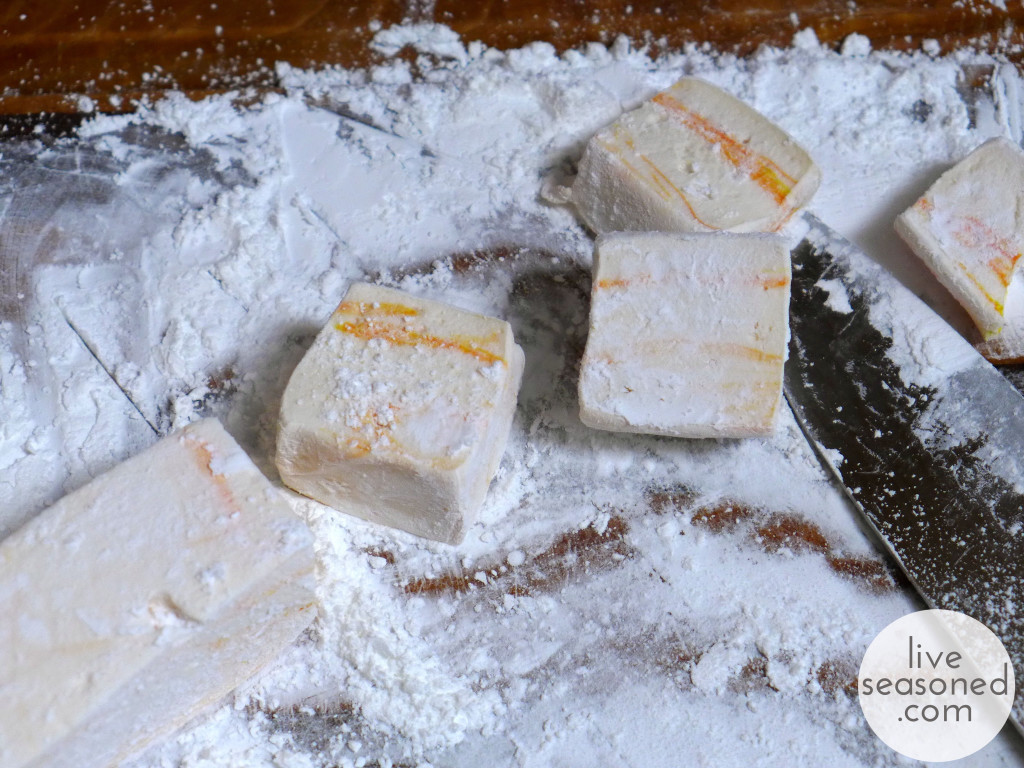
Next up, orange-flavored marshmallows! I’m in love with these. The first time I made marshmallows was last February, and making them a second time just confirmed how easy it is to produce these light and fluffy sweets! I used the exact same corn syrup-free recipe, with the exception of using orange extract in place of the vanilla and orange dye in place of the red. Otherwise, I followed the tips and steps to a T, so rather than retype everything, I’ll just redirect you to that post and below I’ll share the fluffy orange-y goodness in photos.
The real magic happens in this recipe when you start to beat the hot liquid with an electric mixer. Before your eyes the tan liquid turns white and expands as air is incorporated.
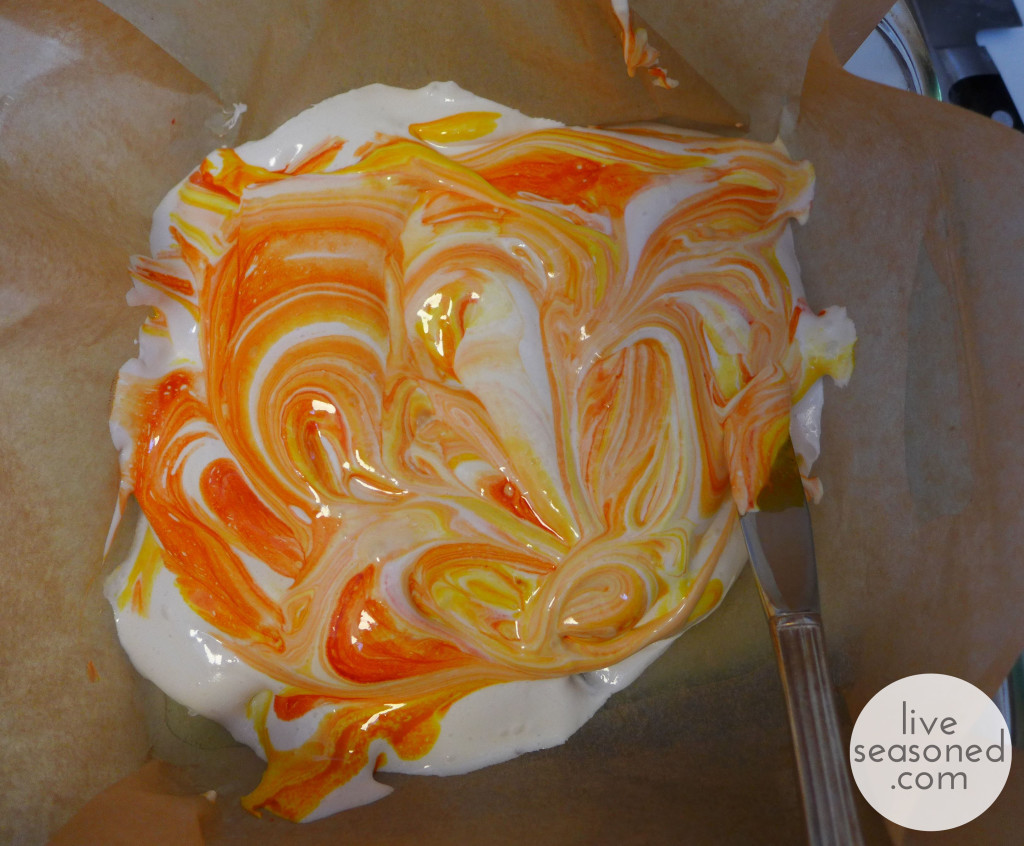
Once you’re done whipping the marshmallows, it’s just a matter of deciding what to do with them, and you have a few options. Are you going to add a color? I like playing with marbling. With my last batch, I mentioned that I was too reserved with the marbling, so I tried to go bigger this time. I poured half of the marshmallows into a square baking dish, then added red and yellow dye that I blended together as I marbled it through that layer. I then poured the rest of the marshmallow into the pan and again, mixed it slightly to move the dye up into the second layer. As you can see from the first marshmallow photo, I ended up with some pretty good orange streaks. You can also go with a solid color, or you can try stripes!
In addition to color, you can think about size and shape. I go for the big, fluffy squares, but since it’s the holiday, you may want to use cookie cutters to make shapes. If so, then pour your marshmallows into a larger dish to create a thinner layer that’s easy to cut out.
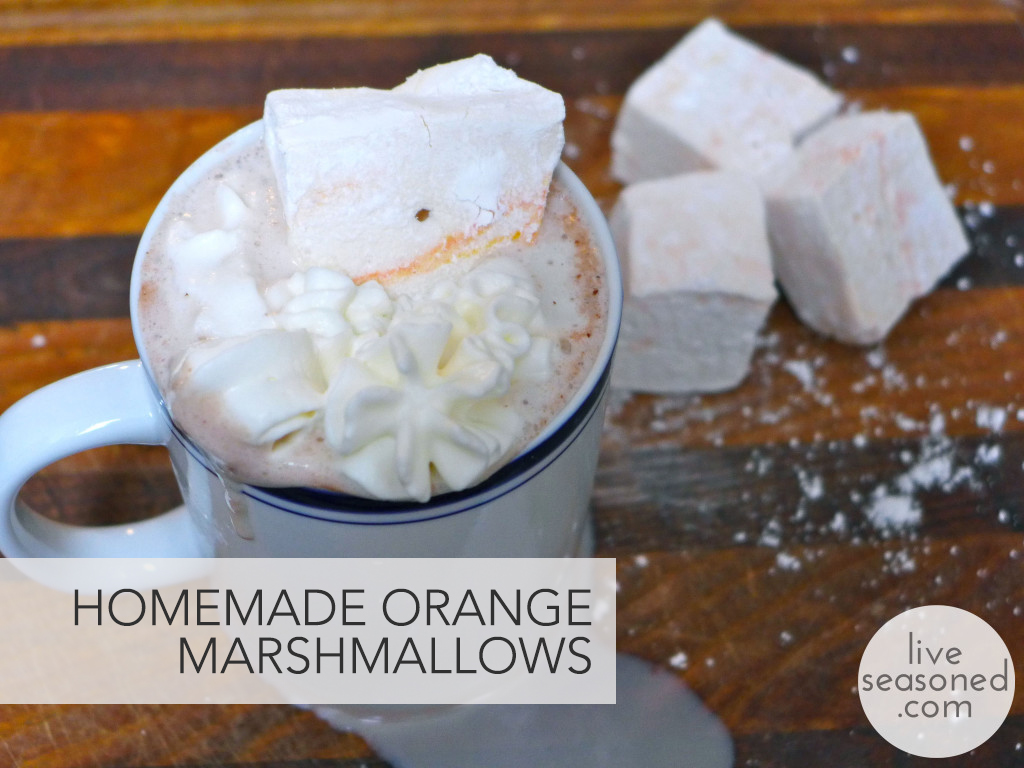
Ok, now once your marshmallows have cooled, you just have the hard job of deciding how to eat and gift them. Start by dipping some in a big mug of hot cocoa, or let them a while and melt right into your mug. I did that today, and it creates this really tasty orange marshmallow layer on top of the cocoa, with each sip you get a bit of the melted, gooey orange flavor and it’s amazing. If you’re not going to keep them all to yourself, you could package up a few marshmallows and pair them with a good cocoa as a stocking stuffer. Just make sure to use an airtight bag for packaging, because you don’t want them to dry out before they’re enjoyed.
There you have it ~ two ways to add a note of citrus to your holiday! Now we’re off to finish wrapping presents {and we’ll be doing it with that mug of cocoa above, obvs.}…. oh, I may be experimenting with one more way to add some citrus to my homemade chocolates. We’ll be back with the full report if it works!

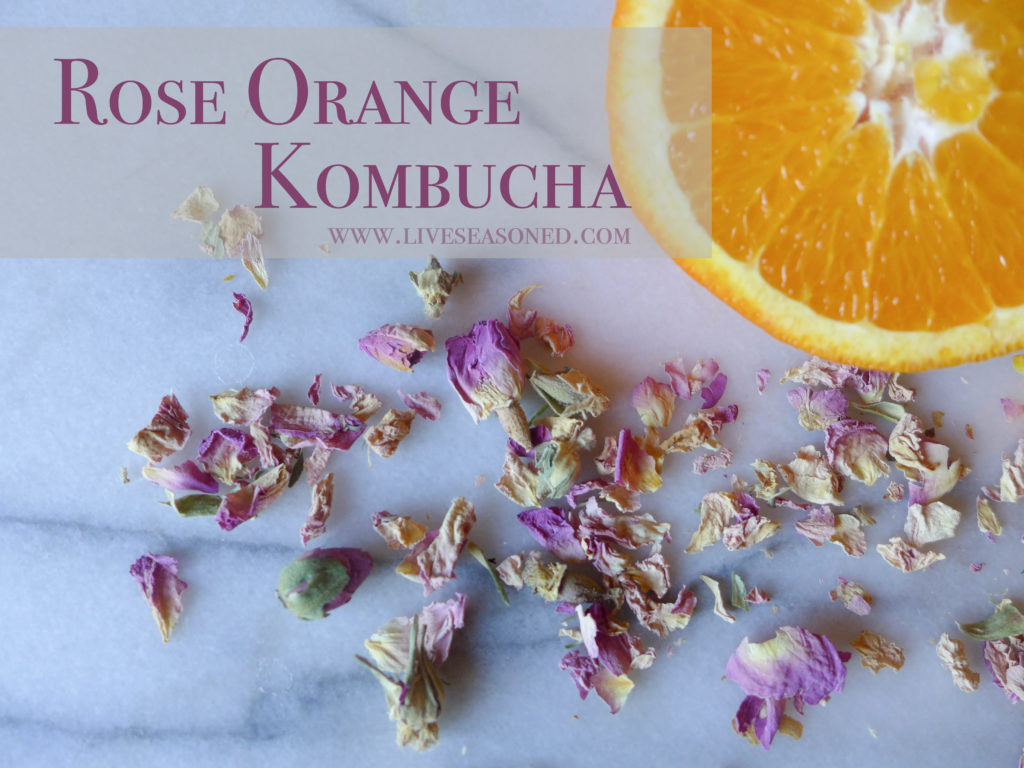 I’m pretty sure I’ve mastered homemade kombucha, and I’m sharing my new favorite recipe below. Follow our instructions and you’ll create a nice citrus-flavored kombucha with a light floral aroma. yay!
