Pollinator Power Salad

We originally published this salad recipe four years ago. We’re republishing it today as this is the start of Pollinator Week 2019!

There are many ways to celebrate and show our appreciation for the hard-working pollinators that help to keep nature in balance and play a key role in providing 75% of the food we eat.

  • plant a pollinator garden
  • stop using pesticides on your lawn
  • buy organic produce (to reduce large-scale pesticide and herbicide use)
  • encourage your neighborhood to become Pollinator/Bee Safe

If you’d like to learn more fun-facts about pollinators (and see an awesome video of a nectar-drinking bee-fly!), click here.

~

Today we have a recipe for a salad that is jam-packed with good ingredients, and every single one, from the mustard in the dressing to the pumpkin seeds, required pollination to help them grow and reproduce. As you’ll see, the salad looks absolutely beautiful and represents everything that is good about summer. But before you dig in, say thanks to every pollinator that played a role in bringing this food to your table.

liveseasoned_summer2015_powersalad9

As we mentioned on Monday, about 75% of the food we eat required pollinators to grow and produce seeds. That seems like a lot, but when you look at this salad, it’s so easy to see how that’s possible. In making this salad, I used information from this USDA document to determine which foods required pollination. As you’ll see, I got a bit creative with this salad, but if you have a family of cautious eaters, you can look at Table 1 in that document and find ingredients that suit your household. For example, I didn’t even put tomatoes, which are such a common salad ingredient, in this dish, but they are on the list!

Continue reading

Sarah’s Favorite Quick and Easy Snacks

output_0730RB

Holy heck do I get hangry.  If the man and I are ever having an argument he usually pauses the fight to get me a snack. Seriously. It usually works too. Being hungry can hijack your brain and cause you to do and say crazy stuff. It’s all about survival though so before we blame our monkey brains, let’s just make a snack instead.  Here are my favorite quick and easy snacks.

Continue reading

Three Sisters Stew

Pumpkin is our ingredient of the season. After you’re done making this stew, serve a batch of these pumpkin cookies for dessert.

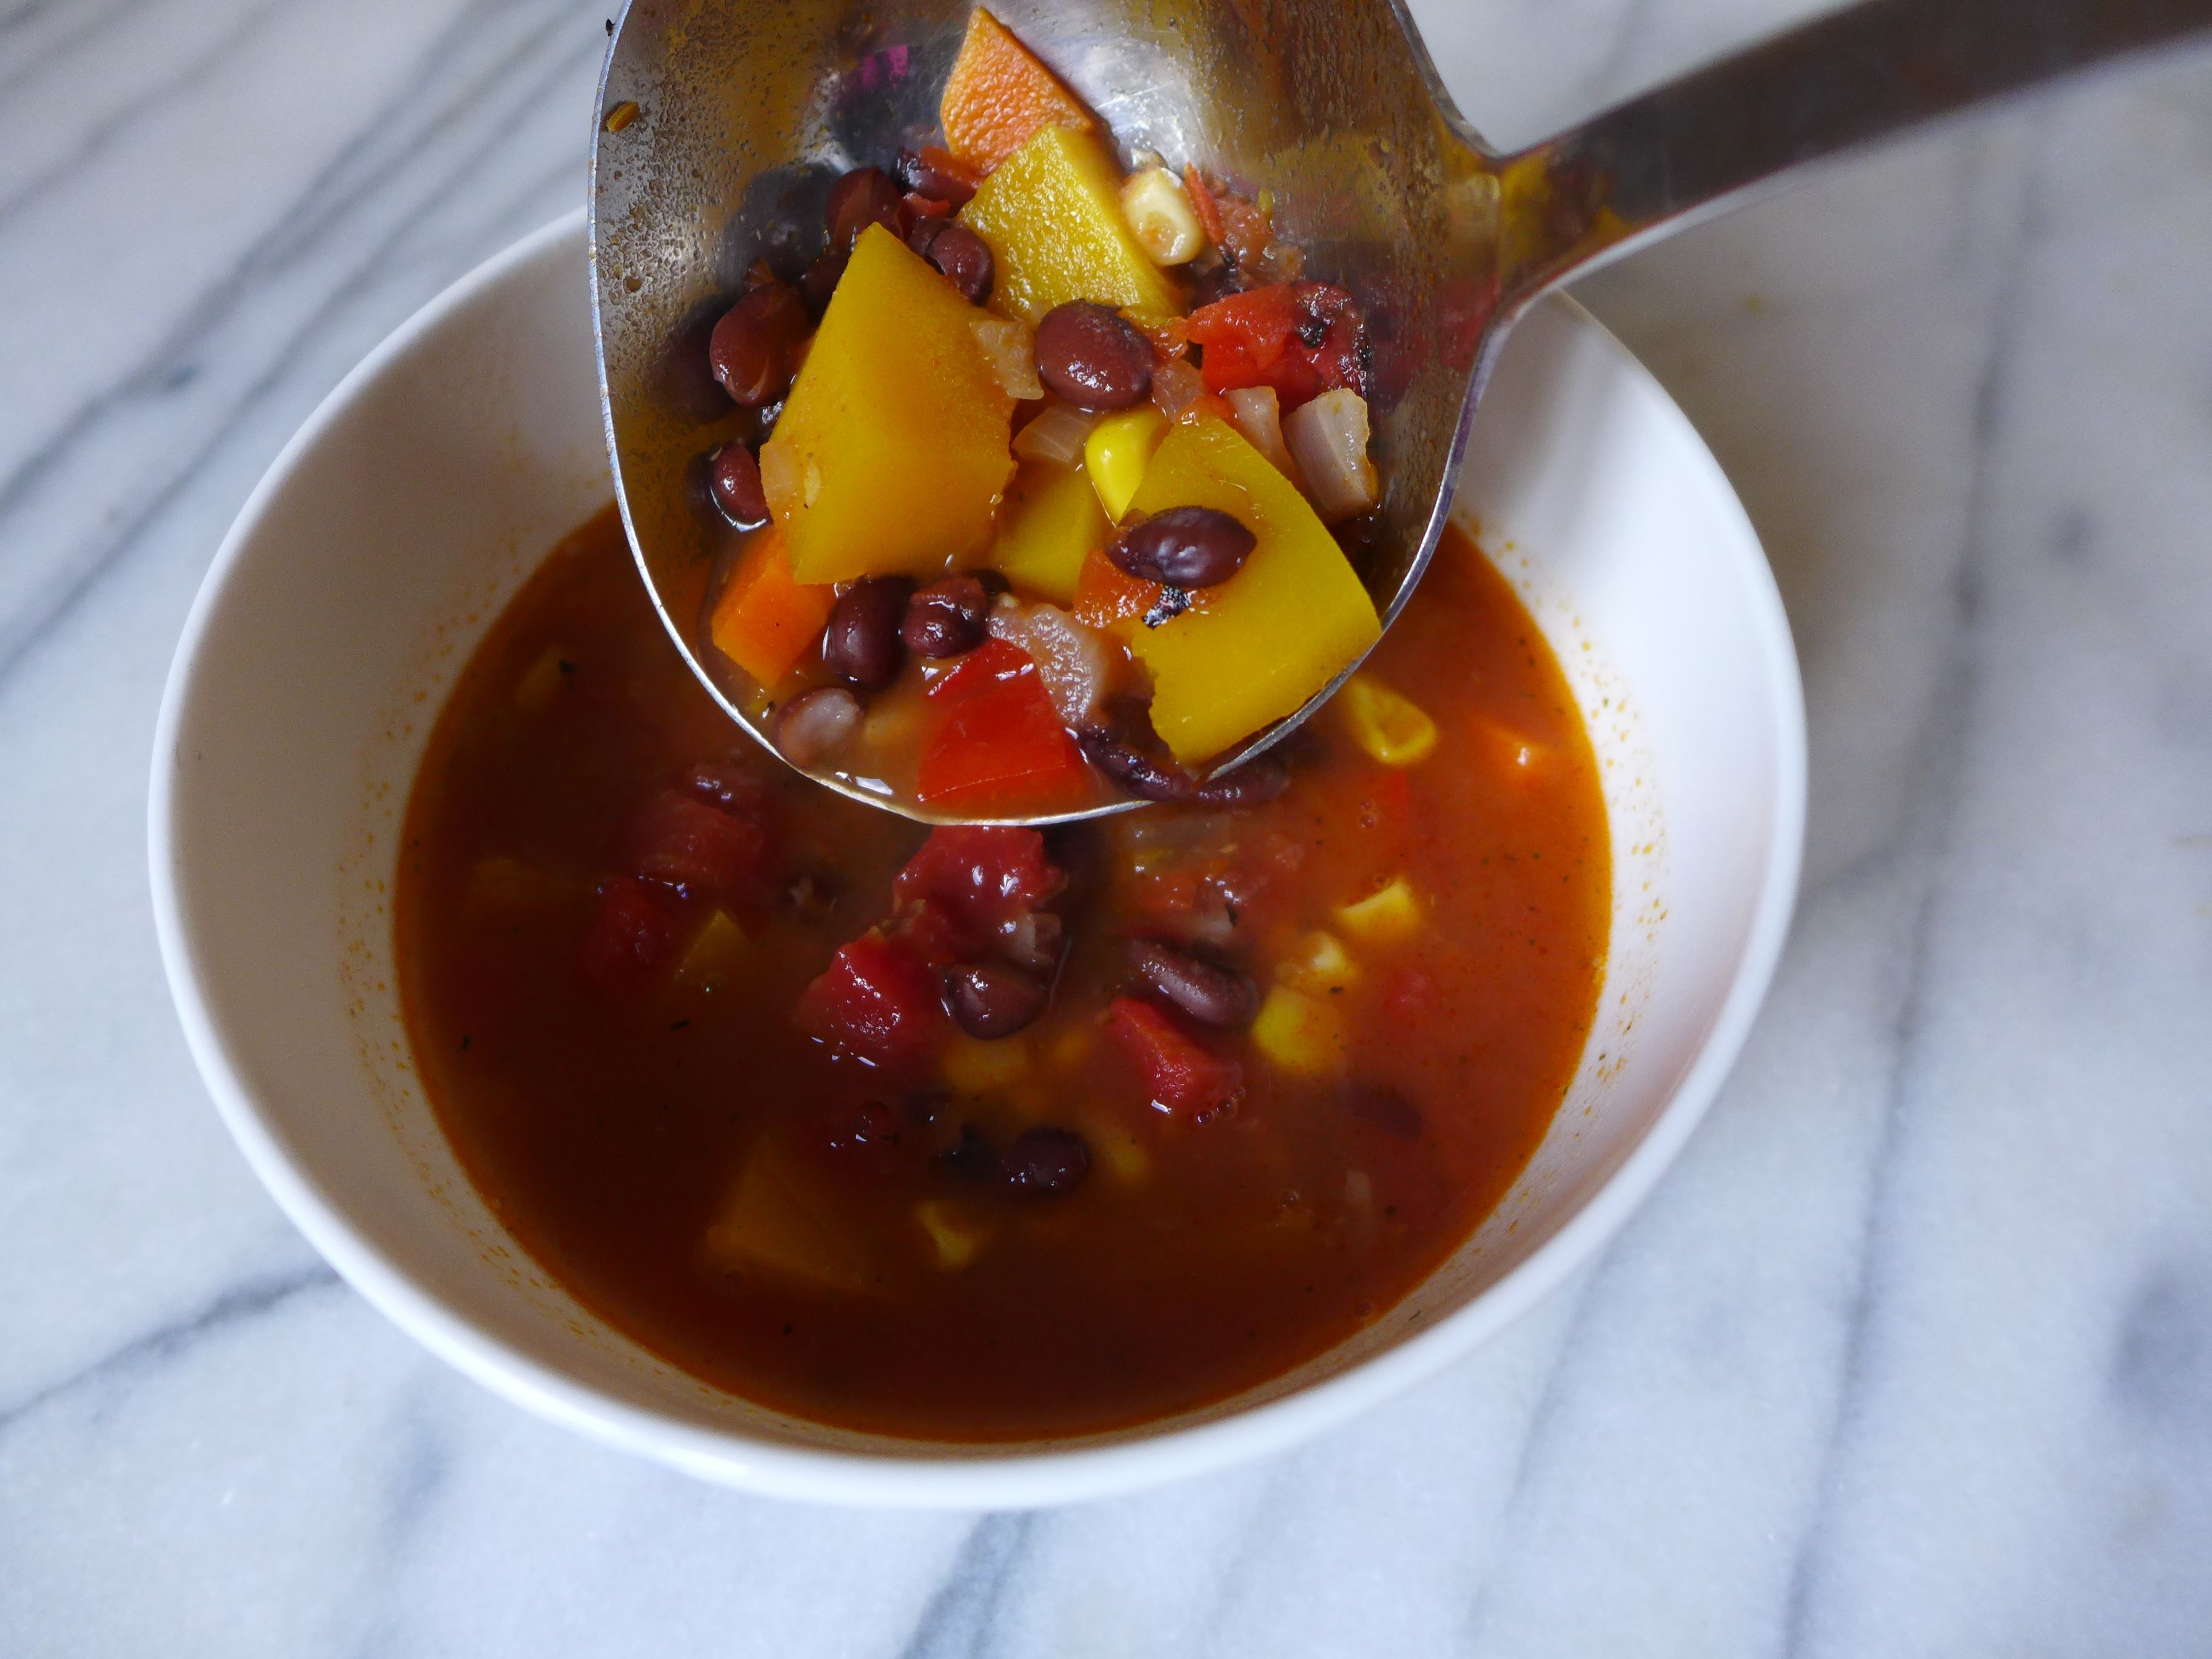
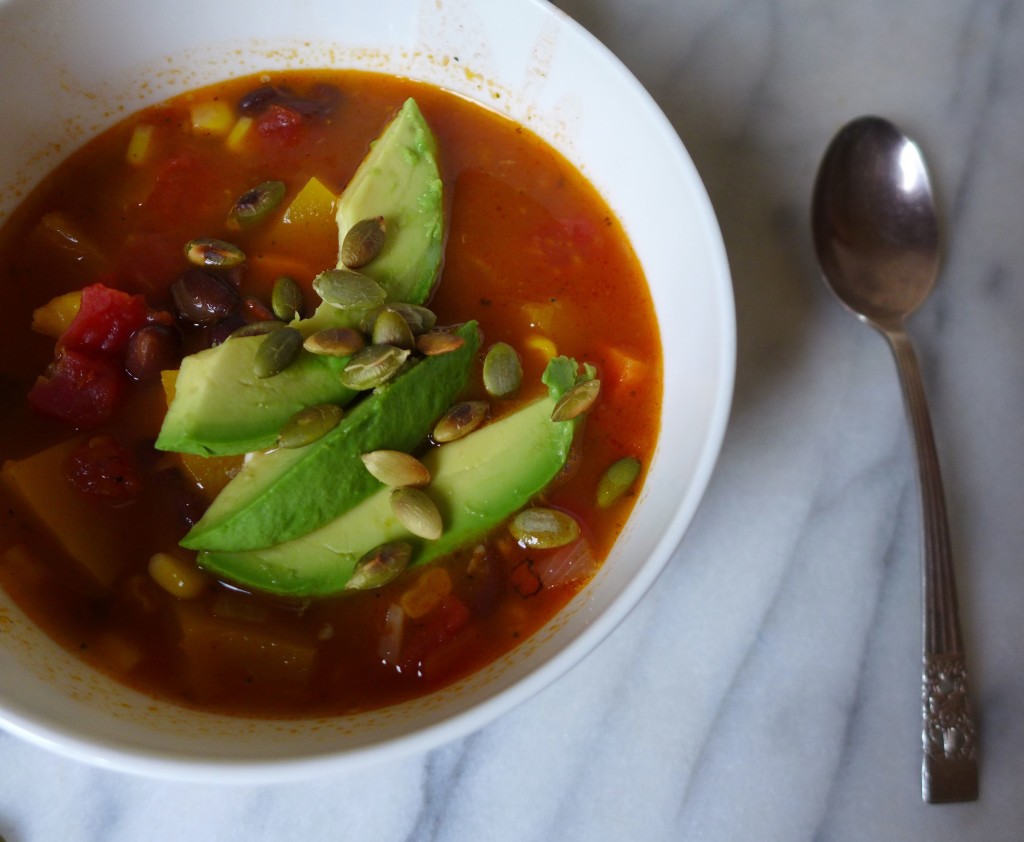
I may be taking some liberties in calling this three sisters stew, but whenever I see any combination of winter squash, corn, and beans, I think of the sisters. That combination of vegetables goes together in this savory stew as well as they grow together in the garden. What I’m trying to say is that this dish is fan-freaking-tastic. It’s delicious, is packed with vegetables, and pairs well with any number of meats. We served it with our favorite fried chicken, which is another recipe we shouldn’t keep to ourselves (look for it soon!).

liveseasoned_fall2015_threesistersstew8

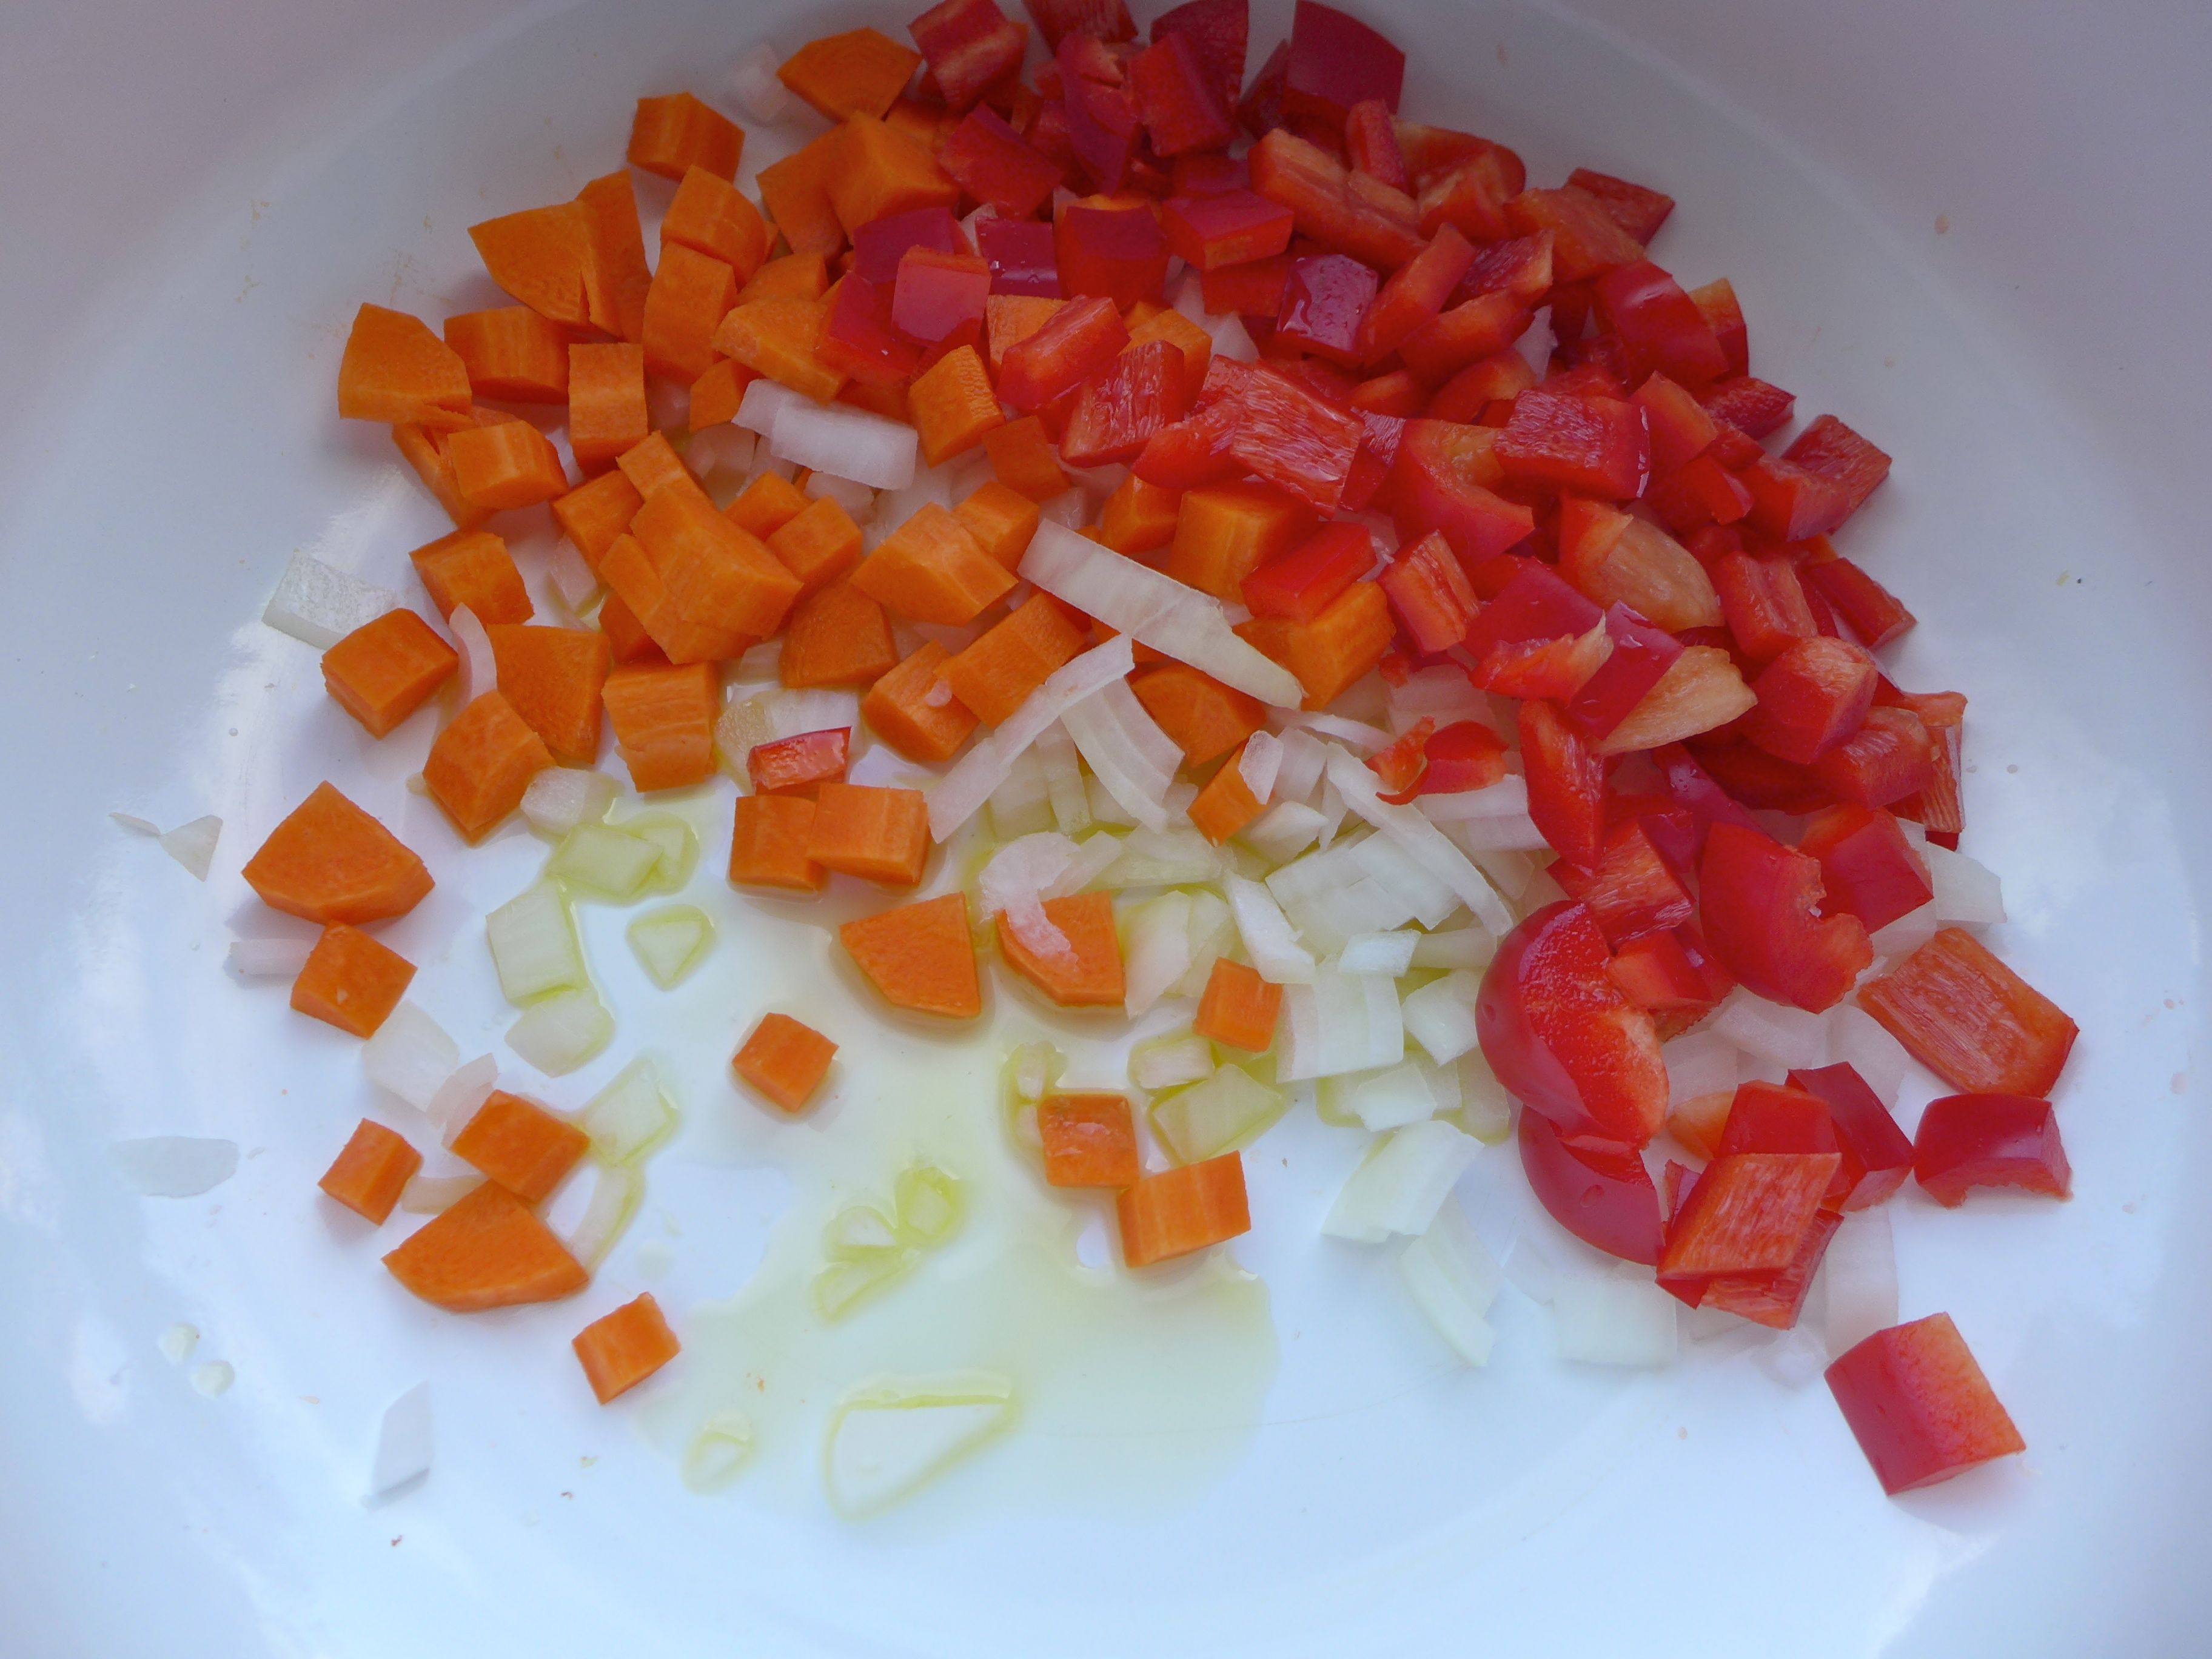
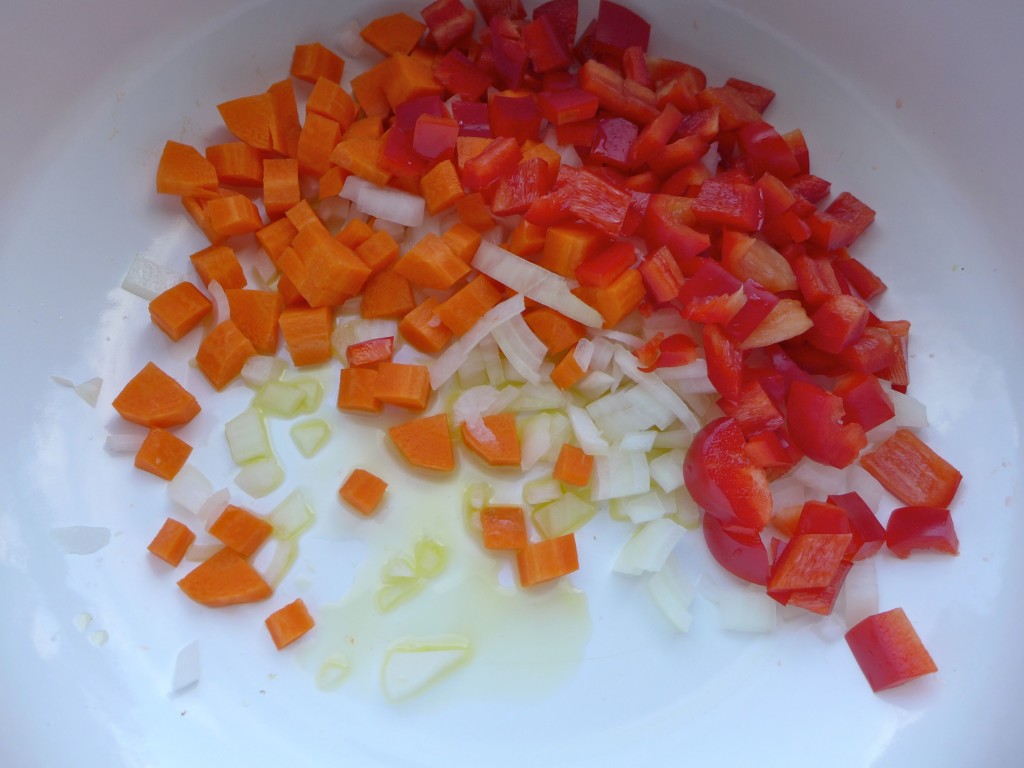
The recipe below is based off of this one, but with a few tweaks. For example, I can’t help but start a vegetable soup with diced onions and carrots, so we threw those in with the original recipe’s red pepper. I’m also a big fan of Rapunzel’s vegetable bouillon, so I substituted that in place of the chicken stock. Loving to garnish with avocados where ever we can (even in the form of avocado ice cream!), a few slices goes perfectly with this soup.

liveseasoned_fall2015_threesistersstew1
liveseasoned_fall2015_threesistersstew2

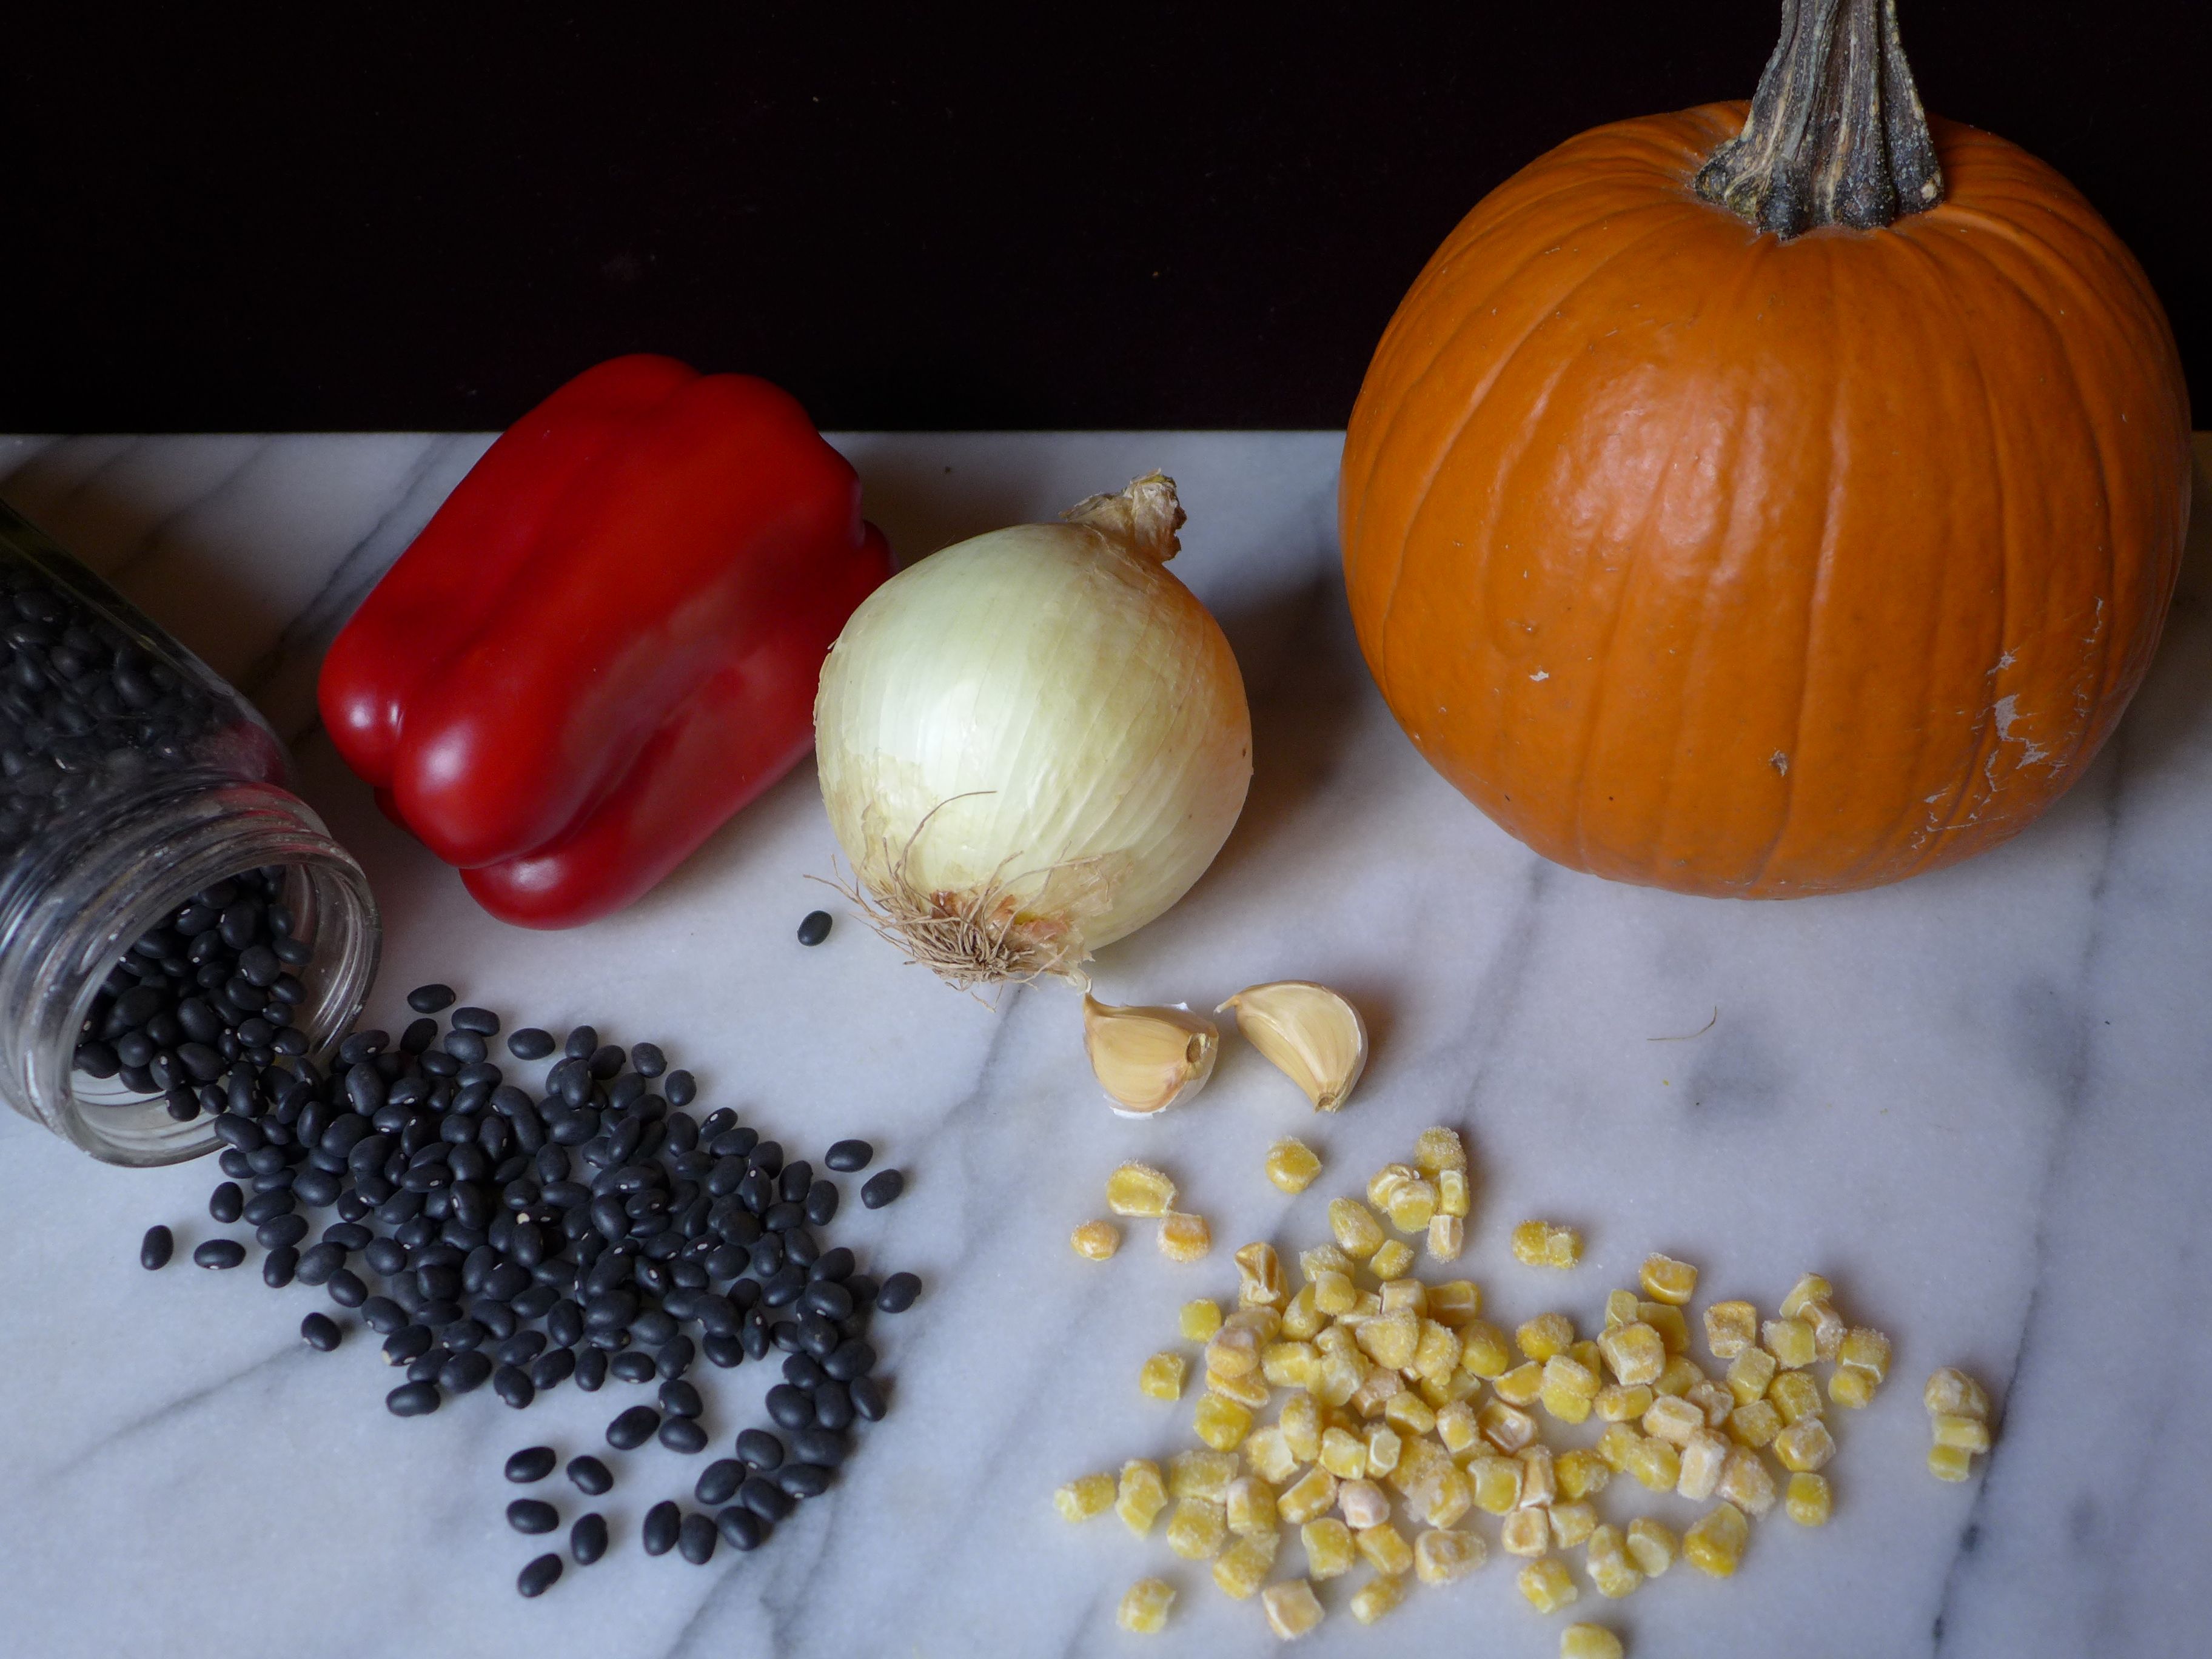
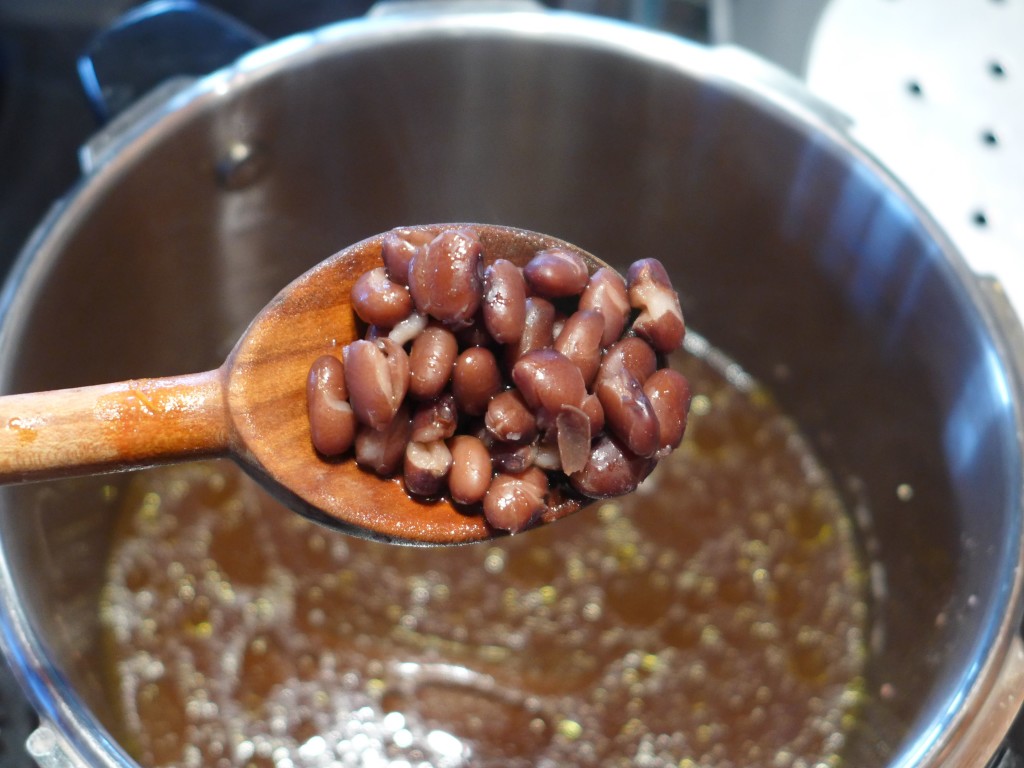
In addition to those full-on changes to the recipe, I made a few basic swaps too. I used a can of fire-roasted tomatoes in place of the plum, and I used dried beans in place of canned. When it comes to beans, I almost never used canned. I’m just a fan of keeping dried beans in my pantry and then using our pressure cooker to soften them up on a moment’s notice. I’ll even make more than I need, using the extra for a dish later in the week or freezing them*. I also like that I can keep them in the cooker for a few extra minutes to create a cracked and really soft bean, making them even easier for Alex to eat.

liveseasoned_fall2015_threesistersstew4

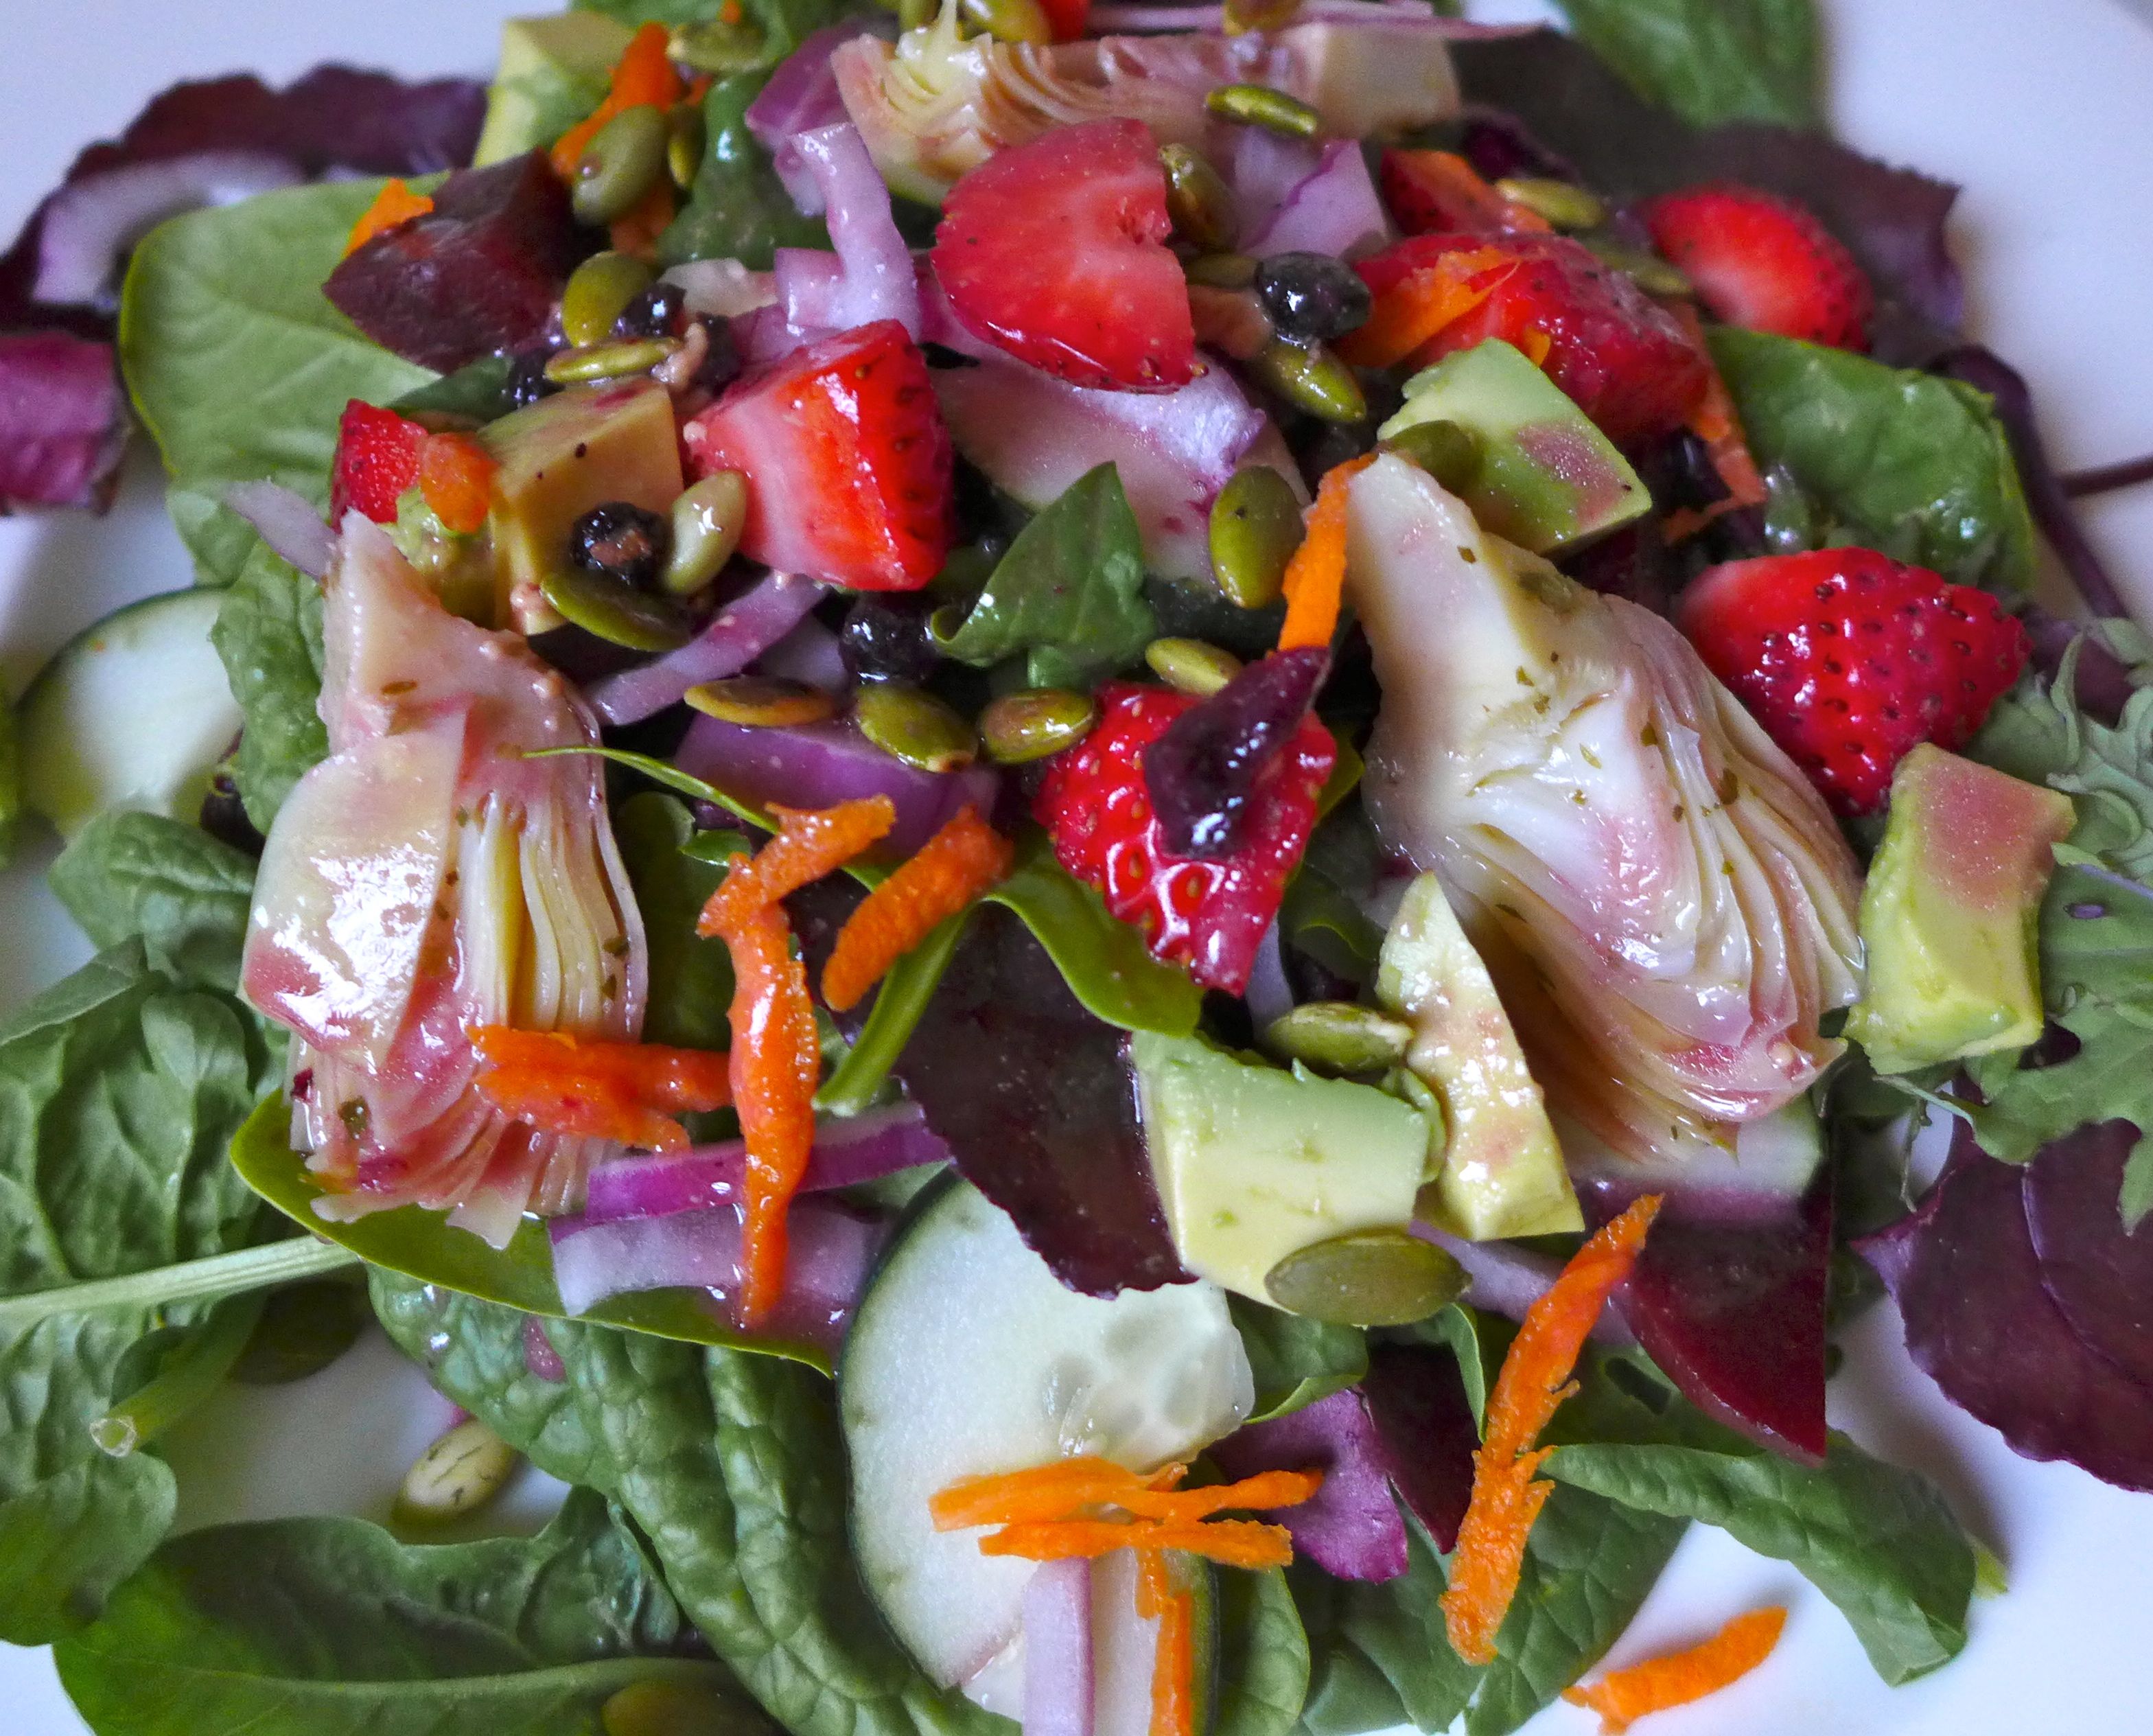
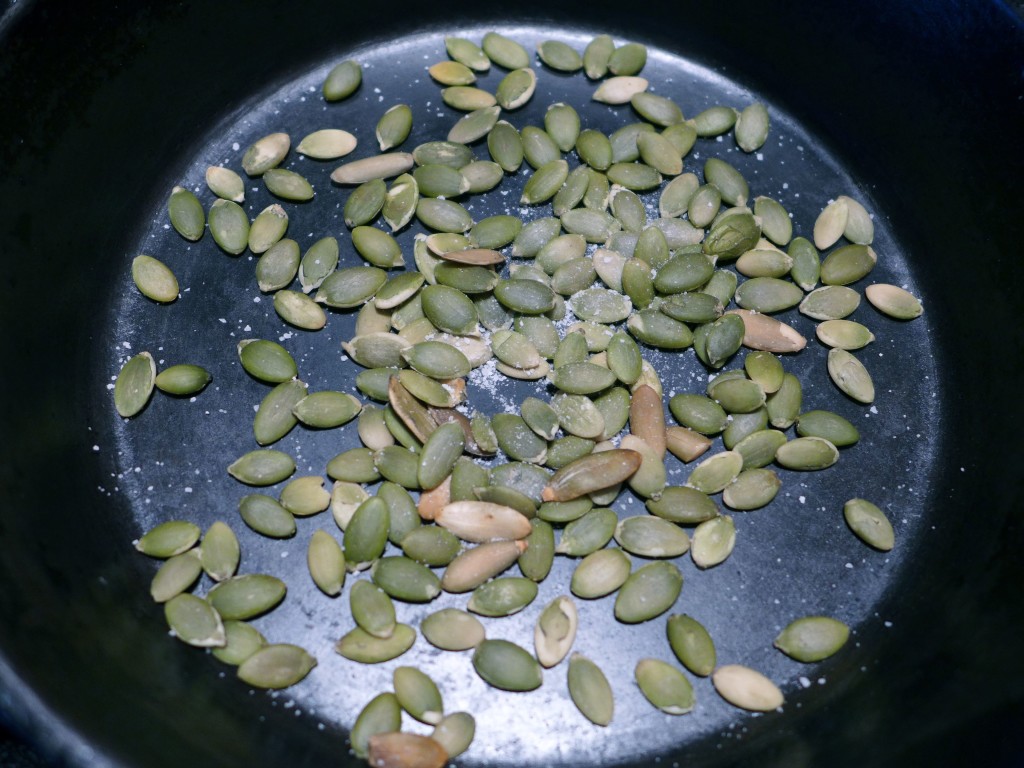
The recipe called for a garnish of toasted pumpkin seeds (if it didn’t I already had plans to add some – great minds!). I think we’re toasting pumpkin seeds on a weekly basis around here, primarily for adding to salads. I always toast them on the stovetop in a small cast iron pan. Put the pan over medium-high heat, add the pumpkin seeds and a sprinkle of salt. Toss them regularly and take them off the heat the moment they begin popping. Easy peasy… and like the beans you’ll want to make extra, but in this case the extra’s for snacking before dinner :-).

liveseasoned_fall2015_threesistersstew5

liveseasoned_fall2015_threesistersstew6

If you’re like me, you may get the idea that you want to partially blend this soup when finished. It’s something about a soup with winter squash and beans that makes me want to grab the immersion blender. If you’re like that too, don’t do it. This recipe creates a nice, hearty vegetable soup, and I’m convinced that there’s nothing to gain by blending it. Make a batch and let me know what you think. In line with that thought, you’ll see that you have to add raw squash to the pot, which means you may have to spend some time peeling and chopping a raw pumpkin (unless you pick up a pack of the chopped and peeled butternut squash from Trader Joe’s!). At first I wanted to roast my pumpkin to make removing the flesh easier, but if I did that, then the pumpkin would be mushy and wouldn’t hold its shape well in the stew (a characteristic that’s great if you do plan on making a blended soup).

Three Sisters Stew

Three Sisters Stew

Ingredients

  • olive oil
  • 1/2 large onion, diced
  • 1 large carrot, diced
  • 1/2 large red pepper, diced
  • 1 tsp cumin seeds
  • 2 cloves minced garlic
  • 1/4 tsp ground cinnamon
  • 1/8 tsp ground cloves
  • 2 cups frozen corn kernels
  • 2 cups winter squash (pumpkin, acorn, or butternut) cut into 3/4-inch dice
  • 1 can fire-roasted tomatoes
  • 2 cups vegetable broth
  • 2 cans black beans, drained and rinsed
  • toasted pumpkin seeds
  • sliced avocado

Instructions

  1. Heat a couple of tablespoons of olive oil until hot. Add the onion, carrot, and red pepper. Sauté for about 5 minutes or until tender and the onions are clear.
  2. Add the cumin seeds and sauté for a few seconds until you can smell their aroma. Add the garlic, cinnamon, and cloves, and sauté for a few more seconds.
  3. Add the corn, squash, tomatoes (with their juices), and the broth. Bring the stew to a boil, cover, and simmer for about 15 minutes or until the squash is almost tender.
  4. Add the beans, cover, and simmer for another 5 to 10 minutes.
  5. If you would like the stew to have more liquid, you can always add more broth.
  6. Season to taste with salt and pepper.
  7. Serve with a garnish of toasted pumpkin seeds and sliced avocado.
https://liveseasoned.com/three-sisters-stew/

There you have it! A veggie-packed stew for a cool fall day, and if you have kiddos, you can teach them about the three sisters (not the Schu sisters!) over the dinner table.

*this week my extra beans were used to make a tex-mex black been dish with green chilies and more red pepper, and then those leftovers were used to make huevos rancheros!

Lemon & Herb Salt

This past summer lemon was our ingredient of the season. We’ve created a dandy of an archive of lemon posts, and we’re still not done!

As September’s weather is straddling the line between summer and fall, we found that the combination of flavors in this bright and savory lemon & herb salt do the same!

liveseasoned_fall2015_lemonsalt5

While doing some canning at the beach, I noticed this recipe in a copy of Preserving by the Pint and was immediately excited to try it. I love fresh herbs and am always looking for new ways to preserve their flavors as the plants fade in our late-summer garden. On the other hand, it’s taken me quite a while to appreciate lemon flavor in my savory dishes. Thank goodness I’ve come around, because this chicken dish is something I would not have made a few years ago, but we had it again last night for dinner (it’s just that good!). What I’m getting at is that a few years ago, I would have turned my nose up at this simple seasoning recipe, and what a shame it would have been. This seasoning is simple to make and adds a flavorful punch to a variety of savory dishes, making creative weeknight cooking a breeze.

liveseasoned_fall2015_lemonsalt8

liveseasoned_fall2015_lemonsalt9

Preparing the seasoning requires just a bit of chopping and time. I did my chopping on a day when people were constantly coming in and out of the beach house, and every single person asked what was cooking and remarked that the kitchen smelled great. The chopping releases an amazing blend of aromas from the herbs, lemon zest, and garlic.

Once chopped, the mixture is spread out on a plate and left to dry for a couple of days. Since we were making this on the humid east coast in the middle of August, I put my plate in front of a fan to help with the drying process. If I were to make this at home in Colorado, the fan would be completely unnecessary because the air’s so dry. So use your discretion and help the drying process with a fan or warm oven if you’re in a high humidity environment.

Lemon & Herb Salt

Lemon & Herb Salt

Ingredients

  • zest from 4 lemons
  • small bunch parsley
  • 3-4 sprigs of rosemary
  • 3 garlic cloves
  • 2 Tbsp coarse sea salt

Instructions

  1. Wash the parsley and rosemary and remove the leaves from the stems. This can be tedious with the parsley, but do the best you can, and a few stems are fine.
  2. Roughly chop the herbs. Add the zest and chop together with the herbs until well combined. Add the garlic and continue chopping. Add the salt, and... continue chopping until all ingredients are finely chopped.
  3. Spread the mixture on a plate and allow it to dry for at least 48 hours. It should be completely dry, with no sign of moisture.
  4. Store in a jar and use anywhere you would like to add a bit of flavored salt.
https://liveseasoned.com/lemon-herb-salt/

liveseasoned_fall2015_lemonsalt3

After the seasoning has dried, you can use it on any variety of dishes. One night we tried it on our roasted summer veggies, which were a combination of summer squash, onions, potatoes, and corn. They were delicious, but I didn’t *love* the flavor of lemon on the vegetables (can’t win them all!). The next night we sprinkled the seasoning on and in some fish freshly caught by our pop. I included a pat of butter inside each fish because they were on the leaner side. Our mom loved the fish so much that she made sure to confirm that I “took a picture for the blog”. Everyone loved the fish, and it couldn’t have been easier to make.

liveseasoned_fall2015_lemonsalt2

I have to admit that I never buy seasoned salt or herb mixes from the spice section. Instead, I sprinkle on the combination of individual herbs I want for any particular dish. That said, this seasoned salt was so easy to make, and it’s motivated me to experiment with the rest of the fresh herbs in our garden to develop a number of custom salts that will let me preserve those flavors and use them all winter long.

Seven Delicious Popsicle Recipes

liveseasoned_summer2014_blueberrypopsicles3 copy

Happy Monday!  What’s in store for your week?  I’m attempting to squeeze forty hours of work into three days before skipping off to the Outer Banks, North Carolina.  I’ve never been there before so I’m SUPER excited to explore the coast yet equally pumped to sit back, sun it up, and finish my book.  While I’m wasting away in front of my monitor editing, designing and emailing, you should probably mix up one or all of these delicious popsicle recipes that we’ve featured in the past.

strawberries-1-4

Continue reading

Red Cabbage and Apple Salad with Tahini-Ginger Dressing {Vegan + Gluten Free}

liveseasoned_sp15_cabbagesalad-3During a hectic week (like this one), I prepare a few cold salads to satisfy my lunch and snack cravings.  I’m not very good at taking breaks once I get into the groove of photo editing. Instead of starving, rely on a few quick and nutritious salads made ahead of time, like this Red Cabbage and Apple Salad with Tahini-Ginger Dressing.

Our friend Nicole sent me home with a big batch of red cabbage and apple salad a couple months ago.  I knew I had to share it on Seasoned after I devoured the entire container in less than six hours.  The Tahini-Ginger Dressing is SO tasty that I drank a bit of it. Yup. Right from the jar. It’s that good.

Continue reading

Nut & Fruit Bars

Nuts are our ingredient of the season. If you’re as excited as we are with this selection, you can get a head start with some of our past nut recipes, which we’ve added to the archive.

We end up eating a lot of snack bars in our house, most often packing them for hikes and days out, but also as a little treat at the moment when you realize that there’s too many hours between now and the next meal. I’ve never made a homemade snack or granola bar before, but have wanted to try for a long time because of the opportunity to personalize the ingredients. When I saw today’s recipe on Food52, I was excited to try it, partially because it’s simple enough, that it’s the perfect base for experimentation. Lo and behold, just six short months later I’ve finally put a batch together! We’ve been snacking on these all week, and I’ve quickly decided that this recipe is a keeper. Even little Alex, with his mouth full of teeth has no trouble eating these and always requests another.

liveseasoned_spring2015_nutbars5_title

This couldn’t be a better first recipe for our nuts category, since it’s packed with walnuts, almonds, nut butters, coconut, and pumpkin & sunflower seeds (we’re being liberal with our nut category!).  Consider this nut & fruit selection below a suggestion and feel free to swap in your favorites and/or change the ratios to your liking. Of the few changes I made to the original recipe, I was most excited about my decision to add a touch of spice with the Baharat spice mix, which adds a bit of complexity and depth to the nutty flavors. I’ve included a link to our previous post with the Baharat blend if you want to try it, but using it is not necessary. You can completely leave out the spices or modify them to your liking ~ adding a pinch of whatever spice you like!

Nut & Fruit Bars

Nut & Fruit Bars

Ingredients

  • 1 1/2 cups quick oats
  • 3/4 cup roasted almonds
  • 1/3 cup walnuts
  • 1/3 cup pumpkin seeds
  • 1/4 cup sunflower seeds
  • 1/2 cup coarsely chopped dried cherries
  • 1/2 cup shredded coconut
  • 1/3 cup ground flax seeds
  • 1/3 cup honey
  • 3/4 cup almond butter
  • 1/4 cup peanut butter
  • 1/4 cup unsweetened apple sauce
  • 1/2 tsp Baharat spice mix
  • Pinch of salt

Instructions

  1. Line a baking dish with parchment or wax paper.
  2. Mix the dry ingredients in a bowl. Add the wet ingredients and stir until everything is well blended.
  3. Dump the mixture into a backing dish and press down to flatten.
  4. Freeze the mixture overnight, then cut into bars, and store in an airtight container with wax paper between layers in either in the freezer (my preference) or the fridge.
https://liveseasoned.com/nutty-snack-bars/

The original recipe recommended keeping the finished bars in the fridge, but we first sampled them straight from the freezer (when I was cutting them), and we really liked how firm they were then as opposed to their softer texture after we moved them to the fridge; in the end we decided to keep them frozen. And really, that would be my one complaint with a recipe like this ~ that the bars have a tendency to crumble and fall apart if they get too warm. As a result, I’m still on the hunt for a homemade bar that’s just like this one except with a sturdier disposition for taking on hikes. If you have any recommendations, send them our way!

Almost Vegan Jam Muffins

liveseasoned_winter14_bestjammuffins-2

A couple months ago, I was invited to a JAMboree hosted by a dear friend.  She described it as, “a sweet swap and contest of sorts.” She had us all cook up a favorite jelly, jam chutney or conserve and bring eleven quarter-pint or half-pint jars of our entry to her home.  She served wine as everyone had a taste of all the entries.  After all the wine sipping and socializing all the guests voted on their favorite and a winner was chosen.

liveseasoned_winter14_bestjammuffins-5

I’m not here to tell you I won. Before this, I had never canned solo.  I’ve done it plenty of times in my mom’s or Katie’s kitchen, but never in my own little apartment.  I was a little bit intimidate and overwhelmed by the possibilities.  I went to the farmer’s market to purchase supplies and I came home with 12 pounds of onions.  I was in a burger with blue cheese and onions phase.  I decided to can caramelized onions, which I now realize was the most unexciting offer, but at the time I was really excited about to make a big batch of them.  I cried. A lot. It was glorious.  Anyway, I mailed in my entry because I couldn’t attend in person (you’ll see me at the 2nd annual JAMboree!) and a month later my mom gave me eleven jars of delicious and interesting jams to try.  I had totally forgotten that I would be receiving jars of jam in exchange for my caramelized onion slop.  I’m over my blue cheese burger phase and well into my what do I do with all this jam phase.

I intended on creating a vegan jam muffin recipe, but in my morning daze I added honey to the muffins.  Technically honey isn’t vegan, which is why I hereby name this batter creation the almost vegan jam muffins!  You could swap out the honey for maple syrup or another preferred sweetener, but I love them just the way they are.  For the milk, I simply used almond milk; you can use whatever you prefer.  Instead of adding an egg, I created a flax meal egg substitute, the easiest and most reliable in my experience.

liveseasoned_winter14_bestjammuffins-3

 Ingredients:

  • 1 + 1/2 cup whole wheat flour
  • 1/2 cup all purpose flour
  • 1 TBSP baking powder
  • 1/2 tsp salt
  • 3/4 cup almond milk (or whatever milk you prefer)
  • 1/4 honey
  • 1/4 vegetable oil
  • 2/3 cup jam (I used a friend’s strawberry balsamic)
  • 1 tsp vanilla extract
  • 1 TBSP ground flax meal
  • 3 TBSP water

 The How:

  • In a small cup stir 1 tablespoon of ground flax into 3 tablespoons of water and set aside.  This will transform into your egg substitute.
  • Preheat the oven to 350° and grease a standard-sized muffin tin.
  • Combine the flours, baking powder, and salt in a large mixing bowl.  In a separate bowl whisk together the milk, honey, vegetable oil and vanilla extract.
  • By now the flax and water mixture should have a gelatinous texture resembling that of an egg. Incorporate the flax egg into the wet ingredients.
  • Pour the wet ingredients into the flours and mix with a wooden spoon until just combined.  Pour the jelly into the batter and stir just a few times.  You want the jelly to appear in large swirls throughout the batter.  Add some more jelly if you want sweeter muffins.
  • Fill each muffin tin about 3/4 of the way.  Batter should make 12-15 muffins.
  • Bake for 16-20 minutes. Test by inserting a toothpick into the center of the largest muffin.  If it comes out clean they are done.  Remove the jam muffins from the tin and set on a wire rack to cool completely.

liveseasoned_winter14_bestjammuffins-4

Enjoy with tea, coffee or juice 🙂  These almost vegan jam muffins are hearty enough for breakfast, but delicious enough for dessert too!  The strawberry balsamic jam was SO tasty.  I was tempted to add nuts or oats to the muffins, but I really wanted the jam to shine in this recipe and it really does.  These whole wheat muffins have the perfect about of moisture and sweetness for a breakfast snack.  Now that they’re all gone, I’m left wishing I had more strawberry balsamic jam!