Looking for a new stuffing recipe? Every year I pull out my well-loved copy of the 2015 Thanksgiving Special of Bon Appétit and use their handy stuffing customizer.
Don’t have your old 2015 copy of the magazine? Never fear, the formula-maker is that good that they republish it annually on their blog.
That article gives you the perfect overview of what makes a good stuffing. Of course there’s bread and butter, but what else should we think about in order to create the perfect combination of both flavors and textures? I love their scientific grouping of the ingredients into specific categories like aromatics, meats, binders, add-ins, etc. And they give you a concise explanation of why you’d want to add something from each category.
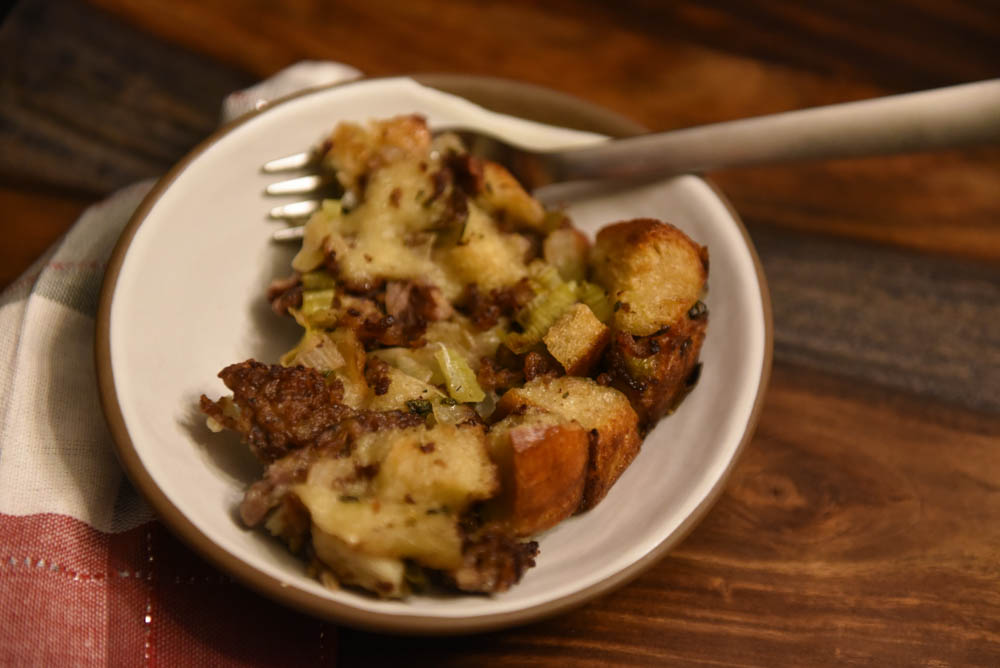
Sourdough, Sausage, Leek, and Chestnut Stuffing
What are you going to put in your stuffing? Read through the article and make choices based upon your family’s tastes. For me there were clear choices in each category. Luckily, I hit the nail on the head in 2015 and have been using that same combination of ingredients ever since.
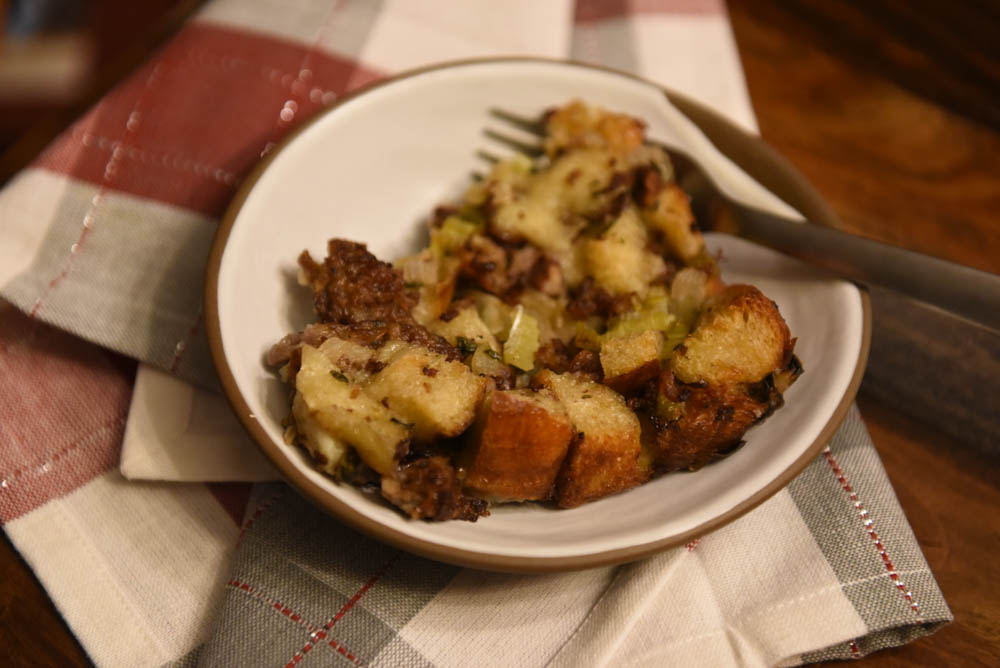
That said, the beauty of the formula is that you can easily make minor (or major) substitutions and still produce a delicious dish. For example, we took this pics last Thanksgiving, and, in pandemic fashion, I wasn’t able to get the chestnuts, so we substituted pecans. Another year we had delicious maple breakfast sausage from our CSA, so I used that in place of the sweet Italian sausage.
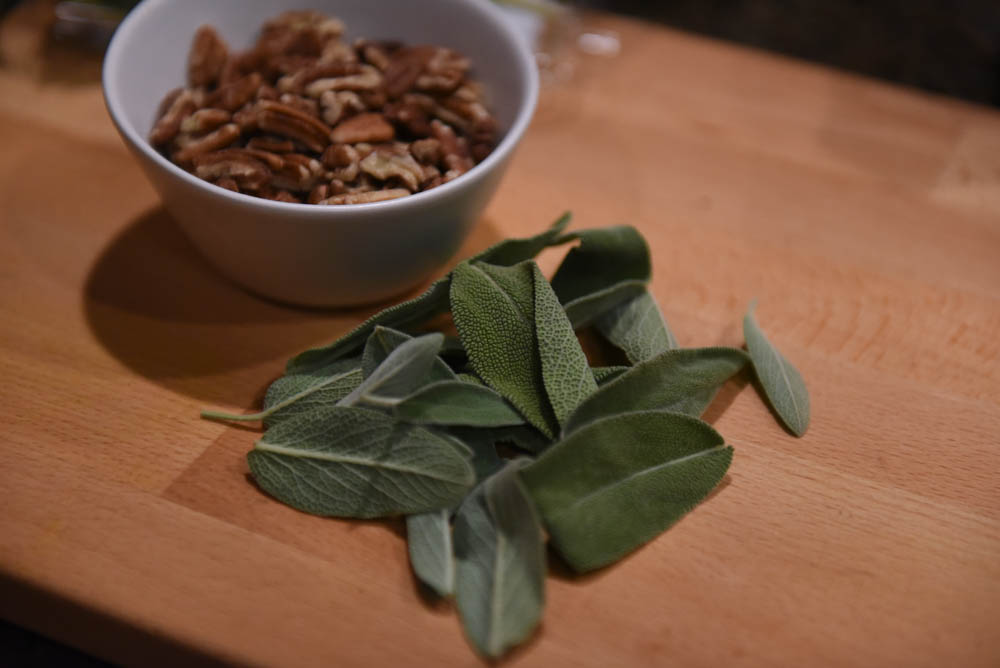
Ingredients
- bread: loaf of sourdough bread
- add-ins: 1 cup chopped peeled and cooked chestnuts*, 2 Tbsp chopped fresh thyme
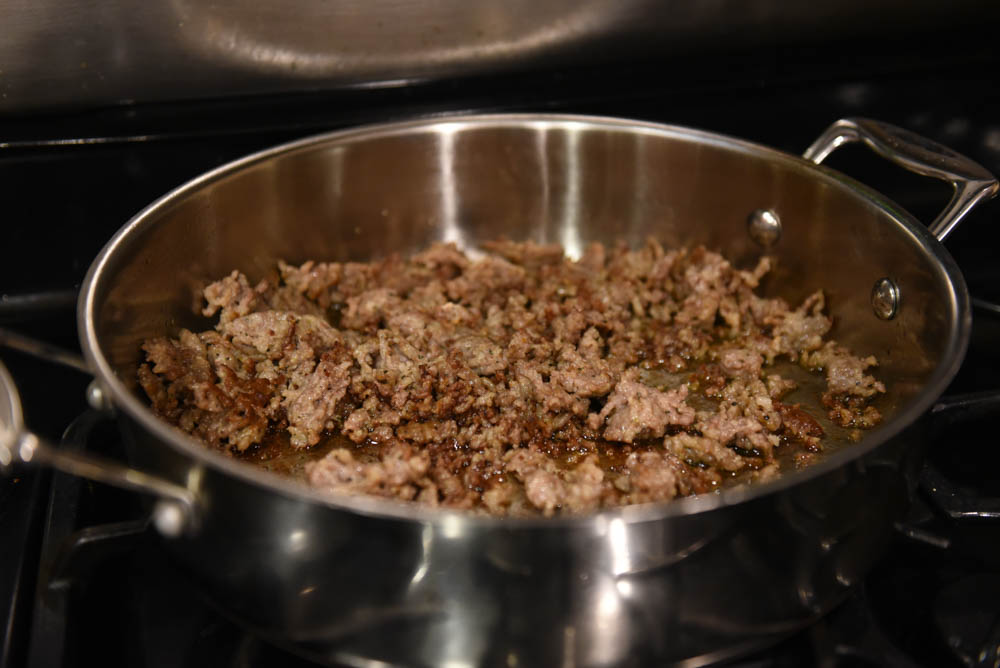
- meat: 12 oz sweet Italian sausage
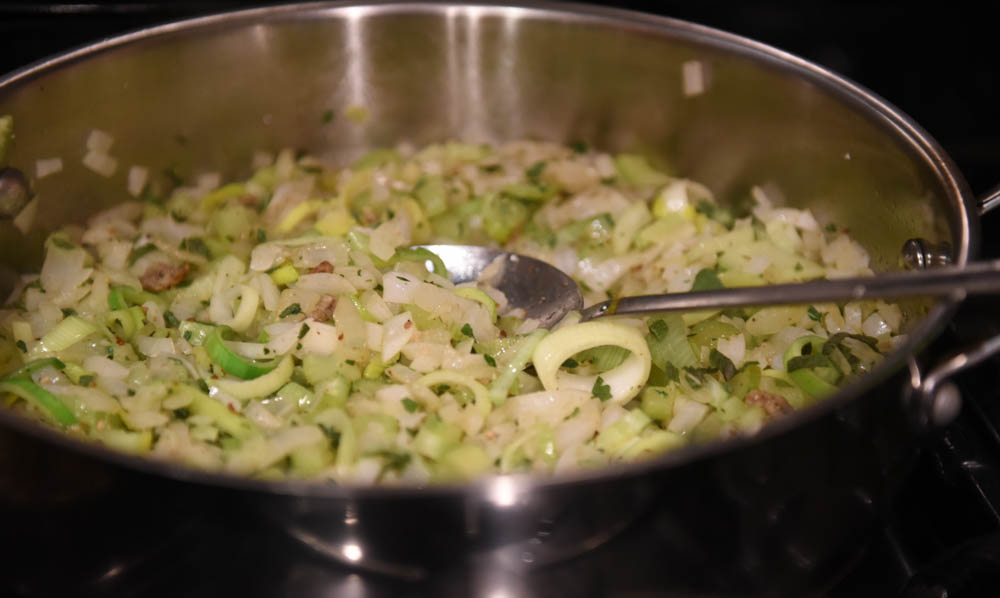
- aromatics: 2 onions, 3 stalks celery, 2 leeks, 2 Tbsp fresh sage (all chopped)
- deglazing liquid: 1/4 cup apple cider vinegar
- binders: 1/2 cup butter, 2 large eggs, 2+ cups turkey or chicken stock
- pantry staples: olive oil, more butter
How-To
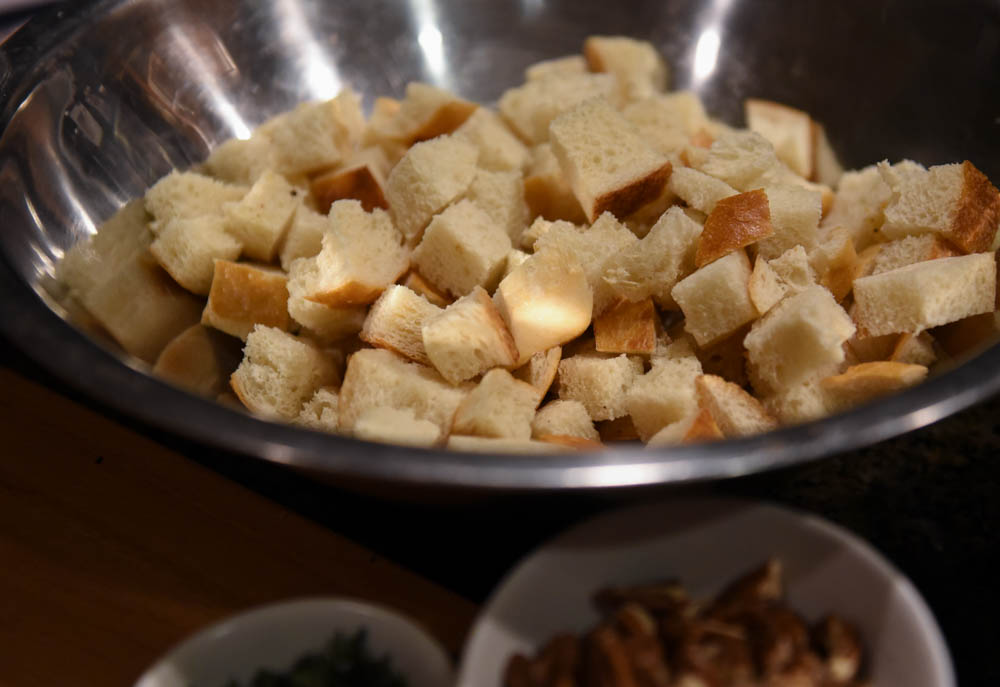
- The afternoon or evening before baking day, cut the bread into 1″ pieces and let dry on a baking sheet overnight.
- Preheat the oven to 350F. Butter a 9×13 baking dish AND one side of a sheet of foil large enough to cover your dish.
- Place the dried bread and add-ins in a large (very large) mixing bowl.
- Heat 3 Tbsp olive oil in a large skillet over medium heat. Add your meat to the pan and cook thoroughly, breaking it up into small pieces as it cooks. Use a slotted spoon to transfer the cooked meat to the bowl of bread.
- Using the same skillet, add the chopped aromatics. Cook, stirring often, until the onions have softened and are starting to brown around the edges. When ready, transfer the aromatics to the bowl of bread.
- Place the skillet back on the burner over medium heat. Pour the deglazing liquid into the pan. While it’s simmering, scrape the browned bits from the bottom of the pan. Once the liquid has almost evaporated, add the butter and cook until it has melted. Drizzle this liquid (and bits) over the bread mixture.
- Whisk the two eggs into 2 cups of the stock. Pour this over the bread mixture.
- Mix together everything together until well combined. If necessary, slowly add more stock to until the bread is moist.
- Transfer the stuffing mixture to the baking dish, pressing down the mixture slightly if necessary. Dot the top of the mixture with 4 Tbsp butter, cut into small pieces. Cover with foil (buttered side down, obvs) and crimp it around the edges.
- Bake for about 30-35 minutes. Remove the foil and bake until the top is starting to brown (another 20-25 minutes). *The original recipe asks you to turn the oven up to 450 for that last 20 minutes. I am never able to do it because we usually have a few dishes going at once. As such, your cooking times may vary depending upon what’s sharing the oven.
- Remove from the oven and let sit for about 10 minutes before serving.
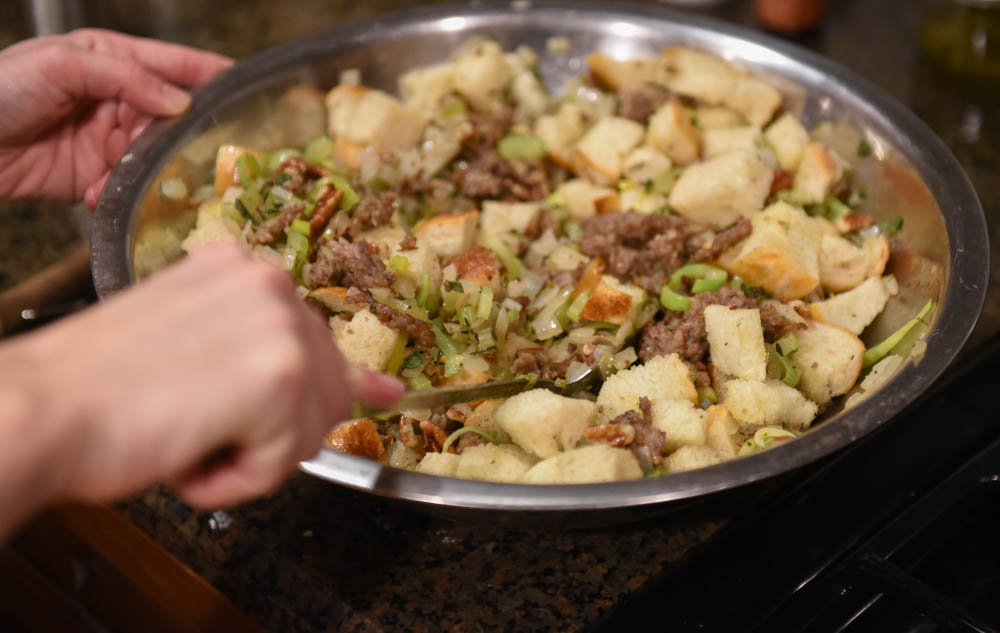
This stuffing is so good. It’s good enough that I’m already stocking up on chestnuts so that I can make a second batch, because I’m 99% sure that there aren’t going to be enough leftovers to meet my needs.
What are my needs? A 9×13 pan of stuffing.
We hope your scheming, dreaming, and prepping for a delicious day with your favorite people. xo

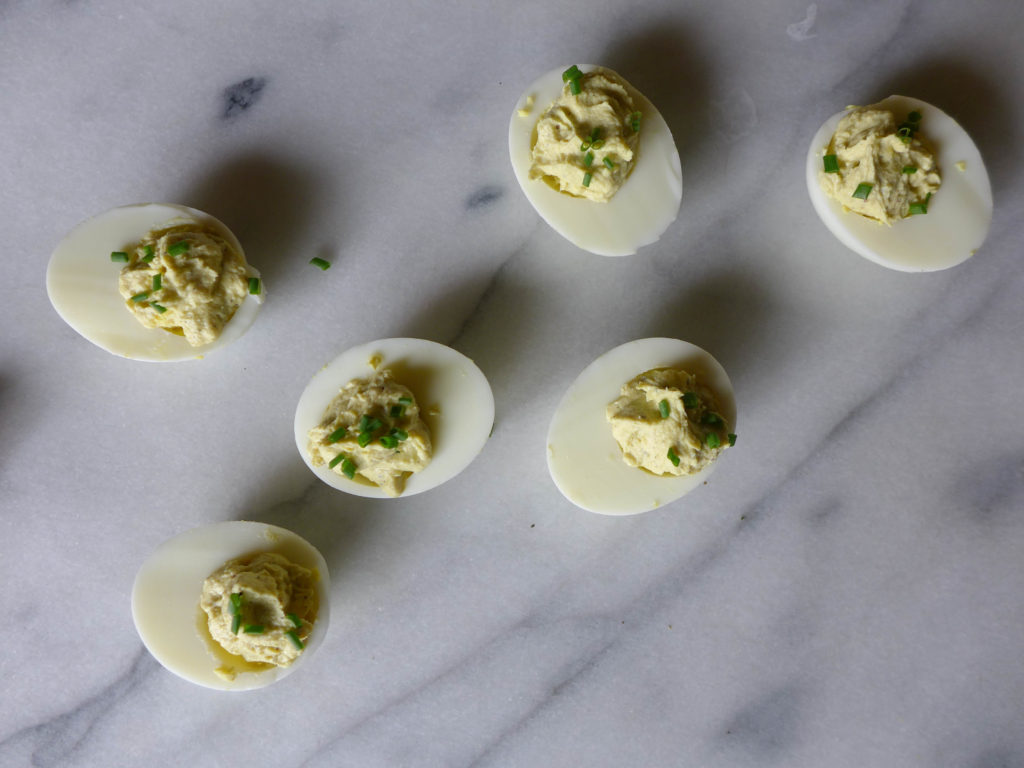 Get ready for the deviled egg recipe that you’ll be taking to picnics all summer long…
 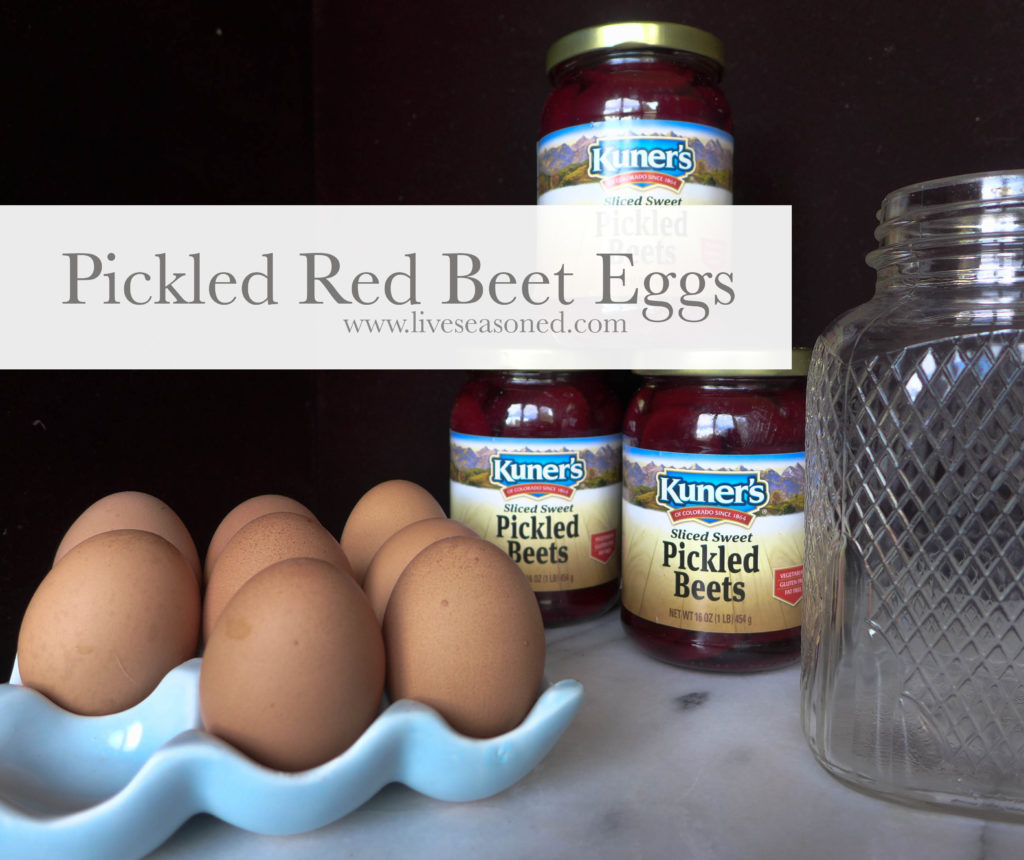 There are many recipes for red beet eggs online. All of them involve more ingredients than ours, because this is the simplest cheat that we’ve ever suggested.
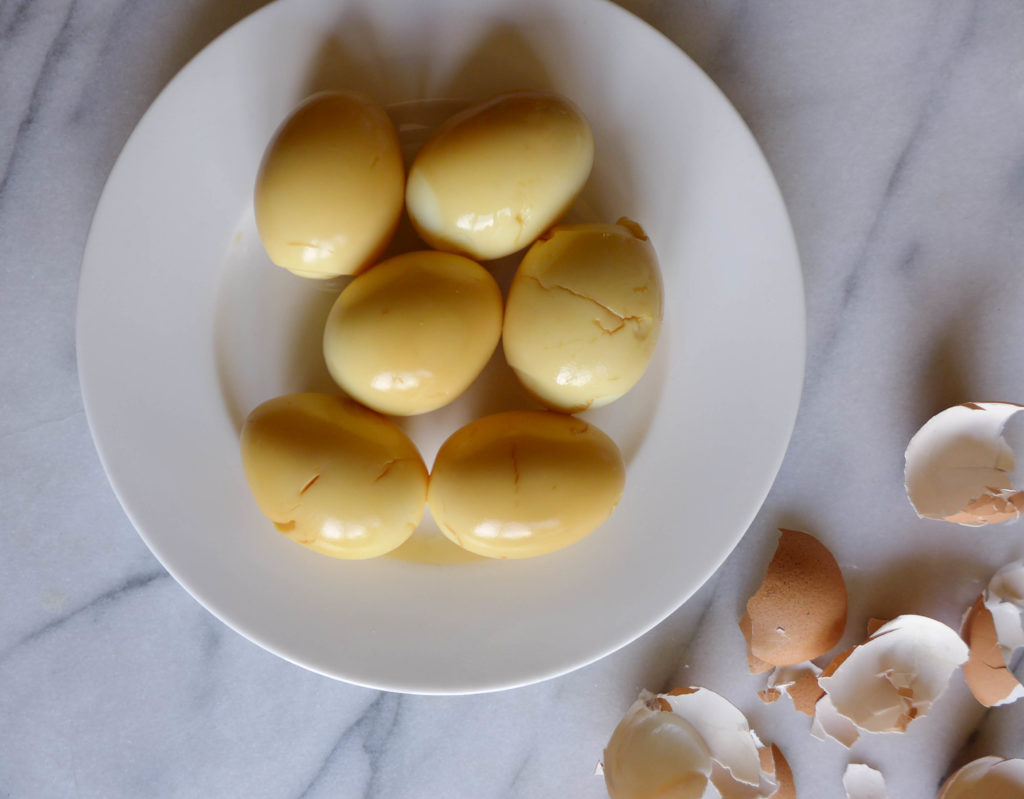
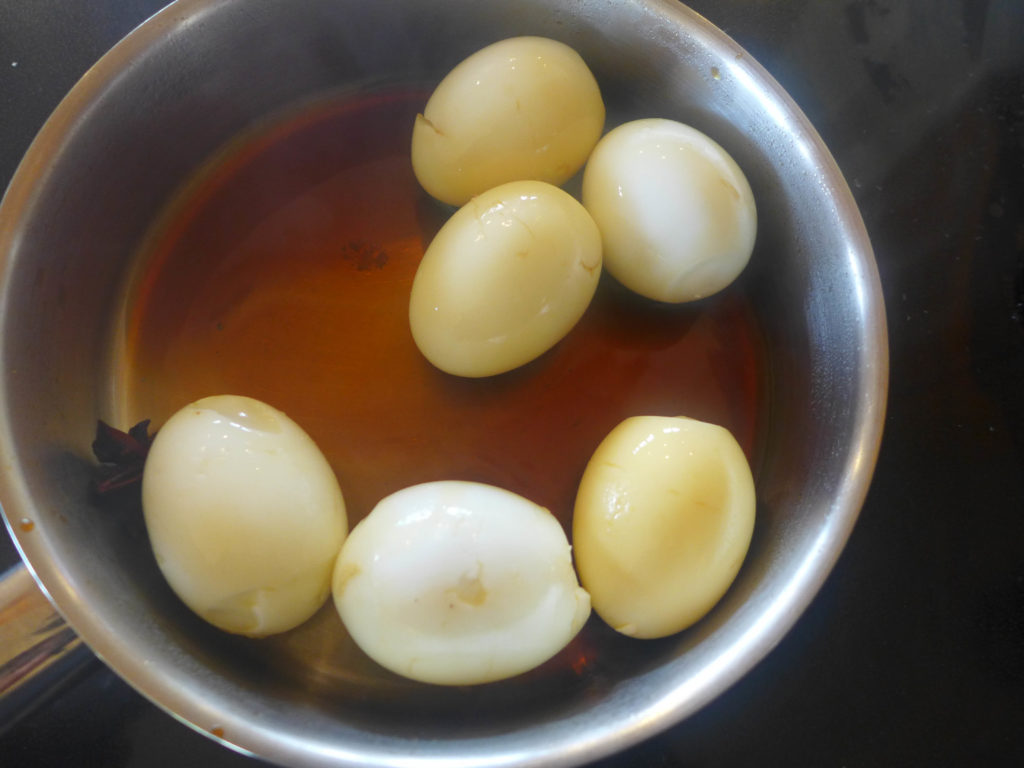
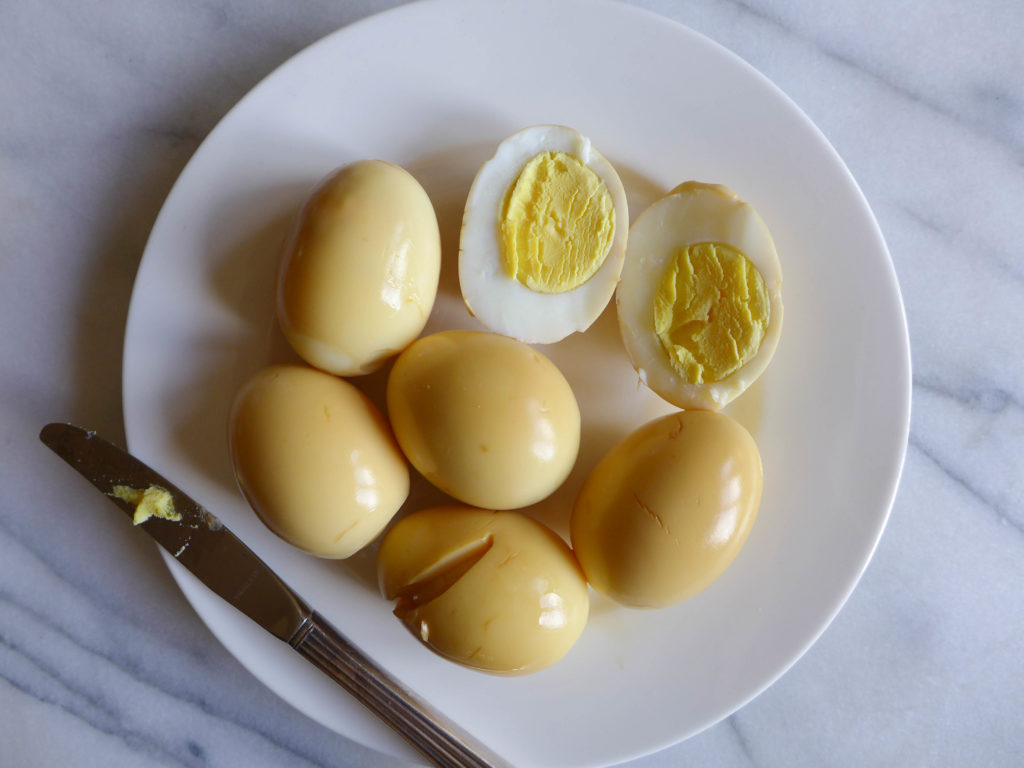
 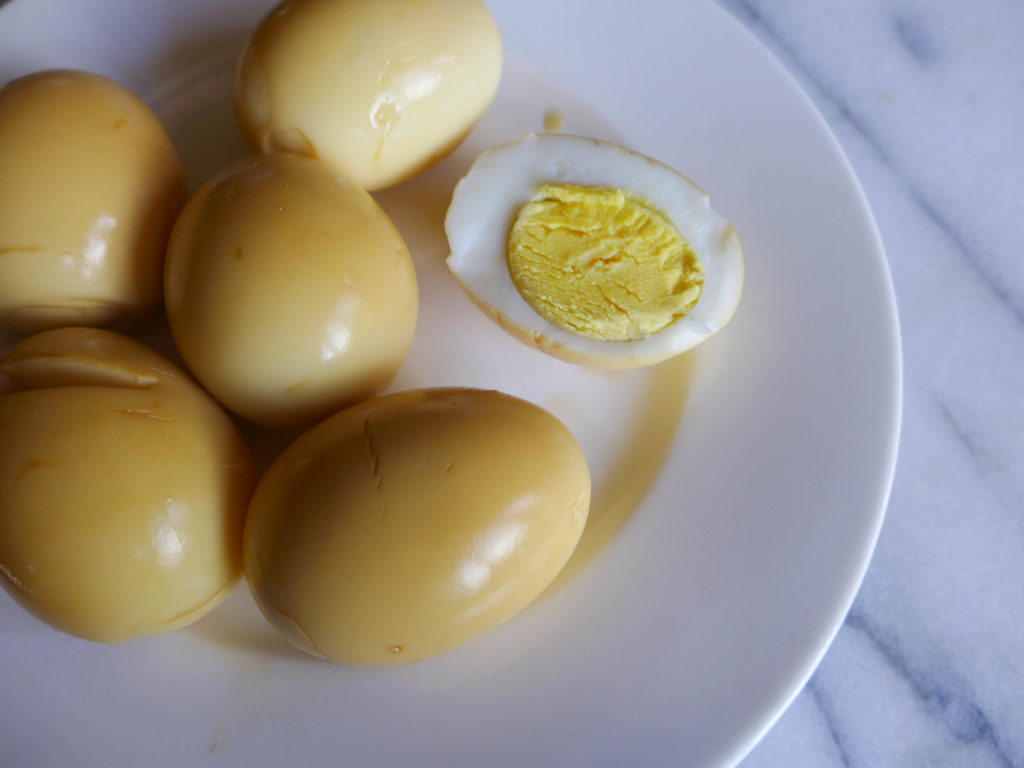 Today, I’m sharing a recipe for soy sauce eggs. They’re just hard boiled eggs that have been lightly simmered in a soy sauce mixture, adding a touch of flavor and color to the whites of the egg.