
Last winter ginger was our ingredient of the season. You can find our archive of ginger recipes here.
This is our well-tested kimchi recipe, and it’s a recipe that I’ve been wanting to share/document for a while.
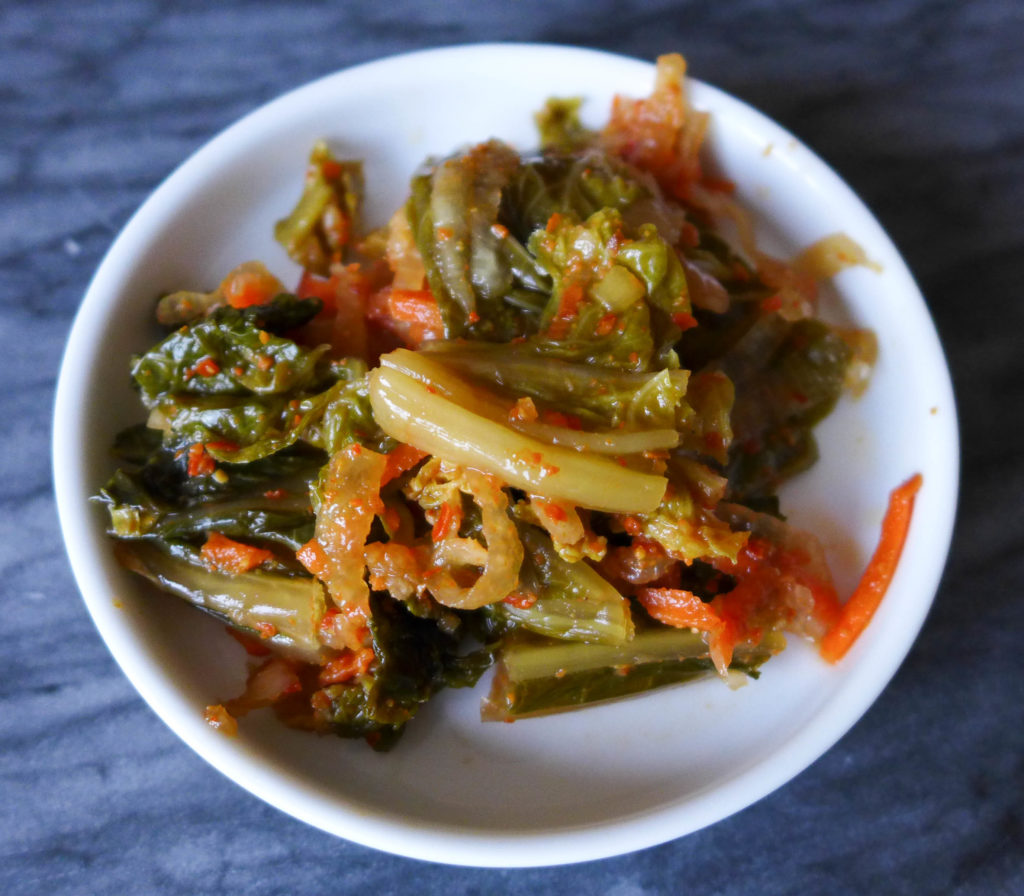
What is kimchi? Most simply, it’s a spicy Korean side dish made from fermented vegetables, commonly a mix of cabbage, radishes, garlic, ginger, and chili.
What to do with it? It’s (obviously) a common side for many Korean dishes. In our house, the most common way to eat kimchi is as an addition to a jazzed-up bowl of ramen. Sometimes we get creative with our uses. I love adding it to an egg salad sandwich.
If you’ve never had kimchi, you may want to start by sampling some in a restaurant or from the grocery store. Once you’ve found a version that you like, you can start to experiment by making your own!
Check out our simple recipe below.

Why Fermentation?
Eating fermented foods adds more of the good bacteria strains to your diet.
The fermentation process increases the nutritional value of the drink, producing beneficial enzymes, and probiotics. Probiotics are natural strains of living bacteria and yeast that remain in fermented foods after it’s been packaged or bottled. These cultures add to the bacteria in your digestive track, helping you to break down food, and generally keeping your gut healthy. In this way, eating kimchi provides health benefits similar to that of drinking kombucha, and eating yogurt, sauerkraut, or another food with live bacteria.
Home fermenting can seem like an intimidating process. I know that I spent many years watching others ferment foods before I was willing to take the jump. But fortunately, there are many awesome resources out there that can walk you through the process. Fermented Vegetables is my favorite cookbook, and I talk more about it in this post. The internet is also bursting with recipes, tips, and tricks.
In addition to reading plenty about the process, one thing that increased my confidence was having a few good tools. I do a lot of small batch fermentation (1 to 2 quarts at a time), so I don’t need a large fermentation crock. Instead, I wide-mouth ball jars with lids similar to these. And depending upon what I’m making, sometimes I’ll use weights like these to keep the vegetables under the liquid.
Kimchi Recipe
I read through a few kimchi recipes both on and off-line before settling on this simple version. The core kimchi ingredients don’t vary much from one recipe to the next, and neither does the fermentation process. I’ve noticed that the differences arise in the ingredient ratios for the chili paste and in how the ingredient are prepared.
I like to soak my chopped napa cabbage and bok choy in a brine before mixing all ingredients and fermenting. This the technique used for the basic kimchi recipe in Fermented Vegetables, but you’ll find that many recipes skip the brine and instead mix the cabbage with salt like a traditional sauerkraut recipe.
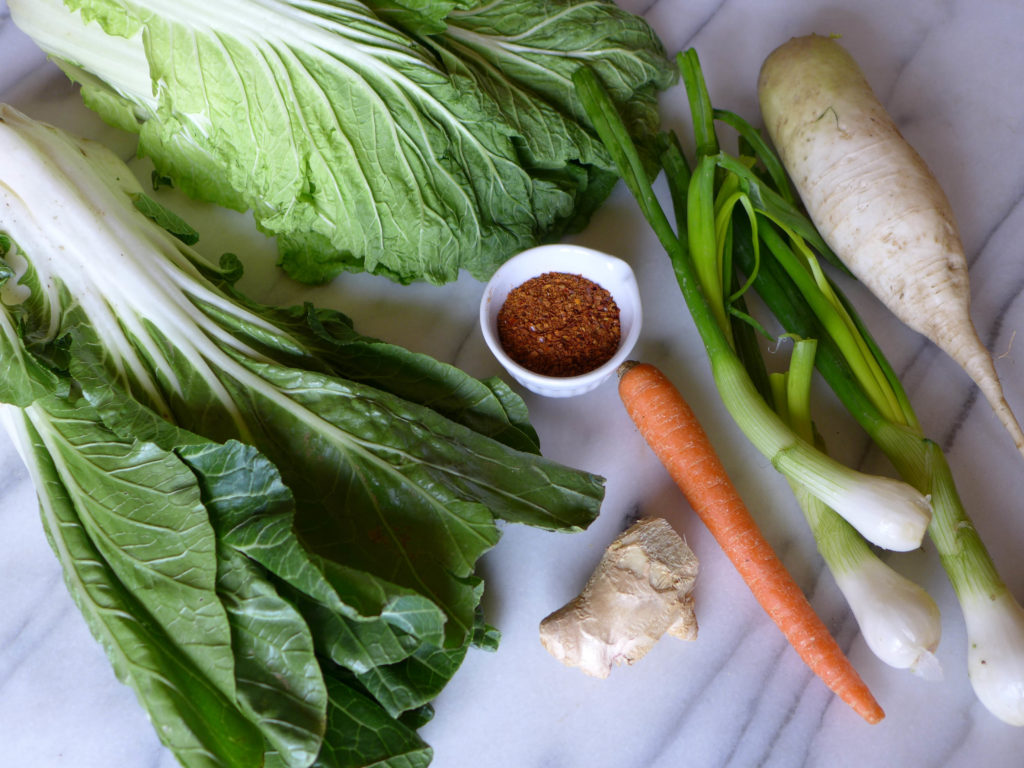
Ingredients
- 1 cup sea salt
- 1 gallon unchlorinated water
- 1 large napa cabbage
- 1 large bok choy
- 1 medium daikon radish, about 1/2-1 cup shredded
- 1 carrot, shredded
- 4 scallions, sliced including green parts
- 2 Tbsp Korean red pepper flakes | gochugaru
- 1 Tbsp minced fresh garlic
- 1 Tbsp minced fresh ginger
- 1 tsp fish sauce
- 1 tsp sugar
How-to
- Combine the water and salt to make the brine.
- Rinse the cabbage and bok choy, remove any damaged leaves, and then chop the remaining leaves into largish bite-sized pieces. Submerge the chopped pieces in the brine (weighting down with a plate if necessary) and let soak for 6-8 hours.
- Reserve 1 cup of the brine liquid before draining the cabbage mixture.
- Make the chili paste by combining the chili flakes with the garlic, ginger, fish sauce, and sugar.
- Combine the cabbage, radish, carrot, and scallions with the chili paste. Massage the mixture thoroughly, and then taste. You can add more salt and chili if necessary.
- Pack the mixture into a quart jar. I do this by placing a few handfuls of kimchi into the jar and then pressing down with my fist before adding more. Keep doing this until the jar is filled. As you’re packing the mixture, you should notice that liquid is seeps of of the vegetables. Pack the jar until there is about 1.5 inches remaining.
- At this point, you can place a weight on top of the vegetables. If they are submerged in liquid, you are done packing. If they aren’t submerged, then add a bit of the brine water to cover them.
- Cover the jar to keep out contamination; I use lids like these. Set the jar in a larger bowl or on a plate with a lip to catch any liquid that may escape. Place the jar in a cool place for 3-4 days, or as long as 7 days. Test your kimchi after a couple days and every day after until it’s attained a flavor that you enjoy.
When it comes to kimchi, this recipe is on the milder side in terms of spice and fermentation length. You can easily increase the chili flakes when making the paste, and you can easily increase the fermentation length. A daily taste will help you to see how the flavor develops over time.
It makes me so happy to say that we’ve now come to like this homemade version better than the jars from the market! Really, I would not have seen that coming even 5 years ago.
All it took was a little bit of experimentation and taking the leap into DIY fermentation. Give it a try.
so cool!!