Summer’s almost over – live it up!

Oh man, no post on Friday and then a late start on Monday! We would apologize and try to get our act together, except it’s too late – we were busy squeezing every last drop out of one of the last weekends in August.
liveseasoned_summer2014_quote

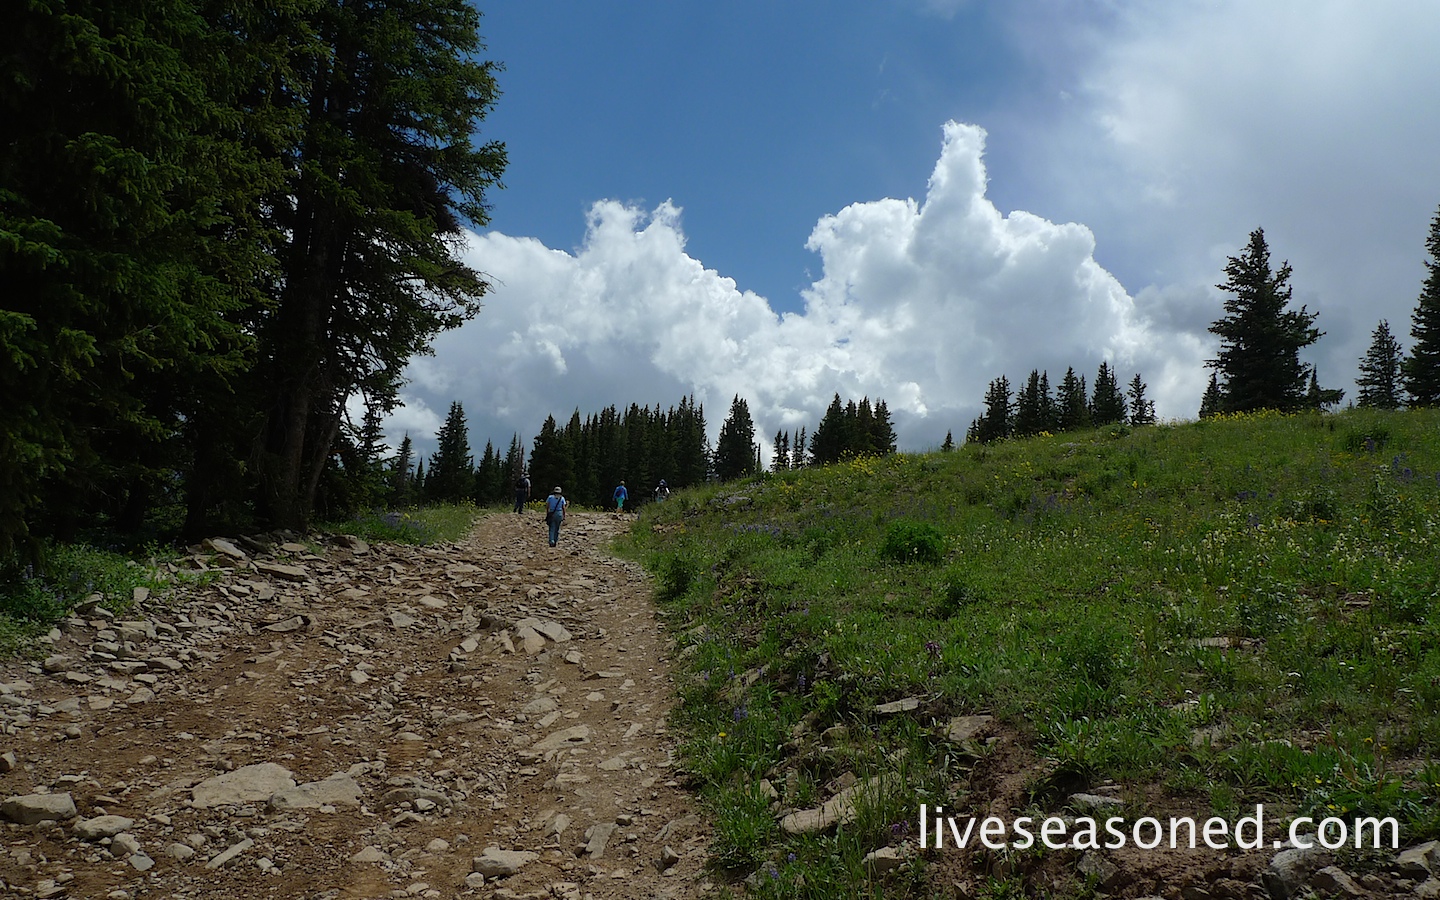
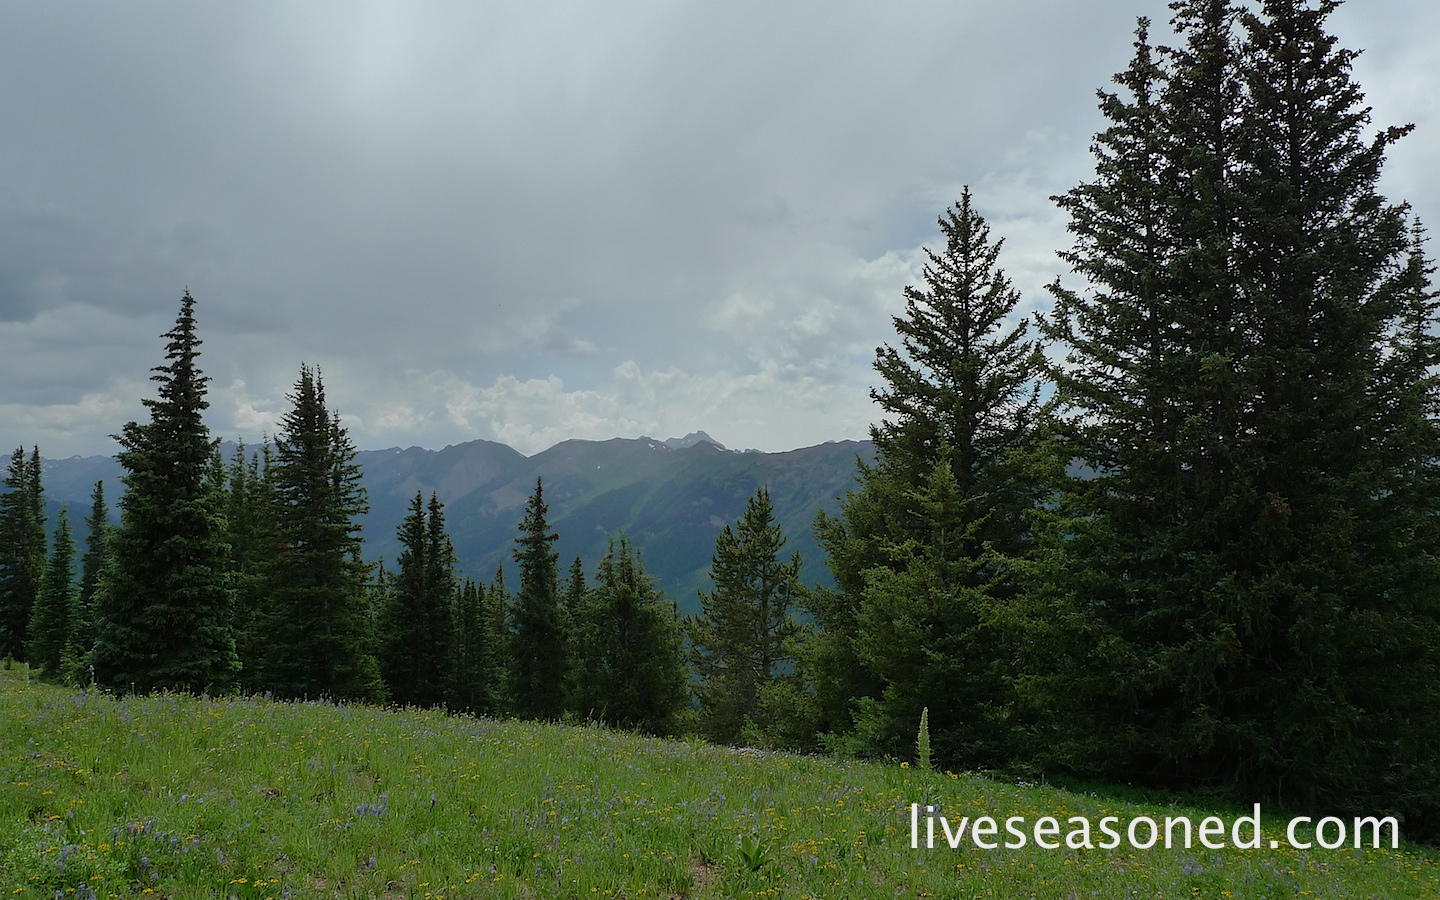
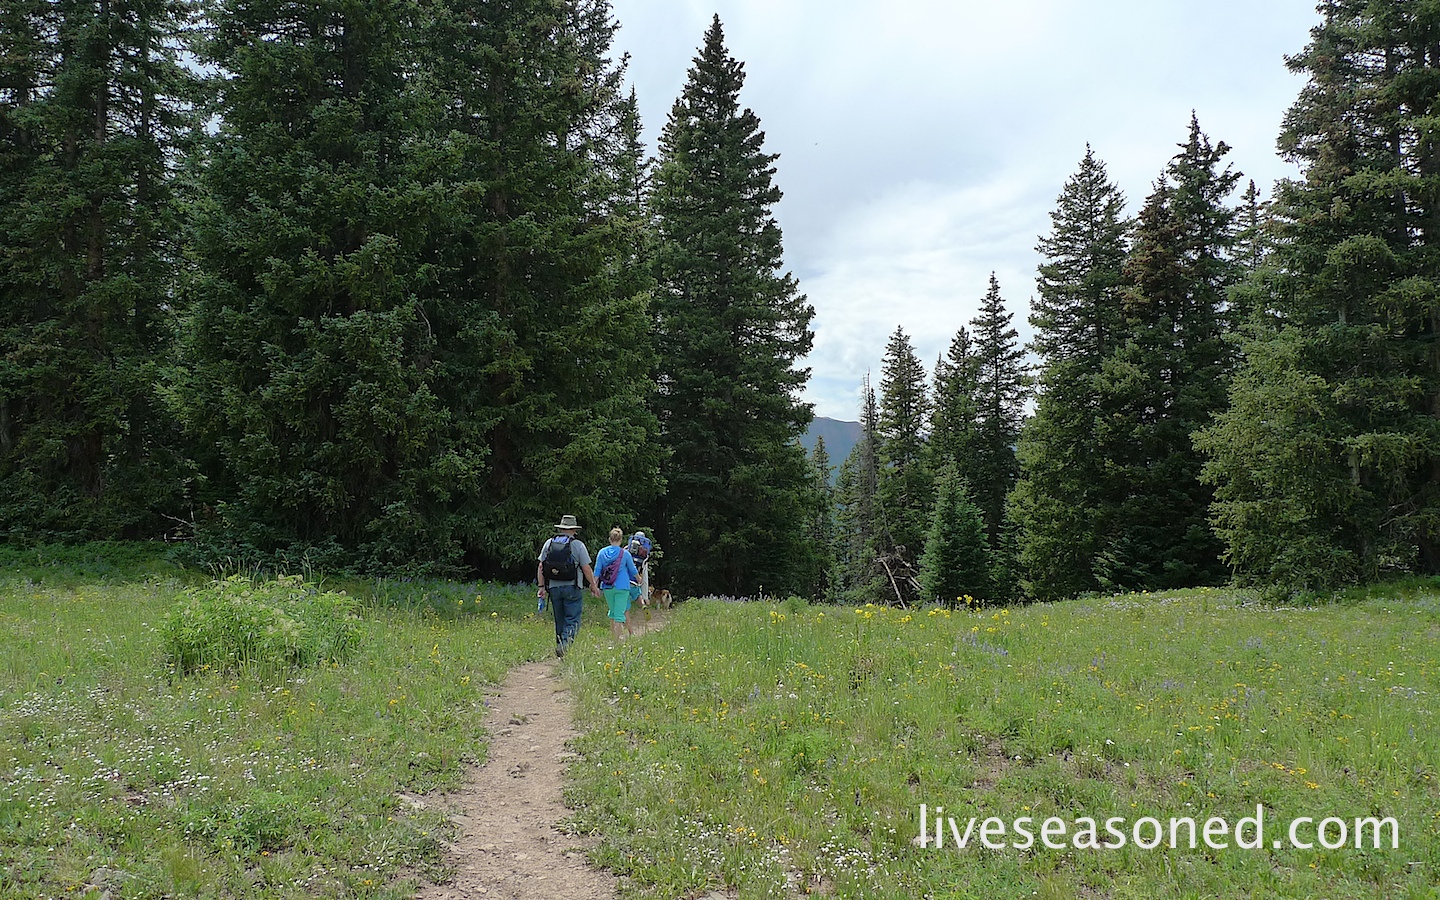
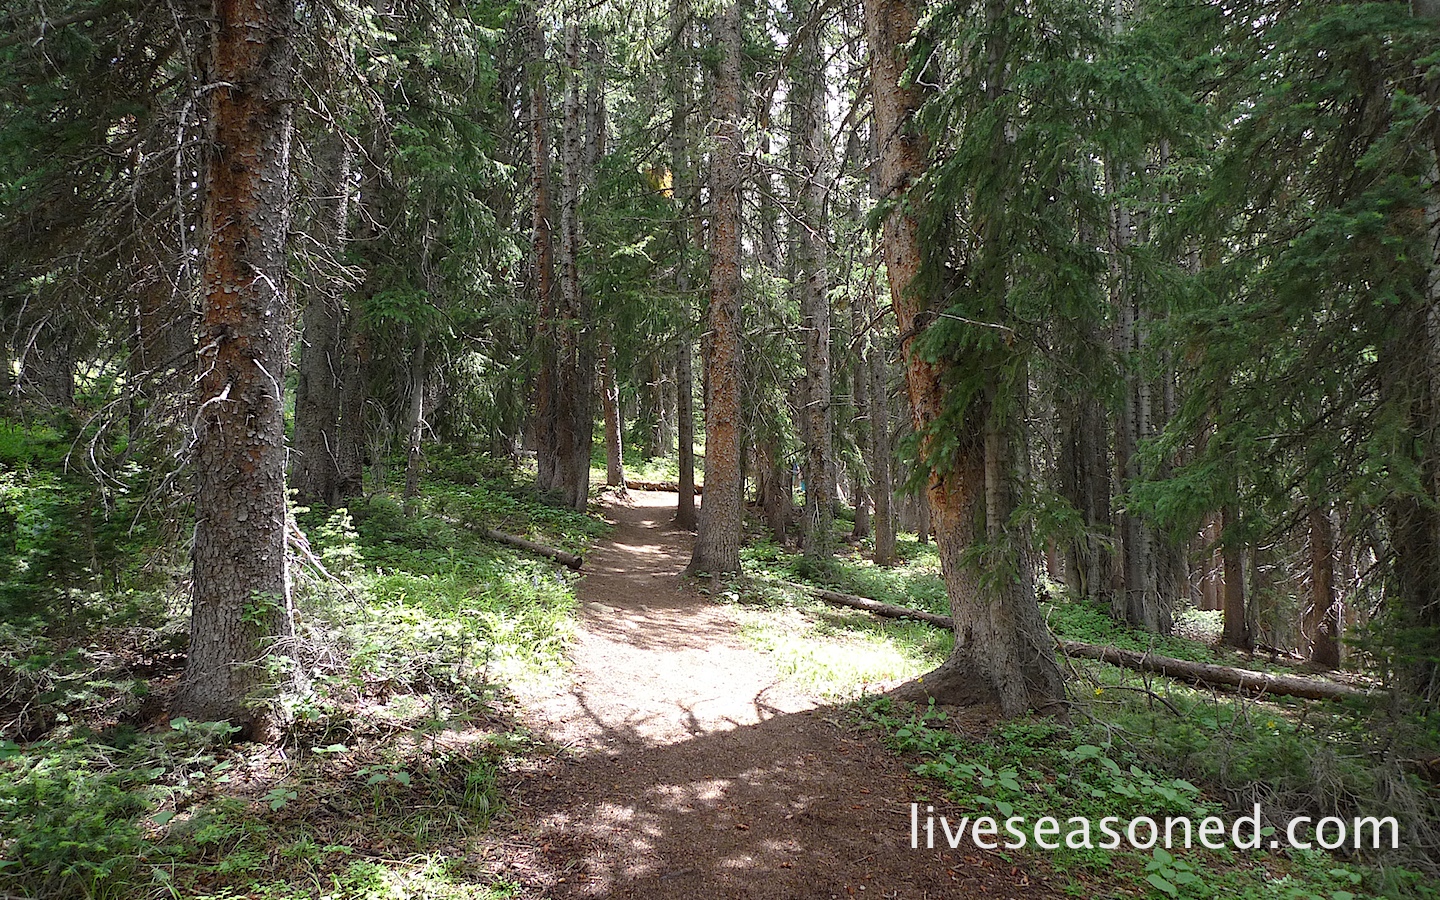
We took Emerson’s words to heart this weekend. Sarah and our siblings threw a huge summer bash at the farm complete with friends, music, bonfires, an epic slip and slide, and glow stick fun (that she’ll be back to share on Wednesday!). I was in the mountains with Calder and Alex, who is the world’s newest hiker – not willing to go onto our backs for a single step and wanting to climb every boulder we pass. So, what were we to do but embrace his pace and enjoy the hour+ time required for the 3/4 of a mile hike to St. Mary’s glacier?

Once Labor Day arrives, we can help but think that fall is here. So we’re hoping to treat every day of this last week of August as if it is truly the best day of the year (and summer). We’re going to share a few summer recipes, a craft that’s perfect for your labor day bbq, and we’ll end the week with a review of our favorite summer posts.

Happy best day ever to you*

Special Birthday Brownies

Sorry this post is coming late in the day, but we’re sharing some incredible brownies, and as you’ll see these things can’t be rushed!

Calder’s birthday is on Saturday. As expected, he requested a chocolate cake, but since we have a camping trip planned, I thought a batch of brownies would be easier to pack. And what better for the birthday boy than the most indulgent brownies I know?

liveseasoned_summer2014_trufflebrownies6_wm

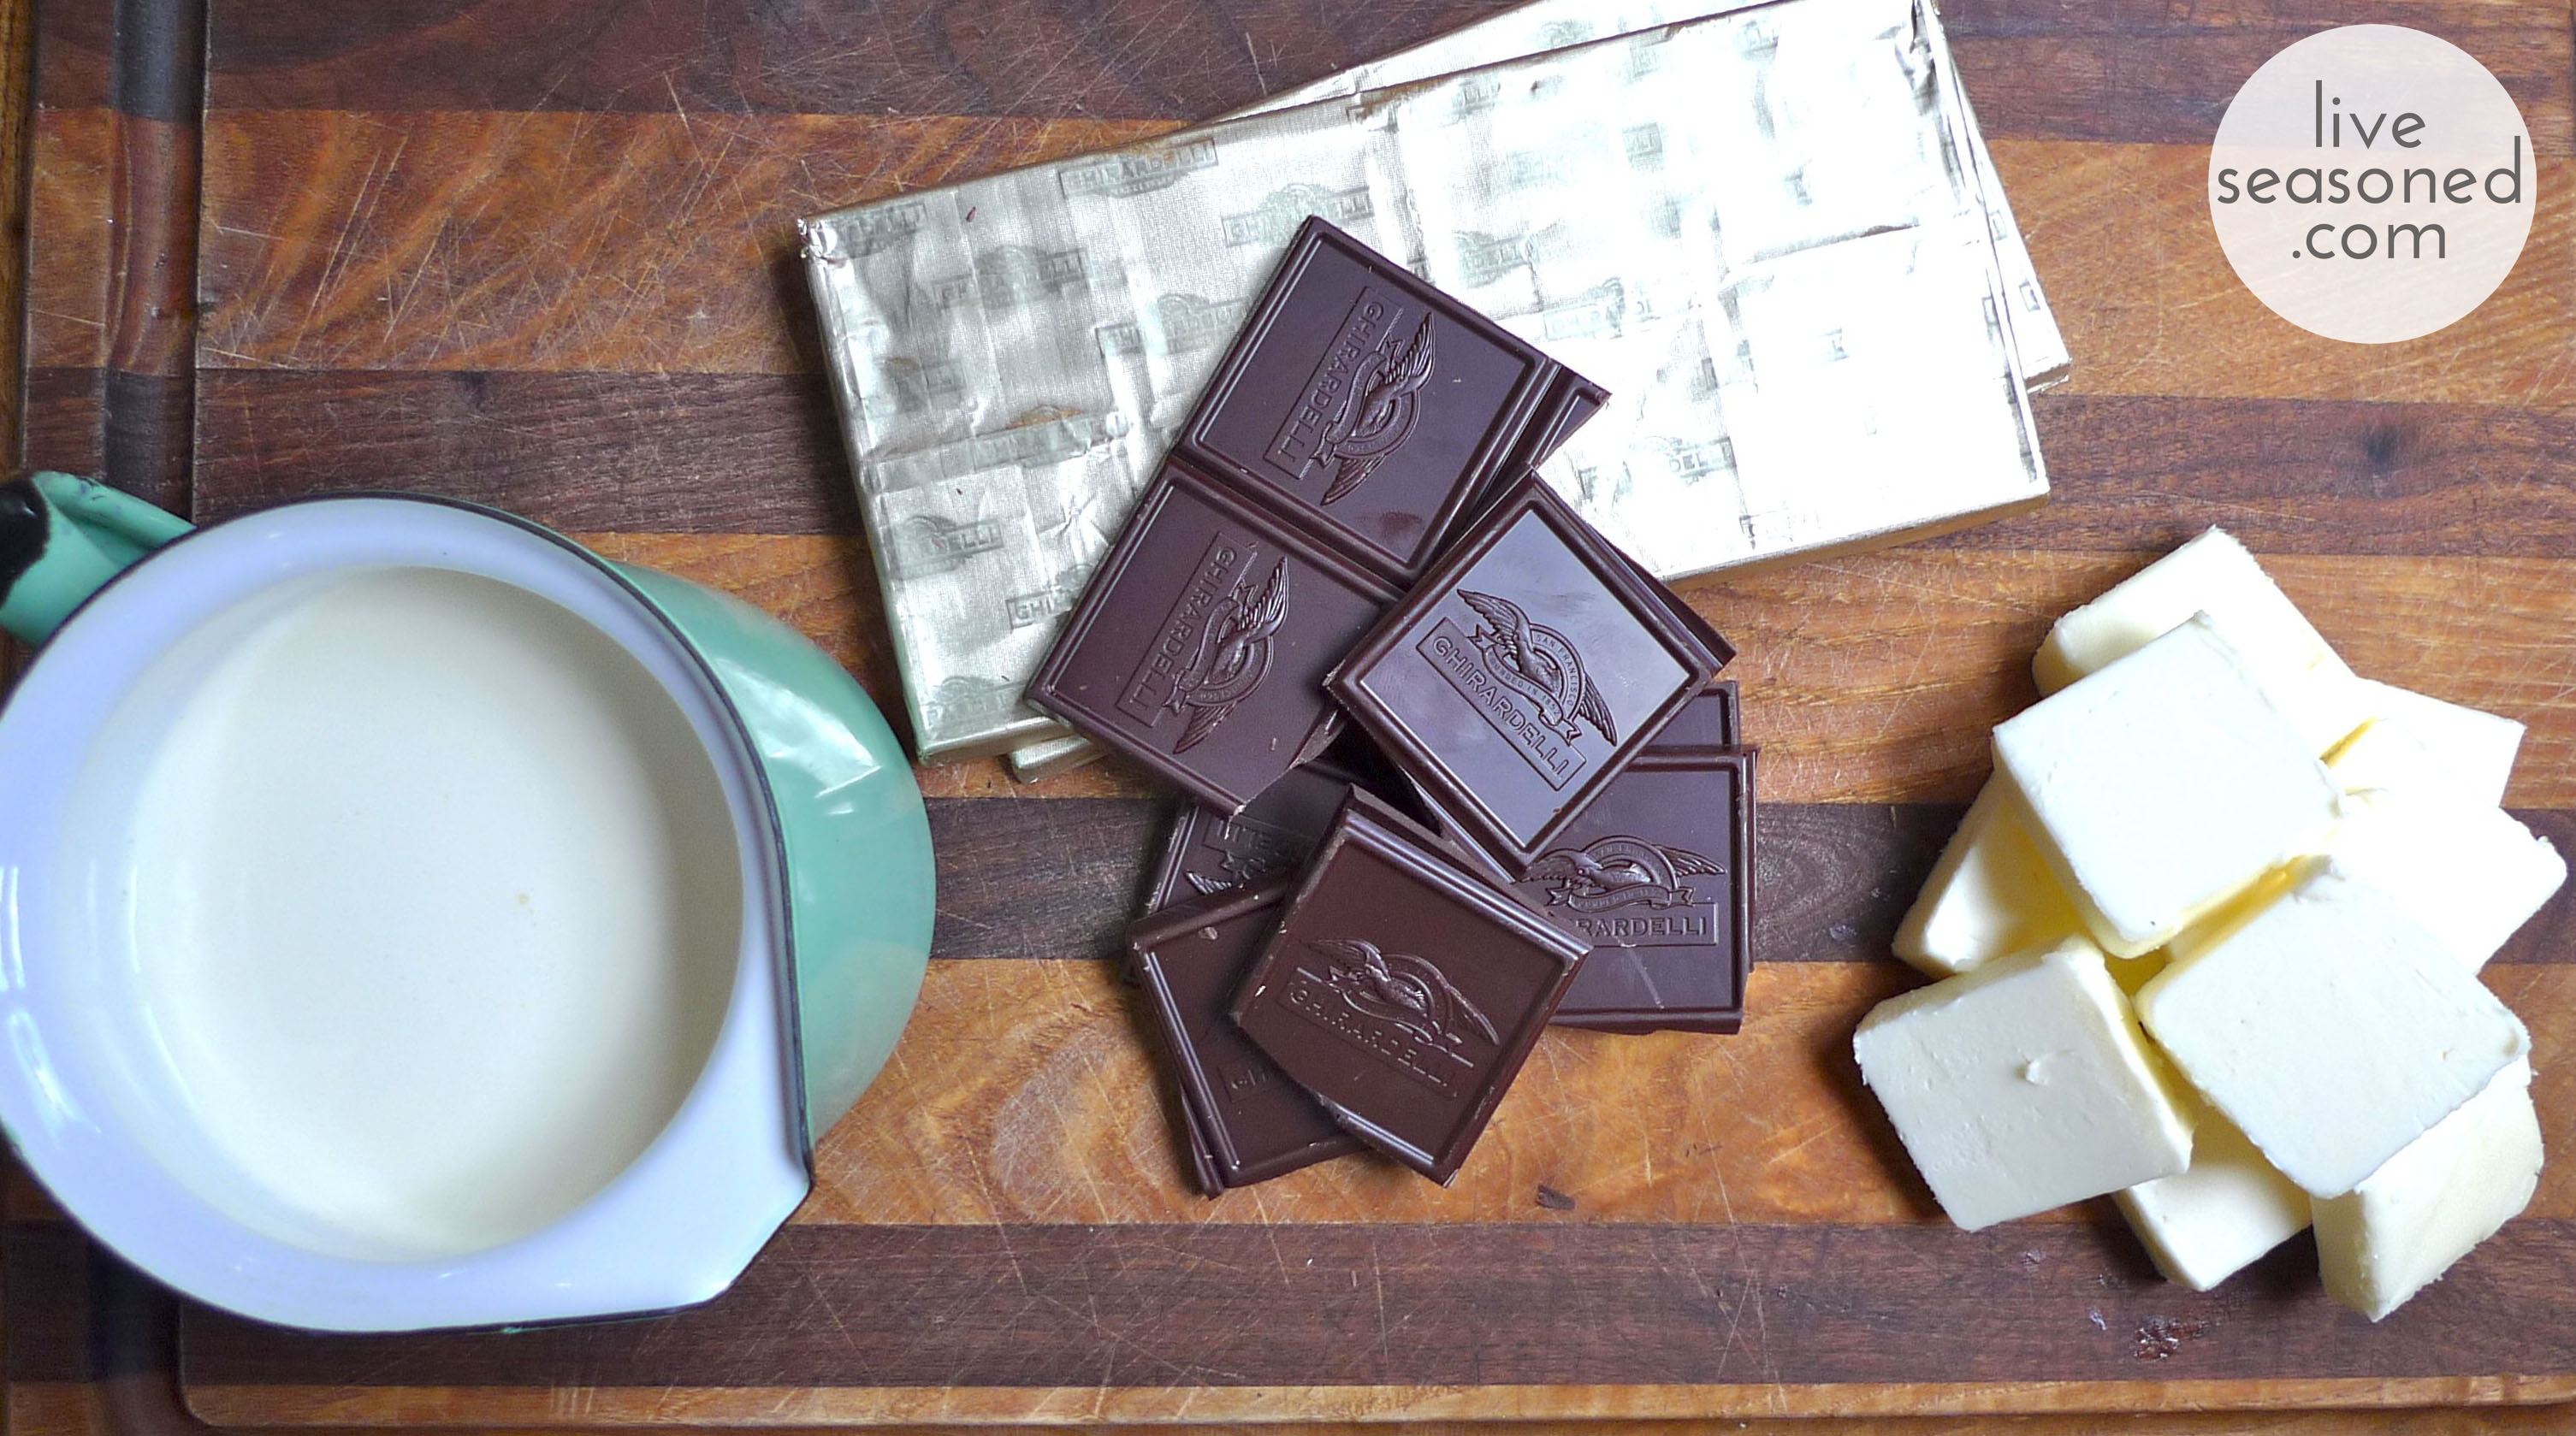
We were introduced to these brownies by a family friend a few years ago, and it was one of those things that became an automatic request when we were planning any sort of celebration. When I asked my mom for the recipe this week, I learned that they are called Truffle Brownies, and it is the perfect description of what you’re making: a truffle disguised as a brownie. To get that truffle-like flavor and consistency, the recipe contains almost a cup of cream, 12 ounces of bittersweet chocolate, and well over a stick of butter! Indulgent, no? It’s definitely worth splurging on some quality chocolate for these.

liveseasoned_summer2014_trufflebrownies12_wm

Brownie Ingredients

  • 6 oz bittersweet chocolate, 60% cacao recommended
  • 11 Tbsp butter, cut into 1 inch cubes
  • 1 1/4 cups sugar
  • 3 large eggs
  • 1 1/2 tsp vanilla
  • 1/4 tsp salt
  • 1 cup flour
  • 1 cup toasted walnuts, finely chopped

Brownie Prep

  • Preheat your oven to 350 degrees.
  • Prepare your pan. Line a 9×9 inch metal pan with tin foil, making sure that its edges overhang your pan so that they are easy to grab. Spray the foil with vegetable oil.
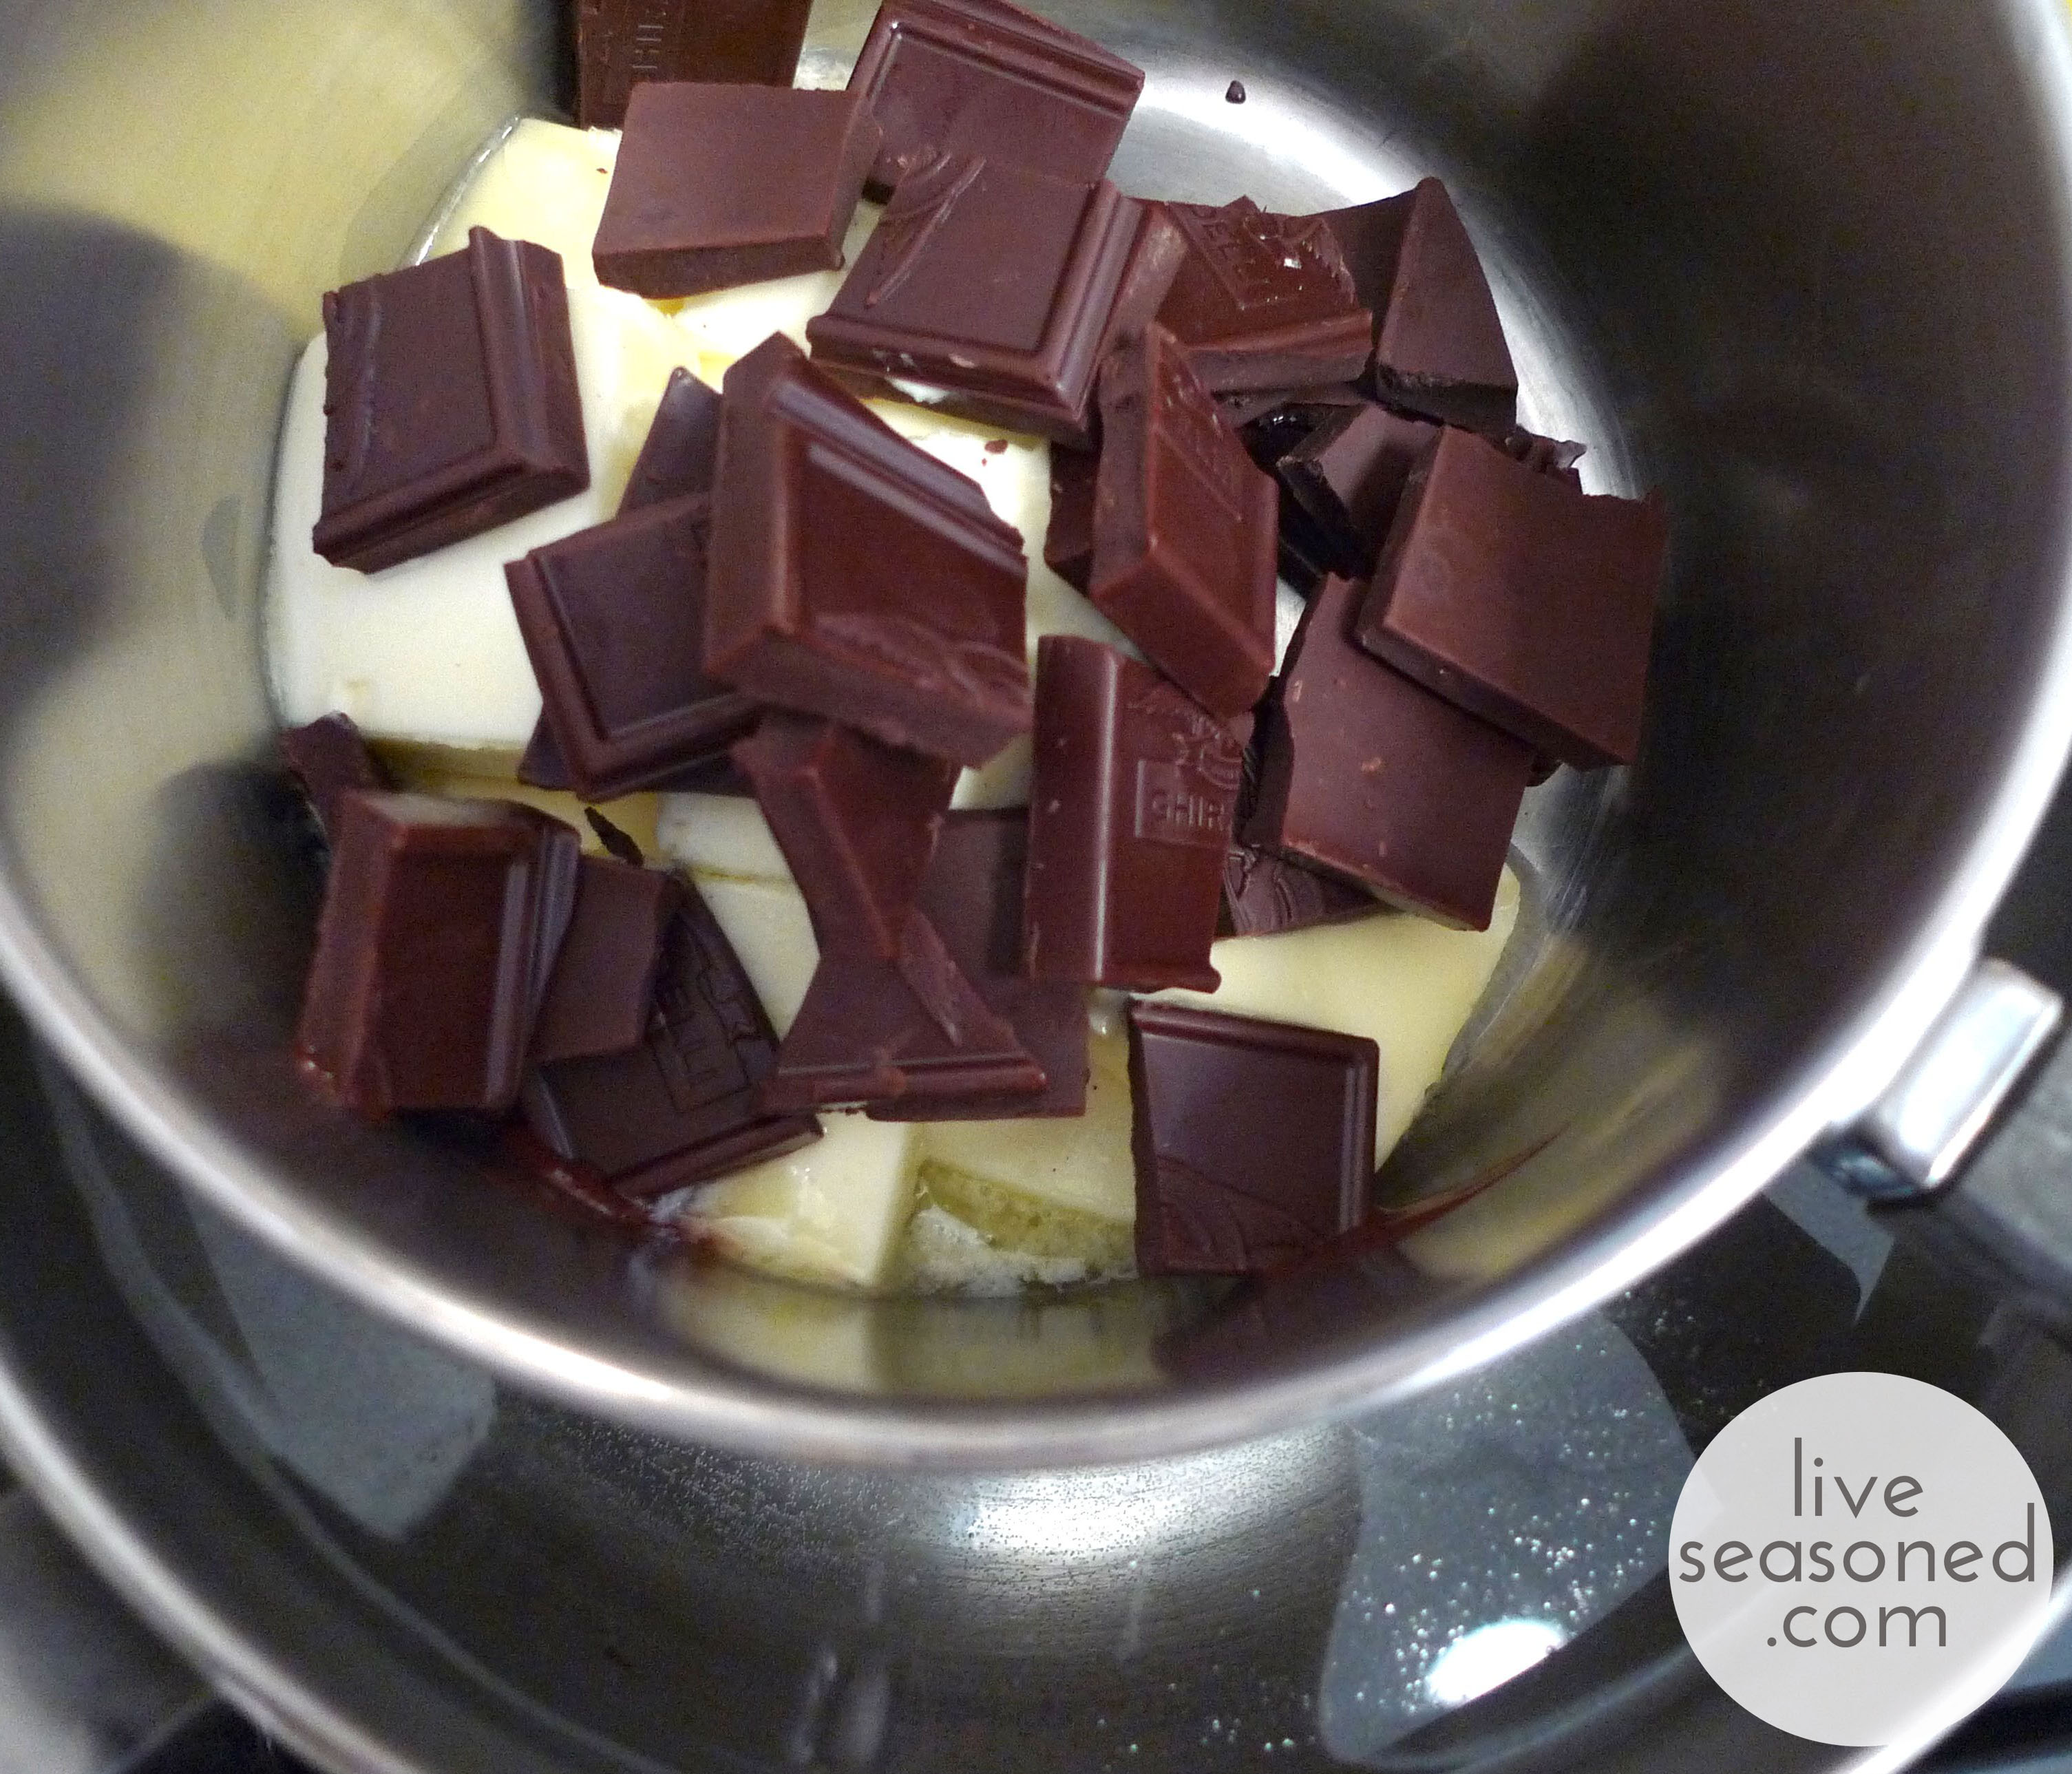
  • Place the 6 oz chocolate and the butter in the top of a double boiler on medium-high. Stir until melted and smooth. Remove the top pot and let it cool for 5-10 minutes.
  • Whisk together the sugar, eggs, vanilla, and salt. Add the slightly cooled chocolate mixture and whisk again.
  • Stir the flour into the mixture, followed by the walnuts.
  • Pour the batter into the prepared pan, and bake in the middle of your oven for about 26-28 minutes. The tester should have tender moist crumbs on it.
  • Cool completely and then frost with the ganache.

liveseasoned_summer2014_trufflebrownies4_wm

Ganache Ingredients

  • 3/4 cup heavy cream
  • 6 oz bittersweet chocolate, 60% cacao recommended

Ganache Prep

  • Bring the cream to a simmer, remove from the heat and add the chocolate. Let stand 5 minutes and then whisk until the chocolate is melted and the mixture is smooth.
  • Pour over the cooled brownies and let cool at room temperature for at least 4 hours or overnight.

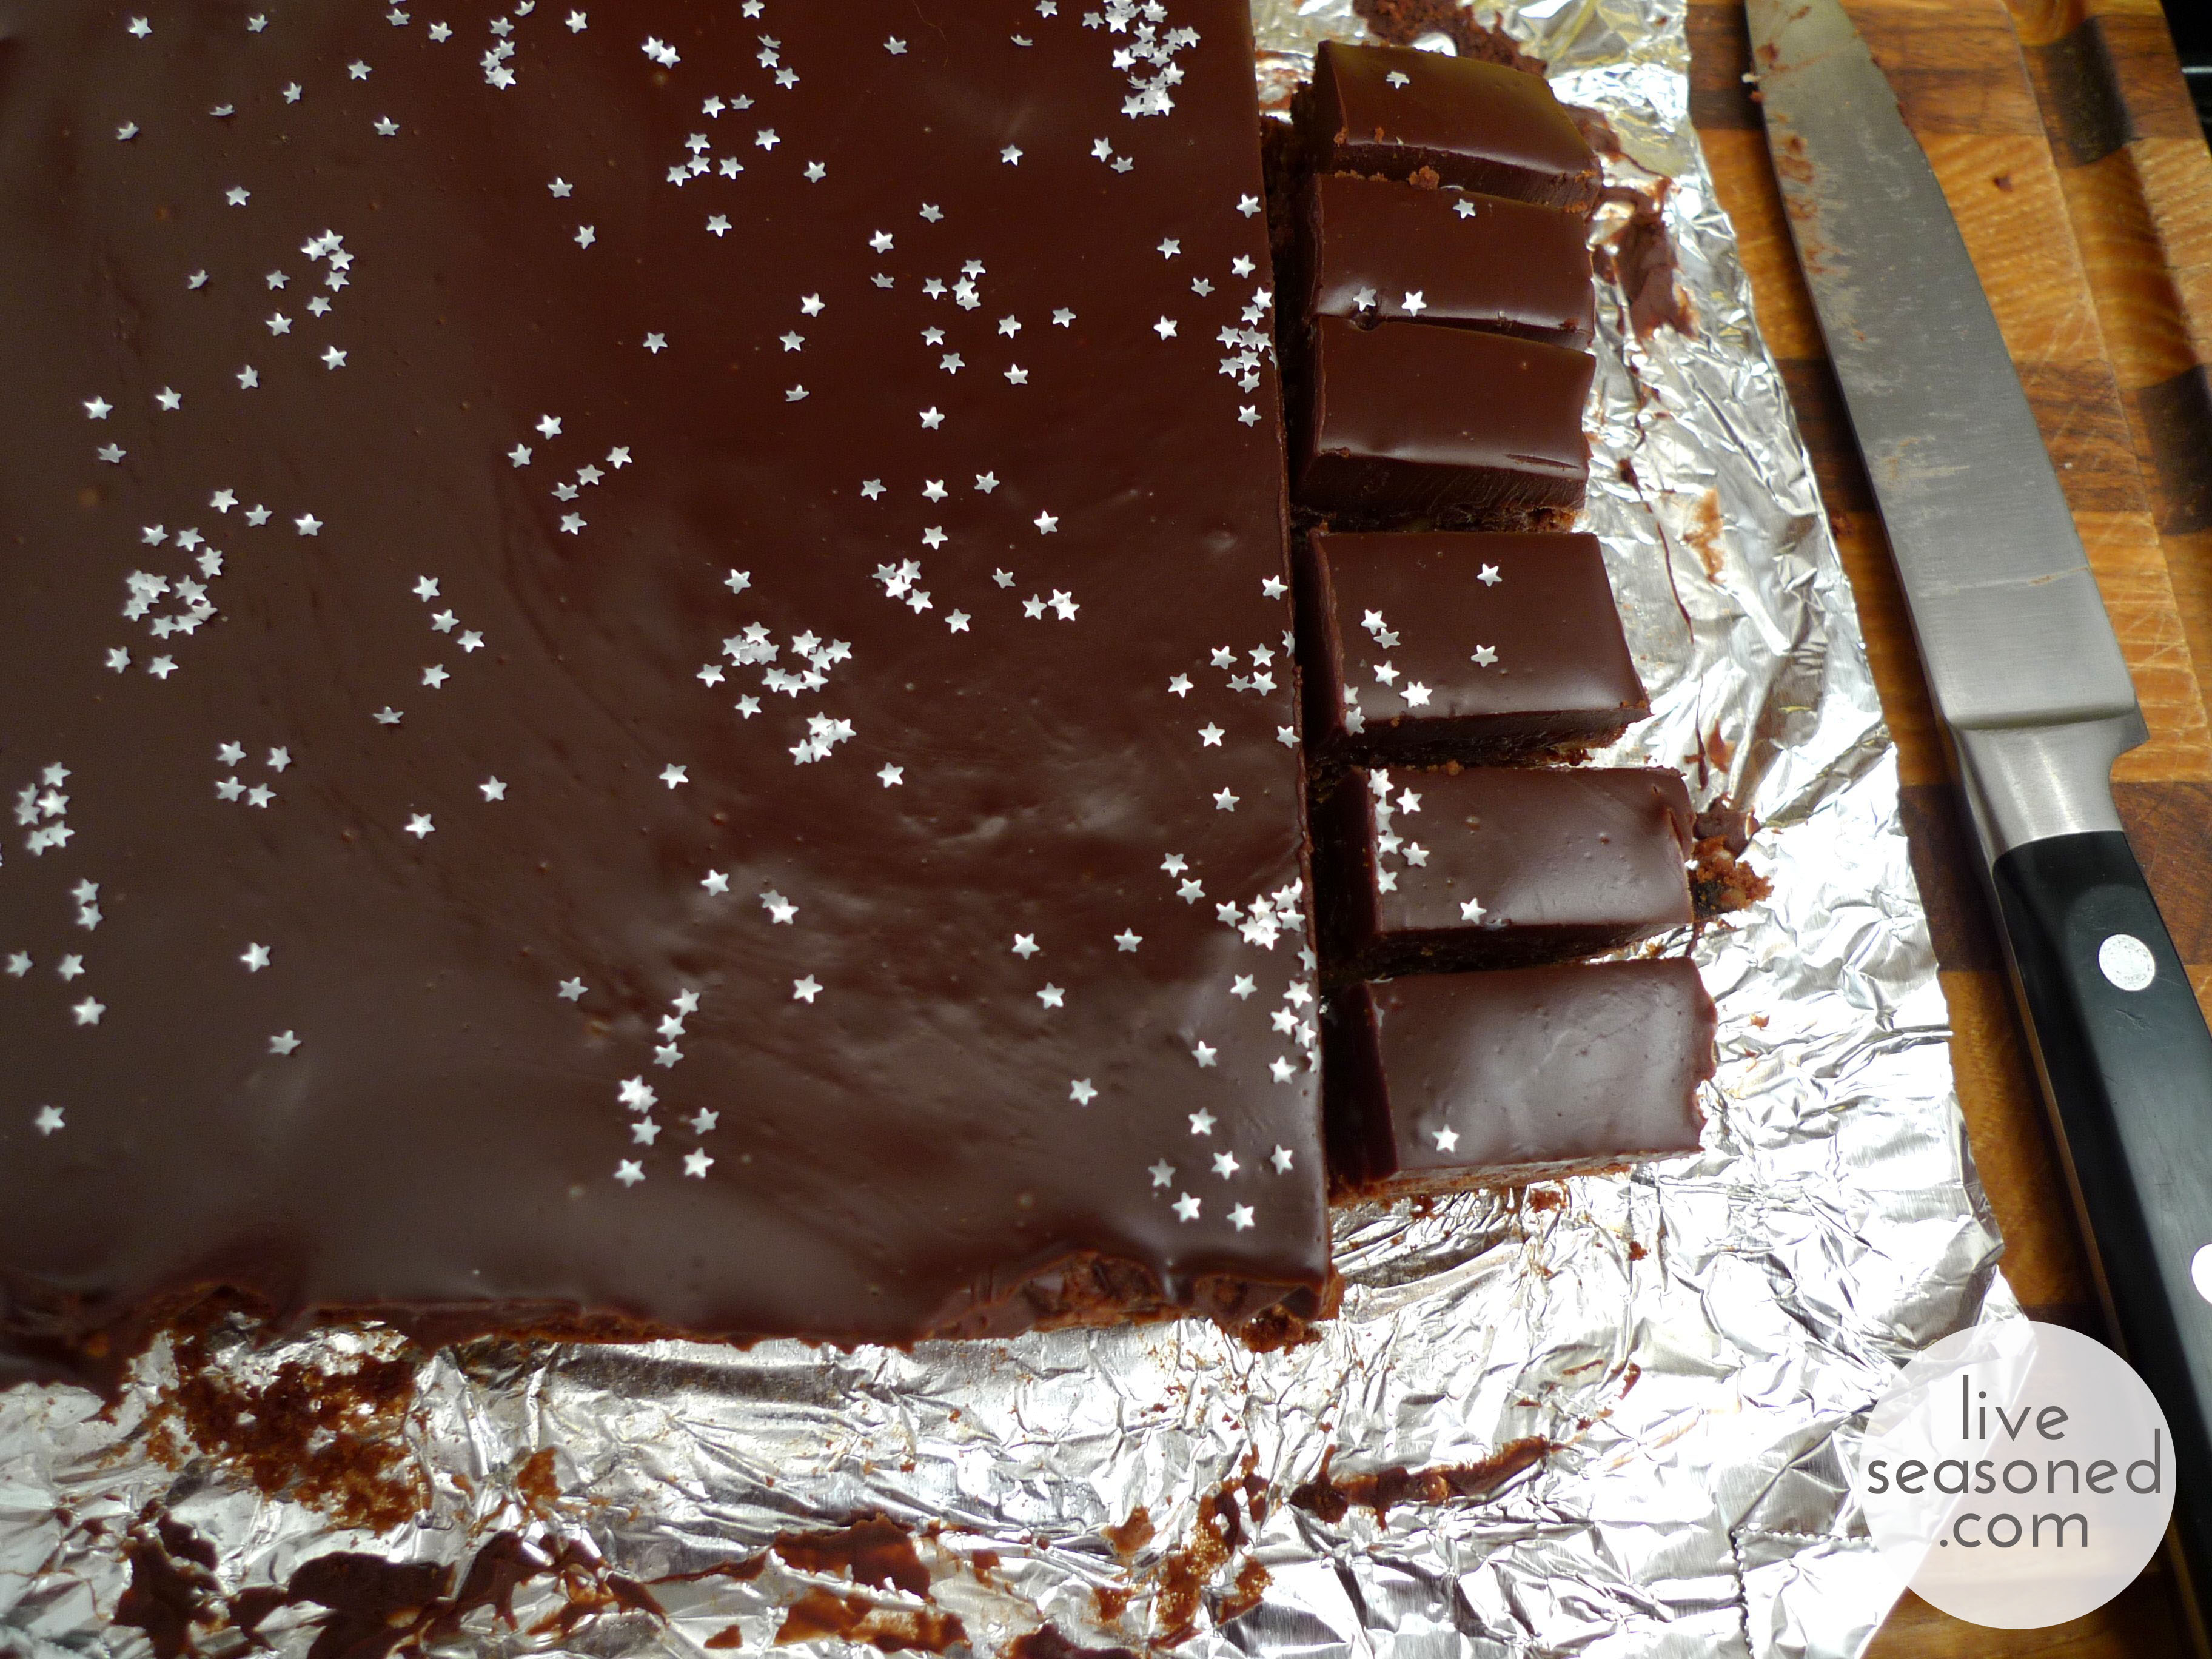
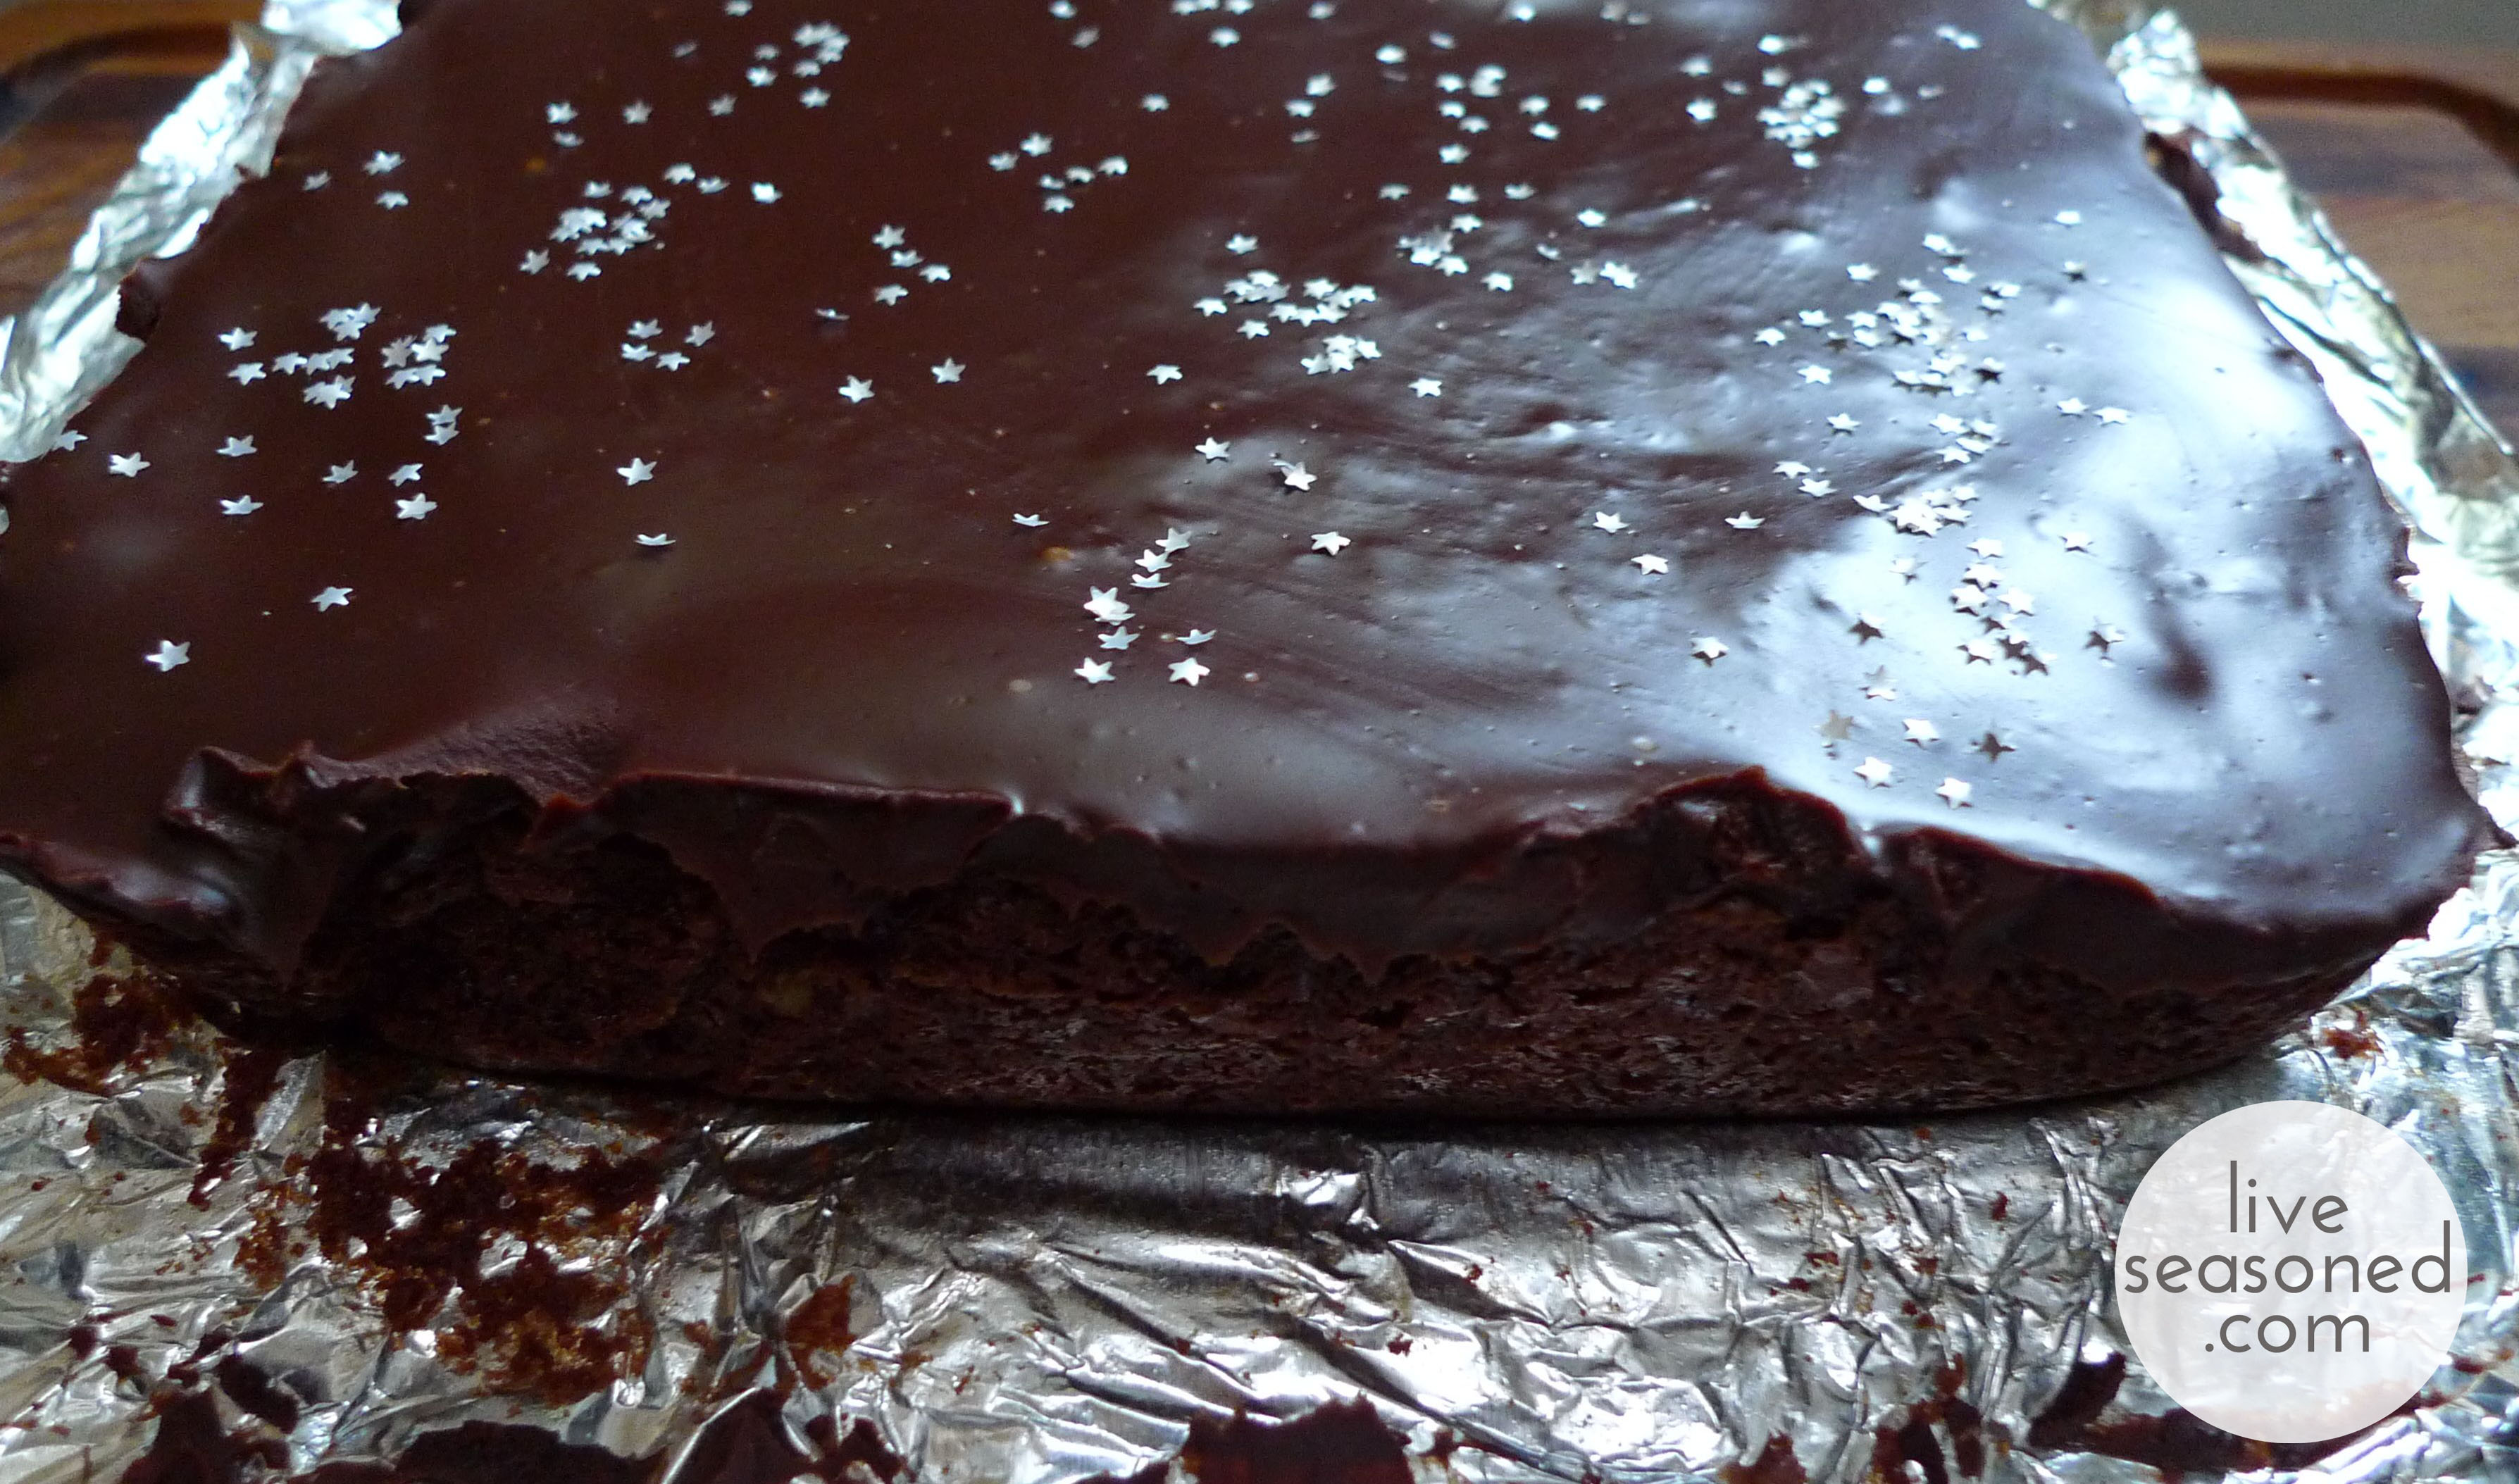
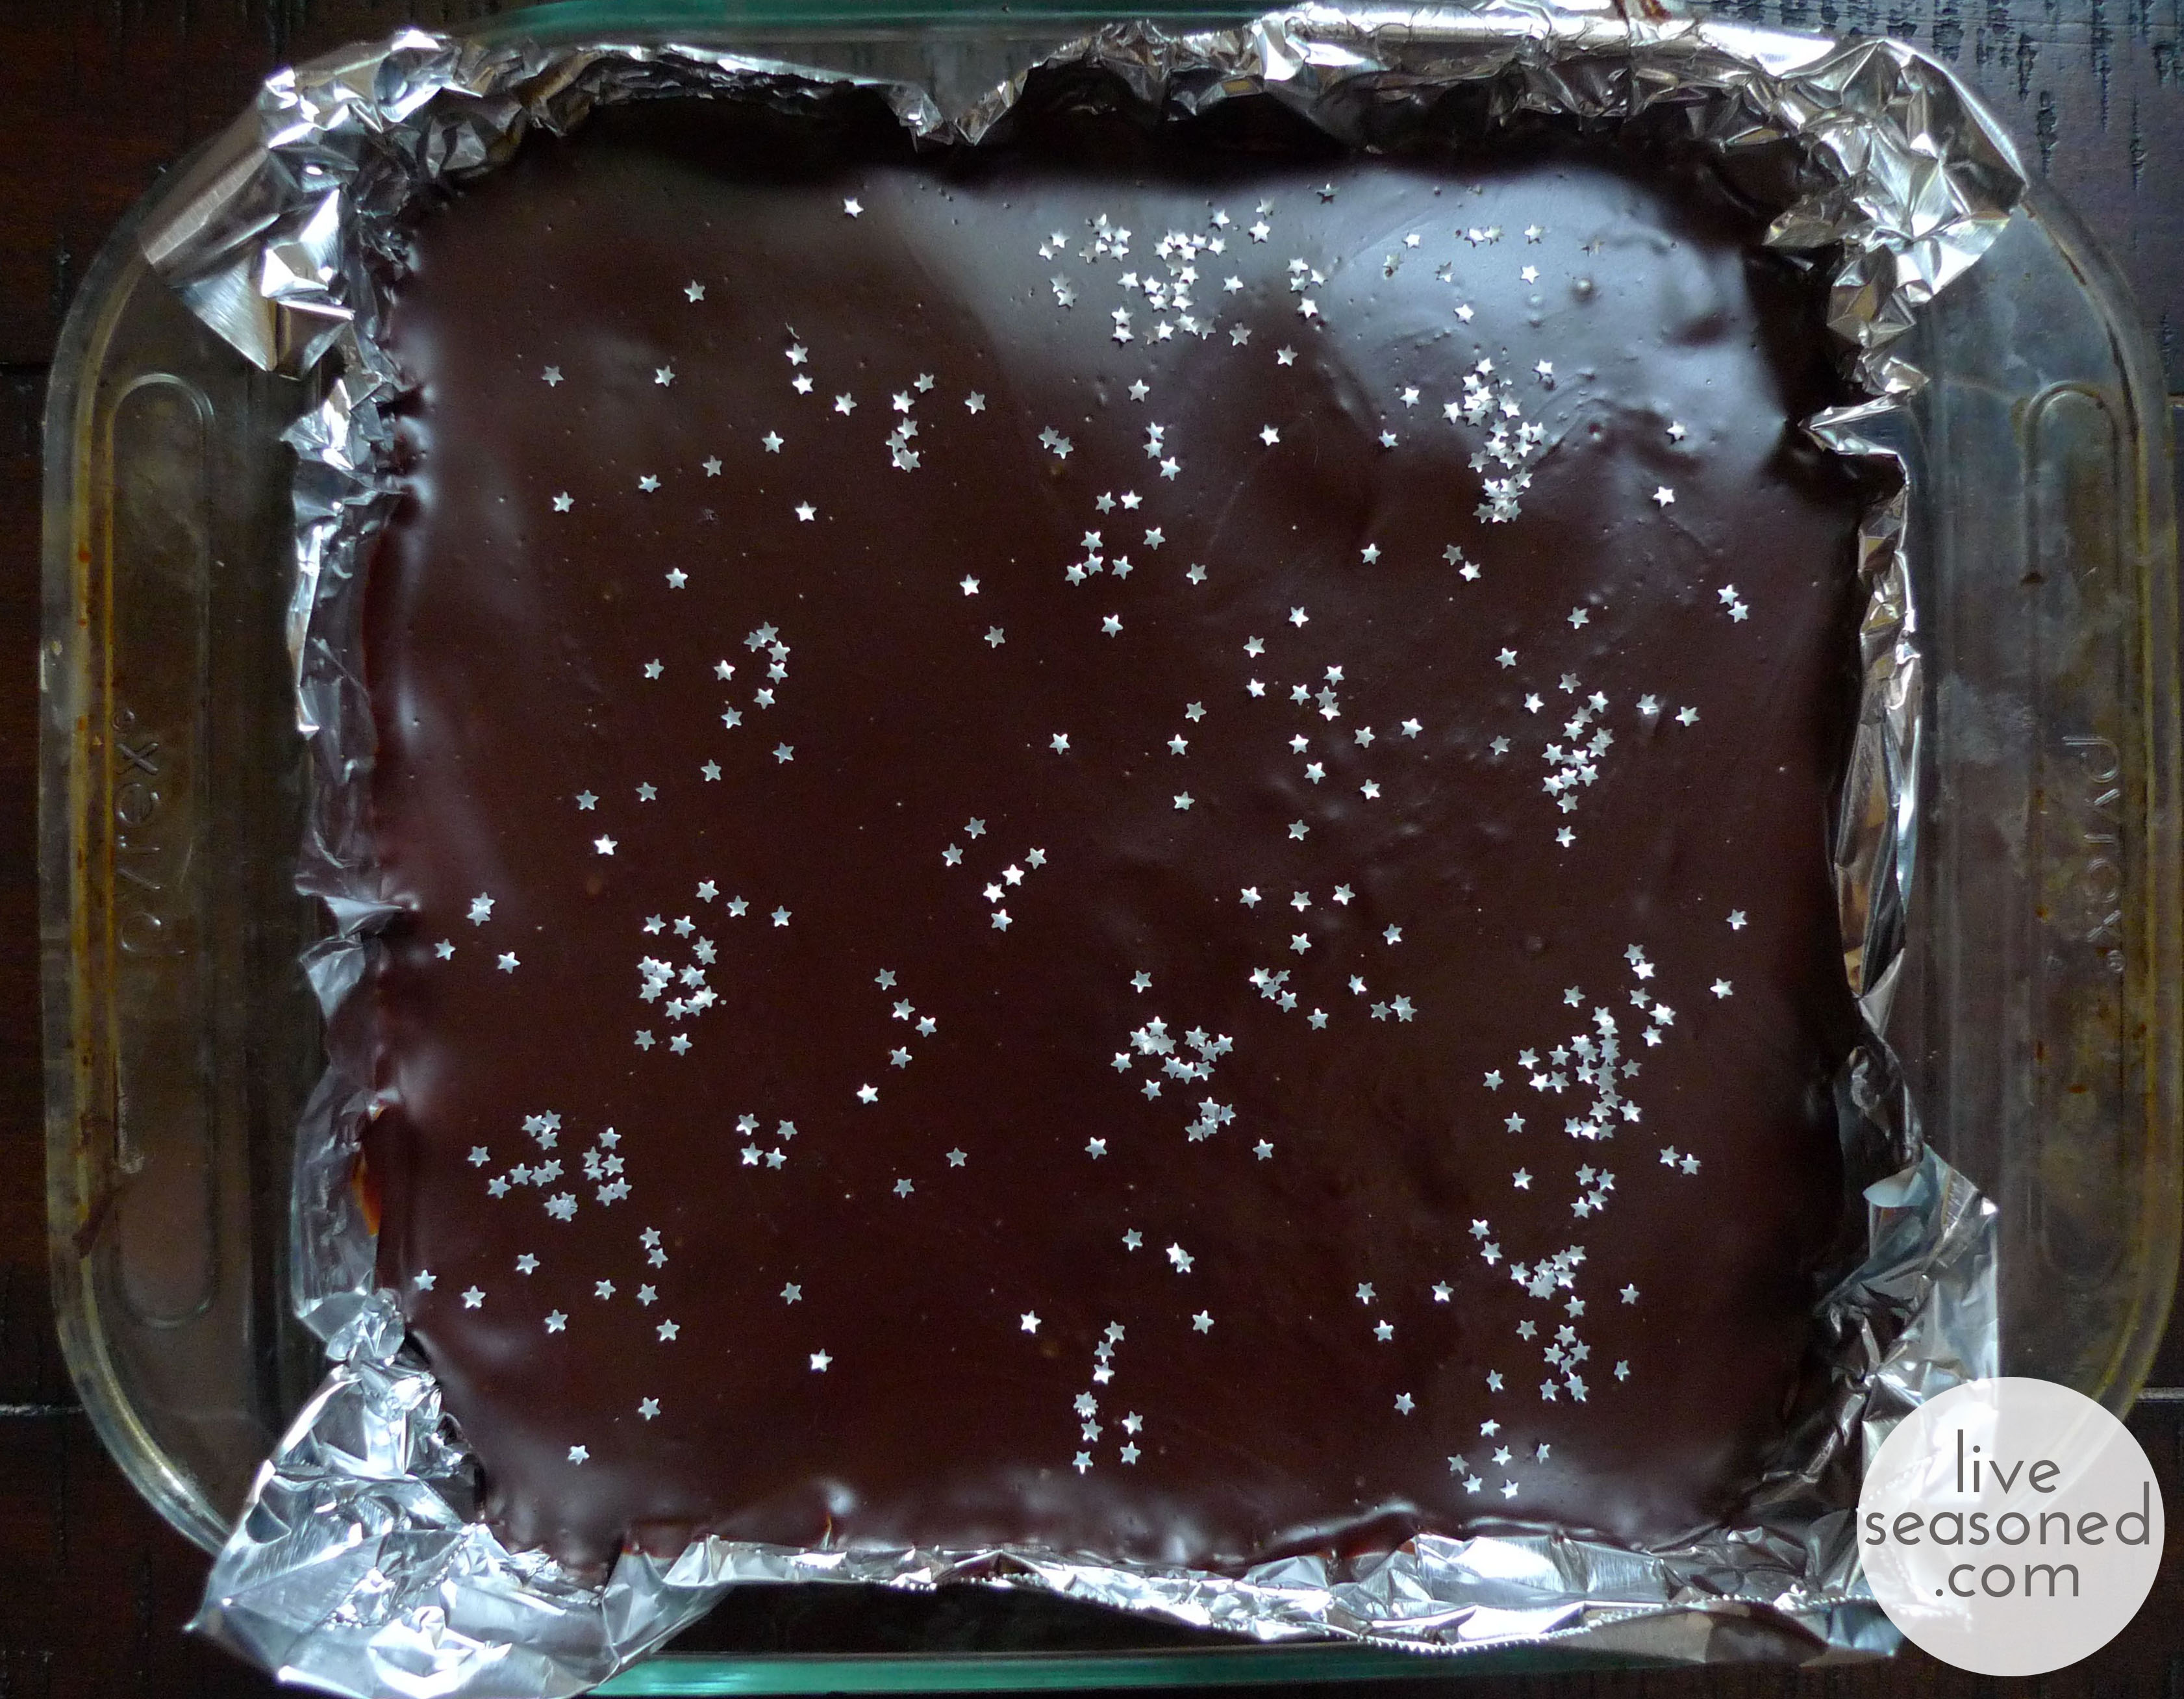
After your ganache has cooled, it’s time to decorate! They were first served to us with crackled gold foil on the top ~ could there be a more perfect accent to such incredibly rich brownies? I didn’t have any gold leaf on hand, but I always have these paper thin star sprinkles at the ready (we use them as an accent on cappuccinos and hot chocolates – classy living over here!). If you like them, they’re easy to find in the baking aisle of any Joann’s Crafts, and they come in gold as well as heart shapes! I think they are just as much, if not more, fun than the gold leaf. The stars on the dark chocolate turn your brownies into a starry night, and would be perfect for so many occasions (slumber parties, evening summer bbqs, new year’s eve parties… and birthday camping!).

Once decorated, remove the brownies from the pan by pulling the foil. Place the whole slab on a cutting board and cut into small pieces. I err on the side of the one-bite-brownie because these are so rich.

liveseasoned_summer2014_trufflebrownies8_wm

Hints

  • The smaller the walnut pieces, the easier it is to cut the brownies. Grinding was recommended to us, but I’m a fan of a fine-ish chop.
  • The cooler the brownies are, the easier they are to cut. Our house was a cool 60 degrees over night, so when I cut them in the morning I had no problems. When we make them at the beach on an 80 degree day, more brownies end up on the knife than in our mouths! Wiping your knife between cuts also helps.
  • If you don’t have a double boiler, the pot inside a pot method works perfectly well.
  • When decorating, try not to let your fingertips touch the ganache because you may end up with fingerprints and smudges on that perfectly smooth surface.

liveseasoned_summer2014_trufflebrownies7_wm

Dry Shampoo to the Rescue!

It’s no surprise that Sarah and I like to make our own cosmetic and household potions whenever possible. We’ve tried our hands at deodorant, body scrubs, and laundry detergent. We like to know exactly what’s going into them, but we also really enjoy personalizing the potions to our tastes, and we often find that homemade is cheaper than store bought.

liveseasoned_summer2014_dryshampoo6_wm copy

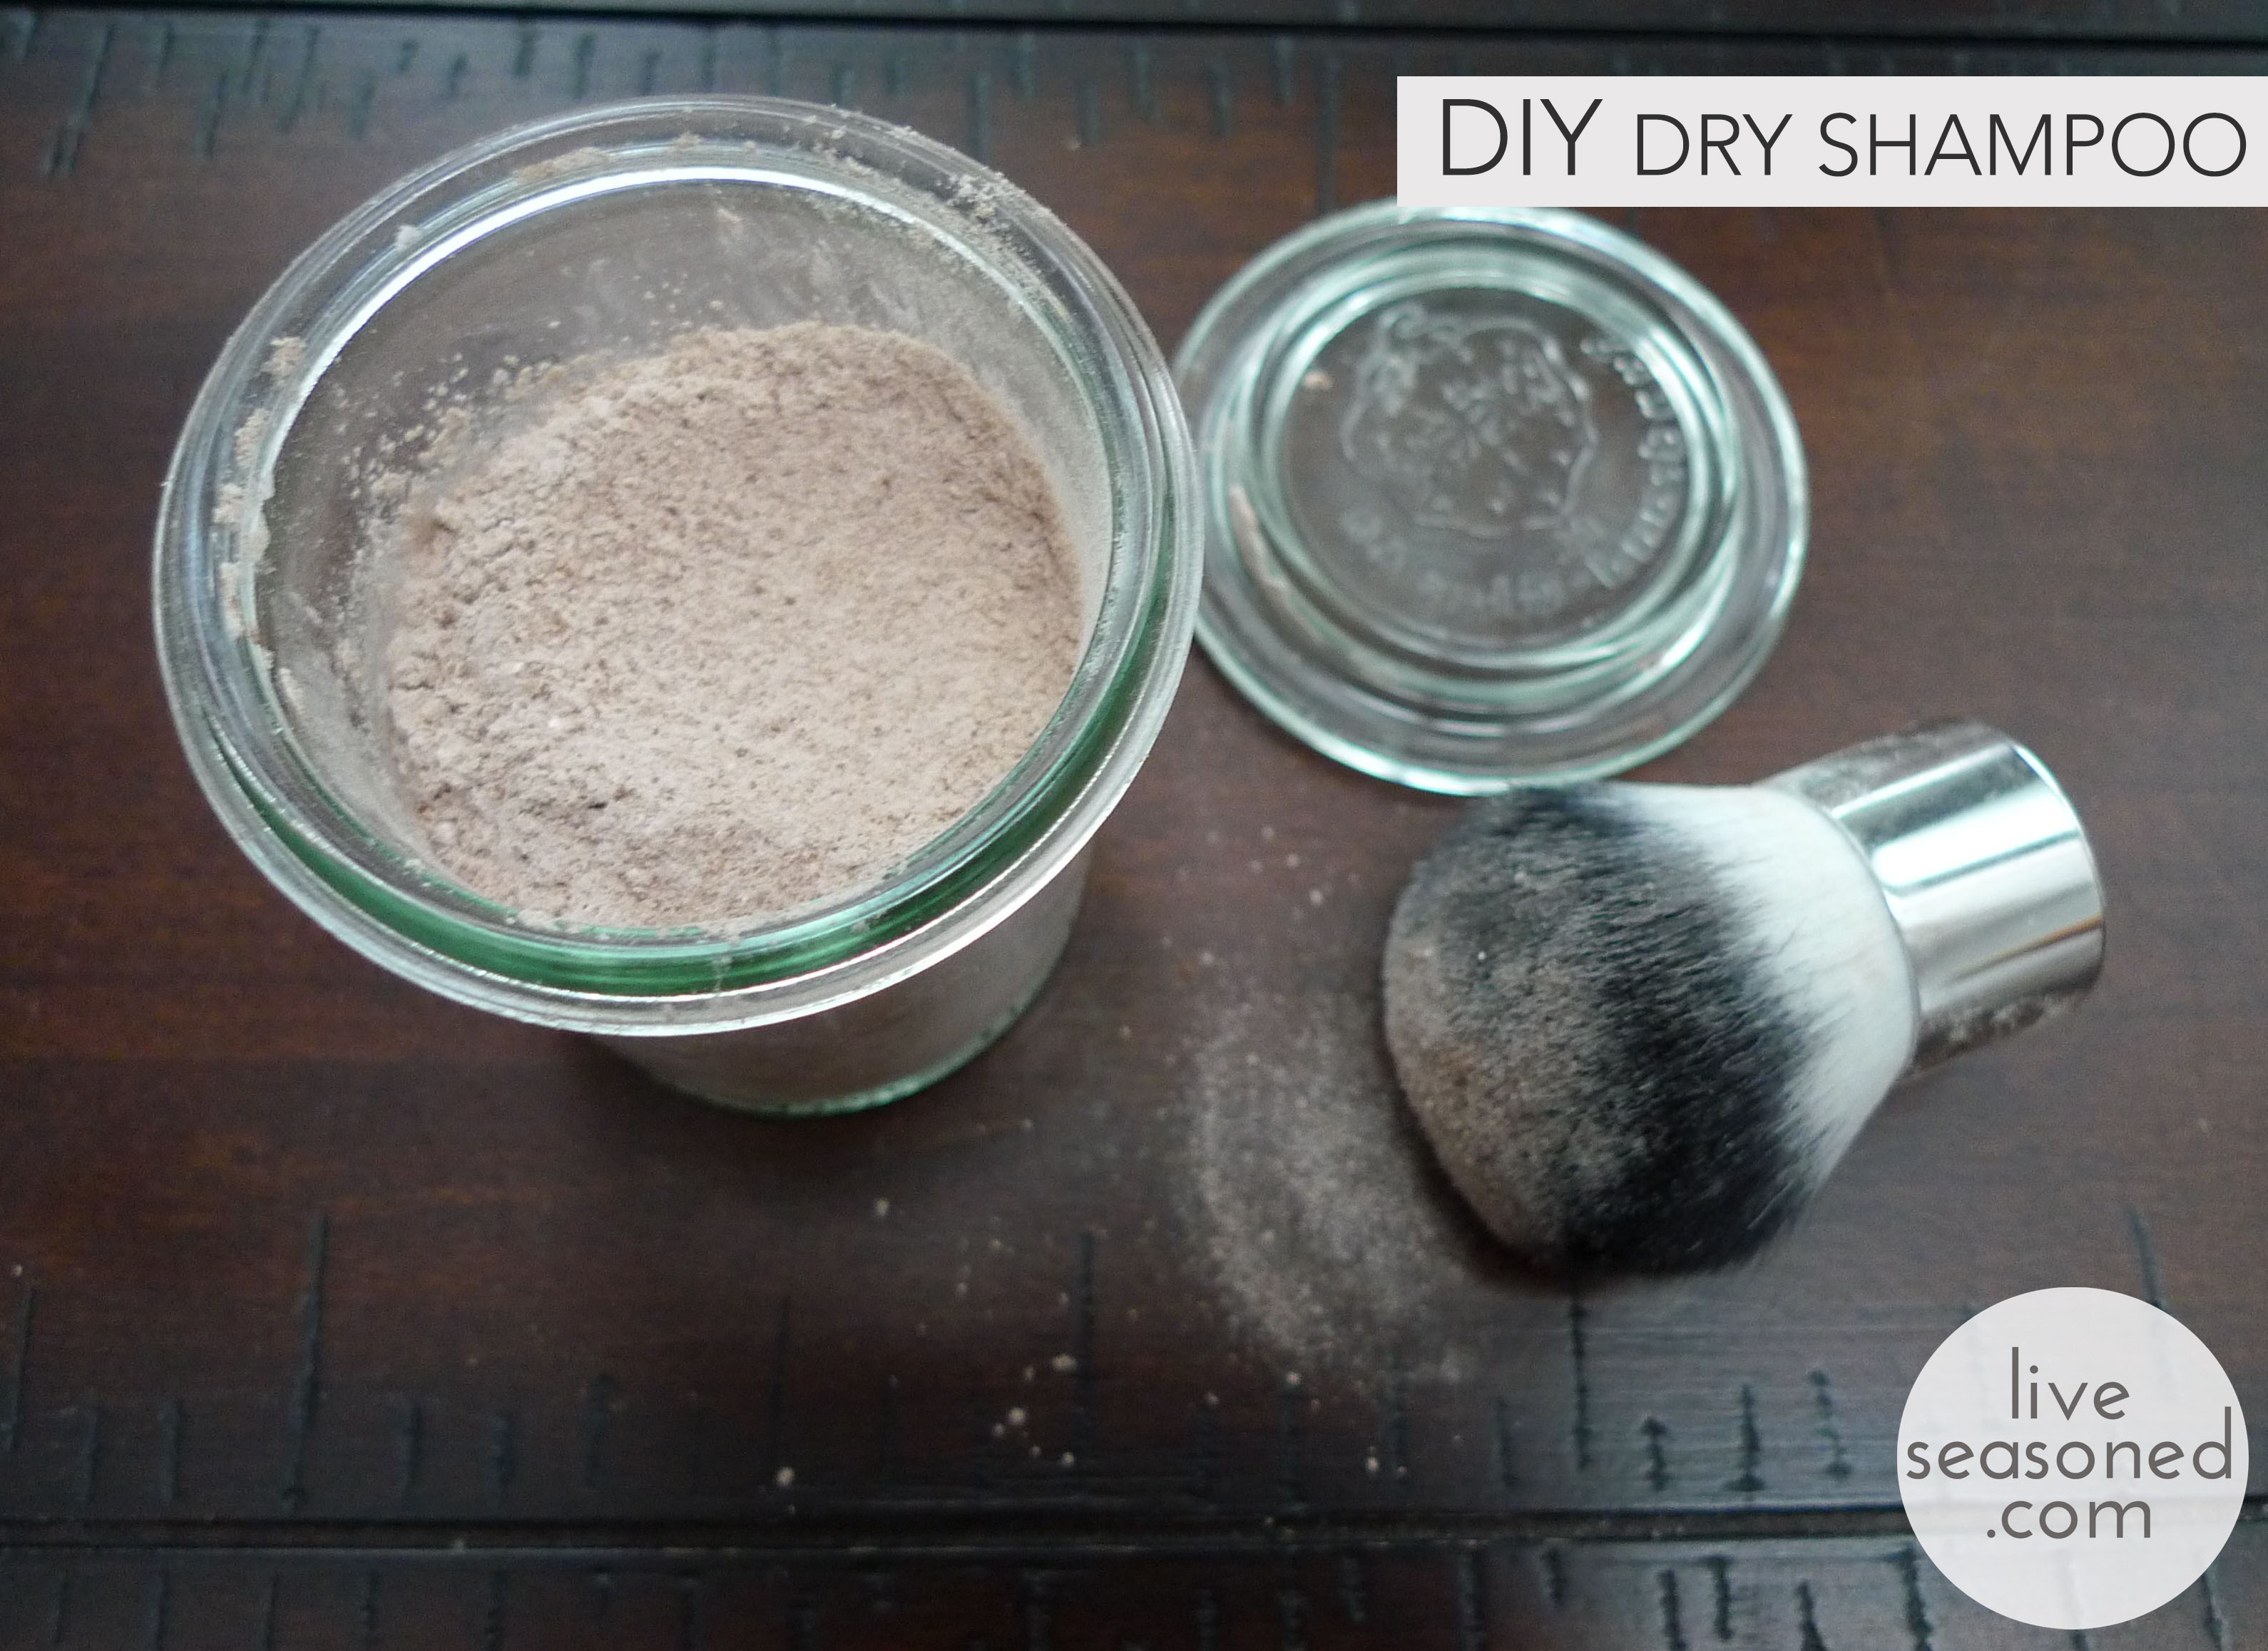
Today we’re sharing yet another cosmetic potion: dry shampoo. I didn’t start using dry shampoo until after Alex was born (it really is every new mom’s best friend), but truthfully, I probably should have started using it sooner! I’m not a big fan of showering; I think it just strips my body of the good oils, drying out my skin and hair. I usually take a shower every three days or so, and in between you can start to see my hair gets greasy – that’s where dry shampoo saves the day. It soaks up those excess oils and gives my thin, limp hair a bit of body! The potion I’ve settled on is a mash-up of the different recipes I’ve seen out there, simplifying and using measurements that seem to fit my hair.

Continue reading

Clean Up Your Act: Laundry Detergent DIY

liveseasoned_spring2014_detergent_tutorial

There’s a whole load (har har) of benefits that go along with making your own laundry detergent, but the biggest one for me is cost.  Don’t get me wrong, I love knowing exactly what’s swirling around in my machine and feeling comfort in knowing there’s not a whole host of perfumes and chemicals on my cottons, but the cost difference of store bought and homemade detergent is significant.

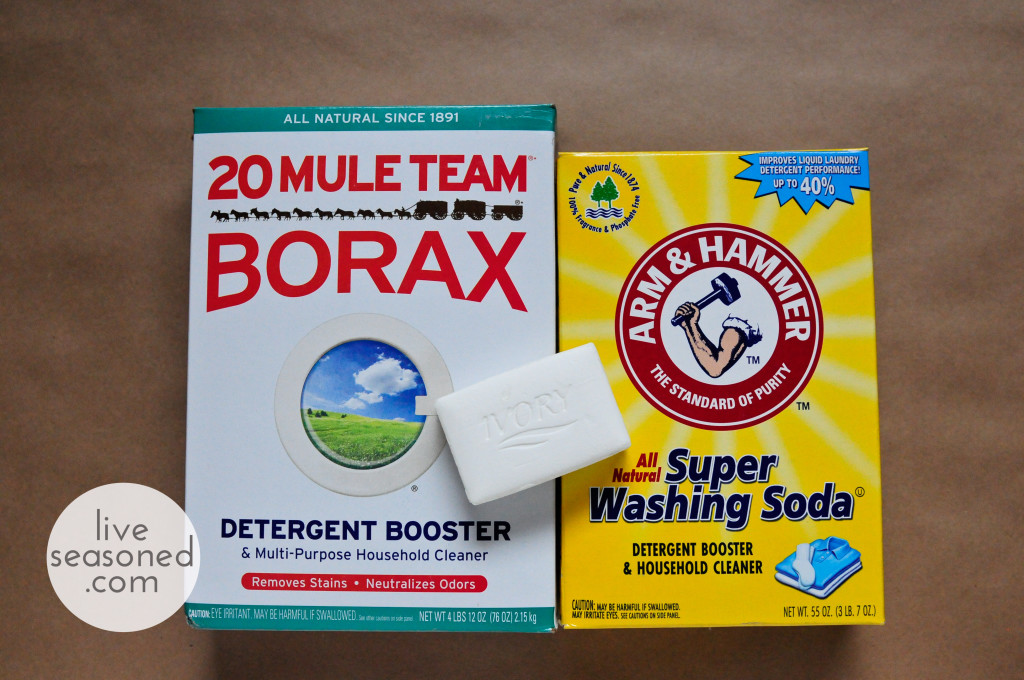
It only costs $.07 a load compared to the cheapest Tide option, which is almost double at $.12 a load.  Also, once you buy the 76oz box of Borax, 55oz box of Washing Soda and 10 pack of Ivory Soap for a grand total of $12.00, you won’t have to worry about laundry detergent for a looooooong time, like an entire year. True story.

While my main motivation for DIY detergent is to save money, I take comfort in knowing I’m not bringing (potentially cancer-causing) carcinogens into my home and rubbing them all over my largest organ and depositing them into the water supply. I’m also saving lots of petroleum-based plastic jugs from entering landfills. DIY detergent is good for the environment, your skin, and your wallet.  I guess what I’m saying is, this recipe is a win, win, win.

liveseasoned_spring2014_detergent-1

Supplies and Equipment:

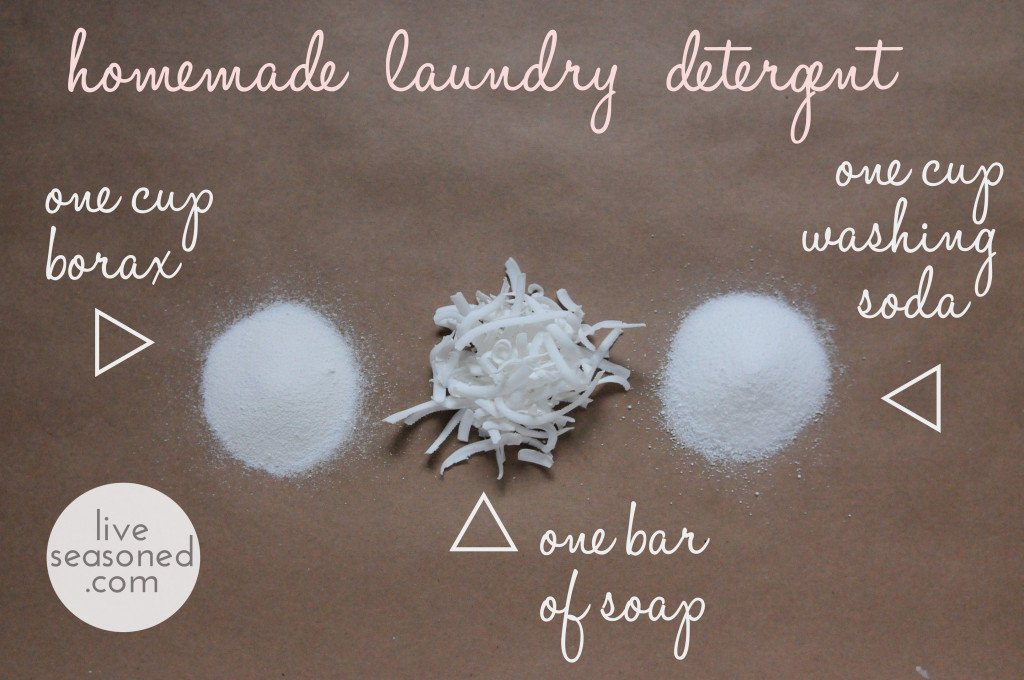
  • 1 c Borax
  • 1 c Washing Soda
  • 1 bar soap
  • Bowl
  • Grater
  • Spoon

Quick Tip:

  • You can find these ingredients at the grocery store near dryer sheets and dyes.
  • Wear a scarf over your face or pull your shirt up over your nose to keep from inhaling the fine powders.

liveseasoned_spring2014_detergent-3

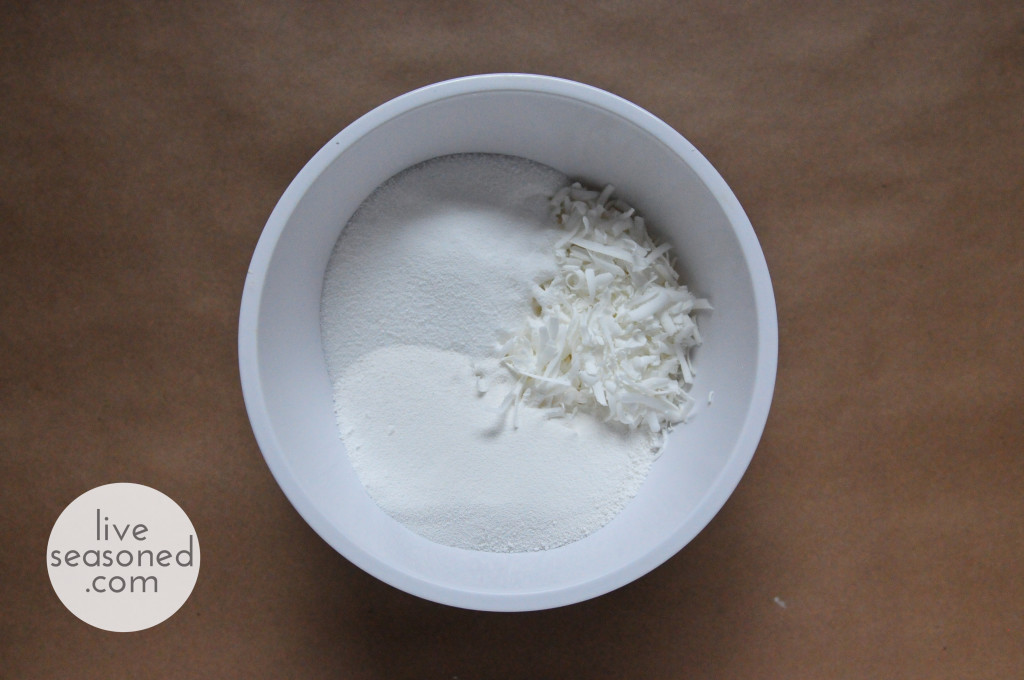
  • In a large bowl, grate one bar of soap then add the Borax and washing soda.  Chop the soap pieces into smaller bits with a spoon as you mix the ingredients together.
  • You can also add a few scoops of powdered detergent booster if you wish.  Sometimes I add Tri-Zyme (a biodegradable version of oxi-clean), but most times I forget and leave it out.
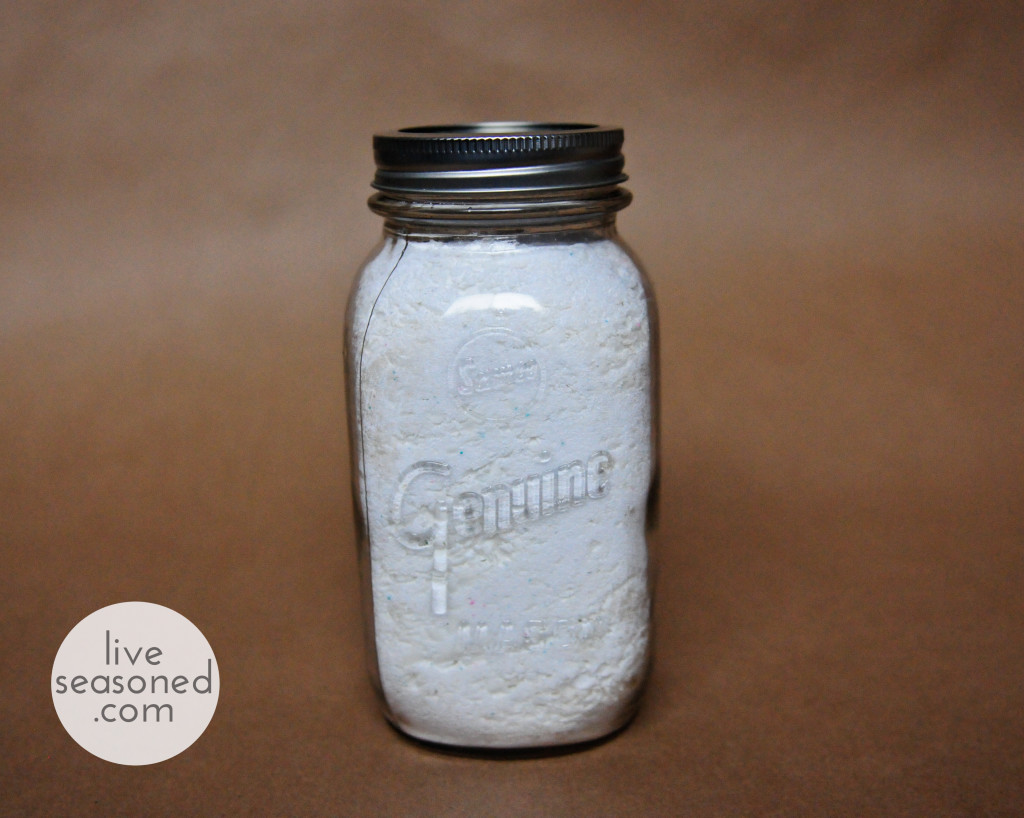
  • After stirring for a few minutes transfer the detergent to an airtight container.  I keep mine in a Mason jar.
  • Before adding your clothes, put one scoop (roughly 2 tablespoons) of powdered detergent into the washer and turn on the hot water, after a minute or two add the clothes and adjust the temperature if necessary.* If you don’t have time for that step, no worries, just put the detergent in first so it starts dissolving in the water immediately.

liveseasoned_spring2014_detergent-4

So what do you think? Do you love spending money on Tide or do you think you’ll try this homemade option?  Powered detergent is classic so return to your roots people!  Really though, I think it’s great and I’ve been using this recipe for three years now.  Lemmmmmie know how it goes!

*Each batch makes enough for twenty loads.

Colorado Hike : Ajax Mountain

liveseasoned_summer2014_aspen3

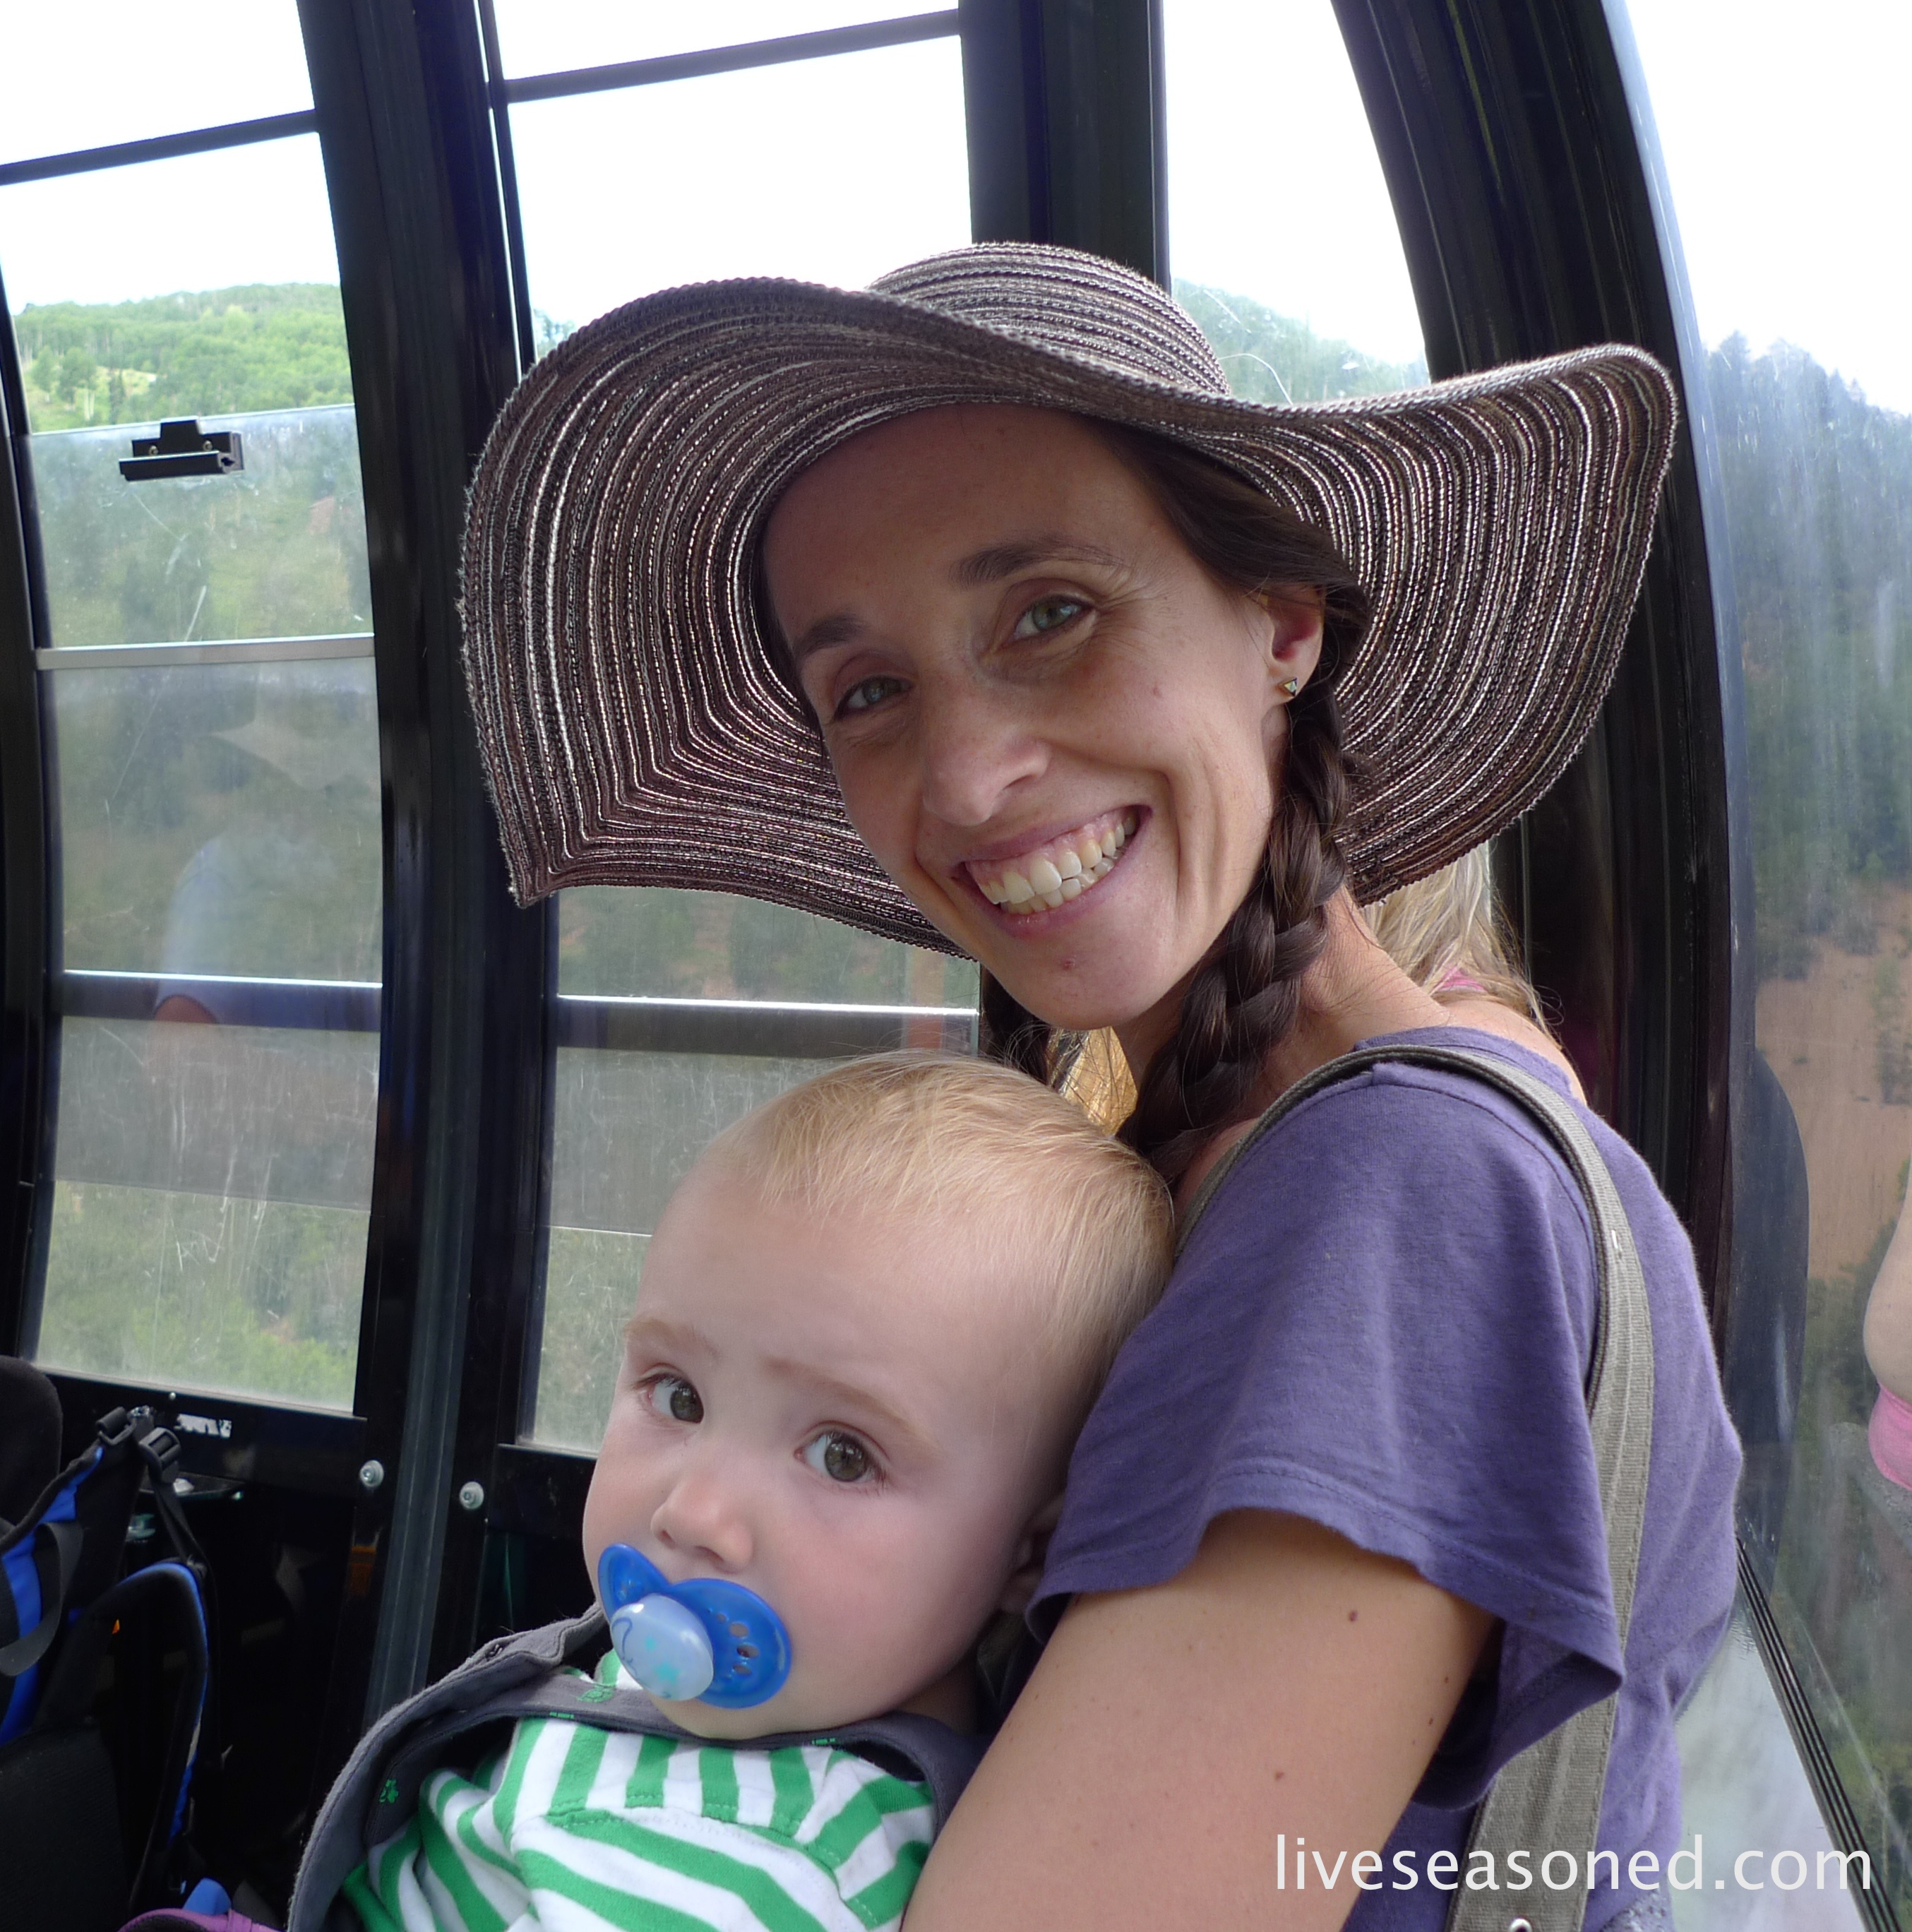
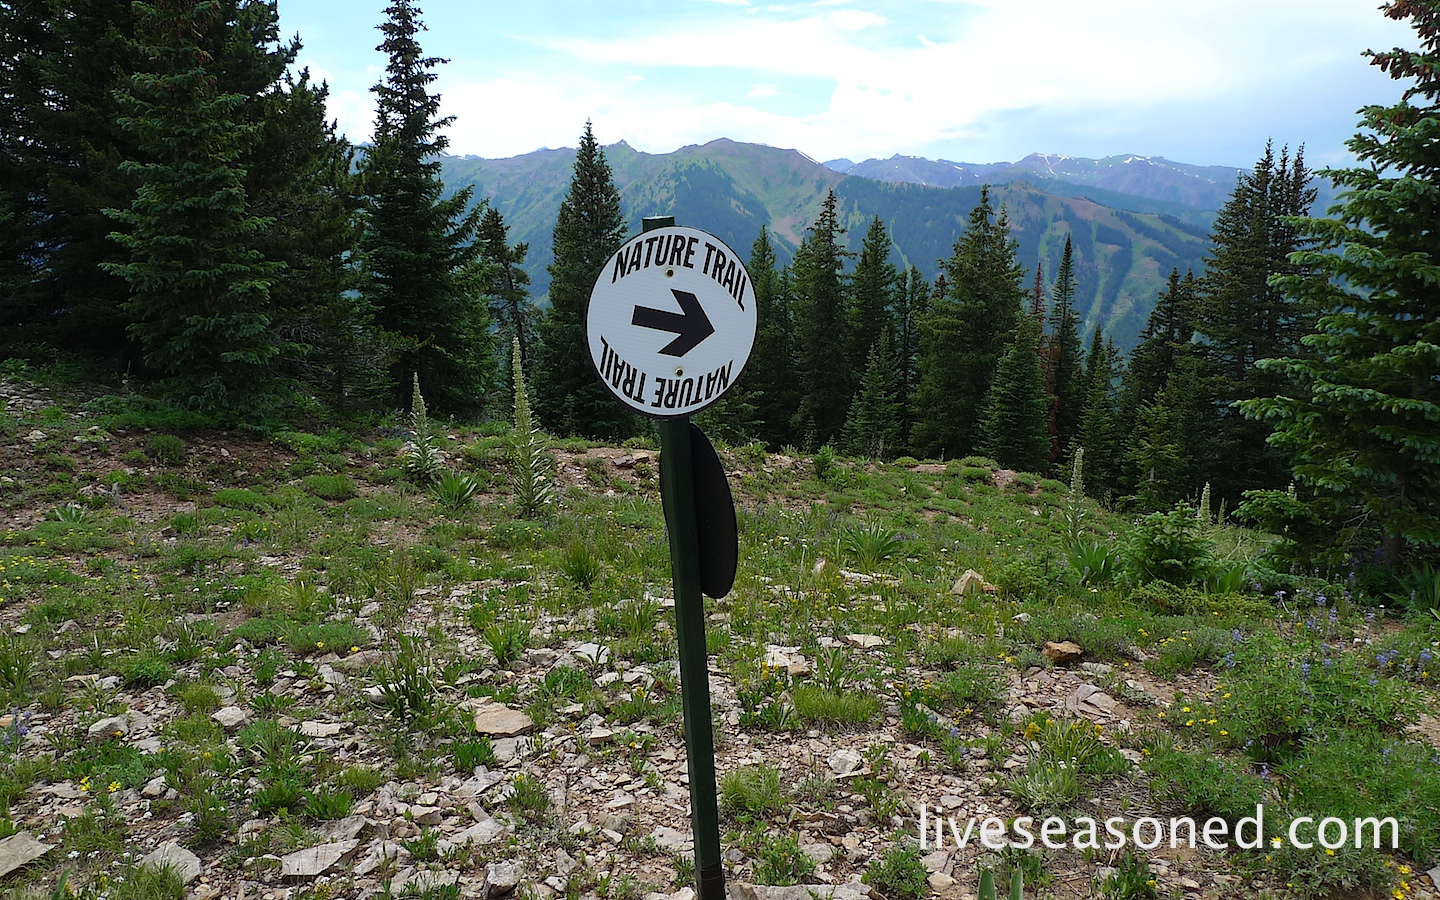
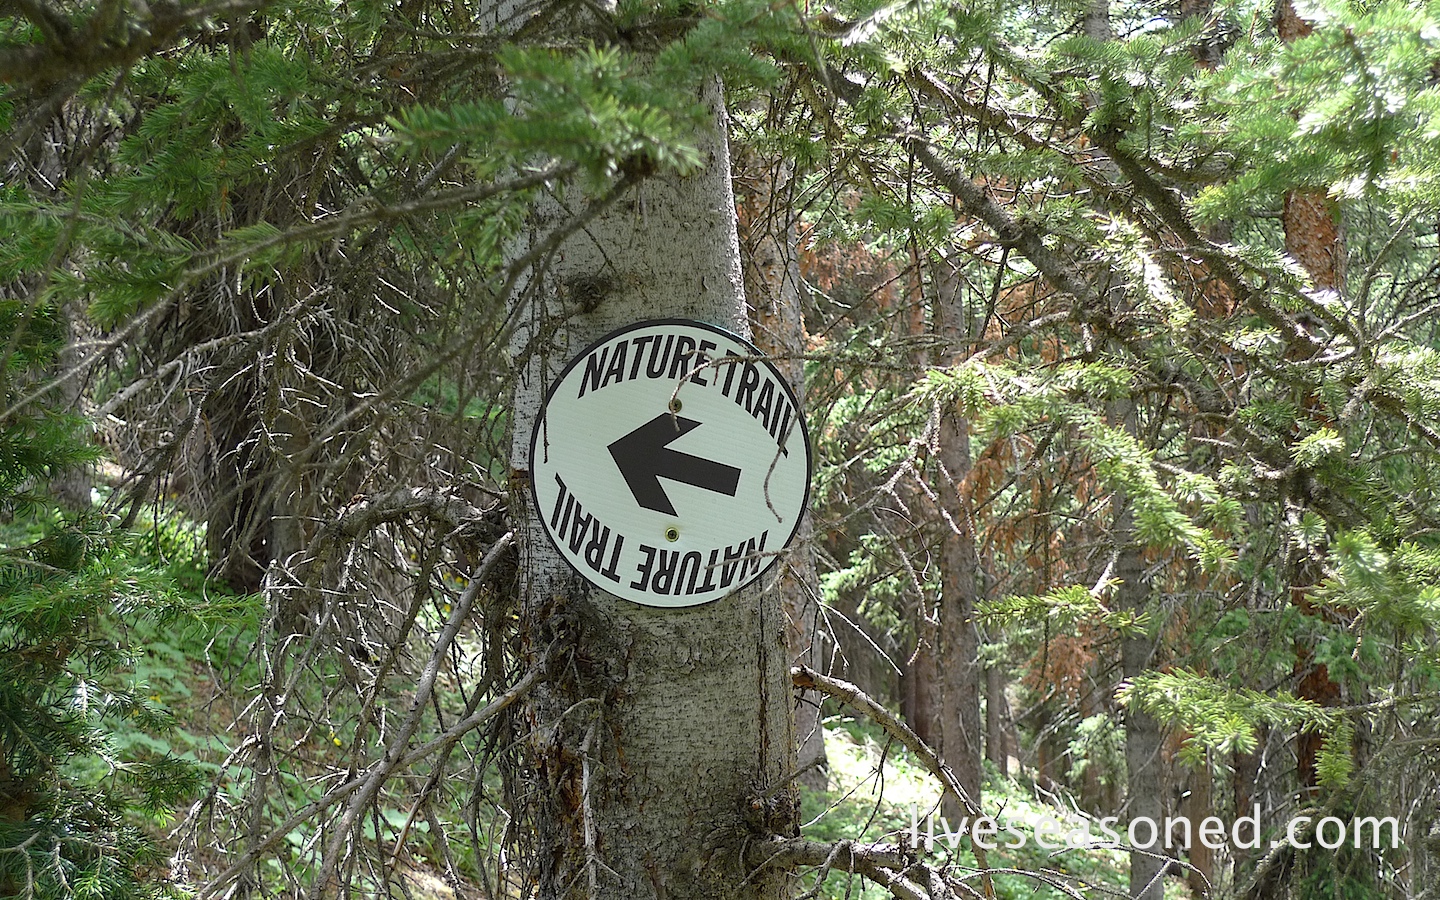
A few weeks ago we took a leisurely afternoon hike on the Nature Trail that starts at the top of Ajax, or Aspen, Mountain. This was an out and back hike that was super easy with barely any elevation gain because you do all of your climbing as you ride the gondola to the top of the mountain!

liveseasoned_summer2014_aspen1

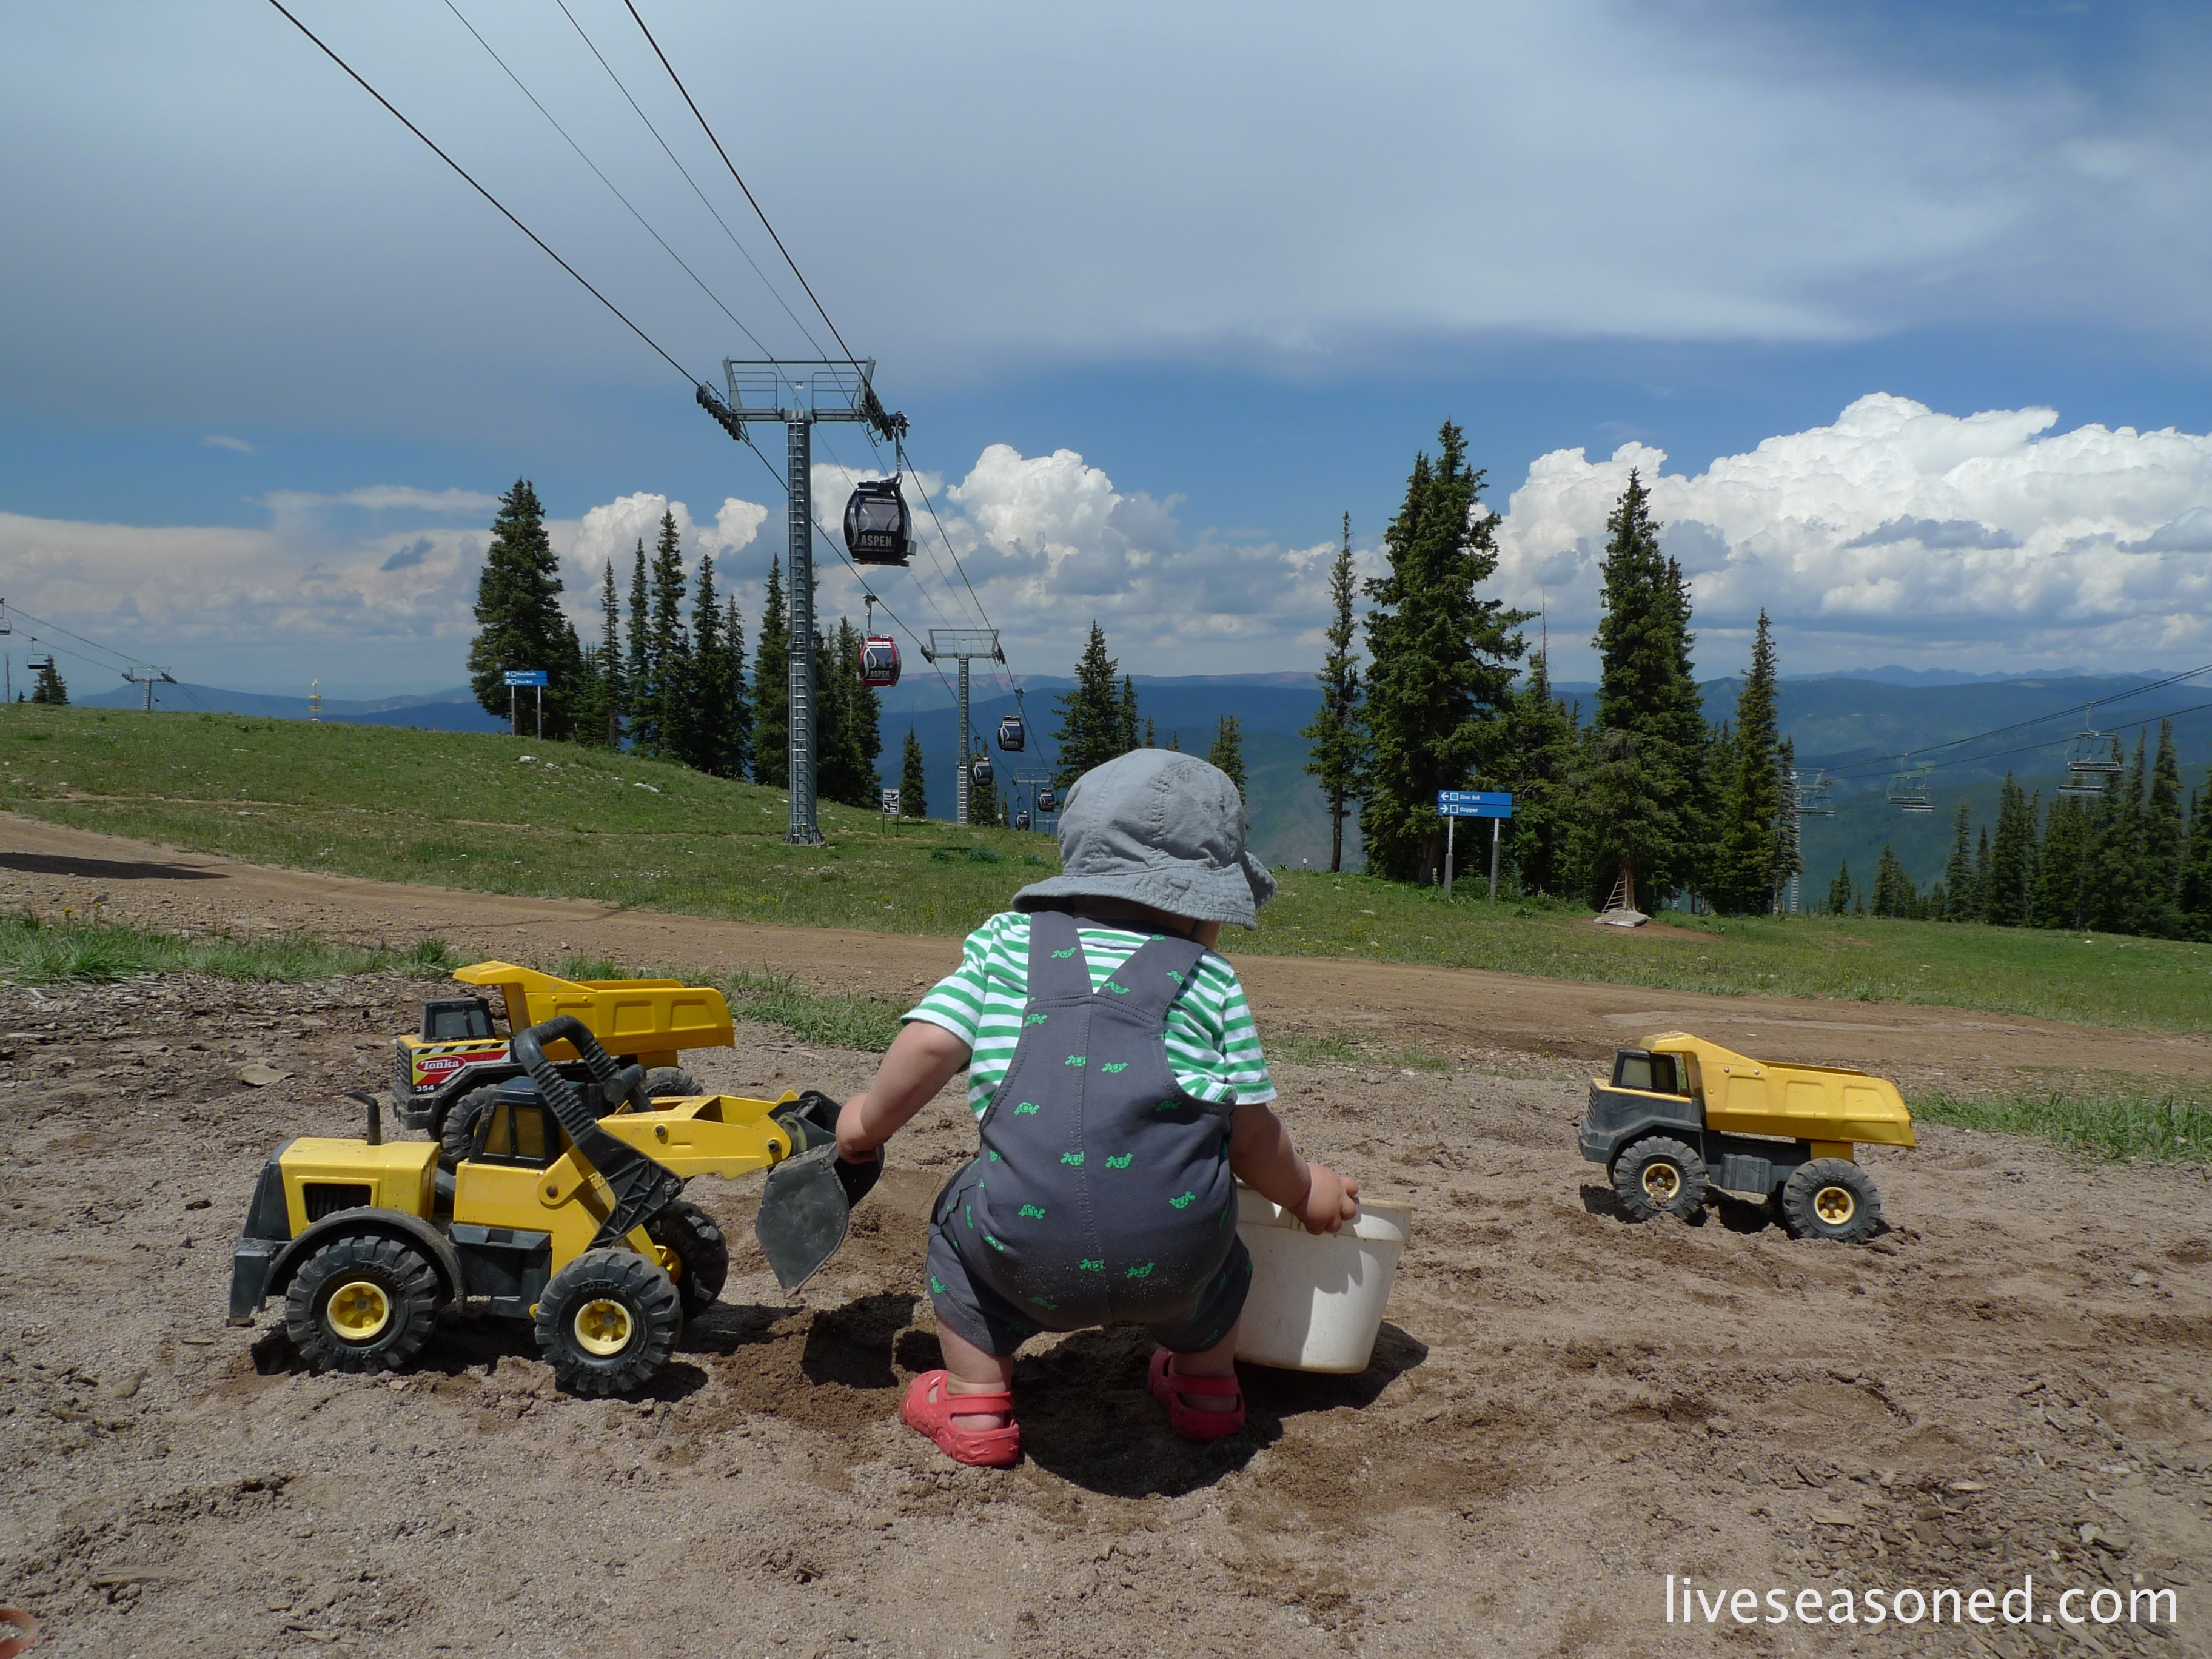
If you want to head straight for the hike, veer left as you get off the gondola and you’ll have no trouble finding the trail. If you’re heading up with kiddos, veer to the right and there are plenty of fun activities to let them burn off the energy before/after riding the gondola. Our little guy was just interested in the huge sand pit and trucks, but there are also spaces to dig for gold, go rock climbing, go trampoline jumping, and room for some good old running.

liveseasoned_summer2014_aspen2

liveseasoned_summer2014_aspen22

liveseasoned_summer2014_aspen20

liveseasoned_summer2014_aspen13

As well as delivering beautiful mountain views, the trail dips into the pine forest, giving you a reprieve from the bright alpine sun.

liveseasoned_summer2014_aspen21

liveseasoned_summer2014_aspen16

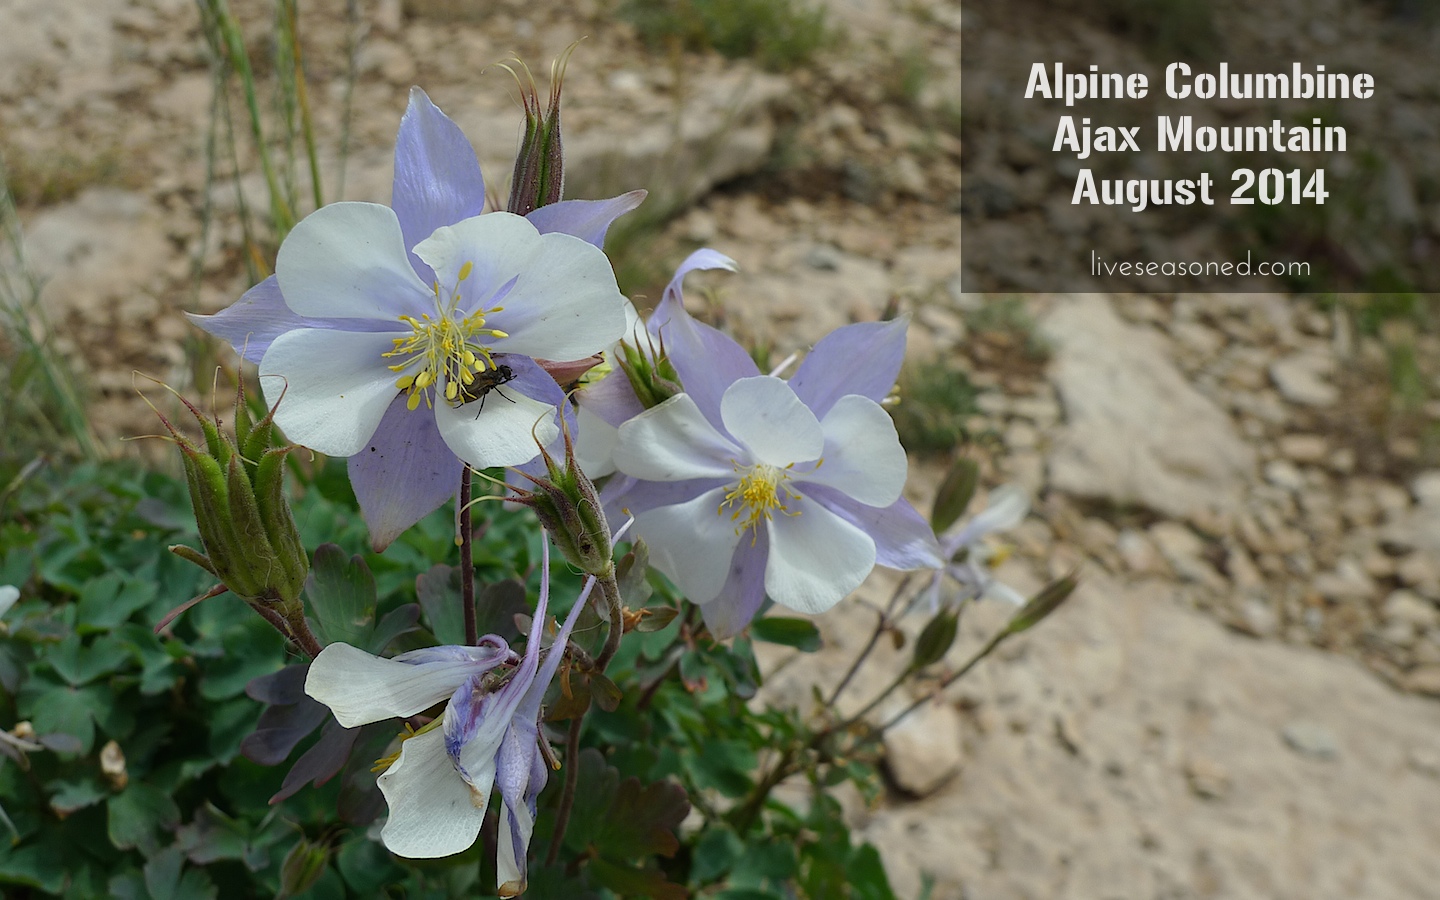
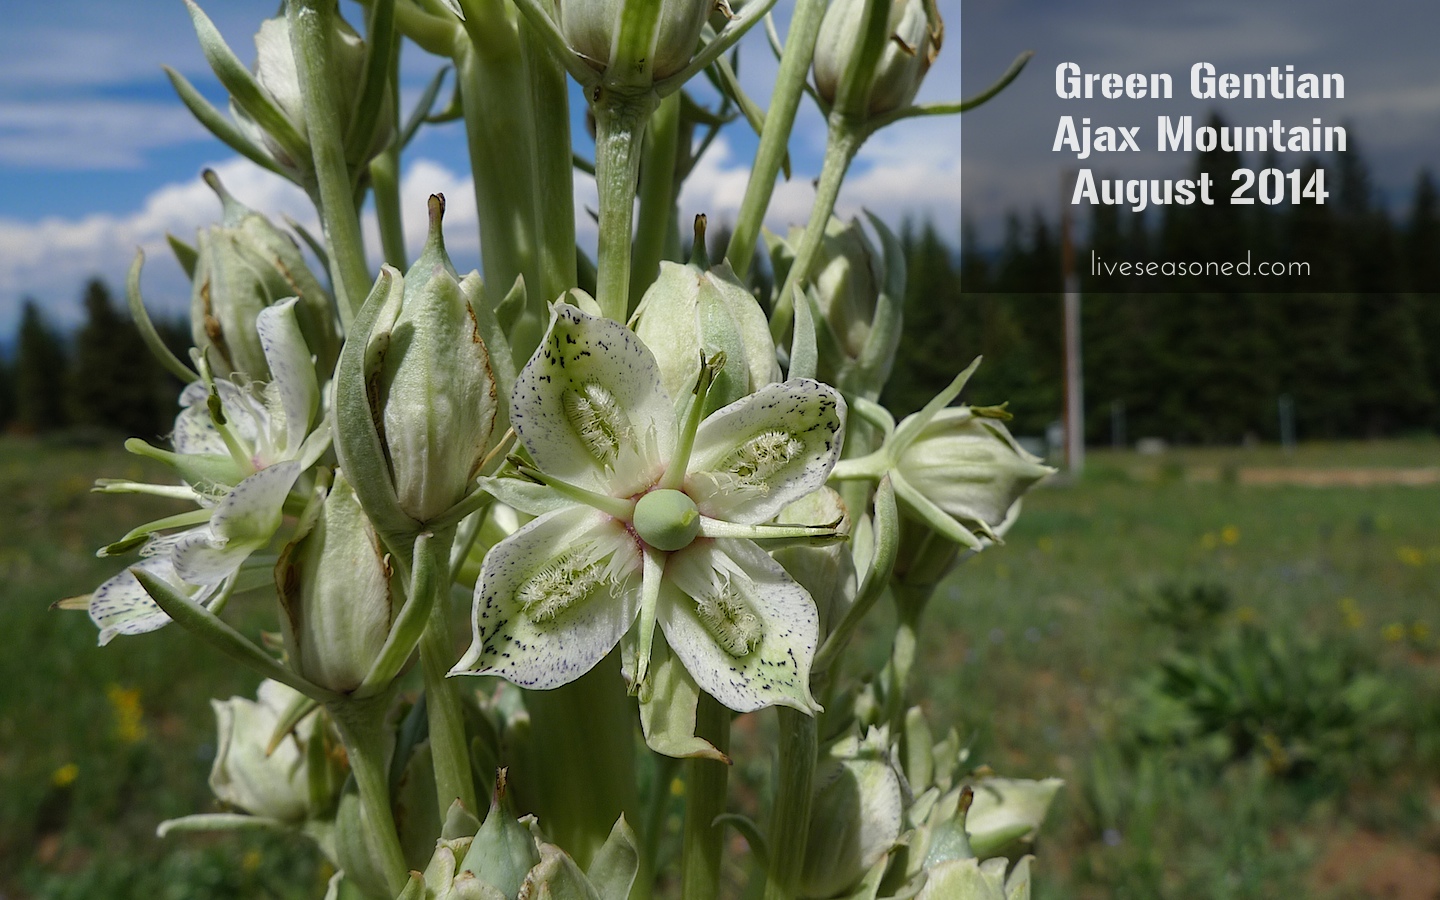
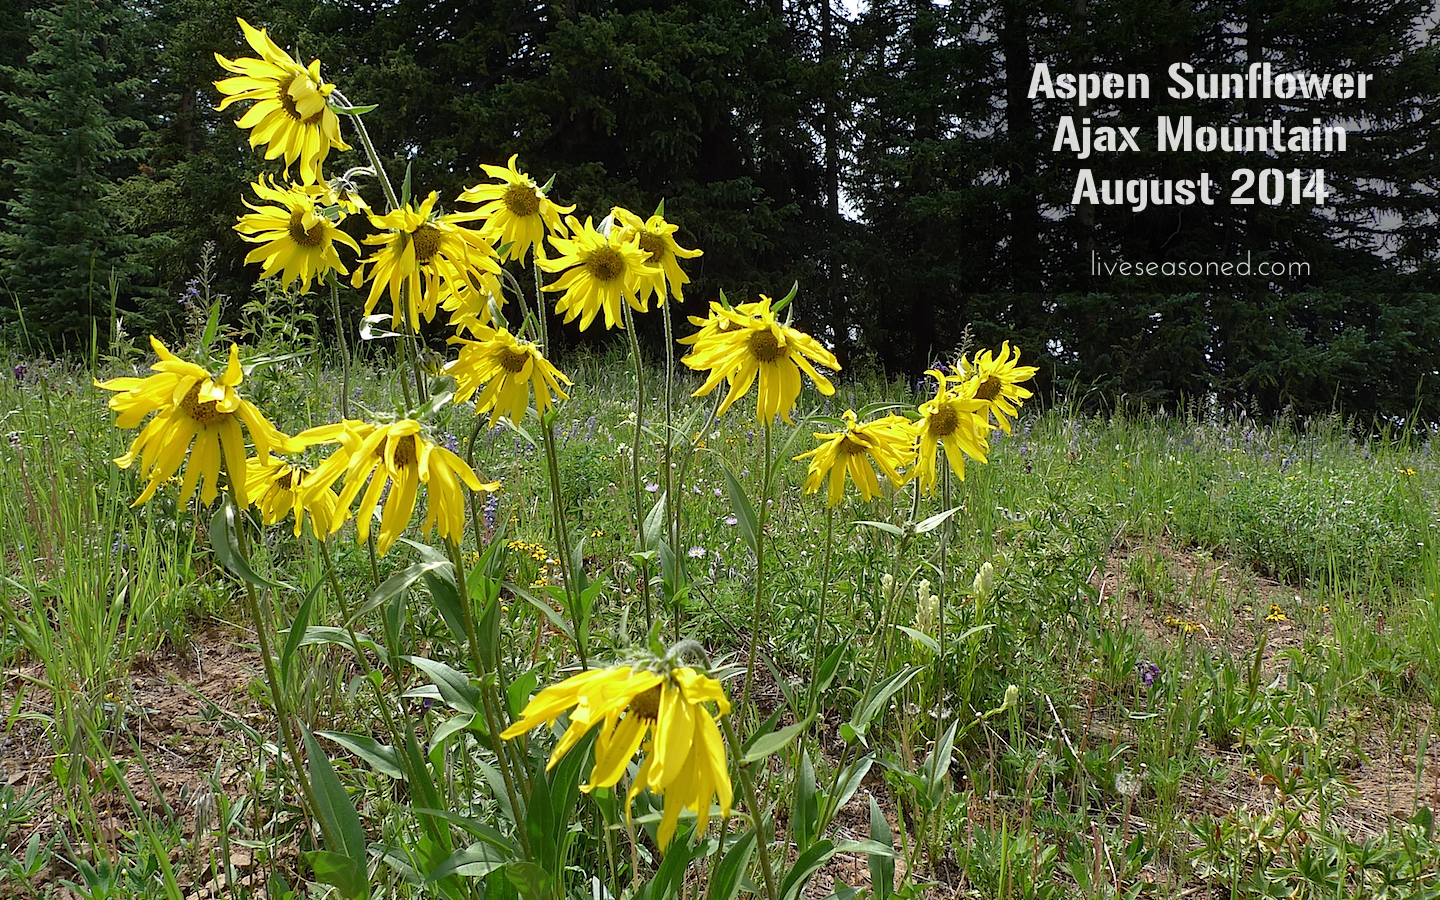
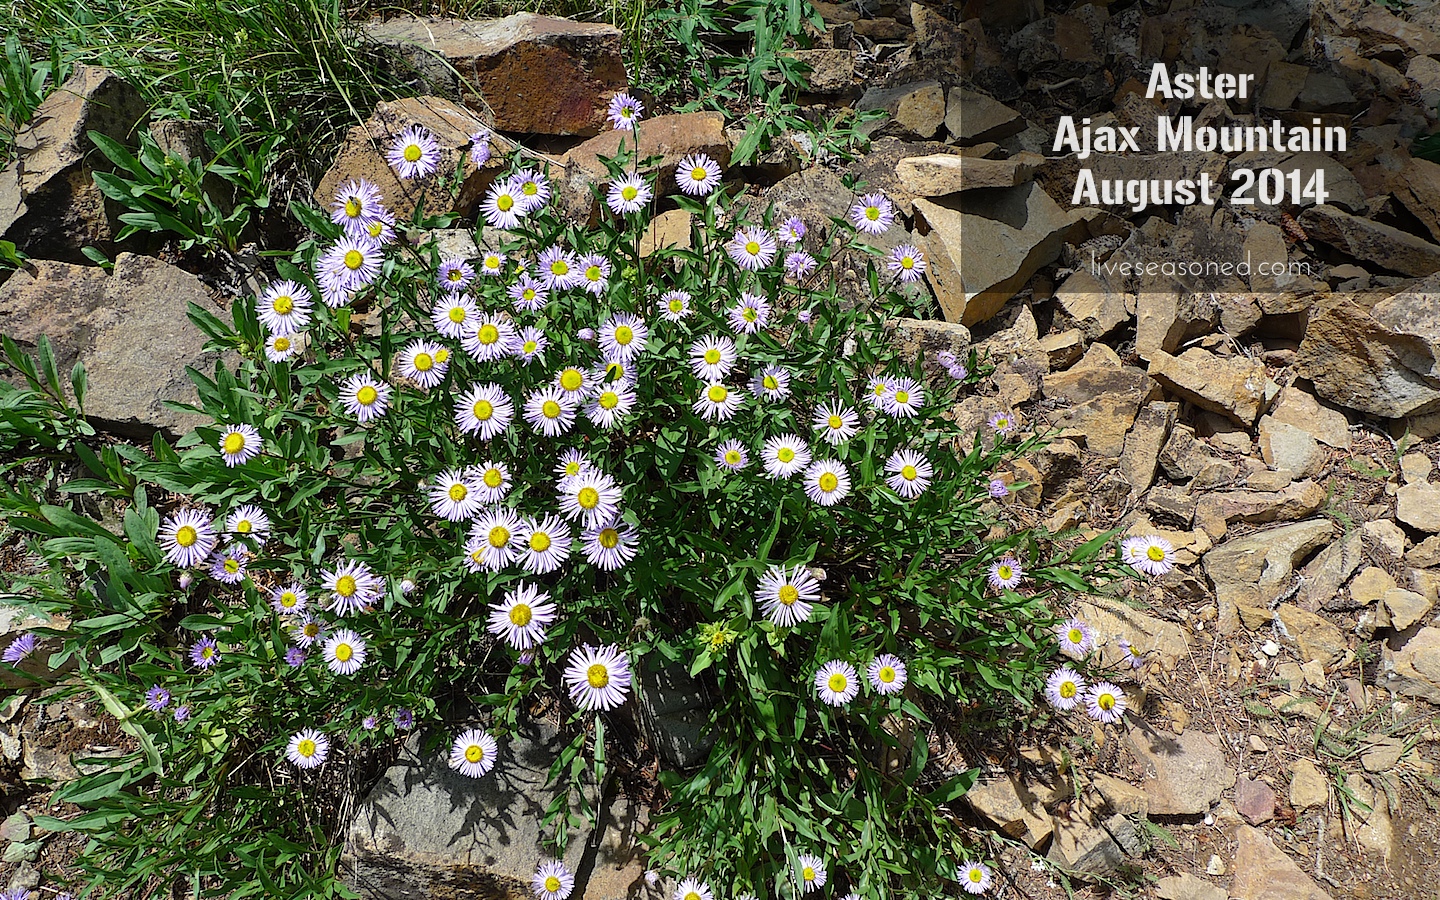
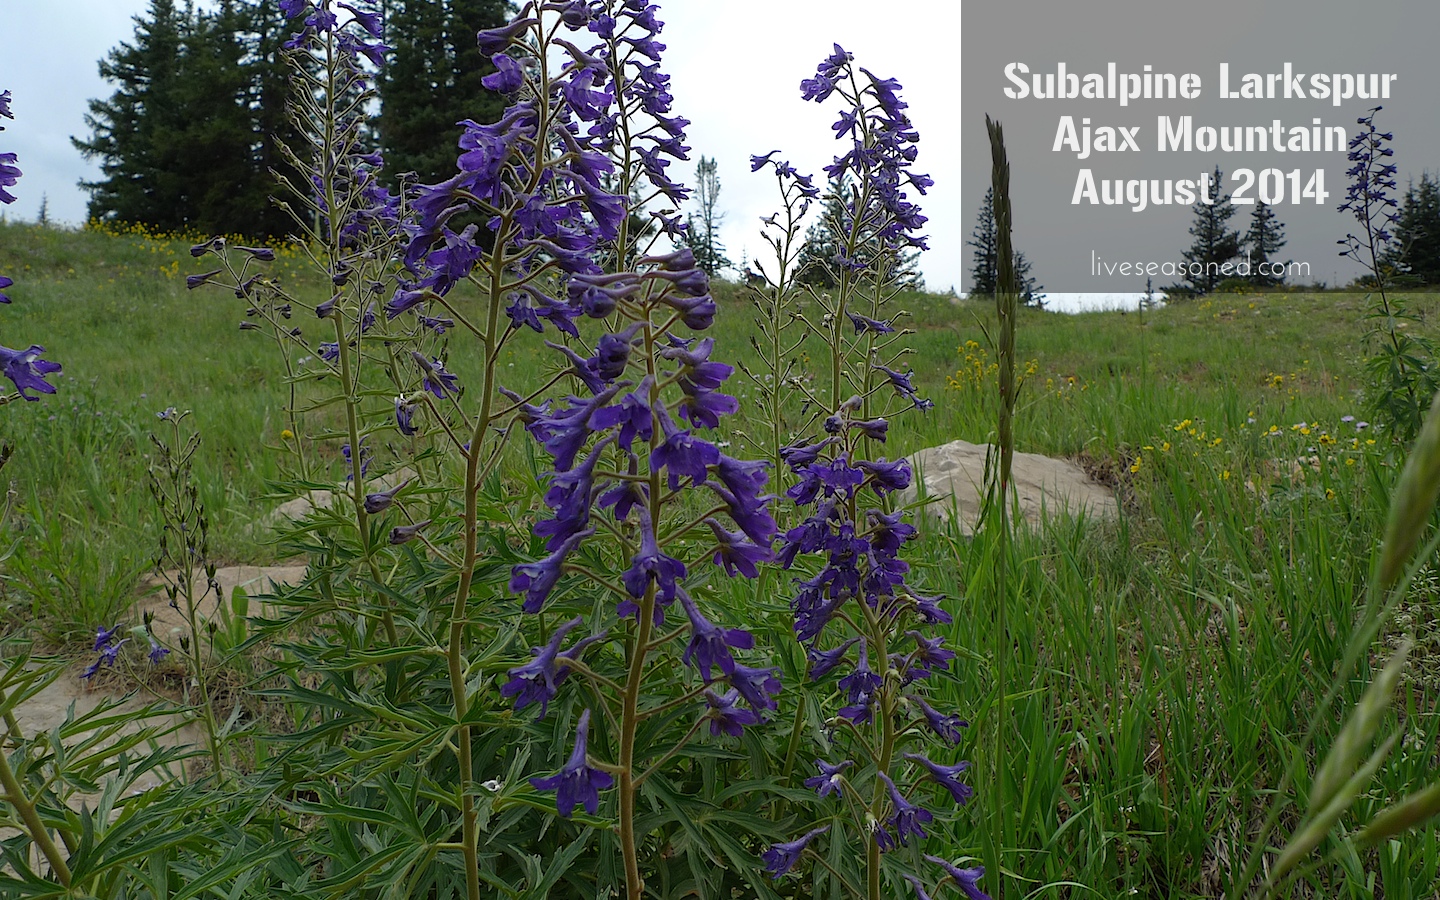
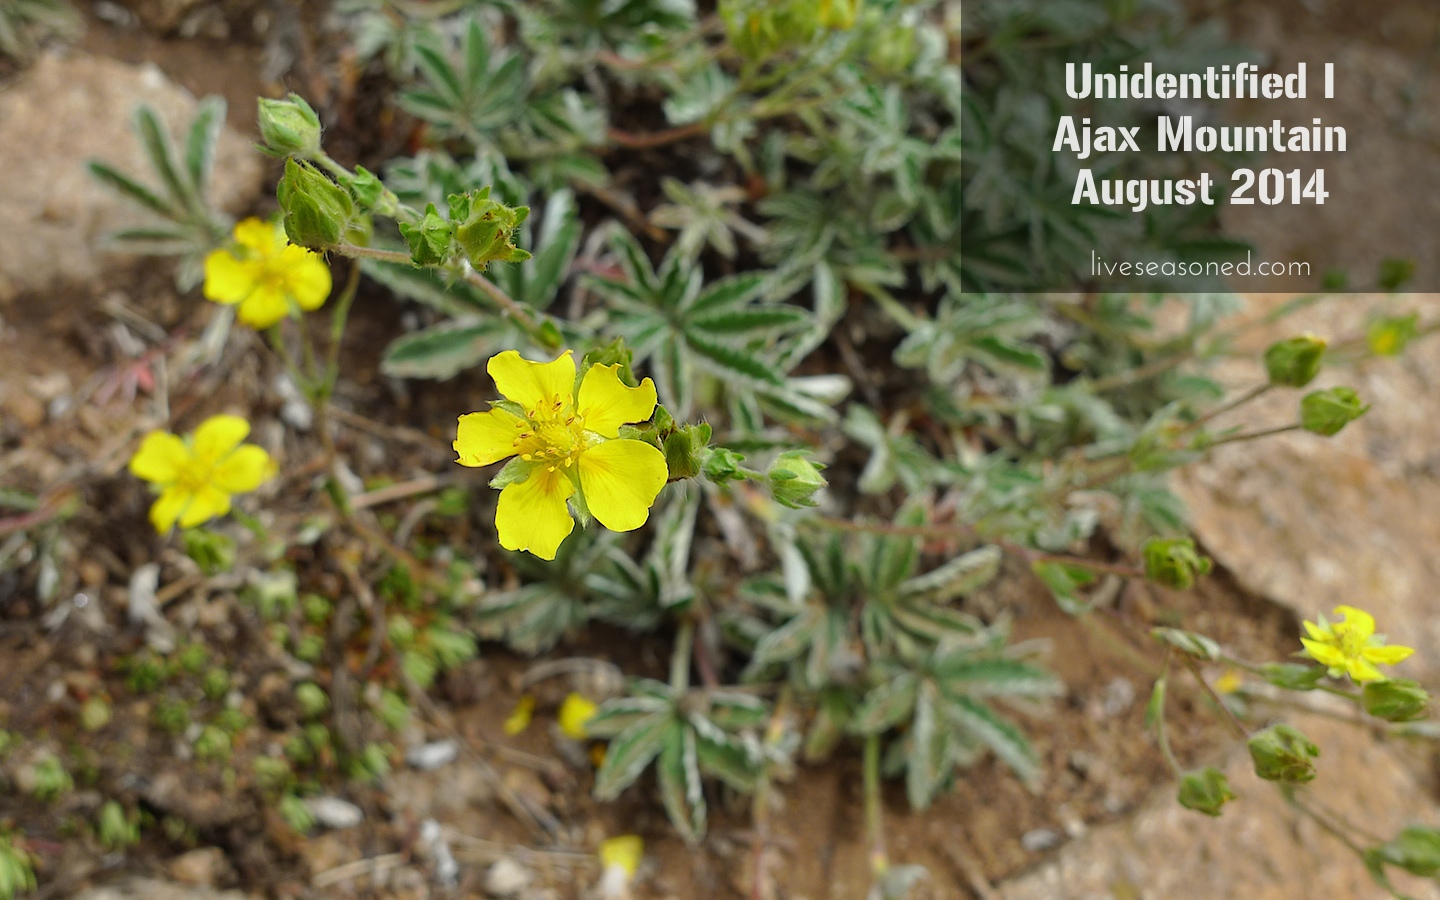
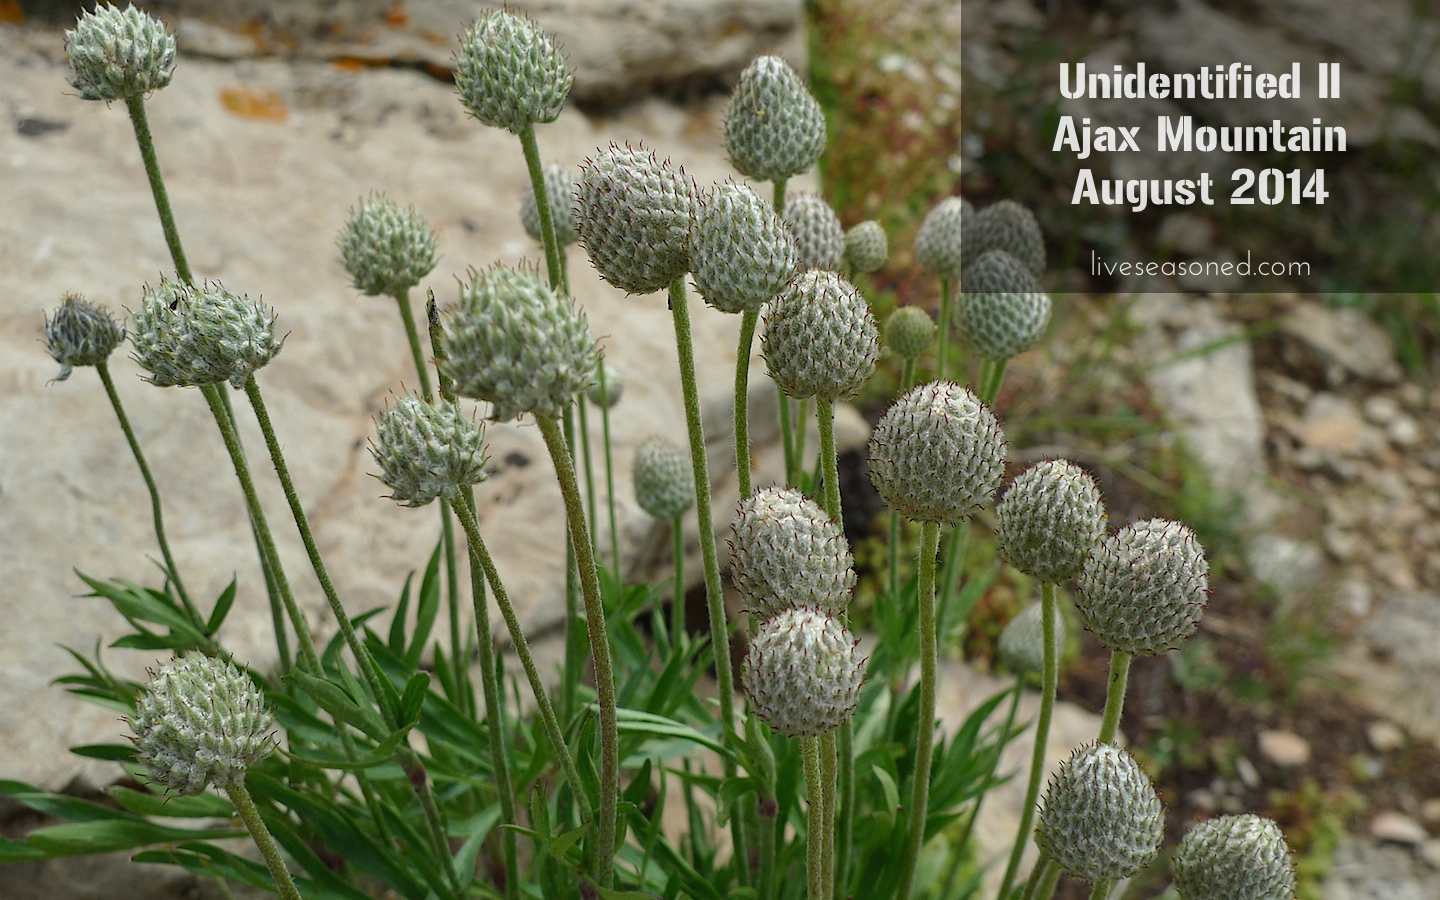
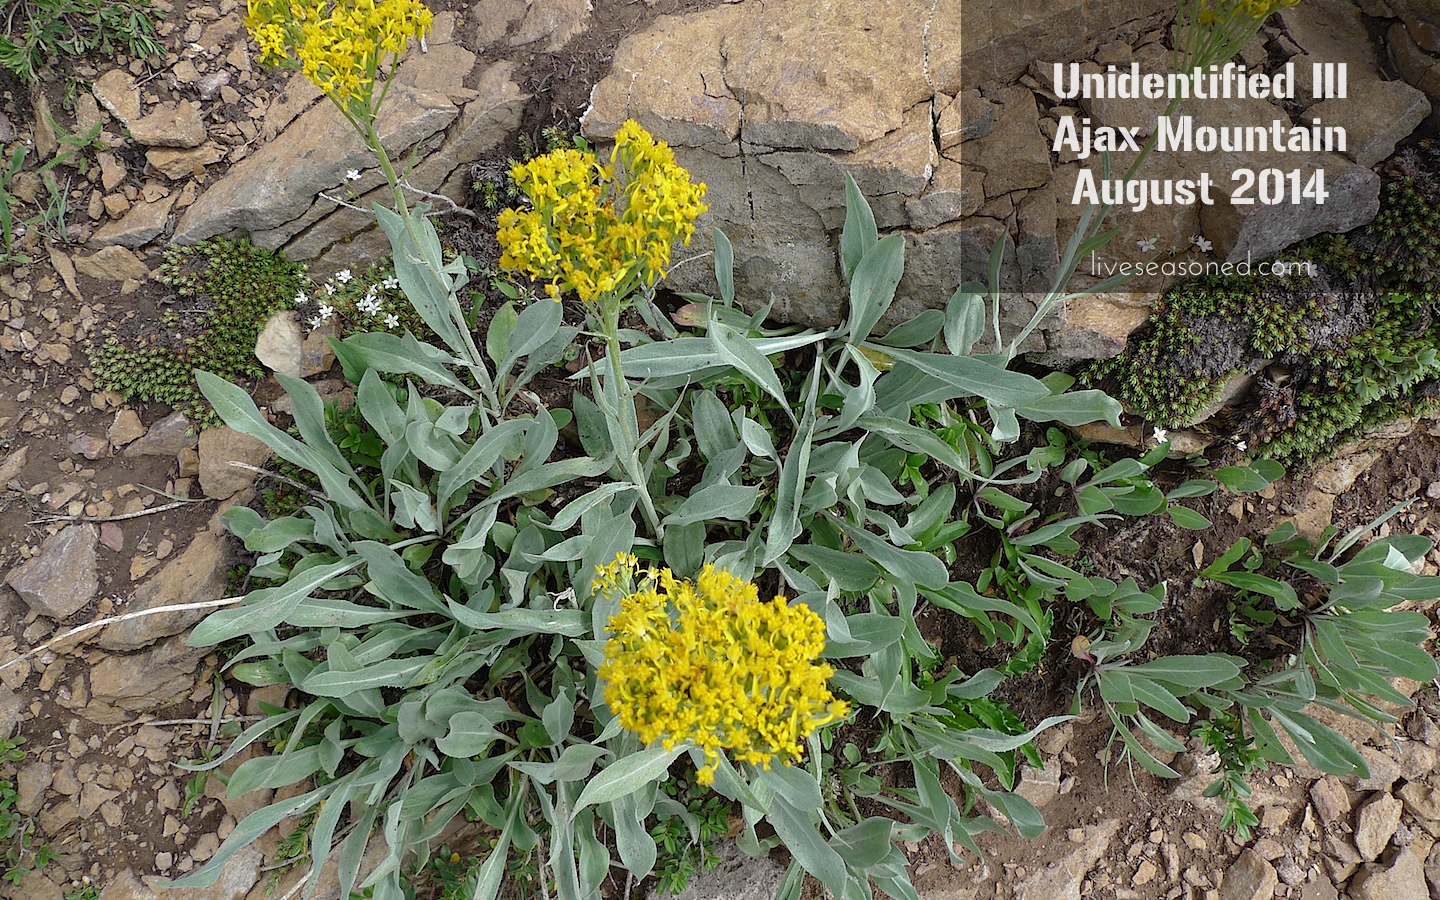
This was our third hike and I was excited to see yet more wildflowers in bloom. Unfortunately, I didn’t take a guide with me and had trouble identifying some new-to-me species from the photos. If you have any clues as to the names of the unidentified flowers below, I would really appreciate it!

liveseasoned_summer2014_aspen4

liveseasoned_summer2014_aspen7

liveseasoned_summer2014_aspen17

liveseasoned_summer2014_aspen18

liveseasoned_summer2014_aspen19

liveseasoned_summer2014_aspen5

liveseasoned_summer2014_aspen9

liveseasoned_summer2014_aspen10

We hiked out to the point where there was a perfectly clear view of the Aspen Highlands ski resort. At this point, you can also see the very top of one of the two Maroon Bells peaks. We spent some time sitting here, letting Little A out of the pack to tool around and throw some rocks, while C and I talked to other hikers. It seemed to be a common stopping/turning point for many people.

liveseasoned_summer2014_aspen6
liveseasoned_summer2014_aspen8

liveseasoned_summer2014_aspen11

Extra Details:

  • During the summer months, the gondola’s open daily from 10:00am-4:00pm. A single ticket costs $19.00, but if you’re staying for a few days, or planning to take the bus up to Maroon Bells, they have a great package for $29.00.
  • Of course, you’re welcome to skip the gondola and turn this into a more rigorous, multi-hour hike by starting your walk from the bottom of the mountain. This is something that you can do any time of day in the summer, but only before the gondola opens during ski season.
  • This is probably obvious, but take sunscreen and a hat! You’ll be more comfortable because the sun is bright and there are plenty of areas without tree cover.

liveseasoned_summer2014_aspen15

In Season: Juicing

liveseasoned_summer14_gingercocktail-2

Let’s face it, we all like to juice once in awhile.  Whether juicing is an every day affair for you or an occasional treat, we can all agree, it’s awesome!  I’ve been traveling for work a lot lately, which means less and less home cooked meals.  Eating out really does catch up to me so I think it’s time for a juice cleanse. I’ve set aside next Monday through Thursday for a juice cleanse.  It’s a nice way to reset, which is how I always view a cleanse.  Here are a few juicing related links to get you inspired or at least intrigued…

I use this this juicer and I love it, although I’d love to add this to my kitchen as well.

If I had plenty of money to spend, I would buy this excavation cleanse by Blue Print.

I haven’t tried these juice recipes in the past, but the look good. Honestly, most combinations are delicious if you like vegetables.

This is a staple in my juice diet.  For juices with frozen bananas or herbs or ingredients that don’t juice well, I use a high powered blender.

Have you guys ever seen the Fat Sick and Nearly Dead documentary? Personally, I think it’s inspiring 🙂

Here is every vegetable juice recipe on the planet.

Honestly, you can make up your own every time, so go on, try it!

Happy Weekend!

Knitting – WIPS

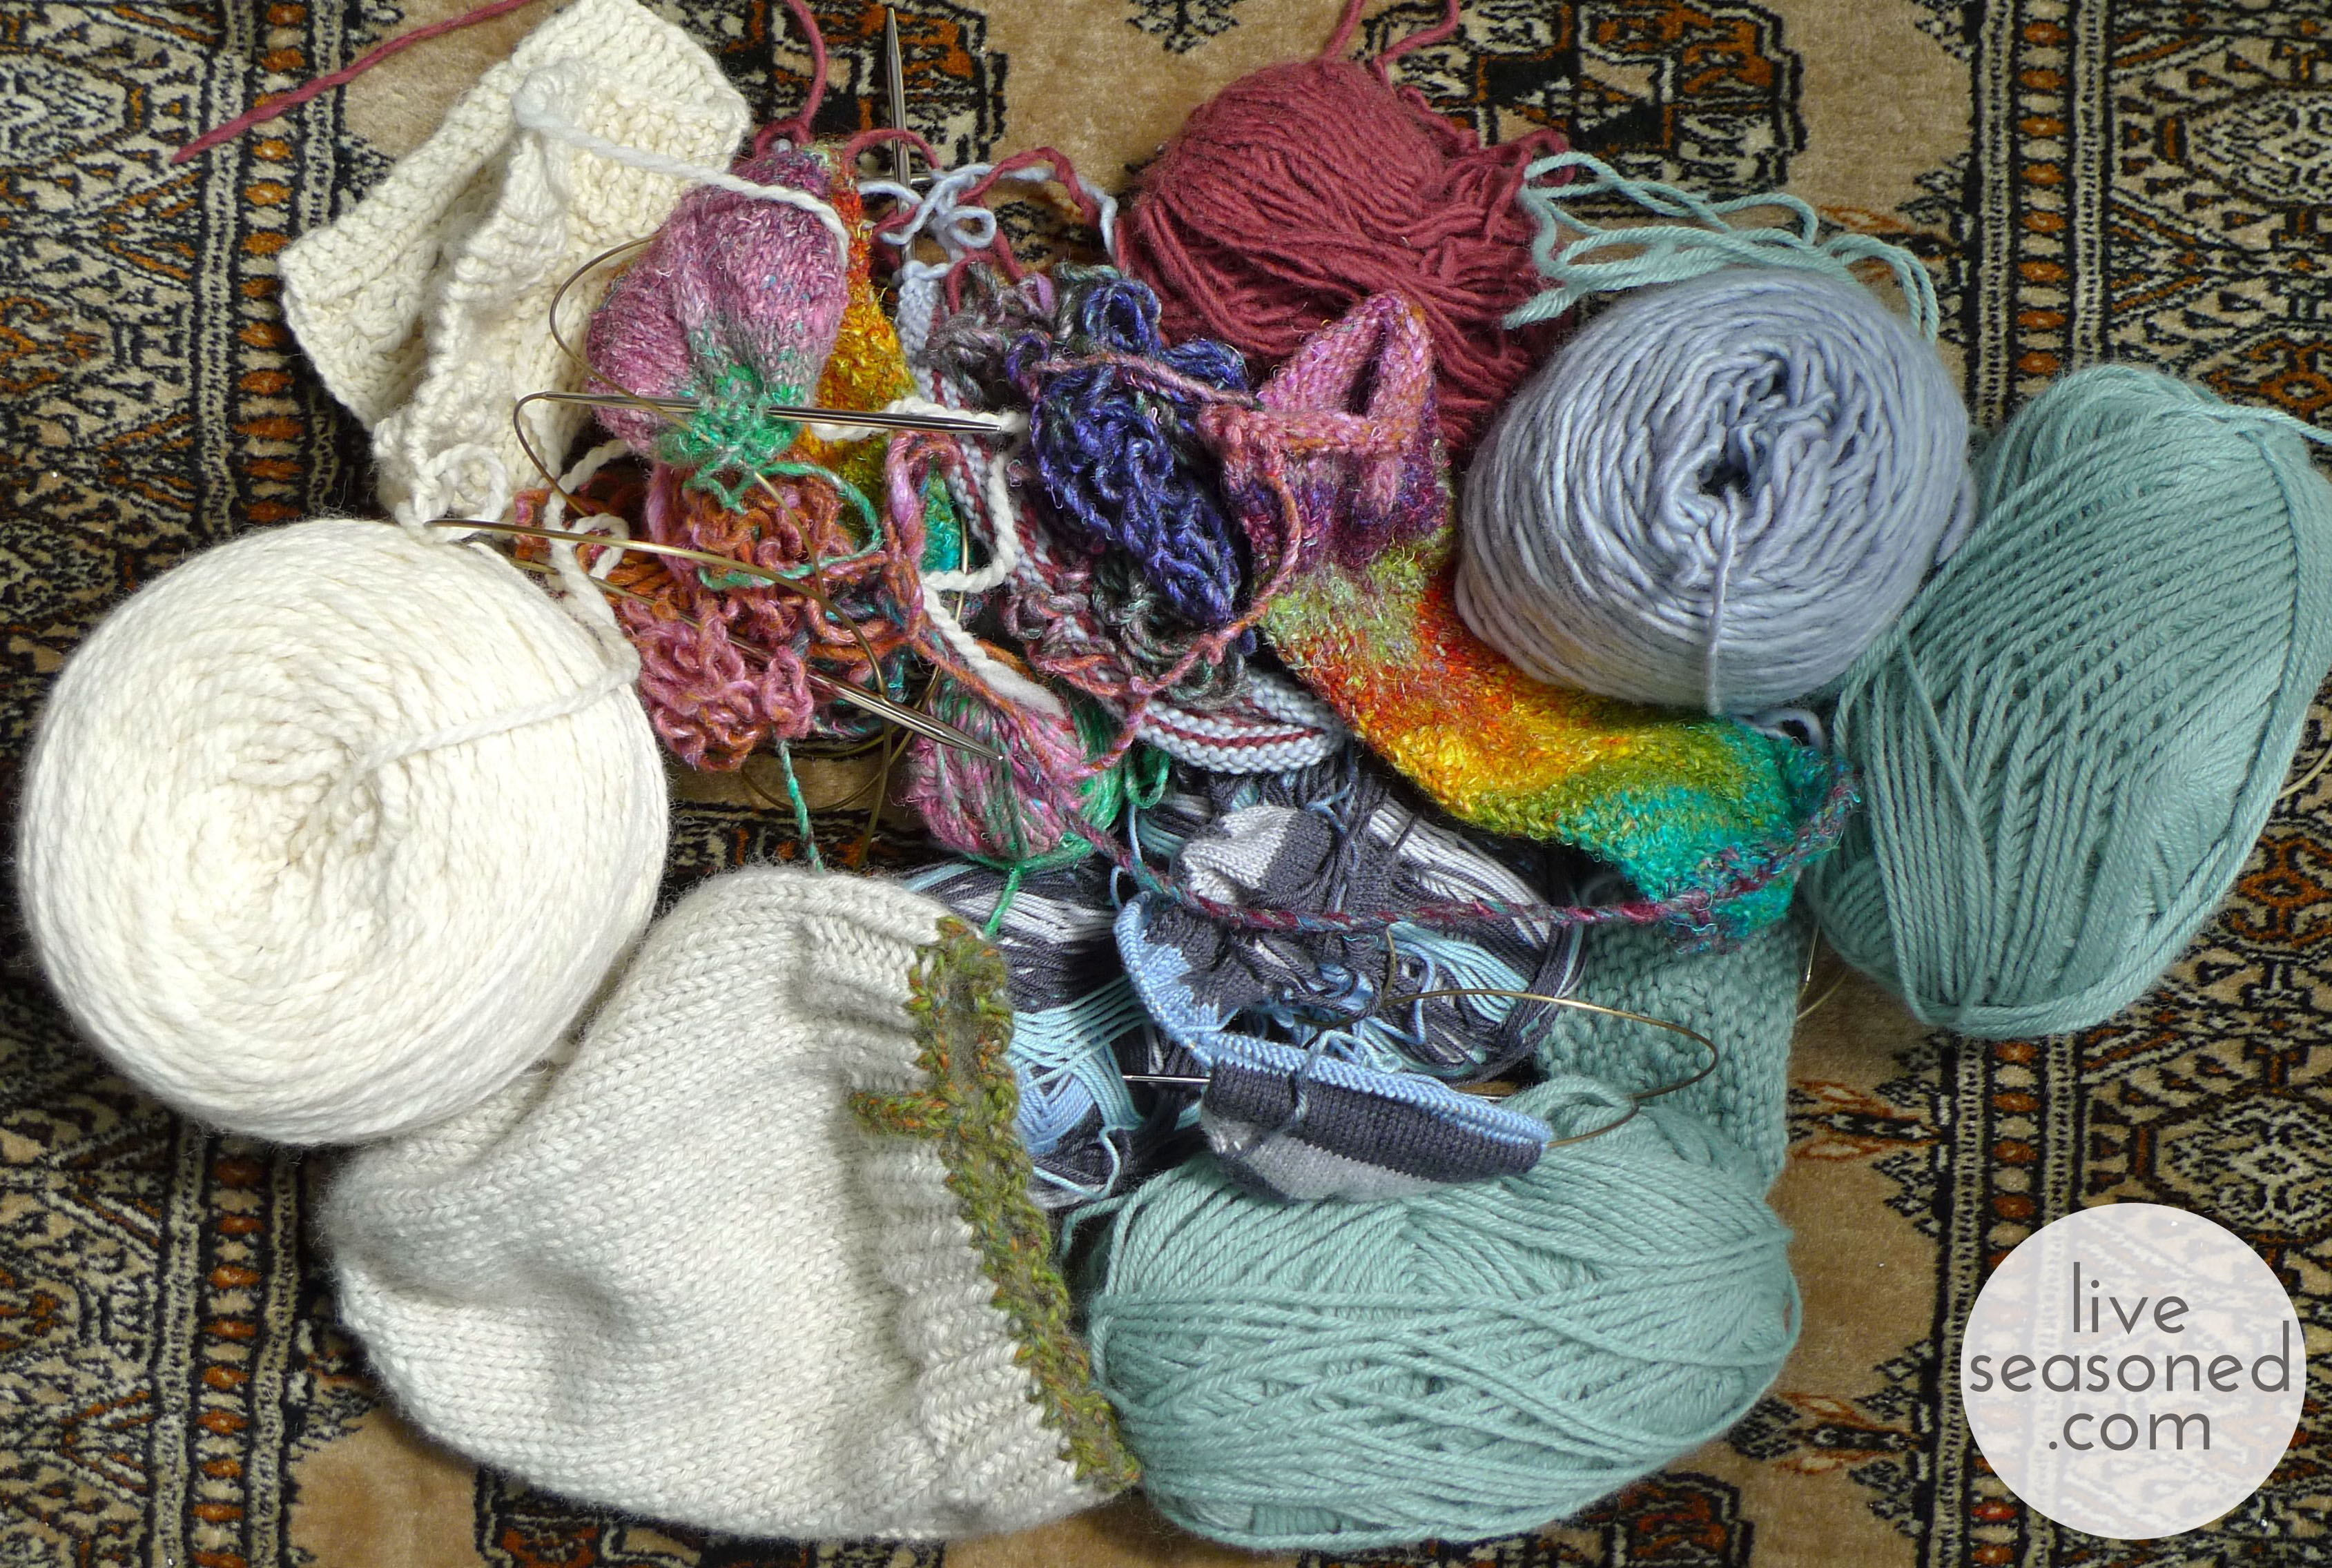
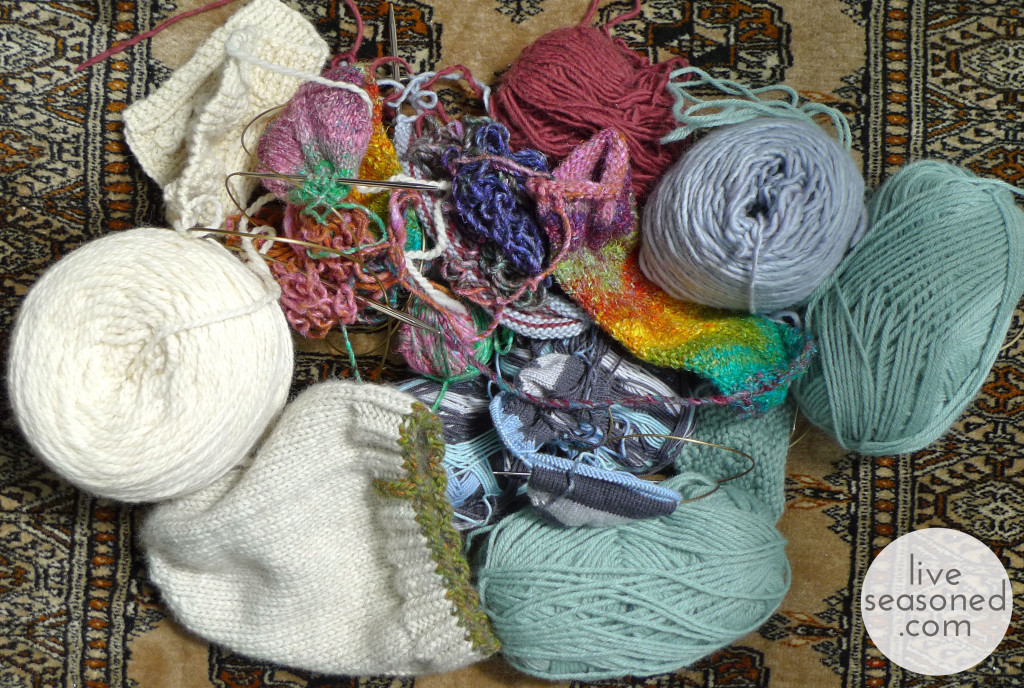
For me, July was all about moving, settling into our new home/city/state, re-teaching little A how to go to sleep in this new and strange place, and other fun life duties. But then we flipped the calendar to August, there were no more boxes to unpack, Alex became a wonderful and prompt 7:30pm sleeper, and my evenings were free, albeit chained to the house with the little guy upstairs, but free none-the-less. It’s given me the time to get crafty again, and, as always, I turned first to my knitting basket. I have boards of non-knitting crafts pinned, but those will have to wait until I get at least one or two of these projects finished!
liveseasoned_summer2014_wips3_wm

Anyway, I thought it would be fun to share a few works in progress, hopefully passing along some knitterly inspiration to you, because even though the days are hot, the evenings are perfect for working on small projects for the coming fall and winter. In the mix are a variety of projects and swatches, some from published sources others are experiments.
liveseasoned_summer2014_wips9_wm

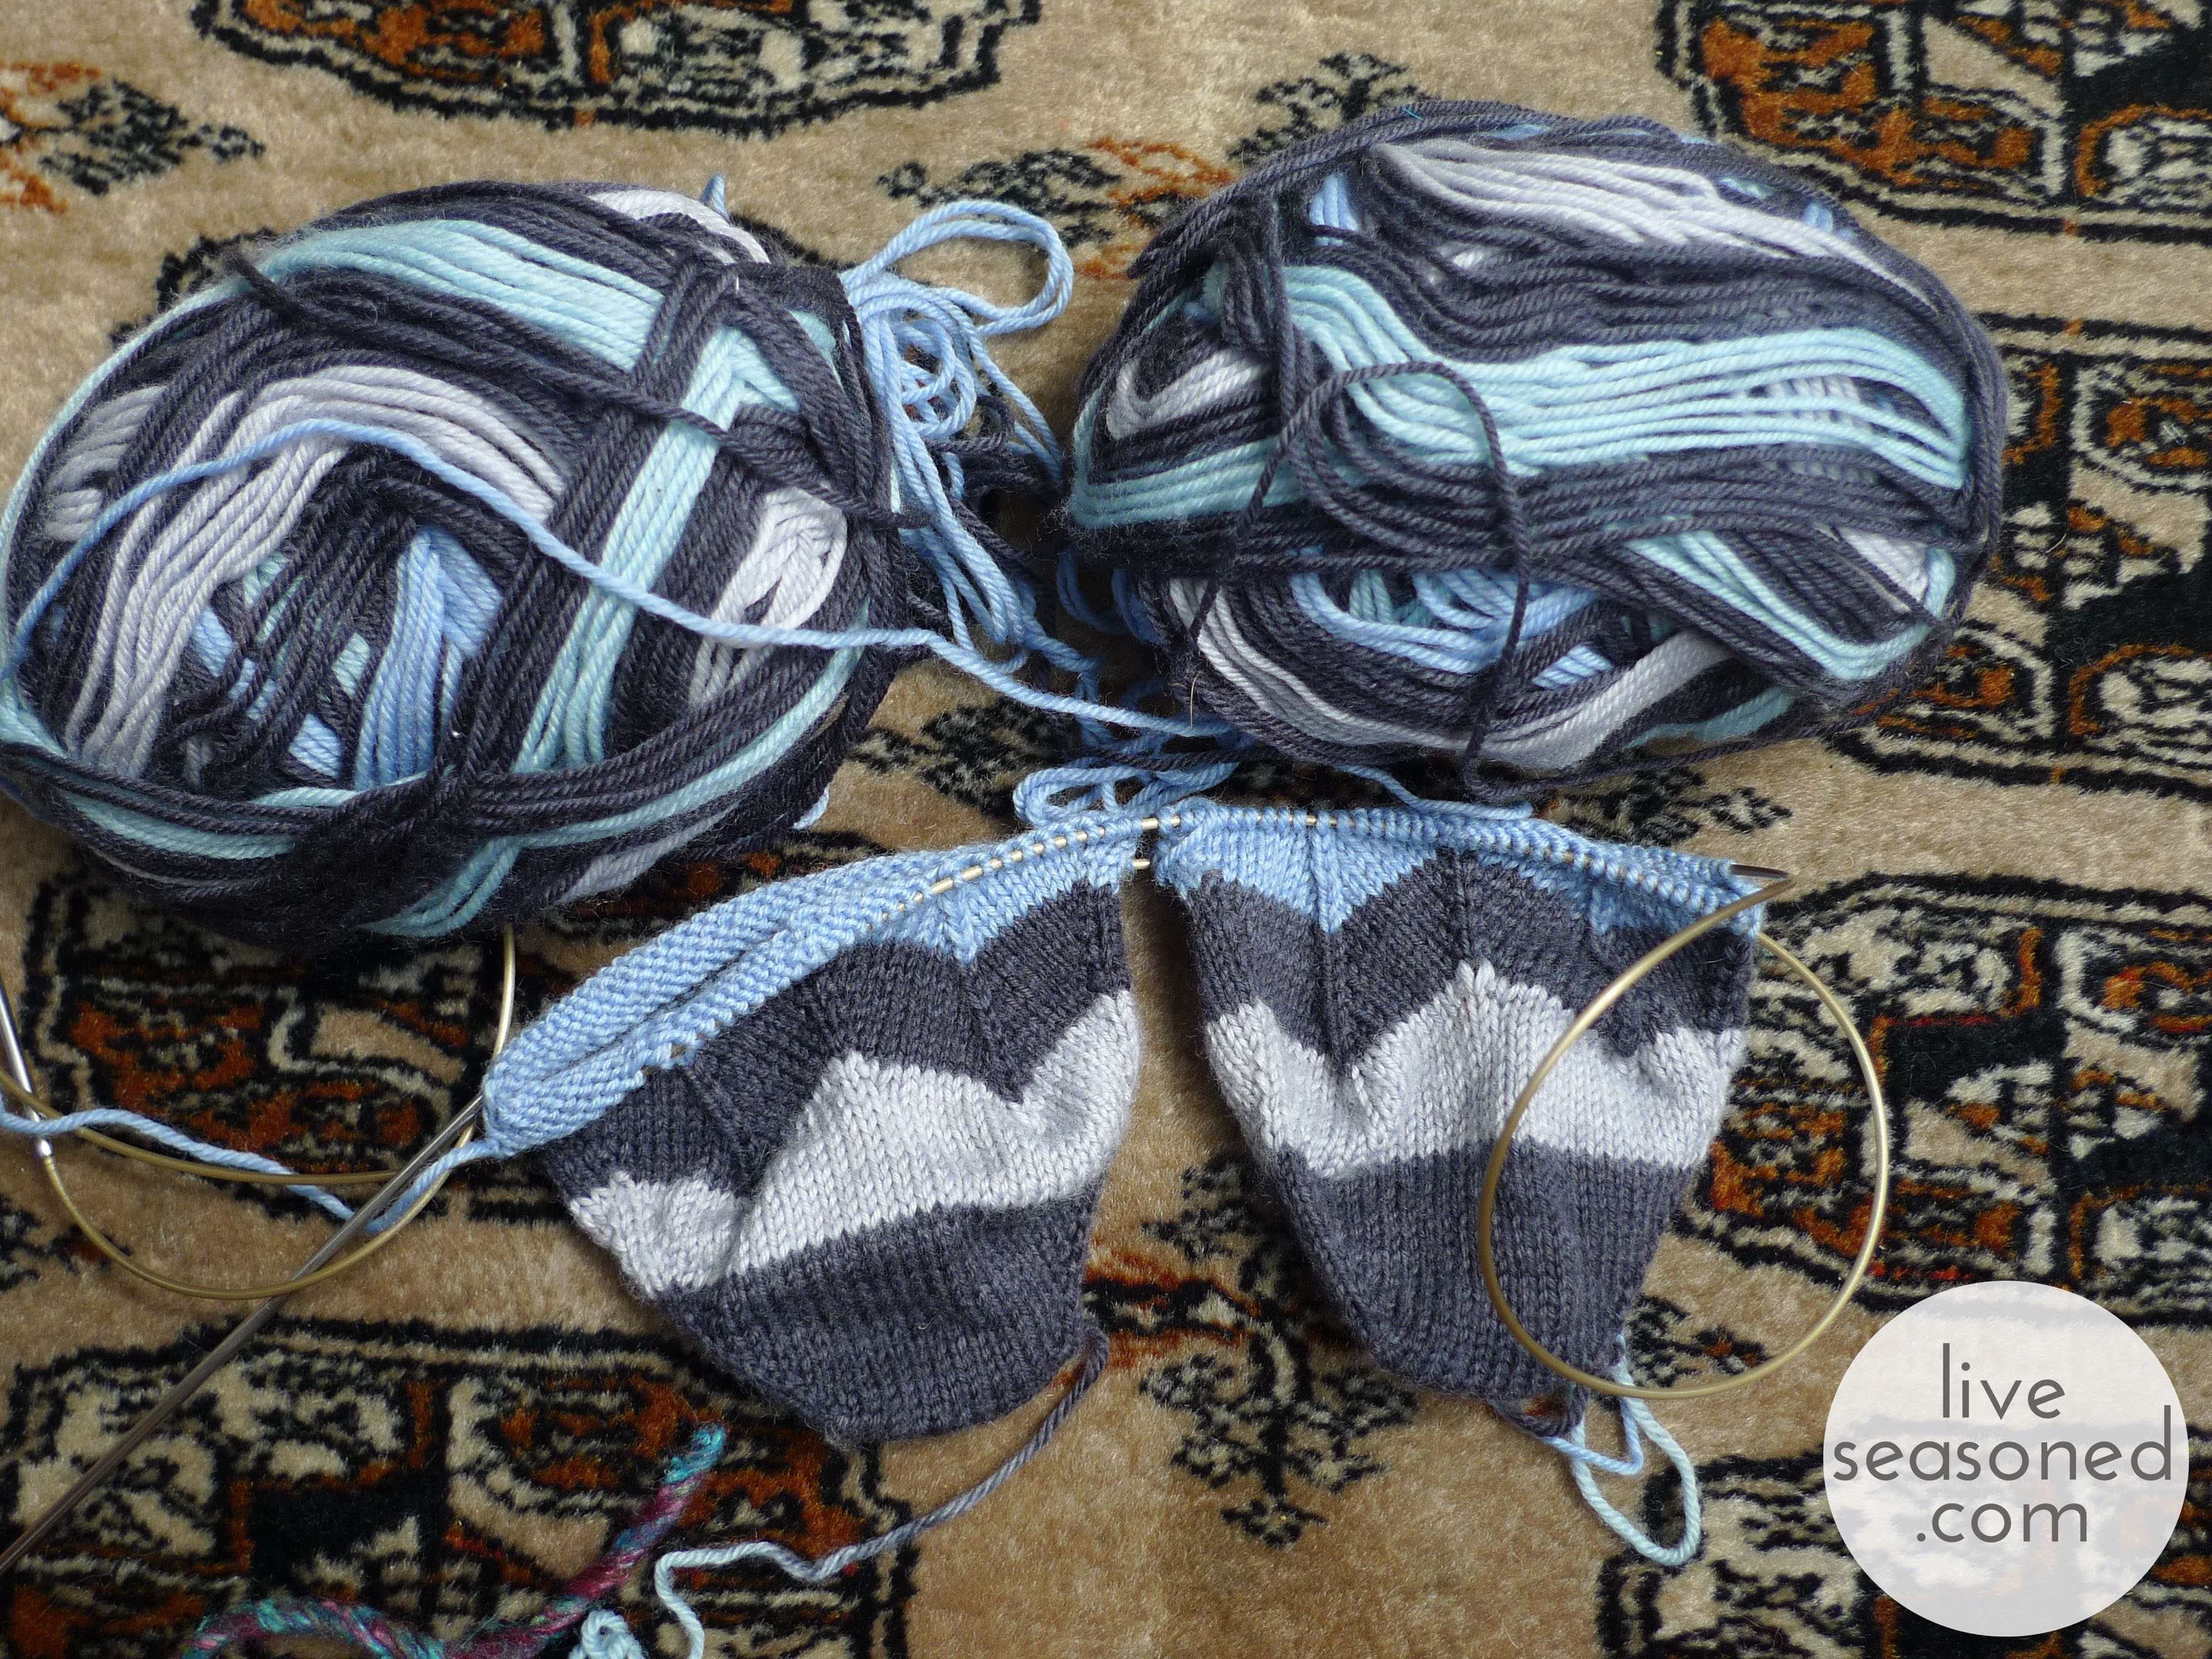
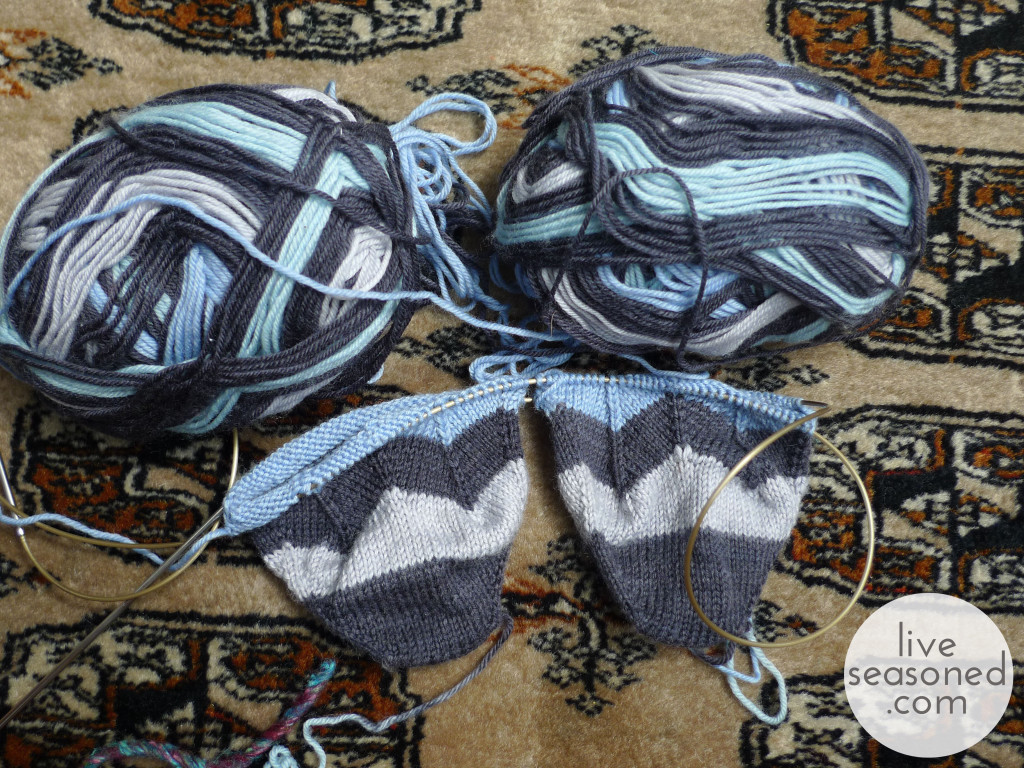
The socks. I always have some socks in progress, because as any wearer will tell you: they are so much better than store-bought socks! Hand-knit socks are the only ones that stay up when I’m wearing my Sorrels. Sorrel wearers know what I’m talking about, it seems like every other pair of socks is pushed off my feet within the first 10 yards of a hike through the snow.

Pattern : Jaywalkers (that link opens a PDF of the pattern)

Yarn : from Knitpicks, but it looks like they’ve discontinued the self-striping sock yarn.
liveseasoned_summer2014_wips6_wm

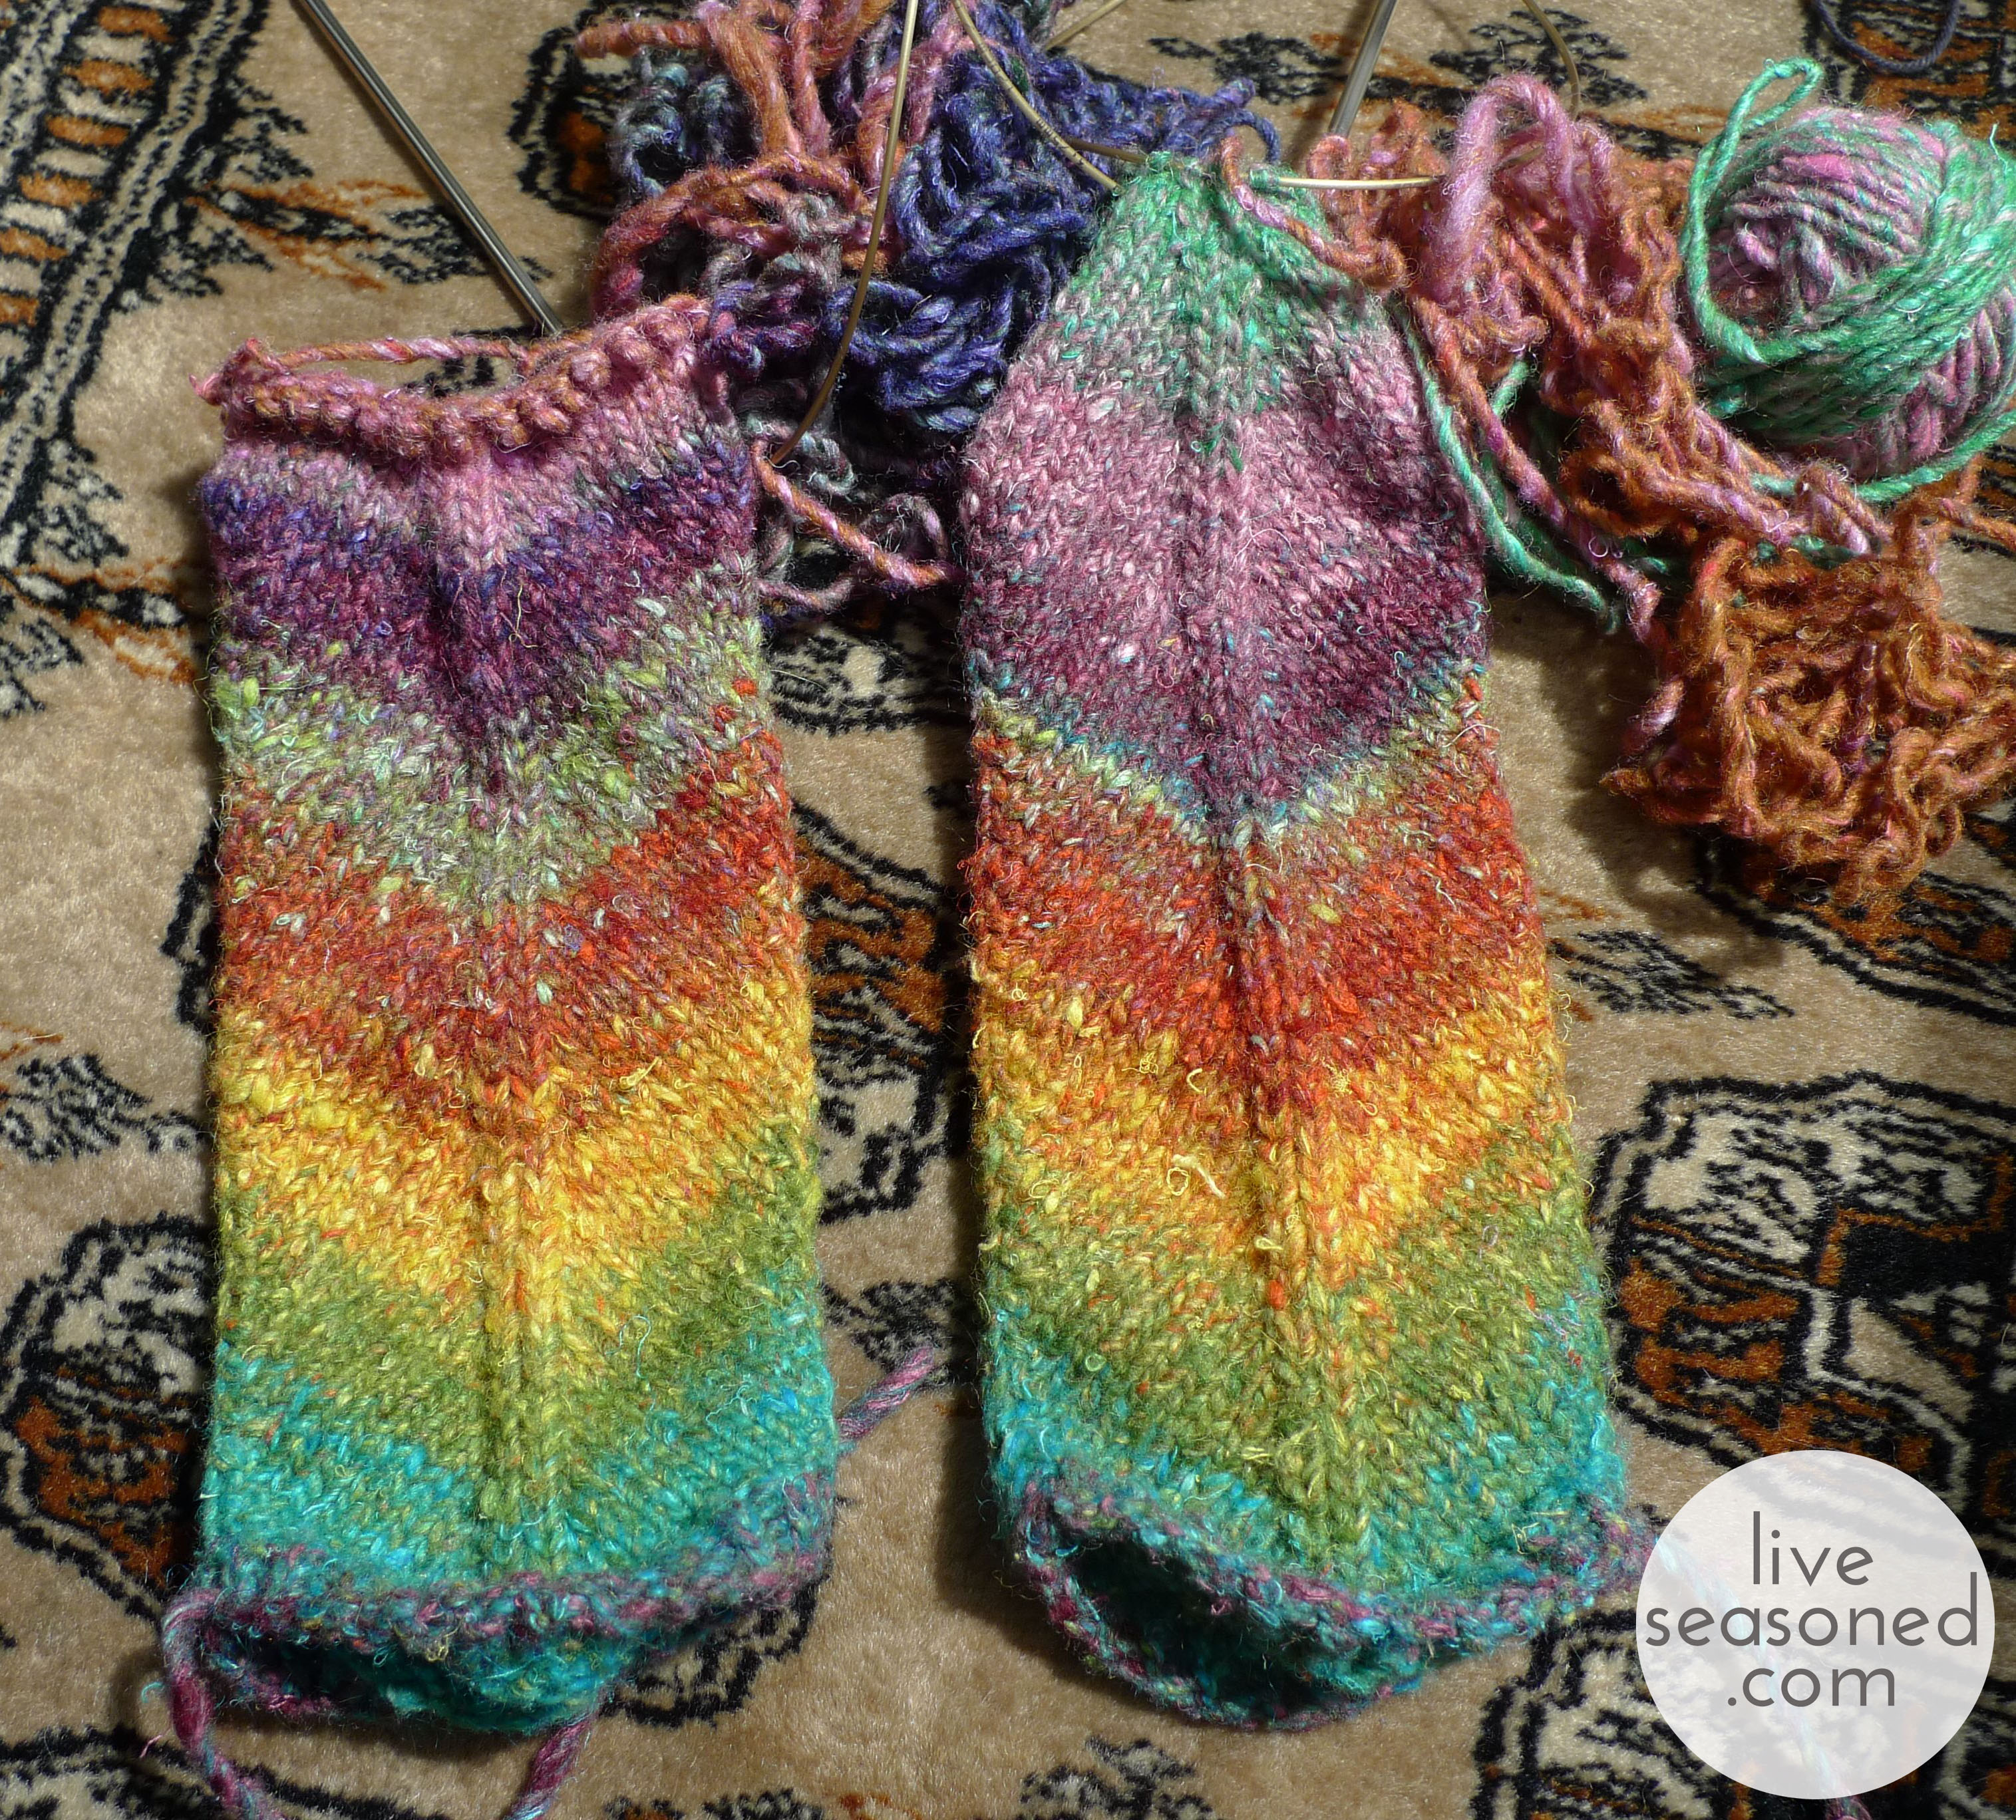
After my favorite mittens were completely (and utterly) destroyed by moths, I knew I had to make another pair. The first pair was made with Noro Kochoran yarn, which is mix of wool, silk, and angora, and the the mittens perfectly warm, soft, and durable. I picked another Noro yarn, but lost the label and am stumped as to what it’s called. It’s also knitting up beautifully, but as you can see at the top I’ve run into some color issues – the ball was cut and tied together at a different color sequence, so I’m trying to work with what I have to get a somewhat matching pair. Next will come the thumbs – you knit these mittens without thumbs and then go back, cut a hole where your thumb should be and knit the final piece!

Pattern : Elizabeth Zimmerman’s Mitered Mittens found in the Knitter’s Almanac

Yarn : Noro
liveseasoned_summer2014_wips4_wm

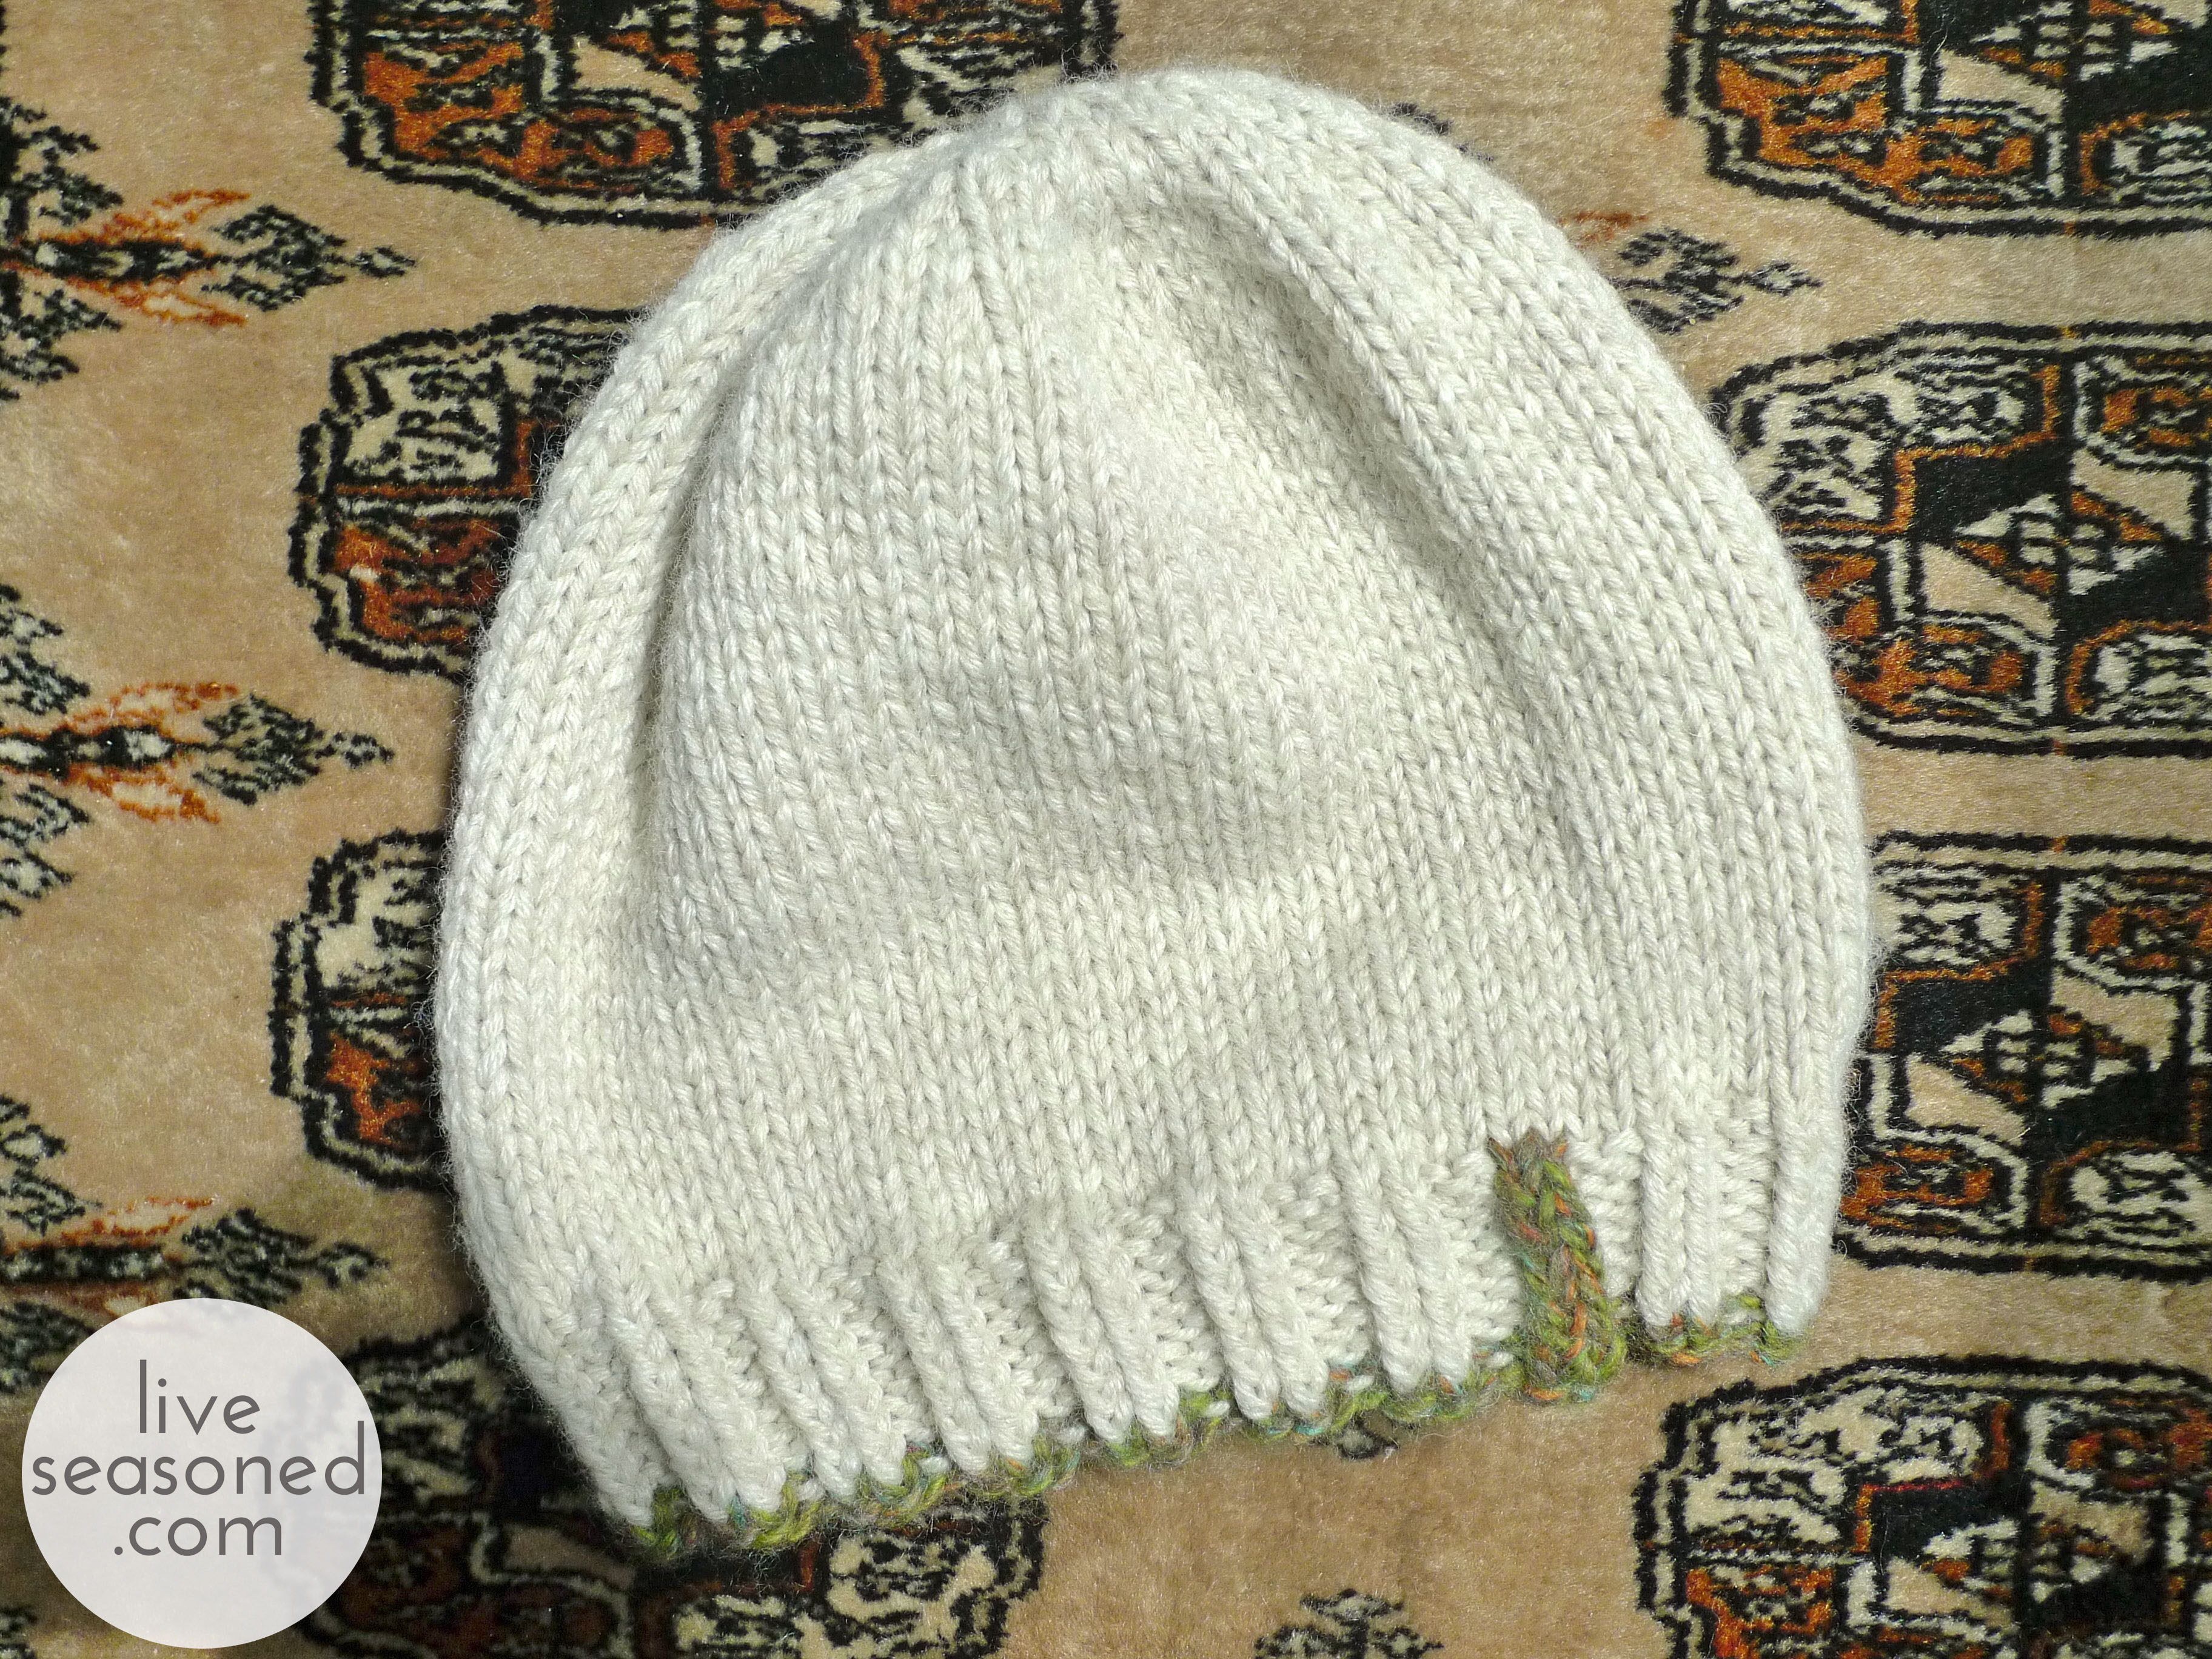
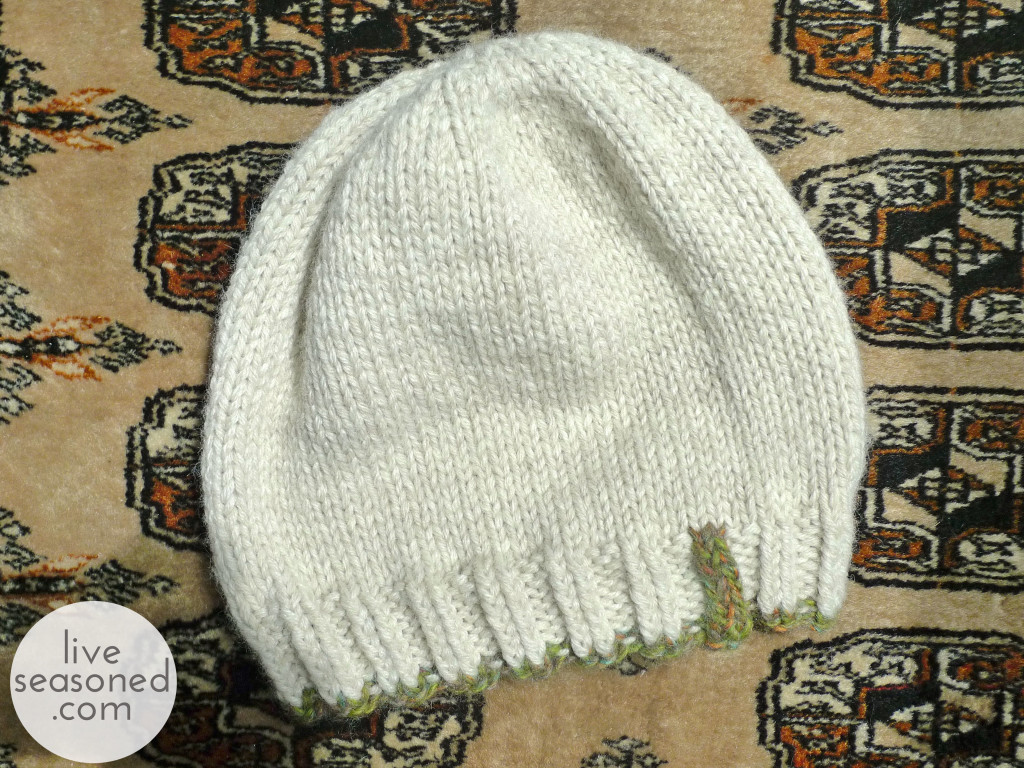
I wanted a quick and dirty hat. Something that was easy to knit, used some yarn from my stash, and would be the perfect thing for an evening around a campfire because we are yearning for a few good camping trips this fall.

Pattern : My own. Cast on 76 stitches, do some 2×2 rib, knit straight until it was long enough and then do some quick decreasing.

Yarn : Lionbrand Woolease and Amazing
liveseasoned_summer2014_wips5_wm

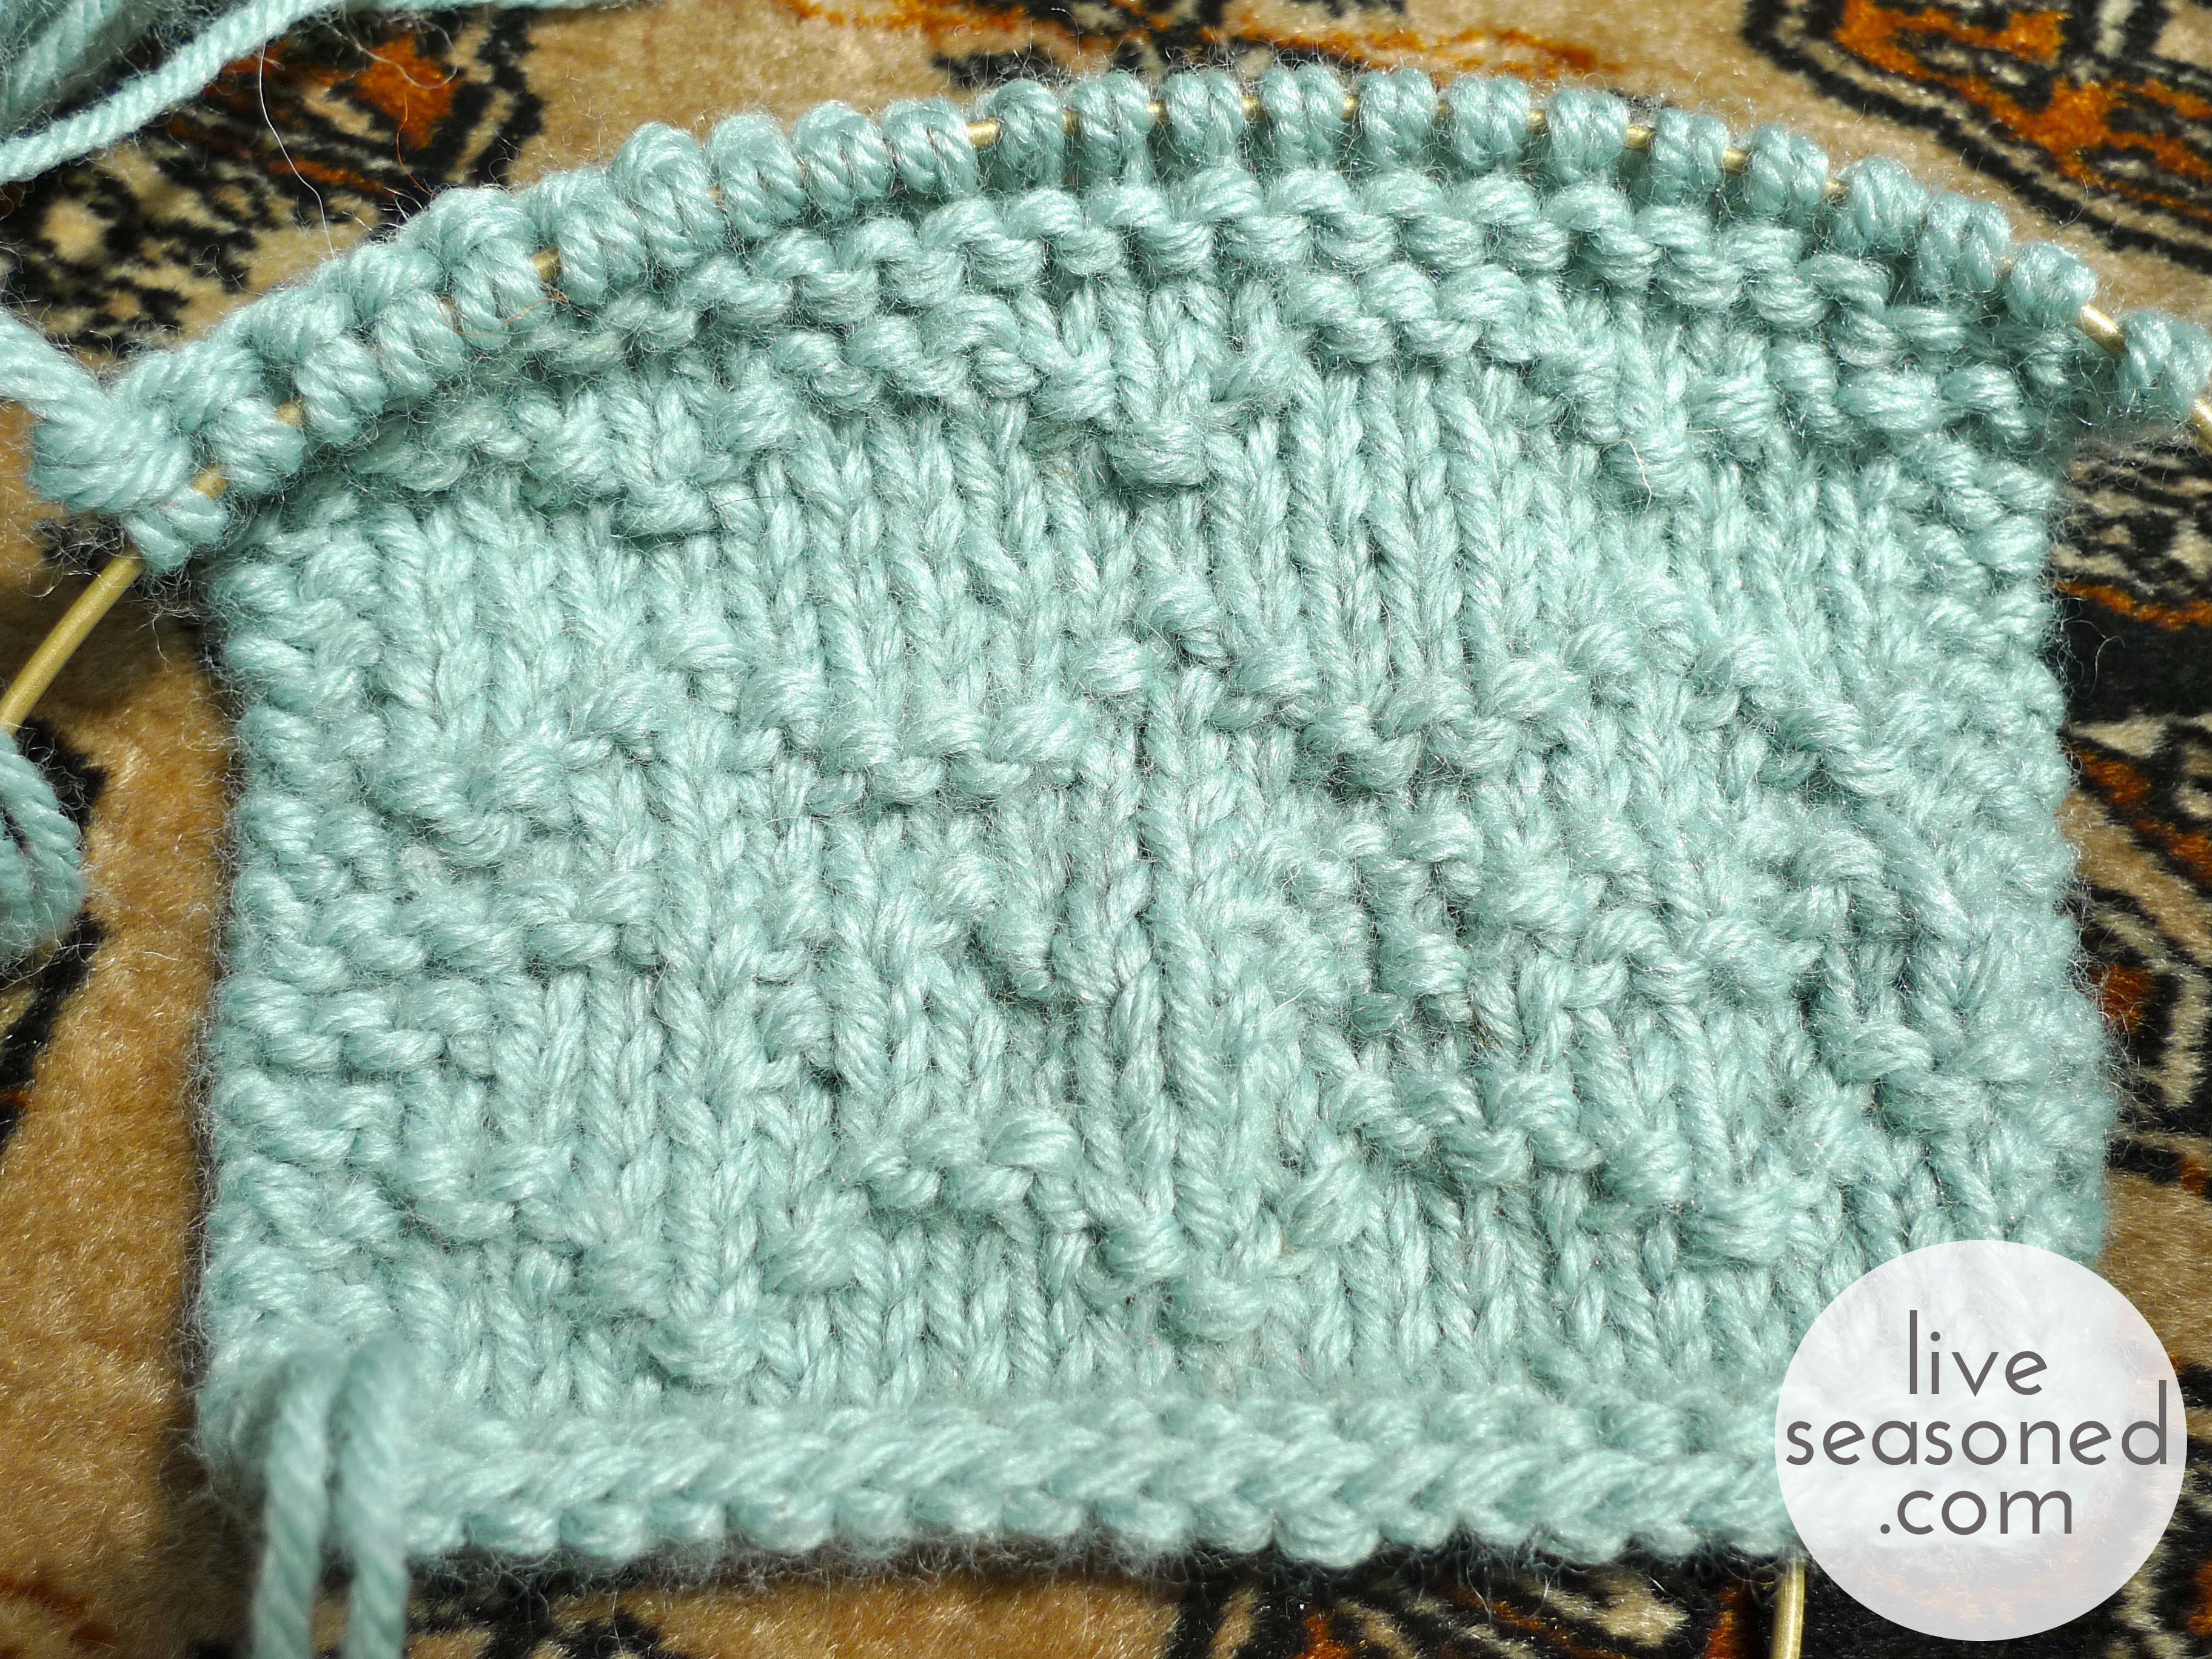
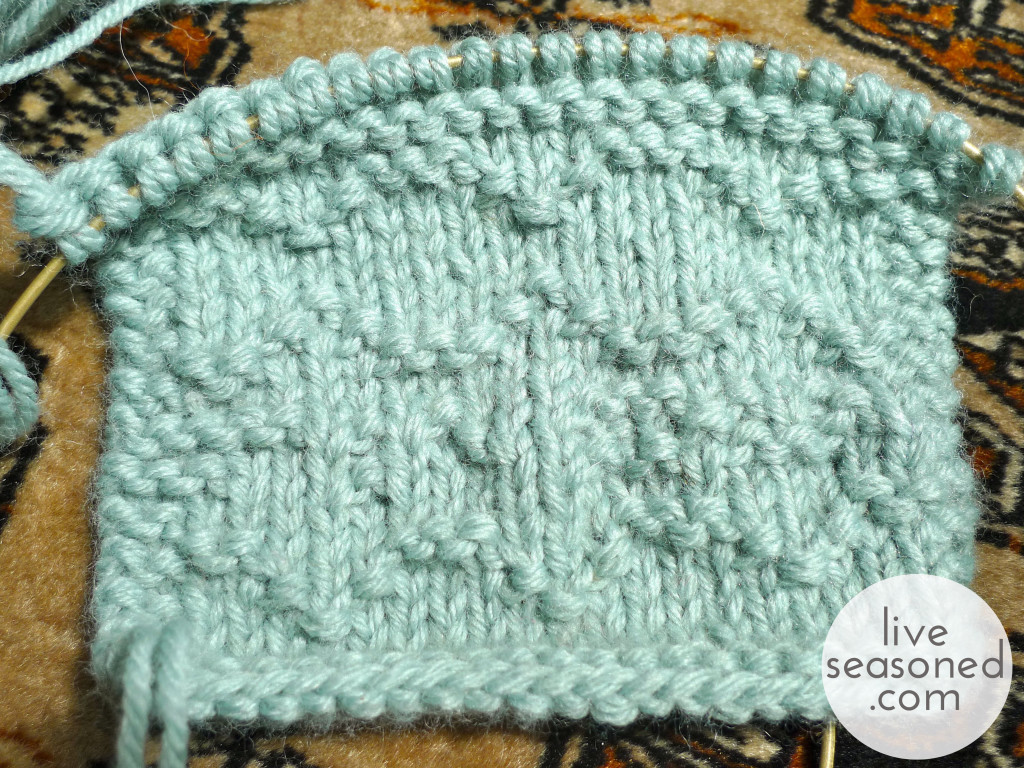
After the flat and plain knitting of the hat I craved some texture. The swatch above is a little experiment that I’m hoping to turn into a hat with a secret message! More on that soon.

Yarn : scraps from my basket
liveseasoned_summer2014_wips8_wm

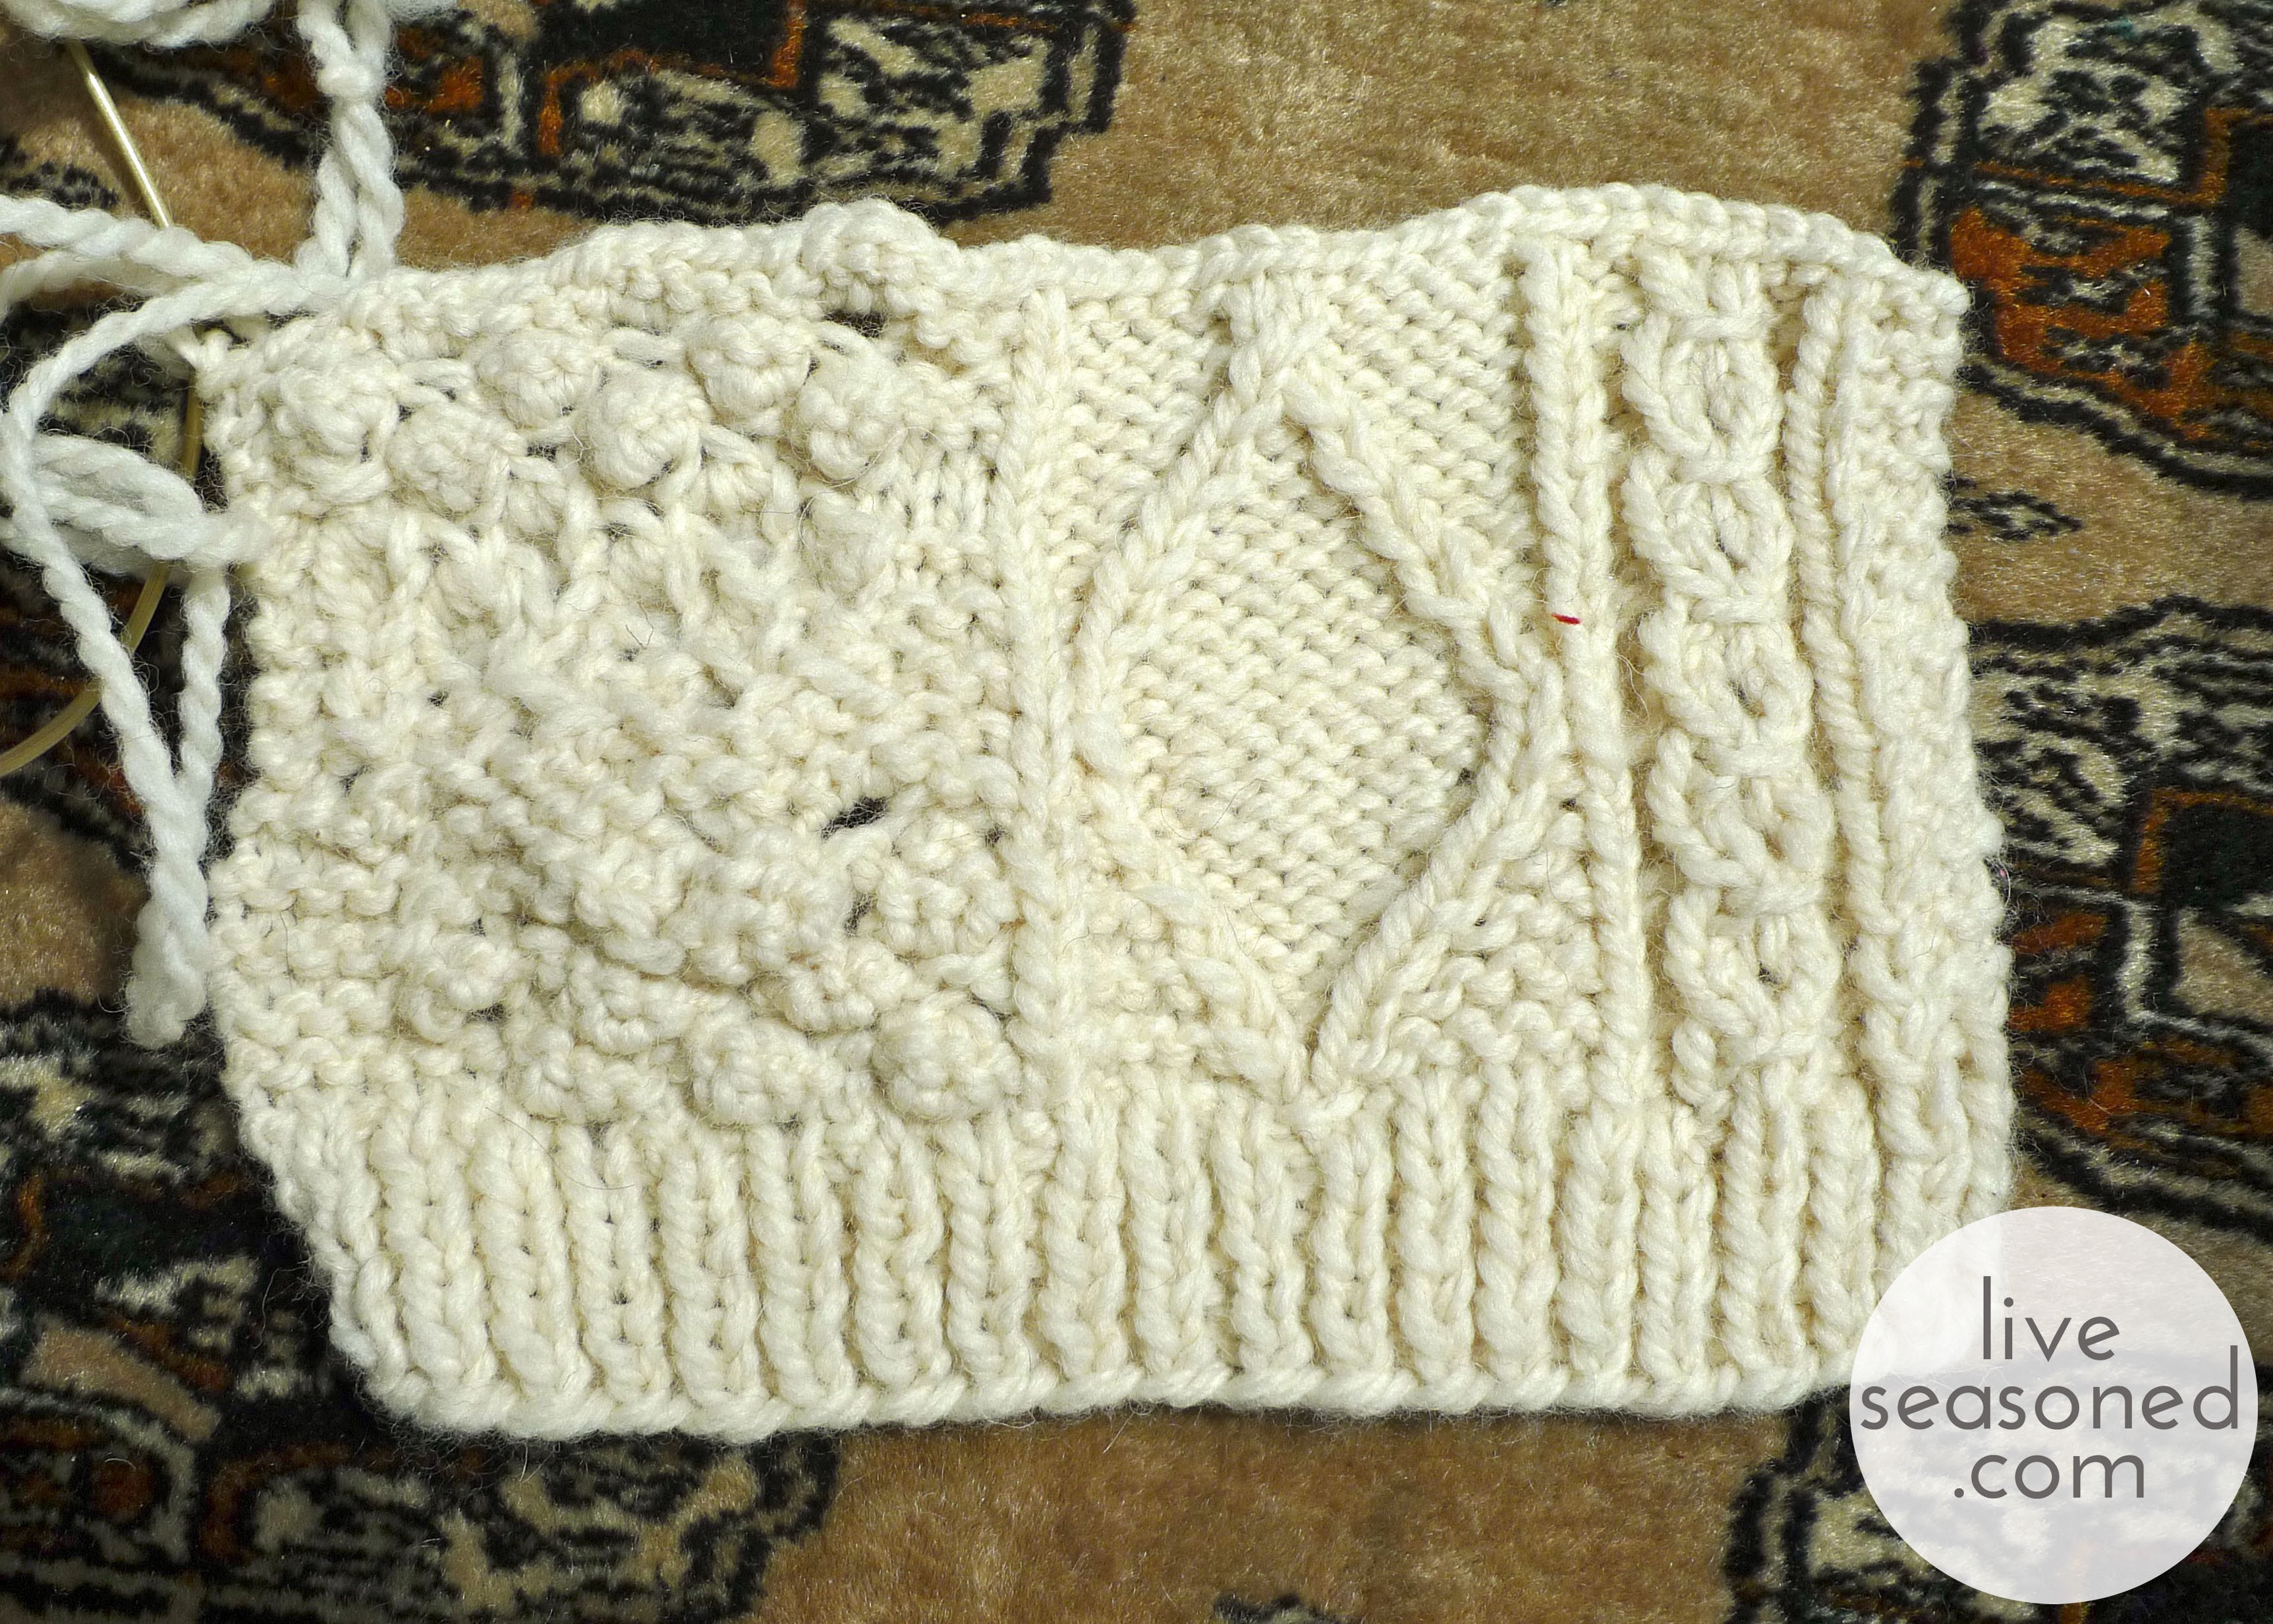
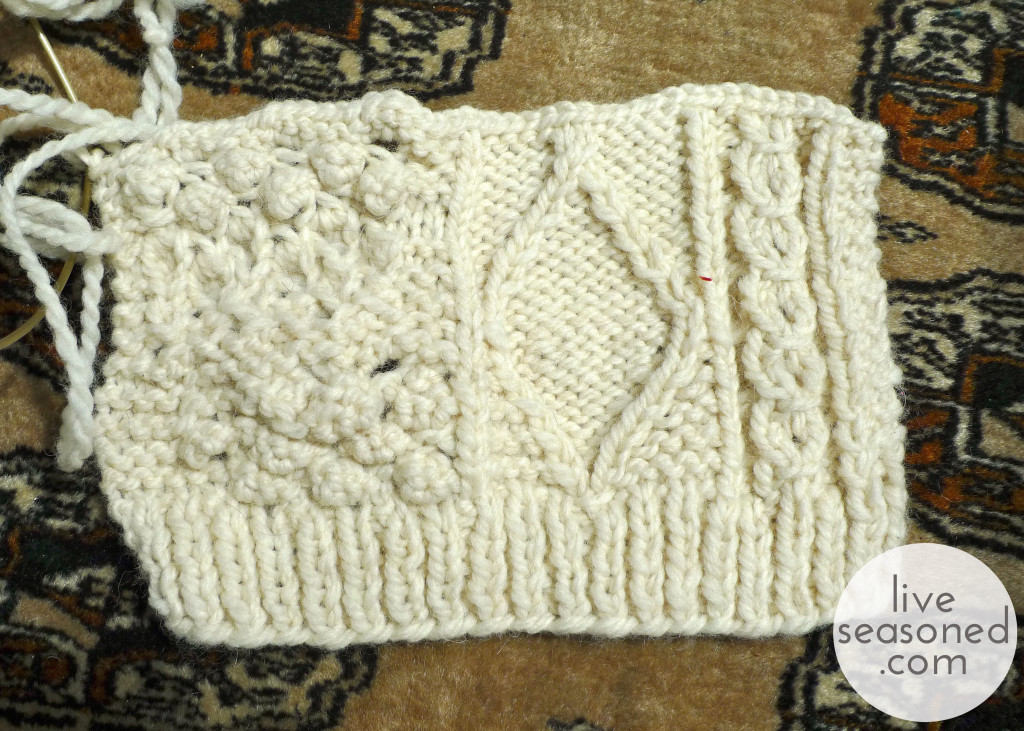
I have another swatch that I think I’ve finally come to terms with. This is for a sweater that I’m re-knitting for a friend. They purchased the original years ago from Pier One (when it used to sell clothes) and they love it so much that they would like another one knit. I used the swatch above to work out the original cables and bobbles. The cables were fairly straightforward, but getting the right size and spacing for the bobbles was a chore. You can see those on the panel on the left. Now I just have to work out the gauge and we should be good to go. This is another one that I’m going to share in more detail as it progresses!

Pattern : copying an old sweater

Yarn : Cascade Ecological Wool
liveseasoned_summer2014_wips10_wm

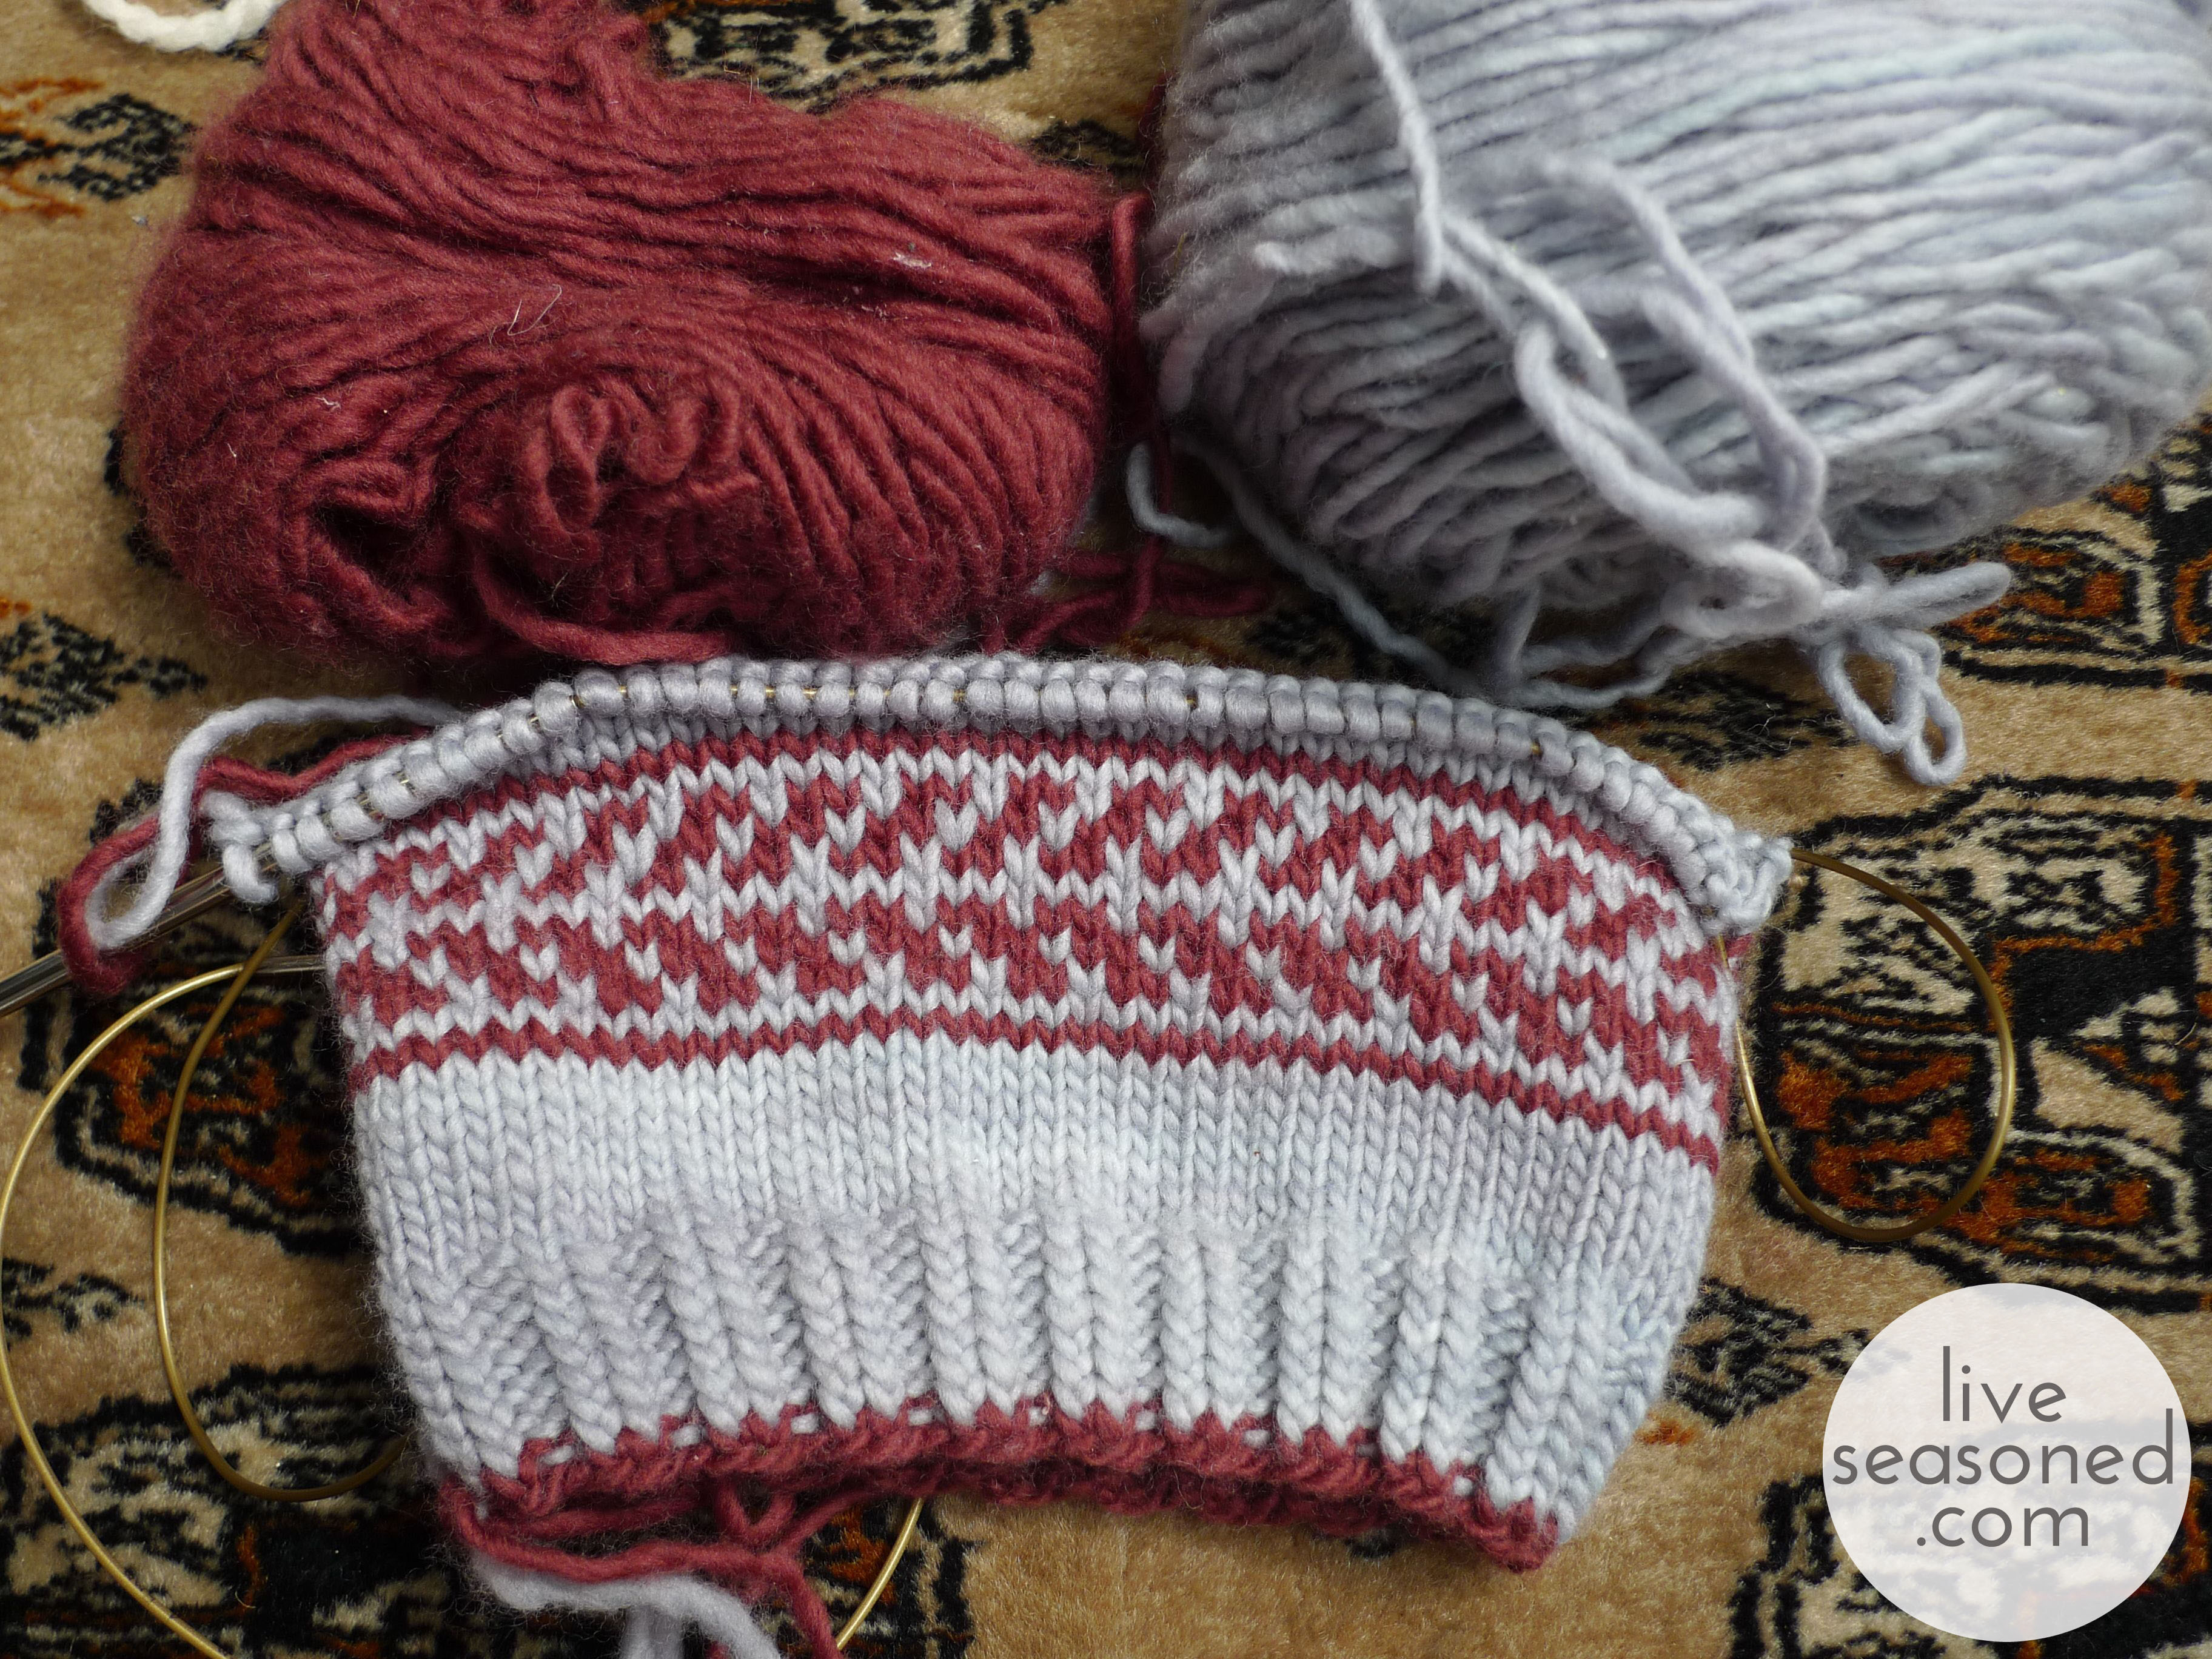
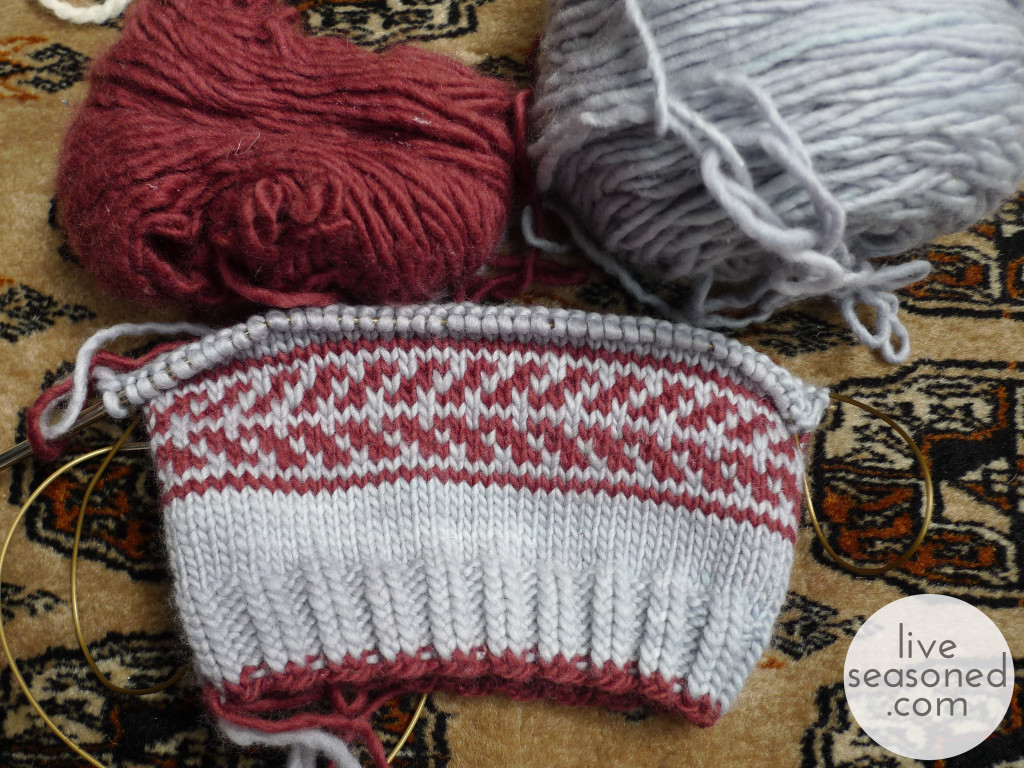
And this last one is a hat for little A. It’s been so much fun pulling out leftover balls of yarn that are too small for adult projects, but perfect for the little guy. Here I’m using some leftover yarn to make him a hat. It’s my own pattern, and really nothing special. [Sarah here: You’re nuts! I think it’s super special!!] Since Alex loves (LOVES) all things trucks, I thought I would use stranded color work to try to make a tire track around the hat. I don’t think the track is obvious, so I’ll have to work on that for the next hat, but it’s good enough to add a stripe of color!

Pattern : none, yet!

Yarn : Malabrigo Merino Worsted (so soft and perfect for little noggins)

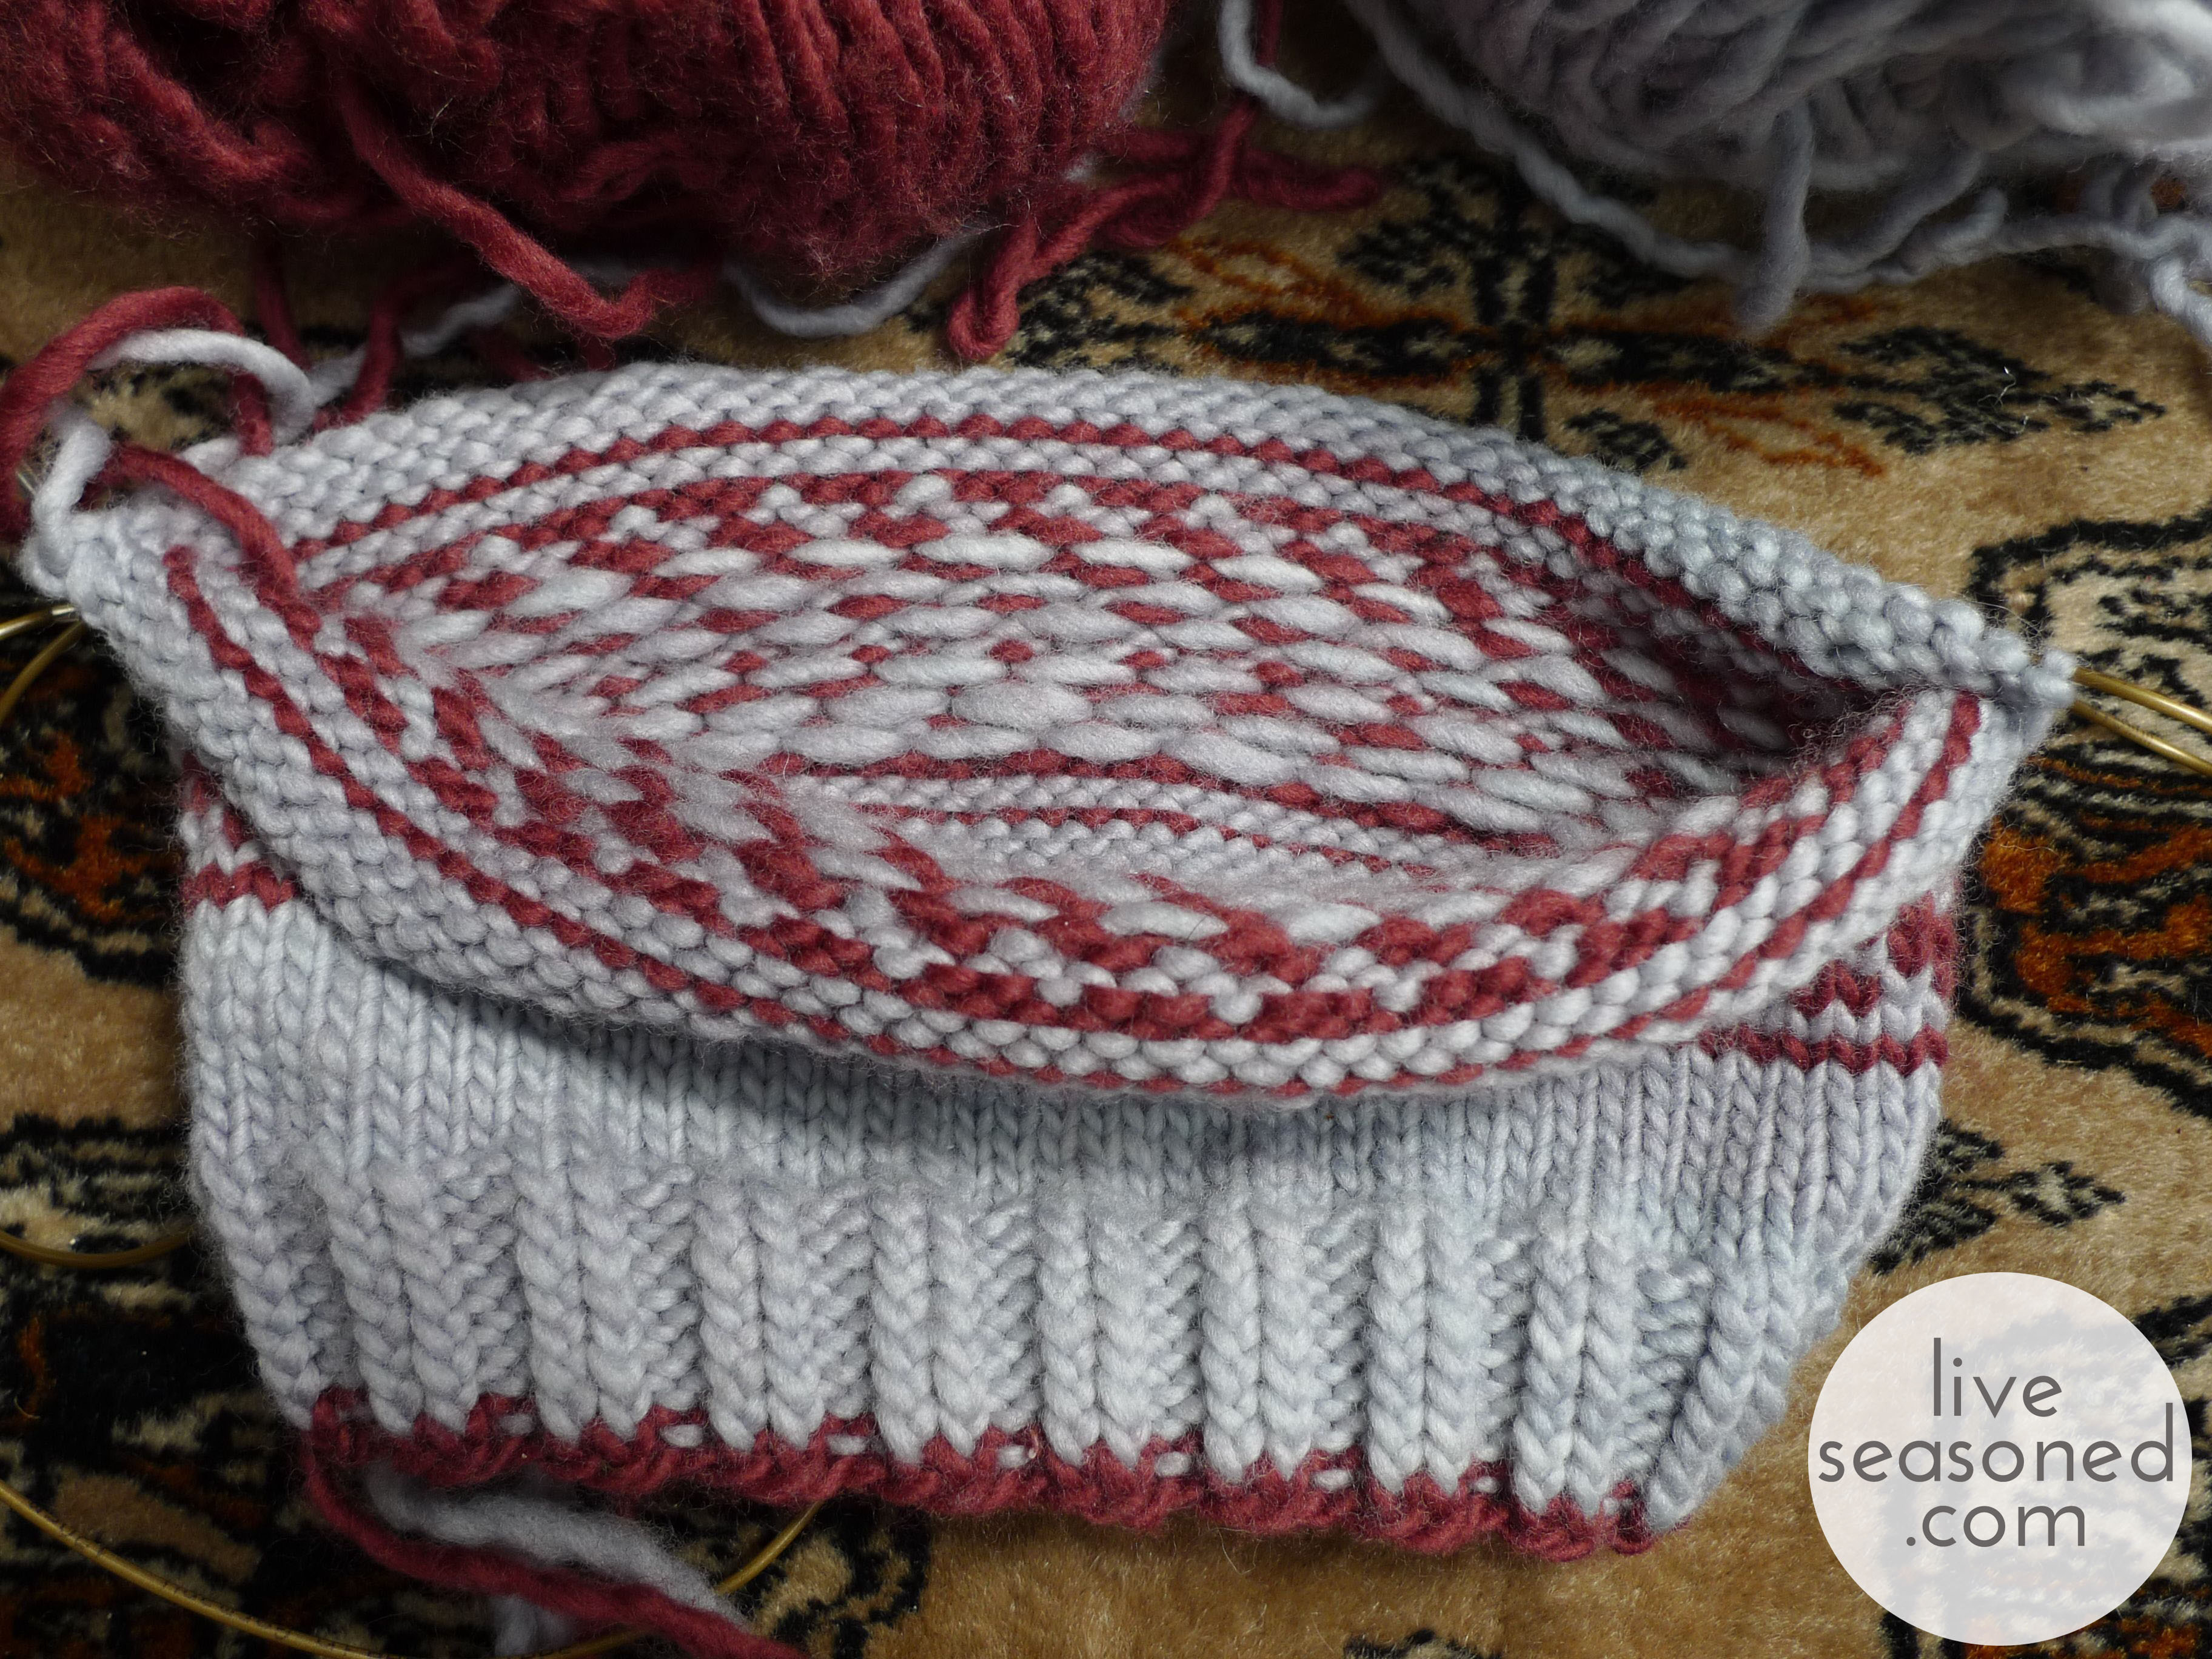
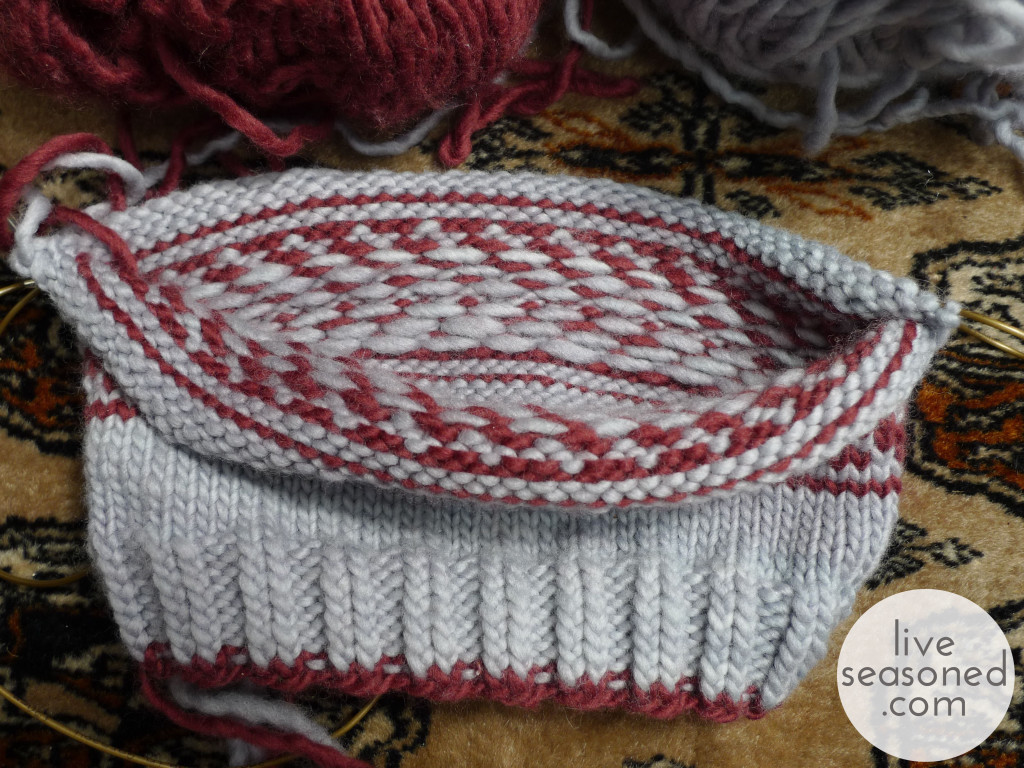
And the nice thing about using stranded color work in a hat is that you get some extra warmth from the double-layer of yarn:
liveseasoned_summer2014_wips11_wm

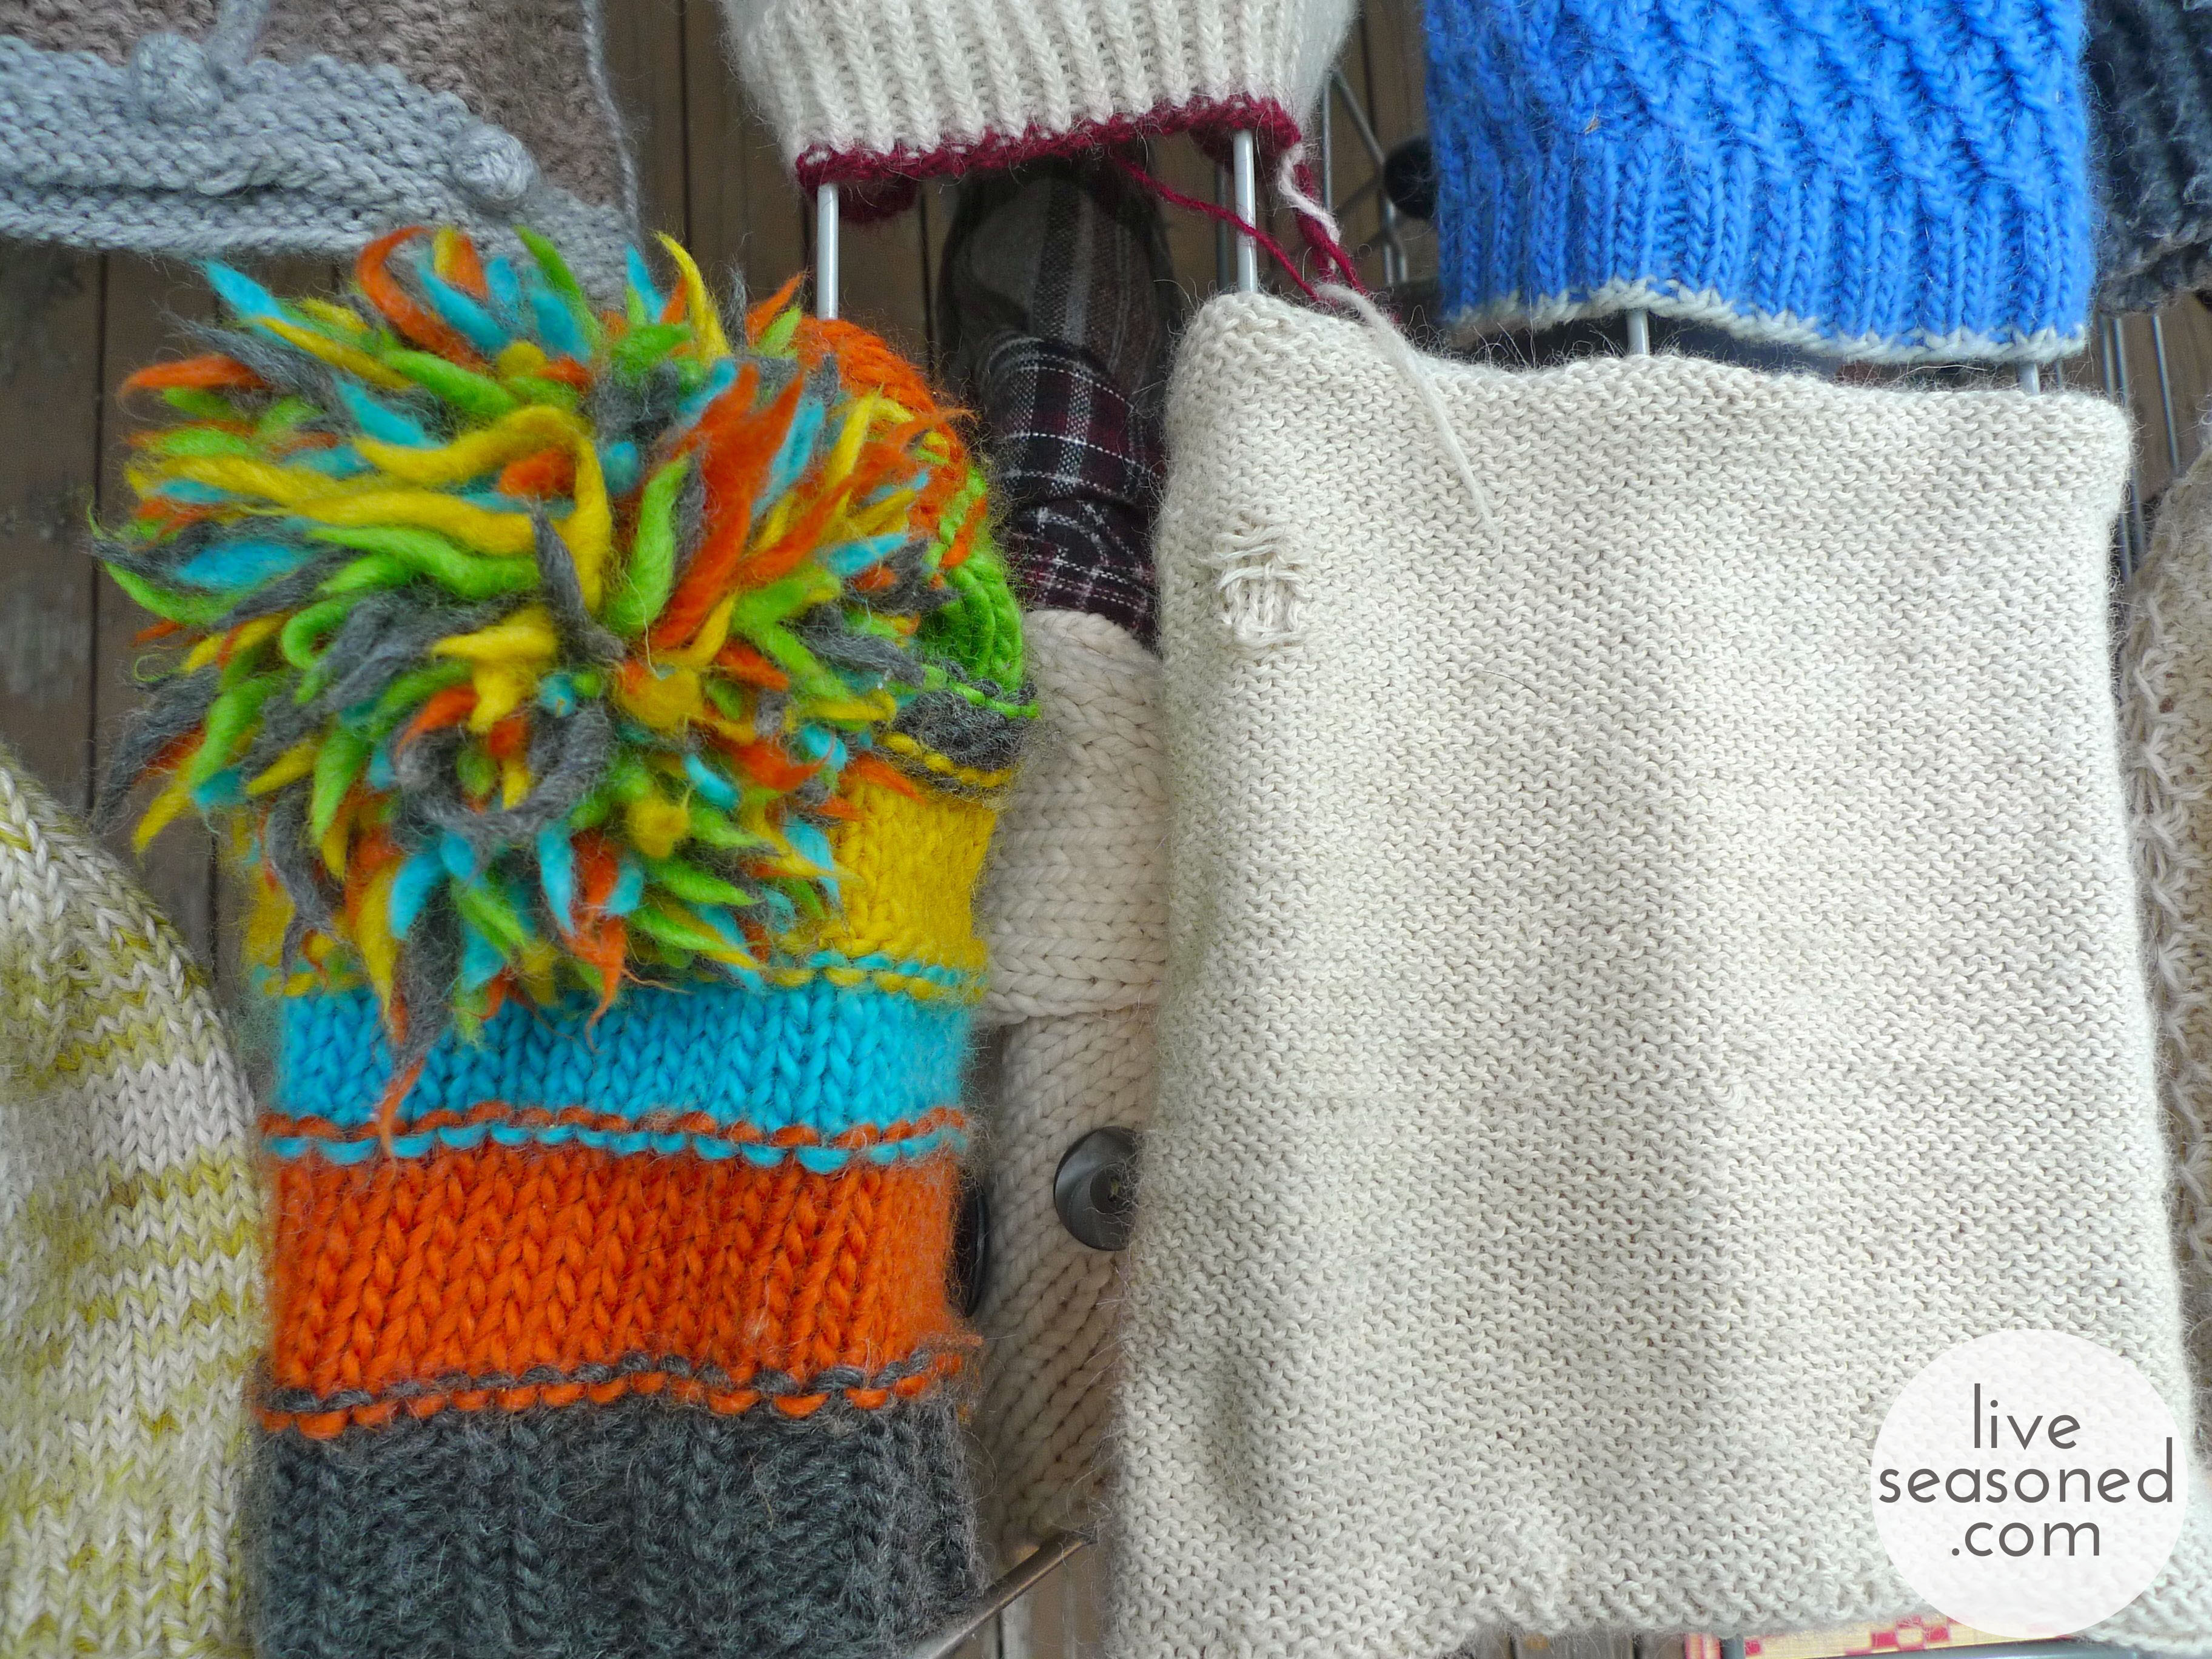
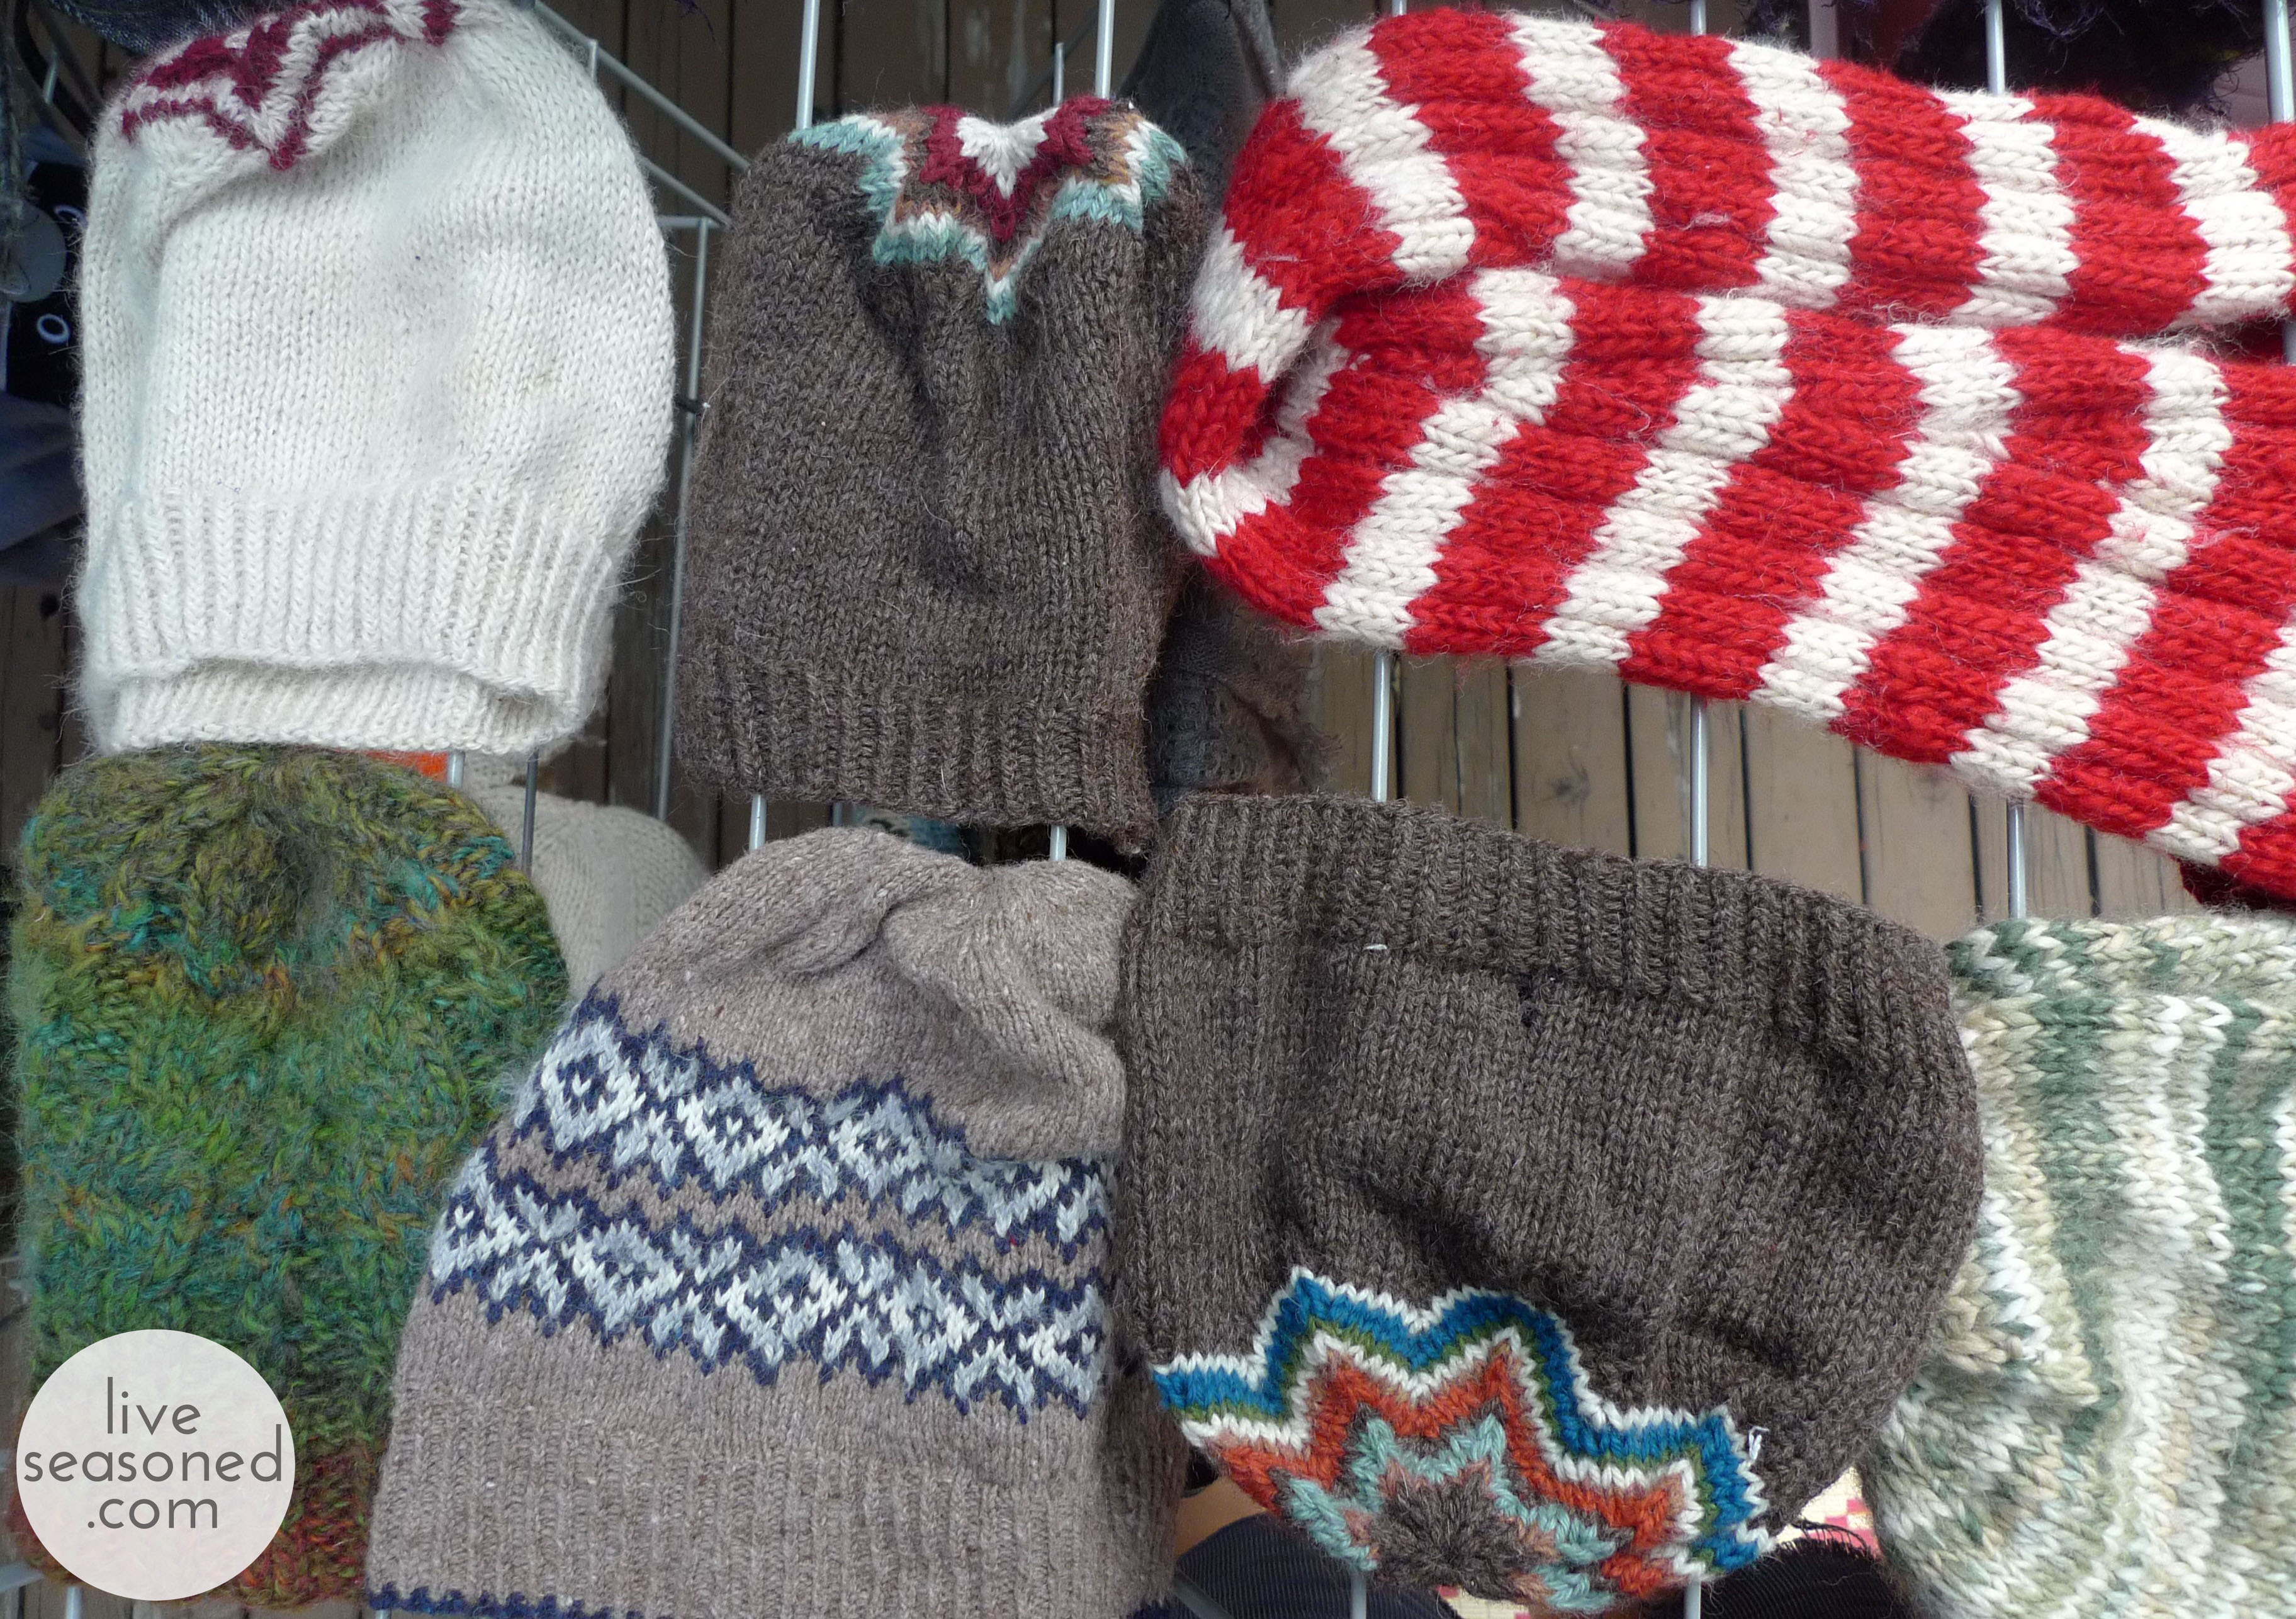
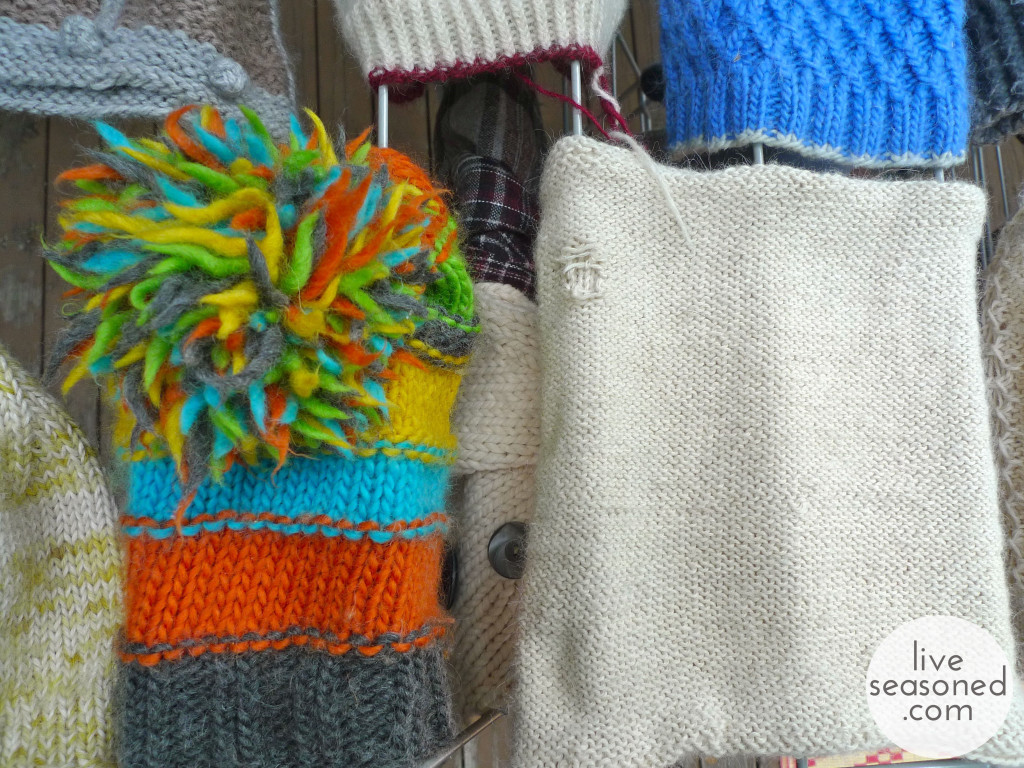
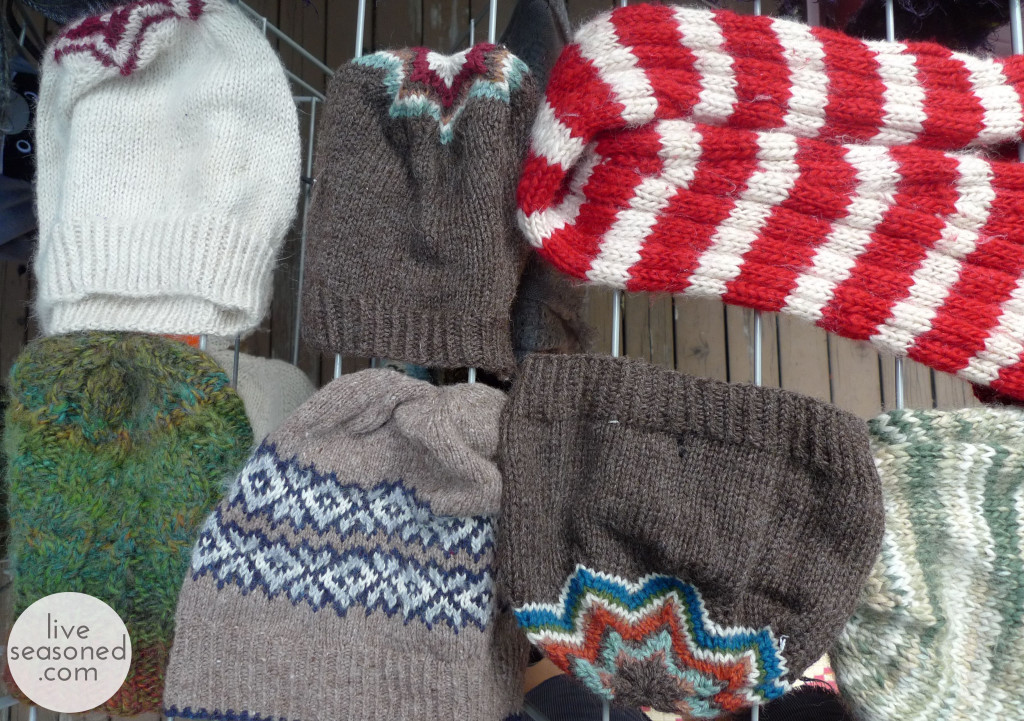
The embarrassing thing about all of this knitting? We have so many hats that we aren’t going to go cold anytime soon. I had to say that before I show you what else I’ve been up to. Summer (at least in Colorado) is the perfect time to wash your wools and get them ready for the season ahead. We have plenty of dry days, so I can wash the wools in the bathtub and then put them outside to dry and within 24 hours they are done! The humidity of the East Coast may not create the same results.
liveseasoned_summer2014_wips2_wm

As I wash, I’ve been looking for other moth damage. Some of it is years old, but this may actually be the year that I make those repairs. A few hats in these photos are duplicates that I’ve made as I try to work out a new pattern or idea… which will hopefully come to a blog near you!
liveseasoned_summer2014_wips1_wp

So tell us, what sorts of crafts have you been working on? Something out of season, like knitting. Or something perfectly in season, like digging that backyard bbq pit (that’s a craft, right?).

If you have any questions or want more details about any of the projects you see in the photos, just let us know.


Feed Yo’self

This post is either old news or life changing.  I feel like lots of (younger) folks were taught about RSS feeds in high school or college, but at the time it may not have been that interesting or meaningful so I wanted to revisit it for a moment.  RSS feeds are a great way to stay organized and updated with all of the websites you’re interested in.

Screen Shot 2014-08-13 at 12.50.51 AM

What the hell is RSS? RSS (Rich Site Summary) provides a convenient way for content publishers (us!) to distribute information in a standardized format.  RSS is basically a way for the reader (you!) to keep tabs on news sites, blogs or anyone else publishing in the abbreviated notification-oriented format, eliminating the need to revisit websites throughout the day and manually scan for new content.  Each day, instead of checking all the websites you’re interested in, you can scroll through your RSS feed.  The benefit of an RSS feed (also called RSS readers) is the aggregation of all content from multiple web sources in one place. You no longer have to visit different sites to obtain the latest information on your topics of interest. With RSS, summaries of content are delivered to you, and then you decide which articles you want to read by clicking a link.

Screen Shot 2014-08-13 at 12.49.58 AM

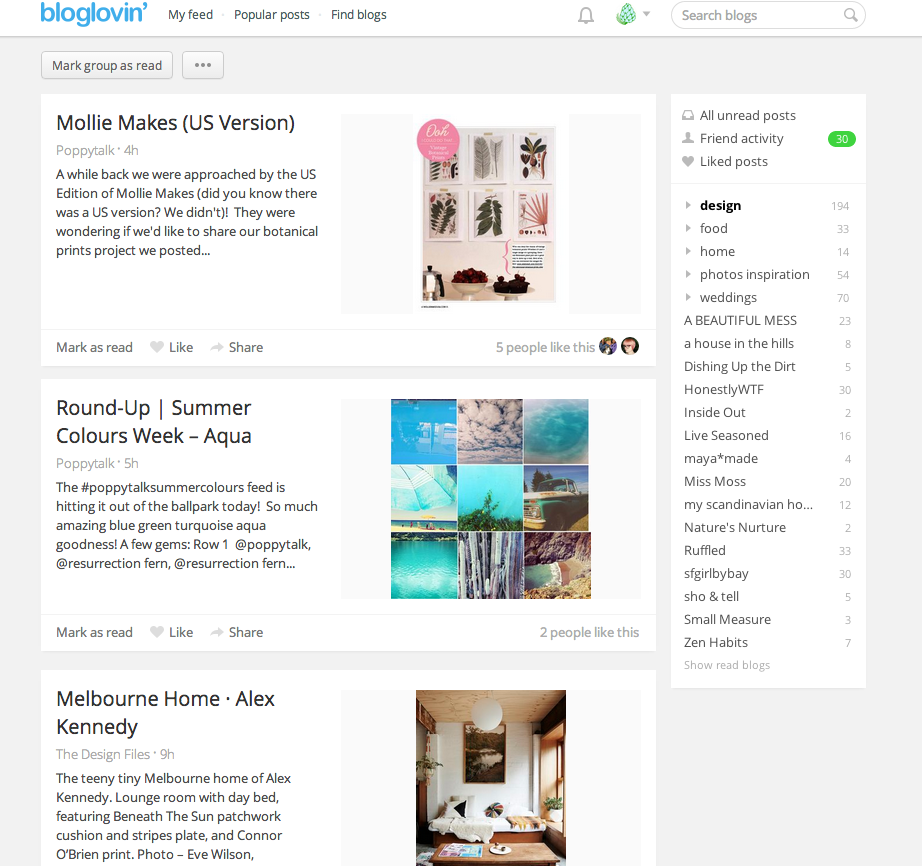
Personally, I love RSS readers because I have a habit of getting really busy (or procrastinating everything until the last minute), which means I stop reading all my favorite blogs for a few days weeks.  If I didn’t subscribe to an RSS reader, it is totally possible that I’d forget about some those great sites.  I don’t want to lose those gems, but I also don’t want to check them all every day. Instead I catch up with my RSS feed every saturday!  I drink cups of tea and read until my hearts content.  It’s a lovely little way to stay organized. Ain’t the internet great?  How do you subscribe?  Everyone handles this differently, but in most cases, you’re looking for a button on each site that reads “RSS” or an icon  that look like a wireless symbol tipped on its side (a dot with two curved lines stacked above, extending to the right).  You can see Live Seasoned’s RSS button on the top right corner of our page.  If you’re signing up for a blog reader (like Blog Lovin’) you can simply search for the blog name and follow it.

If you don’t subscribe to a reader yet, here are a few that I like or have heard good things about.

Feedly– is the most visible of the post–Google Reader free RSS services, with synchronized browser and mobile versions available today. It’s also arguably the prettiest RSS client, offering a minimalist look with clean fonts and hover-over pop-up views and view-based auto-adjusting columns (in a browser). The only oddity: you have to drop feeds into categories (that, or Feedly dumps everything into an “uncategorized” view), which may be an issue for RSS wonks who prefer their feeds un-nested. Feedly is also the most tweakable app in this lineup, letting you fiddle not only basic formatting, but also more esoteric reading aspects.

Digg Reader– Classic and simple.   There’s not much to it, but then there wasn’t much to Google Reader (with RSS, less really is more). You’ll find the typical sorting views at left (“all,” “popular,” “Diggs,” “saved”), just above your subscriptions, and the content’s given plenty of room to stretch out at right. Digg also supports keyboard shortcuts, lets you shift between “list” and “expanded” views, lets you create folders to aggregate feed types and supports sharing to Twitter or Facebook.

RSS Bot-If you’re looking for an unadorned, just-the-facts free RSS client that operates outside your browser, you don’t care about mobile sync and you’re running a Mac, consider RSS bot, a free app by FIPLAB that resides in OS X’s menu bar and displays unread feed counts and stories in a drop-down menu. You click the stuff you want to read, or mark what you don’t want to as read — no fuss, no muss.

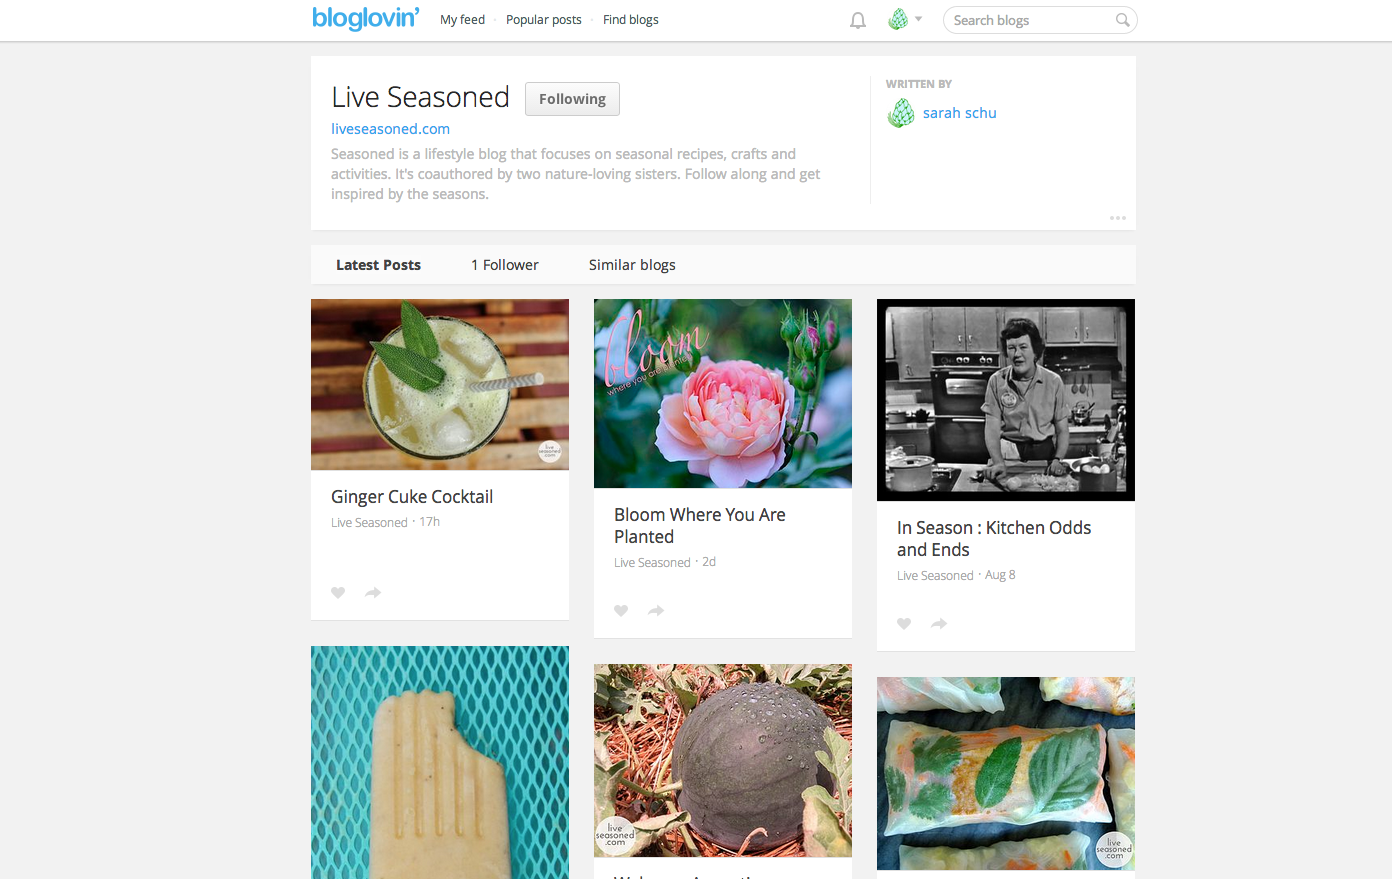
BlogLovin– Is just what it sounds like. All your favorite blogs in one place.  You can search any blog and add them to your feed.  If you need new inspiration you can search for new blogs by categories or what’s trending at the moment.  You can also organize the blogs you follow by categories, which you create yourself!  If you’re a big blog reader than this is the perfect RSS feed for you.

Screen Shot 2014-08-13 at 12.48.08 AM

So whaddaya say?  Do you think an RSS or blog reader is right for you?  Are you an inconsistent (but wish you weren’t) blog reader? Do you think it is easy to catch up with friend happenings on your facebook news feed? Well this is a similar idea, but with blogs!  It has definitely helped me stay on top of all the sites I love, while feeling organized and knowing that I’m not missing a post.  If this sounds like something that would make your life easier then do it to it!


*I read some helpful information, which I used in this post, in an article by Matt Peckham.

Ginger Cuke Cocktail

liveseasoned_summer14_gingercocktail-6

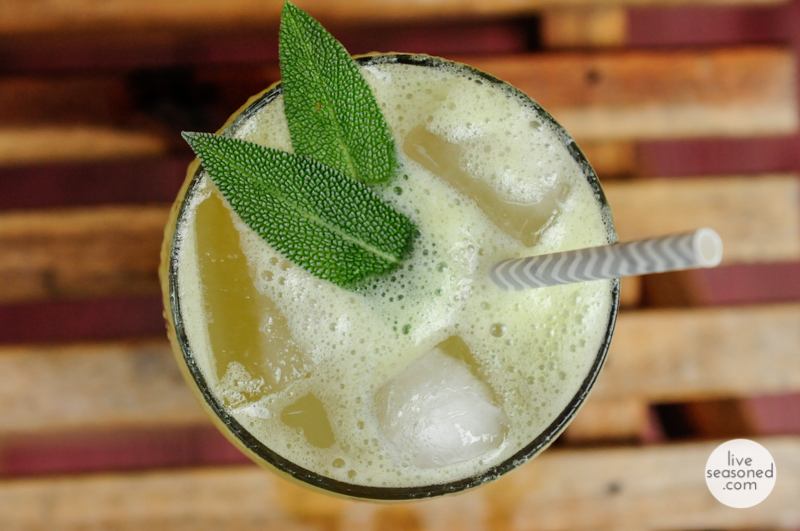
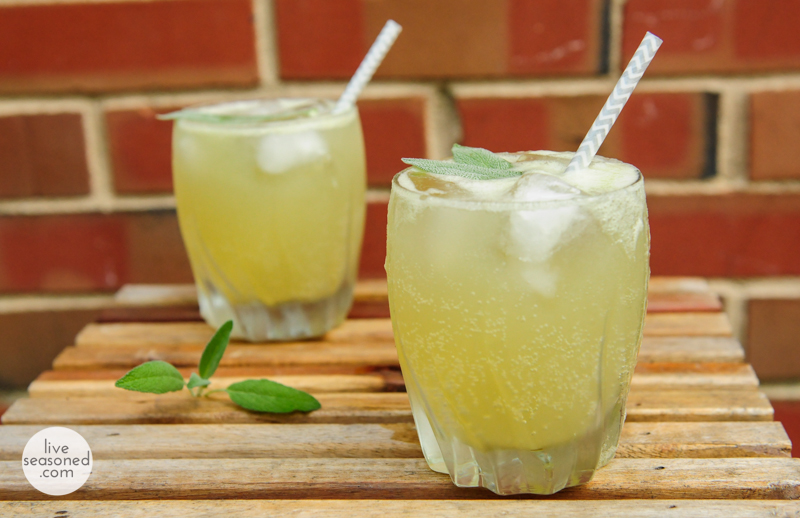
Happy Tuesday! I know it’s a bit early in the week for a cocktail recipe, but I promise this Ginger Cuke Cocktail is mild, well in alcohol, not in flavor.  You can drink a few of these and still have the energy to cook dinner or work on whatever project you have going on at the moment.  I’m in the middle of a macrame wall hanging that I started months (!!) ago and kind of just walked away from.  These Ginger Cuke Cocktails are the encouragement I need to plow ahead!  The spicy ginger beer (a nonalcoholic ginger ale, but oh so different from standard american ginger ale) is absolutely essential to this drink.  If you make it with regular ginger ale you will be sorely disappointed and I’ll feel really bad about it so PLEASE use ginger beer. You’ll want to make me one in gratitude after you finish your first, second, third drink.  You can find the best and cheapest ginger beer in Jamaica, but if you’re in the states like me then head to your grocery store and look in the international aisle or where mixers are sold like tonic and seltzer water.  Ginger beer is really yummy on its own too if you like a soda once in awhile.  It’s not spicy, not sugary, which is why I’m a big fan.  Enough about ginger beer (the essential ingredient!) on to the story of why I created this cocktail.

liveseasoned_summer14_gingercocktail-1-2

A couple weeks ago, I had a birthday – whoop whoop! I talked about my celebration here, but in short, I had a couple delicious mule variations at Venable.  I couldn’t stop thinking about those spicy sage, yet fresh and limey drinks so I decided to mix one up! It took some tweaking, but I came up with the refreshing afternoon, afterdinner, afterdessert drink that I was craving.

liveseasoned_summer14_gingercocktail-2

Ingredients:

  • .5-1.5 oz vodka (depending on preference)
  • 1 oz fresh cucumber juice
  • 2.5 oz spicy ginger beer
  • 2 tsp fresh lime juice
  • 4 sage leaves

Recipe:

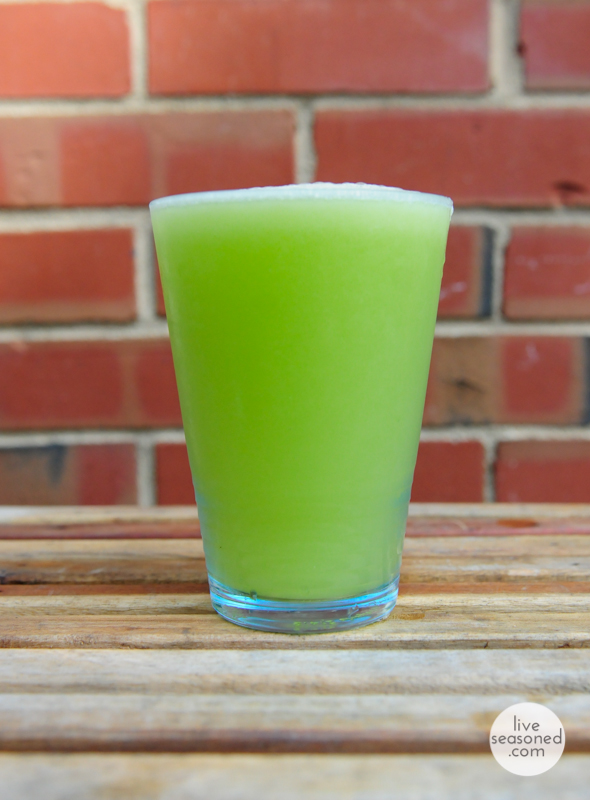
  • Wash, peel and juice one cucumber.  If you don’t have a juicer, simply blend the cucumber and strain out the juice through a mesh colander.
  • Add the vodka, cucumber juice, freshly squeezed lime juice, 2 sage leaves and a few ice cubes to a shaker.
  • Shake forcefully for about ten seconds to break up some of the cubes, crush the sage leaves and mix the juices together.
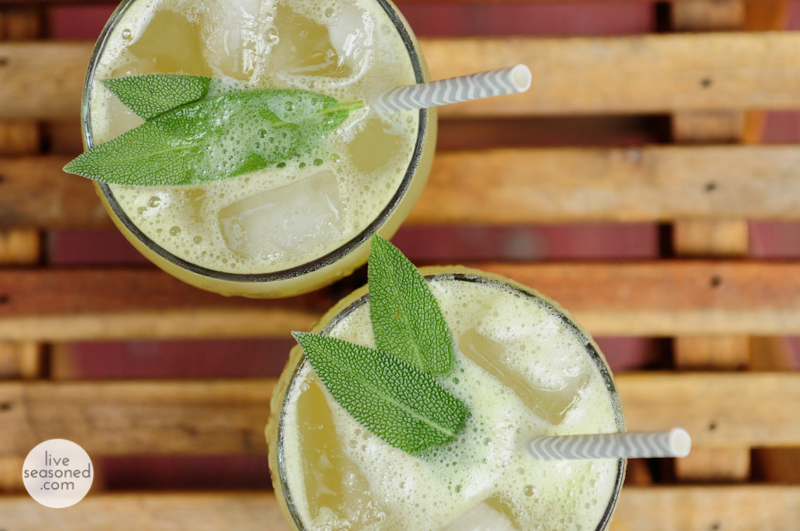
  • Fill you glass half full with ice cubes and pour the mixture in.  Top it off with ginger beer and garnish with a few sage leaves.
  • Enjoy and refill as necessary 😉

liveseasoned_summer14_gingercocktail-2-2


liveseasoned_summer14_gingercocktail-7

I hope these photos have you running out the door for ginger beer! Let me know how much you love this ginger cuke coctail @liveseasoned . XO

Bloom Where You Are Planted

bloomwhereyouareplanted

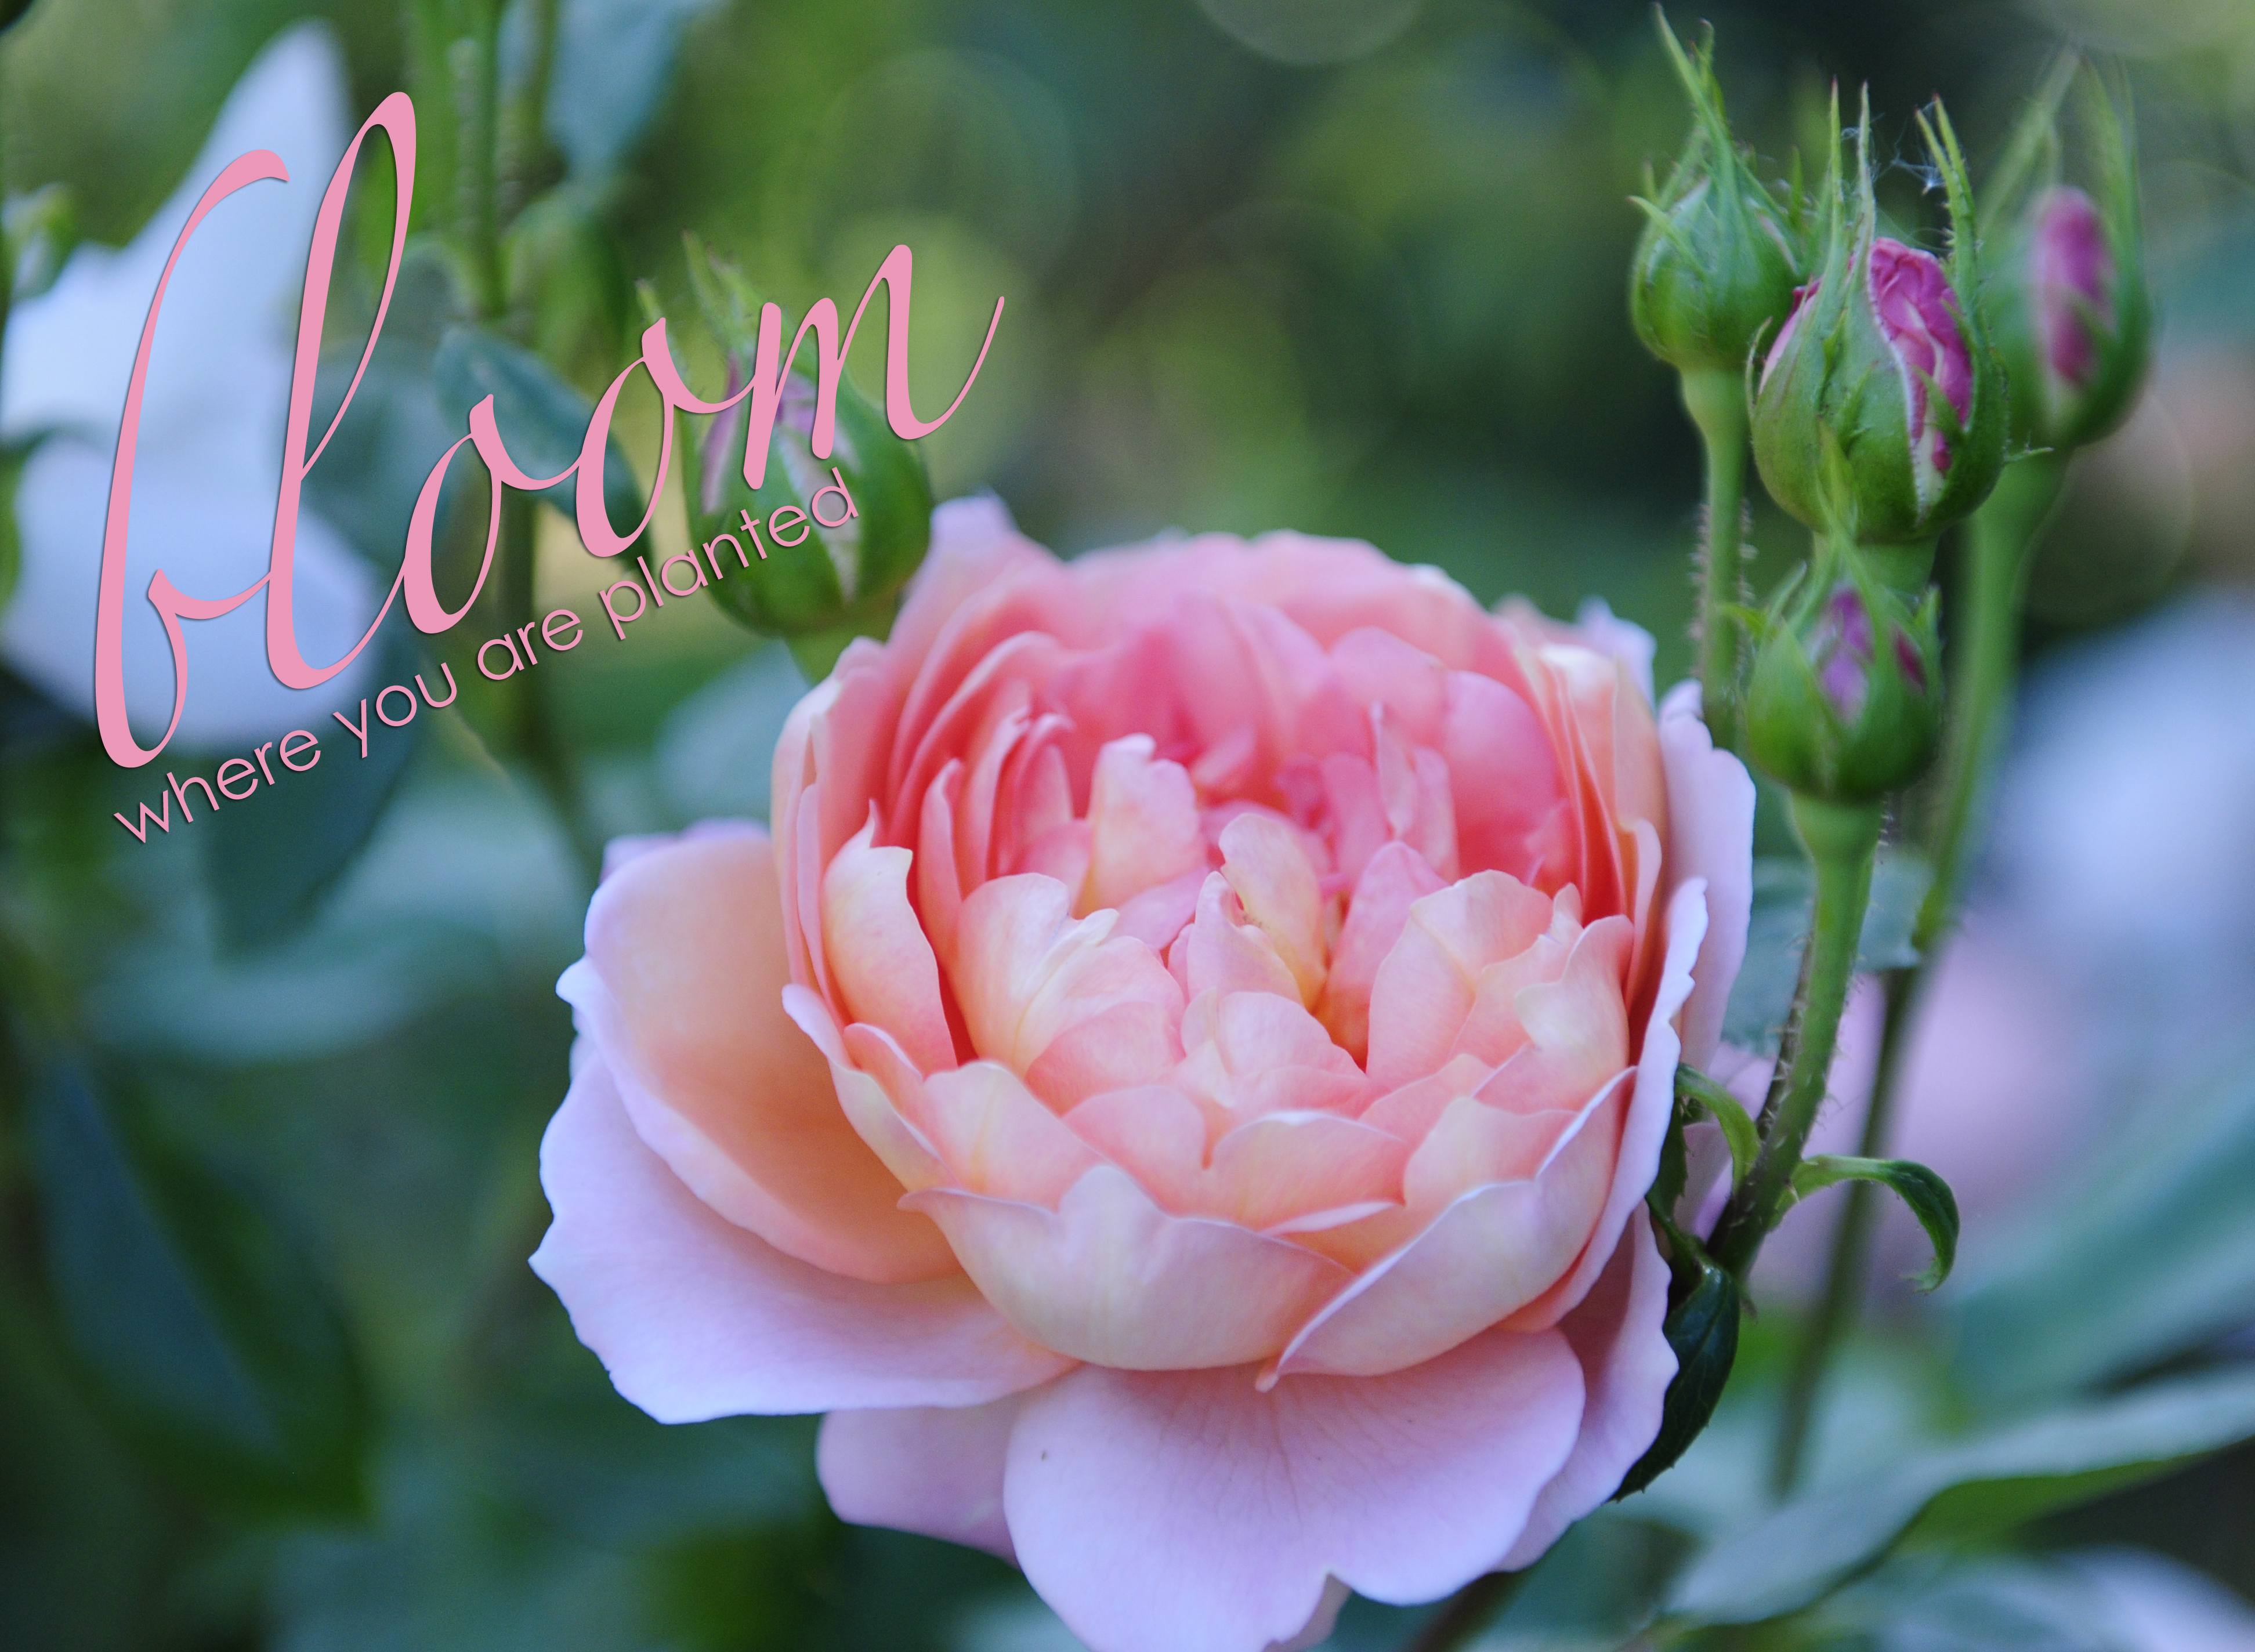
Happy Monday folks!  What have you been up to?  This past weekend I hung out in Connecticut.  I felt at ease even though I had never been to Connecticut (as a destination) or to my friend’s home.  Traveling to other countries and strangers’ homes has helped me acclimate to places and spaces at lightening speed.  Instead of feeling worried or anxious about new surroundings, I feel intrigued and excited to explore and experience new cities and towns.  Fortunately, this means I have more time to really enjoy these mini vacations!  Instead of feeling closed off, come out of your shell and bloom where you are planted, even if you’re only planted there for a weekend…

Friday was spent eating smoked salmon arugula rolls, drinking cocktails and wine and looking at Hartford Art School’s MFA photography thesis show.  I was able to see friends that I hadn’t seen in several years and the sweetest woman in the world (my friend’s grandmother) whom I stayed with in India back in 2012.  It was a really special night for the students and everyone who came out to the reception.
Saturday was spent out on a sunny lake and then at the MFA graduation ceremony where my friend totally stole the show.  He prepared a speech that had the entire crowd both laughing and tearing up!  He also won an award for his amazing book that he made from hand.  After the graduation ceremony, the entire class (of ten students), the faculty, advisors, and younger students partied on the lawn until the middle of the night.  I didn’t know a soul so it was really interesting to meet a bunch of art photographers (since I come from a photojournalism background) and to hear about their life paths.

Sunday was spent back at the lake house where my friend’s parents live.  We grilled food, hung out with new friends (from Utah!), went for boat rides and jumped off the dock.  As we turned the boat towards home, we saw an enormous, orange, full moon rising up over the tree-covered mountains.  It was really the cherry on top of simply amazing weekend.

I hope you treated yourself to a couple of stress-free days as well!