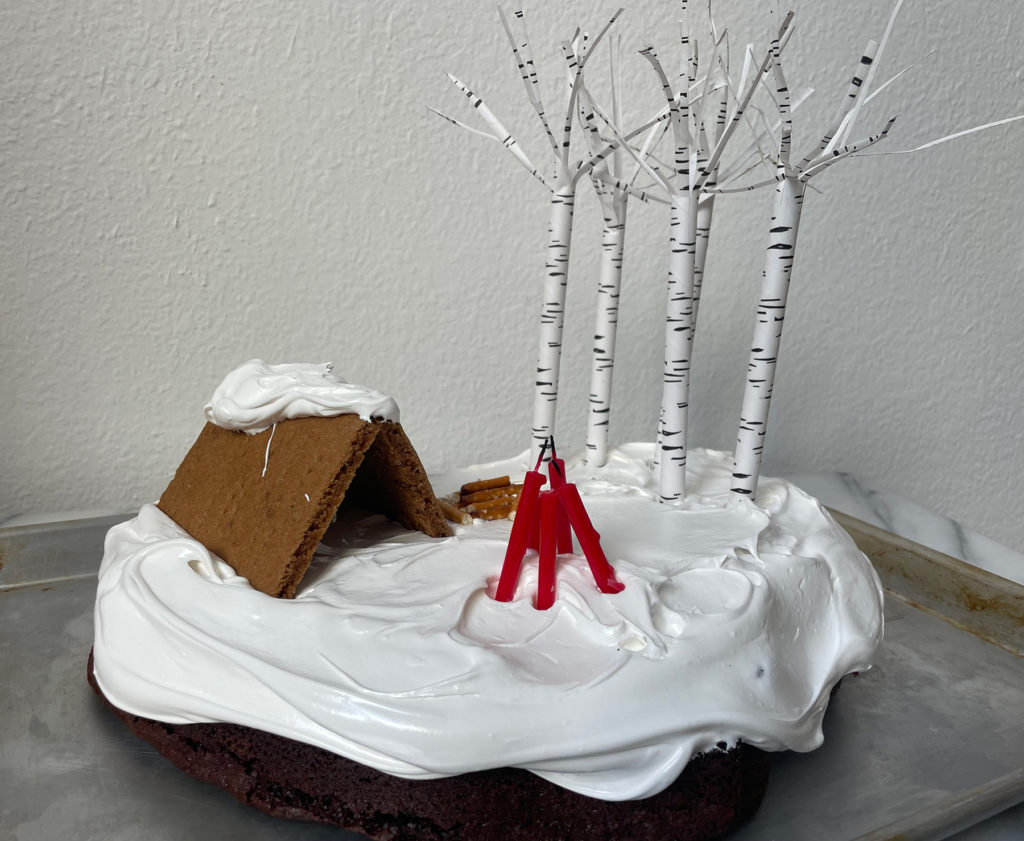
For his birthday, Sweet Tooth Luc had one request: a smores cake. There’s nothing that kid loves more than roasting marshmallows and smashing them between chocolate and graham crackers.
Continue reading
For his birthday, Sweet Tooth Luc had one request: a smores cake. There’s nothing that kid loves more than roasting marshmallows and smashing them between chocolate and graham crackers.
Continue reading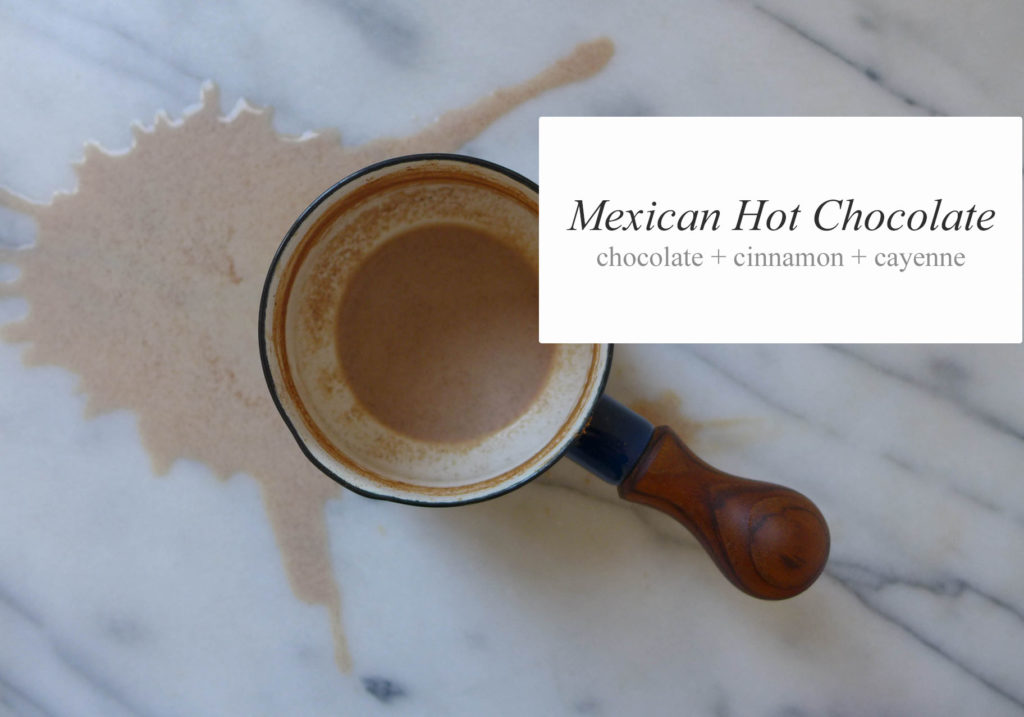
This is another one of those recipes that I knew I wanted to try… I just had to wait for our first snowstorm. Oh man, we’re still waiting for that snow, but I couldn’t wait anymore to sip a warm and spicy mug of Mexican hot chocolate.
Continue readingHave you tried a lip scrub yet? Lip scrubs contain a bit of texture to gently exfoliate your lips, and they’re perfect for this time of year when our lips can get dry from the cool winter air.
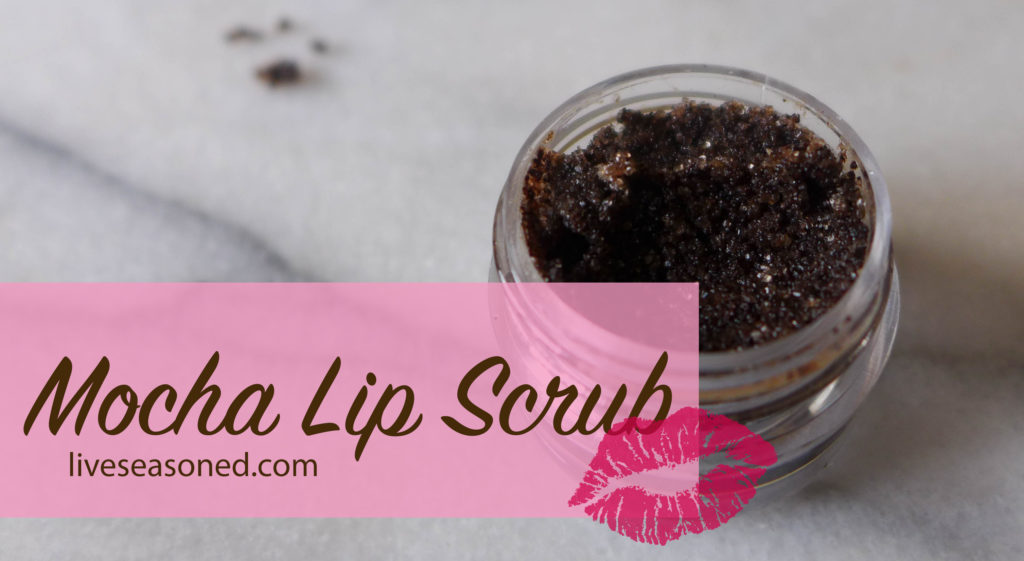
Giving your lips a gentle scrub will remove that dry outer layer, leaving you with soft smooth lips that are the perfect canvas for a bit of lipstick. Why do you need that? Cause it’s holiday party season! Have fun.
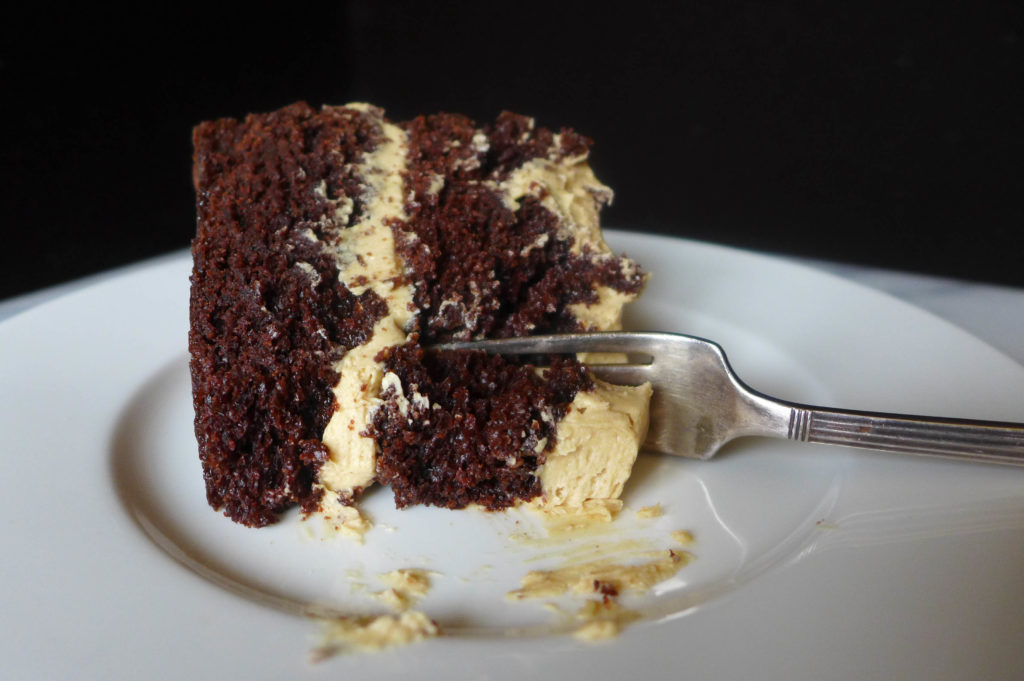
Yesterday was election day. Today we eat cake. Eat in celebration or to calm your frustration (it’s ok).
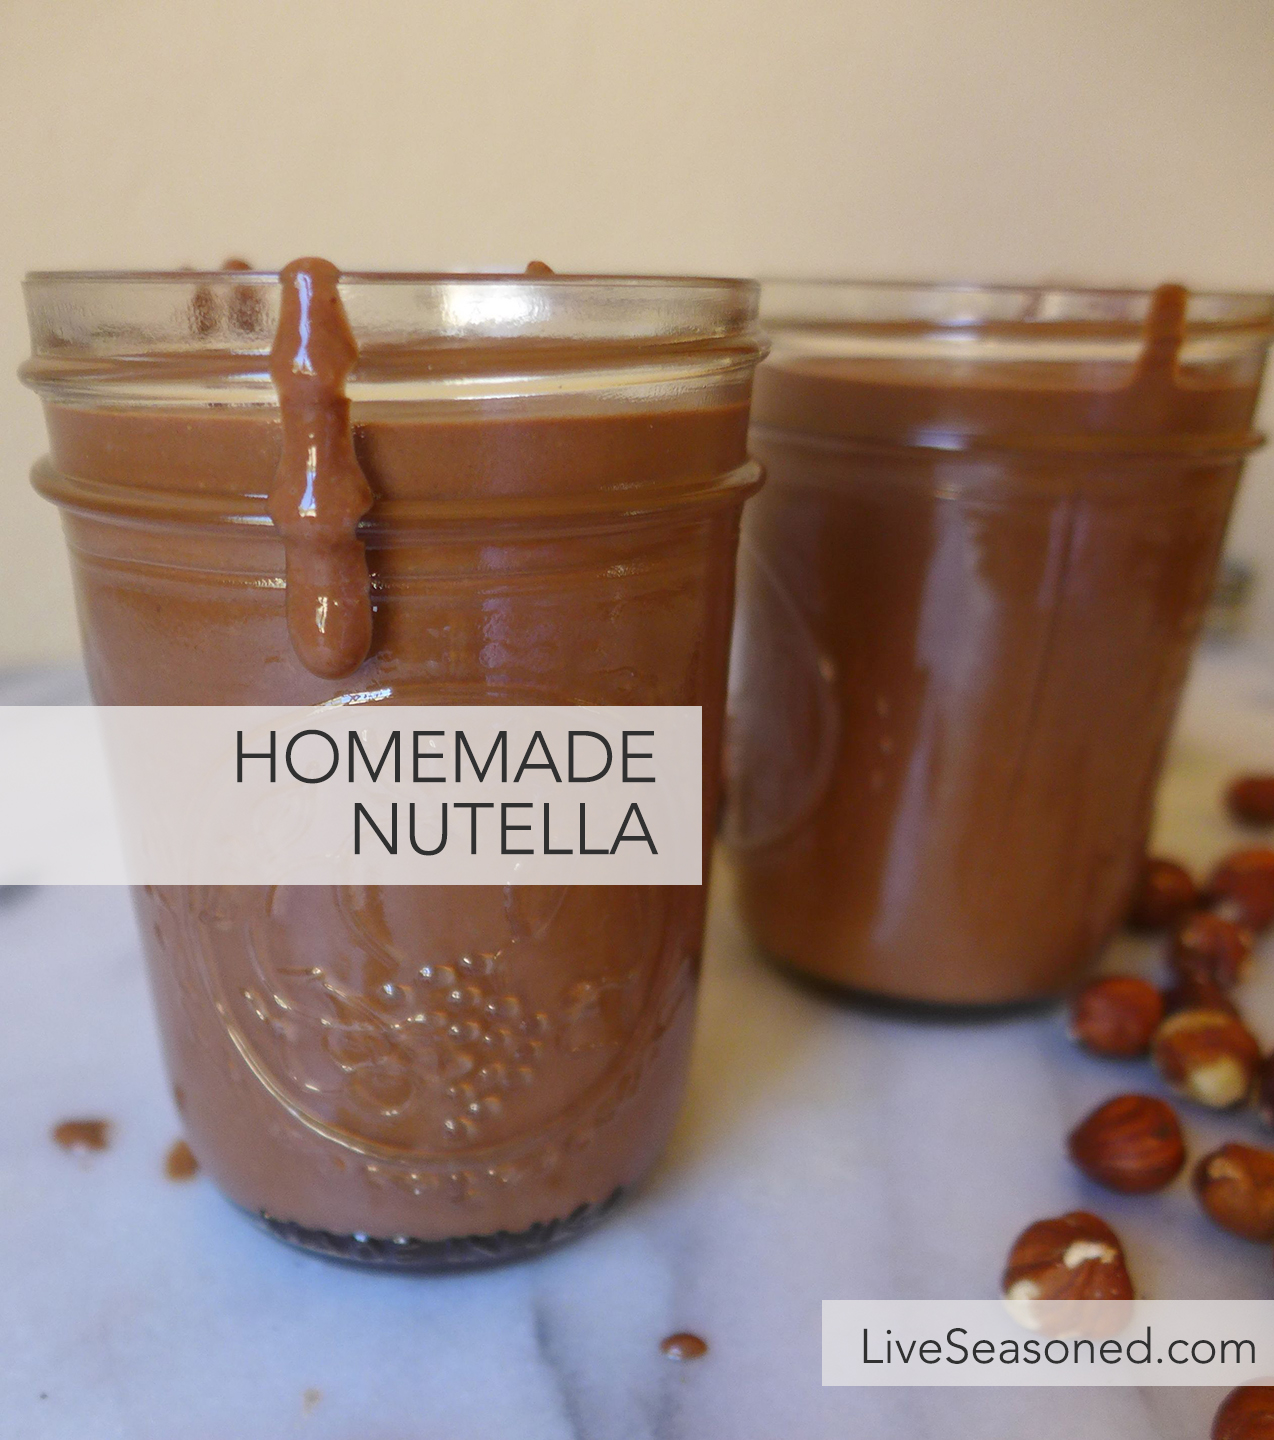
When we picked nuts as our ingredient of the season, I was excited because I knew it would encourage me to try some new recipes, and this homemade nutella is the perfect example. We are a nutella-loving household, but I had never thought to make my own until now.
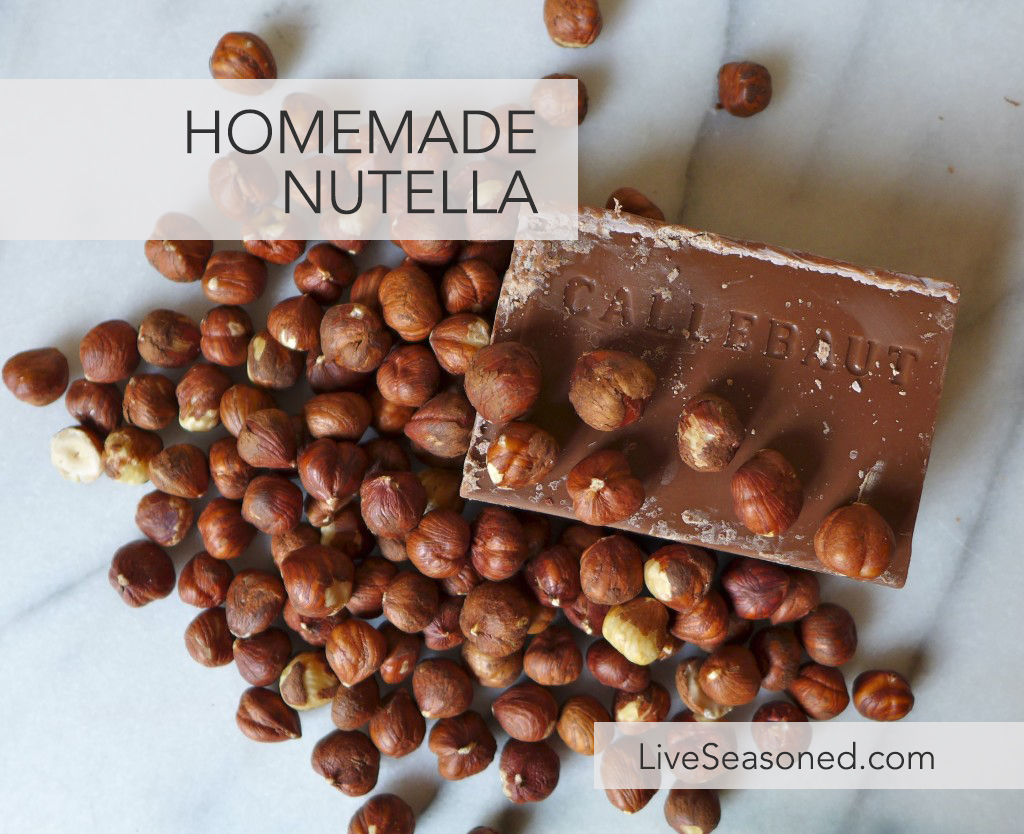 If you aren’t familiar with Nutella, it’s a chocolate and hazelnut-based spread from Italy. The original recipes consisted of mostly chocolate and hazelnut, but unfortunately the main ingredients for the modern recipe are sugar and palm oil. And that’s why this is a treat worth making at home, because as you’ll see, this recipe has a solid base of hazelnuts and chocolate. Of course, it also means that making this batch will cost more than picking up a jar from your local market, particularly if you buy quality hazelnuts and choclate, but I think you’ll discover that it’s worth the price. Additionally, jars of homemade nutella make great gifts from the kitchen {in fact, if only I had thought about it sooner, this would have been the perfect treat for Easter baskets!}.


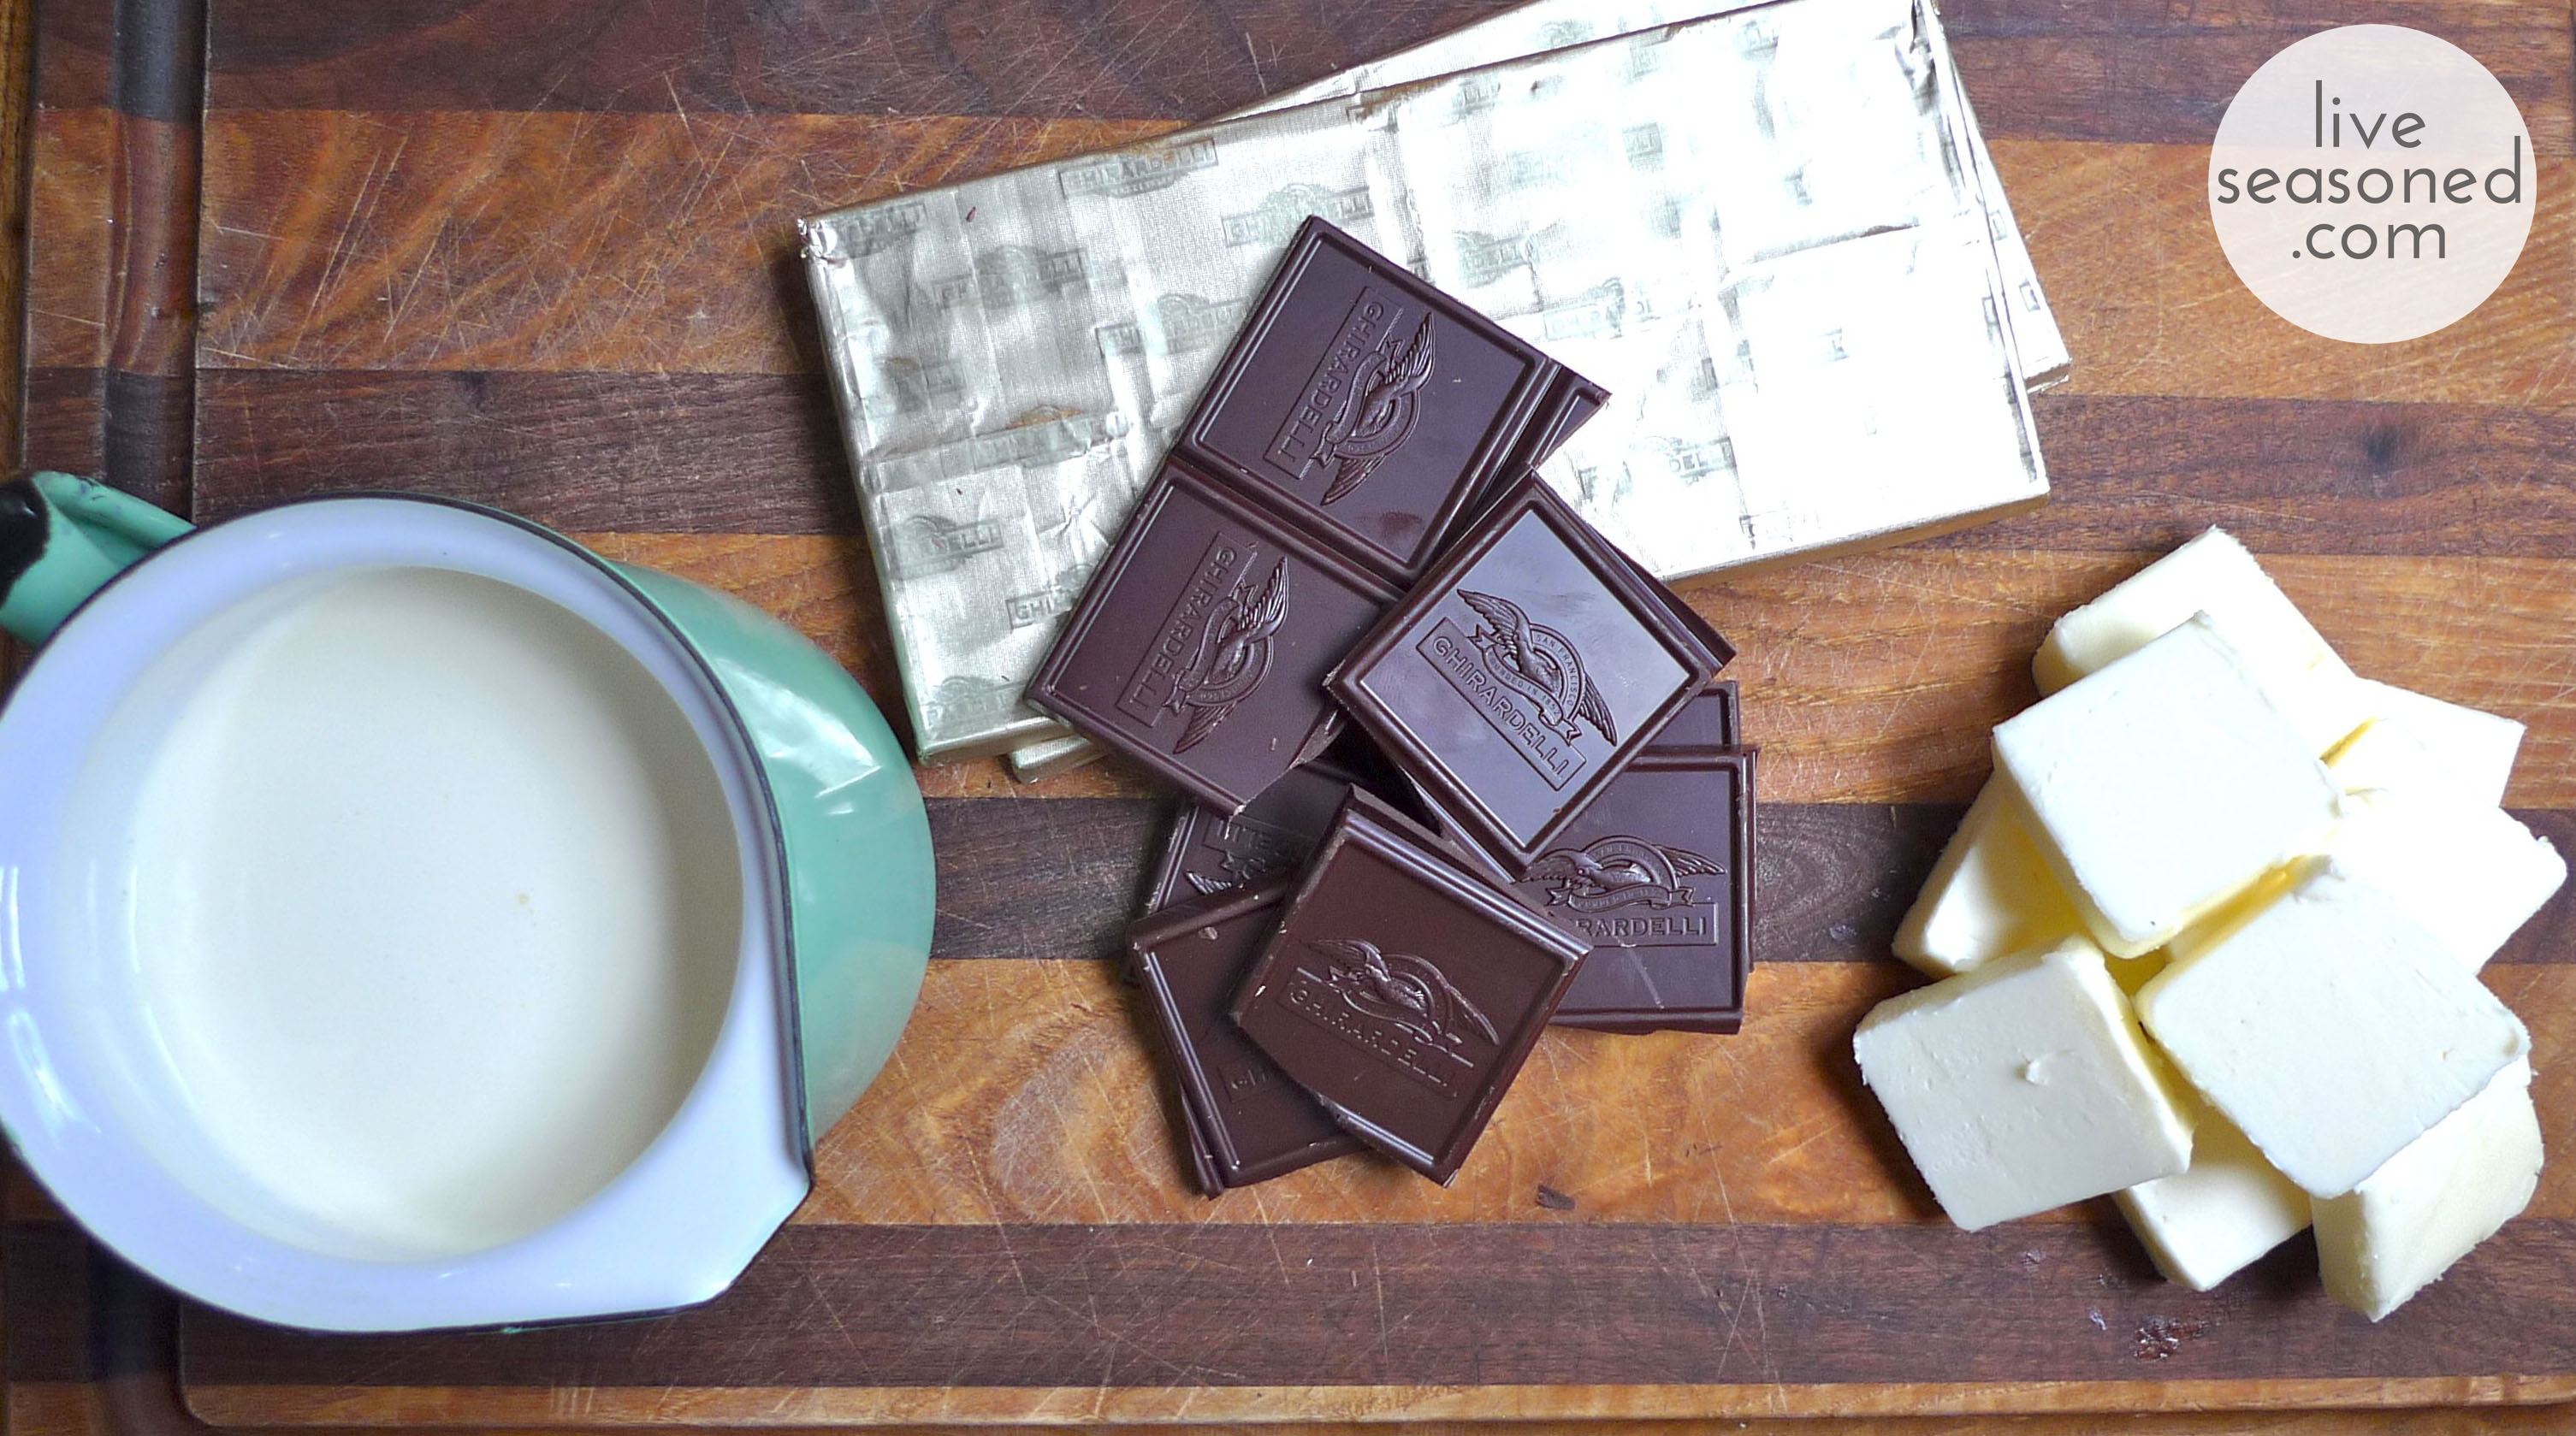
Ingredients
Instructions
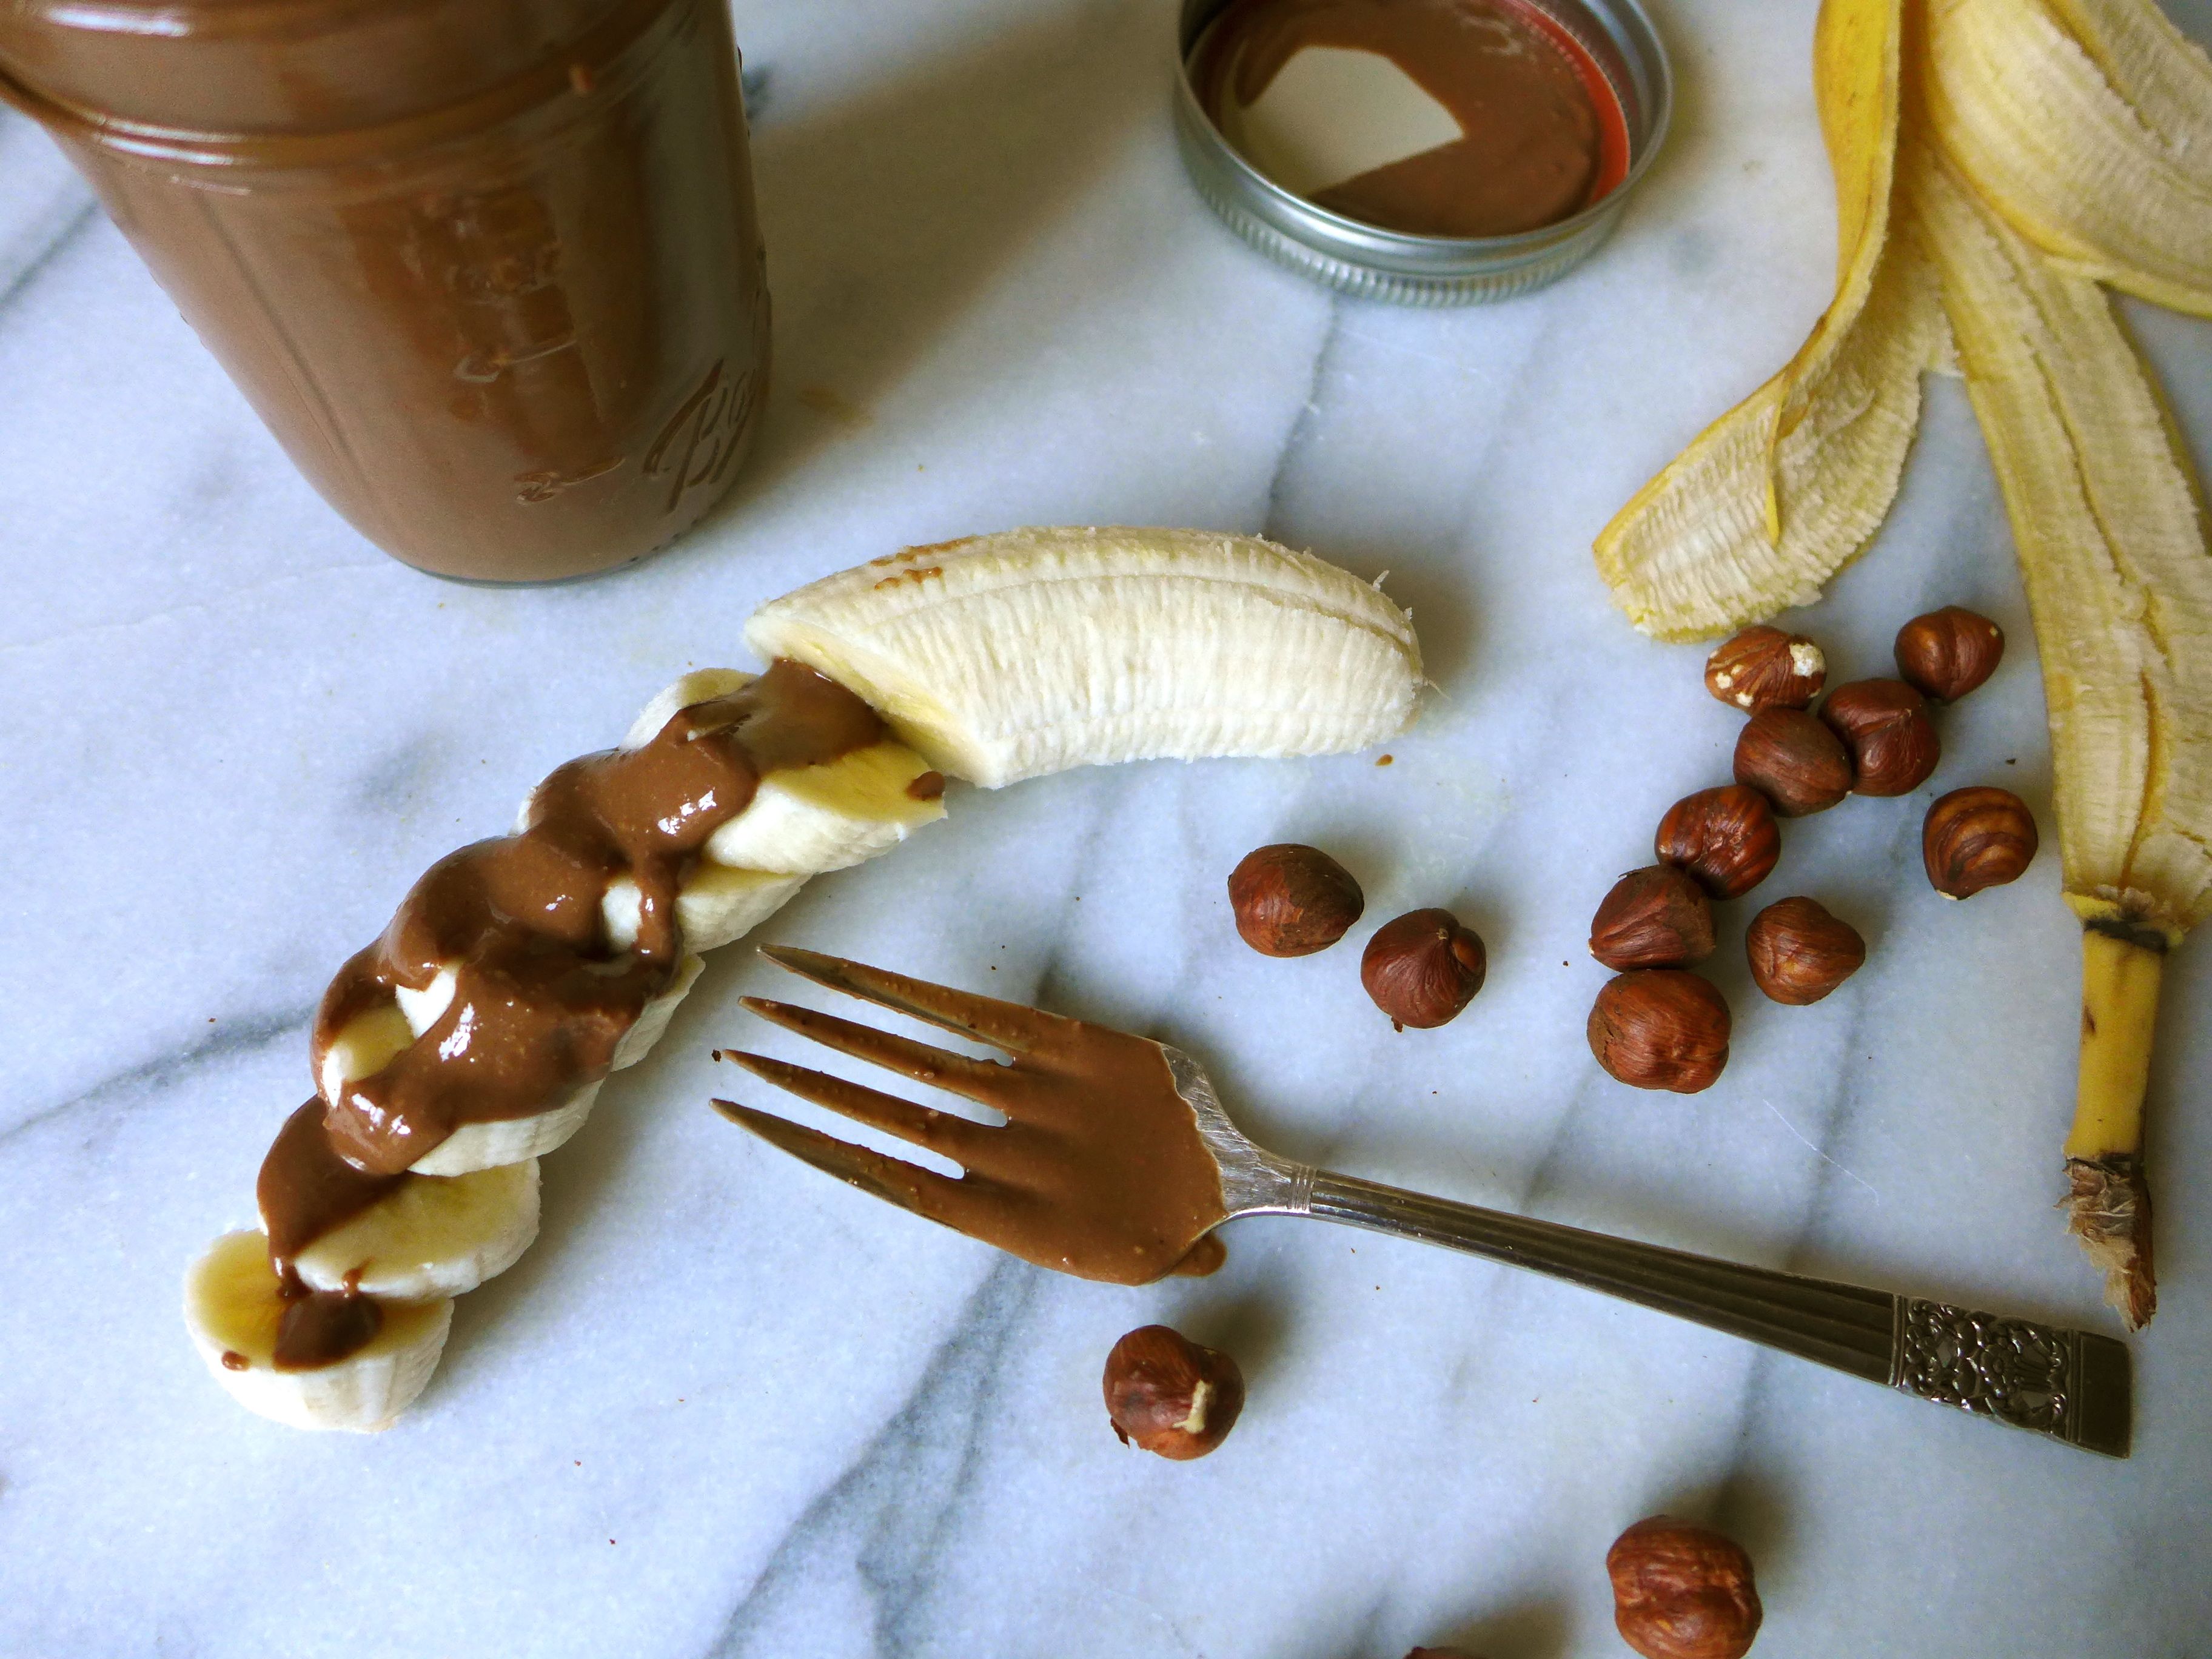
It’s common to spread nutella on toast, but that doesn’t interest me. I prefer it with a banana or on a scoop of vanilla ice cream. How do you eat your nutella? Straight from the spoon?
Sorry this post is coming late in the day, but we’re sharing some incredible brownies, and as you’ll see these things can’t be rushed!
Calder’s birthday is on Saturday. As expected, he requested a chocolate cake, but since we have a camping trip planned, I thought a batch of brownies would be easier to pack. And what better for the birthday boy than the most indulgent brownies I know?
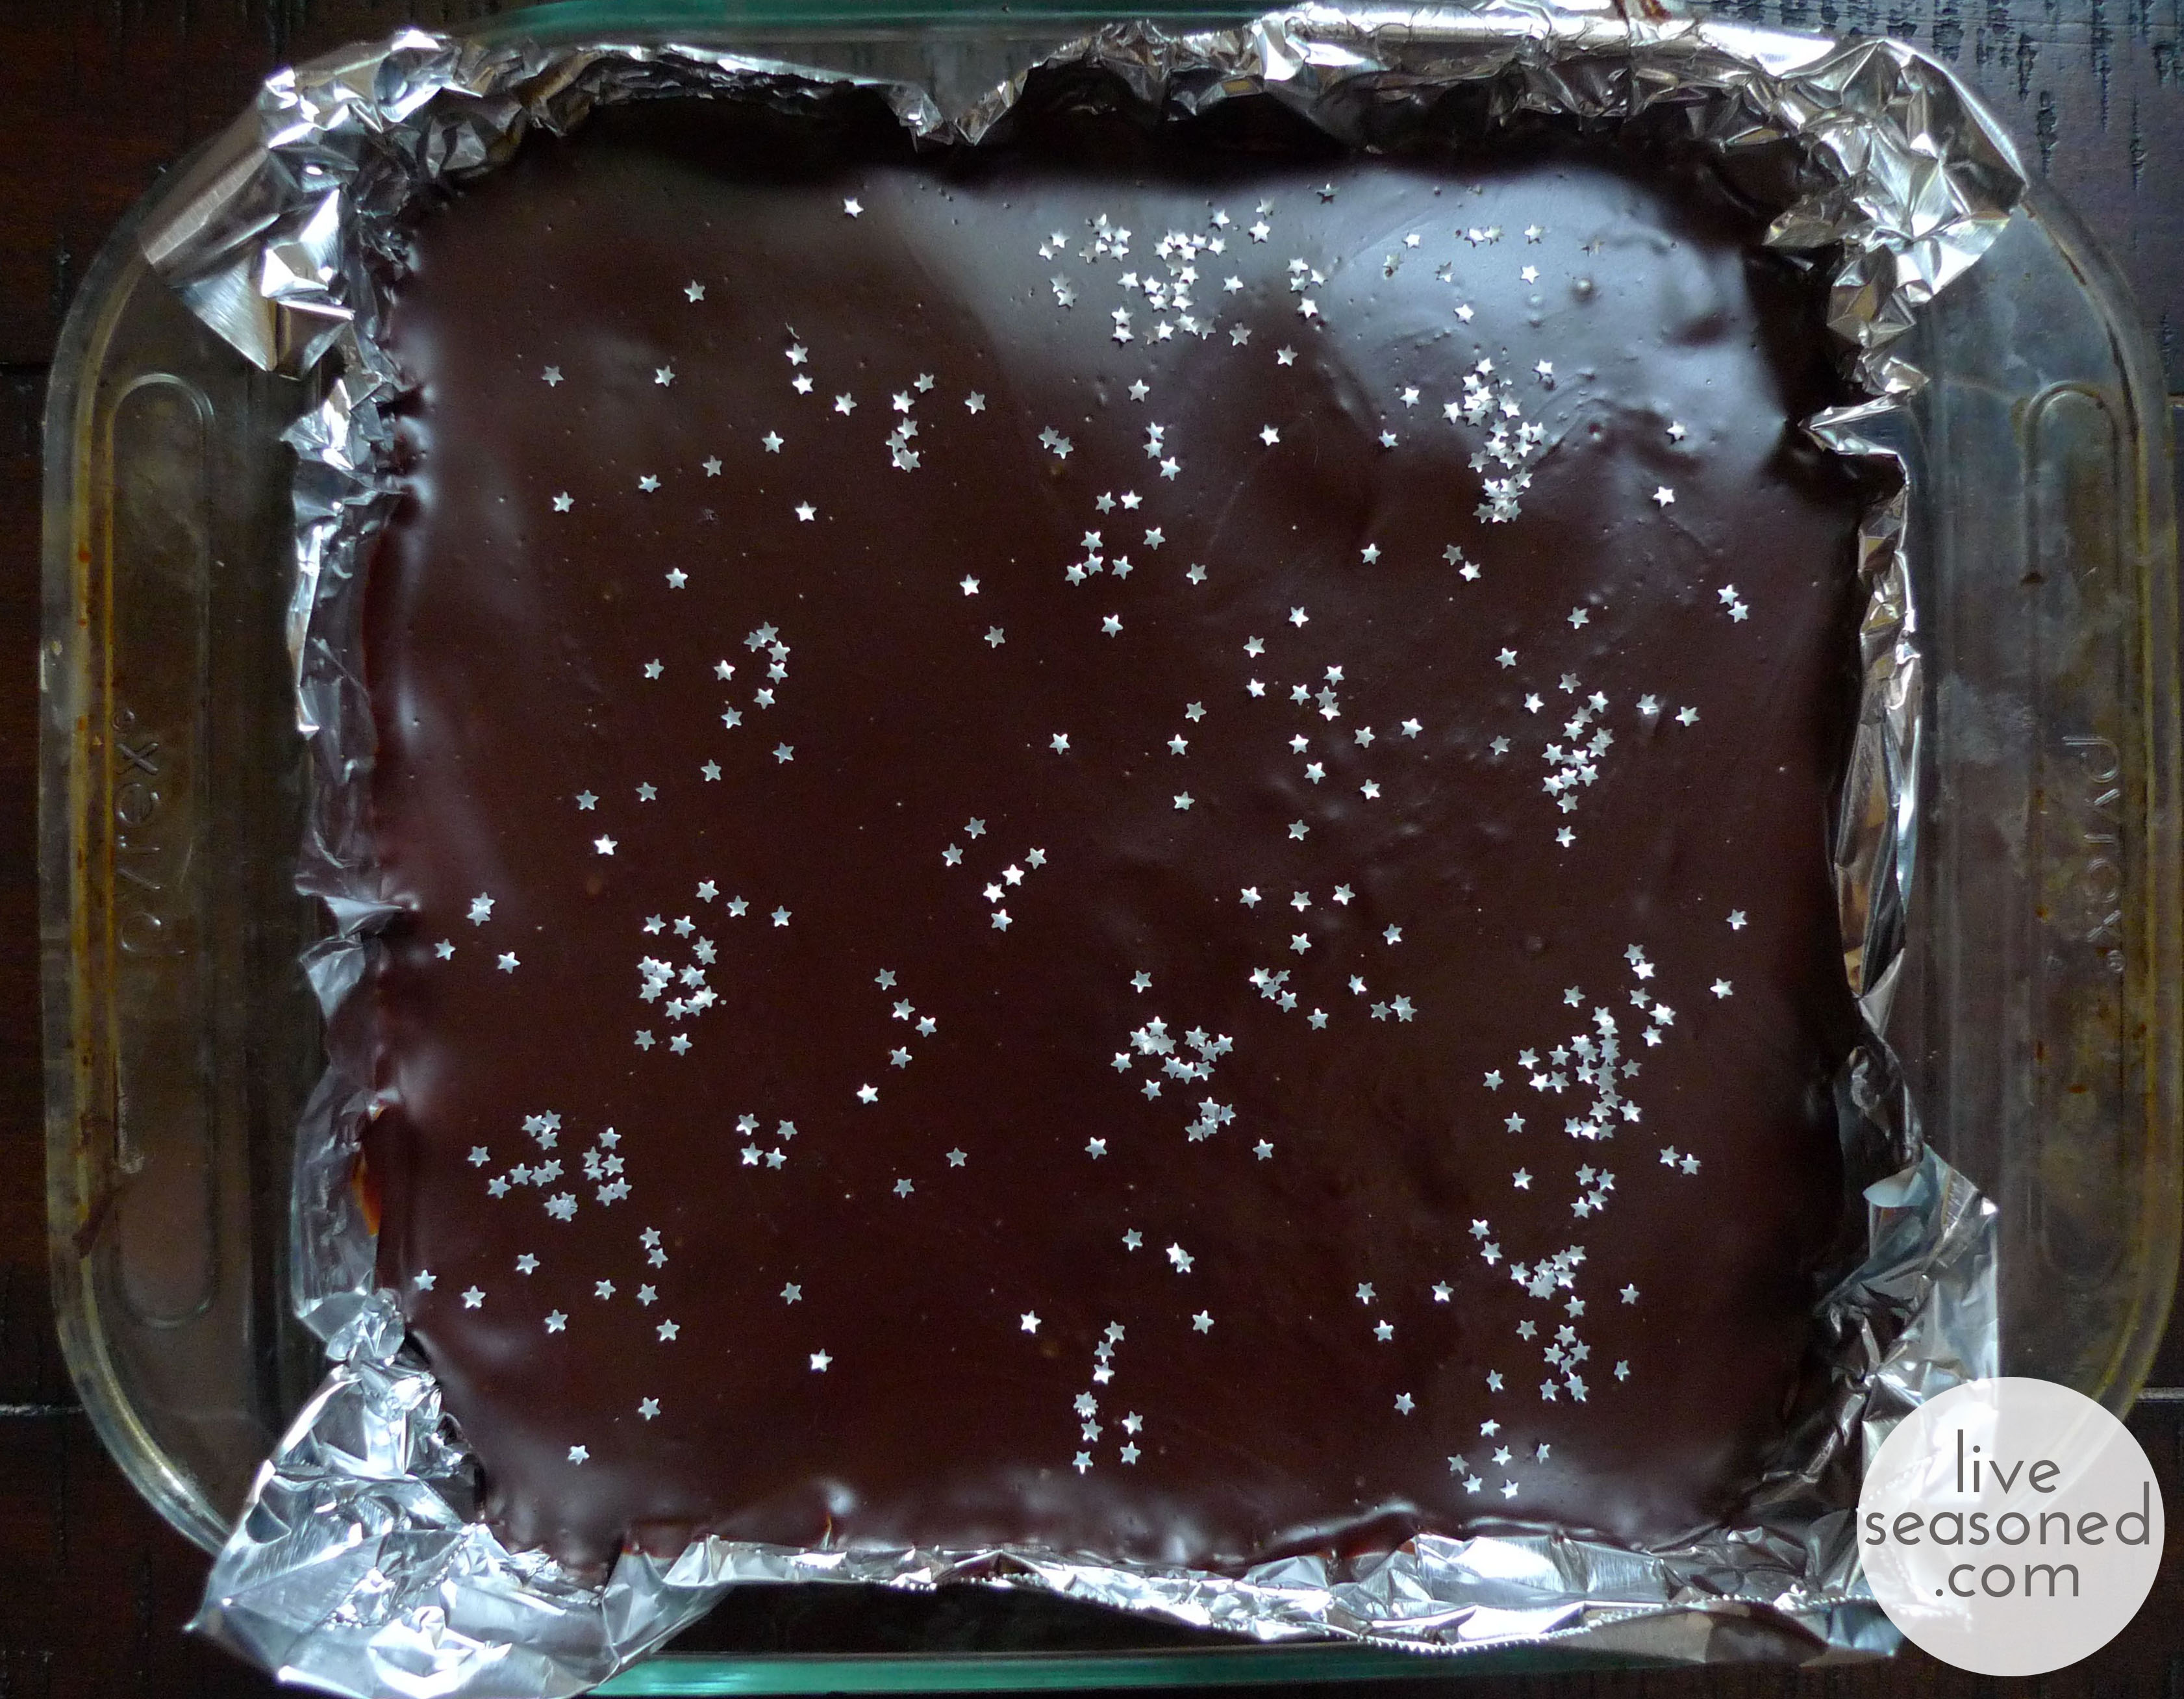
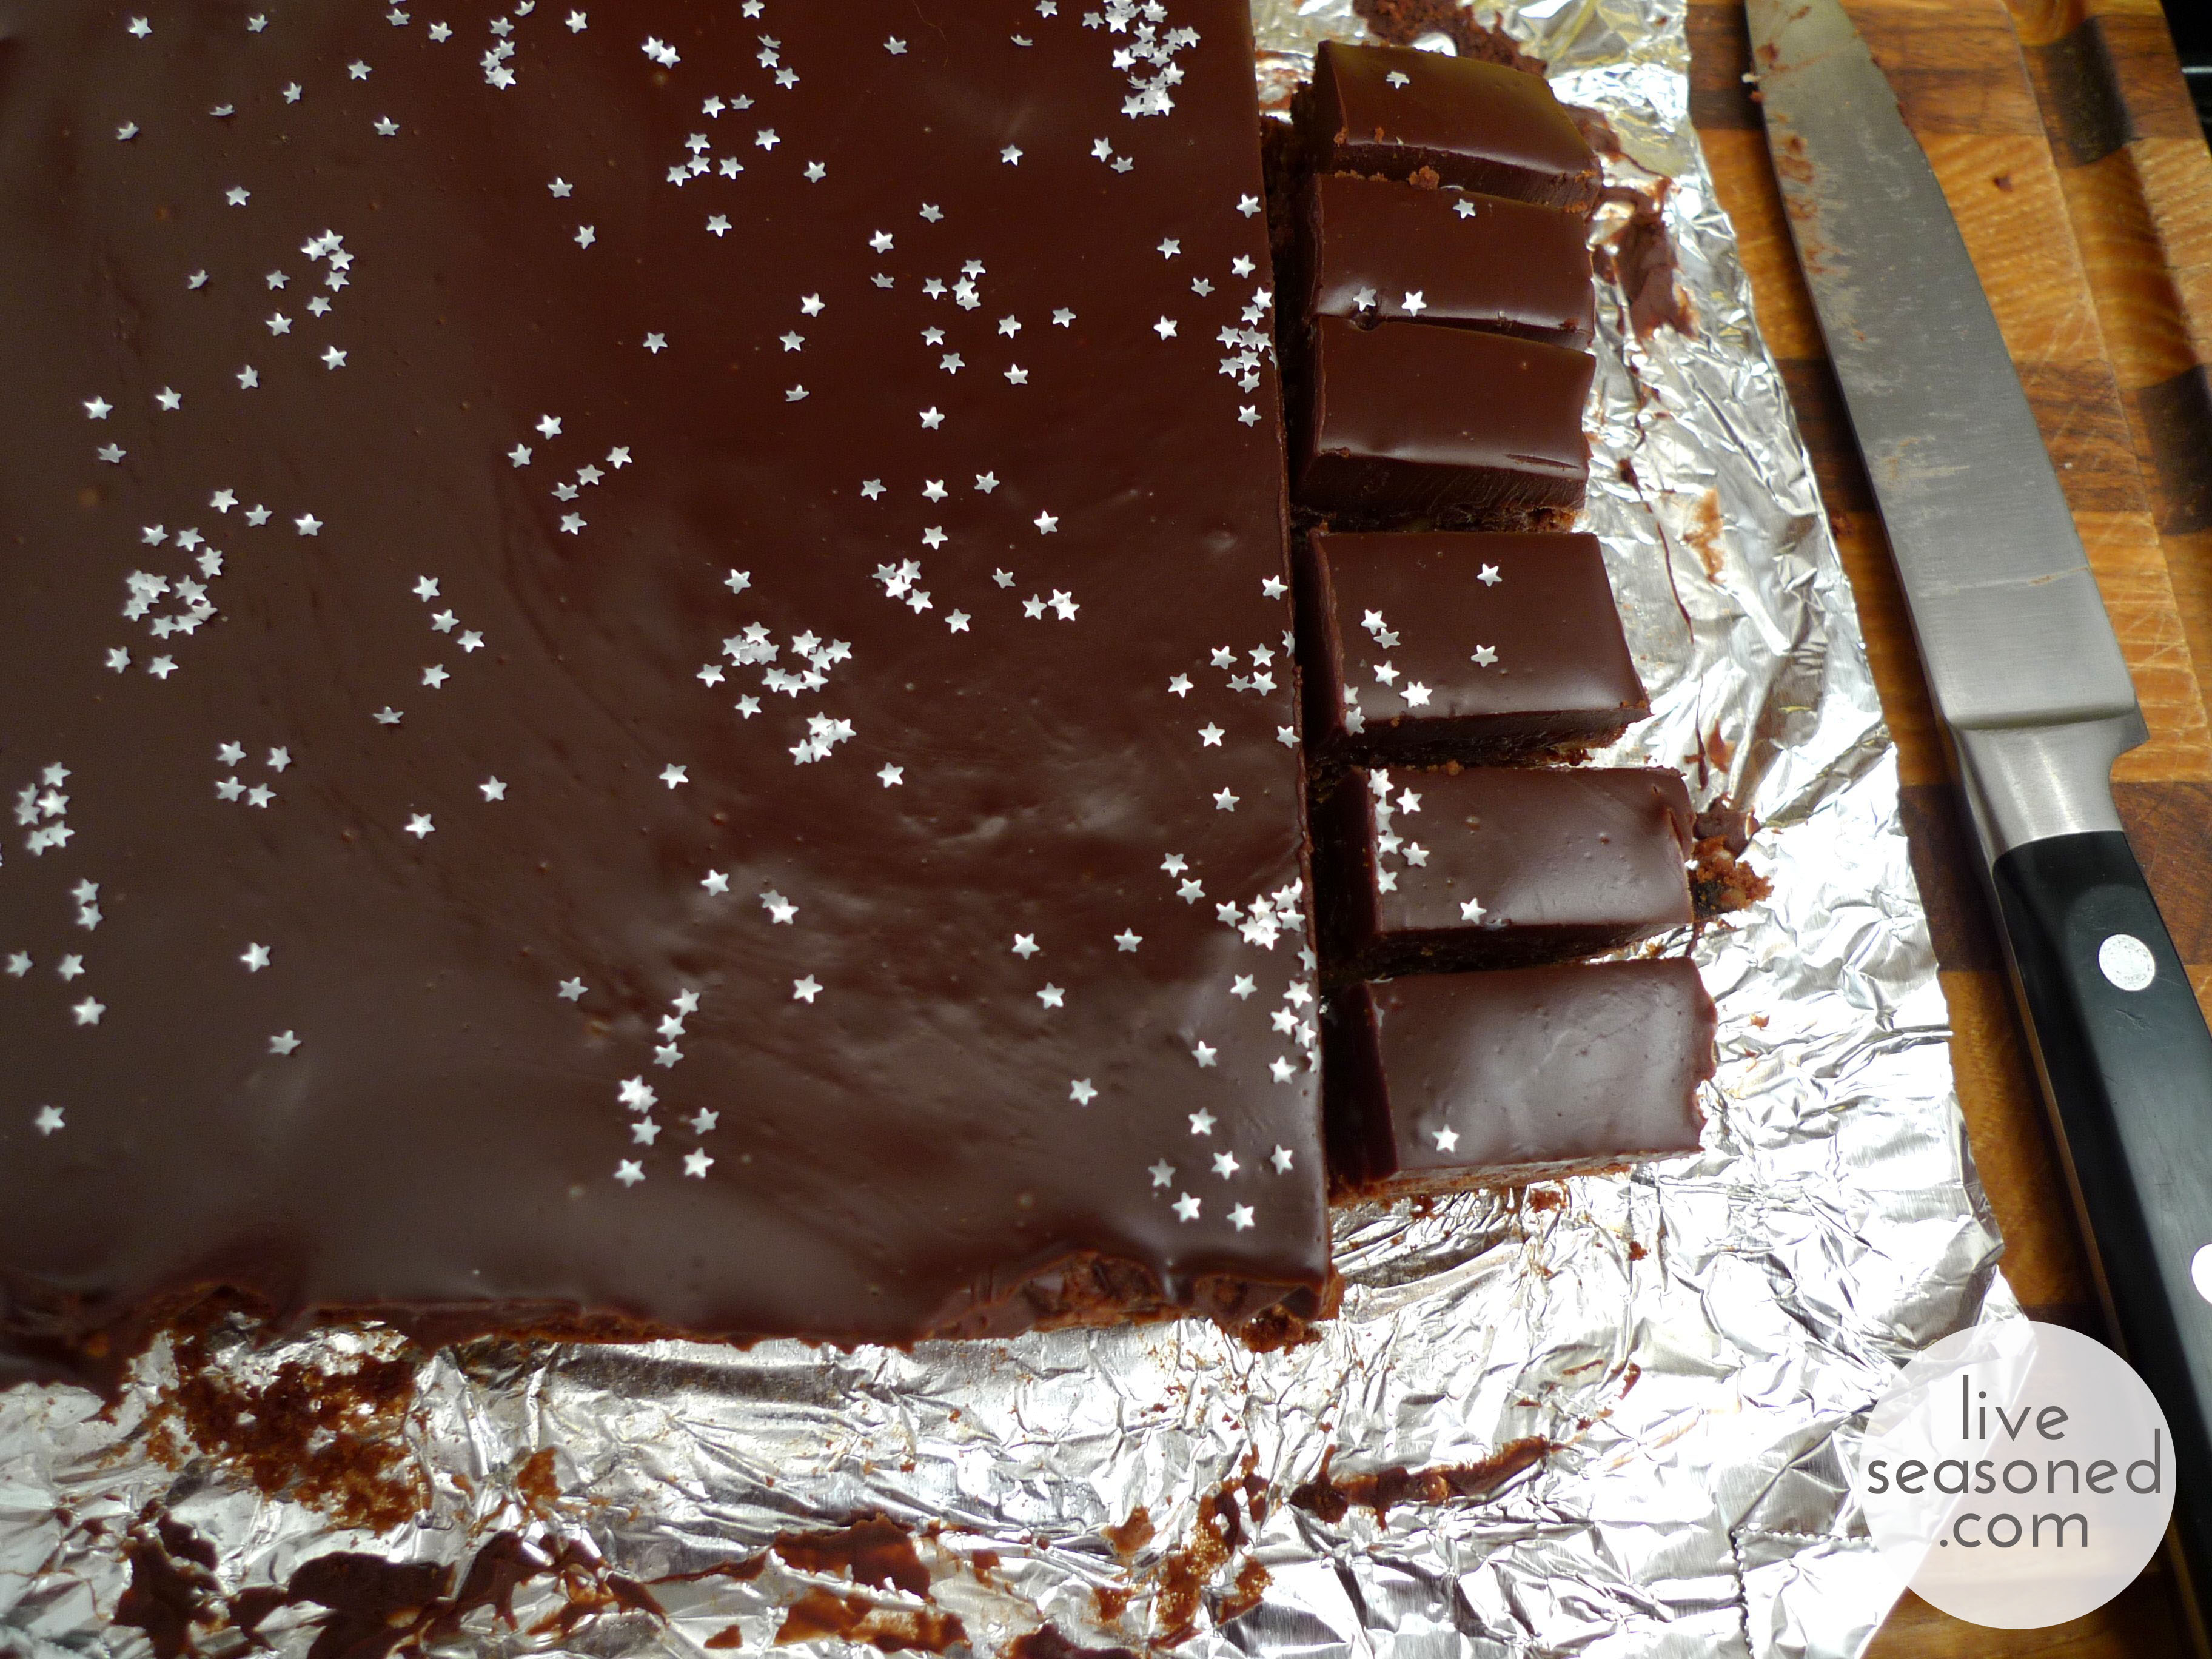
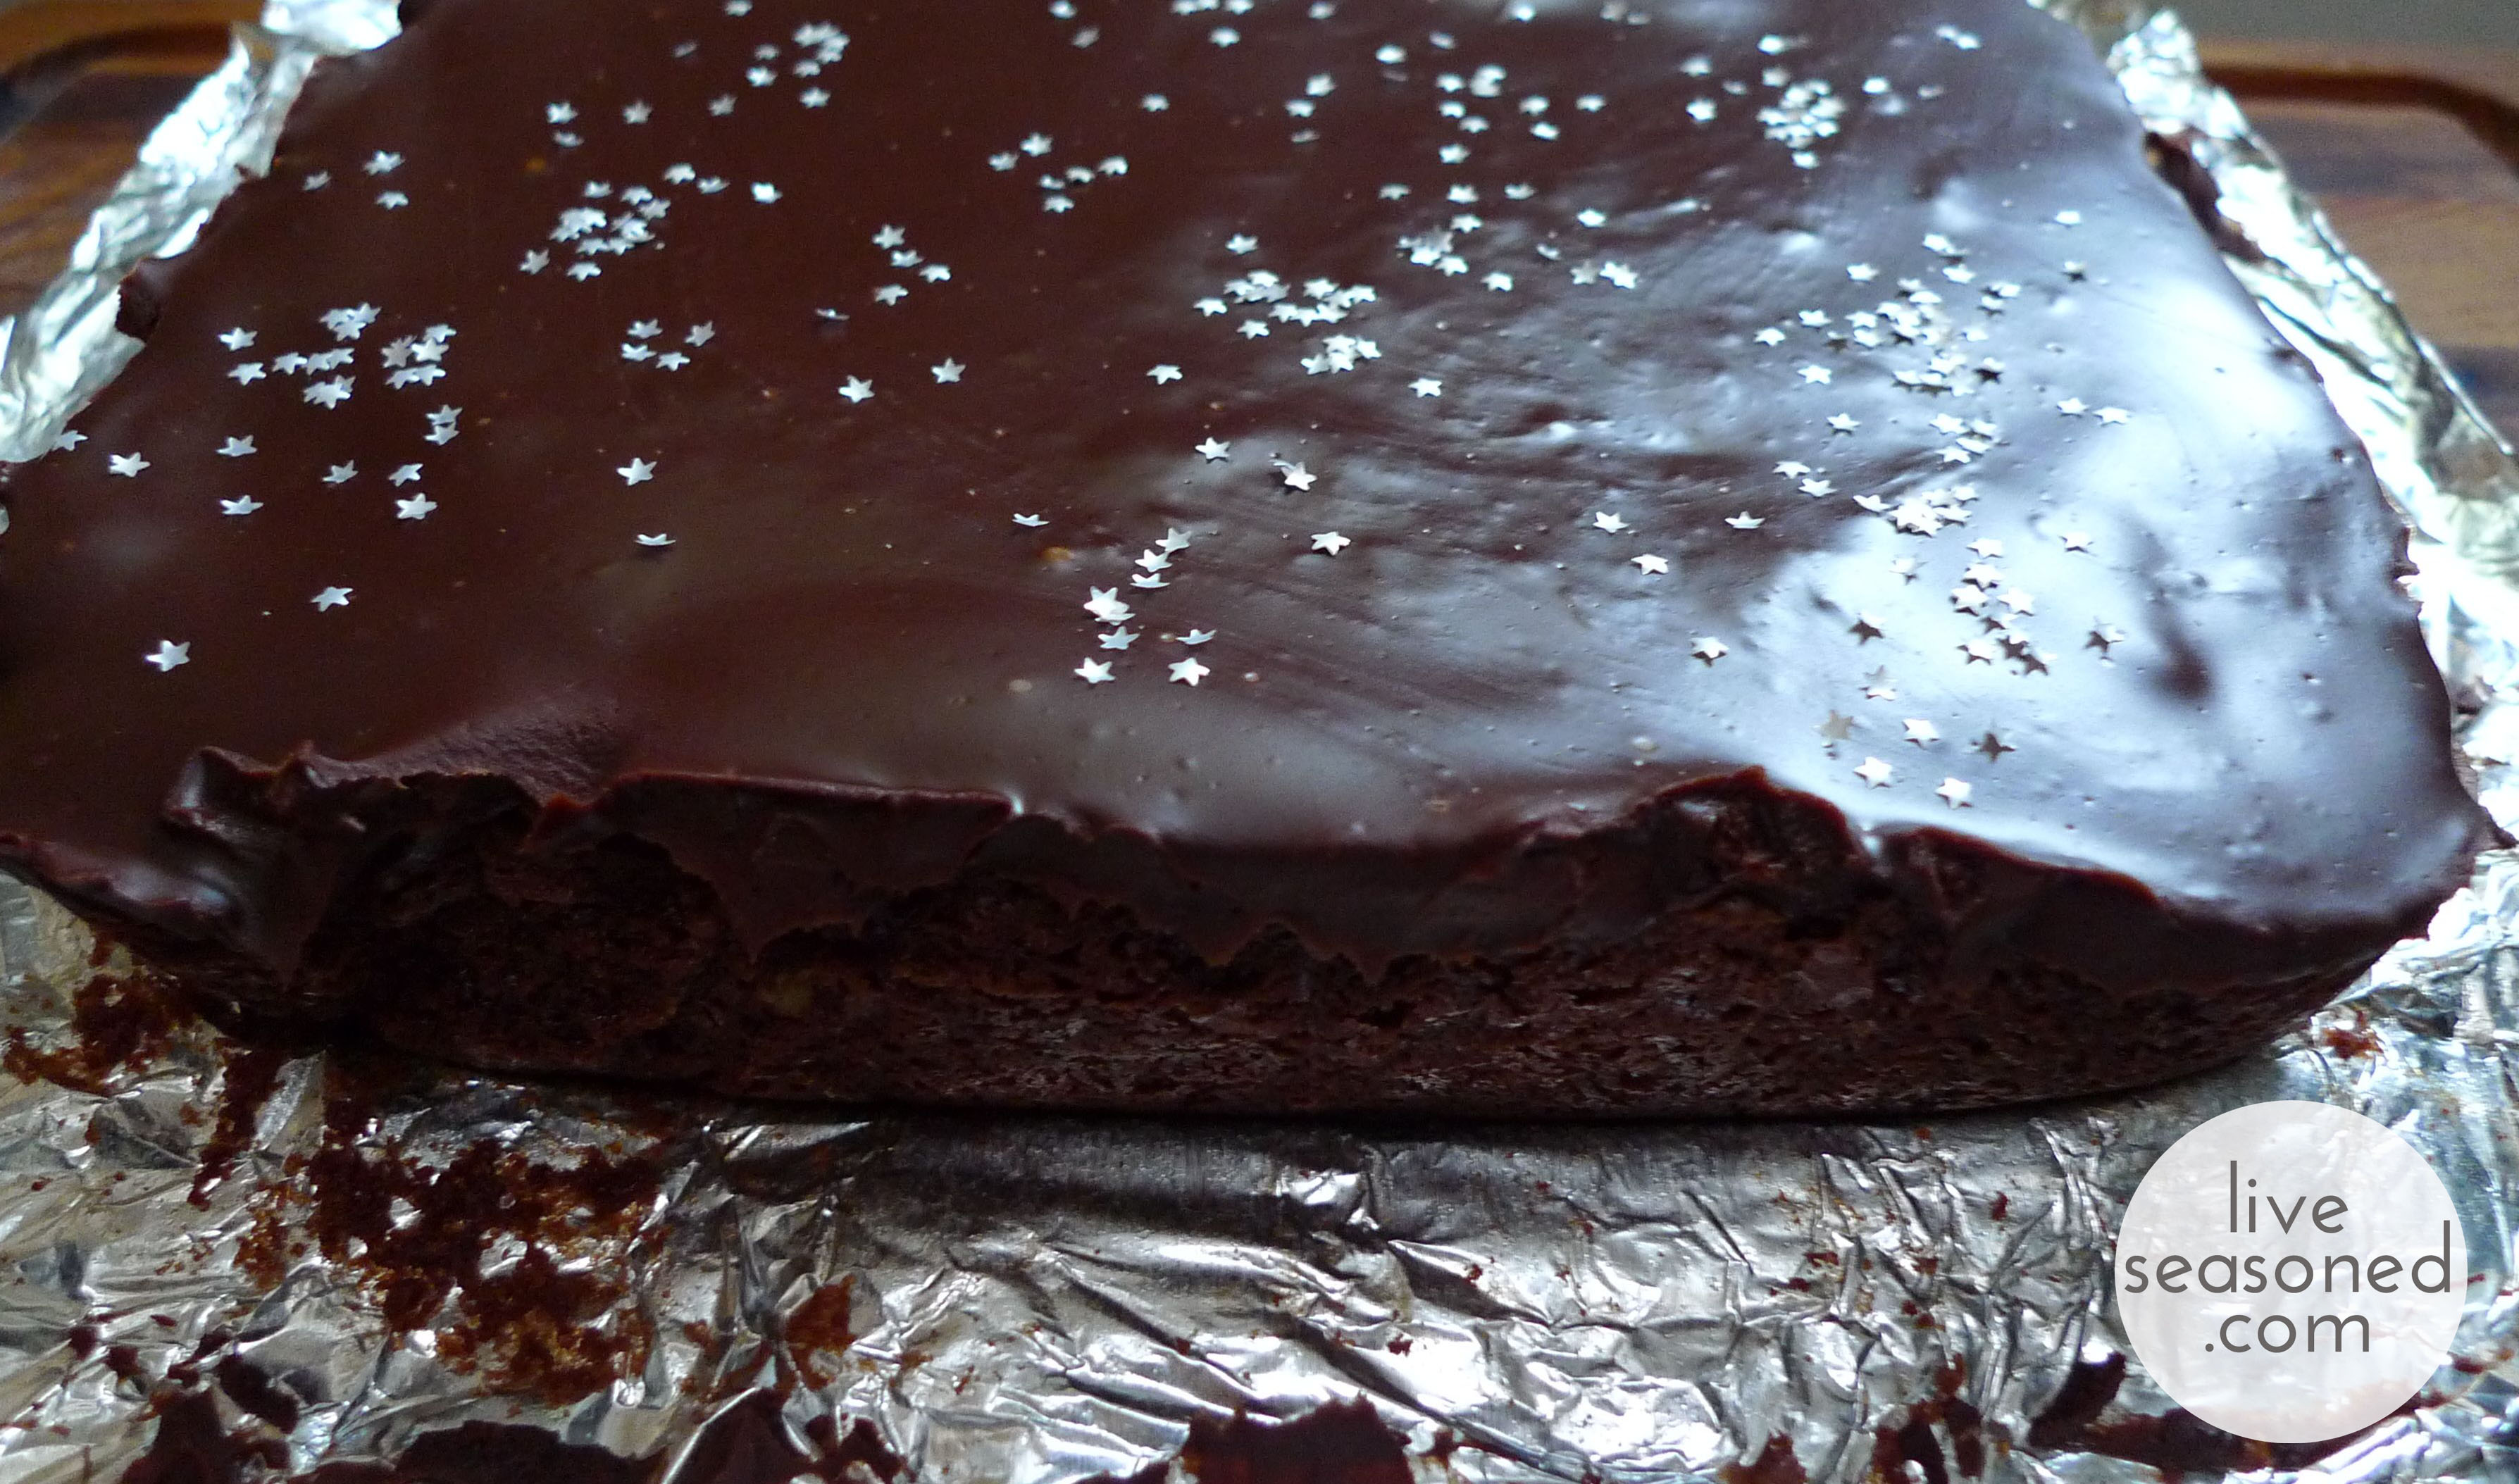
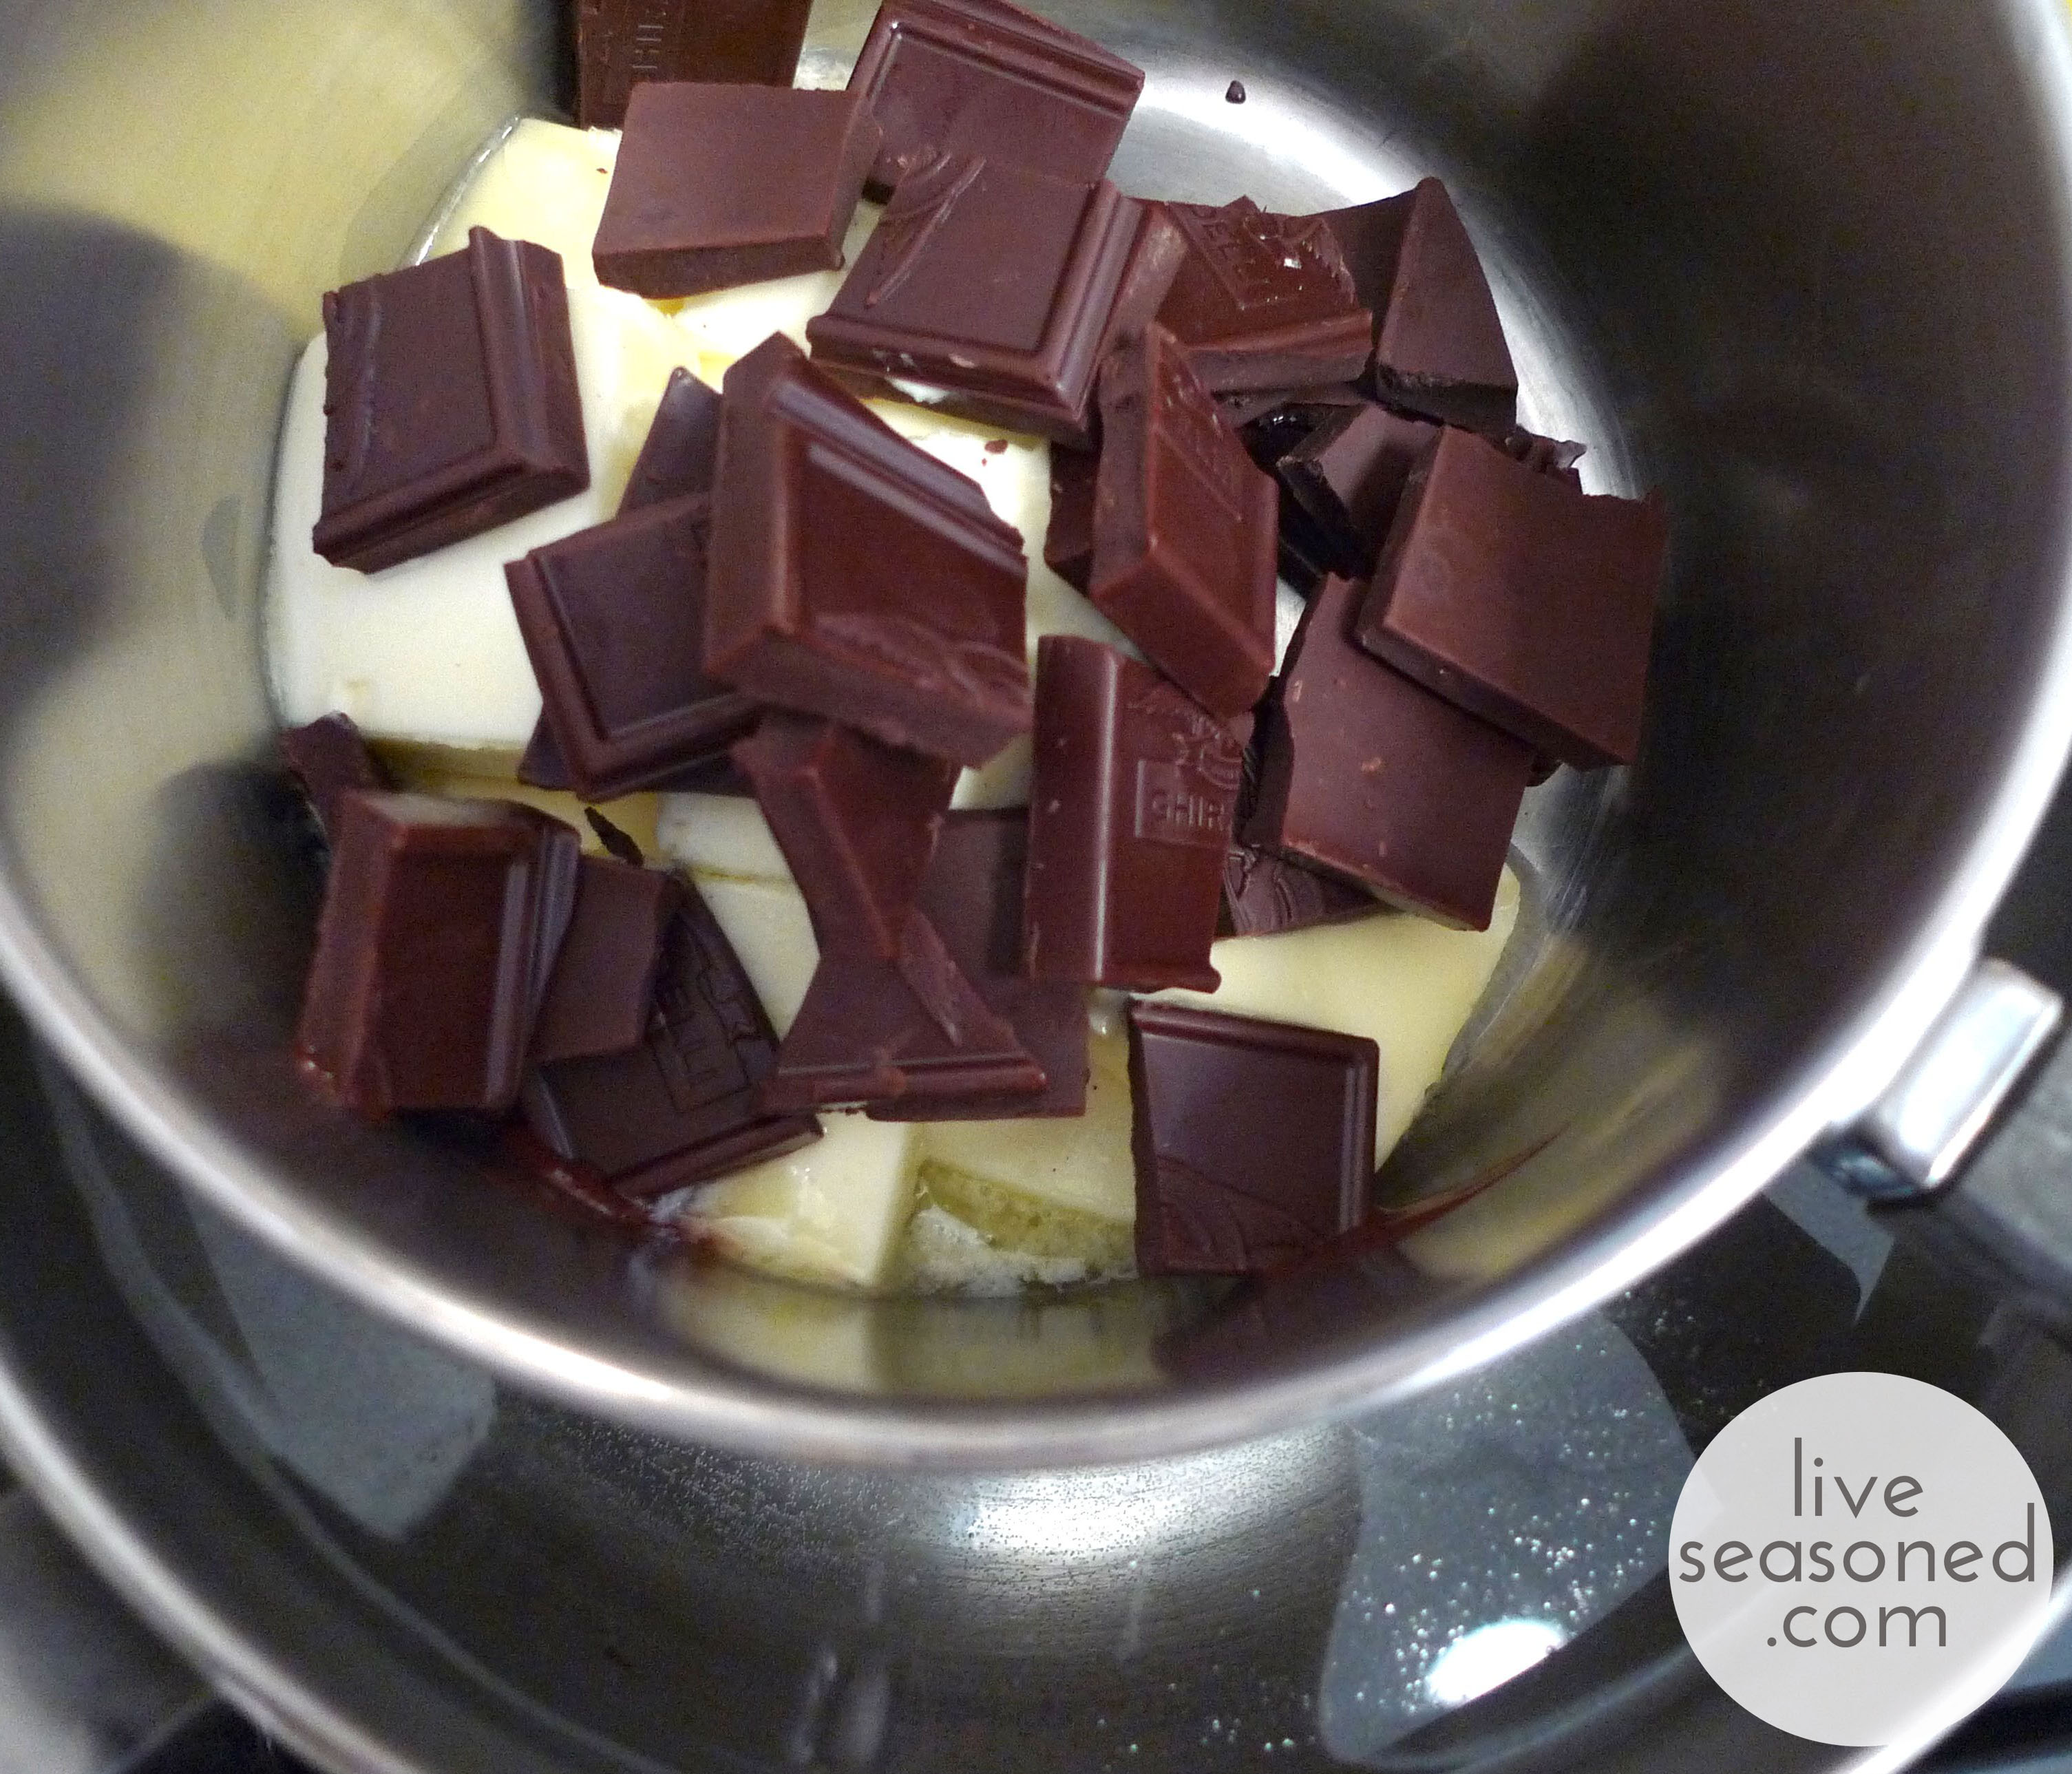
We were introduced to these brownies by a family friend a few years ago, and it was one of those things that became an automatic request when we were planning any sort of celebration. When I asked my mom for the recipe this week, I learned that they are called Truffle Brownies, and it is the perfect description of what you’re making: a truffle disguised as a brownie. To get that truffle-like flavor and consistency, the recipe contains almost a cup of cream, 12 ounces of bittersweet chocolate, and well over a stick of butter! Indulgent, no? It’s definitely worth splurging on some quality chocolate for these.


After your ganache has cooled, it’s time to decorate! They were first served to us with crackled gold foil on the top ~ could there be a more perfect accent to such incredibly rich brownies? I didn’t have any gold leaf on hand, but I always have these paper thin star sprinkles at the ready (we use them as an accent on cappuccinos and hot chocolates – classy living over here!). If you like them, they’re easy to find in the baking aisle of any Joann’s Crafts, and they come in gold as well as heart shapes! I think they are just as much, if not more, fun than the gold leaf. The stars on the dark chocolate turn your brownies into a starry night, and would be perfect for so many occasions (slumber parties, evening summer bbqs, new year’s eve parties… and birthday camping!).
Once decorated, remove the brownies from the pan by pulling the foil. Place the whole slab on a cutting board and cut into small pieces. I err on the side of the one-bite-brownie because these are so rich.