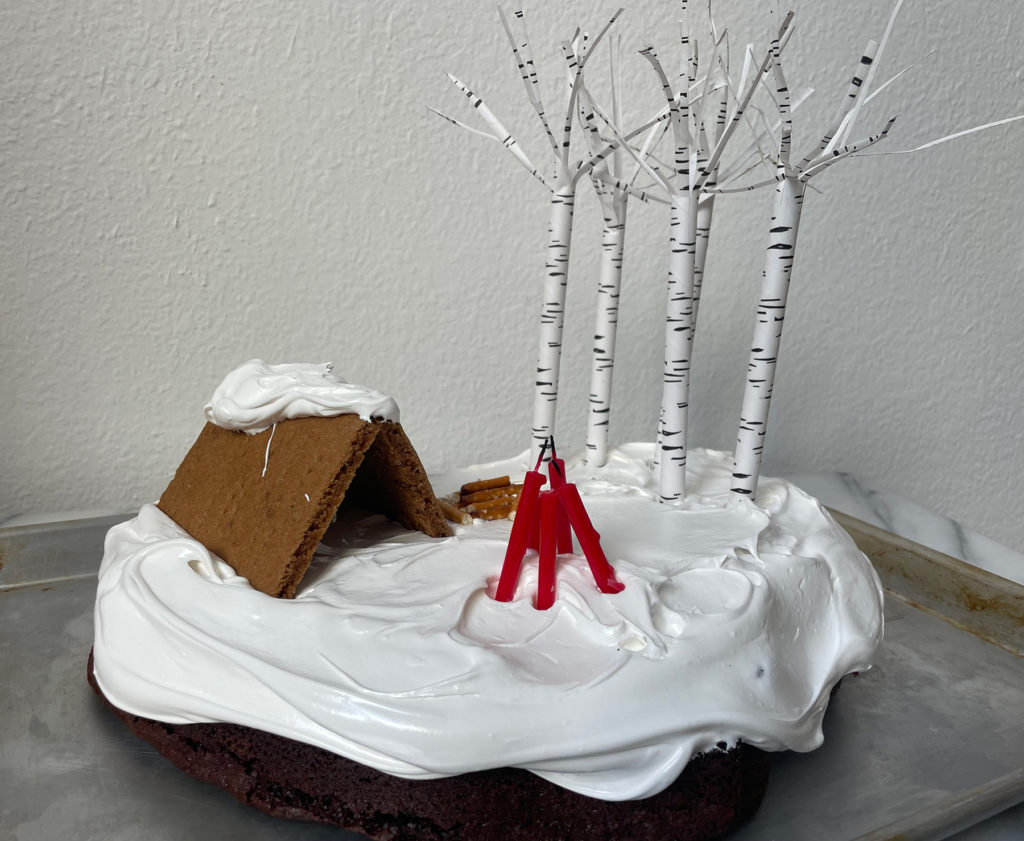
For his birthday, Sweet Tooth Luc had one request: a smores cake. There’s nothing that kid loves more than roasting marshmallows and smashing them between chocolate and graham crackers.
Continue reading

For his birthday, Sweet Tooth Luc had one request: a smores cake. There’s nothing that kid loves more than roasting marshmallows and smashing them between chocolate and graham crackers.
Continue reading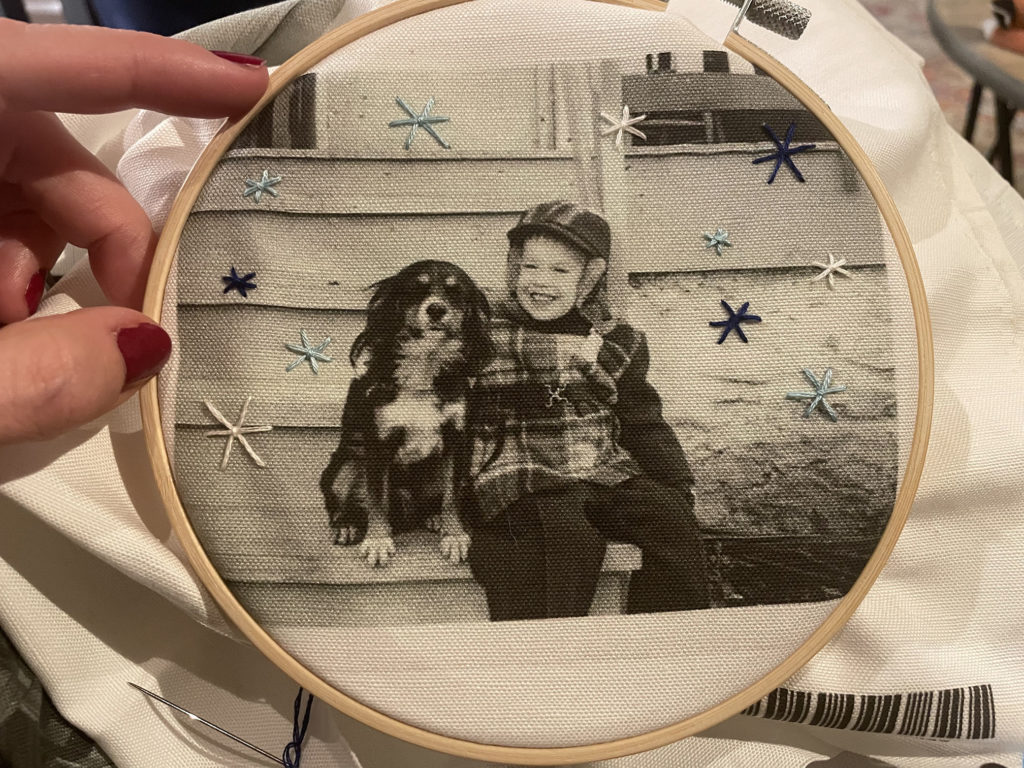
These embroidered photos were one of my favorite holiday gifts this season!
This project is perfect for giving at any time of year (birthdays!, Valentine’s Day!, etc.) because there’s a lot of room for customization, from the photo you choose to the embroidered design. Bonus points with this one because it’s really not difficult. In this post I’ll share all of the details and resources that I used. It’s the perfect sort of DIY gift that’s fun for both the maker and the receiver.
Continue reading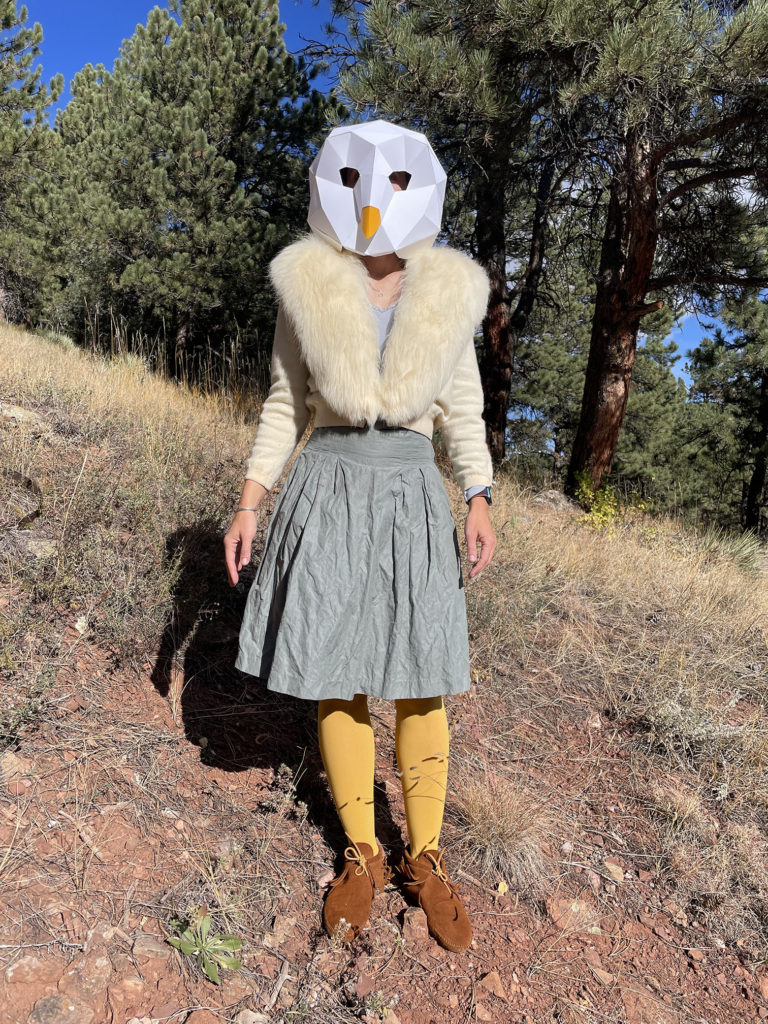
Halloween’s just 5 days away! Don’t have a costume yet? We have a pretty simple suggestion that’s going to cost you less than $10, and you may not even have to leave your house to get it.
Continue reading
Sometimes we’re just looking for a little something to keep our hands busy while we watch a TV show in the evening. Or maybe we want to pass the time while waiting in the car for takeout food. Remember those days of waiting for your kids at gymnastics practice? Us too. Next year that sentence will be applicable once again, but let’s get onto that ‘little somethin’. Felt heart ornaments! Simple and oh so sweet. If we had our sh!t together, we would package up little gifts to send out to our friends with a DIY kit to create some felt heart ornaments. Maybe you can take that inspiration and run with it?
Continue reading
The inspiration for this gift idea developed a couple of weeks ago when I was scanning the library shelves and came across the book called The Bluest of Blues about Anna Atkins and her use of cyanotype photography. That is one of her images above.
If you’re still looking for a gift for a great kid in your life, we may have just the thing.
Continue reading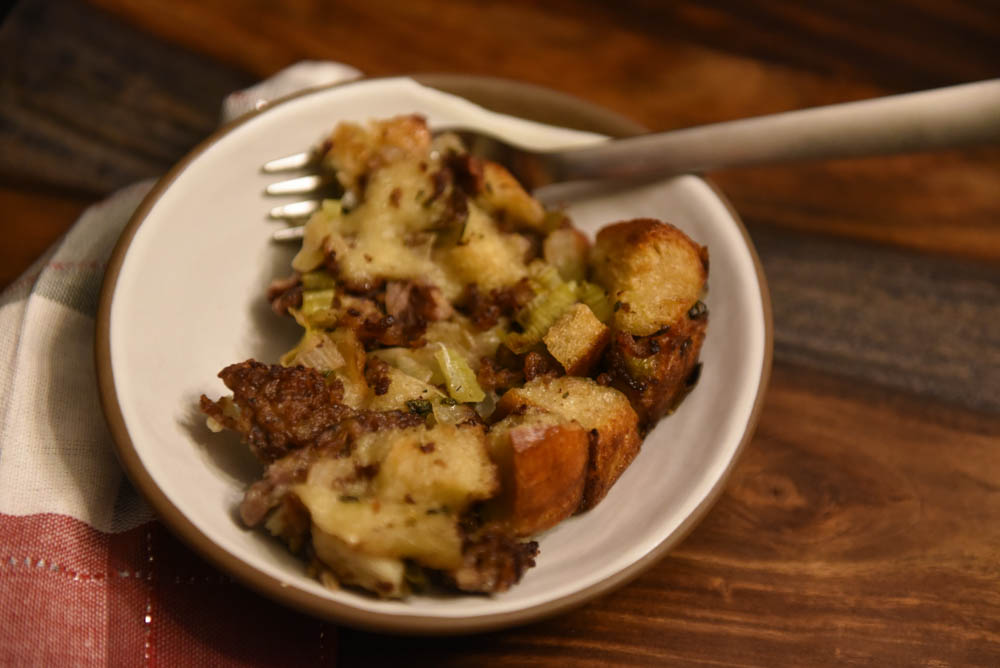
Looking for a new stuffing recipe? Every year I pull out my well-loved copy of the 2015 Thanksgiving Special of Bon Appétit and use their handy stuffing customizer.
Don’t have your old 2015 copy of the magazine? Never fear, the formula-maker is that good that they republish it annually on their blog.
That article gives you the perfect overview of what makes a good stuffing. Of course there’s bread and butter, but what else should we think about in order to create the perfect combination of both flavors and textures? I love their scientific grouping of the ingredients into specific categories like aromatics, meats, binders, add-ins, etc. And they give you a concise explanation of why you’d want to add something from each category.
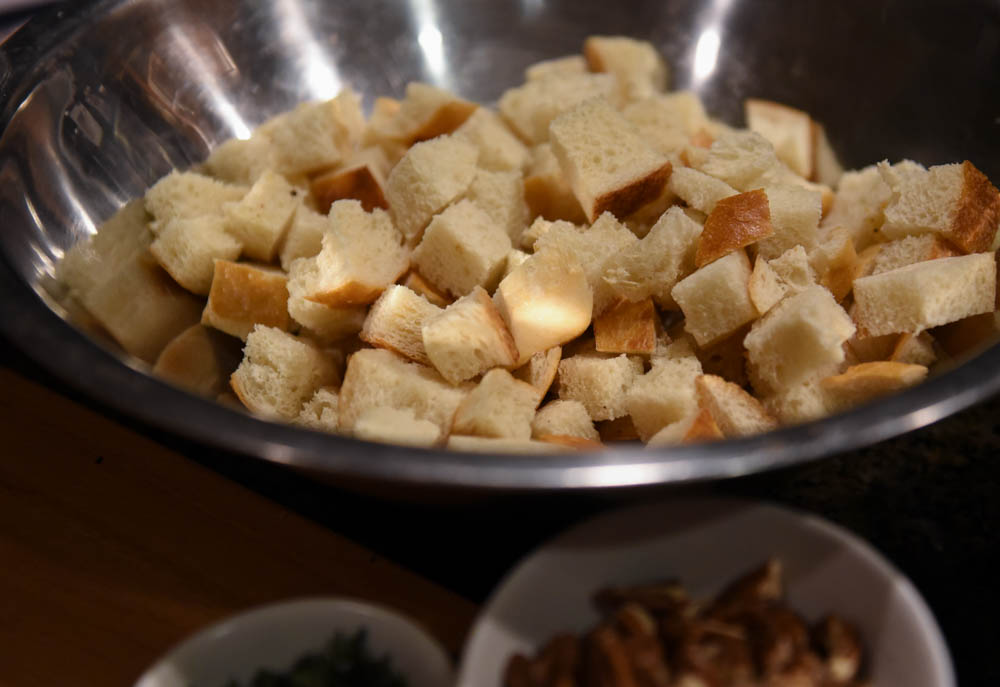
What are you going to put in your stuffing? Read through the article and make choices based upon your family’s tastes. For me there were clear choices in each category. Luckily, I hit the nail on the head in 2015 and have been using that same combination of ingredients ever since.
That said, the beauty of the formula is that you can easily make minor (or major) substitutions and still produce a delicious dish. For example, we took this pics last Thanksgiving, and, in pandemic fashion, I wasn’t able to get the chestnuts, so we substituted pecans. Another year we had delicious maple breakfast sausage from our CSA, so I used that in place of the sweet Italian sausage.
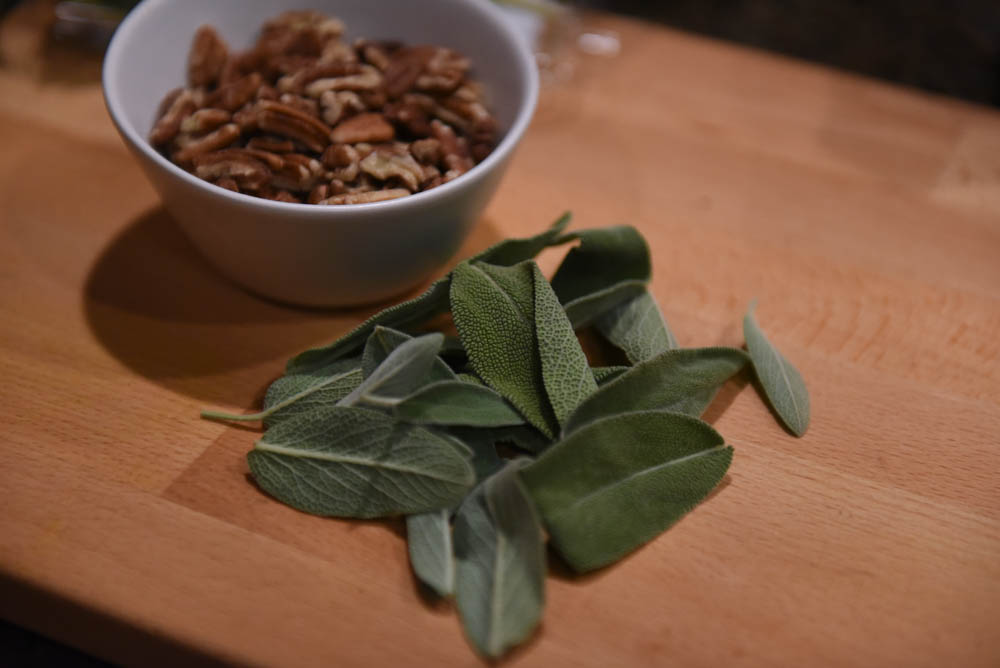
Ingredients
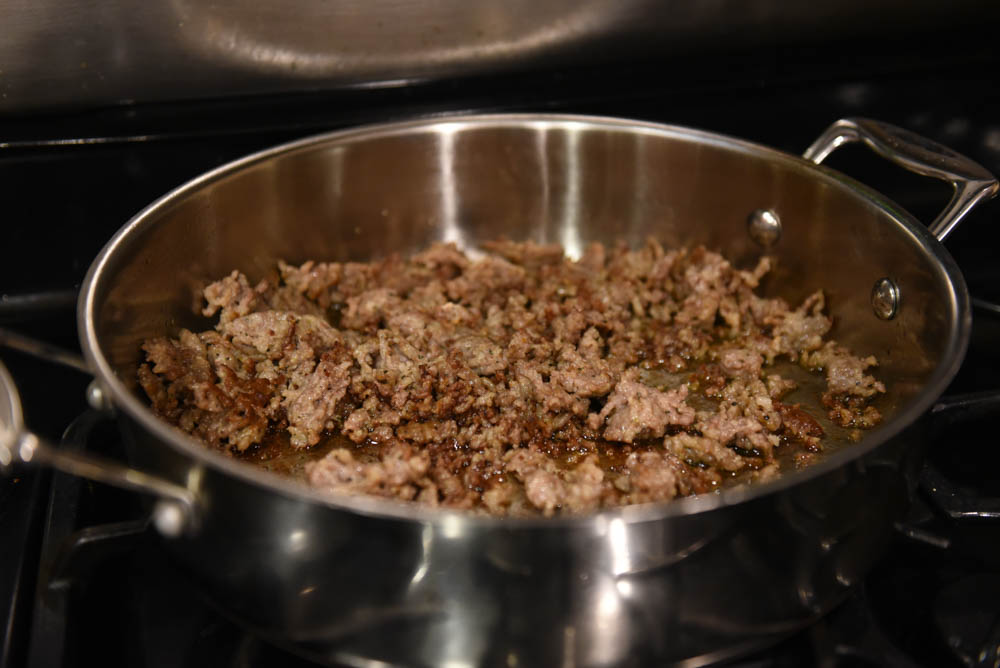
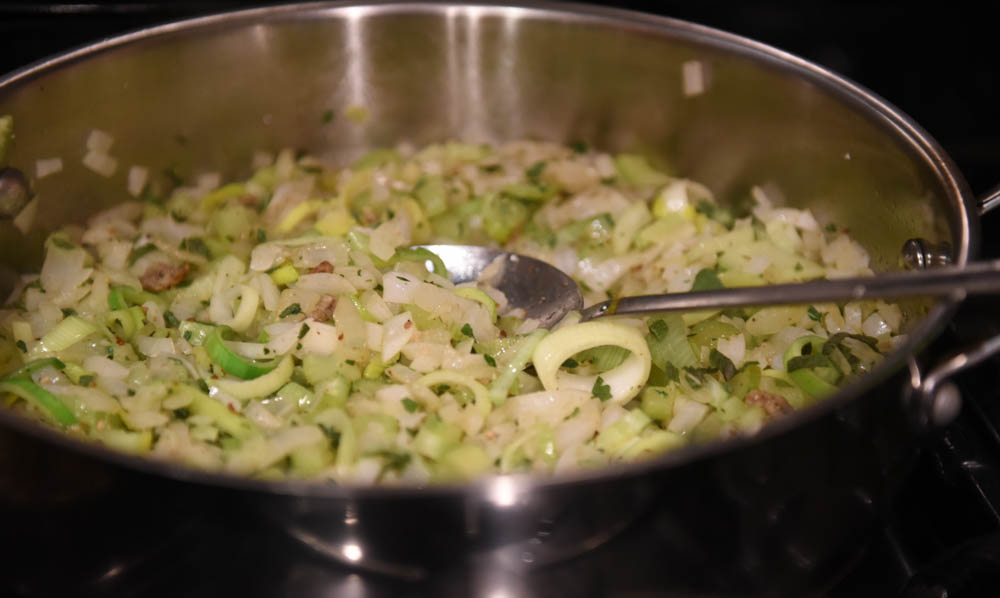
How-To
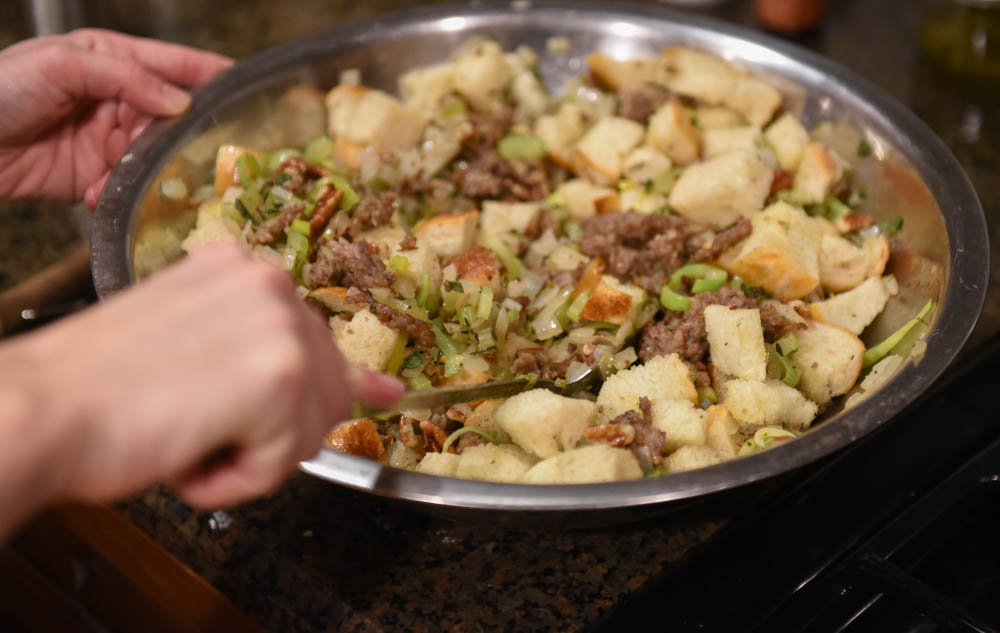
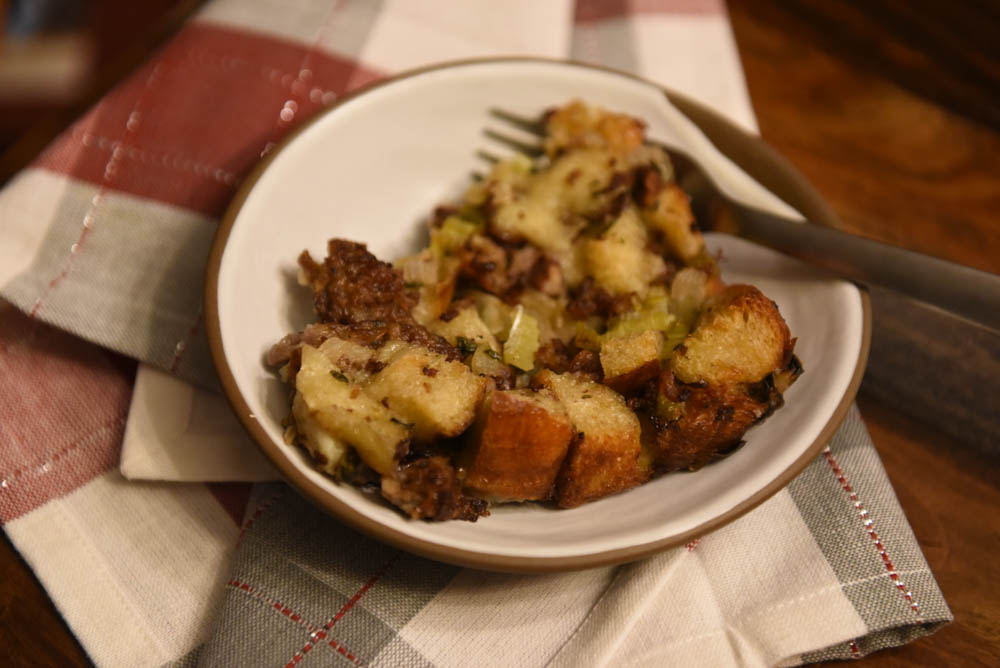
This stuffing is so good. It’s good enough that I’m already stocking up on chestnuts so that I can make a second batch, because I’m 99% sure that there aren’t going to be enough leftovers to meet my needs.
What are my needs? A 9×13 pan of stuffing.
We hope your scheming, dreaming, and prepping for a delicious day with your favorite people. xo
Many Wednesdays this year we’re checking in to share how we’re reducing our environmental impact. Some of these ideas are big and require a bit of effort. Others are super small and simple, like this one. But we believe that they all make a difference.
Happy Halloweenie! Halloween is a favorite holiday of mine. I start to get excited each time I see the costume stores taking over once empty storefronts. Unfortunately, Halloween generates lots of waste, but luckily, it doesn’t have to! Waste Less this year and instead of buying a readymade costume, dive deep into that closet of yours and find a unique piece, a comfy outfit, or something outrageous that you absolutely love and don’t get to wear enough. It’s a simple concept, but an impactful one. Imagine the waste that could be reduced if even half of our outfit-purchasing party guests shopped from their own closet?

In the past, this idea has served me pretty well. I’ve reused an old prom gown and went as Cleopatra and once as Audrey Hepburn from Breakfast at Tiffany’s. A few years ago, a comfy dress that I love sparked the idea of a porcelain doll, and to add a little creep factor, I went as a broken one. You could go a few different ways with this costume, cute, sexy, or creepy. I choose creepy 
I never have my sh!t together I’m usually too tipsy to take high-quality photos in good light on Halloween.

That’s that! What are you dressing up as this year? Were you able to source items from your closet and home costume bin? Do you have a favorite costume from years previous that used clothes from your closet? Let us know, we need ideas for this weekend!
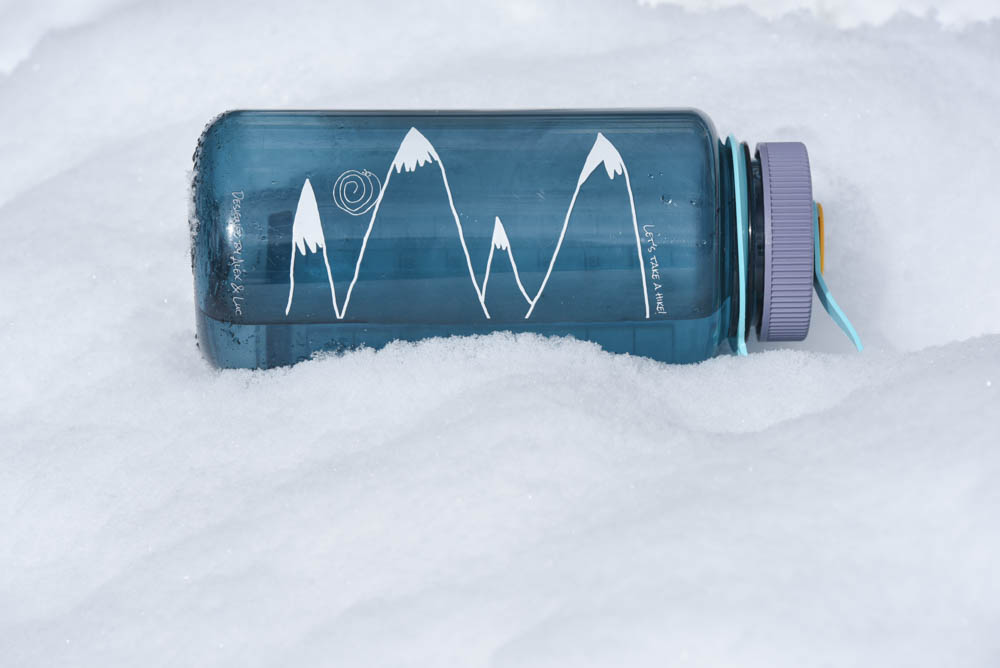
I’m so excited to share this project for today’s Waste Less Wednesday post because it brings together two of my favorite things: homemade customized gifts + reusable water bottles! Click through to learn about how we made these custom bottles to give as Christmas gifts.
Continue readingThis week’s edition of Waste Less Wednesdays is also a throwback! We’re reminding you of the least expensive valentine around (okay maybe a hug is cheaper) coming in at about .30, a banana valentine! We love this simple waste-free way to show your appreciation.
We are all about balance around these parts. Sarah’s balance goes something like this: wake up at 4:00am to catch a sunrise from the summit of a mountain then spend the next 24 hours sleeping. Me? I’m always trying to strike a balance between showing my guys I love them by making fussy treats and then leaving a few oh-so-simple surprises around the house that have just as much meaning. Today we’re sharing the latter. A simple surprise that will put a smile on anyone’s face.
You’ve probably seen this banana trick before, but we wanted to remind you of it again, especially if you woke up today realizing that you still don’t have anything for your Valentine. Don’t stress, just pick up a banana and follow these tips.
Six delicious and dare I say simple DIY infused alcohol recipes. Perfect for a pal or a gal or sippin’ by yourself. These recipes take anywhere from a few minutes, to a few hours, to several days, whichever you pick, you’ll be loved for it!
We’re giving you a solid heads up, so you have a few days to think about what an easy and awesome gift infused alcohol is before gettin’ to it and mixing these up to be ready in time for Valentine’s Day. Don’t worry, we’ll remind you in another couple of weeks.

My only pro tip? Just click on whichever infused alcohol recipes catch your eye tastebuds, read through the post to ensure you have everything on hand for when you’re ready to brew. You’ll also find a great suggestion for your first drink. Cheers!