
These embroidered photos were one of my favorite holiday gifts this season!
This project is perfect for giving at any time of year (birthdays!, Valentine’s Day!, etc.) because there’s a lot of room for customization, from the photo you choose to the embroidered design. Bonus points with this one because it’s really not difficult. In this post I’ll share all of the details and resources that I used. It’s the perfect sort of DIY gift that’s fun for both the maker and the receiver.
Inspiration
I first came across the idea of embroidering photos when I saw a class posted at a local craft shop. Sadly, I was going to be out of town, so I didn’t pay too much attention to the idea at the time.
But, I was so drawn in by my memory of the example photos, that I kept coming back to them in my mind. Eventually, I started to think about a few black and white photos that I had sitting in my office, and started to wonder if I had time for another pre-Christmas project (of course I did!).
Robert Mahar
When I dove into the research rabbit hole, the first thing I learned is that you don’t actually embroider on the photos! You print the photos onto fabric and then embroider the fabric images.
The class that I couldn’t take was lead by Robert Mahar, and it’s his work that really wowed me. I loved seeing his vibrant embroidery on black and white photos.
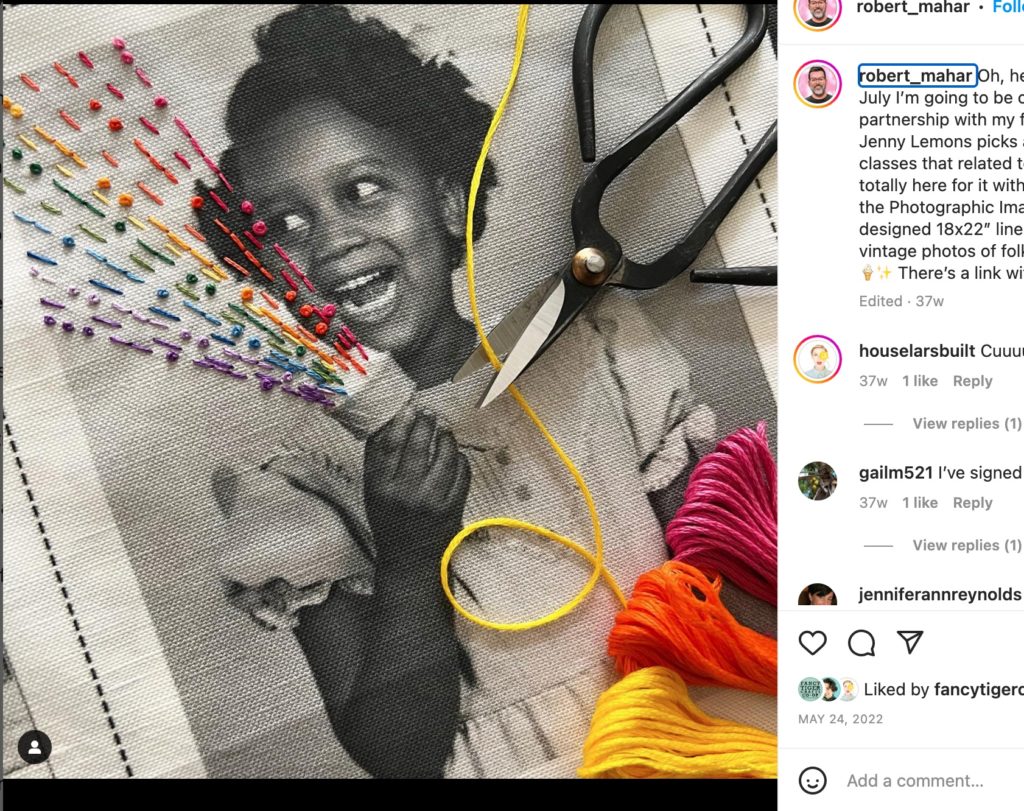
A few Google searches later, I found this blog post on Spoonflower that discusses Mahar’s methods to go from photos to printed fabric. The posts includes instructions for both Photoshop and Canva. I found those instructions to be foolproof and really took any guess-work out of what I presumed to be the hardest step of the whole project.
Prep Work
Find some photos! Black and white images will work better than color because they’ll show off the colorful embroidery.
I had a few family photos at home that I wanted to use, but if you don’t, the Spoonflower post included a link to public domain photos from the NY Library. I also like to use public domain photos from the Smithsonian archive.
Once I had my photos, I used a scanner to digitize the prints and Photoshop to enlarge them. There may be a new or easier way to do this, but I always just enlarge my images in steps by 10% at a time until they’re as large as I want.
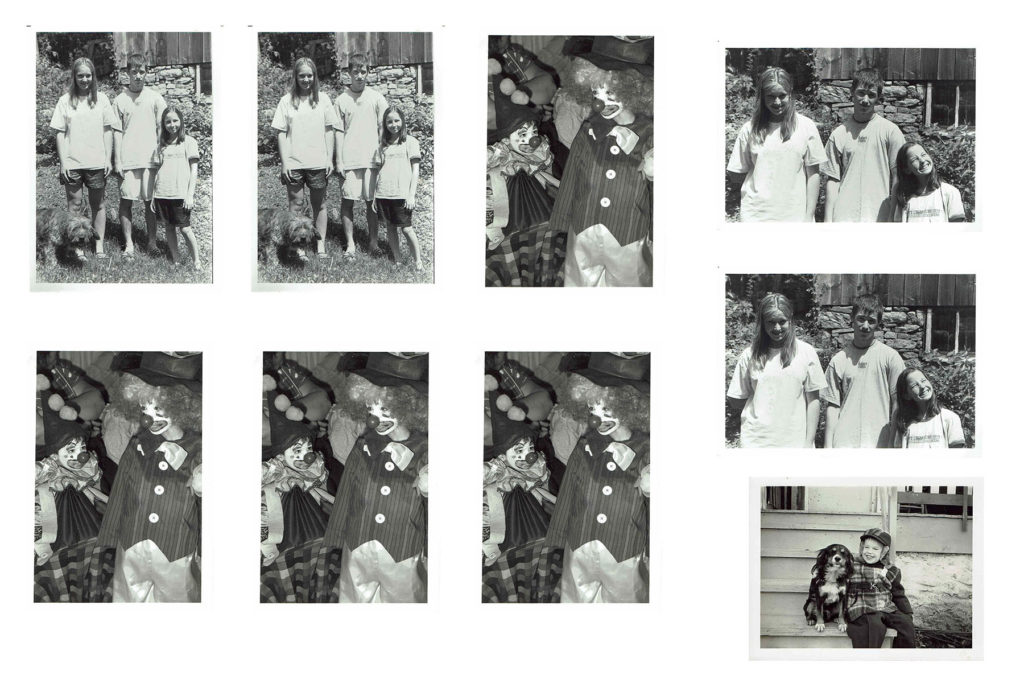
I arranged them on my 18 x 24 inch document to be printed as a fat quarter, as specified in that awesome instructional post. As you can see from the sample above, I included a couple more photos. I originally thought that I’d embroider flowers on those, but in the end, I thought that it didn’t look as good for giving as the two that I ended up using. Uploading and ordering the fabric was a piece of cake, and it came within a week! Now it was time to start experimenting with stitch designs.
Embroidered Photos
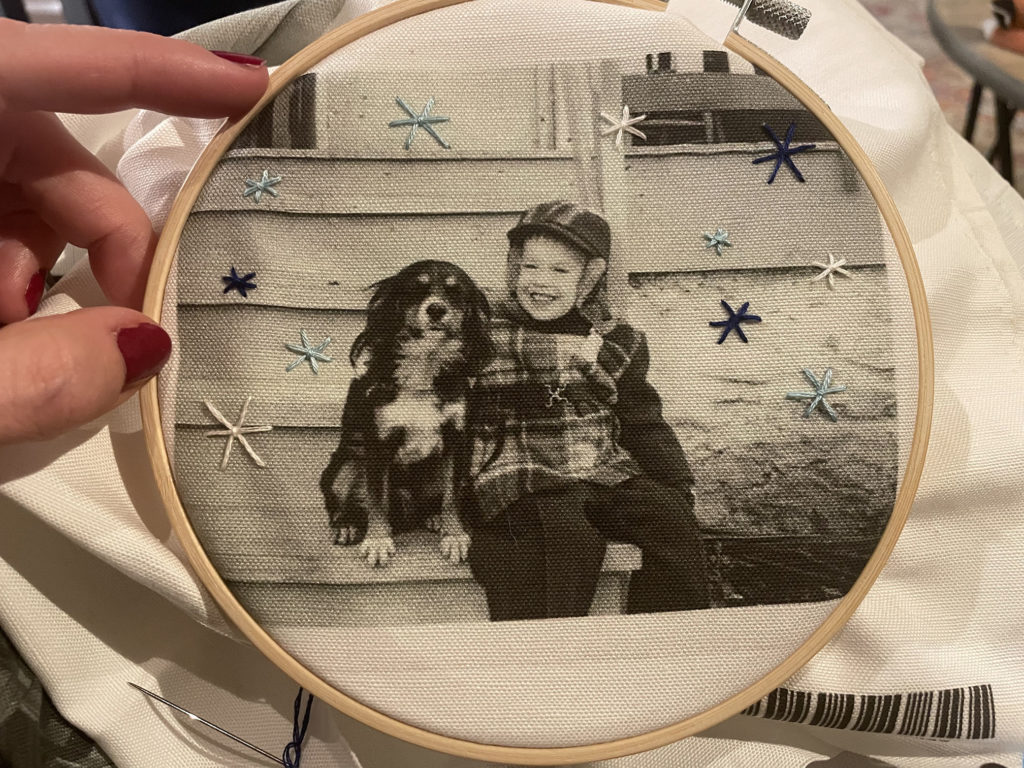
When it was time to embroider, I used materials that I already had on hand: a small embroidery hoop, needles, and some thread. I didn’t cut the photographs apart until after I was done with the embroidery because it was easier to position my hoop on the larger piece of fabric. You can see in the photo below where I had already cut out some of the photos, and my hoop is too wide for the material that’s left.
Fairly quickly I realized that I wanted to stitch snowflakes on the photo of our pop as a boy. I tried a few more elaborate snowflake designs but wasn’t as happy with them as I was with these simple ones. I also tried stitching a red heart above and between our pop and his dog, but decided that it was too much.
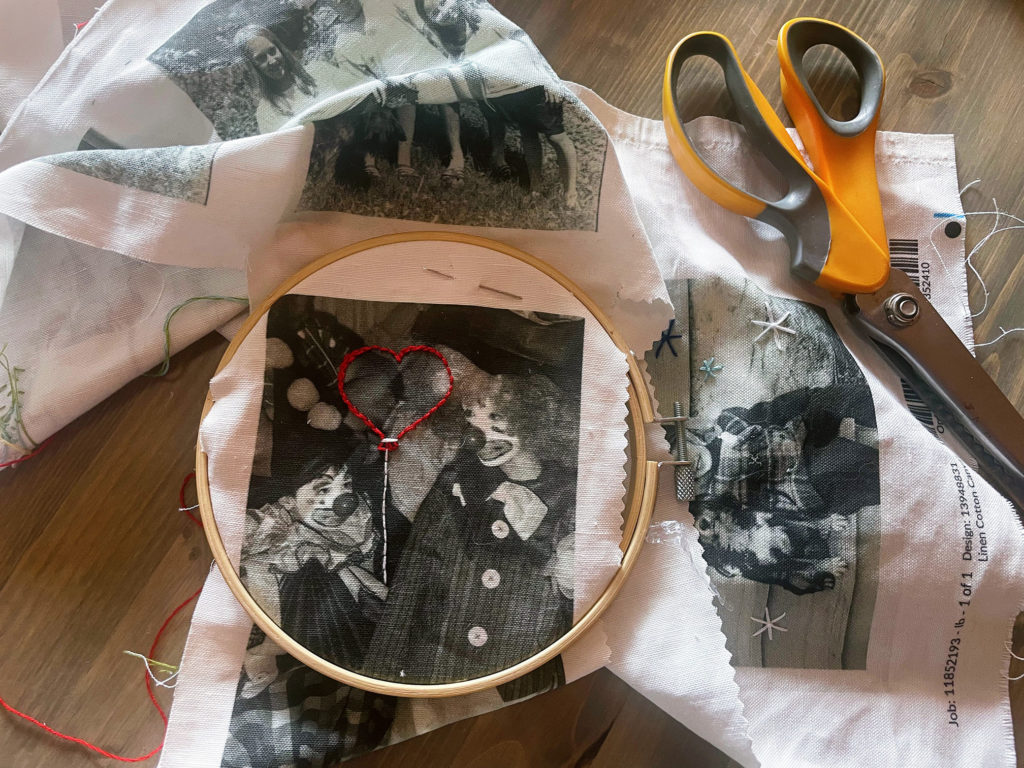
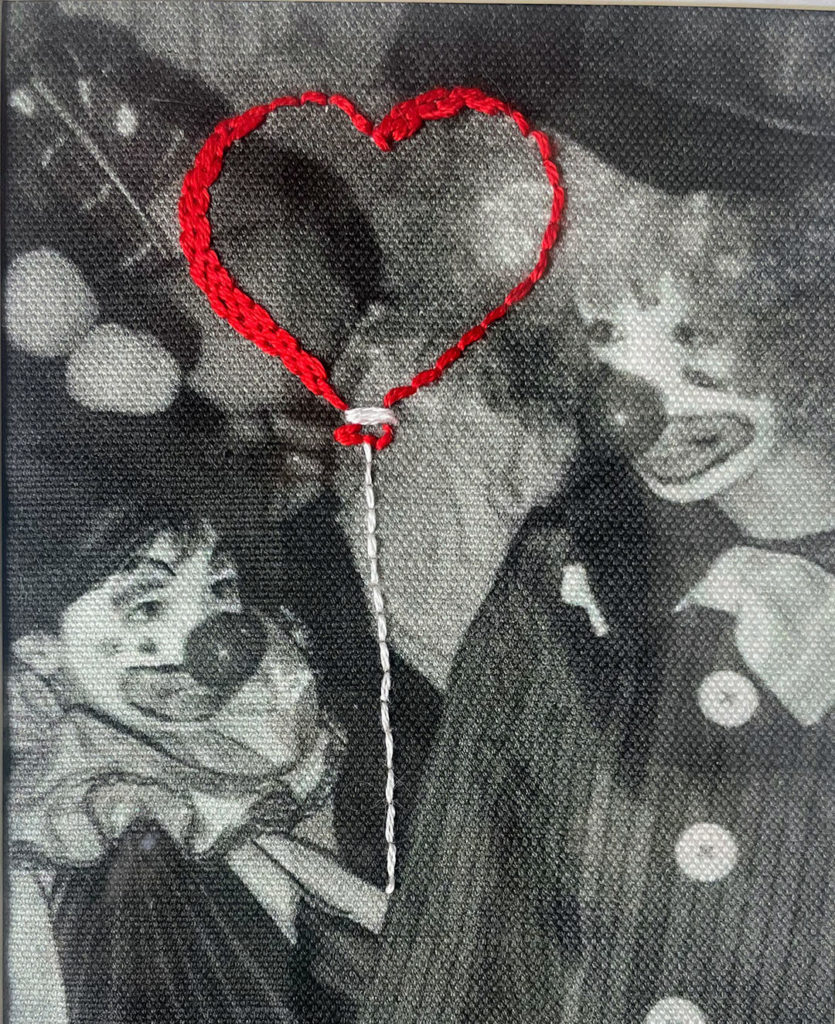
The other photo is our brother and me dressed as clowns. At first I thought about using embroidery to enhance the clown costumes, but that didn’t seem as exciting as adding something new to the photos. I decided to try balloons, and rather than do it free-hand, I printed out a few photoshop balloon images. My first attempt was a simple red balloon, but then I had an idea for a heart-shaped balloon, and loved the final result!
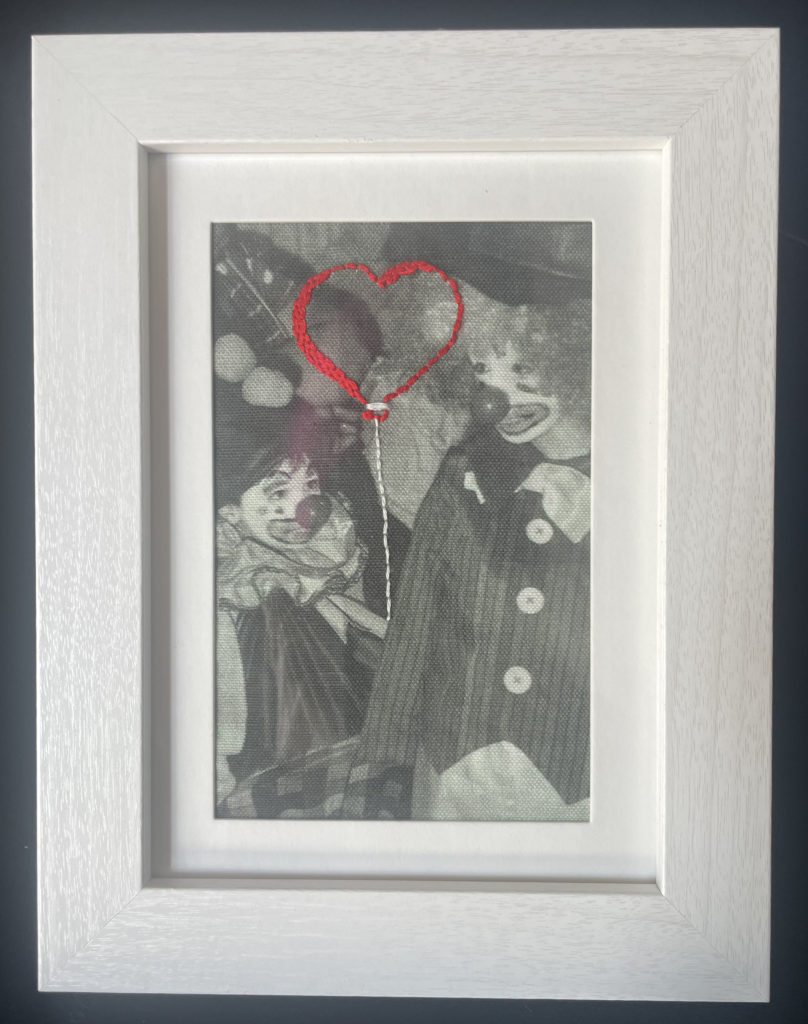
For how simple it was, this was really such a rewarding project!
I loved that I was giving framed family photos to hang on the wall, and I thought that alone would be a good gift, but embroidering on them made it an extra special treat. I think this is a project that I’ll come back to as I come across other black and white family photos.