Best of the Season

We’re starting a new feature today. At the end of the season (in our books, Autumn arrives with the start of September), we will be highlighting our favorite posts from the season. Just a little looking back and savoring all that was summer before we move on to fall.

Best of Main Dishes

  • Katie’s pick : I was about to go with the fish tacos, because those are a current craze in our house, but looking back through the archive, I saw the lamb meatballs, and they win out. They are ingredient and time intensive, but they are so worth it. If you haven’t tried making them yet, this savory dish will be perfect for cool fall evenings!
  • Sarah’s pick : Even though I haven’t made them yet, the fresh spring rolls are my favorite!  The final product looks so pretty and I love how they can be customized to each eater’s tastes.  Anyone want to come to a spring roll party?!

Best of Desserts

  • Katie’s Pick : I loved Sarah’s popsicle series. Getting to sample the pops first hand makes my mouth water and brings back the flavors every time I look at one of those posts. I loved how simple the recipes were, and even typing this I want to run out to the store and pick up the ingredients for my favorite, the creamy toasted coconut. My only complaint? that there wasn’t time for more!
  • Sarah’s Pick : Avocado popsicles FOREVER! Seriously. I need to live where avocados are always in season (where is that?) because I can’t get enough of these pops.  They’re delicious, filling, packed with fiber, potassium, and good fats, what else do you need?!

Best of Alcoholic Drinks

  • Katie’s Pick : I’m torn here. I love a good mojito, and still remember how much I savored every sip of the watermelon mojitos we made in June. But, I’ve yet to try Sarah’s ginger cuke cocktail.
  • Sarah’s Pick : The spicy ginger cuke cocktail is my absolute favorite, not just of the summer, but of all time.  I find myself stocking up on ginger beer every time I’m at the store. Whenever I juice a cucumber, I juice two extras so that I always have fresh cucumber juice on hand for this cocktail.

Best of Non-Alcoholic Drinks

  • Katie’s Pick : Sarah’s agua fresca post, because it opened my eyes to a completely new-to-me drink. Then I started to notice a variety of fresh agua frescas in my local market (they make them from the uber-ripe produce rather than letting it go bad), and I’ve been hooked!
  • Sarah’s Pick : I love Kate’s mocktail post from earlier this week. Those fresh, fruity and bubbly drinks are such a treat!  I wouldn’t mind being the designated driver if I was served a grapefruit, fig and mint mocktail.

Best of Crafts

  • Katie’s Pick : Sarah’s tillandsia display, because it’s awesome and it inspired us to get creative with air plants, like using them to decorate the walls of our outdoor shower.
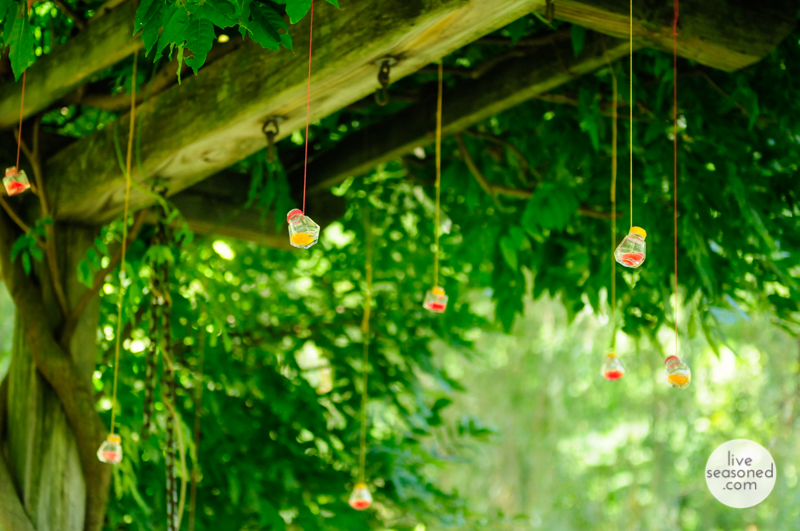
  • Sarah’s Pick : I love the tiny, up-cycled, hanging, glow vases (enough adjectives, eh?) because they were SO simple to make.  At our most recent party, we hung them underneath a pergola and guests were stopping and photographing them all night!

Best of Style

  • Katie’s Pick : I was really inspired by Sarah and Kristin’s scarf tying post. Next step – actually put one on my head.
  • Sarah’s Pick : I’m loving Kate’s knit post, especially the hat for Alex. I can’t wait to see it on his little big noggin.  I also wished I knew another photographer because this post made me realize that we need to do more style posts!

Best of Potions

  • Katie’s Pick : Homemade deodorant for the win. I use it every day (and have for years), and its proven itself to work great time and time again.
  • Sarah’s Pick: Dry Shampoo to the rescue! This post title couldn’t be more accurate. I sprinkle some dry shampoo on my bangs every other day. The sandy salt scrub is a close second, but I definitely use the dry shampoo more often.

Best of Nature

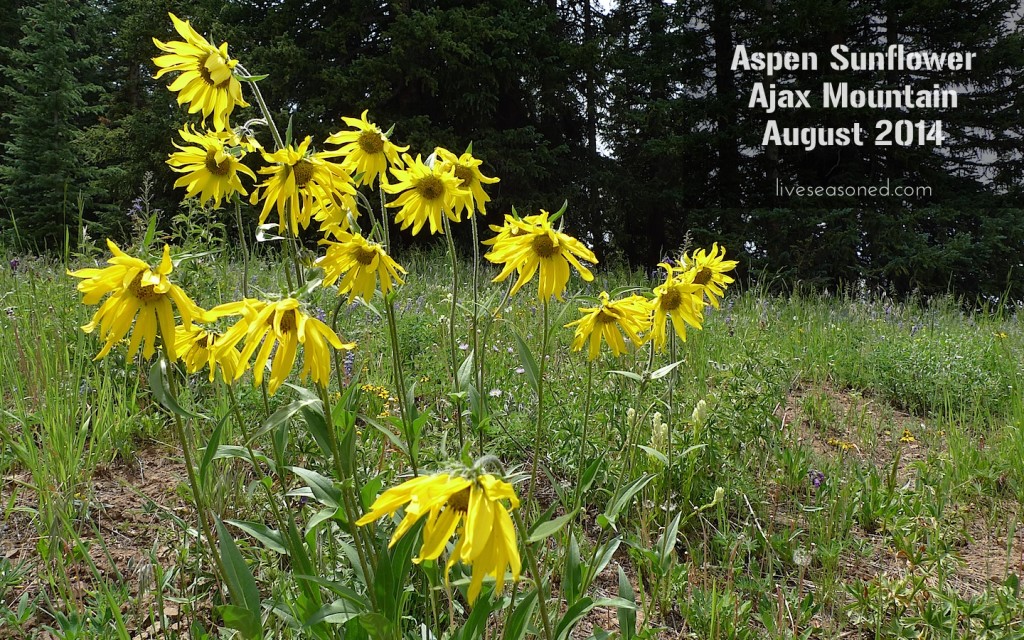
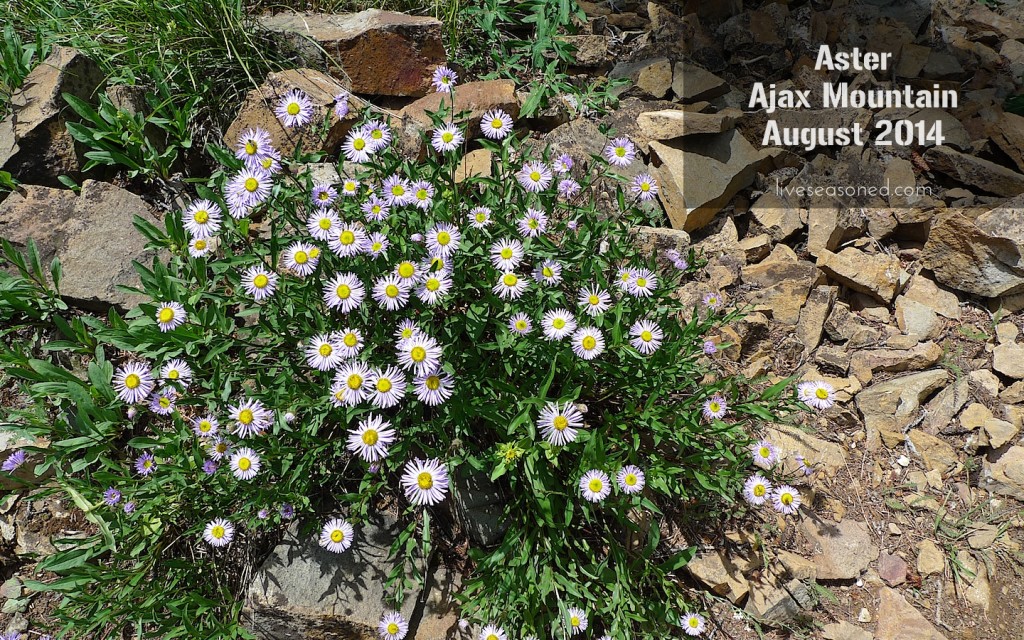
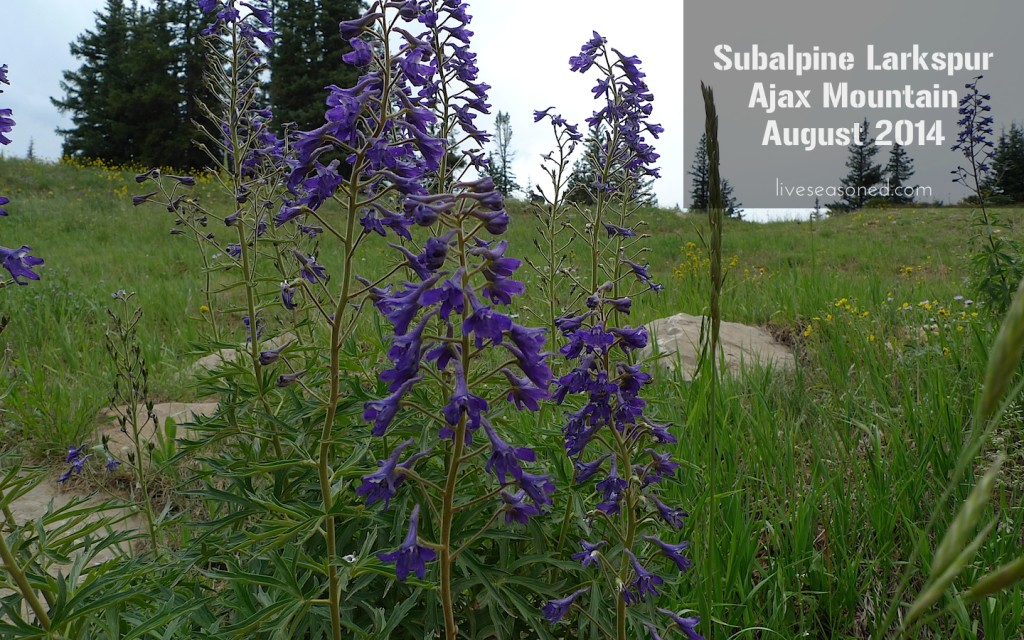
  • Katie’s Pick : I’m going to have to go with my Colorado hiking series, because I enjoyed every thing that went into those posts, from the actual hiking to the documentation, and learning about the plants in my new home. It’s a series I’m hoping to continue with contributions from Sarah. {Sarah here: hint taken!}
  • Sarah’s Pick : I really enjoy Katie’s Monthly Welcome posts because they keep me in tune with what’s going on in nature.  I’m usually up to date with what fruits and veggies are in season, but sometimes I’m in the dark with the animal realm.

What about you? Did we do anything that really tickled your fancy this summer? Anything that you wish you could forget? (don’t worry we’ll still love you)

Sarah and I just finished up our big fall-planning phone call. Although I was dragging my feet at the beginning of the week, I’m beginning to get excited about the change of seasons and can’t wait for some of the posts we have in store. Of course we’re keeping it all a surprise, but if you have any requests, our ears and eyes are open.

We hope you have a fantastic Labor Day weekend, full of food, friends, crafts, and a bit of nature too!


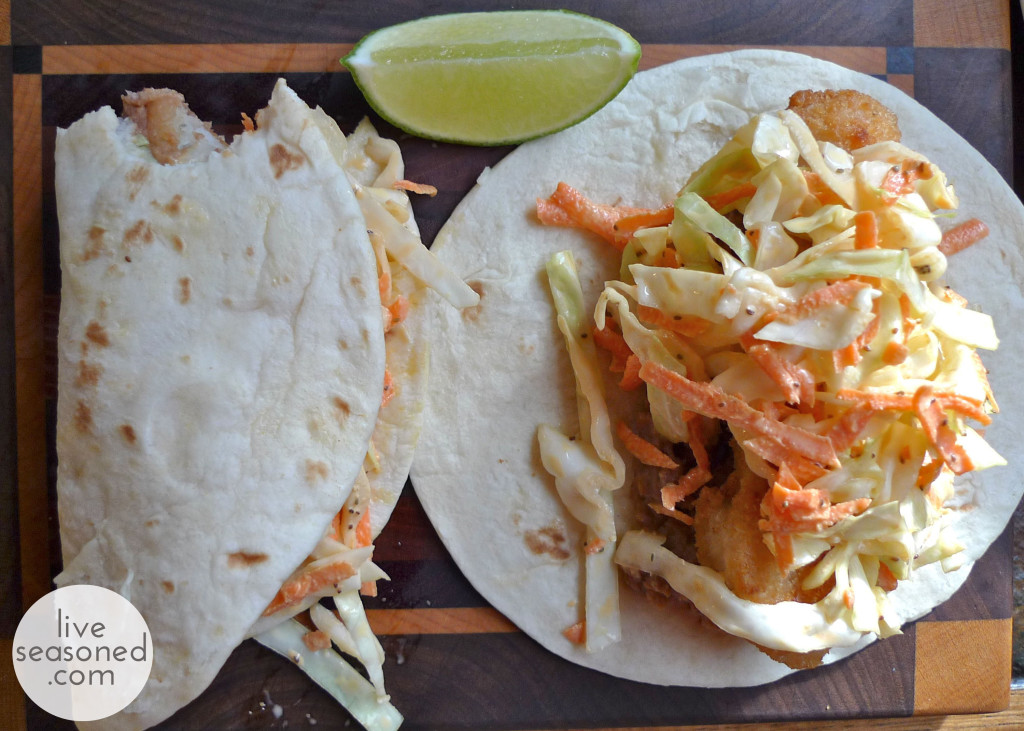
Ridiculously Easy Fish Tacos

The title says it all. These are so easy, it’s almost like you didn’t cook, except you do make the slaw, so that counts for something. While everyone will love these, I immediately thought of them as the perfect dish for busy families, because they are relatively healthy, can easily feed a crowd, and again, are so. darn. easy. But beyond that, their simplicity  would make them a great party food, especially for an end-of-summer shindig. I’d serve these with some agua fresca and mojitos followed by toasted coconut and avocado lime popsicles for dessert. BAM.

liveseasoned_summer2014_fishtacos9_wm

Continue reading

Upcycled Tiny Vases

Hey party people! Labor day is this weekend and even if you don’t have a barbecue to host or attend, it’s a nice, long weekend that is meant for chillaxin’ and treatin’ yourself.  (Did you know chillax was added to the dictionary? My high school self is punching the air with excitement right now)  If you are hosting a party, you should think about making these spectacular little upcycled hanging glow vases to add to your decor. While you are crafting aforementioned vases, you should sip on these fruity mocktails and decide which one you’ll be concocting this weekend!
liveseasoned_summer14_hangingvases-5-3


My sister Kristin and I sprinkled them about our land to decorate for a camping festival that we hosted this past weekend (more on that to come).  They looked adorable during the day and mesmerizing at night!  These vases were one of the few decorations that really worked well both day and night.  Our enormous dreamcatchers were completely lost at night (they had no light-up features) and our sweet dance floor was plain ol’ grass and sky during the daytime, but these tiny vases looked great at all hours!

If you have some spare time, string and a few small vessels, then this craft is for you.  There is no glue or taped involved, so whatever you choose to use as a vase can be reused again in the future.  We had a large quantity of salt and pepper shakers left over from Katie’s wedding, which is why Kristin (our middle sister) thought up this project.  We saved the tops so that we can easily dismantle and sterilize these shakers if we ever need to use them in the future.

Supplies:

  • String, hemp or embroidery thread
  • small vessels (we used salt and pepper shakers)
  • scissors
  • glow sticks (optional)
  • flowers (optional)

The How:

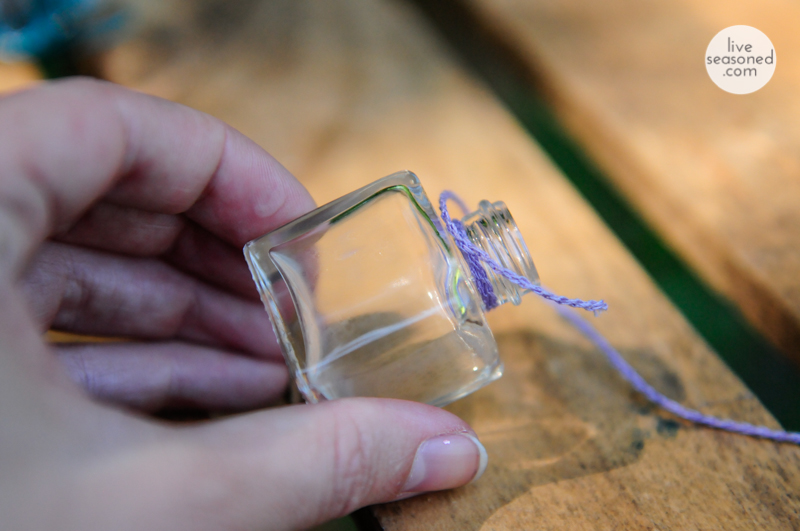
  • Cut off a length of string at least 2 feet long.  (The length really depends on where you want to hang the vases. Overestimate if you aren’t sure-I didn’t measure any of my strings) Wrap the string around the top of the vessel and leave a quarter inch tail.

liveseasoned_summer14_hangingvases-5-2

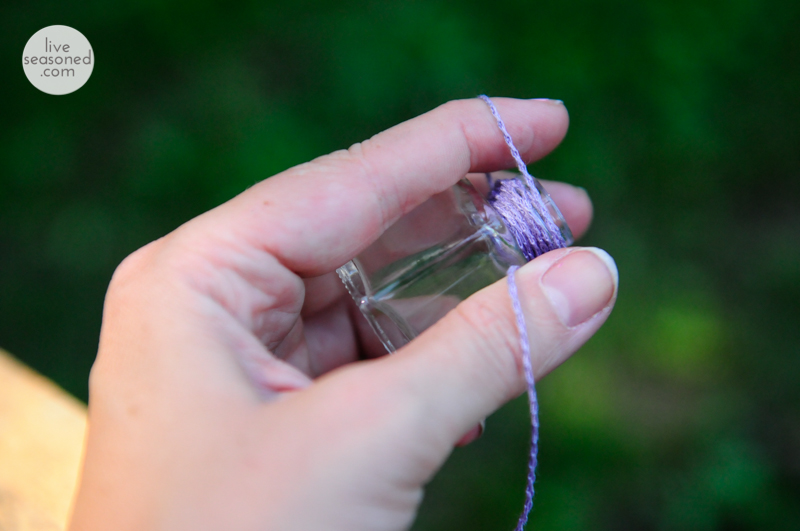
  • Hold the tail vertically across the rim so that you can wrap more string around the bottle and over the tail, which will secure the tail and string in place.
  • Continue wrapping the string around the rim of the vessel until you’re satisfied with how it looks.

liveseasoned_summer14_hangingvases-1

  • Place your pointer finger over the wrapped rim and wrap the string over your finger and then loop the string through to create a knot. Repeat two more times.  You should have a long tail leftover so that you can hang your vase.
  • After you hang your vases you can fill them with water and a tiny bloom.  Before dusk, cut a glow stick in half and empty the liquid into the vessels to create tiny glowing orbs. (Be extra careful when cutting open glow sticks.  They contain chemicals, not deadly dangerous chemicals, but chemicals nonetheless. If youngsters are going to be around, please skip the glow stick vases.  They look so super cool that kids will not be able to resist them and we wouldn’t want anyone to ingest the hydrogen peroxide or phenyl oxalate este).
  • Rinse and repeat as often as you’d like.  To be honest, empty vases look pretty as well!

Since I’m being honest, (does it irk you when people say that? shouldn’t you always be honest? I catch myself saying it quite often..) I have to admit this is my favorite craft of the summer.  I can’t take credit for it though, it was all Kristin, our middle sister and {hopefully} future-blog-contributor.  The tiny vases are just *so* cute and the way they glow is really magical.  Party guests were complimenting them all weekend!  It’s pretty neat how something so ordinary becomes so extraordinary when it’s swiped from the table and hung from a branch.  If you don’t feel like crafting these little glow vases, why not bake these galactic brownies?

*Glow vase photo by theflyry and empty vase photo by saleem.


Serious Mocktails

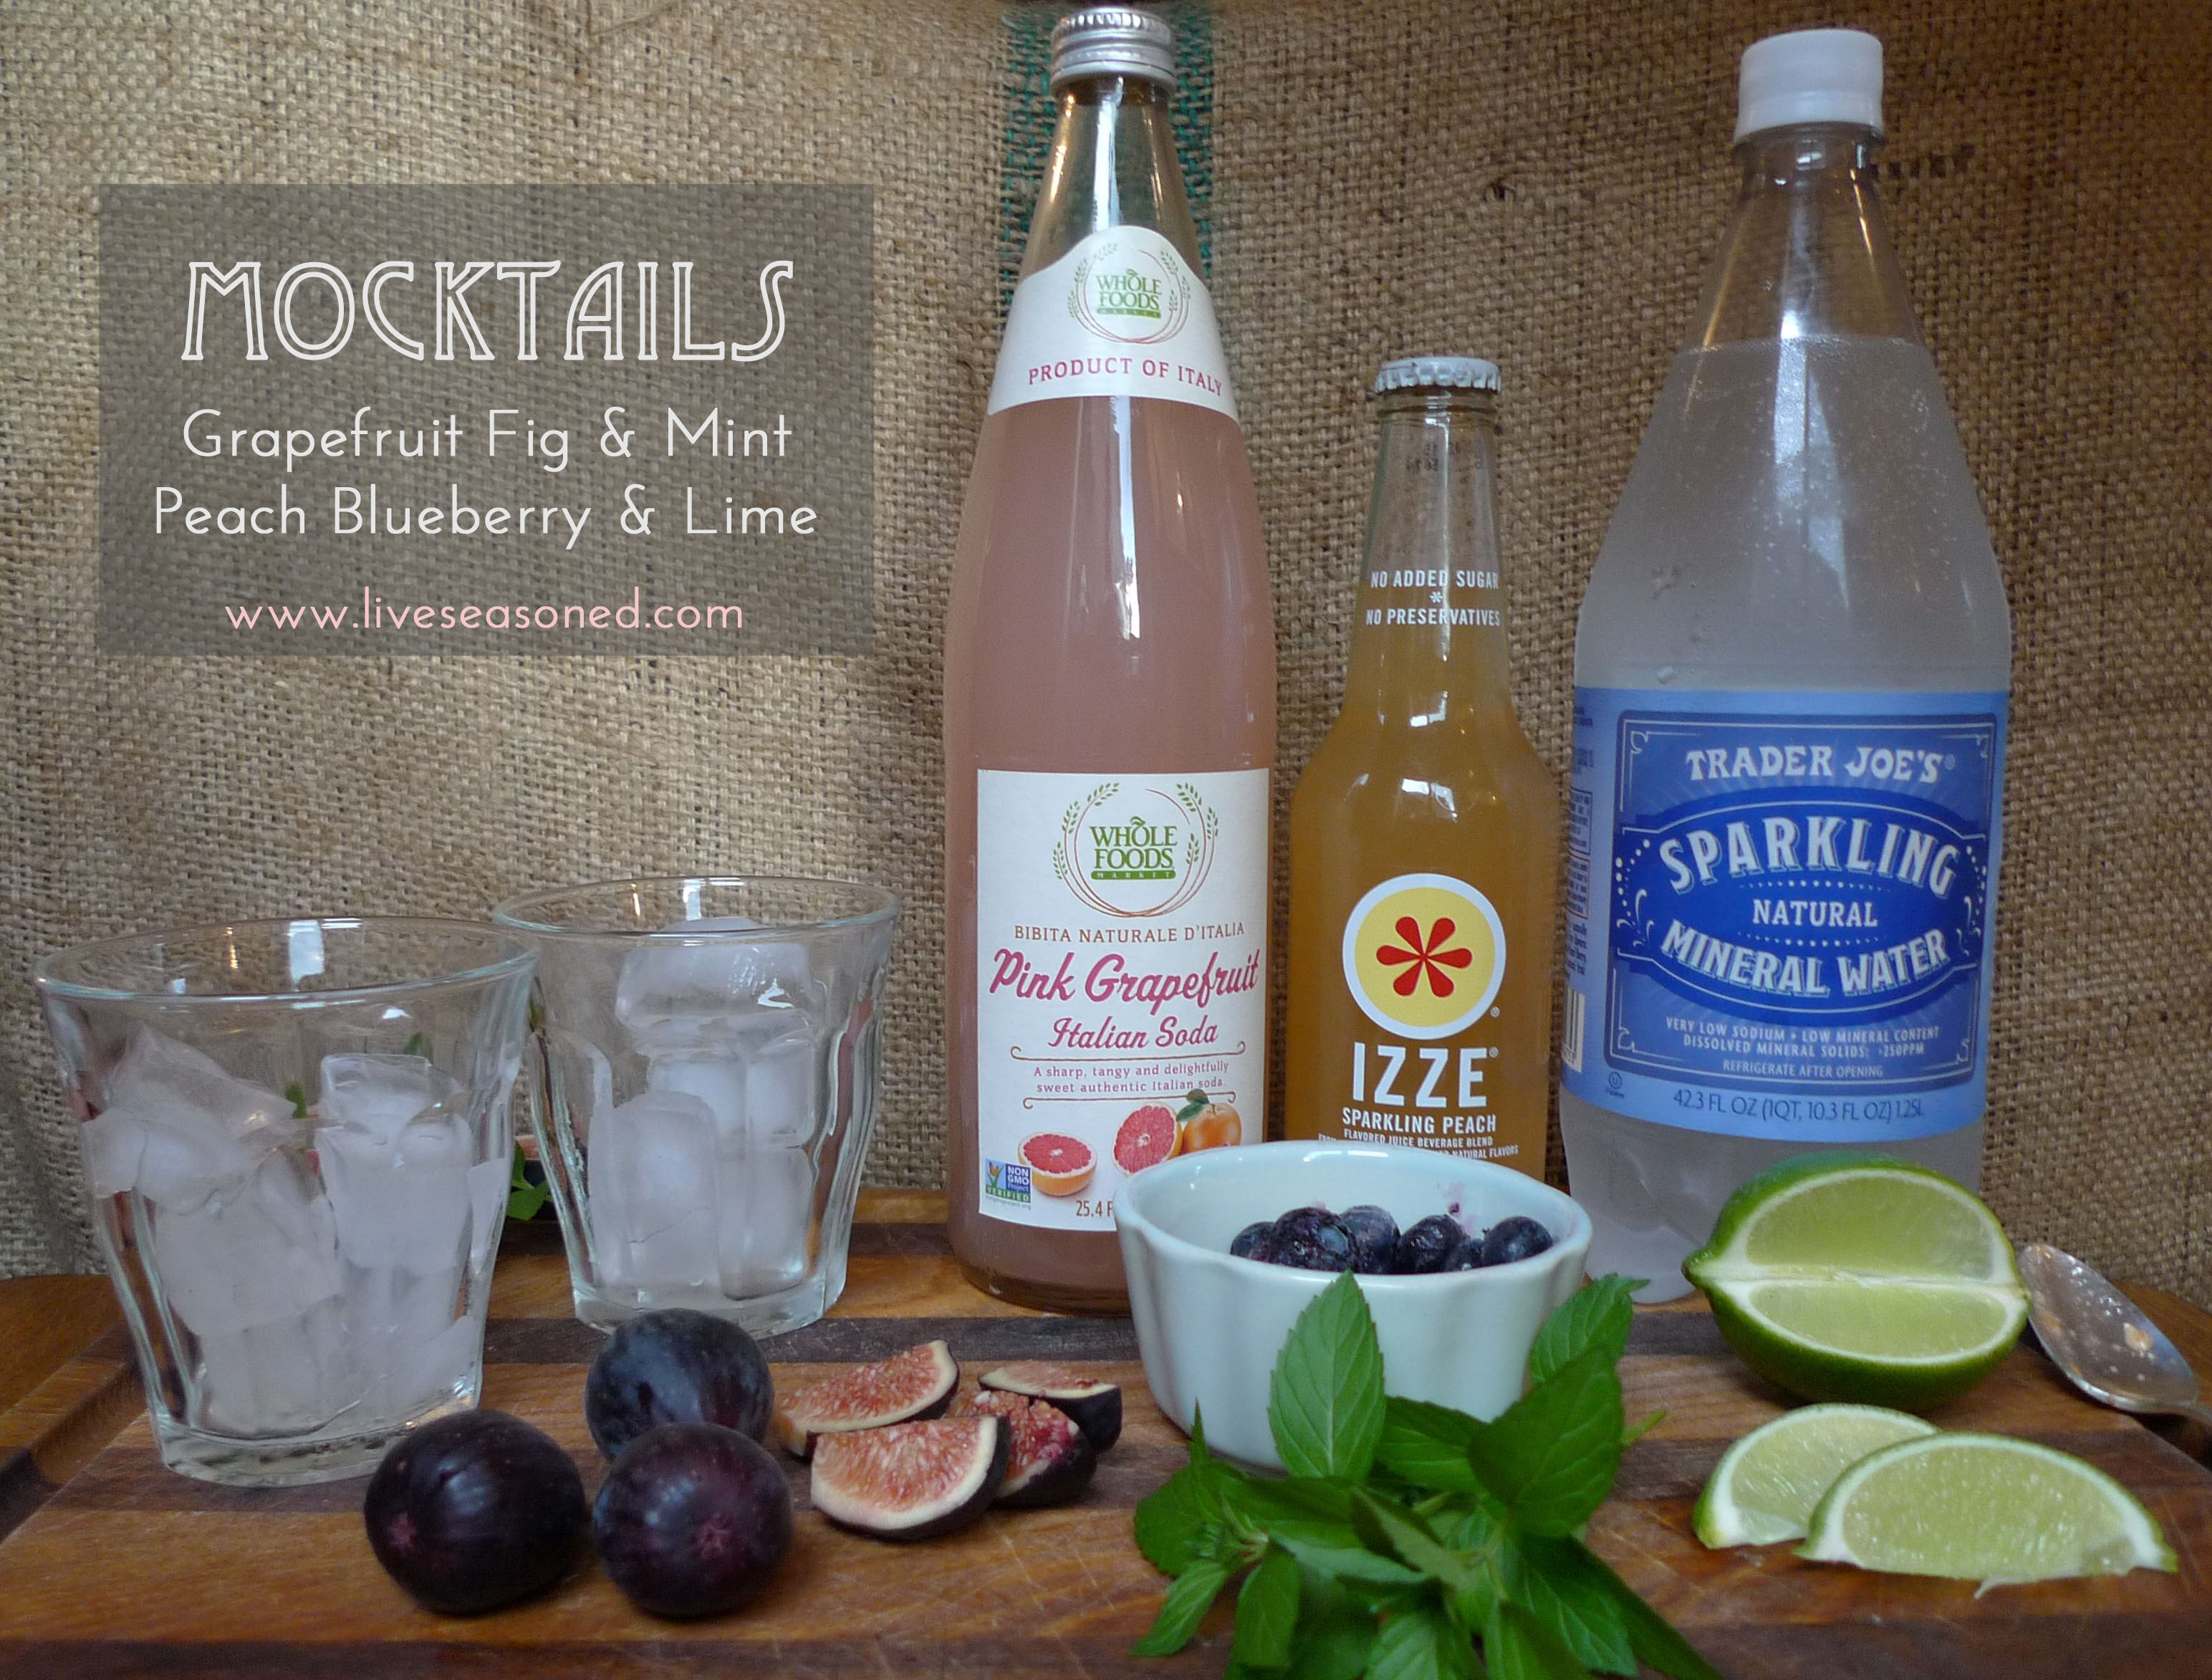
Mint is our ingredient of the season. We’ve used it in salads, drinks, and other potions. You can find our complete archive of mint posts here.
liveseasoned_summer2014_mocktails1_wm2

You know that the Seasoned sisters love to kick back with a good alcoholic beverage, but we can also appreciate a nicely mixed mocktail or two. Who doesn’t have fond memories of being served their first Shirley Temple? And while we still wouldn’t pass one up,  today we’re talking about mocktails that are a bit more creative in both their list of ingredients and combination of flavors. With the right ingredients on hand these mocktails take seconds to mix, making them a perfect alternative to offer up at your Labor Day bbq this weekend.

I’m not a huge fan of mocktails that imitate alcoholic drinks. If I’m going to skip the alcohol, I want my drink to be full of creative flavors. That said, once I come up with a winning mocktail, it often doubles as the perfect base for my next cocktail. With a splash of gin or SAGE, both of today’s drinks can become the spirited life of the party! (Excuse us, we couldn’t pass up the pun.)

Continue reading

Summer’s almost over – live it up!

Oh man, no post on Friday and then a late start on Monday! We would apologize and try to get our act together, except it’s too late – we were busy squeezing every last drop out of one of the last weekends in August.
liveseasoned_summer2014_quote

We took Emerson’s words to heart this weekend. Sarah and our siblings threw a huge summer bash at the farm complete with friends, music, bonfires, an epic slip and slide, and glow stick fun (that she’ll be back to share on Wednesday!). I was in the mountains with Calder and Alex, who is the world’s newest hiker – not willing to go onto our backs for a single step and wanting to climb every boulder we pass. So, what were we to do but embrace his pace and enjoy the hour+ time required for the 3/4 of a mile hike to St. Mary’s glacier?

Once Labor Day arrives, we can help but think that fall is here. So we’re hoping to treat every day of this last week of August as if it is truly the best day of the year (and summer). We’re going to share a few summer recipes, a craft that’s perfect for your labor day bbq, and we’ll end the week with a review of our favorite summer posts.

Happy best day ever to you*

Special Birthday Brownies

Sorry this post is coming late in the day, but we’re sharing some incredible brownies, and as you’ll see these things can’t be rushed!

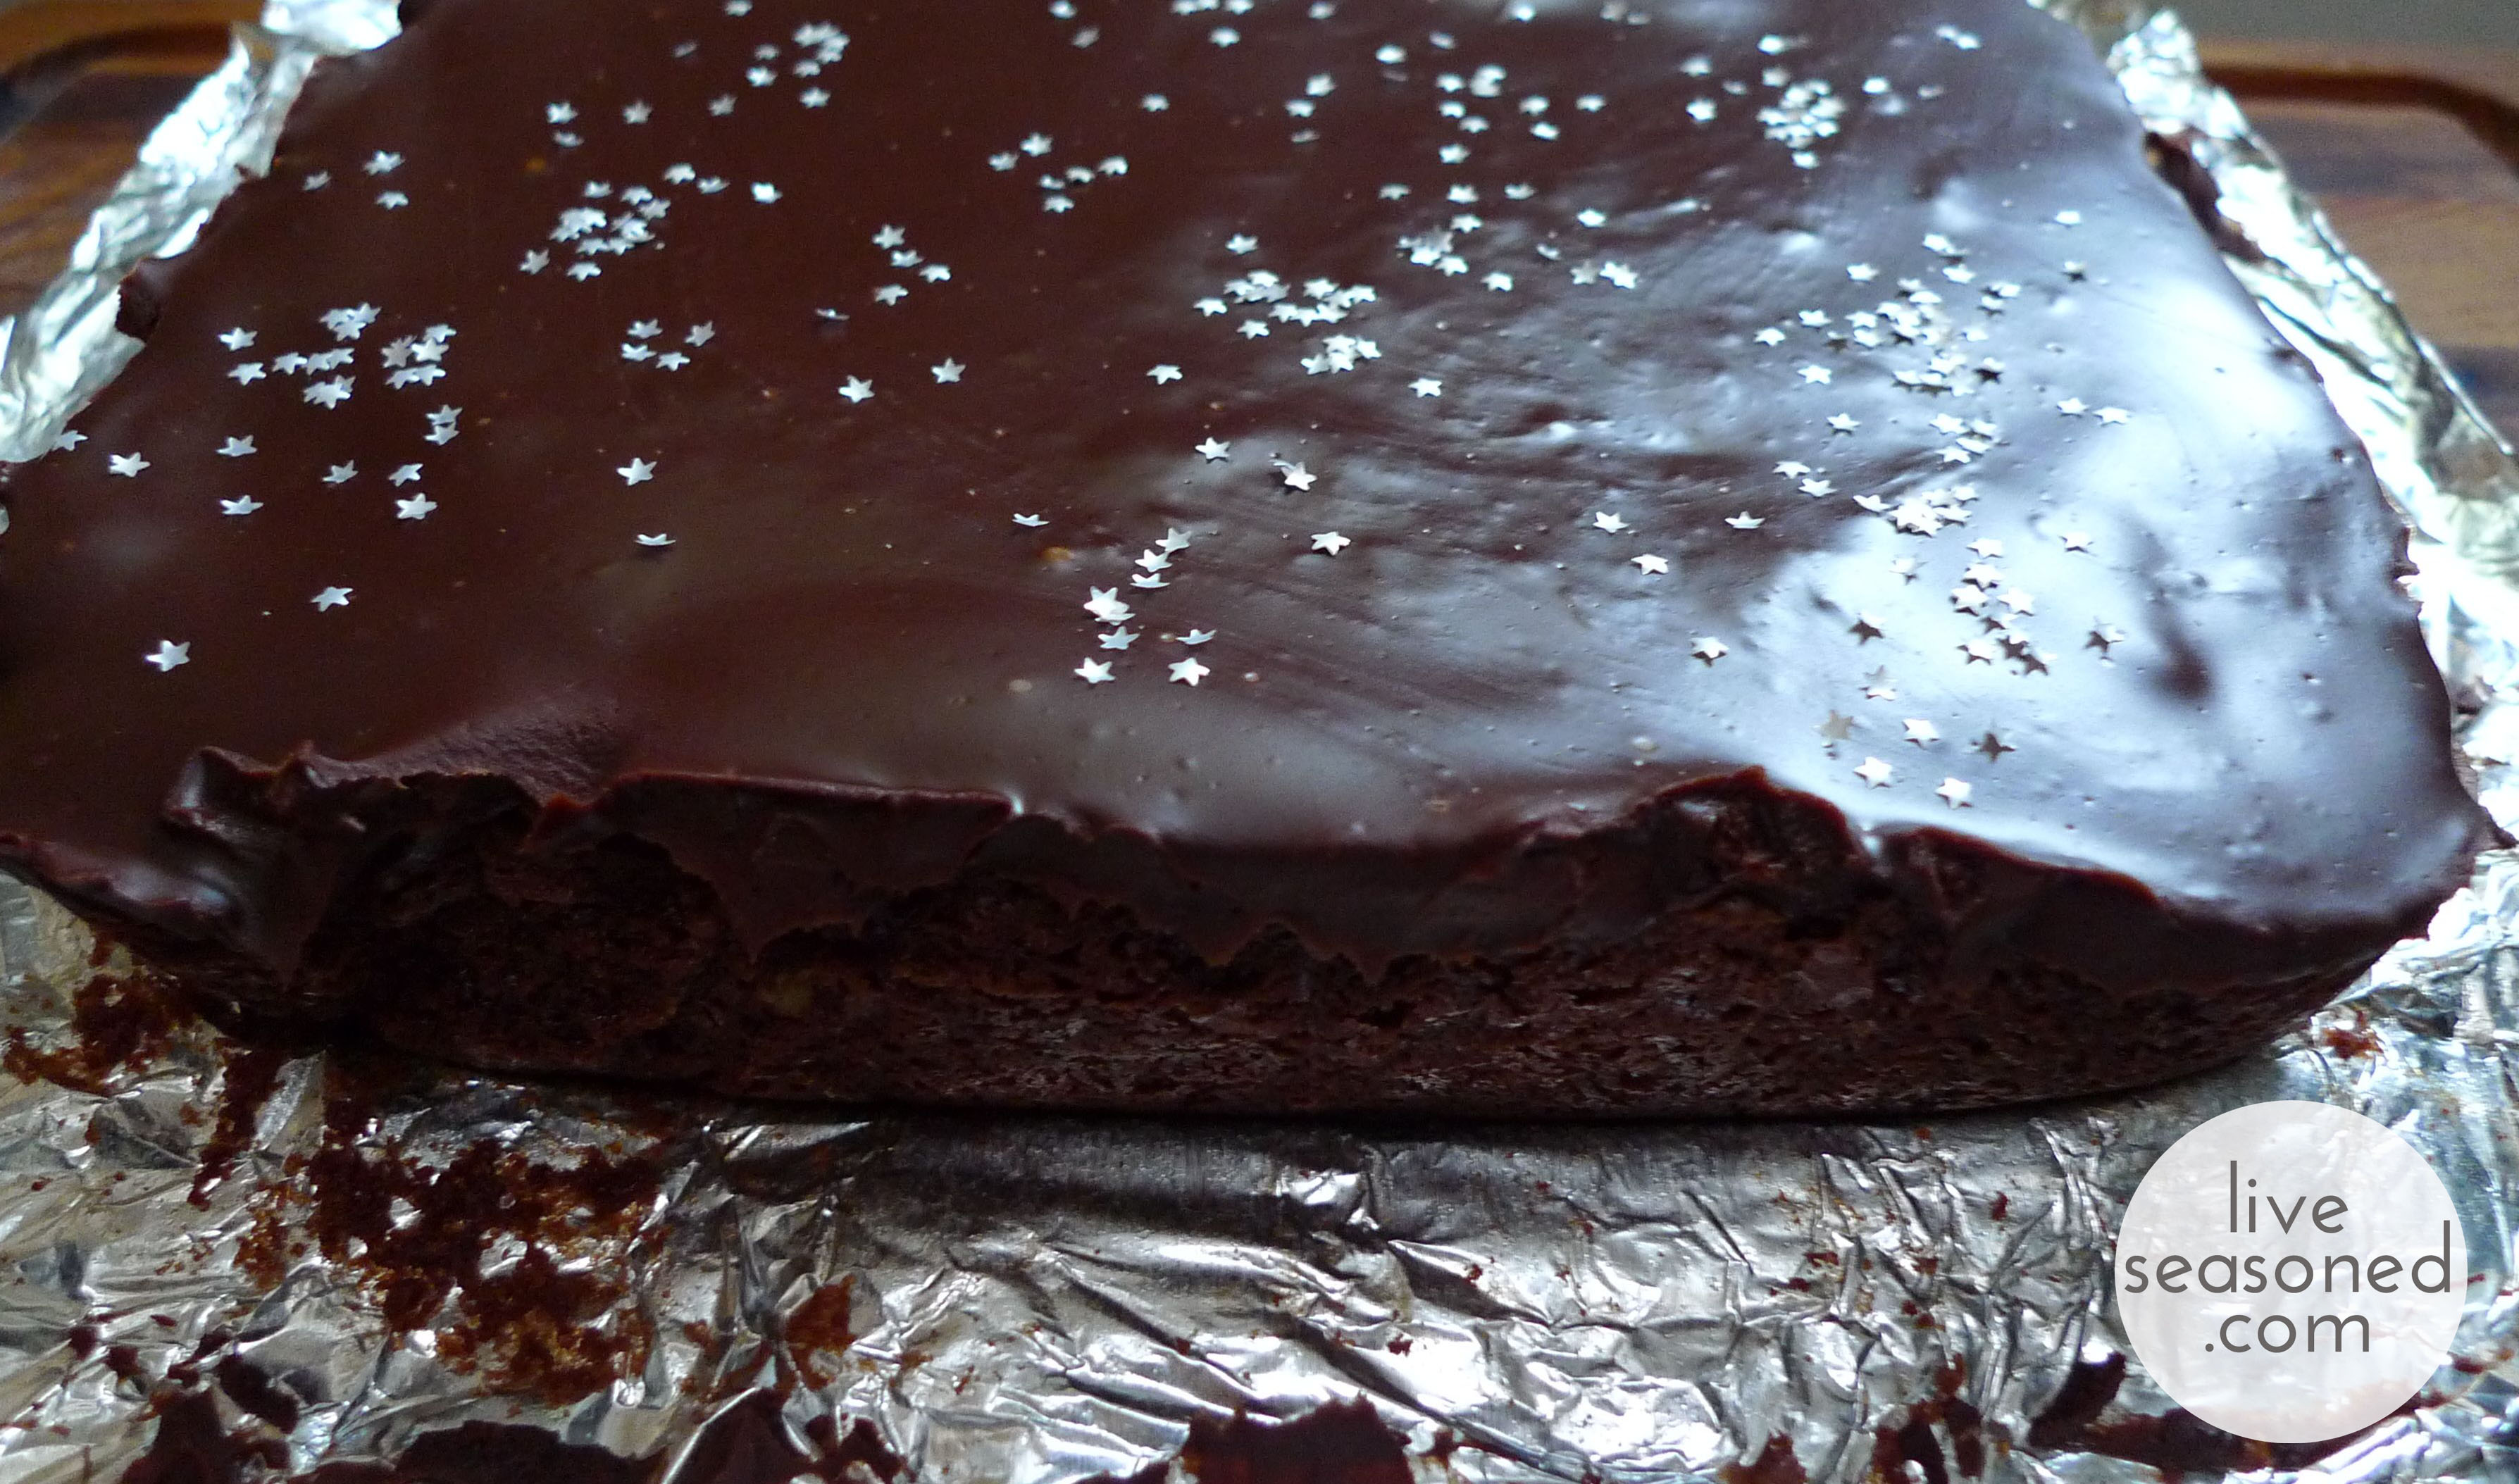
Calder’s birthday is on Saturday. As expected, he requested a chocolate cake, but since we have a camping trip planned, I thought a batch of brownies would be easier to pack. And what better for the birthday boy than the most indulgent brownies I know?

liveseasoned_summer2014_trufflebrownies6_wm

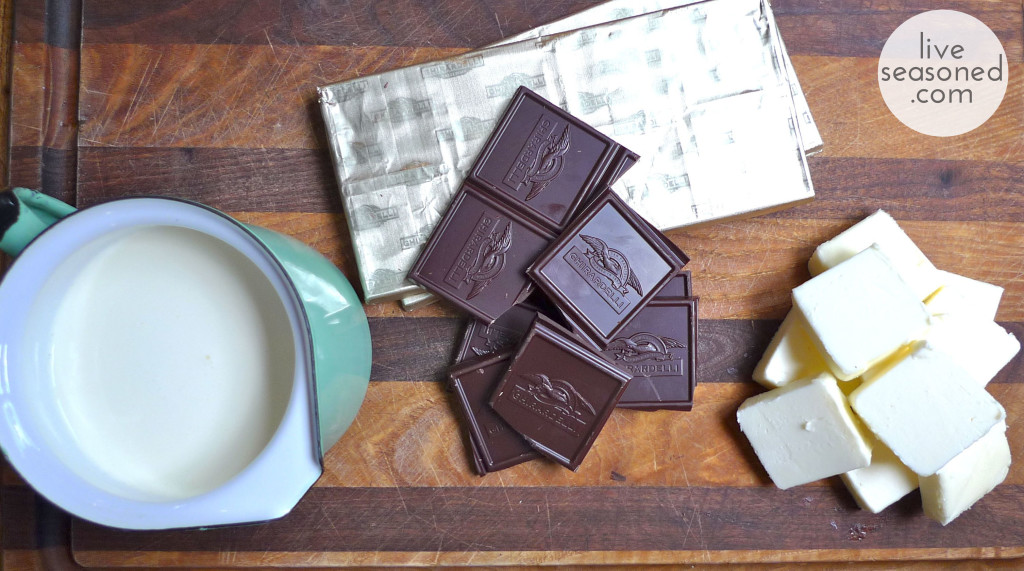
We were introduced to these brownies by a family friend a few years ago, and it was one of those things that became an automatic request when we were planning any sort of celebration. When I asked my mom for the recipe this week, I learned that they are called Truffle Brownies, and it is the perfect description of what you’re making: a truffle disguised as a brownie. To get that truffle-like flavor and consistency, the recipe contains almost a cup of cream, 12 ounces of bittersweet chocolate, and well over a stick of butter! Indulgent, no? It’s definitely worth splurging on some quality chocolate for these.

liveseasoned_summer2014_trufflebrownies12_wm

Brownie Ingredients

  • 6 oz bittersweet chocolate, 60% cacao recommended
  • 11 Tbsp butter, cut into 1 inch cubes
  • 1 1/4 cups sugar
  • 3 large eggs
  • 1 1/2 tsp vanilla
  • 1/4 tsp salt
  • 1 cup flour
  • 1 cup toasted walnuts, finely chopped

Brownie Prep

  • Preheat your oven to 350 degrees.
  • Prepare your pan. Line a 9×9 inch metal pan with tin foil, making sure that its edges overhang your pan so that they are easy to grab. Spray the foil with vegetable oil.
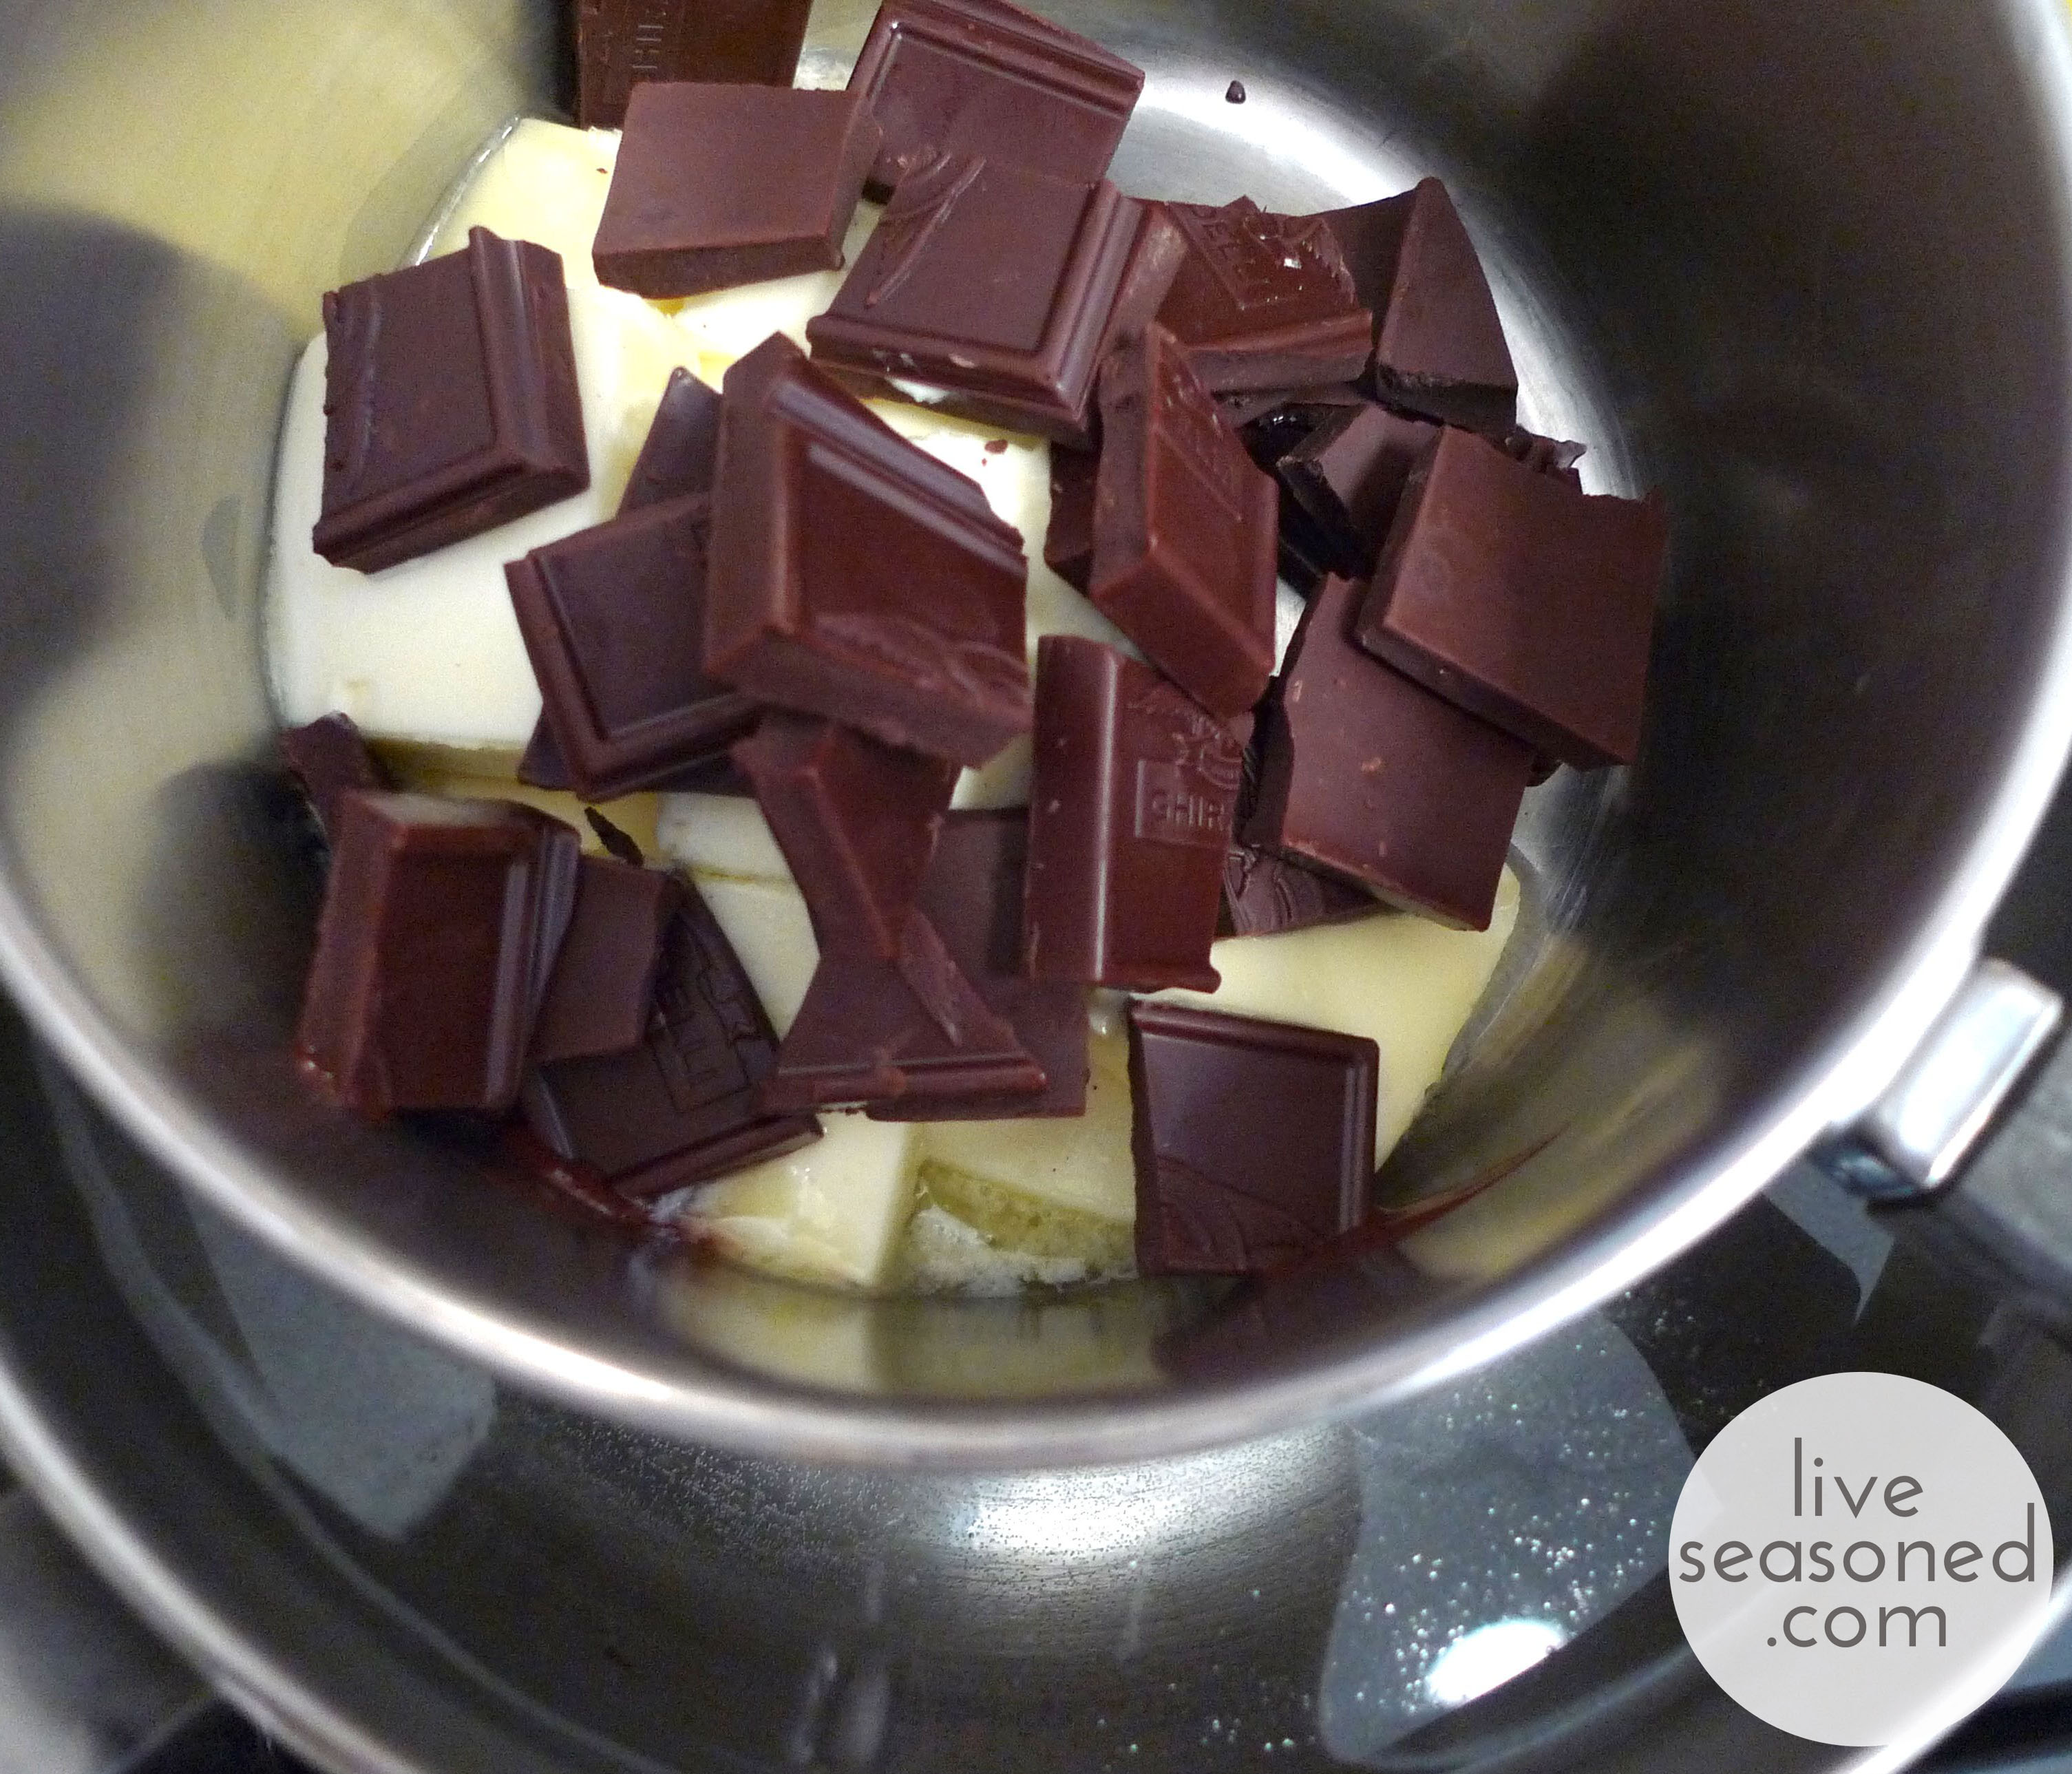
  • Place the 6 oz chocolate and the butter in the top of a double boiler on medium-high. Stir until melted and smooth. Remove the top pot and let it cool for 5-10 minutes.
  • Whisk together the sugar, eggs, vanilla, and salt. Add the slightly cooled chocolate mixture and whisk again.
  • Stir the flour into the mixture, followed by the walnuts.
  • Pour the batter into the prepared pan, and bake in the middle of your oven for about 26-28 minutes. The tester should have tender moist crumbs on it.
  • Cool completely and then frost with the ganache.

liveseasoned_summer2014_trufflebrownies4_wm

Ganache Ingredients

  • 3/4 cup heavy cream
  • 6 oz bittersweet chocolate, 60% cacao recommended

Ganache Prep

  • Bring the cream to a simmer, remove from the heat and add the chocolate. Let stand 5 minutes and then whisk until the chocolate is melted and the mixture is smooth.
  • Pour over the cooled brownies and let cool at room temperature for at least 4 hours or overnight.

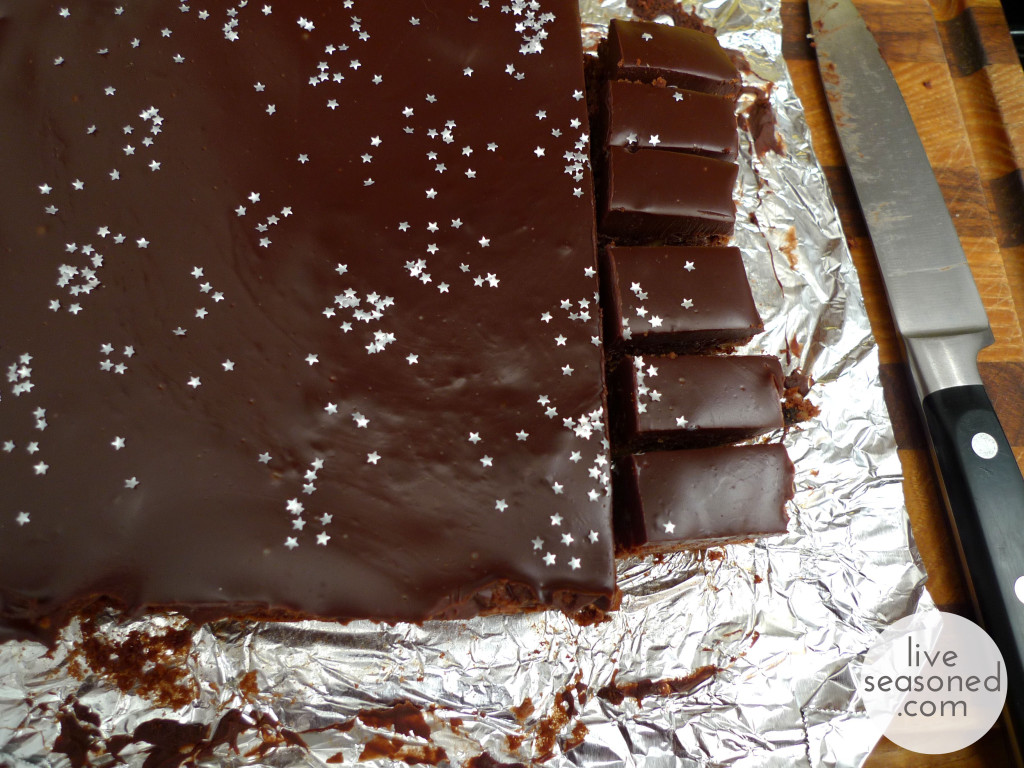
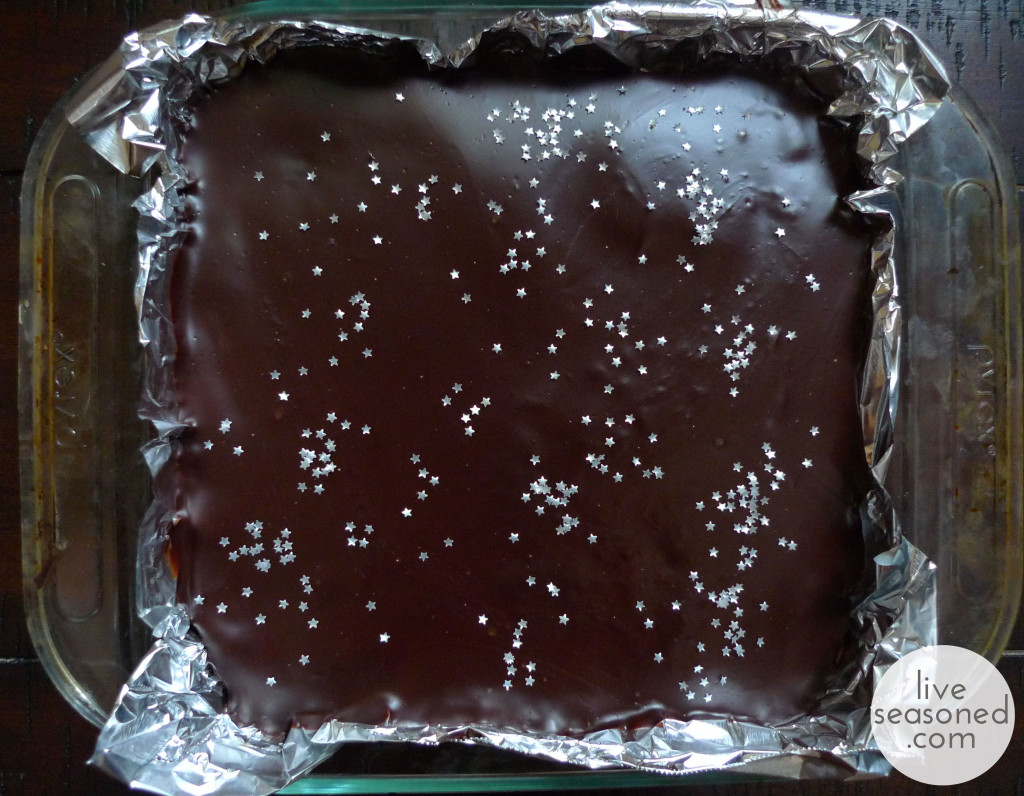
After your ganache has cooled, it’s time to decorate! They were first served to us with crackled gold foil on the top ~ could there be a more perfect accent to such incredibly rich brownies? I didn’t have any gold leaf on hand, but I always have these paper thin star sprinkles at the ready (we use them as an accent on cappuccinos and hot chocolates – classy living over here!). If you like them, they’re easy to find in the baking aisle of any Joann’s Crafts, and they come in gold as well as heart shapes! I think they are just as much, if not more, fun than the gold leaf. The stars on the dark chocolate turn your brownies into a starry night, and would be perfect for so many occasions (slumber parties, evening summer bbqs, new year’s eve parties… and birthday camping!).

Once decorated, remove the brownies from the pan by pulling the foil. Place the whole slab on a cutting board and cut into small pieces. I err on the side of the one-bite-brownie because these are so rich.

liveseasoned_summer2014_trufflebrownies8_wm

Hints

  • The smaller the walnut pieces, the easier it is to cut the brownies. Grinding was recommended to us, but I’m a fan of a fine-ish chop.
  • The cooler the brownies are, the easier they are to cut. Our house was a cool 60 degrees over night, so when I cut them in the morning I had no problems. When we make them at the beach on an 80 degree day, more brownies end up on the knife than in our mouths! Wiping your knife between cuts also helps.
  • If you don’t have a double boiler, the pot inside a pot method works perfectly well.
  • When decorating, try not to let your fingertips touch the ganache because you may end up with fingerprints and smudges on that perfectly smooth surface.

liveseasoned_summer2014_trufflebrownies7_wm

Dry Shampoo to the Rescue!

It’s no surprise that Sarah and I like to make our own cosmetic and household potions whenever possible. We’ve tried our hands at deodorant, body scrubs, and laundry detergent. We like to know exactly what’s going into them, but we also really enjoy personalizing the potions to our tastes, and we often find that homemade is cheaper than store bought.

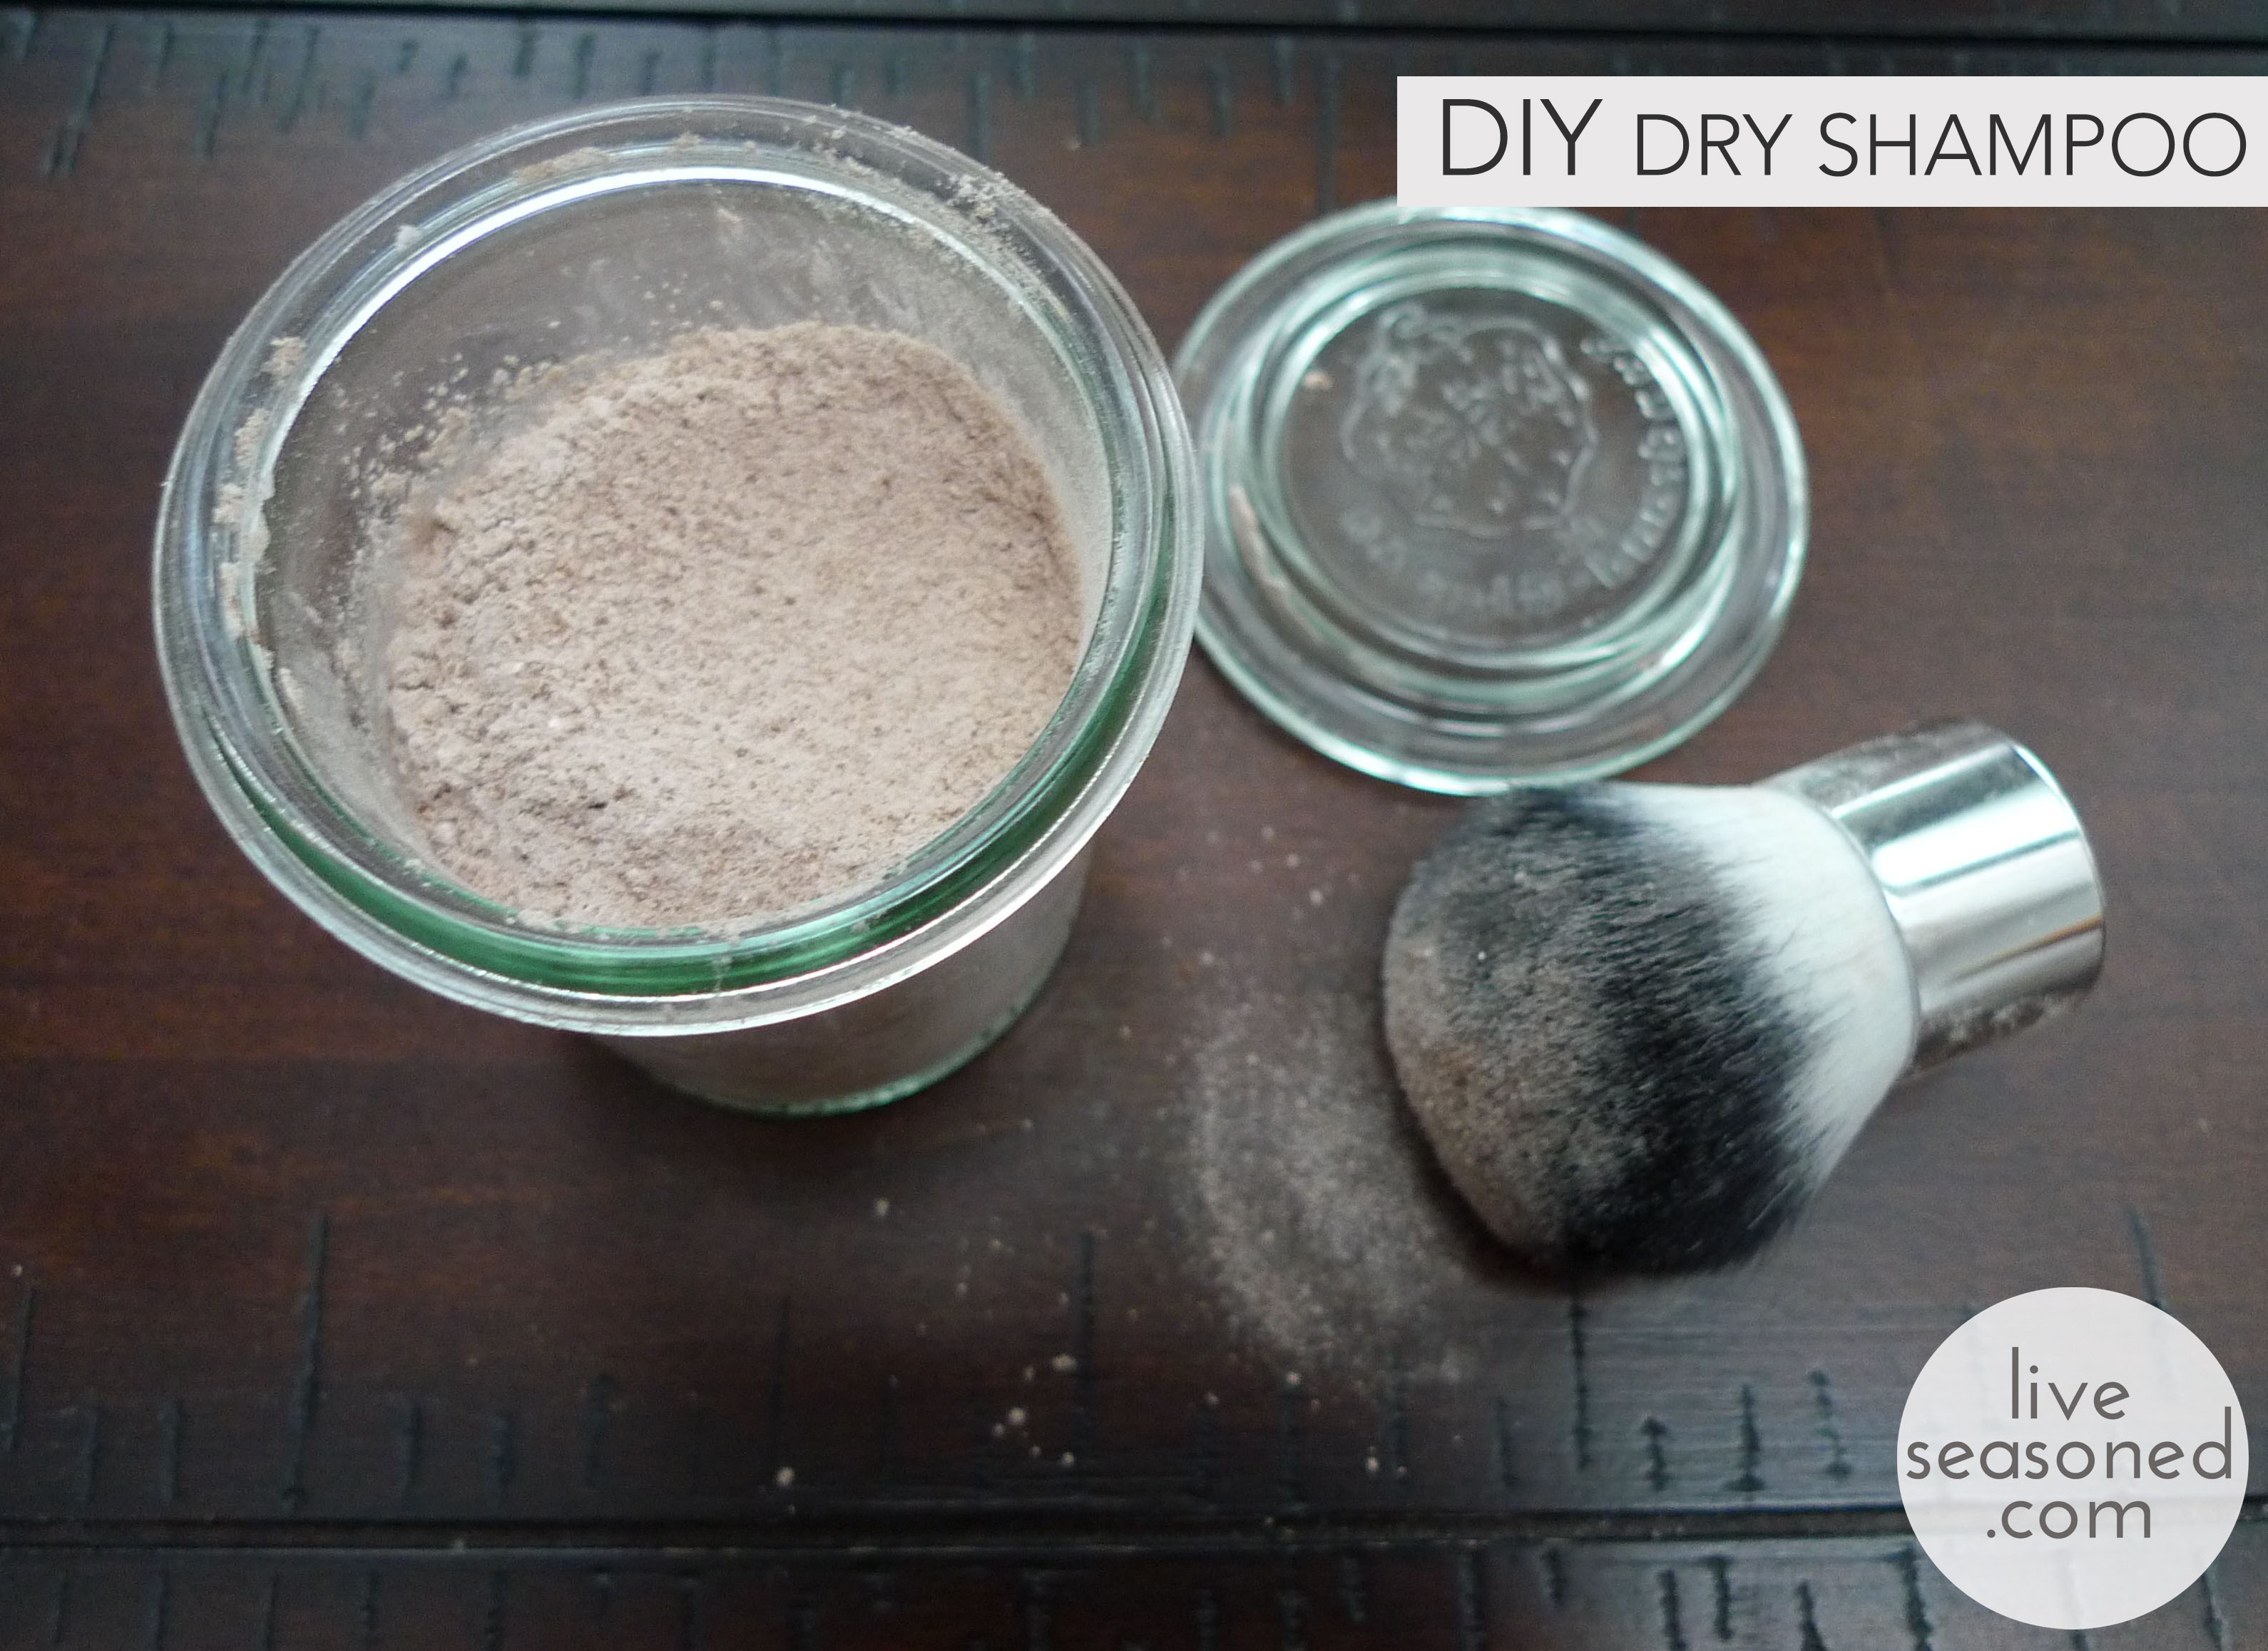
liveseasoned_summer2014_dryshampoo6_wm copy

Today we’re sharing yet another cosmetic potion: dry shampoo. I didn’t start using dry shampoo until after Alex was born (it really is every new mom’s best friend), but truthfully, I probably should have started using it sooner! I’m not a big fan of showering; I think it just strips my body of the good oils, drying out my skin and hair. I usually take a shower every three days or so, and in between you can start to see my hair gets greasy – that’s where dry shampoo saves the day. It soaks up those excess oils and gives my thin, limp hair a bit of body! The potion I’ve settled on is a mash-up of the different recipes I’ve seen out there, simplifying and using measurements that seem to fit my hair.

Continue reading

Clean Up Your Act: Laundry Detergent DIY

liveseasoned_spring2014_detergent_tutorial

There’s a whole load (har har) of benefits that go along with making your own laundry detergent, but the biggest one for me is cost.  Don’t get me wrong, I love knowing exactly what’s swirling around in my machine and feeling comfort in knowing there’s not a whole host of perfumes and chemicals on my cottons, but the cost difference of store bought and homemade detergent is significant.

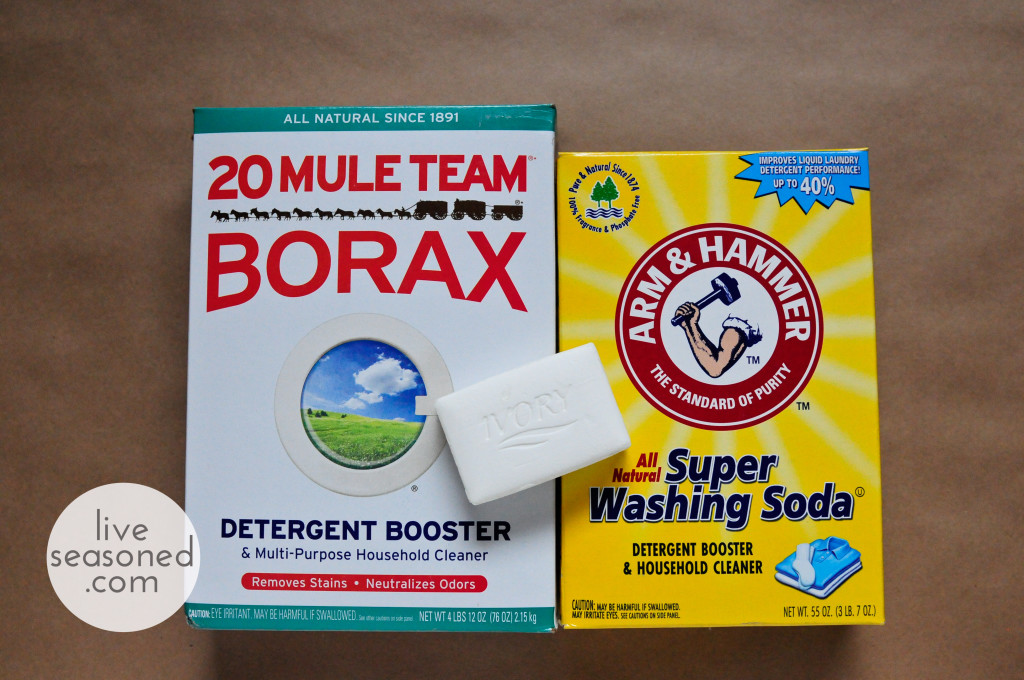
It only costs $.07 a load compared to the cheapest Tide option, which is almost double at $.12 a load.  Also, once you buy the 76oz box of Borax, 55oz box of Washing Soda and 10 pack of Ivory Soap for a grand total of $12.00, you won’t have to worry about laundry detergent for a looooooong time, like an entire year. True story.

While my main motivation for DIY detergent is to save money, I take comfort in knowing I’m not bringing (potentially cancer-causing) carcinogens into my home and rubbing them all over my largest organ and depositing them into the water supply. I’m also saving lots of petroleum-based plastic jugs from entering landfills. DIY detergent is good for the environment, your skin, and your wallet.  I guess what I’m saying is, this recipe is a win, win, win.

liveseasoned_spring2014_detergent-1

Supplies and Equipment:

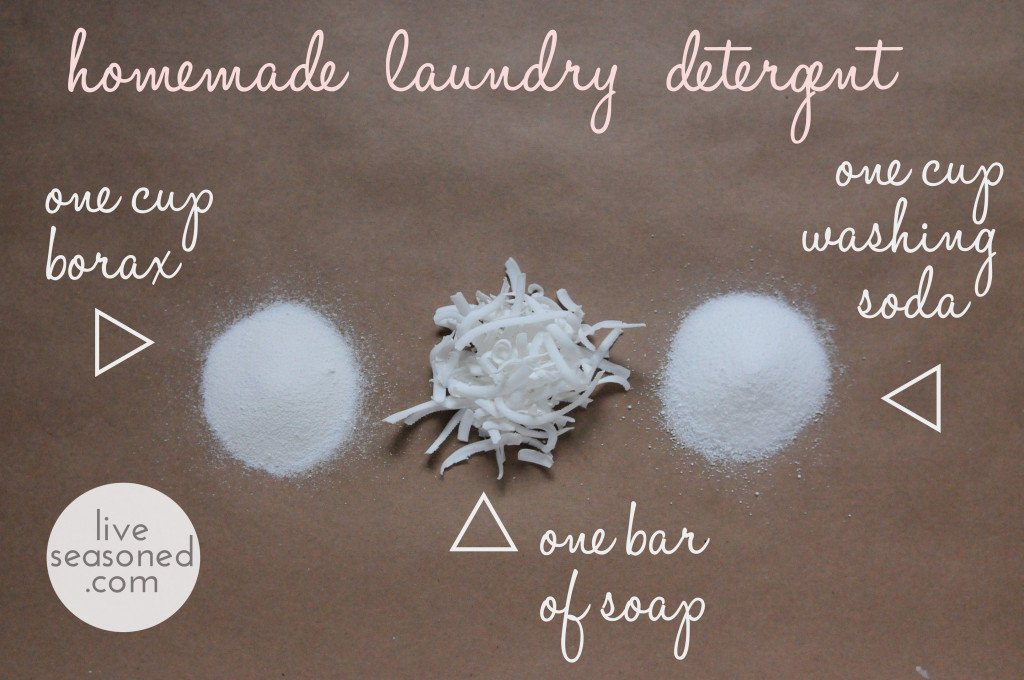
  • 1 c Borax
  • 1 c Washing Soda
  • 1 bar soap
  • Bowl
  • Grater
  • Spoon

Quick Tip:

  • You can find these ingredients at the grocery store near dryer sheets and dyes.
  • Wear a scarf over your face or pull your shirt up over your nose to keep from inhaling the fine powders.

liveseasoned_spring2014_detergent-3

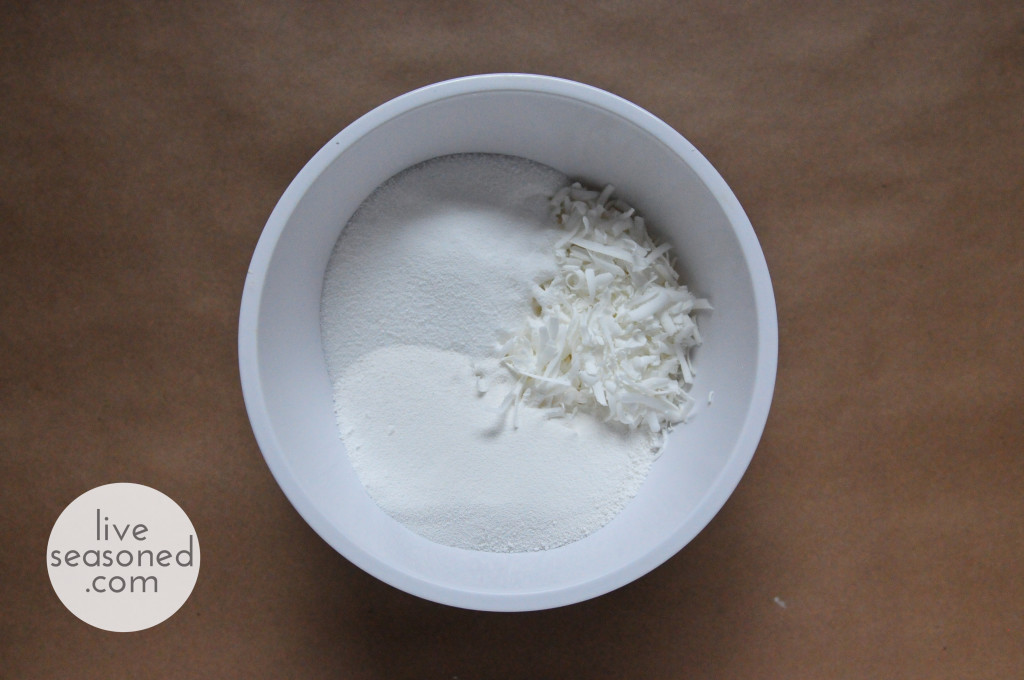
  • In a large bowl, grate one bar of soap then add the Borax and washing soda.  Chop the soap pieces into smaller bits with a spoon as you mix the ingredients together.
  • You can also add a few scoops of powdered detergent booster if you wish.  Sometimes I add Tri-Zyme (a biodegradable version of oxi-clean), but most times I forget and leave it out.
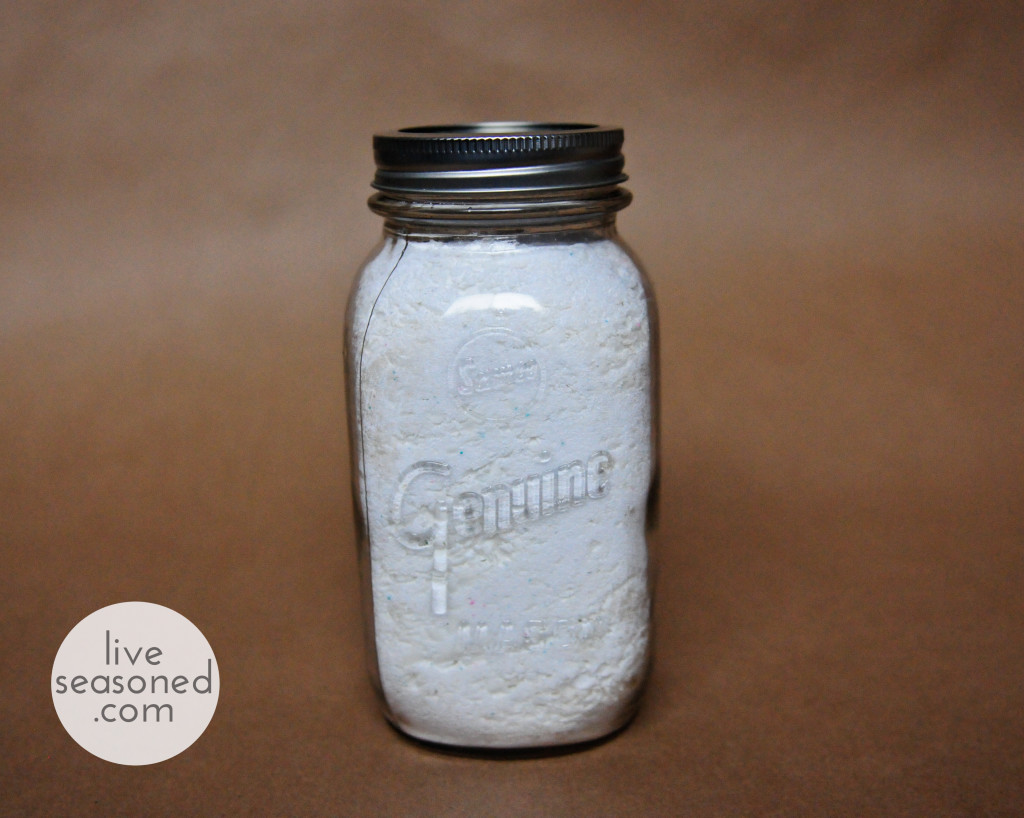
  • After stirring for a few minutes transfer the detergent to an airtight container.  I keep mine in a Mason jar.
  • Before adding your clothes, put one scoop (roughly 2 tablespoons) of powdered detergent into the washer and turn on the hot water, after a minute or two add the clothes and adjust the temperature if necessary.* If you don’t have time for that step, no worries, just put the detergent in first so it starts dissolving in the water immediately.

liveseasoned_spring2014_detergent-4

So what do you think? Do you love spending money on Tide or do you think you’ll try this homemade option?  Powered detergent is classic so return to your roots people!  Really though, I think it’s great and I’ve been using this recipe for three years now.  Lemmmmmie know how it goes!

*Each batch makes enough for twenty loads.

Colorado Hike : Ajax Mountain

liveseasoned_summer2014_aspen3

A few weeks ago we took a leisurely afternoon hike on the Nature Trail that starts at the top of Ajax, or Aspen, Mountain. This was an out and back hike that was super easy with barely any elevation gain because you do all of your climbing as you ride the gondola to the top of the mountain!

liveseasoned_summer2014_aspen1

If you want to head straight for the hike, veer left as you get off the gondola and you’ll have no trouble finding the trail. If you’re heading up with kiddos, veer to the right and there are plenty of fun activities to let them burn off the energy before/after riding the gondola. Our little guy was just interested in the huge sand pit and trucks, but there are also spaces to dig for gold, go rock climbing, go trampoline jumping, and room for some good old running.

liveseasoned_summer2014_aspen2

liveseasoned_summer2014_aspen22

liveseasoned_summer2014_aspen20

liveseasoned_summer2014_aspen13

As well as delivering beautiful mountain views, the trail dips into the pine forest, giving you a reprieve from the bright alpine sun.

liveseasoned_summer2014_aspen21

liveseasoned_summer2014_aspen16

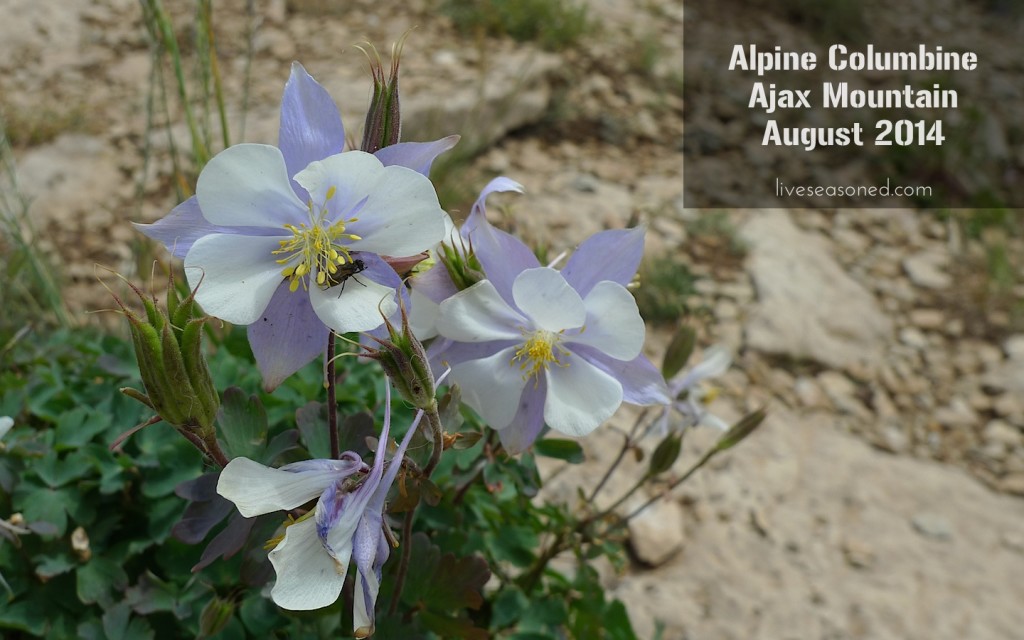
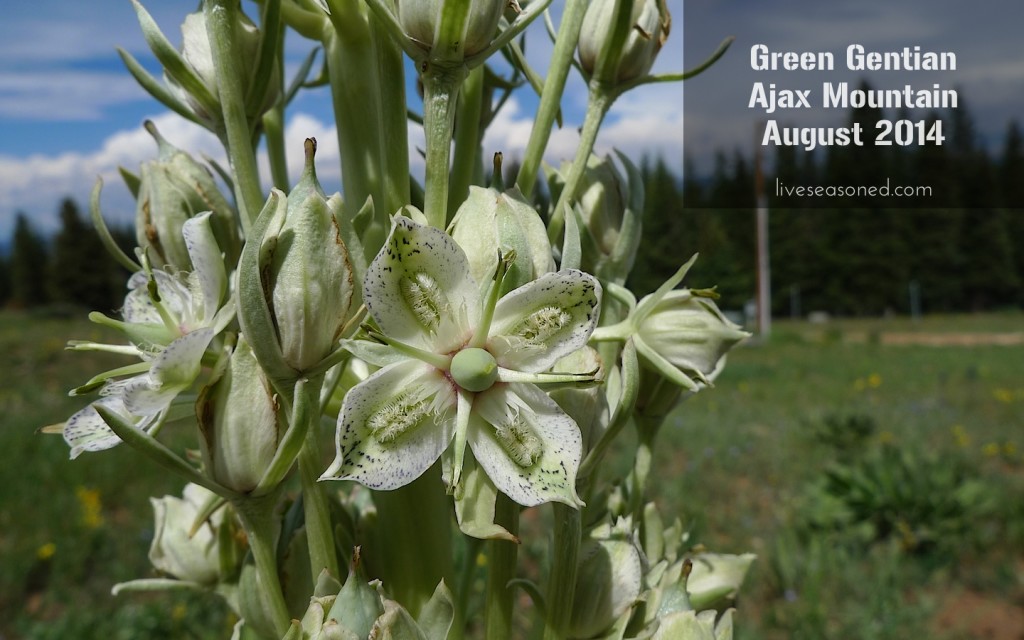
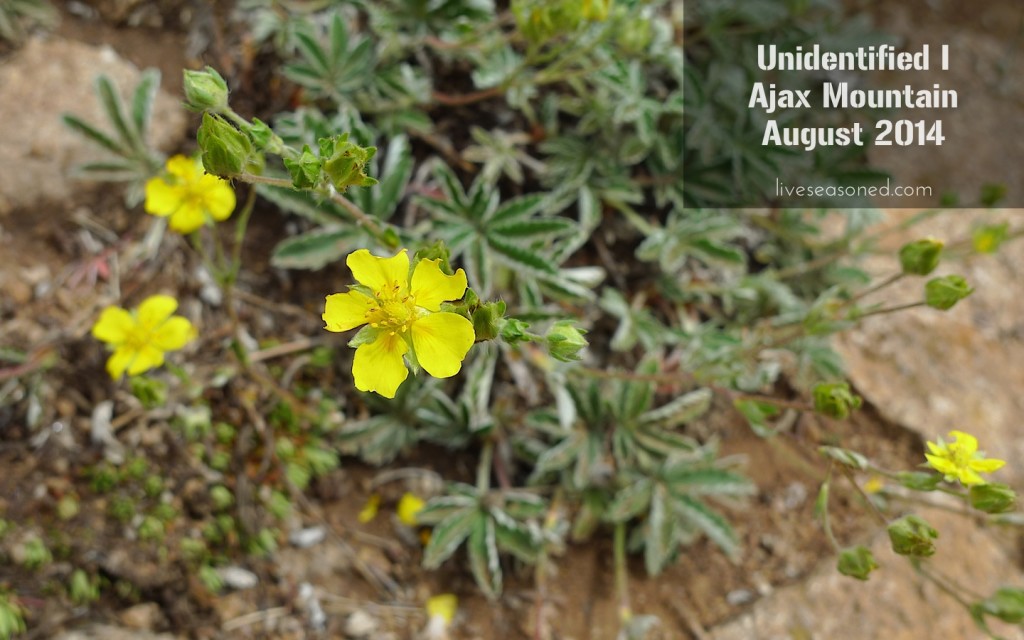
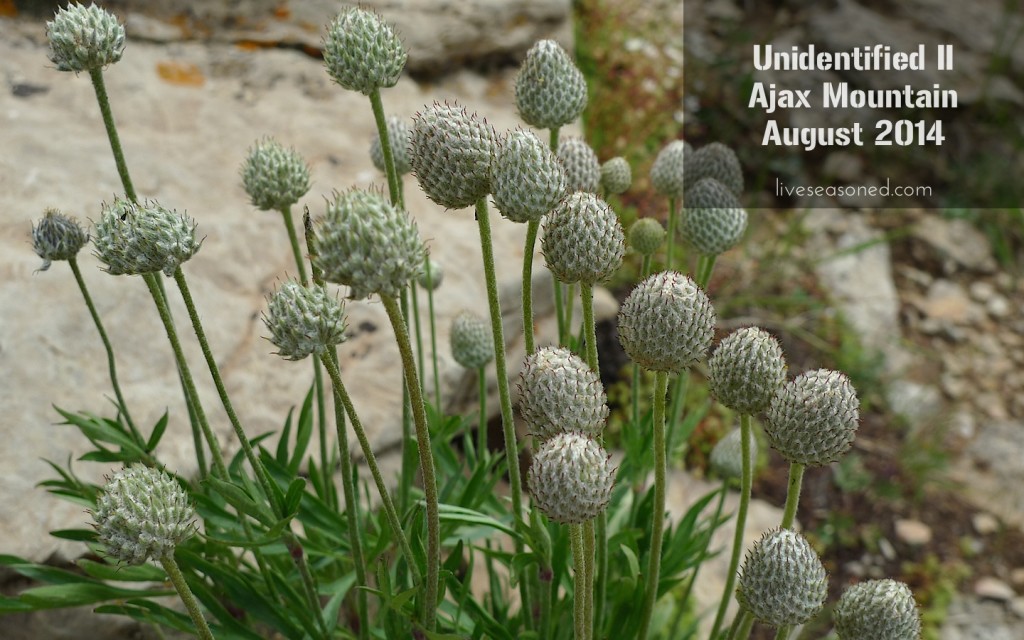
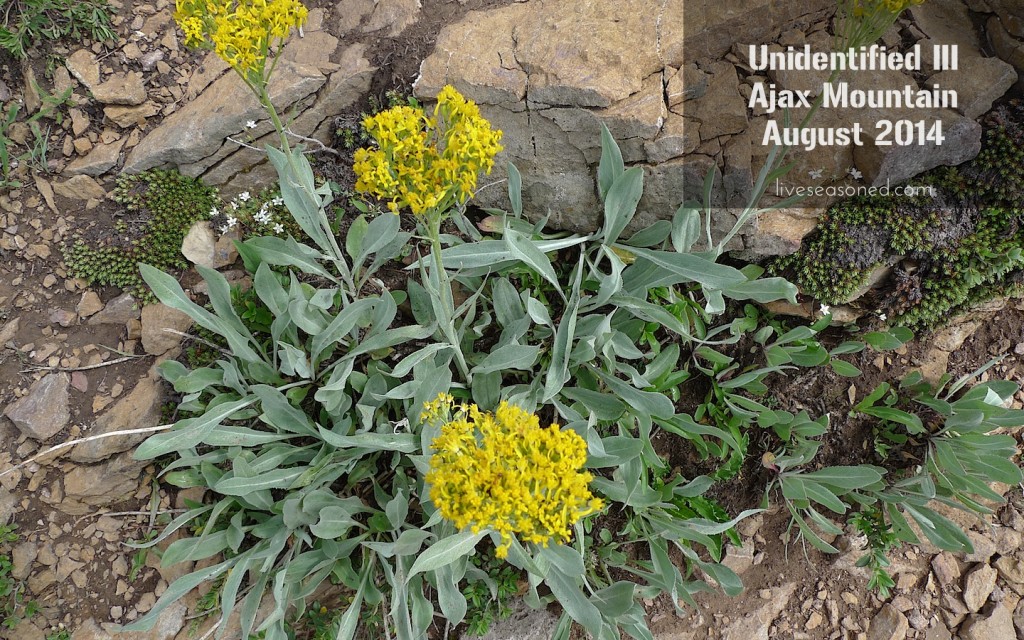
This was our third hike and I was excited to see yet more wildflowers in bloom. Unfortunately, I didn’t take a guide with me and had trouble identifying some new-to-me species from the photos. If you have any clues as to the names of the unidentified flowers below, I would really appreciate it!

liveseasoned_summer2014_aspen4

liveseasoned_summer2014_aspen7

liveseasoned_summer2014_aspen17

liveseasoned_summer2014_aspen18

liveseasoned_summer2014_aspen19

liveseasoned_summer2014_aspen5

liveseasoned_summer2014_aspen9

liveseasoned_summer2014_aspen10

We hiked out to the point where there was a perfectly clear view of the Aspen Highlands ski resort. At this point, you can also see the very top of one of the two Maroon Bells peaks. We spent some time sitting here, letting Little A out of the pack to tool around and throw some rocks, while C and I talked to other hikers. It seemed to be a common stopping/turning point for many people.

liveseasoned_summer2014_aspen6
liveseasoned_summer2014_aspen8

liveseasoned_summer2014_aspen11

Extra Details:

  • During the summer months, the gondola’s open daily from 10:00am-4:00pm. A single ticket costs $19.00, but if you’re staying for a few days, or planning to take the bus up to Maroon Bells, they have a great package for $29.00.
  • Of course, you’re welcome to skip the gondola and turn this into a more rigorous, multi-hour hike by starting your walk from the bottom of the mountain. This is something that you can do any time of day in the summer, but only before the gondola opens during ski season.
  • This is probably obvious, but take sunscreen and a hat! You’ll be more comfortable because the sun is bright and there are plenty of areas without tree cover.

liveseasoned_summer2014_aspen15

In Season: Juicing

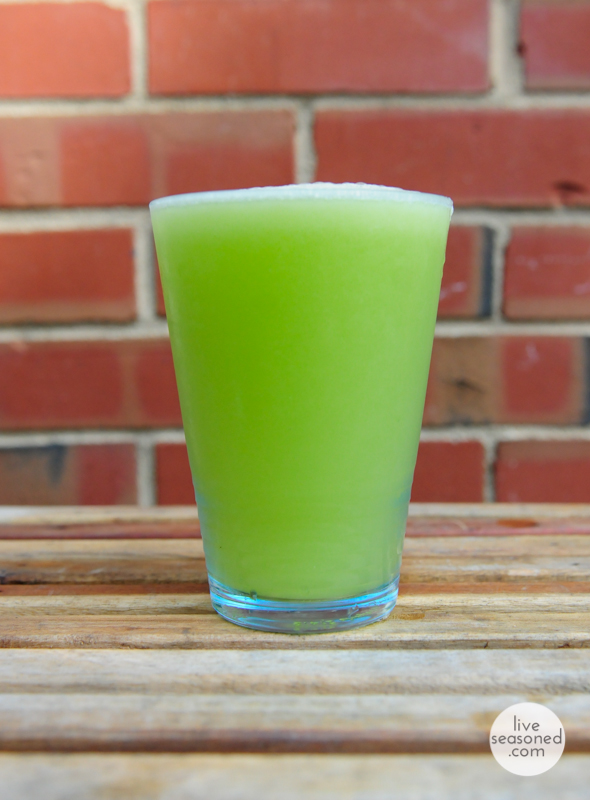
liveseasoned_summer14_gingercocktail-2

Let’s face it, we all like to juice once in awhile.  Whether juicing is an every day affair for you or an occasional treat, we can all agree, it’s awesome!  I’ve been traveling for work a lot lately, which means less and less home cooked meals.  Eating out really does catch up to me so I think it’s time for a juice cleanse. I’ve set aside next Monday through Thursday for a juice cleanse.  It’s a nice way to reset, which is how I always view a cleanse.  Here are a few juicing related links to get you inspired or at least intrigued…

I use this this juicer and I love it, although I’d love to add this to my kitchen as well.

If I had plenty of money to spend, I would buy this excavation cleanse by Blue Print.

I haven’t tried these juice recipes in the past, but the look good. Honestly, most combinations are delicious if you like vegetables.

This is a staple in my juice diet.  For juices with frozen bananas or herbs or ingredients that don’t juice well, I use a high powered blender.

Have you guys ever seen the Fat Sick and Nearly Dead documentary? Personally, I think it’s inspiring 🙂

Here is every vegetable juice recipe on the planet.

Honestly, you can make up your own every time, so go on, try it!

Happy Weekend!