This fall I’ve been making a concerted effort to reduce our red meat consumption. As I learn how to bulk up our vegetarian options, I’m also rotating through some of our favorite chicken dishes…
Continue reading
This fall I’ve been making a concerted effort to reduce our red meat consumption. As I learn how to bulk up our vegetarian options, I’m also rotating through some of our favorite chicken dishes…
Continue readingDo you have any snow on the ground? We had a fantastic snow day yesterday! I read that Boulder’s 16+ inches in yesterday’s storm is more than the average snow for the month. I was so distracted by the sledding, matinees, and requests for banana cream pie, that I forgot to post. And I think Sarah’s off taking photos of staircases and doorways, so who knows when we’ll hear from here again ;-)? Anyway, today we’re sharing an amazing use for vanilla, and I really hope you’ll give it a try.
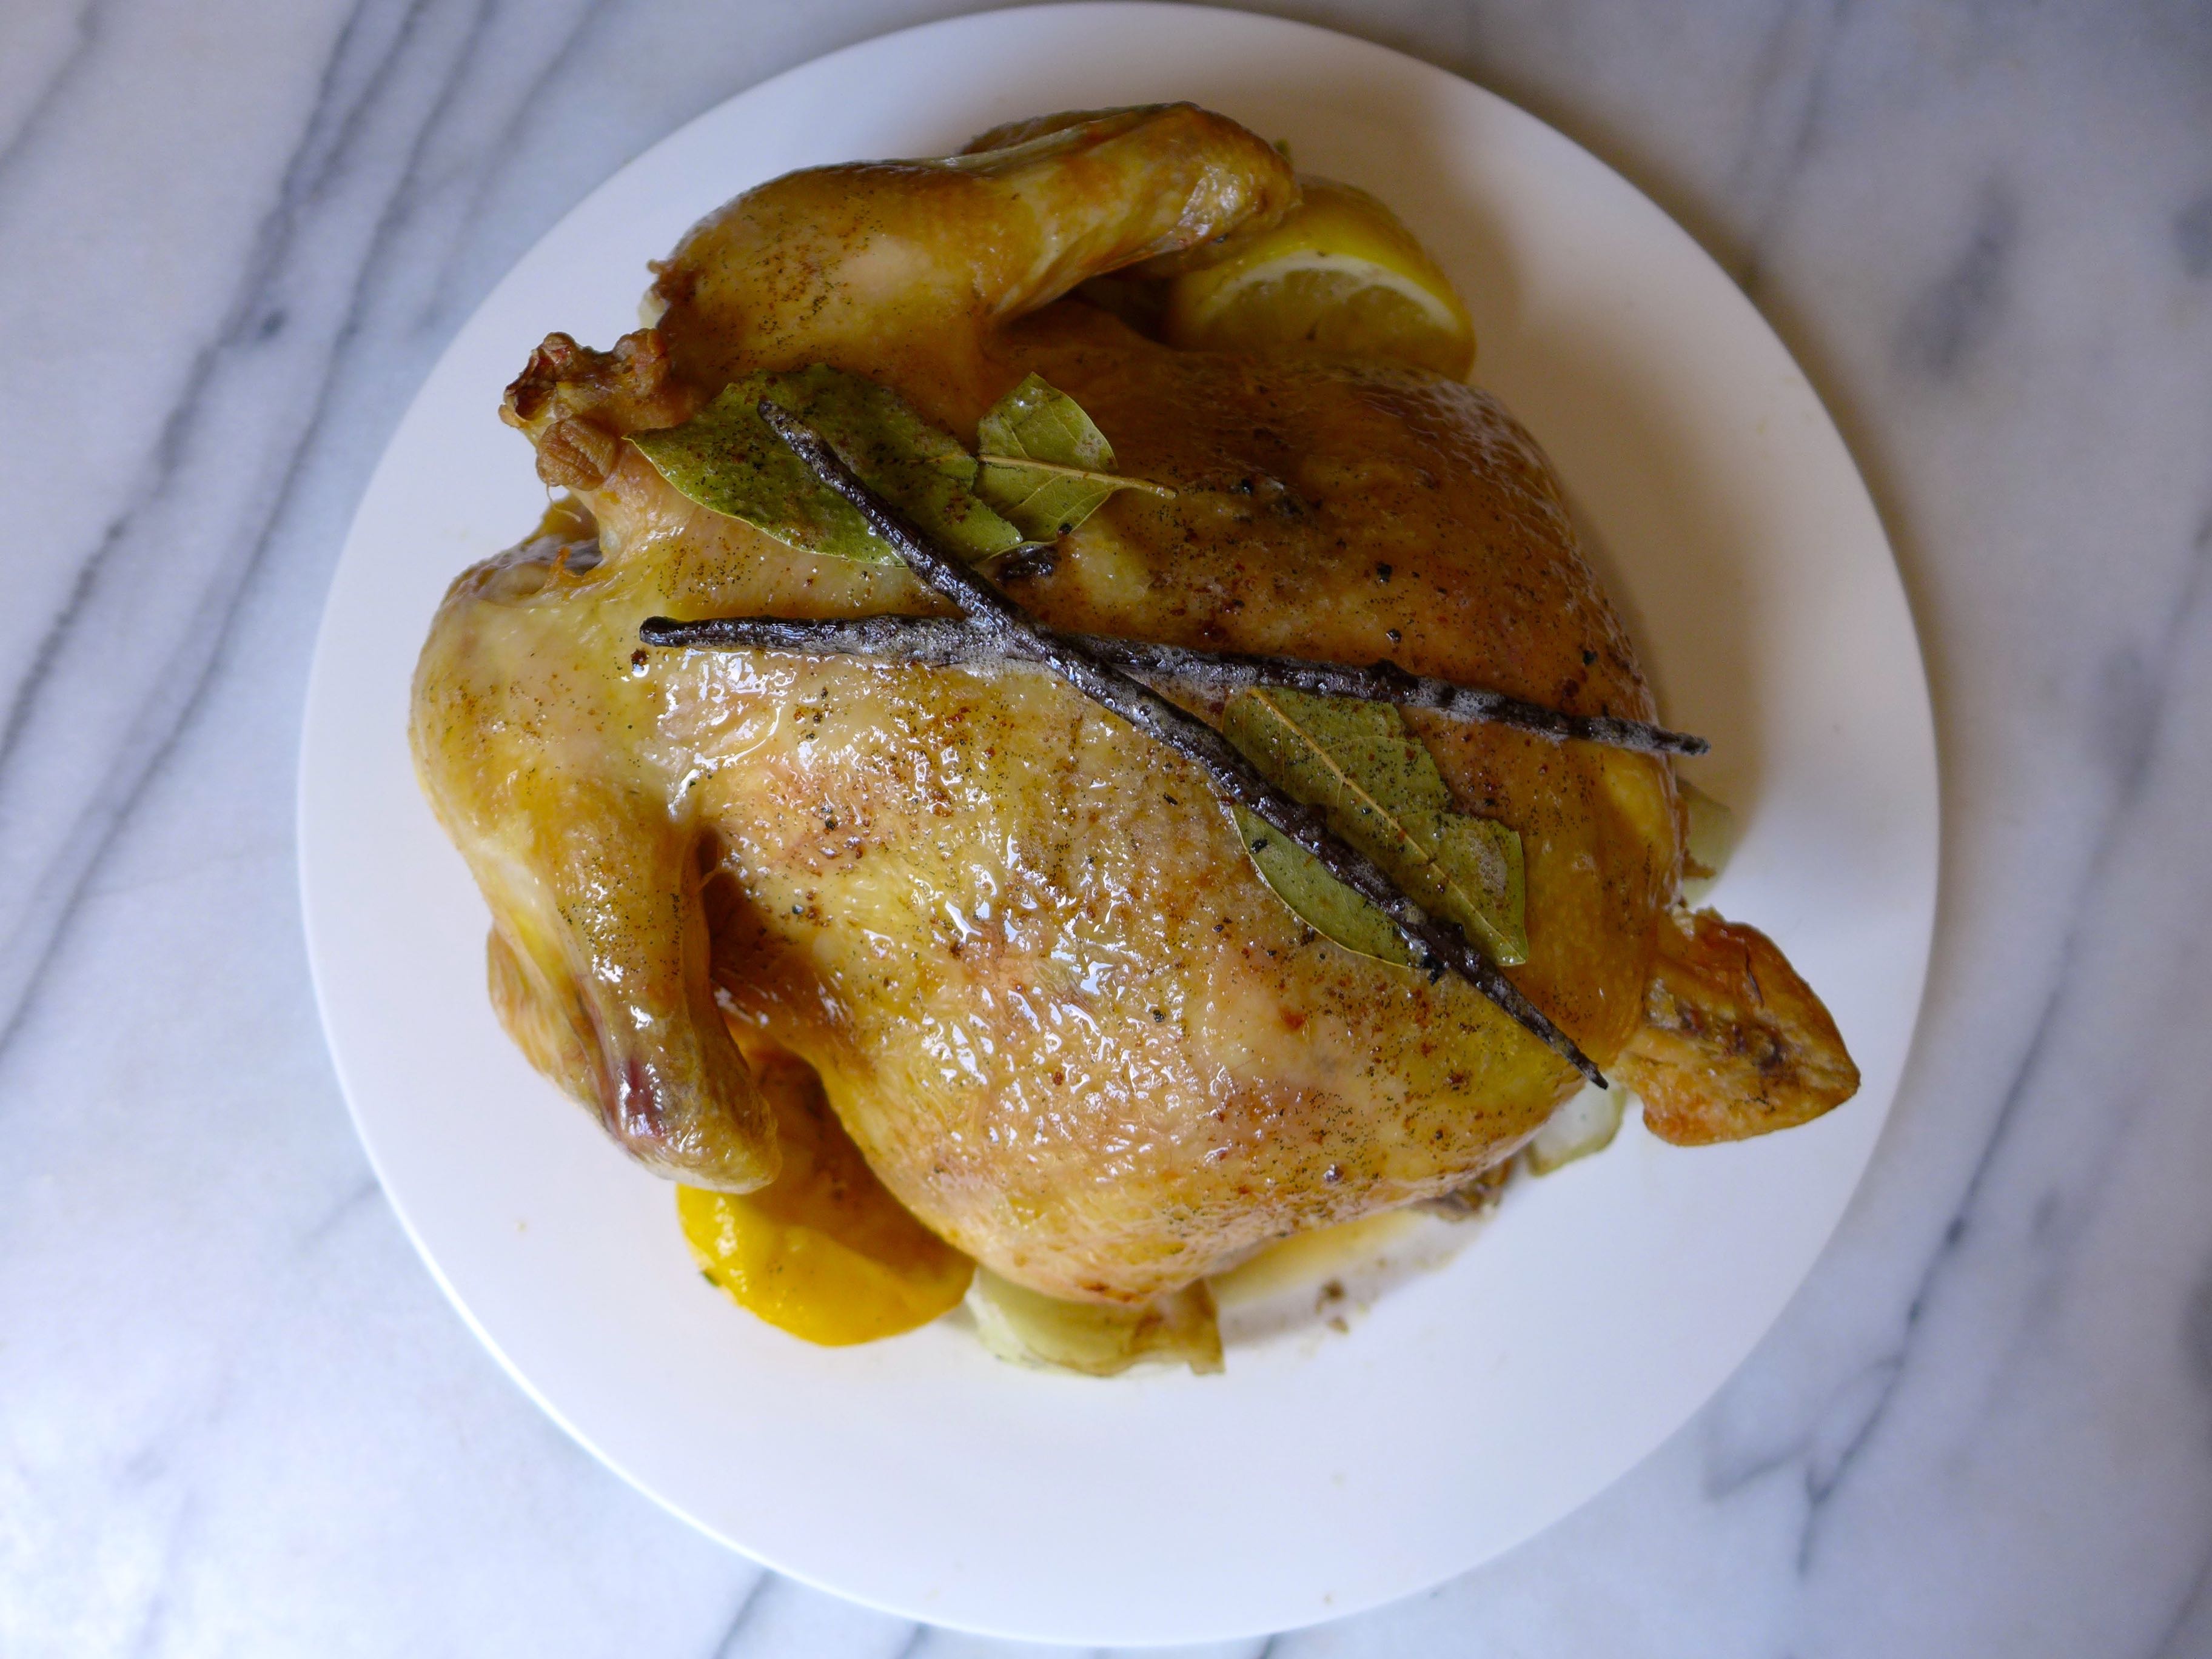
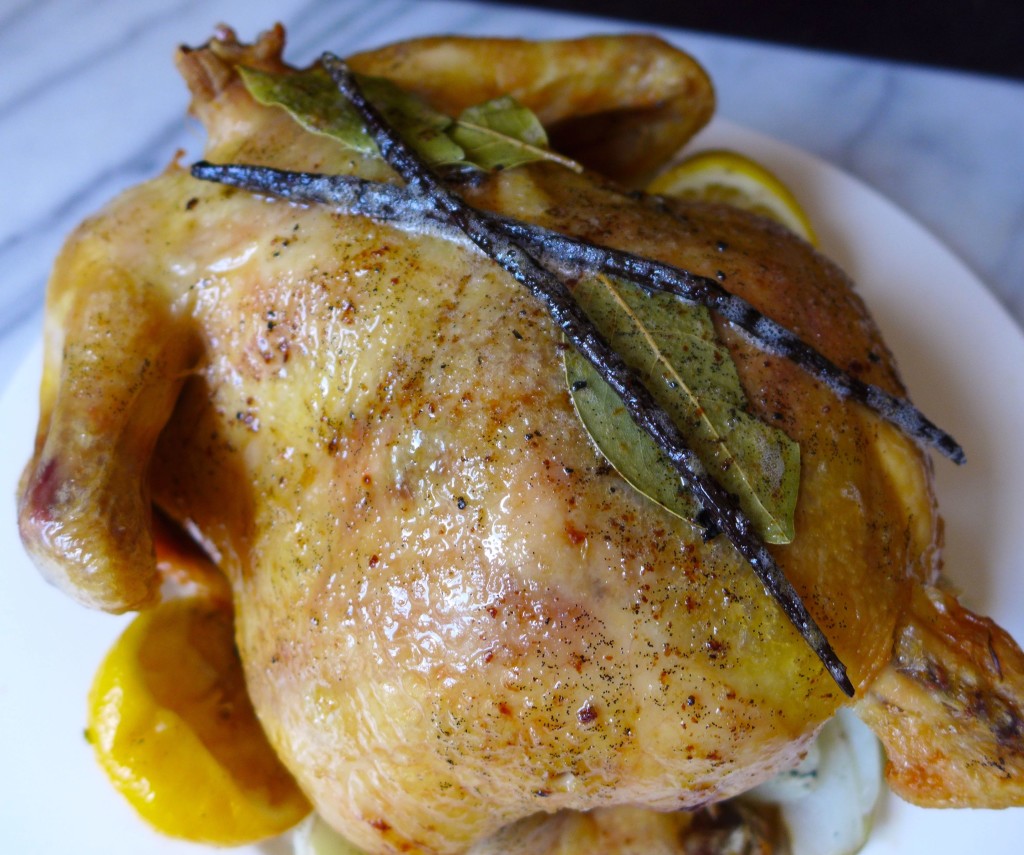
When we picked vanilla as the ingredient of the season. I knew I wanted to experiment with some savory dishes. That said, I didn’t have anything in particular in mind, and never in my wildest dreams did I see this savory roasted chicken on the horizon! We eat a lot of roasted chicken, and I’ve become so partial to our chicken with the flavors of preserved lemon and olives, but this dish is far on the other end of the spectrum. The flavors are more subtle, of course there’s the vanilla, but there’s also a mild nutty-ness from the browned butter. It’s a nice compliment to our repertoire of chicken dishes.

We’re calling this fried chicken, because that’s what we’ve always called it… but there’s no oil involved.

This past spring we started serving make your own tacos, and the boys LOVE them. Do you want a spoiler? These are your standard beef tacos in a hard shell, we just serve them in a unique way – click through for the big reveal! Continue reading
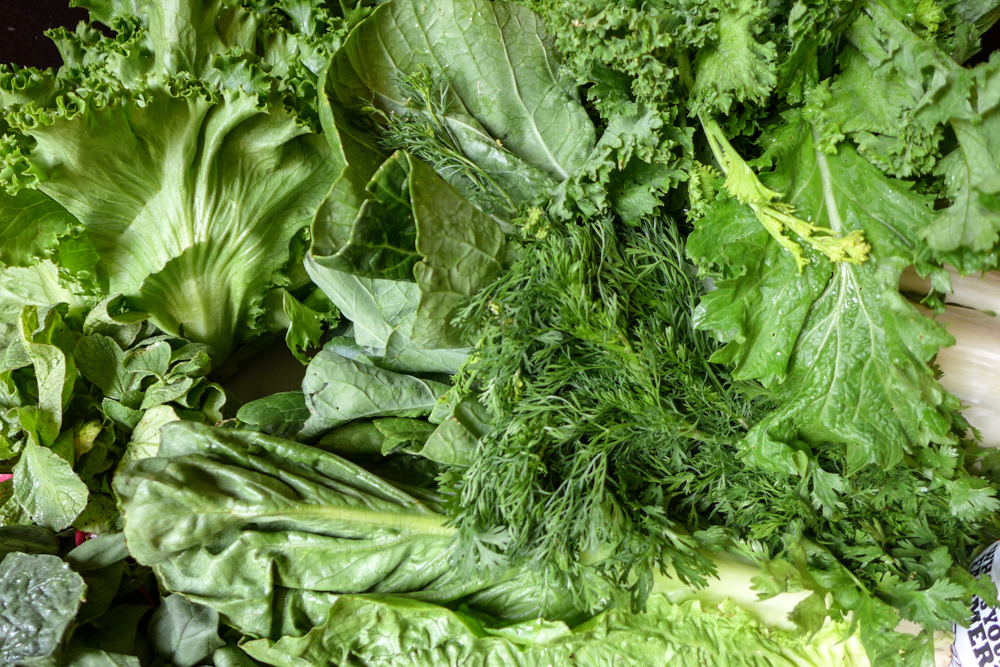
This summer we have a farm share, and in many (good) ways, it’s consuming my life. I dream about it. Talk about it to anyone who will listen. Spend a bit of time planning my meals and then even more time chopping ingredients, based on our weekly delivery.
The challenge to signing up for a farm share is being ready to cook with whatever comes in your box that week and not knowing exactly what you’ll be getting next week, so you can’t plan too far in advance. Since we’re about a month into our share, I thought it would be fun to share this experience with you. I’ve been photographing our weekly deliveries as well as the meals that I’ve made with the produce and meat, and I’m going to share my meal plans here throughout the course of our farm share season.
If you don’t know about a farm share, also known as community supported agriculture, let me explain. This is a farming business method where consumers are asked to sign-up and pay for their produce (and more) at the beginning of the growing season. The farmers use the investments from their customers to pay for the variety of costs they have to run their farm over the course of the growing season – anything from seeds and fertilizers to irrigation and labor costs. Then, throughout the growing season, everyone who has paid for a share in the farm receives fresh produce as it’s harvested. The share composition will change throughout the growing season as different crops go in and out of season.
By making that investment, the farms’ consumers are taking on some of the risk that goes with farming. If a big storm wipes out a particular crop, that loss doesn’t just fall on the farmer, instead it’s spread across all consumers and they will receive less or none of that crop. If it’s a great year for a particular crop, then all consumers will get more of that crop delivered in their share (two years ago I was overwhelmed by jalepenos and trying to figure out the best ways to preserve them).
This is also a great model if you like to eat seasonally and locally. You’re going to receive crops as they’re harvested, so the produce you receive will be as fresh as possible and it didn’t have to be picked before it was ripe because it doesn’t have to travel hundreds or thousands of miles to reach you. As I mentioned above, the composition of your share will change throughout the growing season, this is exciting but can also take some time to get used to. It can be a bit boring when you’ve received a bunch of radishes each week for a month, (when really you’d only eat one bunch in a whole month!) but it pushes you to be more creative in the kitchen. Roasted radishes anyone?
As I had talked about two years ago when moving to Boulder, one of the things we were so excited about was moving to a place with such a strong local-food movement. We are surrounded by farms, farmers’ markets, and enough farm-share options to make your head spin.
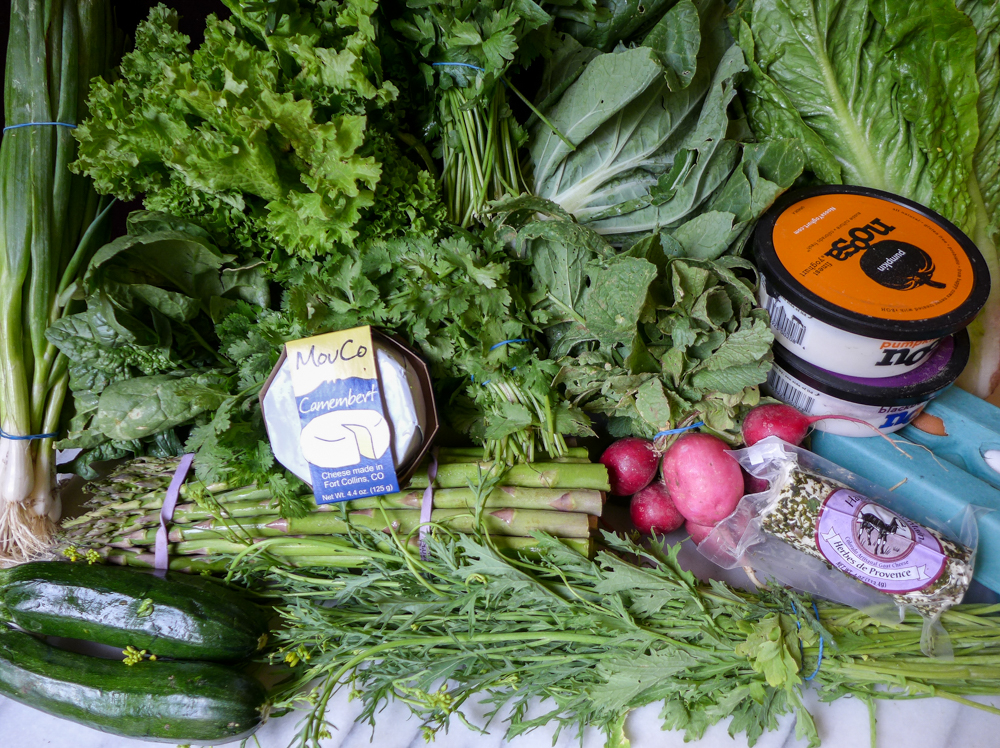
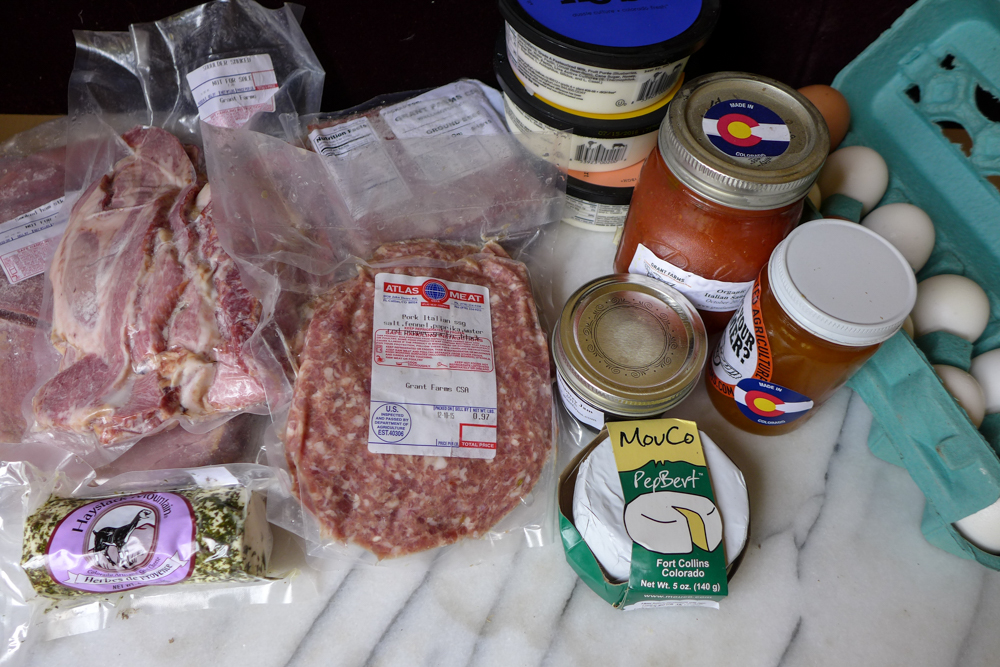
This year we bought a share from Grant Family Farms. It’s one of the largest CSAs in our area, and we were already familiar with them because they delivered to the office where C worked two years ago, so at that time we had bought a small share. This year we decided to go big, and we bought their “all-in” kitchen share, and admittedly we feel so lucky that we were able to make that investment. For about six months, we’ll receive a weekly share that includes vegetables, herbs, fruit, meat (pork, chicken, beef, lamb), yogurt, cheese, eggs, mushrooms, canned goods. It’s amazing!
This is the share that we’ve signed up for.
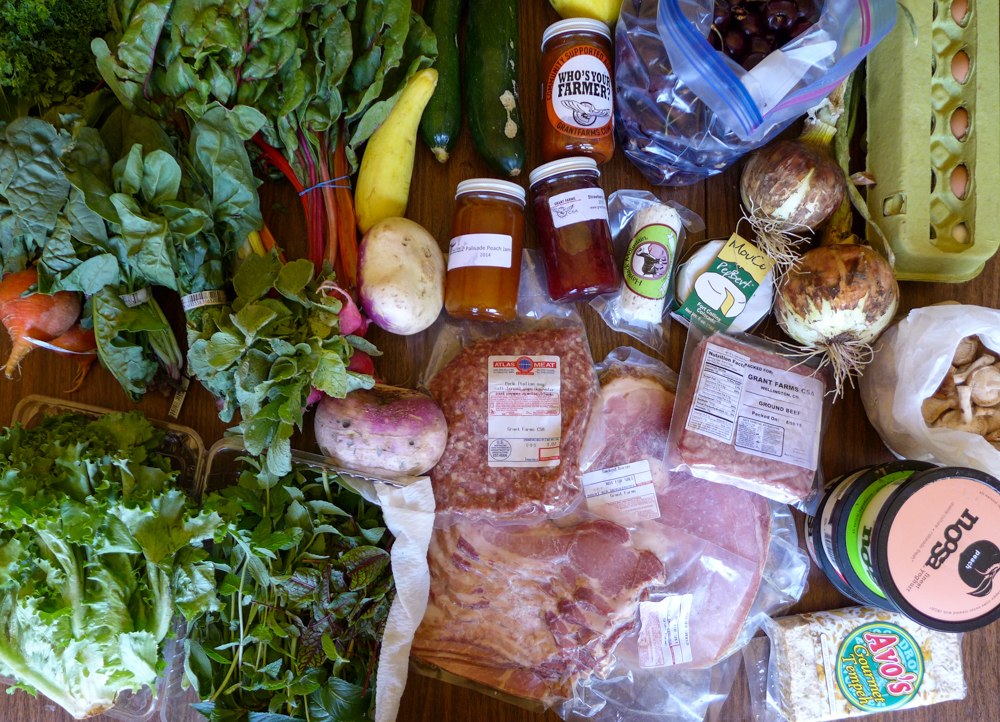
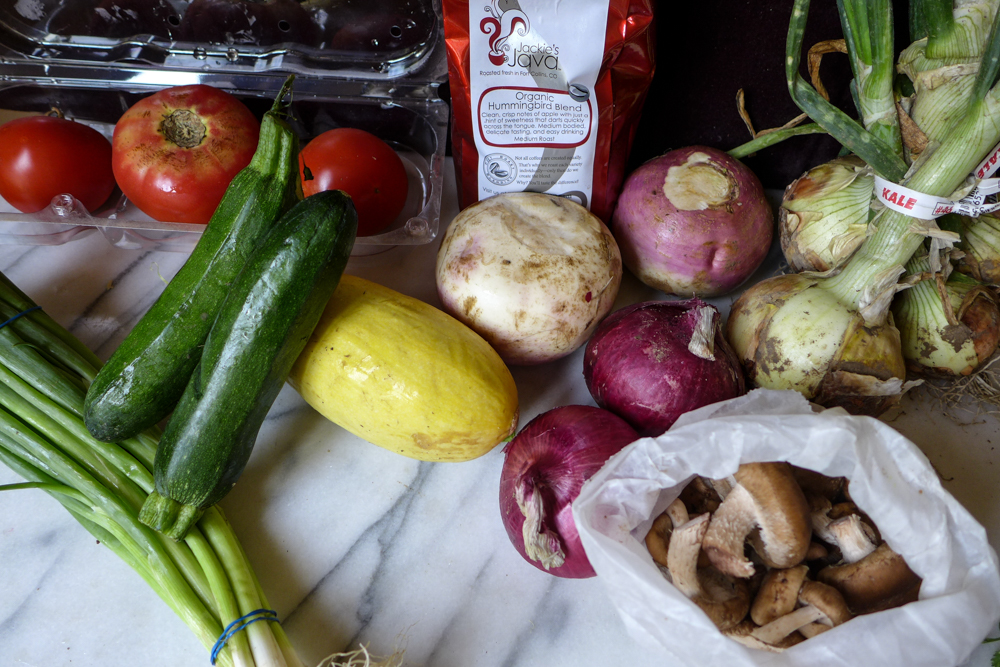
The chart below lists the variety of foods that we’ve received for the past month. I don’t know the exact quantity of vegetables we receive each week (it’s large grocery bag filled with veggies, and I would say it’s about 20 lbs), but it’s definitely enough to feed our family for the week. For the first month, the vegetables have been some combination of those on the list below. In the protein category, we receive about 3-5 lbs of meat each week, and thus far it’s been some combination of the meats on the list. The tofu and tempeh each arrive once per month. Under the dairy & misc. category, we receive the yogurt & cheeses each week, we receive 1 lb of coffee once per month, and approximately two canned goods each week. While in season, we recieve fresh fruit (so far it’s been a lot of cherries!), and some variety of fresh herbs.
| veggies | proteins | dairy & misc. | fruit & herbs |
|---|---|---|---|
| asparagus | ground pork | herbed goat cheese | cherries |
| romaine lettuce | smoked pork slice | camembert | mint |
| bok choy | smoked pork shoulder | yogurt | lemon balm |
| radishes | bacon | coffee | sage |
| green onions | fryer chicken | canned tomatoes | thyme |
| onions | pork sausage | tomato sauce | parsley |
| spinach | ground beef | pickles | cilantro |
| summer squash | tempeh | fruit jam | dill |
| mushrooms | tofu | ||
| beets | |||
| chard | |||
| turnips | |||
| tomatoes |
When I receive the share each week, I draft a list of menu ideas for the week ahead, trying to use up as much of that week’s share as I can, and planning for how I’ll preserve what we can’t eat (so far it’s just been putting some of the cherries and meat items in the freezer).
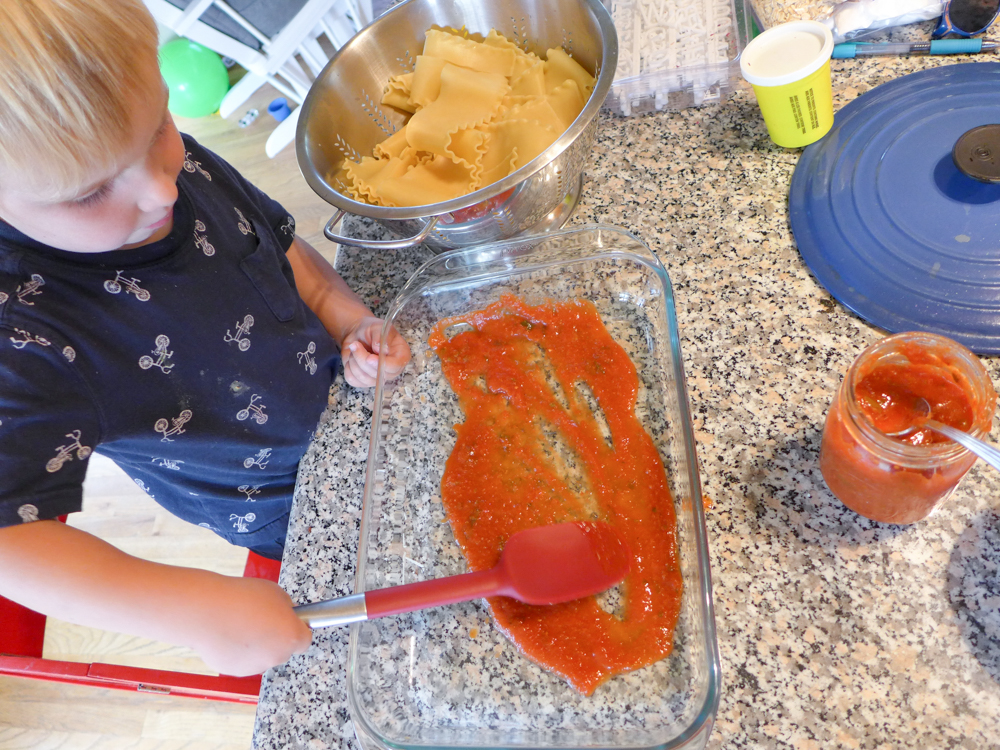
Over the past month, I’ve thrown herbs into salads, made my fair share of quiches, and had plenty of yogurt breakfasts, in addition, I’ve photographed some of the dinners we prepared and shared. Above each photograph, I list the farm share ingredients used for the dish and, where available, I’ve linked to the recipes.
Since I’ve photographed many of these dishes in the crazy moment between pulling them out of the oven and putting them on the table for starving boys, the photo quality isn’t the best, but I’m working on it :-).
~
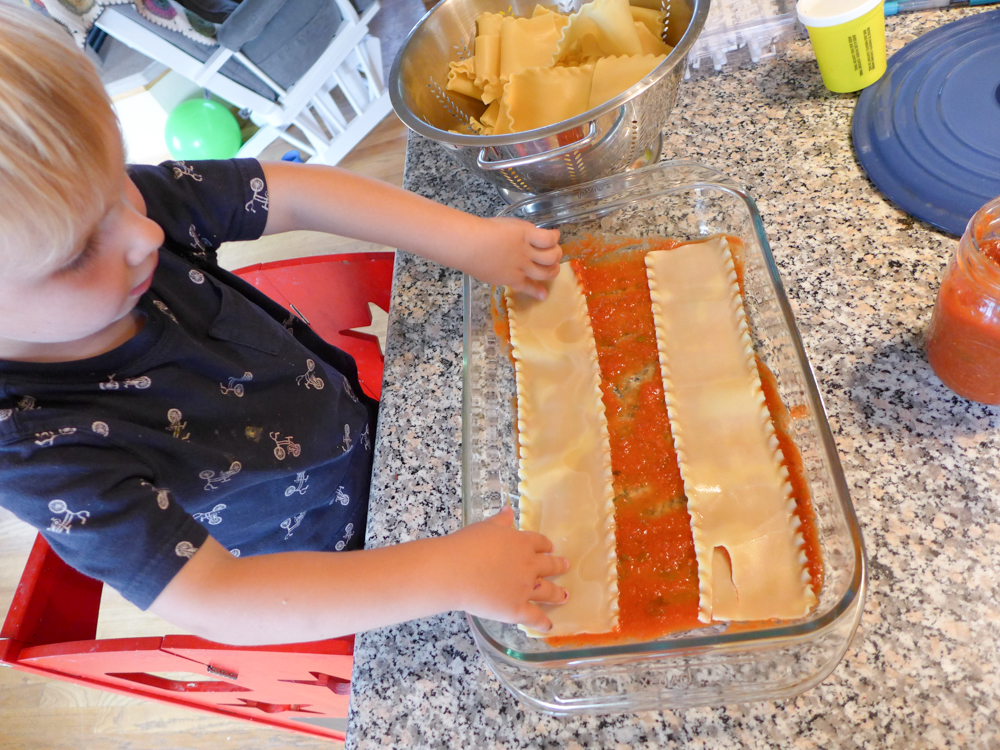
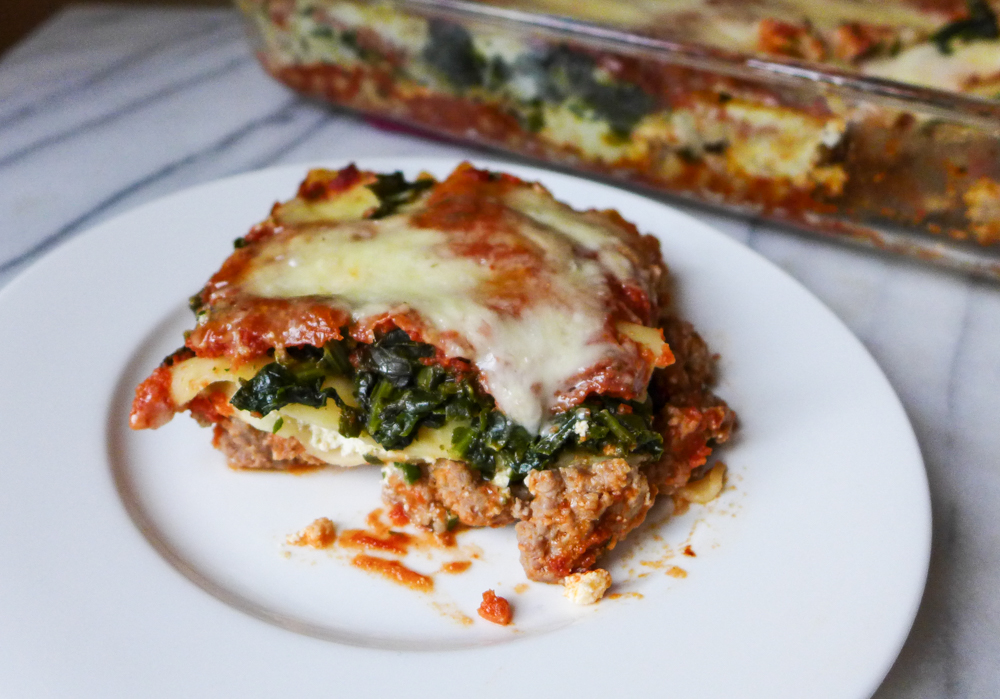
Lasagna : pork sausage, spinach, tomato sauce
~
Vegetable Curry : tofu, carrots, scallions, summer squash, zucchini, cilantro

~
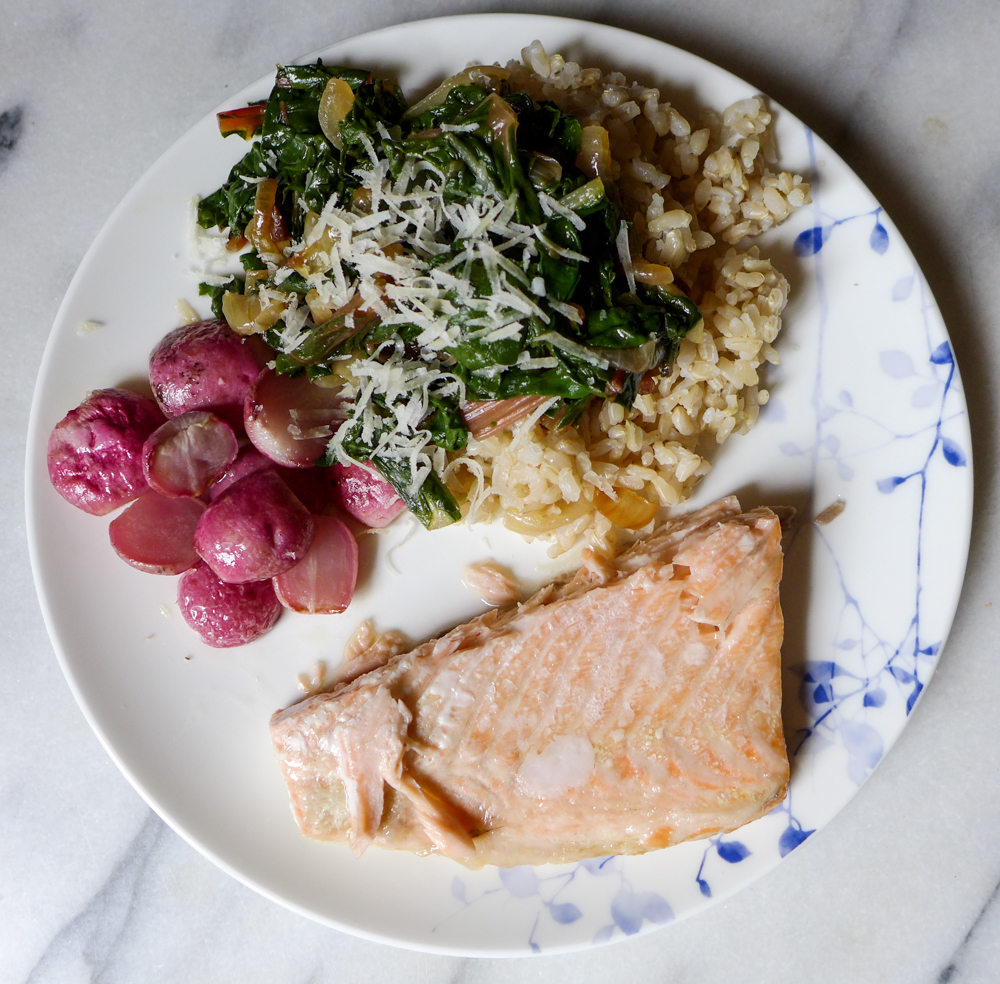
Salmon with roasted radishes, chard with caramelized onions, and leftover rice from takeout : radishes, chard, onions
~
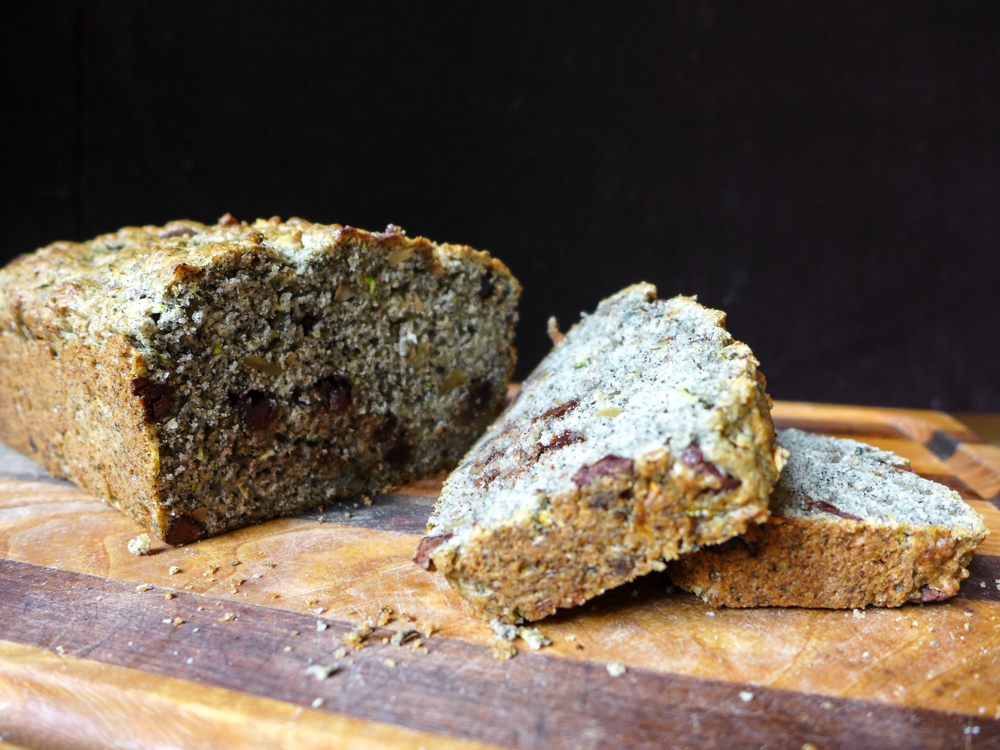
Zucchini bread with chocolate chips, walnuts, and black sesame seeds : zucchini
~
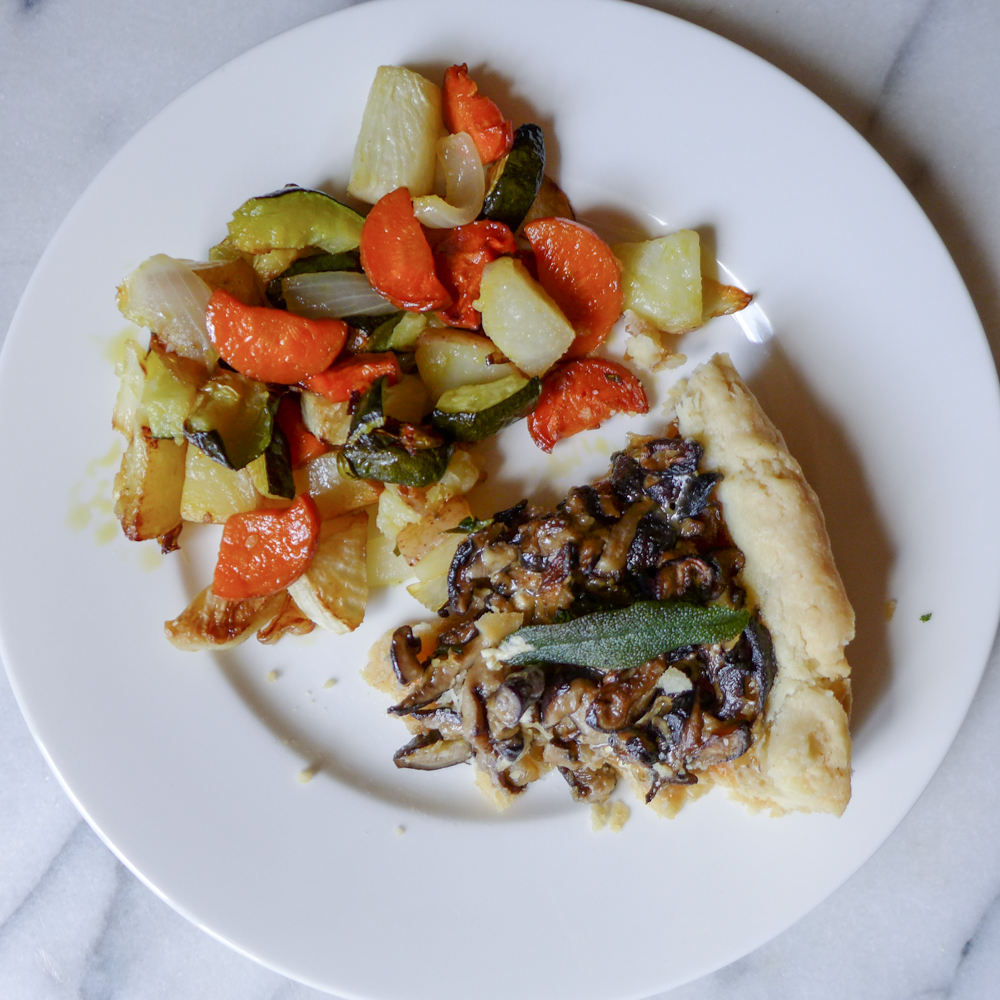
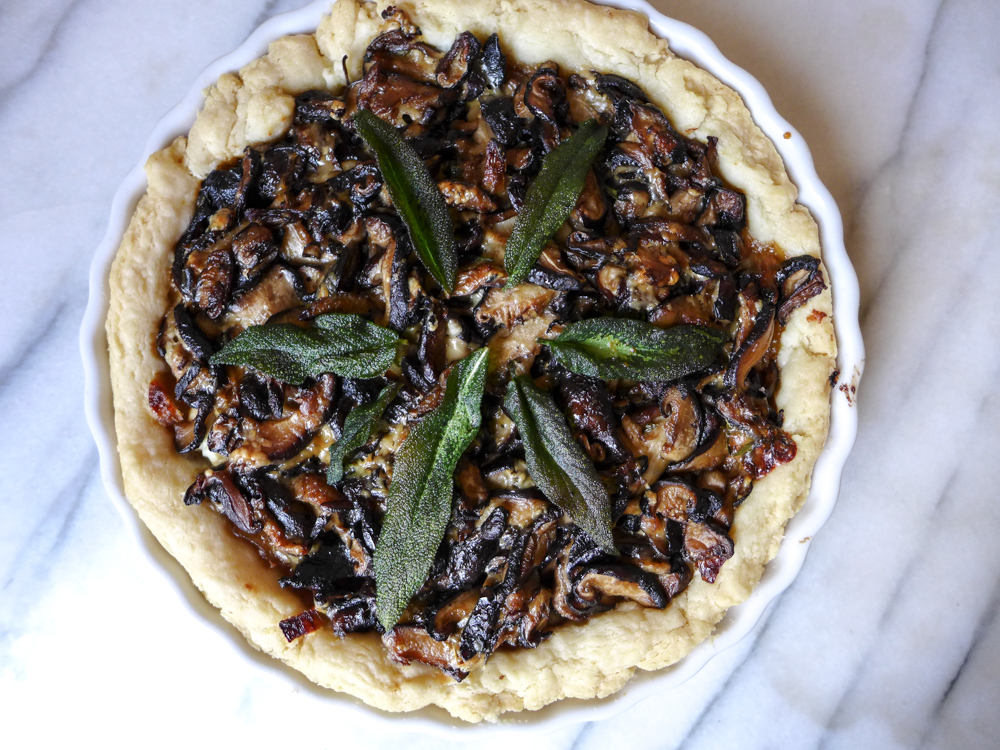
Mushroom tart & roasted vegetables : mushrooms, sage, goat cheese, carrots, zucchini, onions, turnips

~
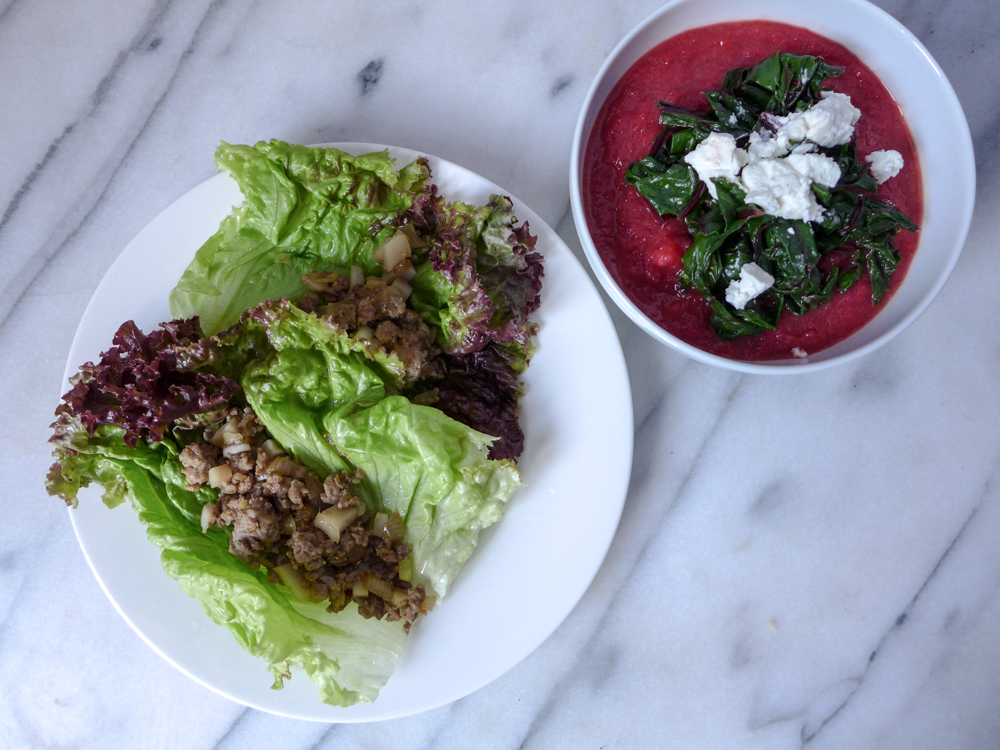
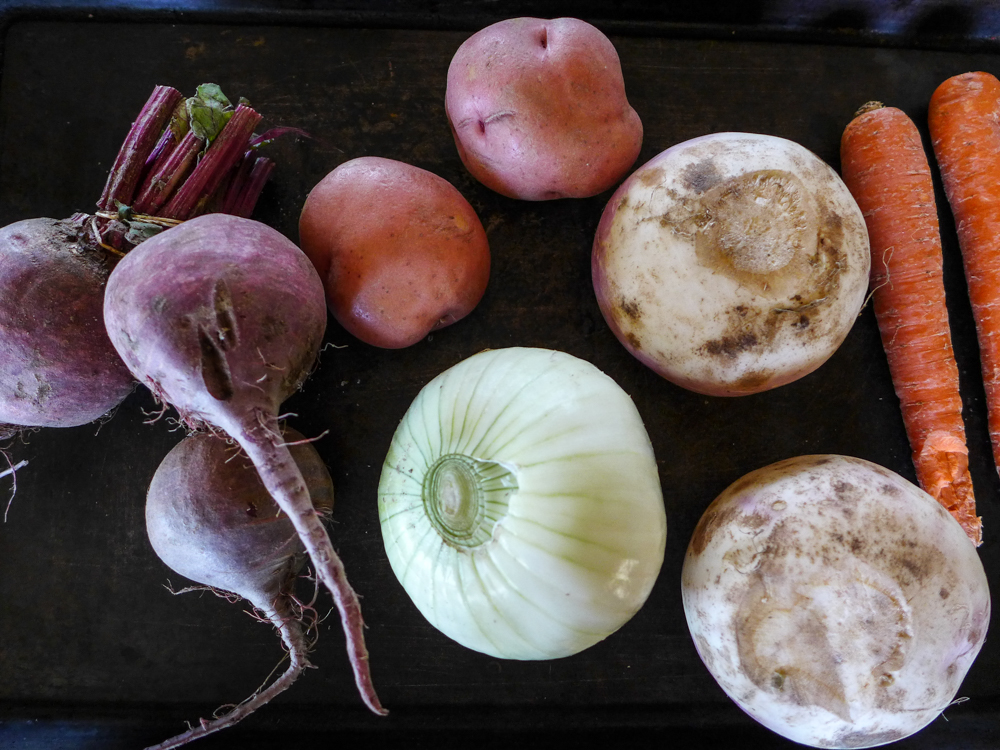
Roasted Root Vegetable Soup & Pork-filled Lettuce Wraps : ground pork, scallions, lettuce, beets, carrots, turnips, chard, beet greens, goat cheese
~
Mushroom & Zucchini Galette : mushrooms, zucchini, onions, goat cheese

~
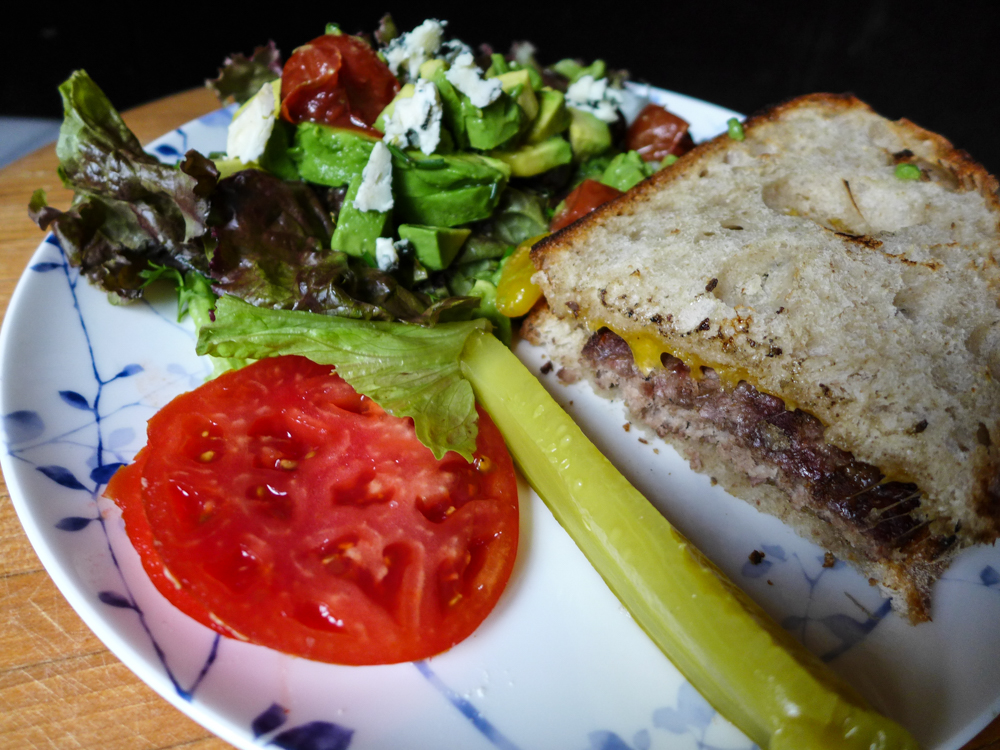
Burgers & Salad : ground beef, lettuce, tomatoes, pickles
~
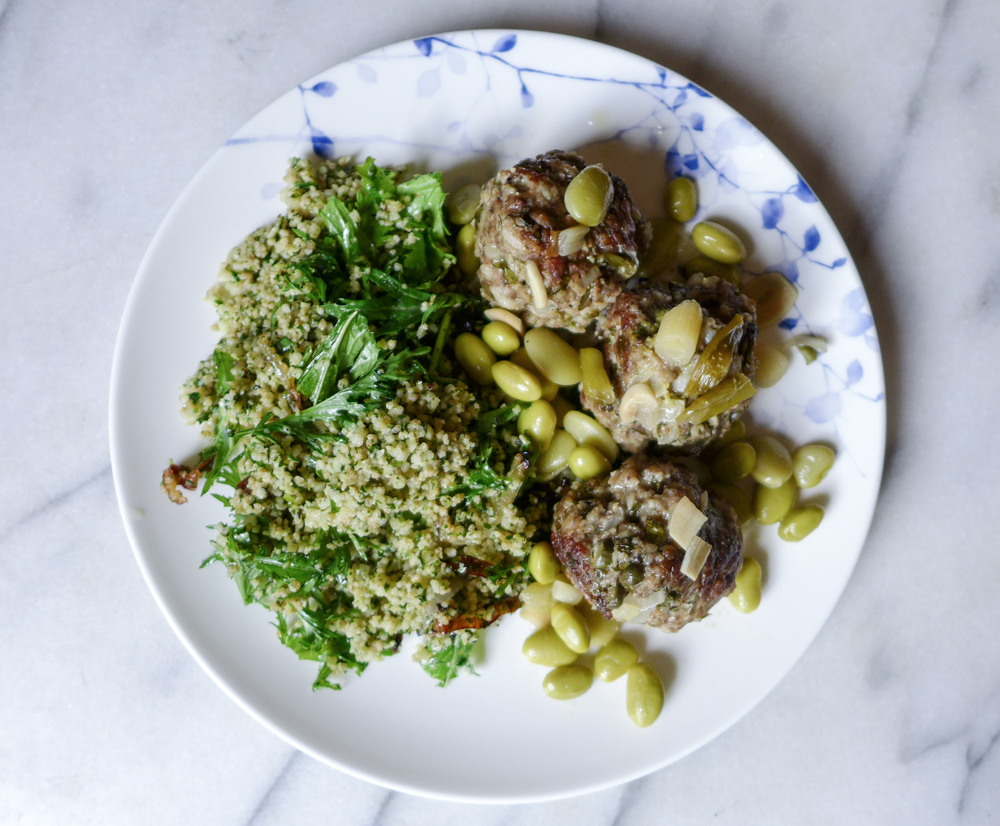
Herb Meatballs & Green Couscous : ground pork, onions, mint, cilantro, parsley, dill. *Both of these recipes come from cookbooks by Yotam Ottolenghi that I love – Plenty & Jerusalem.
~
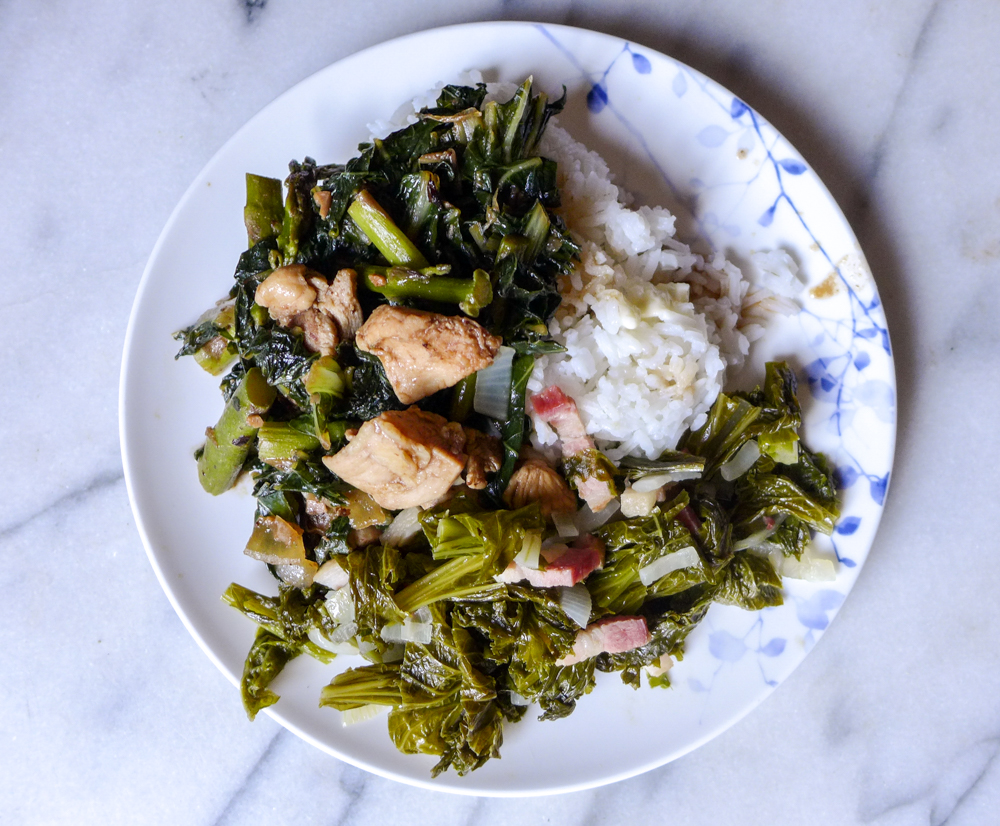
Chicken, asparagus, and greens with black bean sauce : asparagus, chard, mizuna greens, onions, bacon
~
Bacon & Eggs or Smoked Ham & Eggs have become breakfast staples

This is just a snapshot of our first month with the farm share. Right now our fridge is packed with this week’s share, and I’m so excited about the menus I have planned. I’m going to continue to photograph and share. I know meal planning, especially with kids, can be tough, but I hope this will give you some inspiration, and if you really need a kick in the bottom, get yourself a farm share!
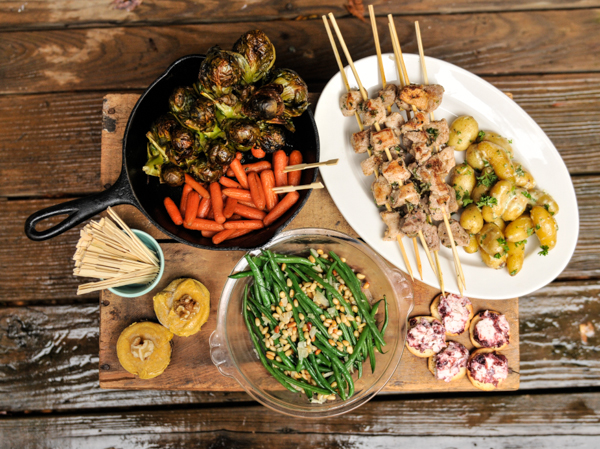
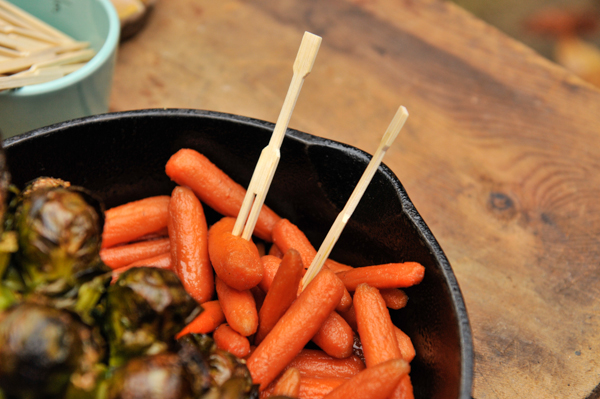
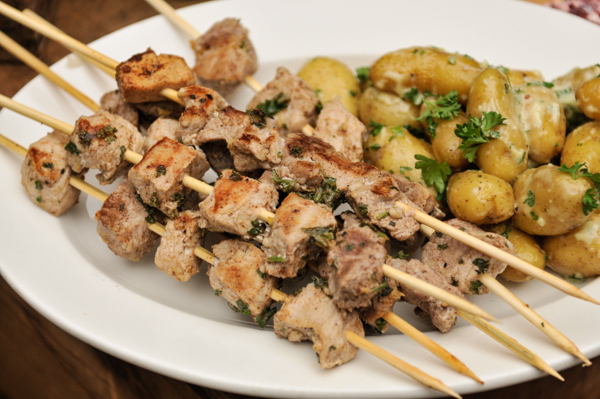
Happy Thanksgiving! I know, I’m a couple days early, but I wanted to show you how I celebrated Thanksgiving with my bf last week. I’m currently visiting a friend in Florida so I wanted to celebrate with K before I left. I decided to create a tapas inspired Thanksgiving because it is perfect for couples, small families or those who are scared of cooking a turkey (me!). With some prep the night before, this all came together in under an hour. Can you believe it?! I think my favorite part was the aioli tossed potatoes and the fact that everything is bite sized. Eating tapas helps me slow down, enjoy the meal and talk between tiny bites. We had a bunch of leftovers too and who doesn’t love that?!
One thing I try to do before starting to prepare a huge meal is to write a schedule. I jot down all the names of the recipes in the order that I should start them. That gives me a general guide so I’m not standing over the stove wondering what to do next. At the end of the post, I’ll share my schedule with you. I think it’d be easier to understand after you read the recipes.


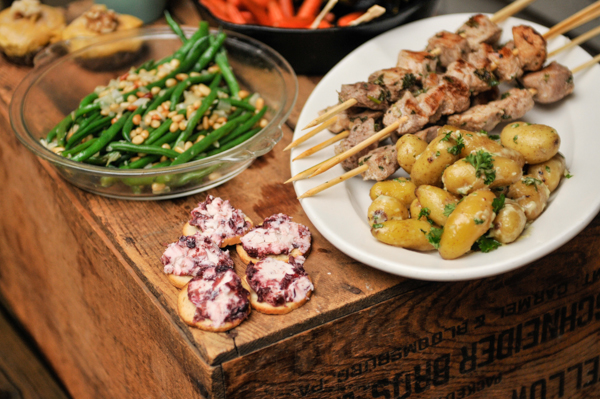
Also shown in the photos are cranberry goat cheese topped crackers and mini no bake pumpkin pies. I picked up the goat cheese from Trader Joe’s; served at room temperature, it is the perfect appetizer. The mini pumpkin pie recipe will be shared tomorrow, so stay tuned 🙂
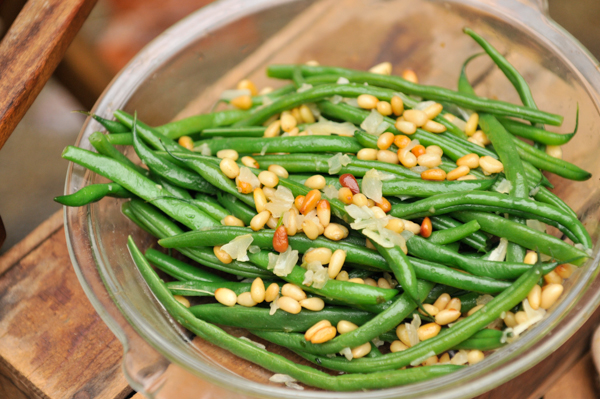
After typing all those recipes, I realize that seems like a lot to do, but with a little preparation it comes together quickly. The night before you can prep by washing the carrots, brussels, green beans and potatoes. Chop a big pile of parsley and make the marinade and the aioli as well. I also did a mental walkthrough of all the recipes and pulled out garnishes, gadgets, pots, pans and serving dishes for everything. It’s a small step, but it really helps on the morning of. That way everything is sitting out on the counter ready to be grabbed at a moments notice.
The day of, start by making the brussels sprouts and carrots. Then bring several pots of water to boil for your beans and potatoes. After your green beans are completely finished and the potatoes are tossed with aioli, quickly grill up the pork skewers. By that time the oven veggies should be finished up and you are ready to serve dinner!
Pumpkin Chili! In our house, chili was one of the first dinners that we learned to make. Our mom had a really simple, kid-friendly recipe (ground beef, canned beans and tomatoes, chili spice packet). Side note : can’t wait to teach Alex to make that one; look for that as a Cooking with Kids post in a couple of years. I was always really psyched to for chili night, but as I’ve grown, so have my tastes. Now I love a chili packed with fresh veggies, and fortunately for me, this chili has not one, but two types of pumpkin. Victory!
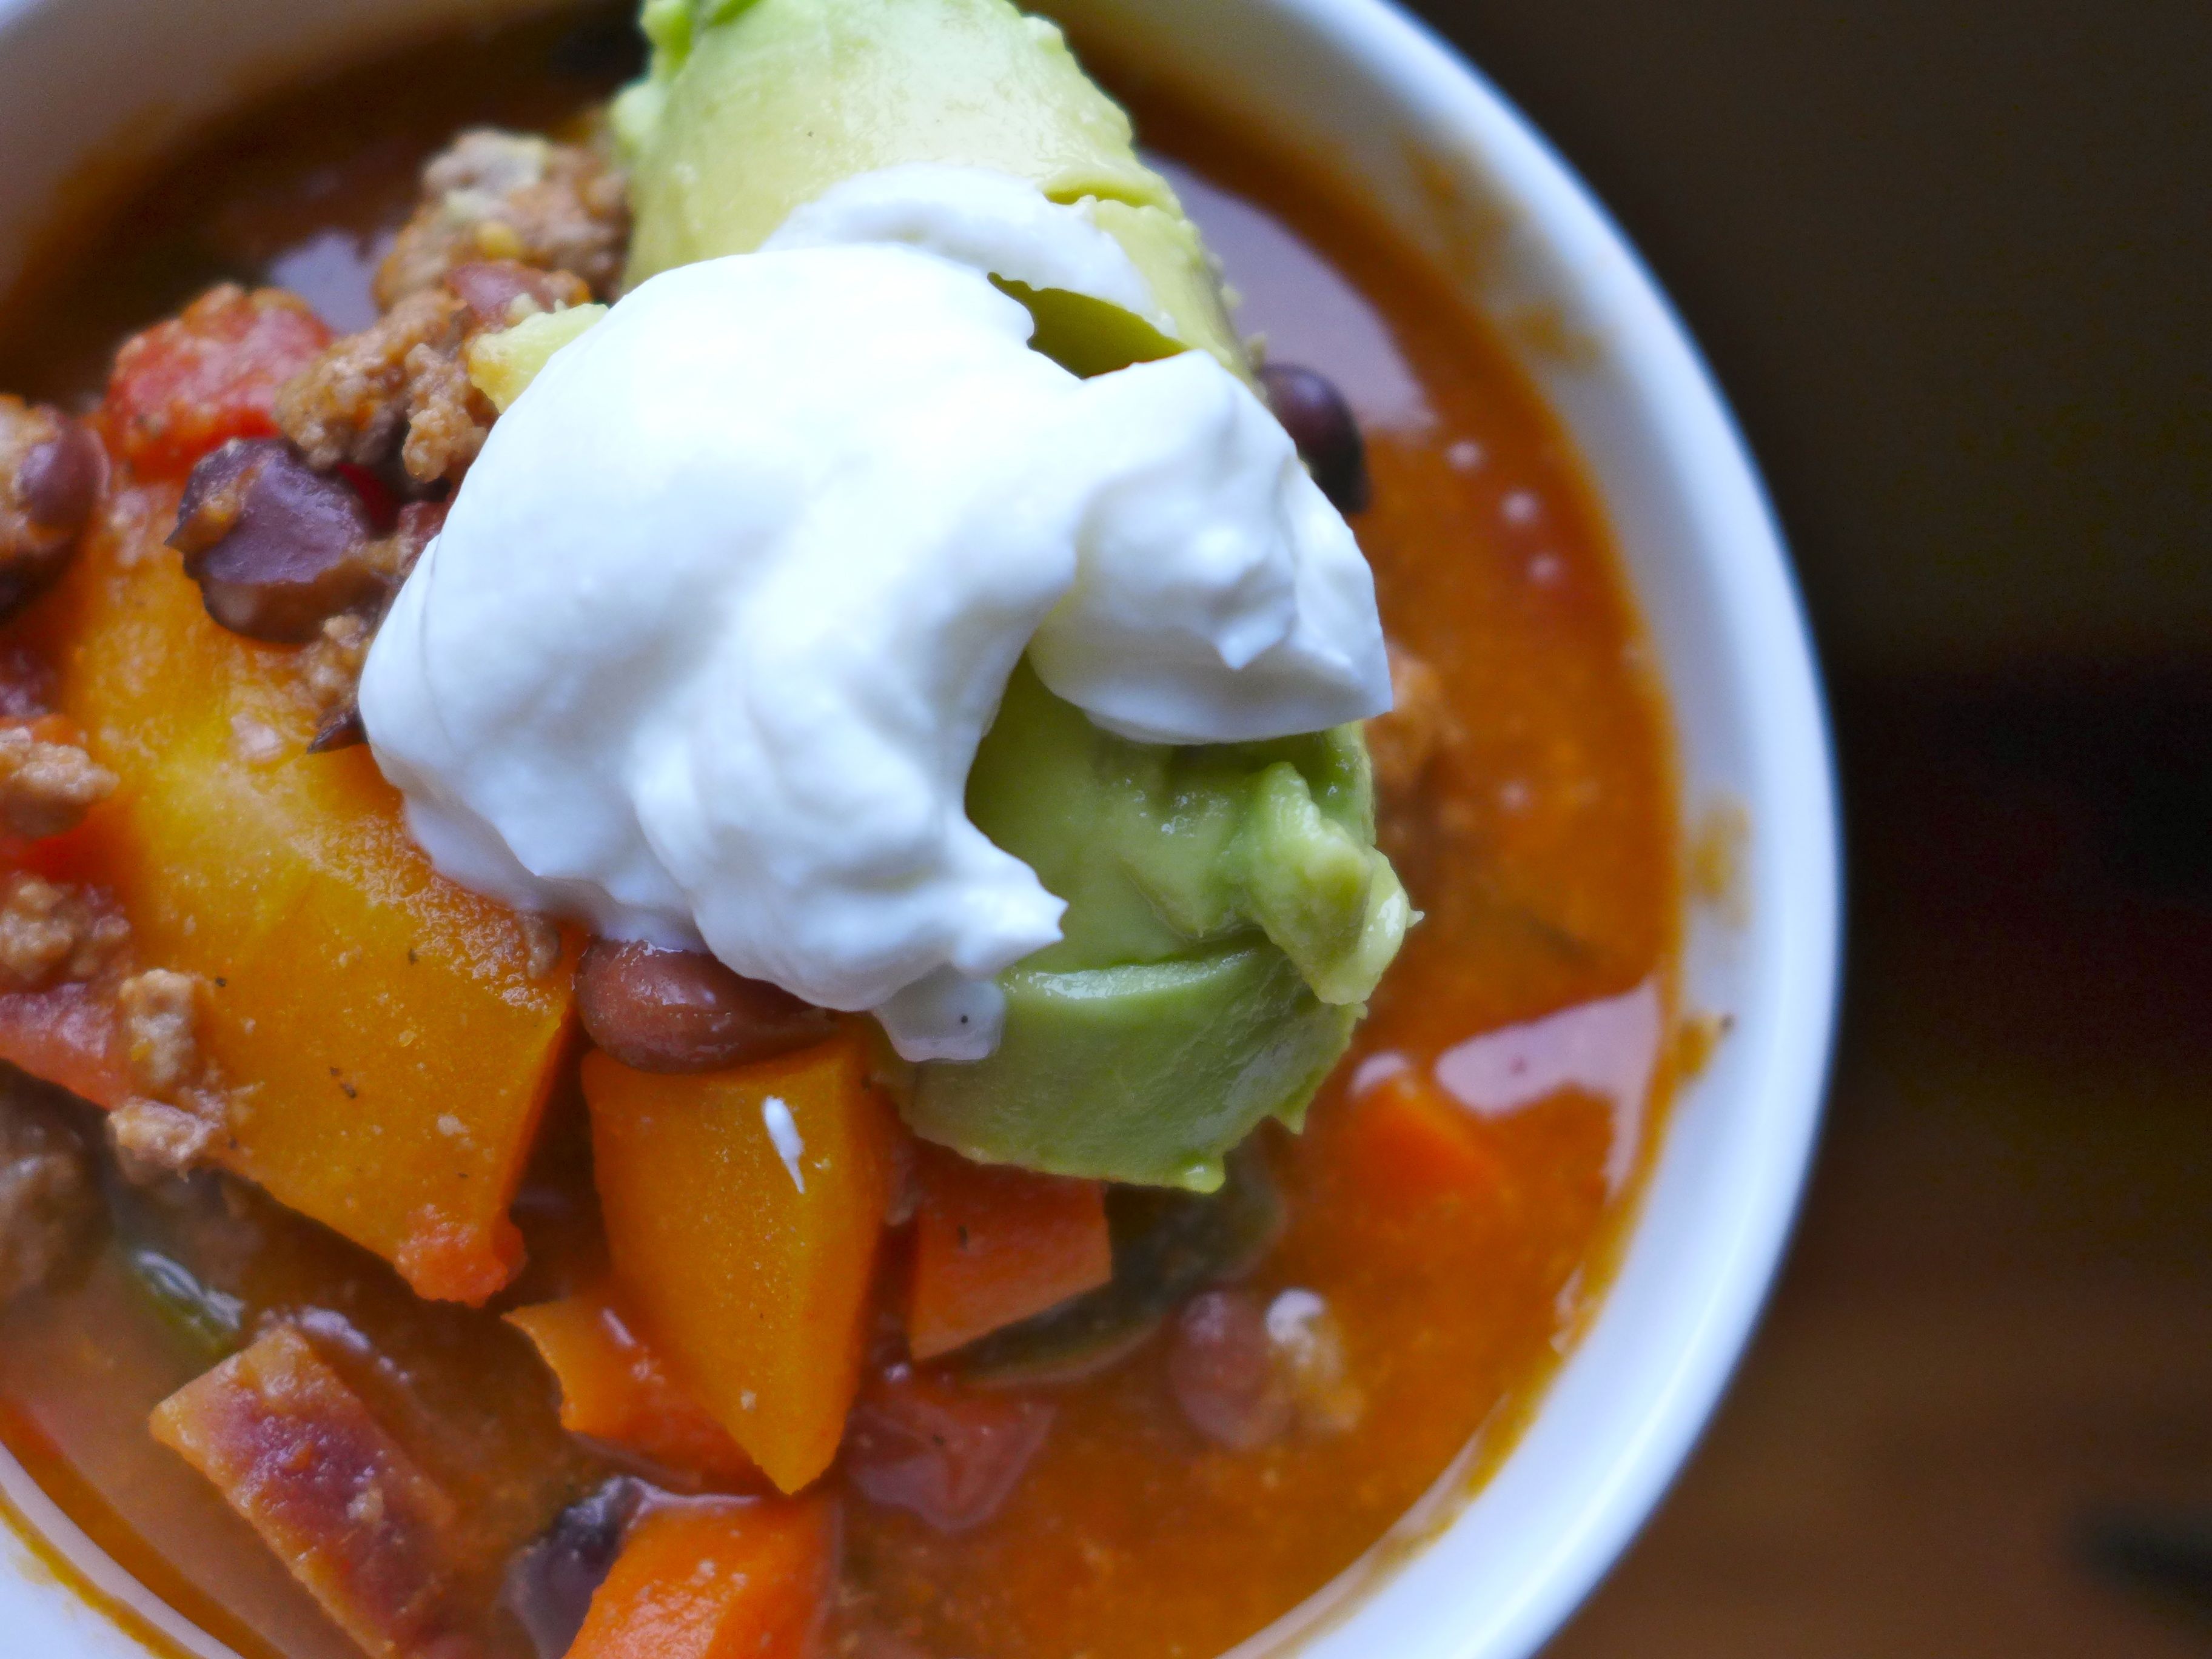
I used two types of pumpkin because they each do something different for the dish. The fresh pumpkin holds its texture well when cooked, making it another vegetable that easy to identify in this chunky chili, while the pureed pumpkin adds a creamy texture to the chili liquid.
I’m trying to figure out how to introduce this pumpkin curry. Here are my options : 1. it’s so easy to make! 2. it’s delicious; everyone, including little Luc and Alex, loved it! 3. on a personal note, cooking curry brings back so many awesome memories from my time visiting Sarah in Thailand. All three introductions are true, and together, they have me wanting to make a pot of this curry every night. You should probably make it too.

In Sarah’s post about Bangkok, she briefly mentioned the cooking class that we took together at Silom Thai Cooking School. It was such a great traveling experience. I love eating Thai food, and I’m happy to experiment with recipes I find online and in cookbooks, but it was reassuring to have experienced teachers show us how to make a handful of dishes and confirm that, as I’ll show you today, making a delicious curry is really that simple.
As September’s weather is straddling the line between summer and fall, we found that the combination of flavors in this bright and savory lemon & herb salt do the same!
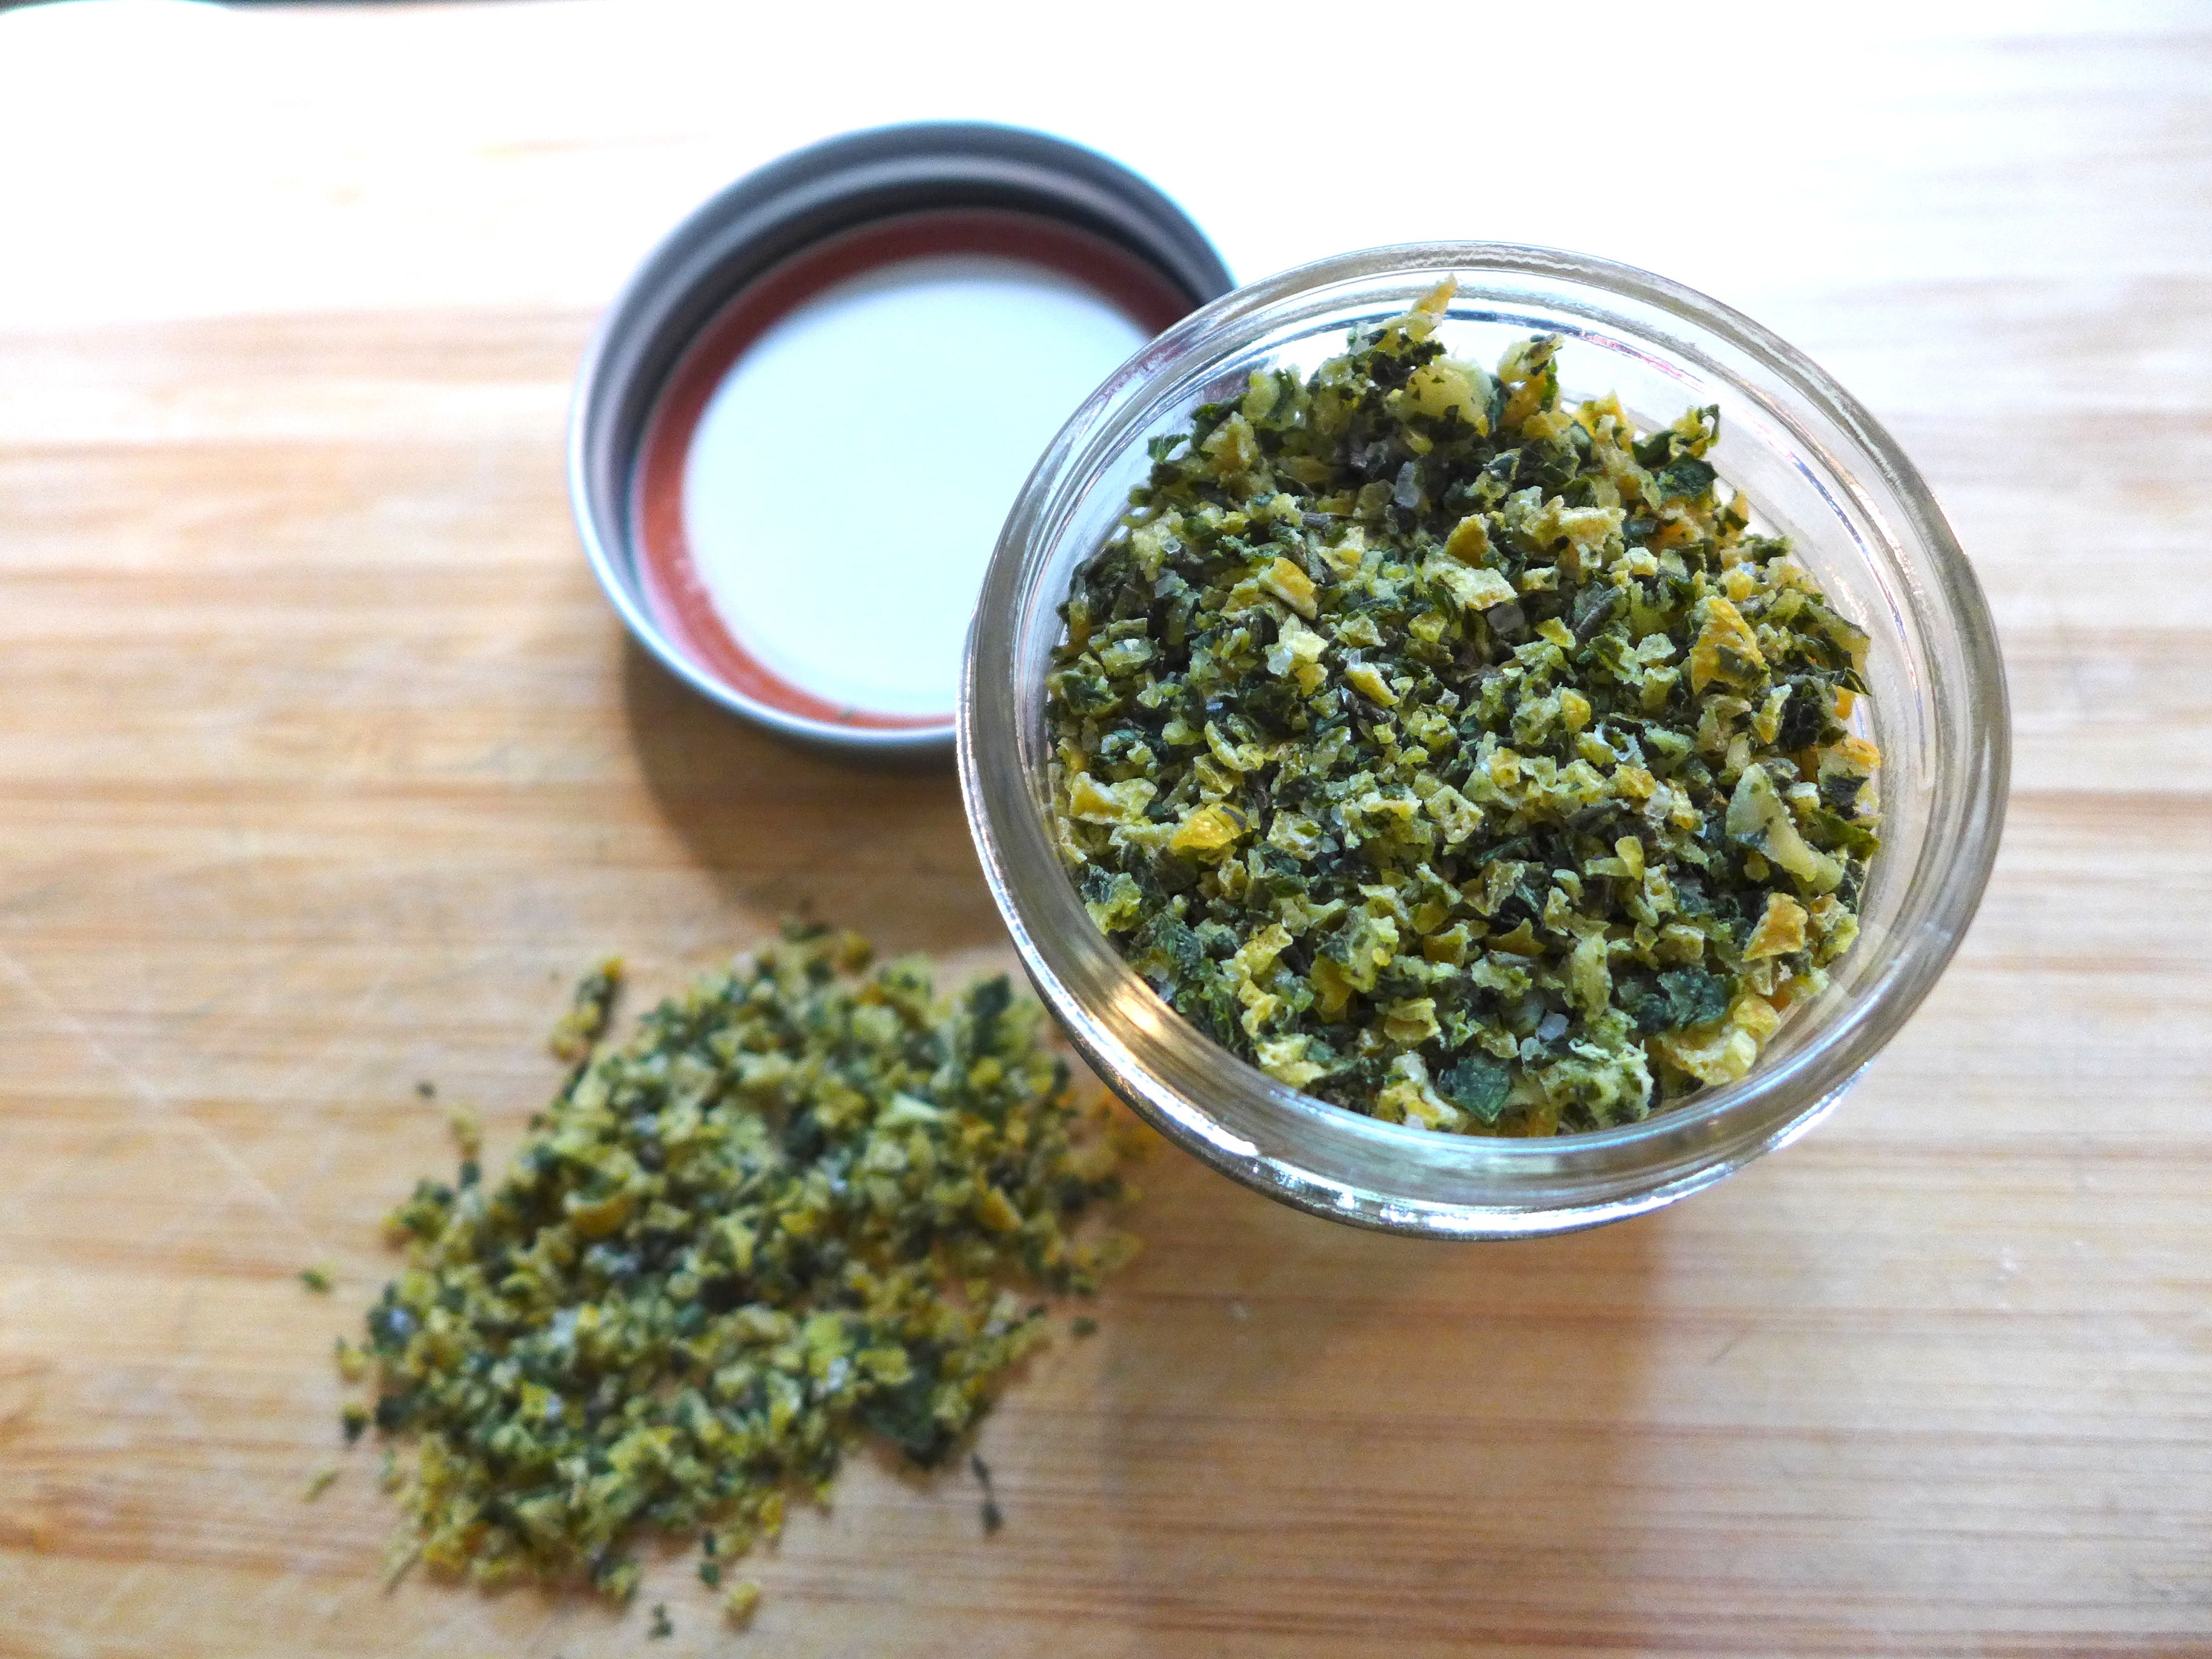
While doing some canning at the beach, I noticed this recipe in a copy of Preserving by the Pint and was immediately excited to try it. I love fresh herbs and am always looking for new ways to preserve their flavors as the plants fade in our late-summer garden. On the other hand, it’s taken me quite a while to appreciate lemon flavor in my savory dishes. Thank goodness I’ve come around, because this chicken dish is something I would not have made a few years ago, but we had it again last night for dinner (it’s just that good!). What I’m getting at is that a few years ago, I would have turned my nose up at this simple seasoning recipe, and what a shame it would have been. This seasoning is simple to make and adds a flavorful punch to a variety of savory dishes, making creative weeknight cooking a breeze.
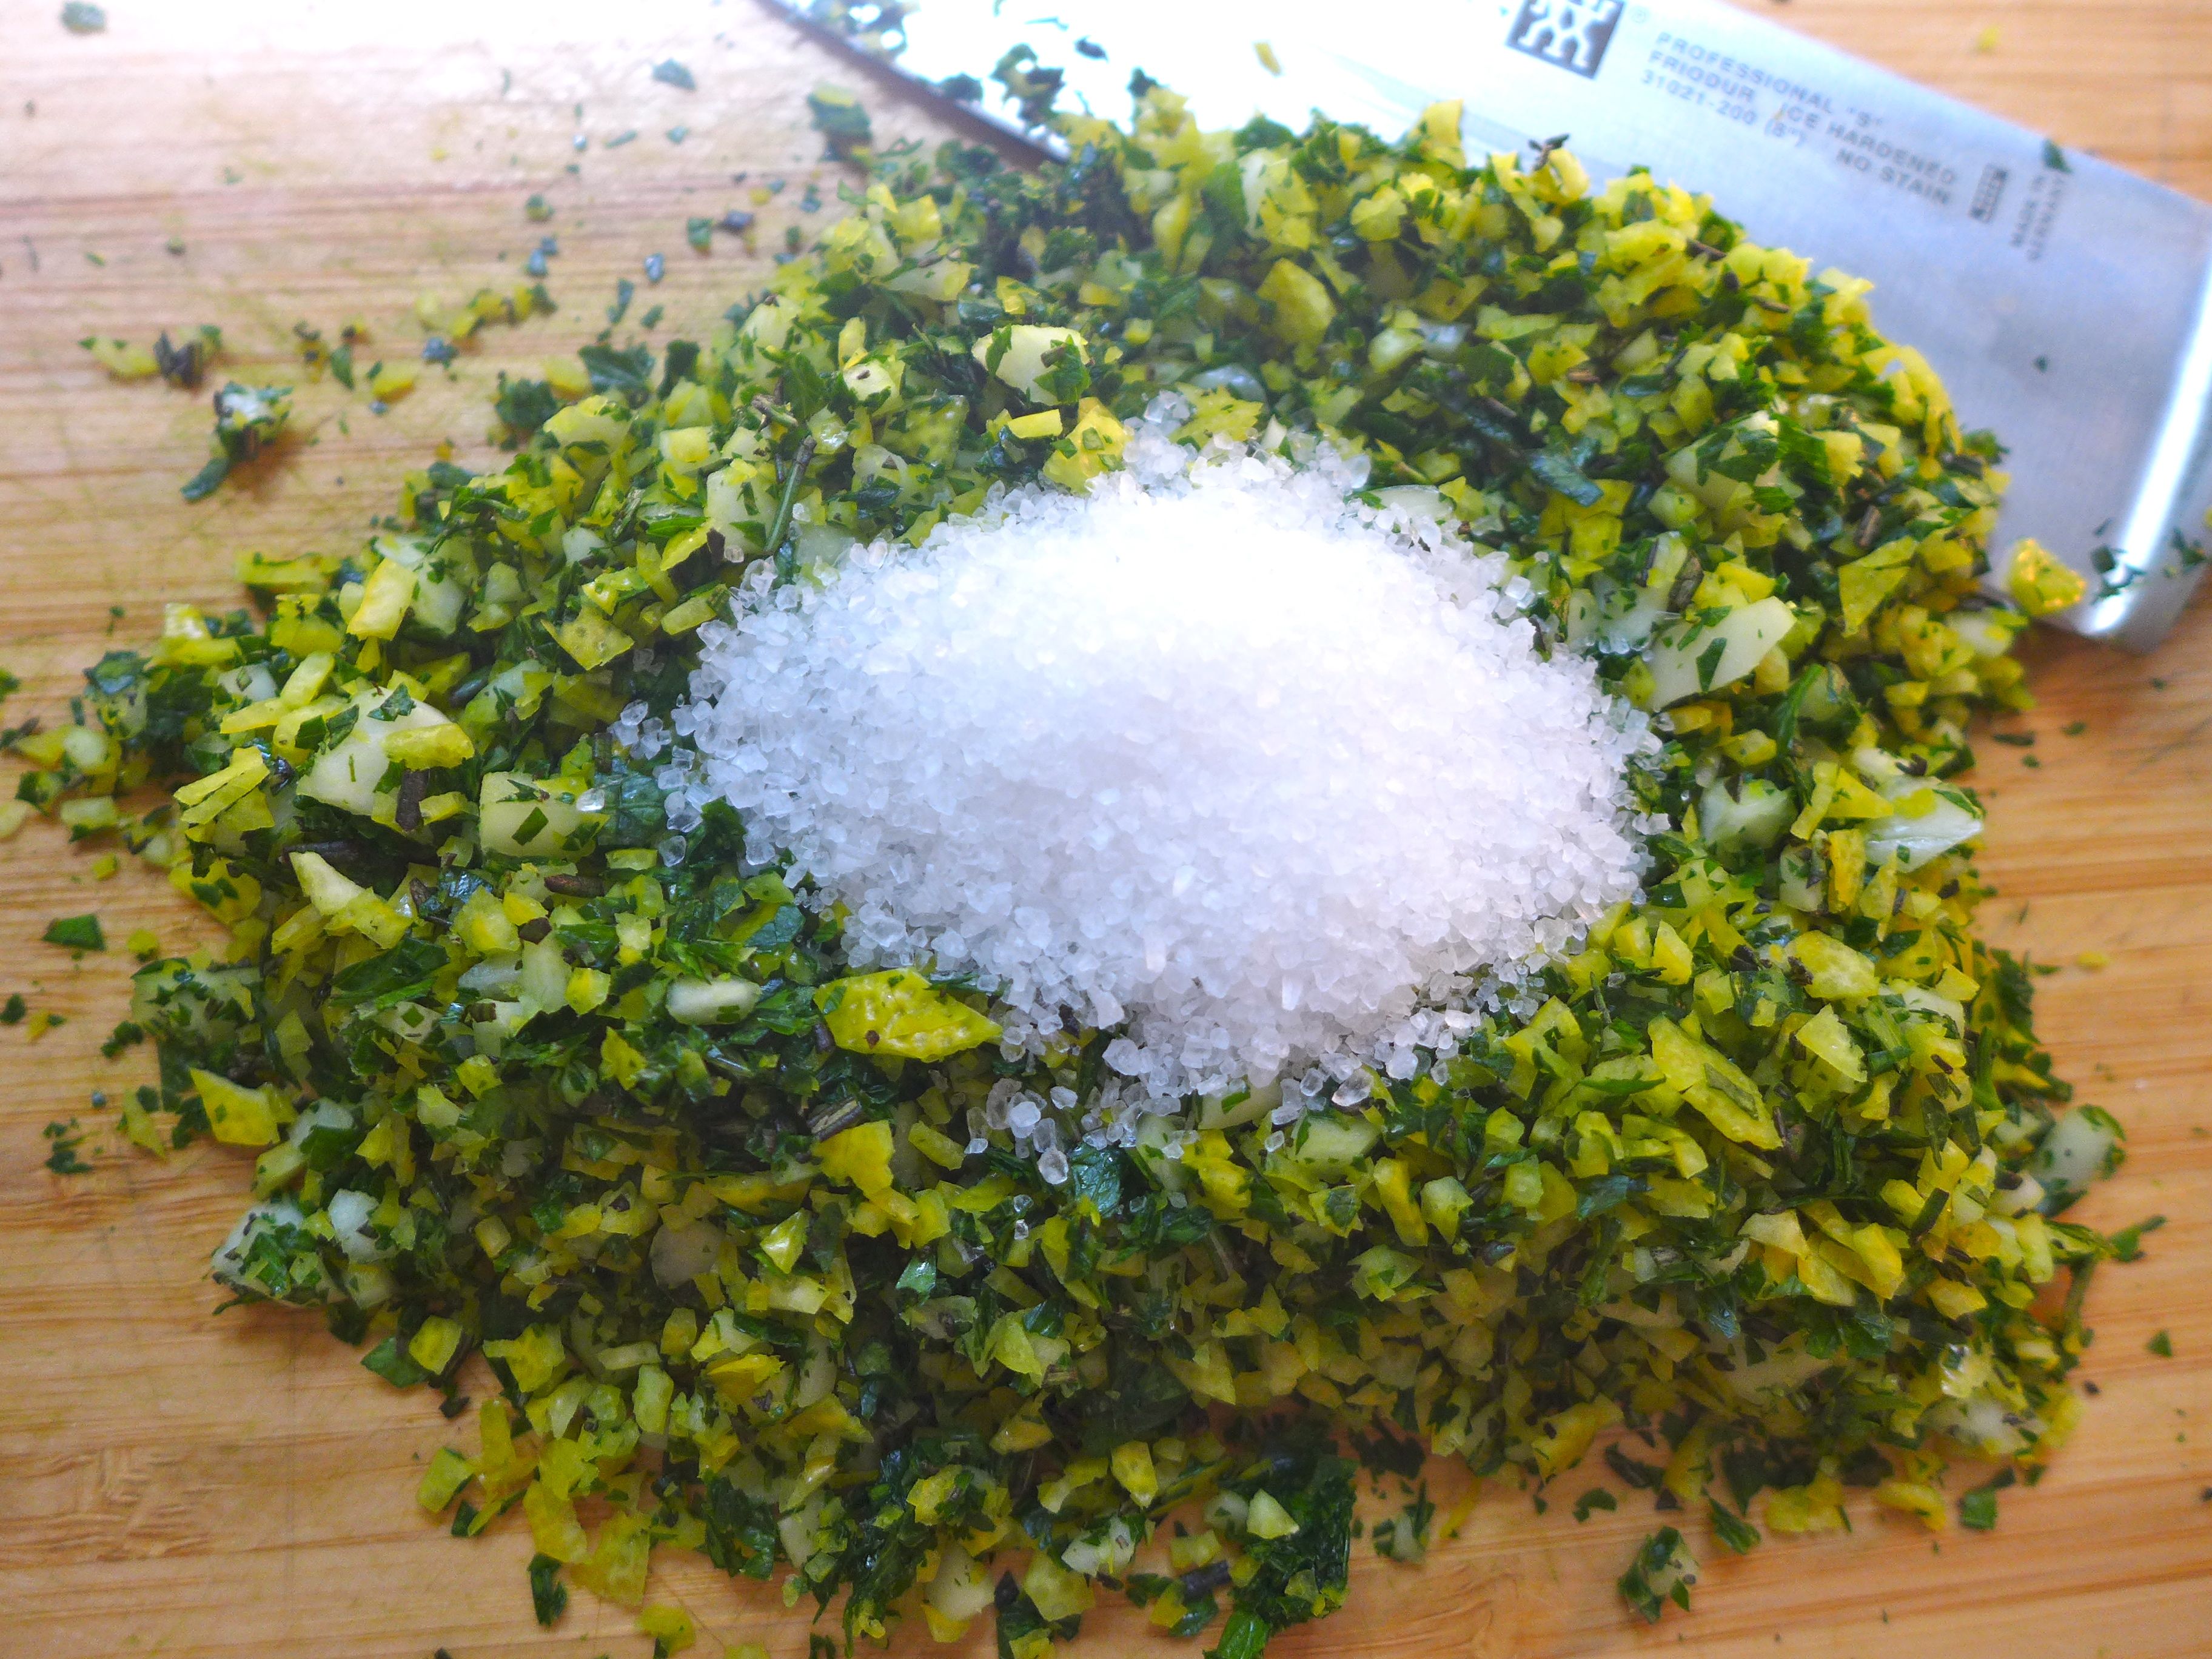
Preparing the seasoning requires just a bit of chopping and time. I did my chopping on a day when people were constantly coming in and out of the beach house, and every single person asked what was cooking and remarked that the kitchen smelled great. The chopping releases an amazing blend of aromas from the herbs, lemon zest, and garlic.
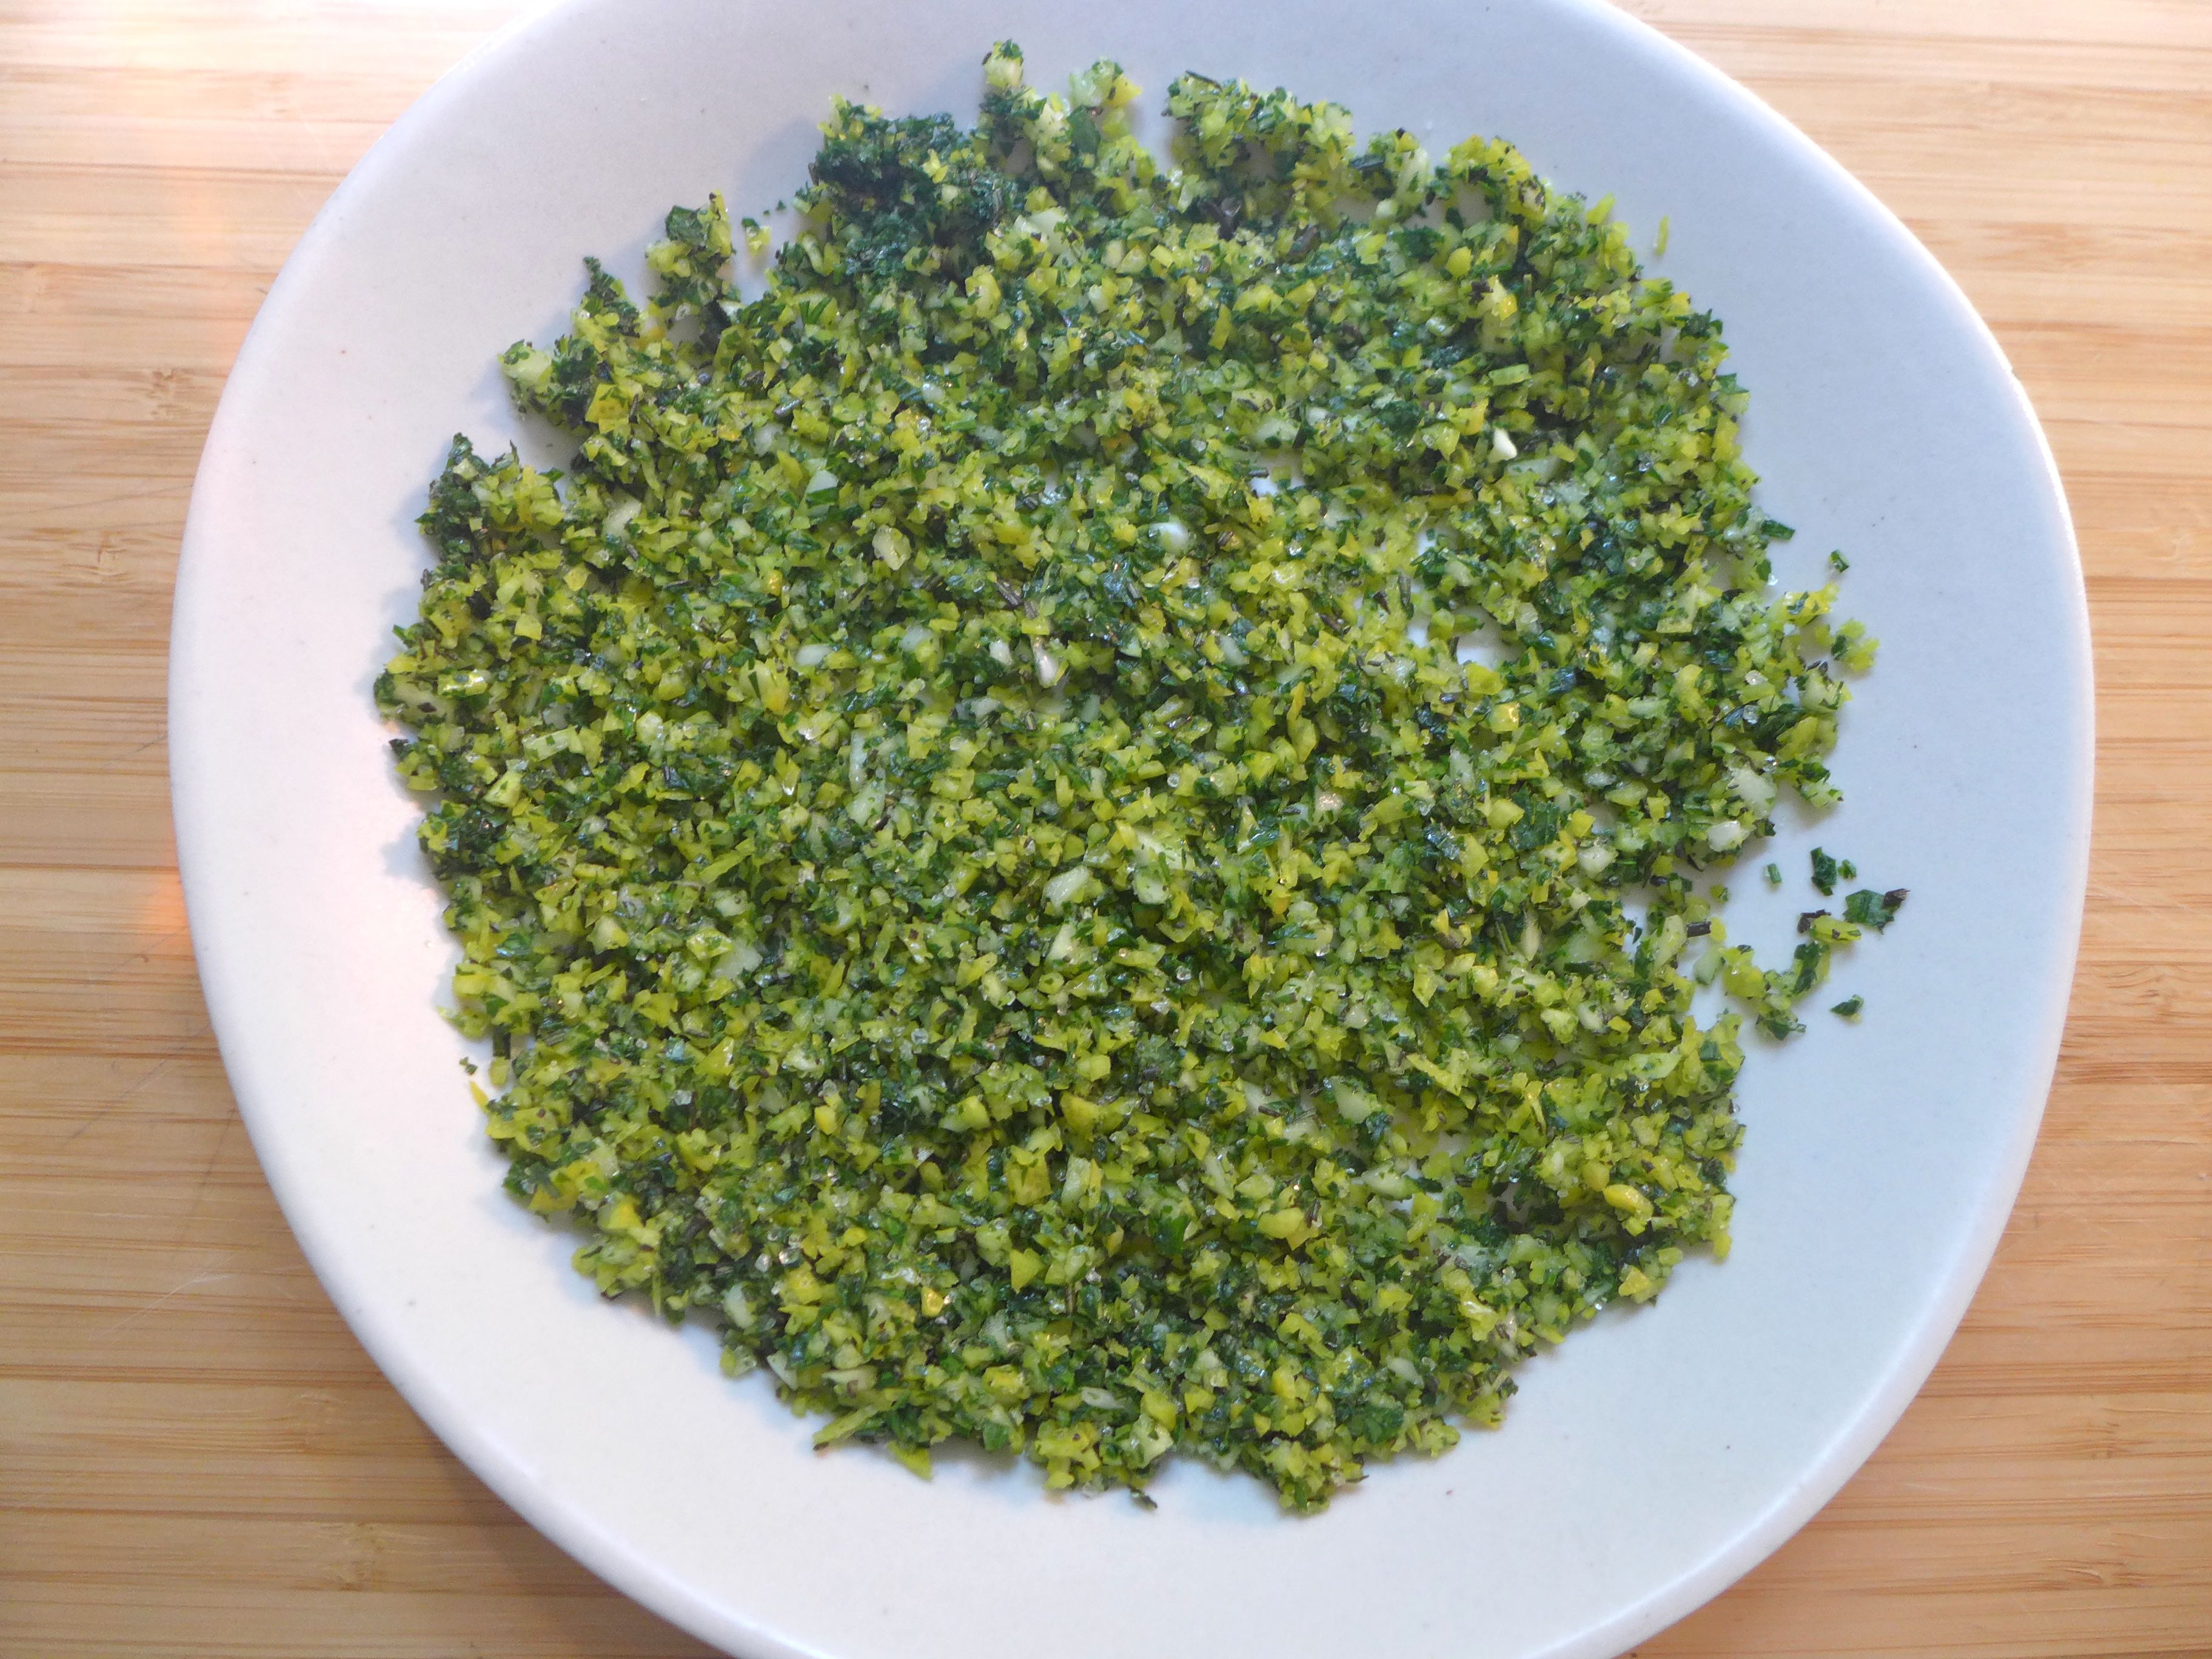
Once chopped, the mixture is spread out on a plate and left to dry for a couple of days. Since we were making this on the humid east coast in the middle of August, I put my plate in front of a fan to help with the drying process. If I were to make this at home in Colorado, the fan would be completely unnecessary because the air’s so dry. So use your discretion and help the drying process with a fan or warm oven if you’re in a high humidity environment.
Ingredients
Instructions
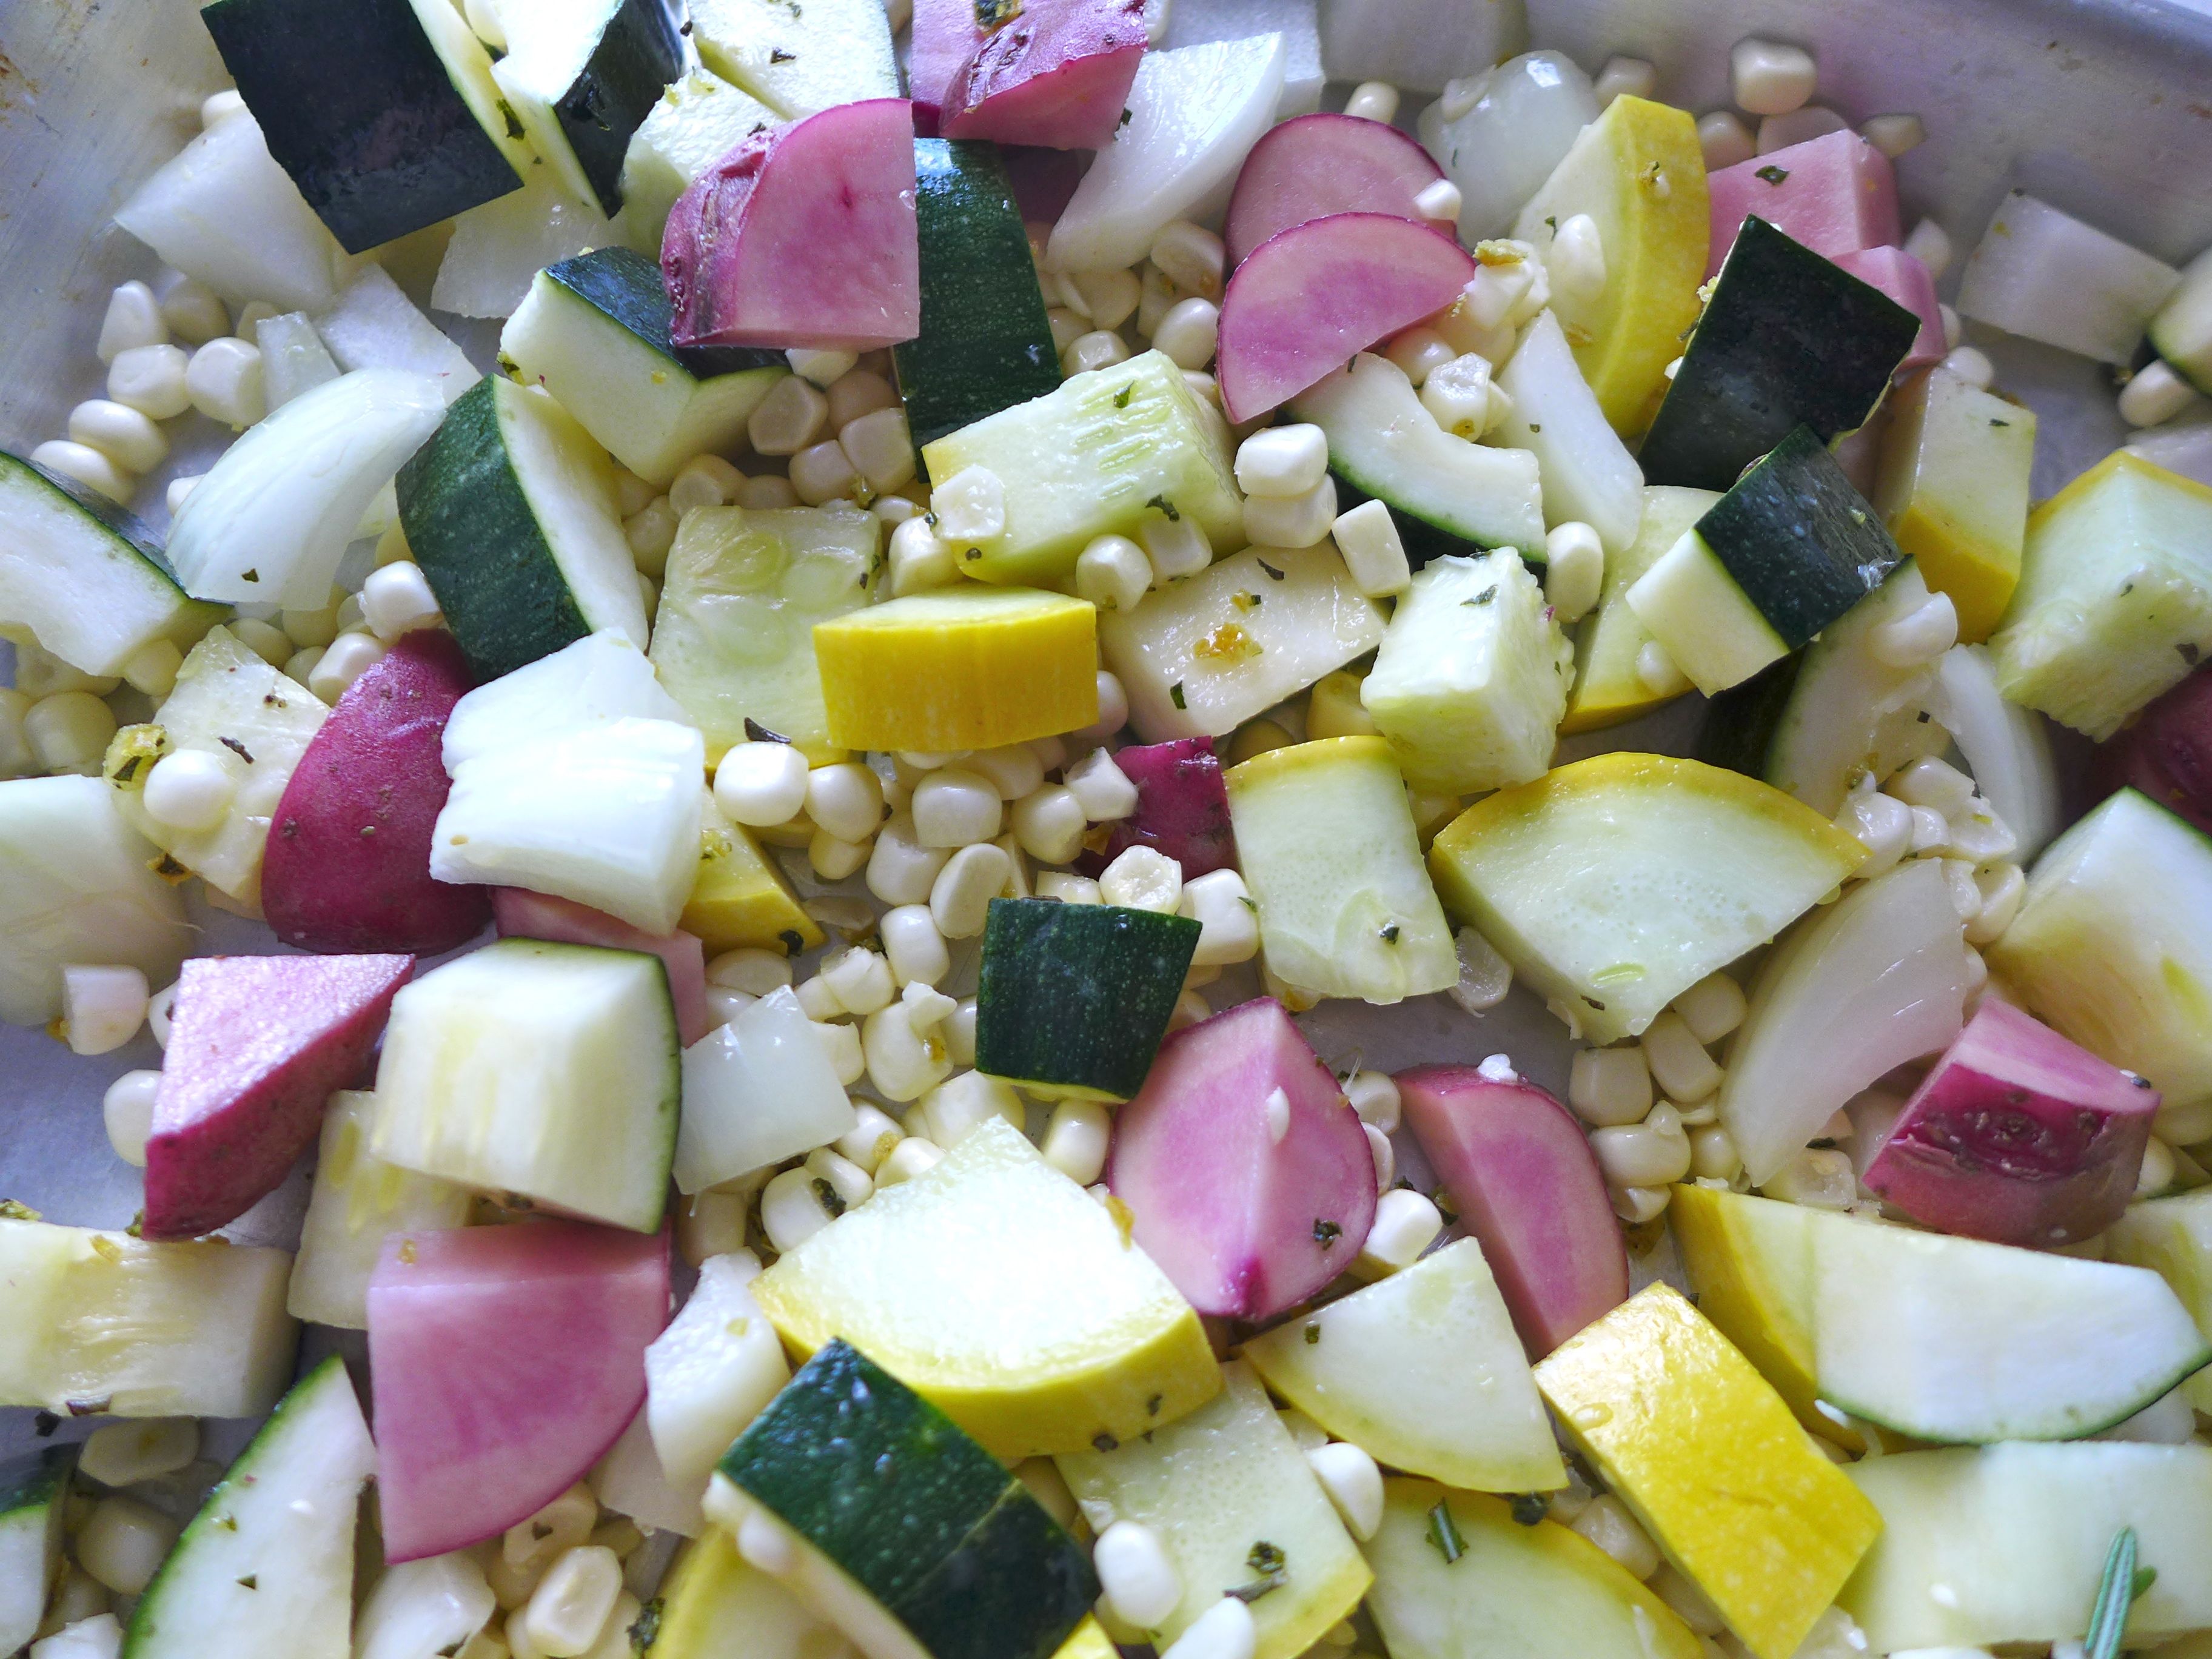
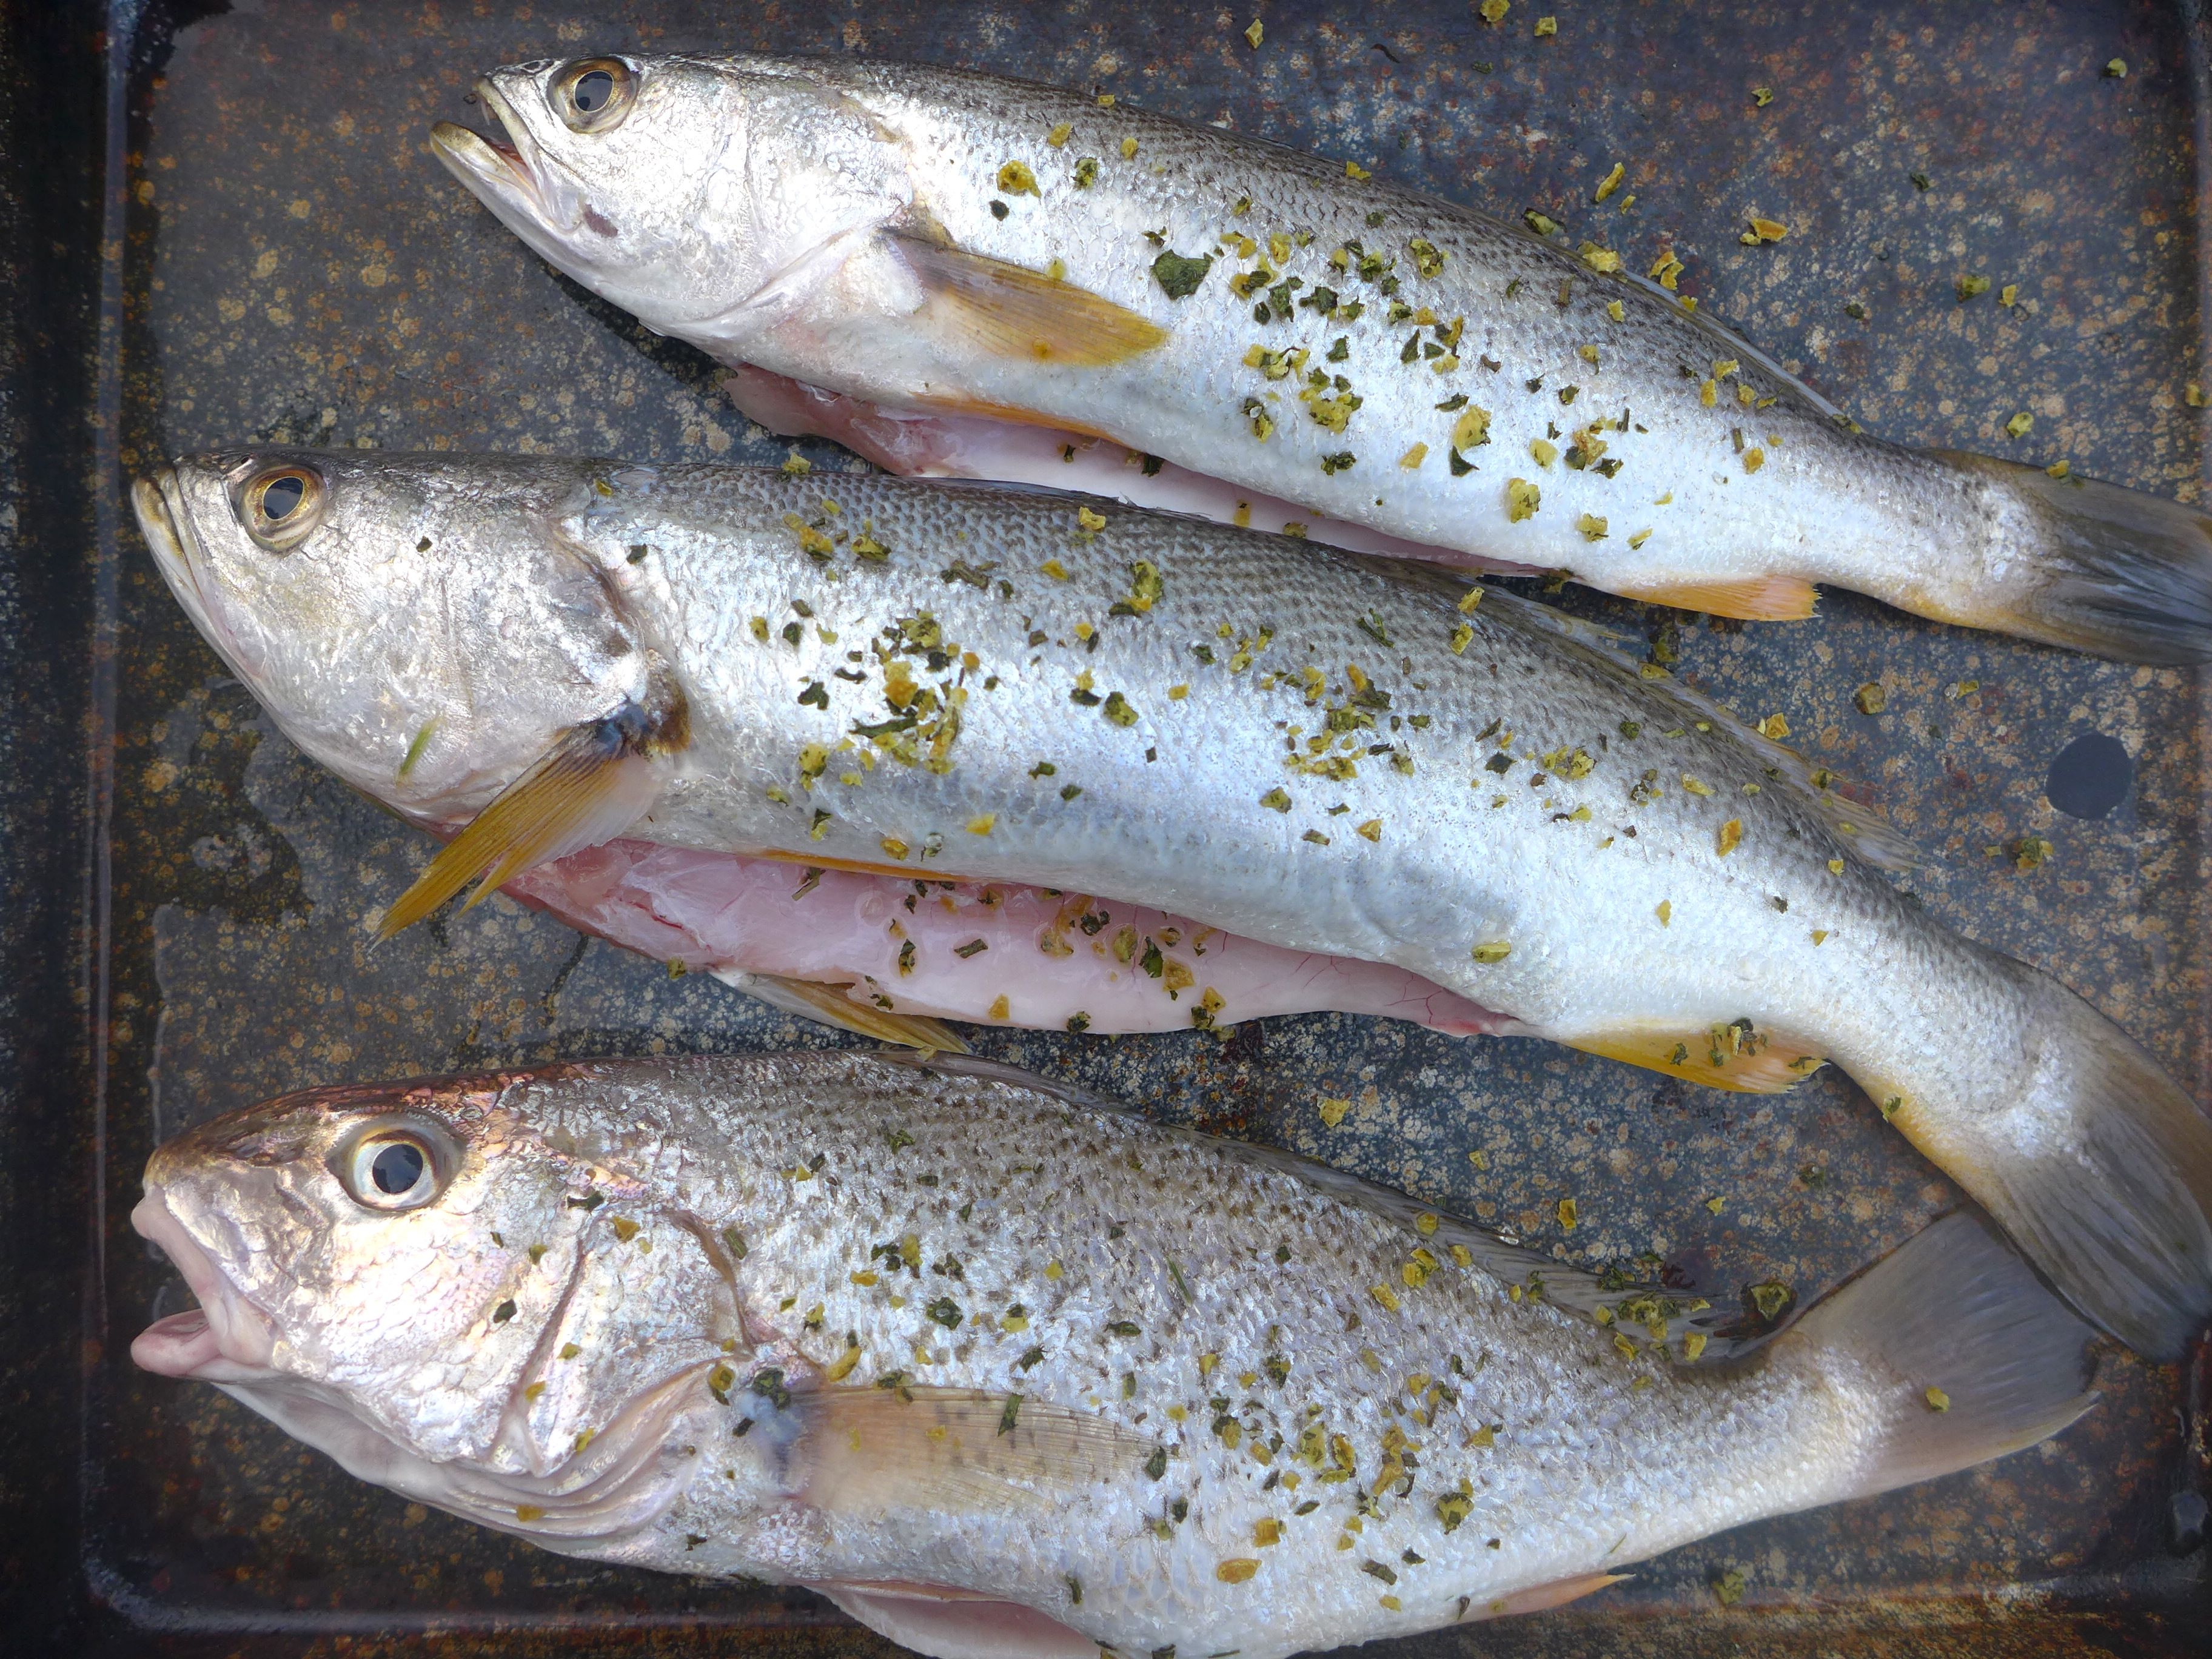
After the seasoning has dried, you can use it on any variety of dishes. One night we tried it on our roasted summer veggies, which were a combination of summer squash, onions, potatoes, and corn. They were delicious, but I didn’t *love* the flavor of lemon on the vegetables (can’t win them all!). The next night we sprinkled the seasoning on and in some fish freshly caught by our pop. I included a pat of butter inside each fish because they were on the leaner side. Our mom loved the fish so much that she made sure to confirm that I “took a picture for the blog”. Everyone loved the fish, and it couldn’t have been easier to make.
I have to admit that I never buy seasoned salt or herb mixes from the spice section. Instead, I sprinkle on the combination of individual herbs I want for any particular dish. That said, this seasoned salt was so easy to make, and it’s motivated me to experiment with the rest of the fresh herbs in our garden to develop a number of custom salts that will let me preserve those flavors and use them all winter long.
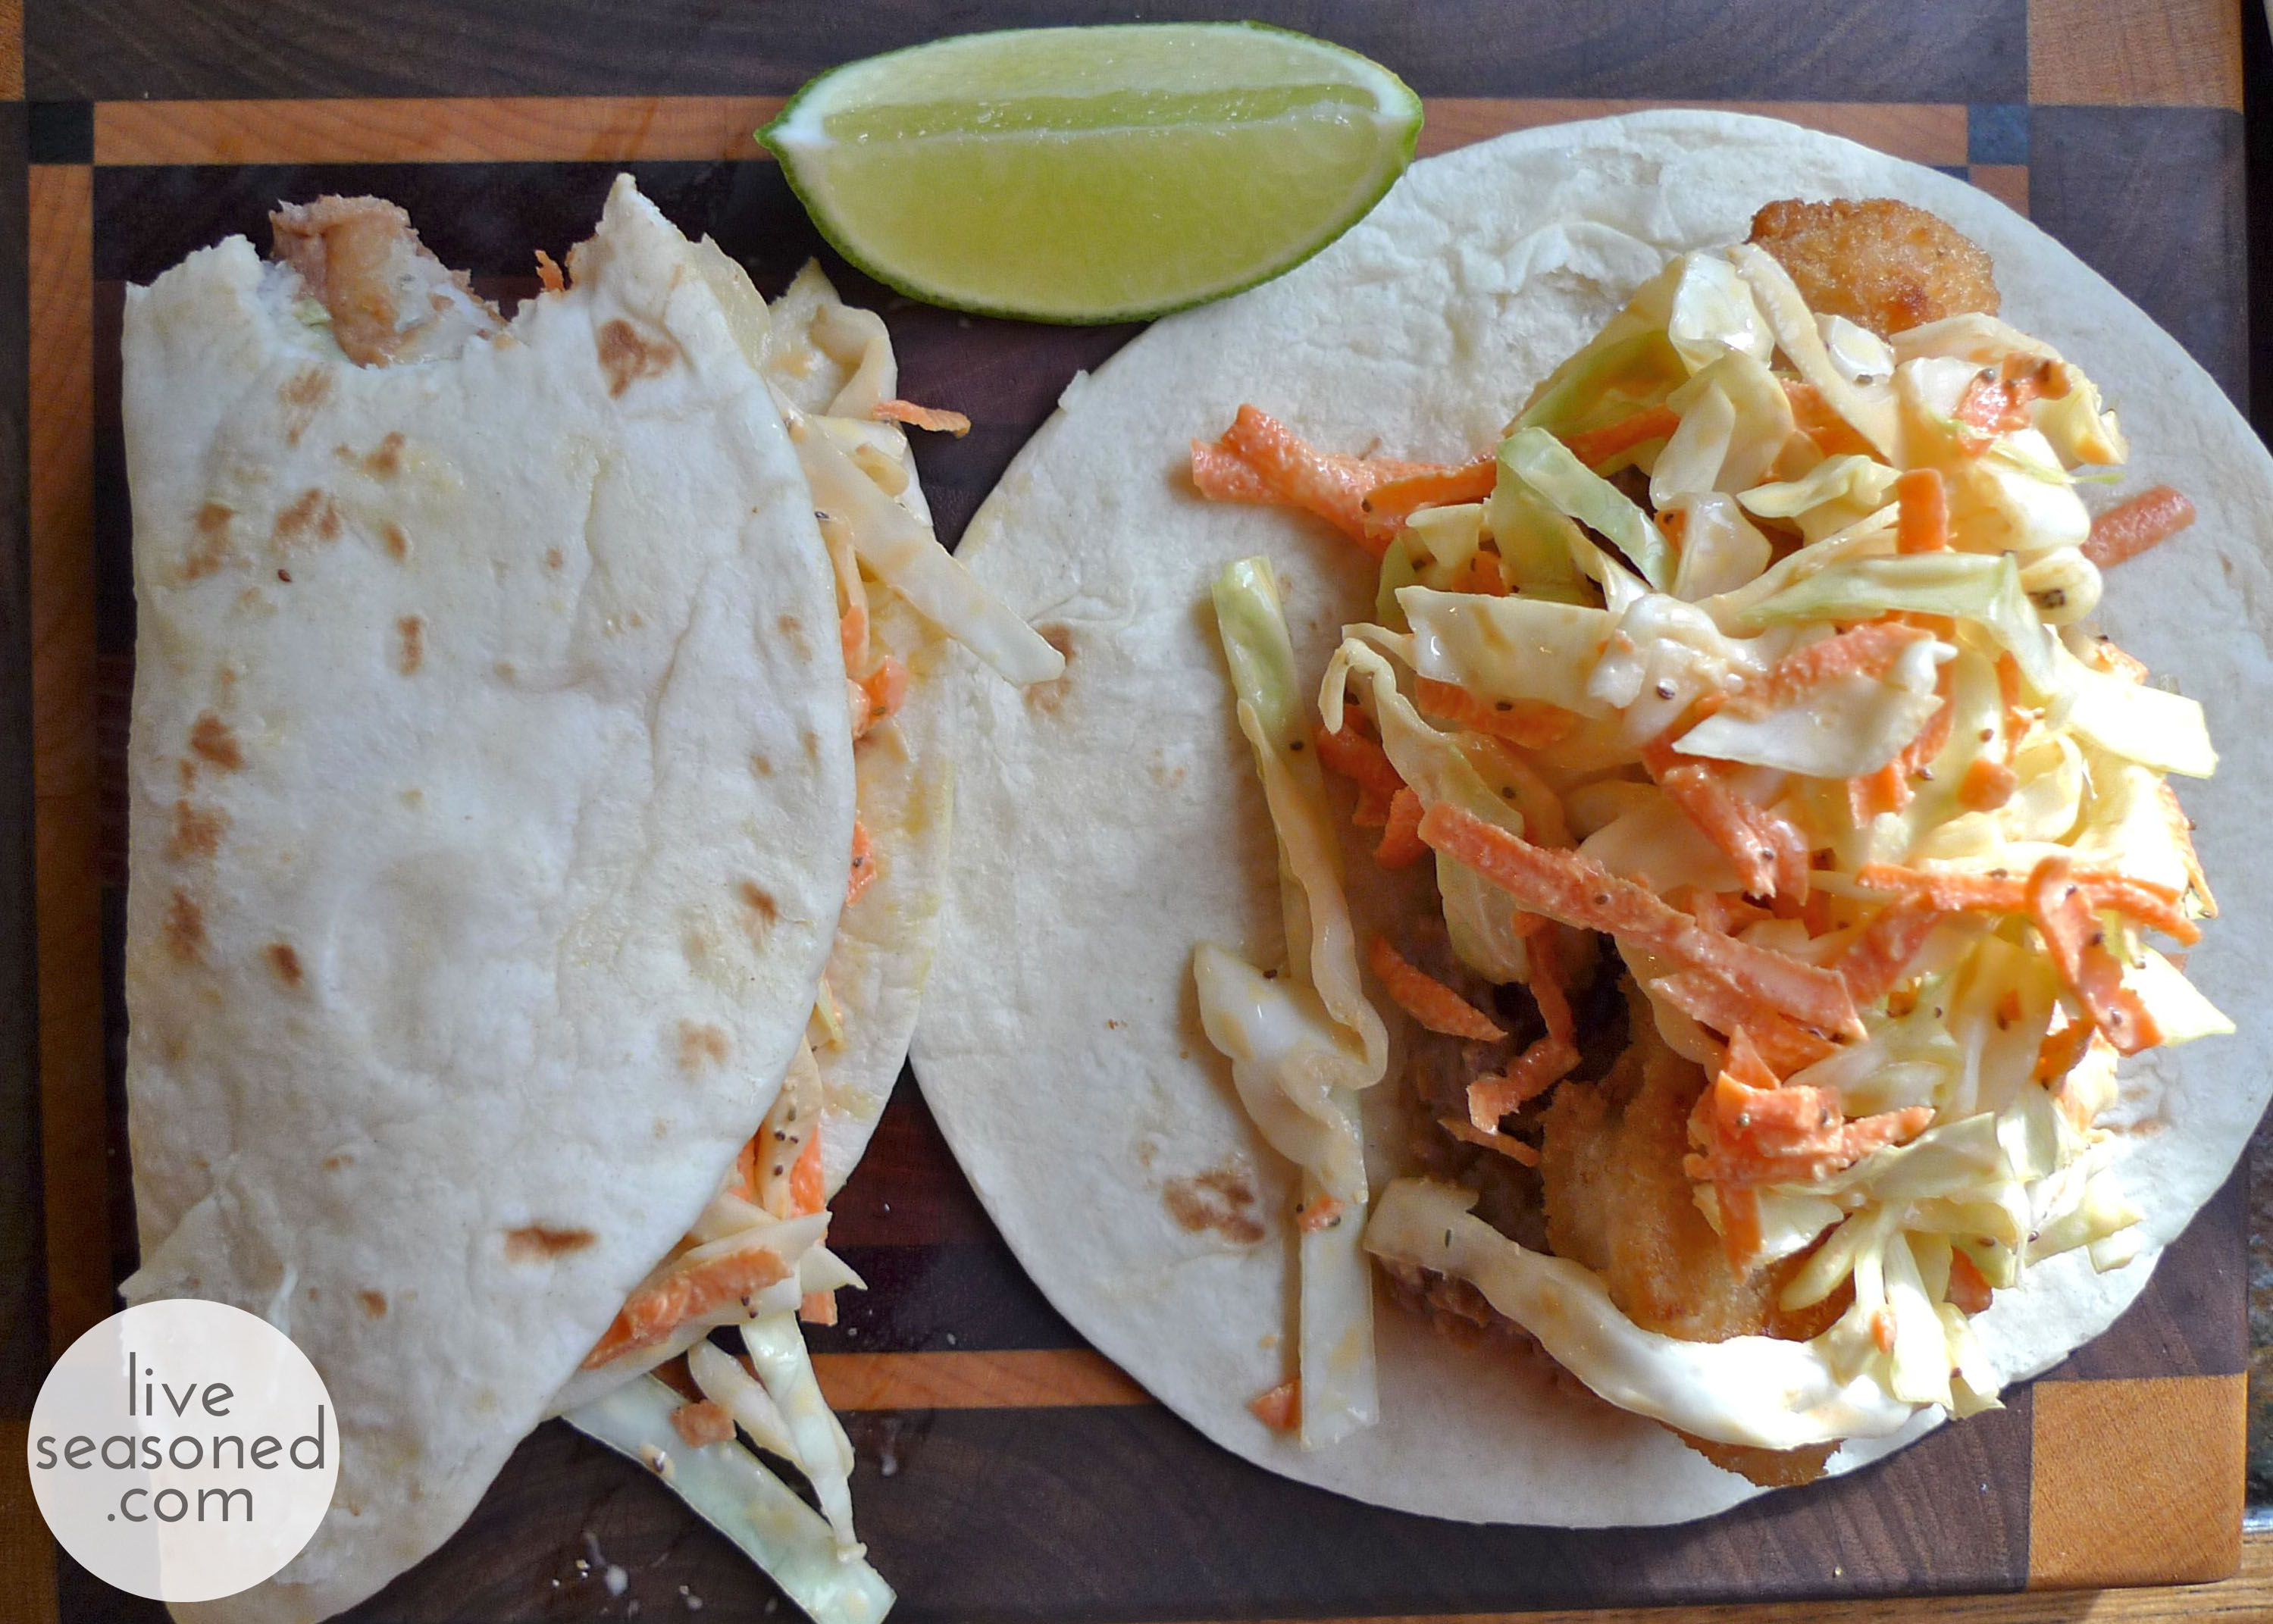
The title says it all. These are so easy, it’s almost like you didn’t cook, except you do make the slaw, so that counts for something. While everyone will love these, I immediately thought of them as the perfect dish for busy families, because they are relatively healthy, can easily feed a crowd, and again, are so. darn. easy. But beyond that, their simplicity would make them a great party food, especially for an end-of-summer shindig. I’d serve these with some agua fresca and mojitos followed by toasted coconut and avocado lime popsicles for dessert. BAM.