Embroidered Photos

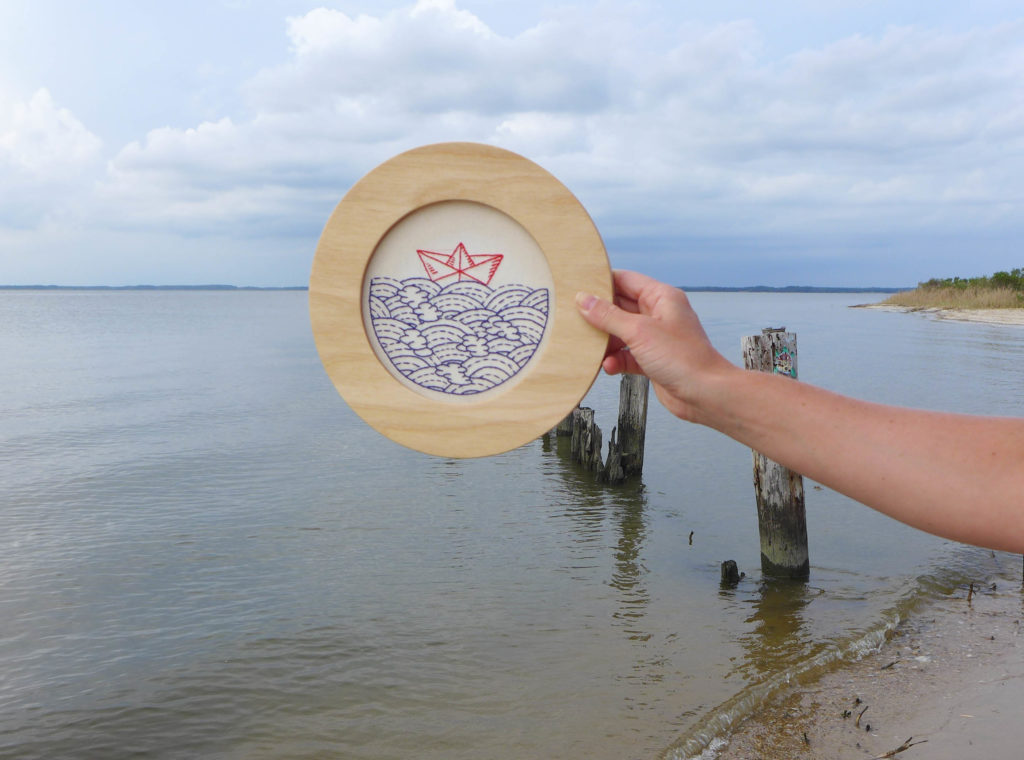
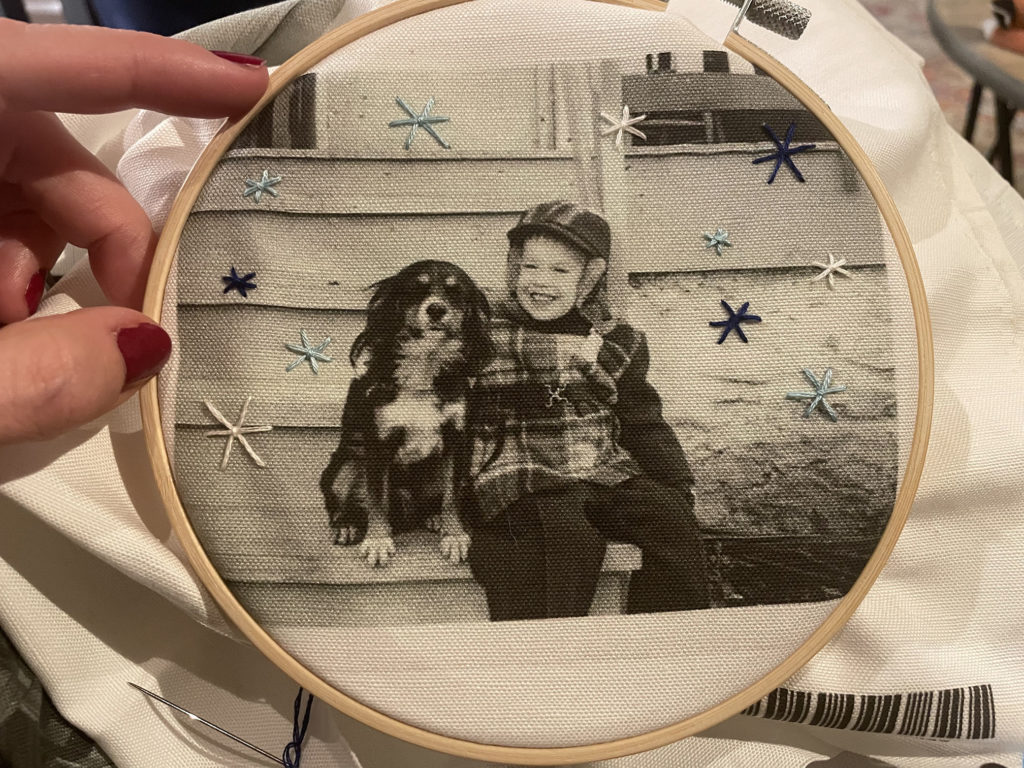
These embroidered photos were one of my favorite holiday gifts this season!

This project is perfect for giving at any time of year (birthdays!, Valentine’s Day!, etc.) because there’s a lot of room for customization, from the photo you choose to the embroidered design. Bonus points with this one because it’s really not difficult. In this post I’ll share all of the details and resources that I used. It’s the perfect sort of DIY gift that’s fun for both the maker and the receiver.

Continue reading

DIY Christmas Decorations + Crafts

This post was originally published in 2015, we’re re-posting it today to inspire some simple crafting before Christmas!

Today we’re rounding up past Christmas crafts. While Sarah was busy ordering gifts yesterday, I was finishing up the decorating. I love to get everything up as soon as possible so that there’s plenty of time to enjoy it (plus, I need the decorating out of the way so that I have every extra moment left to think about gift shopping!). If you’re taking your time and in need of decorations, we put together a list of past DIY projects that we made, love, and we’re excited to put out again this year.

This list provides a range of projects from those that can be finished in 30 minutes to others that may take a few hours, and the skill-level required varies from the simple to the more complex. In addition to decorating your house, some of these projects like the felt and cinnamon ornaments make great gift tags. What we have here is a little bit of something for everyone.

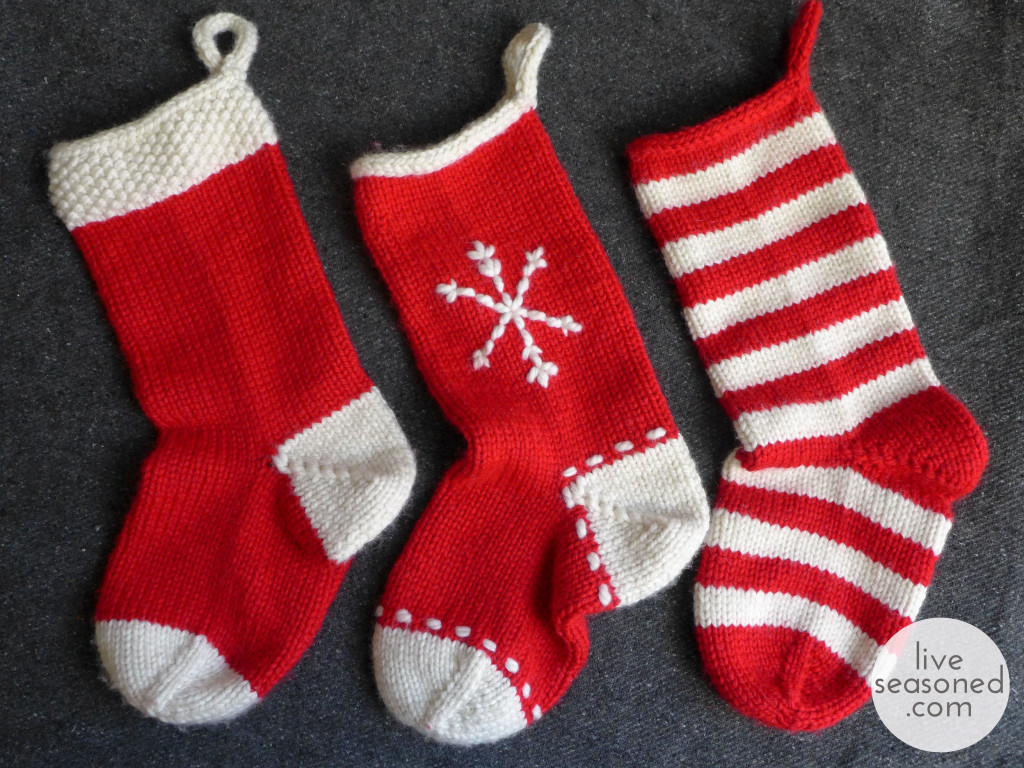
liveseasoned_w2015_stockings7_wm

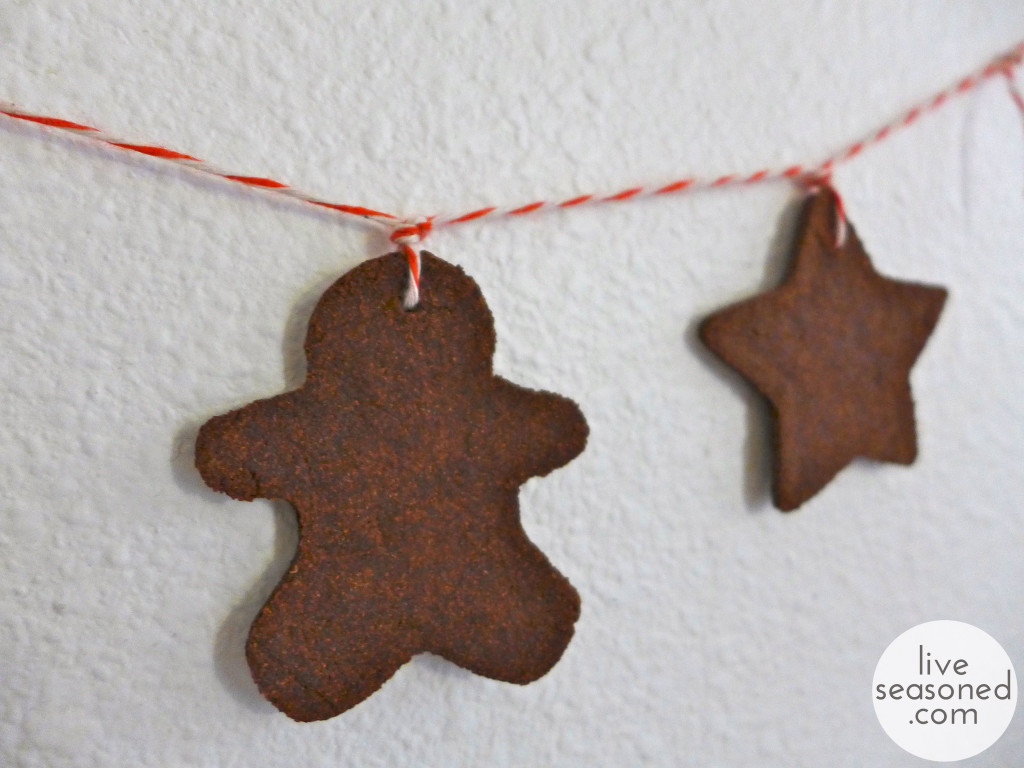
liveseasoned_w2015_cinnamonornament4_wm

Continue reading

Make with Me : Embroidery Kits (again!)

If you’re looking for a new project or hobby, we have a lot of great ideas in our Make with Me and DIY archives.

I made a trio of nautical embroidered designs from Hook Line & Tinker this past summer. They were great traveling projects that are small and easy enough to start and stop, and left me with an itch to do more!

Continue reading

Make with Me : Embroidery Kits

If you’re looking for a new project or hobby, we have a lot of great ideas in our Make with Me and DIY archives.

hook_line_tinker2

I’m so excited about these little embroidered pictures.It’s been a long time since I’ve done any embroidery, and the two small shops mentioned in this post made jumping into this craft super easy.

Continue reading

Simple Stitched DIY

The countdown to Christmas is on!

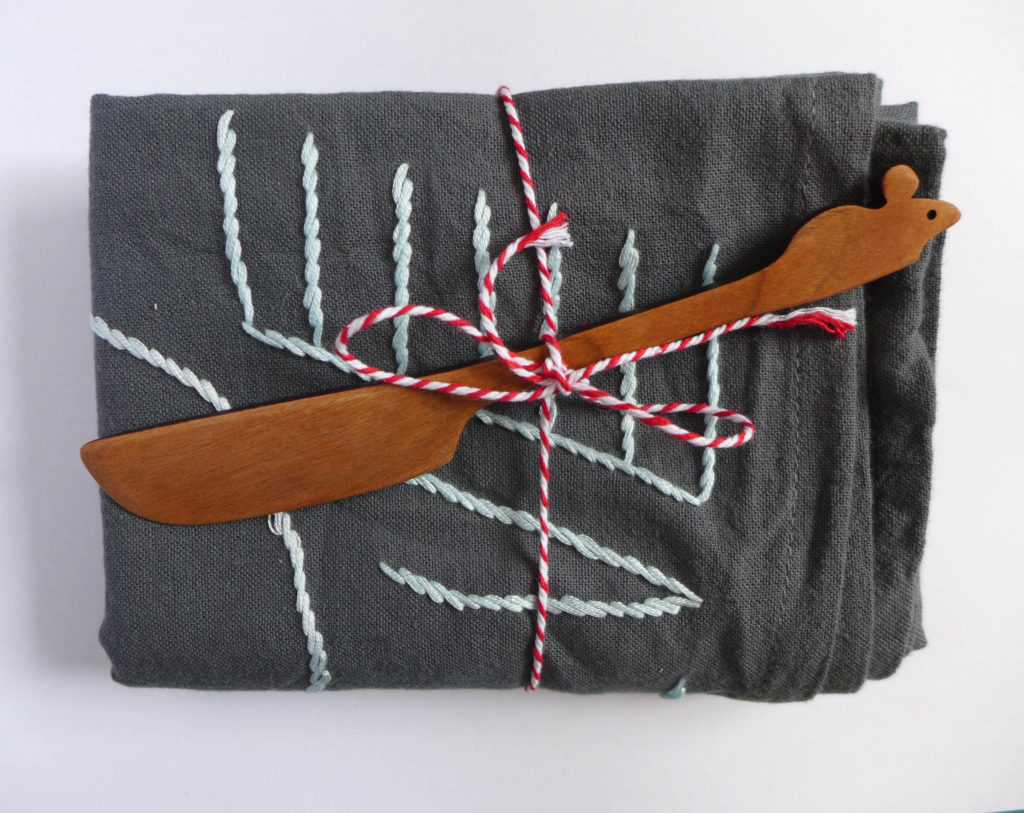
Today we’re sharing a super simple and sweet DIY gift.

love_towels2

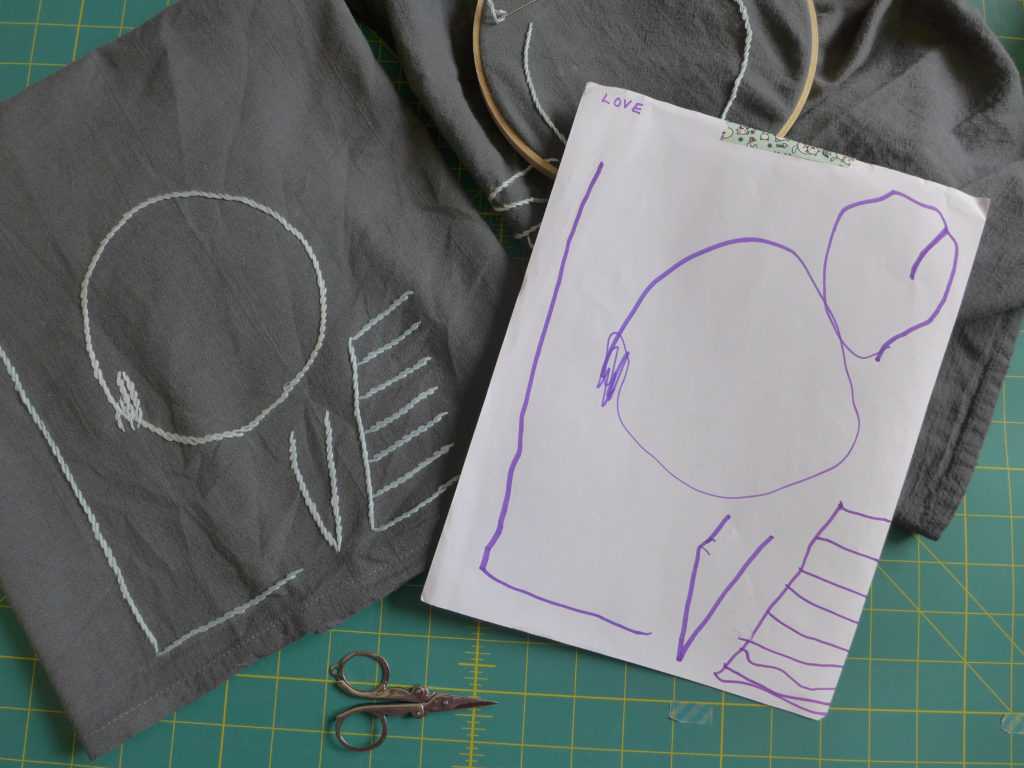
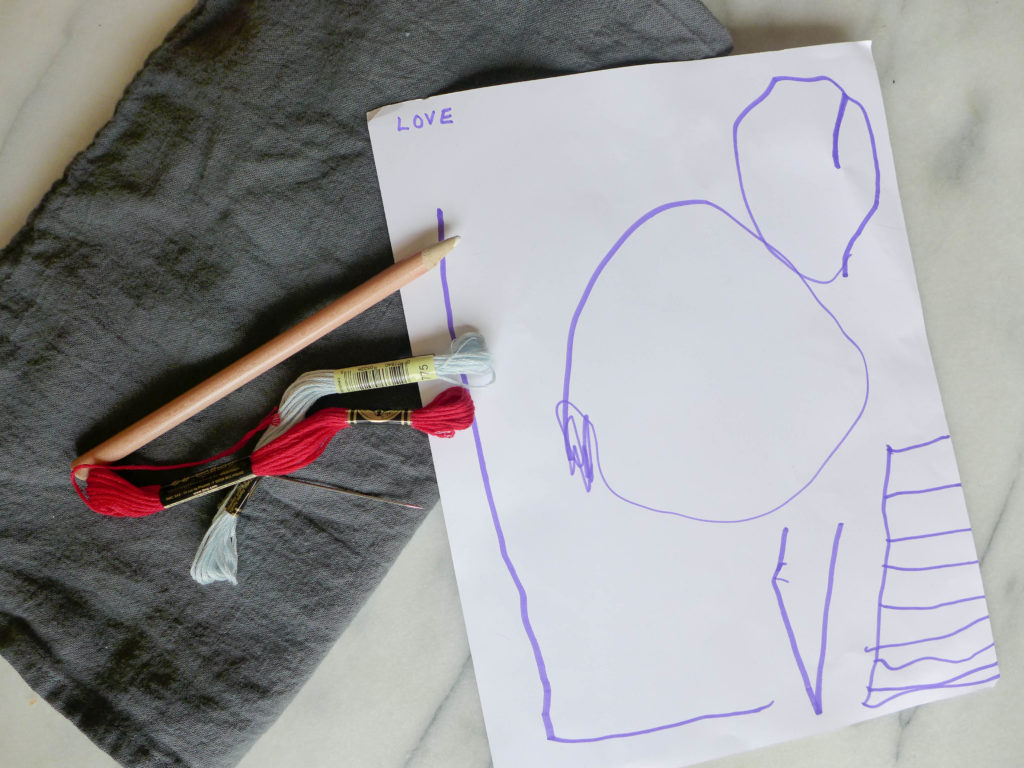
For these towels, I had Alex write the word LOVE on a piece of paper. We did this project a year ago to give last Christmas, and it was when he was still learning to write. You can see that I wrote “love” in the upper left corner of the paper as a guide. In my opinion his creative writing gives these towels a pile of personality and will always help us remember the phase when Alex “tied a knot in his Os to keep them closed” and made “ladder Es”.

love_towels

Materials

love_towels4

How-to

  • Determine your design. It can be a simple word, phrase, or line drawing. You can do something more complex, but our goal is to keep this project simple!
  • Using the chalk pencil, trace the design onto the towel. For these darker towels, I found it easiest to hold the design and towel up to a window for tracing.
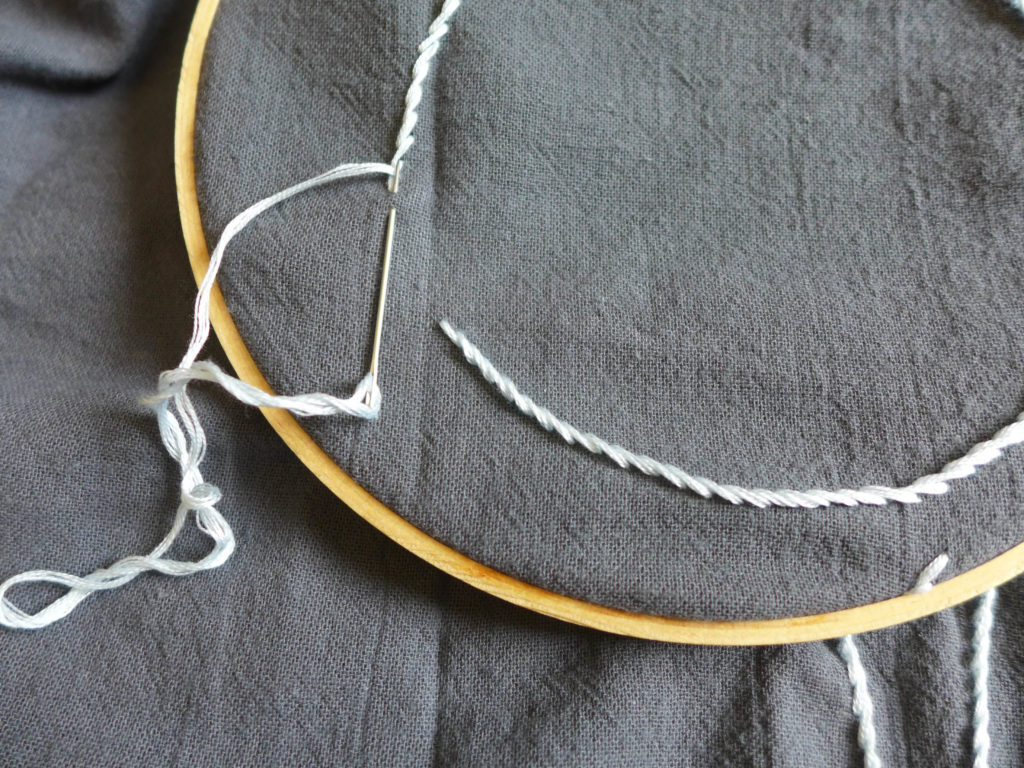
  • Embroider! You can use any stitch you prefer, and there are complete stitch dictionaries that will help you pick the right stitch for your project. For this project, I used a stem stitch, which works great for both straight and curved lines. And you can see that I took some artistic license with Alex’s original work, straightening and extending a couple of the lines in the E in spots where he ran out of room.
  • Once your project is complete, iron it.

love_towels5

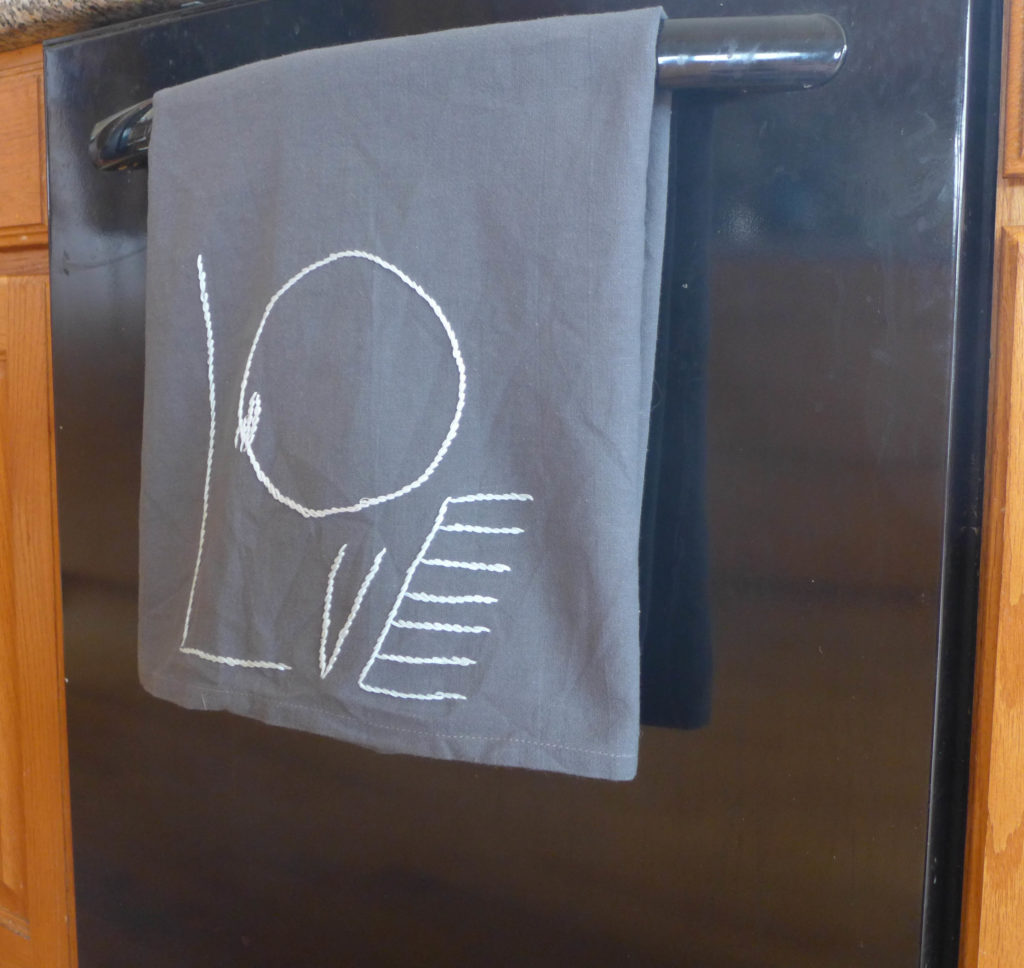
Of course, these projects make great gifts on their own. BUT since they are for the kitchen, they are also the perfect compliment to a nice mug, fancy soap, or a beautiful cheese spreader.

love_towels3

If you enjoy this project, make a few extras. These are great to have on hand as a hostess gift.


On top of their simplicity, these this project doesn’t cost much and can be paired with something for the kitchen for a nice DIY touch.

Wedding Crafts : Tags

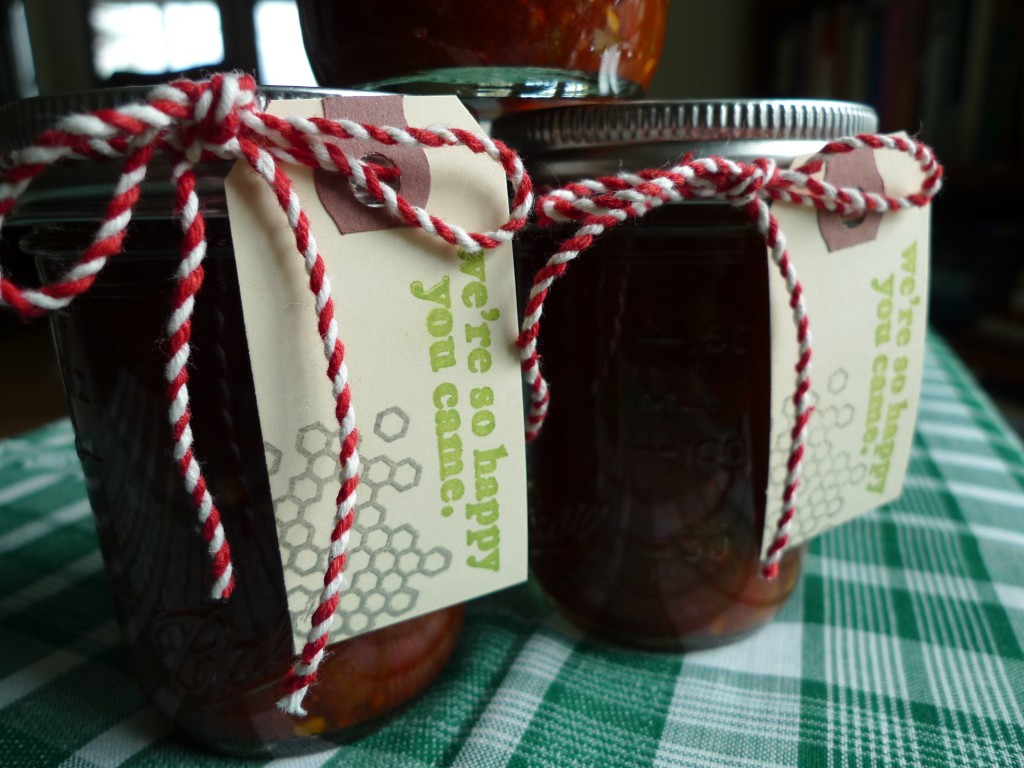
This June I’m sharing some of the crafts that made their way into my wedding, which was four years ago this month! A couple of weeks ago I showed you the bunting that decorated our reception tents and ceremony. Last week I shared the homemade purses that I embroidered for each of the bridesmaids (you also got a sneak peak at the sash that my mom made and hand-beaded to go with my wedding dress!). Today, I want to show you the tags that we made for both our place cards and as the labels on our favors. As you’ll see below, in each case, the cards were the icing on the cake of even bigger DIY projects!

liveseasoned_summer2015_favors

We used rubber stamps that were custom ordered  for these projects, yet while we were planning, we knew that these stamps would have a use well beyond the wedding. It was important to me that we didn’t purchase too many items that would only have a one-time use for the wedding, and four years out, I’m happy to see how often we’ve reused some items (and how well-loved others are). On another note ~ I know that the thought of using rubber stamps can drive people nuts when you think about having to line things up and make your stamping straight. As you’ll see, we tried to eliminate that problem. We didn’t worry about making our words perfectly straight, and we let some stamps, like the honeycombs, have a design that would fall off the edge of the tags. This strategy helped to minimize the stress and time that would go into projects like these.

Continue reading

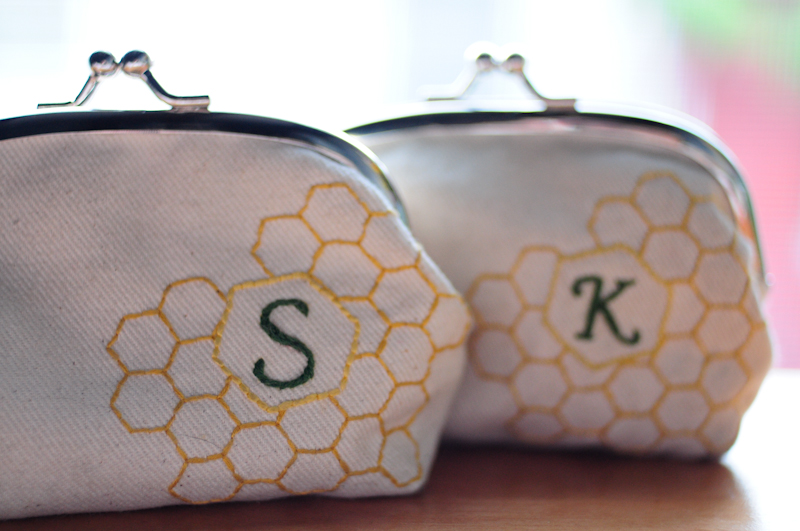
Wedding Crafts : Purses

This June I’m sharing some of the crafts that we made for my wedding, which was four year ago this month! Last week I showed you the bunting that decorated everything from our reception tent to our ceremony backdrop. Today I’m giving you a glimpse at the clasp purses that I made as gifts for the bridesmaids!

liveseasoned_summer2015_purses7

Continue reading

Felt Ornaments

Hey! I looked at our calendar and realized that we have entered a week of Christmas crafting making on the blog! This isn’t necessarily gift crafting, just more little projects to decorate the tree, your walls, to send off in the mail (technically, I guess that’s giving), and maybe we’ll even have something to eat or drink by the time the week’s complete.

liveseasoned_w2015_feltornament1_wm

Today I’m talking about the felt ornaments and wreath that were pictured in this post. Both of these ideas came from my Christmas board on Pinterest, but unfortunately the links associated with the pins won’t take you to the original source for attribution. You’ll see that I’ve pinned many different felt ornaments, and I’m thinking that over the next few years I may make quite a few as we become a house with two little boys! Felt ornaments are just so kid-friendly, with a big loop, they are easy for little hands to hang and pull off the tree, and there’s so little investment in terms of both time (the the case of the ones I’ve made) and money, that I don’t mind if little A throws them around a bit while playing. Plus, they look really cute.
liveseasoned_w2015_feltornament9_wm

liveseasoned_w2015_feltornament3_wm

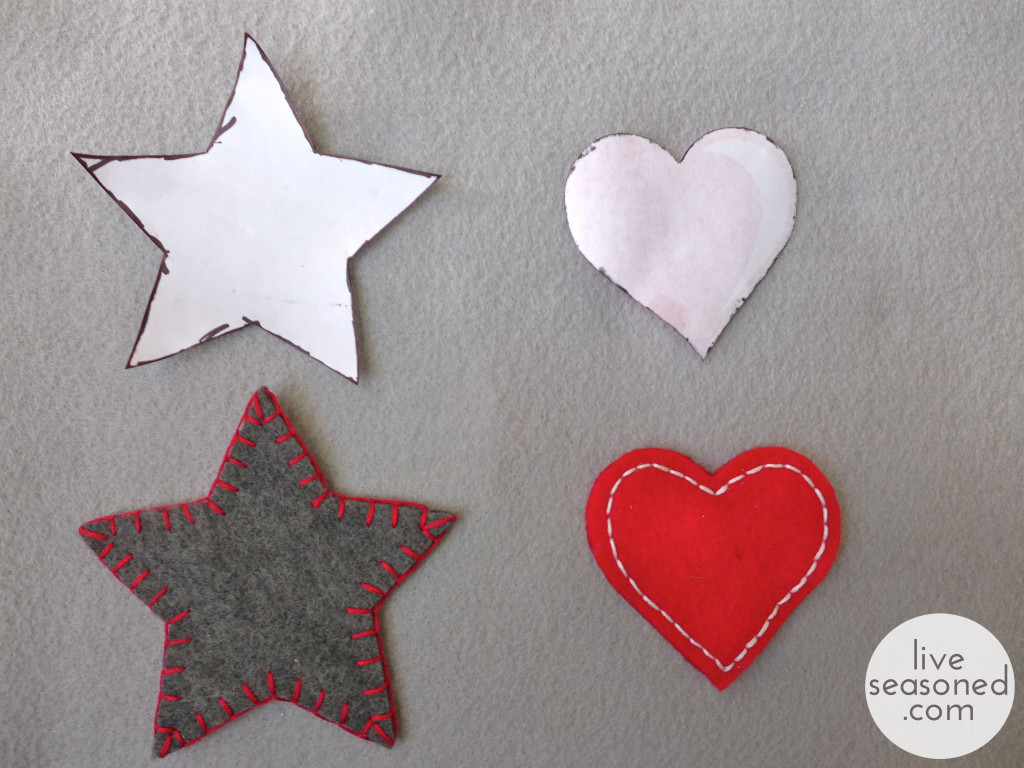
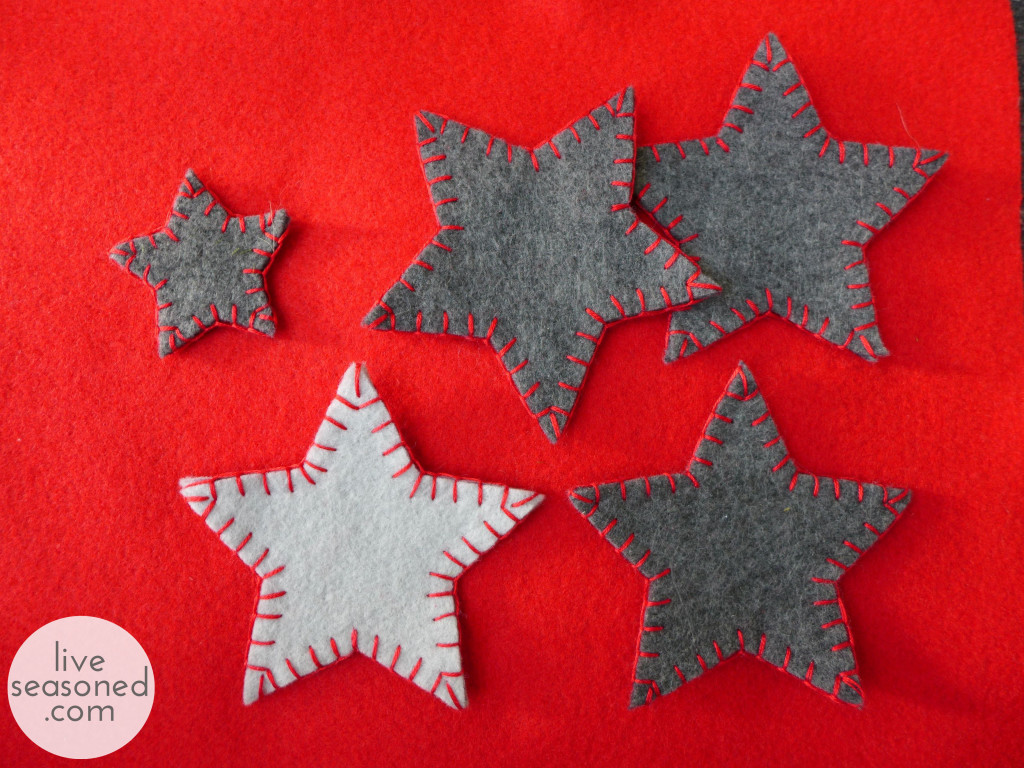
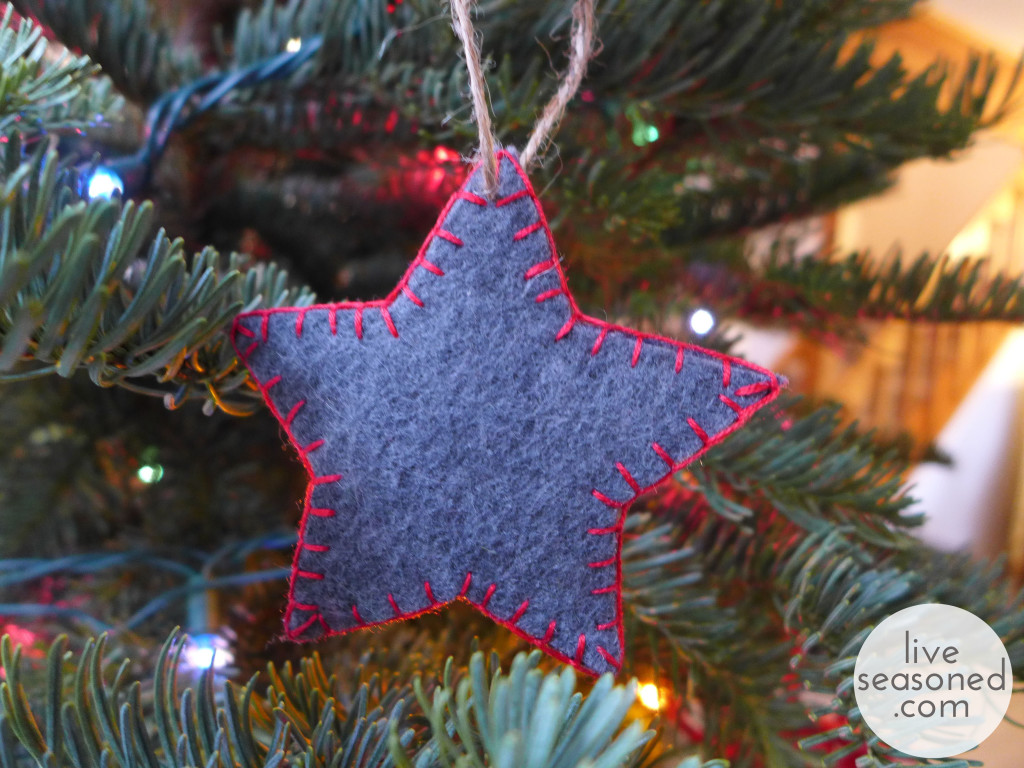
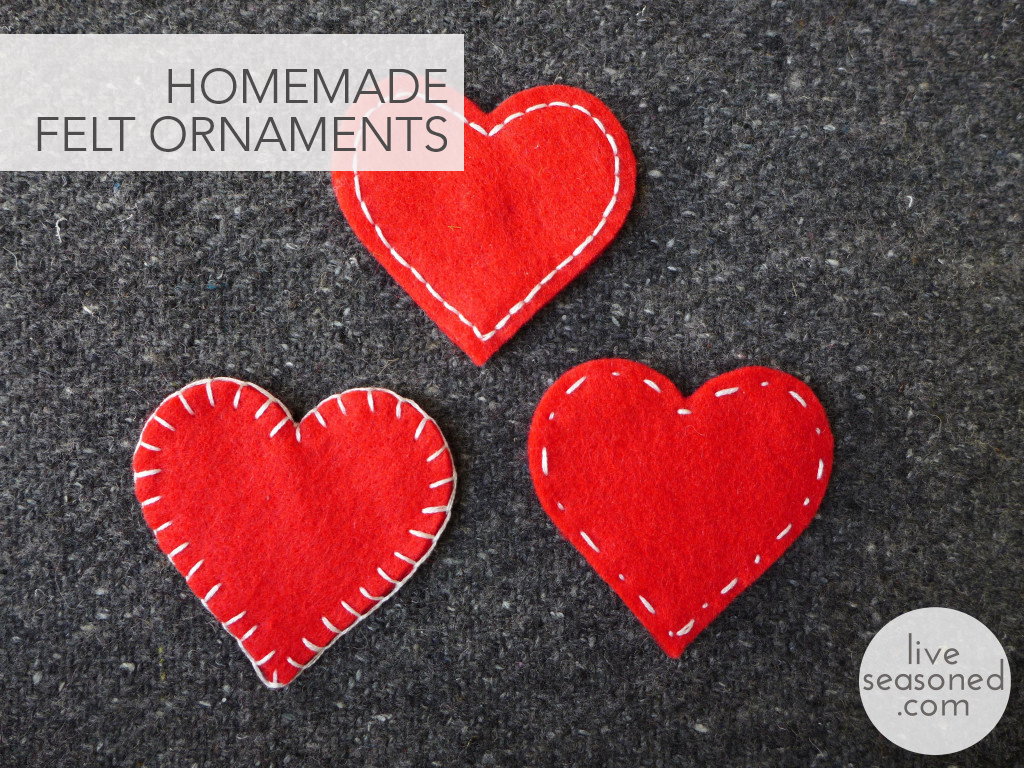
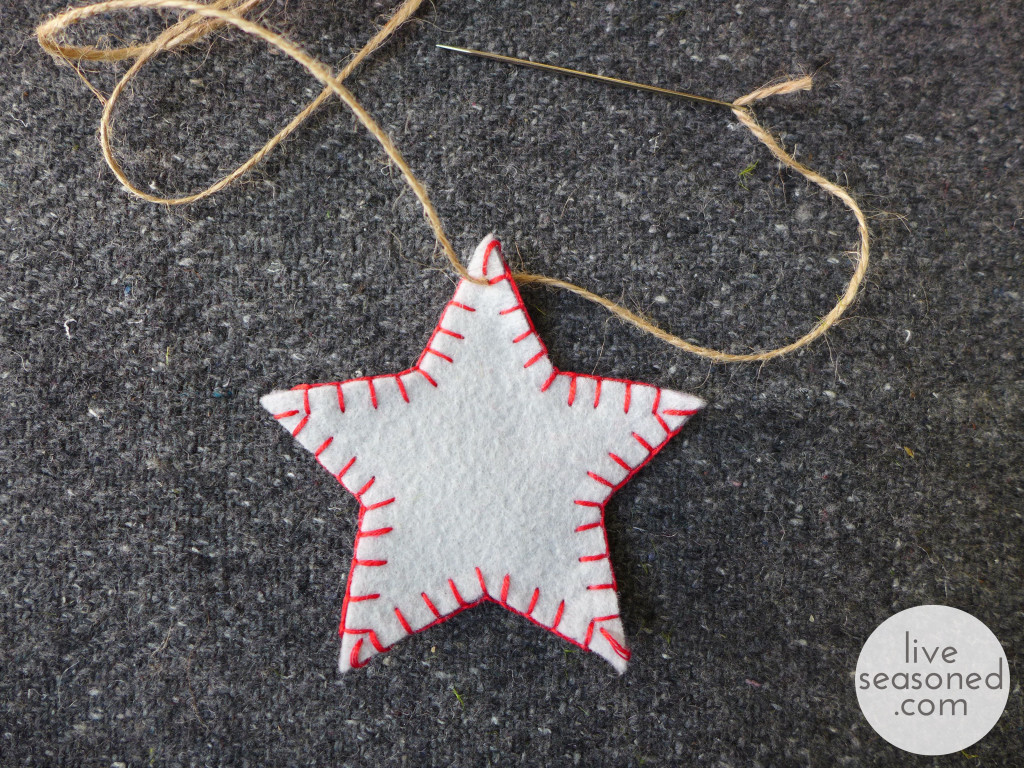
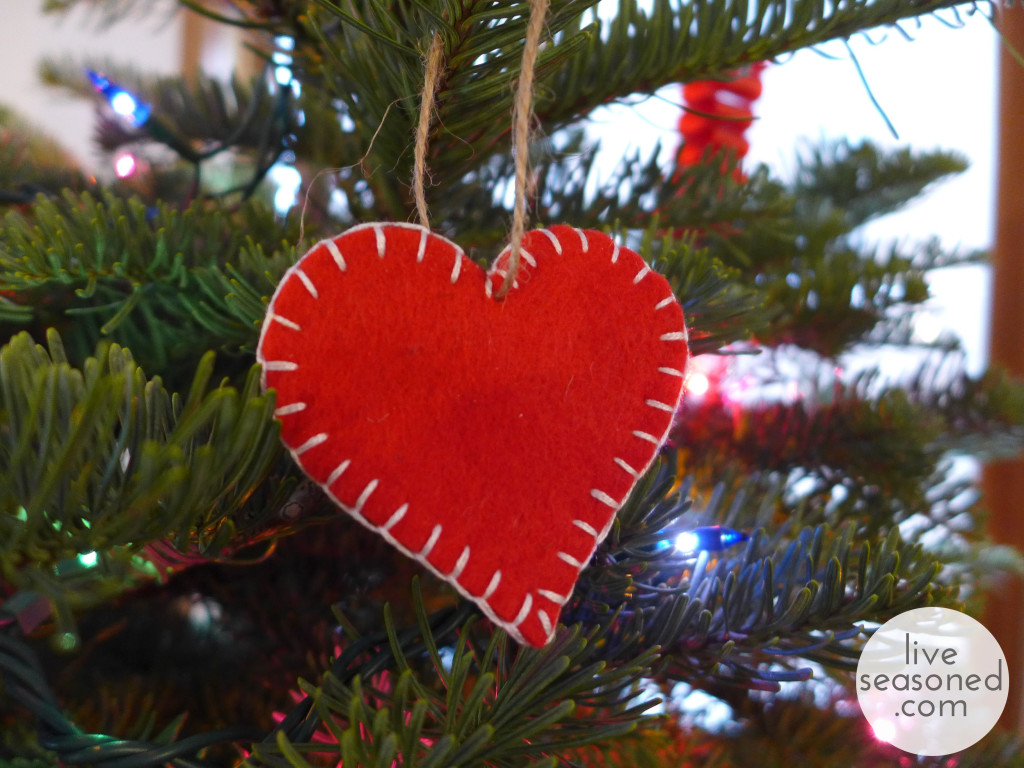
For today’s ornaments, I was first inspired by this photo. In addition to the stars, I added a few hearts with white stitching to our collection, inspired by these red felt ornaments. I personalized the stars by using a red blanket stitch around the edges, and I drastically simplified my hearts from the inspiration photo, eliminating the stuffing and choosing simple stitches that would follow the hearts’ edges.
liveseasoned_w2015_feltornament7 copy

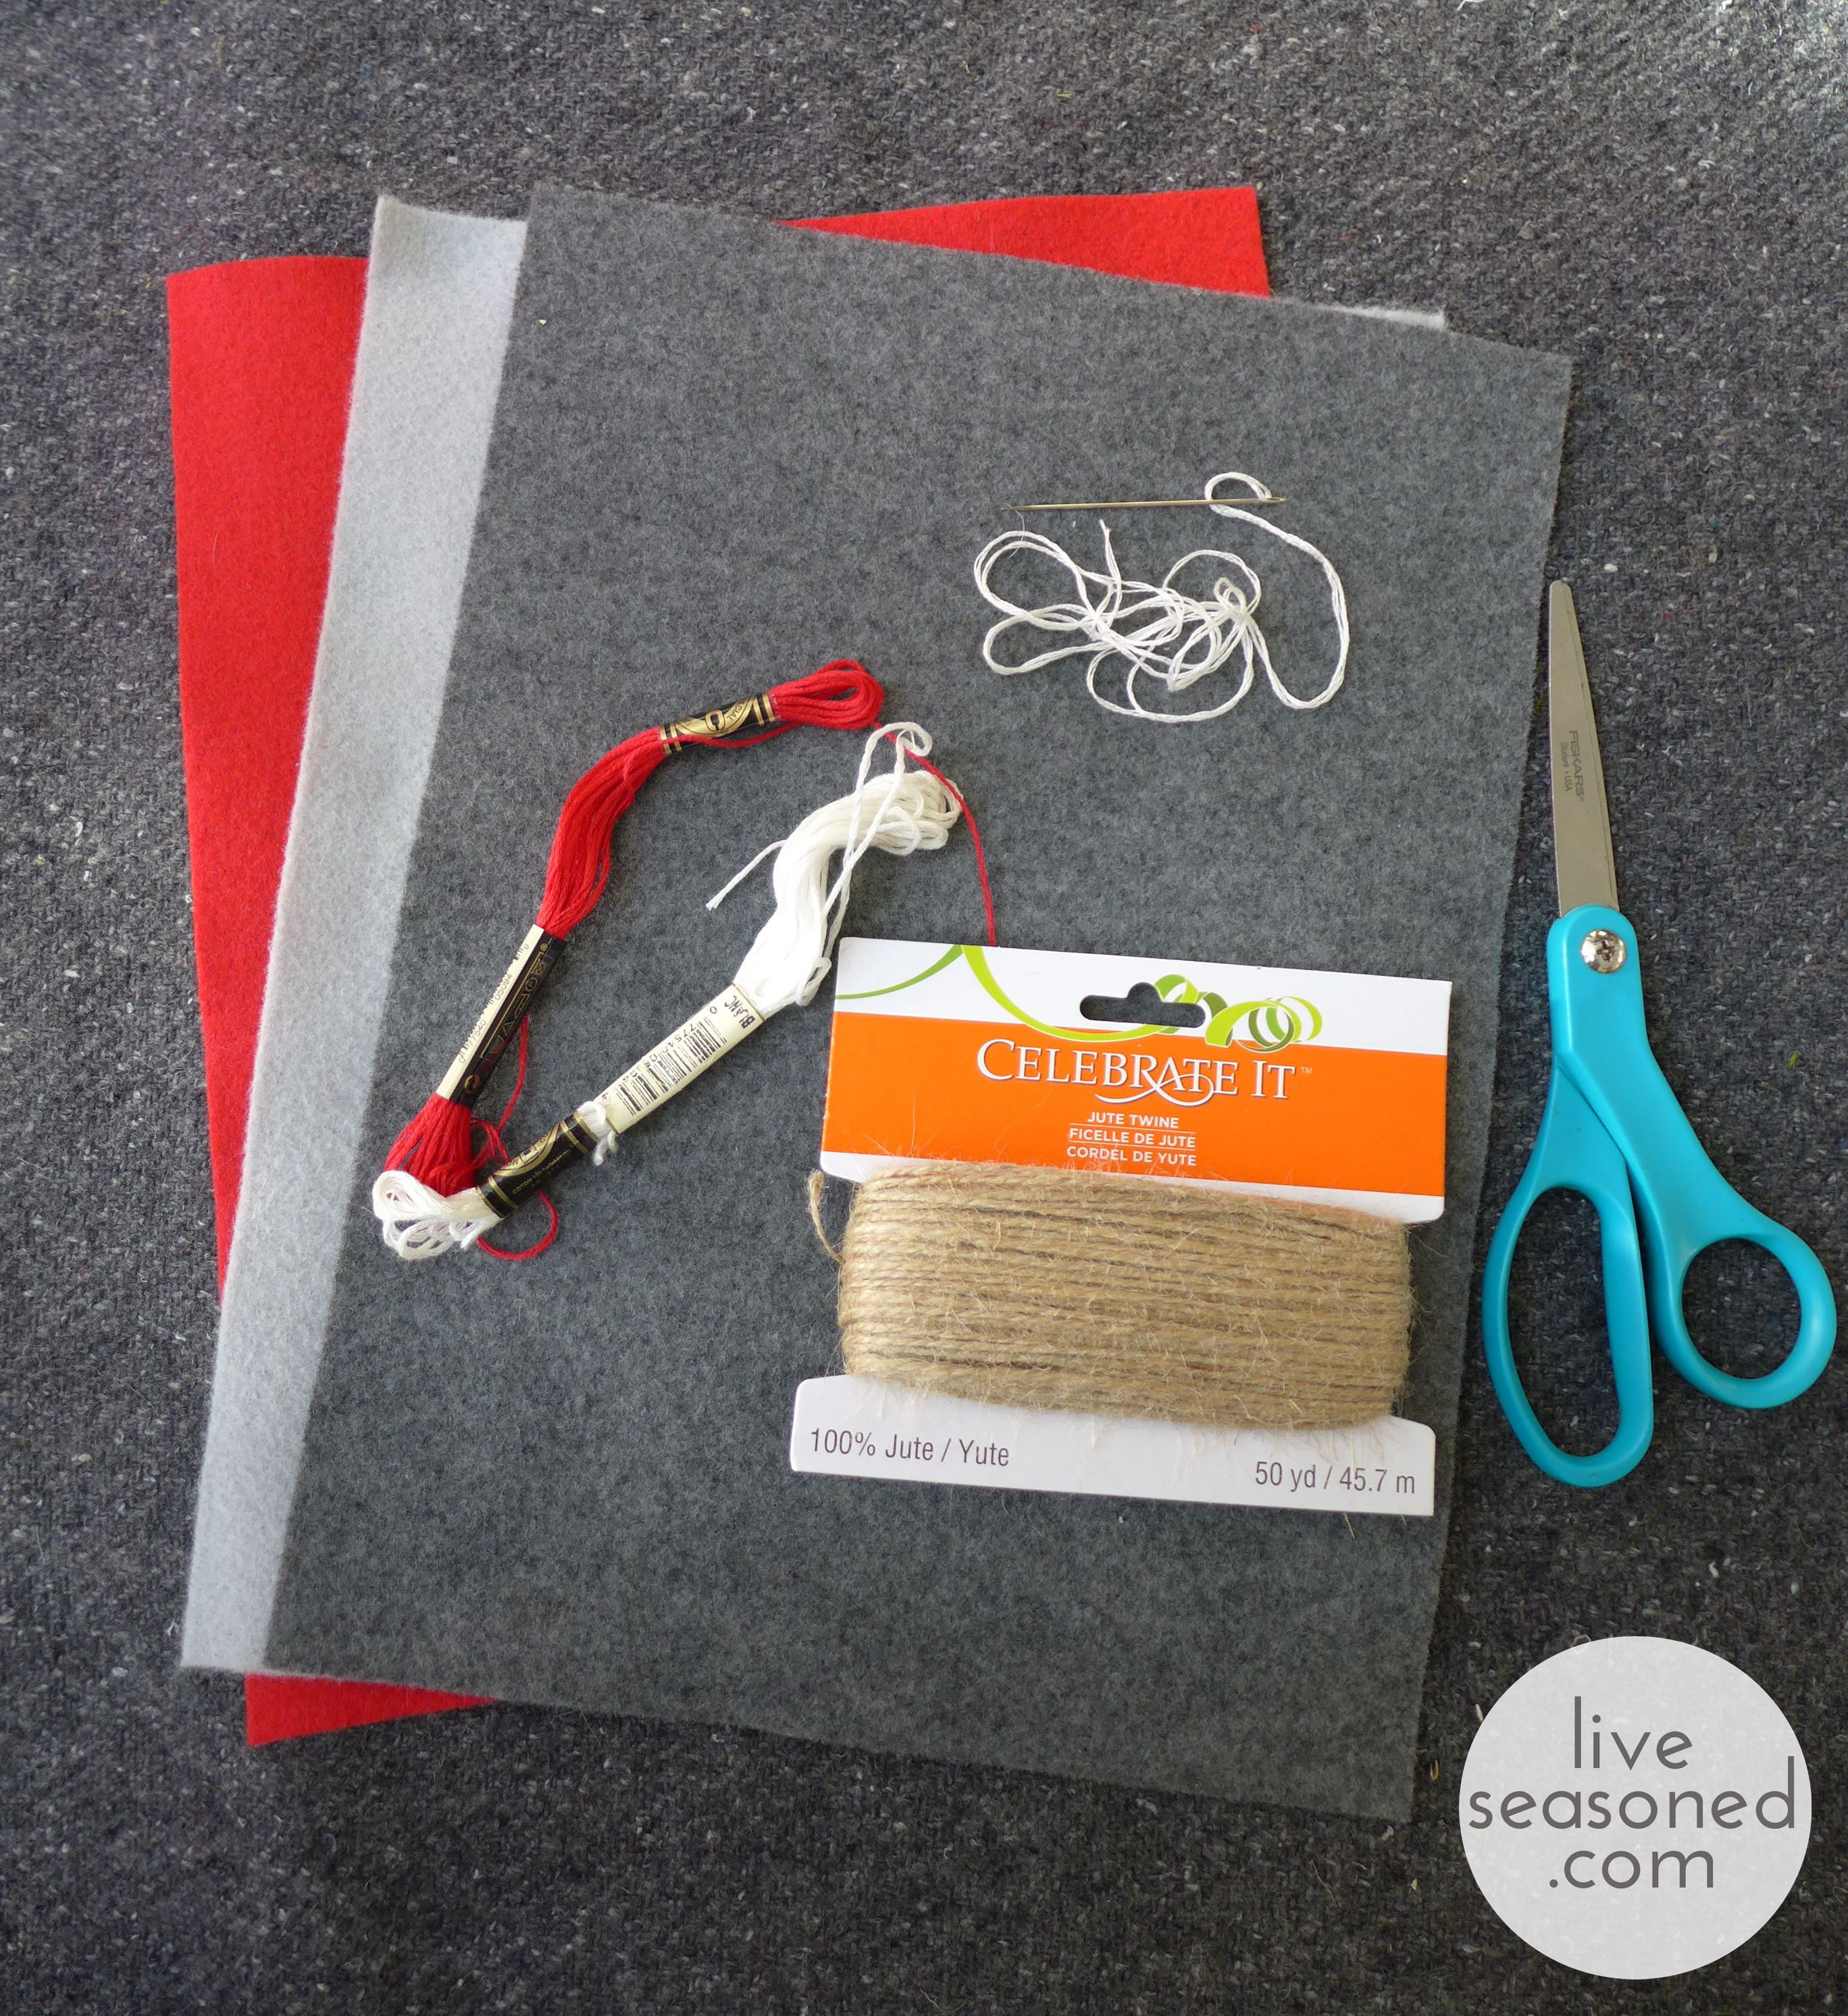
Supplies & Tools

  • Felt
  • embroidery floss
  • thin jute
  • sewing needle
  • scissors
  • shape template

liveseasoned_w2015_feltornament8_wm

Instructions

  • Find or draw your template. For my templates, I did a Google image search for  “heart clipart” and “star clipart”. I was able to find images that included hearts and stars of different sizes, so I printed them out and cut out the size that I liked for each.
  • Trace your template on the felt and cut out two of the same shape. As you can see from my template, I traced around it with a marker. Having those marker images on your felt isn’t a problem, because you can have the marked sides face inwards.
  • Sew your pieces together. Use three stands of embroidery floss for the embroidery. Holding the two felt pieces together (marked sides in), use your favorite stitch to hand sew the pieces together. I used blanket stitch for all of the stars, but was more creative with the hears, using blanket stitch,  back stitch, and a simple combination of long and short running stitches to create the third.
  • Add your loop for hanging. I used skinny jute for the hanging loops. You can find this in craft stores, and it’s usually sold in a smaller quantity than the bigger balls of fat jute (you can see the packaging in my supplies photo). The jute will not pull through your felt as easily as the embroidery floss. I found that it was easiest to thread the jute through the eye of my needle, pierce the felt with my needle, and then move the needle in circles to create a larger hole (but one that is still snug) for the jute to fit through.
liveseasoned_w2015_feltornament12_wm-1024x768 copy

liveseasoned_w2015_feltornament10_wm

While we were so excited to put the tree up, after the lights were hung it looked so pretty that we’ve been really lazy about adding more decorations. But a few nights ago we were looking for one more activity for little A before bath time, so I pulled out these ornaments and a few others for him to add to the tree. The pictures aren’t great, but I think you can tell that he was excited to get in on the tree action (clapping after each ornament was hung), and now it’s become a daily activity to remove and rehang a few.

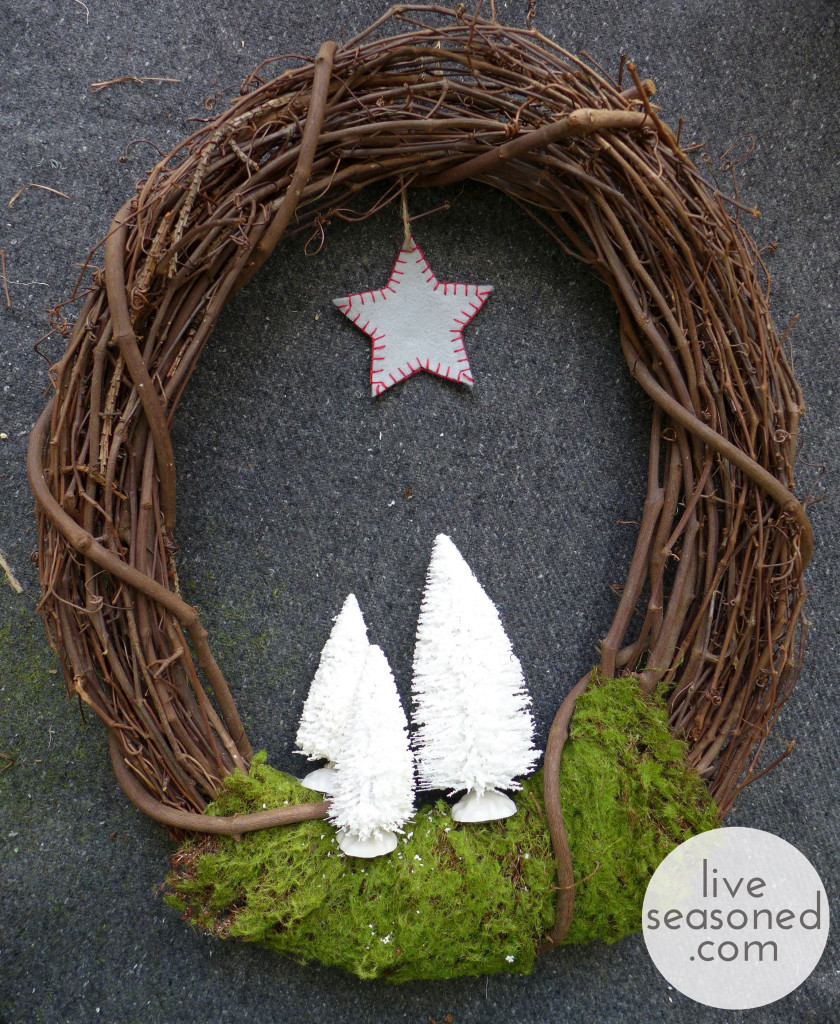
In addition to making their way onto the tree, I used one of the stars in our new wreath. Again, I’m borrowing and modifying this idea from something brilliant I saw online. 
liveseasoned_w2015_feltornament13_wm

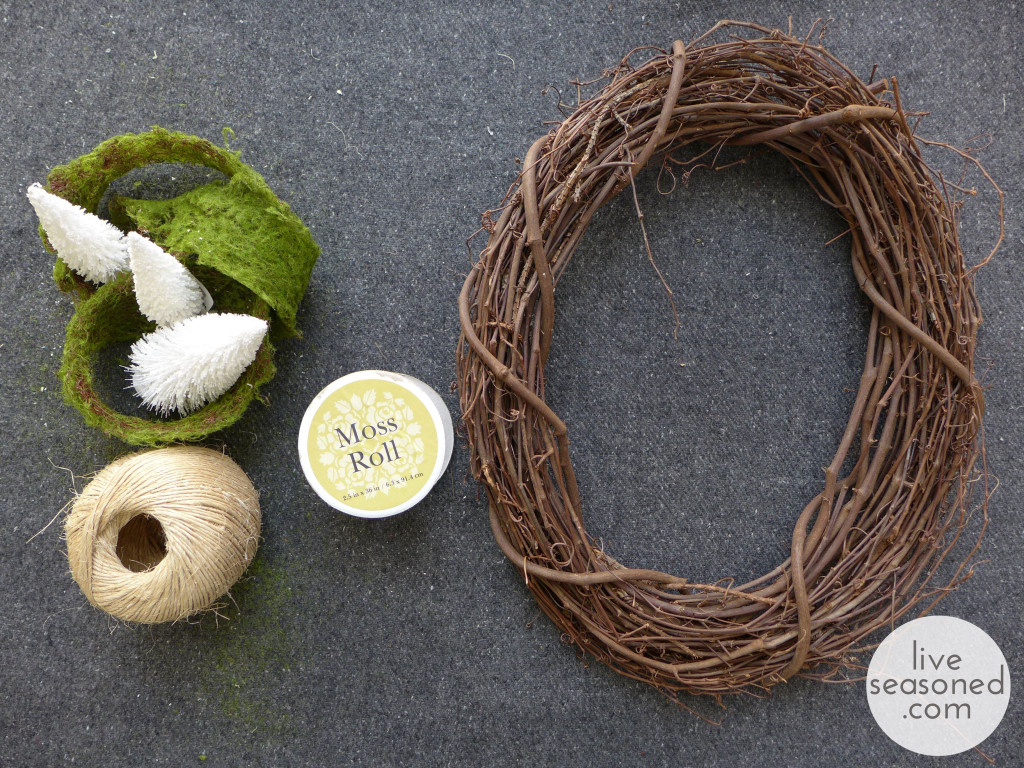
Supplies

  • grapevine wreath
  • white bottle brush trees
  • moss roll (you can see the packaging below)
  • hot glue gun & glue

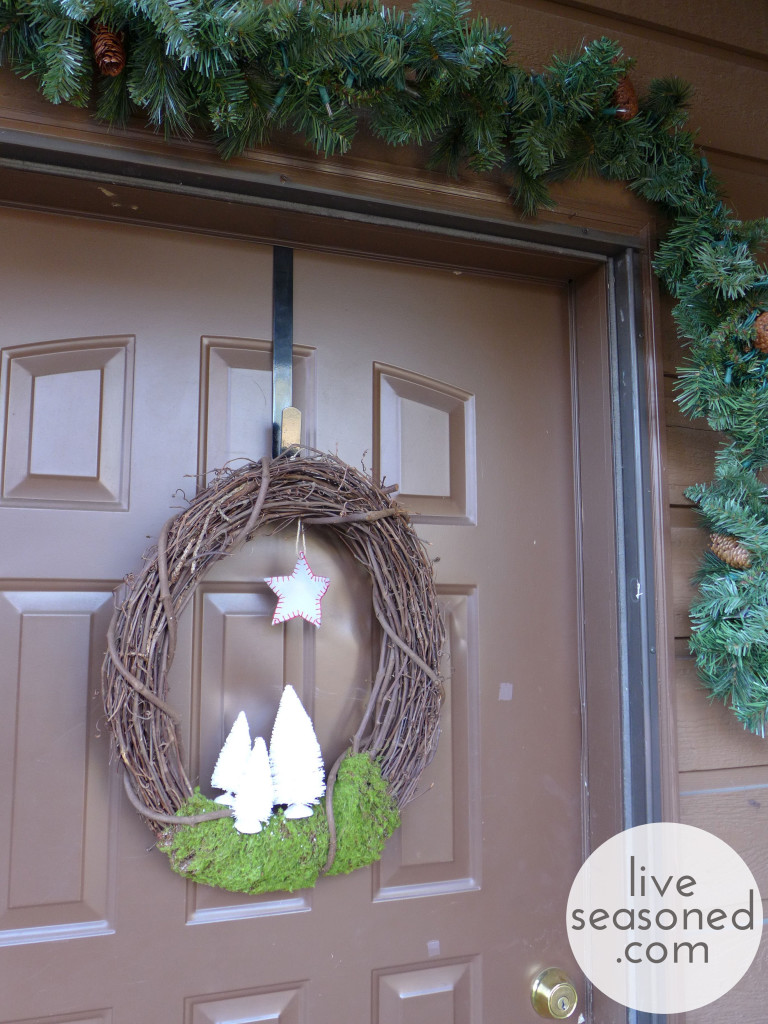
How cute is that wreath? It came together easily with a few supplies from the craft store. The project is relatively self-explanatory : wrap the moss around your wreath, slipping it under a few of the larger vines if possible (this just takes a bit of wiggling). Glue the trees where you would like them. Tie a star ornament from the top of your wreath. Bam!
liveseasoned_w2015_wreath3_wm

Once I hung this and the green garland above the door, I realized that we have a lot of brown and green going on out on the front porch. Maybe this year it would have been nice to go with something brighter? But I’m loving the peaceful look every time we walk in the door.
liveseasoned_w2015_wreath1_wm So, that’s my little felt project for the season. It’s been a long time since I’ve done anything with felt (or even had a little supply of it in my craft room), and I’m excited work with it more in the future. I really enjoyed making these ornaments because they were so easy and mindless to put together, creating a polished result. What does that mean for you? If you want to slow this weekend, but still feel a little bit productive, this is a great meditative project
liveseasoned_w2015_feltornament2_wm

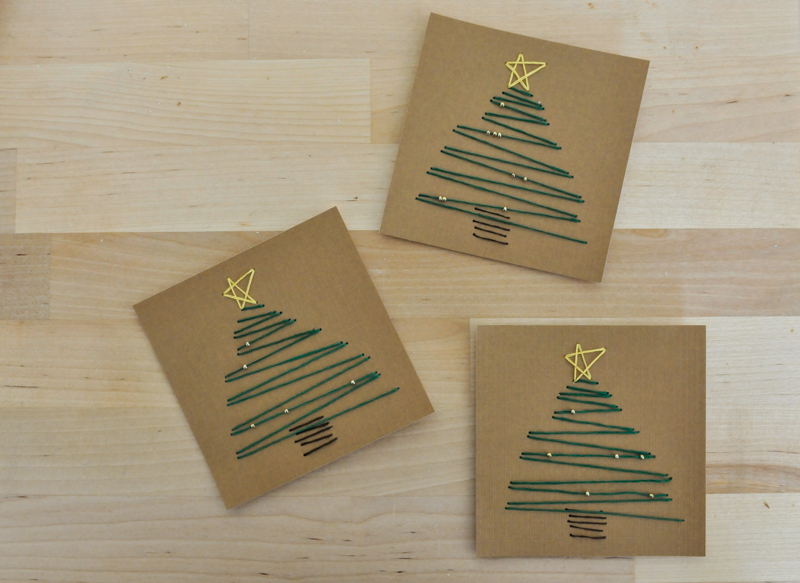
Embroidered Christmas Cards

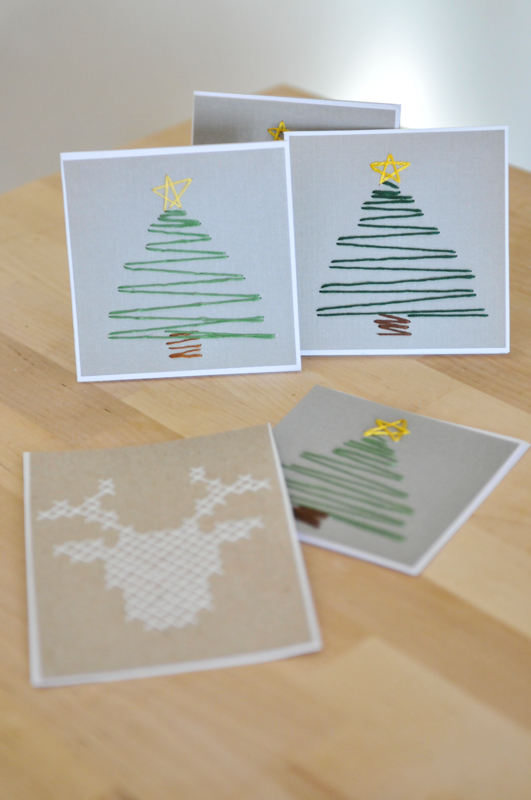
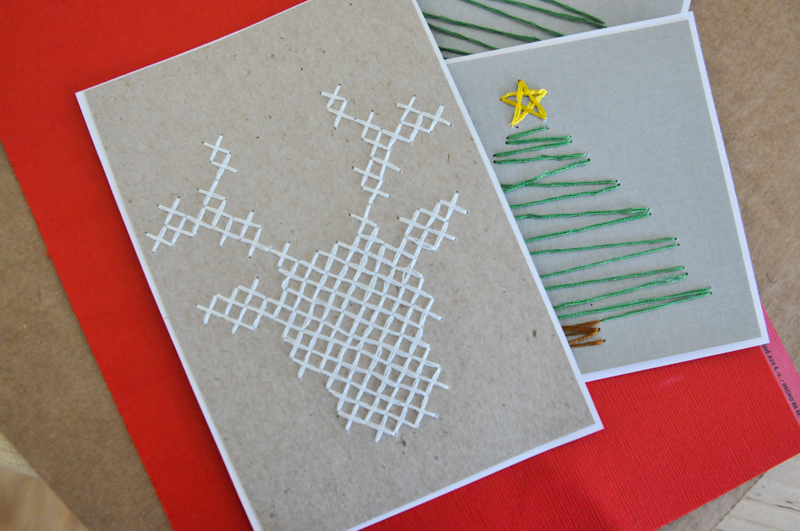
liveseasoned_winter14_stitchedxmascards-3-2I like to call them stitchmas cards.  I wanted to make cards this year, but I don’t have a printer so I had to think of an easy way to add a design.  I drew a few doodles, messed around with some graph paper and I came up with these simple card ideas.  Depending on how detailed you want to get, this is a great kids craft as well.  Add a few cute and easy stitches to your handmade Christmas cards this year.  I dare ya.

liveseasoned_winter14_stitchedxmascards-9liveseasoned_winter14_stitchedxmascards-1

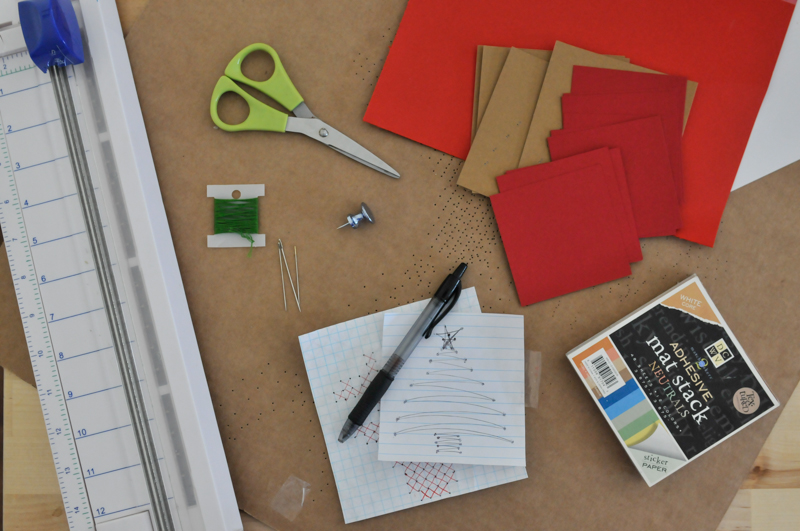
Supplies:

  • Piece of cardboard or foam to work on
  • Card stock (I used scrapbooking paper and these in neutral)
  • Blank cards or folded card stock
  • Paper cutter (optional)
  • Scissors
  • Thread
  • Needle
  • Thumbtack
  • Pen
  • Paper
  • Tape
  • Glue

The How:

  • Doodle a design on a piece of notebook paper.  It’s up to you how complex you want to make your cards.
  • Tape the design onto the card stock and the piece of cardboard you are working on. Use the thumbtack to poke holes at every angle in your design.  If you’re using graph paper, poke holes in each corner of the squares.
  • Carefully remove the tape and doodle.  At this point, I poked secondary holes onto my tree design adjacent to the original holes. I did this so I would not have to backstitch the entire design; instead it is similar to a running stitch.  The design and hole placement is really up to you.  There’s no strict rules for stitching cards, just a general practice.
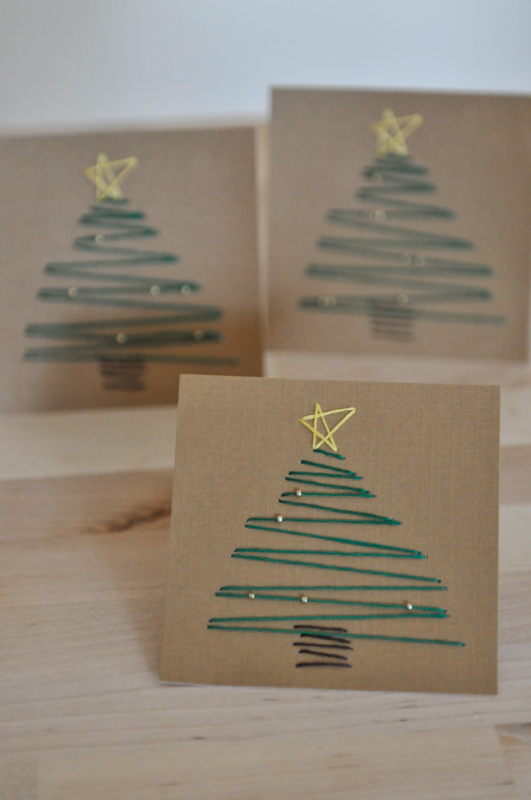
  • Once you are finished stitching with a particular color, use a small piece of tape to secure the thread.  If you’re using paper with an adhesive backing leave the thread loose until the entire design is stitched.  Carefully remove the backing, pull the threads tight and stick them down.  Adhere the sticky sheet to the front of your card and place it under a stack of books.  If using regular card stock, use rubber cement to glue the design to the front of your card and place under a stack of books.

liveseasoned_winter14_stitchedxmascards-1-2

Have you already mailed out your holiday cheer this year? I like to wait until the last moment so that my friends and family open their card closer to Christmas and New Years. That or I procrastinate until the week before where you’ll find me hustling to make them all in time 😉liveseasoned_winter14_stitchedxmascards-8

Arrow Embroidery Tutorial & DIY

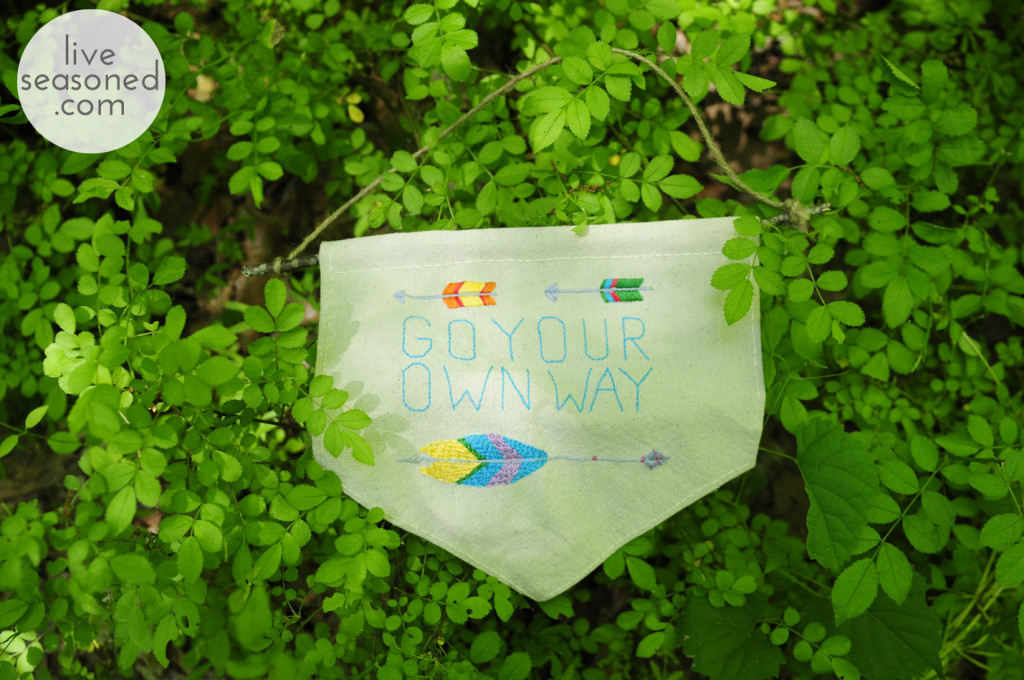
Don’t shoot! I know this post is a little later than normal, but that’s because I was working on an original arrow embroidery DIY for you cats.  I think we can all agree that arrows are both adorable and hip.  They deserve to be embroidered on cabin pillows, baby onesies, inspirational banners and just about everywhere else.  Whenever I see arrows, I think summer camp, forest adventures and cabin get-aways.  Who doesn’t want to think of those things? That’s why I created this arrow embroidery tutorial.

liveseasoned_spring2014_arrowstitch6

I’m not fibbing when I say arrows are easy to embroider.  Each arrow is made up of a couple different stitches all of which are outlined below.  The colors, style and feel of each arrow is up to you!  I encourage you to sketch out a few arrows to define the style you’re going for and then start stitching.  If you really want a summer camp vibe, take your arrow embroidery supplies to the woods!

Continue reading