At the beginning of the year, I encouraged our readers to “make with me“. In that post I shared a few of the many benefits that you may get from picking up a hobby, and I gave you a few simple suggestions for how to turn your hobby into a regular habit (that’s good for you!).
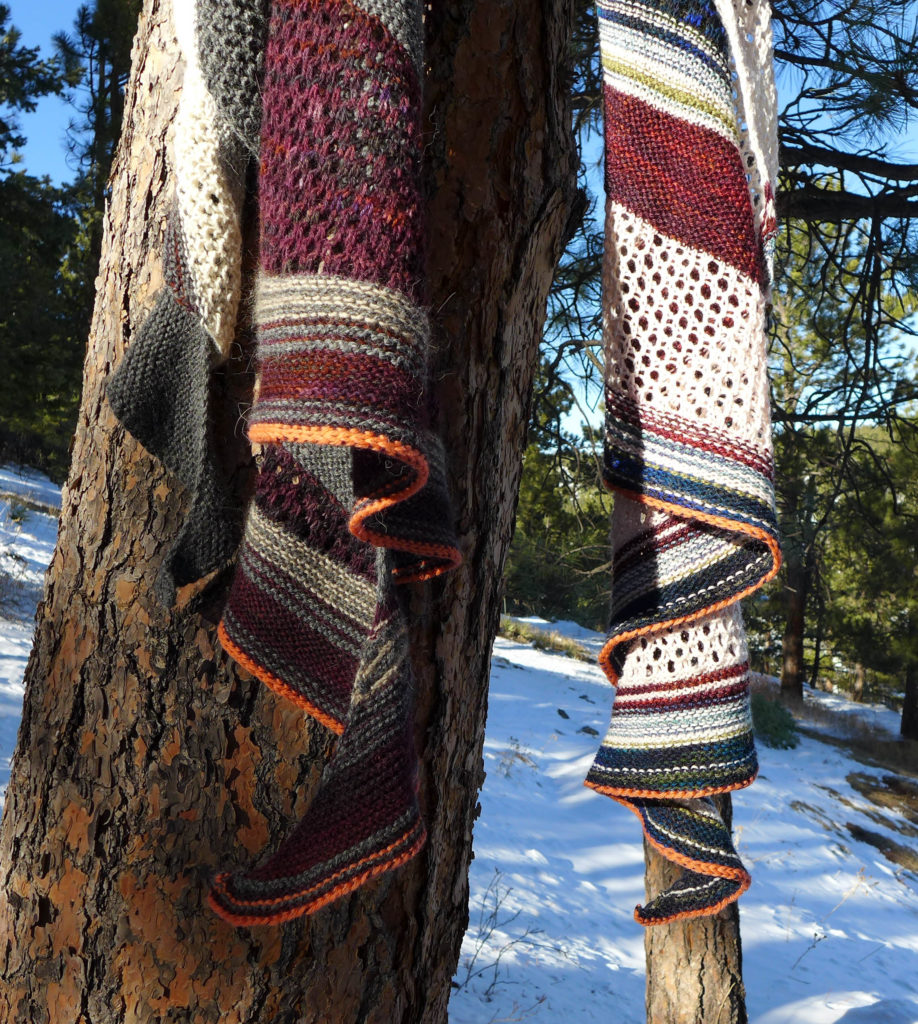
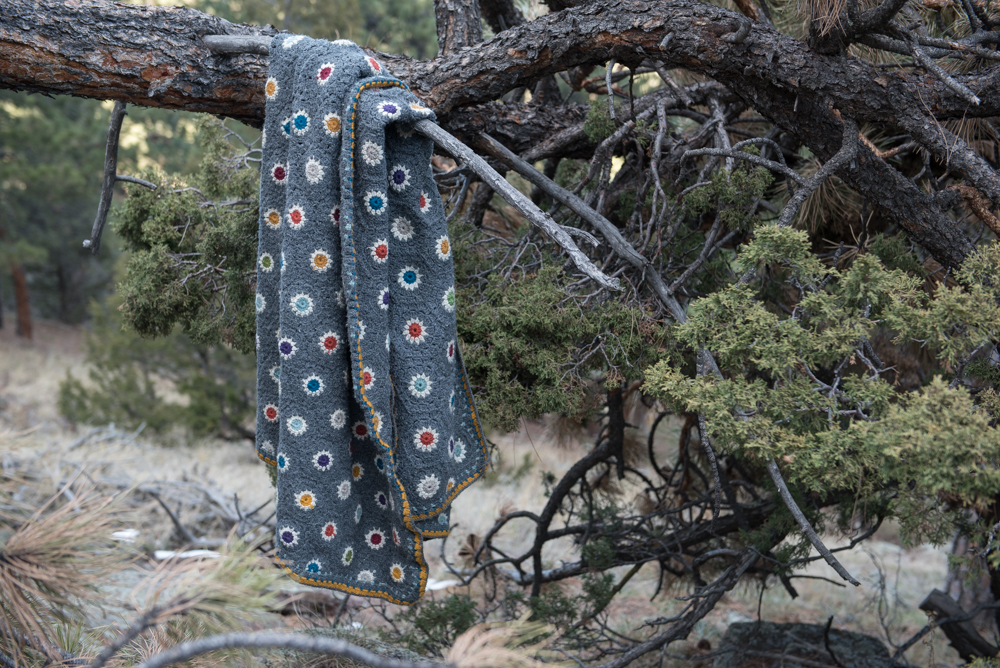
If you follow our Instagram feed or have been a long-time reader, it’s no surprise that my primary hobby is knitting. I always have a project (or ten) in the works. While I don’t need the encouragement to knit more, I’m taking this resolution as a nudge to share more of my projects, in their many phases, on the blog. And if you’d like to find me on Ravelry, my username is winterfoliage.
If you like this project, you may want to check out our large-scale cross-stitched pillow.
~
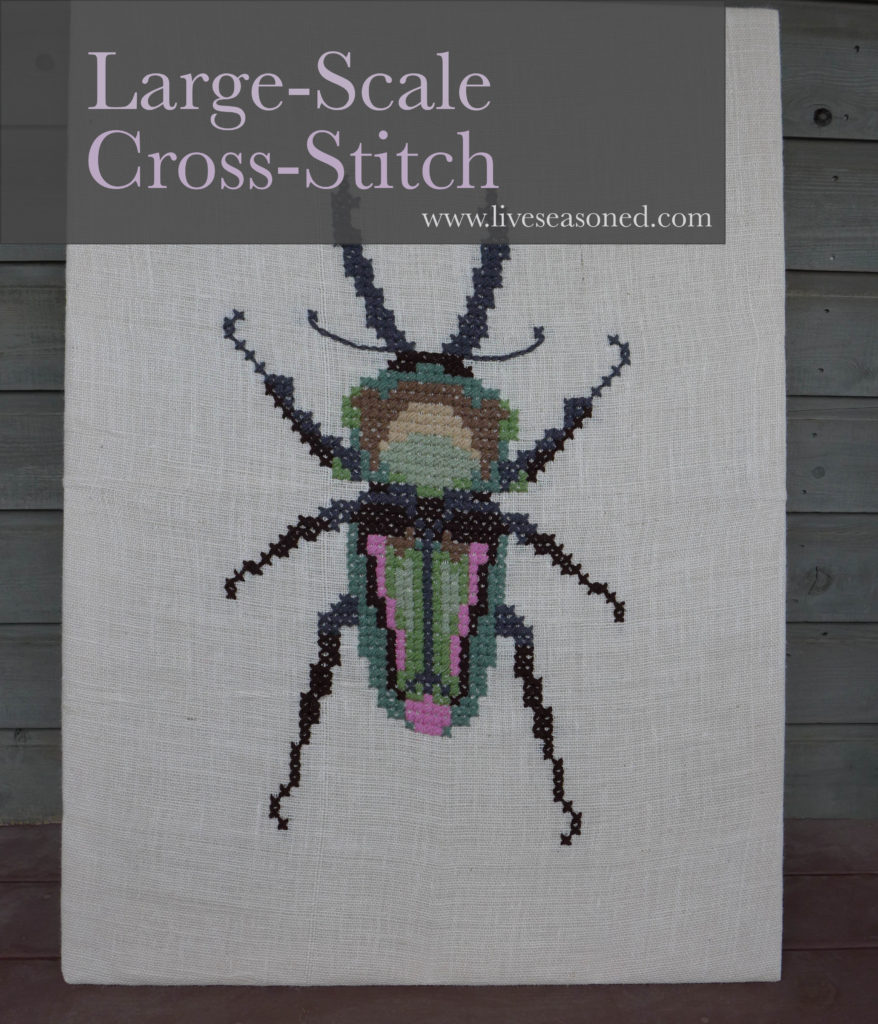
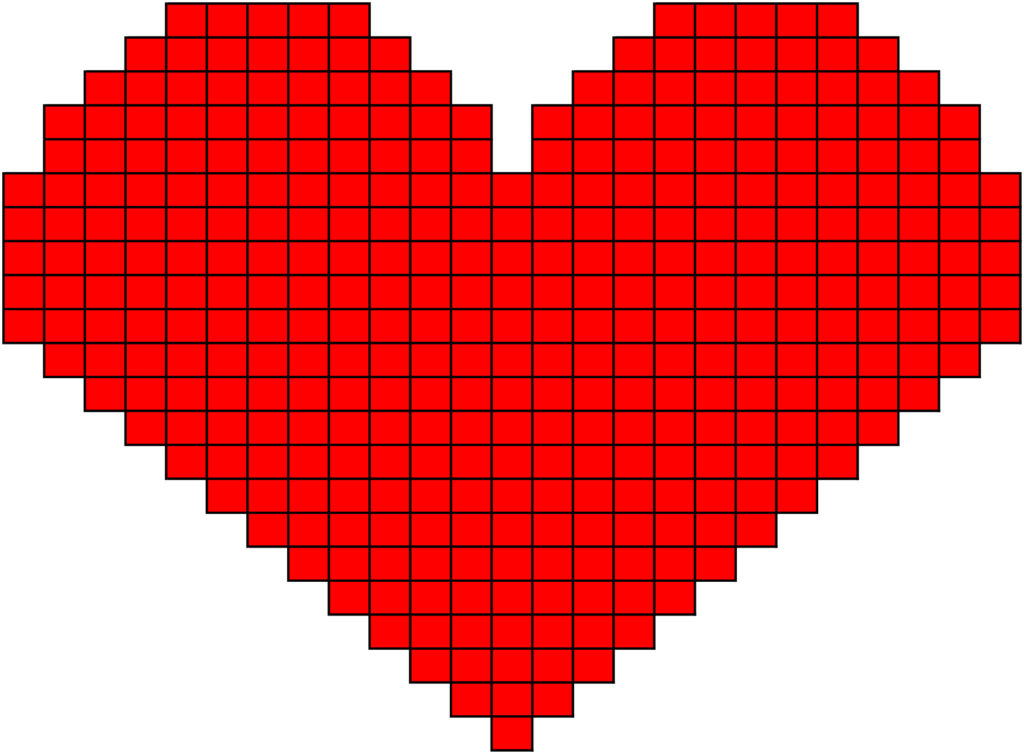
Have you ever tried cross-stitch? It’s a relatively simple embroidery technique where you make a picture by sewing a series of x-shaped stitches using colored thread. Today I’m improvising on that basic technique by making everything BIGGER (and bug-ier). Continue reading
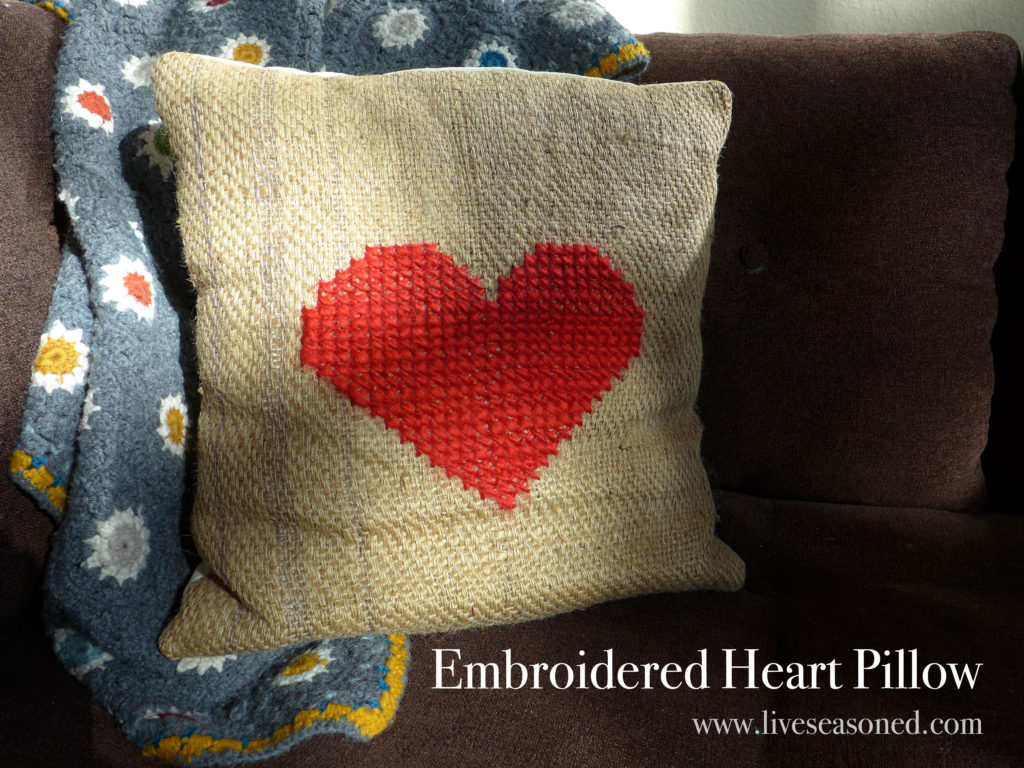
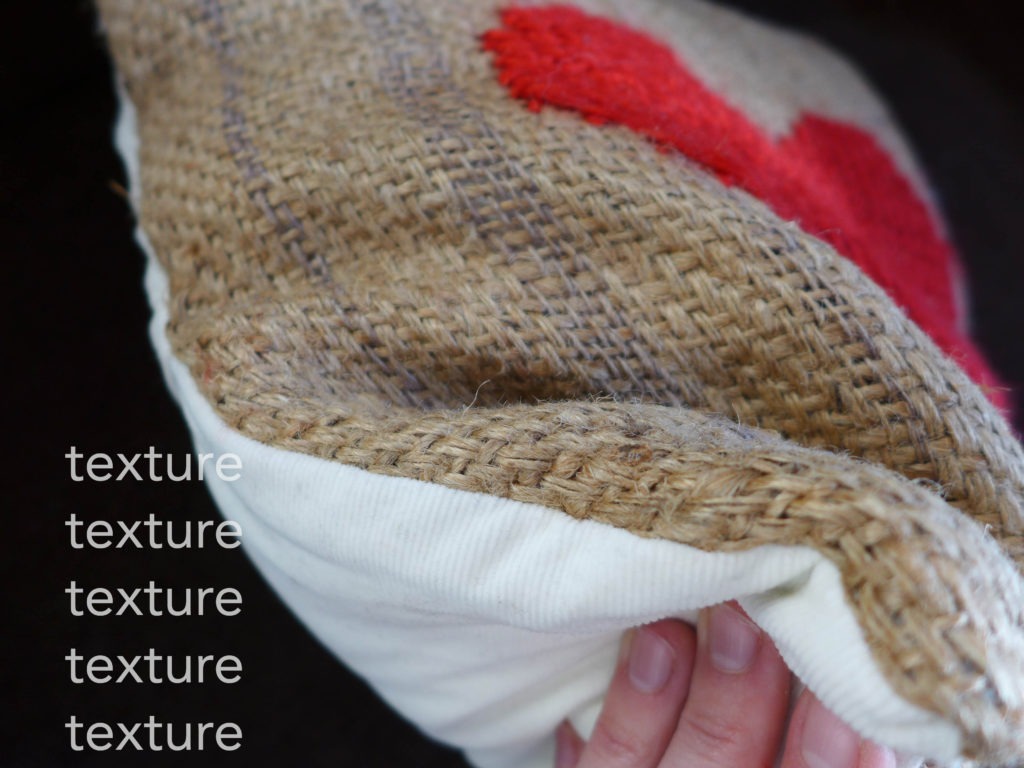
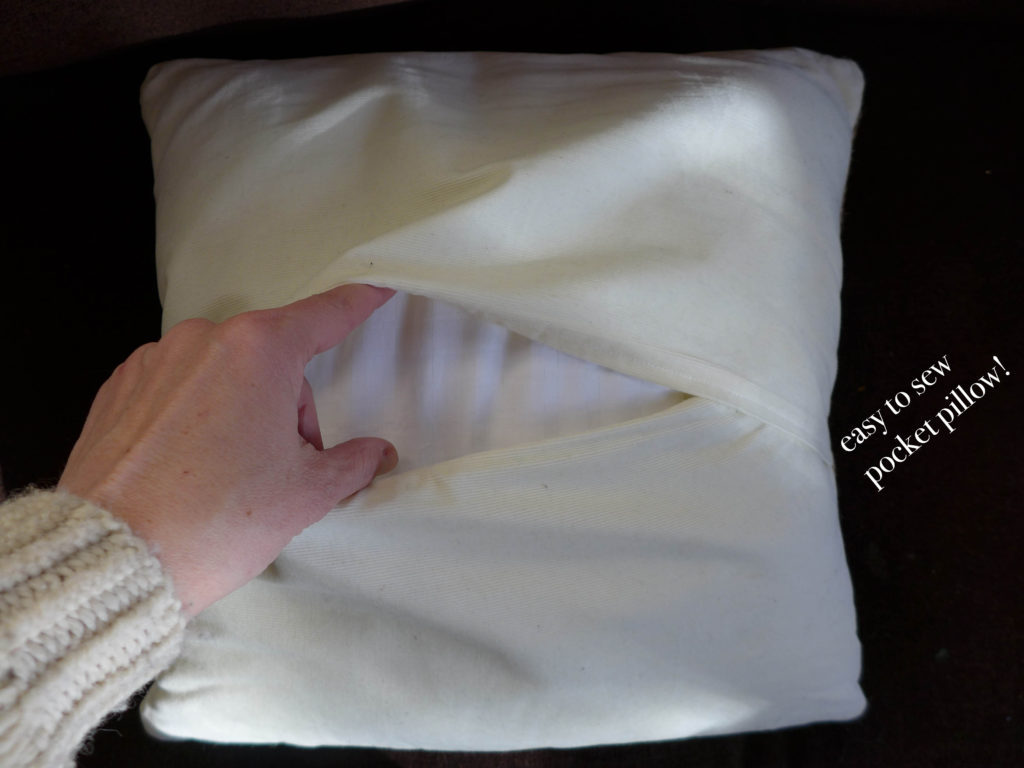
 If you don’t want to go through the effort of making a pillow. I think it would also be super cute to cross stitch a little red heart onto a piece of


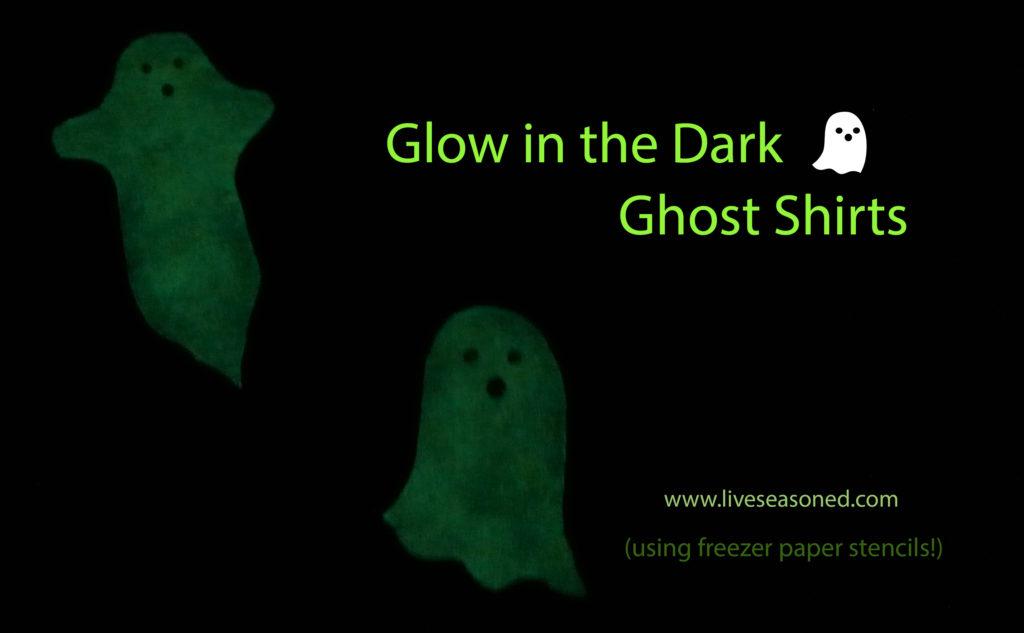 Last year we made