Cinnamon Ornament Surprise!

Cinnamon is our ingredient of the season! You can find our full archive of cinnamon posts here. This particular post was originally published on December 21 2014 (7 years ago!), we’re republishing it today, because I’m making up a fresh batch of ornaments tonight with my little elves.

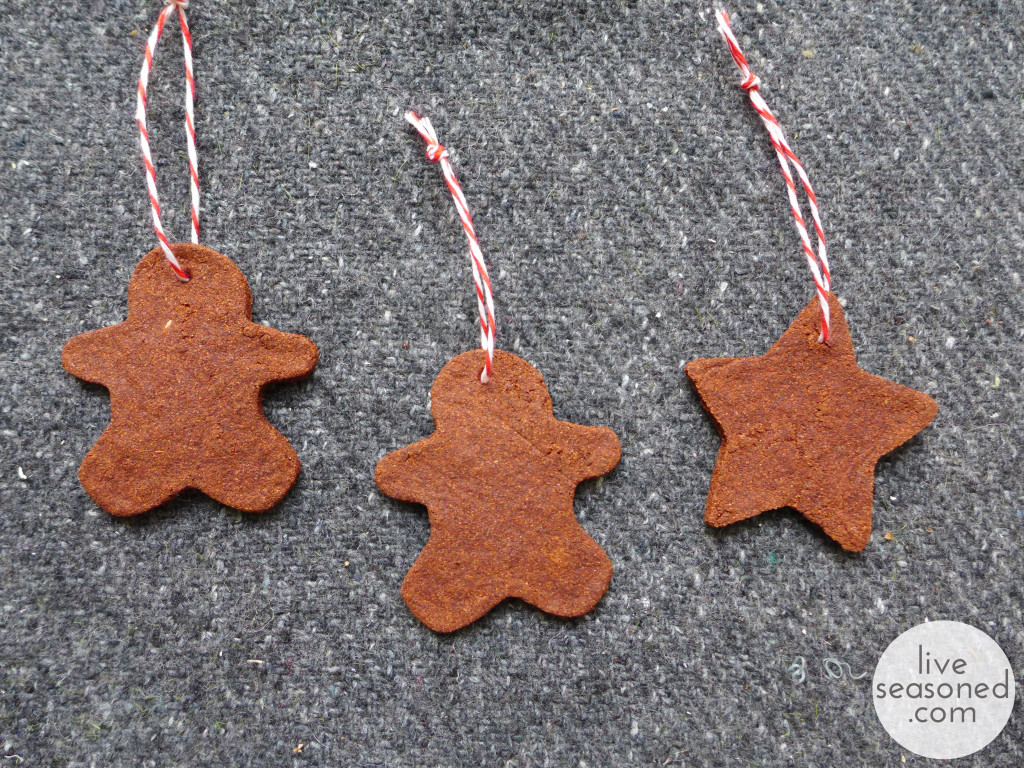
Hey! We’re popping in this weekend to share another super simple Christmas craft (this is for the folks that have finished their shopping – if you’re rushing around the mall today, don’t even bother to read this post). You’ve probably seen some version of cinnamon ornaments popping up on your Pinterest page? Or even made them as a kid? They are super easy, relatively fast, and a fairly kid-friendly project.

liveseasoned_w2015_cinnamonornament5_wm

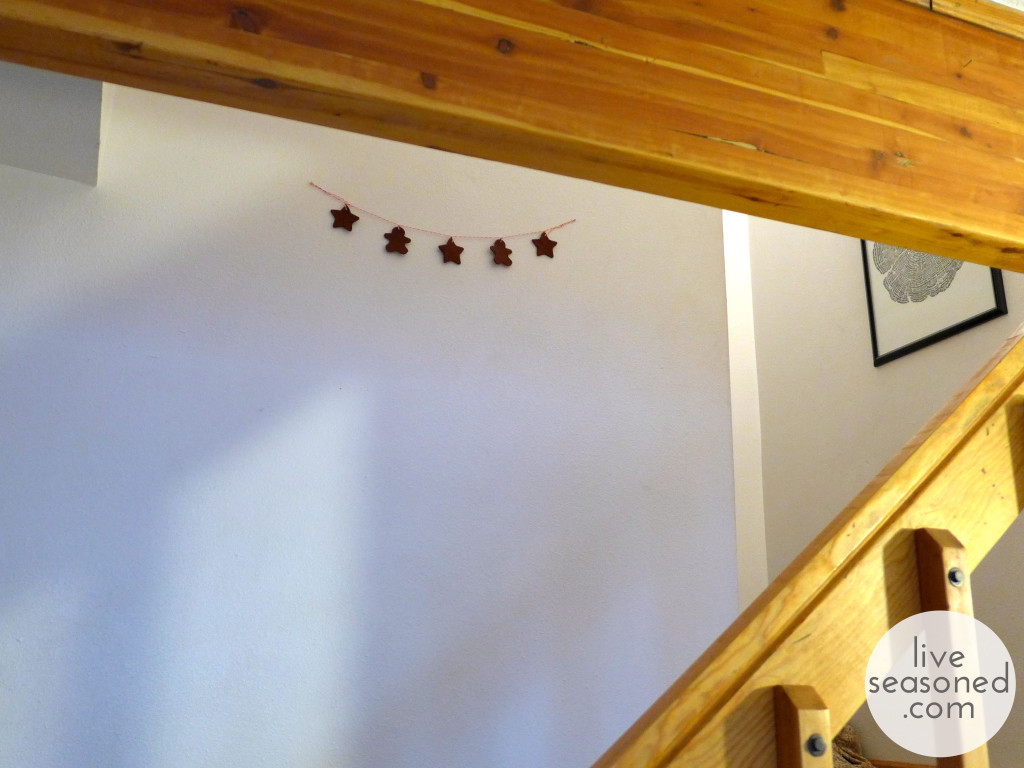
So, why are we sharing yet another cinnamon ornament post? Because as I was prepping mine for the tree, I realized that they would also make a really cute garland! The key here is to make a batch with shapes that are close in size, then your garland will hang nicely and you won’t have really heavy and big ones weighing it down in different areas.

liveseasoned_w2015_cinnamonornament_wm

Ingredients

You can use your favorite recipe, but I like the ones that have a little bit of kids’ glue in them.

  • 1 cup ground cinnamon
  • 1/4-1/3 cup applesauce
  • 2 Tbsp white glue

liveseasoned_w2015_cinnamonornament6_wm

 Instructions

  • Mix all ingredients together, adding more or less applesauce depending upon how dry your mixture is. You want it to form a nice ball that sticks together, but still feels slightly dry.
  • Cover the mixture and let it sit for one hour.
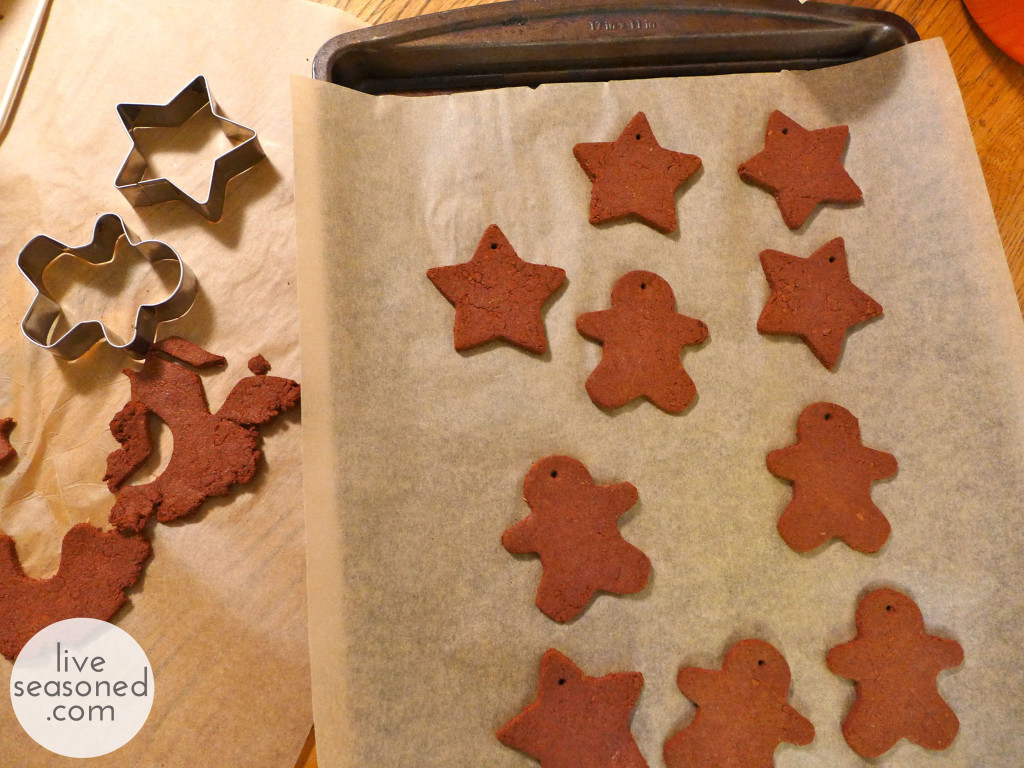
  • Break your ball into three or four sections for rolling. Roll out one section at a time between two pieces of plastic wrap or parchment paper. If the dough seems too dry when rolling, you can always spray it with a bit of water.
  • Cut out your shapes and add a hole for hanging. I used a wooden skewer to make my holes, and I think they were *just* barely big enough. Since there will be some shrinkage as the ornaments dry, you want to err on the side of a larger rather than smaller hole.
  • Place your ornaments in a 200F oven for two hours to dry, turning them halfway through. If your dough was on the drier side or you live in a dry climate, you may want to check on your ornaments after an hour and a half.
  • Once cool, using baker’s twine or another string for hanging.
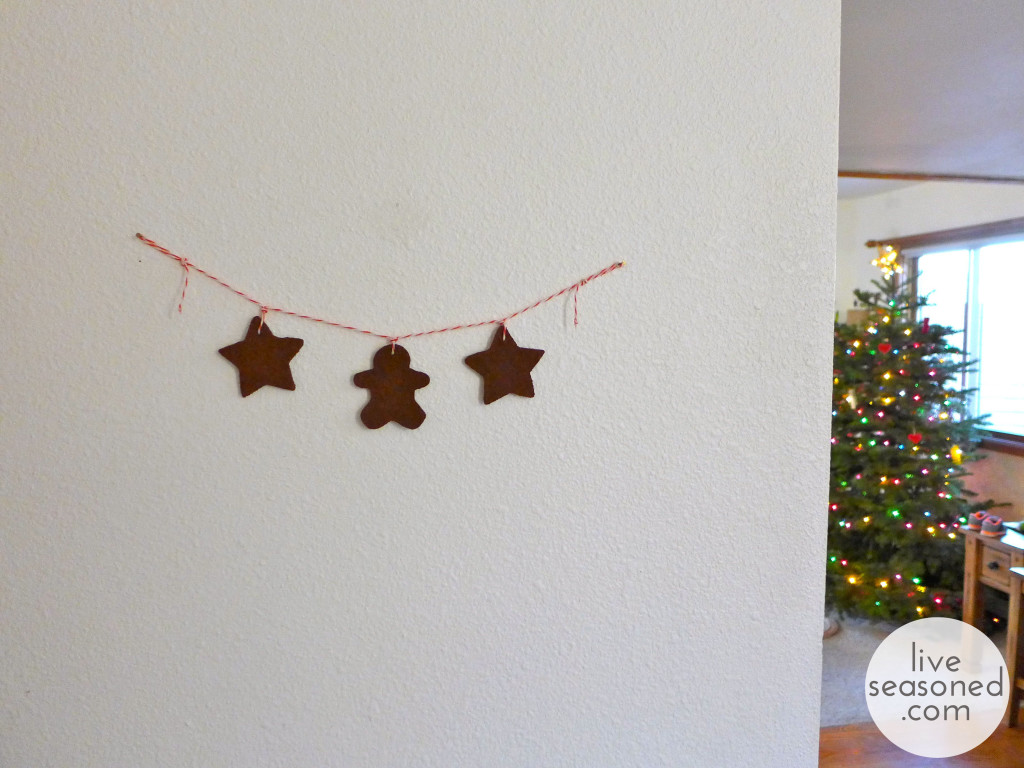
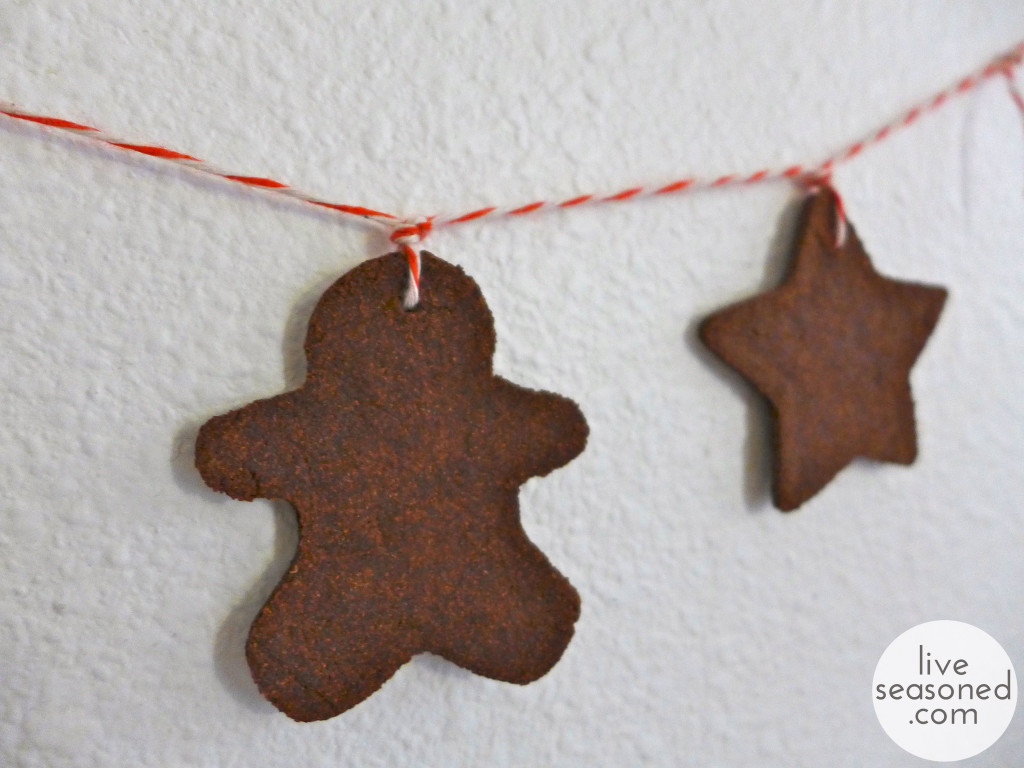
  • To make the garland, I brought the twine up either side of the ornament and tied a knot at the top, this allowed the ornaments to hang parallel to the string rather than perpendicular.

liveseasoned_w2015_cinnamonornament4_wm

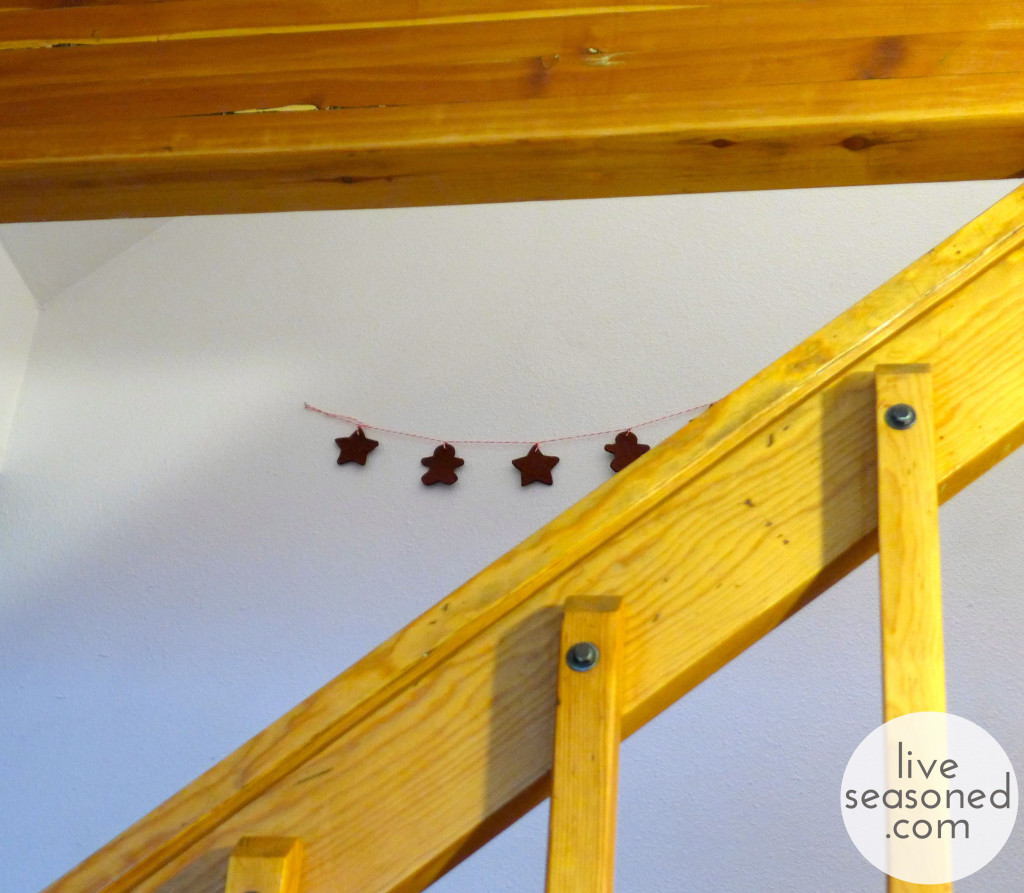
I ended up making two pieces of garland. The little three-piece one hangs just inside our door on a wall that was just an empty space, so you see it and the tree as you enter the house, creating a nice little Christmas scene when you enter! The longer one hangs on the empty wall going up our staircase, but because the staircase is open, we still get to see it from the living room, which I love.

liveseasoned_w2015_cinnamonornament3_wm

liveseasoned_w2015_cinnamonornament2_wm

There you have it, a super simple twist on an old Christmas craft, and one that you can use to decorate a small space that could use a touch of cheer! xo

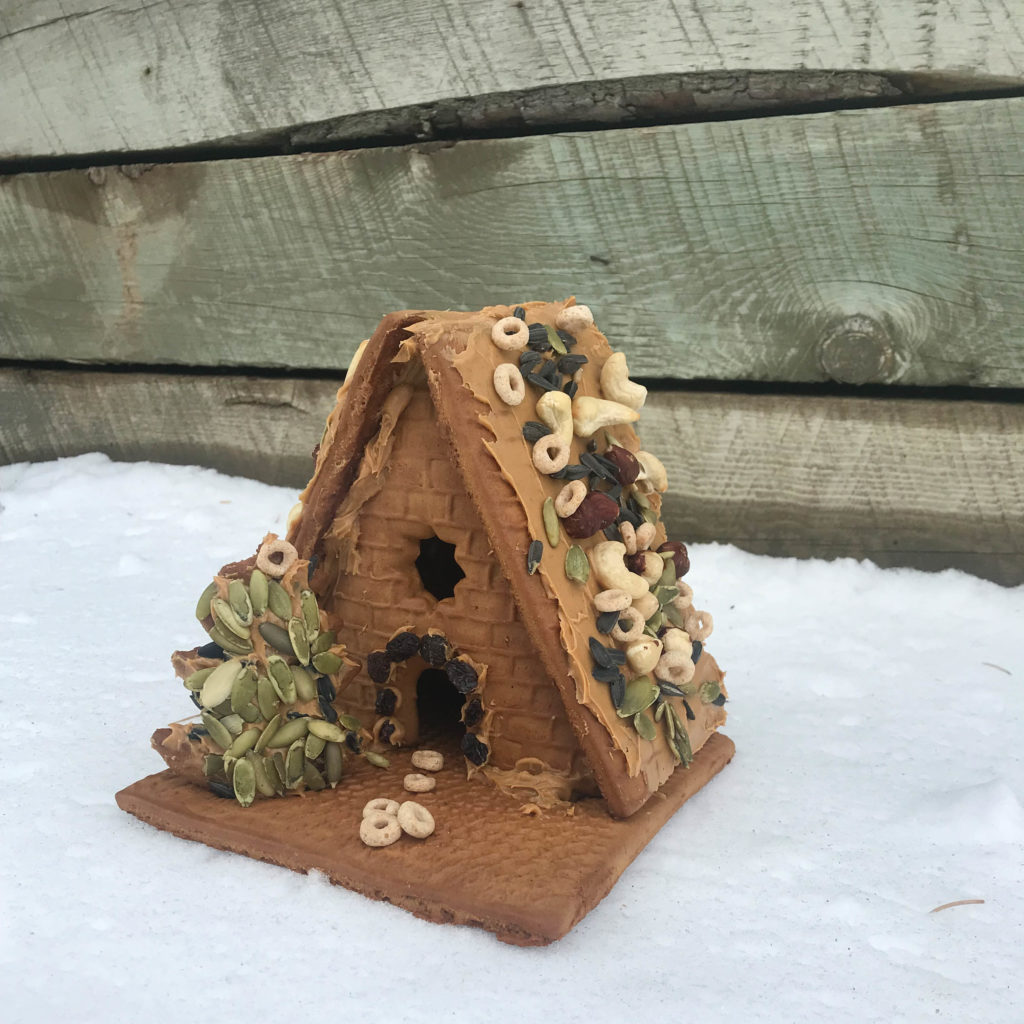
Gingerbread Bird House

birdseed_hous

We first published this post last year, but we’re sharing it again now because we love it that much… and because I bet we all have a long evening or two that we’re looking to fill with some holiday fun minus the extra calories.

I love a fully decked out gingerbread house with their Candyland-like sweets. But, last year I had the urge to create a more natural looking gingerbread house, and that’s when we came up with this nutty treat for the birds.  Continue reading

Disappearing Ink

If you like this post, you should check out our cooking with kids series, our favorite nature books for kids, and our favorite kids’ camping gear.

live seasoned seasoned view snow day boulder colorado-1

Fun back story: the idea for today’s post was hatched during a trip to our favorite thrift store, which is slowly becoming “the infamous trip to the thrift store” because so many awesome items were purchased.

We stopped in on a whim to pick up some thermoses, but left with so much more, including a pair of spy glasses for Alex. One thing led to another, and he wanted to write notes in invisible ink. Snow was predicted for a couple days later, so I made sure that we had the supplies on hand, and this little activity made for a fun morning indoors!

You might be surprised to learn that you probably have everything you need to start writing secret spy notes tonight… Continue reading

Rolled Beeswax Candles

Honey is our ingredient of the season(s). You can find our archive of honey posts here. Today’s post is all about beeswax. If you have a supply of wax, you can also use it in potions, see our lip balms, sunscreen, wood balm, and lotion bar recipes.

candles2_title

Hello Friends! We’re just back from our bi-annual month-long vacation. Just like you, we never see these breaks coming, but we’re always so happy to be back!

So, let’s just jump back into. We’ll catch you up on our adventures in another post.

Continue reading

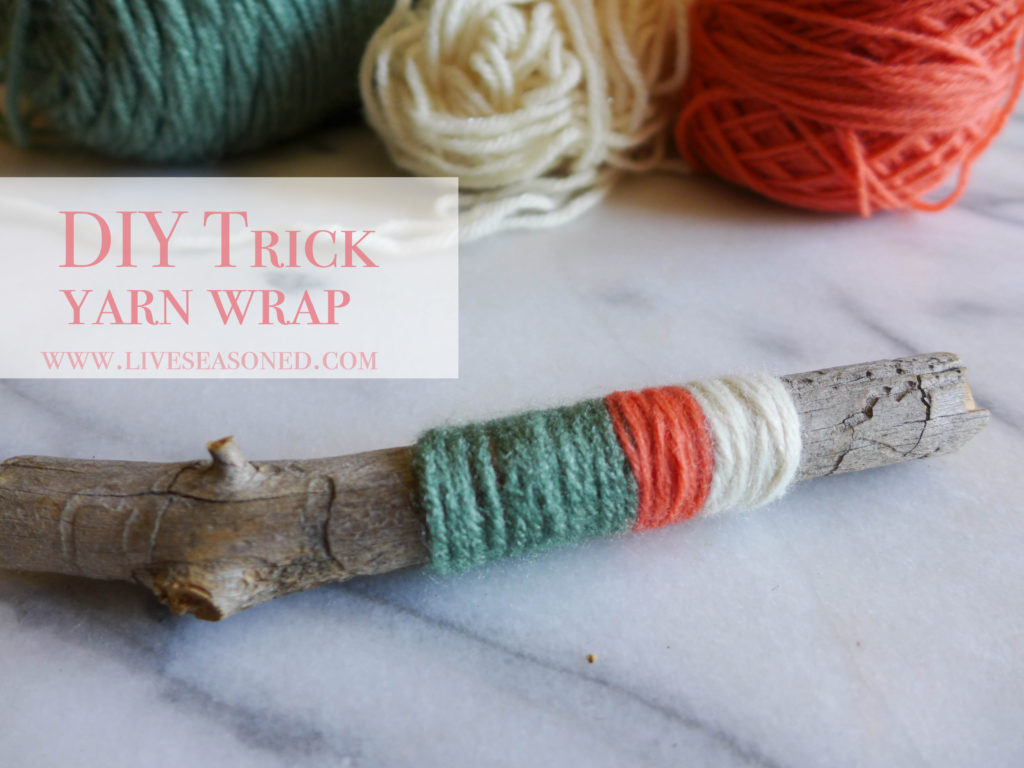
DIY Trick : Yarn Wrap

It’s been a while since we’ve done any sort of DIY craft post! We’re definitely making like crazy, so that’s no excuse. If anything, it means that we have a backlog of Make with Me posts to work on.

yarn_wrap1_title

Well, the DIY drought ends today. I recently learned a great way to wind yarn around an object and tie it off without any tricky knots or loose ends. This is so simple, and for some of you, this may already be a tool in your DIY toolbox, but I’m hoping that there are a few of you that will appreciate this new trick as much as I do.

Click on for our step-by-step guide and a short list of places where this technique may be useful.

Continue reading

Last Minute Gift for Pre-schoolers

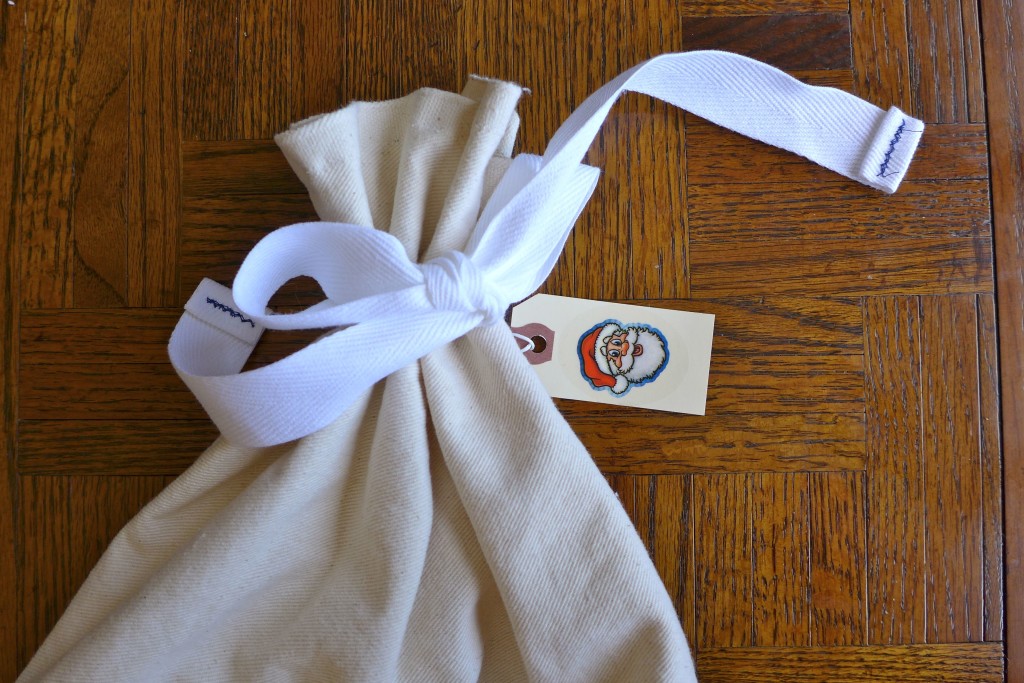
liveseasoned_winter2016_sewingbag3
liveseasoned_winter2016_sewingbag5
It’s Christmas week!!! We’ve been having so much fun with Alex this year since he really understands that Christmas is something special, but he’s still asking a lot of questions and trying to make sense of what’s going on around him. “When can we open the presents?” “We get to put the tree in our house?!” “It’s Christmas season, but not Christmas day, right?”

Continue reading

Embroidered Christmas Cards

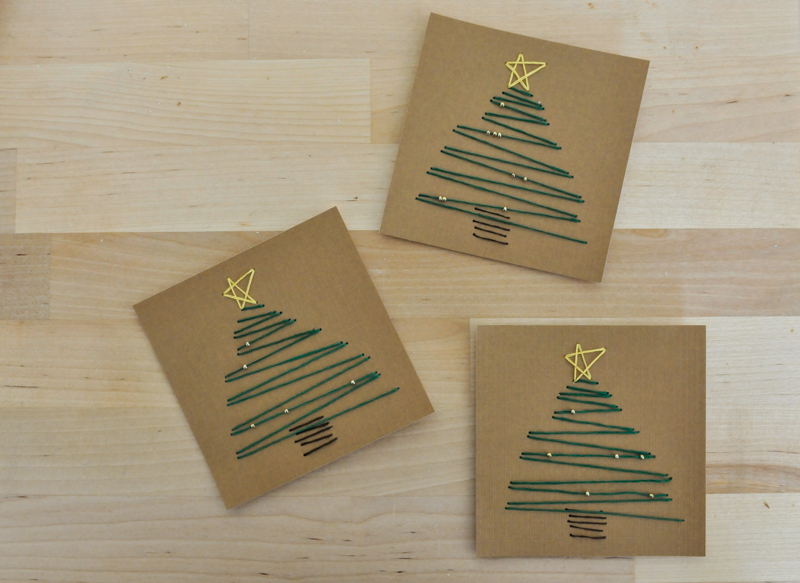
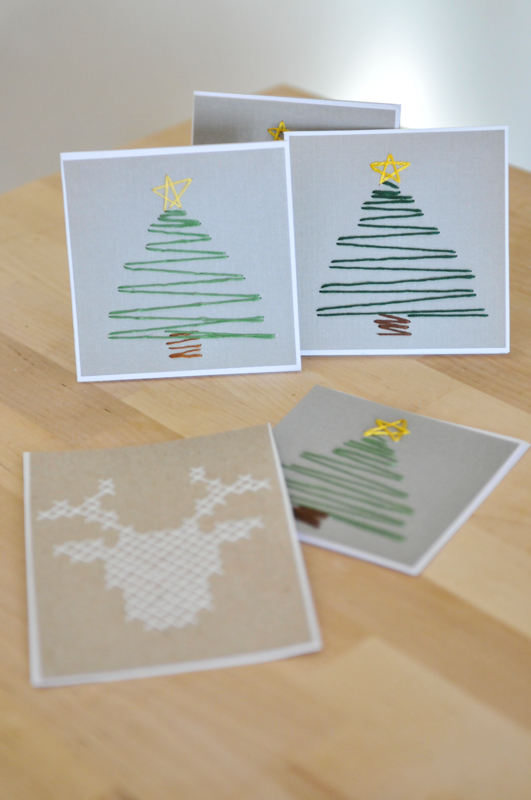
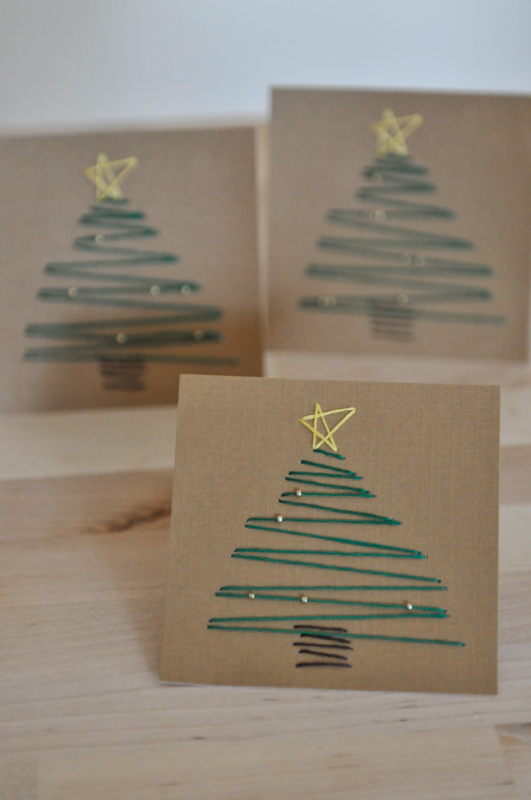
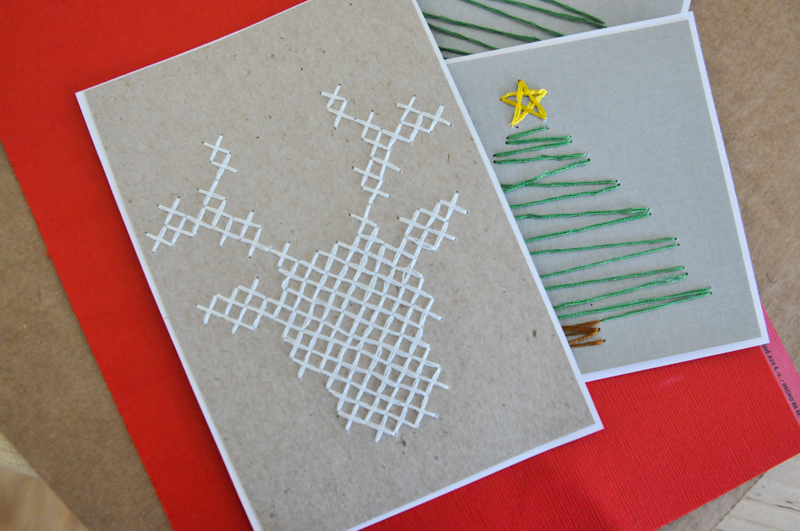
liveseasoned_winter14_stitchedxmascards-3-2I like to call them stitchmas cards.  I wanted to make cards this year, but I don’t have a printer so I had to think of an easy way to add a design.  I drew a few doodles, messed around with some graph paper and I came up with these simple card ideas.  Depending on how detailed you want to get, this is a great kids craft as well.  Add a few cute and easy stitches to your handmade Christmas cards this year.  I dare ya.

liveseasoned_winter14_stitchedxmascards-9liveseasoned_winter14_stitchedxmascards-1

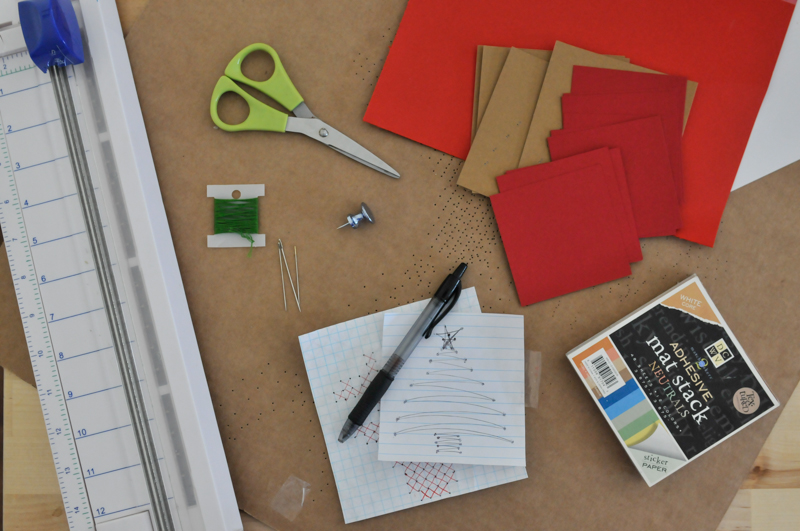
Supplies:

  • Piece of cardboard or foam to work on
  • Card stock (I used scrapbooking paper and these in neutral)
  • Blank cards or folded card stock
  • Paper cutter (optional)
  • Scissors
  • Thread
  • Needle
  • Thumbtack
  • Pen
  • Paper
  • Tape
  • Glue

The How:

  • Doodle a design on a piece of notebook paper.  It’s up to you how complex you want to make your cards.
  • Tape the design onto the card stock and the piece of cardboard you are working on. Use the thumbtack to poke holes at every angle in your design.  If you’re using graph paper, poke holes in each corner of the squares.
  • Carefully remove the tape and doodle.  At this point, I poked secondary holes onto my tree design adjacent to the original holes. I did this so I would not have to backstitch the entire design; instead it is similar to a running stitch.  The design and hole placement is really up to you.  There’s no strict rules for stitching cards, just a general practice.
  • Once you are finished stitching with a particular color, use a small piece of tape to secure the thread.  If you’re using paper with an adhesive backing leave the thread loose until the entire design is stitched.  Carefully remove the backing, pull the threads tight and stick them down.  Adhere the sticky sheet to the front of your card and place it under a stack of books.  If using regular card stock, use rubber cement to glue the design to the front of your card and place under a stack of books.

liveseasoned_winter14_stitchedxmascards-1-2

Have you already mailed out your holiday cheer this year? I like to wait until the last moment so that my friends and family open their card closer to Christmas and New Years. That or I procrastinate until the week before where you’ll find me hustling to make them all in time 😉liveseasoned_winter14_stitchedxmascards-8

Orange and Clove Pomanders

Oranges our our ingredient of the season. We have big plans for a winter of zesty recipes and sweet crafts.

liveseasoned_w2015_pomander6_wm

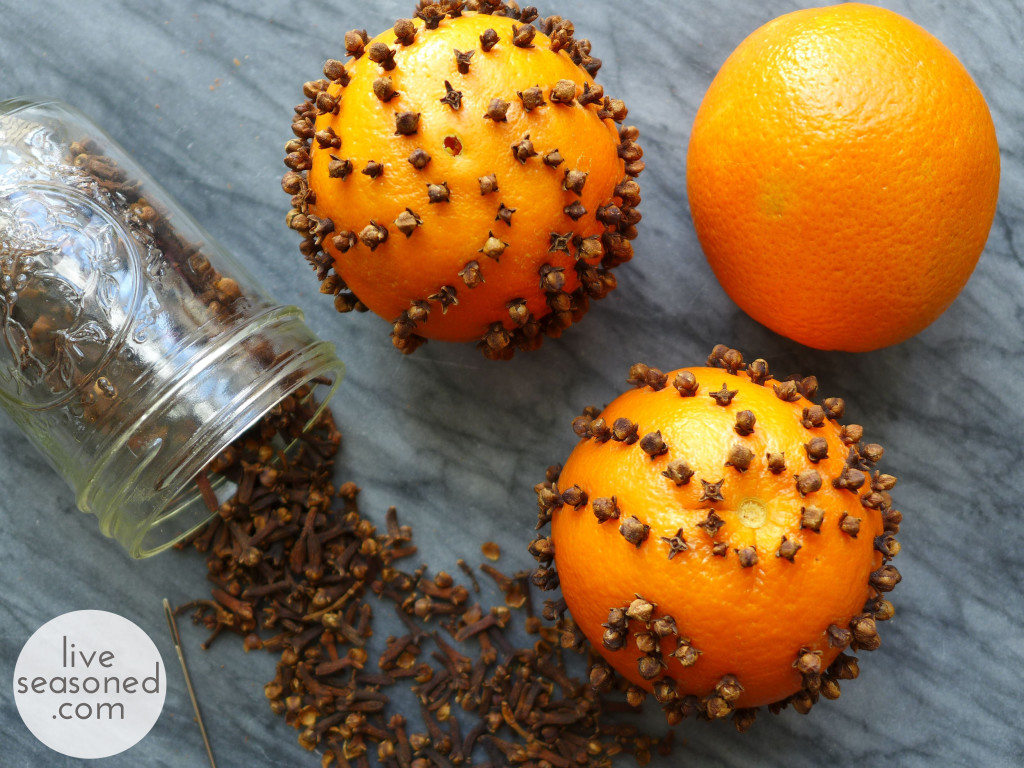
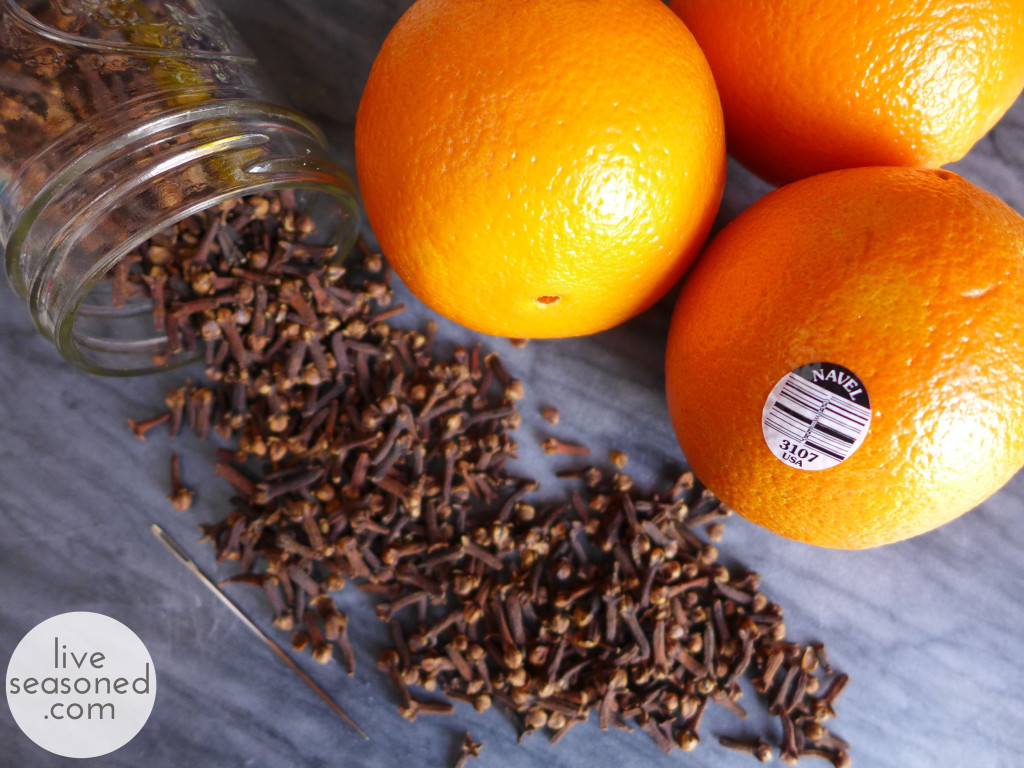
Today we’re sharing a super simple craft that you often see around the holidays : the orange and clove pomander.

Pomanders are balls made of some sort of scented or perfumed material. They are considered an original form of aromatherapy and have a long history dating back to the Middle Ages!

The orange and clove pomander is considered a modern version, and if properly dried, you can use these sweet and spicy smelling balls year after year as holiday decorations or in place of sachets in your dresser drawers.

liveseasoned_w2015_pomander1_wm

This is a very easy and kid-friendly craft! To make a bare-bones pomander all you need are oranges and cloves (buying your cloves in bulk is the way to go here). If you want to get fancy, you can add ribbon, either tied around your orange and incorporated into the design or looped through your orange for hanging.

liveseasoned_w2015_pomander2_wm

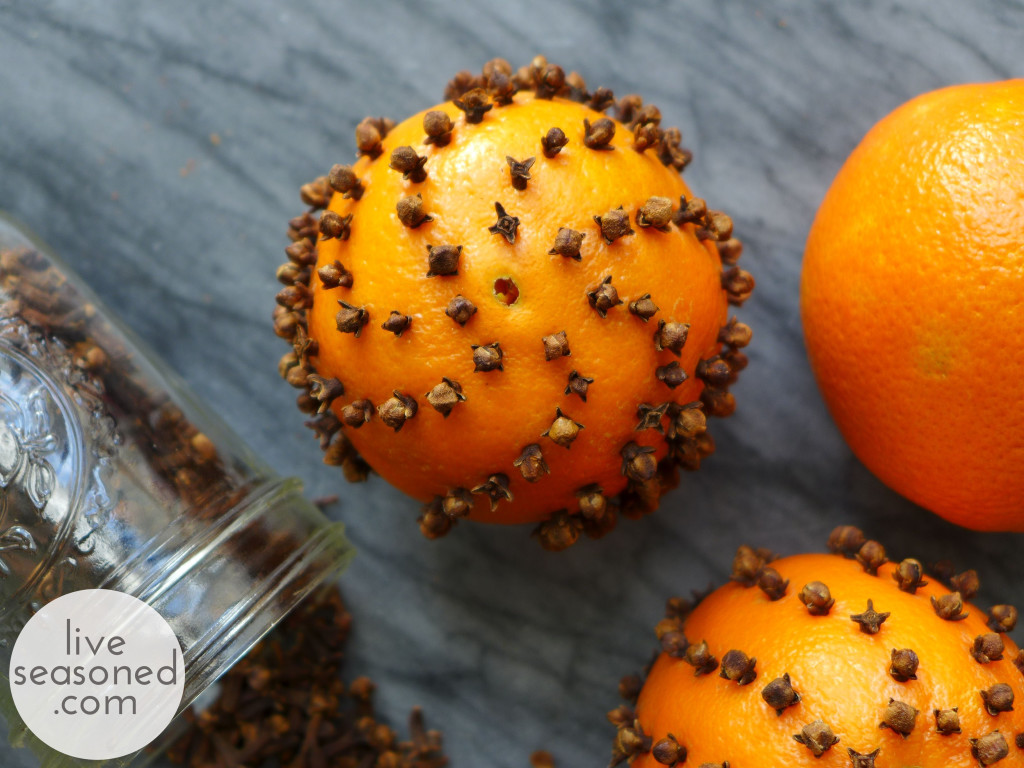
With your supplies ready, start making a design on your orange. I did all of these over the course of a couple of days ~ whenever A. Max was busy playing and I had a minute to myself. So rather than fuss over a specific design, I just played with the cloves and did a few free-form patterns.

liveseasoned_w2015_pomander3_wm

There were curved lines.

liveseasoned_w2015_pomander_wm

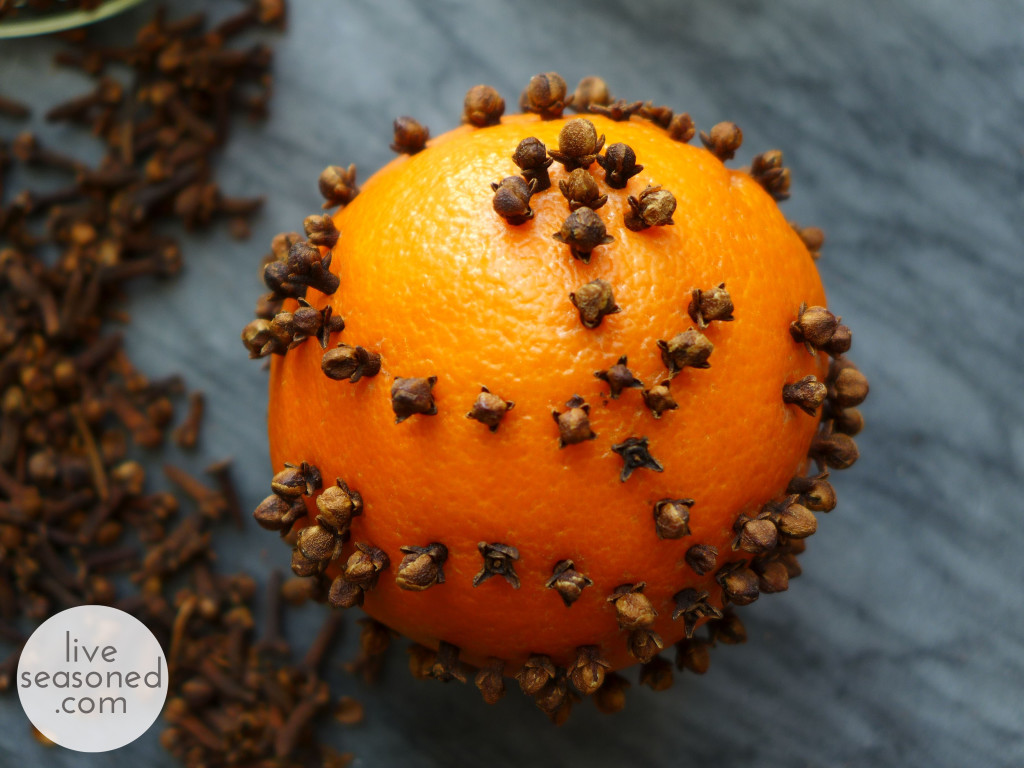
That looked like swirls from the top.

liveseasoned_w2015_pomander4_wm

One had a vine with flowers.

And there were polka dots!

The one issue you’re likely to have, especially if you’re in a more humid climate, is some mold growth. I’m hoping that the dry CO climate is going to help us out here! But to be on the safe side, once I was done with the designs, I put these in a cool, dark closet for about a week to dry out more. As they dry, you’ll notice that the cloves are sticking out a touch, so you can go around a poke them back in.

A traditional way to avoid mold growth is to sprinkle your finished oranges in orris root powder. This will help to dry out the orange and will add a violet scent to your pomander. In an effort to keep this project simple and low cost, I’m taking my chances and skipping the orris root!

liveseasoned_w2015_pomander8_wm

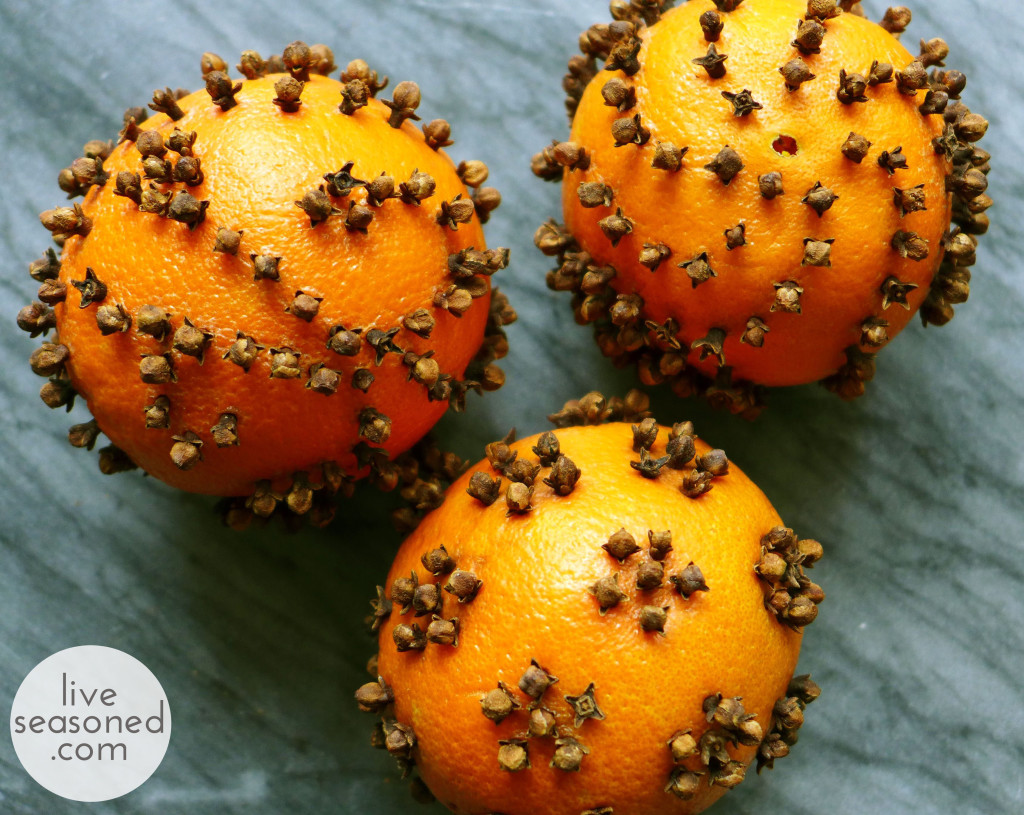
Putting them all together, it’s a nice little display of pattern that smells unbelievable! Alex loves to walk over to them and take a big whiff, which is unbelievably cute!

DIY Advent Calendar


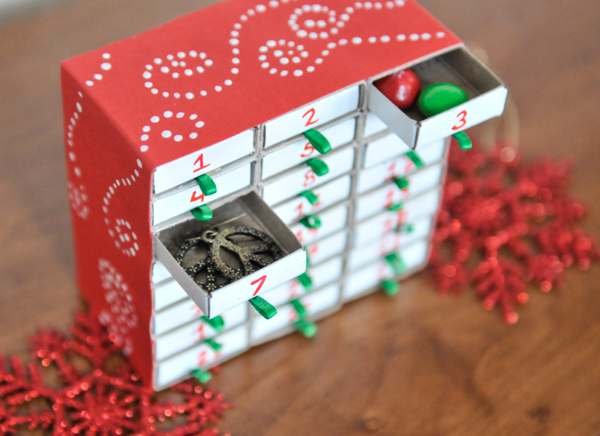
liveseasoned_winter14_adventcalendar-10

It’s time guys! You can finally start singing Christmas carols and hanging holiday wreaths!  I spent this past week with my dearest friend who is also on the ‘no Christmas cheer until Thanksgiving is here’ train so it wasn’t until Saturday night that I crafted this little advent calendar. It is the sweetest little addition to a bookshelf or mantle.  There is nothing more childlike than counting down the days until Christmas, but really, if we didn’t count them they would just fly right by.  Advent calendars remind me to crank up the Christmas tunes, send out those glittery cards and craft gifts for my friends and family.

liveseasoned_winter14_adventcalendar-9

This sweet miniature advent calendar is easy to make and pretty perfect for the wee ones to create. No exacto knives or blowtorches involved here.  The fun doesn’t end with the making of this little advent chest either, then you must fill it with tiny treasures and on Christmas eve you have to unscramble the secret picture!  Put on a Christmas record pandora and pour yourself some eggnog mudslides.

liveseasoned_winter14_adventcalendar-1

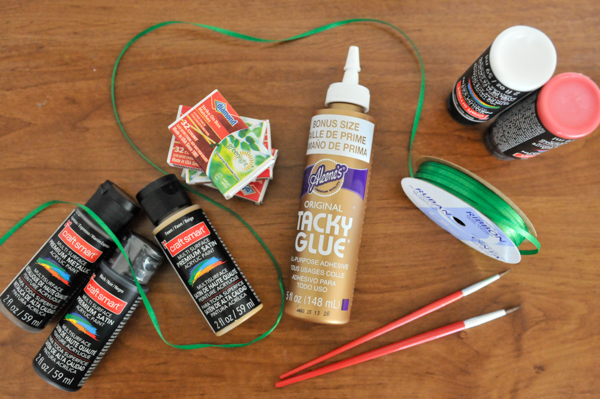
Supplies:

  • 24 mini match boxes
  • Tacky glue
  • Paint brushes
  • Paints
  • Ribbon
  • Card stock or construction paper

Steps:

  • Glue 8 matchboxes together vertically. Repeat two times so that you have 3 tall stacks each with 8 matchboxes each. Glue the three stacks together side-by-side like shown.
  • Once the chest is securely glued, about 15 minutes, remove all the matches from the boxes and set aside for another project or that horrid moment when your power goes out while you are cooking dinner or washing your hair.
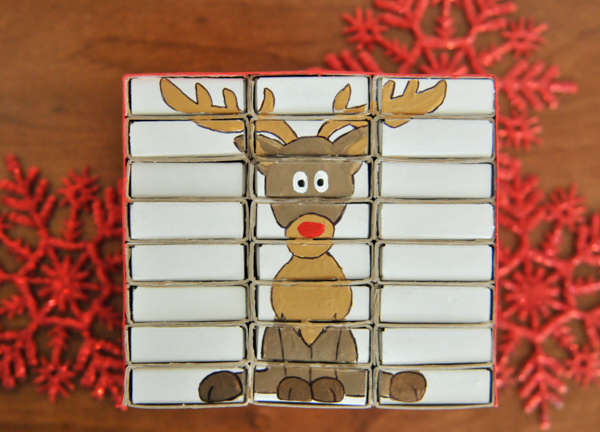
  • Paint a holiday design on the chest.  I choose to paint a reindeer. Some other ideas are a tree, an ornament, a candy cane, a toy soldier, santa or maybe a kitty wearing a santa hat (I wish I had that kind of skill). Allow the design to dry completely.
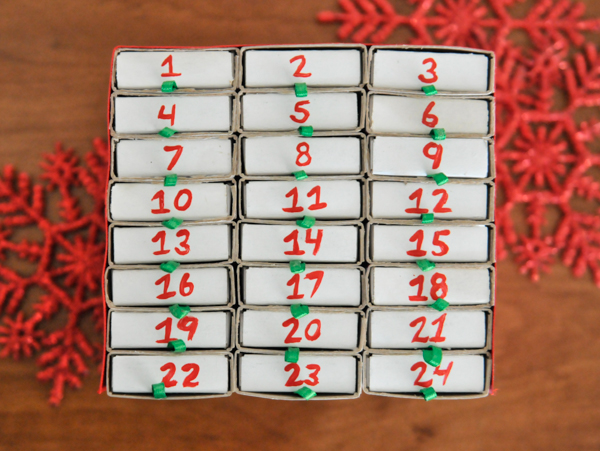
  • Remove each drawer and randomly number them 1-24. You can use acrylic paint or a marker.
  • Attach a small ribbon loop to the bottom of each drawer on the numbered side.  Simply squeeze a dab of glue, press one end of the ribbon onto it and then squeeze another dab of glue and press the other end onto it forming a loop.  Allow each drawer to dry completely.
  • Place the drawers back into the chest. You can place them in order or randomly, either way the painted design on the back should be scrambled.
  • Finally, cut a piece of card stock or paper to cover the top and sides of the advent calendar.  I cut a strip of red card stock and dabbed a few dots of white paint to make some snowflake inspired swirls.
  • Fill the drawers with little candies, notes, event tickets or even jewelry.
  • As each day passes, open the drawers and put them in backwards so the painted design side is now facing forward.  On Christmas even you’ll be left with a mini puzzle picture to unscramble, good luck!

liveseasoned_winter14_adventcalendar-11

Think you’ll give this quick Christmas craft a try? I had a bunch of fun creating this advent calendar because it is cheap and disposable. There wasn’t a ton of pressure to paint the perfect reindeer or perfectly align the $1 match boxes, it was merely a little project to jumpstart my holiday crafting sessions and an excuse to eat a few peanut butter M&Ms every day until Christmas. Cheers!