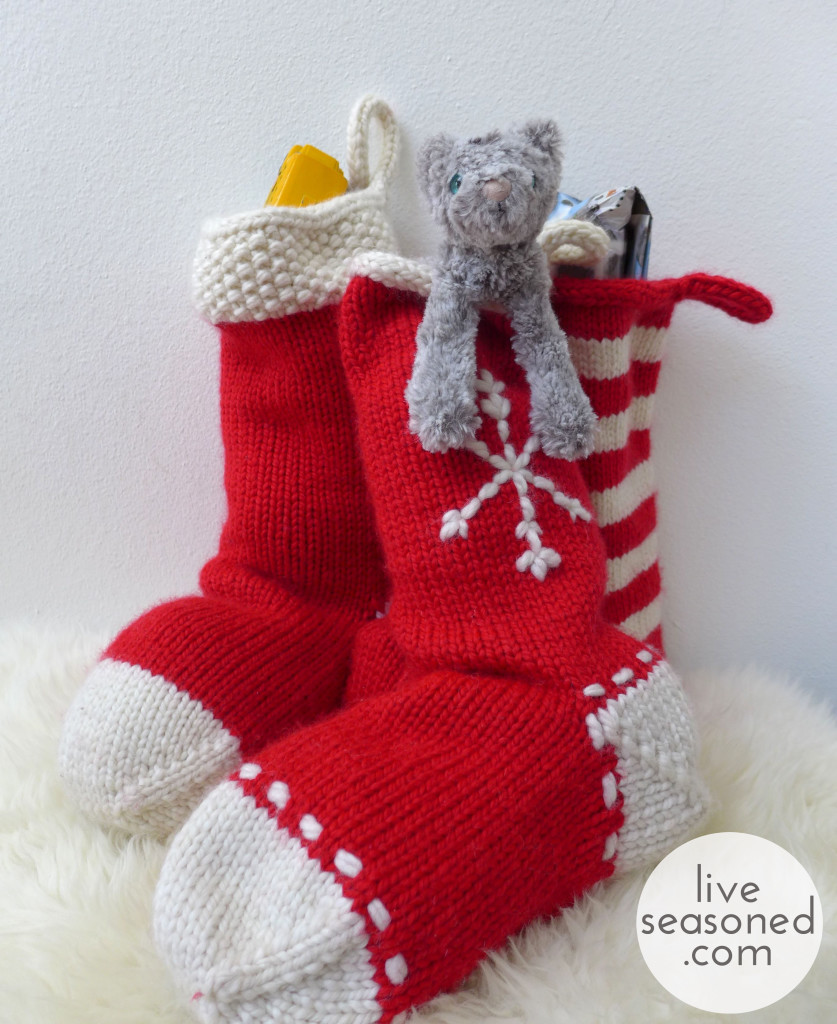
Weekend Project : Knit a Stocking (or three!)

We’re republishing this today as a reminder to take it slow, get cozy, and complete a craft, but I couldn’t bring myself to delete Katie’s original text because it talks about the *first* Christmas as a family of three – wow so much has changed! <3 Here are all the Christmas decoration DIYs BTW.

Ok, maybe three’s a stretch, but we’re all a bit crazy at this time of year. This is the first year we’re celebrating Christmas morning as our own little family of three, and we didn’t have stockings. Knowing that my original plan was to do something fun and easy. Maybe buy a couple pair of festive knee high socks or some cozy looking wool men’s socks and use those for this year. But a month or so ago I ran across some bulky yarn, decided it was perfect for stockings and worth just testing the waters.

liveseasoned_w2015_stockings7_wm

It’s easy to fall down the knitting hole, but with so many other balls in the air, I didn’t want this project to consume me. So I picked up two skeins of yarn (one red and one white) and wanted to see how long it would take to knit a single stocking and how far the two skeins would go. When I knit that first stocking in a weekend using only those two skeins, it was a no-brainer to knit the other two!

If you have ever knit a sock before, this is a project that you can easily finish in a weekend. If you’ve never knit a sock before, then this project may take you a little bit longer, but knitting big is such a great way to learn some new sock-knitting skills, and I include links to some of my favorite resources in this post. Plus, a common problem for a first time sock knitter is finishing that second sock and/or getting it to match the first; you won’t have that problem here!

liveseasoned_w2015_stockings16_wm

Whenever I hear “knit stocking” the one thing I worry about is how dense the stitches are. If you have a loosely knit stocking, then as soon as it’s filled with treats, the stocking will stretch and you’ll get that holey look between the stitches. I wanted to avoid that, and one of the easiest ways to do it is to knit with a bulky yarn on needles that are a few sizes smaller than what you would normally use. That’s exactly what I did here, and it produced a nice dense fabric that doesn’t stretch out of shape too much when filled.

liveseasoned_w2015_stockings19_wm

Resources

  • Cast on. Turkish Cast On
  • Increasing. M1L and M1R
  • Short Row Heel : basic instructions or a video with a method for eliminating the little holes that are common at the start and finish of the heel. This heel is really easy to make, and the holes are so (soooo) minor, so I don’t want that to deter you. I have my own way of dealing with them by picking up extra stitches and then decreasing them later, but since you’re knitting a simple stocking that won’t be worn, you could easily just use some extra yarn to stitch the hole closed – if you even get them!
  • I cord bind off. You will have to use the cable cast on before starting the I cord bind off.

Materials

  • Yarn : Loops & Threads Cozy Wool in fleece (white) and claret (red)
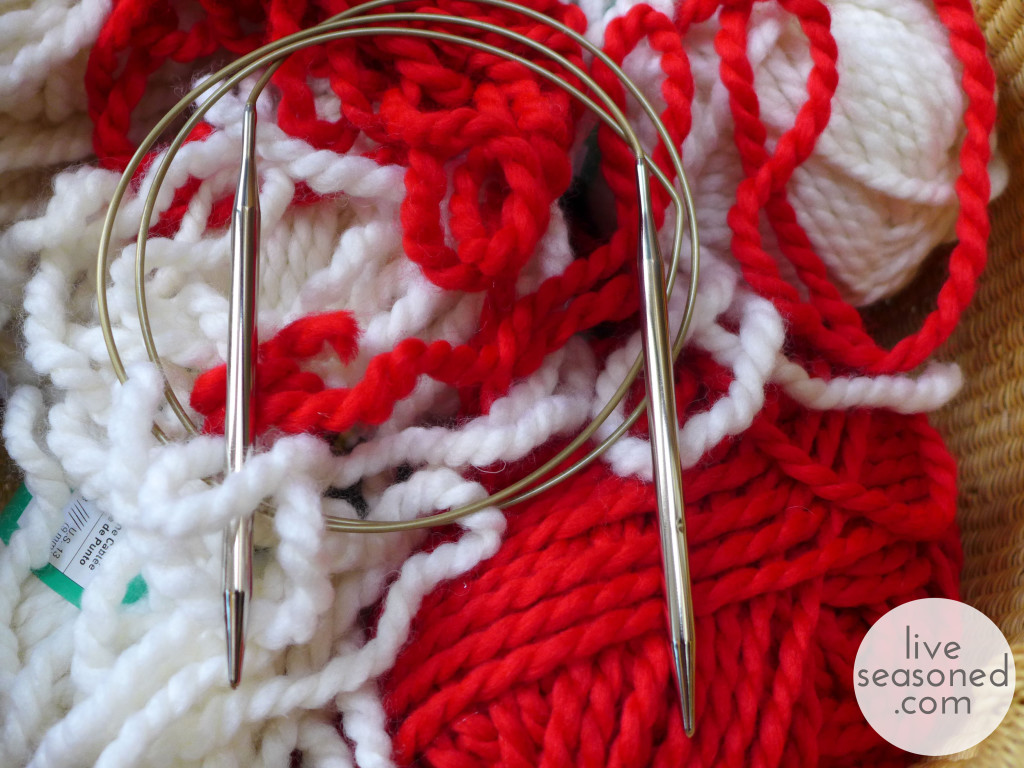
  • Needles : US 10, you will need either one long circular for the magic loop method or a set of double pointed

liveseasoned_w2015_stockings15_wm

Instructions

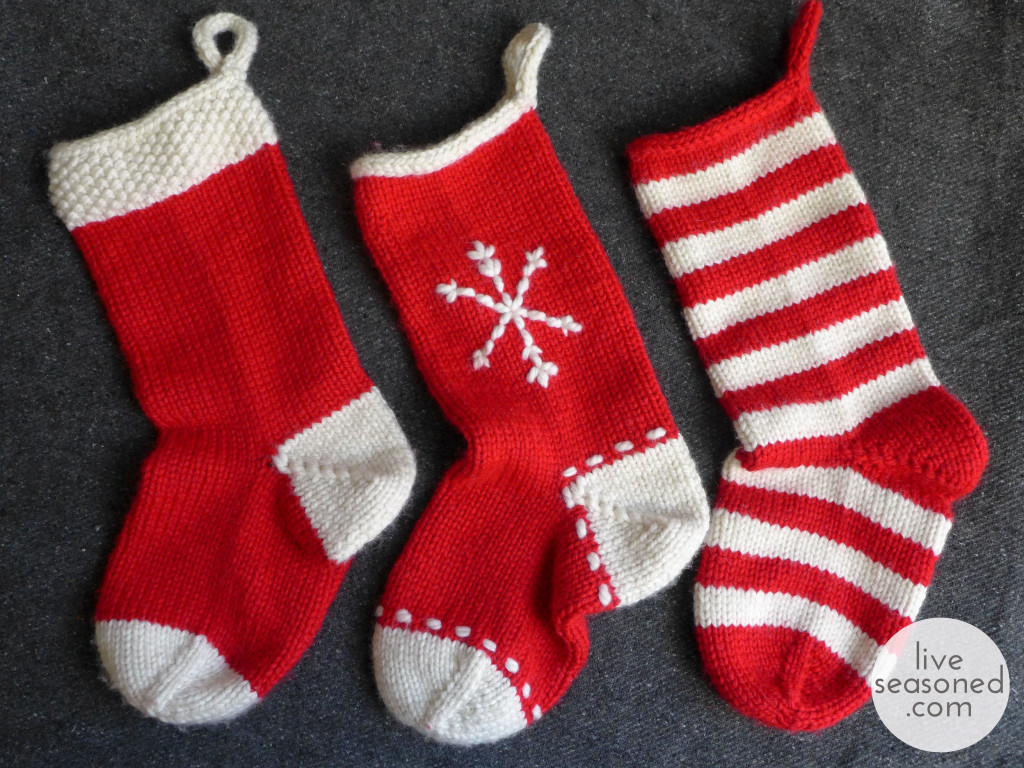
You will be knitting these stockings from the toe up to the cuff. I’m going to give you a set of generic instructions that can be used to knit any stocking of this size, and then I’ll give you the details for the specific patterns you see in the photographs. I’ll assume that your stitches are split evenly between two needles (i.e. that you’re using the magic loop method).

  • Cast-on. use the Turkish method to cast-on 20 stitches (ten on each needle). Fortunately, these instructions show you how to do the Turkish cast-on with exactly that number of stitches, so you can follow it step by step.
  • Begin Knitting. When I start a sock, I like to knit one and a half rounds before starting my increase rows (I always think that knitting across the first needle creates a single row for the tip of the toe, and then knitting a complete round creates my first official round – I may be crazy).
  • Start the increase rows (this comprises the toe area of the sock). Round 1 (increase round) : k1, M1L, knit to the last stitch on the first half of the stocking, M1R, k1. Repeat over the stitches on the other half of the stocking. Four stitches added. Round 2 : knit all stitches.
  • Continue repeating rounds 1 and 2 until you have 44 stitches on your needle.
  • Knit the foot. Knit straight for 27 rows.
  • Knit the heel. Use the short row method to knit the heel. You will work the heel over the 22 stitches that are on one half of your sock. When making the stockings, I wrapped 7 stitches on each side of the heel, leaving 8 unwrapped in the middle.
  • Knit the leg. Once your heel is finished, knit the leg of the stocking for 53 rows.
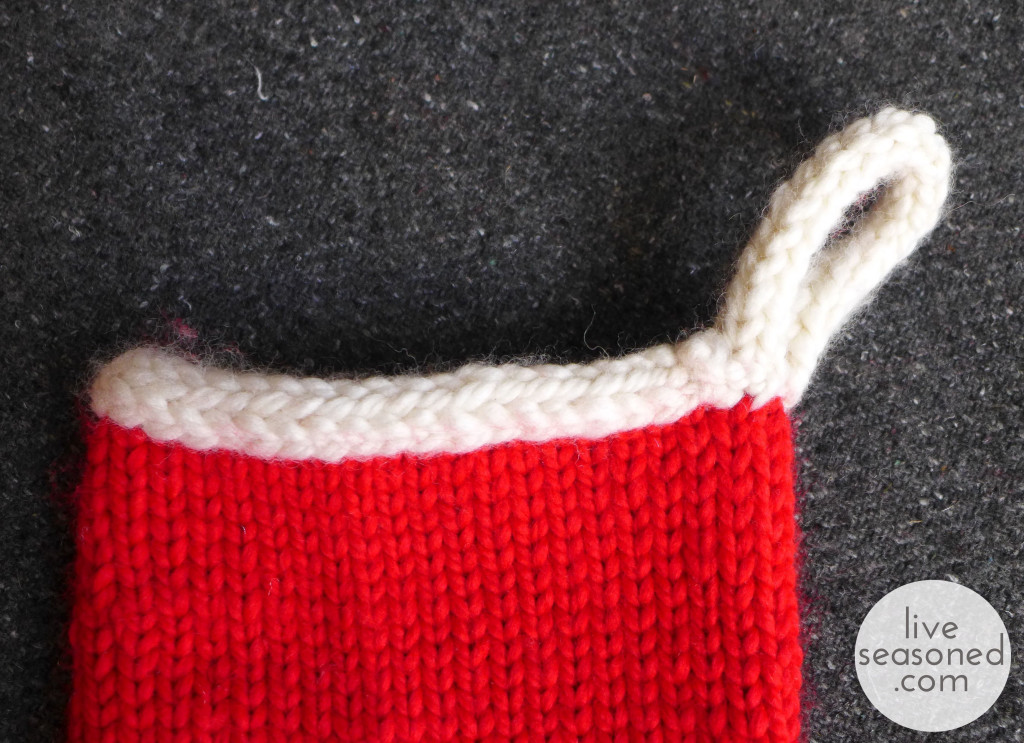
  • Bind off using the i cord method. This is a great technique for binding off the stockings because it creates a strong final row that will not stretch out over time (unlike a ribbed cuff) and as you’ll see, it also seamlessly morphs into a loop for hanging your stocking. The only problem is that you may not be able to really stretch the cuff if you want to sneak an over-sized present in the stocking! The other problem that arises is that the loop for hanging your stocking will be placed where ever you start the i cord bind off. Thus far we have been knitting the stocking in the round starting from one side of the sock; you don’t want your loop on the side, but on the back of the stocking. Before beginning the i cord bind off, knit 11 stitches so that you are now positioned at the center back of the stocking. You will work the i cord bind off over three stitches, just like these instructions (lucky you!).  Once you come to the end of the cuff, don’t cast off the three i cord stitches, rather continue knitting an i cord for 21 more rows.
  • Finish your stocking. Sew the live stitches of your i cord to the start of the i cord row ~ creating a seamless-looking i cord band with a loop in the back. Weave in all loose ends. Hang your stocking and cross your fingers that it doesn’t get filled with coal!

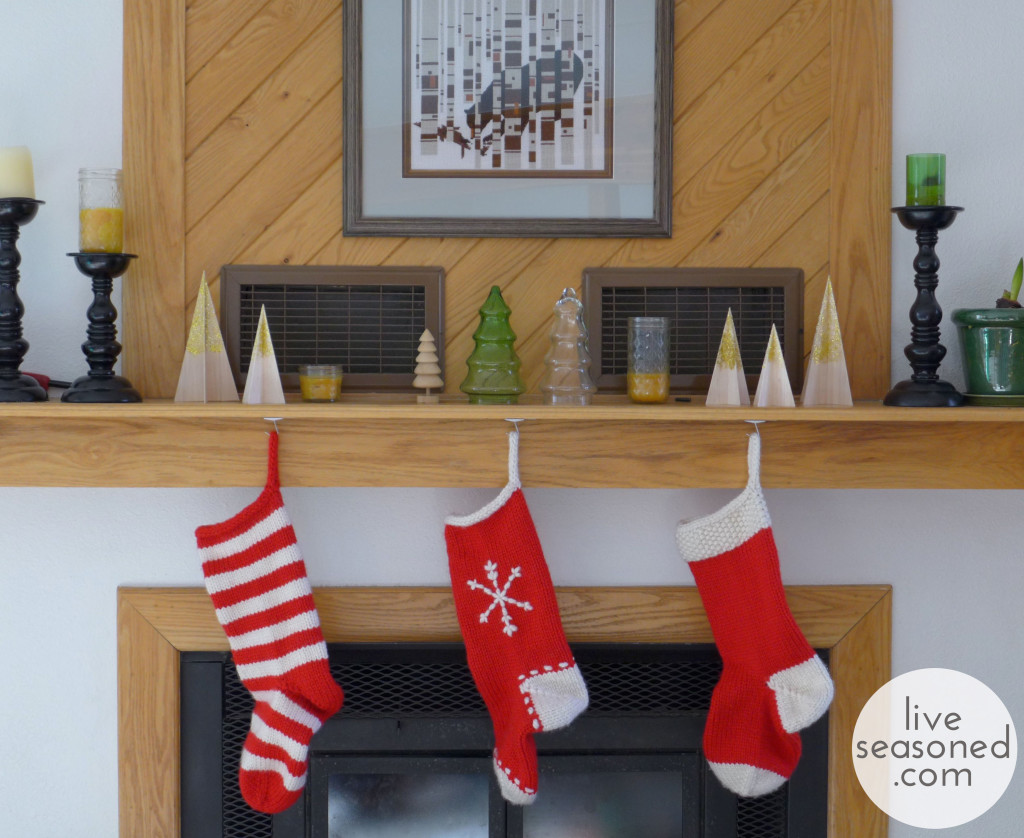
Santa’s Sock Stocking Detail

  • Knit the toe. Use the basic instructions from above, casting on with the white yarn and using it to knit the toe area.
  • Knit the 27 rows of the foot in red.
  • Switch to the white yarn and knit the heel.
  • Knit 40 rows of the leg in red.
  • Switch to the white yarn and knit 11 rows in seed stitch.
  • Knit one complete round plus 11 stitches to position the start of the i cord at the back of the stocking. Finish with the i cord bind off.

Striped Stocking Detail

  • Knit the toe. Use the basic instructions from above, casting on with the red yarn and using it to knit the toe area.
  • Begin the stripes. Switch to the white yarn, but don’t cut the end of the red yarn (you can carry both colors up the length of the stocking, drastically reducing the number of loose ends that you’ll have to weave in). Knit five rows in white. Knit five rows in red. Repeat this pattern for 25 rows (ending with five white rows and just before starting a red row). Knit two rows in red.
  • The heel area. I like to work the heel in the middle of a stripe so that there aren’t any funny color switches immediately before or after the heel. Continuing to use the red yarn, knit the heel. Once the heel is complete, knit three more rows with the red yarn. When looking from the front/top of the stocking you should see the five red rows of the stripe pattern.
  • Knit the leg. You are now at the start of a white stripe. Continue working the five row stripe pattern for 50 more rows.
  • You are now at the top of the stocking. Knit 11 more stitches to position the start of the i cord at the back of the stocking and continue using the red yarn for the i cord bind off.

Snowflake Stocking Detail

  • Knit the toe. Use the basic instructions from above, casting on with the white yarn and using it to knit the toe area.
  • Knit the 27 rows of the foot in red.
  • Switch to the white yarn and knit the heel.
  • Knit the 52 rows of the leg in red (not the 53 listed above!).
  • Switch to the white yarn. Knit one round plus 11 stitches to position the start of the i cord at the back of the stocking. Work the i cord bind off.
  • Finish the stocking by embroidering a snowflake design into the side of your stocking. I make a very simple design using a backstitch. I decided to embroider the snowflake because I wanted it to have six points (like in nature), but it’s hard to find and/or to design a knit snowflake pattern with points rather than eight. As for other embroidered embellishments, the skies the limit! I added a line of running stitch around the toe and heel areas. You could add number of snowflakes, varying their size and shape.

liveseasoned_w2015_stockings1_wm

If you knit a stocking, we would love to see it! Leave us a comment below or tag us on instagram @liveseasoned. Happy knitting or happy rushing around buying those last minute presents ~ either way, we hope you have a great weekend!

Valentine Archives

Hey there sweethearts! With Valentine’s Day right around the corner, we wanted to share/re-share some super simple projects for dressing up your space and celebrating the ones you love. And don’t forget to put on your favorite lovey-dovey playlist as you craft.

liveseasoned_w2015_valentinesgarland3

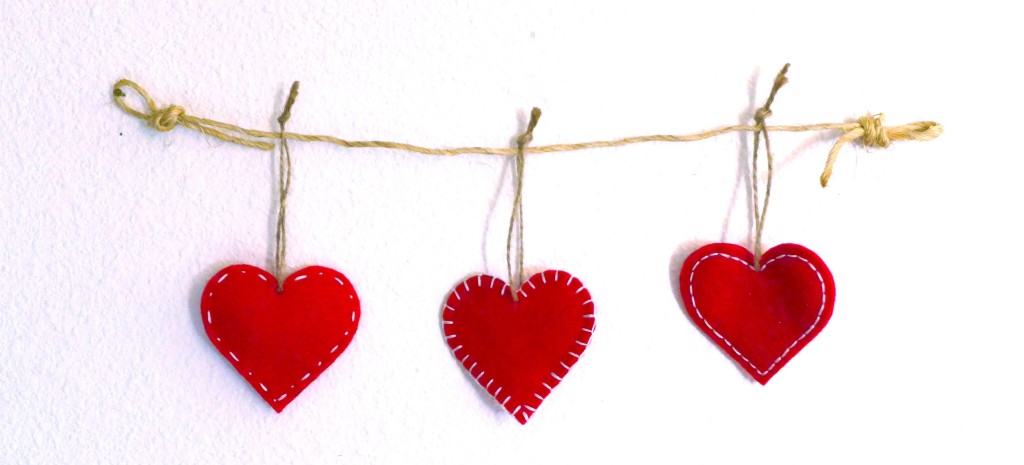
Instead of packing away the felt hearts I made as Christmas ornaments, I strung them on a piece of rustic twine to create a mini garland that greets guests right inside our door.

liveseasoned_w2015_valentinesgarland3

If you’re throwing a party, Sarah’s tassel and lace garland makes the perfect decoration and photo backdrop!

Continue reading

Elving : Part 1

Ok, after I hit publish on this post, my attention will turn back to Thanksgiving (at least until Thursday!), but today we thought it would be fun to jump ahead and give you a sneak peek of the Christmas crafting that’s begun in our house. Somewhere along the way, Calder and I started referring to this as “elving” ~ sneaking away to my craft room to either work on Christmas presents or decorations. Today is labeled “Part 1” because I’m sure this will be the first of many elving posts from the Seasoned sisters!

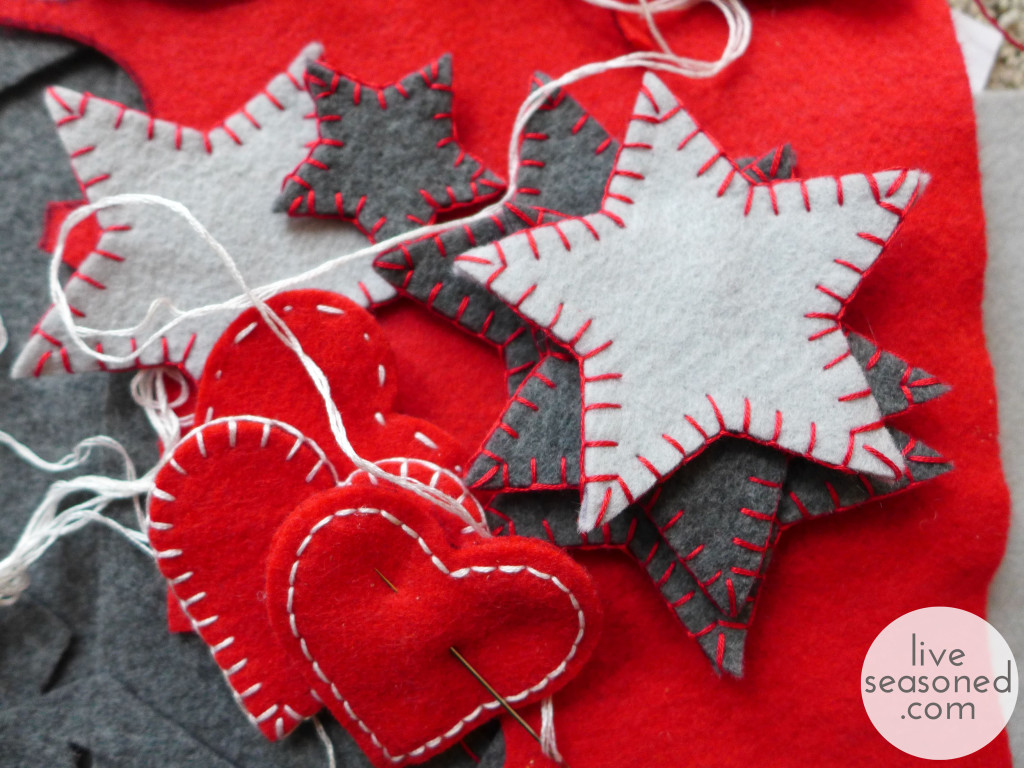
On Friday, I shared a picture of one of the Alex-friendly ornaments for the tree. Along with the filled balls, I’m also sewing a few simple felt ornaments. I have to admit that I really leaned on Pinterest for ideas this year, getting my inspiration for the ornaments from photos I saw while browsing pins and then just putting my own spin on them.

liveseasoned_fall2014_xmas_crafts3_wm

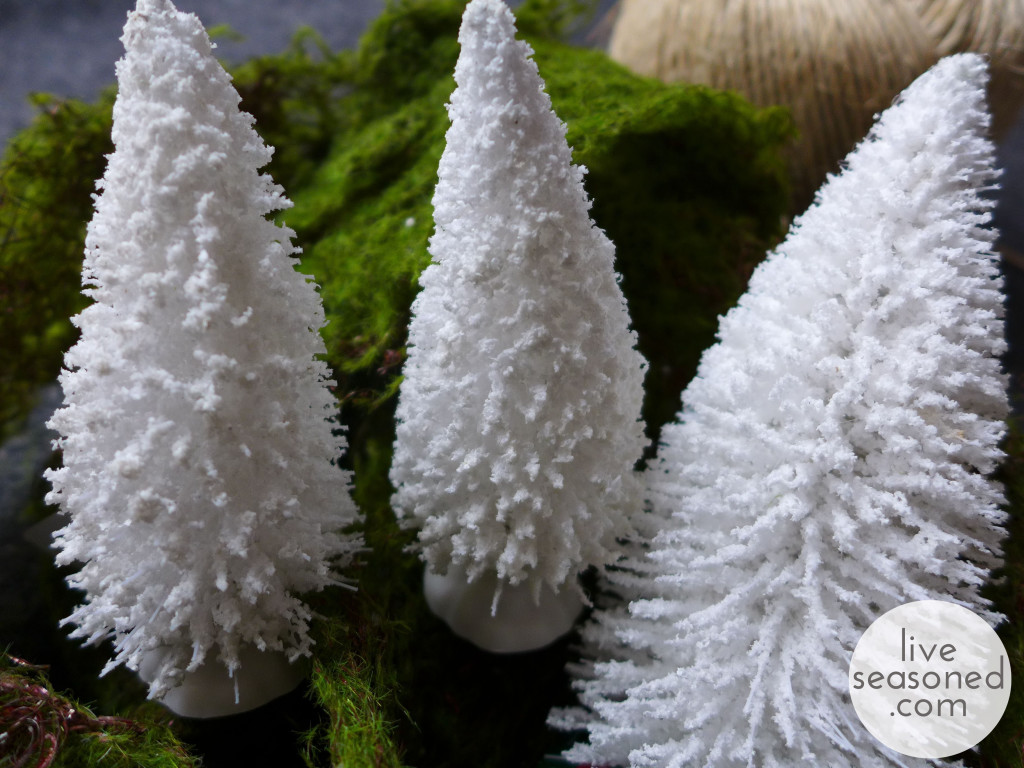
Another Pinterest-inspired project is going to come from the white trees and ribbon of moss in the photo below. This little project surprise is something that’s so simple, and I’ve wanted to make it for years. So I may be a little too excited that it’s finally happening.

liveseasoned_fall2014_xmas_crafts2_wm

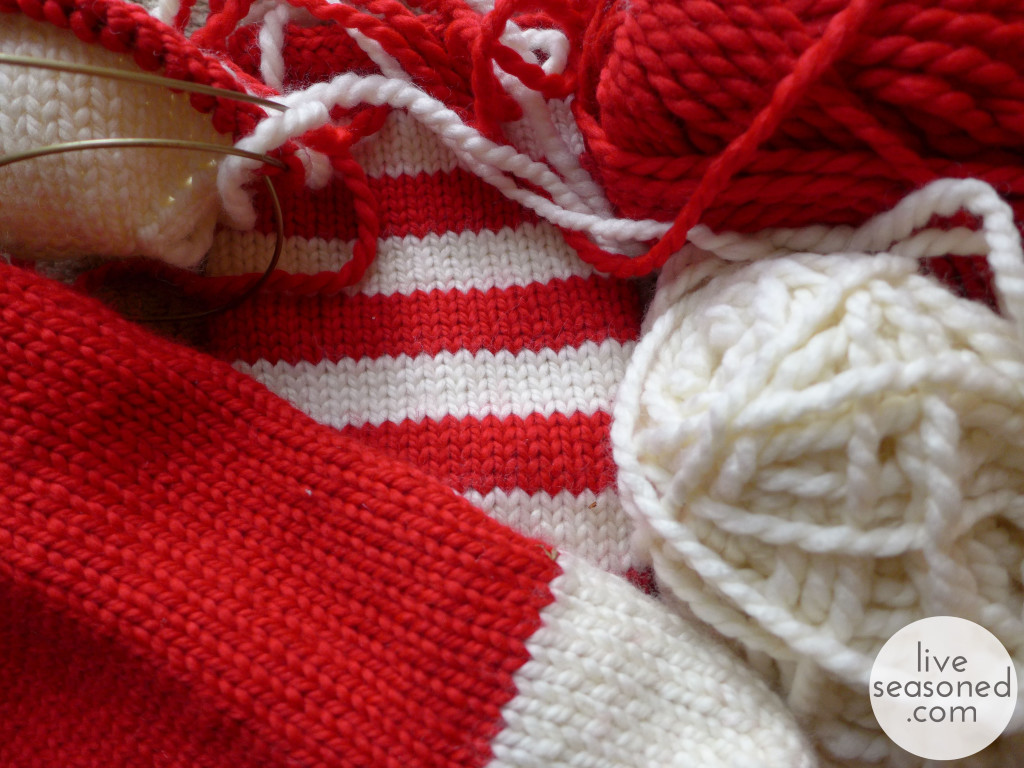
Then, there’s my impulse buy of yarn last weekend that is turning into some fun red and white stockings for our house. I saw the yarn in Michaels, and knew it was bulky enough to knit up quickly, but I didn’t want to commit to knitting the stockings if it turned out to take longer than I expected (there are too many other little elving balls in the air to add a big unexpected knitting one!). I picked up two skeins, and they made one cute stocking. When I went back to the store for more yarn, I discovered that the white was out of stock in most stores and online (it’s a holiday made-for-tv tragedy in the making!). After calling a few more stores, I found some in stock and bought enough of both colors to make the remaining two stockings for this year and to add another to our mantel for next year… maybe I went a bit overboard and bought enough to knit stockings for every possible future family member, including future pets.

liveseasoned_fall2014_xmas_crafts4_wm

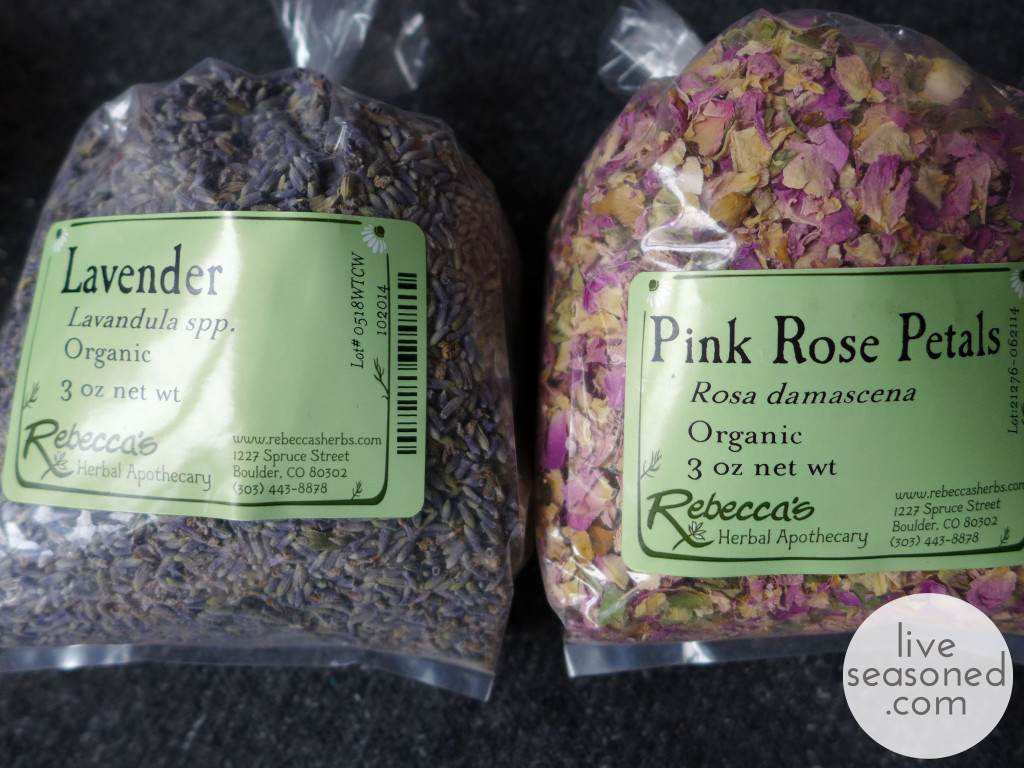
I’ve mentioned our local apothecary a few times. I love that place, and it’s quickly becoming my number one elving resource this year. I stopped in this week to pick up oils, herbs, and other ingredients to make a few different gifts for giving. These are my top secret projects that I’ll be so excited to share come January when the gifts are all finally opened.

liveseasoned_fall2014_xmas_crafts1_wm So that’s just a snippet of what’s going on around here. What doesn’t come through in this post is that I may have already started playing my Pandora Christmas station and downing glasses of eggnog nonstop whenever crafting… I promised myself that I would hold off until Thanksgiving, but the mood struck when the elving started.

Dried Fruit Garland

Apples are our ingredient of the seasons. So far we’ve gone crazy with them in the kitchen, but today we’re filing getting crafty!

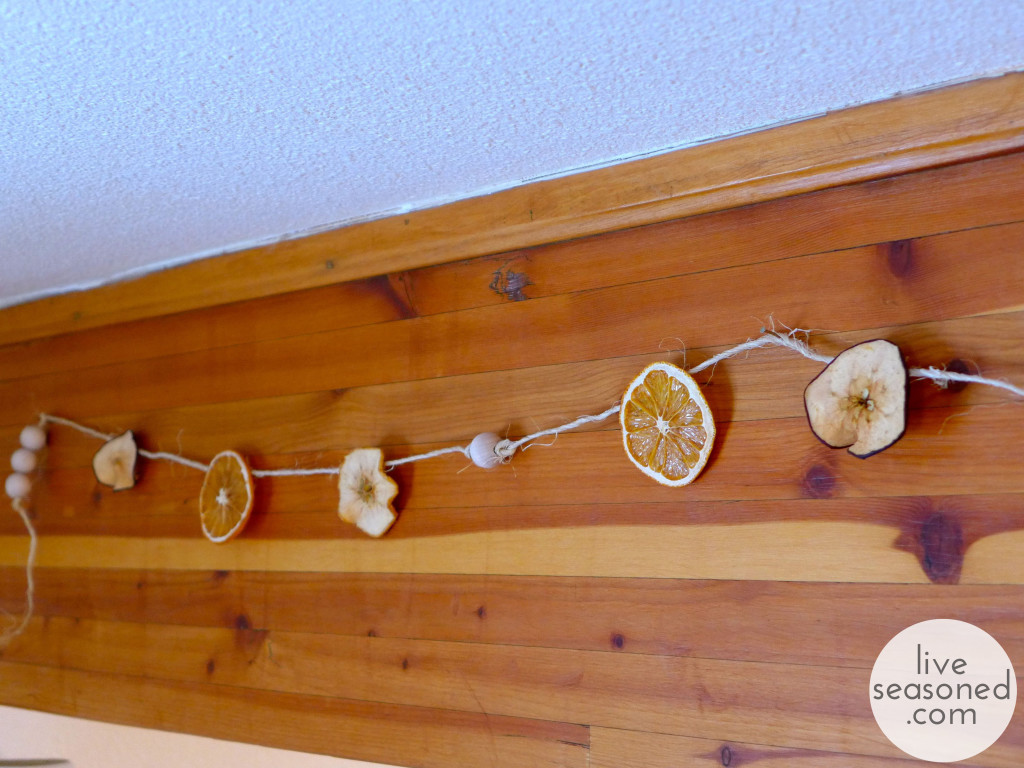
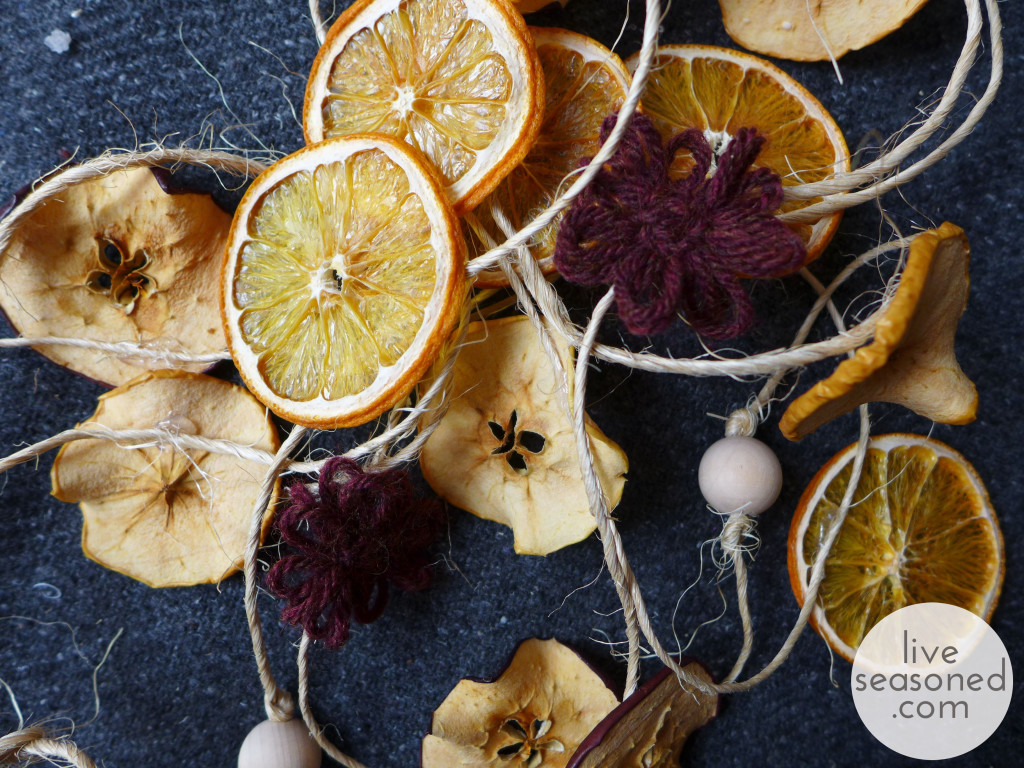
This year, after taking down our Halloween decorations and while waiting to up a Christmas tree, I was really feeling the urge to decorate. So I put together this simple garland that’s a snap to make, celebrates the bounty of the season, and is perfectly suited for my need to add a little touch of something to our November walls.

liveseasoned_fall2014_fruitgarland19_wm

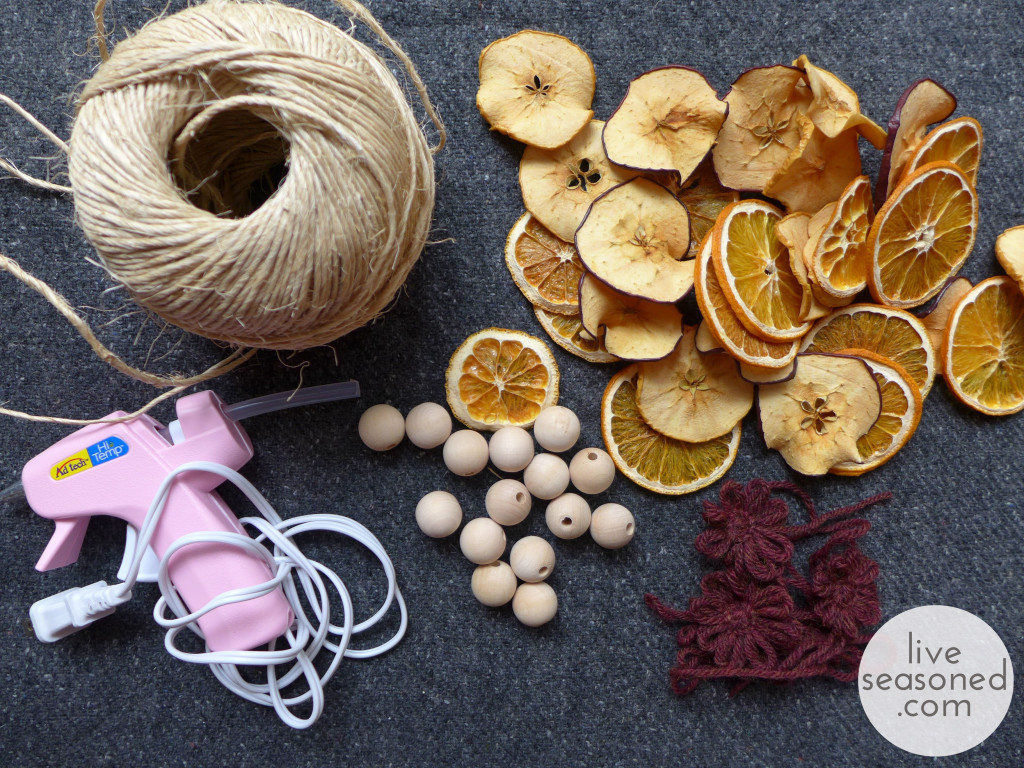
Supplies:

This project requires relatively few supplies, but as with everything we do around here, the garland is easily customizable, so look around your craft room and get creative!

  • twine
  • dried fruit (more on this below)
  • wooden beads
  • simple yarn flowers (how-to below)
  • hot glue gun
liveseasoned_fall2014_fruitgarland10_wm

Drying the Fruit

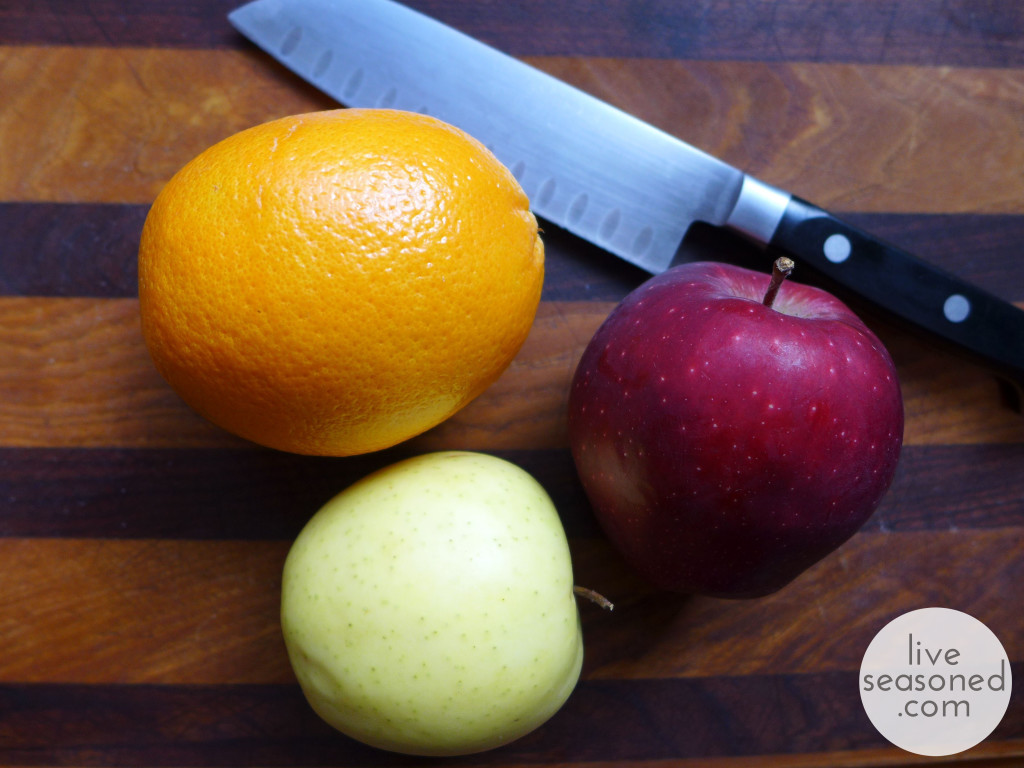
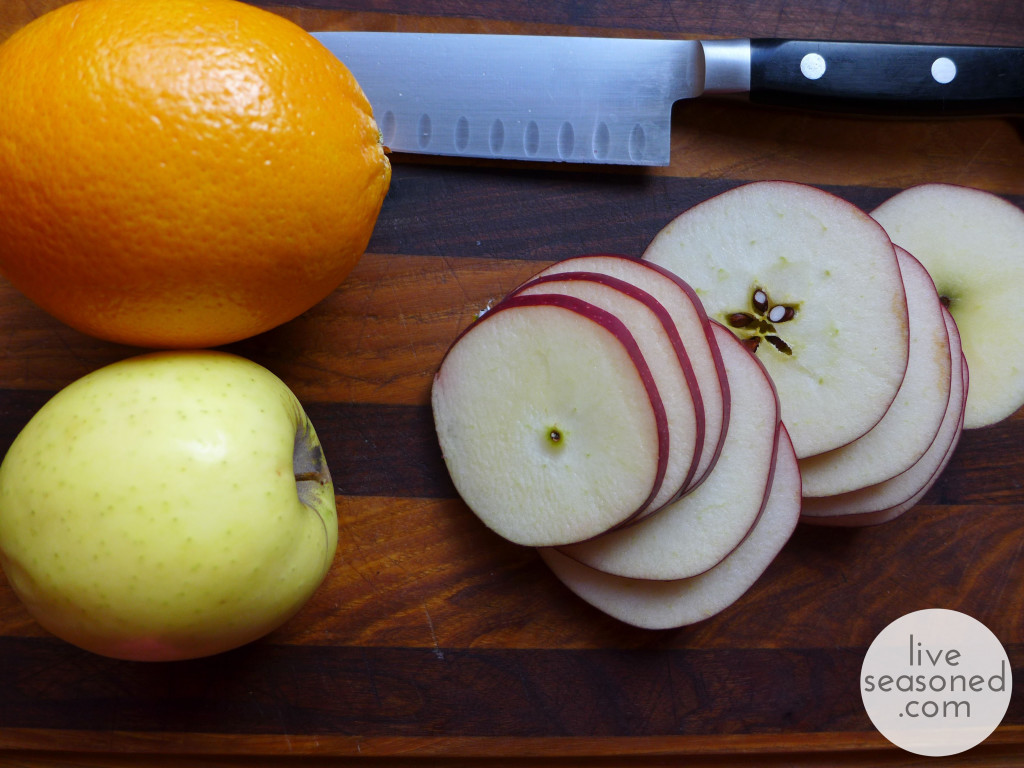
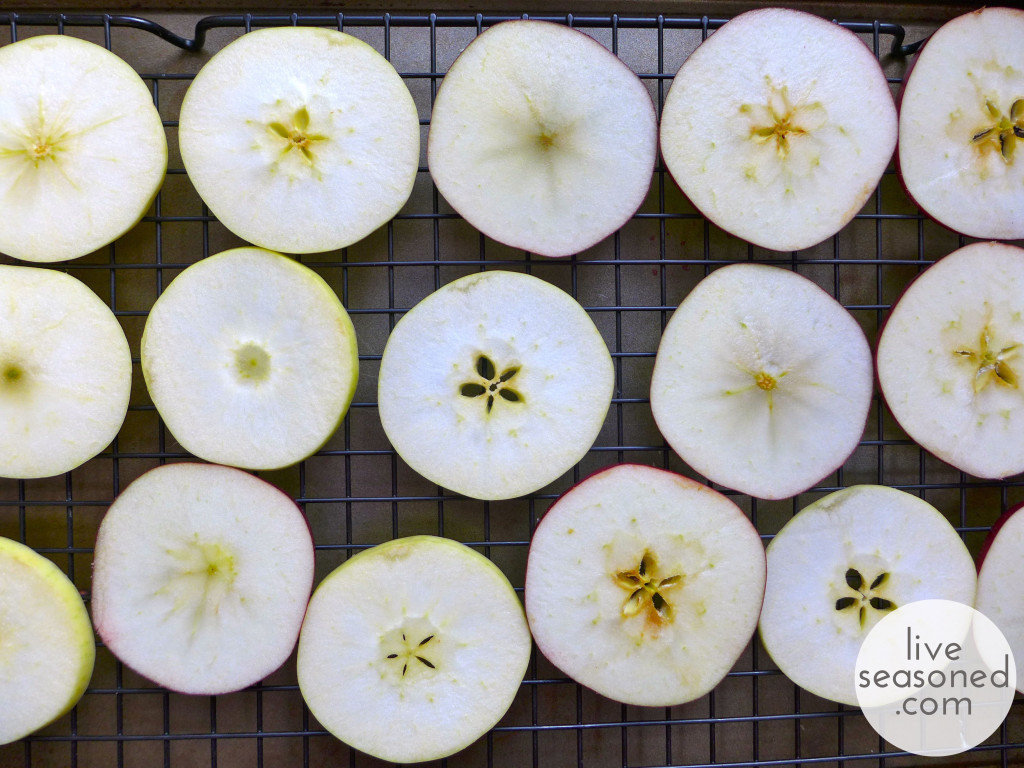
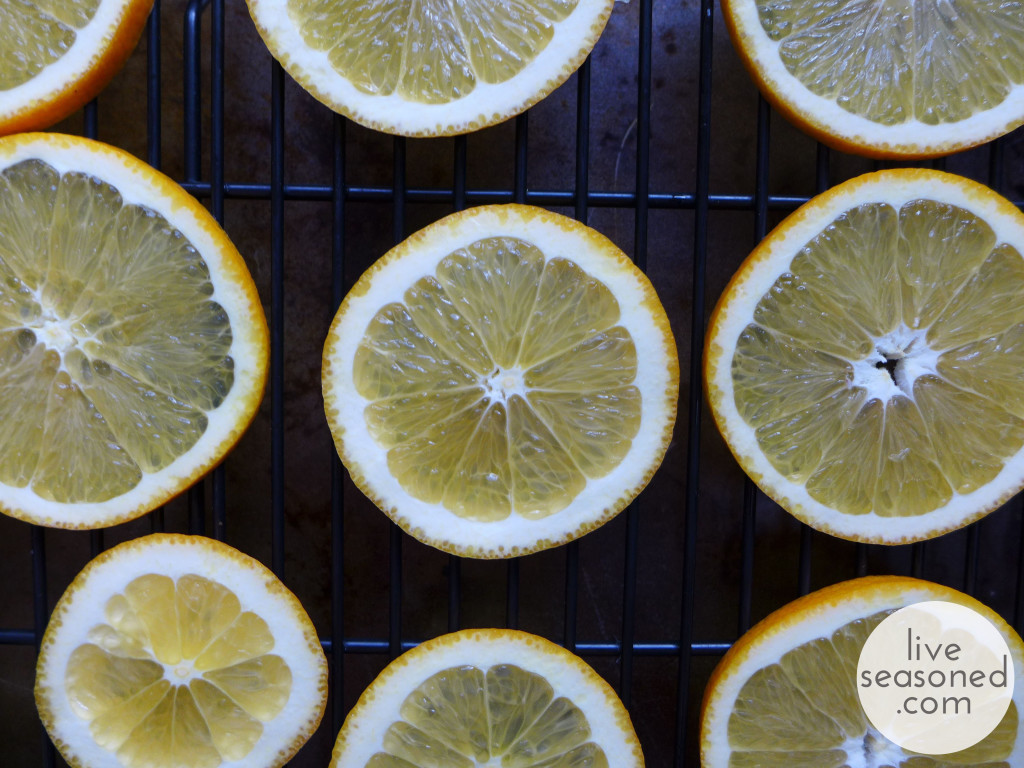
I began the project by slicing and drying three pieces of fruit: red and gold delicious apples and a seedless navel orange. The fruit were sliced into quarter inch discs. Sharpening your knife will go a long way towards helping you make even slices with nice smooth surfaces. You’ll find it difficult to cut through the seeded area of the apples, but my advice is to keep your knife horizontal (rather than pushing the point or handle ends up and down) and to saw back and forth with even pressure.

liveseasoned_fall2014_fruitgarland1_wm


liveseasoned_fall2014_fruitgarland2_wm

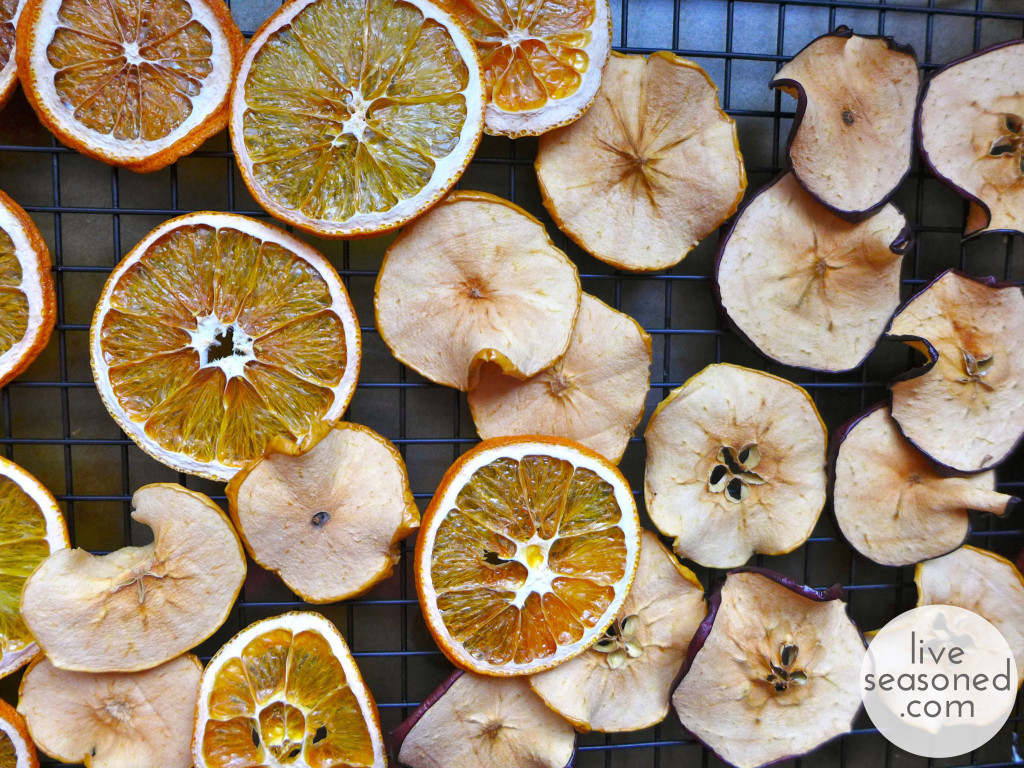
Once sliced, I removed all seeds and placed the pieces on cooling racks over cookie sheets for drying.  I then dried the fruit in a 200F oven for about 5-6 hours, flipping the slices twice to help minimize curling of the fruit.

liveseasoned_fall2014_fruitgarland3_wm
liveseasoned_fall2014_fruitgarland4_wm


liveseasoned_fall2014_fruitgarland5_wm

The Beads

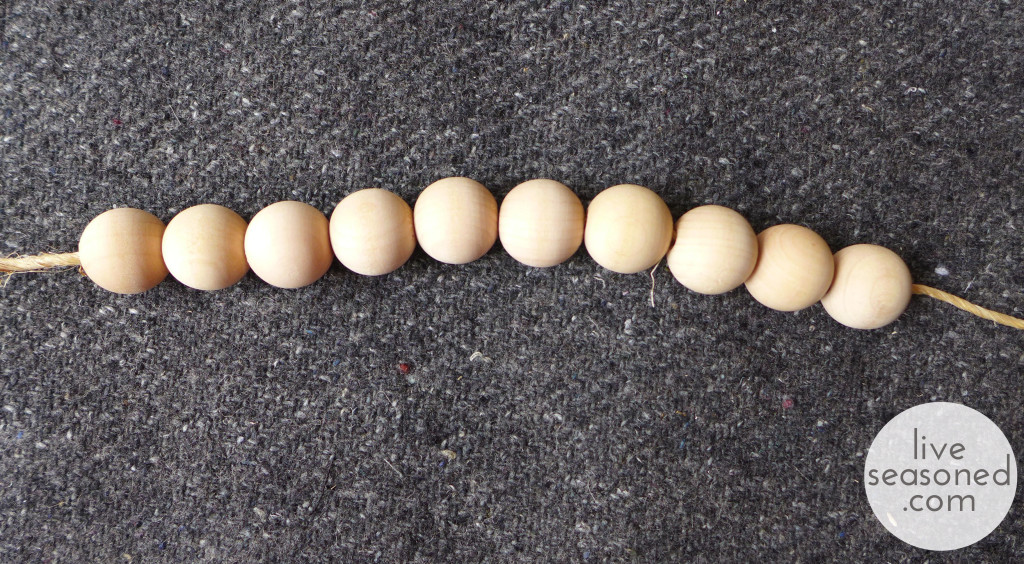
In addition to the fruit, I wanted to add a few other textures and colors to the garland. First up, some natural wooden beads. I bought a 20-pack of these beads at Joann’s. Once home I thought about painting these, but didn’t have any craft paint, so decided to keep them natural and add color with a bit of yarn (something I have plenty of!).

liveseasoned_fall2014_fruitgarland11_wm

The Flowers

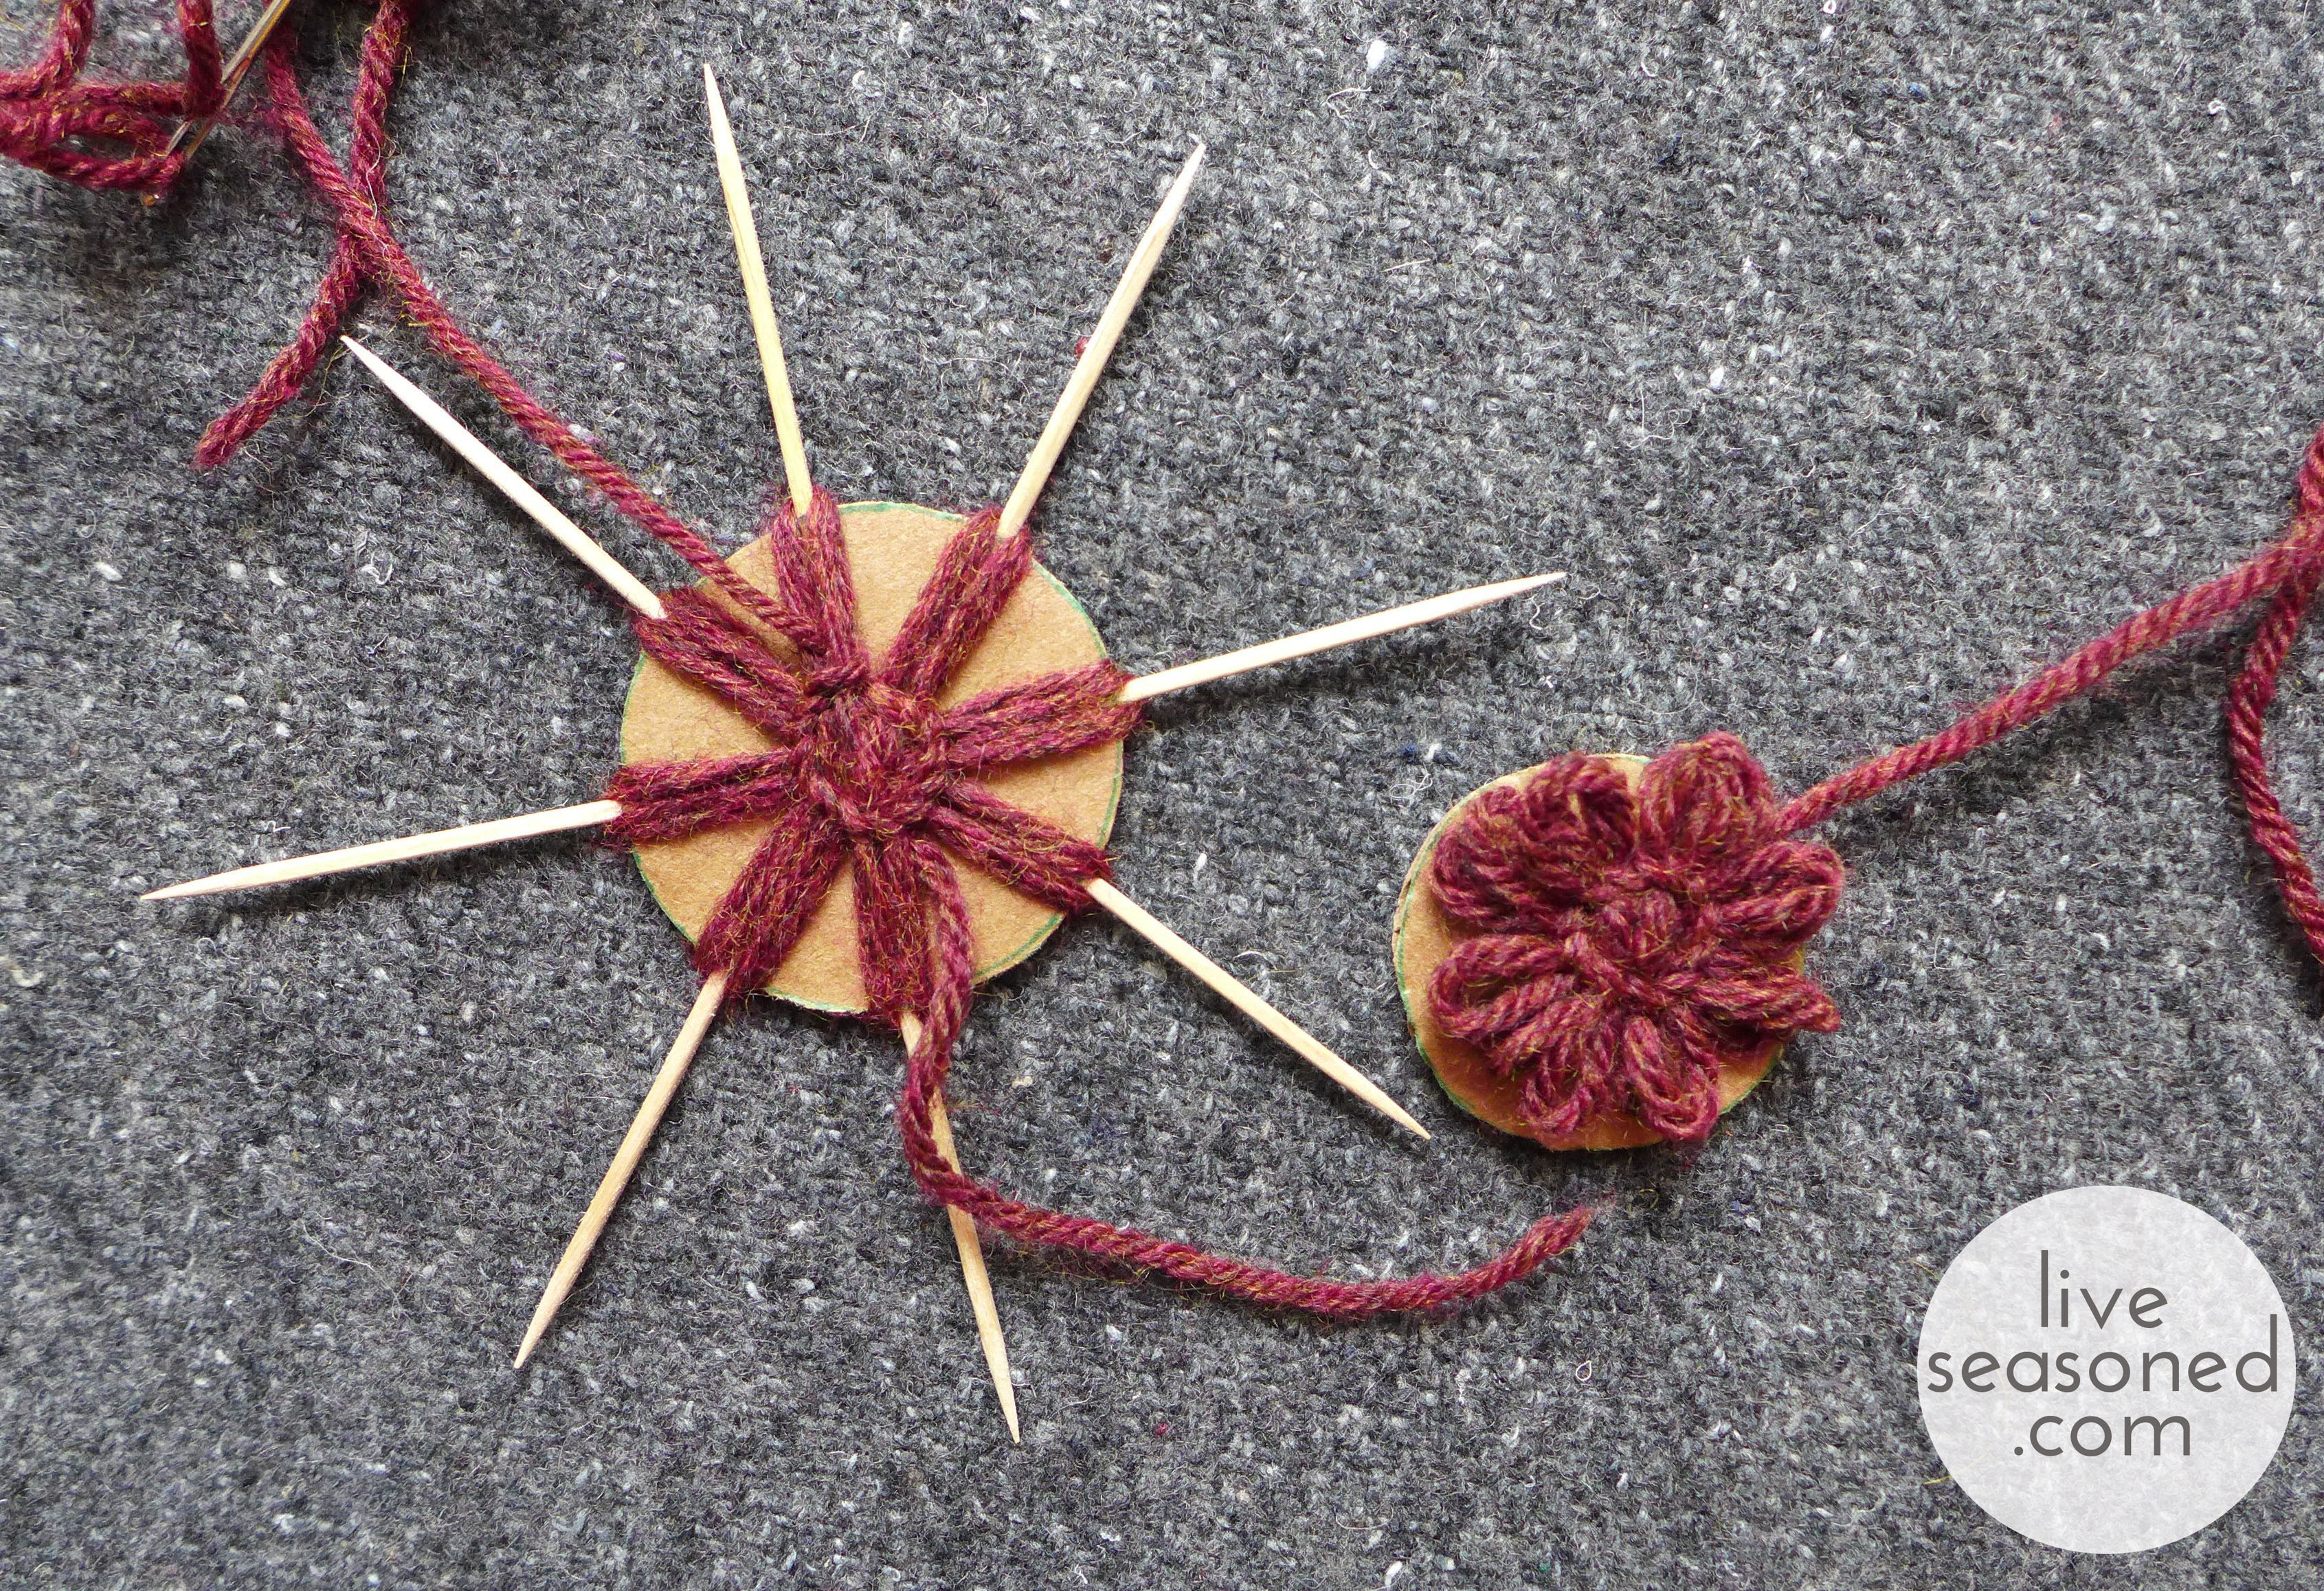
Using some rusty-red yarn, I made a few very simple flowers. I originally saw these flowers on Pinterest and made from twine. The link to that Pin was bad, but a quick Google search led me to this really helpful how-to video.

liveseasoned_fall2014_fruitgarland9_wm

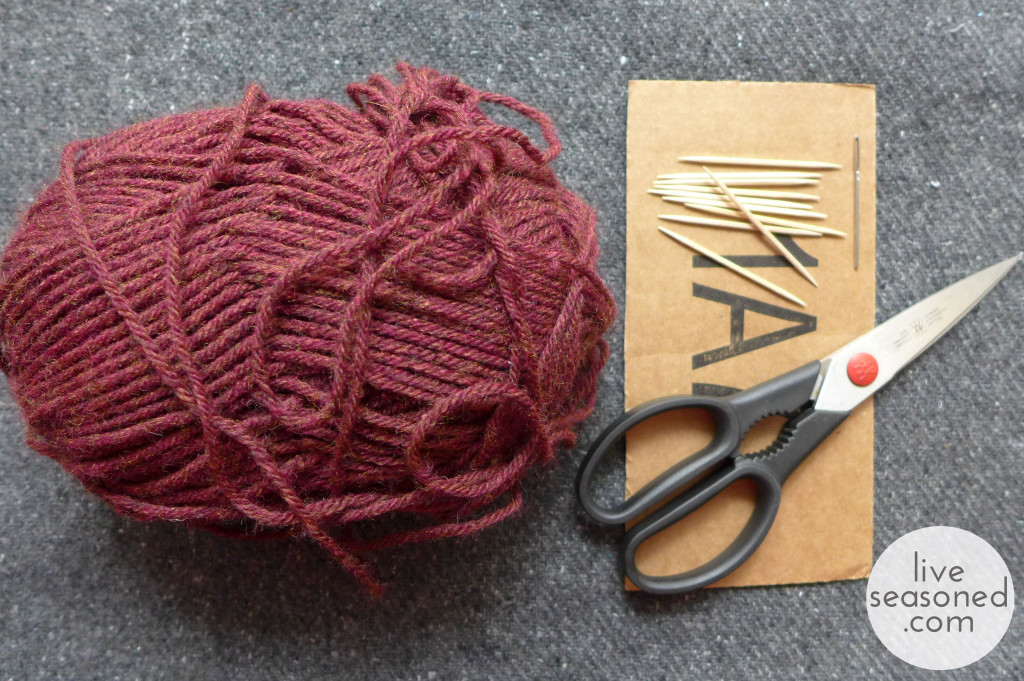
The only supplies you’ll need to make these are a piece of cardboard, yarn or twine, scissors, a yarn needle, and 8-12 toothpicks. If you assemble that, you’ll be able to make a flower right along with the video because she explains everything at a nice slow speed.

liveseasoned_fall2014_fruitgarland6_wm

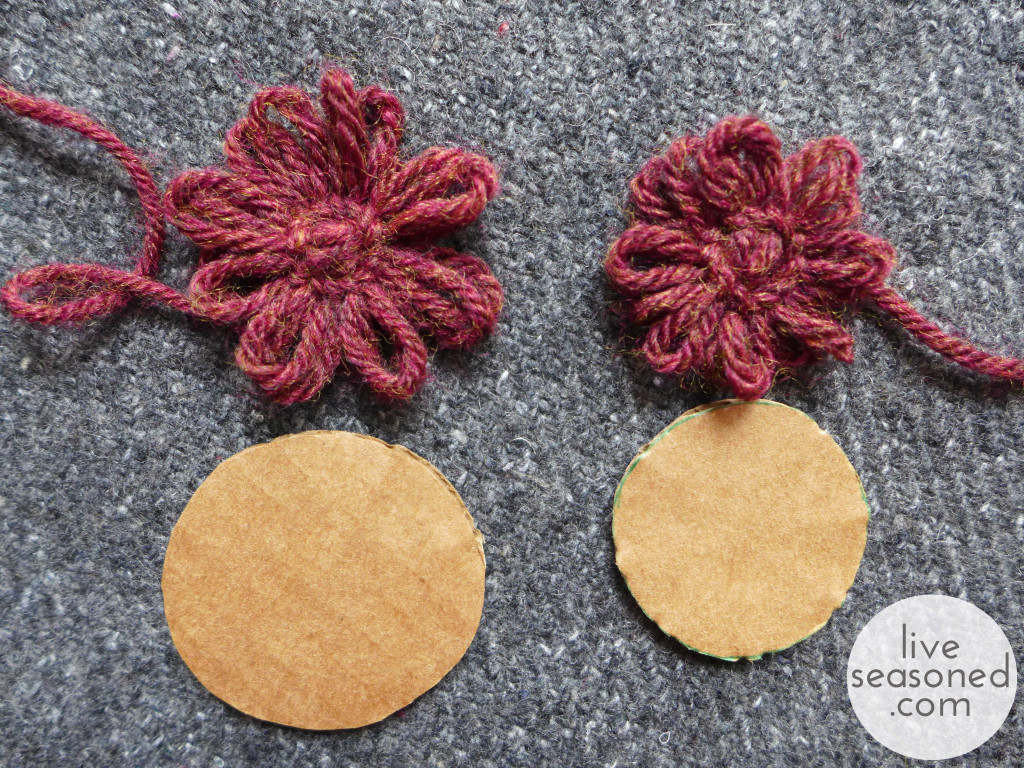
In the video, 12 toothpicks are used, but as I mention, you may need as few as 8, depending upon how large and full you make your flower. I made my flowers with cardboard discs that were 1.5 and 2 inches in diameter. As you can see in these photos, the diameter of your disc determines the final diameter of your flower.  I wouldn’t go any smaller than 1.5 inches, and if I were to do it again, would probably uses discs that were 2 and 2.5 inches. As you can see, my flowers are quite full with only 8 petals, and I think 12 would have been too much, but may be just right for a 2.5 inch flower.

*Don’t cut off the extra yarn ends when you’re done making your flower – these come in handy for tying the flowers to the twine.

liveseasoned_fall2014_fruitgarland8_wm

Assemble the Garland

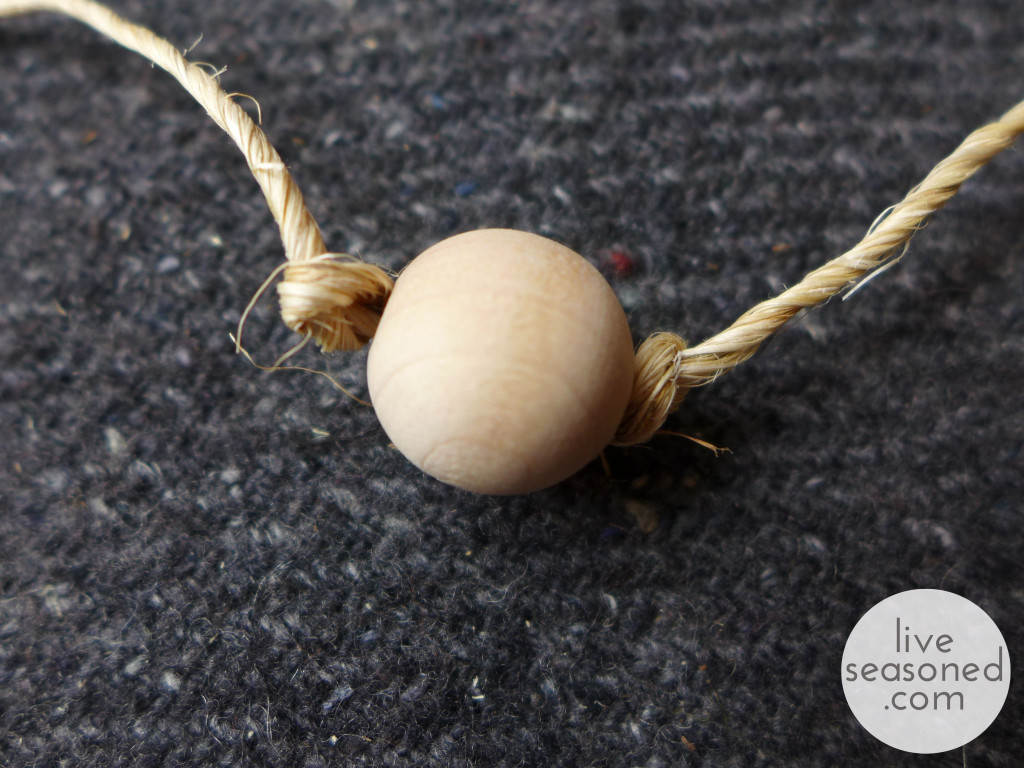
With your garland swag in order, it’s time to assemble! I attached the fruit with hot glue. In order to get the fruit to hang nicely, you should glue the twine on no more than 1/3 of the way down the slice (rather than along the widest part, if that makes sense?). If you glue the twine too far down, the weight of the fruit will cause them to face downwards rather than out. The flowers were tied on by the extra yarn ends. If you cut off the yarn ends, you could easily hot glue these too. Once tied, I then cut any excess yarn off. And to make bead placement easier, I strung a whole bunch at once (as you saw in the photo above), then just knotted the twine on either side of the bead.

liveseasoned_fall2014_fruitgarland12_wm

With those instructions, just go for a random placement of your items, but still keeping in mind that odd-numbered groupings are more appealing. The beads sort of act as breakpoints in your garland, so I thought it was useful to place 3 or 5 of the fruit and flower items between any two beads.

liveseasoned_fall2014_fruitgarland13_wm

 Hang it up!

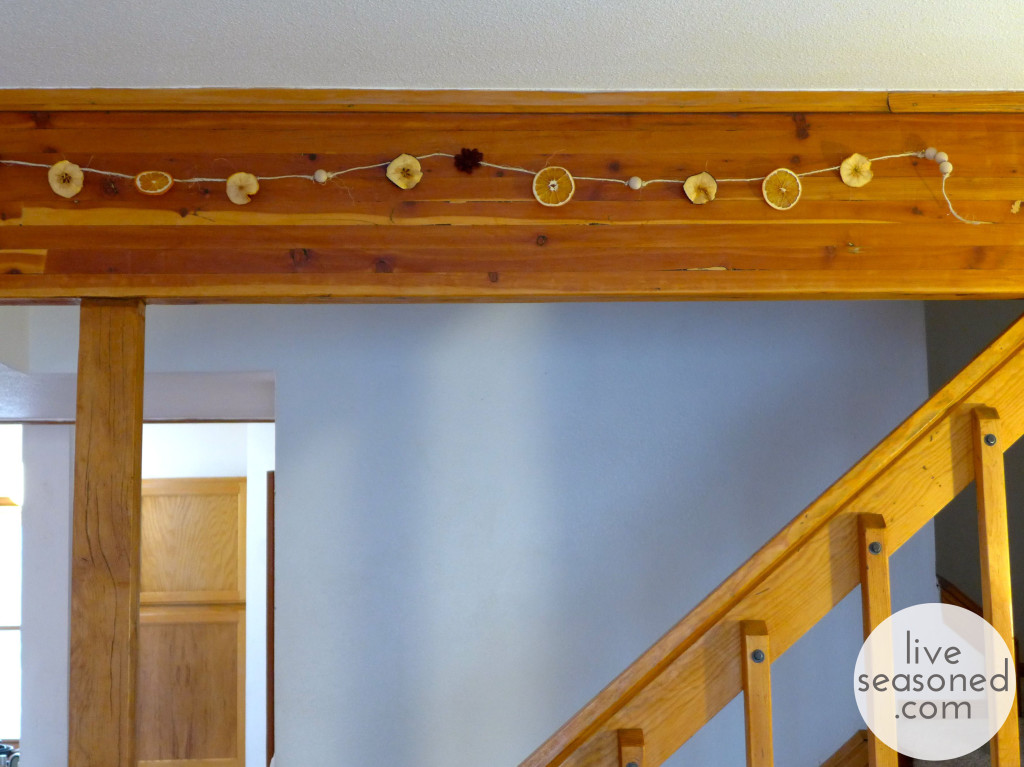
And now comes the hardest part, figuring out where to hang your garland. I started by stringing mine along one of our ceiling beams and thought that it looked OK, but maybe a little bit too puny for that space? What do you think?

liveseasoned_fall2014_fruitgarland14_wm

From there I took the garland over to our fireplace. First, I tried stringing it along the mantel and letting the excess hang down on either side. I loved the look of the garland along the skinny front of the mantel, but knew that if we were to keep it here, I’d have to shorten the ends to keep Little A from pulling on or trying to eat it.

So I moved the garland with the same hanging profile to above the mantel. I’m not completely in love with how it looks here, I feel like there’s nothing specific that’s anchoring the garland to that spot (am I wrong?). I do love being able to see it as we sit on the couch, especially when I catch a look at the fruit in the glow of the candle light. But, now what’s this renter to do with those ugly brown vents? Any tips?

So, that’s our simple bit of decoration for November. Just enough to tide me over until I go evergreen and light crazy!

Knitting – WIPS

For me, July was all about moving, settling into our new home/city/state, re-teaching little A how to go to sleep in this new and strange place, and other fun life duties. But then we flipped the calendar to August, there were no more boxes to unpack, Alex became a wonderful and prompt 7:30pm sleeper, and my evenings were free, albeit chained to the house with the little guy upstairs, but free none-the-less. It’s given me the time to get crafty again, and, as always, I turned first to my knitting basket. I have boards of non-knitting crafts pinned, but those will have to wait until I get at least one or two of these projects finished!

liveseasoned_summer2014_wips3_wm

Anyway, I thought it would be fun to share a few works in progress, hopefully passing along some knitterly inspiration to you, because even though the days are hot, the evenings are perfect for working on small projects for the coming fall and winter. In the mix are a variety of projects and swatches, some from published sources others are experiments.

liveseasoned_summer2014_wips9_wm

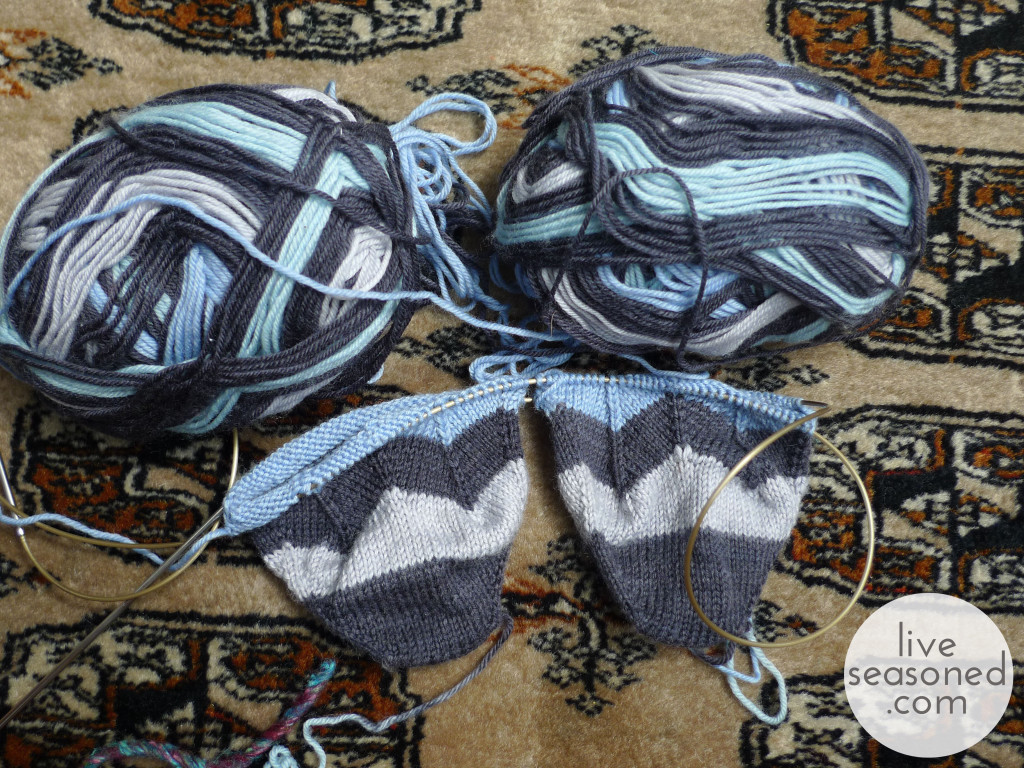
The socks. I always have some socks in progress, because as any wearer will tell you: they are so much better than store-bought socks! Hand-knit socks are the only ones that stay up when I’m wearing my Sorrels. Sorrel wearers know what I’m talking about, it seems like every other pair of socks is pushed off my feet within the first 10 yards of a hike through the snow.
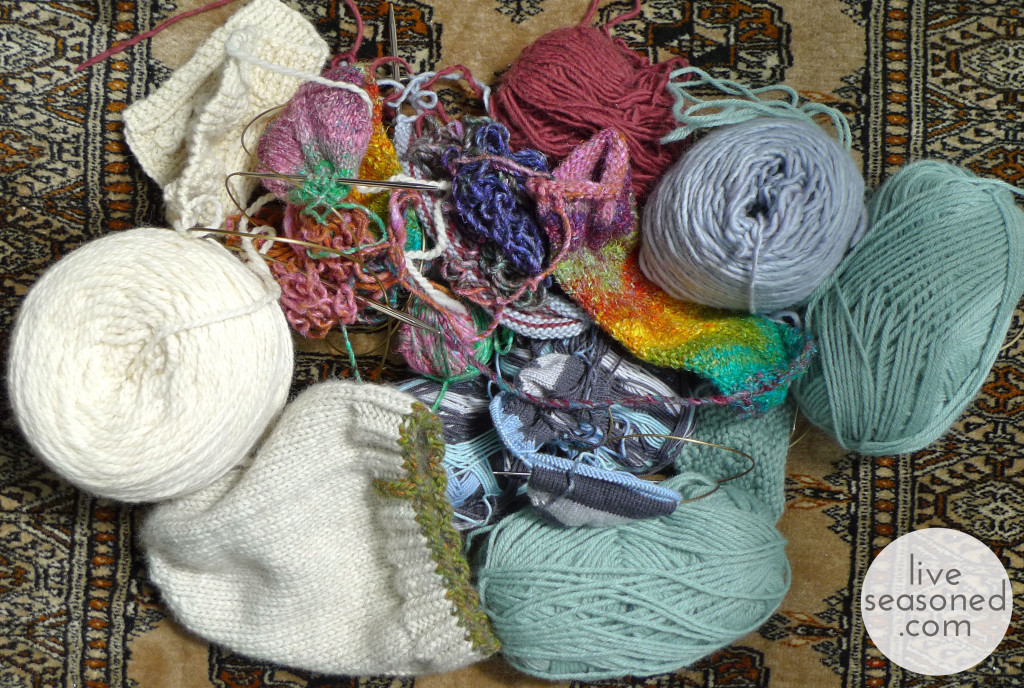
Pattern : Jaywalkers (that link opens a PDF of the pattern)

Yarn : from Knitpicks, but it looks like they’ve discontinued the self-striping sock yarn.

liveseasoned_summer2014_wips6_wm

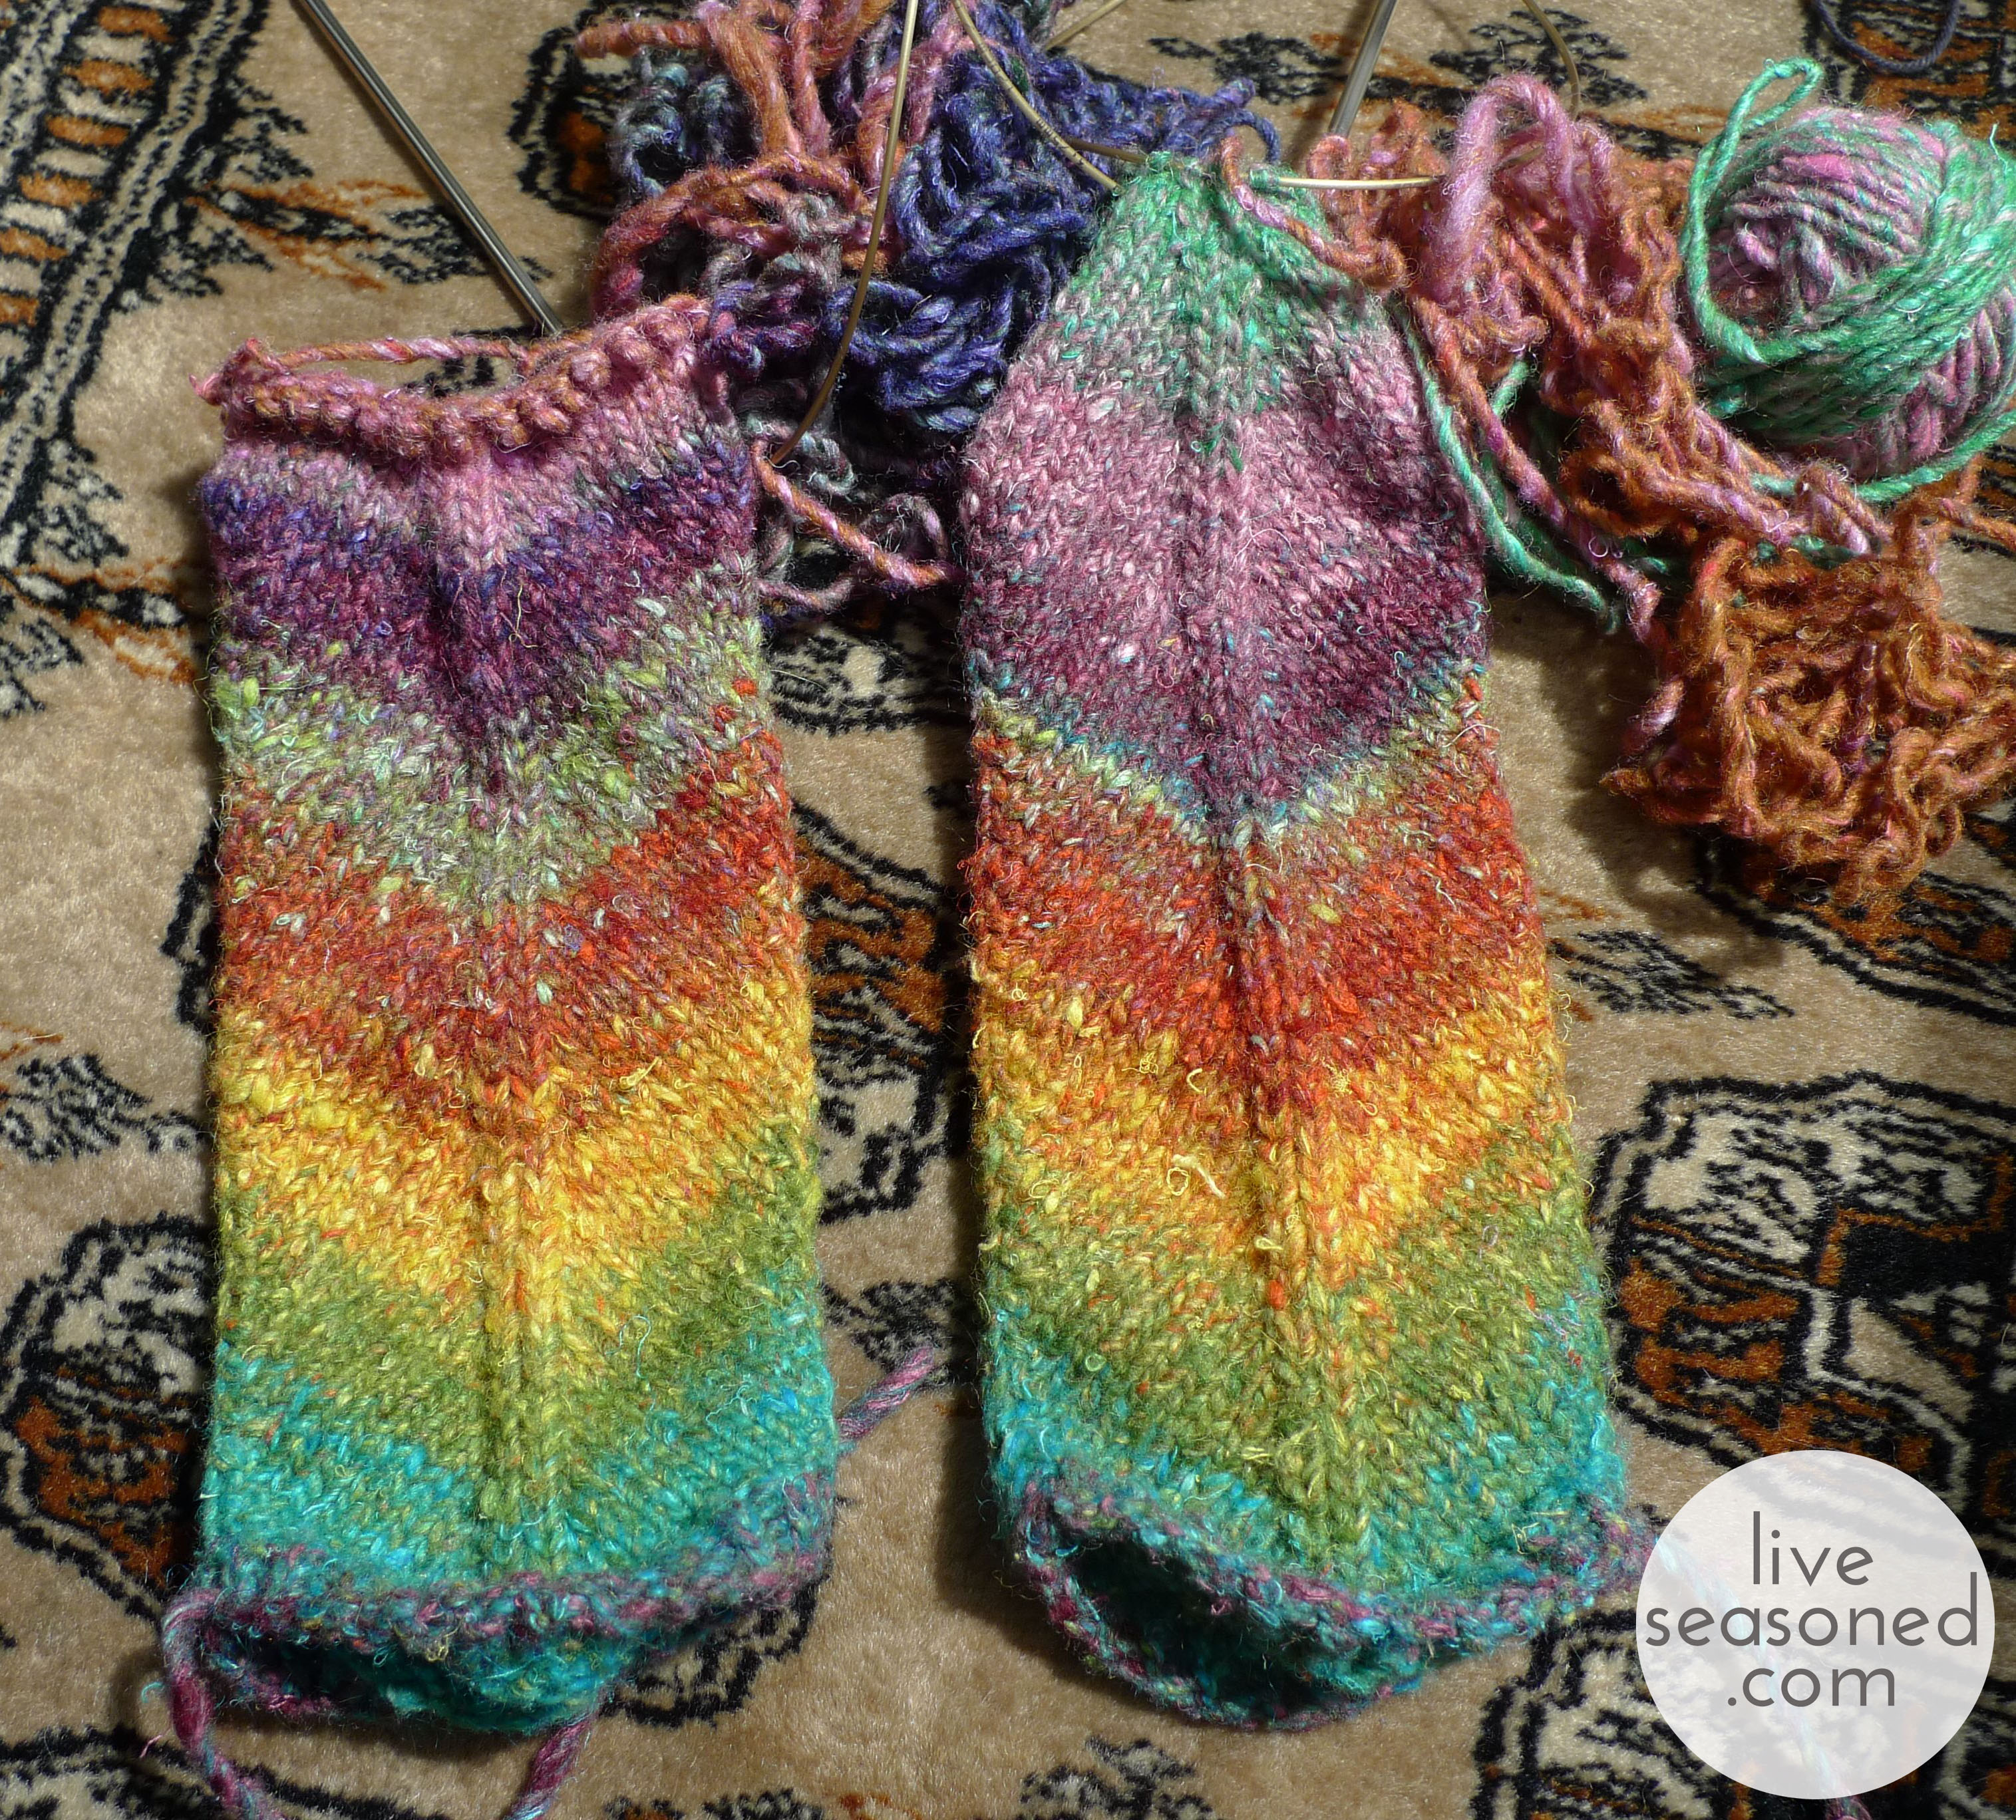
After my favorite mittens were completely (and utterly) destroyed by moths, I knew I had to make another pair. The first pair was made with Noro Kochoran yarn, which is mix of wool, silk, and angora, and the the mittens perfectly warm, soft, and durable. I picked another Noro yarn, but lost the label and am stumped as to what it’s called. It’s also knitting up beautifully, but as you can see at the top I’ve run into some color issues – the ball was cut and tied together at a different color sequence, so I’m trying to work with what I have to get a somewhat matching pair. Next will come the thumbs – you knit these mittens without thumbs and then go back, cut a hole where your thumb should be and knit the final piece!

Pattern : Elizabeth Zimmerman’s Mitered Mittens found in the Knitter’s Almanac

Yarn : Noro

liveseasoned_summer2014_wips4_wm

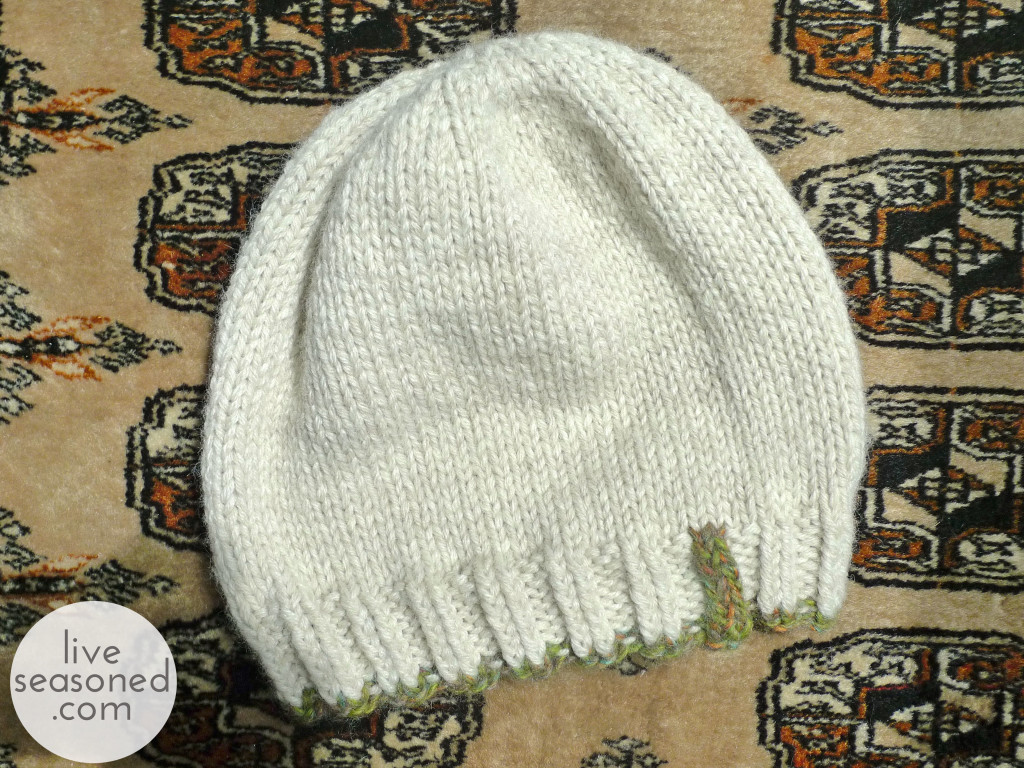
I wanted a quick and dirty hat. Something that was easy to knit, used some yarn from my stash, and would be the perfect thing for an evening around a campfire because we are yearning for a few good camping trips this fall.

Pattern : My own. Cast on 76 stitches, do some 2×2 rib, knit straight until it was long enough and then do some quick decreasing.

Yarn : Lionbrand Woolease and Amazing

liveseasoned_summer2014_wips5_wm

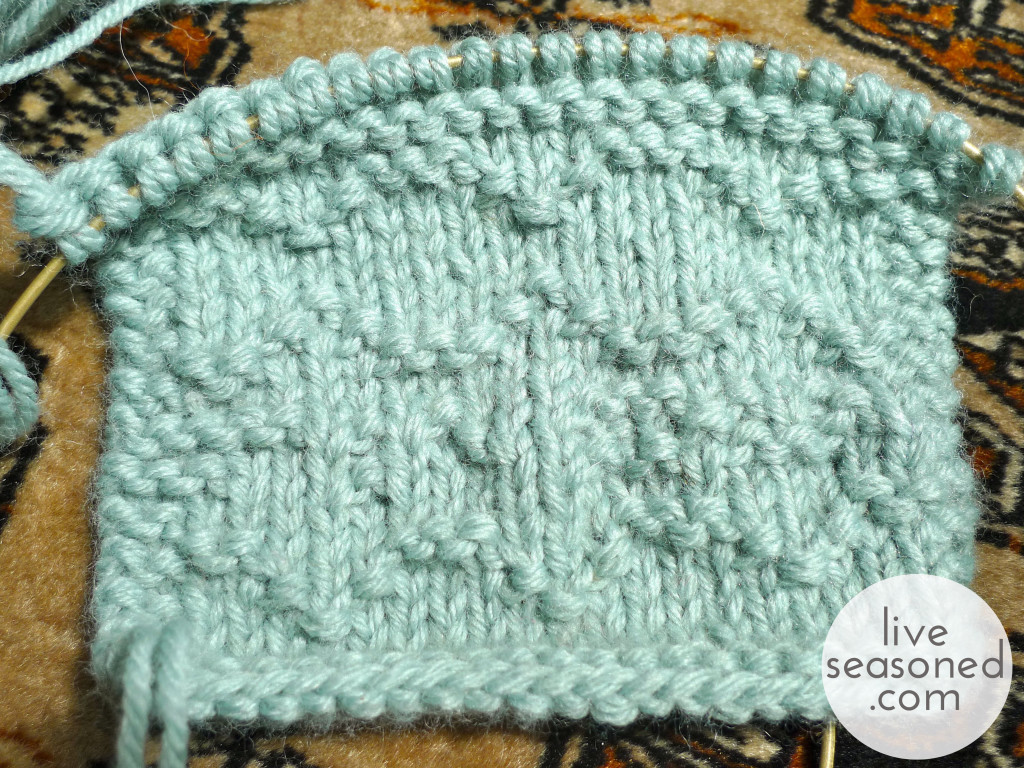
After the flat and plain knitting of the hat I craved some texture. The swatch above is a little experiment that I’m hoping to turn into a hat with a secret message! More on that soon.

Yarn : scraps from my basket

liveseasoned_summer2014_wips8_wm

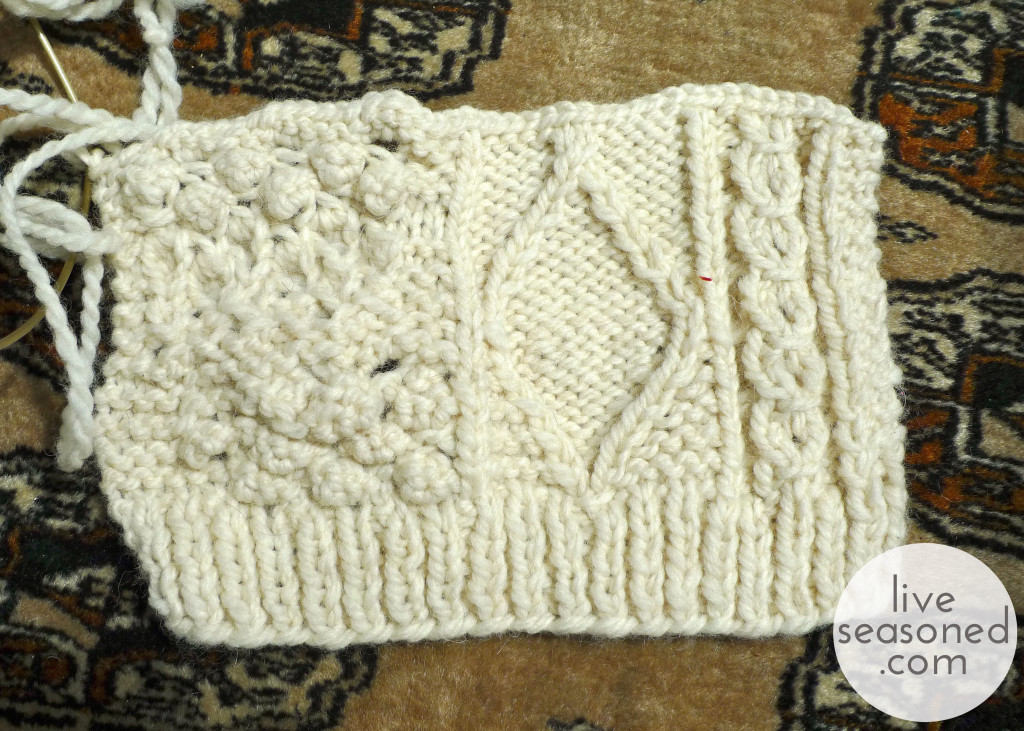
I have another swatch that I think I’ve finally come to terms with. This is for a sweater that I’m re-knitting for a friend. They purchased the original years ago from Pier One (when it used to sell clothes) and they love it so much that they would like another one knit. I used the swatch above to work out the original cables and bobbles. The cables were fairly straightforward, but getting the right size and spacing for the bobbles was a chore. You can see those on the panel on the left. Now I just have to work out the gauge and we should be good to go. This is another one that I’m going to share in more detail as it progresses!

Pattern : copying an old sweater

Yarn : Cascade Ecological Wool

liveseasoned_summer2014_wips10_wm

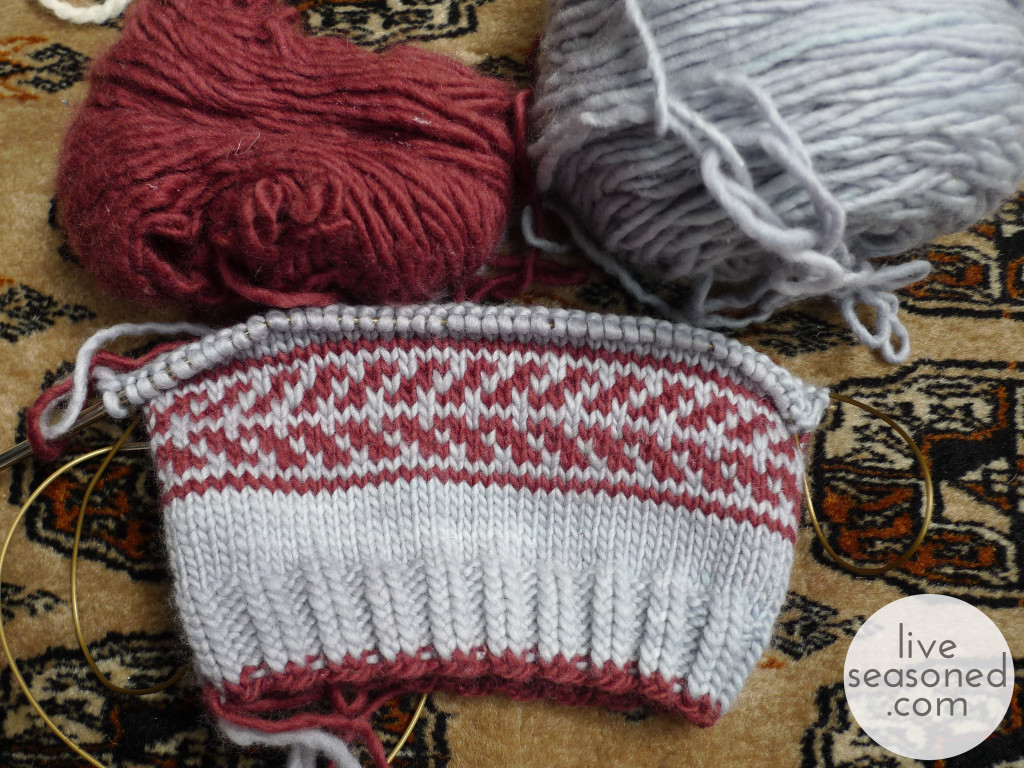
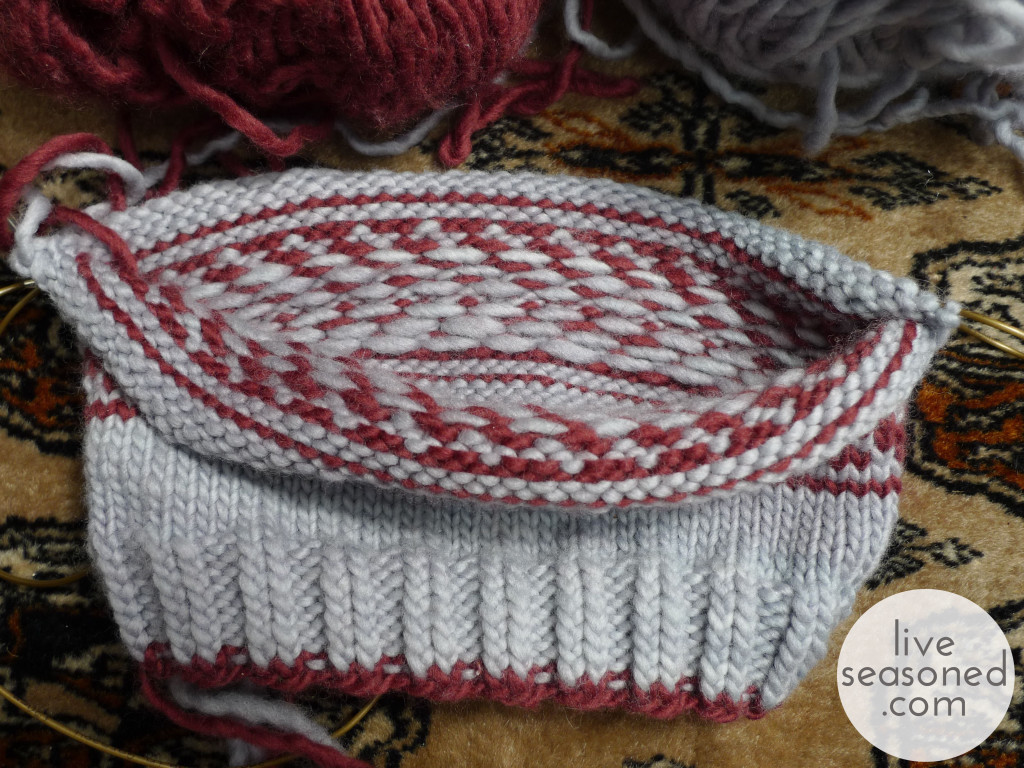
And this last one is a hat for little A. It’s been so much fun pulling out leftover balls of yarn that are too small for adult projects, but perfect for the little guy. Here I’m using some leftover yarn to make him a hat. It’s my own pattern, and really nothing special. [Sarah here: You’re nuts! I think it’s super special!!] Since Alex loves (LOVES) all things trucks, I thought I would use stranded color work to try to make a tire track around the hat. I don’t think the track is obvious, so I’ll have to work on that for the next hat, but it’s good enough to add a stripe of color!

Pattern : none, yet!

Yarn : Malabrigo Merino Worsted (so soft and perfect for little noggins)

And the nice thing about using stranded color work in a hat is that you get some extra warmth from the double-layer of yarn:

liveseasoned_summer2014_wips11_wm

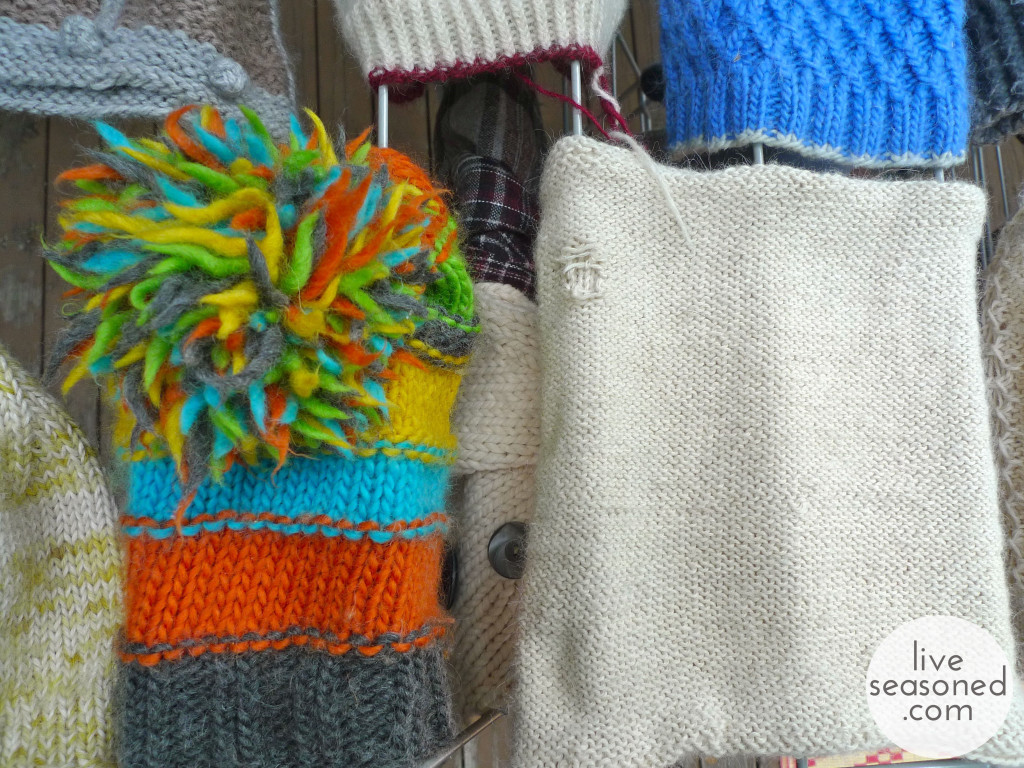
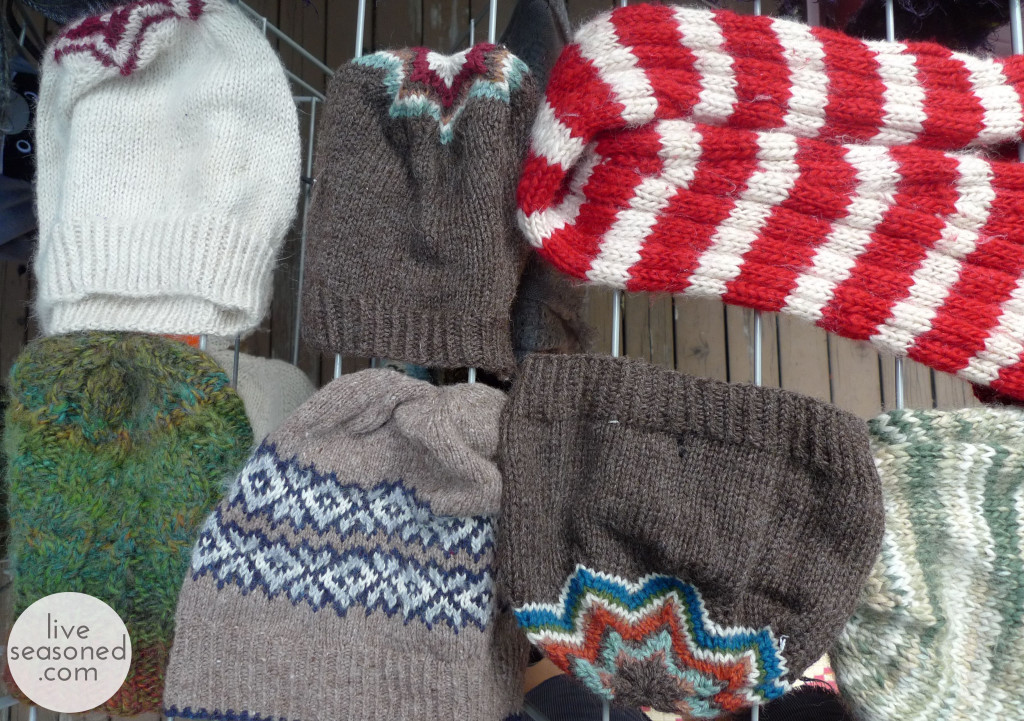
The embarrassing thing about all of this knitting? We have so many hats that we aren’t going to go cold anytime soon. I had to say that before I show you what else I’ve been up to. Summer (at least in Colorado) is the perfect time to wash your wools and get them ready for the season ahead. We have plenty of dry days, so I can wash the wools in the bathtub and then put them outside to dry and within 24 hours they are done! The humidity of the East Coast may not create the same results.

liveseasoned_summer2014_wips2_wm

As I wash, I’ve been looking for other moth damage. Some of it is years old, but this may actually be the year that I make those repairs. A few hats in these photos are duplicates that I’ve made as I try to work out a new pattern or idea… which will hopefully come to a blog near you!

liveseasoned_summer2014_wips1_wp

So tell us, what sorts of crafts have you been working on? Something out of season, like knitting. Or something perfectly in season, like digging that backyard bbq pit (that’s a craft, right?).

If you have any questions or want more details about any of the projects you see in the photos, just let us know.


Yarn Tassel Garland

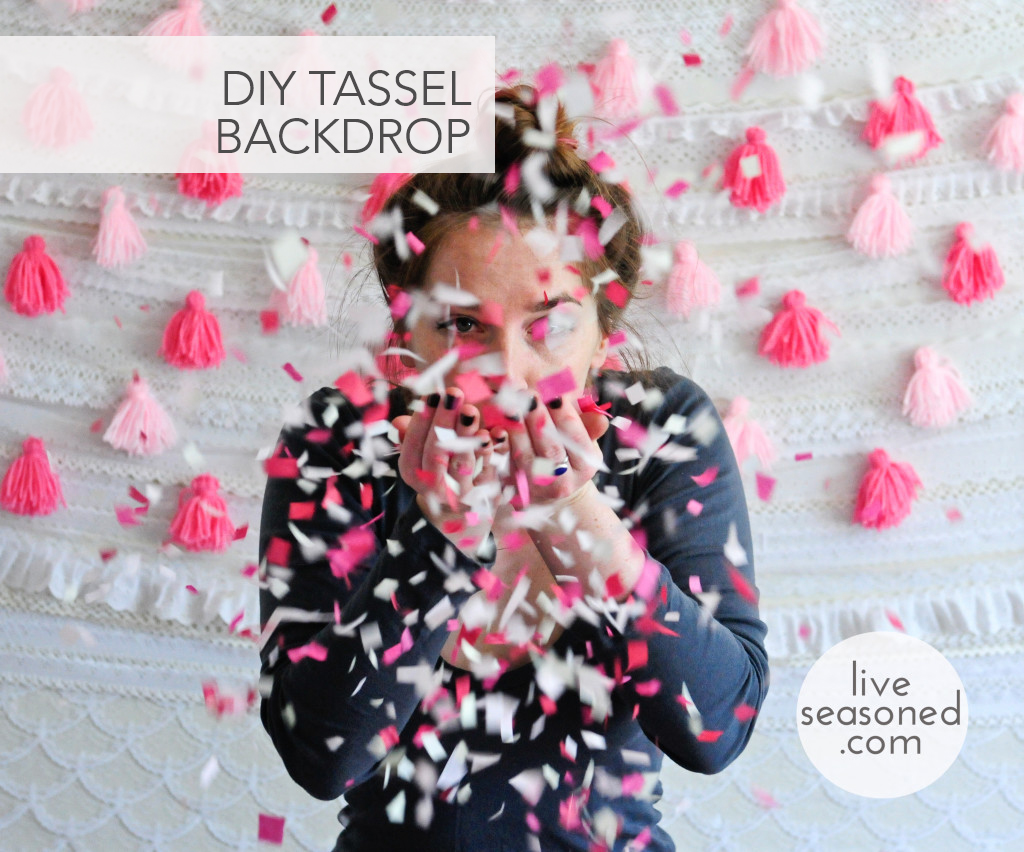
I’m loving these sweet and simple yarn tassels.  Knowing that I needed a cute backdrop, I decided to hop on the yarn train to garland town.  Once I got started, I quickly decided that one can never have enough fun fluff to string about the house.  I’m not sure my live-in boyfriend agrees, but if he says anything I’ll just shove a tassel in his yap trap.  These little tassels are really easy to make and their design is easily customizable to suit your tassel taste.

liveseasoned_spring2014_tasselbackdrop-2-1024x852 copy

Continue reading