Midsummer Magic

It’s the middle of summer, food is at its freshest, and the livin’ is easy, or at least it should be.

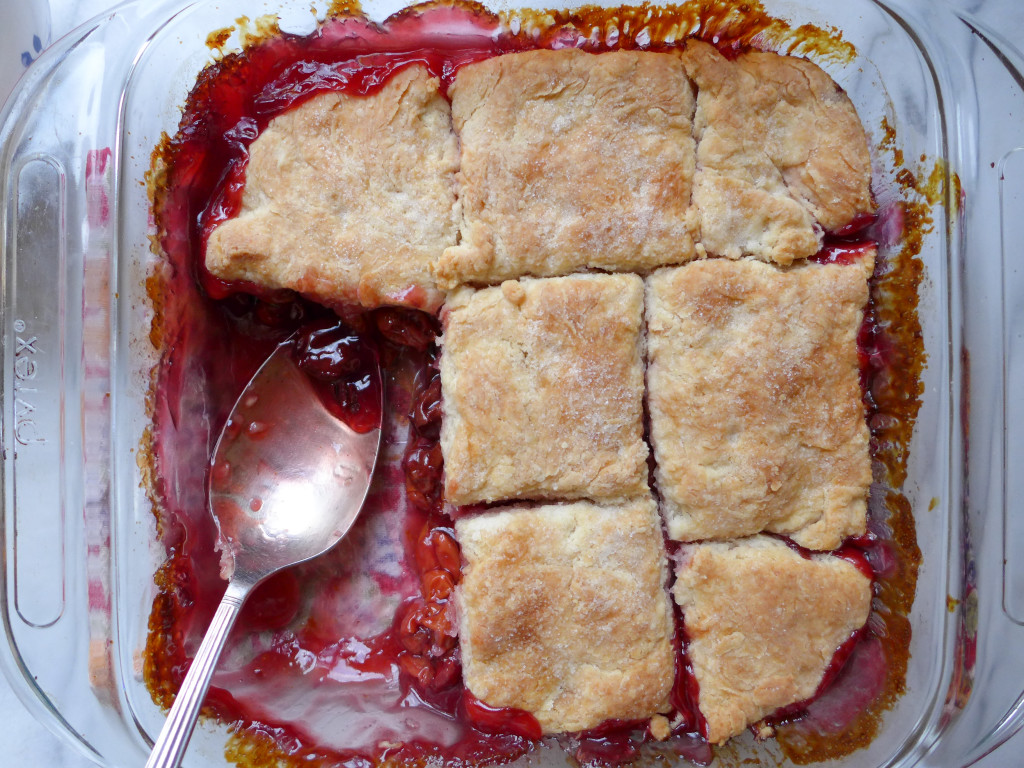
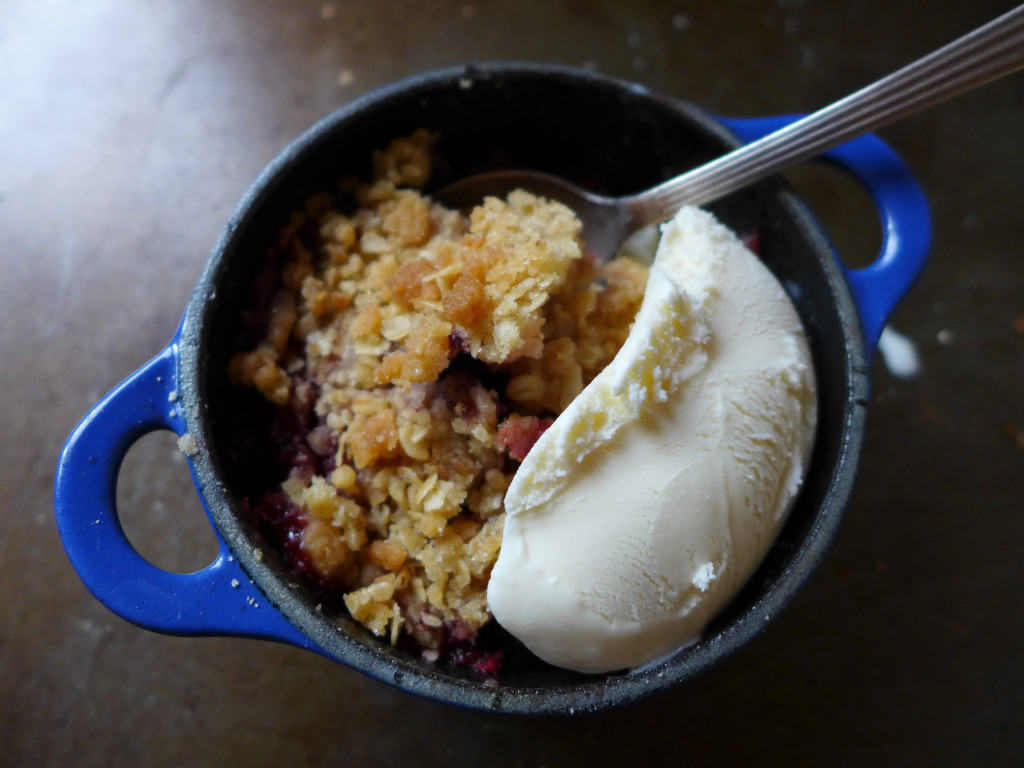
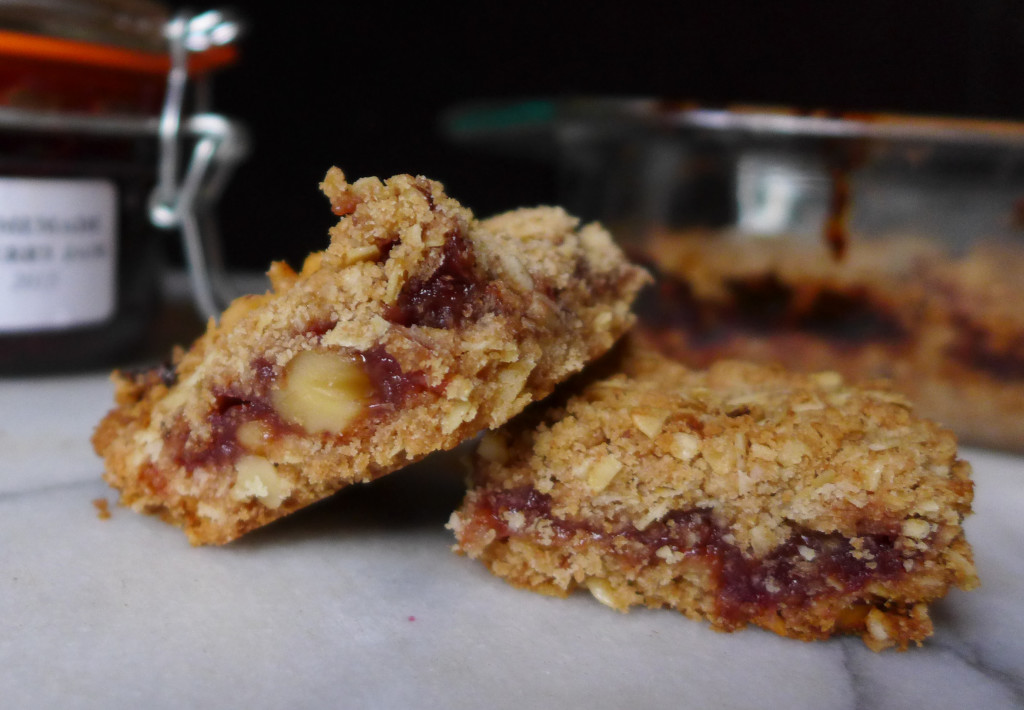
There’s nothing we love more at this time of year than the intense flavors and colors of fresh fruits, and there’s no easier way to enjoy them than to just throw them in whatever you’re making. Need some ideas? That’s why we’re here.

berry_mojito4

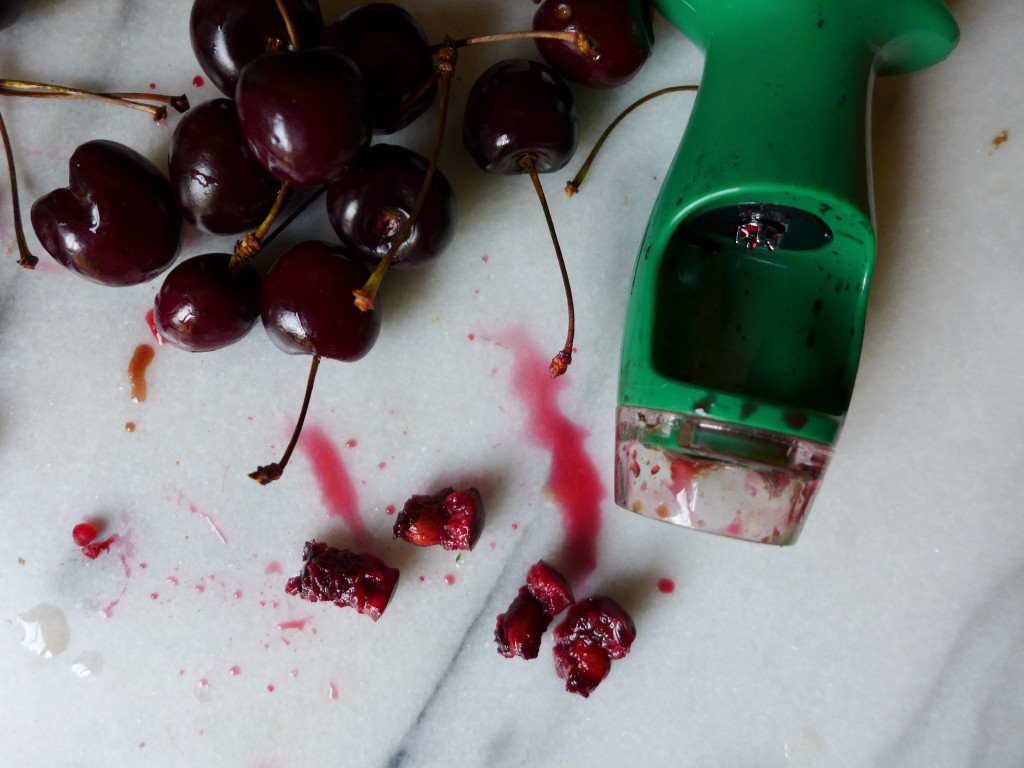
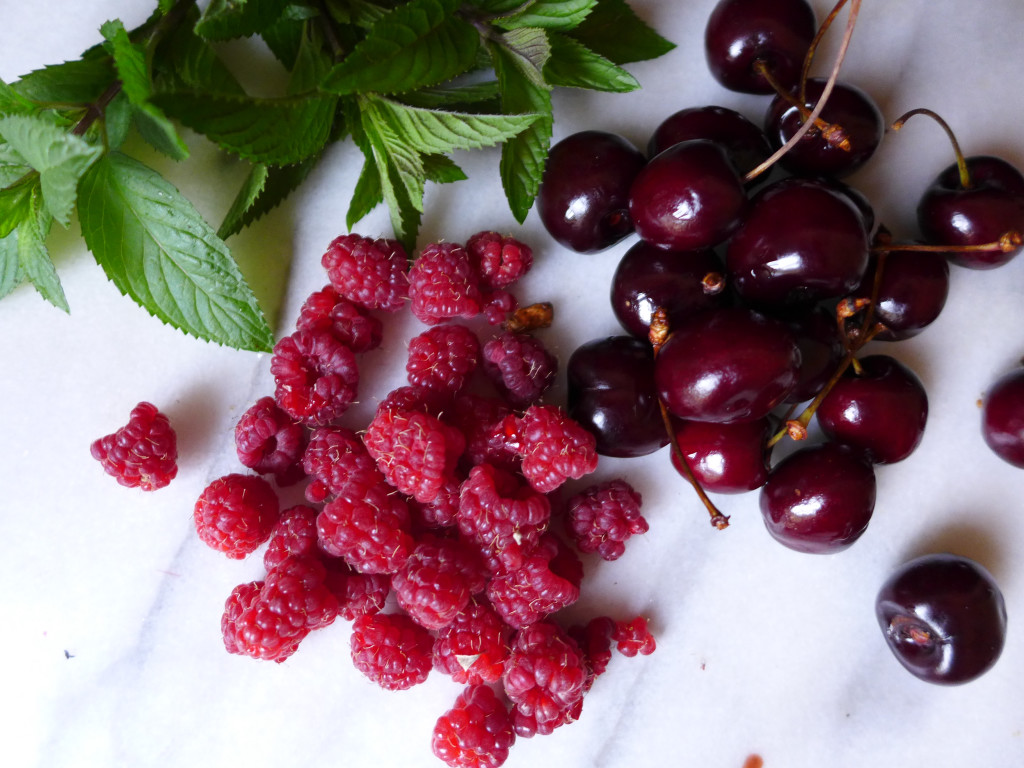
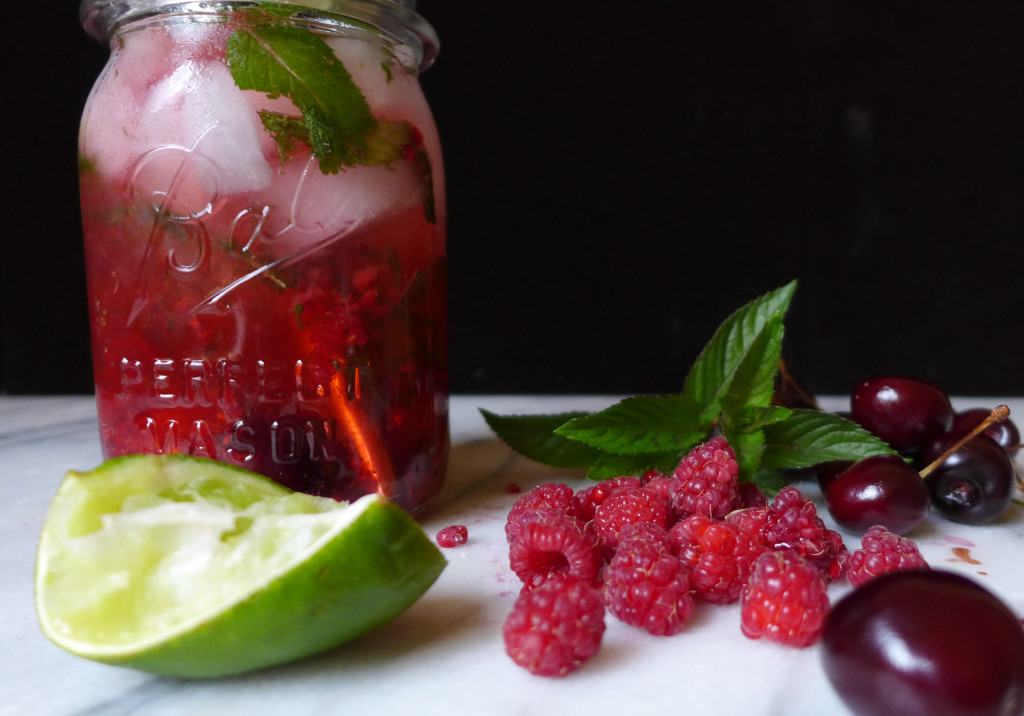
Last week I put some fresh raspberries and cherries in my mojito – smashing them up just a bit in the bottom of the glass before adding the rest of the ingredients.

berry_mojito5

berry_mojito

Serve cubed watermelon with mint for a refreshing treat on a hot day. If you like that combo, you’ll love our watermelon mojitos!

And if your garden’s still overflowing with mint, make some aqua frescas.

Add fresh figs and blueberries to your mocktails (or cocktails!).

Throw watermelon and blueberries in your smoothies with a tea-based twist.

What about watermelon in your gazpacho?!

Any ripe berry would go well in these yogurt-based popsicles. These lemon pops are another refreshing option.

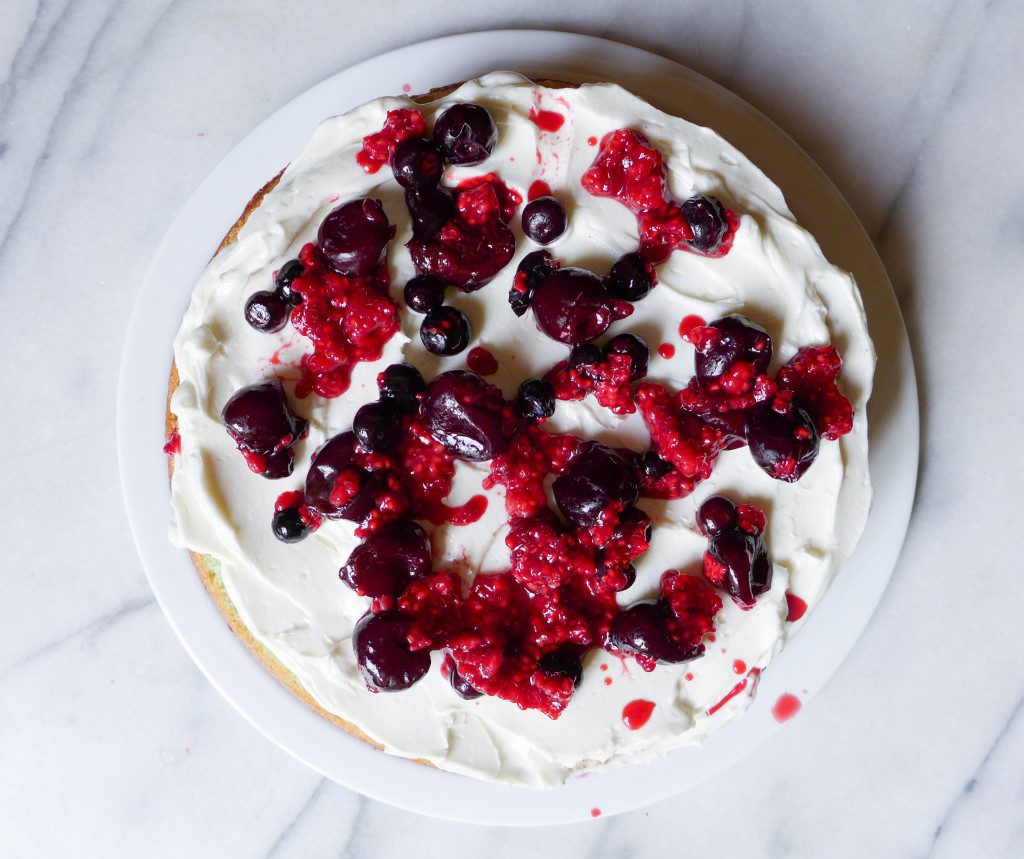
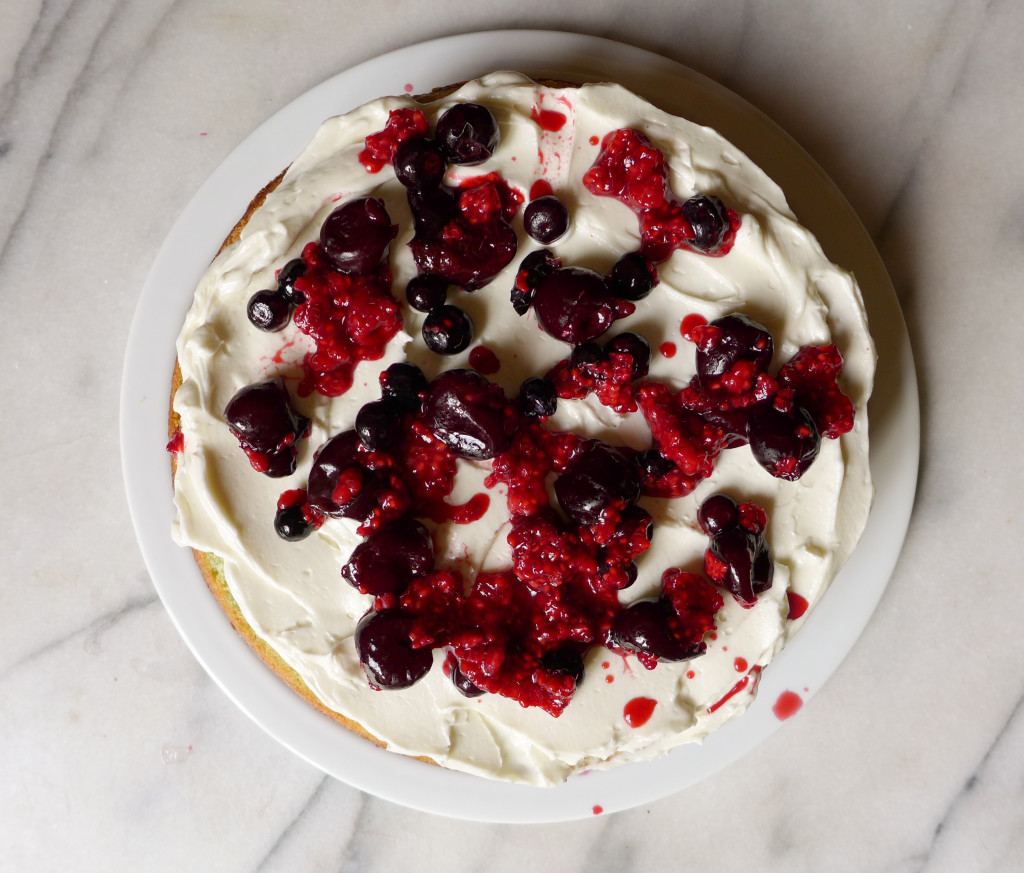
Yesterday Alex asked to bake a cake (nothing makes my heart melt faster than his request to do something in the kitchen!). He wanted a cake with “a blue middle and red paint on the frosting”. I let him add some food coloring to our batter, but then transformed his idea for red paint into a splattering of berries and their juices across the top. This is a basic yellow cake with our favorite coconut milk buttercream (scroll down).

berry_cake berry_cake2

Summer, and particularly July, is such a special time of year for us, and nothing tastes more like summer than perfectly ripe fruit; it’s pure midsummer magic. If you can get your hands on some, especially if you have the chance to get out there and pick berries, do two things : 1. eat as much as you can while picking, and 2. do something creative and special with the leftovers. You won’t regret it! xo


Garden & Pond Update

I’m documenting the growth, successes, and failures in our backyard space. It’s been about a month since I introduced you to the pond, and two months since I introduced the garden.

We have reached the height of summer here in the mountains. This is our hottest month, and while it seems dry out there, August is usually even drier. As you’ll see in the photos, there have been some real successes here in the garden, but what you don’t see is that there have also been a few failures/areas for improvement.

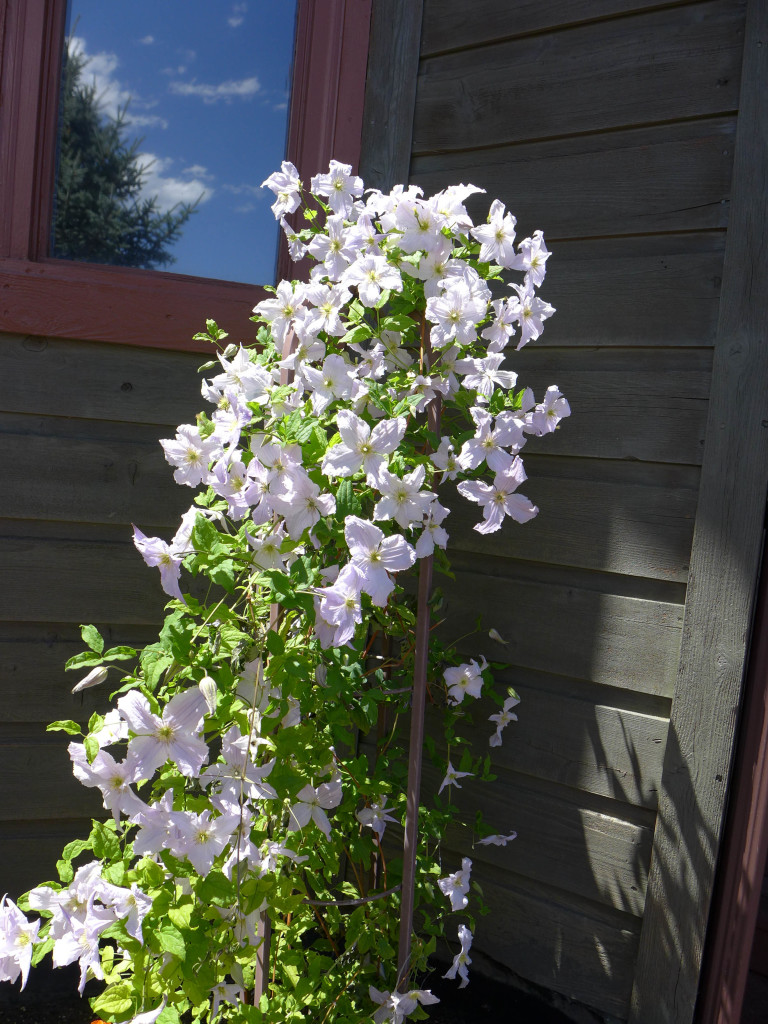
Fist, a surprising success : look at this clematis!

clematis

That vine grows in a small bed, that’s more like a container built into a little nook in our deck. It doesn’t have any irrigation, so the soil is extremely dry if not watered regularly. Last summer I was so busy with baby Luc, that I completely ignored this area. I barely watered it, and I didn’t care that the vine never grew (seriously, it grew maybe 10 inches and then died). Fortunately, with ample water, it came back in full force this summer and is covered in beautiful blooms!

I think that it also serves as a great reminder of the resilience of plants, and about how lush a garden can be with just a bit of care.

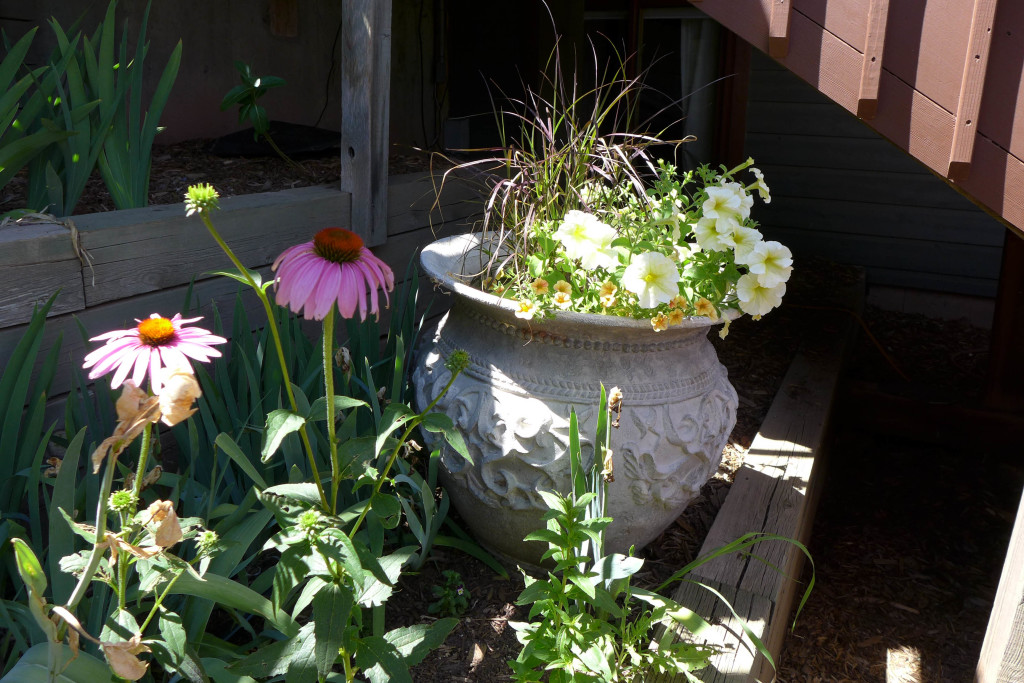
coneflower

In the photo above, I’m showing off the echinacea that I planted this summer. I planted four of these around the yard (two in this bed and two near the pond). As you can see, these are successfully blooming, and I’m hoping to let their seed ponds fall into the bed for some self-seeding action. Unfortunately, one near the pond died – it suffered from a lack of watering and also an attack by our garden mice!…

The mice seem to be living in the beds along the deck, and I’m looking for ways to get rid of them or at least minimize their foraging. They’ve been eating some of the black-eyed susan flowers that I planted as well as the veggies in our veggie patch (so we haven’t been eating the vegetables, just to be safe). Any mice advice?

Behind the echinacea is an extremely large pot – I have two of these, and both are planted with a purple grass and those flowers. I’m totally blanking on the name of those flowers. It’s a nice combination that’s done well for me two years in a row.

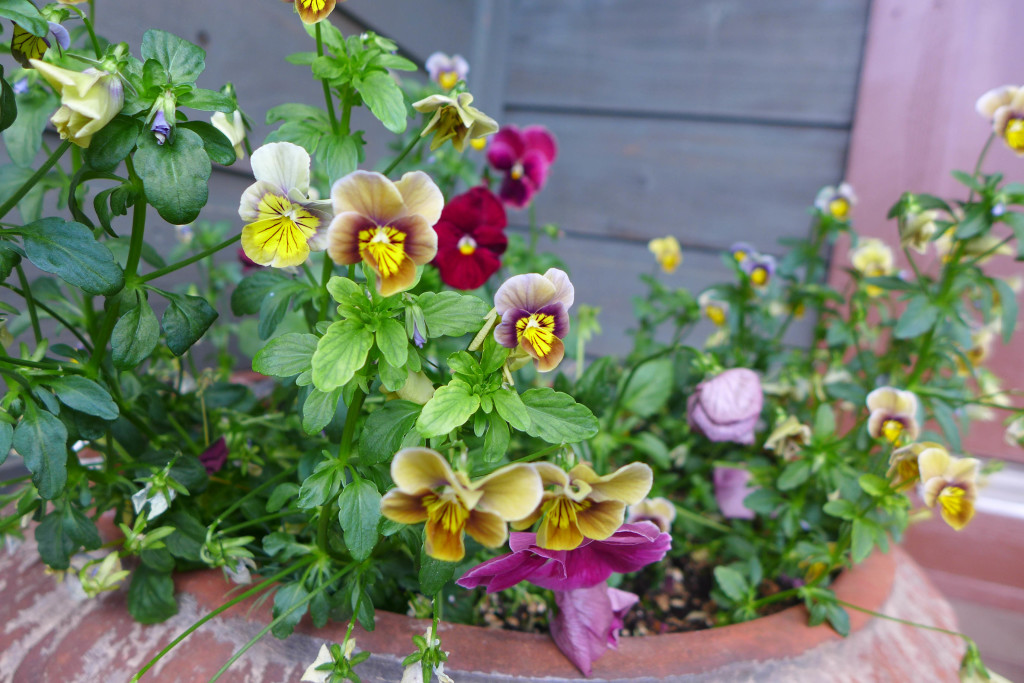
front_door_pots

The photo above shows one of my potting surprises. I planted these violas and pansies in early spring when I wanted something to fill the pot but knew that only something cold-hardy would do. I expected to fill the pots with something more heat tolerant once summer arrived, but these beauties keep flowering! They do look a bit leggy, but really not that bad, so I’m going to keep them here for a bit longer and then I’m hoping to transplant them to a shade spot under one of our Aspen trees, and see how well they do there (the violas should come back as a perennial).

raspberries

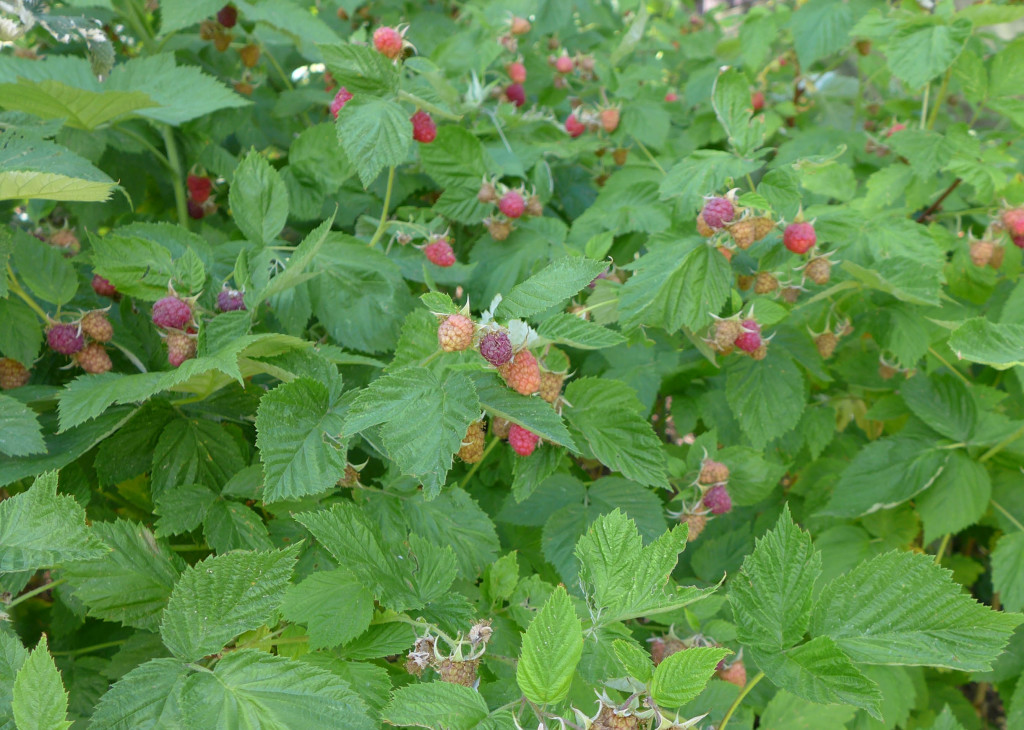
As I surmised in my introductory post, we have raspberries that fruit on old growth (known as floricane-fruiting). Since I cut down all of the canes when we moved in (spring of 2015), new canes grew last summer and now they are all producing fruit! We have so many berries out there right now, only a small handful of really ripe ones so far, but more and more and ready every day.

I’m not sure what method I’m going to use for maintaining the raspberries. Part of me wants to cut down all of the canes again after this growing season (new and old growth), but that would meant that then we won’t have any fruit next summer. Or, I could go in and selectively thin the canes – cutting down the old growth and keeping the new growth. If I’m feeling ambitious and have the time, I may try this method… either way, I’ll keep you posted, and in the meantime, we’re enjoying this year’s bumper crop! 
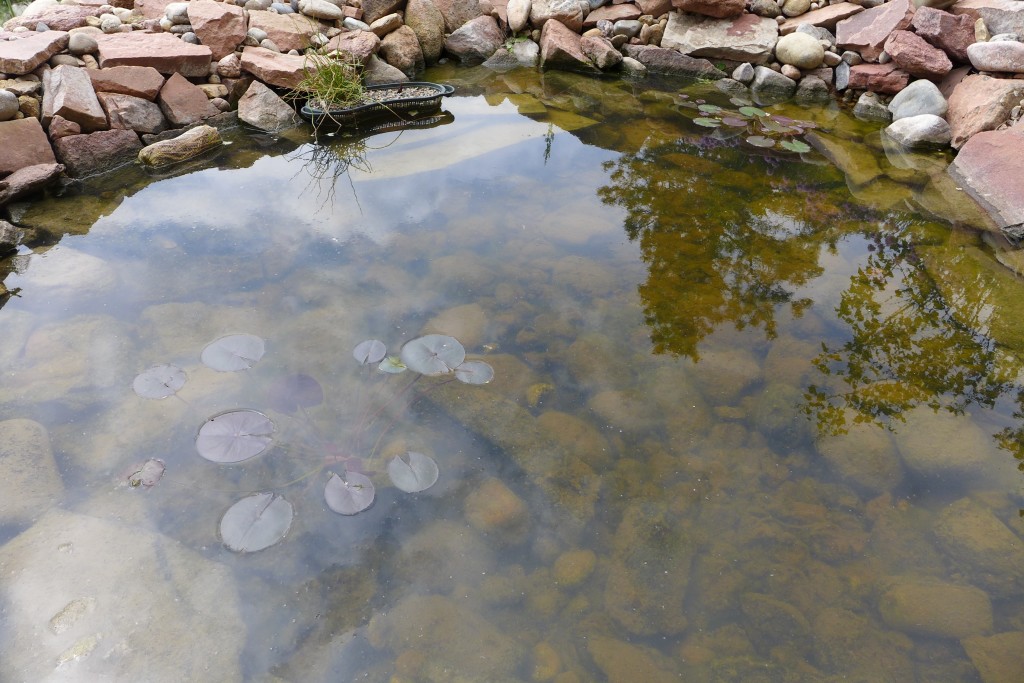
pond

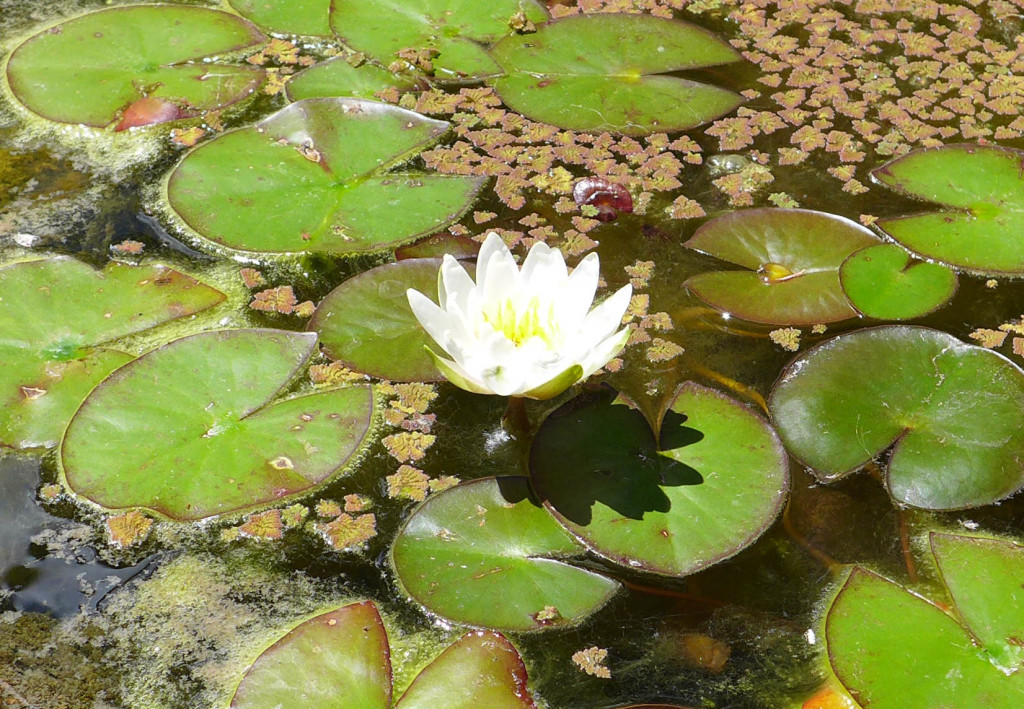
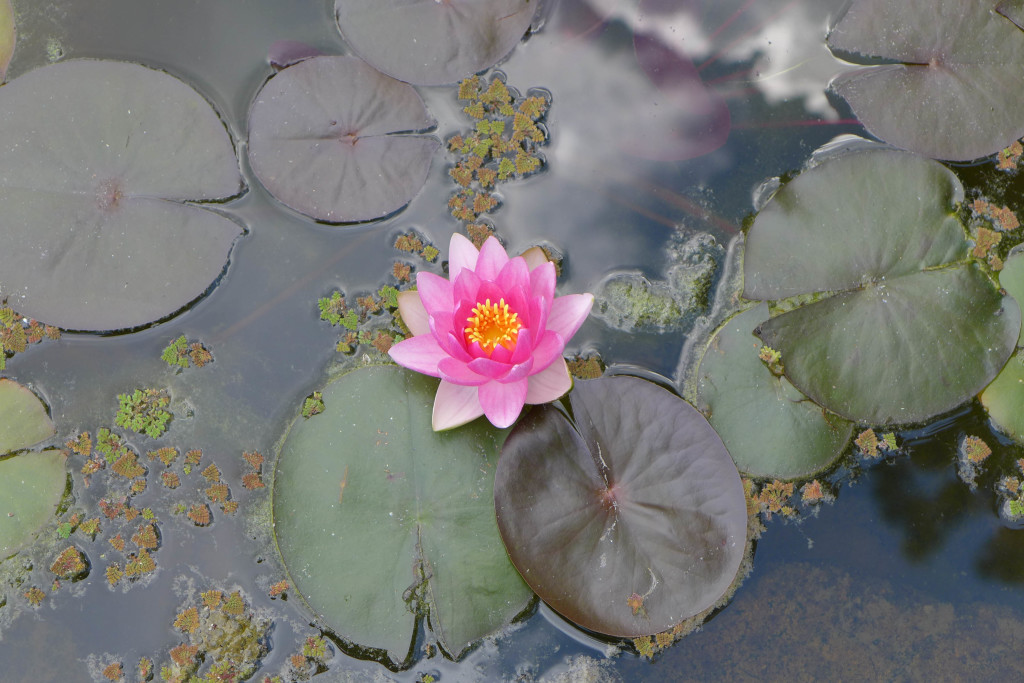
In the pond, our waterlilies are doing fantastic!… so is the algae! It’s a daily battle to go in and remove the string algae, but if I stay on top of it, the pond looks beautiful. We have these two lilies blooming right now, and I can see that the plants are multiplying – sending out new roots and plants within the containers. They seem to be such vigorous growers that I’m thinking about putting them in even bigger containers next year to encourage new plants.

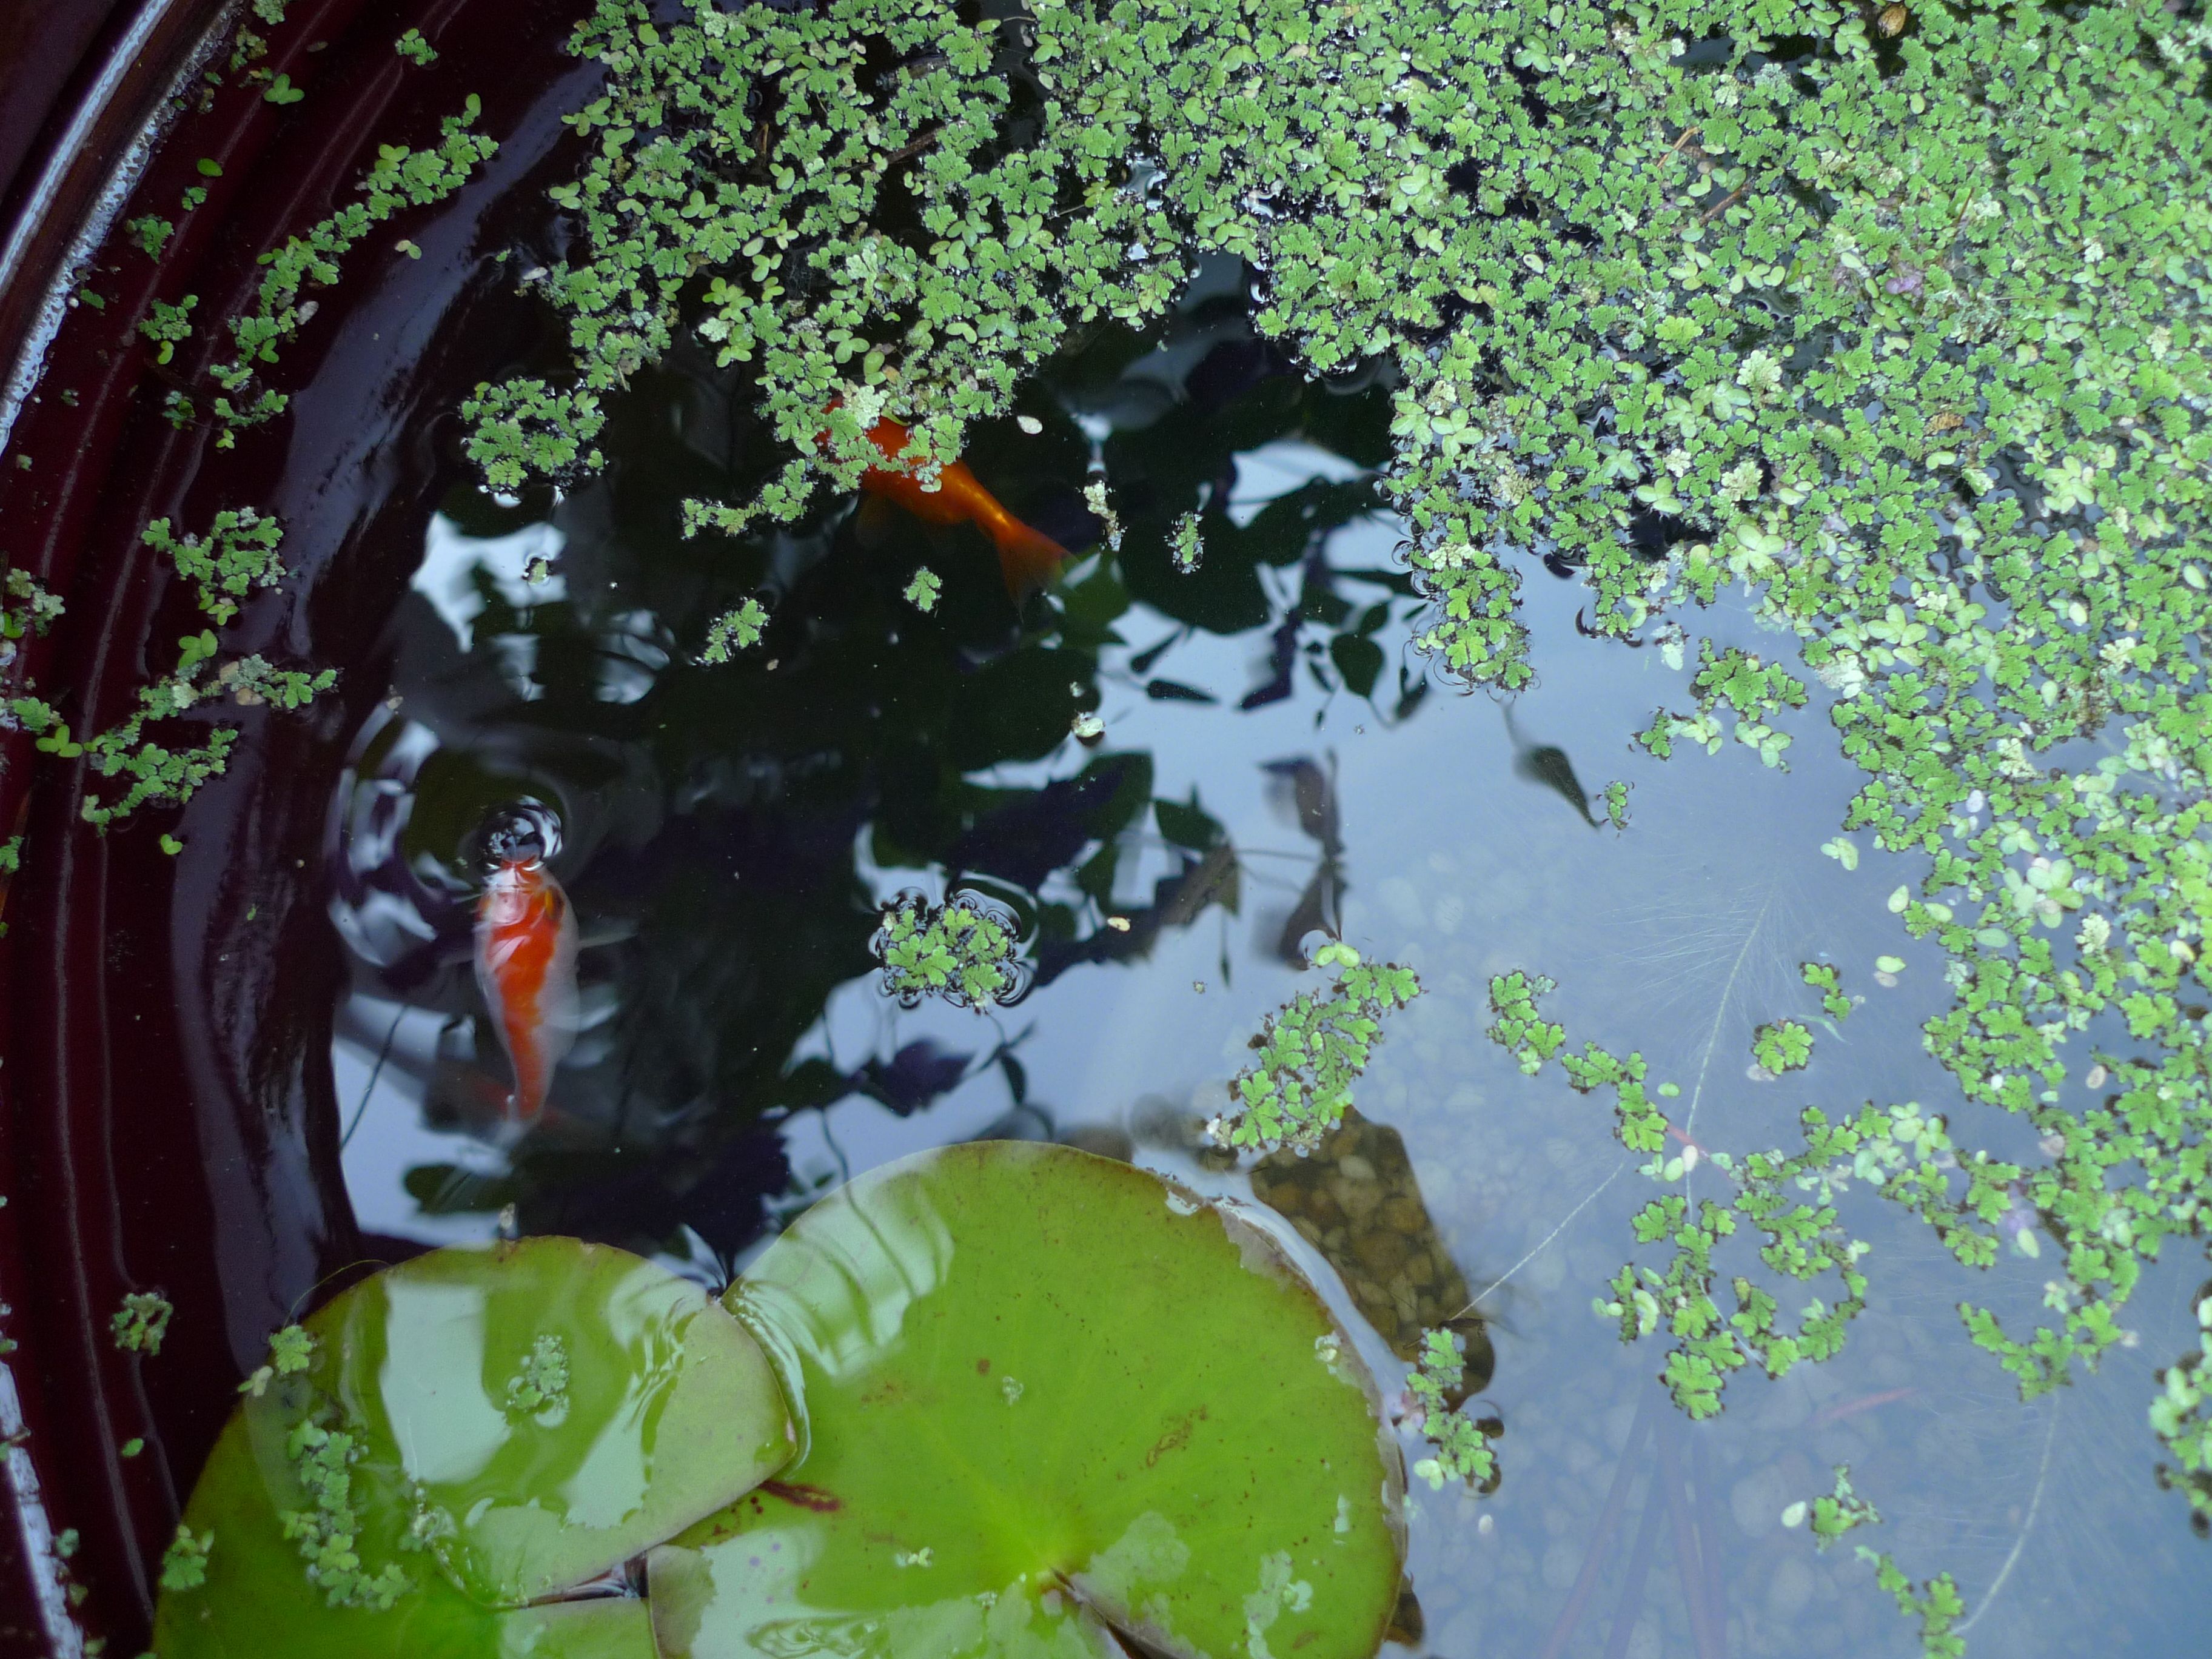
The smaller plants floating around the lillies are the fairy moss. It’s growing well, but I think that next year I’ll order even more, because it’s not covering the pond as quickly as I’d like (I want it to cover the pond to help shade-out the algae).

A few of our other pond plants are doing well, but are still relatively small, so I’ll share updates on those in a future post.

pond2

I’d still like to add a couple of fish to the pond, but without more plant cover, I think they’d be immediate prey for the birds and other wildlife around our house…

I’m definitely highlighting the successes, because that’s what makes the gardening fun, and these are the areas my eyes turn to every time I walk out the door. Maybe I’ll share more of my “eh” areas in the next post. There are a few spaces where I was hoping to see big changes this year, but I’m starting to realize that I may have to settle for a slower evolution of the space.

Garden Update : The Pond

Throughout this summer, I’m documenting our garden. How it’s growing, what we’ve planted, and any changes we make to the space. Here’s my introduction to the bulk of our flower and veggie beds here.

Ugg, we’re such lazy bloggers lately! I realized that if I didn’t put this post up soon, then I’d miss my window of opportunity for pond introduction photos. Without further ado ~

When we lived in PA, I experimented with a few water gardens on our deck. Click here to read more about those experiments and the Thai water gardens that inspired my experiments.

With this house we inherited a small pond. It’s not something that either Calder or I would want to instal in our yard, especially in such a dry area where it seems a bit frivolous, but since it’s here, I’m so excited to expand my water gardening to this bigger space!

pond - 1

The Pond

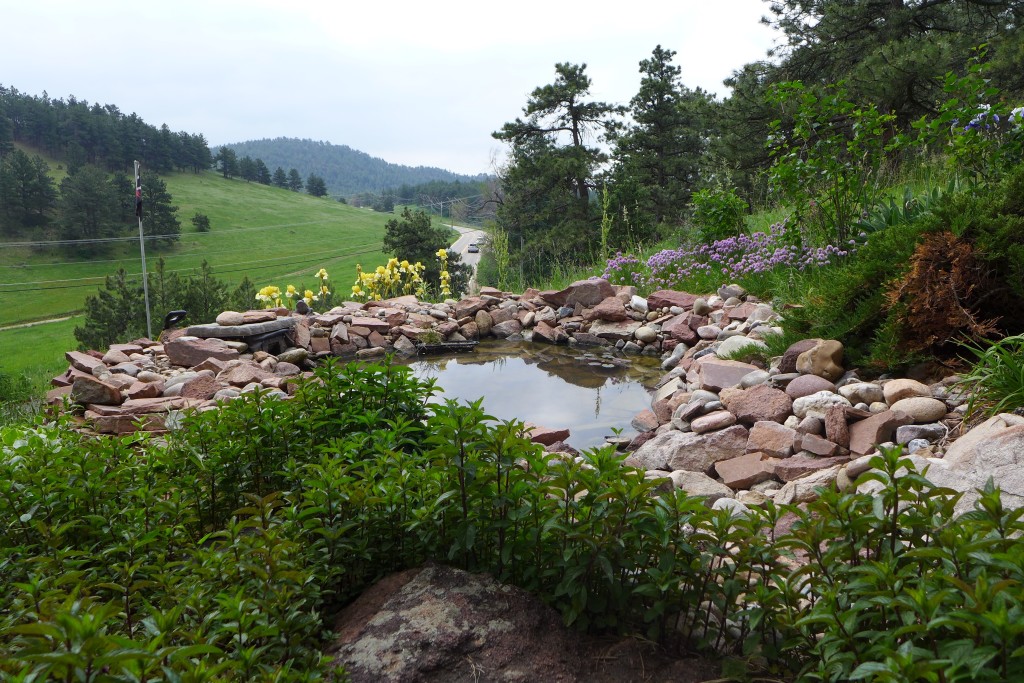
This pond is created using a waterproof rubber liner that is then covered with rocks. The pond is about 10 feet from our deck, and between those to spaces is a flagstone path with mint growing between the rocks (that’s what you see in the foreground above). The pond has a filter and pump system that pump water to a waterfall that’s about 6 feet high and 10 feet away from the pond. The water then trickles down a stream and into the pond. Last season we turned on the pump once (right after cleaning it), but then never used it again. This summer we’re hoping to tweak it slightly and use it a bit more, but I’ll discuss that feature in a future post.

Spring Cleaning

Both last year and this year we started the season by draining the pond and spraying it down to try to remove as much algae and silt as possible. I didn’t photograph that process, but realized I should next year. We learned a lot of things last year that made what was at least a 12-hour project the first time just a 2-hour jaunt this time.

We drain the pond with a big hose using this technique. You just fill the hose with water, submerging one end in the pond water and putting the other end at a lower point, letting gravity do the rest.

With a pond of our size, it takes a while for it to drain completely, so while it’s draining, I get to work removing the algae. I drag a large pitchfork through the water, picking up sheets/strings of algae that I then dump outside of the pond. As the water level goes down, I’ll hook another hose up to a water source and start spraying down the rocks on the side of the pond, trying to remove any algae and slime on them.

Once the pond is almost completely drained, you have to be careful that the draining hose doesn’t lose suction. It’s just a pain because then you have to fill it with water and get suction going again to get any remaining water. During this phase, I’m almost constantly spraying fresh water onto and between the rocks to wash out as much silt, slime, and algae bits as possible.

I don’t remove every bit of gunk from the bottom of the pond, but once I’ve done a fairly good job, the process is done and I start filling it again with fresh water.

pond - 1 (2)

Algae

If left unchecked, our pond came become overgrown by string algae. From what I understand, the algae is not a danger to us or other organisms, but cosmetically, it’s a bit unsightly and makes the pond look more like a swamp than an oasis.

One of the reasons that our pond seems to be a prime target is because it gets a lot of direct sunlight throughout the day, and just like other plants using chlorophyl to make their food, sunlight will encourage growth. I was told that I could eliminate the algae and have crystal clear water by adding bleach to the pond, but this is only a solution if I don’t want to have any other plants or animals growing in the pond (and if I don’t mind dumping bleach into the environment, which I do). There are a few other solutions, so this summer I hope to keep you updated with my algae successes and failures.
In addition to physically removing the algae (as described above) and using an algaecide (discussed below), I can try to physically limit the amount of sun reaching the water’s surface. One easy way to do this is by adding water plants that will grow on top of the water, so that’s what I’ll be experimenting with this summer.

pond - 1 (1)

Mosquitos

Because of the cool weather in the mountains and the lack of standing water in our dry climate, the mosquito population in the mountains is generally low. That said, we don’t want this pond to become a mosquito breeding ground. There are a few ways to avoid that.

Generally, mosquitos will successfully breed if they have access to the surface of still water and if nothing eats the larva. If we keep the waterfall on, this would agitate the water enough to deter mosquitos from laying their eggs. It’s unlikely that we’ll do that because of the noise, energy use, and increase in water loss that would happen. Another option is to cover the surface of the water in plants so that it’s hard for the mosquitos to lay their eggs. I’m going to attempt to cover most of the water with plants (more below), but it’s unlikely that we’ll completely cover the surface. If I do achieve relatively good plant cover, then I would love to add a few goldfish to the pond, and they would help to eat the larvae. So, there are some options, but they aren’t guaranteed to work at this point in our pond’s lifecycle.

So, for now, we’ve decided to add Mosquito Bits to the water. The mosquito pellets/dunks contain BTI, which is a bacteria that is toxic to the larvae and will kill them. The dunks are considered safe and non-toxic (when used correctly) for all other animals.

pond - 1

Plants

This year I’m hoping to do some experiments and expand the variety of plants that I grow in the pond.

Right now our pond contains two groupings of water lilies. Both are made up of lilies that I put in the pond last summer and they successfully spent the winter out there. Not only did they survive in our little pond, but they thrived, multiplying successfully in their pots. This year I repotted them and added another one that came as a dry root from Home Depot. I bought that one because it was so much cheaper than the live plants and I wanted to grow it as a test this year to see how well it does.

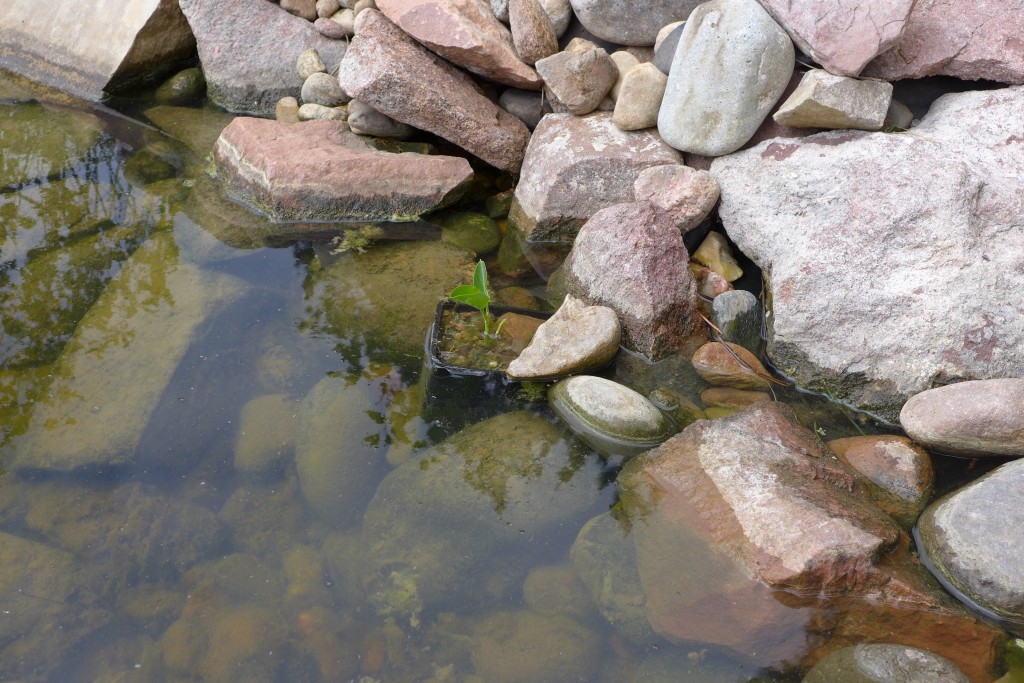
I’ve also added a curly rush, two canna lilies (from dried roots), and another mystery lily that I picked up in the pond section at Home Depot. You can see the leaves of the mystery lily just starting to sprout in the photo above. All of these plants live on the “margins” of waterways ~ along the edge where their roots may be submerged in water, but their stems and leaves aren’t. So I have them in pots near the surface of our pond. It isn’t the most beautiful presentation, but I’m hoping that the floating plants will disguise the pots, and if they plants are successful, then I’ll come up with a better solution next year.

I was going to use duckweed as a floating plant to cover the water surface, but I wasn’t happy that the batch I received in the mail. So just this week I placed an order for fairy moss (it’s the small floating plant growing in the photo above), and a couple of water lettuce (another floating plant that is larger, like a small head of lettuce, and multiplies like crazy).

~

That’s our pond in early spring. I’m hoping to get some lush growth from the plants this year. I would love to add a couple of goldfish, knowing that they will be super attractive treats for birds (thus wanting some good plant cover for them to hide under). We have a couple of frogs out at the pond now; we hear them but can never see them! Last year they laid eggs, so we’re hoping for another batch of tadpoles this year.

I’m excited to keep you updated as the pond grows and evolves this summer!

DIY Vanilla Extract

Vanilla is our ingredient of the season. So far we’ve made some vanilla-infused vodka (great for milkshakes!), a savory roasted chicken with vanilla bean, and some homemade perfumes with vanilla essential oils.

Forgive me for stating the obvious, but today we’re finally hitting on the key ingredient in every kitchen – vanilla extract! Who doesn’t have a bottle of vanilla extract in their kitchen? It gets used in everything. In fact, yesterday the boys and I baked our favorite chocolate cake, and even that called for two teaspoons of vanilla extract. 

liveseasoned_spring2016_vanillaextract5 - 1

My fist exposure with homemade vanilla extract was a few years ago when I received a bottle from my BFF for Christmas. It was amazing, and I cherished that bottle, wanting to use it but also keep it for ever because it was just so good. As you’ll see, DIYing your own extract is so easy that I probably should have reigned in my emotions a bit…

The key to make a quality vanilla extract comes down to two things : 1. quality beans and 2. time.

liveseasoned_spring2016_vanillaextract3

How-to

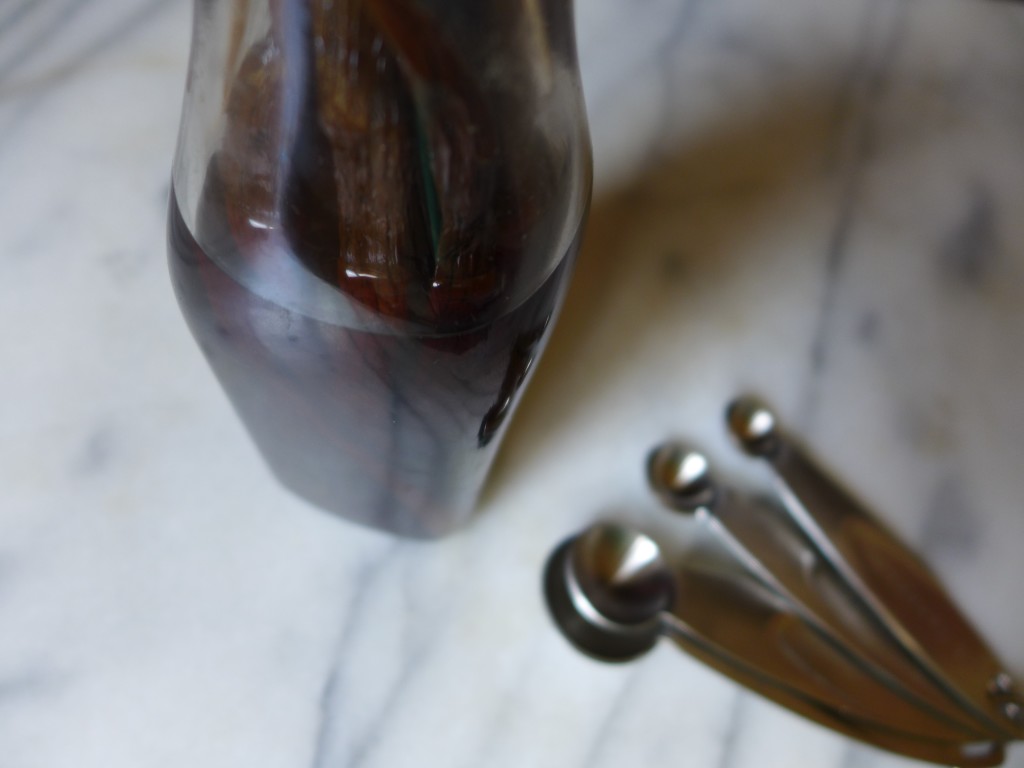
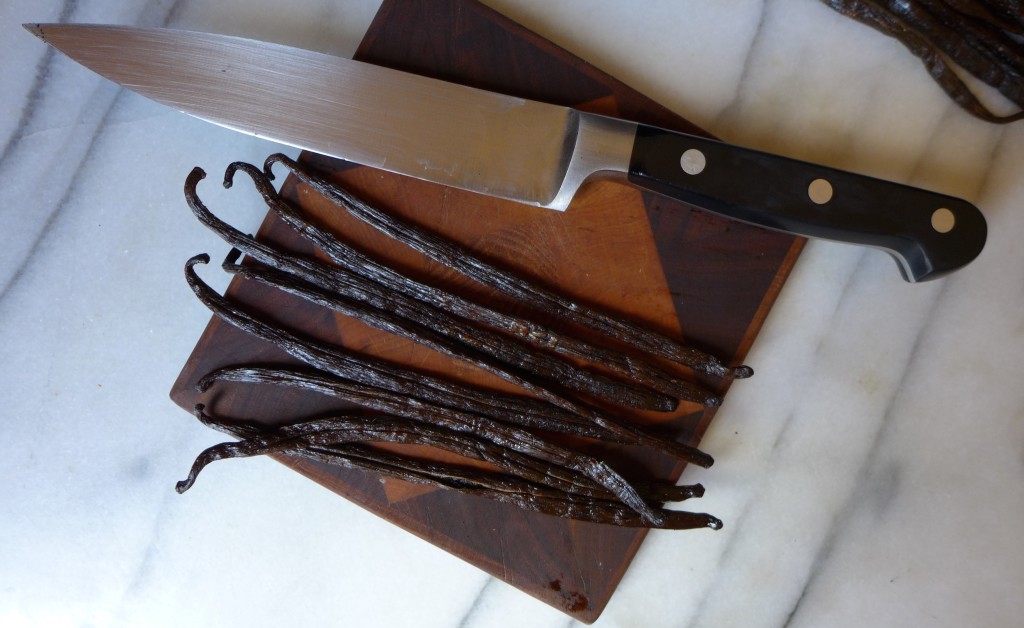
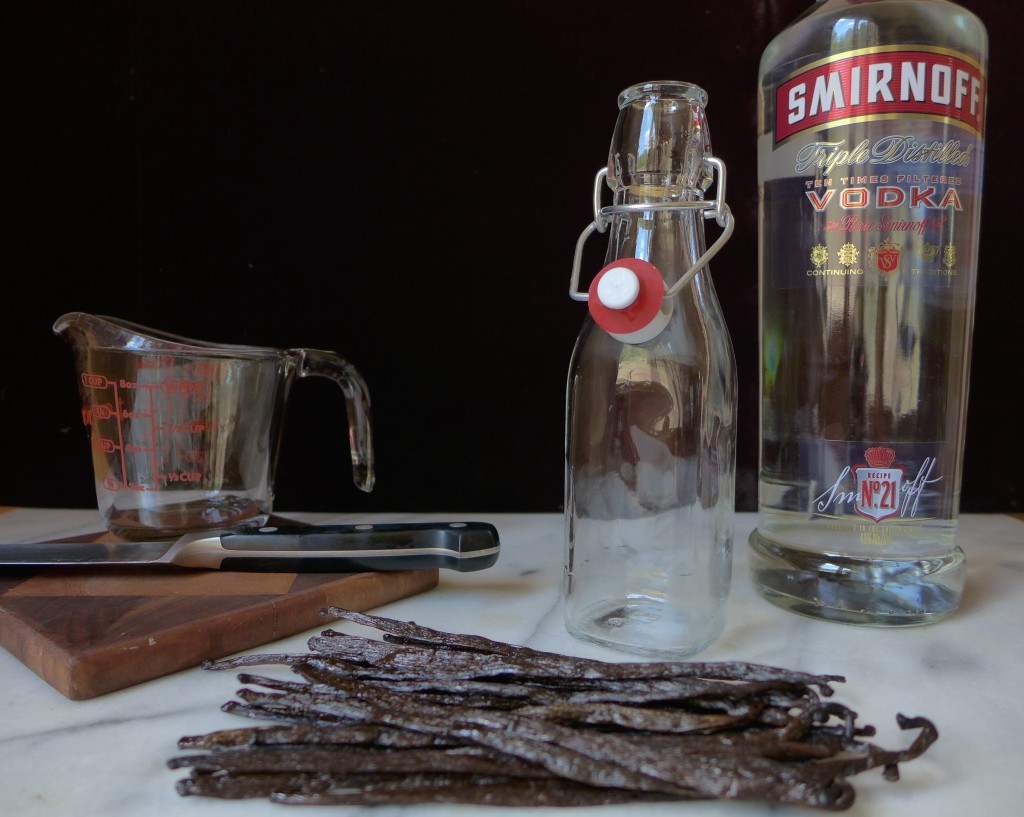
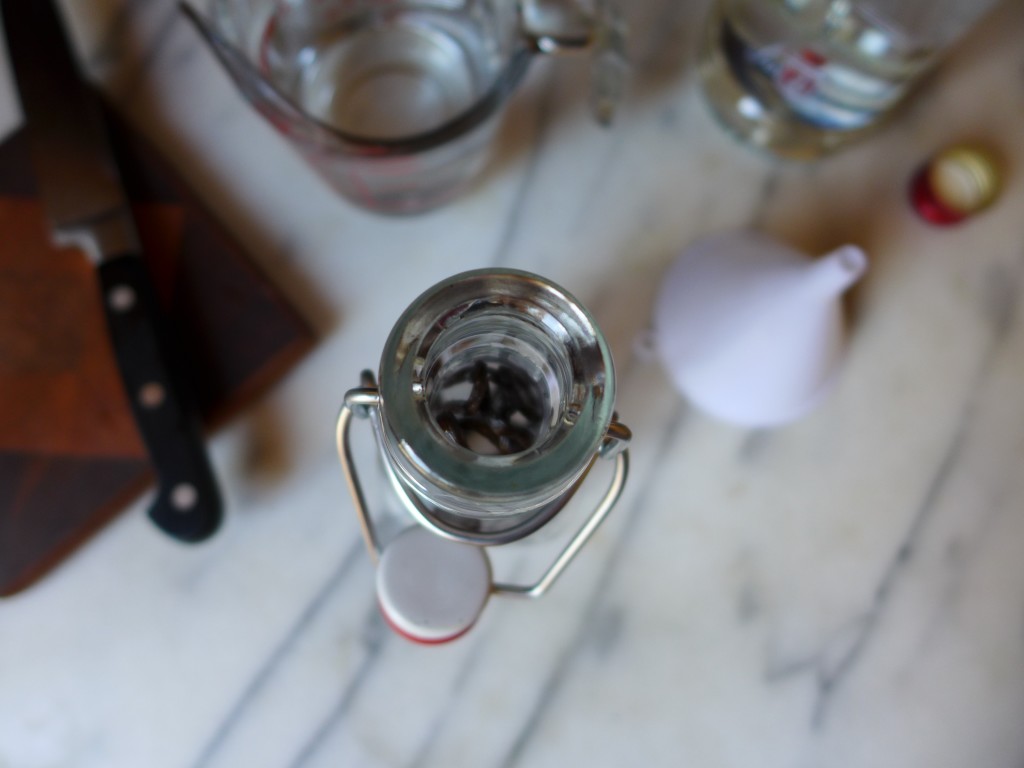
For this bottle of extract I used 8 Madagascar Bourbon vanilla beans and 1 cup of vodka. Split each bean by slicing through it lengthwise, then place the beans in a jar, add the vodka (making sure that it covers the beans), and let sit for at least two months.

After that time, you don’t have to remove the beans. In fact, you can let the extract sit longer to get a richer flavor. And as you use the extract, you can top it off with more vodka to keep your batch going.

That’s it!

liveseasoned_spring2016_vanillaextract2

For how simple this recipe is, there are many ways to personalize it. Try different vanilla beans for different flavors (for example, Ugandan beans are supposed to have a more smokey flavor). You can also use different alcohols. I used vodka because it’s flavorless, so I would really only taste the vanilla from my beans, but you can substitute rum or bourbon. Personally, now that I have this bottle, I’m excited to experiment with a few more bean/alcohol combinations.

liveseasoned_spring2016_vanillaextract4

And if you just happen to have a big bottle of vodka sitting around, don’t forget that with a single vanilla bean and a few days, you can turn it into a smooth vanilla vodka! If you’ll remember, Calder made fun of my idea to make vanilla vodka, but the joke’s on him because that stuff was so good that it’s already gone and I’m thinking about making another batch (maybe with lime this time!).

Go Away! Natural DIY Spider Detterent Spray

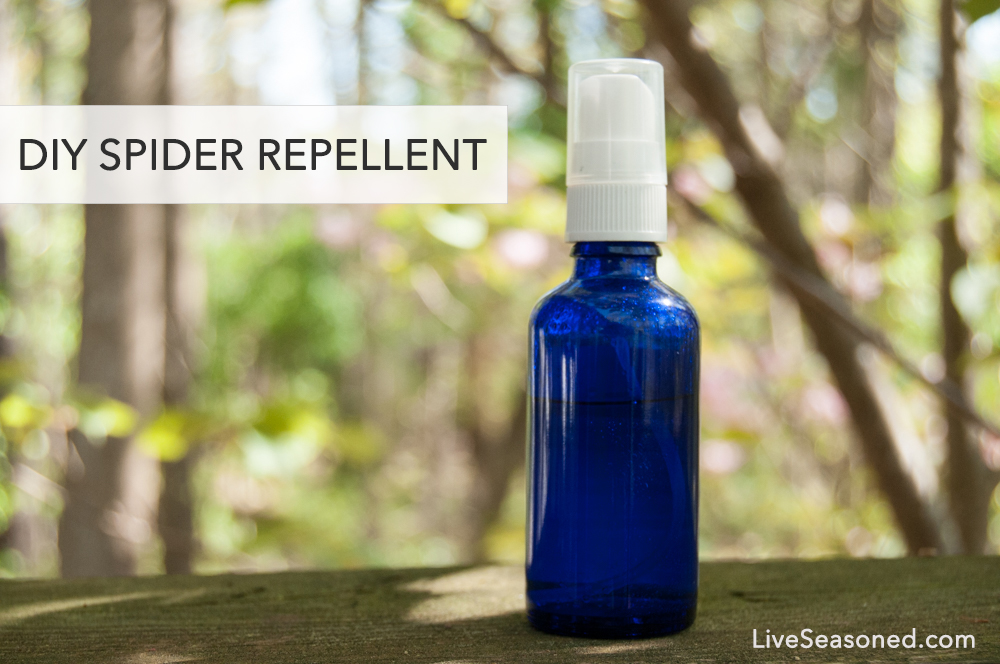
Oh spiders. I love them, but I’m also terrified of them. I definitely keep a handful of them in my house to get rid of little flying pests, but big furry spiders? GET OUT! This past week, we had to catch and release a spider every.single.night. They’re big, brown, and hairy and I’m sick of seizing up in fear every time I see one, so I made this natural DIY spider repellent.  Full disclosure, today is the first day I’m using it so I will definitely report back to let you know how effective it is. live seasoned spring 16 spiders go away spray-2 copy

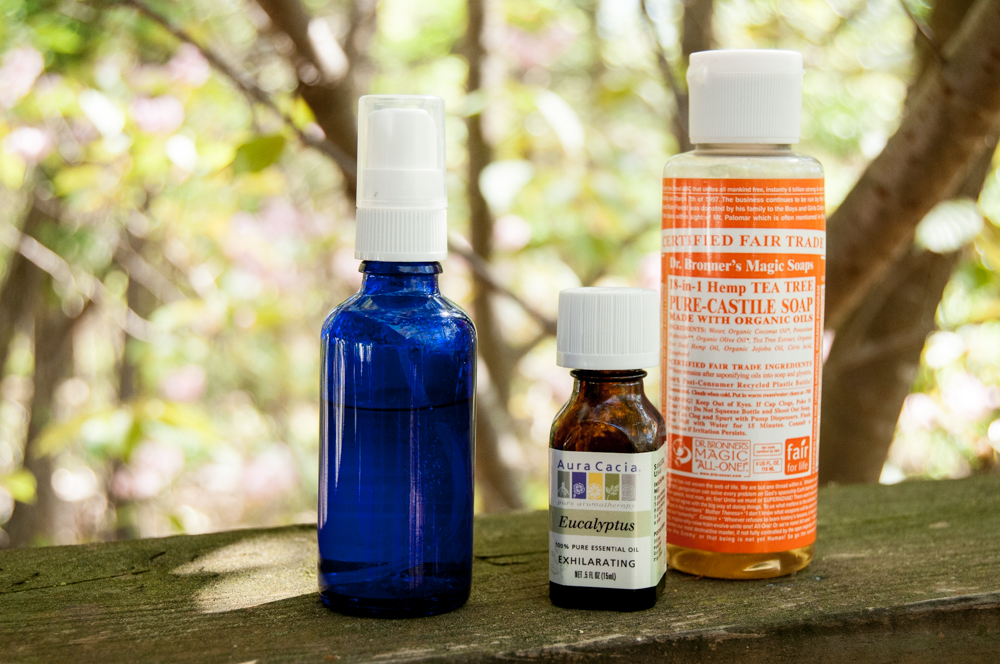
Apparently spiders are discouraged by strong scents like garlic, lemon, peppermint, citronella, and eucalyptus. According to my research, spiders also detest the taste of tea tree oil. While there are plenty of combinations you can mix up to deter spiders, here’s how I went about it:

Add 3 Tablespoons of Dr. Bronner’s Tea Tree Oil Soap & 5 drops of Eucalyptus Oil to a spray bottle and spritz it around all the windows and doors and other area where spiders may enter your house. Don’t spray it directly on spiders, I mean you could, but that’s just cruel.

You could also spray this solution inside, but I’d test an inconspicuous area first to make sure it doesn’t leave soap or oil stains your paint. It didn’t leave stains on my walls, but not all interior paints are created equally 😉  I chose Dr. Bronner’s soap because it’s biodegradable. Interested in other biodegradable bath products? Check out this post.

live seasoned spring 16 spiders go away spray-1

I chose to try this DIY natural spider repellent instead of using toxic chemicals (they’re harmful to kids, pets, plants, insects, animals, our waterways and the earth in general) because they’re just plain overkill. I think very few instances call for harsh chemicals to be used. Often times you can find a natural repellent to tackle your pest problem. Along with the DIY spider repellent, these are a few other tricks to discourage arachnids from entering the apartment.

  • Thoroughly clean around doors and windows inside and outside the house.
  • Clean up any clutter in the corners of the cupboards and house in general.
  • Turn off porch lights so as not to attract flying insects aka a spider’s dinner.
  • Move stacks of wood and other debris far away from your home’s foundation.
  • Seal cracks in the home’s foundation and under doors and around windows.
  • Dust often! Spreading signs of activity and life to normally sleepy corners of your house will prevent spiders from parking there.

Happy spider-free homes to y’all!


Vanilla Lavender Room Spray

Vanilla is our ingredient of the season. So far we’ve made some vanilla-infused vodka (great for milkshakes!) and a double vanilla cake. Today we’re venturing out of the kitchen and using vanilla essential oil. If you like experimenting with essential oils, check out our archive of posts.

It’s been almost two years since we shared a room spray, which is surprising because these are so easy to make and do a fantastic job of freshening up a room without any of the overbearing artificial fragrances found in many store-bought sprays.

IMG_5946

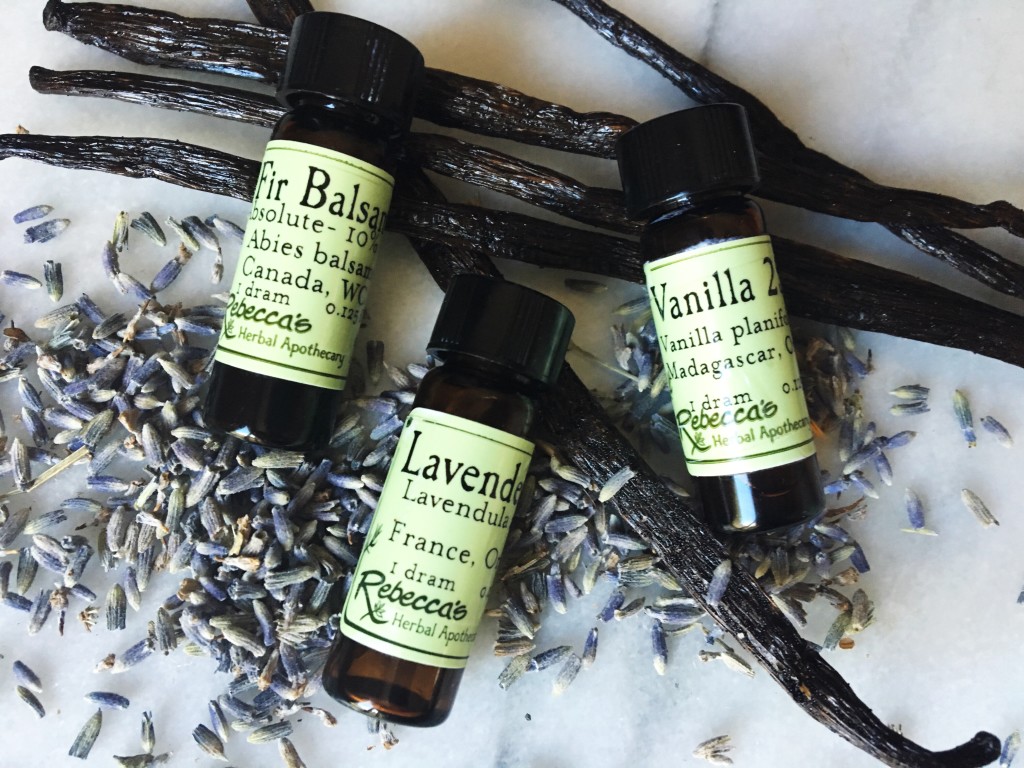
Whereas the rosemary and peppermint created an energizing combination, the lavender and vanilla combination in this spray provides a calming aroma. I added some fir balsam to this spray because I wanted something a little more complex. The fir balsam essential oil does a great job of bringing some of the outdoors in when it’s still a touch too cold to have the windows open here in the mountains.

To further enhance the vanilla aroma of the spray, I used our vanilla-infused vodka for the alcohol.

Ingredients and Hints :

  • 3 ounces filtered water
  • 8 drops vanilla essential oil
  • 8 drops lavender essential oil
  • 8 drops fir balsam essential oil
  • 1.5 ounces alcohol (I used our vanilla-infused vodka!)
  • spray or misting bottle

Pour everything into the bottle, give it a good shake, and spray away! You will have to shake it before every use. Really, it’s that simple!

And as we mentioned in the previous room spray post:

  • If you don’t have the alcohol, you can use all water, but the aroma won’t linger as long.
  • Of course, you can use any combination of oils, and increase or decrease the number of drops depending upon how intense you want the scent to be

How to : Cultivate a Creative Life

If you like this post, you may want to read Sarah’s post on how to Cultivate a Life of Travel, but be warned that you’ll have the sudden urge to buy a plane ticket or two!

We’re coming up on a year of living in our house, and I’m still organizing things. Unfortunately (for me) one of the last places to get some special treatment has been my office, but I just recently spent a couple of days unpacking the final boxes and during the process I thought about the things I do around the house to encourage creativity (mine, the boys’, and visitors).

Sarah and I grew up in a house that encouraged creativity in all aspects of life, and I’m working to do the same now, whether it’s trying a new recipe, playing musical instruments, working in the garden, knitting or sewing. So even if you aren’t “crafty”, I hope you’ll find some useful advice in this post.

liveseasoned_spring2016_creativelife7


Continue reading