Hey! I looked at our calendar and realized that we have entered a week of Christmas crafting making on the blog! This isn’t necessarily gift crafting, just more little projects to decorate the tree, your walls, to send off in the mail (technically, I guess that’s giving), and maybe we’ll even have something to eat or drink by the time the week’s complete.

Today I’m talking about the felt ornaments and wreath that were pictured in this post. Both of these ideas came from my Christmas board on Pinterest, but unfortunately the links associated with the pins won’t take you to the original source for attribution. You’ll see that I’ve pinned many different felt ornaments, and I’m thinking that over the next few years I may make quite a few as we become a house with two little boys! Felt ornaments are just so kid-friendly, with a big loop, they are easy for little hands to hang and pull off the tree, and there’s so little investment in terms of both time (the the case of the ones I’ve made) and money, that I don’t mind if little A throws them around a bit while playing. Plus, they look really cute.
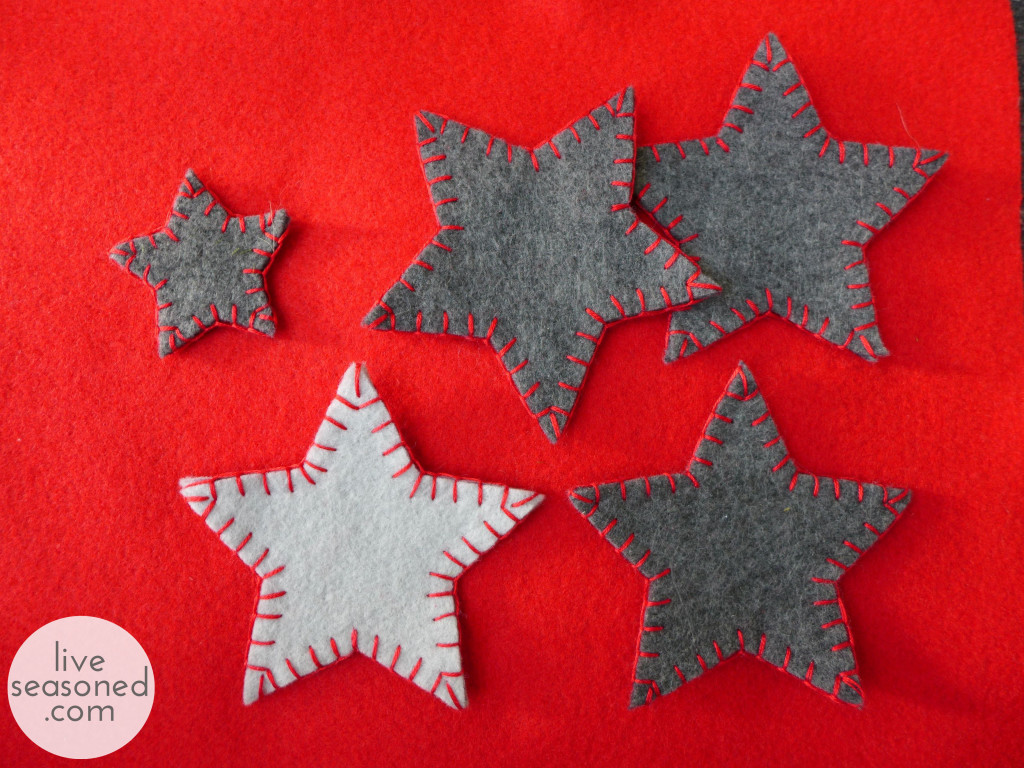
For today’s ornaments, I was first inspired by this photo. In addition to the stars, I added a few hearts with white stitching to our collection, inspired by these red felt ornaments. I personalized the stars by using a red blanket stitch around the edges, and I drastically simplified my hearts from the inspiration photo, eliminating the stuffing and choosing simple stitches that would follow the hearts’ edges.

Supplies & Tools
- Felt
- embroidery floss
- thin jute
- sewing needle
- scissors
- shape template

Instructions
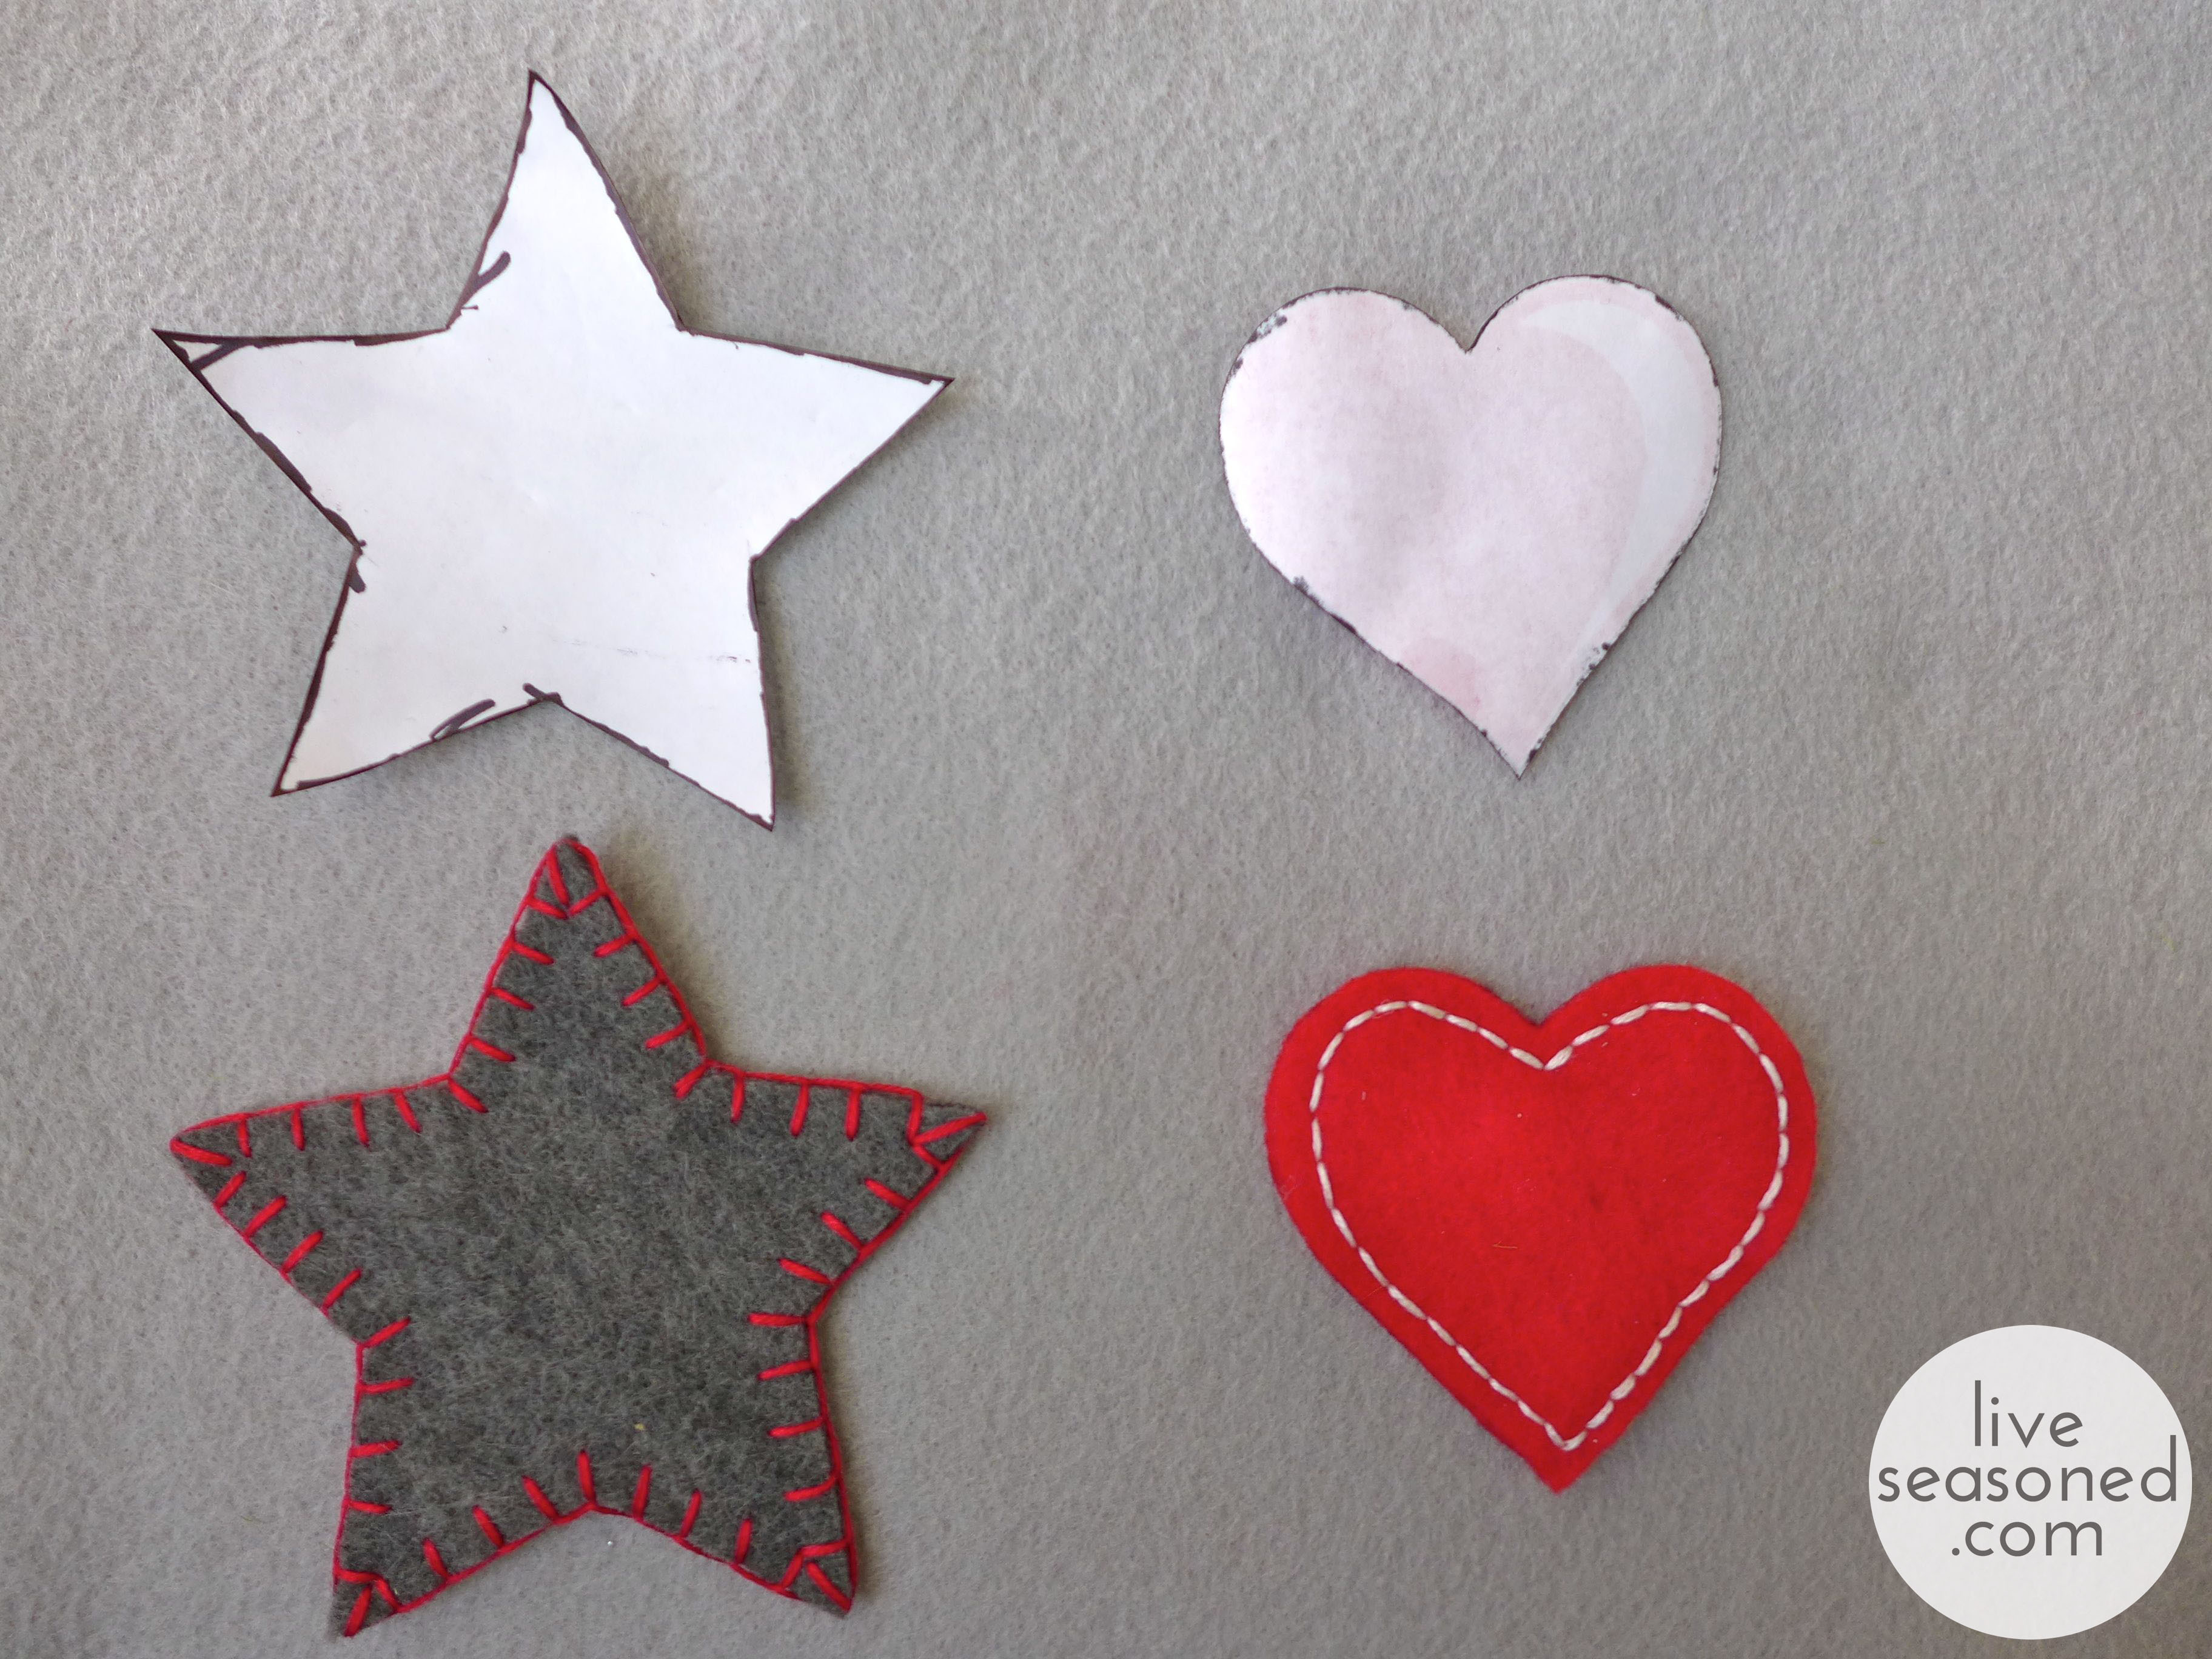
- Find or draw your template. For my templates, I did a Google image search for “heart clipart” and “star clipart”. I was able to find images that included hearts and stars of different sizes, so I printed them out and cut out the size that I liked for each.
- Trace your template on the felt and cut out two of the same shape. As you can see from my template, I traced around it with a marker. Having those marker images on your felt isn’t a problem, because you can have the marked sides face inwards.
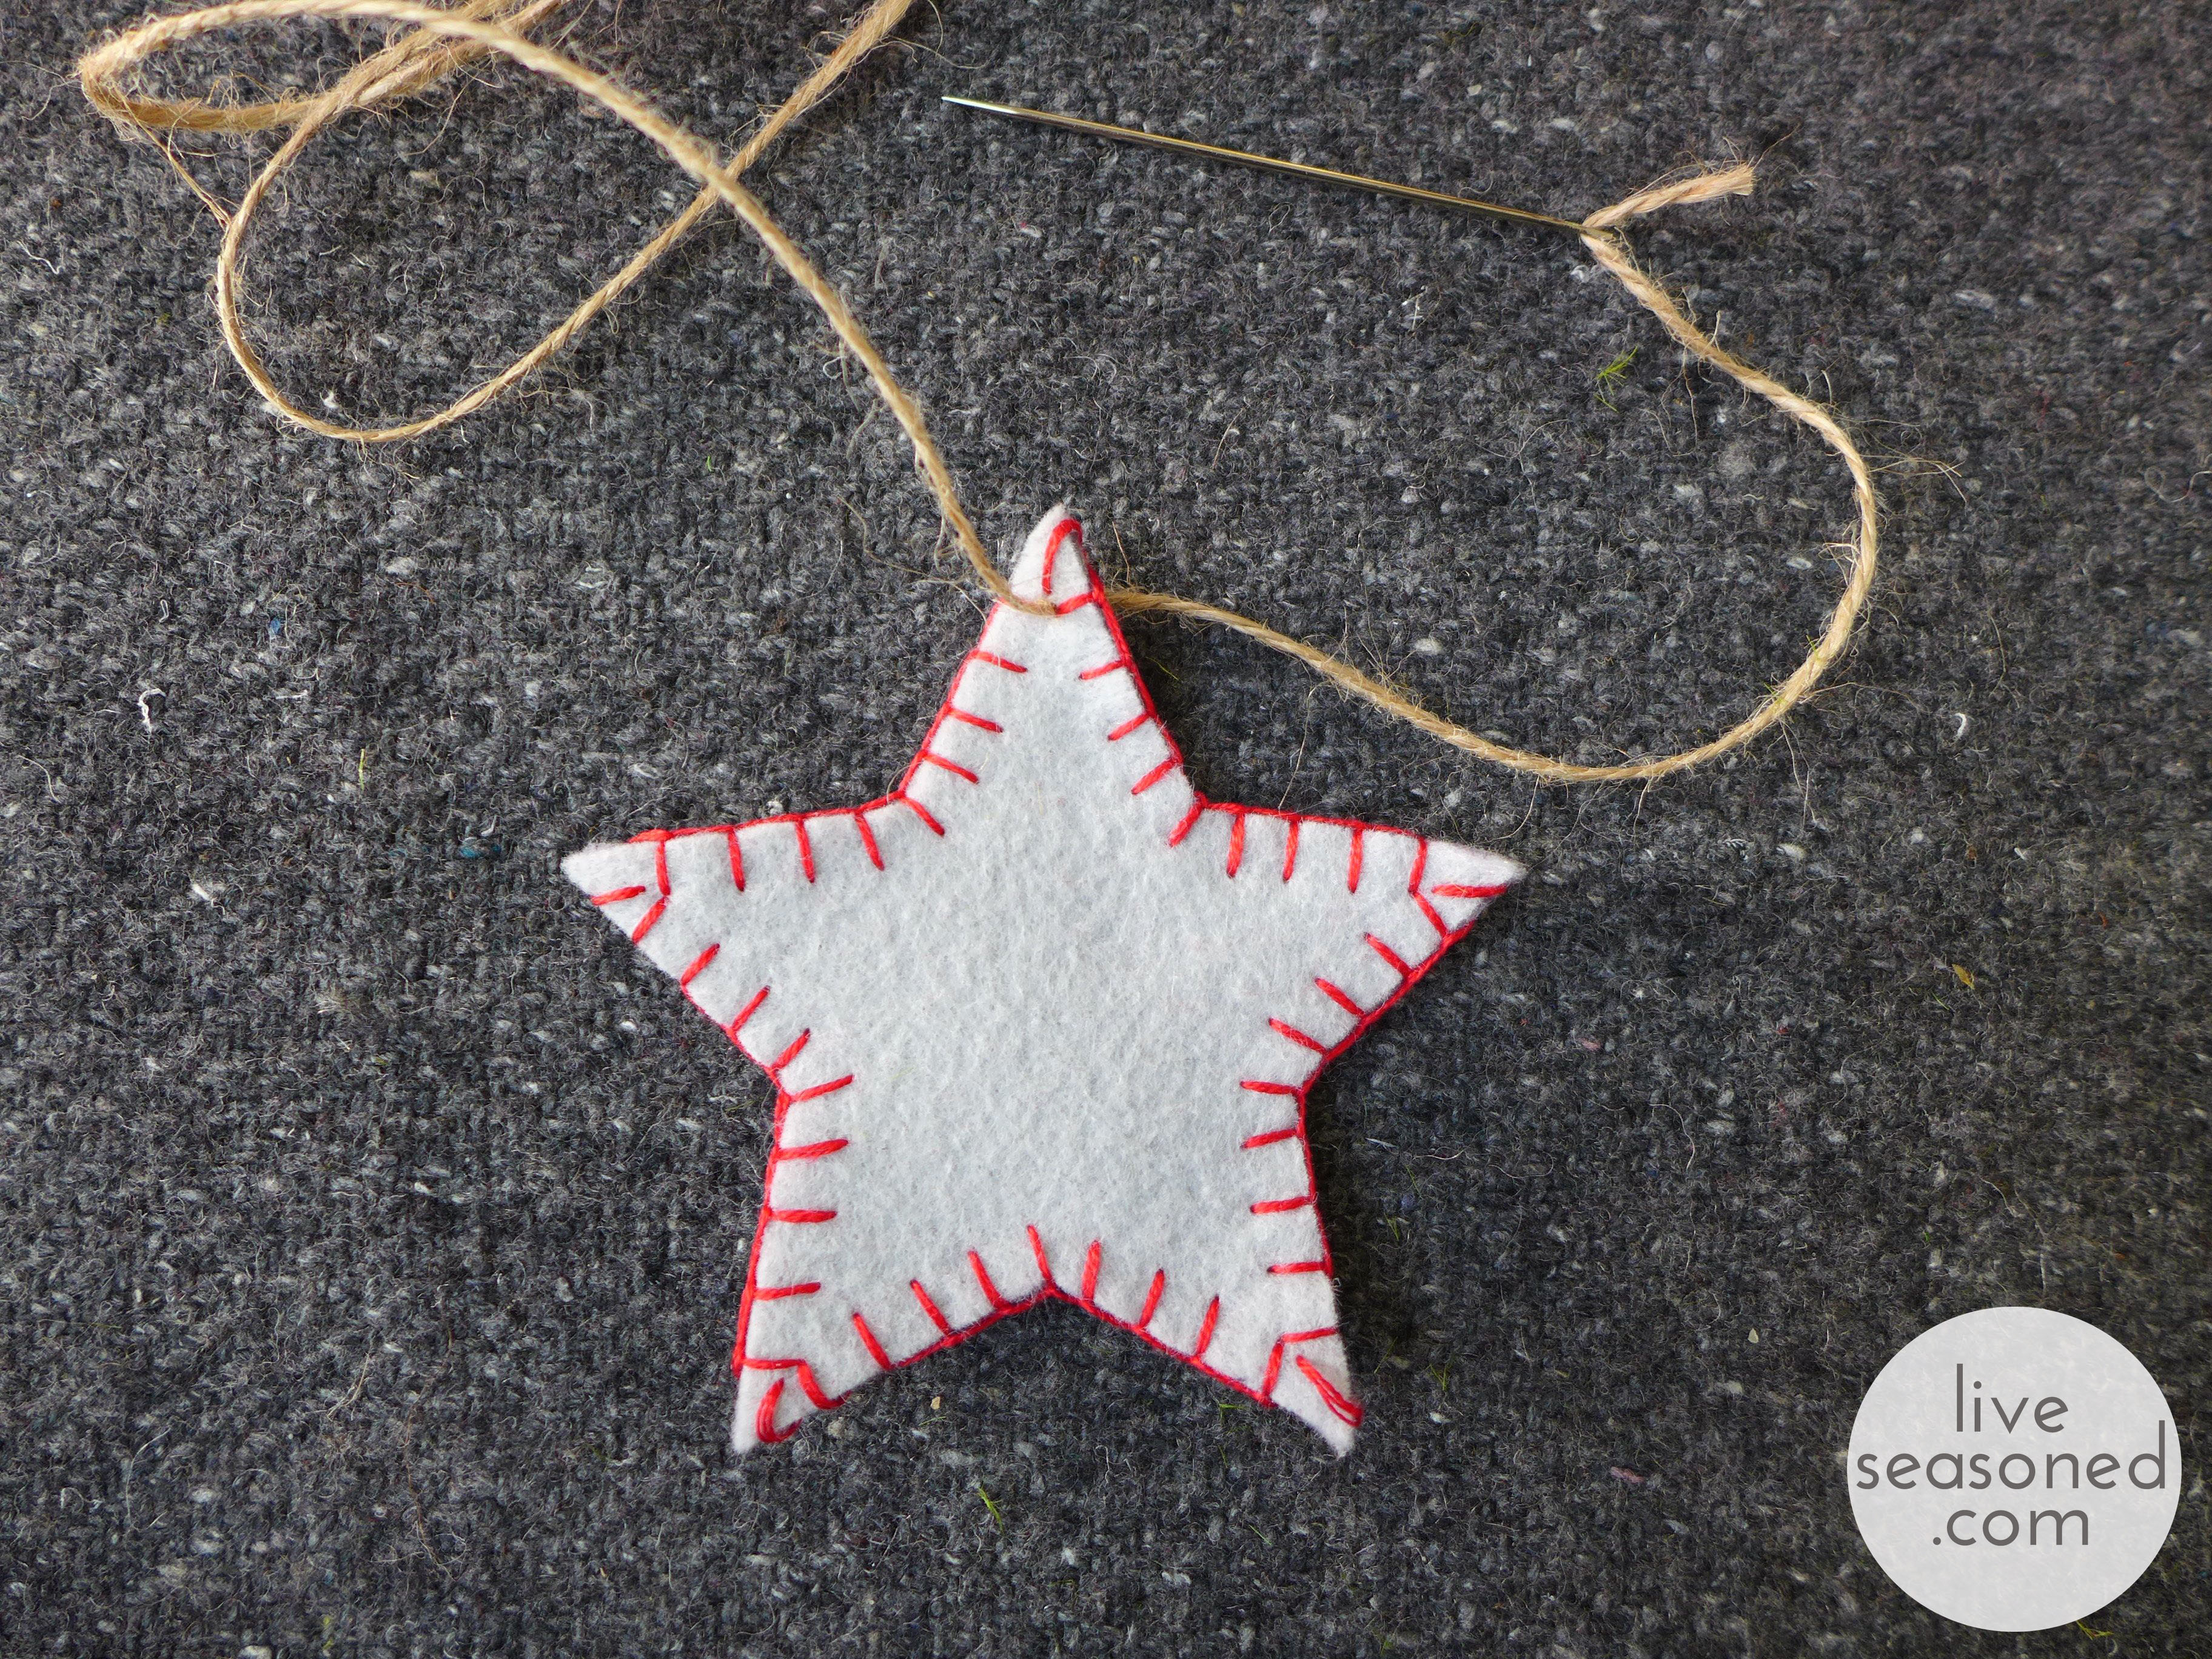
- Sew your pieces together. Use three stands of embroidery floss for the embroidery. Holding the two felt pieces together (marked sides in), use your favorite stitch to hand sew the pieces together. I used blanket stitch for all of the stars, but was more creative with the hears, using blanket stitch, back stitch, and a simple combination of long and short running stitches to create the third.
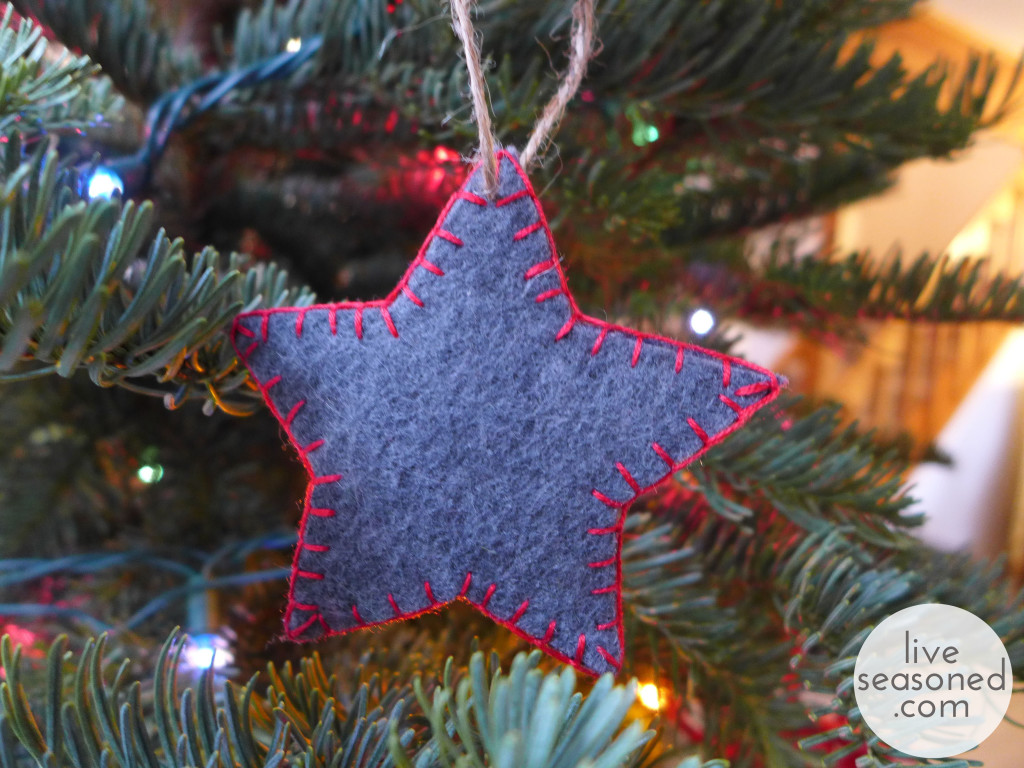
- Add your loop for hanging. I used skinny jute for the hanging loops. You can find this in craft stores, and it’s usually sold in a smaller quantity than the bigger balls of fat jute (you can see the packaging in my supplies photo). The jute will not pull through your felt as easily as the embroidery floss. I found that it was easiest to thread the jute through the eye of my needle, pierce the felt with my needle, and then move the needle in circles to create a larger hole (but one that is still snug) for the jute to fit through.


While we were so excited to put the tree up, after the lights were hung it looked so pretty that we’ve been really lazy about adding more decorations. But a few nights ago we were looking for one more activity for little A before bath time, so I pulled out these ornaments and a few others for him to add to the tree. The pictures aren’t great, but I think you can tell that he was excited to get in on the tree action (clapping after each ornament was hung), and now it’s become a daily activity to remove and rehang a few.
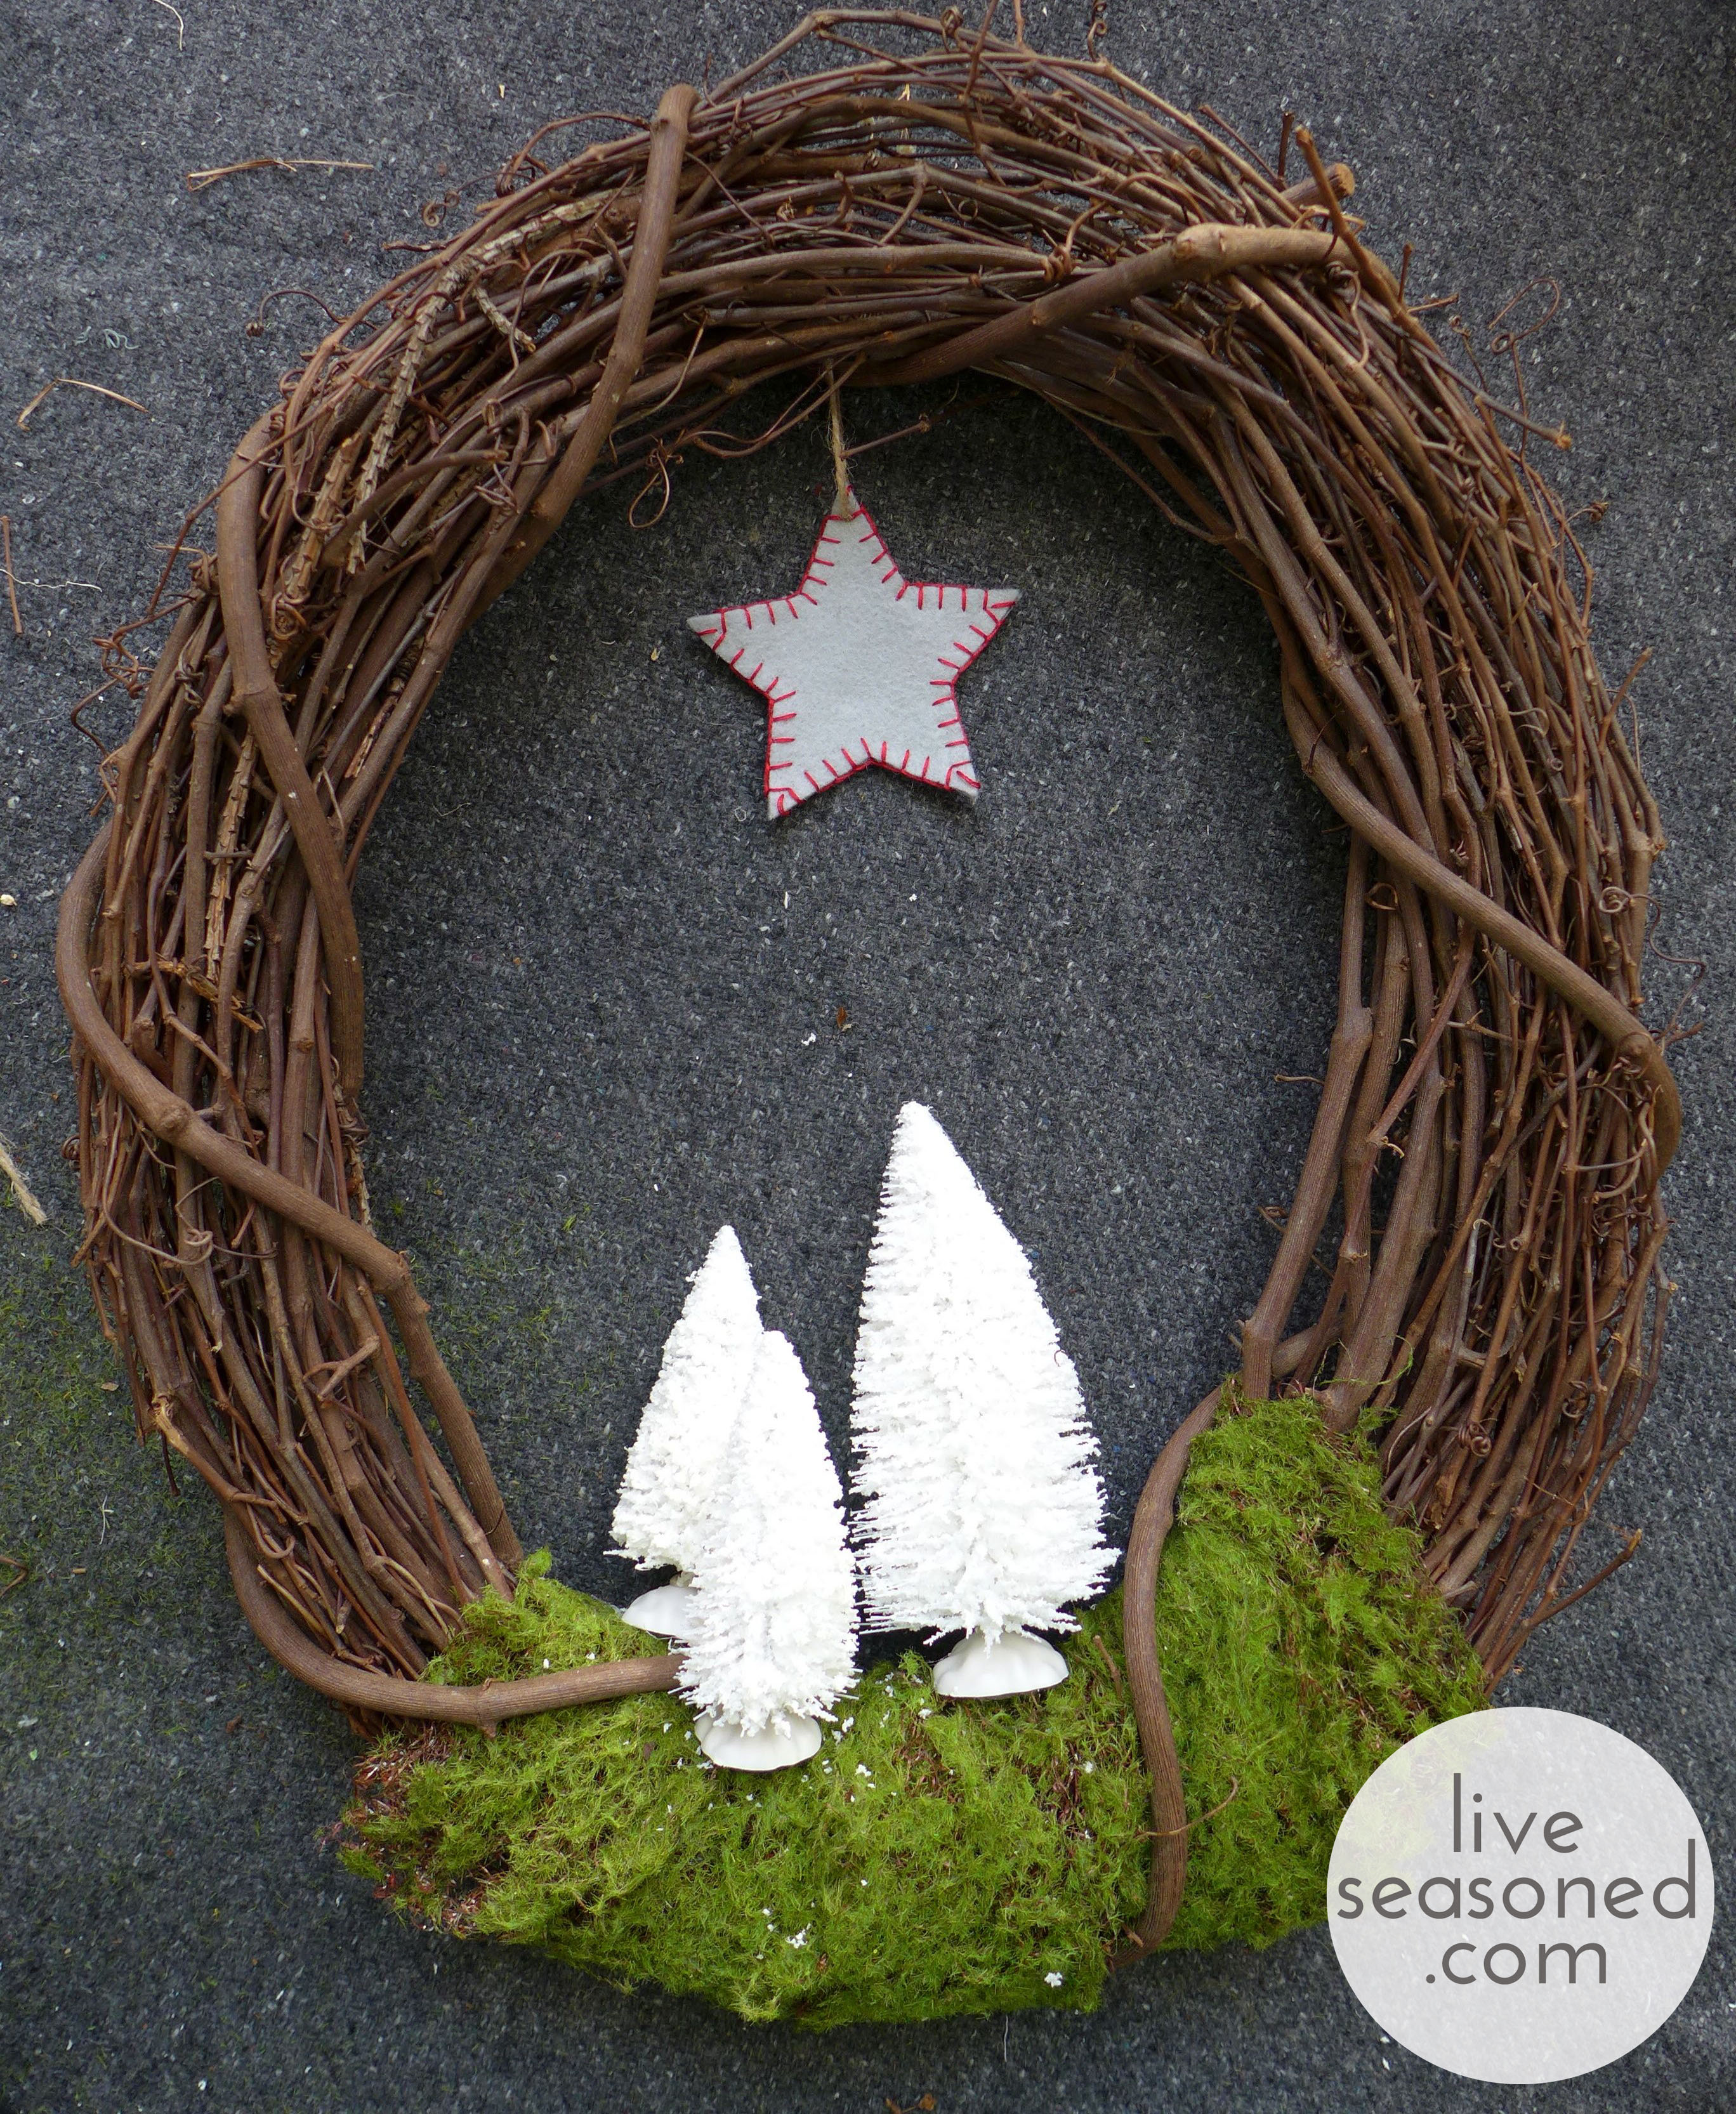
In addition to making their way onto the tree, I used one of the stars in our new wreath. Again, I’m borrowing and modifying this idea from something brilliant I saw online.

Supplies
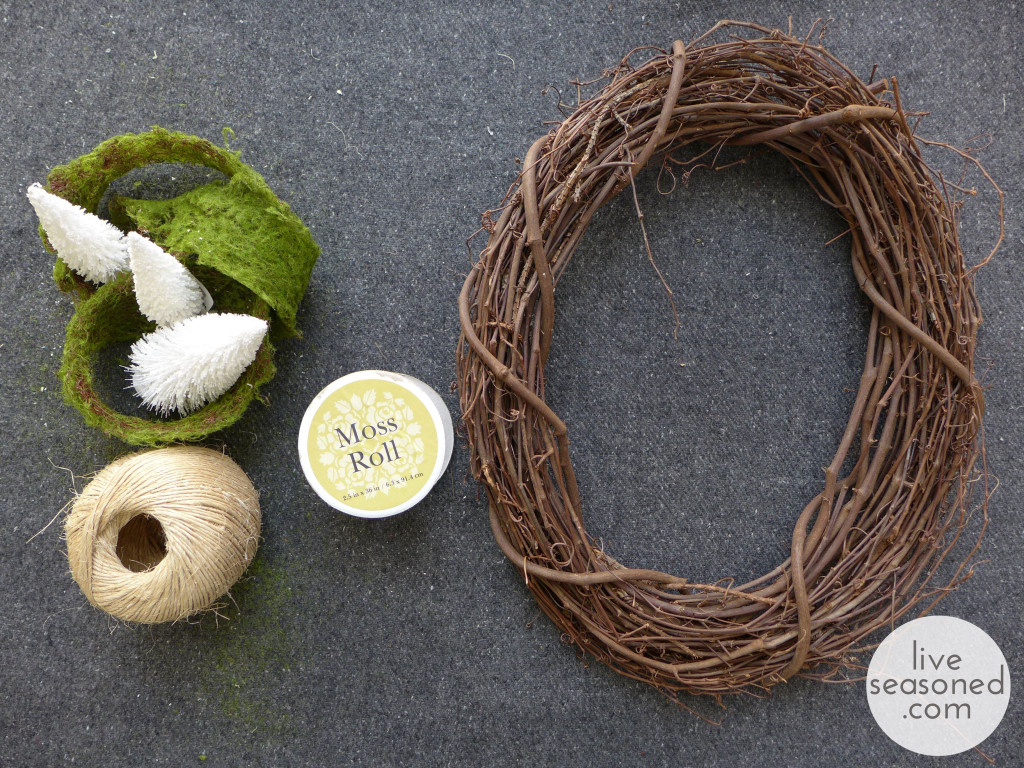
- grapevine wreath
- white bottle brush trees
- moss roll (you can see the packaging below)
- hot glue gun & glue
How cute is that wreath? It came together easily with a few supplies from the craft store. The project is relatively self-explanatory : wrap the moss around your wreath, slipping it under a few of the larger vines if possible (this just takes a bit of wiggling). Glue the trees where you would like them. Tie a star ornament from the top of your wreath. Bam!
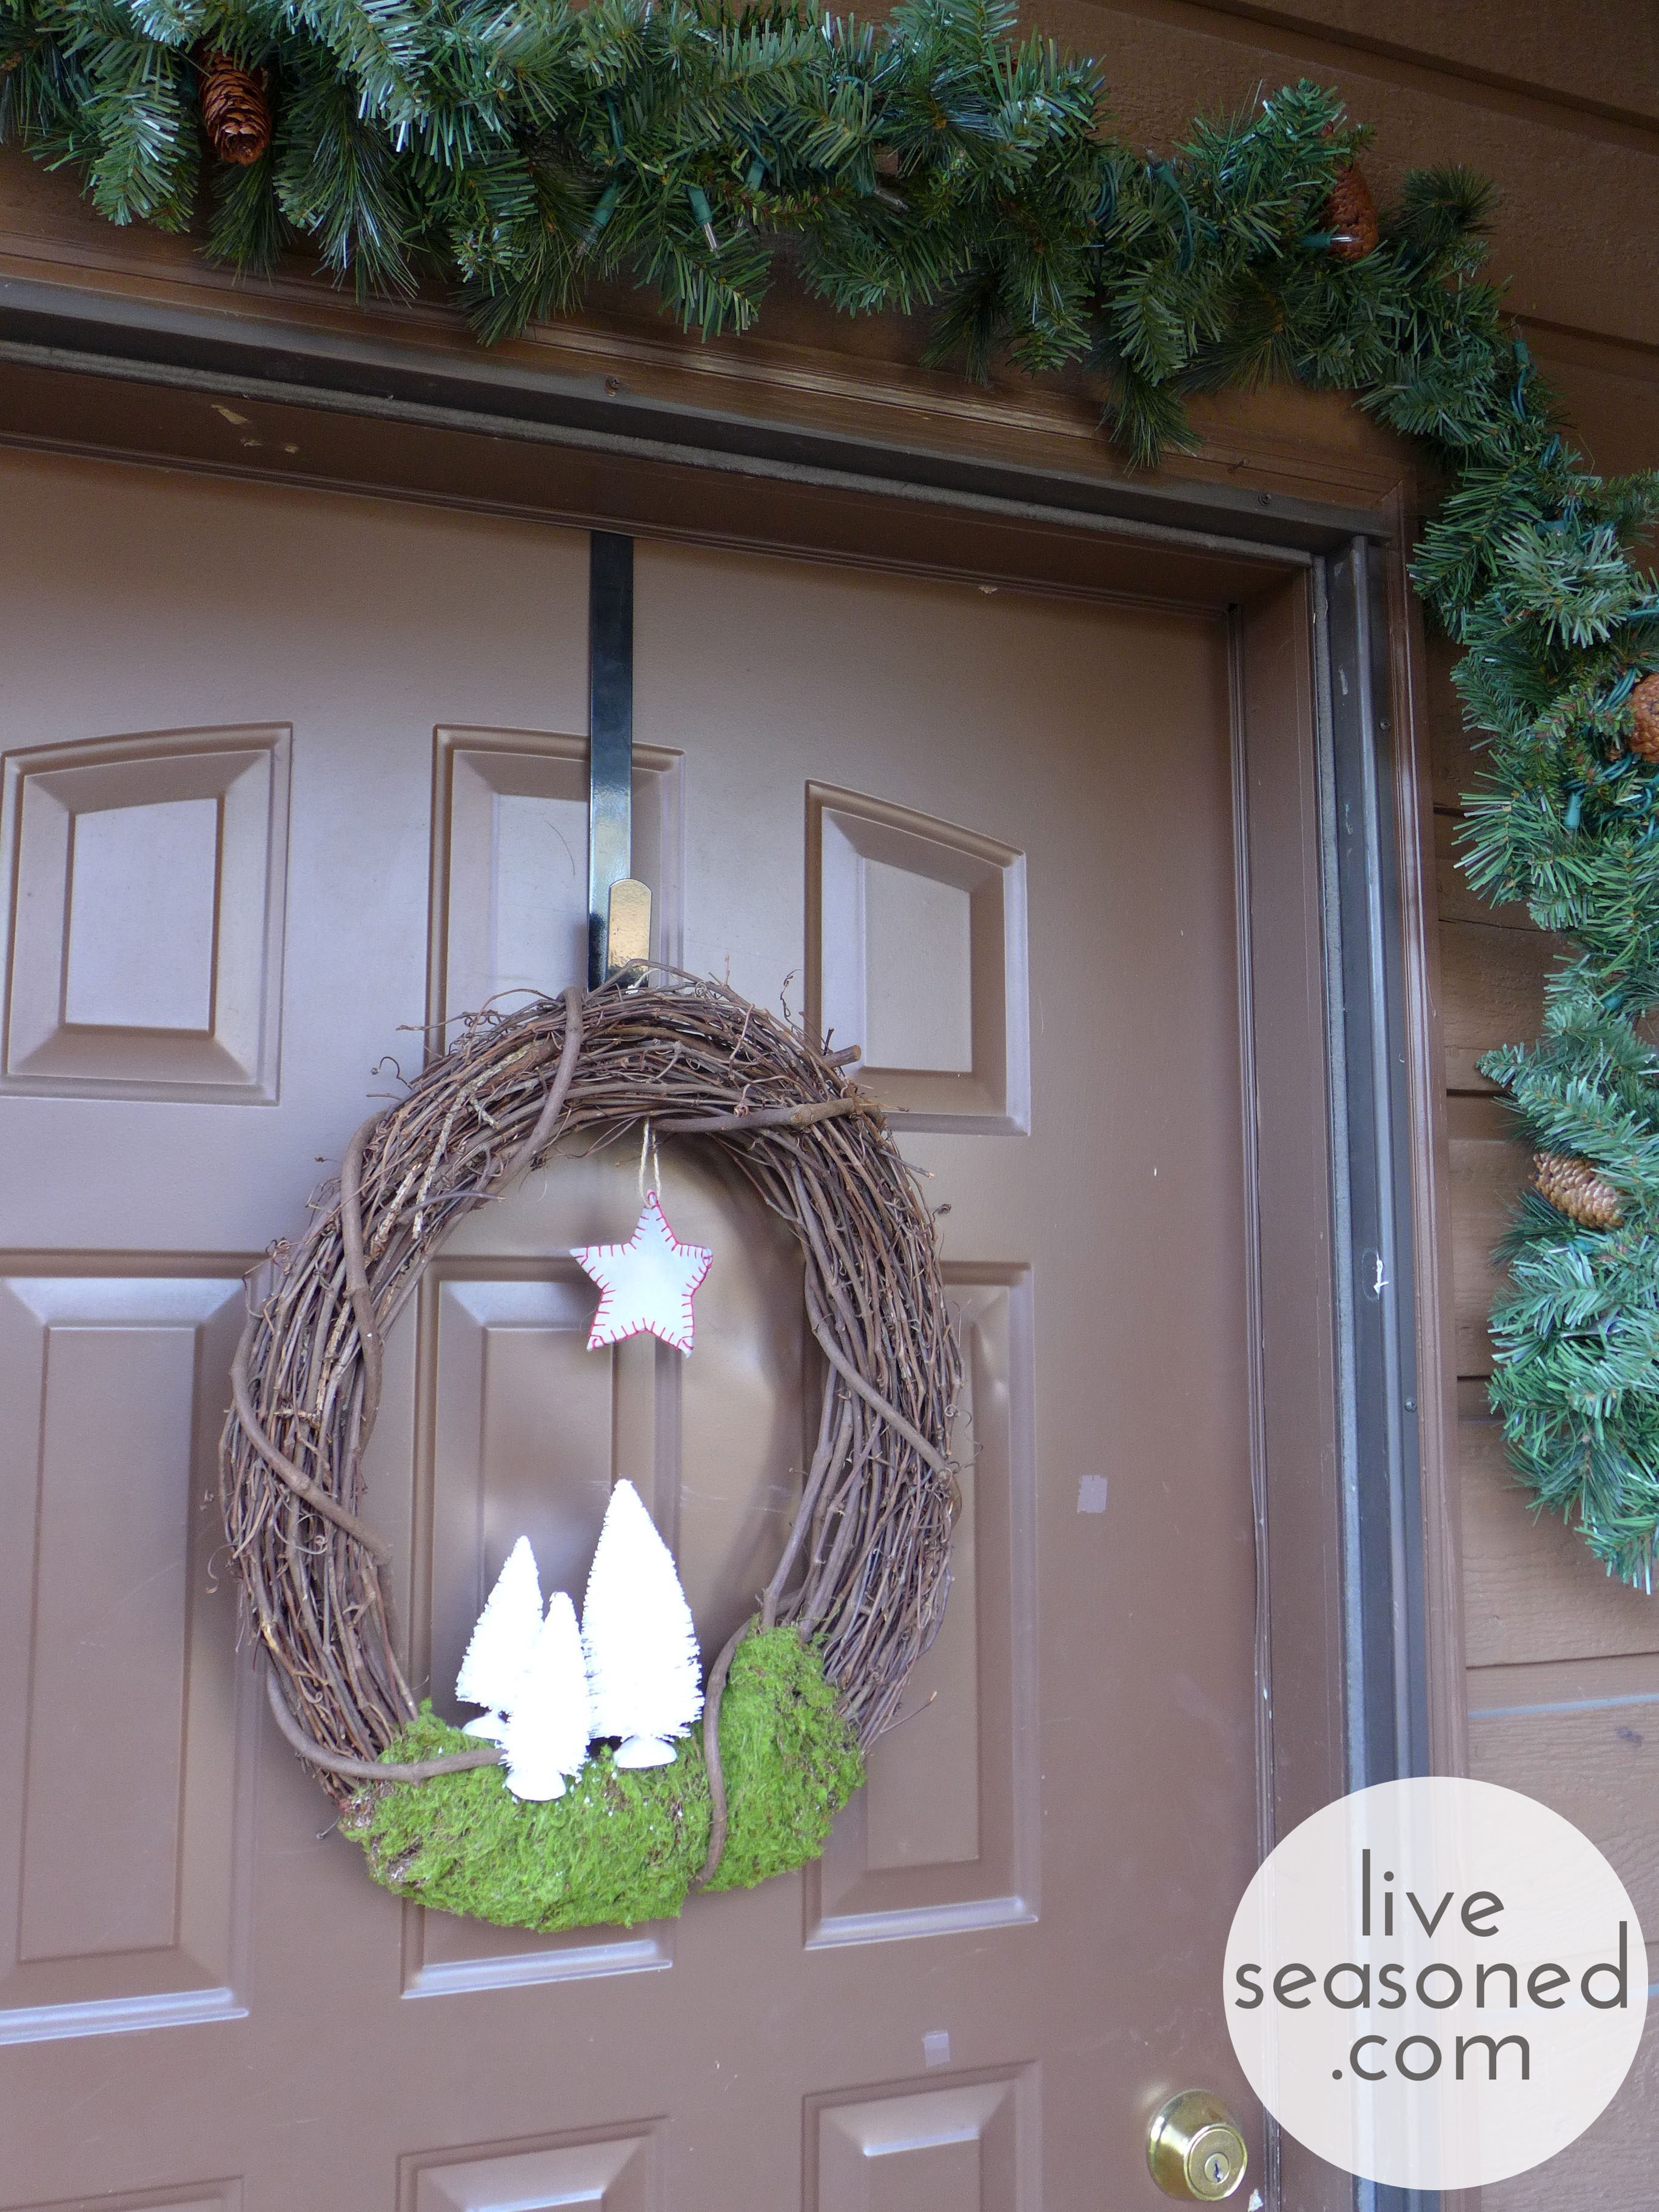
Once I hung this and the green garland above the door, I realized that we have a lot of brown and green going on out on the front porch. Maybe this year it would have been nice to go with something brighter? But I’m loving the peaceful look every time we walk in the door.
 So, that’s my little felt project for the season. It’s been a long time since I’ve done anything with felt (or even had a little supply of it in my craft room), and I’m excited work with it more in the future. I really enjoyed making these ornaments because they were so easy and mindless to put together, creating a polished result. What does that mean for you? If you want to slow this weekend, but still feel a little bit productive, this is a great meditative project


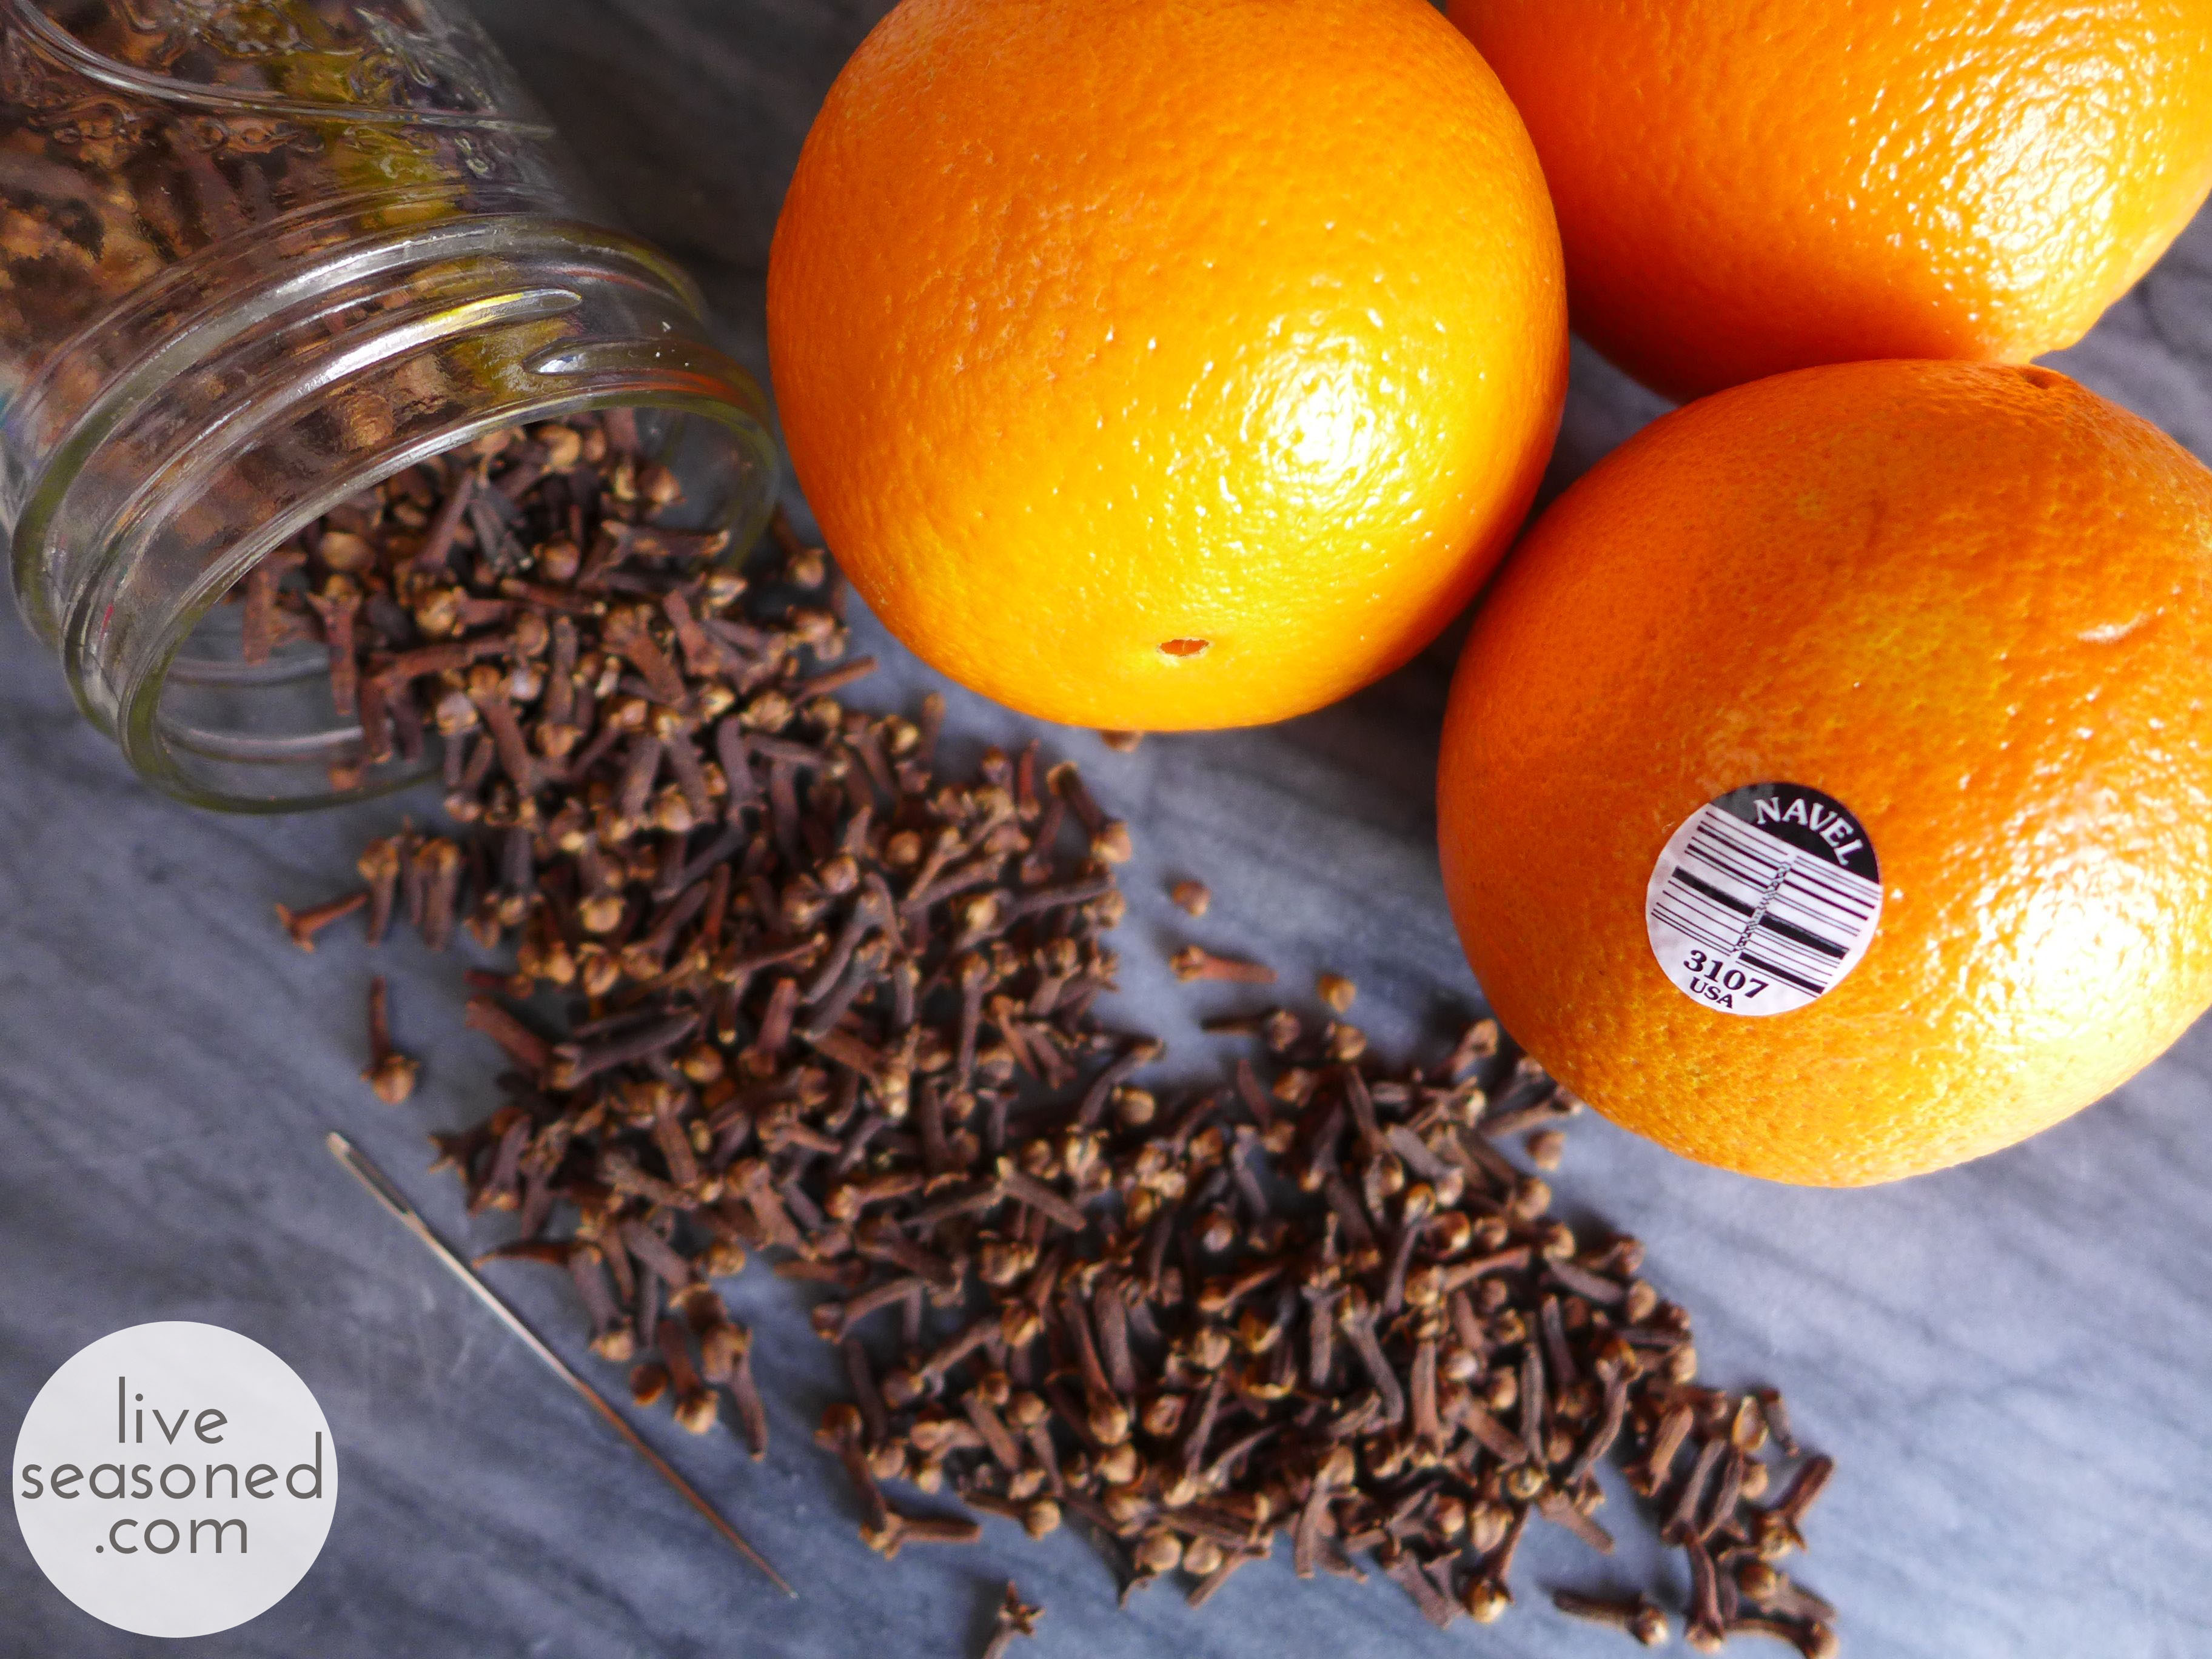
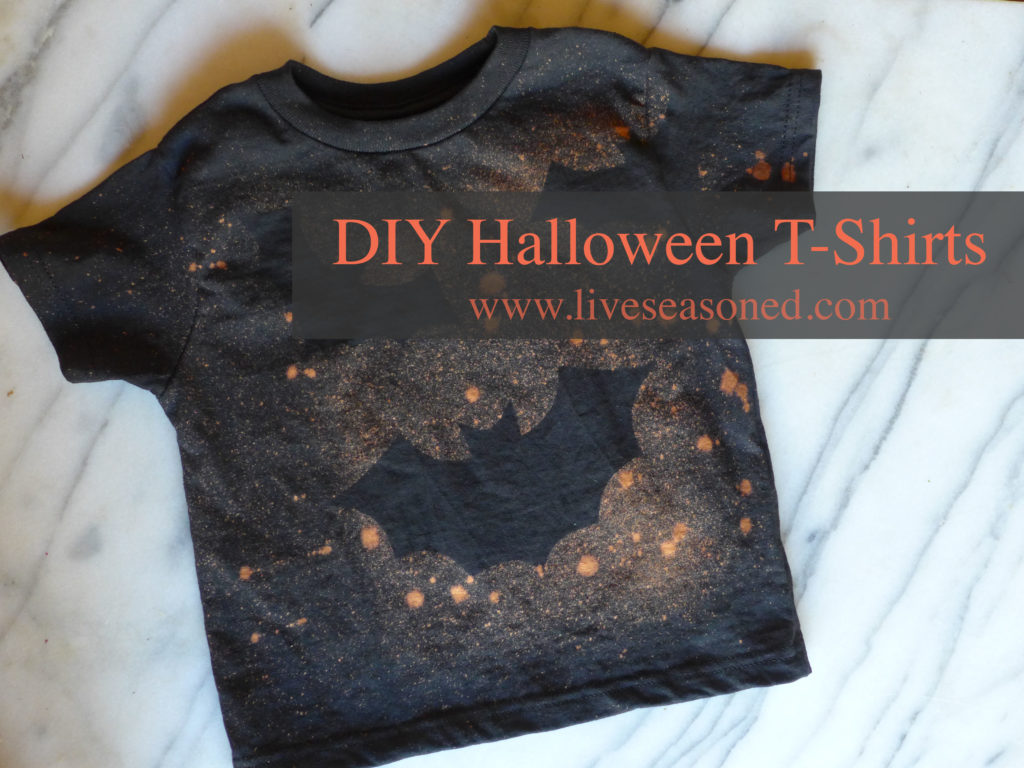 This project couldn’t be easier, but unfortunately, since you’re working with bleach, this is not necessarily a kid-friendly DIY. Don’t worry, they’ll have a great time watching the “magic formula” work!
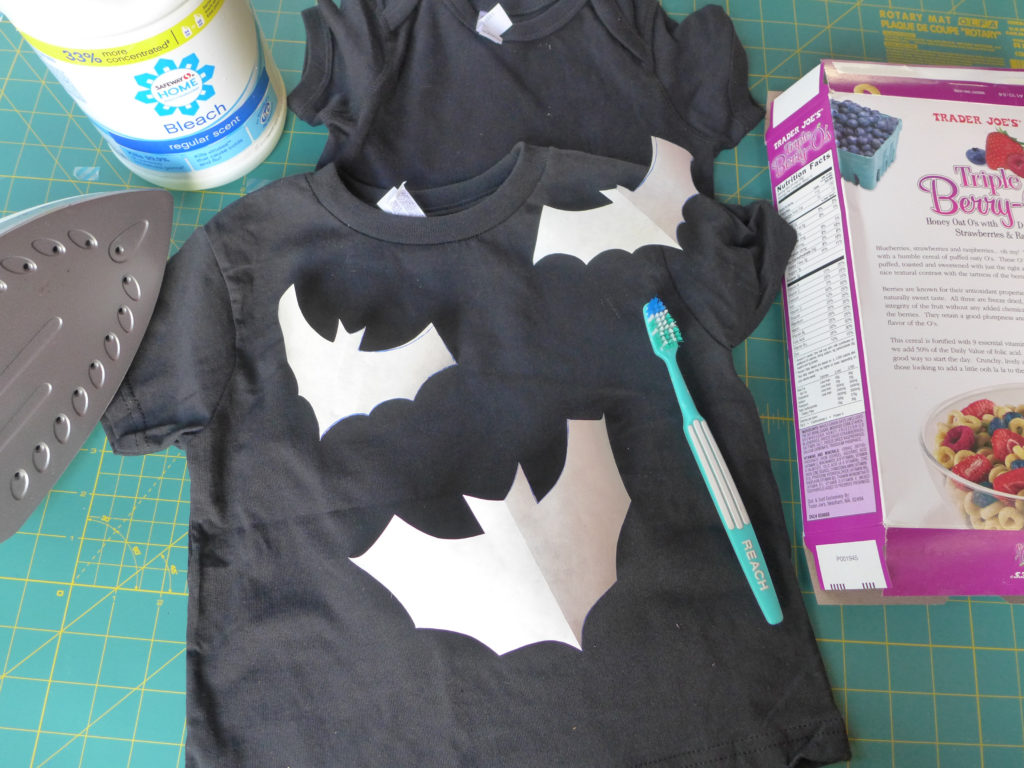


