Sarah’s Five Must See Documentaries on Netflix

Hey booboos! It’s not a stretch to say this post lacks a bit of substance, but these five documentaries are chock full. If I’m not watching adventure or travel documentaries, it seems the only type of TV I truly like is that which practically rips my heart from my chest. If I’m sitting wide-eyed, unblinking and holding both cheeks in my hands then I’m enjoying myself, even if it looks like I’m about to cry, which I probably am. I’m sure you’ve watched Making a Murderer by now. If you haven’t, kick off your ‘questioning life and existence’ documentary binge by watching it on Netflix. Making a Murderer really reawakened a true crime obsession that I’ve had for at least a decade. My family was less than thrilled that one summer at the beach when I bought five true crime books, all with various blood patterns splattered across the covers. If you’re not into true crime, don’t worry, these documentaries cover a broad range of topics, but fair warning, all are pretty dark.live-seasoned-netflix-documentary-suggestions


Amanda Knox – The story of American exchange student, Amanda Knox, when she is tried and convicted of murder in Italy. This documentary is enthralling because it features in-depth interviews from Amanda herself as well as her boyfriend at the time (also convicted) and the detectives who worked the case. Truly a terrifying story because I realized anyone can get caught up in a serious situation.

The Square – A current, first person account of Egyptian revolutionaries organizing against the regime. The Square shed a lot of light of a story I knew relatively little about. It’s a documentary that encourages empathy and cultural understanding by highlighting another country’s relationship with their own government.

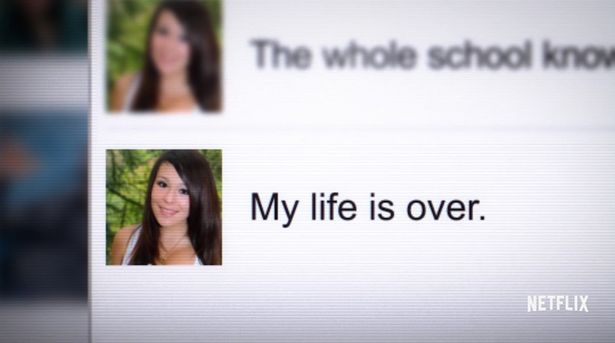
Audrie & Daisy – Is a heart wrenching look at the effects of bullying in today’s world where photos and fibs are spread online like wild fires. Audrie & Daisy helped to remind me of the struggles that young girls and boys face each day throughout middle and high school. If you have children, this is an important documentary to watch, but not necessarily with them. Have tissues handy.

13th – The 13th highlights government policy that led to the massive success of private prisons in America and the perceived motive of those moves. This documentary serves up stats and information that will come in handy during your next cocktail party debate about the prison system in American without you having to read The New Jim Crow, which is an enlightening book that I’m constantly telling everyone to devour.

The Culture High – Possibly the hardest documentary for me to watch, The Culture High, features graphic scenes and stark realities of the war on drugs in America. The criminalization of drugs in America is a topic I’ve personally had to deal with and suffer the consequences of, which is why I cried throughout this movie, knowing how lucky I was and how unlucky others were when dealing with the same drug possession charges.

If you’re wanting more, I highly recommend these true crime documentaries, none of which are on Netflix at the moment: Central Park 5, The Jinx, and The Staircase.

Now go! Go feel pain, agony and helplessness and hopefully gain more empathy for our fellow man’s struggle.

Ginger & Pomegranate Punch

I made this punch last weekend for a cookbook club meeting (more on that soon!). I’m not normally a punch-maker and was a little bit nervous putting it together, but it ended up being amazing! I think it was all due to the ginger beer… If this is any testament to the punch’s deliciousness, it was the first thing to go at my little cocktail bar that night. This recipe is our party gift to you at the beginning of what’s sure to be a long, fun, and punchy (ha!) holiday season.

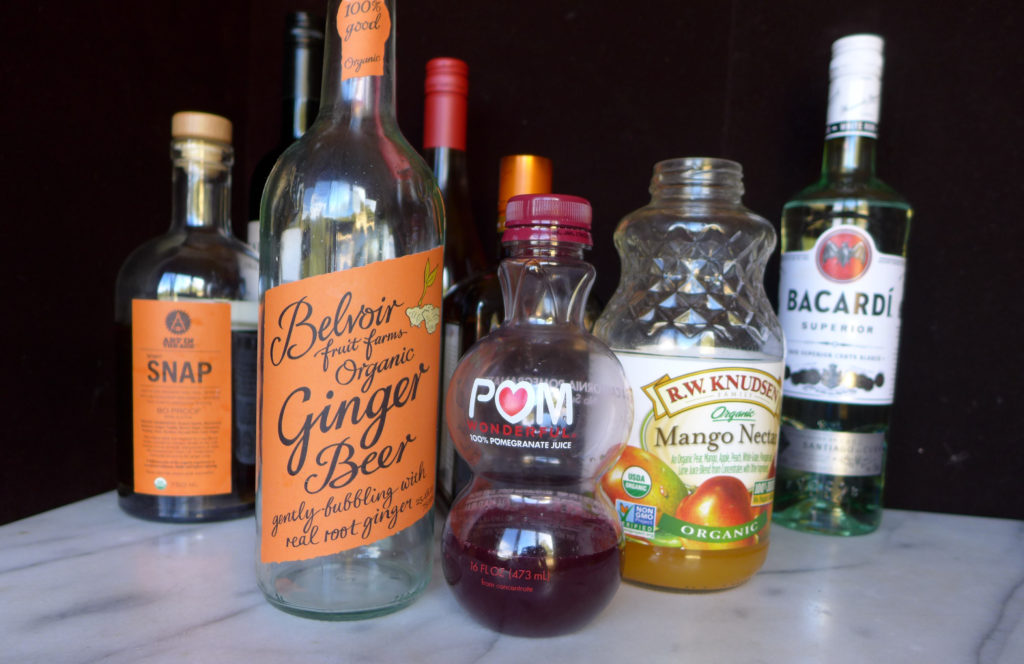
With the realization that we had a winner of drink on our hands, I knew that I wanted to share it on the blog, but forgot to take any beautifully staged drink shots, instead, we have some after-party empties. #oops

liveseasoned_gingerpunch5

The ingredients for this bad boy couldn’t be simpler : ginger beer, pomegranate juice, and mango nectar. The ginger beer provides a ginger flavor (obvs), but I really like it because it also adds a fiery warmth to the drink that you aren’t going to get with ginger ale. Don’t accept any ale substitutes. The pomegranate juice provides the punch’s tart flavor and the mango juice its sweetness.

I used 25 oz of ginger beer, 8 oz of pomegranate juice, and about 12 oz of mango nectar. After you put that all together, you can give it a taste and adjust things to your preference.

Originally I was going to spike this with light rum, but then decided against it since we were going to have some non and light drinkers in the group. Instead, everyone had the option to add whatever alcohol they would like (we had rum, gin, vodka, and SNAP available). I loved it with rum and stuck with that for my two glasses, but I know a lot of other guests were excited by the ginger-snap description of SNAP and ended up enjoying that paired with the punch.

liveseasoned_gingerpunch2

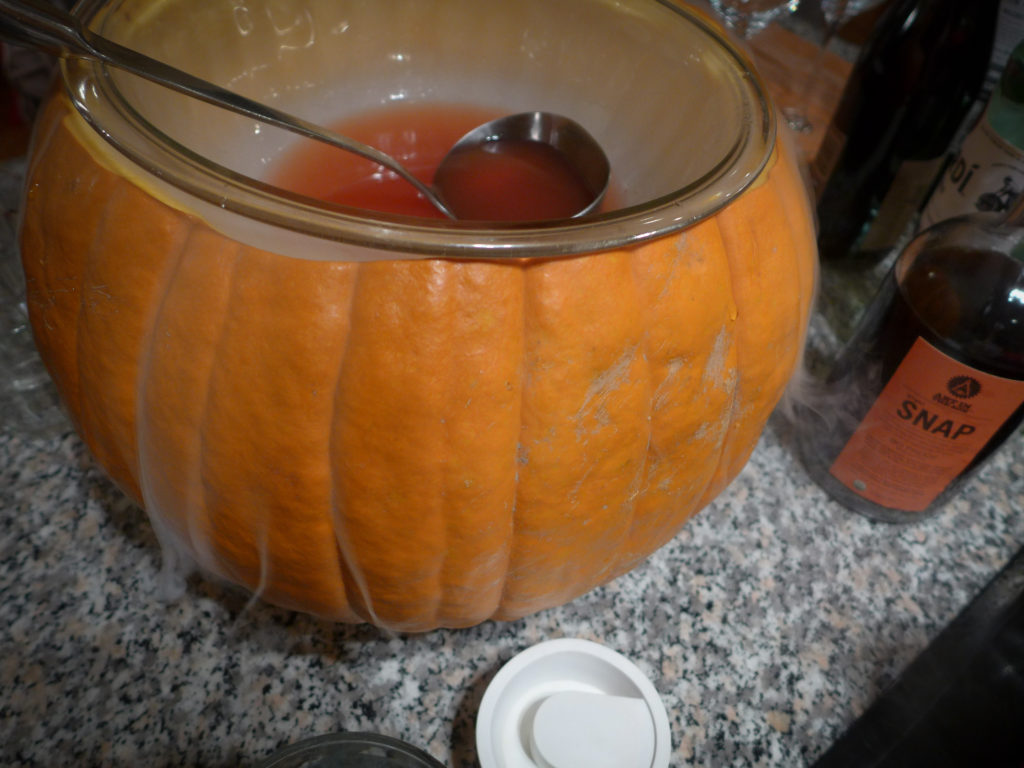
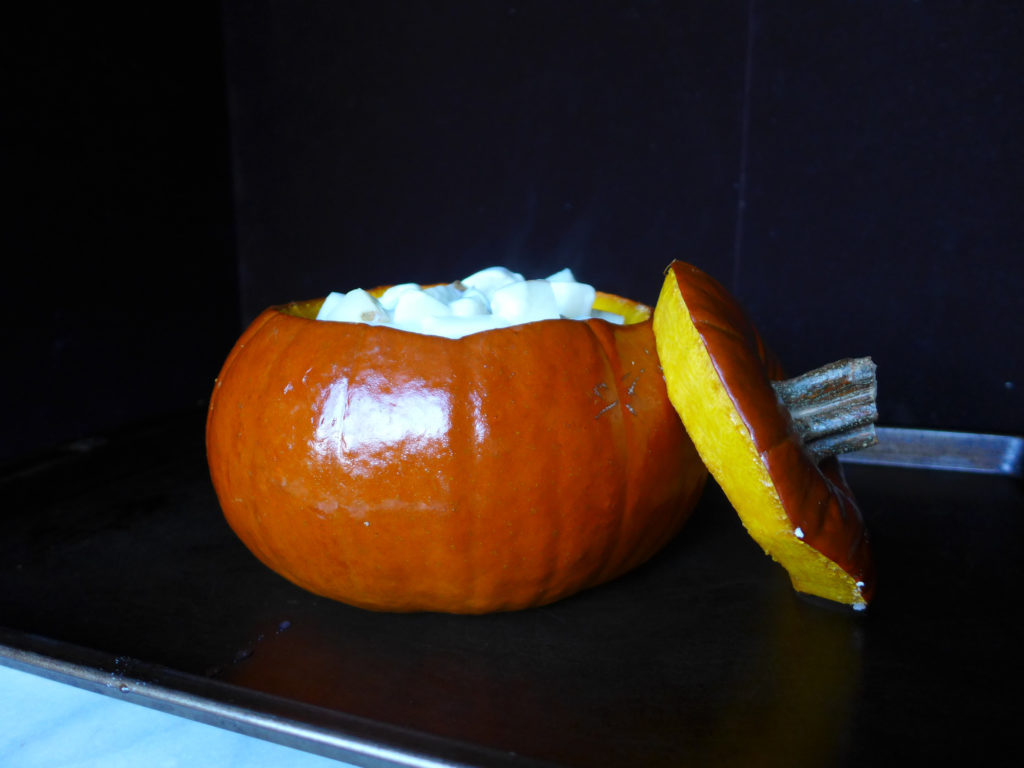
Since I was serving this for an October event, I used it as an excuse to experiment with dried ice for the first time! My goal was to serve the punch in a pumpkin with dry ice creating a smoke or haze that would flow out and around the punch bowl. I would give the final result a C+. The punch in the pumpkin looked super seasonal at the drink station (I even kept the pumpkin top and it made a cute lid on the punch before party time), but I couldn’t get the volume of smoke that I was looking for. Maybe you’ll have better luck.

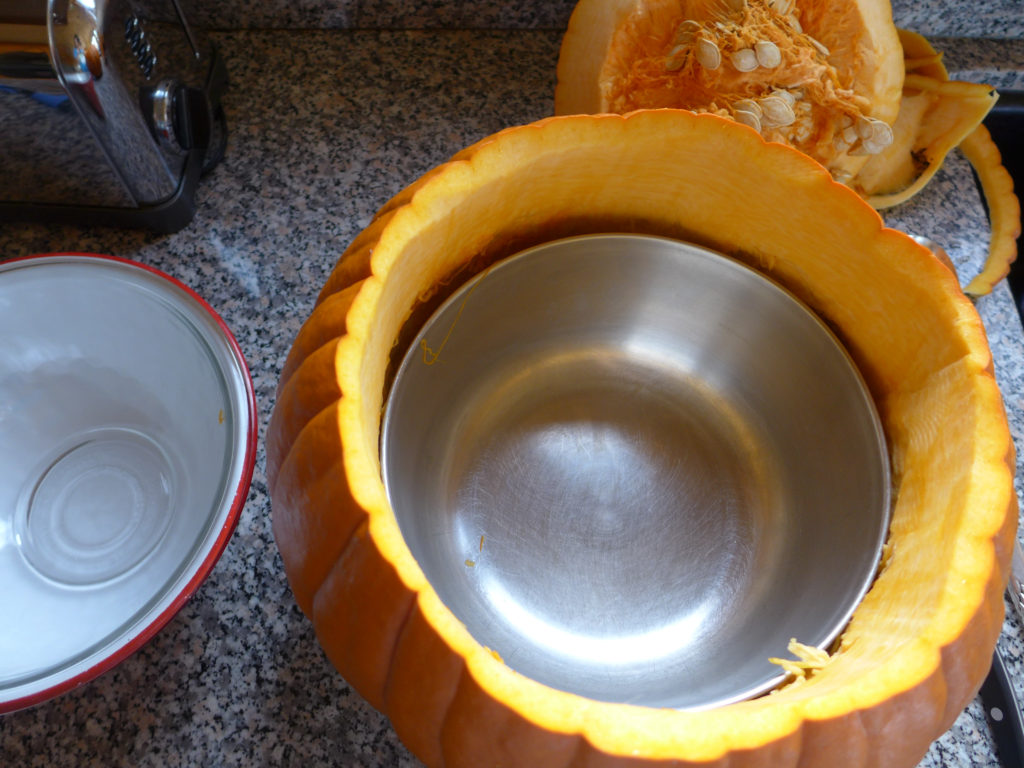
Here’s what I did : I cut the top off of an extra-large pumpkin and cleaned out the insides. Then I carved out the insides slightly until I was able to fit a metal* bowl down inside the bottom of the pumpkin, BUT I tried to not carve too much of the top rim of the pumpkin away so that my glass “punch” bowl could rest on the pumpkin and not sit down in the metal bowl. I think the following two pictures will help to illustrate the set-up.

liveseasoned_gingerpunch3

liveseasoned_gingerpunch4

At party time, I placed the dry ice in the lower metal bowl and poured some water over it to get it smoking, then I placed the glass punch bowl on top for serving. While the ice would smoke some, it would also peter out fairly quickly. We would pour more water over it, causing another big release of smoke, but again, it was quickly exhausted…. maybe I just needed more dry ice in the lower bowl? While it wasn’t a dramatic success this time, everyone loved that we gave it a shot, and I’m still game to do a few more dry ice experiments.

*Metal is essential here since the dry ice gets so cold that it could shatter glass bowls (I even worry about pyrex because there have been some issues with lower quality pyrex being manufactured in recent years).

liveseasoned_gingerpunch

See what I mean? It’s an ehh, on the scale of awesome, but hopefully I’ll have my dry ice game down by the time the boys are teenagers (gotta impress them with something).

Bat Halloween Shirt

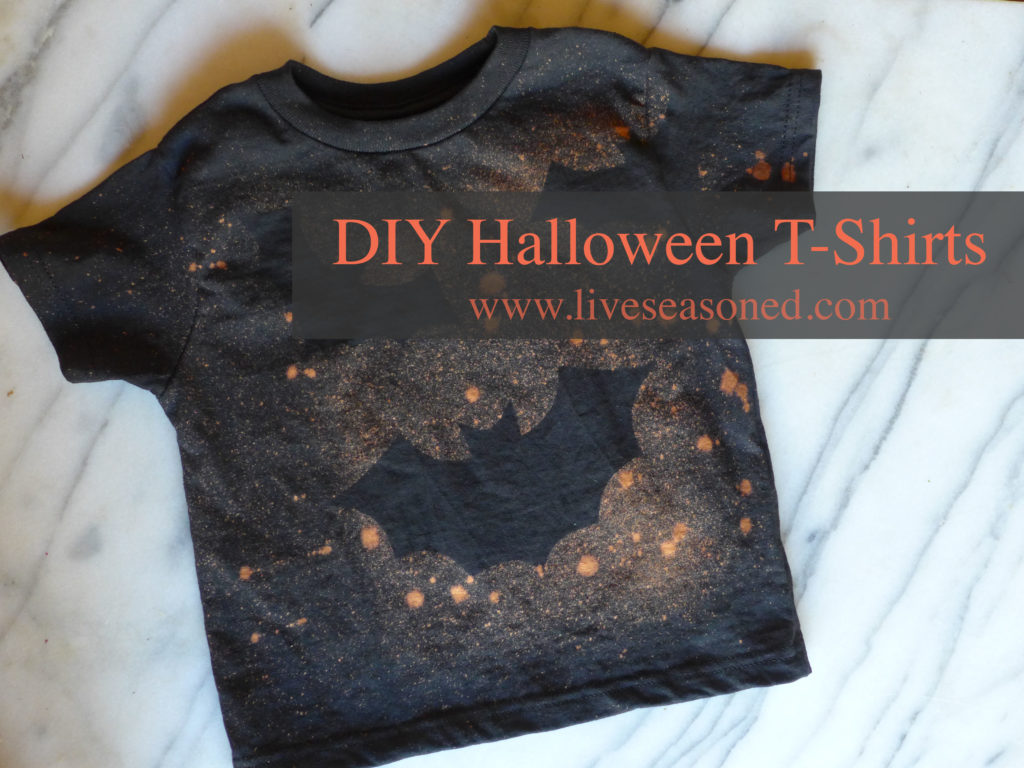
Halloween is just around the corner, and now that we have a 3.5 year-old in the house, every holiday is a big deal! Combining Alex’s current love of bats and the coming holiday, I have a great DIY for you : bleached bat t-shirts!

bat_shirts5bThis project couldn’t be easier, but unfortunately, since you’re working with bleach, this is not necessarily a kid-friendly DIY. Don’t worry, they’ll have a great time watching the “magic formula” work!

bat_shirts

Supplies

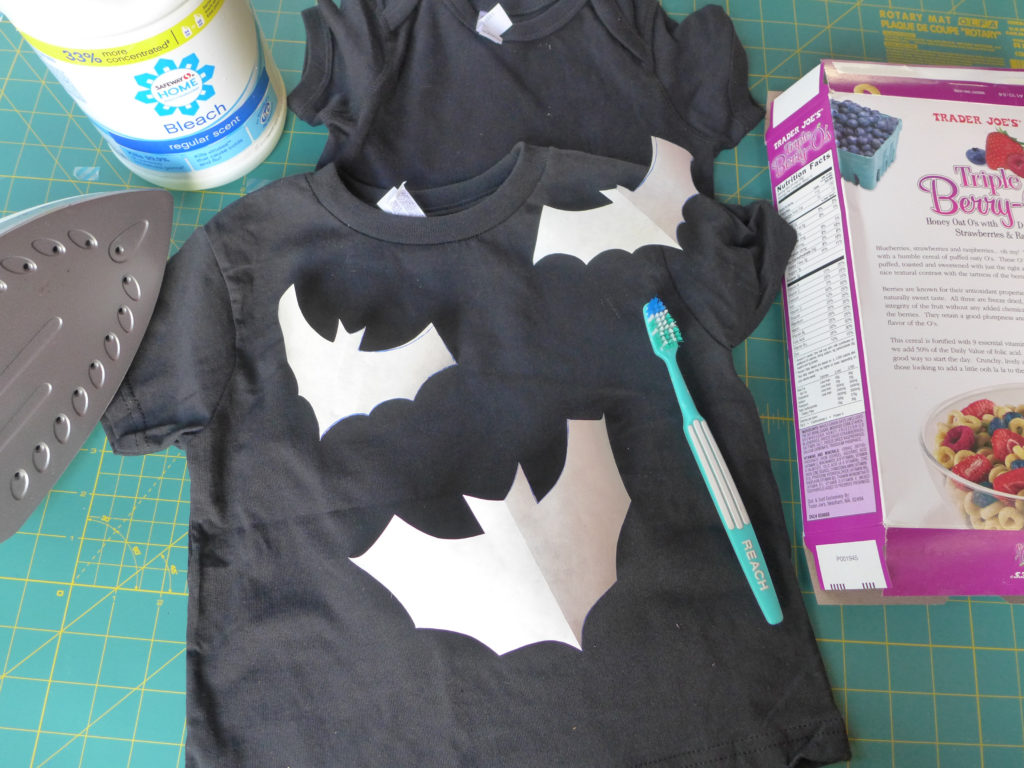
  • black or navy blue t-shirt
  • freezer paper (it has a wax coating on only one side whereas wax paper has a wax coating on both sides)
  • bat stencil (I free-handed on, but you could print out a bat clipart silhouette)
  • piece of cardboard (an empty cereal box works well!)
  • toothbrush
  • bleach
  • water
  • latex glove (to protect your hand will applying the bleach splatters)

bat_shirts8

bat_shirts2

bat_shirts4

Hints

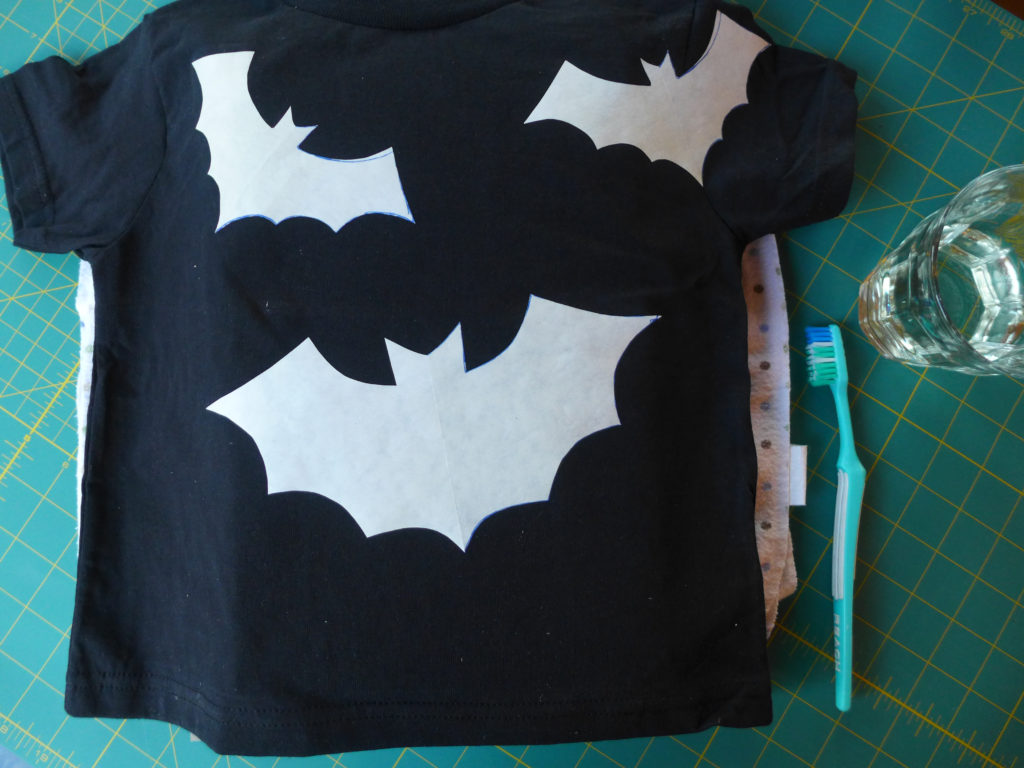
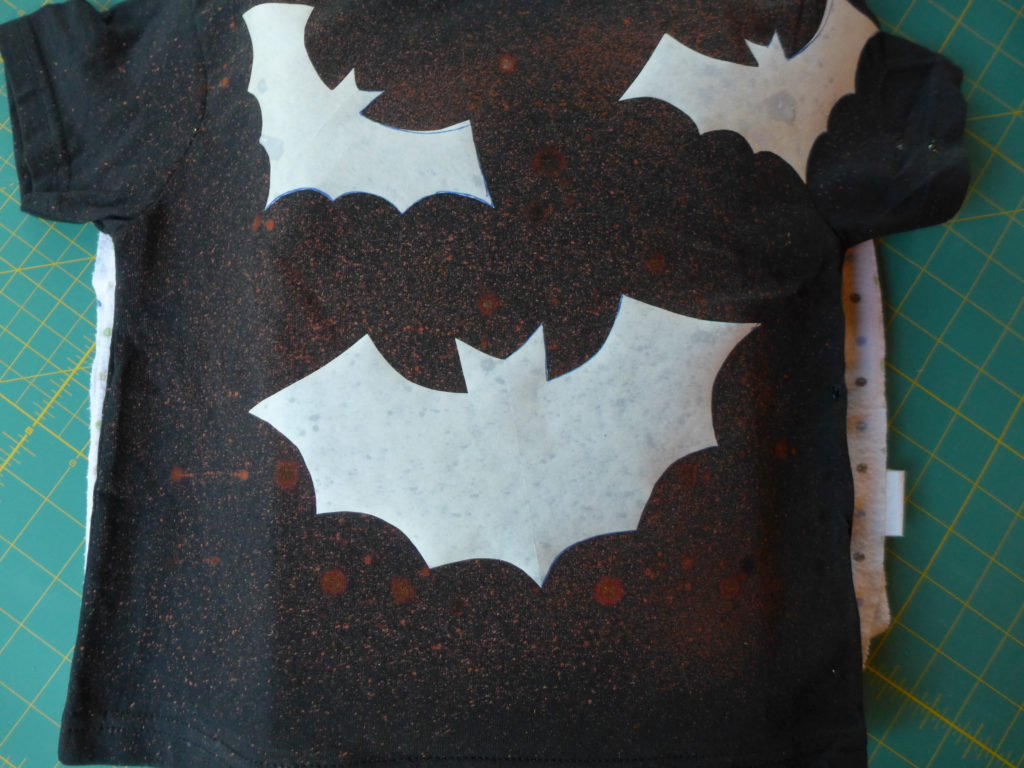
  • Trace and cut-out bat silhouettes from the freezer paper. I made large and small bats, but you have complete flexibility with the size and number of bats you use (whatever you think will look good on your shirt).
  • With the iron on low heat, carefully iron the freezer paper bats onto the shirts (make sure the waxy side of the paper faces the fabric). Keep the iron relatively still, pressing into the paper and fabric and moving it slowly across the stencil. The freezer paper should will stick to the fabric, forming a bond that will stop the bleach from getting under the wax paper.
  • Make a 50-50 water and bleach solution.
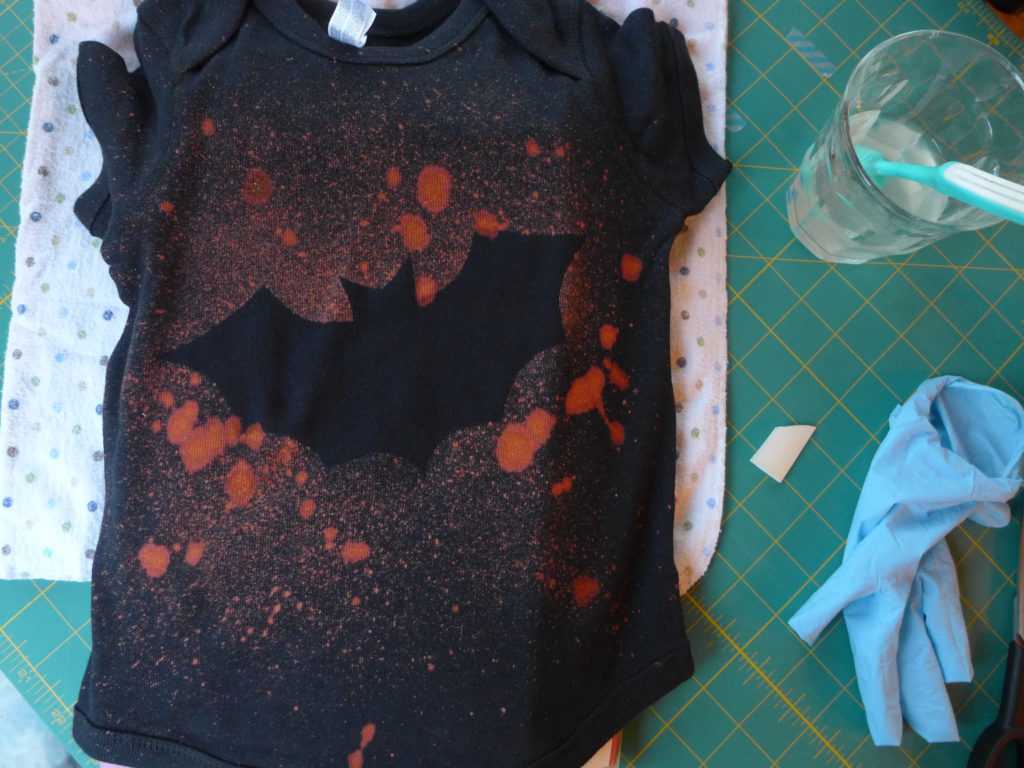
  • With a gloved hand, dip the toothbrush into the bleach solution and splatter the solution on the t-shirt around the bats. It’s ok, and even looks great, to make both large and small splatter marks.
  • You should see the bleach start working on the fabric after a few seconds. Continue to splatter the shirt until you’re happy with the density of “stars” on the fabric, being sure to thoroughly splatter the shirt around the bats so that you get a noticeable silhouette once the wax paper is removed.
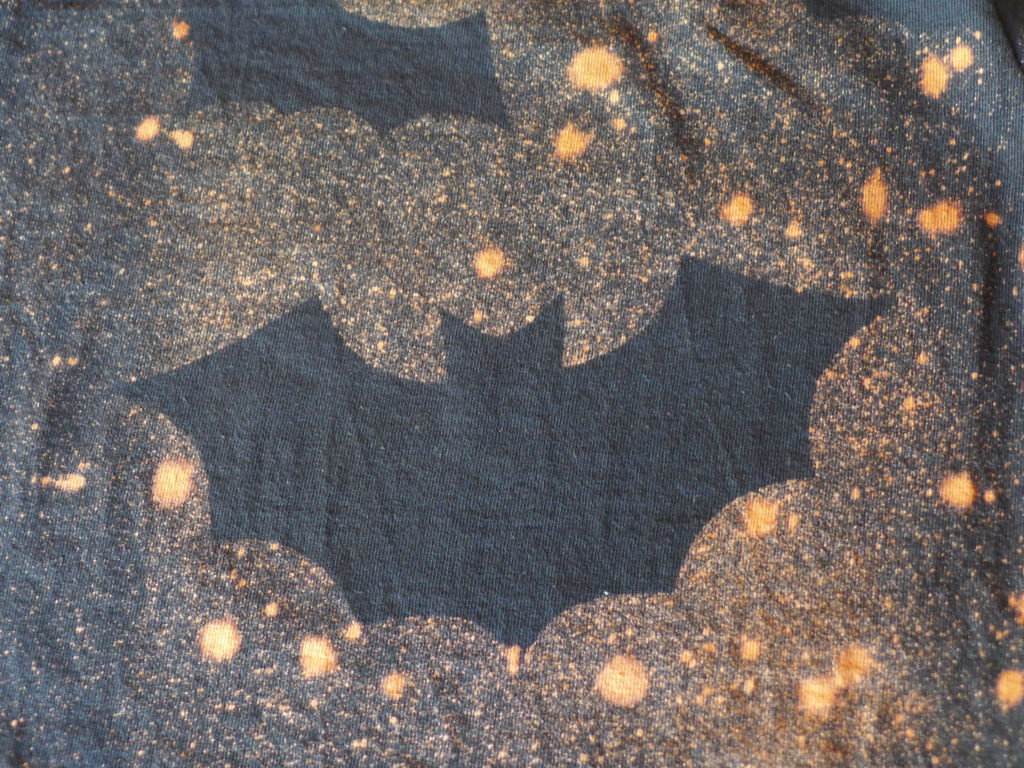
  • Watch the bleach activity – when you’re happy with both the density and intensity of the stars, remove the paper stencils and quickly rinse the shirt under water to stop the bleach activity.
  • Wash the shirt, and you’re done!

bat_shirts7

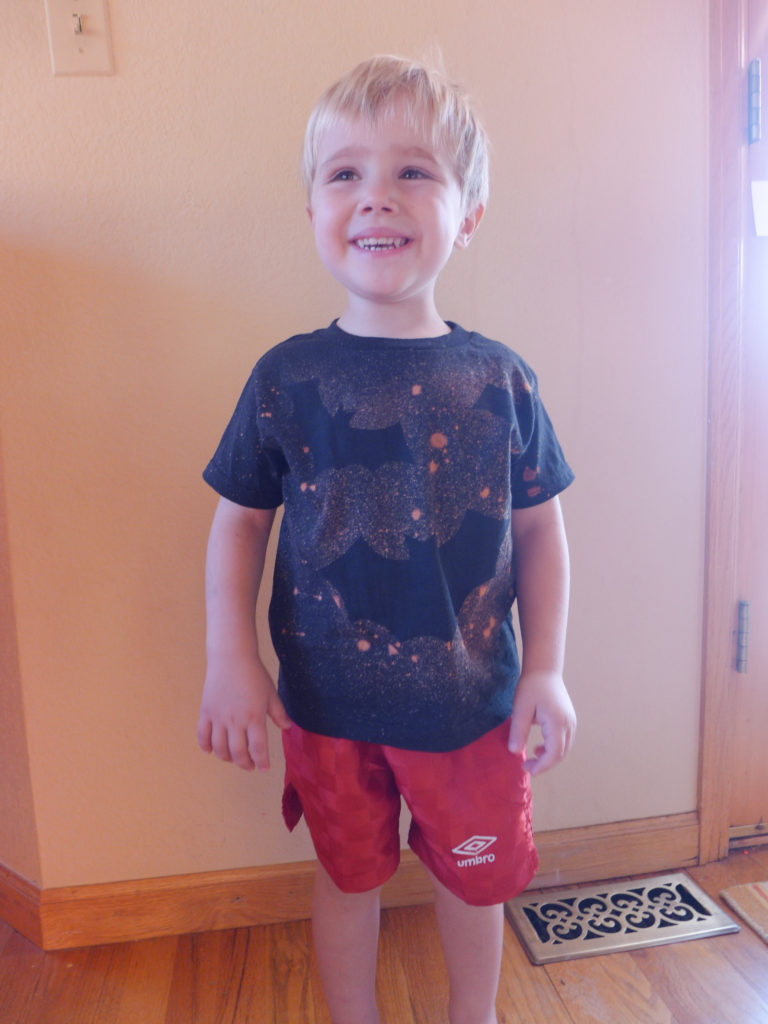
And look at that kid, he loves his new shirt! Such a simple project and it brought this little guy so much joy.

bat_shirts6

Happy Halloween!

Balsa Mat & High School Geometry

Were you one of those kids sitting there in high school geometry thinking about when you’d ever use that stuff? And now you’re crafting up a storm and haven’t thought about Pythagorean Theorem since. Well, today’s the day you’re going to put that famous formula to work! … now before you get the cold sweats, just know that you won’t *have* to use the formula (I’ll show you a trick), BUT if you want to impress your high school geometry teacher, then we’ll also whip out our calculators phones.

What am I talking about? Cutting angles for a super-simple DIY balsa wood mat.

balsa_frame7b


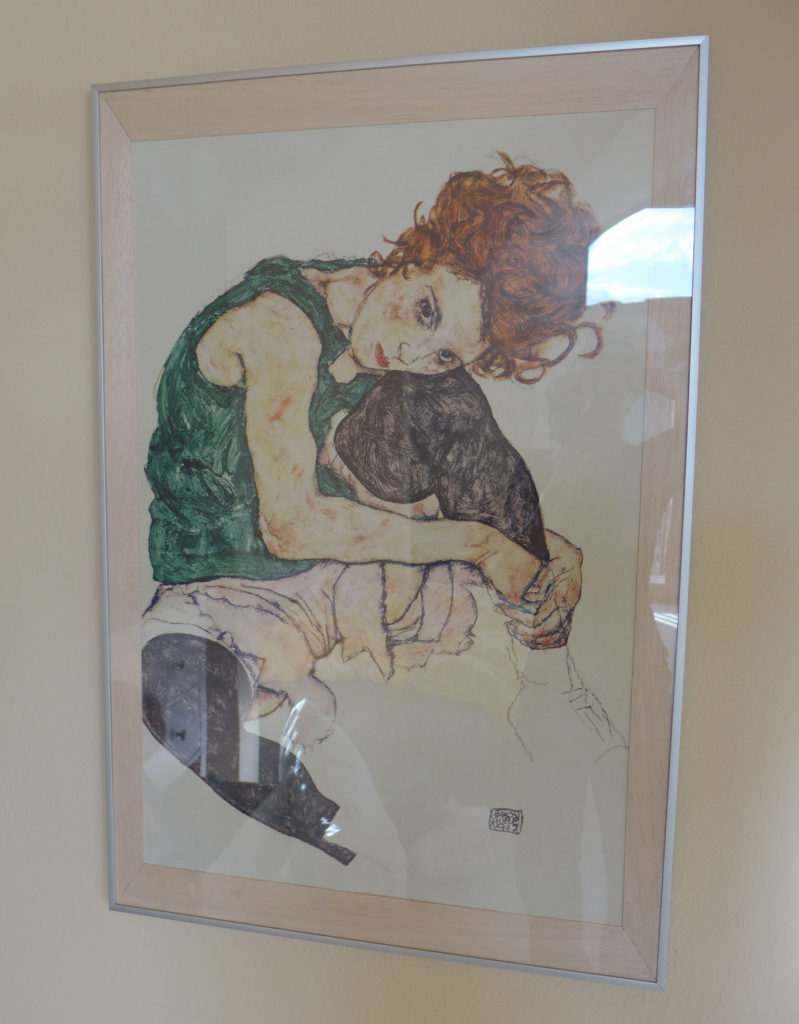
I came up with this project out of desperation. My mom gave us a poster of an Egon Schiele print (I know what you’re thinking – why’d she cheap out and not buy the original? What a bum.), and I wanted to frame it to hang on the wall. The print itself was about 32″ by 21″, requiring at least a 36″ x 24″ frame. The problem was that I couldn’t easily find a mat large enough for the frame. I’m sure I could have ordered one from a framing shop or the framing counter at Michaels, but that would require talking to someone and explaining my problem. Did you know that young kids love to yell and scream at the exact moment you’re trying to talk to someone else?

(Side note, while I love original art on the walls, I’m totally comfortable enough in my house decorating to still use posters of art that I love but can’t afford. Call me crazy.)

Then I came up with an idea to shirk the traditional mat and make something more visually interesting out of balsa wood! If you haven’t worked with balsa wood before, it’s a very soft and lightweight wood that can be cut into thin sheets and used for any variety of craft projects (as well as having many structural uses beyond crafts). Balsa wood for crafts and model building is sold in Michaels, art stores, and some hardware stores. I bought the 36″ x 3″ x 1/16″ sheets for this project.

Supplies

  • balsa wood sheets
  • double-sided tape
  • sheet of paper as large as the framed area (I used the sheet that was already in the frame advertising its size)
  • exacto knife
  • cutting mat or board

Hints

The basic overview of this project is that you’re going to center your print on the large piece of paper and place the pieces of the balsa mat around it, attaching the print and the balsa wood to the paper with double-sided tape. What I’m going to help you with below is making sure that the balsa wood ends are cut at the correct angle so that they fit together nicely in the frame.

Begin by decided how wide the balsa sheets will be on the top/bottom and sides of the print. For example, in my situation, I wanted the mat to be approximately 2.25 inches on the top and bottom, and only 1.5 inches on each side.

Cut the balsa sheets so that they are the length and width you want for your mat. Again, in my case I had two pieces of balsa that were 24″ x 2.25″ for the top and bottom, and two more pieces that were 36″ x 1.5″ for each side.

balsa_frame

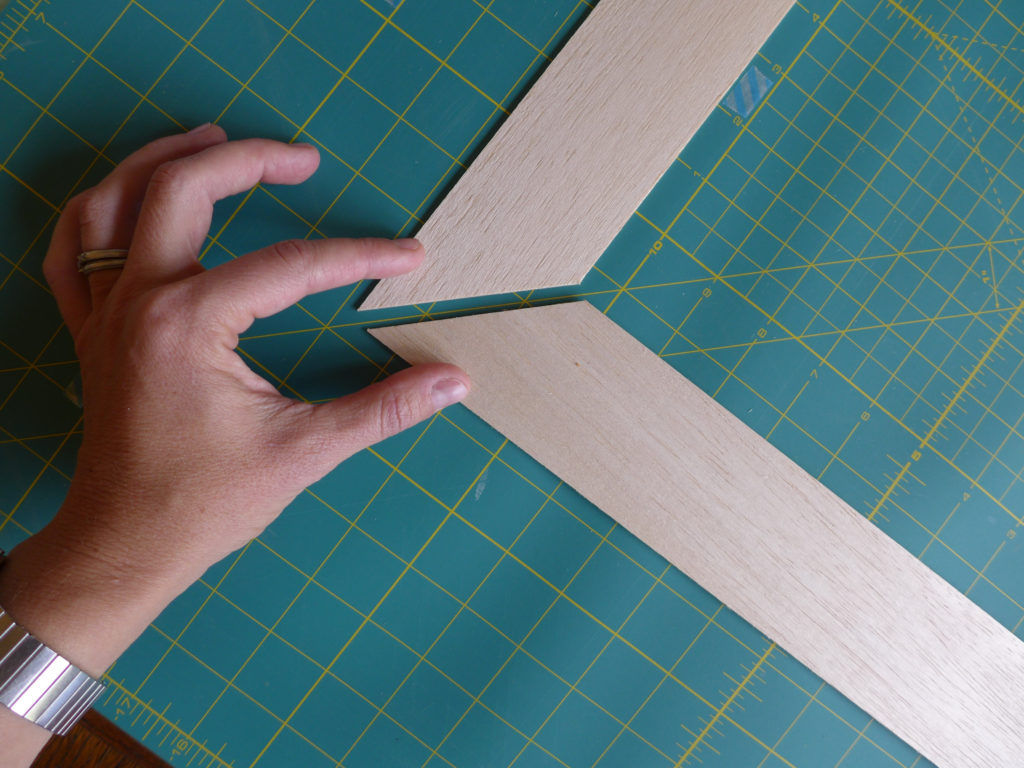
Once you have the four rectangles, you’ll have to cut the corner angles. If your sides and top/bottom pieces are the same width (i.e the mat will be the same width all the way around the picture), then you can easily cut the angles using the 45 degree line on your cutting mat as a guide as in the photo above.

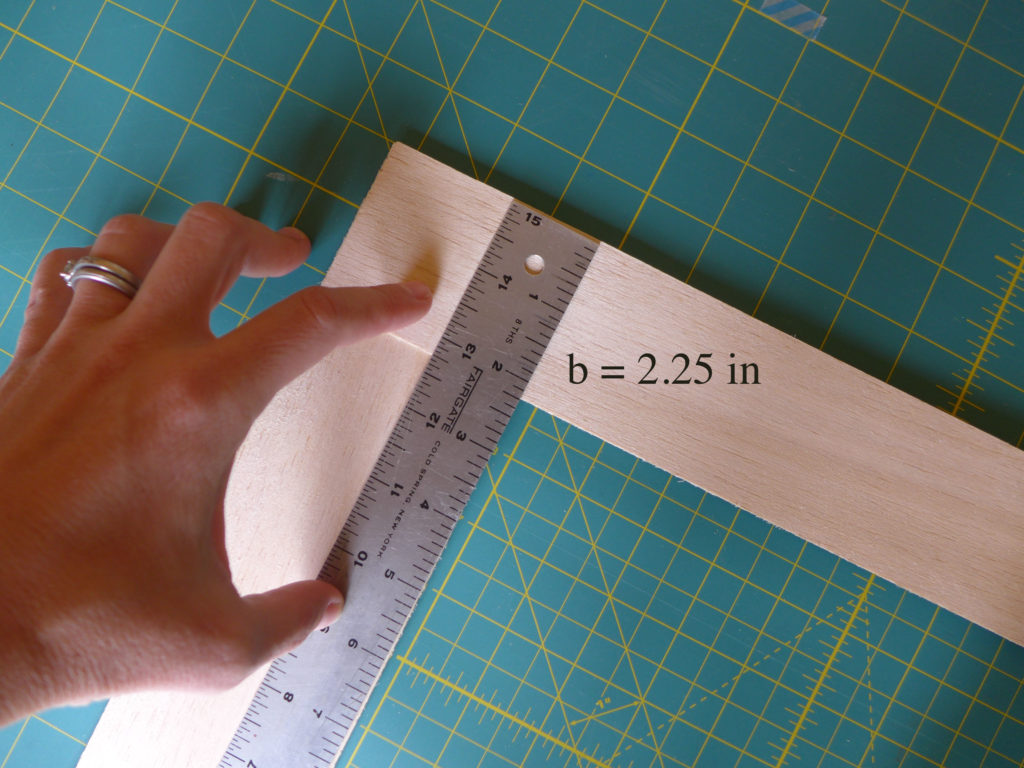
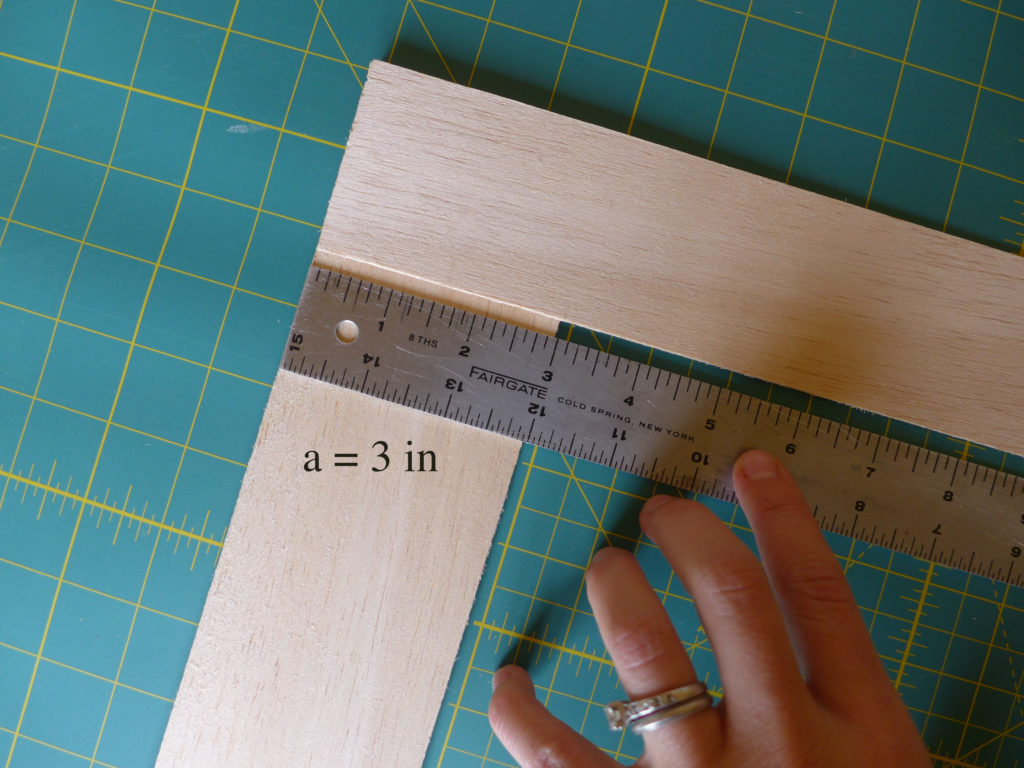
BUT if the width of your side pieces doesn’t match the width of the top/bottom pieces, as in the example photos below, where the width of one piece measures 2.25″ and the width of the other measures 3″, then you’re going to have to use the Pythagorean Theorem to calculate the length of the corner angle.

balsa_frame3-copy

balsa_frame4-copy

Good Old Pythagoras taught us that “a-squared + b-squared = c-squared”. Remember that? This formula only applies to right triangles, where one corner (the one opposite the hypotenuse) is a 90 degree angle. In this case, if we know the lengths of any two sides of the triangle, we’ll be able to find the length of the third using that equation.

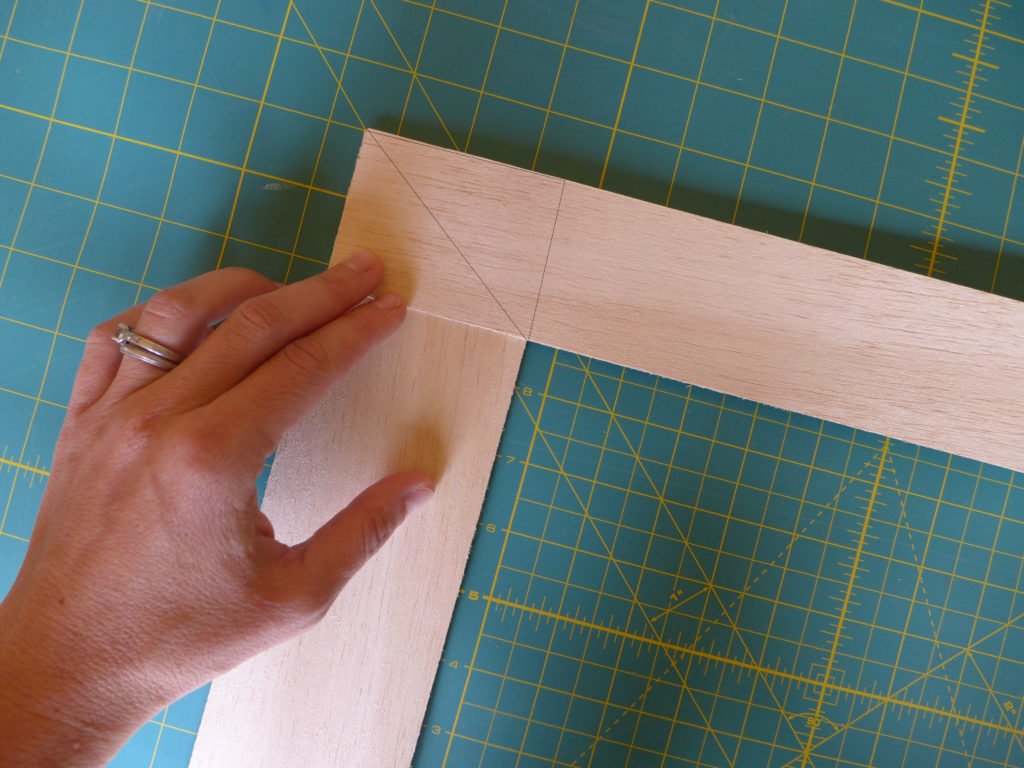
Can you see the faint triangle drawn on the balsa wood in the photo below? That’s our right triangle with the 90 degree angle on the top right (bottom left), and we’re looking to calculate the length of the hypotenuse that runs from the outer corner of the mat to the inner corder.

balsa_frame2b

triangles2

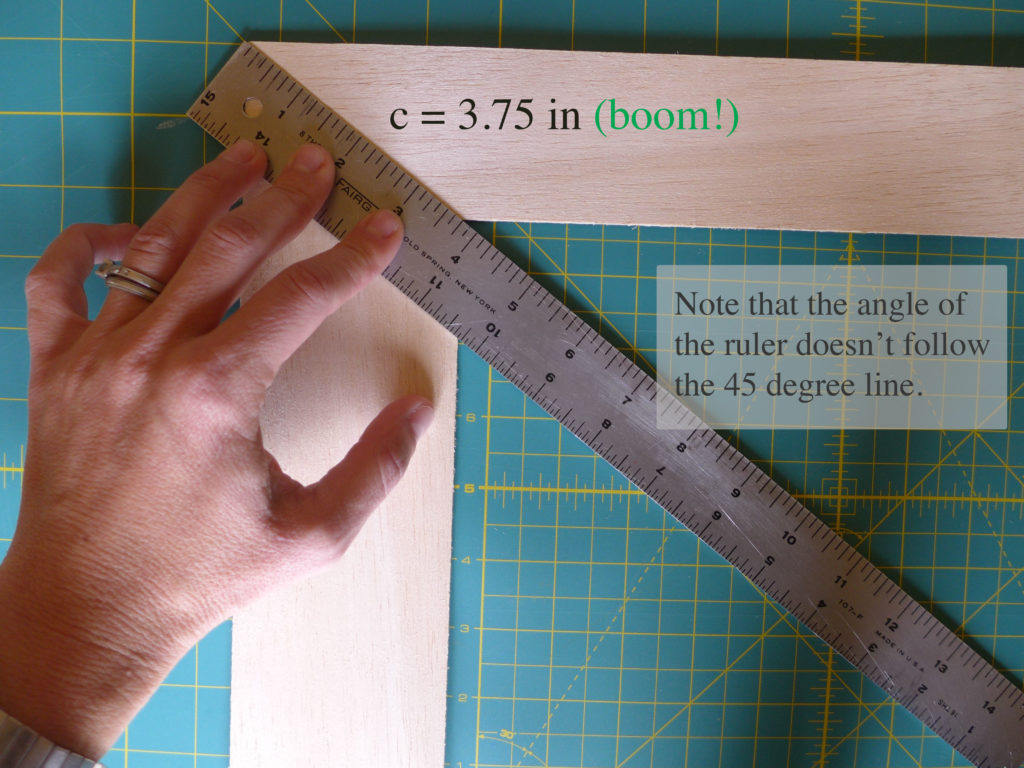
Applying the pythagorean theorem to this problem, I calculate a length of 3.75 inches for the corder cut, and by holding the ruler up to my mat, I see that that number matches the length of the cut from the outer to inner corners – it works! And as I mentioned in the photo, it’s worthwhile to note that the angle of our ruler doesn’t match the 45 degree line on the mat, so using that as your guide would give you corners that don’t line up.

balsa_frame5b

Ok, but as I’m sure you’ve already realized by now, you don’t *have* to make those calculations, you could just hold the ruler up as I’m doing below and use your exacto knife to cut along that edge without giving it’s length a second thought…. but come on, don’t you want to impress your better half? Or at least make your high school geometry teacher proud?

balsa_frame6

After your corners are cut, use the double-sided tape to secure the balsa pieces to the large piece of background paper, and then carefully place the whole thing (art and balsa mat attached to the background paper) into your frame, and your customized mat is done!

Mitchell Lake Trail

We like a good hike, and every once in a while we have the chance to hike slow, take pictures, and share the adventure with you. You can check out some of our previous Colorado hikes here.

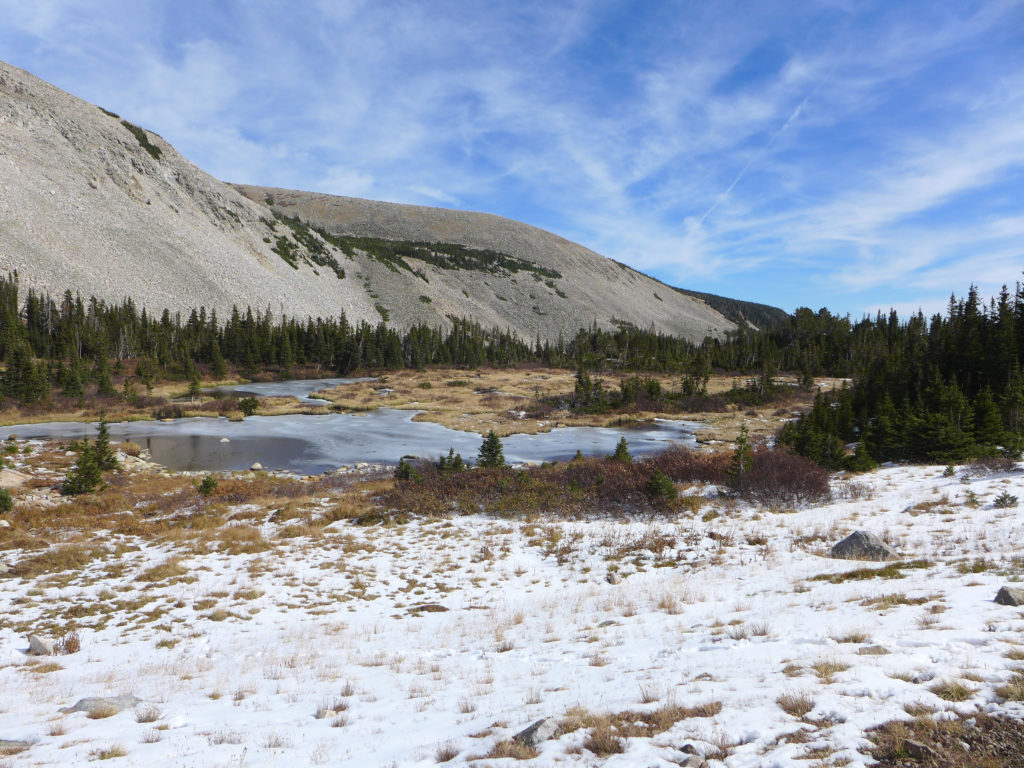
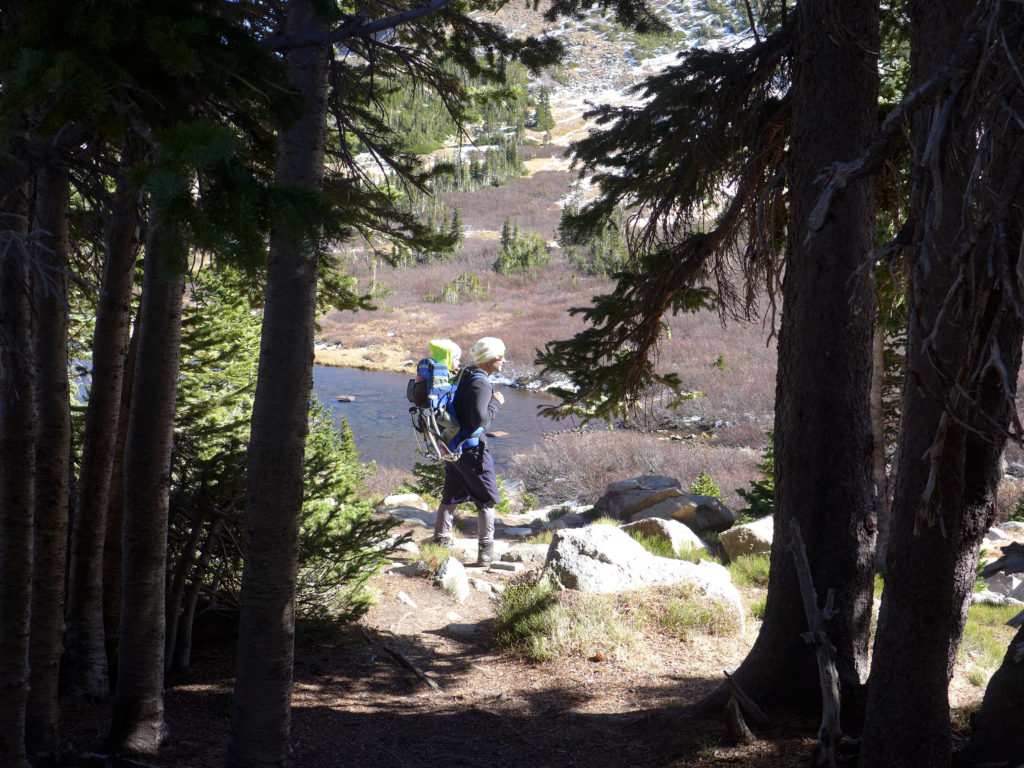
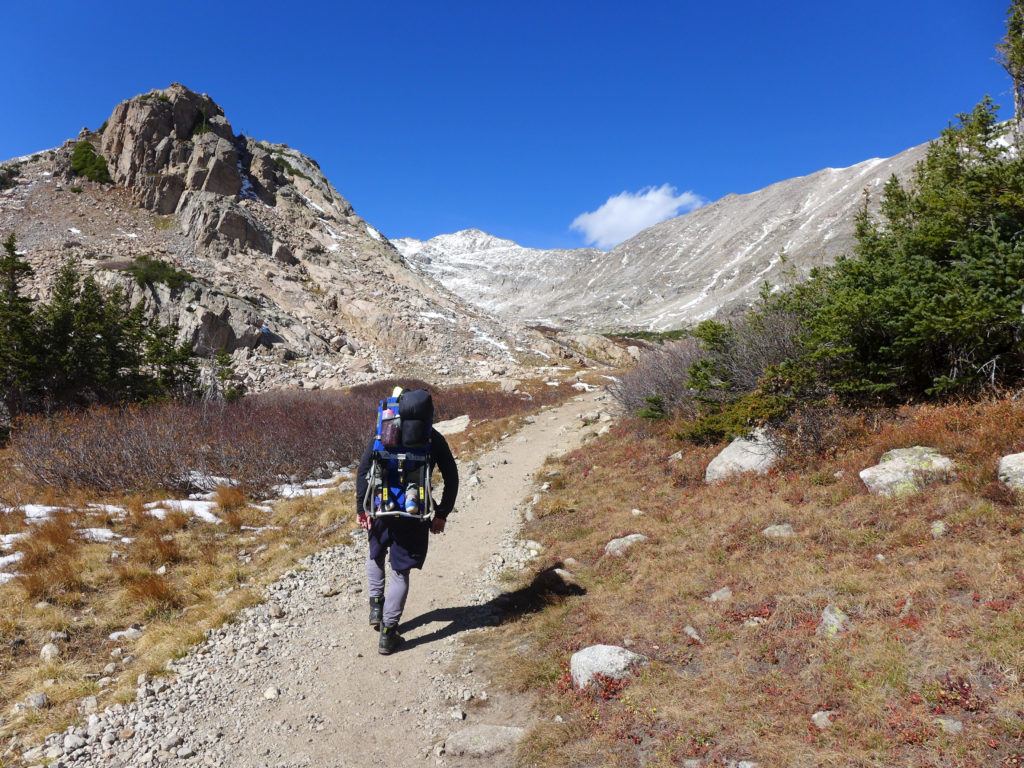
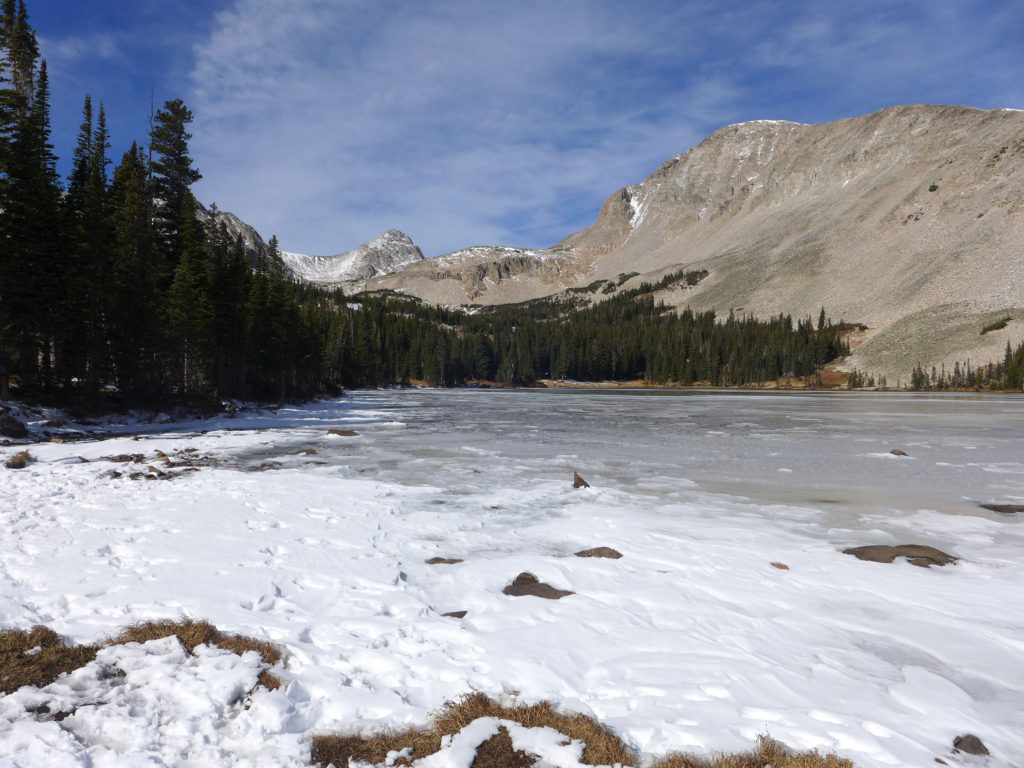
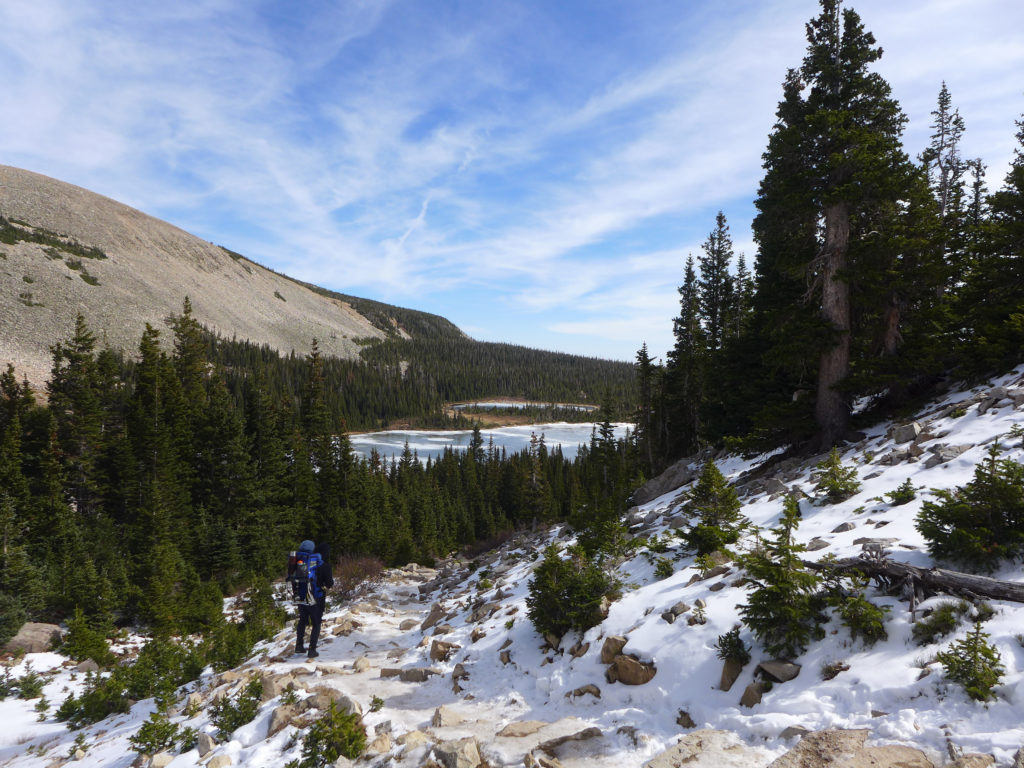
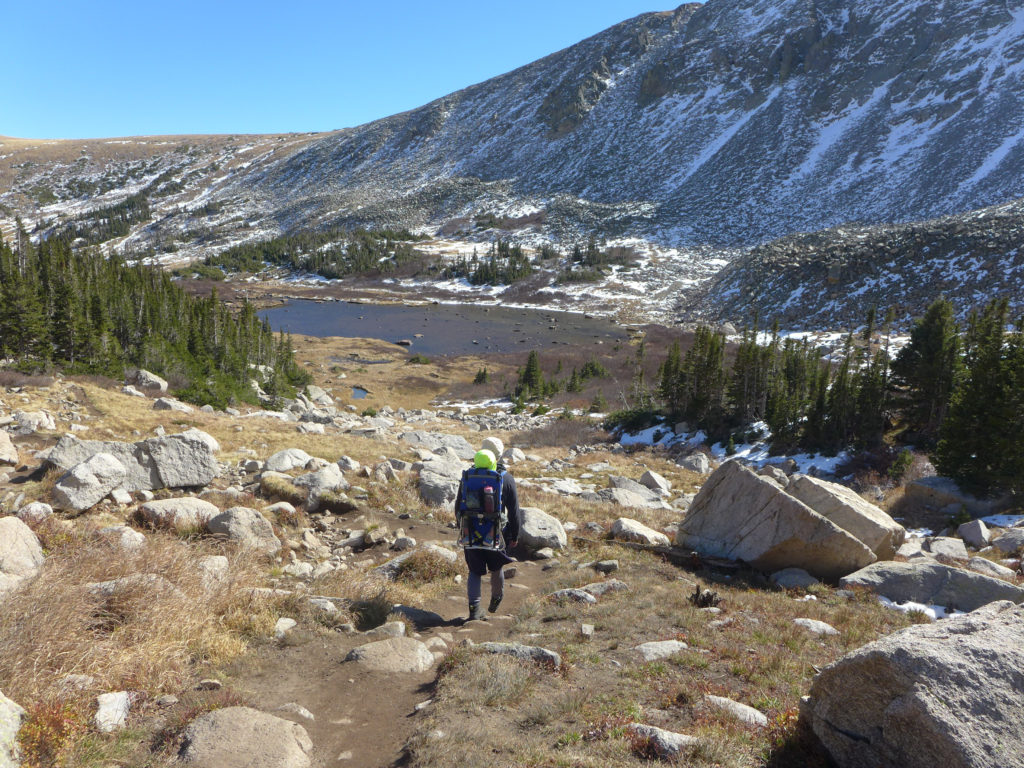
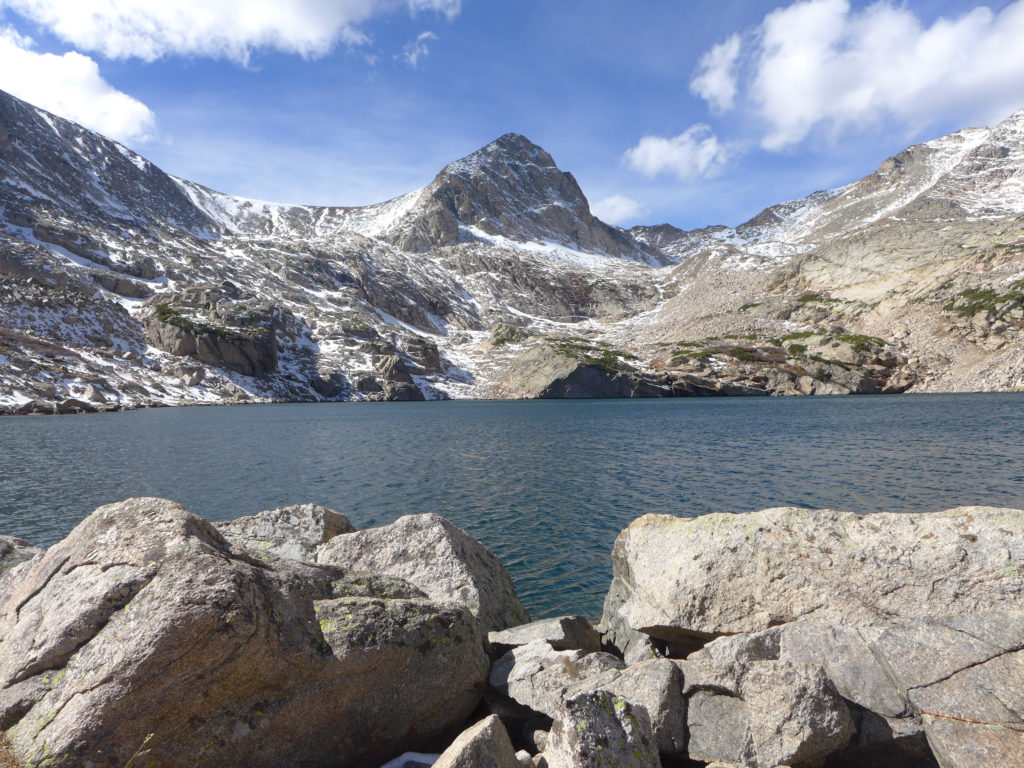
For the past two weekends, we’ve visited Brainard Lake Recreation Area and set out from the Mitchell Lake Trailhead. On our first trip, we did a short hike to Mitchell Lake, took a rest to have some hot chocolate, and then turned around. Yesterday we set out with the goal to make it all the way to Blue Lake, and we did!

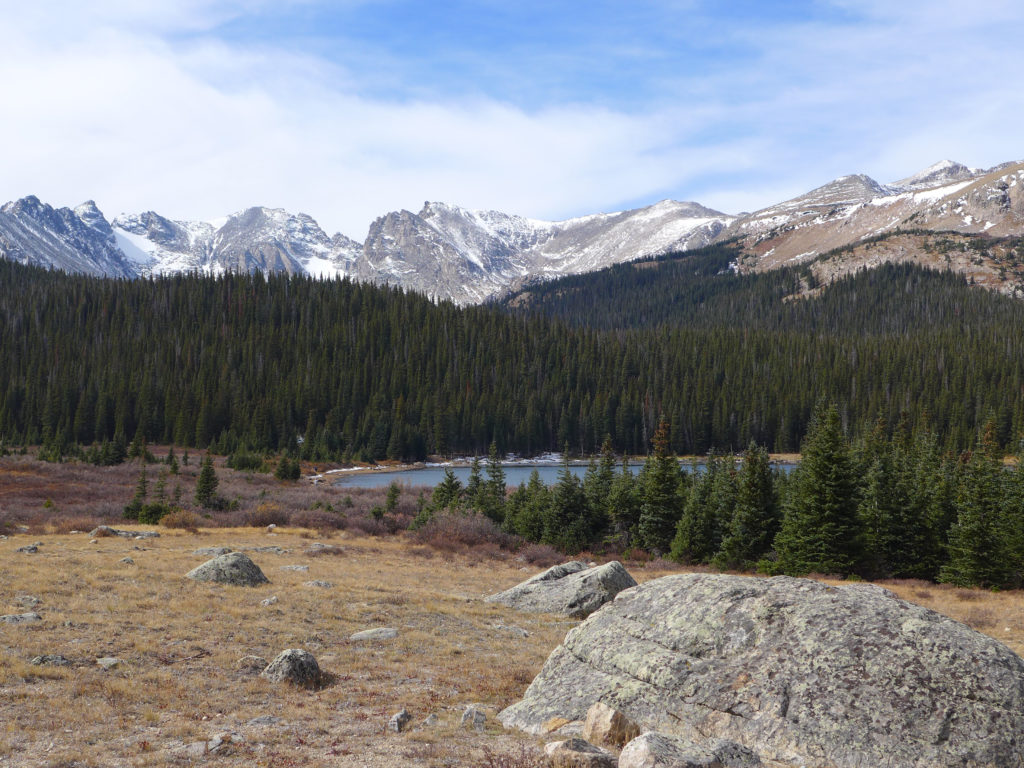
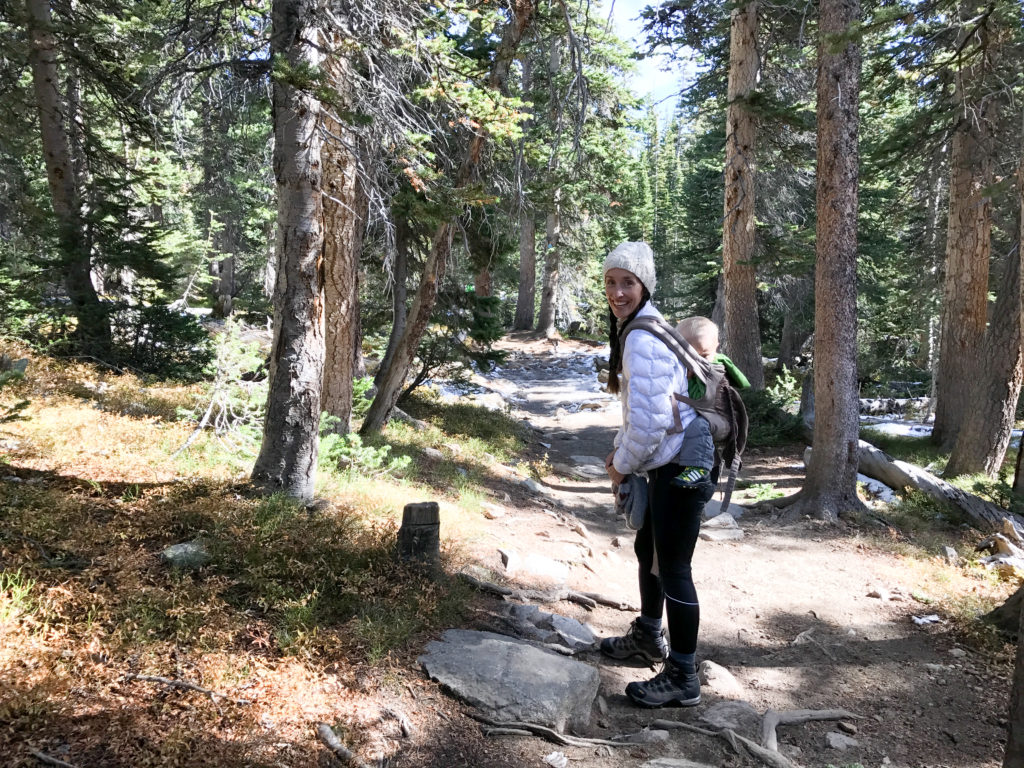
As in the tradition of our previous hike posts, I wanted to share some photos and a brief overview of the trail. These photos are from both trips and in no particular order, but they give you a great sense of what the trail is like during mid October.

mitchell_lake3b

mitchell_lake10

mitchell_lake20

mitchell_lake15

mitchell_lake7

mitchell_lake4

Trail Location

The trail starts within the Brainard Lake Recreation Area, but quickly leaves that area and continues on into the Indian Peaks Wilderness Area.

Brainard Lake Recreation Area is open to vehicles from June – October, but the exact opening and closing dates vary each year based on the weather. The entrance fee is on a sliding scale from $1 if you’re walking to $10/car, BUT you can access this area for free with a Nation Parks annual pass. When the area is closed during the winter, you can still park at a lot near the entrance and then enter the area by foot/ski/bike.

During the summer months, you can drive into the area and park at a number of lots. There’s a day-use lot near the main lake that often has spaces, and then there are two smaller lots near the Long Lake and Mitchell Lake trailheads, but in our experience, both of these fill up fairly early and remain packed throughout the day.

If possible, park at the Mitchell Lakes Trailhead and you’ll be able to quickly access the trail, if the lot is full, you’ll have to park in one of the other lots and walk over to the trailhead.

mitchell_lake11

mitchell_lake12

mitchell_lake14

Trail Overview

The hike to Mitchell Lake is just under a mile, and it’s another 1.6 miles to reach Blue Lake. These are both out-and-back destinations, making the round-trip hike to Mitchell approximately 1.8 miles and the hike to Blue Lake five miles. The altitude at the trailhead is approximately 10,500 ft, with a gradual climb of just 200 ft to Mitchell Lake and then reaching a final altitude of 11,300 ft at Blue Lake.

This is a popular, well-worn trail that is easily visible when there isn’t much snow on the ground. I’m not sure what it’s like when covered with snow, and while there were some markers in the trees, I didn’t pay close enough attention to notice how well-marked it was.

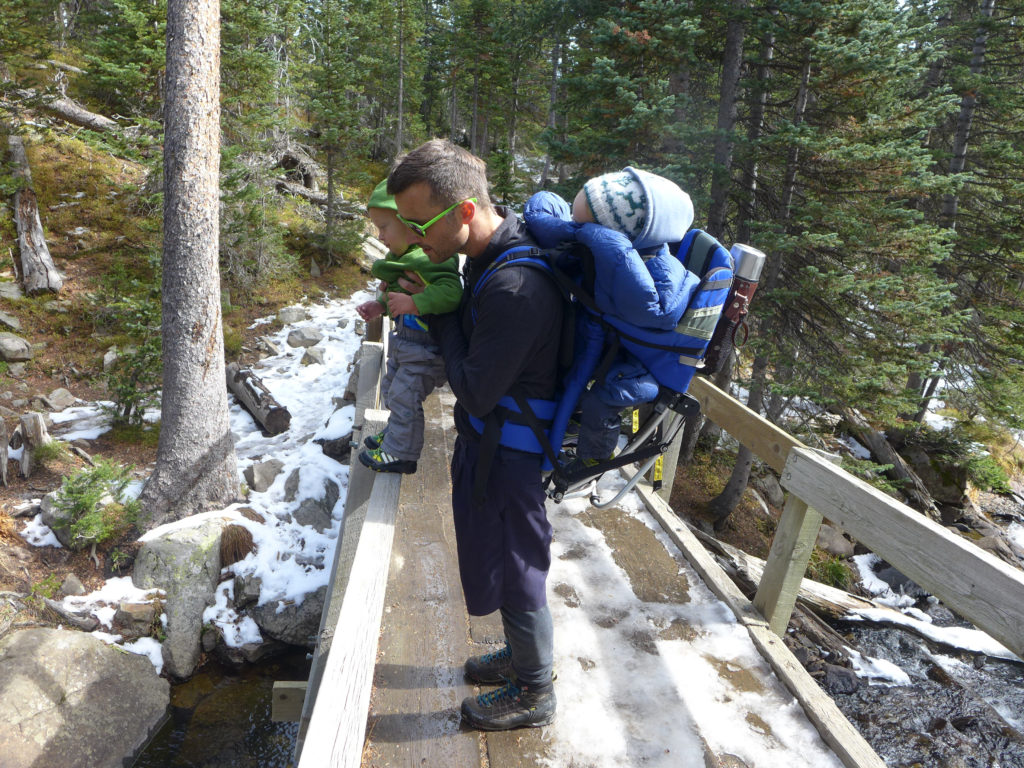
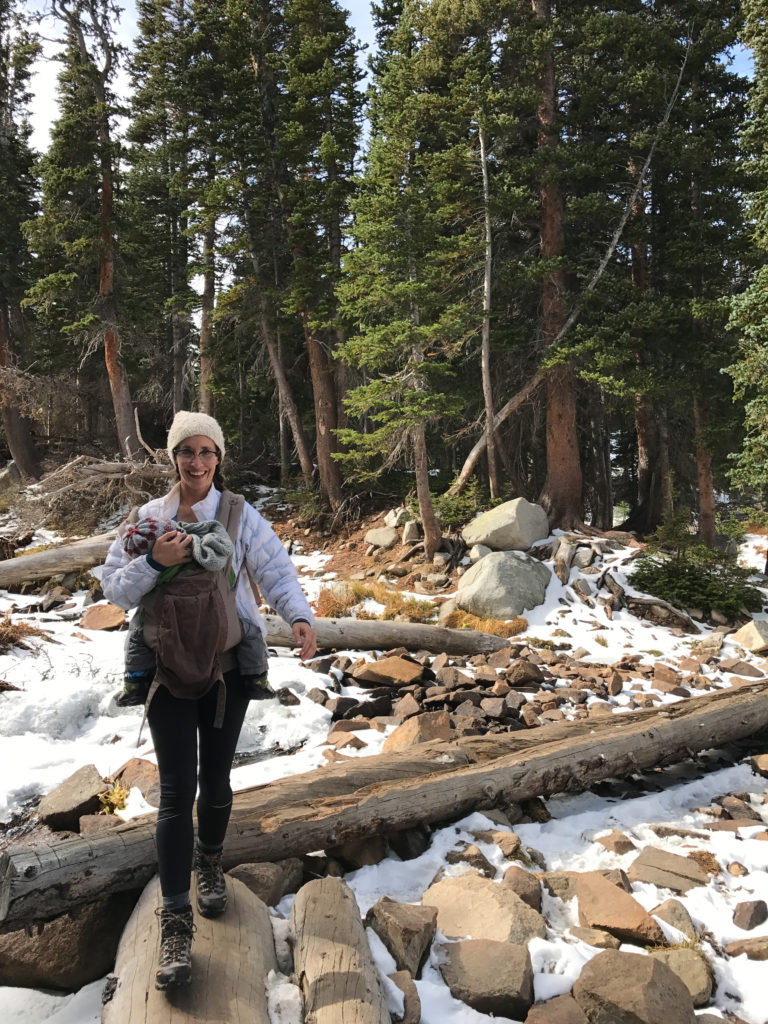
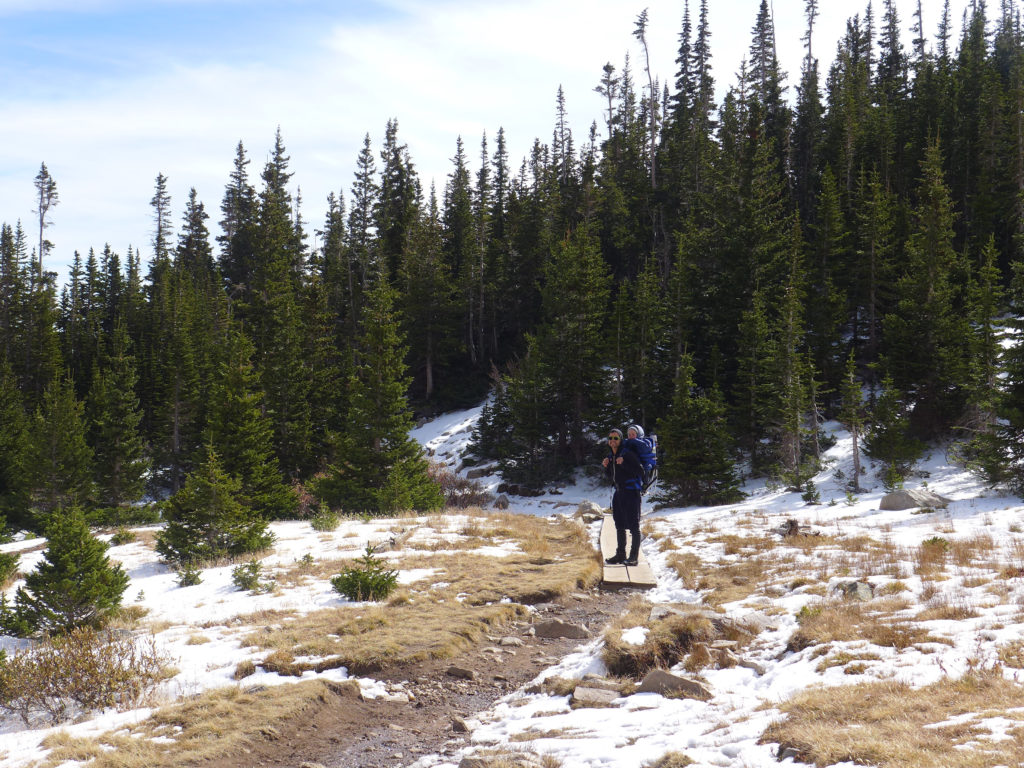
Near the base of the trail, hiking is relatively easy with that slow, gradual climb to Mitchell Lake. There is one large stream crossing over a short wooden bridge, and then another crossing over a wider stream with fall logs used as the bridge. In other segments, planks are used to keep hikers out of boggy areas. There are some steep areas where climbing the rocks is similar to climbing a steep set of stairs, with an increase in the portion of steep climbs as you approach Blue Lake.

During our first visit, there was some snow on the trail that had been tramped down and turned to ice, making some areas slick, but the following weekend this ice had melted, making hiking much easier. It was a nice reminder of how quickly weather and trail can change at that altitude.

mitchell_lake

mitchell_lake2

mitchell_lake17

Hiking with Kids

Young kids (4 to 8 year olds) should be able to hike to Mitchell Lake with minimal help but would likely need help making the full trek to Blue Lake. Older kids 8+ should have no trouble with the full hike. *** Having only 3.5 and 1.5 year olds, I may have to go back and revise those numbers as we continue to test the trail, but this is based upon the kids we saw out on the trails as we hiked.

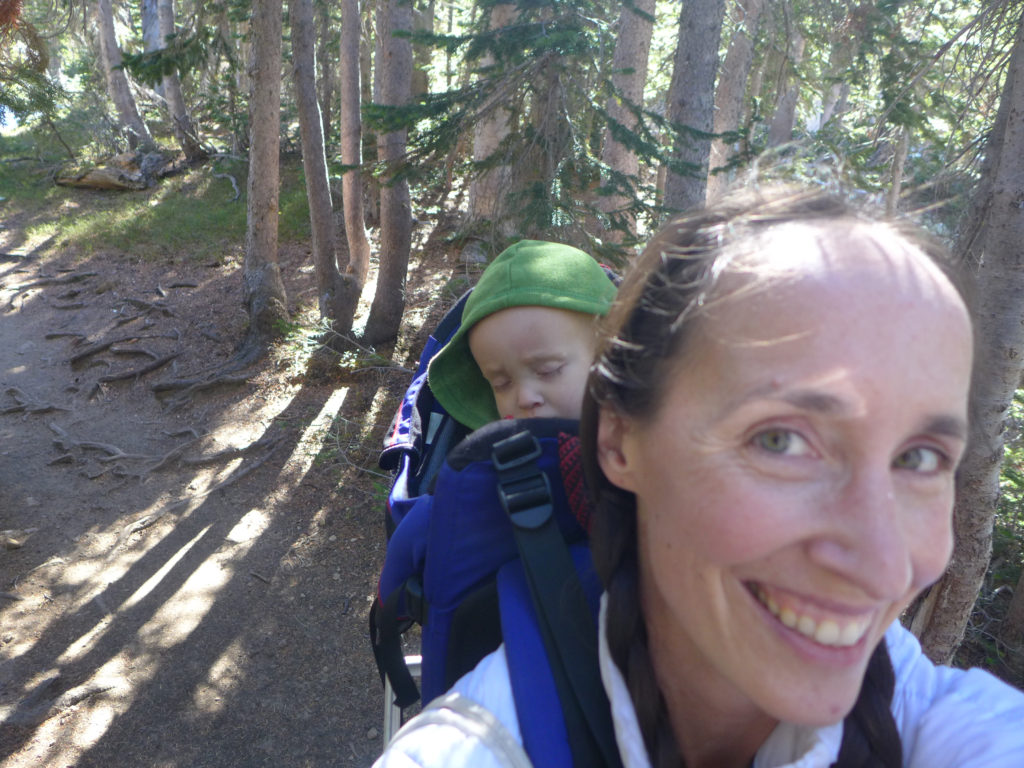
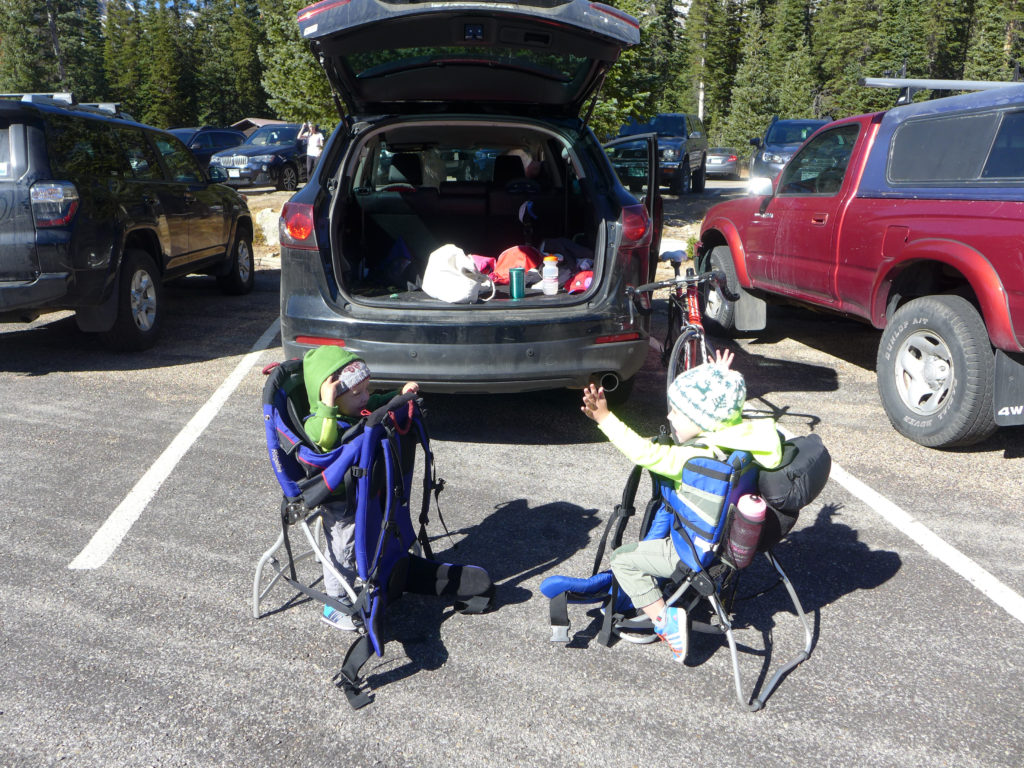
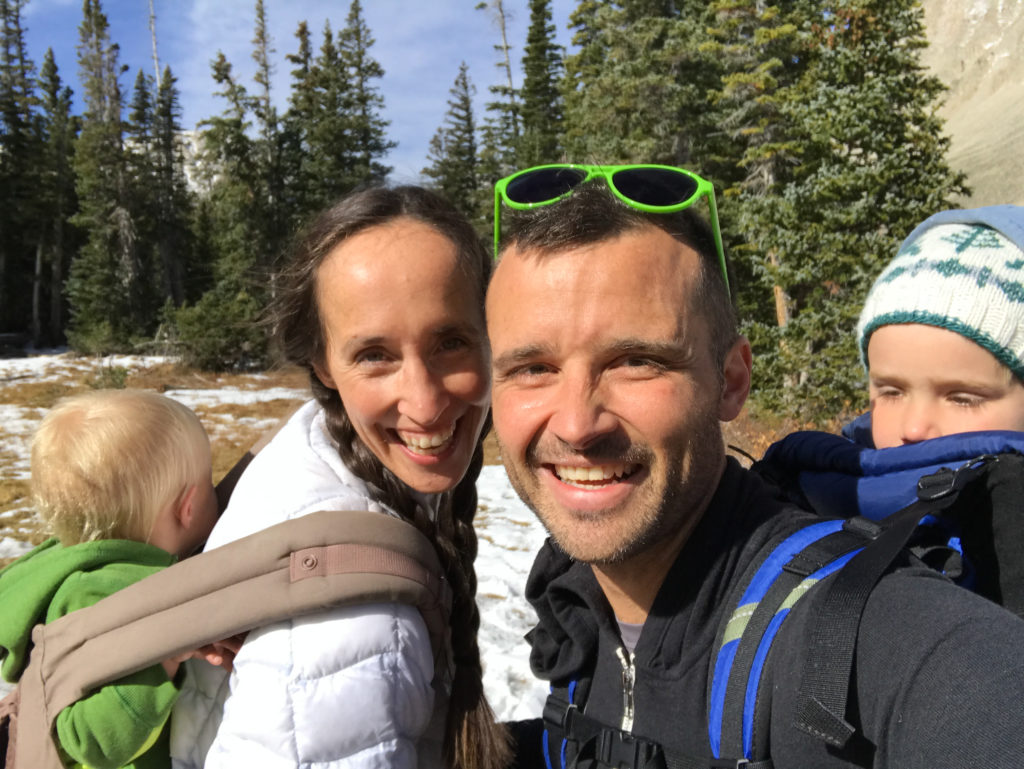
We ended up carrying both of our kids during both hikes. The first weekend it was because they were a bit under the weather, and the second weekend it was because we set out with the goal of the longer hike.

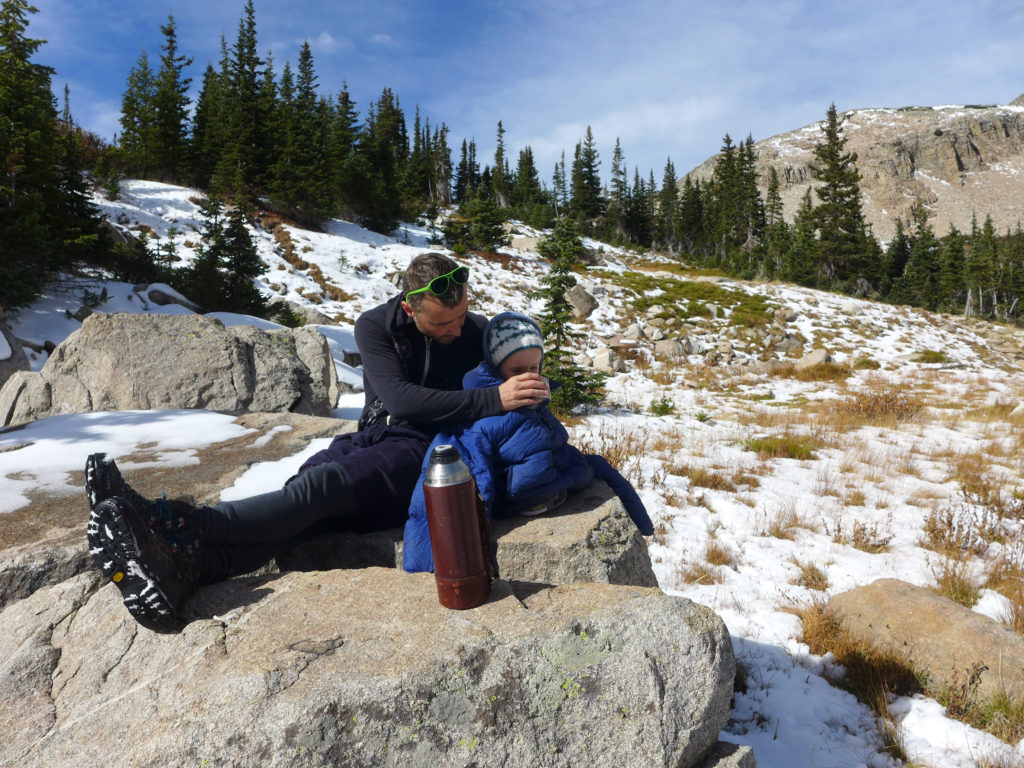
And I don’t know about your kiddos, but anytime we pull out a thermos of hot chocolate during a rest, they are happy hikers and totally oblivious to any chill in the air (pro-tip there)!

mitchell_lake9

mitchell_lake16

Dressing for the Trail

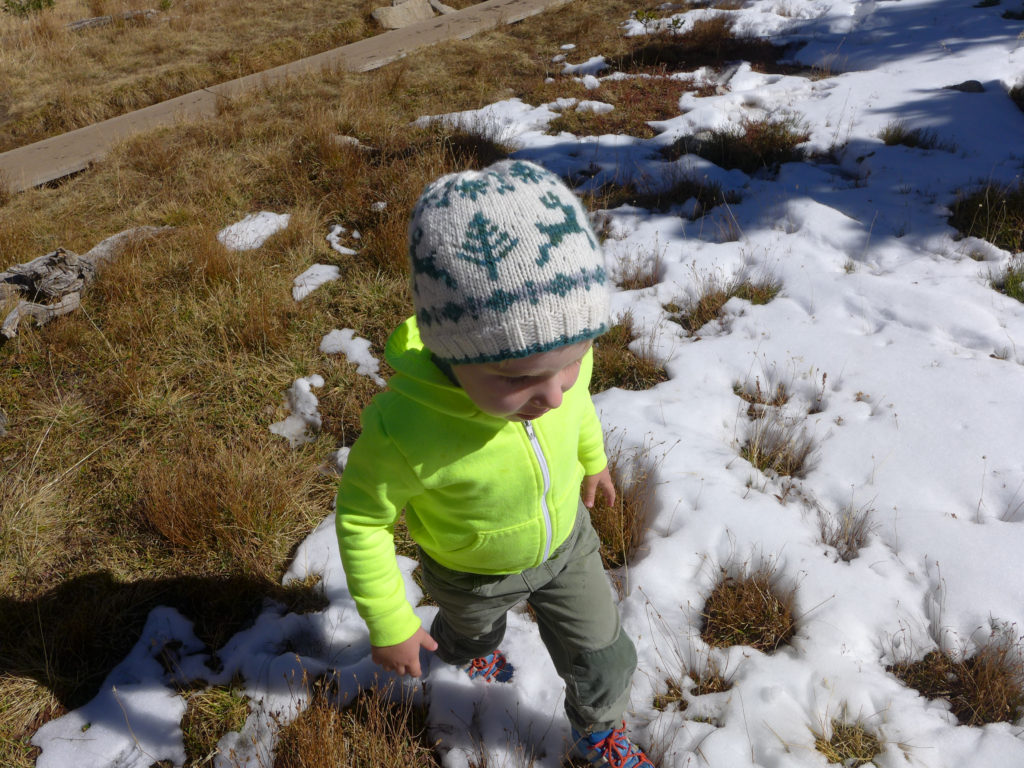
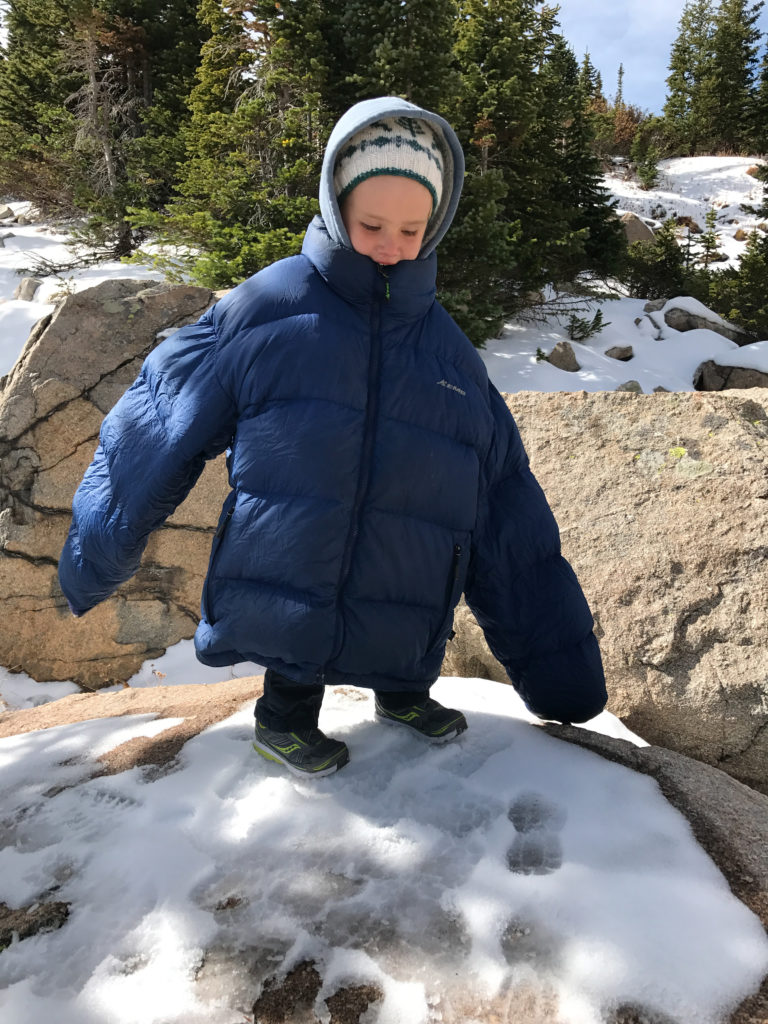
At this time of year (and almost any time!), it was really helpful to dress in light layers. I wore spandex on my bottom and then a tank, wool thermal, and a light down jacket on top. Calder did something similar. The boys wore lined pants, shirts, and hoodies. They could have been dressed a bit warmer, but we also used our down jackets to bundle around them when they were cold in the packs, which worked out well because it was often when we were hot from hiking and carrying them. We all wore wool hats that we put on and off all day.

It was particularly cold and windy at Blue Lake, but since we weren’t staying there long, it didn’t make sense to carry along extra layers just for that rest stop.

And don’t forget sunscreen! While there are some segments with plenty of shade, there is a lot of sun shining on much of the trail.

mitchell_lake19

mitchell_lake13 mitchell_lake6

mitchell_lake5By now, Calder and I both know that we live in a beautiful state, but even so, we couldn’t stop gushing about these two weekends spent hiking the same trail. We’re so glad we explored and now we’re anxious to hike it when the wildflowers are at their peak next summer. We’re also excited to have this hike at the ready the next time we have adventurous visitors in town.

If you’re in the Boulder area, this hike and the whole Indian Peaks area is definitely worth your time. Just know that everyone else loves the area too, so try to get there early before the lots fill up. Good luck!
mitchell_lake18 mitchell_lake21

Travel Debacles & Advice

Today I wanted to share some of the behind-the-scenes adventures that happened on our Mexico vacation. If this post scares you off of the idea of international travel, you can go back to this post and just stare at the beautiful photo of the ocean.

These are not the glamorous travel stories, rather, they are the stuff of nightmares, BUT I’m writing this post because everything turned out OK! I thought that sending these stories out into the universe could be helpful for a couple of reasons : 1. if something similar has happened to you, now you know you aren’t alone, and 2. if it hasn’t yet, maybe you’ll find some tips in this post that will help you on future travels.

mexico38

Debacle #1 : The Passport

This may be common sense, but when leaving the country, you need a passport. If you forget it, they won’t let you on the plane.

One of our travel buddies forgot their passport, and there was no way to get it before their flight was going to leave. It can be a costly mistake, but not the end of the world. In our case, they went to the airport when they were supposed to and were able to reschedule their flight for the next day!

The only loss was one day of a vacation and a rebooking fee, but otherwise, the whole debacle was an easy fix.

If this happens to you (i.e. that you’re going to miss your flight because of forgotten documents), the best solution is to call your airline or speak to a representative at the counter as soon as possible. If you’re lucky, they will be able to put you on the next flight, no harm, no foul.

Debacle #2 : The Rental Car

This situation is the one that gave us all a moment of panic except for Calder’s dad, and I’m going to chalk that up to his 80 years of life experience.

the scene : Calder’s sister, her family, and his dad were driving from the airport to San Patricio in the dark.

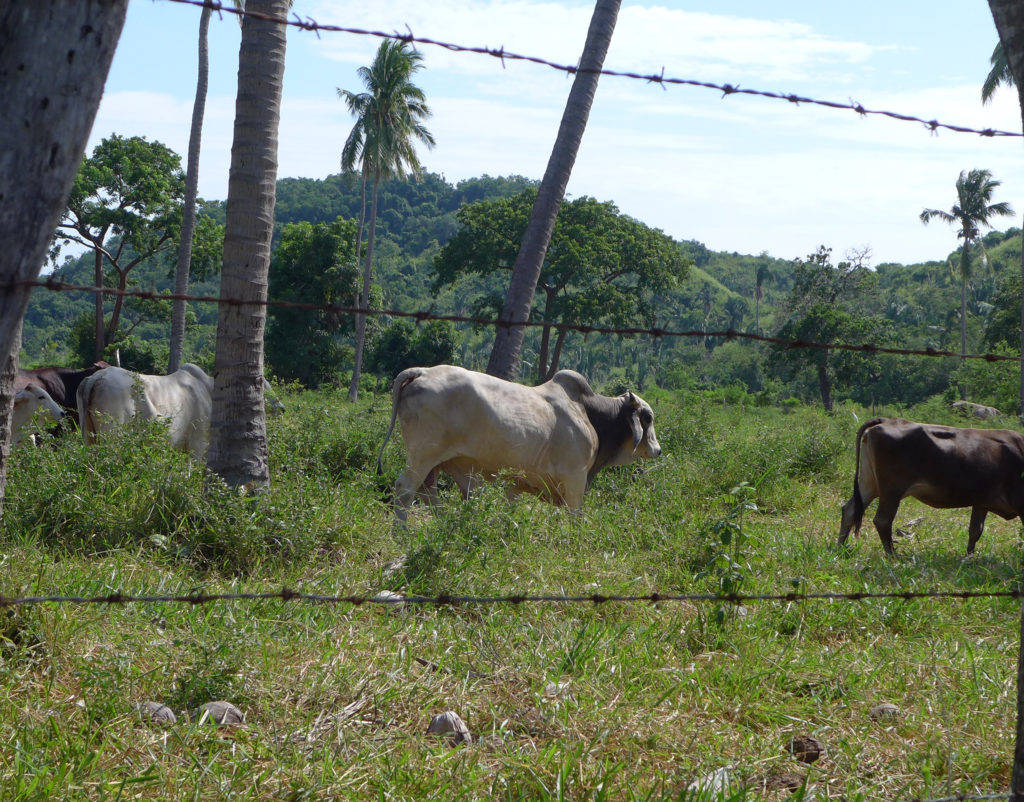
road conditions : As I mentioned yesterday, for the most part, the road was really nice and in great condition. There was one long section under MAJOR construction – as in they were dynamiting the bedrock, flattening and widening the roadway. The only other problem was that there were some random potholes and there were speed bumps when going through small towns.

img_9597

the rental car : When making travel arrangements, we reserved full-size cars from a major company, but you don’t pay for a car reservation until you actually return it. What does this mean? When you’re landing in a tourist destination, the rental car companies are lined up and ready to take your business. Your reservation ensures that you’ll have a car that you want waiting for you, but you’re welcome to go with another company in the airport.

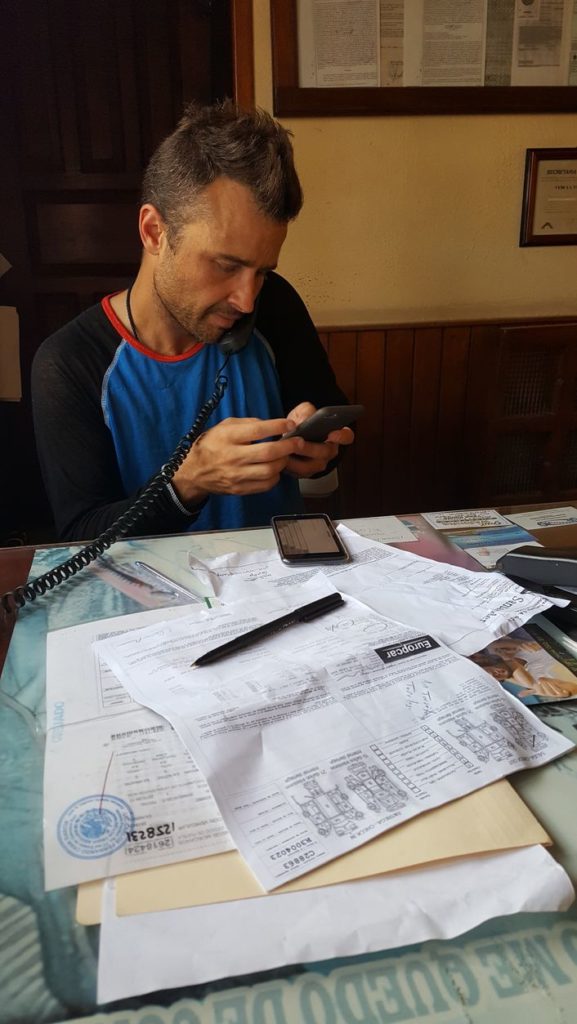
In this case, Europcar whisked them away offering what sounded like a deal. The problem was, rather than getting a full-size car, they ended up with a cheaply built, smaller car.

the incident : They hit a major pothole – so big that their two front tires went flat! Not only that, but the car behind them also hit the hole and got one flat. This happened at 10pm. Ugg.

possible solutions : When they first called us, we were working through a few possible solutions :

  • We could take the spares from the other rental cars at the hotel (we had two there already), and hopefully replace both flats letting them drive on to the hotel.
  • We could send a rescue party and drive them to the hotel while getting a tow-truck to pick up the rental.
  • They could try to get to a 24 hr gas station and hopefully an attendant there could help them.
  • Rental companies have 24 hour hotlines. Europcar didn’t answer. Then called back 3 hours later… I’m linking to them because I want to call them out on their misdeeds. Petty, I know.

img_9598

wait, there’s more : This turned into a bigger problem for a few reasons :

  • They couldn’t get the lug nuts off the wheels.
  • They were two+ hours away from us.
  • They were traveling with a baby!
  • They had to keep driving for a few miles on the two flats to reach a gas station, and by then their rims were toast.
  • We tried calling tow-trucks and no one picked up.

*Throughout all of this, Calder’s dad wasn’t worried. His comment on the situation : “it’s happened before”. He was confident that this was now the rental car company’s problem and that they would know how to handle it. Once he said that (and everyone was safe and sound at the hotel), it was immediately calming and such a great bit of wisdom to remember for the future.*

calder_car_trouble

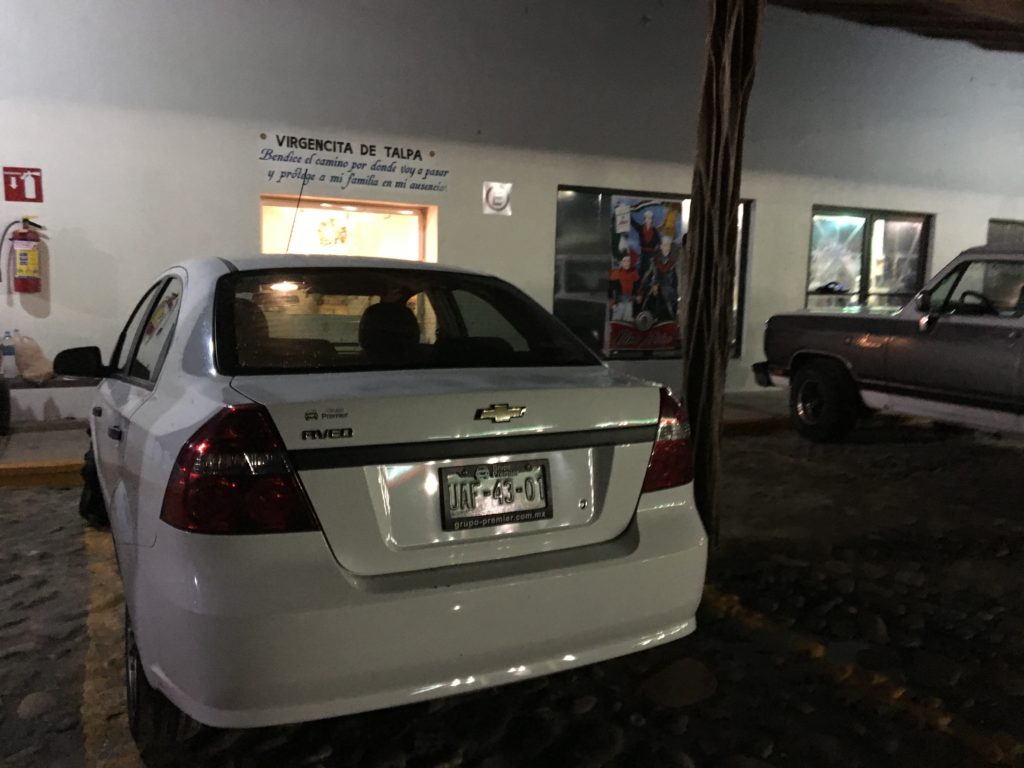
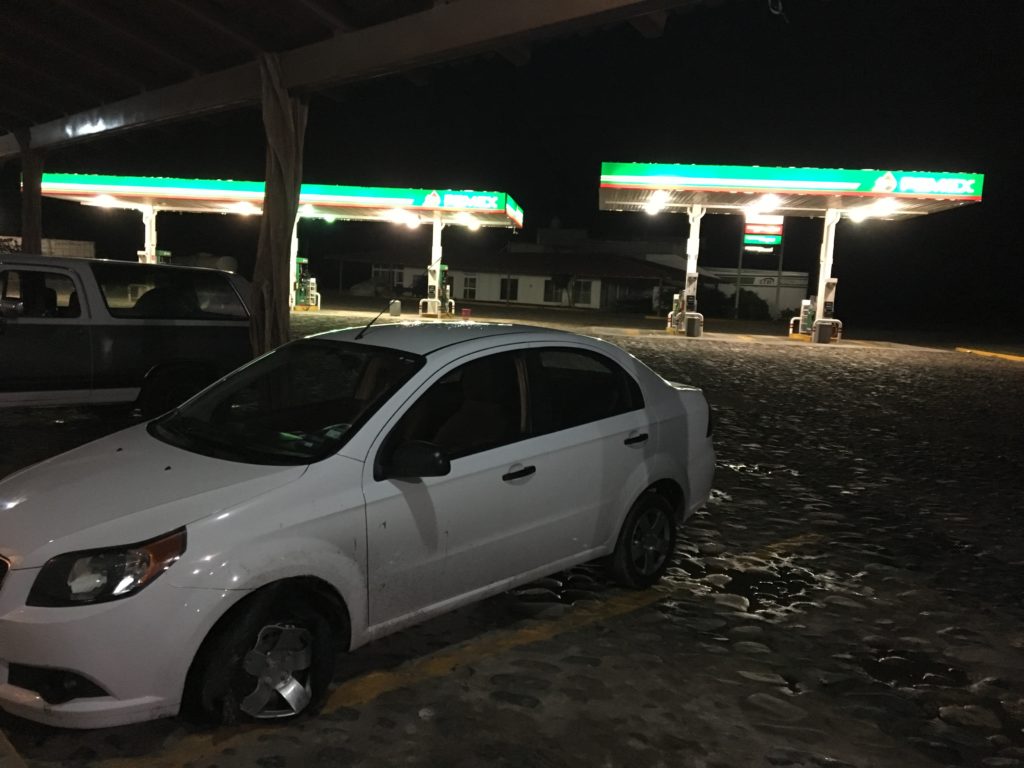
final outcome : Calder picked them up. They left the rental car parked at the gas station, but before they left, they took photos of the car from all essential angles showing the flat tires and destroyed rims as well as the license plate for identification. The next morning, they spent about an hour on the phone with the rental company explaining the problem, providing all of the details, and making arrangements with someone from the company to come to our hotel to pick up the keys.

In the end, they were charged $72 for the whole debacle. We’re not sure what this charge was for, but no one’s going to call and question it.

Our Advice :

  • Make sure you have comprehensive insurance when renting a car (something with $0 deductible). Know that if you’re renting in the US with a credit card, your card often has car insurance perks, BUT these may not apply if renting in another country (this was the case with Mexico).
  • Even if you don’t need a larger car, it may be worthwhile to rent one because it’s likely to be of higher quality.
  • If you’re stuck somewhere, but with cell service, send someone your location using a map app on your phone – then they can get directions to the exact point where you are.
  • TAKE PICTURES – this is so essential if you have to discuss property with someone from a distance. While it may sound like overkill, it’s useful to take pictures both before and after using any rental property, whether it’s an Airbnb rental or a car rental. That way you’ll have some sort of proof showing what the state of the property was in when you got there, when you left, and in this case, when something goes wrong.

Debacle #3 : The Bat

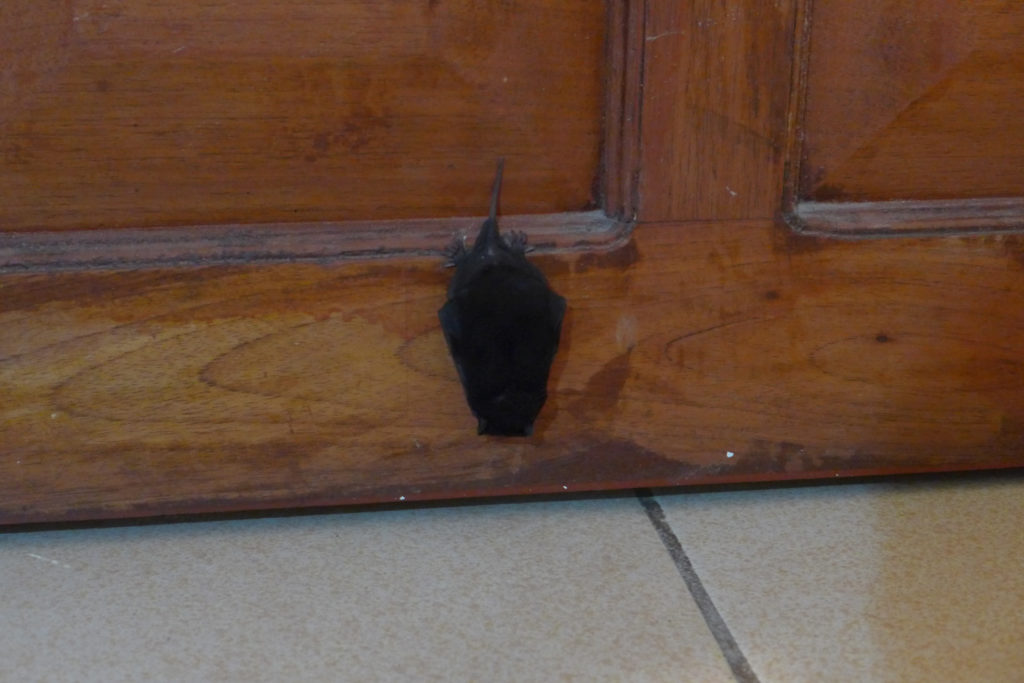
This is just a joke, but there was a bat in our room on the last night!

If this happens to you and it’s behaving oddly, stay away and get help. If there’s nothing odd, just find a large towel, carefully pick it up, and take it outside.

We loved the bat incident because it turned Alex on to bats in a major way! They’ve become our “unit” for the month of October, and I can’t wait to start talking about some of the fun stuff we’ve been doing at home.

bat

~

What crazy stories hidden behind the scenes of yesterday’s post, huh? And remember – If it’s happening to you, it’s likely happened before. Don’t worry. 

Postcards from Mexico

A couple of weeks ago, we traveled to Mexico for a long weekend to celebrate my father-in-law’s 80th birthday. We spent the weekend in San Patricio, and admittedly, we did absolutely no research before leaving! … no, wait, we *tried* to do some research the night before we left, but found very little information.

It wasn’t until we returned that I realized that the problem was because I was searching for “San Patricio travel guide”, but the area is also known as Melaque. If only I would have searched Melaque, I would have found a few more results, but still the info is a bit slim. So, with this , I thought I would give some details about our vacation in the hopes that it helps others traveling to the area.
mexico6

Why Mexico? We had a few restrictions when picking a location, and Mexico was the one spot that fit the bill!

  • travel time and ease of travel : We wanted to do something special for this big birthday, but because of work schedules, time was limited and it was essential to go somewhere that didn’t require too much travel for anyone in our party (we were meeting up with Calder’s dad, his sister & her family, and his brother). Fortunately, everyone was able to book a direct flights from their respective cities to Puerto Vallarta, and from there it was about a 3.5 hour drive to San Patricio.
  • time zone change : since we were traveling with kids, not having a big time-change meant that everyone would (hopefully) sleep easier on this quick trip. In my opinion, if you’re taking off more time for a trip, then spending a day or two adjusting to time zones isn’t a big deal, but if you only have four days, then it can really put a kink in the vacation.
  • somewhere Calder’s dad would like : It was his birthday after all :-). His top choices were Hawaii, France, and Mexico, and immediately we realized that we didn’t have enough time to make the longer Hawaii and France trips.
  • expense : It’s always nice when traveling with a lot of people to pick a location where money wasn’t an issue for anyone. Then everyone can just focus on the fun! If that’s a concern for you, then traveling to this area of Mexico is a great option!
mexico11

Rainy Season?

We settled on San Patricio because Calder’s dad had been there about 10 years ago and enjoyed it. It’s a really small town right on the beach. The area is a vacation destination for Mexicans and is very popular with older Canadians and Americans who like to spend their winters somewhere warm. As a result, the area has a well defined off season which also corresponds to the area’s rainy season, which is June – October.

Traveling during the “rainy season” may deter some travelers, but it’s never bothered me. In addition to this trip, I’ve also traveled to India and Costa Rica during their rainy seasons, and in every case, I didn’t regret it and did not feel inconvenienced. On this trip, the only rain we experienced was while driving from the airport to the beach, then there was not a drop while we were in San Patricio! On my other trips, there was often one rain storm during the day, but it never lasted long and was often a good moment to be inside napping, researching our next outing, or reading.
mexico12

Accommodations

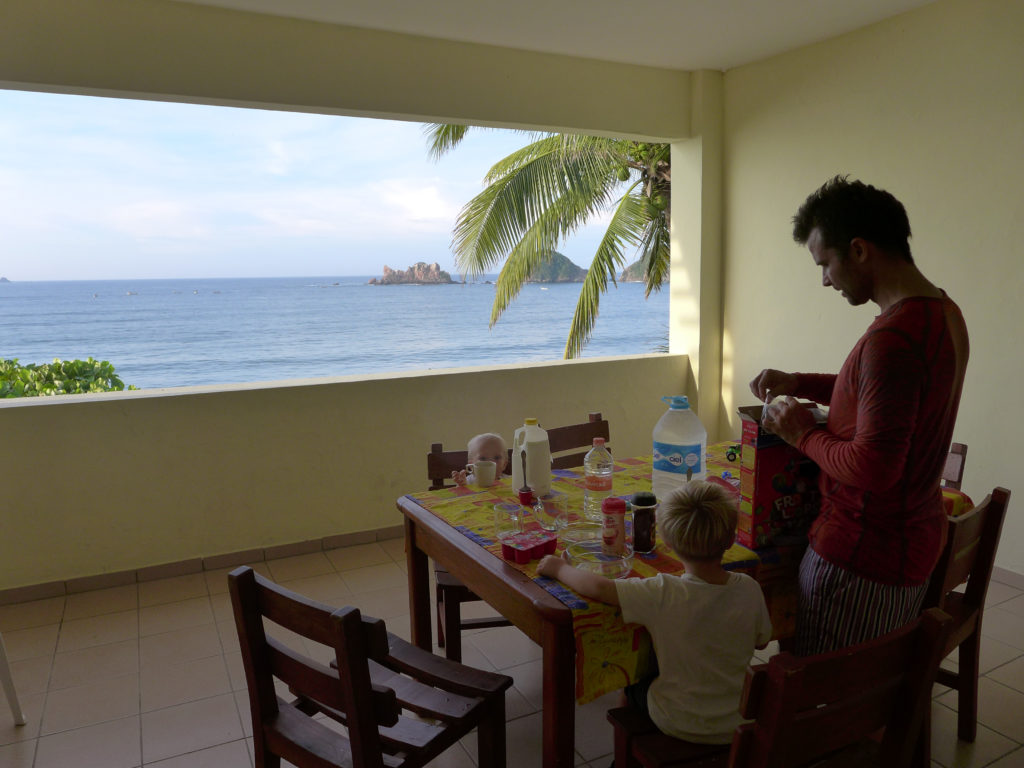
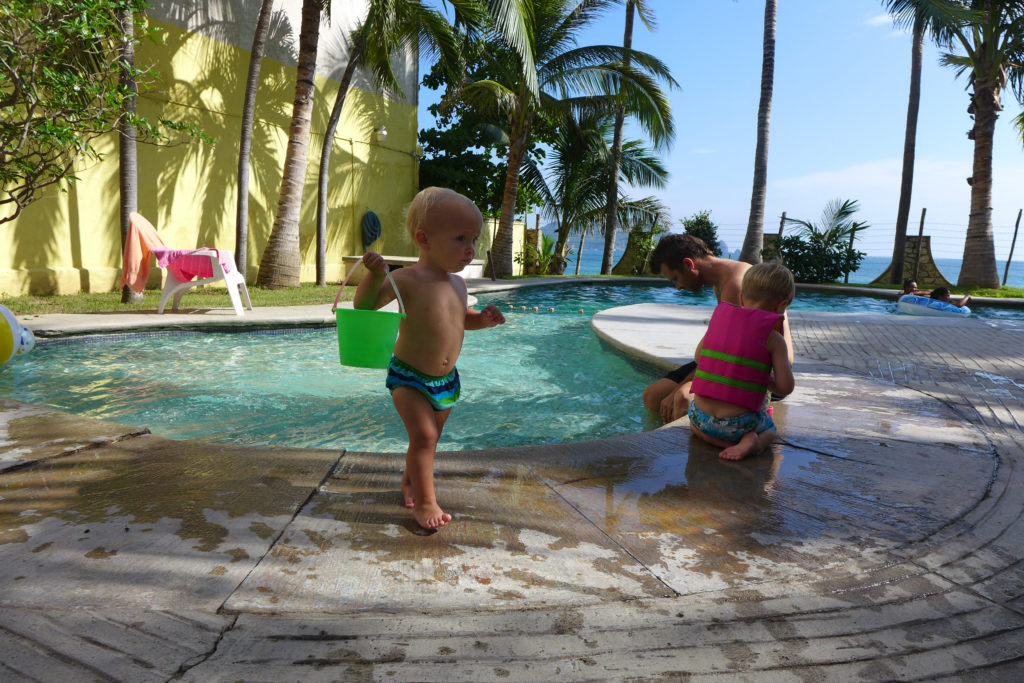
We stayed at Hotel Vista Hermosa. It was a great hotel right on the beach with a swimming pool {a key requirement for this family!}. We reserved three two-bedroom suites, and they each came with their own kitchen. Once we arrived, we realized that we definitely could have reserved smaller rooms. The suites each had 5 beds (two in one bedroom and three in another)! They were definitely designed for larger families in mind. The kitchens were detached from the main suite – they were right across the “hall” (open-air walkway) from each other. The kitchen area contained a full kitchen and all of the utensils and dishes you would need for cooking meals at home. It’s so nice having that option when traveling with kids!
mexico7

mexico13

We made our reservations by calling the hotel directly. It’s helpful if you know some Spanish, because their English is a bit rusty (but so is our Spanish!). After making reservations, they sent us confirmation emails and we used email for more communication. We paid $55/night/suite. The hotel has gated off-street parking, which we used the first two nights, but our sense of the area is that it seemed really safe and our rental car didn’t stick out, so we then parked on the street for the last two nights.

We were all really happy with the place where we stayed, but if you’re going to the area, know that there are other hotels and it looks like there are a lot of personal condo and apartment rentals available through Airbnb and HomeAway.
mexico5

Food and Drinks

Having the kitchen in our suite, we bought breakfast supplies on the first morning and ate breakfast in our room every day, but ate out for lunches and dinners.

I packed some back-up foods in case we were in a situation where there was nothing appropriate for the boys to eat. In our bag was turkey jerky (a new favorite of Alex’s), Cliff bars, applesauce and fruit smoothie packs. Fortunately finding food for the boys was never an issue, but those portable snacks are still handy for the car and plane rides.

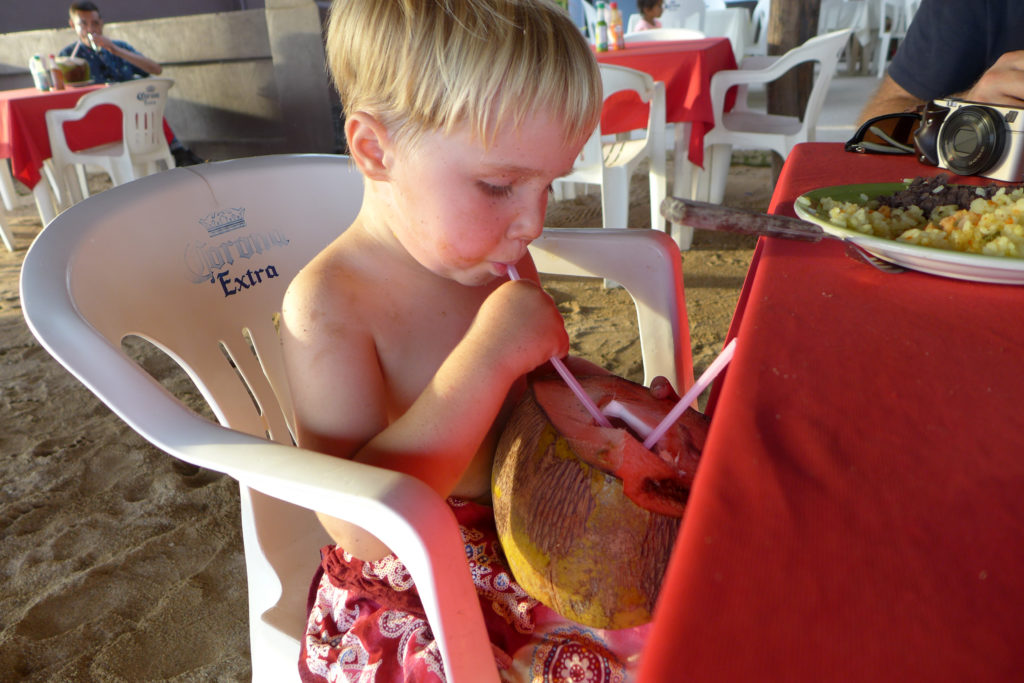
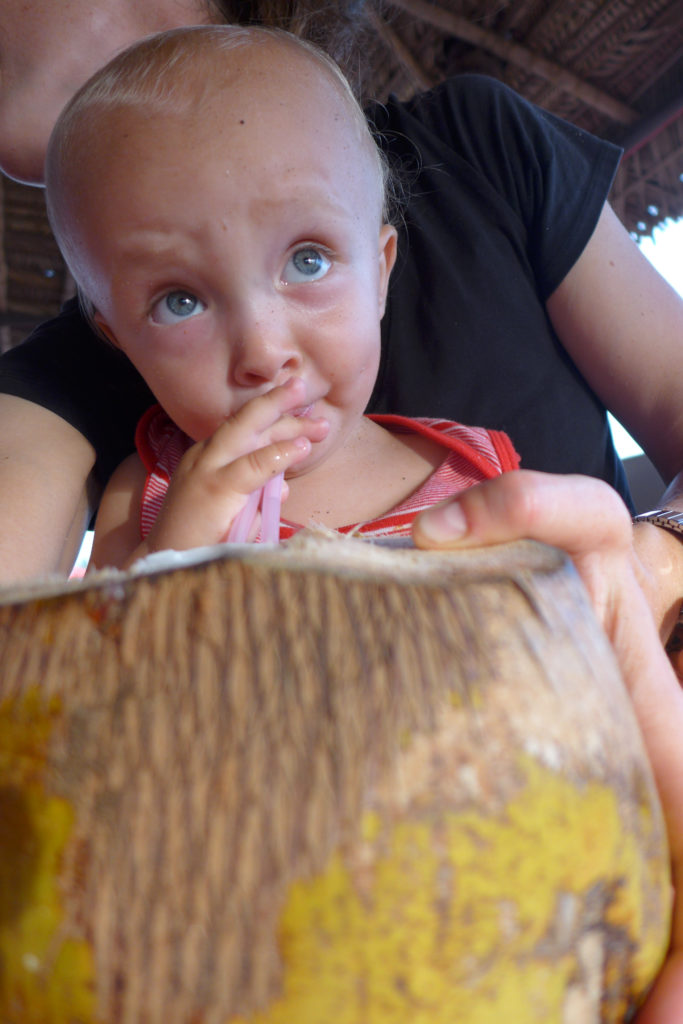
We drank only bottled water – we like to buy it in big 5-liter jugs and just refill smaller bottles for walking around. Unfortunately, I held back and didn’t drink any of the agua frescas or horchatas because I was worried about water and ice contamination. The boys would order fresh coconut water at dinner every night and loved the novelty of drinking it straight from the coconuts!
mexico19

mexico20

There are a couple of little grocers in the center of town where we picked up eggs (you tell them how many you want and pay by weight!), tortillas, avocados, grapefruits, milk, and cereal. For coffee, we mixed instant NESCAFEs in our room (somehow instant coffee tastes good when you’re on vacation on the beach!).

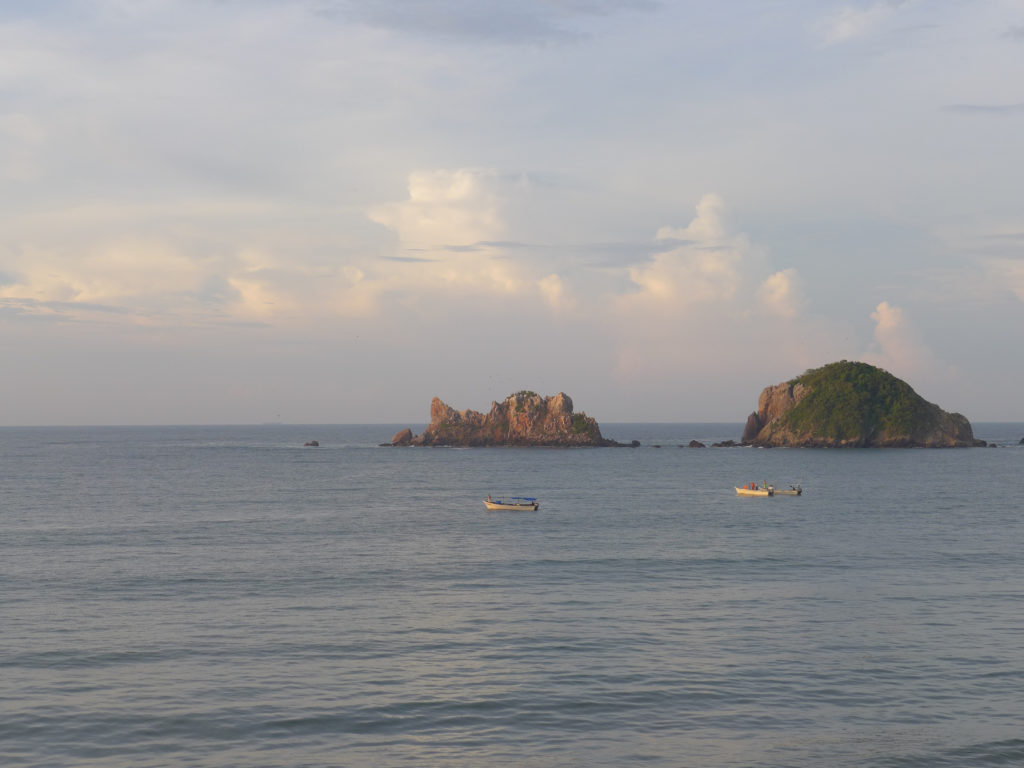
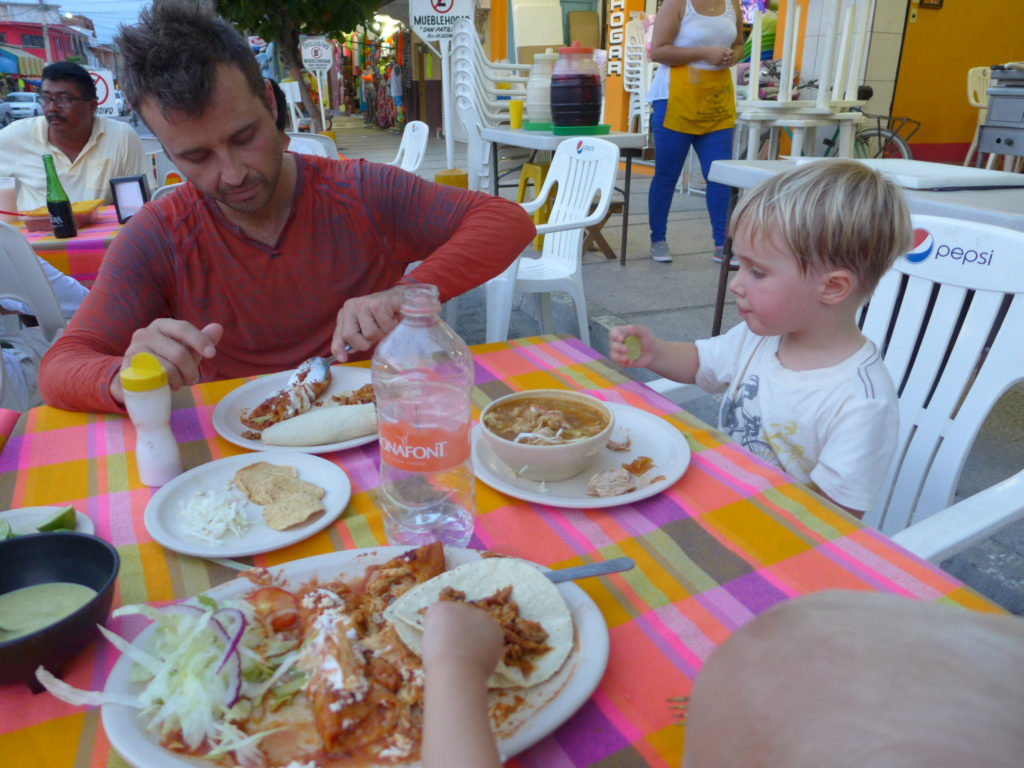
While there were plenty of restaurants to choose from, it was clear that a few were closed for the off season. For example, I walked past this cafe and it was still closed, but it looks like it’d be a great place for a morning cuppa. You can see restaurant reviews on Trip Advisor, but again, we didn’t read any of those until we got back, and I would say it was a good thing. Some of the places that are more highly reviewed seemed like they cater to tourists looking for American food. When we went out, we wanted either local seafood dishes (we saw the fisherman in the bay every morning!) or Mexican food. The town is small enough that it’s easy to walk around and find a place to eat.

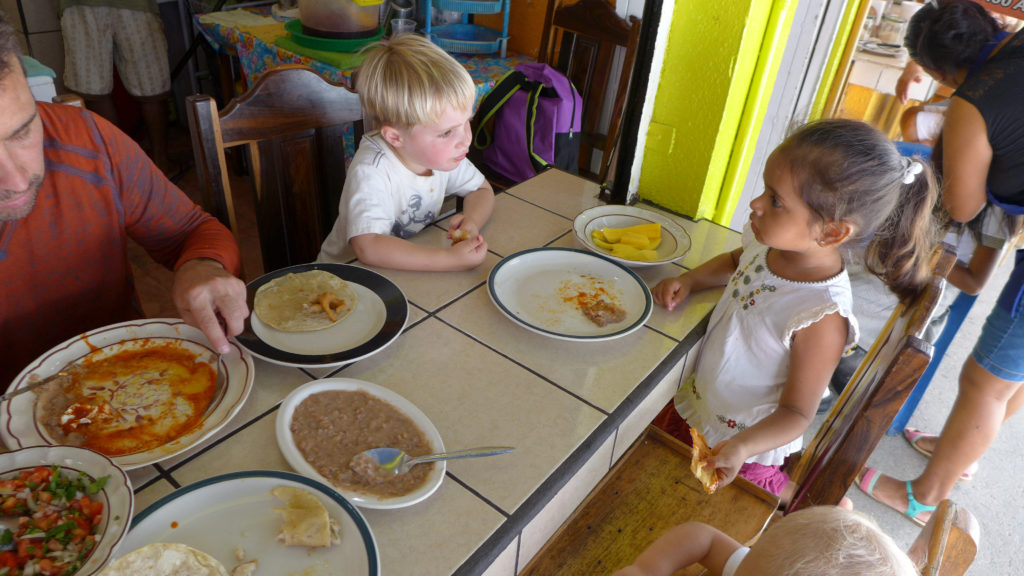
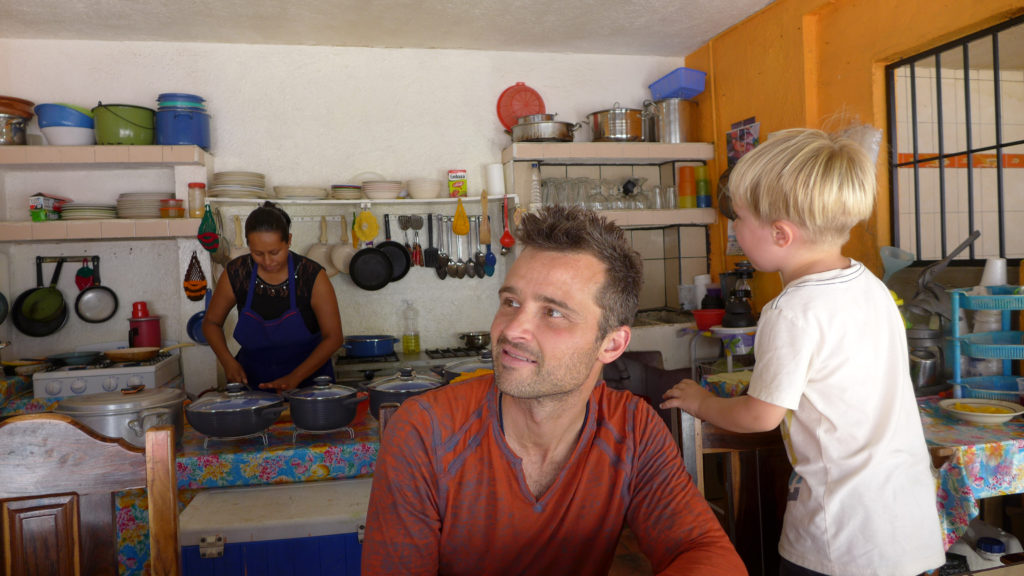
For lunches we would walk into town and eat at one of the smaller places. There’s a little alley in the center of town that is only for foot traffic and has dozens of small eateries. They are mostly one-room places where the store-front is a small bar with seats (below Calder and Alex are eating on the kitchen side of one of these bars).  We liked the one below so much that we went back a second time.
mexico9 mexico10

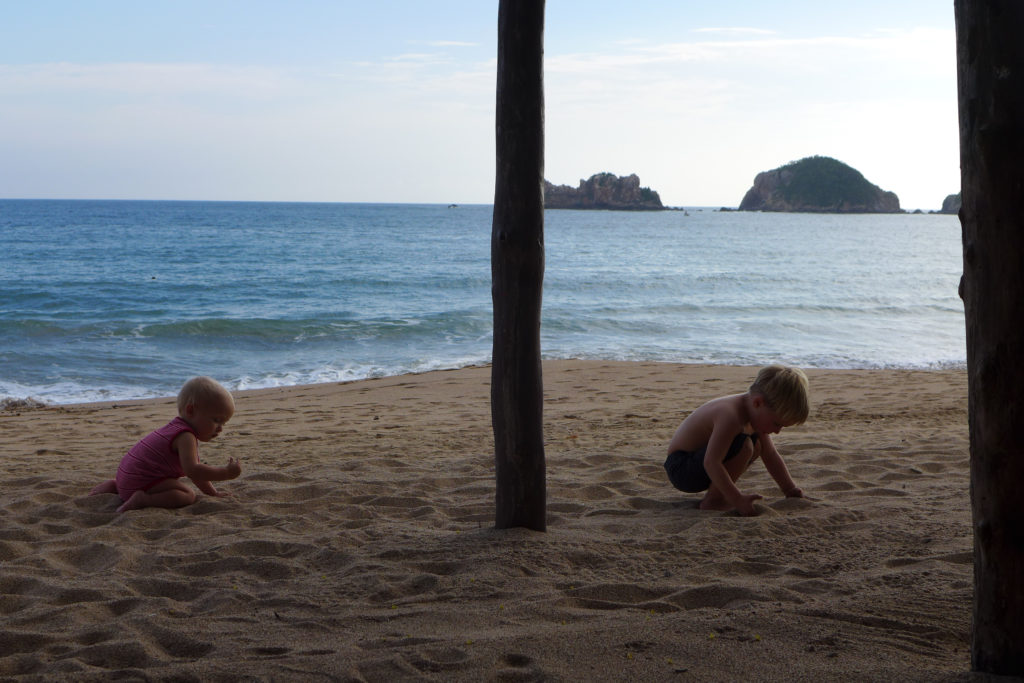
For dinner, we would walk along the beach and eat at one of the larger restaurants there. Many of them served a variety of seafood, but some are those that cater to tourists looking for burgers and Caesar salads, so it’s worth reading the menus before you commit (we decided to walk out of one after being seated – oops). The awesome thing about eating on the beach is that the boys could play in the sand while we sat at the tables and talked!

The only problem we experienced with eating out was the restaurant hours. The places in town that served lunch then closed by dinner time. And many of the ones that served dinner had kitchens that closed at 7pm! We’re assuming these are seasonal hours (at least for the larger restaurants serving dinner), but it’s something to be aware of.
mexico15

To-Do

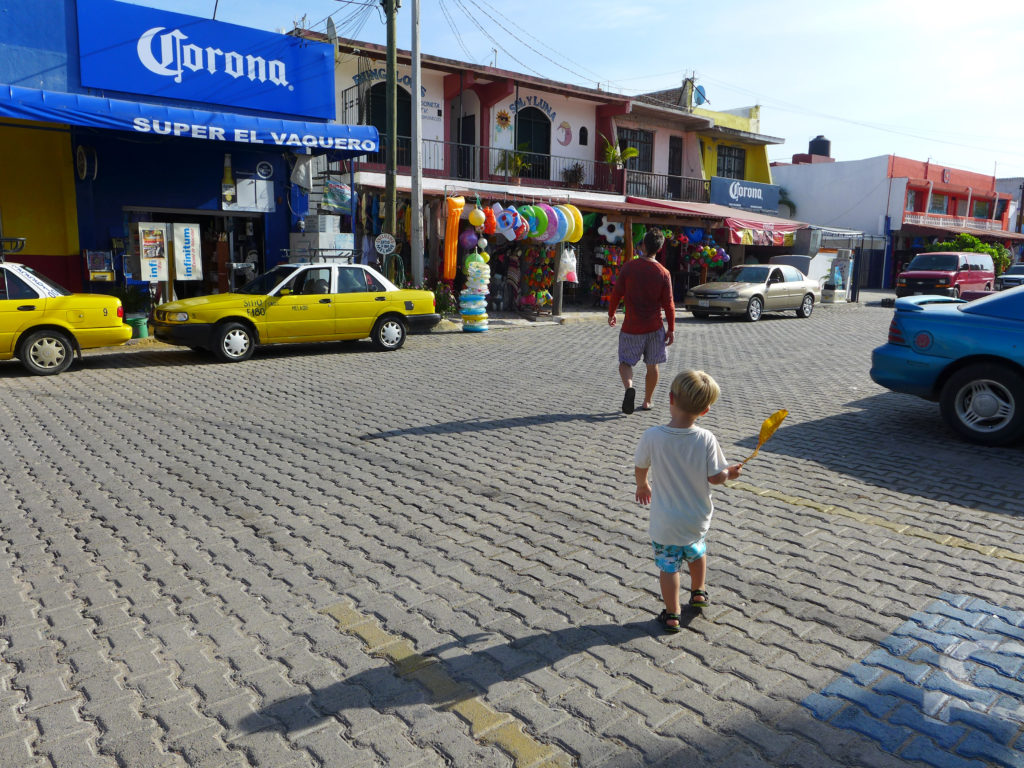
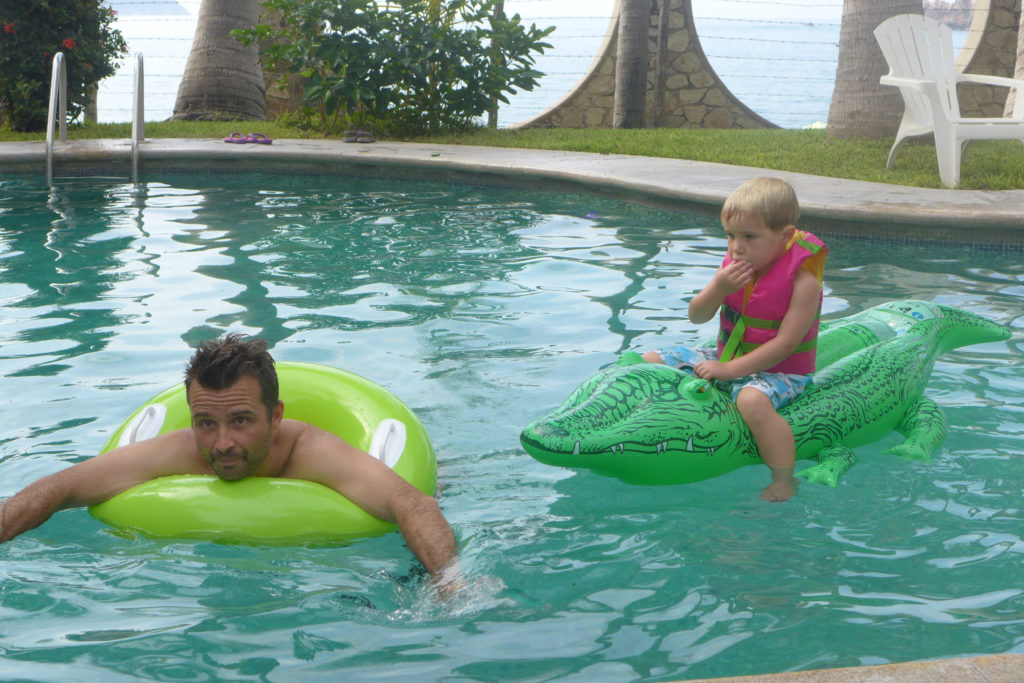
We were going on this short trip to relax with family and enjoy the beach and pool, and that’s exactly what we did! There are many shops that sell beach toys, floats, life vests, etc. Rather than pack these bulky items, we just bought a selection of toys while we were there (it was a lot of fun for Alex to be in charge of what we selected!). All items were relatively cheap, so we were happy to leave the beach toys on the beach and the floats at the hotel pool for someone else when our vacation was over. We did end up bringing the life vest home because it fit Alex so well and it seems like we can always use an extra when we have friends visiting.
mexico8

mexico29If you’re looking for more to do, I can’t really help, but it does seem like there are some nice day-trip options in the area. The Colima volcano is not too far away!

Etc.

  • Driving : I’m sure many people would be put off by the long car ride from the airport to San Patricio. I know that we weren’t sure what to expect. BUT I’m here to tell you that it’s a piece of cake (almost – more on the pit-falls and pot-holes tomorrow!). You are on one road the whole way (rt. 200), and that road leaves directly from the airport in Puerto Vallarta so it’s impossible to get lost AND for most the way, the road is really nice quality. It starts with some twists and turns in the mountains, but then opens up to a wide, straight road.
  • Language : Perhaps this is a seasonal thing, but it seemed that a basic understanding of Spanish would be helpful. None of us are proficient (I learned my Spanish on Sesame Street, only sort of kidding), but traveling with the group helped because when someone didn’t know a word, another person did.
  • Beach : The waves on our section of the beach were particularly rough and not kid-friendly, but they were a lot of fun for bigger kids and adults. Since we had the pool nearby, this wasn’t a problem. The boys would go back and forth between the sand and the pool (showering off in between, obvs). I’ve read that the waves are more mild farther along the beach, but we didn’t check it out. The middle of the day was so hot on the beach, and we noticed that not many people would be out, but it was more crowded in the mornings and evenings, so after a day or so, that’s the beach schedule we adopted too.
mexico_60

I know it’s not very specific, but that’s our 411 on San Patricio, Mexico. In summary, it was a beautiful little town on the western coast that wasn’t overcrowded with tourists in September and was a relatively affordable weekend vacation. I hope you’ll visit!
Sarah’s IUD Update

IMG_4516

Hey, hey. It’s October, which means I have 4.5 years until my Mirena IUD becomes ineffective. That’s right, it was only six months ago that I had the Mirena IUD inserted and lived to tell about it here.

I thought it would be helpful to review the first six months after I got the Mirena IUD. Initially, I had painful cramps and I found myself complaining a lot. Every few days, I was grumbling to my girlfriends. Two of them instantly admitted that they didn’t let me know how painful the cramps were during the first month. It was worth it they said. A few months later and I was still bitching at them, but by that time they learned to ignore me. I had always planned on giving a six-month update and for a while I thought it was going to be one big bitch fest, but over the past two months, everything has changed, thankfully for the better.

First, I thought it would be helpful to review the most common side effects and then my experiences with each.

The most common side effects of Mirena are:

  • missed periods (amenorrhea) – No missed periods here. I was under the impression that my periods would disappear, but they haven’t.
  • bleeding and spotting between periods – My gyno warned me about light spotting. I basically thought my period would be replaced with a few days of spotting, but unfortunately that wasn’t the case. Instead, I was bleeding and spotting every.single.day. This is totally TMI, but I ruined every single pair of underwear. It was gross and irritating and quickly became something my boyfriend and I had to laugh about because it became an awkward fact of life.
  • heavier bleeding during the first few weeks after device insertion – Absolutely. I was not prepared for this and I was worried initially, but after a quick google search, I learned it was quite common.  Obviously, as a woman, bleeding is a common occurrence, but the bummer about this was it was unpredictable. I would spot every day, but some days I would be hit with heavy bleeding and I would be completely unprepared. Imagine me working a ritzy retirement party, running around, two cameras in hand, wearing a white dress and then having that sinking feeling of imminent bleeding. Yup. That happened. I made it through, but I was terribly anxious and upset while working, which had me hating the IUD for a few days. Finally, after four months, I’m not spotting every day. It’s magical and I feel so much better about the IUD.
  • abdominal/pelvic pain – Immediately after insertion, the cramps were horrible. The following ten days were similar to a terrible period. It was nothing I couldn’t handle, but I did find myself taking Aleve pretty often, which is rare for me. I felt desperate. The cramps did come in back waves for about five months. I just recently noticed that they’re gone. What a relief. The cramps sucked and I bitched a bunch to anyone that would listen, but now that I’ve lived at least four weeks without any debilitating cramps I can barely remember the pain.
  • ovarian cysts – Thankfully I didn’t have any trouble thus far.
  • back pain – Immediately after insertion, absolutely. During my periods I would also have lower back pain and it was so apparent and intense that I was completely confused by it until a day or two later when my period arrived.
  • headache/migraine – It’s rare that I ever have headaches and I can’t say I remember a single one in the past six months.
  • nervousness – This is interesting. There were a few moments over the past few months where I had a moment of apprehension or nervousness that I felt was out of character, but really nothing major to speak of.
  • dizziness – I only experienced this immediately after insertion.
  • nausea – Again, I only experienced this immediately after insertion.
  • vomiting – I did throw up after insertion, but then I felt much better. Another random side note: there were about a dozen times over the past six months where I had this immediate and overwhelming feeling of having to throw up. Each time it caught me by surprise (because it was completely random), but I was able to regain composure and just let the feeling pass. It was over as quickly as it came on. Once I was mindful of my increased gag reflex, I noticed I gag pretty much every time I brush my teeth something that rarely happened before the IUD. It’s not a big deal, it’s just strange.
  • bloating – Nope!
  • breast tenderness or pain – Nothing. Actually now that I think about it, my boobs are usually tender during my period, but they haven’t been feeling that way recently.
  • weight gain – I was concerned about weight gain (maybe a little excited at the thought of my boobs growing), but I haven’t experienced an ounce of weight gain and I haven’t changed my diet or exercise patterns at all.
  • changes in hair growth – I haven’t noticed anything major.
  • acne – I don’t think my skin has changed at all.
  • depression – Nothing out of the ordinary. I think I tend to lean towards depression instead of enthusiasm, but I’ve been aware of it for almost a decade so I try to be very present and combat any bouts of sadness before they feel overwhelming.
  • changes in mood – I haven’t noticed anything major.
  • loss of interest in sex – Initially I was very hesitant to have sex. I get freaked out by any medical procedures so I felt pretty vulnerable for a couple weeks. Also worth noting, sex was painful and uncomfortable for me for a few weeks after insertion. Thankfully my partner was more than understanding, but it was disappointing to try to have sex only for it to be uncomfortable and something I wanted to get over with as soon as it began.
  • itching or skin rash and puffiness in the face, hands, ankles, or feet – No rashes or changes that I noticed.
  • increased vaginal infections & UTIs – I’ve actually had two minor yeast infections since the insertion. I’m in tune with my body and once I felt a change, I bought medication from the pharmacy to combat the infection.
  • sciatic nerve pain and numbness – I didn’t realize until writing this post, but my numb, tingly legs and increased lower back pain could be caused by my IUD.

What else? The strings. Ick. As I said, I’m a wuss when it comes to anything internal so the first time I noticed my strings, I almost fainted. I actually closed my eyes and pretended it didn’t happen and then, of course, I turned to the internet. I learned that the positioning of your cervix changes over the course of the month and so mine had probably shifted and my strings were more exposed. I’m not exactly sure if that’s correct, but seeing the strings really posed no threat and if anything I was happy that my body didn’t expel the device.

Now that we’re discussing strings, it’s worth noting that your partner may (mine definitely did) feel your strings with their fingers and/or penis. The strings are actually two thin braided wires. I’m only warning you of this in case you have a partner that’s inexperienced with IUDs. He or she may feel the strings and be completely shocked. It might be something you want to talk about beforehand if you’re comfortable expressing your concern.

It may not be helpful to compare the IUD to the pill, but for me, it has been a massive improvement. While I was on the pill, I felt wildly different from week to week. It was hard for me to maintain a baseline emotion and overall that really f*cked with me. I also experienced weight gain, vaginal dryness and a complete lack of sex drive. I haven’t experienced any of those symptoms with the IUD. The best part? I don’t have to worry about taking a pill every night or refilling my prescription, I know I’m covered for the next 4.5 years.

Overall, I’m completely happy with my IUD. If you would have asked me two months ago, I probably would have listed a host of complaints (all the side effects above), but I would have definitively said I’m pleased with it. Now that I’m at the six-month mark, I’ve forgotten the pain and the bleeding that plagued my life just two months ago. I’m over the moon. I praise my decision to get an IUD. Funny thing is I lost my health insurance and ended up having to pay full price ($800+) for the IUD and I’m still absolutely certain I would do it all over again. It was worth the twenty pairs of ruined panties and the crippling cramps. They lasted four months, but I’ll have a reliable contraceptive for the next four years.

I hope if you or someone you know is considering an IUD, you’ll read my IUD insertion post as well. The original post also had a great mix of comments from individuals who liked and disliked the IUD. Please reach out if you have any other questions or if you want to share your contraceptive experience.