Apple Cream Cheese Quick Bread

Apple is our ingredient of the season. Expect quite a bit of baking, a sampling of hard cider, and a house full of aroma (if you’re lucky!) from this series.

The same mystery apple tree that provided the inspiration for our German Apple Cake keeps on giving, so we keep on taking! Alex makes it a daily stop, and I’ve run over a few times when we needed an apple for this or that; today’s bread being the perfect example. We went on a one-night camping trip last weekend, and whenever we’re camping and I know there’s going to be a chill in the air I like to pack along a baked good – just something to snack on when we need an energy boost or want a little treat with our camp breakfast. Since this recipe comes together relatively quickly, it’s an easy last minute treat whether you’re staying home or packing the car (and forgetting the hotdogs!) as you head out for the weekend.

liveseasoned_fall2014_applebread3_wm

In addition to the apple, this bread gets its flavor from a touch of cinnamon, fresh nutmeg, and vanilla. And I loved the hearty addition of cream cheese, reminding me of another fall favorite ~ the pumpkin roll!

Ingredients

  • 2 apples, peeled and grated
  • 1/2 cup vegetable oil
  • 1 cup sugar, separated
  • 3 eggs (2 for the bread, 1 for the cream cheese filling)
  • 1 tsp vanilla
  • 1/2 cup whole wheat flour
  • 1/2 cup + 1/3 cup white flour
  • 1 tsp baking soda
  • 1/2 tsp salt
  • 1 tsp cinnamon
  • 1/2 tsp nutmeg
  • 1/2 cup chopped walnuts
  • 6 oz. cream cheese
liveseasoned_fall2014_applebread1_wm

The How-to

  • Preheat the oven to 350F and lightly oil a loaf pan.
  • Place the apples, oil, 3/4 cup sugar, 2 eggs and vanilla in a large bowl. Mix well. Gently fold in the flour, baking soda, salt, spices, and walnuts until wet. Pour the batter into your prepared pan.
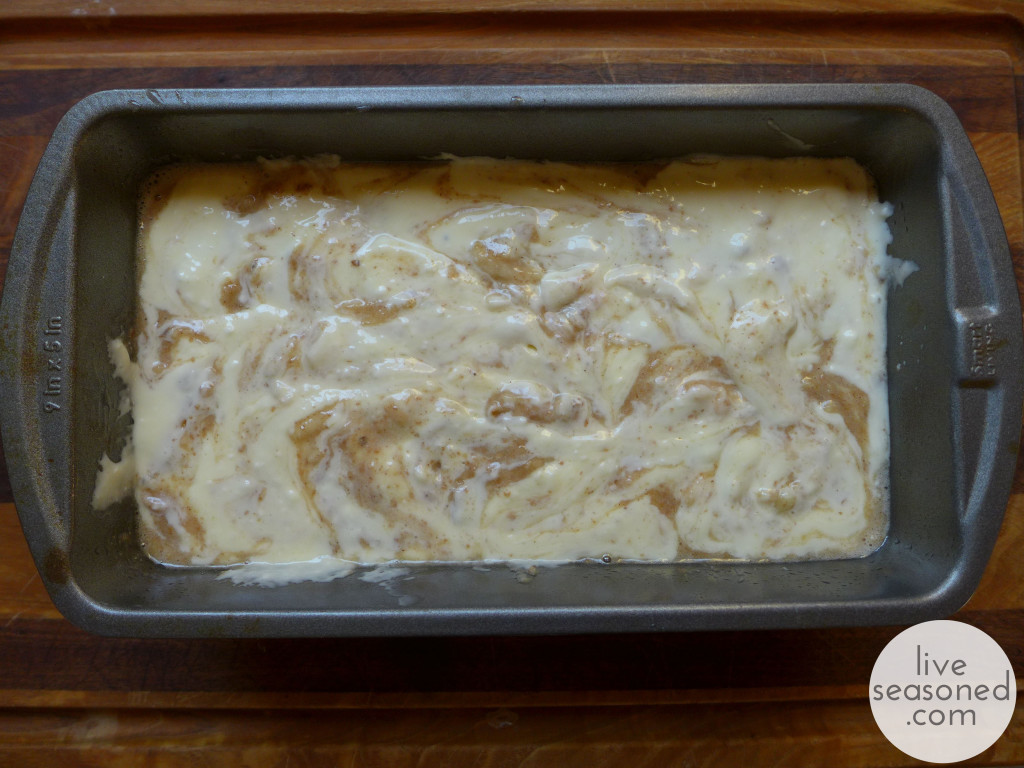
  • With an electric mixer beat together the cream cheese, 1/4 cup sugar and 1 egg. Pour over the top of the bread batter and swirl with a fork or knife.
  • Bake for 30 minutes with a loosely covered foil tent. Remove the foil and continue to bake for an addition 15-20 minutes, until a toothpick inserted into the bread comes out clean.
  • Allow the bread to cool before slicing.
liveseasoned_fall2014_applebread4_wm

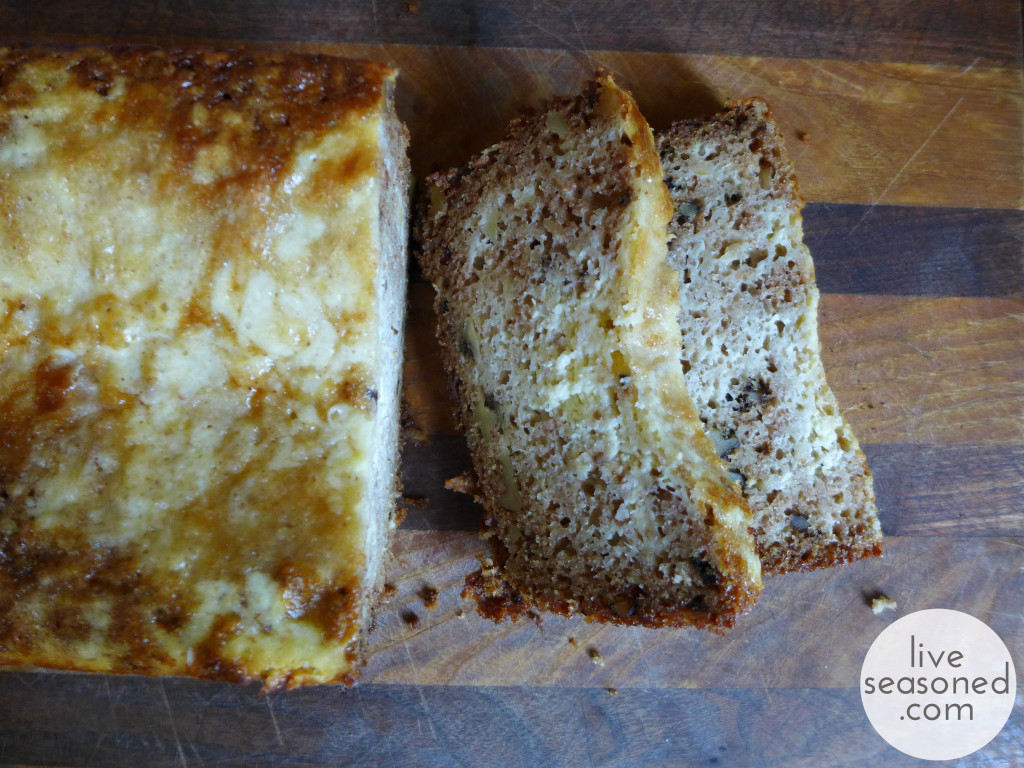
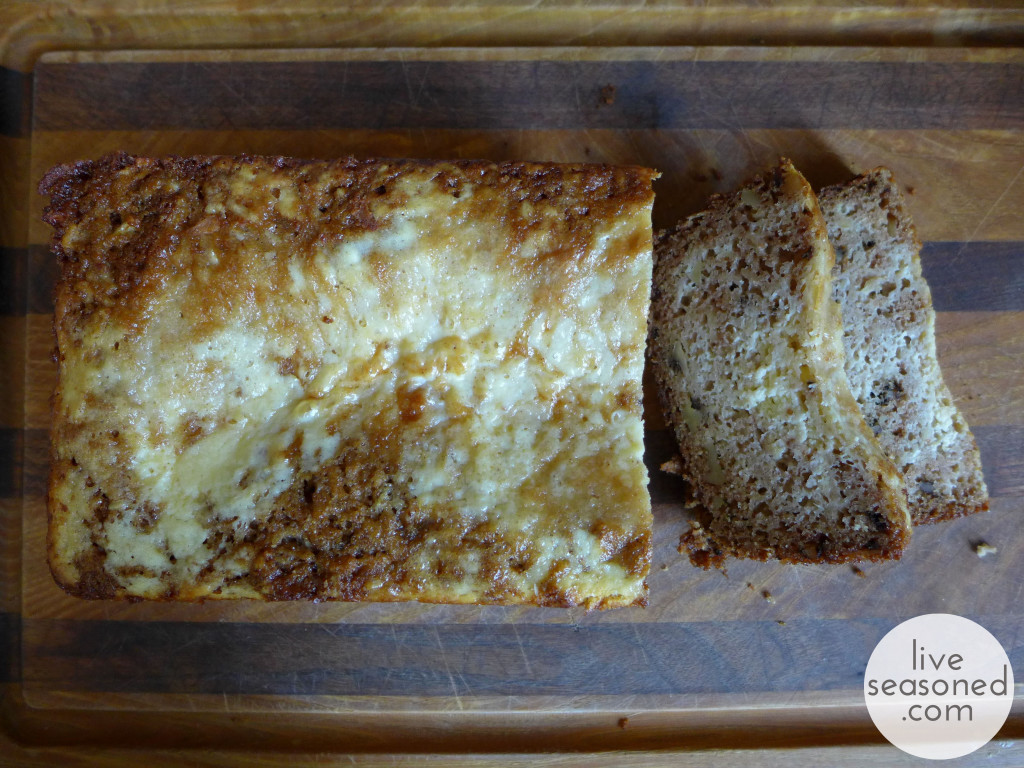
As I mentioned, this is a nice hearty bread. It was the perfect treat on our camping trip, especially with a cup of hot tea at the breakfast table. My cream cheese didn’t marble into the bread so much as it sunk into the middle and the bread seemed to bake up around it, but we didn’t mind – it made it more like a filling.

I adapted today’s recipe from Today’s Creative Blog, adding the walnuts, reducing the sugar, and taking her suggestion for a combination of whole wheat and white flour. I found the core recipe to be easily adaptable, so feel free to experiment and make it your own!

Going to the Mountains..

liveseasoned_fall14_mountainsmuir

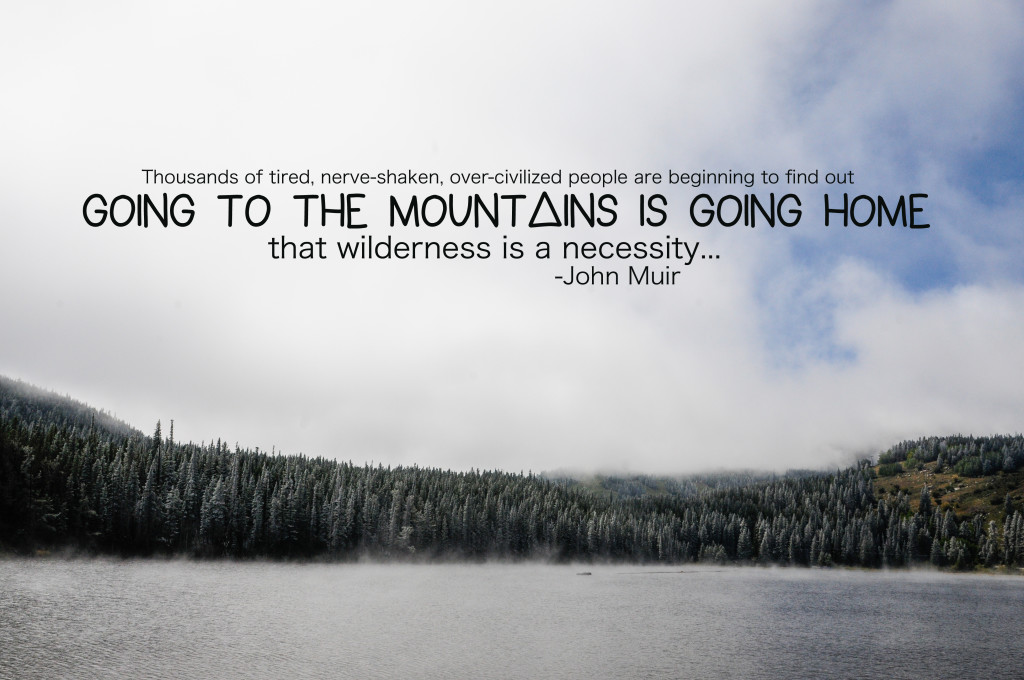
“Thousands of tired, nerve-shaken, over-civilized people are beginning to find out going to the mountains is going home; that wilderness is a necessity… – John Muir

Happy Monday everybody!  I hope you were all able to spend a little time outside these past few days.  It was a balmy 78° on the Jersey shore where I spent Saturday shooting a wedding.  I love the ocean, but I have to admit, it felt really nice driving back to North Carolina and the mountains.

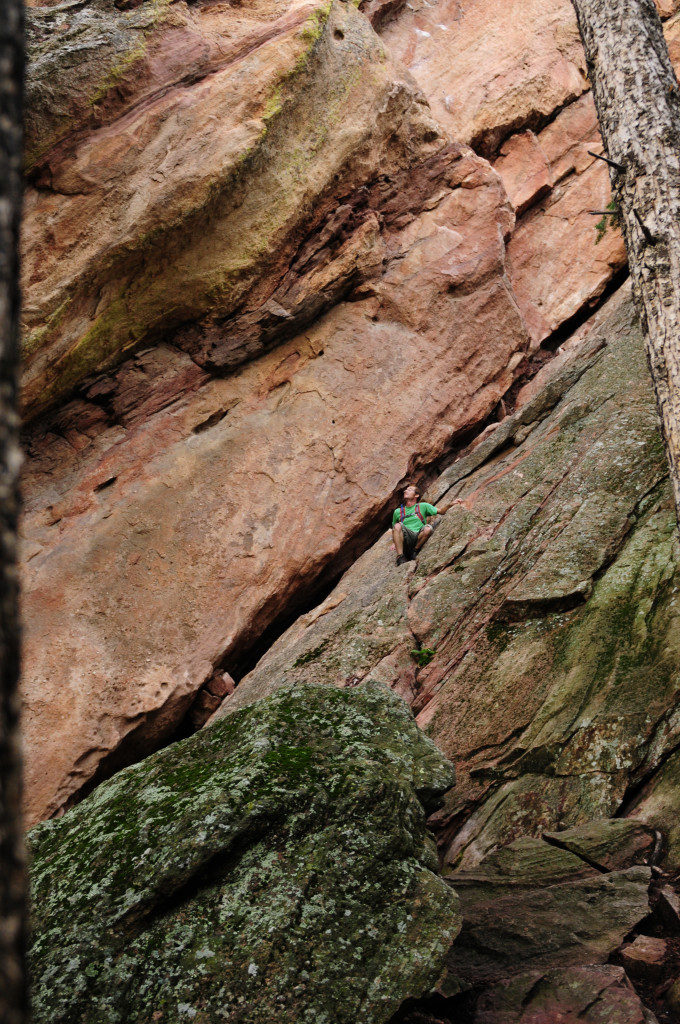
John Muir, who founded the Sierra Club, is an inspiration to many, including myself.  Time and time again, I read his words and feel a deep longing to immerse myself in nature.  My recent return from Colorado has me dreaming of mountain climbing and through hikes of the Appalachian Trail.  Originally I planned on writing a post today about hiking the Flatirons 1+2 trail in Boulder, but as I started researching how the peaks were formed, I realized I didn’t have quite enough time to research, digest and reiterate.  Sit tight though that post is coming. I hope you love rocks as much as I do.

*This photo was made in Nederland, Colorado.

Two Bits

Instead of the usual links posts, each Friday we’re going to start sharing some tidbits from our week.  We want to break down these internet barriers and invite you into our lives and we’re hoping you’ll do the same.  You are welcome to share your a bit of your week or day in the comments, or if they’re better represented by a photo, tag us on instagram @liveseasoned

Katie here:

liveseasoned_fall2014_sept25_wm


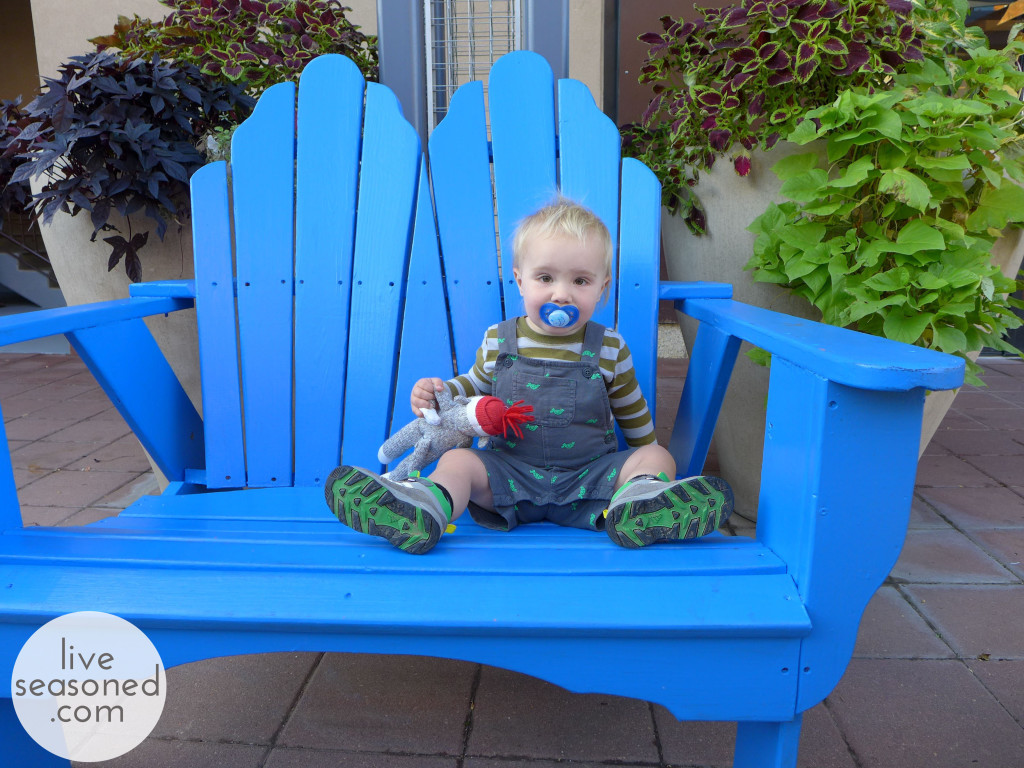
I learned the hard way to keep the expensive electronics out of little A’s reach. He was able to pull my purse off the table, and it fell with an extremely hard thud. I realized right away that that thud was my camera, and sure enough, I turned it on and the screen was most definitely broken. Bummer! On the bright side, the camera was well-loved and used hard for over four years, so I didn’t mind upgrading to the newer model (it really is such a great point and shoot that there was no question about ordering the same one!). So this week was spent testing out the new camera and snapping some pictures of the sleepy little guy at the park!

If you follow us on Instagram, you saw that I roasted veggies (sunken butternut butt for the win!) to make a soup. A recipe that we’ll definitely share sometime this fall. While chopping the vegetables, I was thinking about how much I missed not having a farm share this year, but was feeling excited to sign up for one next summer. As luck would have it, Calder’s new workplace sent around a memo today saying that people could still sign up for a farm share that would be delivered to their office every week from now until mid-December. We’re signing up for a share and I’m so excited for the first delivery!

Sarah here:

_DSC9386

Katie’s two bits definitely prevail this week, (not that it is a competition!) but how cute is that photo of the little camera smasher?! This week I returned to North Carolina in time for the Autumn Equinox.  Just like the trees, I’m shedding my leaves and getting rid of anything that no longer serves me.  I’m sifting through my belongings and getting rid of anything that I haven’t used, looked at or worn this past year, including my very first car!  I’m so sad to see the Red Hawk go even though it caused a lot of frustration and worry during the last months that I drove it.  Did you have fond feelings of your first ride?

In other exciting news, I found a new apartment!  My lease is up in a couple weeks and instead of renewing, I’m moving to the country.  I’m moving ten minutes from town, out of the townhouse and into a duplex with an enormous yard.  I’m beyond excited to put the space to use. I have big dreams of planting veggie gardens, raising bees and building chicken coops.  Ca$h the dog is going to love romping around in the woods and causing all types of mayhem in my new little neighborhood.  Oh and the boyfriend and I will never have another fight again because our new place has a dishwasher. Thankkkkk youuu apartment gods! (I believe they’re called landlords)


Nut Crusted Brie

Apples are our ingredient of the season.  This recipe is perfect served and garnished with a thinly sliced apple. This is also the first of a few cheese plates that we’ll be serving up this fall.  If you are vegan, we apologize in advance.

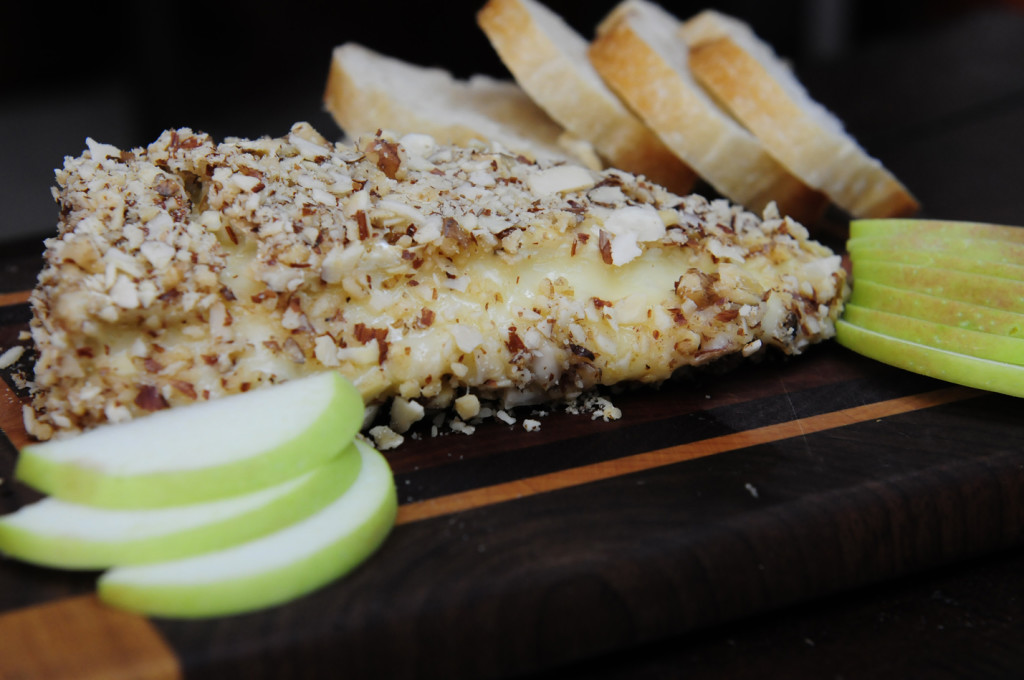
LIVESEASONED_fall14_brie2

Calling all cheese lovers! This recipe goes out to you…

Autumn is the perfect time to turn on the oven, wouldn’t you agree?  I love heating up my house a bit and making something warm to snack on.  This nut crusted brie is ridiculously simple and it’s classy as all get out.  Need a quick hors d’oeuvre? Having a few friends come over? Wanna feel better about eating an entire wedge of cheese?  Need snacks for Sunday night football?  All those and more are perfectly good reasons to roll your brie in crushed nuts and pop it in the oven. This takes ten minutes max (and only about a minute of active work) and you’re likely to have at least half the ingredients on hand.

Ingredients:

  • Brie (I used Auguste Le Petit. You can use whatever you’re comfortable with)
  • Buttermilk (or heavy cream)
  • Egg
  • Nuts of choice (I used almonds+walnuts. Macadamia would work well.)
  • Apple
  • Baguette

Instructions:

  • Preheat your oven to 300° and line a baking sheet with tinfoil.
  • Pulse the nuts in a blender or food processor until finely chopped, but not powdery.  I used about a half cup of nuts for a medium sized wedge. Set the bowl of nuts aside.
  • Whisk together one egg with a half cup of buttermilk.
  • Coat the brie wedge or wheel in the buttermilk and then press it firmly into the nuts. Repeat on each side of the brie making sure to completely coat it.
  • Delicately transfer the brie to the baking sheet and put it in the oven for 5-8 minutes.  You want the brie to be very warm, but not a melted puddle.  A full wheel will take about 10 minutes.
  • While the brie is baking, thinly slice the baguette and arrange on a baking sheet.  Put the bread in the oven while the brie is baking.  If you like your bread slightly browned, once the brie is done baking, turn the oven onto broil and toast the baguette.  Watch the bread closely so it doesn’t burn!
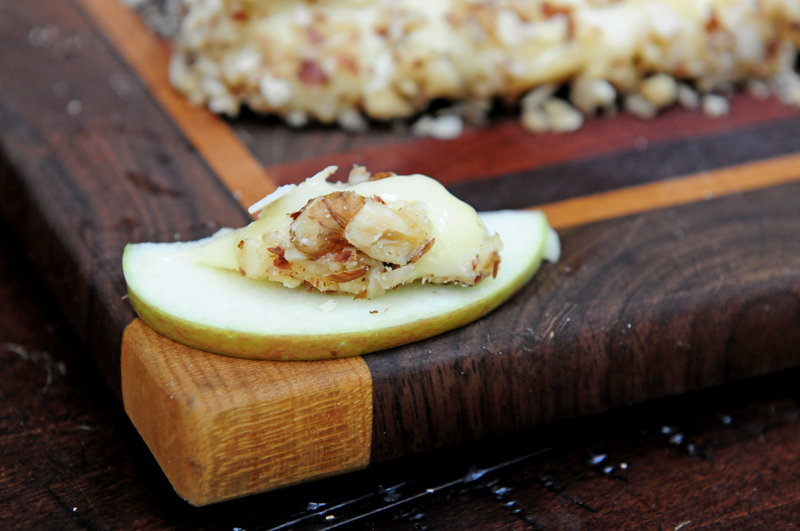
  • Thinly slice an apple or two and serve it along with the brie and baguette.

LIVESEASONED_fall14_brie4

I love this recipe for fall. Apples, nuts and warm cheeses, I don’t think there is a better combination. Unless you’re talking drinks, then I’m all about the fresh apple juice, cinnamon and vodka…


My Big Sweater Project

liveseasoned_summer2014_sweaterproject1_wmb

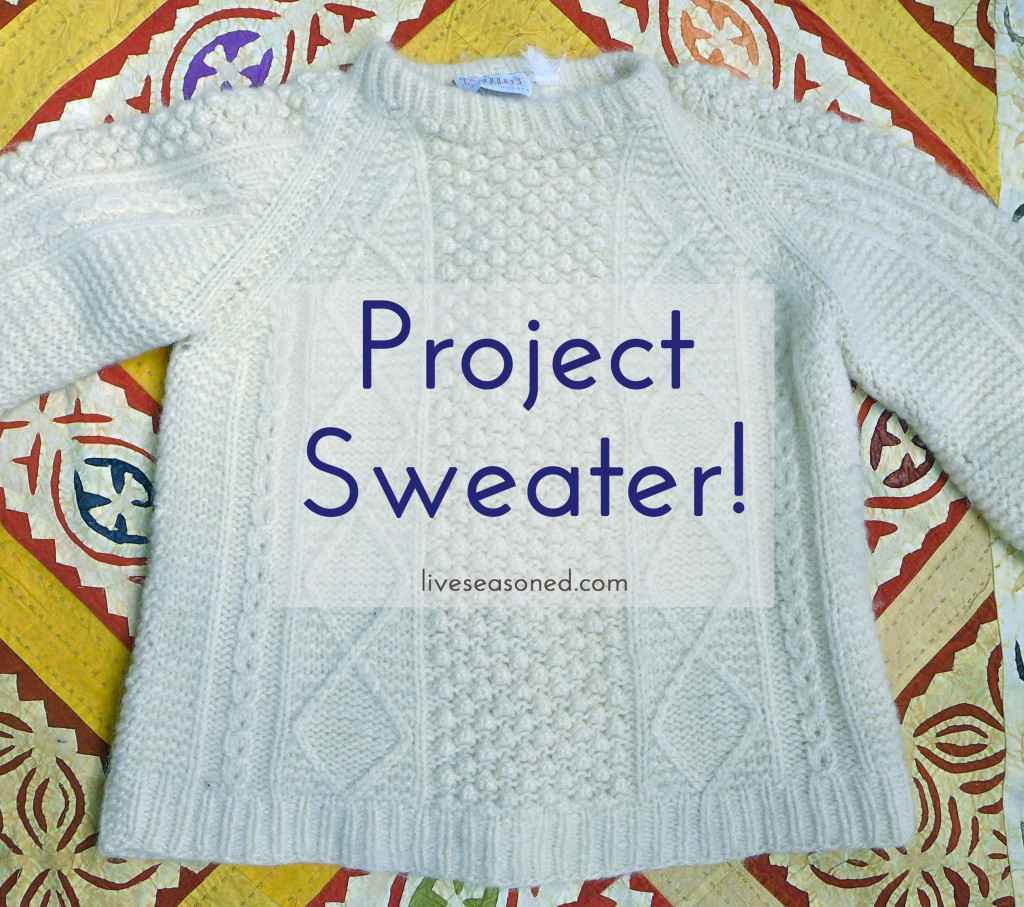
As I mentioned in this post, I have a growing uncontrollable pile of knitting projects going on. One of those is this sweater project. This is a friend’s sweater that she’s worn and loved for many years (I don’t remember how many, but she bought it at Pier One when they still imported and sold clothes!).

I’m not sure if you can tell in these photos, but the sweater is well-worn and has been slightly felted. She asked me to re-knit the sweater and add some length (about 4 inches or so). Rather than work on the whole project behind the scenes and share the finished sweater, I thought it would be fun to turn this into a series and share the process. Today I’m going to talk about my first two steps, which I try to conquer at the same time: 1. choosing the appropriate yarn and 2. working out the stitch pattern.

liveseasoned_summer2014_sweaterproject6_wm

The Stitch Pattern

I start by just looking at the sweater and identifying simple stitches and bigger blocks. If you look at the first picture in this post, you’ll see that the areas on the sides of the sweater and the underside of the arms are garter stitch (the most basic knitting stitch). The cuffs and sweater bottom are knit 1 purl 1 ribbing. The bigger blocks are identified in the photo above: Cable #1, Cable #2, and the bobbles. The next trick is figuring out exactly (or approximately) how those blocks of stitches are made.

Cable #1. I work from right to left because that’s how the rows are knit. Cable #1 is relatively simple to figure out because it’s so small, worked across just 3 stitches. The area where it narrows is typically a point where the cabling actually occurs (where we would change the order of one or more stitches moving them in front of or behind others). In this case, that doesn’t happen, and at the same time you will make the small eyehole that’s in the cable! It was a fun puzzle to work this one out, but I’ll save the exact pattern for a future post. 
Cable #2. If you’ve ever knit a simple cable pattern before, Cable #2 should look relatively easy. There are two stockinette stitches that are forming the diamonds: moving out from the middle to the sides and then back in again. Inside the diamonds is a stockinette stitch and outside the diamonds is garter stitch. 

Bobbles! The bobbles were definitely the hardest stitch to work out (as you’ll see below in Swatch #1). I was able to figure out the cable stitches within a few attempts, but the bobbles took a lot longer. I began by looking at a few stitch guides online and knitting the bobble patterns. It took a long while to find a bobble that wasn’t too big or too small and with a spacing between bobbles that matched the original sweater. 

Choosing the Yarn

The easiest way to narrow your choices is decide what type of fiber you want. In this case we wanted to go with a wool again, then comes narrowing in on weight. I knew that this sweater was knit with a bulkier yarn, but the lines between yarn weights can be fuzzy. I started with a yarn that I used before and loved, Cascade Eco. Eco is a softer wool, and the Ecru color was a fairly good color match. As you can see, it’s considered a bulky wool on the Cascade site, but it’s really on the thinner side of bulky. The second yarn I tested was Knit Picks Bare Wool of the Andes. A slightly thicker bulky weight yarn and again a good (even better) color match but not as soft to the touch.

liveseasoned_summer2014_sweaterproject2_wm

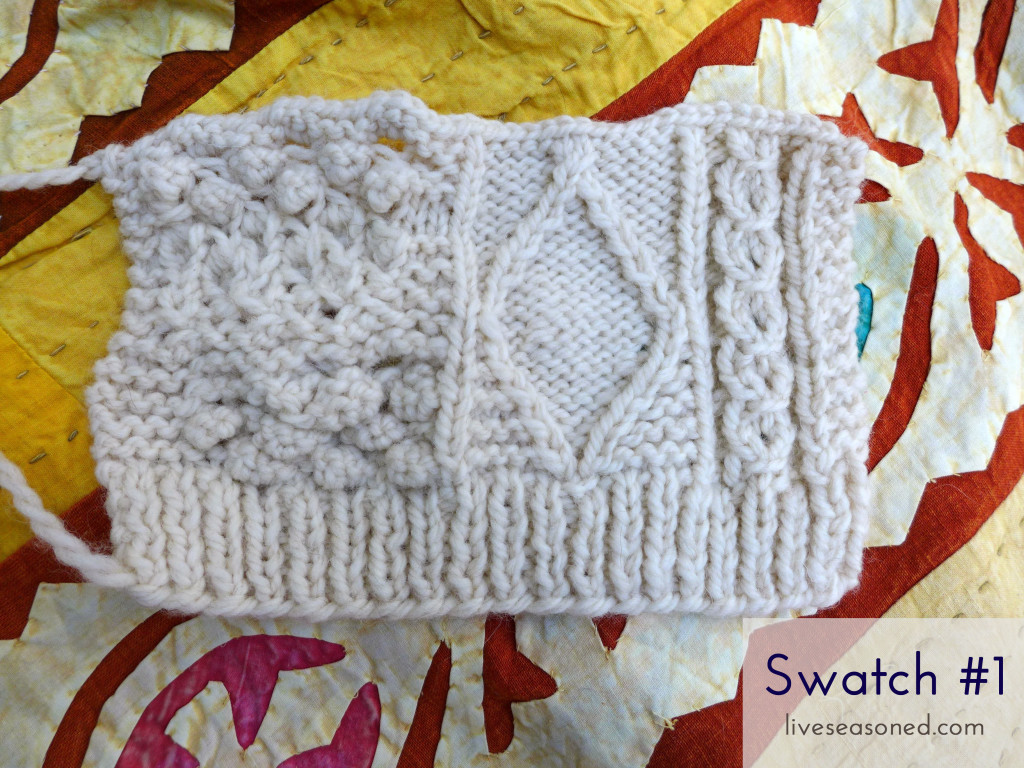
Swatch #1

Yarn: Cascade Eco ~~~ Needles: US9

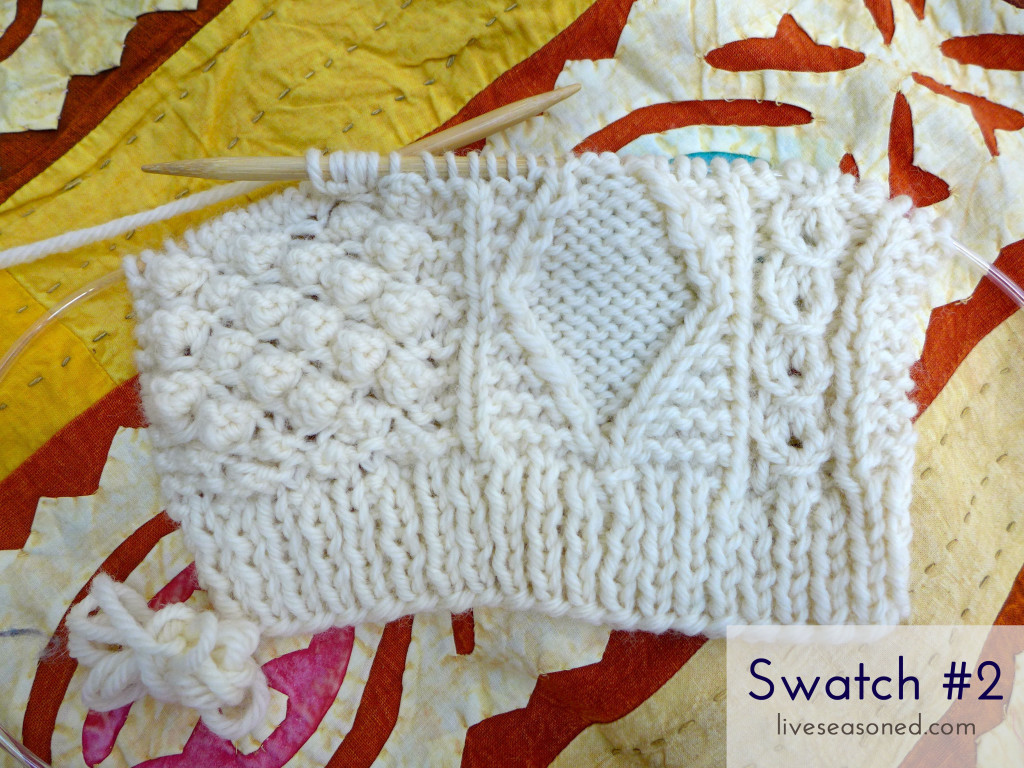
This is the swatch where I worked out most of my stitch confusion, particularly the bobbles as you can see in the left panel. As mentioned above, the cables were easy, but the bobbles are a mess. I finally worked things out in the last few rows at the top of the swatch. You can also see that I made a mistake in Cable #2, using stockinette rather than garter on the top half of the diamonds. It’s good to see where you make those absent-minded mistakes in the swatches, so that you know where to be extra careful while knitting the sweater.

liveseasoned_summer2014_sweaterproject3_wm

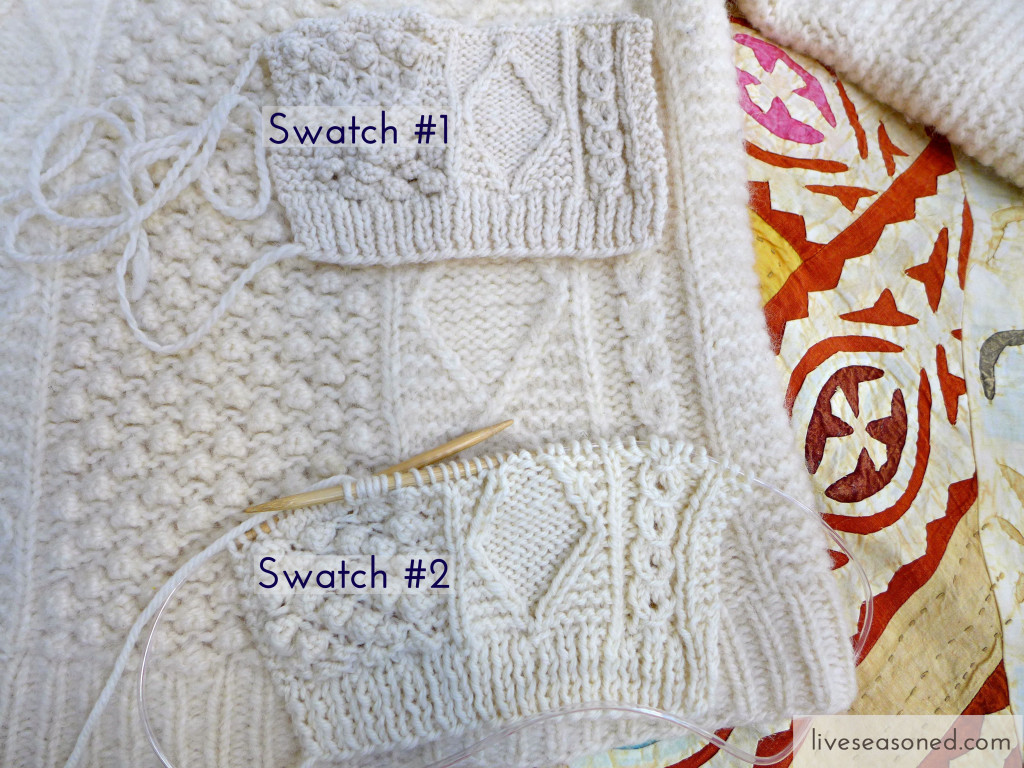
Swatch #2

Yarn: Knit Picks Wool of the Andes ~~~ Needles: US10.5

With the stitches worked out, this swatch was more about testing the second yarn and double-checking my notes to confirm the patterns.

liveseasoned_summer2014_sweaterproject4_wm

Putting both swatches on the sweater, a few things are apparent. The gauge (the size of the swatch over a standard number of stitches or pattern) of the first swatch is definitely too small for this sweater. The gauge for the second swatch is slightly better, but still looks to be on the small side, but the stitch patterns look like a perfect match!

What’s next?

It’s time to test the second yarn in a few more ways. First, before ruling out a swatch that is close to the final object, I’ll block it (more on this in the next post). If it seems slightly too small after blocking, then I’ll move up a needle size and see how that works. There’s a risk that it could make the knitting look too loose, but in this case the original sweater looks to have a more loose weave so that might be the ticket.

Kombucha Kraze

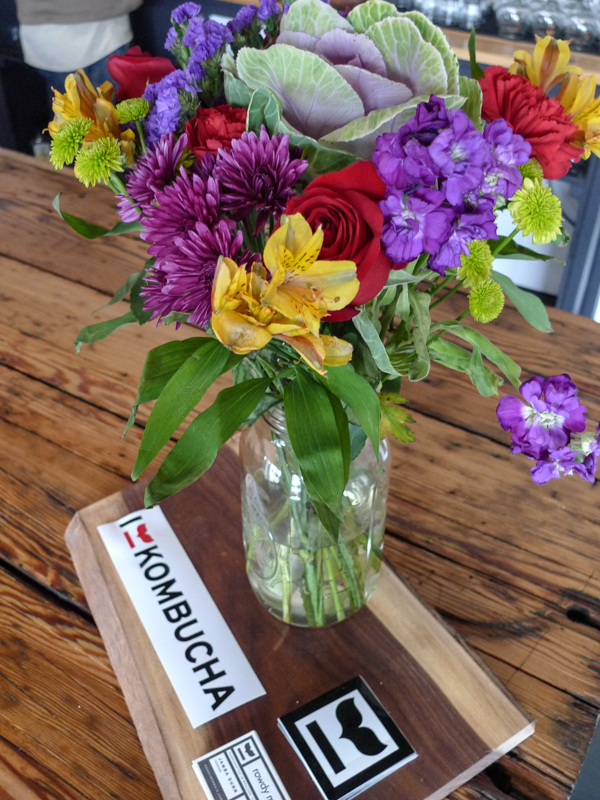
liveseasoned_fall14_kombucha-6

If you follow our Instagram, you know that I spent the past two weeks in Boulder, Colorado with Katie.  I had a great time catching up with my nephew, baby A, and the rest of the Colorado crew.  We had such a great time that we may have slacked off on the Seasoned front last week, notice that?  Unfortunately, I’m home now, but the good news is I have plenty of time to blog and lots of material from CO to share with you all.

There is no way that I could pick a favorite activity or day from my Boulder vacation, but the kombucha tasting room was definitely the most unique outting.  I had never been to a kombucha taproom and to be honest, for the longest time, I thought I disliked the brew altogether.  Never heard of it?  I think this post is a helpful introduction. I usually describe it as a fermented tea, but that usually always turns people altogether off immediately.  I have to admit, initially I was turned off too.  

Back in the day, Katie used to share sips of her State College farmers market kombucha and after the first few tries I would politely decline. “Thanks, but no thanks.”  It wasn’t until this past Summer that I really enjoyed a glass of kombucha.  I took a trip to the Honeysuckle Tea House and tried a glass of the Fire kombucha, which is a blend of ginger and spices.  I was pleasantly surprised at how much I liked it. It was simply an earthy, carbonated drink and it was healthy to boot!  Just like that, I was a convert.  I was ready and willing to taste test away, so off we went to the Rowdy Mermaid Kombucha Taproom in Boulder.

liveseasoned_fall14_kombucha-11

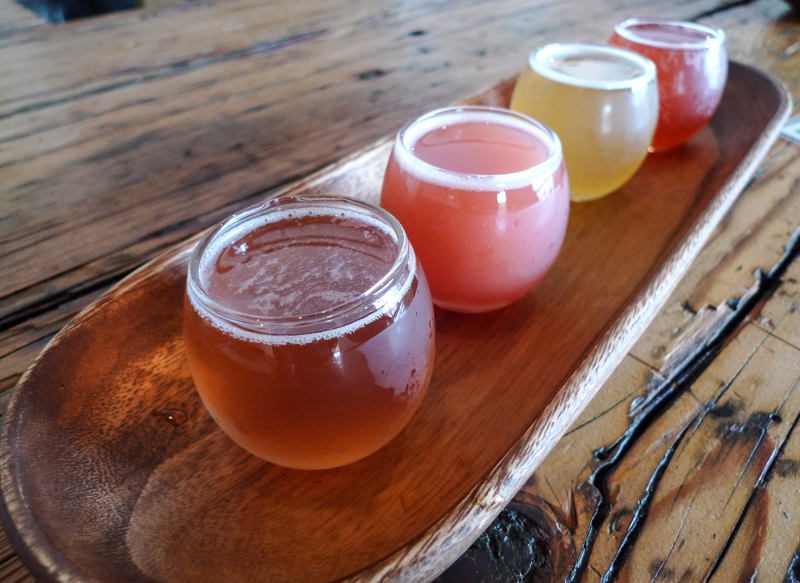
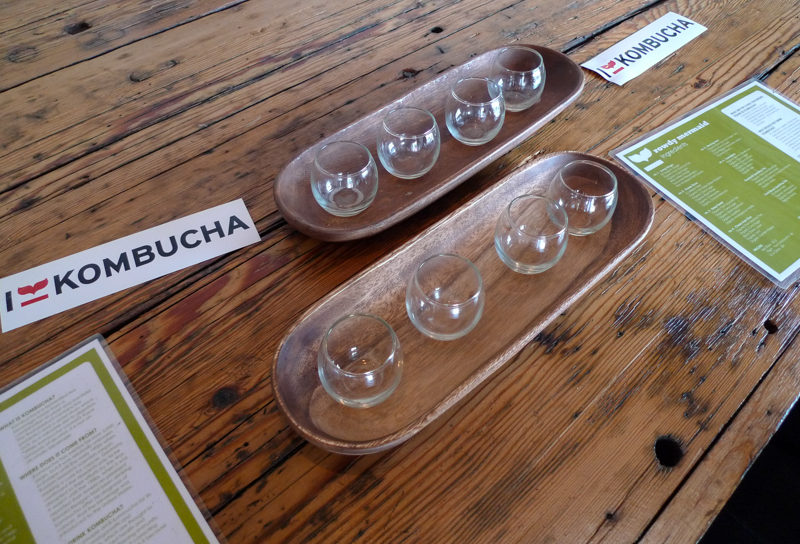
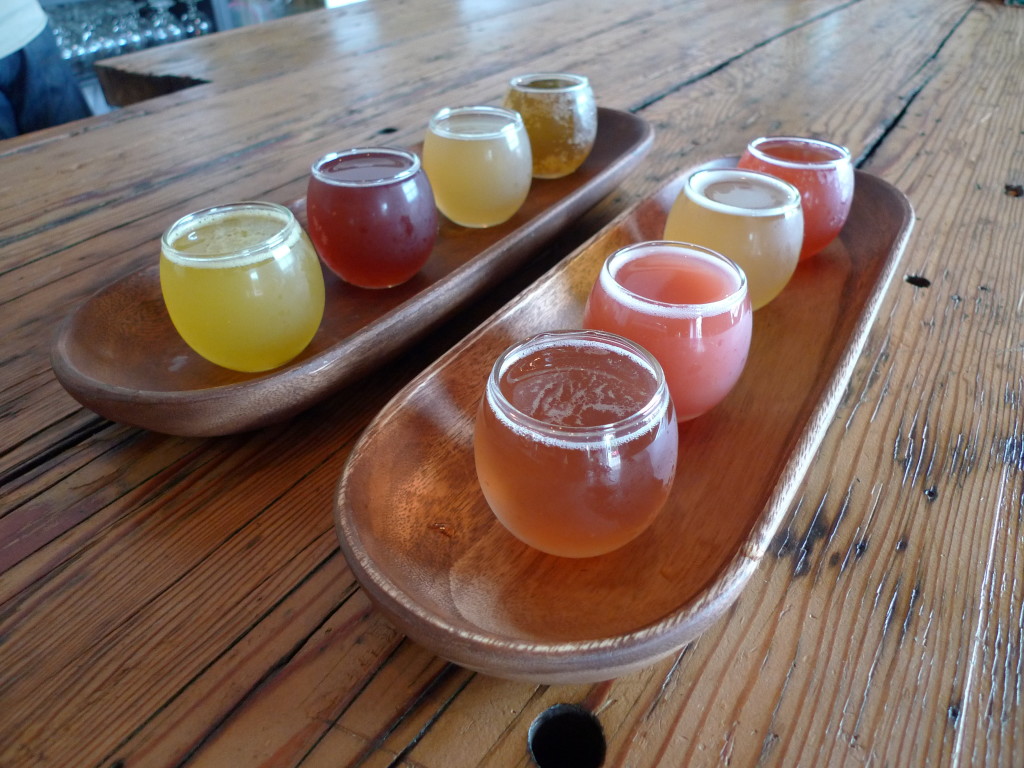
We decided to order two flights  of 4 glasses each.  Flights are only $6 and there were exactly 8 drinks on tap, so how could we not?  When Davidleo, our server and kombucha brewer, placed our flights on the counter I was blown away.  The colors were vibrant and beautiful.  Each glass had its own distinct aroma and flavor and I can say, without a doubt, that I enjoyed every single one.  This is huge for me.  I went from shying away from ALL kombuchas to sipping down eight different flavors.  I felt a little bit giddy. I had discovered a new career, kombucha taste tester. Ok, you’re right, I’ll slow down and keep my day job, but I was really pumped about this new self-discovery. I’m a kombucha lover! I might even stick the kombucha bumper sticker on my subaru.. it’s that serious.

liveseasoned_fall14_kombucha-2

After taking a handful of tiny sips from each glass, Kate and I both decided on our favorites.  I couldn’t get enough of the Pineapple Tumeric, while Kate was all about the Deep Forest.  Some were definitely more earthy and effervescent than others, which is why we decided on a fruity and sweet variety to take home to the family.  We figured they would be more inclined to try our strange fermented tea if we called it something like ‘strawberry fizz’ instead of Morning Dew or Flower Grow.  While we were successful in having our mom, bro and Calder try the strawberry kombucha, they definitely didn’t dig it.  I think they need to suck it up and visit the taproom, try all eight and then tell me what they think, but for some reason that plan went in one ear and out the other…

Katie here: It’s so great to hear Sarah’s experience with kombucha and her slow change of heart! I’m partial to fizzy, not too sweet, slightly odd tasting drinks, so I loved kombucha from my first sip. That said, I’m not too adventurous, and when I’m paying $2/bottle and sometimes more; I often stick to the basic flavor that I know I love (for me it usually involves a touch of ginger). That’s why, even as a devotee, going to the tasting room was a great experience for me – opening my palate to the amazingly wide variety of flavors that I could have been enjoying all of these years! I also love what you can learn when you go to a tasting and talk to the brewer. I had assumed that all kombuchas would have caffeine because they are usually made from green or black teas, but they don’t have to be! This shop offered a couple of caffeine free varieties, using herbal teas as their base. 

Hanging out at the kombucha bar and getting a buzz fizz on was surely a highlight of my Colorado vaca.  I’ve been thirsty for some fermented tea ever since so I’ve been researching other kombucha taprooms.  I wish I’d done this yesterday when I was in Charlotte, I could have hit up Lenny Boy Breweing Co

Happy Autumnal Equinox!

liveseasoned_fall14_autumn-2

Wouldn’t you agree?  As we (in the northern hemisphere) move towards the dark, it’s important to gather up all the golden moments of autumn and squirrel them away for winter.  Fall always seems to be the season that scurries by the fastest and that may be why it steals my heart year after year.  I’m always trying to grasp onto those last warm weekends and the fresh fall air before the weather turns frigid.

liveseasoned_fall14_autumn-1

“I cannot endure to waste anything so precious as autumnal sunshine by staying in the house.”

-Nathaniel Hawthorne

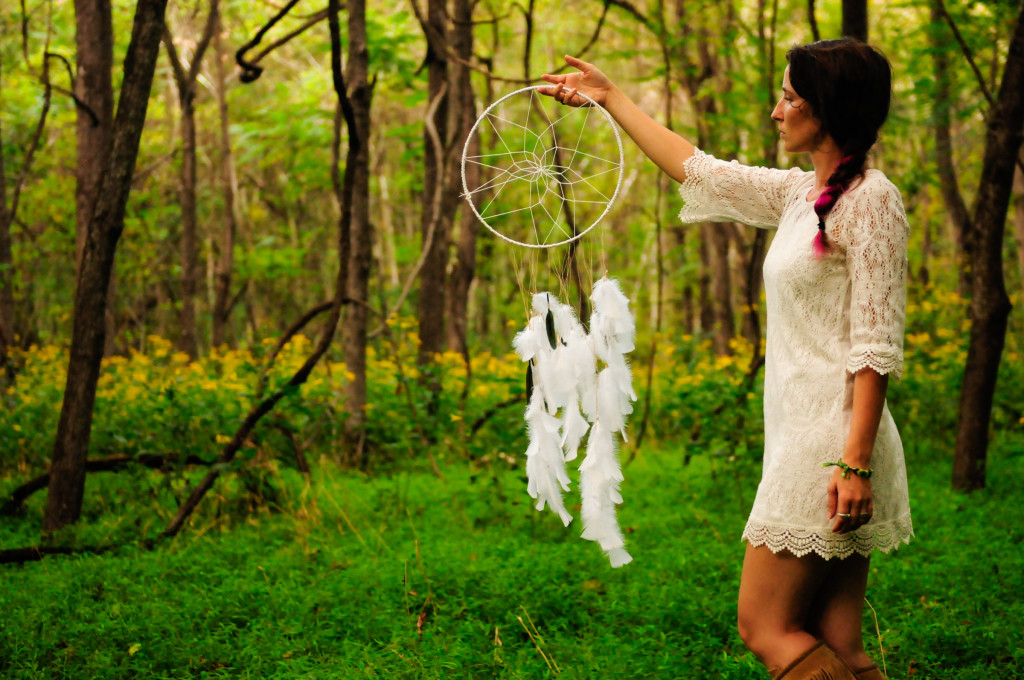
This year I’m going to try my hardest to spend lots of hours outside (I camped at the McDowell Nature Preserve last night) and appreciate each moment that autumn brings.  I’m also going to make it a point to welcome the long nights of autumn and winter.  Life is about balance and change and the sooner we welcome and appreciate those changes the easier life will be. So dust off your dream catcher, pull out your comforter and screw in a daylight bulb near your reading nook, but before you do that, find your favorite fall outfit, take lots of walks and soak in the season.  Happy Equinox!


Sarah’s Fall Favorites

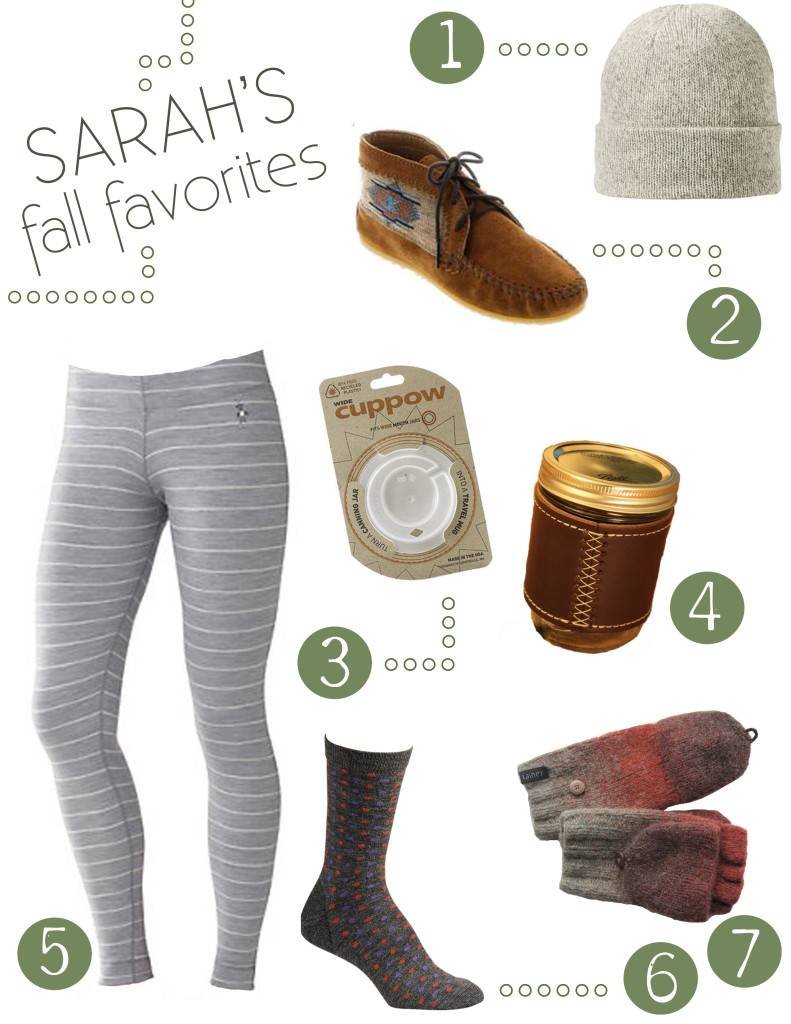
Katie shared her favorites last week and now it’s my turn.  For me, autumn is all about accessories.  I love layering leggings under maxi skirts and wearing wool socks in my Minnetonkas.  I never leave home without a pair of convertible mittens, which keep my fingers toasty yet always at the ready for photo snapping.  I do have to admit that my favorite fall items aren’t clothes, they’re cup accessories! Once the cold weather comes, I always have a jar of tea in my hand complete with the Cuppow and Holdster, which are both made in the USA.

sarahsfavorites


1 . 2 . 3 . 4 . 5 . 6 . 7 

Two Bits

Instead of the usual links posts, each Friday we’re going to start sharing some tidbits from our week.  We want to break down these internet barriers and invite you into our lives and we’re hoping you’ll do the same.  You are welcome to share your a bit of your week or day in the comments, or if they’re better represented by a photo, tag us on instagram @liveseasoned

Sarah here:

rock2


I went on a great 6 mile hike in Boulder this week.  My brother and I hiked Bear Canyon and then up to Mallory Cave.  The cave was closed due to the threat of White Nose Syndrome, but the landscape surrounding the cave was just as captivating. Unfortunately it has been a bit stormy here and we haven’t hiked as much as we wanted to yet.  This weekend is supposed to be beautiful though!

Katie here:

P1150273

With the babysitter here and my day’s work running on the computer, Sarah and I took the opportunity to visit a local kombucha tap room. I usually buy a single bottle of kombucha at a time and never am adventurous to try some of the more exotic flavors, so this was a fun opportunity to compare flavors and find some new favorites. This experience deserves its own post with plenty of photos to share and a discussion of the great flavor combinations and our friendly waiter/kombucha brewer. More on that soon!


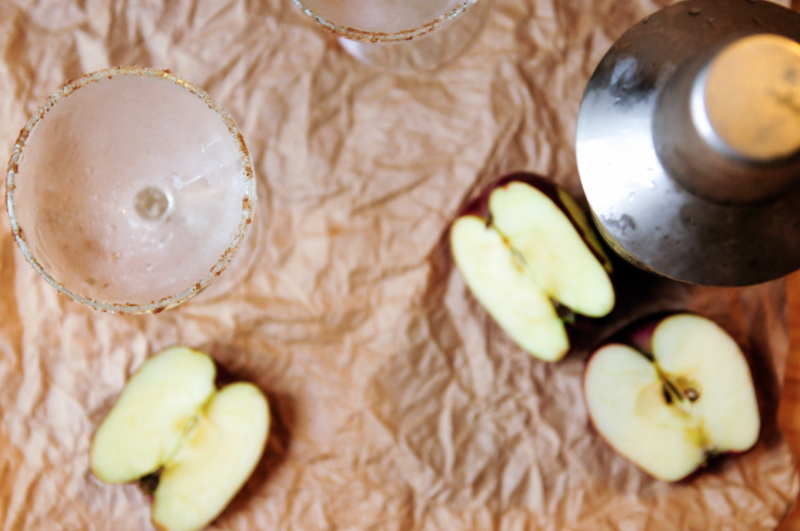
Sarah’s Appletini

Apples are our ingredient of the season. Check out Kate’s german apple cake right here.

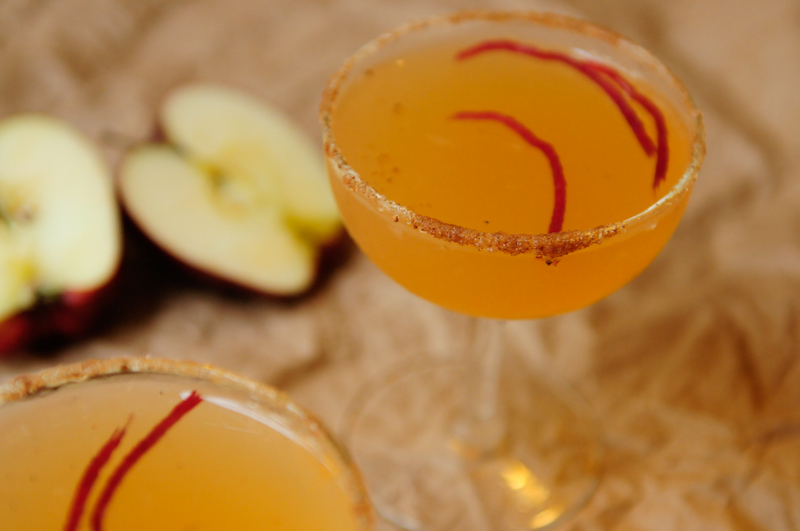
I’m a fairly new martini drinker, but I can see these appletinis showing up on a regular basis around here.  They are full of fresh juice (& alcohol!) and they taste like Autumn!! Really, these apple martinis are fall flavored.  This recipe makes enough for two martinis so grab a pal or drink both. If your plan is the latter then have a great afternoon at home 😉

liveseasoned_fall14_appletini-1-4liveseasoned_fall14_appletini-1-6


Continue reading