Pollinator Power Salad

We originally published this salad recipe four years ago. We’re republishing it today as this is the start of Pollinator Week 2019!

There are many ways to celebrate and show our appreciation for the hard-working pollinators that help to keep nature in balance and play a key role in providing 75% of the food we eat.

  • plant a pollinator garden
  • stop using pesticides on your lawn
  • buy organic produce (to reduce large-scale pesticide and herbicide use)
  • encourage your neighborhood to become Pollinator/Bee Safe

If you’d like to learn more fun-facts about pollinators (and see an awesome video of a nectar-drinking bee-fly!), click here.

~

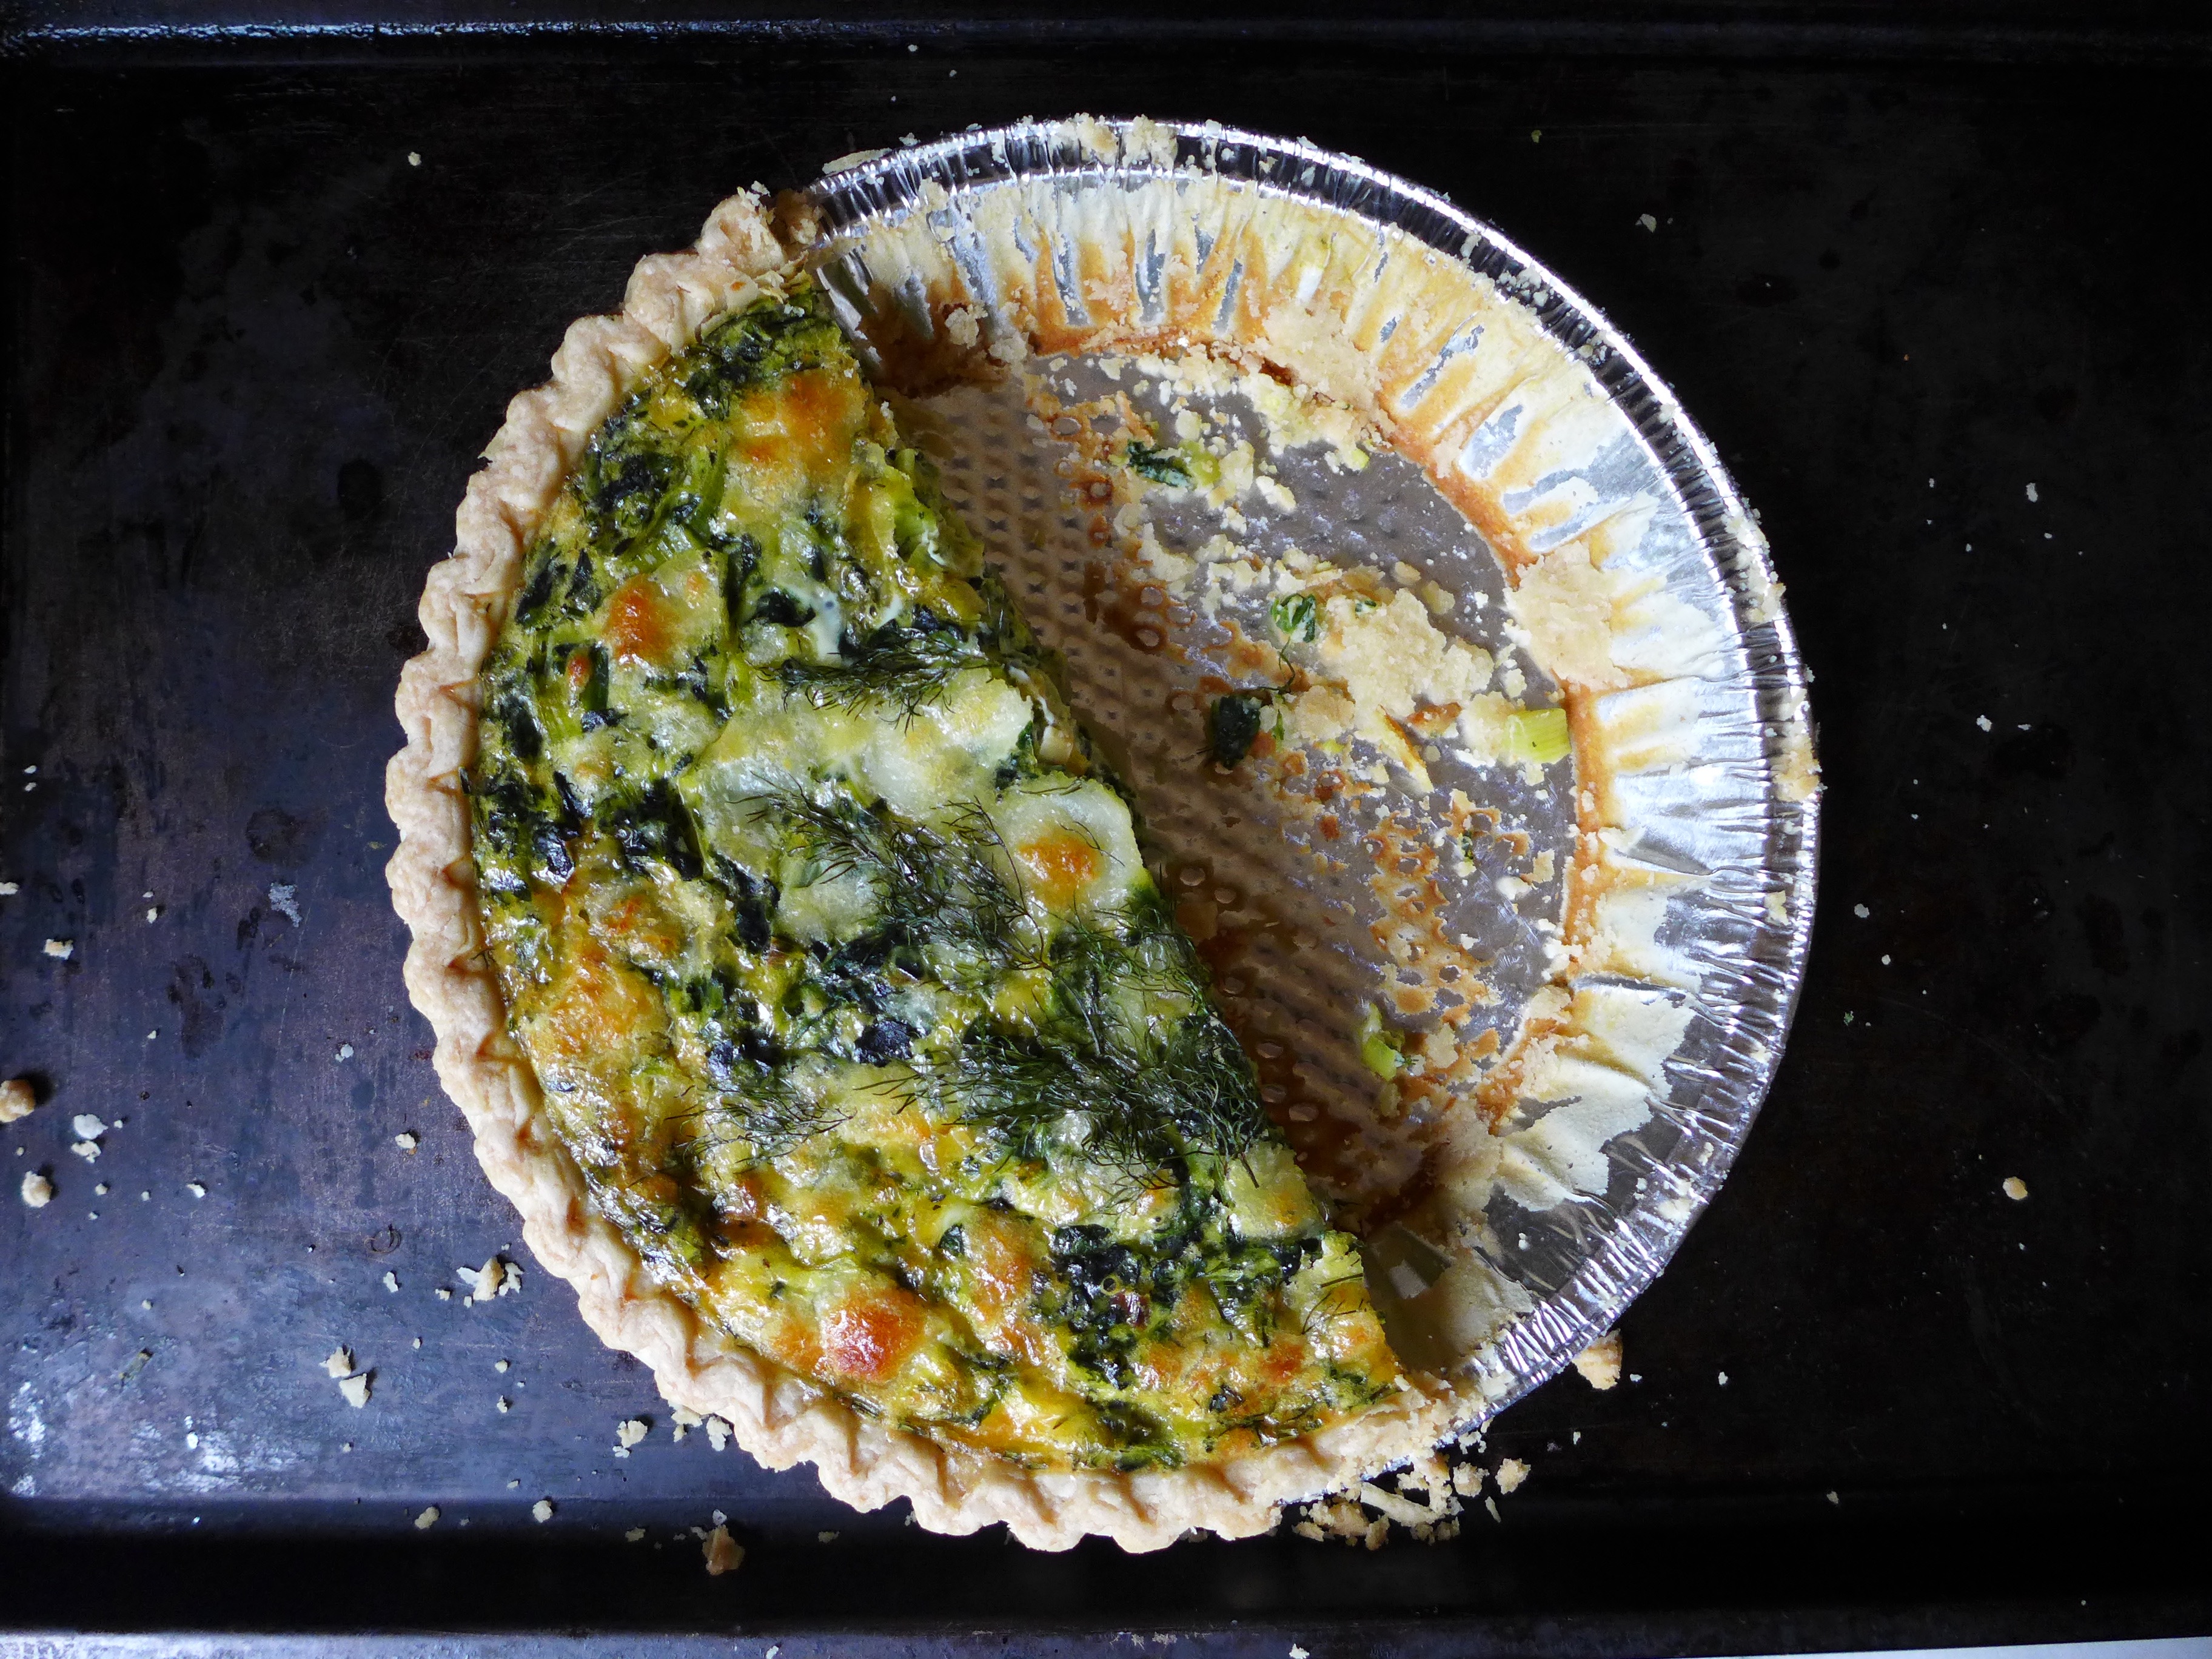
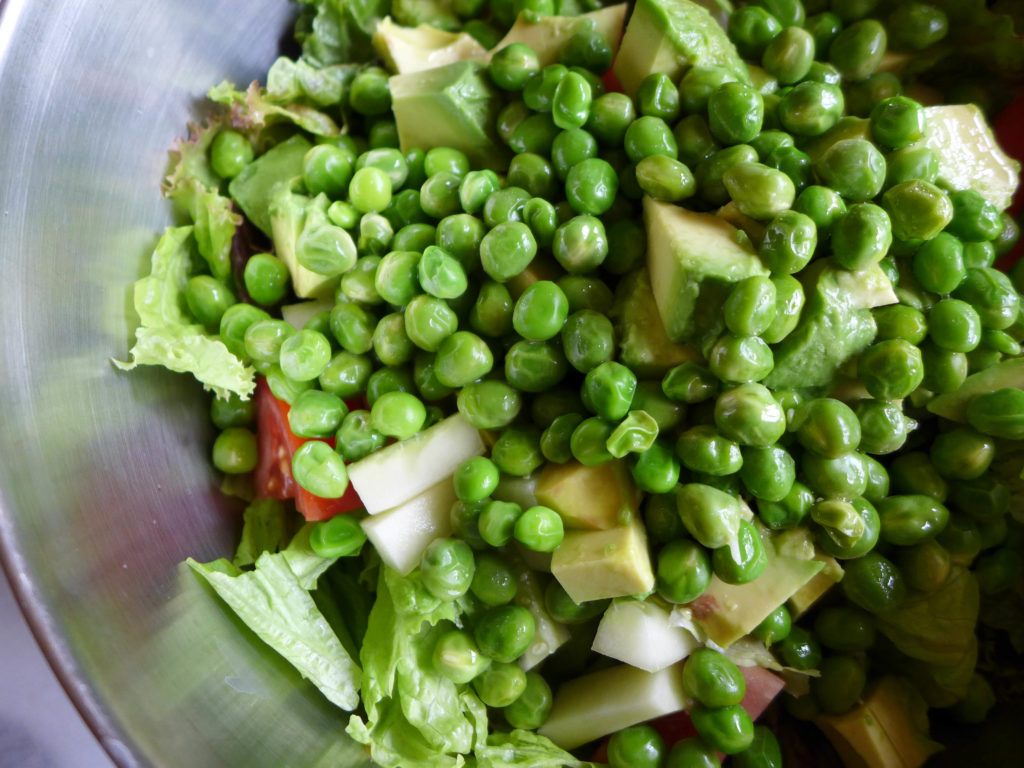
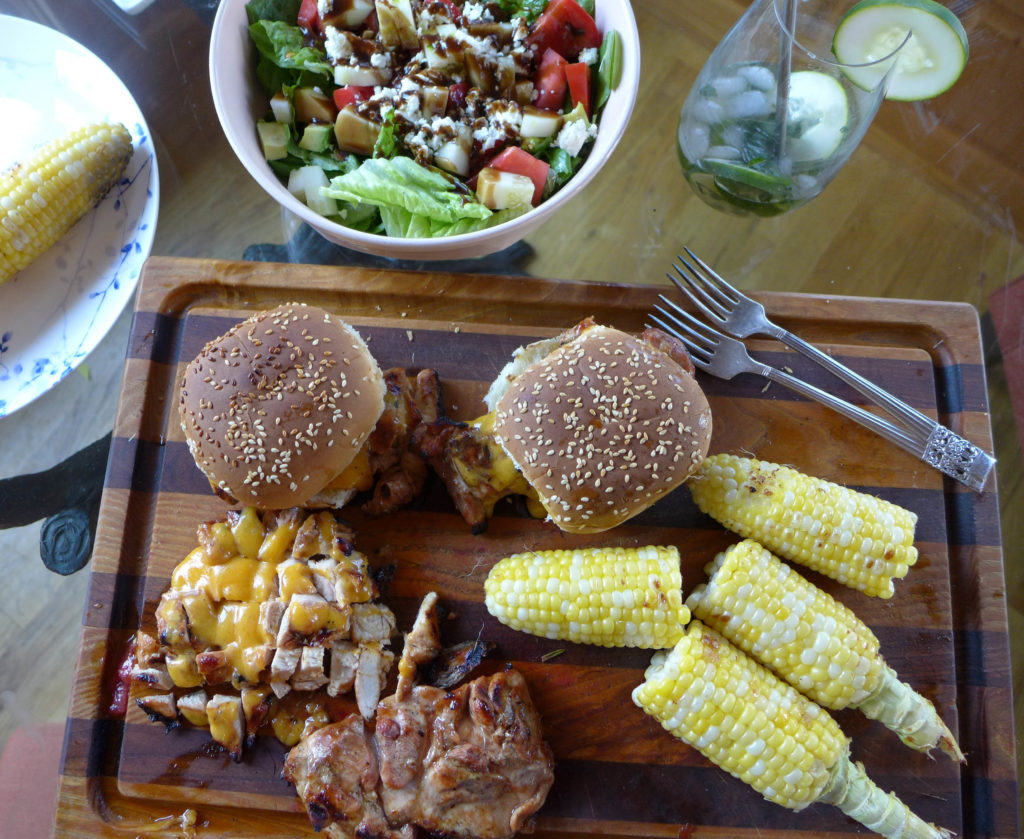
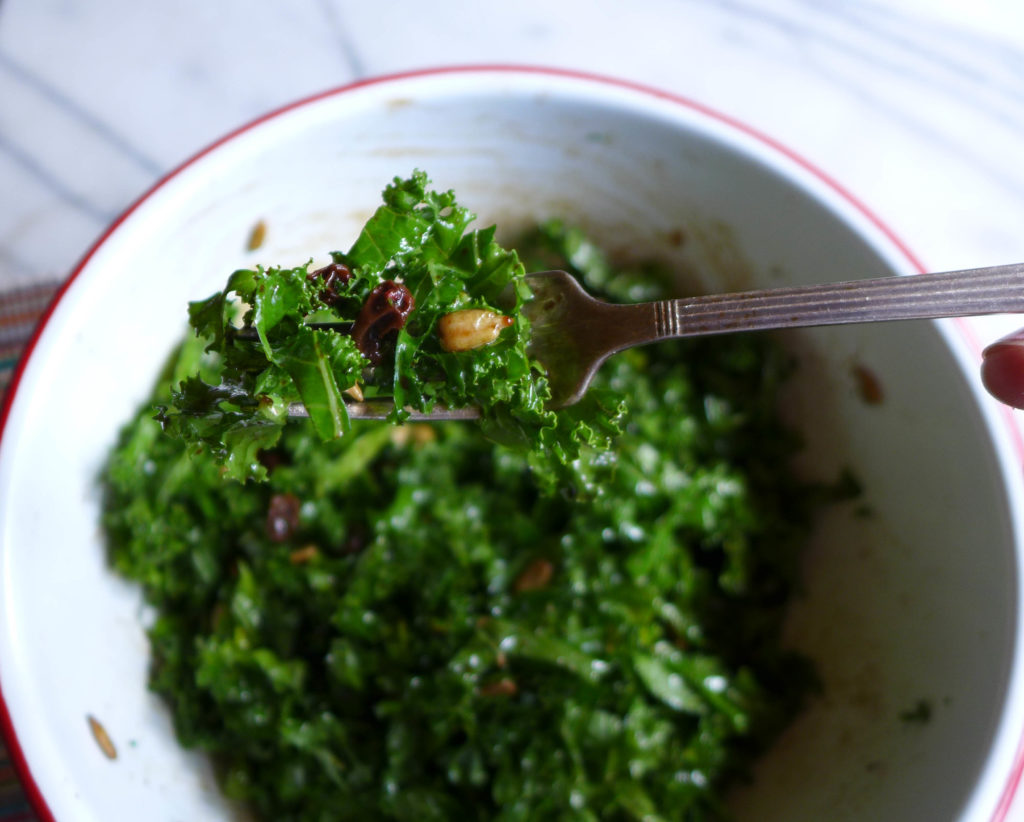
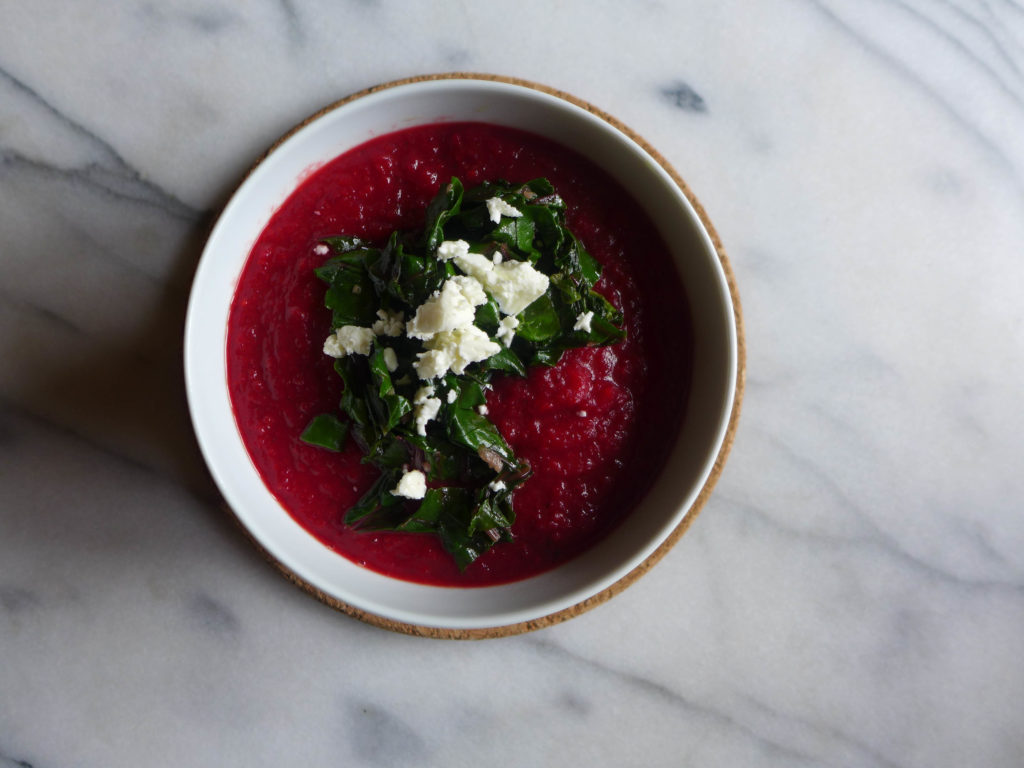
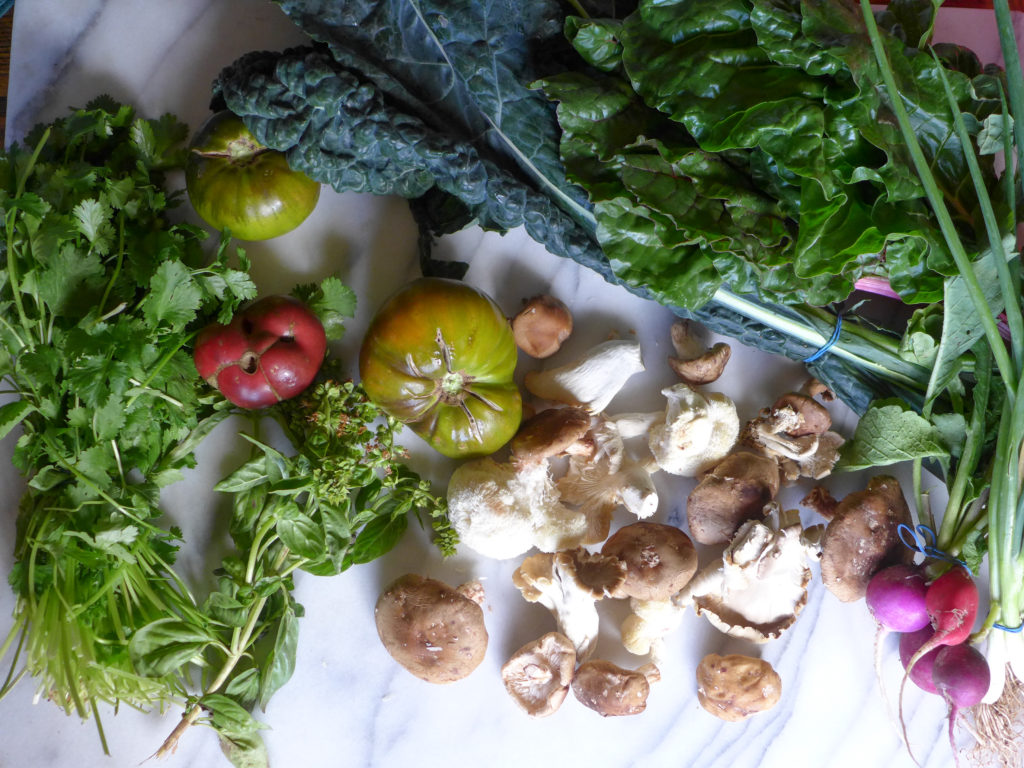
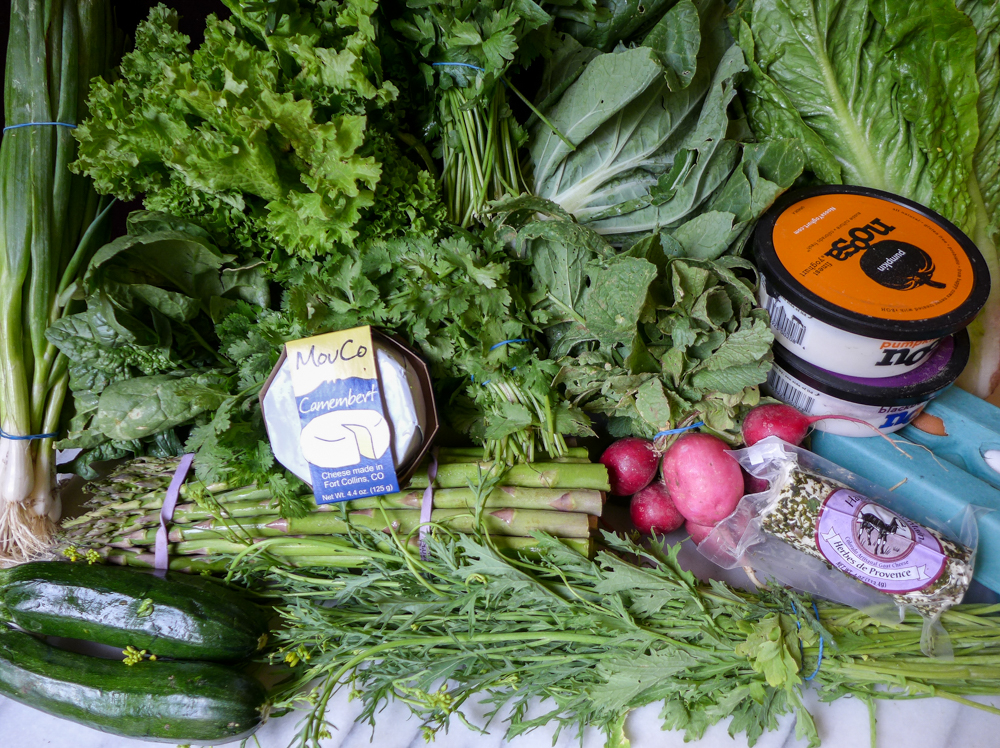
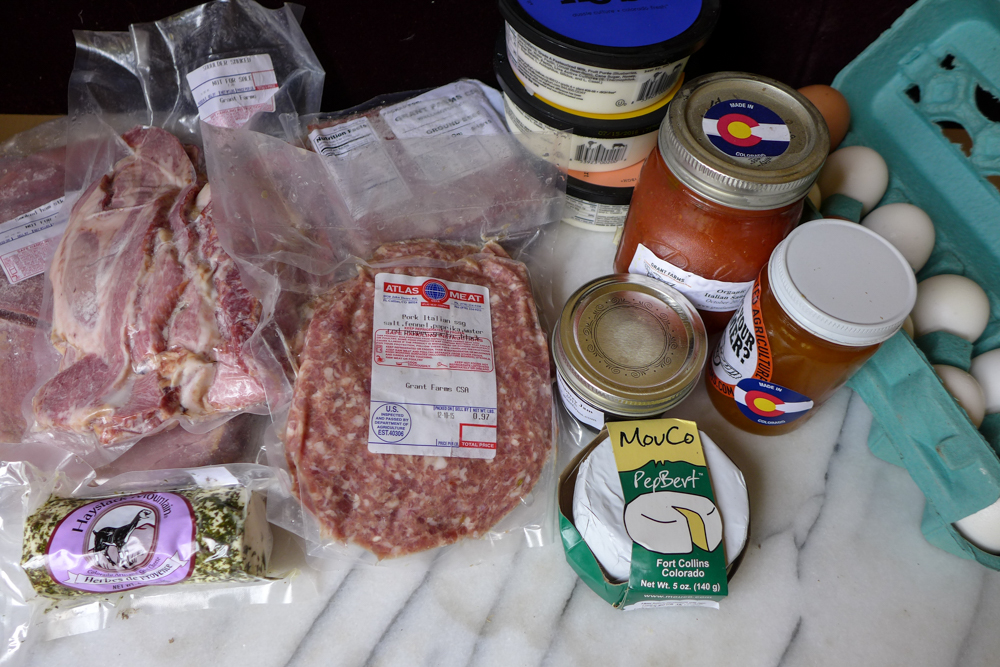
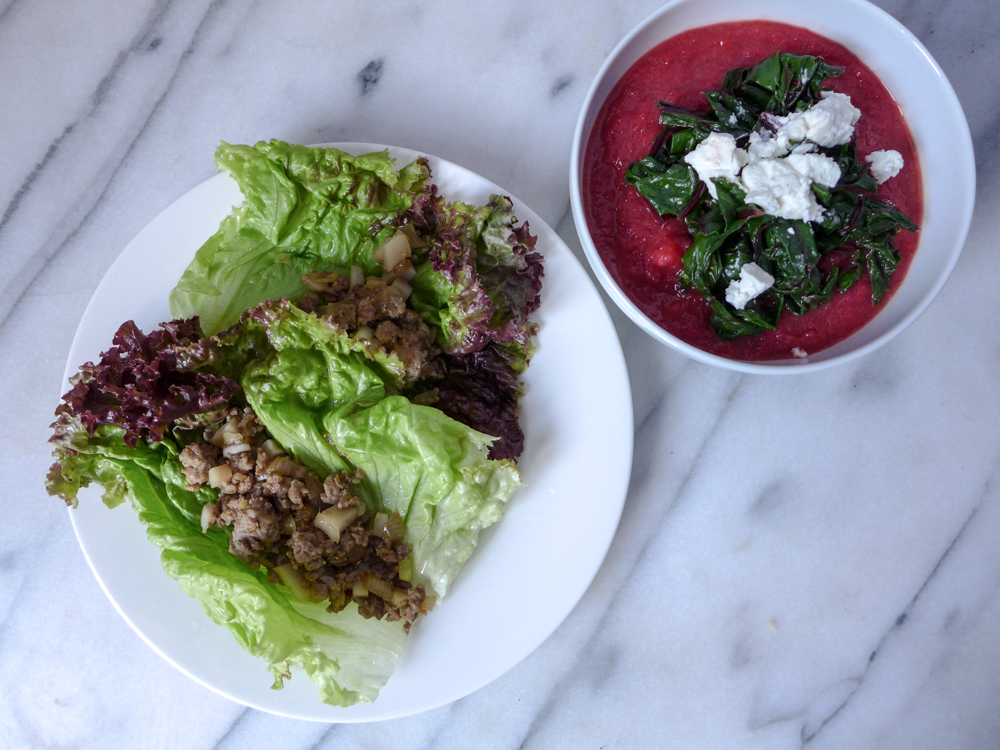
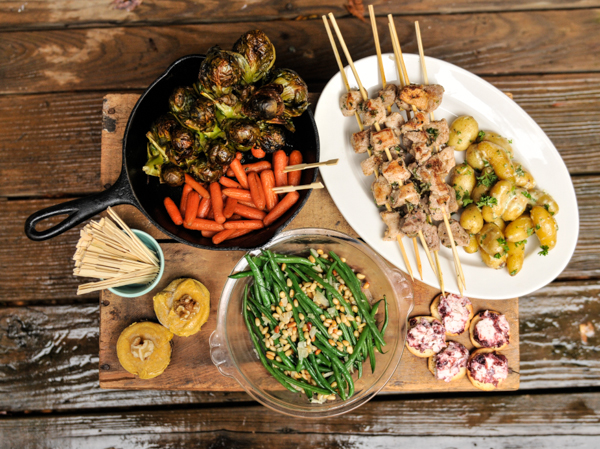
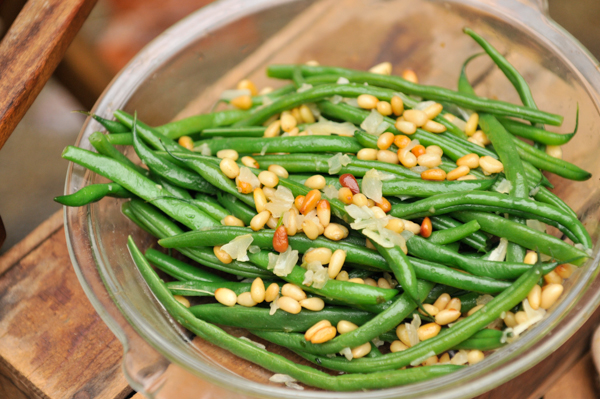
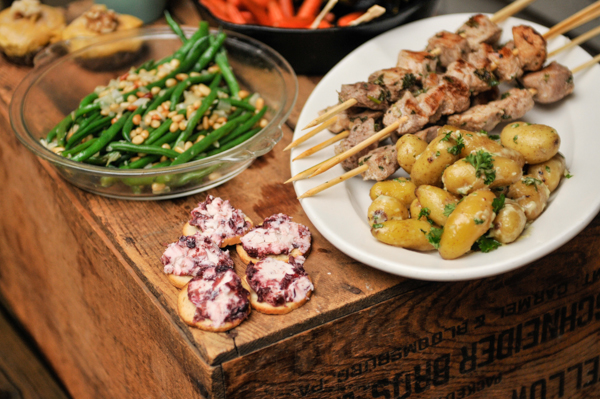
Today we have a recipe for a salad that is jam-packed with good ingredients, and every single one, from the mustard in the dressing to the pumpkin seeds, required pollination to help them grow and reproduce. As you’ll see, the salad looks absolutely beautiful and represents everything that is good about summer. But before you dig in, say thanks to every pollinator that played a role in bringing this food to your table.

liveseasoned_summer2015_powersalad9

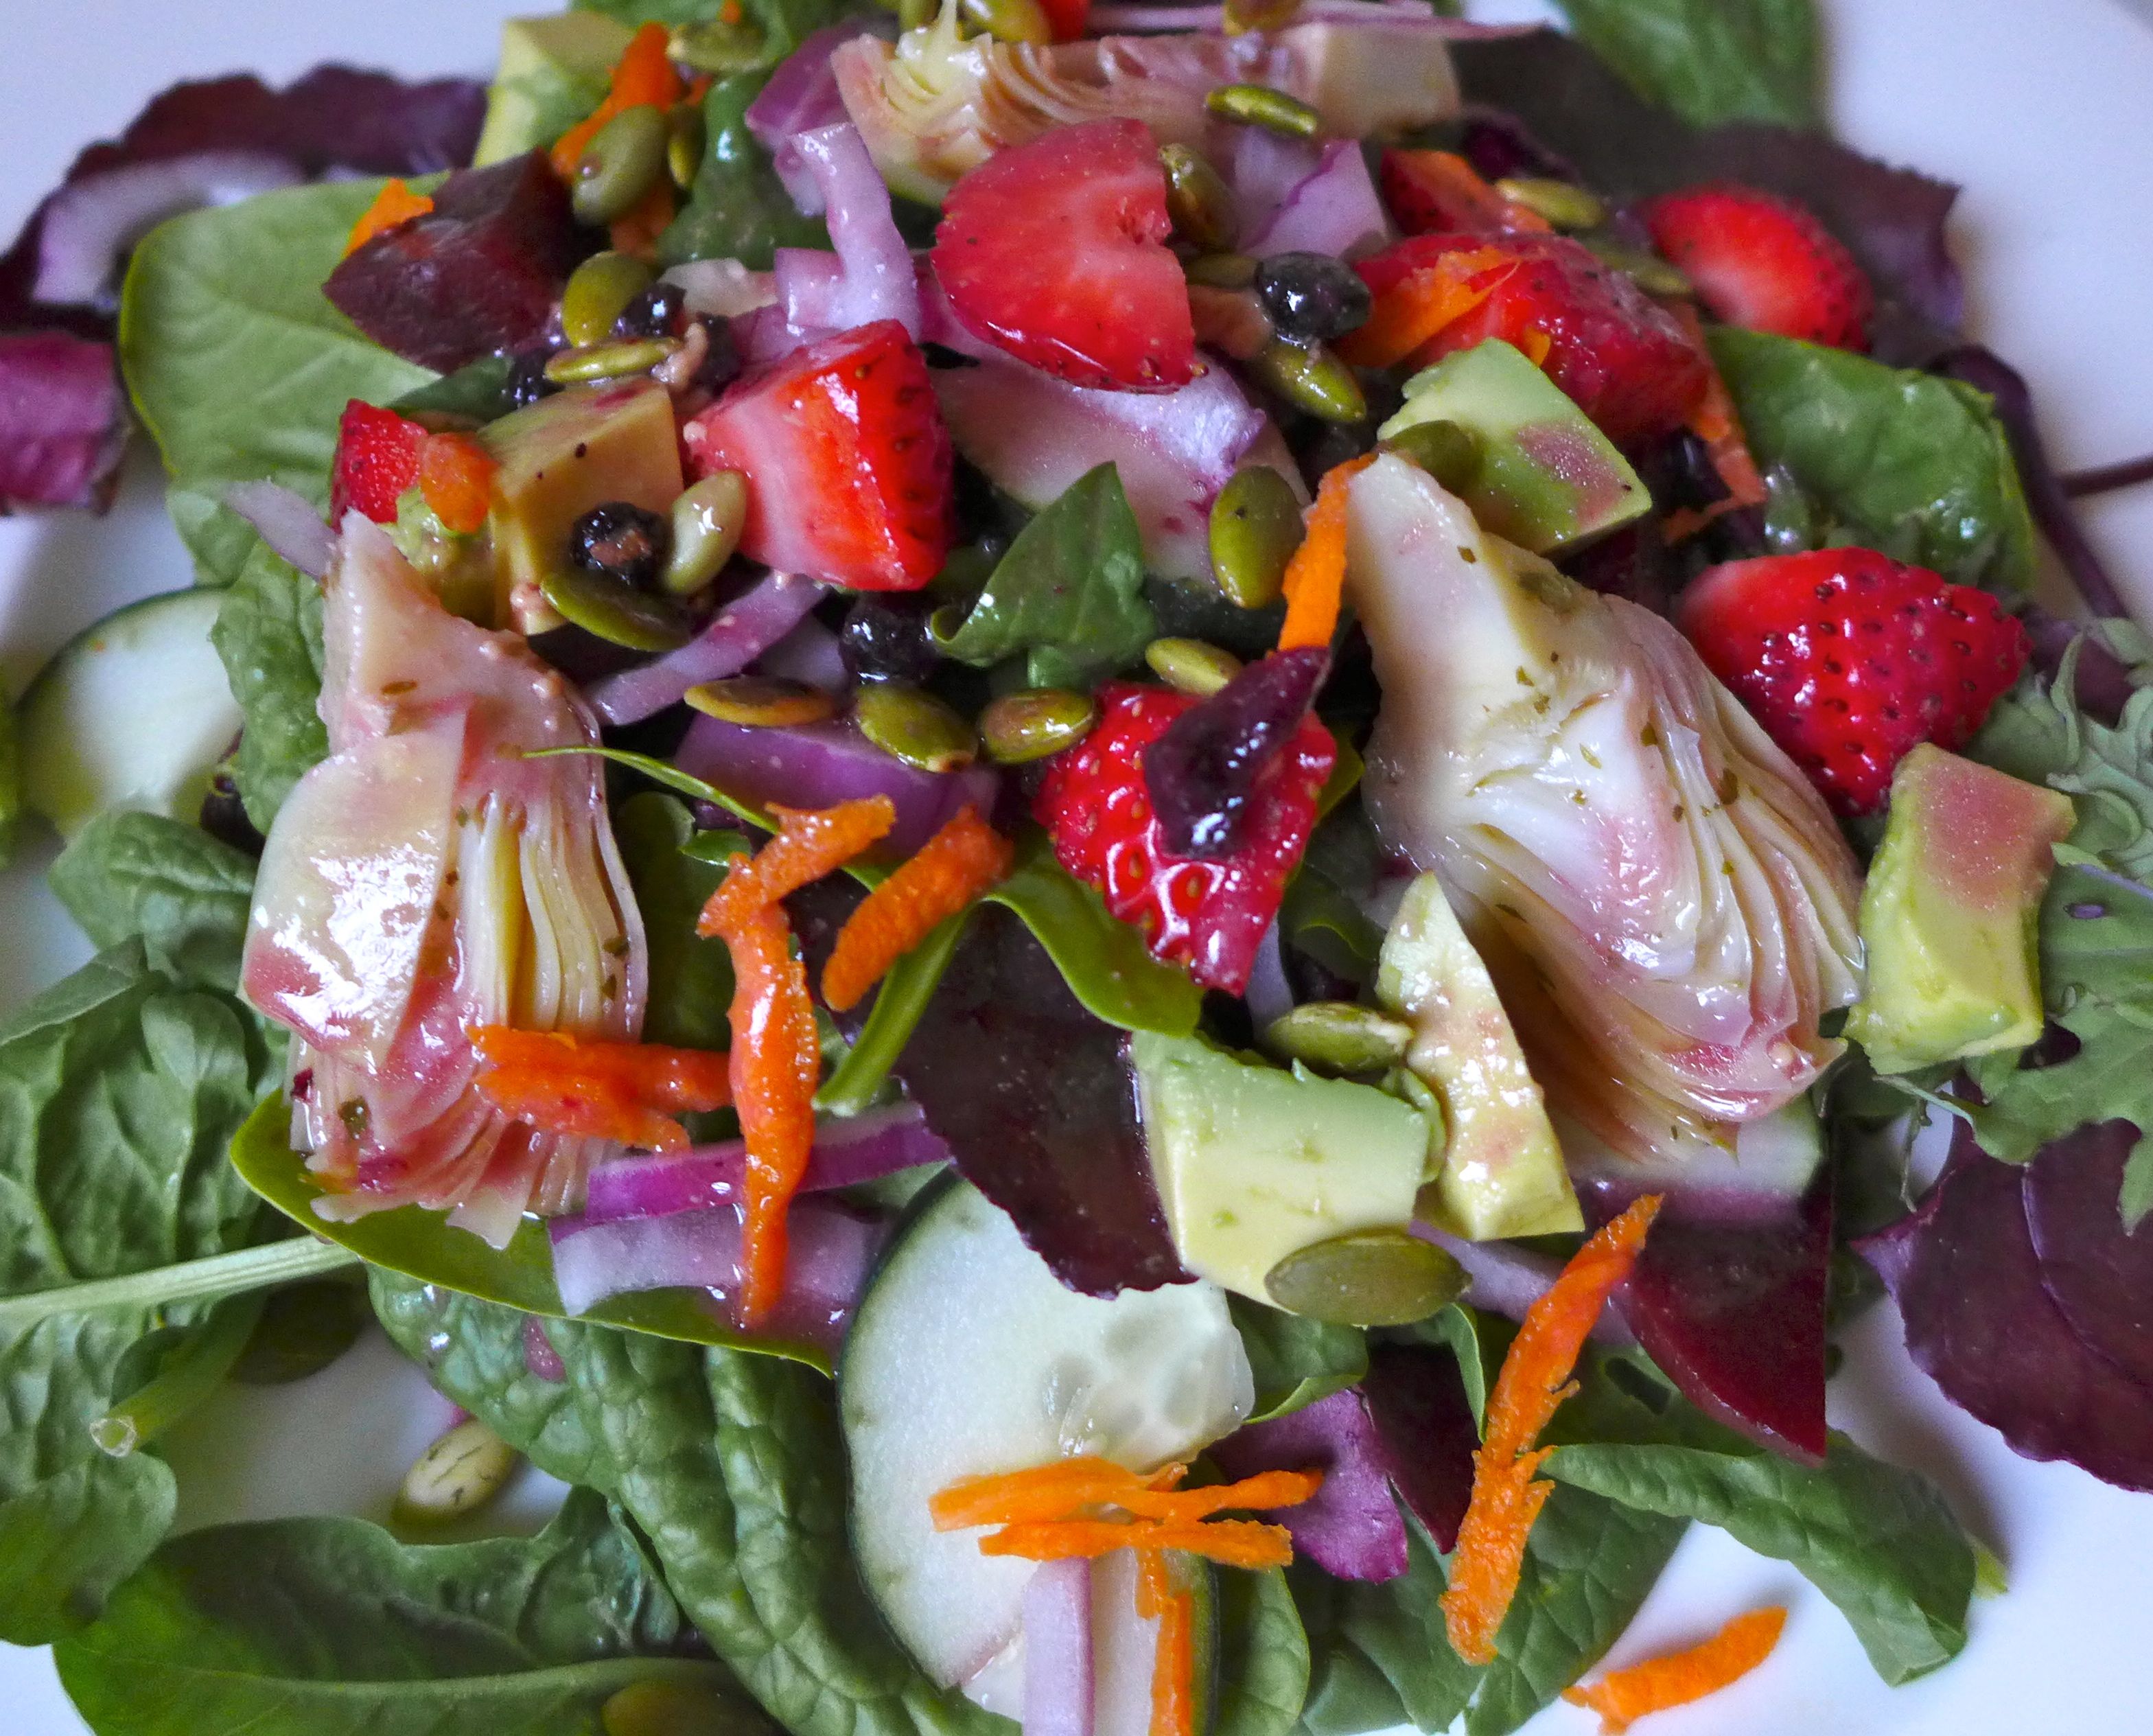
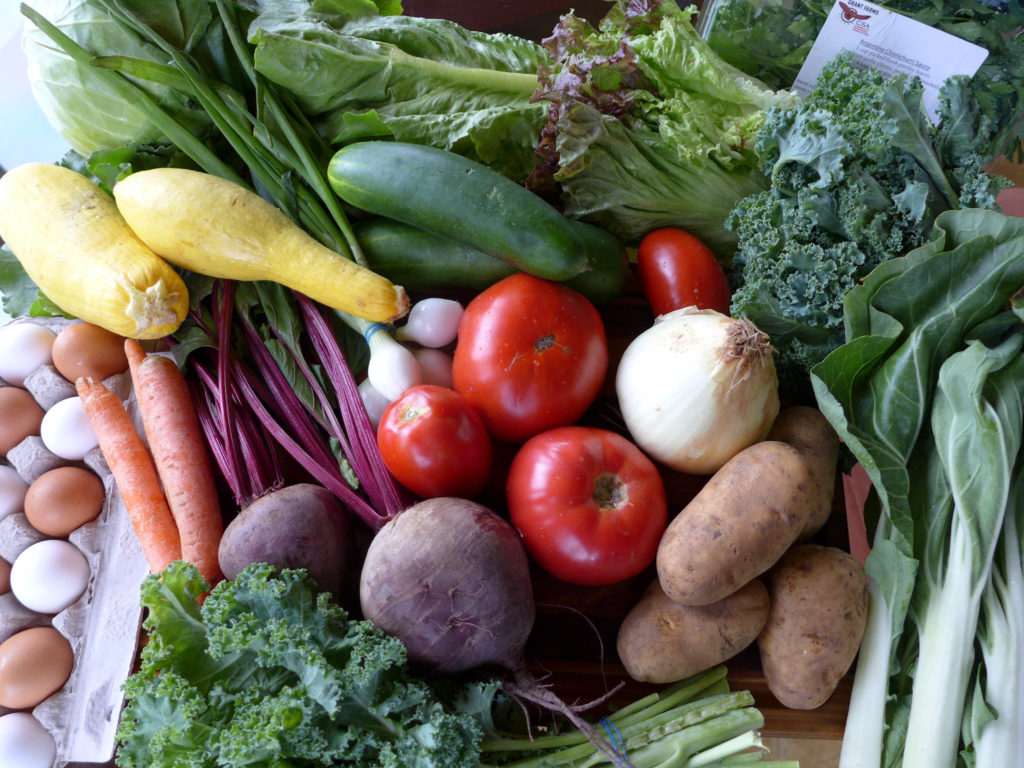
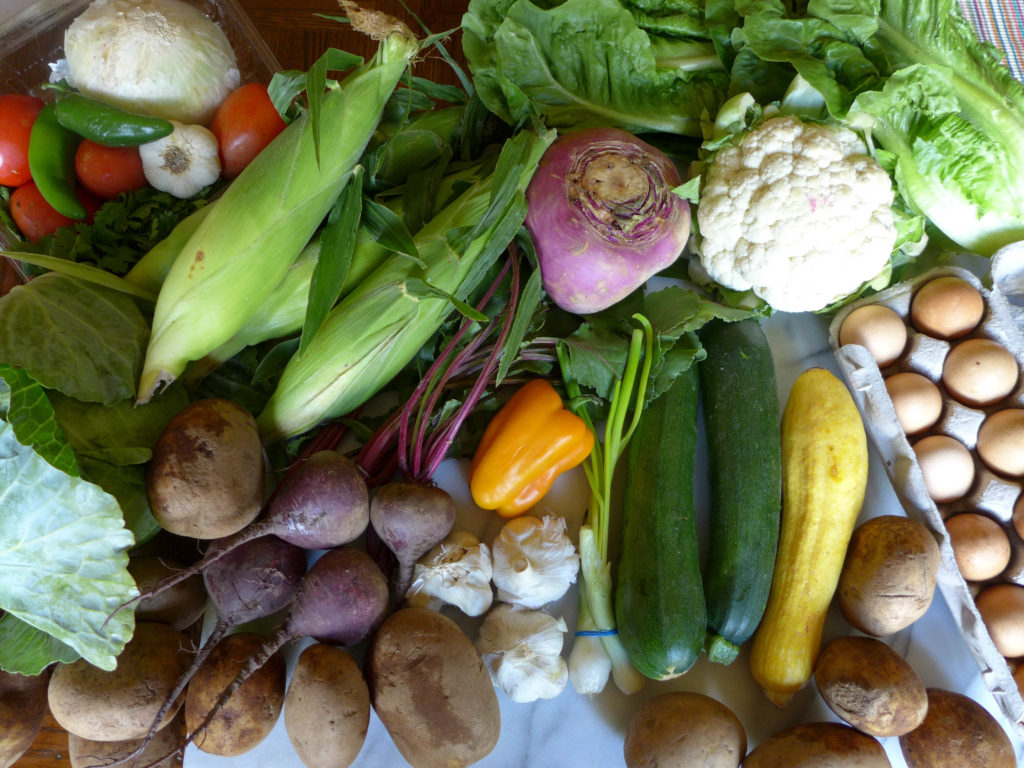
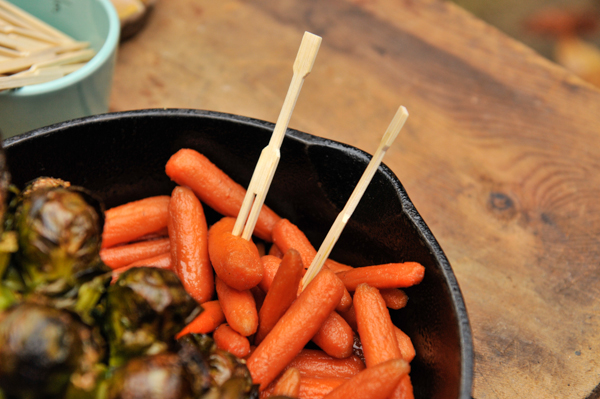
As we mentioned on Monday, about 75% of the food we eat required pollinators to grow and produce seeds. That seems like a lot, but when you look at this salad, it’s so easy to see how that’s possible. In making this salad, I used information from this USDA document to determine which foods required pollination. As you’ll see, I got a bit creative with this salad, but if you have a family of cautious eaters, you can look at Table 1 in that document and find ingredients that suit your household. For example, I didn’t even put tomatoes, which are such a common salad ingredient, in this dish, but they are on the list!

Continue reading

Summer Quiche

Eggs are our ingredient of the season, you can find our full archive of egg posts here.

This post was originally published in June of 2016. Follow our simple quiche formula, and it will make your mid-week dinners a piece of cake quiche. šŸ˜‰

quiche1

If you follow us on Instagram, then you may have noticed that I’ve been having fun with a #quicheoftheweek hashtag. I don’t make and post a quiche *every* week, but that’s the goal, and I find that my quiche-making really ramps up in the spring and summer time. So, since today’s the first day of summer, I thought it was the perfect time to share my basic quiche formula. Continue reading

Independence Day Eats & Treats

Happy Fourth Y’all! This post was originally published in 2015, but we think it’s still relevant šŸ˜‰ Now I gotta go blast a Bruce Springsteen album while I consume and entire watermelonĀ and light a bunch of sparklers.

JULY

As shown from top to bottom, left to right:

Watermelon Mint SaladĀ  Ā  Ā Mint Agua FrescaĀ  Ā  Ā Homemade Pizza Four Ways

Mint Simple Syrup MojitoĀ  Ā  Ā Cashew Fruit Dip

Watermelon GazpachoĀ  Ā  Ā Mint Ice CreamĀ  Ā  Ā Rosemary Infused Bloody Marys


Dutch Oven Chili

We’re half way through JULY! I think Kate will agree, this is our favorite time of year. We’re both July babies so this month has always been special for us. Growing up, we would have joint pool parties together even though there’s a nine year gap between us!Ā This year we haven’t managed to get together, but both of our Julys have been packed with outdoor adventure and ample family time.

live seasoned summer 15 dutch oven chili-1

Last week, I took a family of Brazilians out into the mountains for the first camping trip of their lives. We had a wonderful time hiking, learning new skills, and hanging out at camp. I plan on sharing more aspects of that adventure in future posts, but for now I wanted to share a Dutch Oven Chili recipe that is perfect for a camping crowd. The way I make chili is incredibly simple.. So simple that it’s almost one of those recipes that’s not really a recipe, WTF do I mean? You’ll see..

Even though this post is entitled Dutch Oven Chili, you can also make it on the stovetop by following this recipe. If you’re making it in a dutch oven, you’ll want to get a great layer of hot coals going. Another option, and perhaps a more reliable one, is to light a couple dozen charcoal briquettes. For the first half of the recipe have the dutch oven sitting directly on a bed of hot coals or charcoal briquettes. The lid should be kept off while you brown the meat and cook the fresh veggies that way you can monitor the heat, ensuring you don’t burn your dinner. Once you add all the canned items there will be a good amount of liquid in the pot so you shouldn’t have any trouble with burning or sticking. Place the lid on the dutch oven, cover it with coals or briquettes and wait twenty minutes or so (this really depends on the condition of your coals and briquettes) until the contents of the pot comes to a bubble.

Dutch Oven Chili

Ingredients

  • Onion
  • Bell Pepper
  • JalapeƱo (or a small can of JalapeƱos)
  • 3-5 cloves Garlic
  • 1 lb Ground Beef
  • 1 15oz can Kidney Beans
  • 1 28oz Diced Tomatoes
  • 1 jar of Salsa
  • Ann Schu's homemade Chili Sauce*
  • Chili Seasoning Packet

Instructions

  1. Start by cooking the ground beef over medium heat. Break up the beef into smaller pieces with a fork while it's still raw.
  2. Once the beef is cooking, begin chopping your onion, bell pepper, jalapeƱo and cloves of garlic.
  3. Add the vegetables to the meat as you chop.
  4. By the time the beef is completely cooked, the onions should be clear and the peppers a little soft.
  5. Drain off the grease if necessary - this is totally your call. When I make it in the kitchen, I drain the grease, when I make it in the Dutch oven I keep it because more liquid and flavor is better than less (usually it's a small amount anyway).
  6. Now it's time to work those arms - open all the cans: beans (drain off the liquid), tomatoes, jalapeƱo, salsa, and add them to the cooked beef and fresh veggies. Splash a bit of water in each can too, swirl it around, and add it to the chili mixture.
  7. Add your chili seasoning (or your own special spice mix) and mix well.
  8. If it's looking dry, you could add a splash of water or tomato paste and water to add a little liquid.
  9. Turn the heat down to a simmer, cover with a lid and allow the mixture to bubble before enjoying.
  10. If the mixture looks extra juicy, allow it to bubble a bit with the lid off, this should take care of some of the extra liquid.
  11. Serve over couscous or rice and top with shredded sharp cheddar cheese.
  12. *Ann Schu's homemade chili sauce is obviously optional and most times I don't have it, but when I do, I receive five times the compliments!
https://liveseasoned.com/dutch-oven-chili/

live seasoned summer 15 dutch oven chili-1-2


There you have it. Super simple. How do you make chili? Do you serve it over rice or couscous? Are we the only ones?!


Arugula Walnut Pesto

Nuts are our ingredient of the season. We’ve been using them for sweets, drinks, and snack bars. Today we’re finally using them for a savory condiment!

Sarah here: Comin’ at ya with a republished post today – I’m making this tonight and I’m papapumped about it. Pasta and pesto all day please. Carry on.

I didn’t even know I was looking for it, but I found my new favorite condiment in this arugula walnut pesto! I think I overdid the traditional basil and pine nut pesto, because the past few times I’ve had it, I just wasn’t excited by the flavor, but the peppery-ness of the arugula and parmesan combined with the savory walnuts and olive oil and the zing of fresh garlic allows this pesto to brighten any dish, creating the perfect cure for grey days when you’re faced with another late spring snow!

liveseasoned_spring2015_walnutpesto2

I have to admit, I didn’t go to the grocery store with arugula on my list and the intention of making this pesto, but when a super-sized container of arugula landed in our fridge, Ā I was looking for a way to use it up!

Continue reading

Pumpkin Galette

Pumpkin is ourĀ ingredient of the season. We have all sorts ofĀ sweetĀ andĀ savoryĀ dishes, as well as aĀ face maskĀ to wear while drinking yourĀ lattes.

liveseasoned_fall2015_pumpkingalett6

Have you made a galette? I have the feeling that they’re a trendy-food-of-the-moment, as I keep seeing them pop up on blogs and places like the cooking section of the NYTimes. And you know what I think? If it’s trendy, there might be a reason why… flaky pastry crust and savory fillings. That’s why.

Very simply, a galette is a rustic pie without a pan. The pastry dough is rolled out into a rough circle, the filling is piled in the middle, and then the sides of the dough are turn up and over the filling. It gets baked on a flat pan and that’s it. Simple as pie (I had to say it)! Galettes can be sweet or savory. With a filling of pumpkin, caramelized onions, apple, and ricotta cheese, this one is a little of both. The dough’s whole wheat flour is a perfectly nutty compliment to the savory-sweet fall filling. Enjoy!

Continue reading

Thanksgiving Inspired Tapas

We’re republishing this yummy Thanksgiving inspired Tapas post from last year because it was so darn yummy. Ā Steal a recipe or two (or all five) for your big dinner this year.

liveseasoned_fall14_thanksgivingtapas-7

Happy Thanksgiving! I know, I’m a couple days early, but I wanted to show you how I celebrated Thanksgiving with my bf Ā last week. Ā I’m currently visiting a friend in Florida so I wanted to celebrate with K before I left. Ā I decided to create a tapas inspired Thanksgiving because it is perfect for couples,Ā small families or those who are scared of cooking a turkey (me!).Ā With some prep the night before, this all came together in under an hour. Ā Can you believe it?! I think my favorite part was the aioli tossed potatoes and the fact that everything is bite sized. Ā Eating tapas helps me slow down, enjoy the meal and talk between tiny bites. Ā We had a bunch of leftovers too and who doesn’t love that?!

One thing I try to do before starting to prepare a huge meal is to write a schedule. Ā I jot down all the names of the recipes in the order that I should start them. Ā That gives me a general guide so I’m not standing over the stove wondering what to do next. Ā At the end of the post, I’ll share my schedule with you. Ā I think it’d be easier to understand after you read the recipes.

liveseasoned_fall14_thanksgivingtapas-5

Garlic Tossed Green Beans with Toasted Pine Nuts

  • Half of an onion
  • 2 garlic cloves
  • 1/3 cup pine nuts
  • 1 lb green beans, trimmed
  • salt and pepper to taste
  • 2 tablespoons olive oil
  • Fill a tea kettle with water and turn it on to boil.
  • In a large sautĆ© pan, pour 1 tablespoon of olive oil and turn the burner onto medium heat. Ā After a couple minutes, when the oil has heated up, add the pine nuts. Ā Toss the nuts every couple minutes. Ā When they start to pop or turn slightly brown, use a slotted spoon and place the nuts on a paper towel to drain. Turn the burner off for a moment. This should take no more than six minutes.
  • Place the trimmed green beans in a medium sized pot. Ā Pour the boiling tea kettle over the green beans and turn the burner on high heat. Ā Time the beans for seven minutes. Ā The green beans should be cooked, but still crisp. Once they’re done, drain them in a colander.
  • While the green beans are cooking, finely chop half an onion and two cloves of garlic. Add the onion to the sautĆ© pan that you toasted the nuts in. Sprinkle a little salt over the onions. Ā Cook the onions on medium low heat until they are soft and translucent, about five minutes. Ā Add the garlic and continue to sautĆ© for two more minutes.
  • By this time the green beans should be finished boiling. Ā Add them to the sautĆ© pan and drizzle the remaining tablespoon over the green beans. Sprinkle with salt and pepper. Ā Stir the beans around to coat them with onions and garlic and add the pine nuts. Ā Stir for another minute or two to incorporate all the flavors and serve.

liveseasoned_fall14_thanksgivingtapas-6

Brown Sugar and Maple Syrup Glazed Carrots

  • 1/2 lb of baby carrots or large chunks of full-sized carrots
  • 1/4 cup of maple syrup
  • 2 tablespoons of brown sugar
  • Preheat the oven to 375Ā°.
  • Whisk together the maple syrup and the brown sugar.
  • Put the carrots in a cast-iron pan or a vessel that is able to be baked.
  • Add the carrots to the pan and pour the glaze over them. Ā Don’t worry if the carrots aren’t completely covered or saturated. The glaze will bake into the carrots just fine.
  • Cover the pan with tin foil to create a steaming effect.
  • Time for thirty minutes. Check the carrots by piercing them with a fork.
*These measurements are based on baking carrots for 3 people – increase as necessary.

liveseasoned_fall14_thanksgivingtapas-3

Roasted Brussel Sprouts

  • Stalk of brussels sprouts
  • 2 tablespoons of olive oil
  • 1/4 teaspoon cayenne pepper
  • 1/4 teaspoon salt
  • 1/4 teaspoon pepper
  • Preheat the oven to 375Ā°
  • Optional step: Wrap the stalk of brussels in plastic wrap and microwave for three minutes.
  • Whisk together olive oil, cayenne, salt and pepper.
  • Place the brussels sprouts in a glass baking dish and drizzle with olive oil mixture.
  • Place in the oven and bake for 30 minutes.
*I like my brussels sprouts nice and brown, if you don’t, check the sprouts every ten minutes.

liveseasoned_fall14_thanksgivingtapas-1

Aioli Tossed Potatoes

  • 1 egg – room temperature
  • 2 garlic cloves, pressed
  • 2 tablespoons olive oil
  • 2 tablespoons of vegetable oil
  • 1 tablespoon fresh lemon juice
  • sprinkle of pepper
  • 1 teaspoon of salt
  • 1 lb of very small potatoes
  • 2 tablespoons finely chopped fresh parsley
  • Bring a medium-sized pot of salted (add the tsp of salt) water to boil. Add the potatoes and cook until just soft. Ā Test the potatoes by piercing them with a fork. Ā About ten minutes.
  • Whisk together the room temperature egg, pressed garlic cloves, olive oil, and fresh lemon juice. Ā Sprinkle some pepper into the aioli.
  • Slowly drizzle in the vegetable oil, little by little while whisking the aioli.
  • When the potatoes are cooked, drain them and put them in a large bowl.
  • Toss the warm potatoes with aioli and parsley.
  • Let sit for 10-15 minutes before serving so that aioli soaks into the potatoes.

liveseasoned_fall14_thanksgivingtapas-4

Warm and Spicy Grilled Pork Skewers

  • 1/4 teaspoon cayenne
  • 1/4 teaspoon cloves
  • 1/4 teaspoon nutmeg
  • 1/4 teaspoon cinnamon
  • 1/4 teaspoon allspice
  • 1/4 teaspoon pepper
  • Juice from one large lemon
  • 3 tablespoons olive oil
  • 3 garlic cloves, pressed
  • 3 tablespoons roughly chopped parsley
  • 1/2 – 1 lb pork
  • skewers
  • The marinade must be made the night before; please keep that in mind.
  • Whisk all the spices, garlic, lemon juice, parsley and olive oil in a bowl.
  • Cut up the pork pieces into quarter-sized chunks and place in a single layer in a shallow nonmetallic dish.
  • Pour the marinade evenly over the pork pieces, cover with plastic wrap and place in the fridge. Ideally, you should stir the pork two or three times over the course of 8-12 hours.
  • 8-12+ hours later, place the pork pieces onto skewers. Ā If you’re using wooden skewers, soak them in water for at least twenty minutes prior to grilling.
  • Place the pork skewers on the grill or broil them. Ā I used a George Foreman grill and it took approximately 6 minutes to grill each group of skewers.

liveseasoned_fall14_thanksgivingtapas-8

Also shown in the photos are cranberry goat cheese topped crackers and mini no bake pumpkin pies. Ā I picked up the goat cheese from Trader Joe’s; served at room temperature, it is the perfect appetizer. The mini pumpkin pie recipe will be shared tomorrow, so stay tuned šŸ™‚

After typing all those recipes, I realize that seems like a lot to do, but with a little preparation it comes together quickly. Ā The night before you can prep by washing the carrots, brussels, green beans and potatoes. Ā Chop a big pile of parsley and make the marinade and the aioli as well. Ā I also did a mental walkthrough of all the recipes and pulled out garnishes, gadgets, pots, pans and serving dishes for everything. Ā It’s a small step, but it really helps on the morning of. Ā That way everything is sitting out on the counter ready to be grabbed at a moments notice.

The day of, start by making the brussels sprouts and carrots. Ā Then bring several pots of water to boil for your beans and potatoes. Ā After your green beans are completely finished and the potatoes are tossed with aioli, quickly grill up the pork skewers. Ā By that time the oven veggies should be finished up and you are ready to serve dinner!