Nuts are our ingredient of the season. We’ve been using them for sweets, drinks, snack bars and savory condiments! Today we’re finally getting crafty (sort of)!
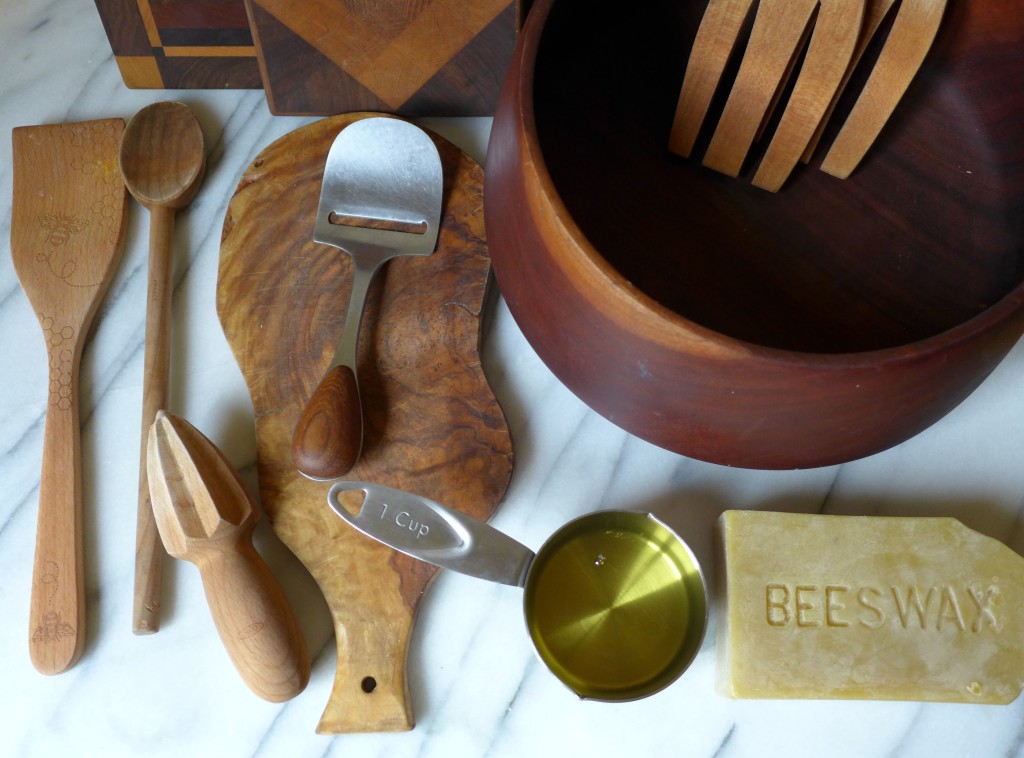
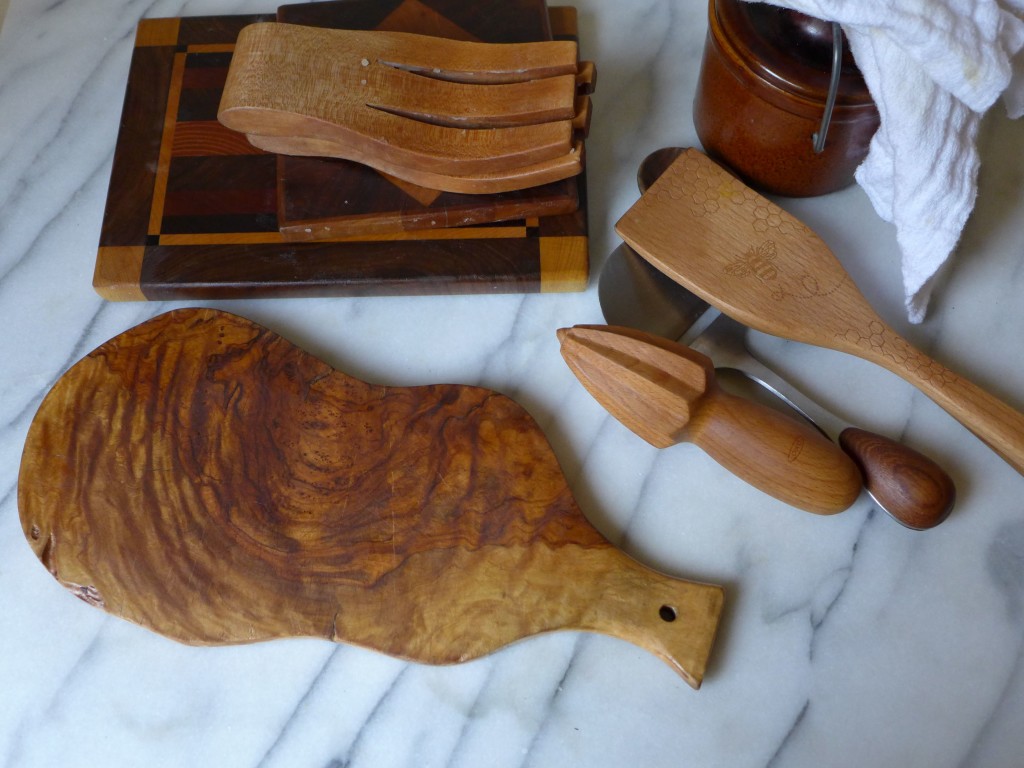
All of us have at least a few wooden items in our kitchen, likely a couple of spoons and a cutting board. Maybe you also have a wooden salad bowl? How about some fancy wood-handled serving pieces? All of these items could use some moisture to keep them looking and functioning at their best. If your spoons are looking dull and your cutting board is starting to crack, then this post is for you!
At a bare minimum, you could rub some olive oil into your wood pieces. I used to do this, but I found that that technique never lasted that long, especially for the cooking spoons and cutting boards that I’m using every day. Then, about four years ago I came across 3191’s post about spoon oil. What is spoon oil? It’s really more of a balm and is made by mixing melted beeswax with a food-safe oil. Once the mixture cools, it turns from a liquid state into the balm.
I used the mineral oil-based spoon oil for years now, and it worked well, but I still felt like my wooden pieces needed it sooner than I would have expected. Well, after a bit of research, I learned why! When applied, the mineral oil keeps the spoon oil in a soft state, which is good and bad. This is great for wooden countertops and butcher blocks that you wipe down, but don’t wash with soap and water every day. The liquid state of the mineral oil allows the compound to soak deeper into the wood, especially with each new application. But, the soft nature of the mineral oil means that it’s easier to wash off and doesn’t hold up as well on the items that you wash nearly every day.
What’s the solution? Walnut oil!
After walnut oil soaks into the wood, due to a reaction with the air, it hardens, making it more resistant to repeated washings. You could use walnut oil on its own (many people do!), but I like using it in the balm as the beeswax adds another layer of protection to the wood. The curing of the walnut oil also stops it from turning rancid, which can be an issue with other kitchen oils.
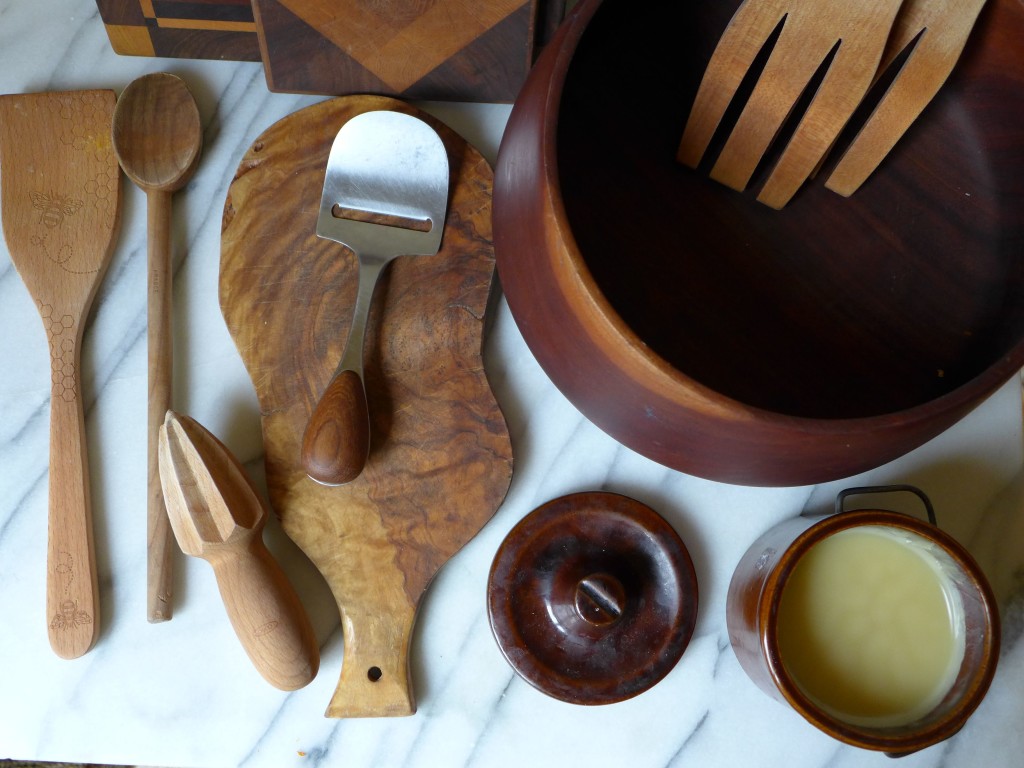
Making the wood balm is super easy: just follow a 1:4 ratio of beeswax to oil. For example, to make this batch I used 2 ounces of beeswax and 8 ounces of walnut oil. Make an improvised double boiler by placing a mason jar or a glass measuring cup in a pot of simmering water. Place the beeswax and oil in the glass vessel and allow them to warm until the wax melts. Once it the wax has melted, be sure to give the mixture a good stir and take it off the heat. If you used a glass measuring cup for the double boiler, you’ll want to pour the wood balm into a storage container while it’s still a liquid (if you used a mason jar, you can just allow the balm to cool within that jar for easy storage). I use a thrifted crock for my balm, adding a new batch without bothering to completely clean out remnants from the previous batch.
**It’s essential to warm both the beeswax and the oil. If you don’t warm the oil, when you mix both together the room temp oil will cause the beeswax to immediately solidify, and they won’t blend together. Of course, if this happens to you, it’s not a problem – just place the whole mixture back in the double boiler and let the wax melt again.
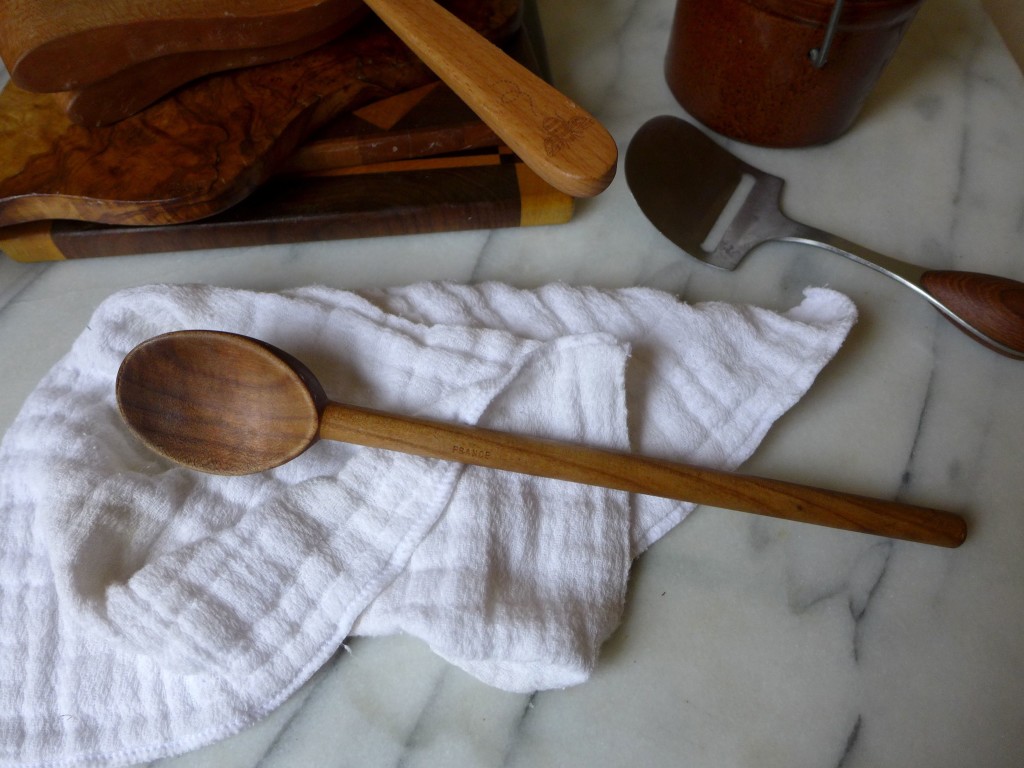
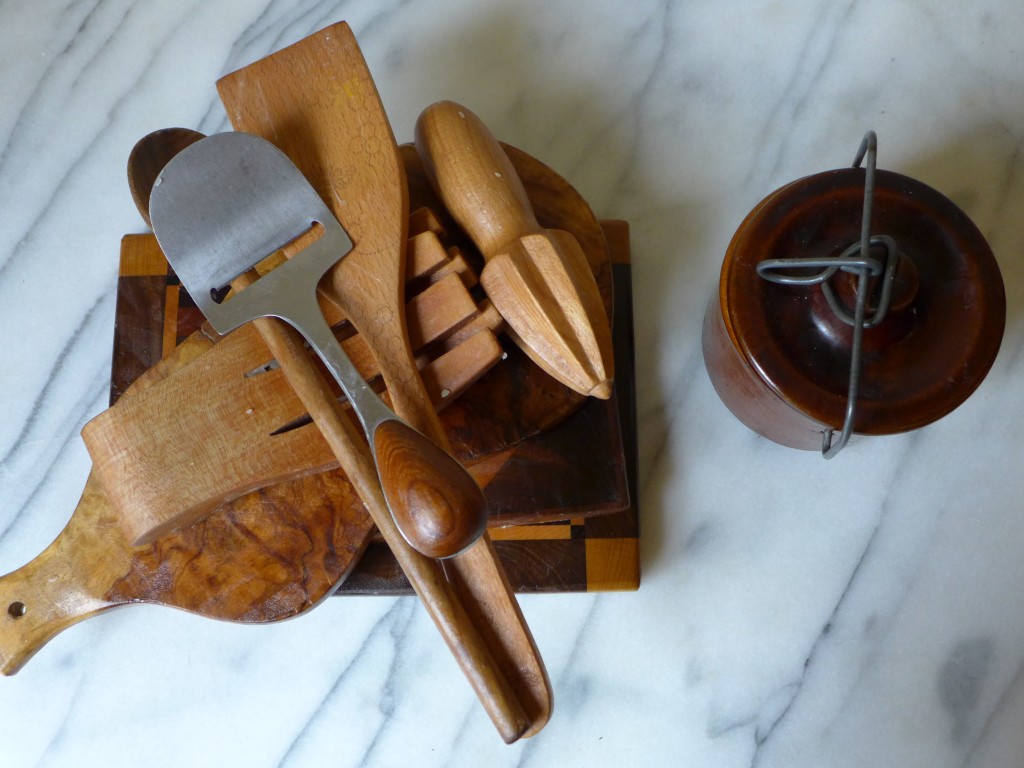
Once made, using the balm is so easy. Just rub a thin layer over your wooden pieces and let them sit overnight, allowing some of the excess balm soak into the wood. I’m so lazy that I pile up my “sticky” pieces and let them sit until I have the time to polish them.
When it’s time to polish, I use a basic cloth diaper to wipe of the excess balm and give the pieces a shine. Side note : I’ve never used the cloth diapers for actual diapering, but find them to be so helpful around the house, particularly for cleaning. I keep my polishing cloth with the crock of balm, reusing it multiple times. The cloth covered with excess balm serves double duty as a polishing cloth for other wooden items in our house (for example, we have a few wooden buddha statues that get a quick wood balm rub once in a while). And that’s that, a super simple, completely safe balm that nourishes your wooden kitchen utensils, the same ones that you use to nourish your family! xo



Is the Walnut oil measured by weight of by volume. I see both for this mixture in other places. Thanks
Hello Katie,
What’s the shelf life for this mixed wood cutting board conditioner of walnut oil & beeswax? (I understand walnut oil turns rancid eventually). If stored in the frig, does that allow for longer shelf life?
Thanks very much!
Good question! Unfortunately I don’t know the answer, but that’s just because I’ve been lucky and have always used mine up before it turned. All food oils will eventually turn rancid due to exposure to air, light, and heat, and walnut oil has a shorter shelf-life than most oils. I bet storing it in a dark, well-sealed container will help, and I have no clue what adding beeswax would do, but my thought is that it would also help to slow the breakdown for the oil’s fat molecules.
Walnut oil, in fact, does not go rancid. That is why it is an ideal oil for this purpose.
Thank you for this clarification, I really appreciate it. I’ve had some walnut oils that I used sparingly for recipes, and they eventually got what I considered a “rancid” or off smell, which made me assume that they had a limited shelf life for quality purposes.
You said “due to a reaction with the air, it hardens”. This process of drying is called polymerization. Most vegetable and nut oils do not polymerize, but, as you noted, walnut oil does.
I have the bees wax & walnut oil and looking forward to trying this recipe for kitchen wood utensils and cutting boards. Thanks for posting!
where do you purchase walnut oil from?
We pick it up in the grocery store.
Saw your post and wanted to give my two cents. I am told that Walnut oil at the grocery store used for food is not heat treated. Walnut oil needs to be heated to a certain temperature, which I do not know what temp., but I do know that if heat treated it will harden and also it will break down the chemical that may cause an allergic reaction. Please look this up for further for clarification. Thank you and I hope this helps.
Thank you for this information! I can’t speak to allergic reactions, but from what I understand, the heating process helps to speed up the oxidation process, which is what hardens the oil. If you don’t heat it, the oil will still harden, which can help to protect the wood, but it does it at a slower pace. I’m curious about the allergenic effects, and maybe someone can chime in to give us more information about that.