
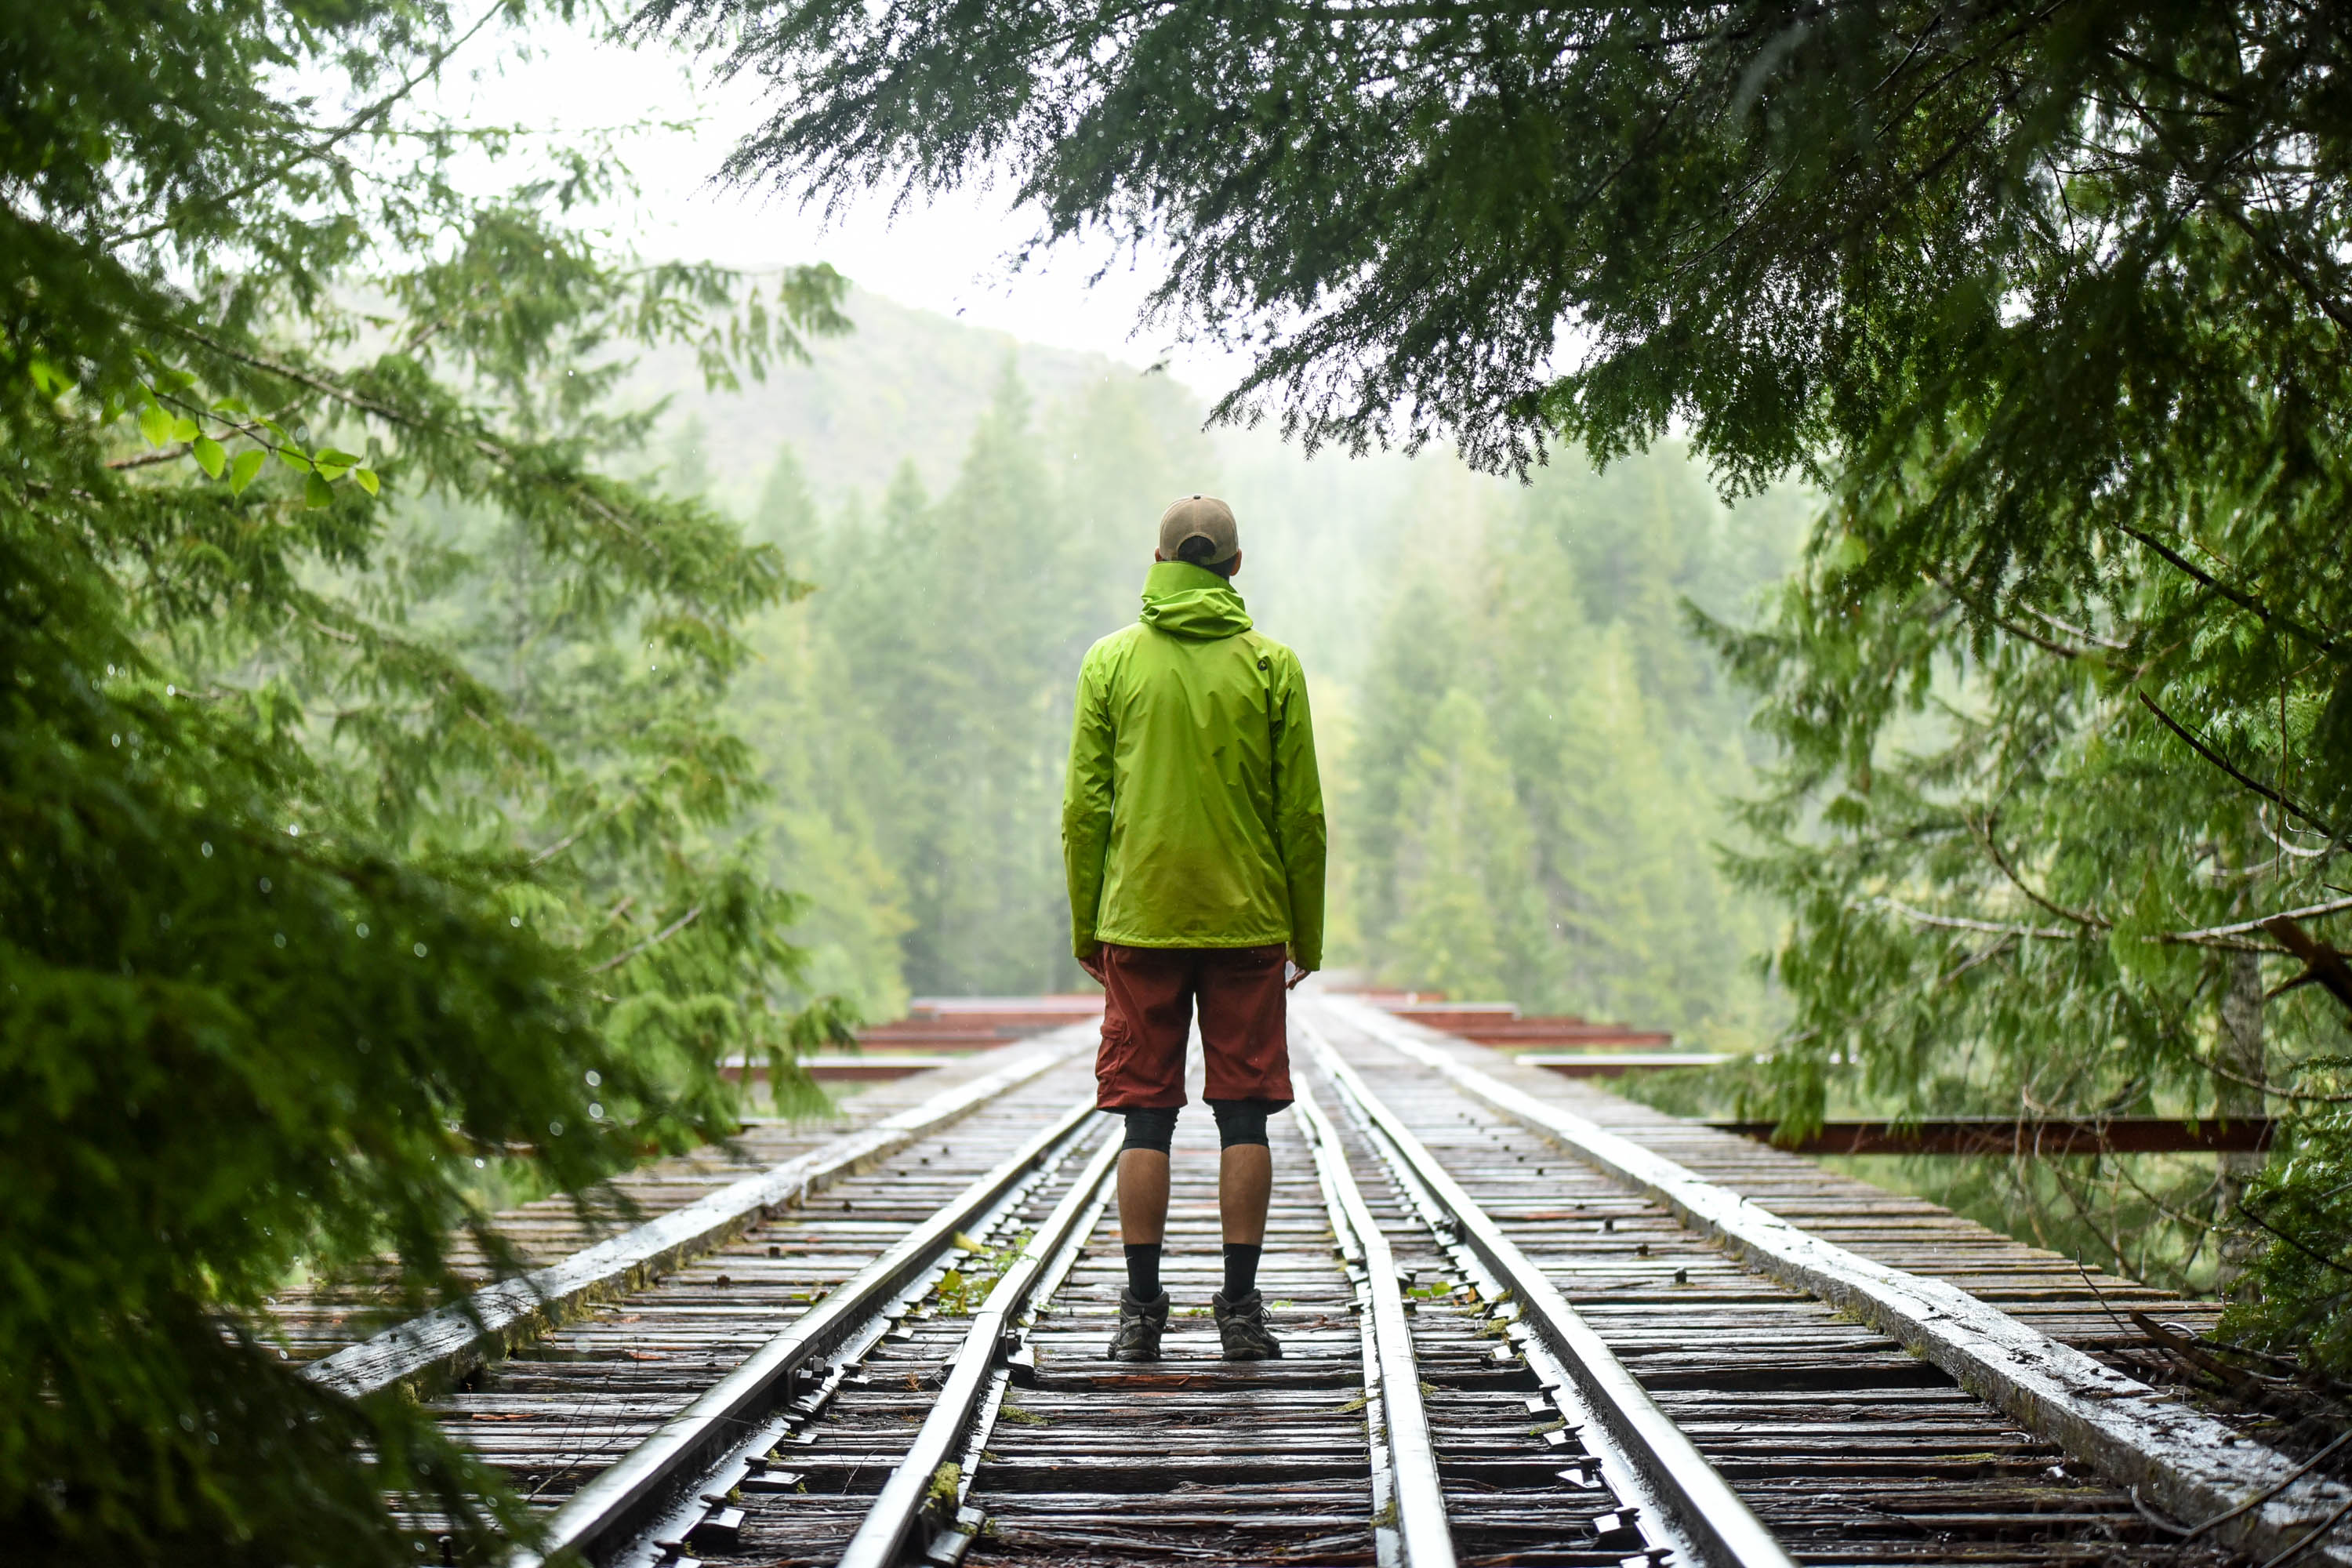
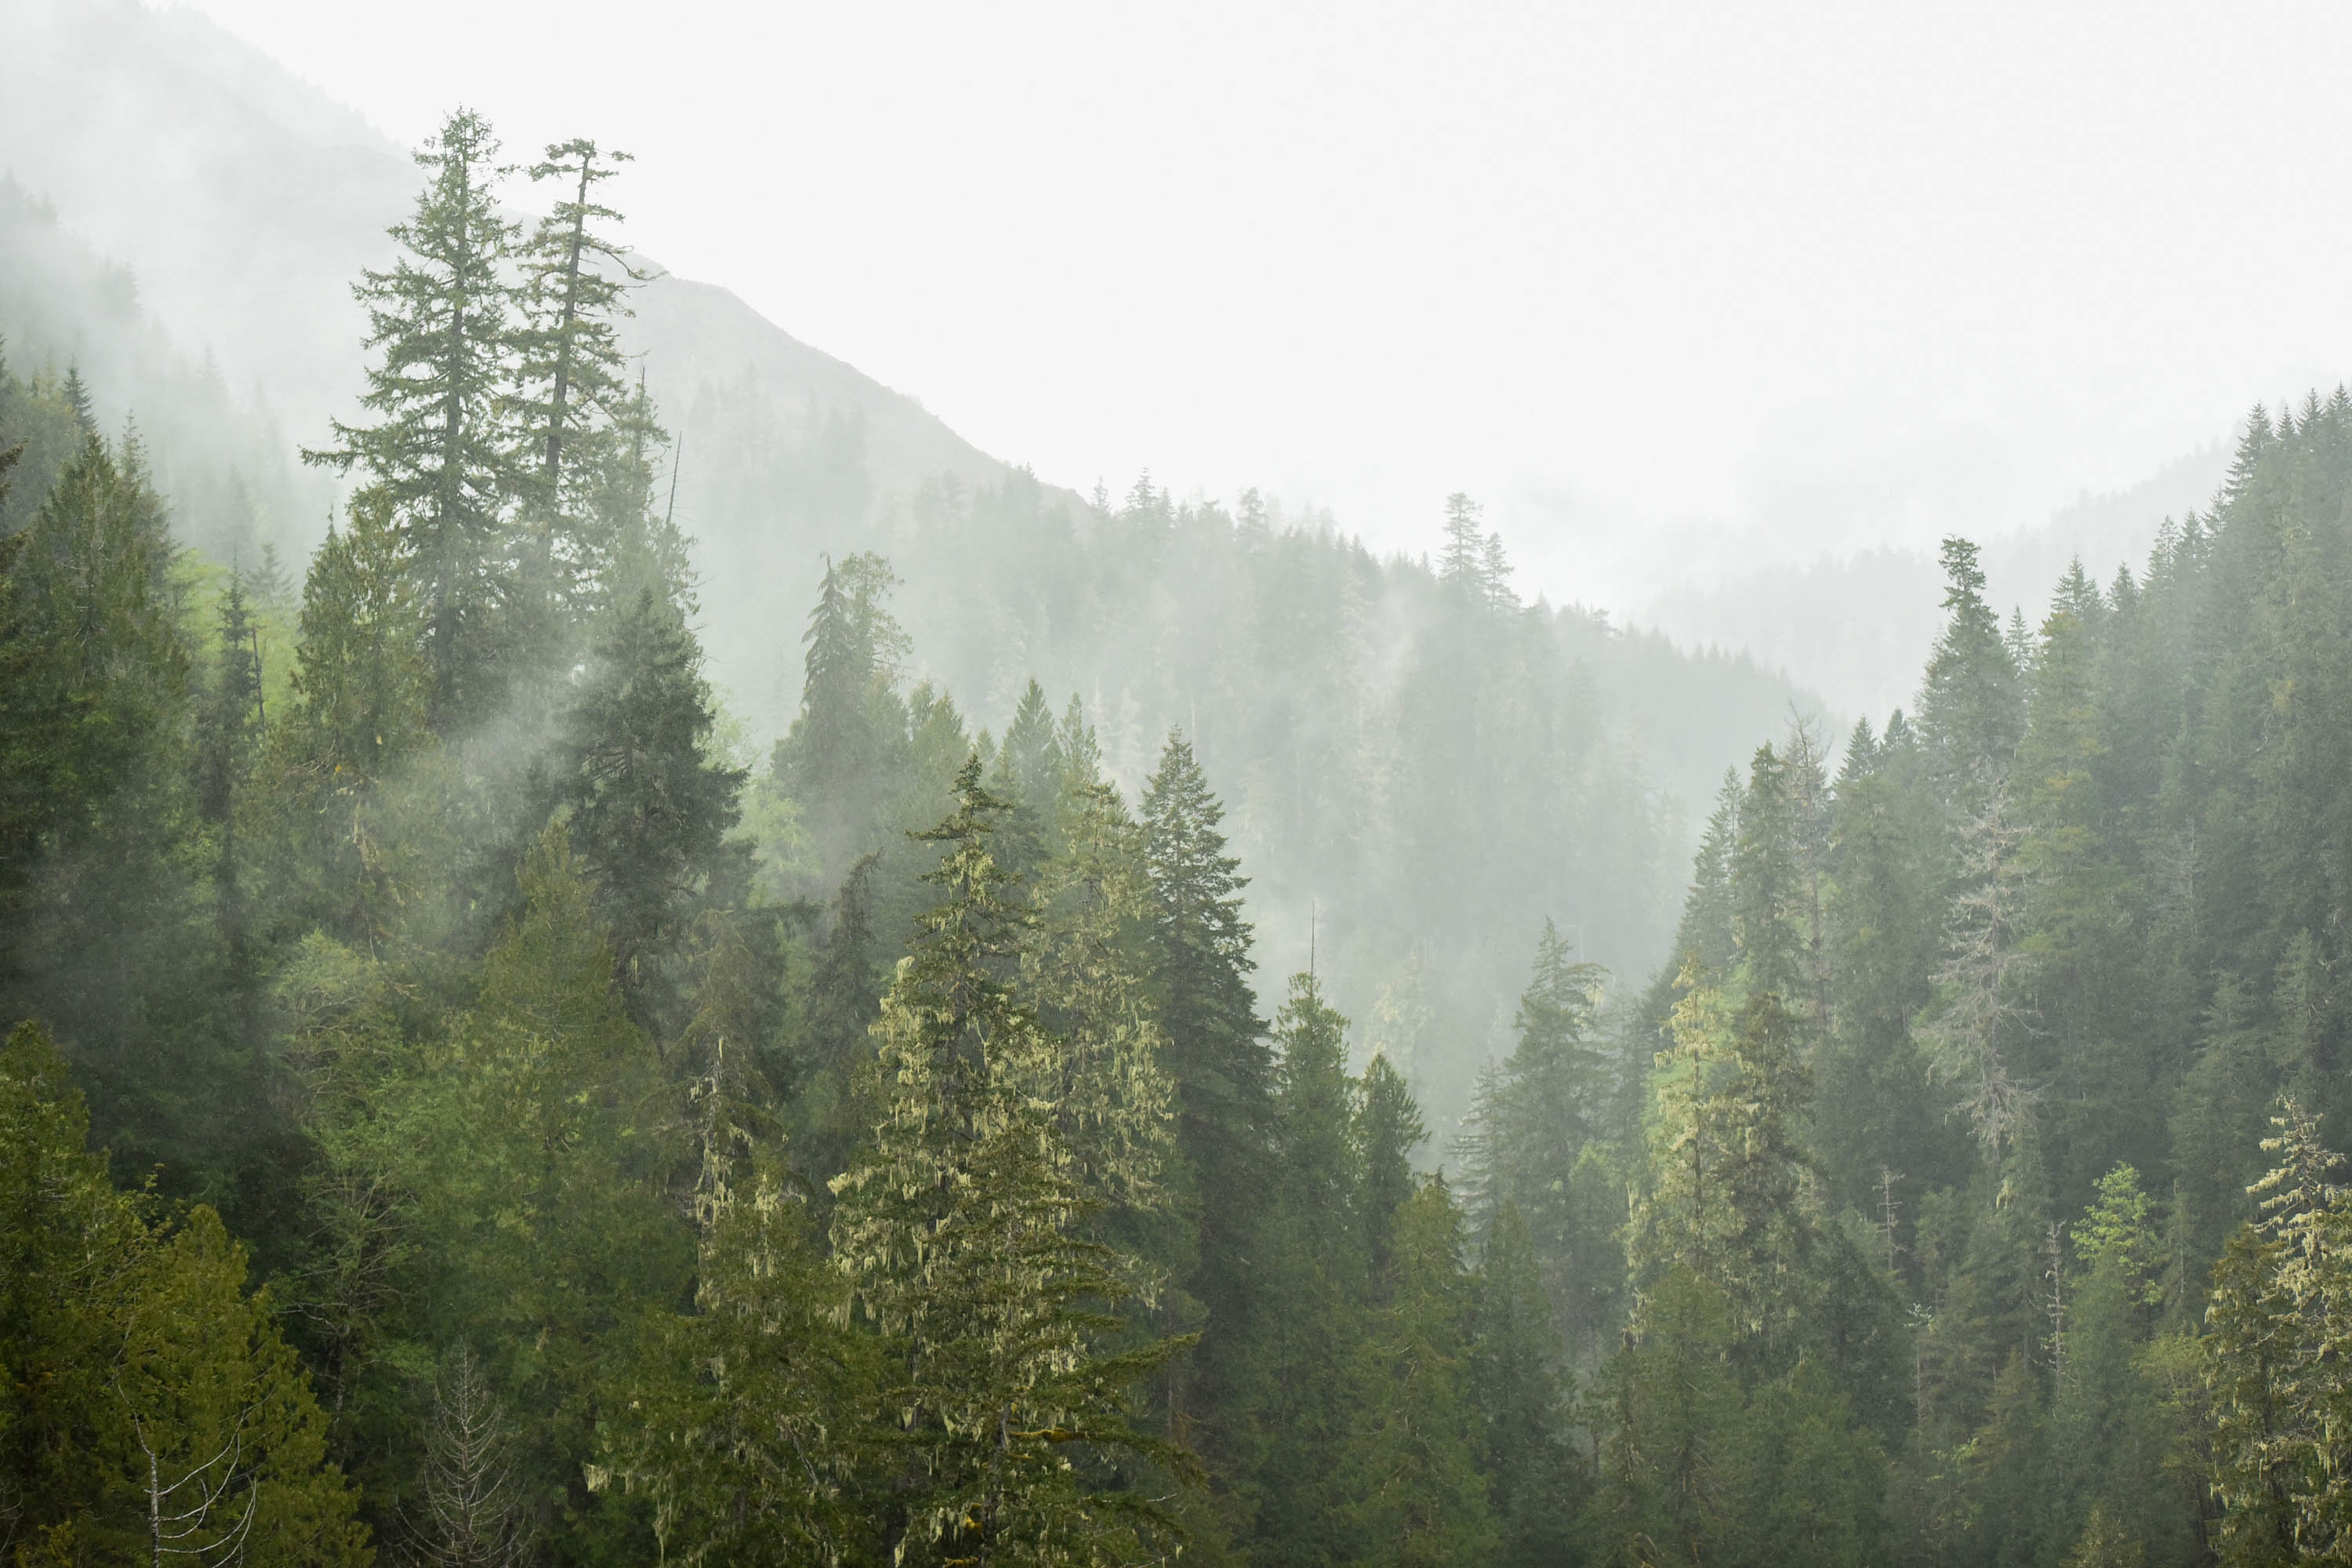
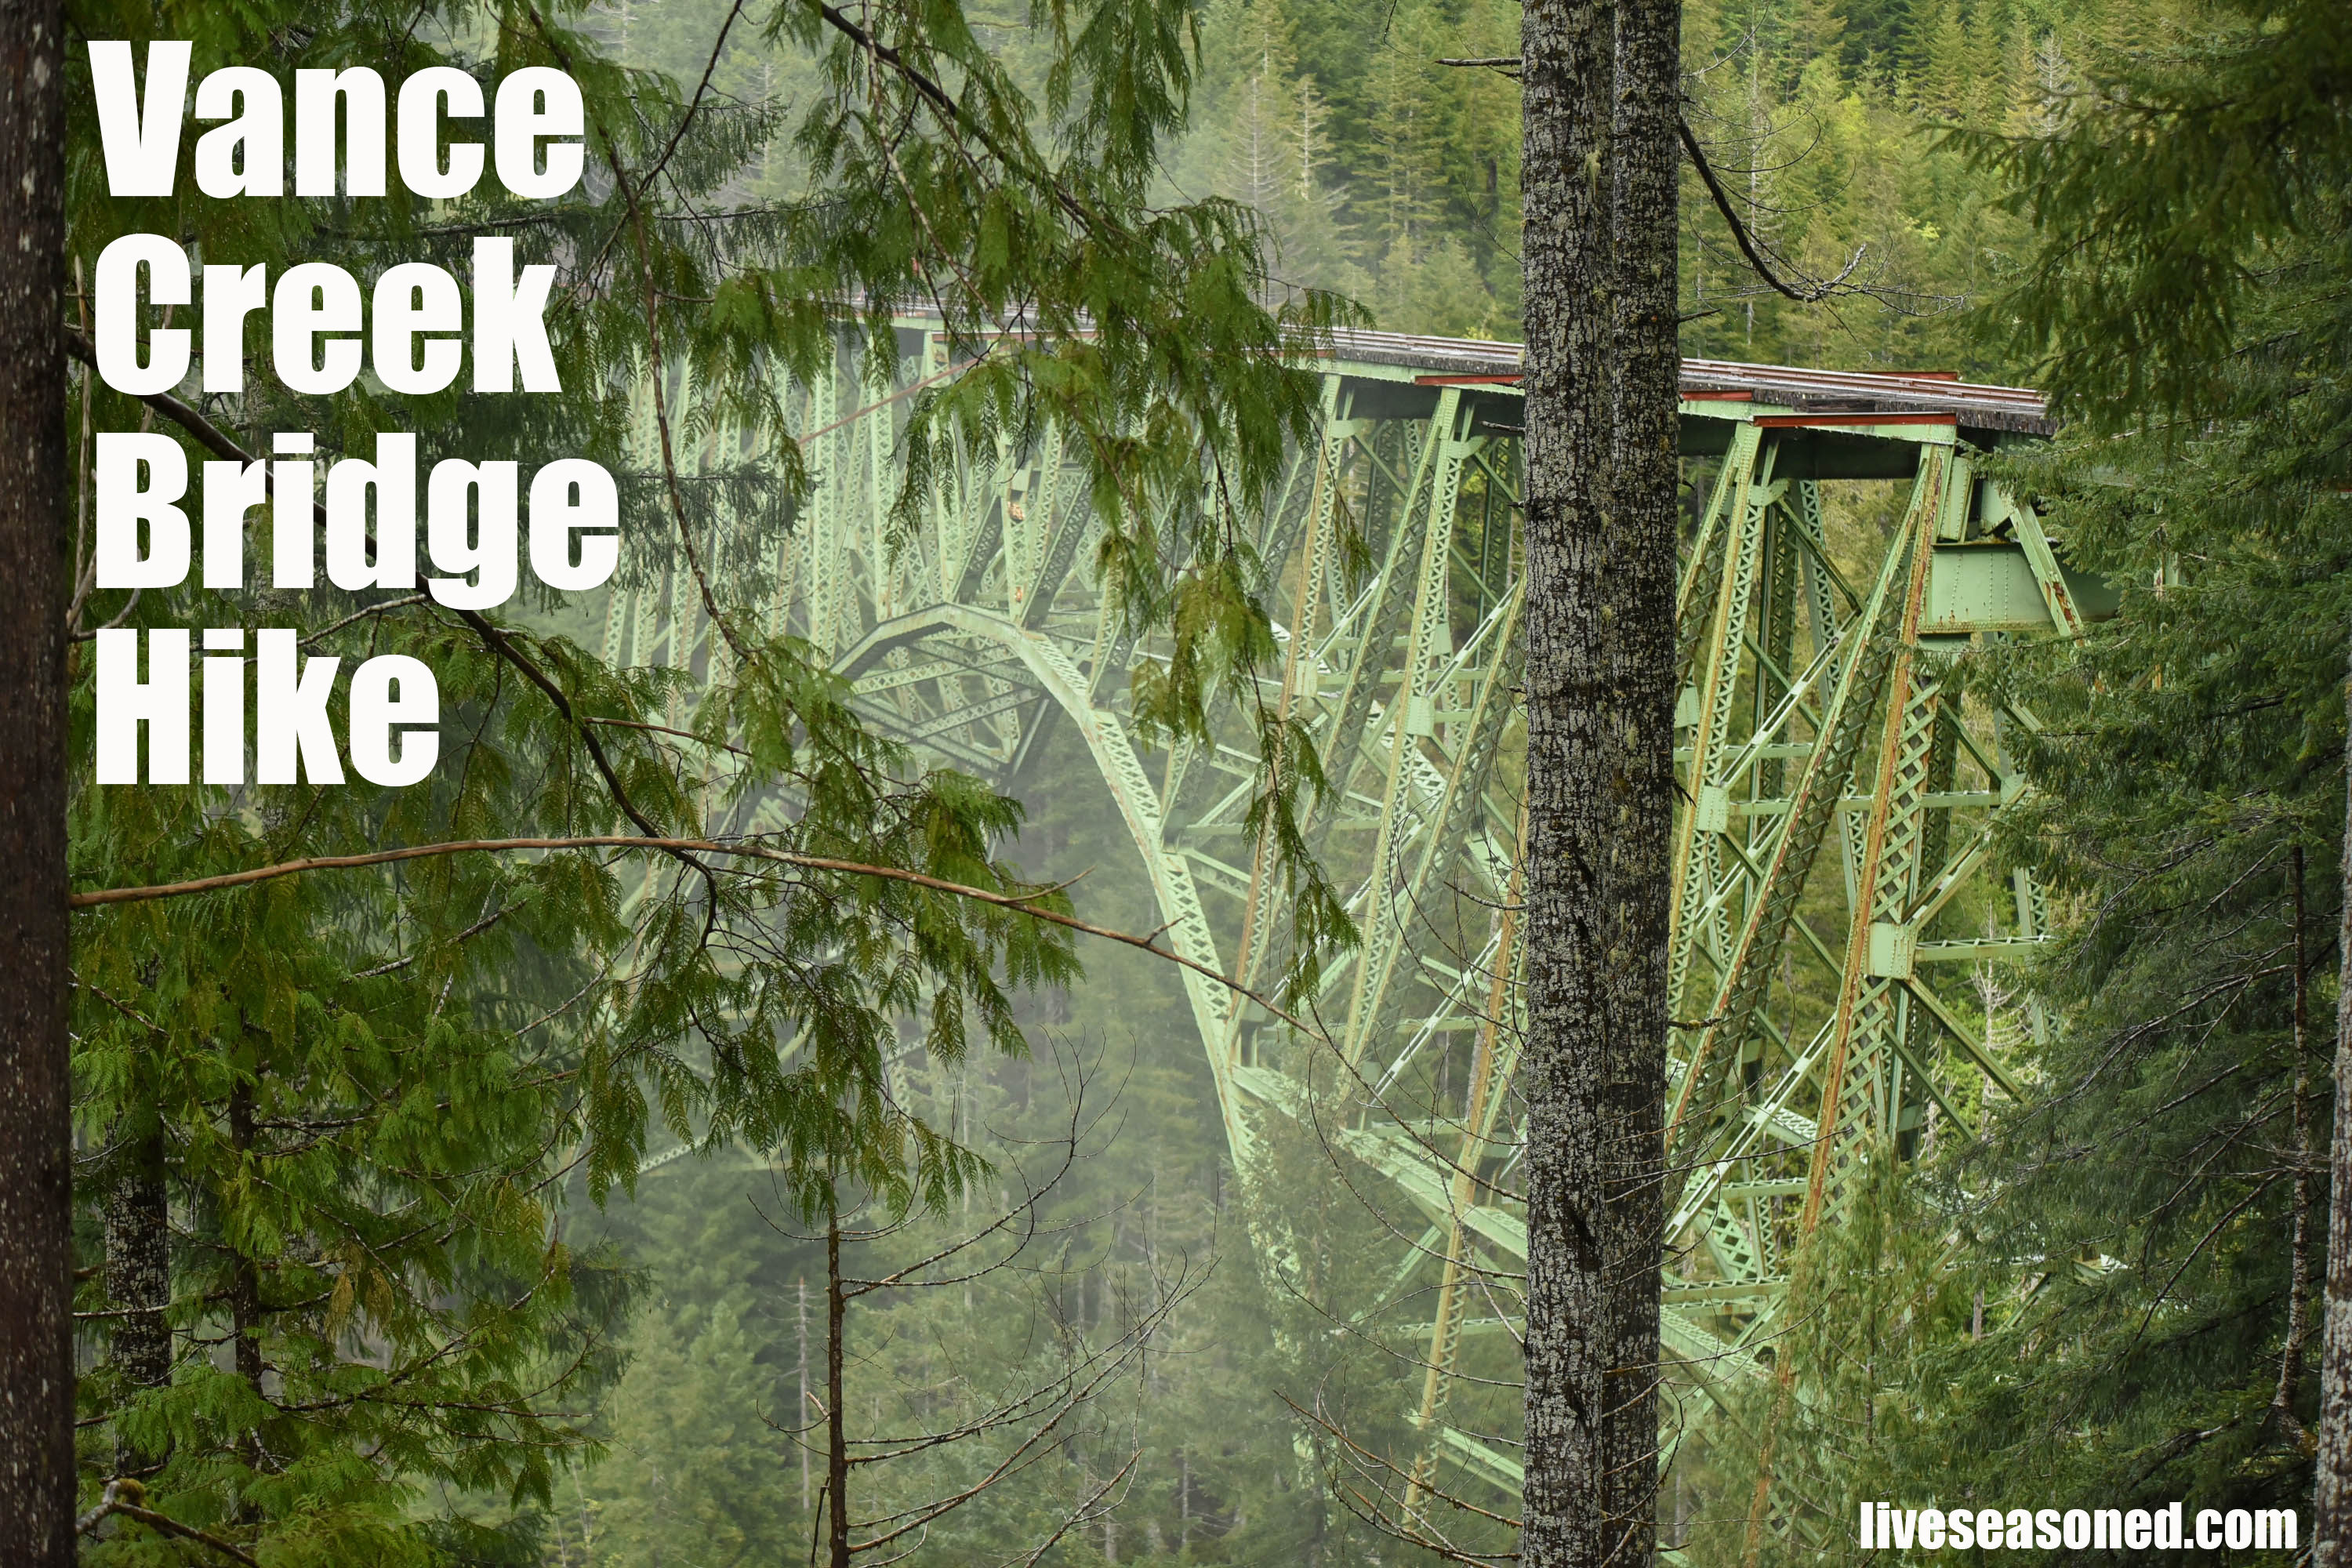
This past weekend, we set out on an adventure to the Olympic Peninsula. At the start of our drive, we had no particular destination in mind, we just knew we needed to get out of the house and into the woods. After reaching the peninsula, both Robbie and I arrived at the same conclusion: we should go see that bridge. That bridge is the Vance Creek Bridge, the second-highest railway arch bridge in the United States.
The Vance Creek Bridge was built for a logging railroad owned by the Simpson Logging Company in 1929. It’s 347 feet high and second only to the nearby High Steel Bridge, which is right down the road and worth a quick drive after you finish your hike. The Vance Creek Bridge was decommissioned in the 1970s during the decline of logging on the Olympic Peninsula.
Coming from Seattle, we headed south to Olympia and then northwest on 101. If you set your navigation app to Vance Creek Viaduct Trailhead, you’ll eventually veer right off Skokomish Valley Road and onto a dirt road for about 3.5 miles. This road is well maintained and easy for any car to traverse. Take a screenshot of the navigation for the last 3.5 miles just in case you lose service for a few minutes. This is always a good practice when venturing into the forest and on unpaved roads.
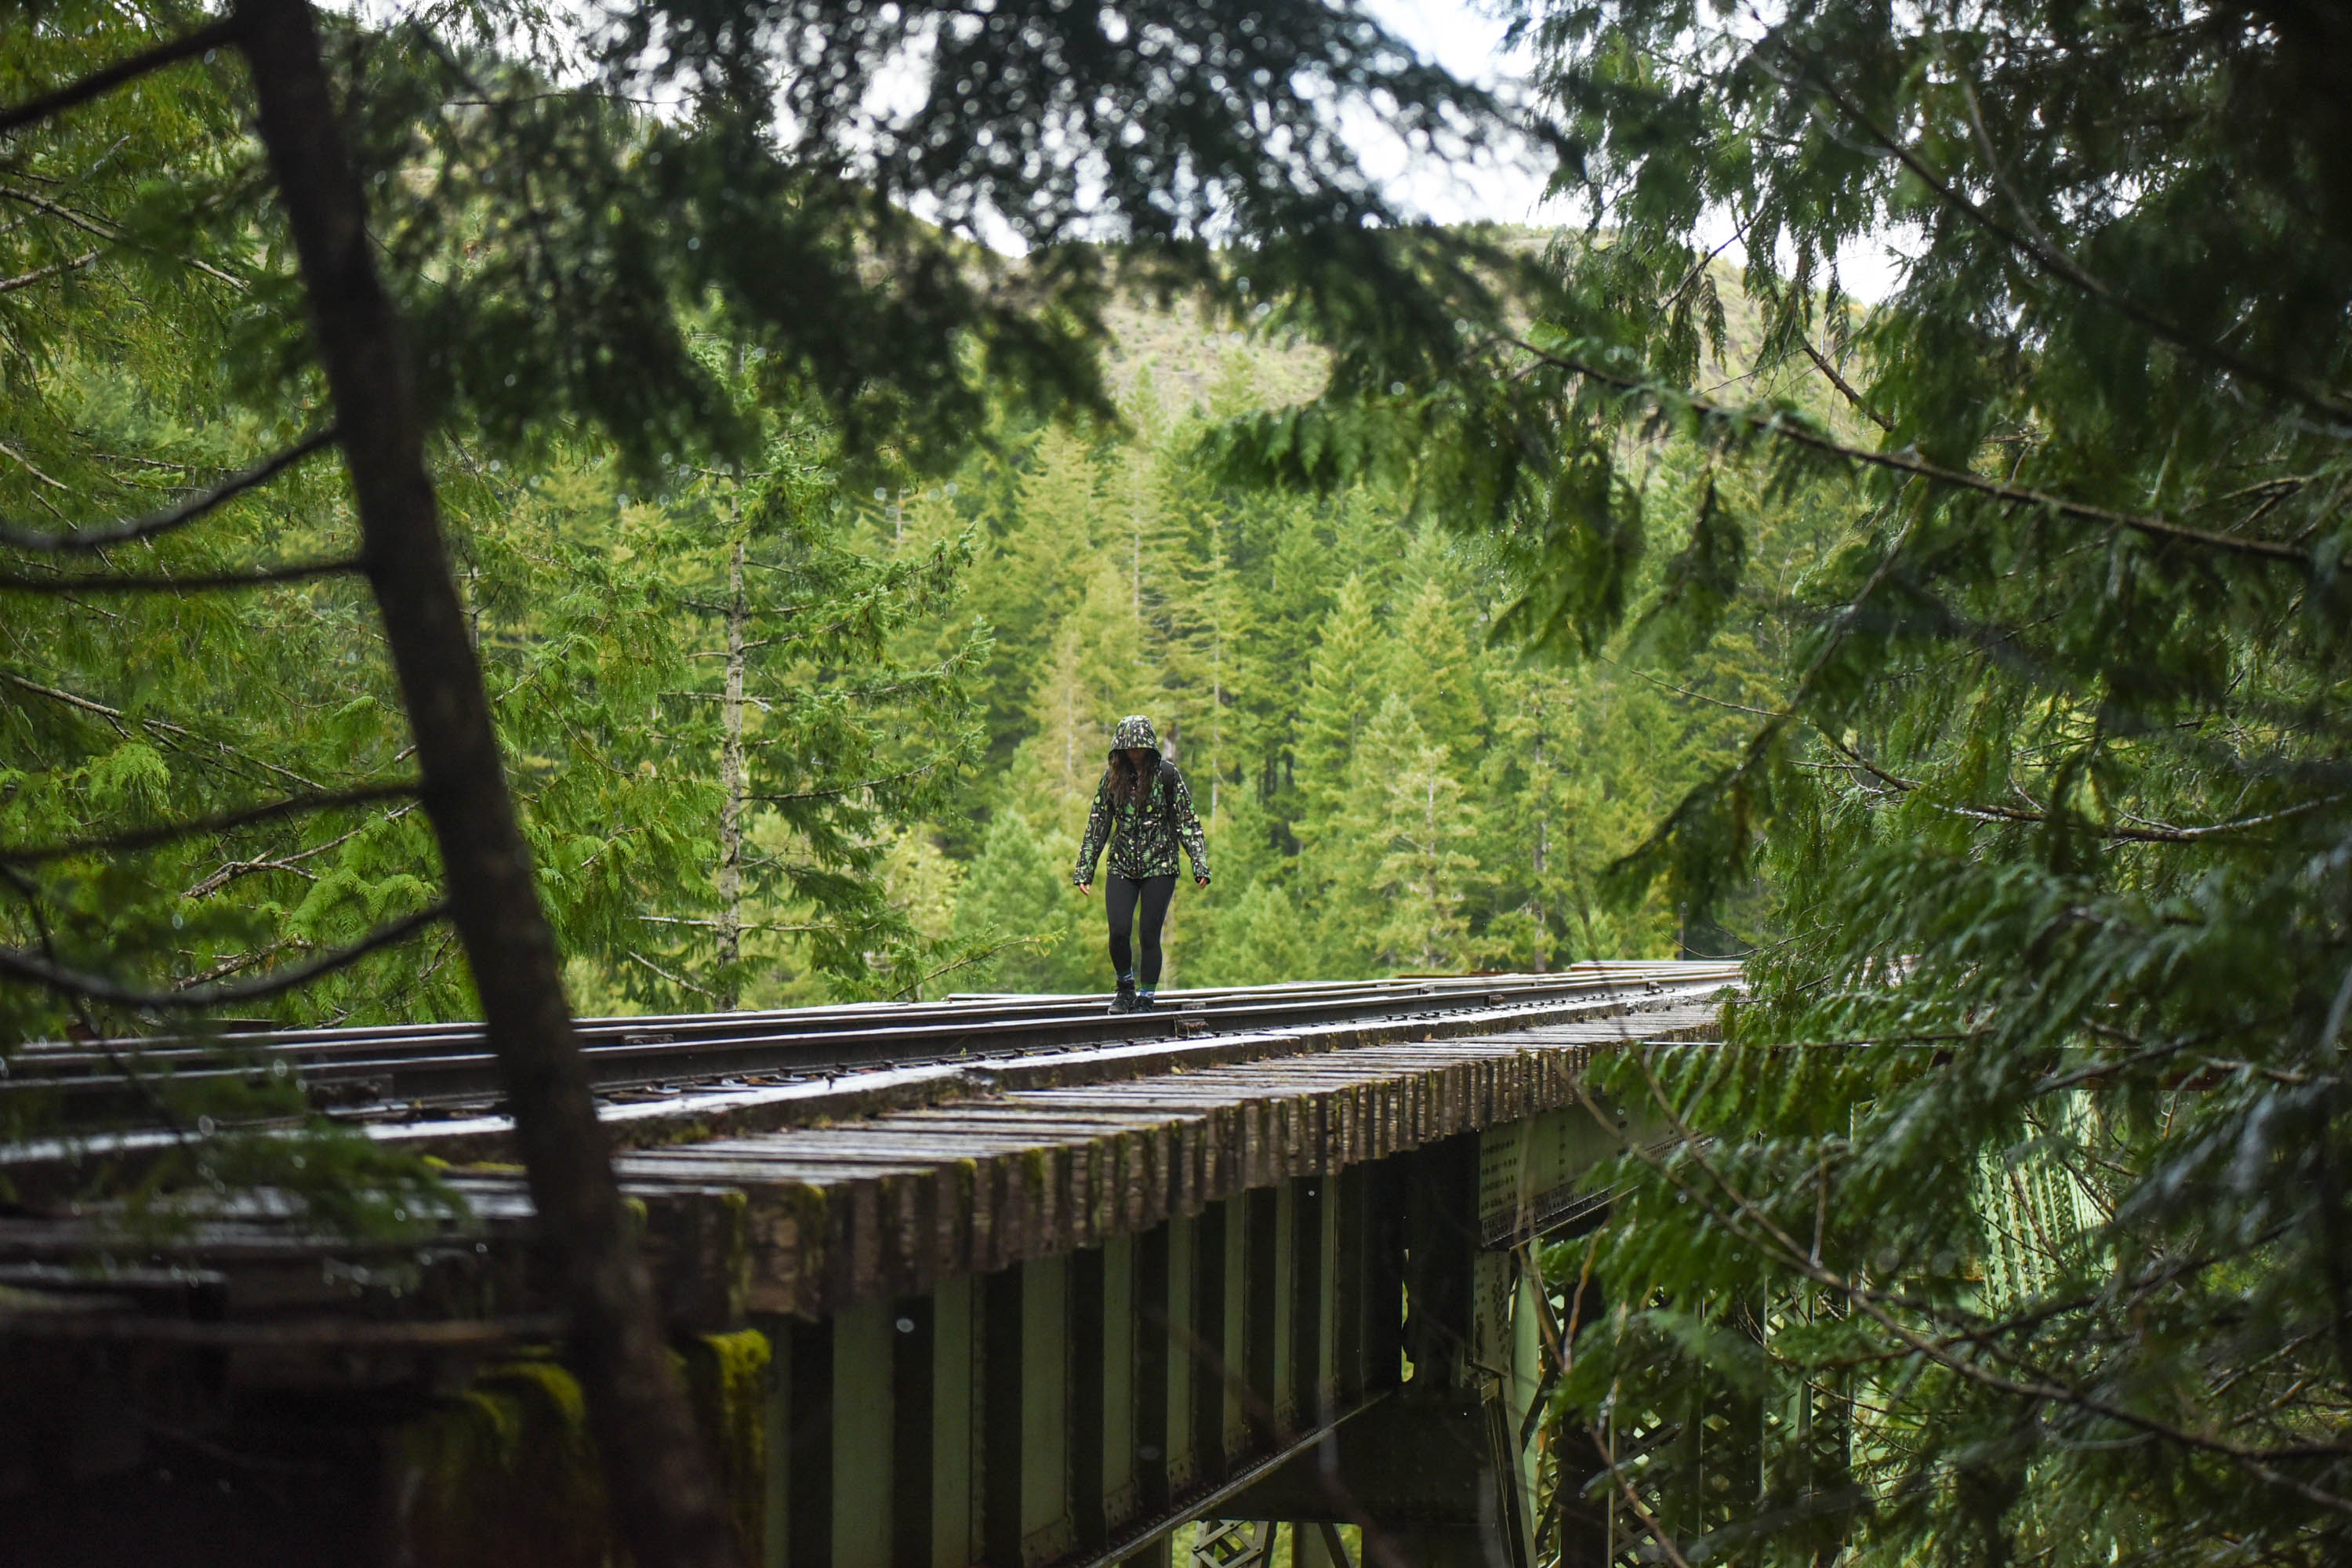
Park at the Vance Creek Viaduct Trailhead. This is the official trailhead to the bridge, though walking the short .7 miles in from this direction will have you arrive at the side of the bridge that is extremely intimidating and dangerous should you want to walk across it. The bridge has been partially dismantled on the east side (approaching from the Vance Creek Viaduct Trailhead) to stop vandalism and to try to discourage bridge use. If you want to walk across the bridge from this direction, you have to do so on the steel beams, with no railway ties between them. No thanks! People do this quite often, and even while we were visiting, but I’m a bit more careful with my life. If you simply want to view the bridge (and not walk across it) and take a short hike, this is the direction and trailhead you should utilize.
If you want to traverse the bridge without falling to your death, you should plan to approach it from the west side. This will be about a seven-mile hike, though a very easy one at that. Robbie and I did it in 2.5 hours and that includes the time we spent hanging out on the bridge.
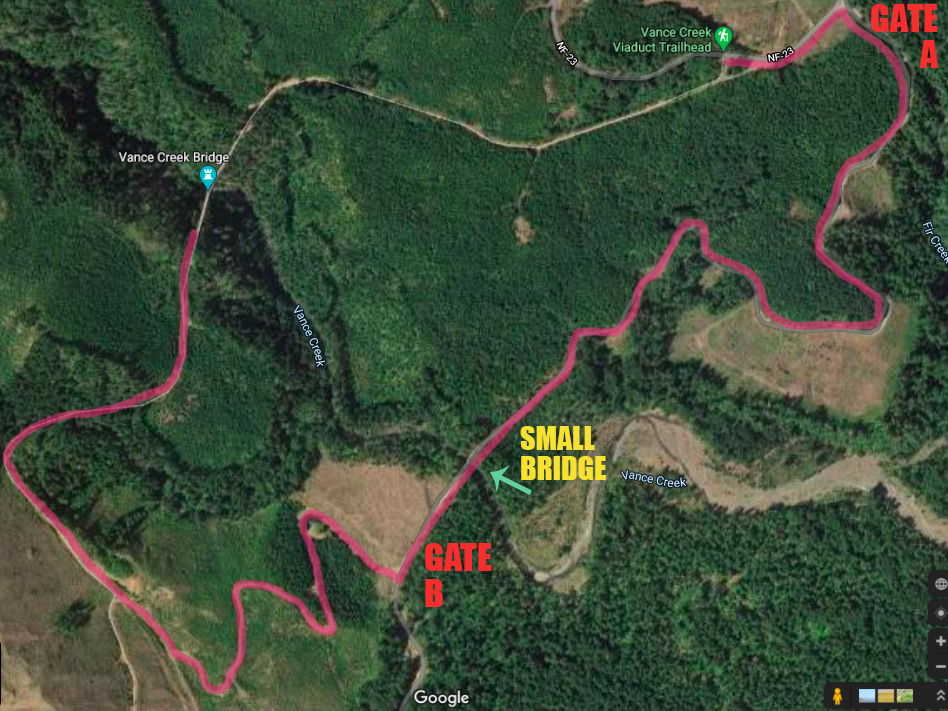
Here’s how to reach the Vance Creek Bridge from the Safe(r) Side:
- Park at the Vance Creek Viaduct Trailhead
- Walk slightly down the road the way you came and make a right down the gated road (Gate A)
- If Gate A is somehow magically open (sometimes it is!) feel free to drive the couple miles down to Gate B. Again, this road is maintained enough for any car no matter the clearance to traverse it.
- If Gate A isn’t open, walk down the road about two miles.
- You’ll cross a small bridge over Vance Creek.
- Shortly after you’ll see another gated logging road head up to the right. This is gate B. Duck the gate and start walking up this road.
- After about another mile, you’ll be walking upwards and to the east and you’ll see a smaller, but clearly defined logging road continue east (to the right) while the main road makes a switchback and heads up to the left.
- Stay right! If you are at all confused, look at your dot on google maps, even if your service is slim, this will all be very clear.
- Head down this logging road. Eventually, the road will peter out as you start to hear the sound of a creek below you. Here you’ll turn right onto the clearly visible foot trail.
- Follow this down and to the right, where it quickly loops back toward the creek crossing and up the other side of the embankment.
- You’re getting close! Follow this trail straight ahead. After a few moments, you’ll come to a small clearing and intersecting road, just charge forward and you’ll see a big fallen log before you. Walk around it to the right and you’ll find yourself at the west end of the Vance Creek Bridge.
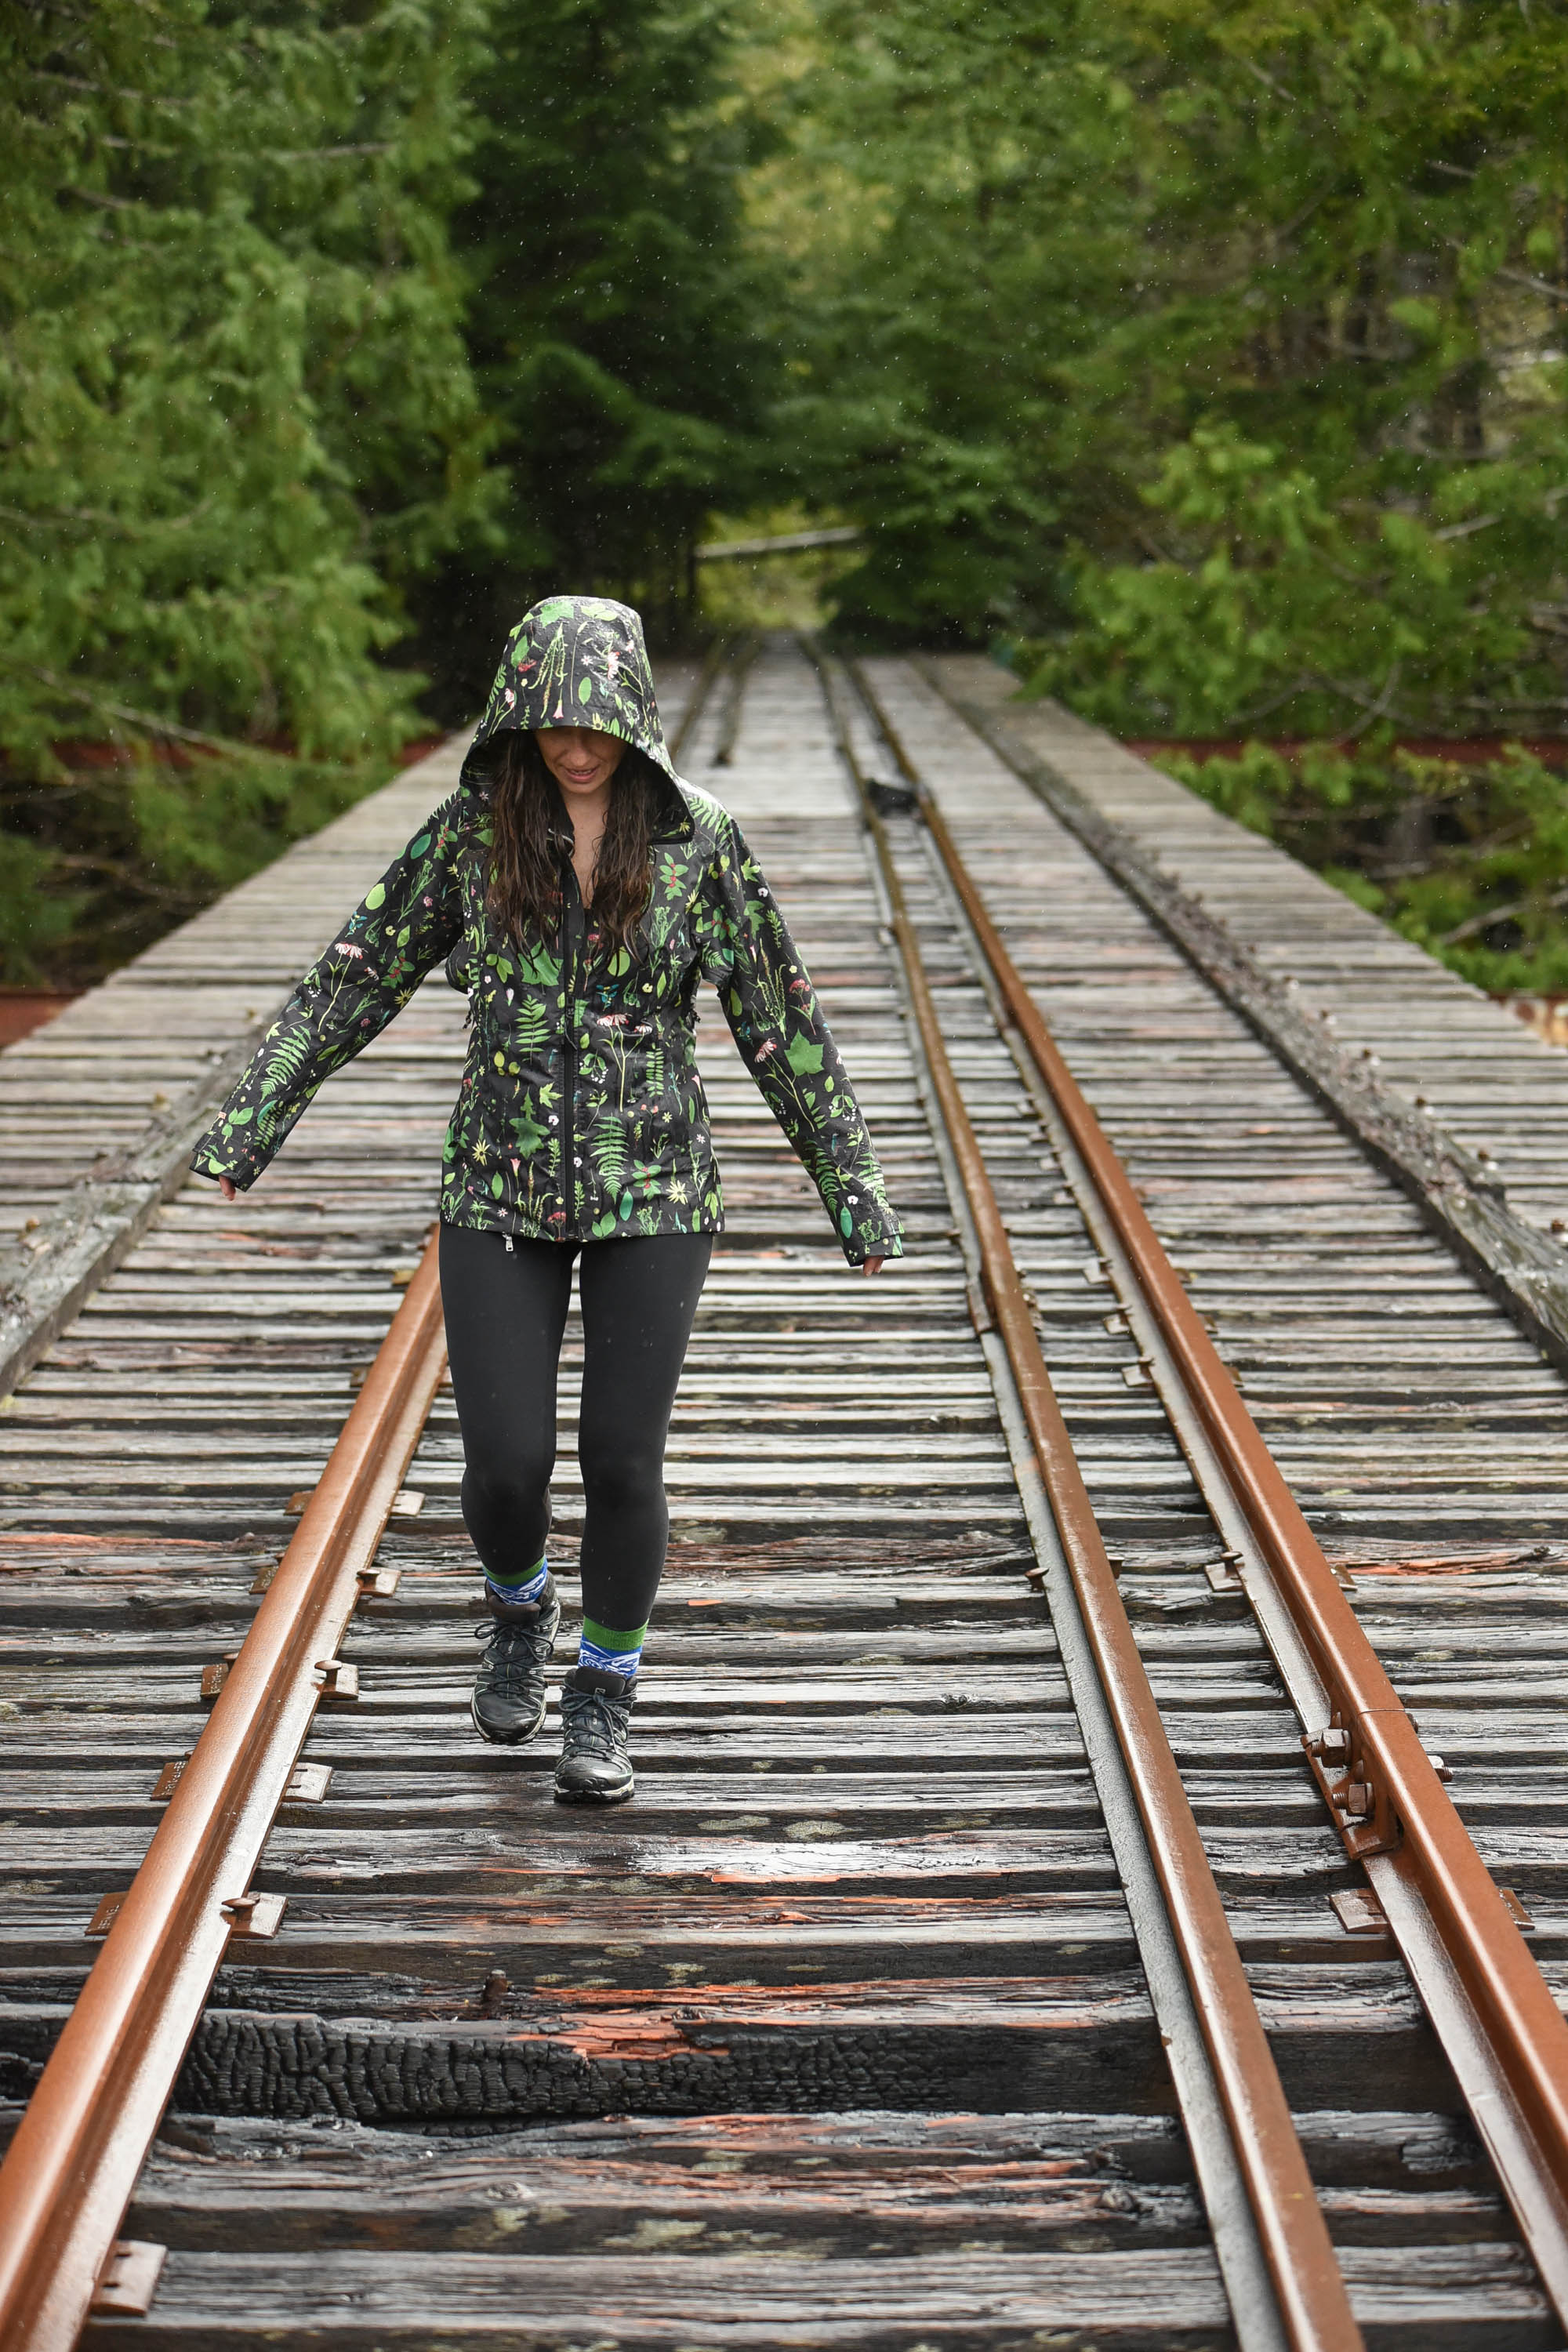
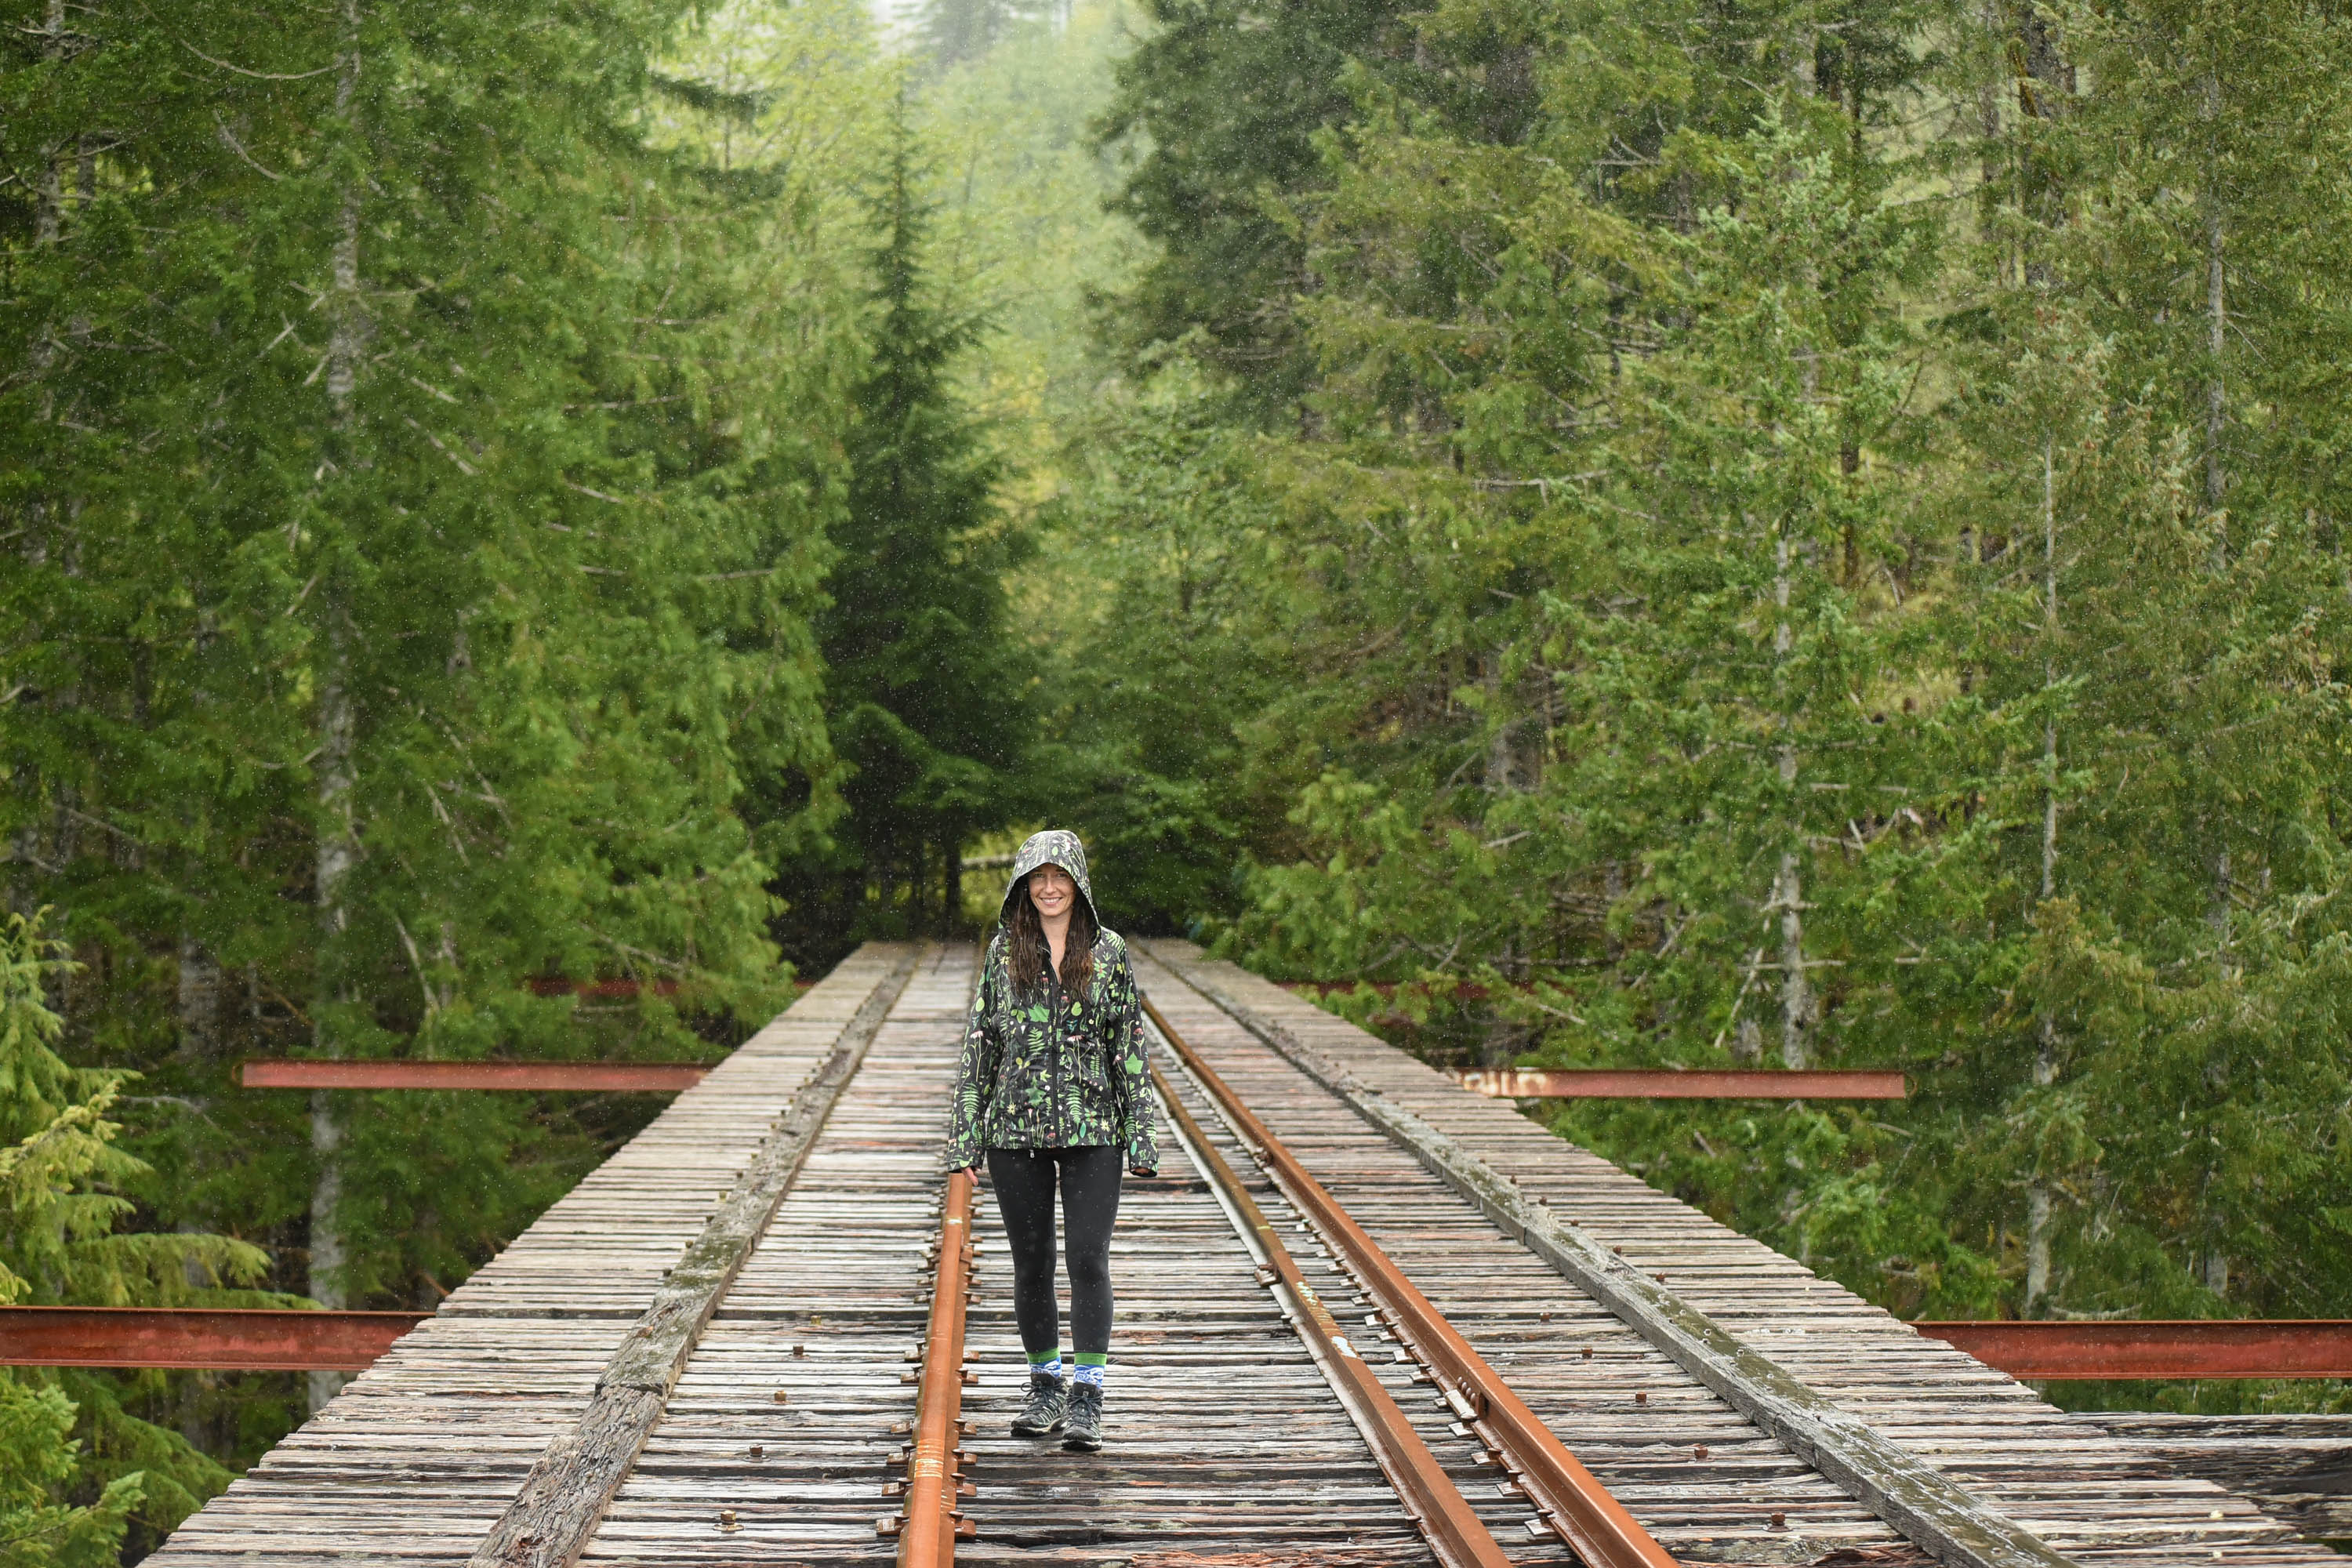
- Tie your shoes, leave your valuables behind, tie up your hair, and go for it!
- If you have any doubts at all, view the bridge from the sidelines. Seriously. No images or viewpoints are worth your life.


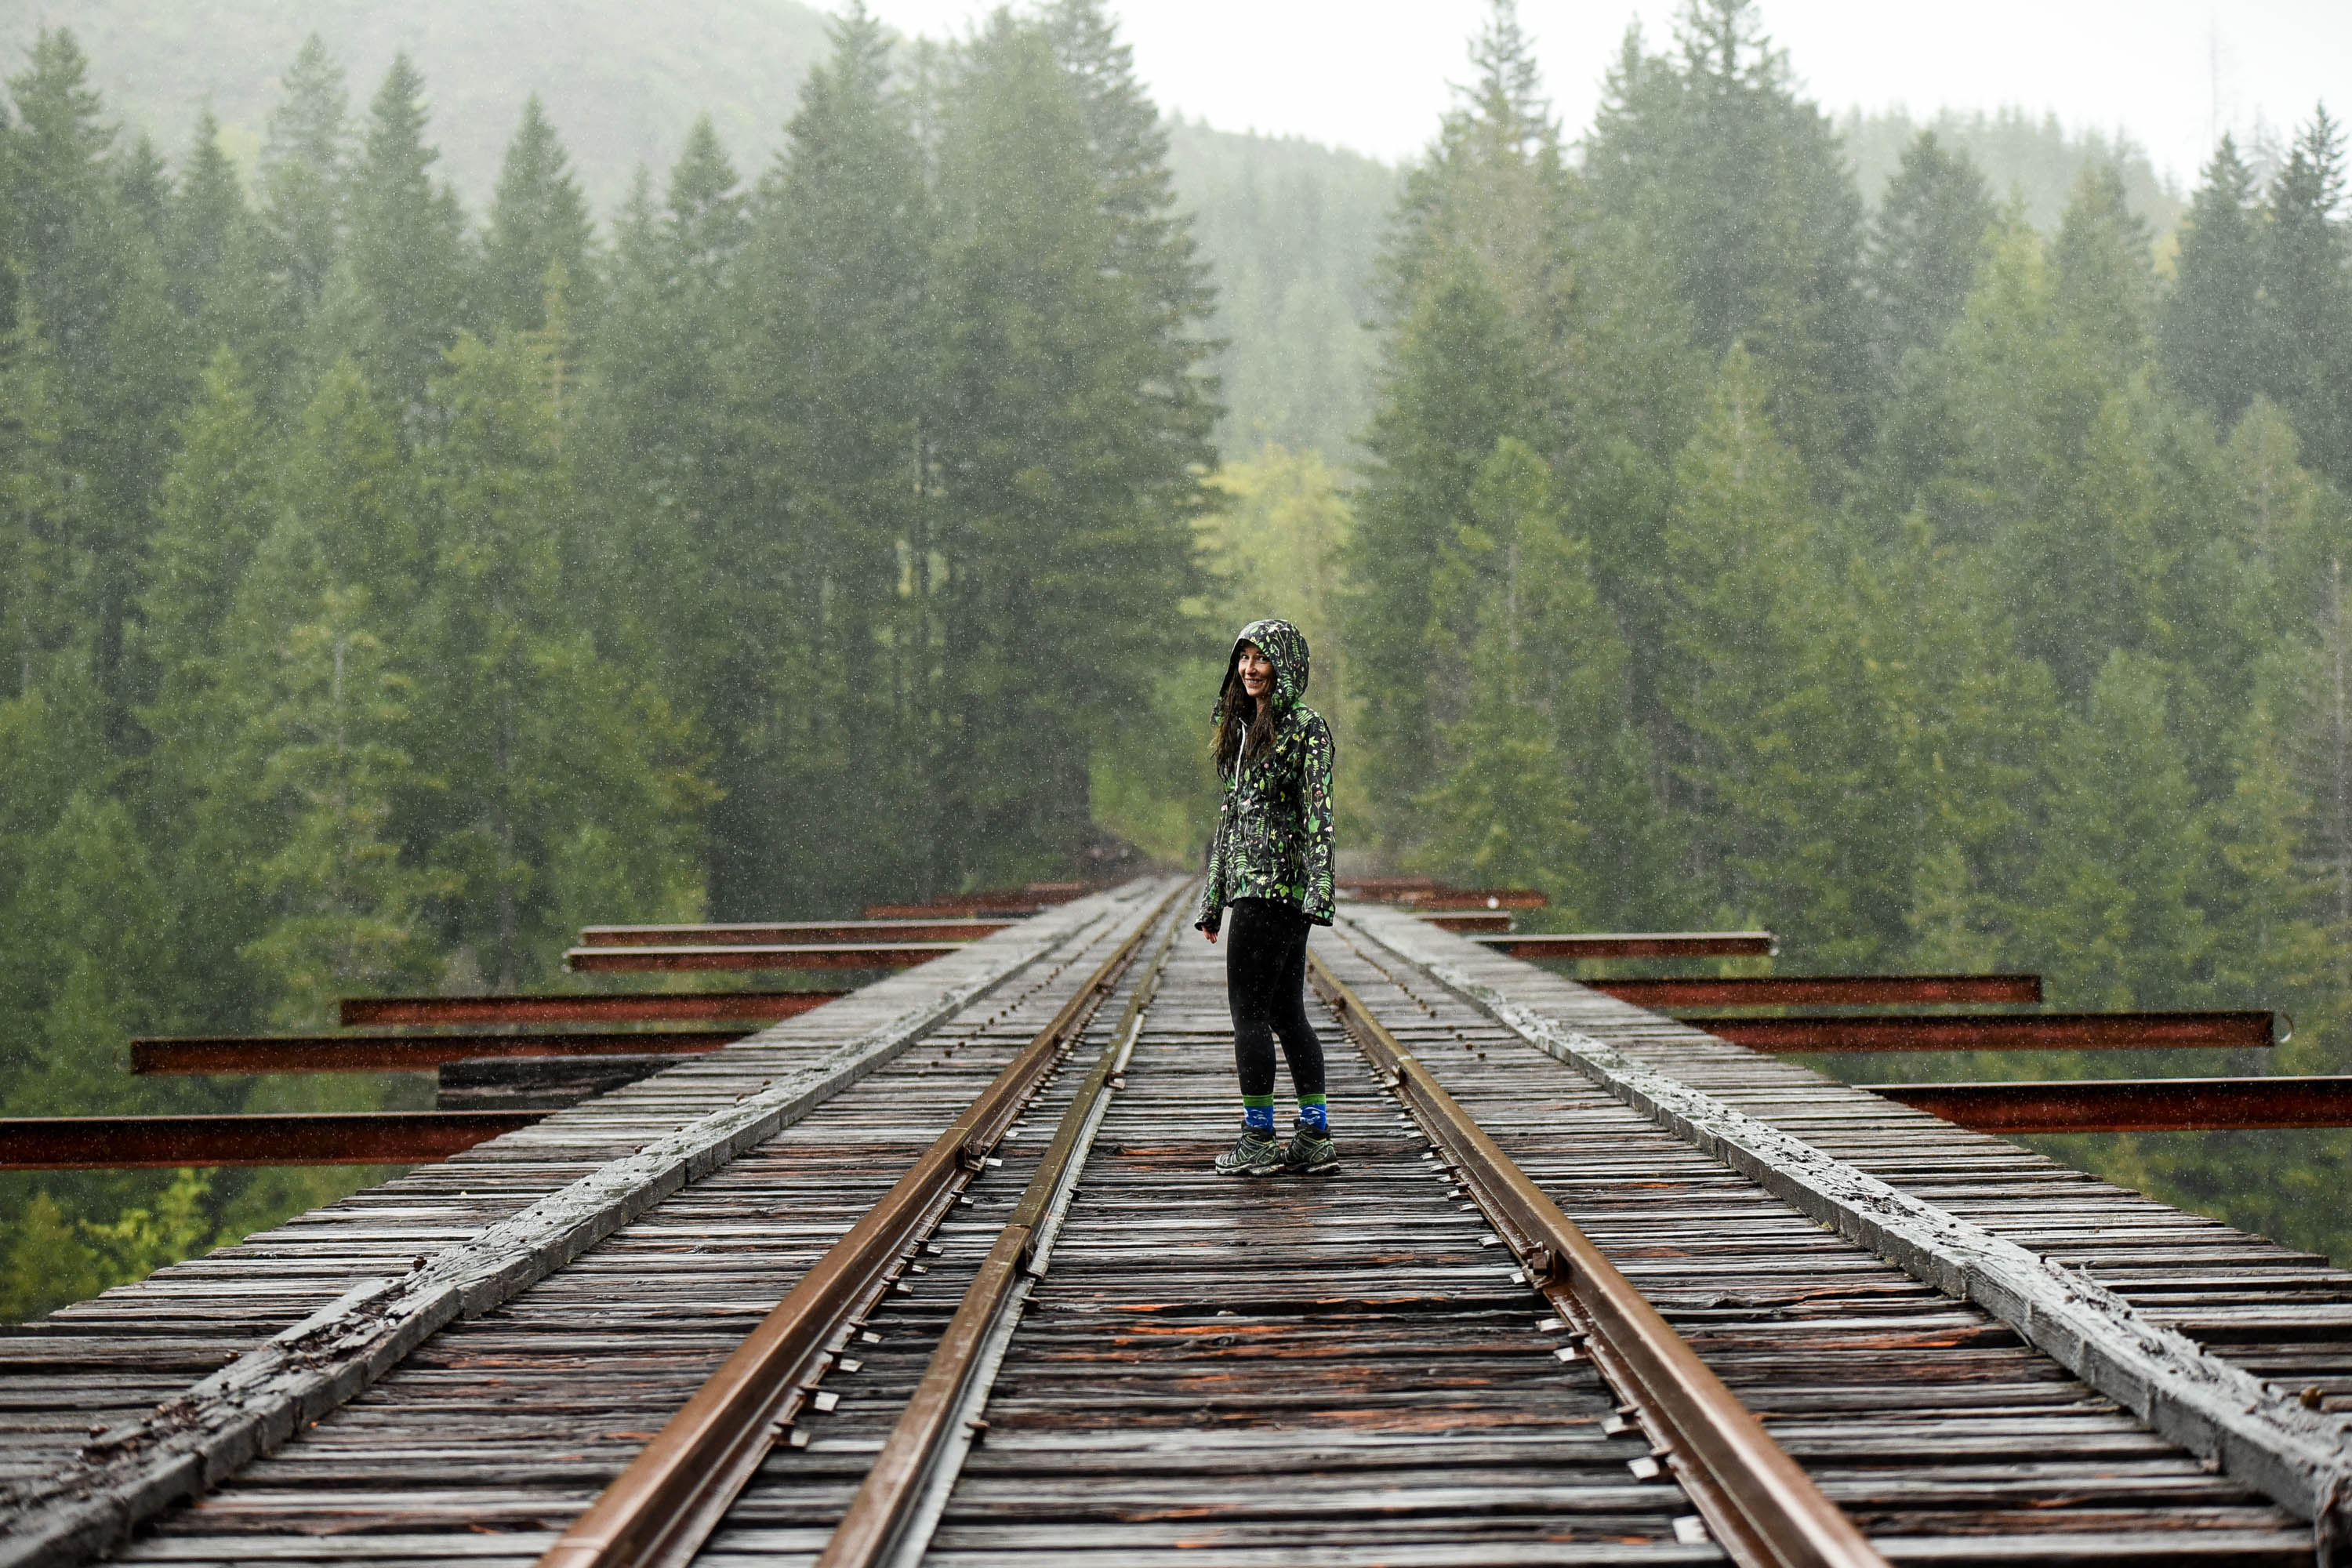
The views from the bridge are simply amazing, but honestly, you need to sit down to fully take them in otherwise your brain is playing a game of, ‘how do we get down without dying here,’ the entire time. I did have to keep reminding myself that even if for some reason I tripped and fell, there was no way that my body could fit through the railway ties. It’s simply impossible. If you use this logic and walk in the very center of the bridge, you’ll be fine. I did walk on the outside of the rails for a few feet and though it would be pretty difficult, there is the potential for a trip and fall off if you’re nearer to the edge like that.

That’s that friends! Be safe, stay healthy, and leave your distracting selfie sticks and annoying ass drones at home. #SorryNotSorry On a nicer note, here’s what’s in my camera bag.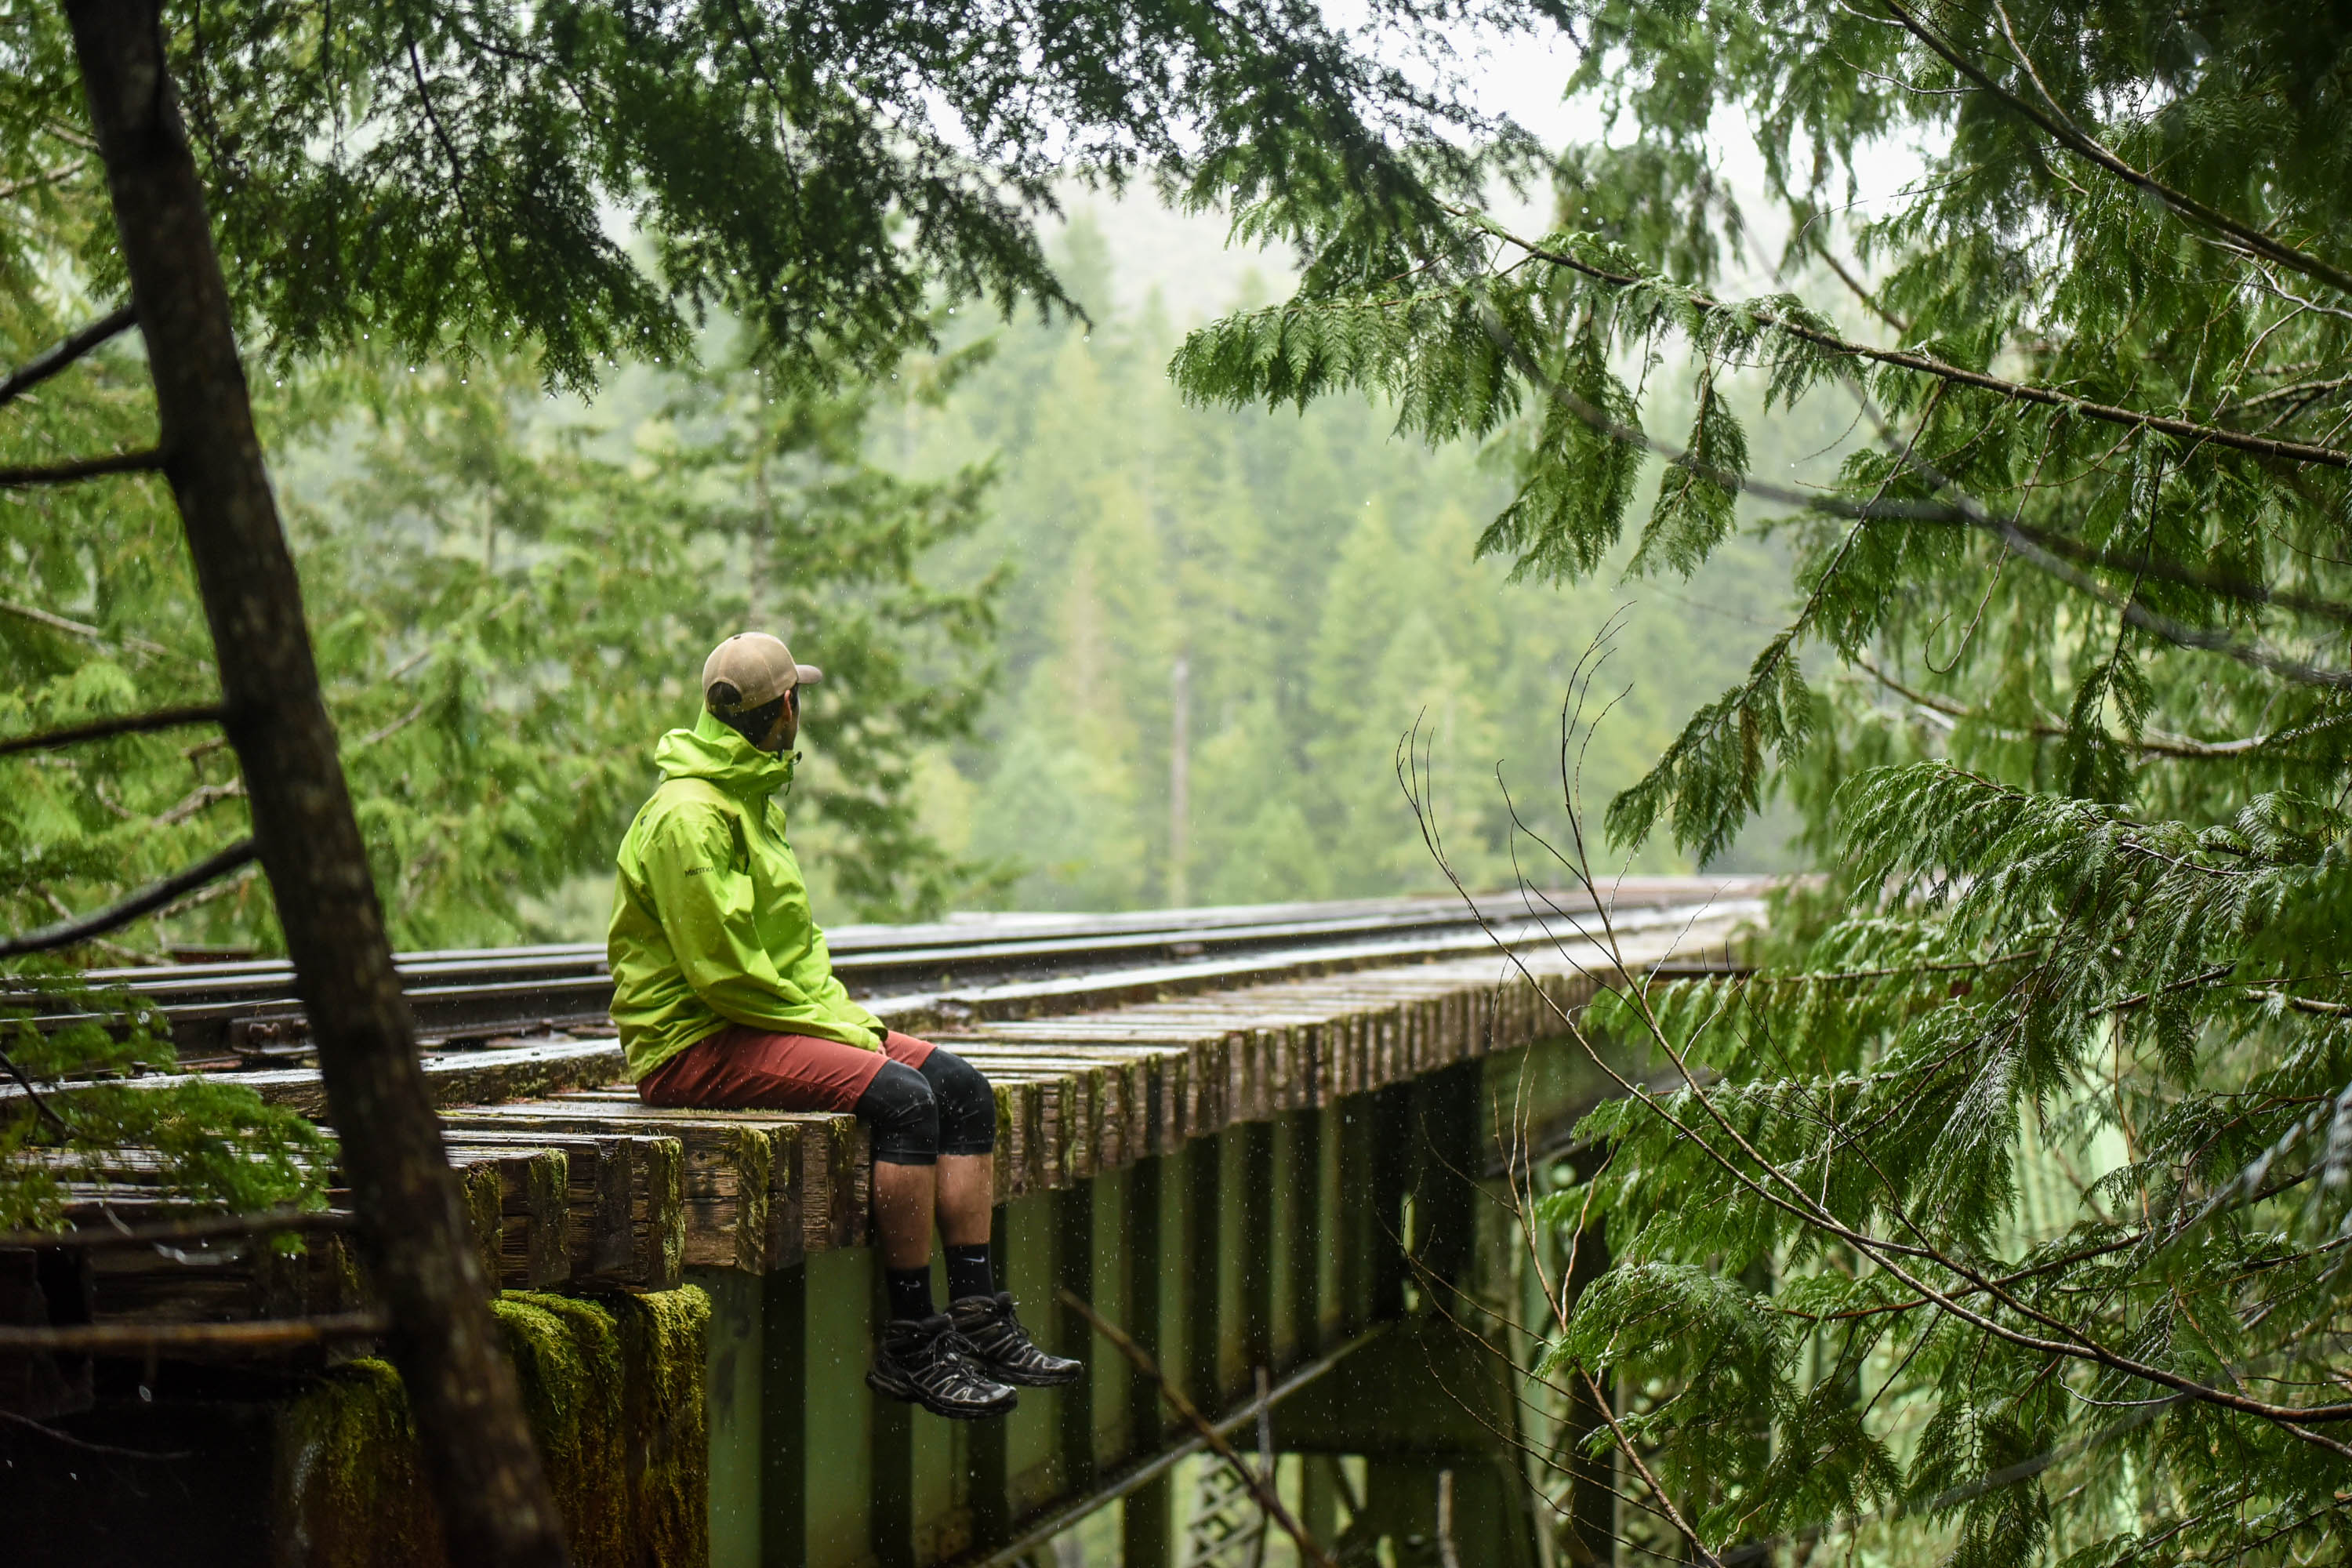
Your mama thanks you for being sane and safe while adventurous.
You gave some really great instructions on how to get there. I screenshotted your post, and today my sister and I were easily able to find the bridge and get some really cool pictures. Thank you so much!
Yay! That makes me so happy to hear. I’m glad you had an adventure with your sister!
My son found that bridge 5 years ago. It was always this elusive thing. He said you would get ticketed or towed. Has something changed? Is this a public trail now? Do you need to park? I thought it was private property. Also the fact they took it apart and made it more dangerous??!!!
All the cool places
It’s only dismantled from one side that’s why I give instructions and a map to hike to the other (safer) side though some people still venture the dangerous way. Too scary for me though. Not worth it. It’s not private property and many people recreate in the area so long as you don’t park directly in front of a lock gate, you should be a-ok! Always good to be aware of where you are and if you’re allowed to be there though, that’s for sure!
Thank you for your wonderfully detailed instructions and directions to both sides of the bridge. ❤️ Very much appreciated!!!
where on earth is your jacket from!!!? its adorable!