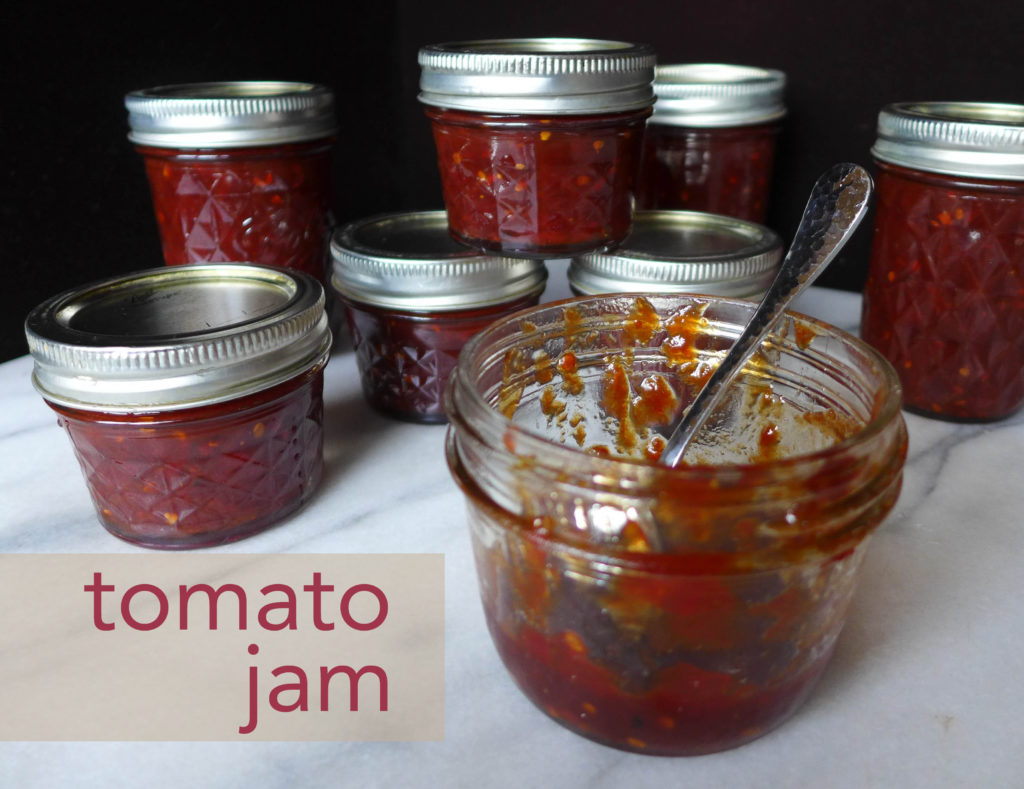
tomato jam

Ginger is our ingredient of the season. So far we’ve shared a super simple ginger dessert and a savory shepherd’s pie minus the mash. You can find our archive of previous featured ingredients here.
*We originally published this post in 2018.*
This week, while visiting PA, I put up a few batches of tomato jam. The farm garden was overrun with tomatoes, and my jam supply was precariously low. If your counters are overrun with tomatoes, there’s nothing better than a batch of this jam. It’s absurdly easy to make, which is perfect for anyone new to canning.

Tomato jam is the jam! Bet you didn’t see that coming.

tomato_jam2b

I do find that many people are surprised at the idea of a tomato-based jam. This isn’t something to pair with your peanut butter. This is a savory and slightly spicy jam that’s serves as an amazing condiment. I like to pair it with cheese, but it’s also amazing as a spread on savory sandwiches. Think of a grilled cheese with caramelized onions and a thin spread of this amazing concentrated tomato+spice flavor. Or imagine a pulled pork sandwich with a spread of jam. Do we have your attention? This stuff is amazing.

Continue reading

DIY Christmas Presents : Eats & Treats

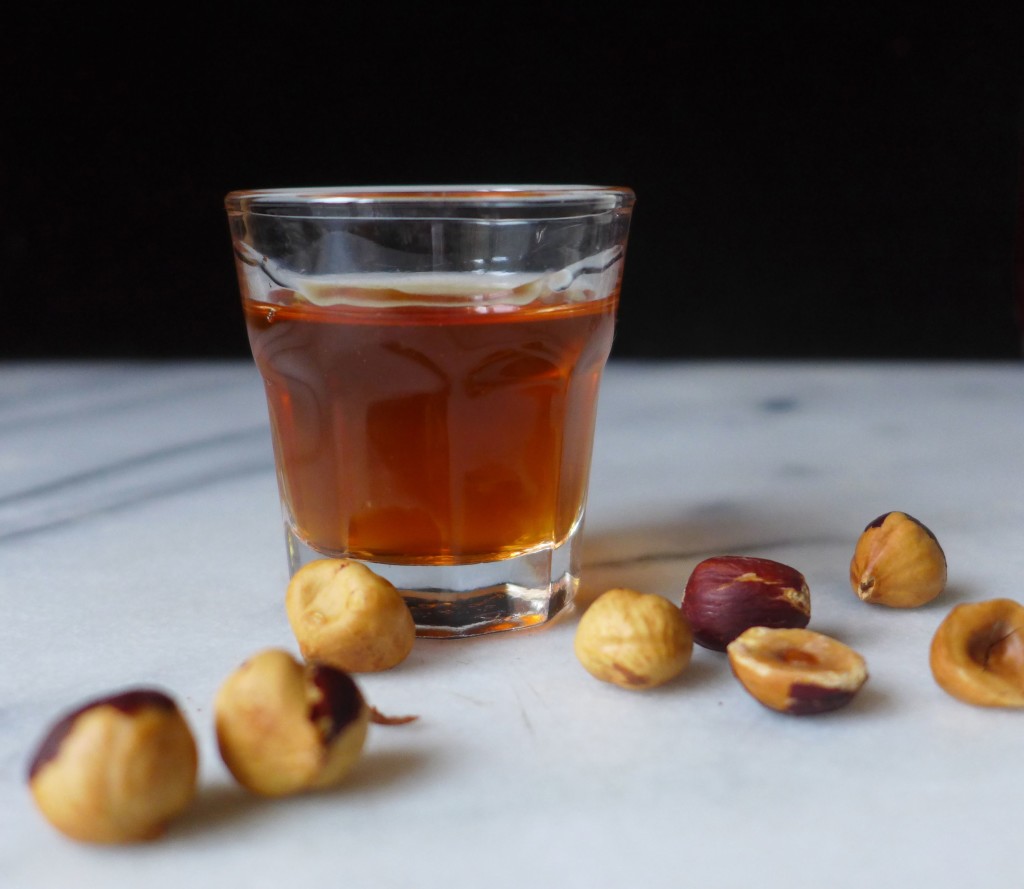
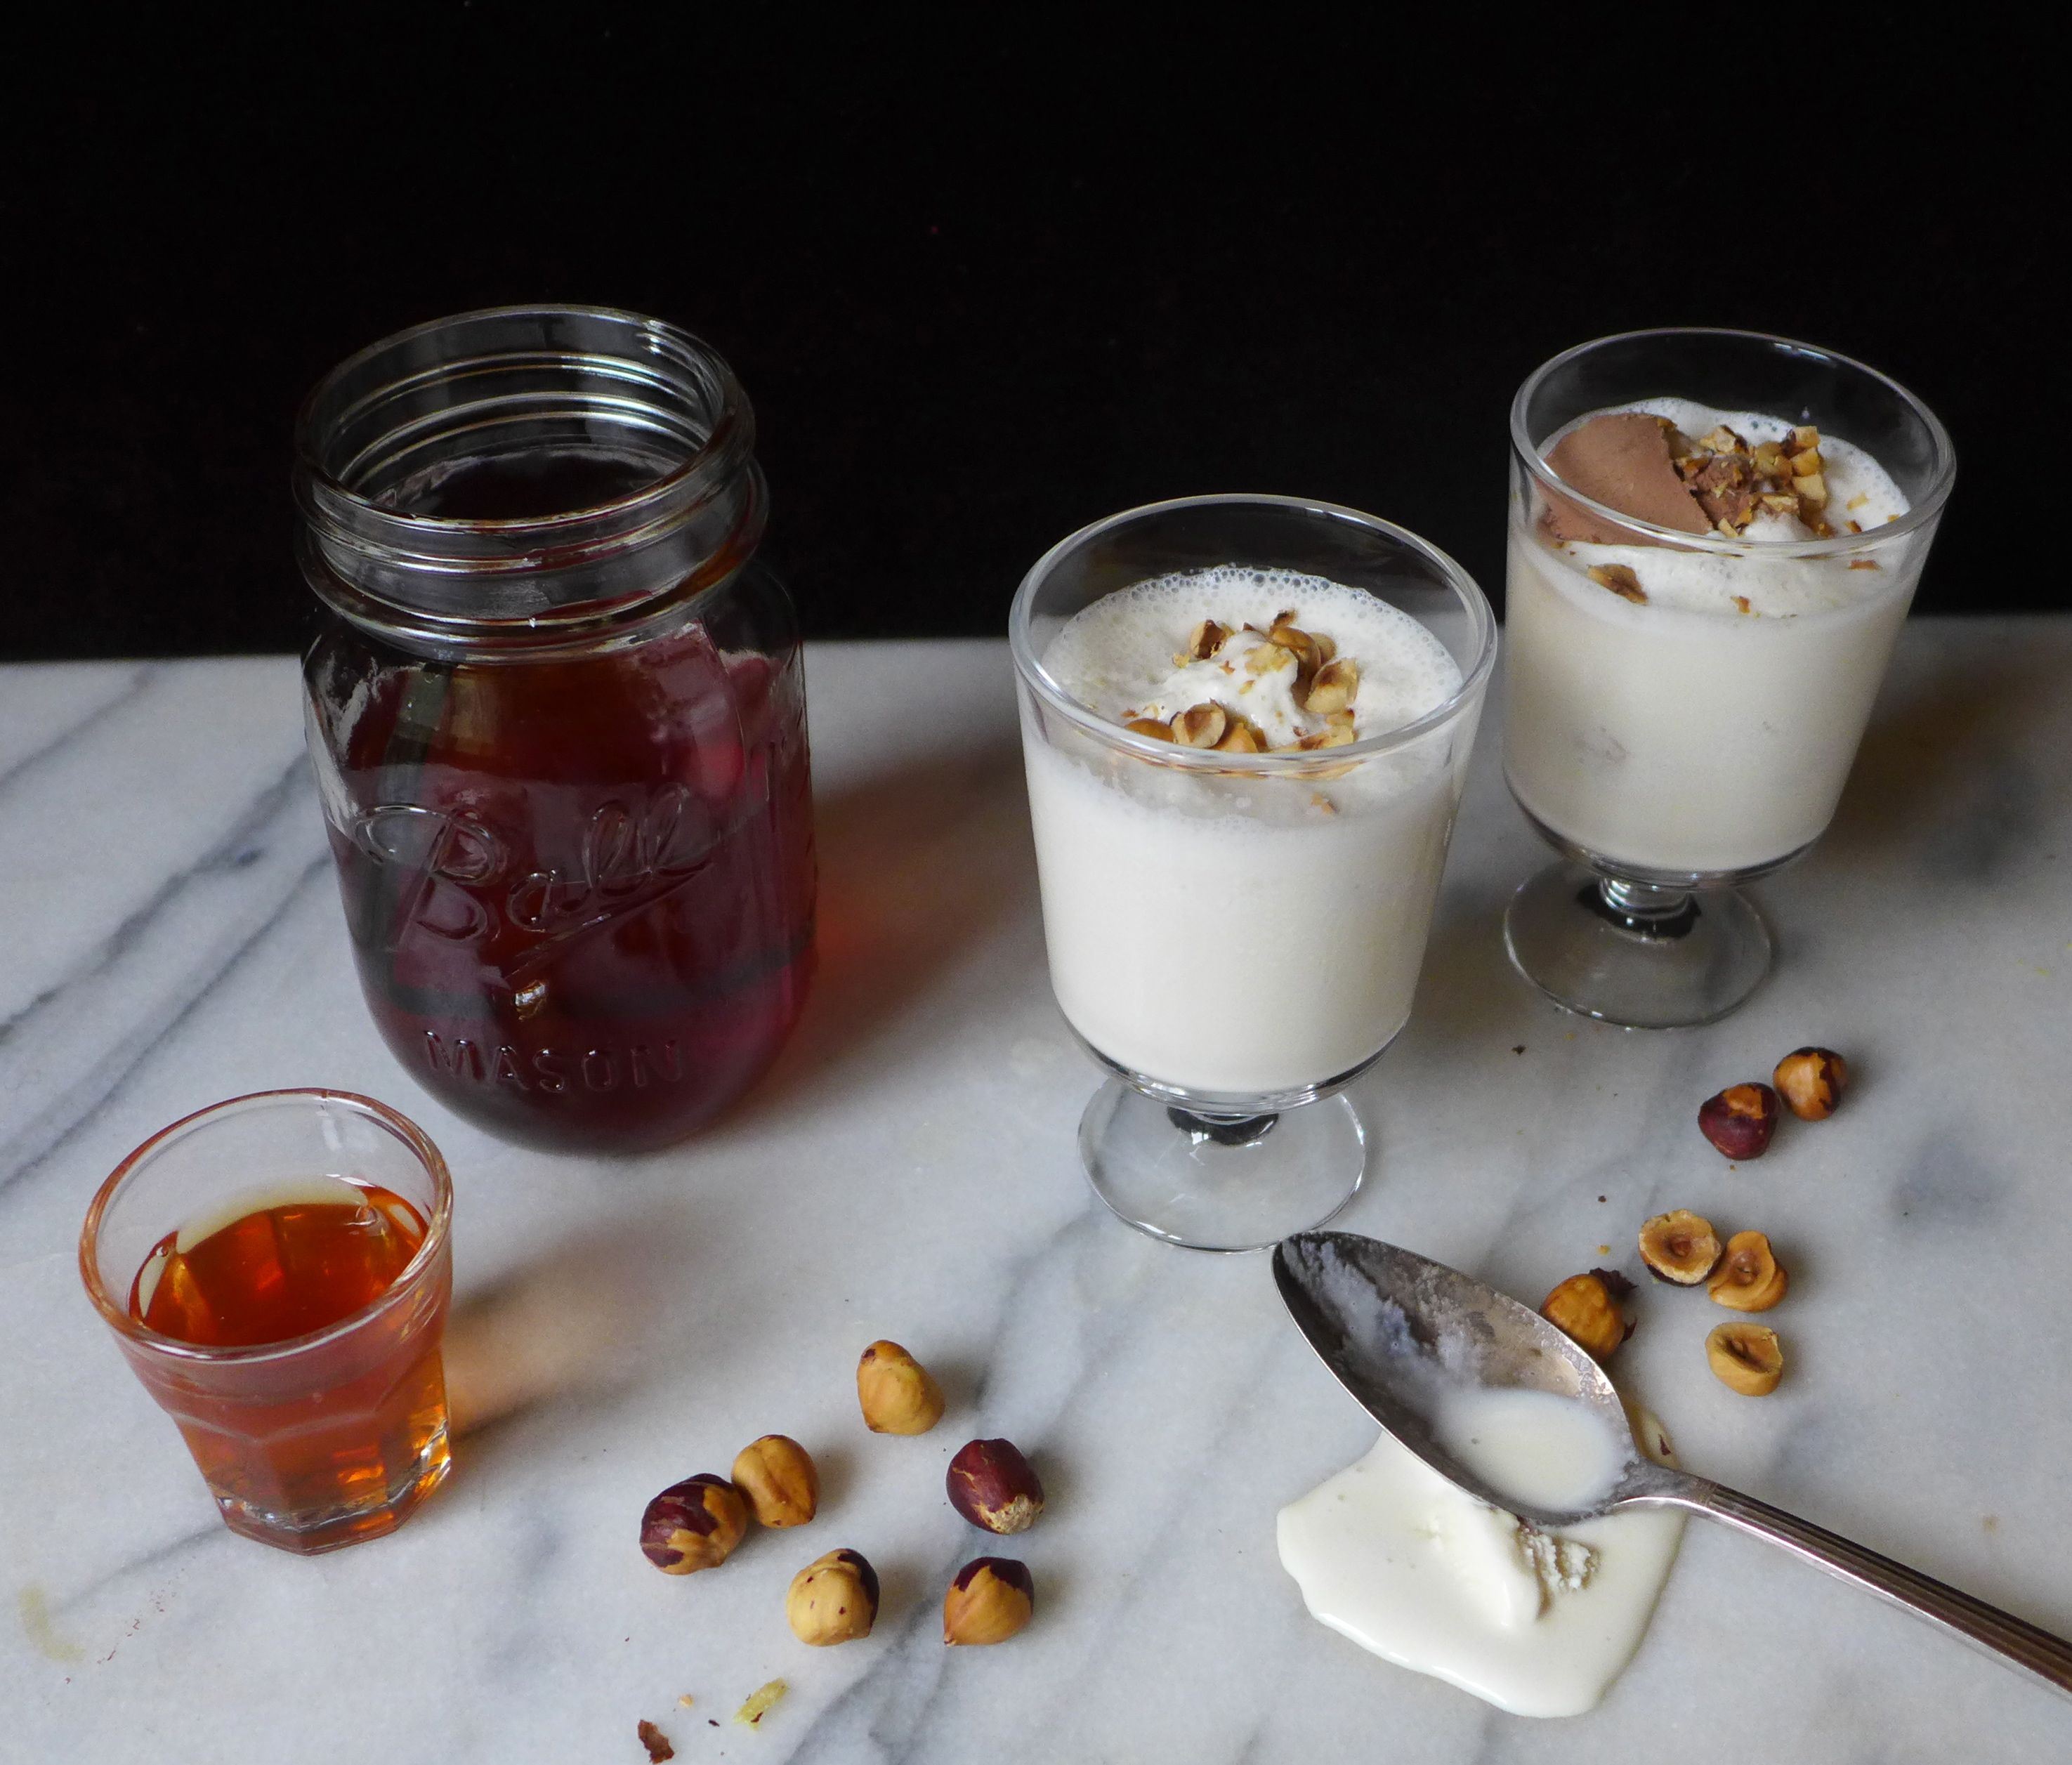
Happy Friday everyone! Christmas is coming quicker than I can handle, so while I shop online today, I’m also going to whip up a few homemade Christmas gifts that everyone on my list will enjoy.  I love giving and receiving edible gifts. Knowing the treats were made with love and care in someone’s kitchen makes them extra enjoyable.  If you still don’t have a present for me, here are a few suggestions 😉 liveseasoned_spring2015_hazelnutliqueur3-1024x889 liveseasoned_spring2015_hazelnutliqueur6

Continue reading

Gnocchi with Stinging Nettle Pesto

Potatoes are our ingredient of the season. You can find our full archive of potato posts here. And if you like pesto, give our Arugula Walnut Pesto a spin.

nettle_pesto

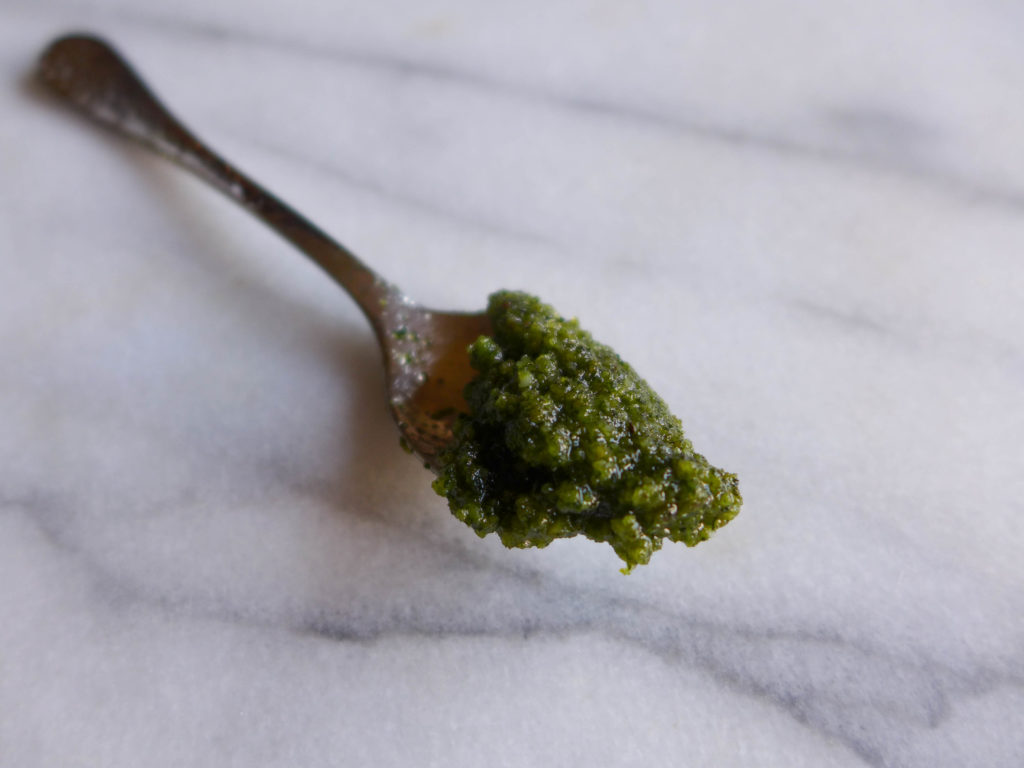
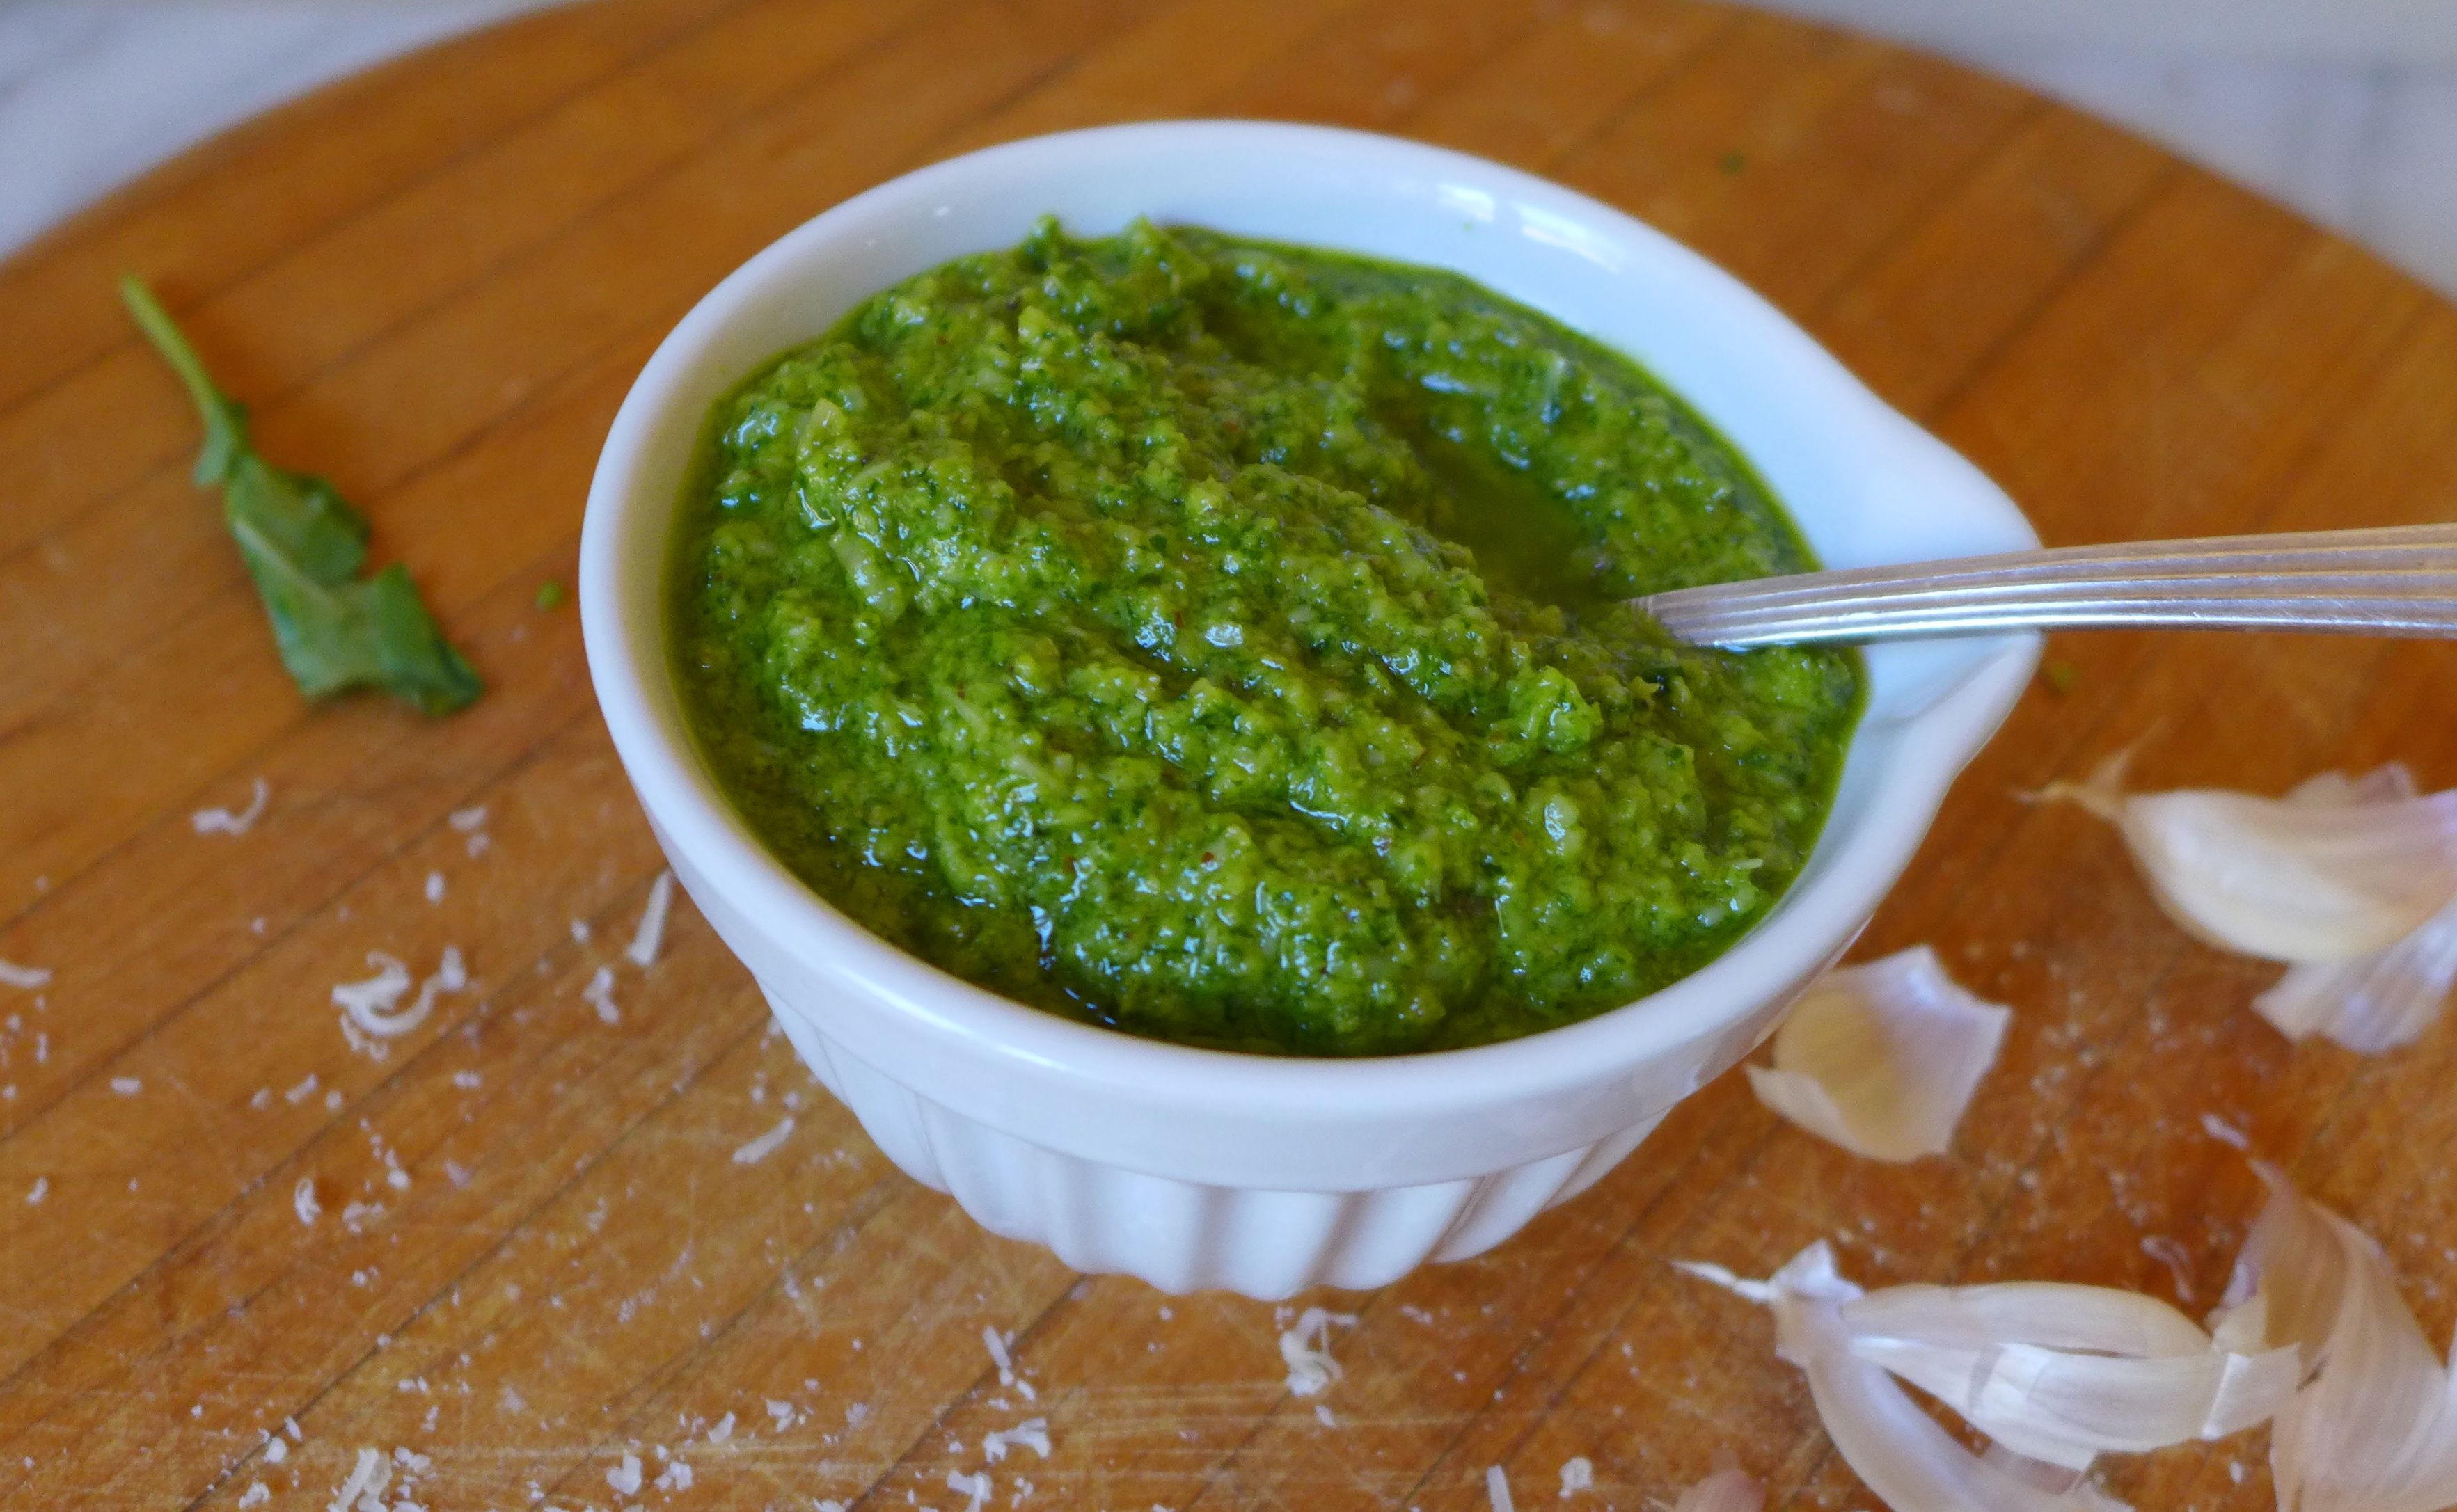
Potatoes may be our ingredient of the season, but in this post, nettles are definitely stealing the show.

Read on to see my simple tips for involving kids in your gnocchi making… or you could just teach them how to spell gnocchi and send them on a scavenger hunt in the pasta aisle.  Continue reading

Arugula Walnut Pesto

Nuts are our ingredient of the season. We’ve been using them for sweets, drinks, and snack bars. Today we’re finally using them for a savory condiment!

Sarah here: Comin’ at ya with a republished post today – I’m making this tonight and I’m papapumped about it. Pasta and pesto all day please. Carry on.

I didn’t even know I was looking for it, but I found my new favorite condiment in this arugula walnut pesto! I think I overdid the traditional basil and pine nut pesto, because the past few times I’ve had it, I just wasn’t excited by the flavor, but the peppery-ness of the arugula and parmesan combined with the savory walnuts and olive oil and the zing of fresh garlic allows this pesto to brighten any dish, creating the perfect cure for grey days when you’re faced with another late spring snow!

liveseasoned_spring2015_walnutpesto2

I have to admit, I didn’t go to the grocery store with arugula on my list and the intention of making this pesto, but when a super-sized container of arugula landed in our fridge,  I was looking for a way to use it up!

Continue reading

Pumpkin Butter

Pumpkins are our ingredient of the season. In the past we’ve sampled pumpkin brews, used them to make mini pumpkin pies, and have added the seeds to not one, but two, salads.

After seeing Sarah’s request, I couldn’t help but make pumpkin butter as the first recipe for our new ingredient of the season. I have made apple butter many times, this was my first attempt at pumpkin, and rather than use the crockpot, I decided to try an oven-based recipe. I’ve since learned that while they are both butters and methods equally easy and produce delicious results, pumpkin butter cooks up much faster than its apple counterpart! I used this recipe for guidance, but made a few modifications as discussed below.

liveseasoned_fall2015_pumpkinbutter1

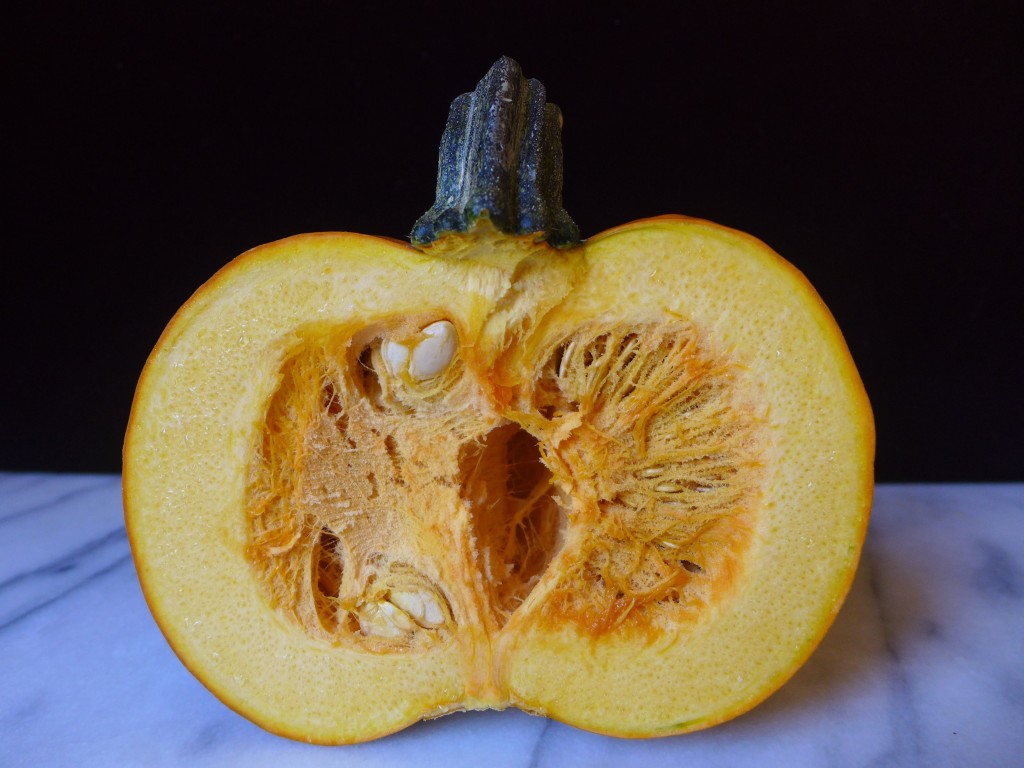
For this recipe we’re skipping the canned variety and starting with a raw pumpkin. If you’ve never bought a pumpkin for baking, you want to pick up one of the smaller “sugar pumpkins” and not the big pumpkins used for carving jack-o’-lanterns.

Continue reading

Lemon Curd

Earlier this summer I was sharing some of the crafts that were included in our DIY wedding (four years ago this summer!). Today we’re sharing yet another wedding-related post, and this one includes lemons, our ingredient of the season!

Since our wedding was such a relaxing, picnic-on-the-farm affair, it would have seemed out of character to serve a traditional, multi-layered cake. Plus, there’s no way that Calder and I could decide on just one flavor! Instead, my mom made three different cakes for the reception, my favorite carrot cake with cream cheese frosting, a chocolate cake with chocolate frosting for Calder, and a delicious almond cake with buttercream frosting and lemon and orange curds between the layers. All three were amazing, and it was nice to be able to offer guests options for their dessert.
liveseasoned_summer2015_lemoncurd6

Our sister, Kristin, made the citrus curds for the cakes, and they were perfect. Just the right consistency and with that bit of tart flavor that paired so well and added a bit of interest to the white cake and buttercream. I asked her what her secret was, and her response : Martha.

Even though I can go through a jar of Trader Joe’s lemon curd in no time, I’ve never tried making my own, assuming that it was fussy and would require too much precision or time (funny since I’m always itching to work on my macarons). But, with lemons as our ingredient of the season, I knew it was time to make a batch, and to my surprise, it couldn’t have been easier!
liveseasoned_summer2015_lemoncurd1

liveseasoned_summer2015_lemoncurd2

Following Kristin’s lead, I turned to Martha and made this version (reprinted below). You’ll see that this makes a fairly small batch, which is perfect if you’re the only one eating it in your house, but as far as I can tell, the recipe easily doubles. Kristin sent me a recipe from Martha that was exactly double this one. Although, search “Martha Stewart lemon curd”, and you’ll come up with a number of variations. This recipe’s size is more than double the one I’m sharing, and it includes salt, which would be a nice addition to the recipe below. This recipe is the exact same size as the one I just linked to, but here she has you add the butter to the saucepan while it’s cooking (something that the other recipes did not do). There seems to be some flexibility in both the proportion of the ingredients and the technique used to make it.

Bottom line : don’t stress and just make a batch.

Lemon Curd

Lemon Curd

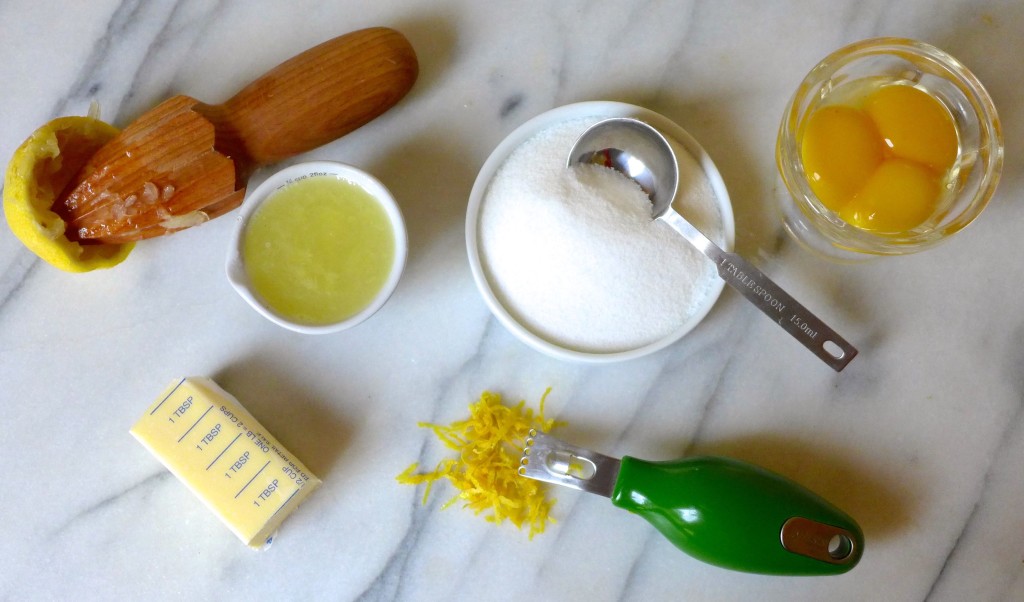
Ingredients

  • 3 large egg yolks
  • zest of 1/2 lemon (I used the zest of a whole lemon since mine seemed small)
  • 1/4 cup fresh lemon juice (don't use bottled lemon juice)
  • 6 Tbsp sugar
  • 4 Tbsp butter, cut into pieces

Instructions

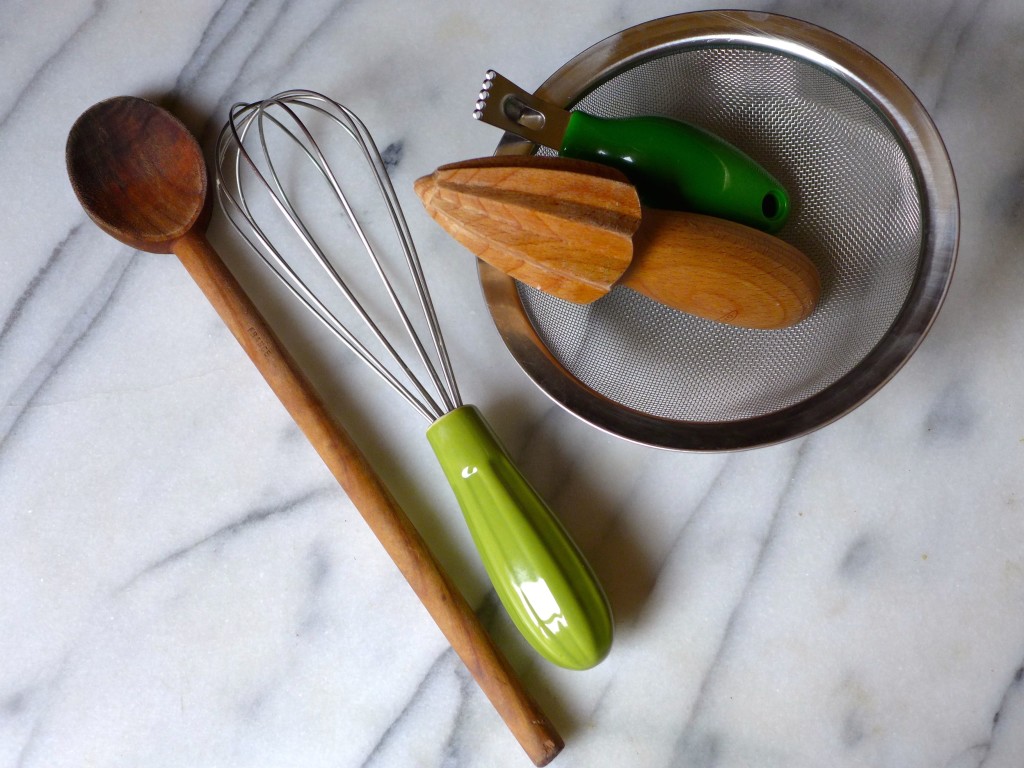
  1. Whisk together the yolks, sugar, lemon zest, and lemon juice in a heavy-bottomed saucepan.
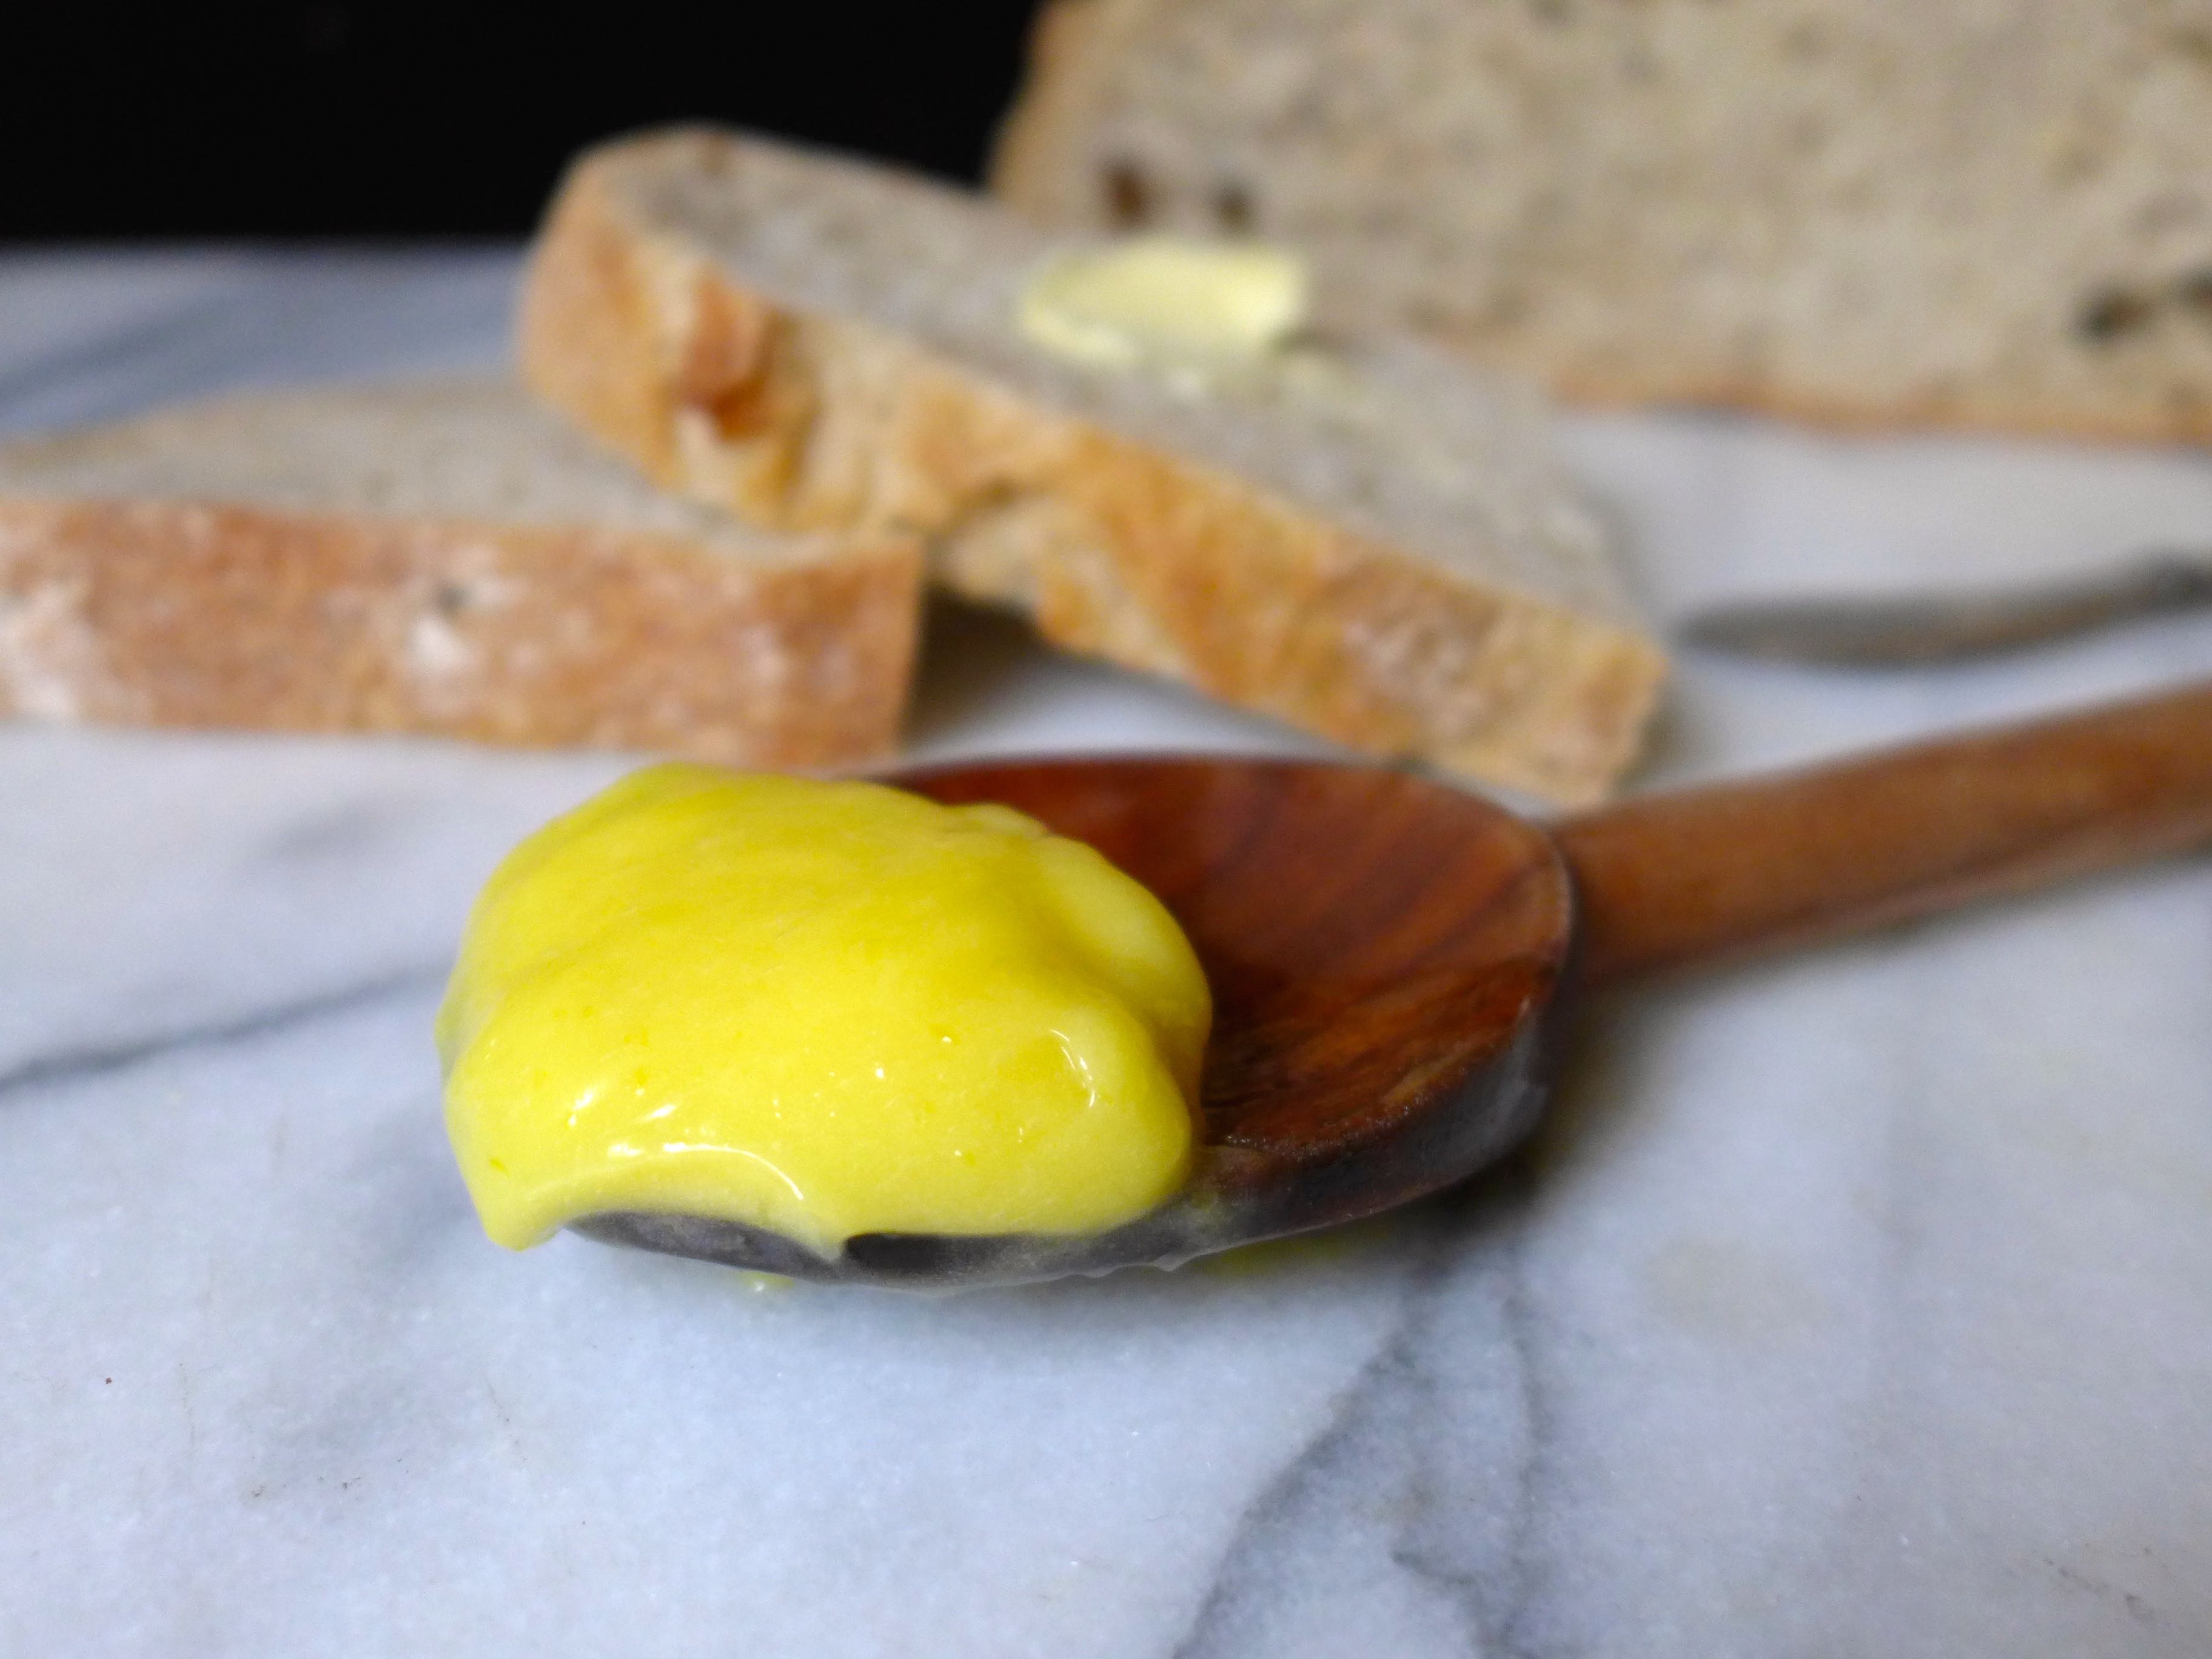
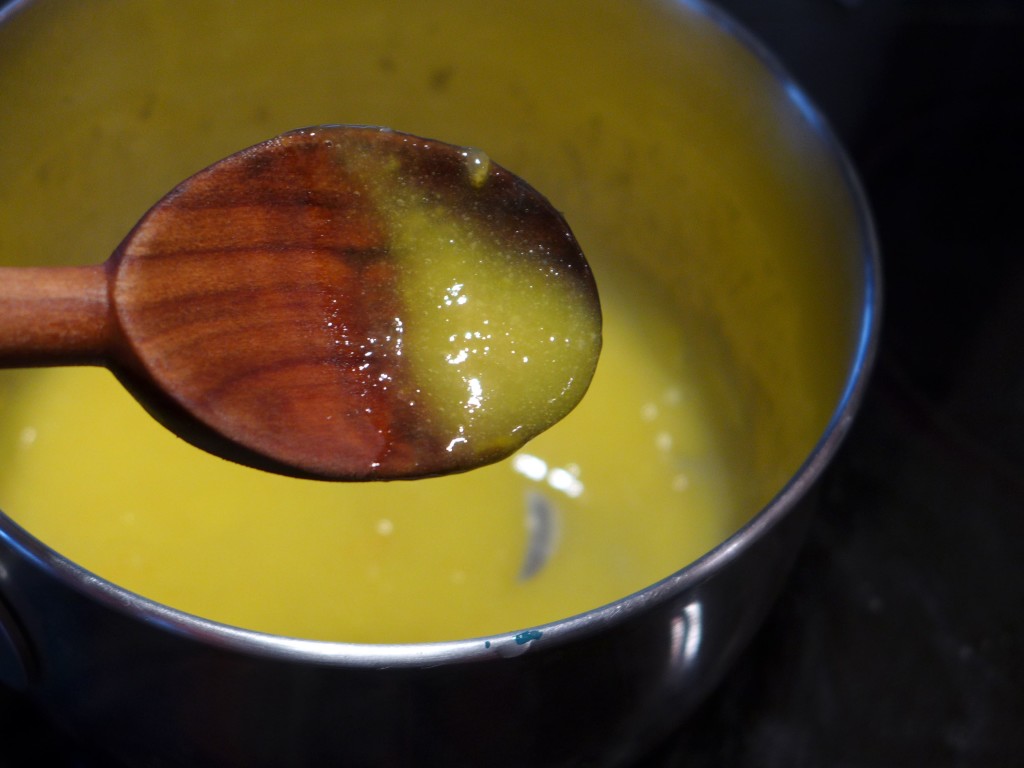
  2. Cook the mixture over medium heat stirring constantly and making sure to scrape the bottom and sides of the pan. Continue cooking for about 5-7 minutes or until it's thick enough to coat the back of a wooden spoon.
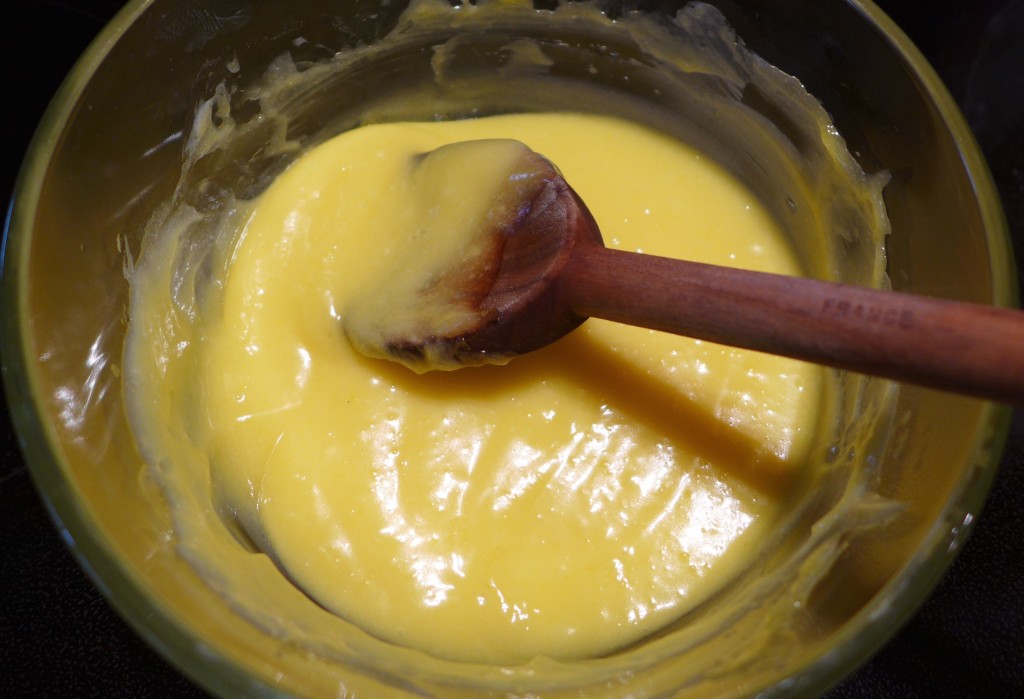
  3. Remove the saucepan from the heat, and begin adding the butter, one piece at a time. Continue stirring with the wooden spoon until the butter melts and the curd's consistency is smooth.
  4. Pour the curd through a fine-mesh sieve into a bowl or jar for storage. Place a layer of plastic wrap directly on the surface of the curd to stop a skin from forming as it cools.
  5. Refrigerate until completely cool before serving.
https://liveseasoned.com/lemon-curd/

Want to make orange curd? Just substitute the lemon juice and zest for orange juice and zest, and you’re welcome to use bottled orange juice.
liveseasoned_summer2015_lemoncurd3

liveseasoned_summer2015_lemoncurd4

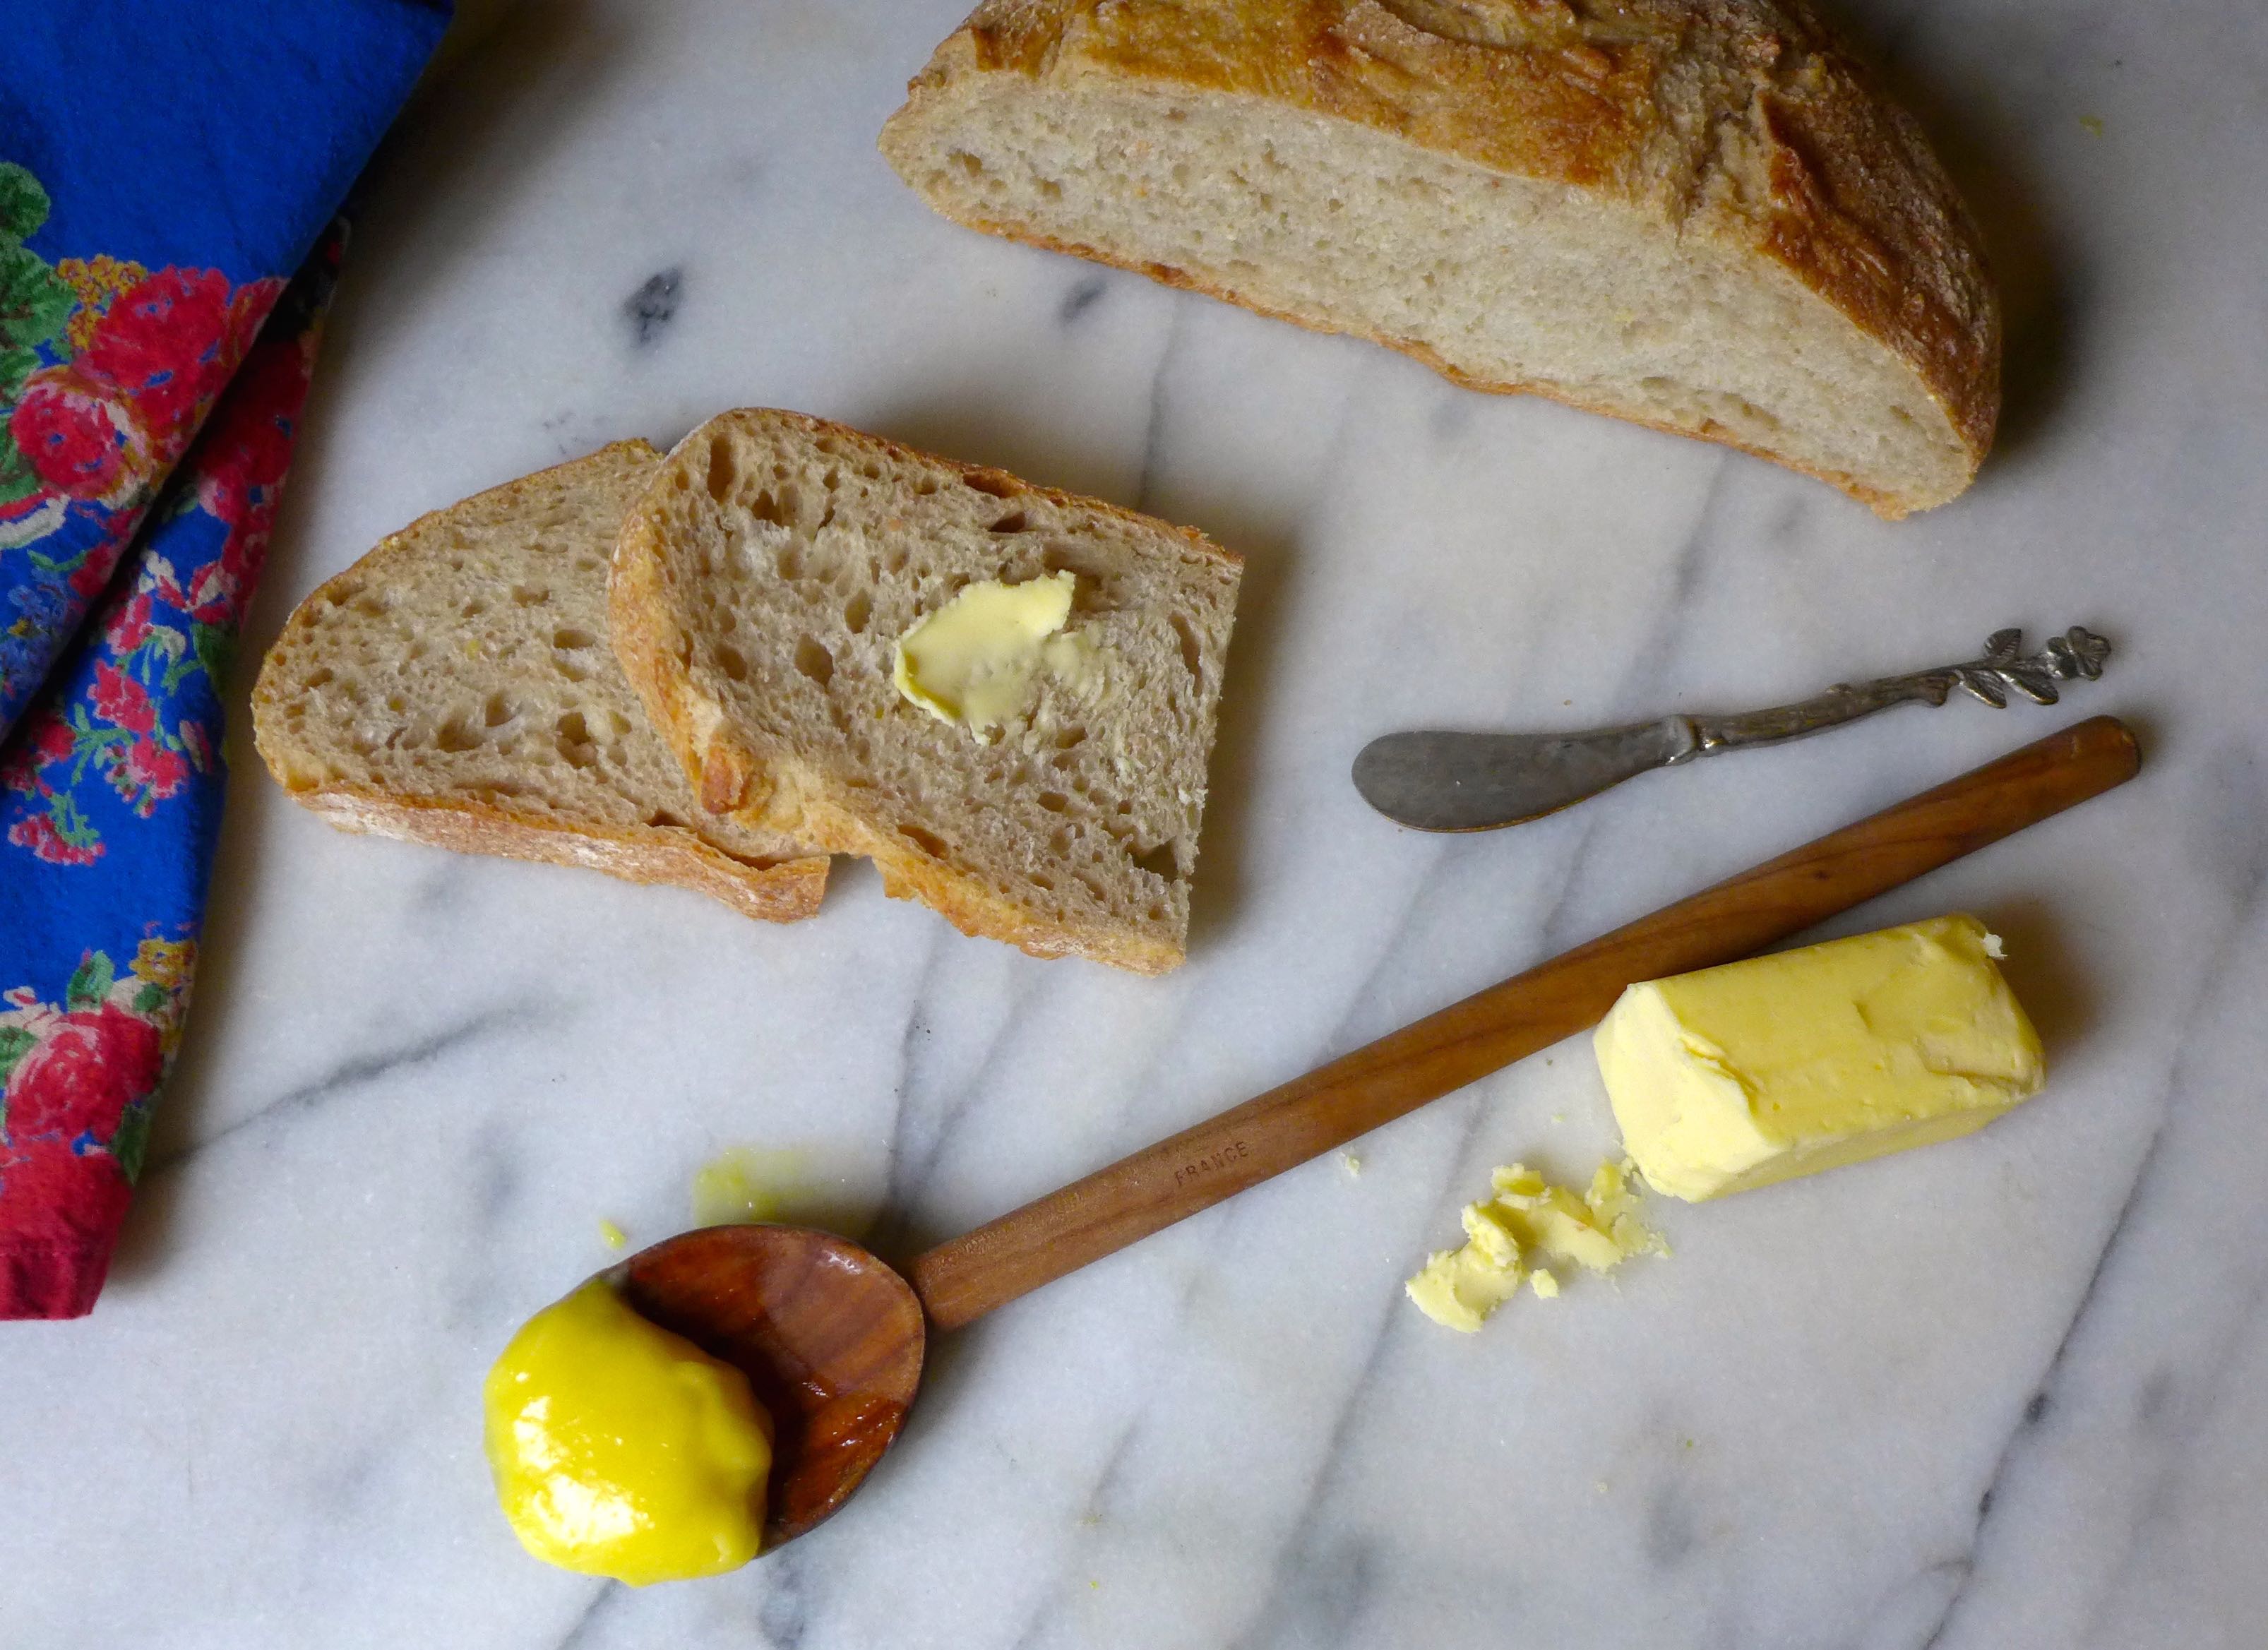
If you’ve never had lemon curd before, it has a sweet and tart lemon flavor and the consistency of a really thick pudding (I think that’s the best way to describe it?). I like to spread my lemon curd over toast with butter, but it’s commonly used in a variety of desserts. You could put it between the layers of a cake as we did for the wedding. Use it to fill a tart shell. Serve a dollop over ice cream. Stir it into some cottage cheese for a mid-day snack. Eat it by the spoonful.


Creamy Cashew Fruit Dip

Nuts are our ingredient of the season. We’ve been using them for sweetsdrinkssnack bars and savory condiments!

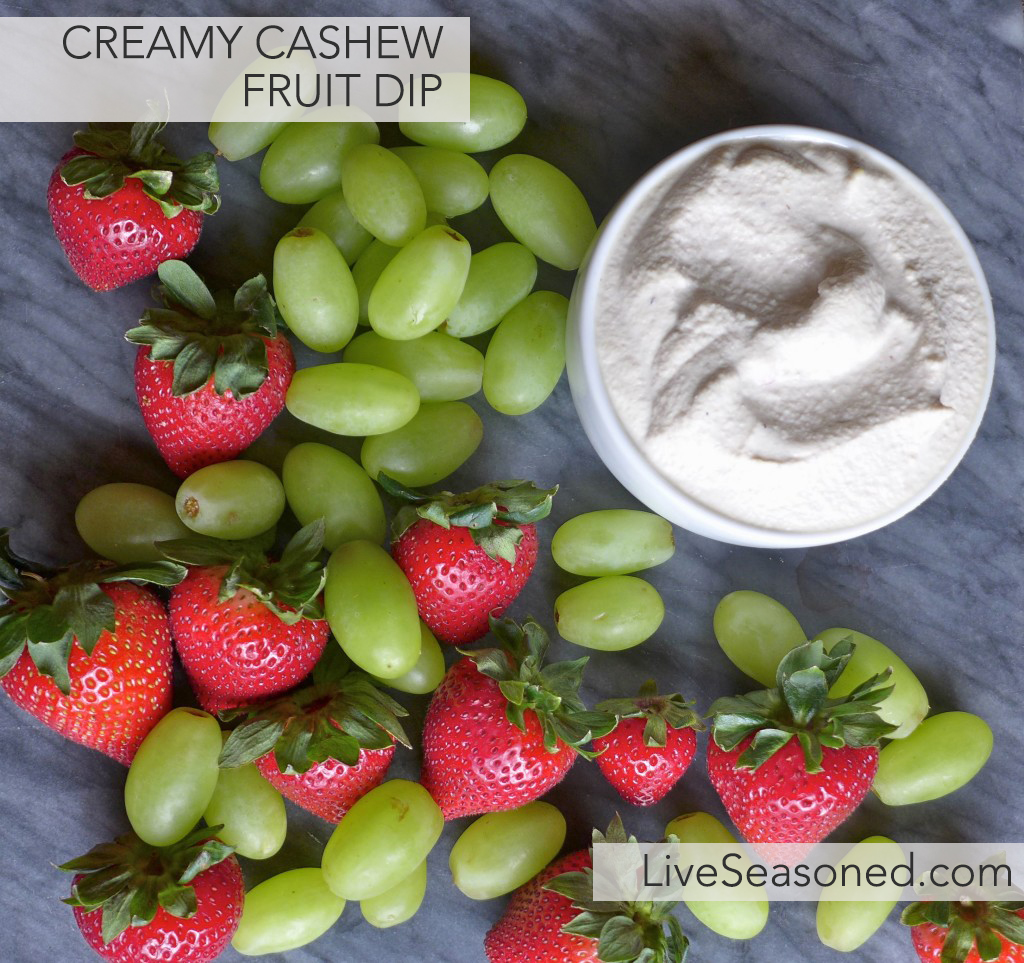
Yesterday was the cake, and today we’re going to share a recipe for the cashew cream that we served at the party. If you’ve been paying attention, then you’ve noticed that we published a cashew crema recipe last week. Today’s cashew cream recipe is very similar, but rather than a savory condiment, this is a lightly sweet dip that’s perfect when paired with fruit.

liveseasoned_spring2015_cashewcream5-1024x963 copy

First an aside : two weeks ago while Sarah was visiting, there were many moments when our response to someone or our contribution to the conversation was exactly the same (wether we were responding with a grunt, a laugh, an “ooh”, or with actual words like “no way”). It was equally hilarious and spooky. And our cashew cream recipes are yet another example of us wanting to do the exact same thing at the same moment, let’s ignore the fact that it involved nuts and our mom would suggest that we’re both a bit nuts. 

Continue reading

Cashew Lime Crema and Sweet Potato Fries {Vegan Option}

Nuts are our ingredient of the season. We’ve been using them for sweetsdrinks, snack bars and savory condiments!

liveseasoned_sp14_limedip-2

Happy Monday errrrr Wednesday!  We’re not the type to make excuses, but we’ve been busy!   This past week I spent my days in Boulder with Katie, Calder and their two boys.  It was such a blast! I can’t even think about all the fun I had or I might cry.  I’m not sure when my tears started flowing so freely, but I cry A LOT these days.  Usually it’s about happy moments or cute videos, but sometimes I tear up when people win on Wheel of Fortune. Yeah, what the hell is happening to me?! Anyway, when I think about how much fun I had this past week and how cute the kiddos are and how far away we live from each other I want to cry, but I won’t because I’m in control, right? Right.  

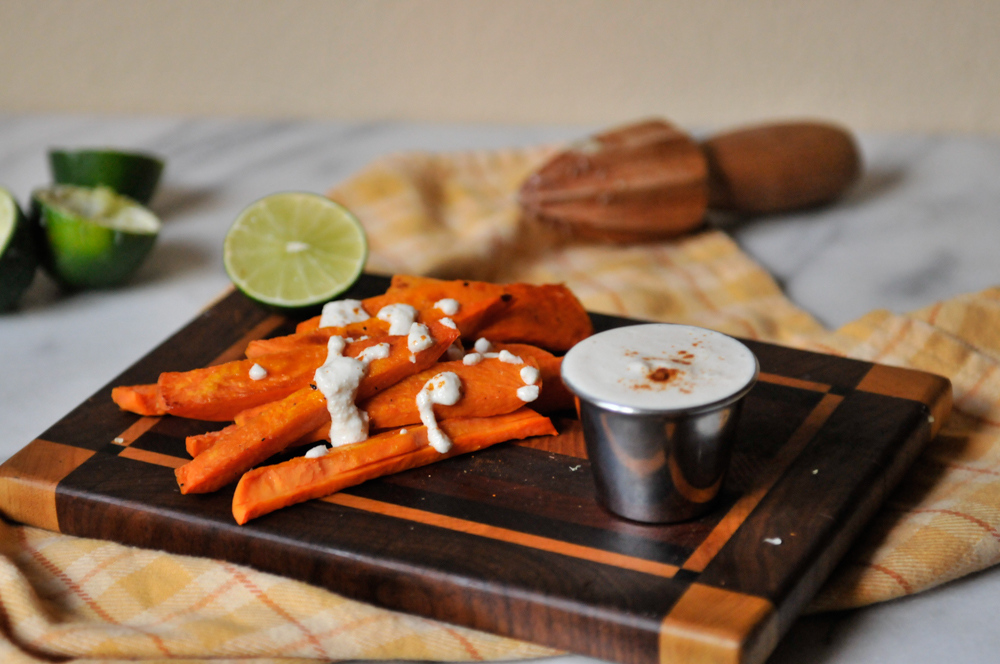
If you want to feel in control like me, you’ll totally make this lime crema because it’s the easiest and tastiest dipping sauce on BOTH sides of the Mississippi and as you’re shoveling spoonfuls into your mouth you’ll think “Holy cow that was easy. I rock. I’m a cuisine queen. I’m in control of my supper and my life.” At least that’s how my thoughts played out as I was dipping my sweet potato fries.   Oh and lime crema is adaptable too!  It’s basically an equation: cashews, liquid, salt and seasoning.  That liquid could be any type of milk, vegan or not, or you could use water; I promise it will taste just as creamy with water.  It’s amazing. Don’t ask questions.

liveseasoned_sp14_limedip-5
Continue reading

Rosehip Jam

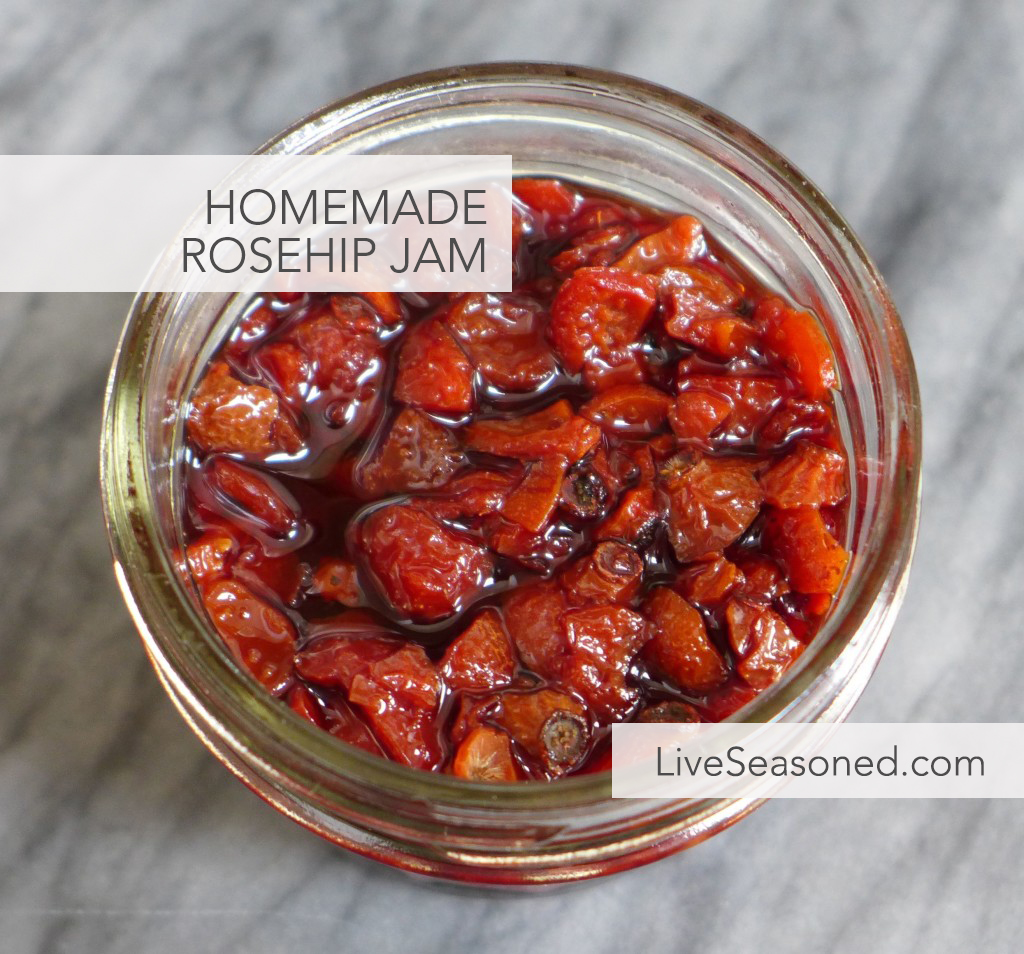
While roses and treats are synonymous with Valentine’s Day, we wanted to turn that tradition on its head by suggesting you make a sweet rosehip jam instead! Plus, you can get around those thorny environmental and social impacts by skipping the bouquet this year. And, if you’re about to tune out because we’re suggesting making a jam, hang in there because this jam contains only two (2!) ingredients and doesn’t require any cooking. It’s that easy, folks. liveseasoned_w2015_rosehipjam4-1024x954 copy

Continue reading

Crockpot Apple Butter

Apples are our ingredient of the season, so far we’ve covered a variety of baking and drinking recipes. Today it’s all about the condiment!

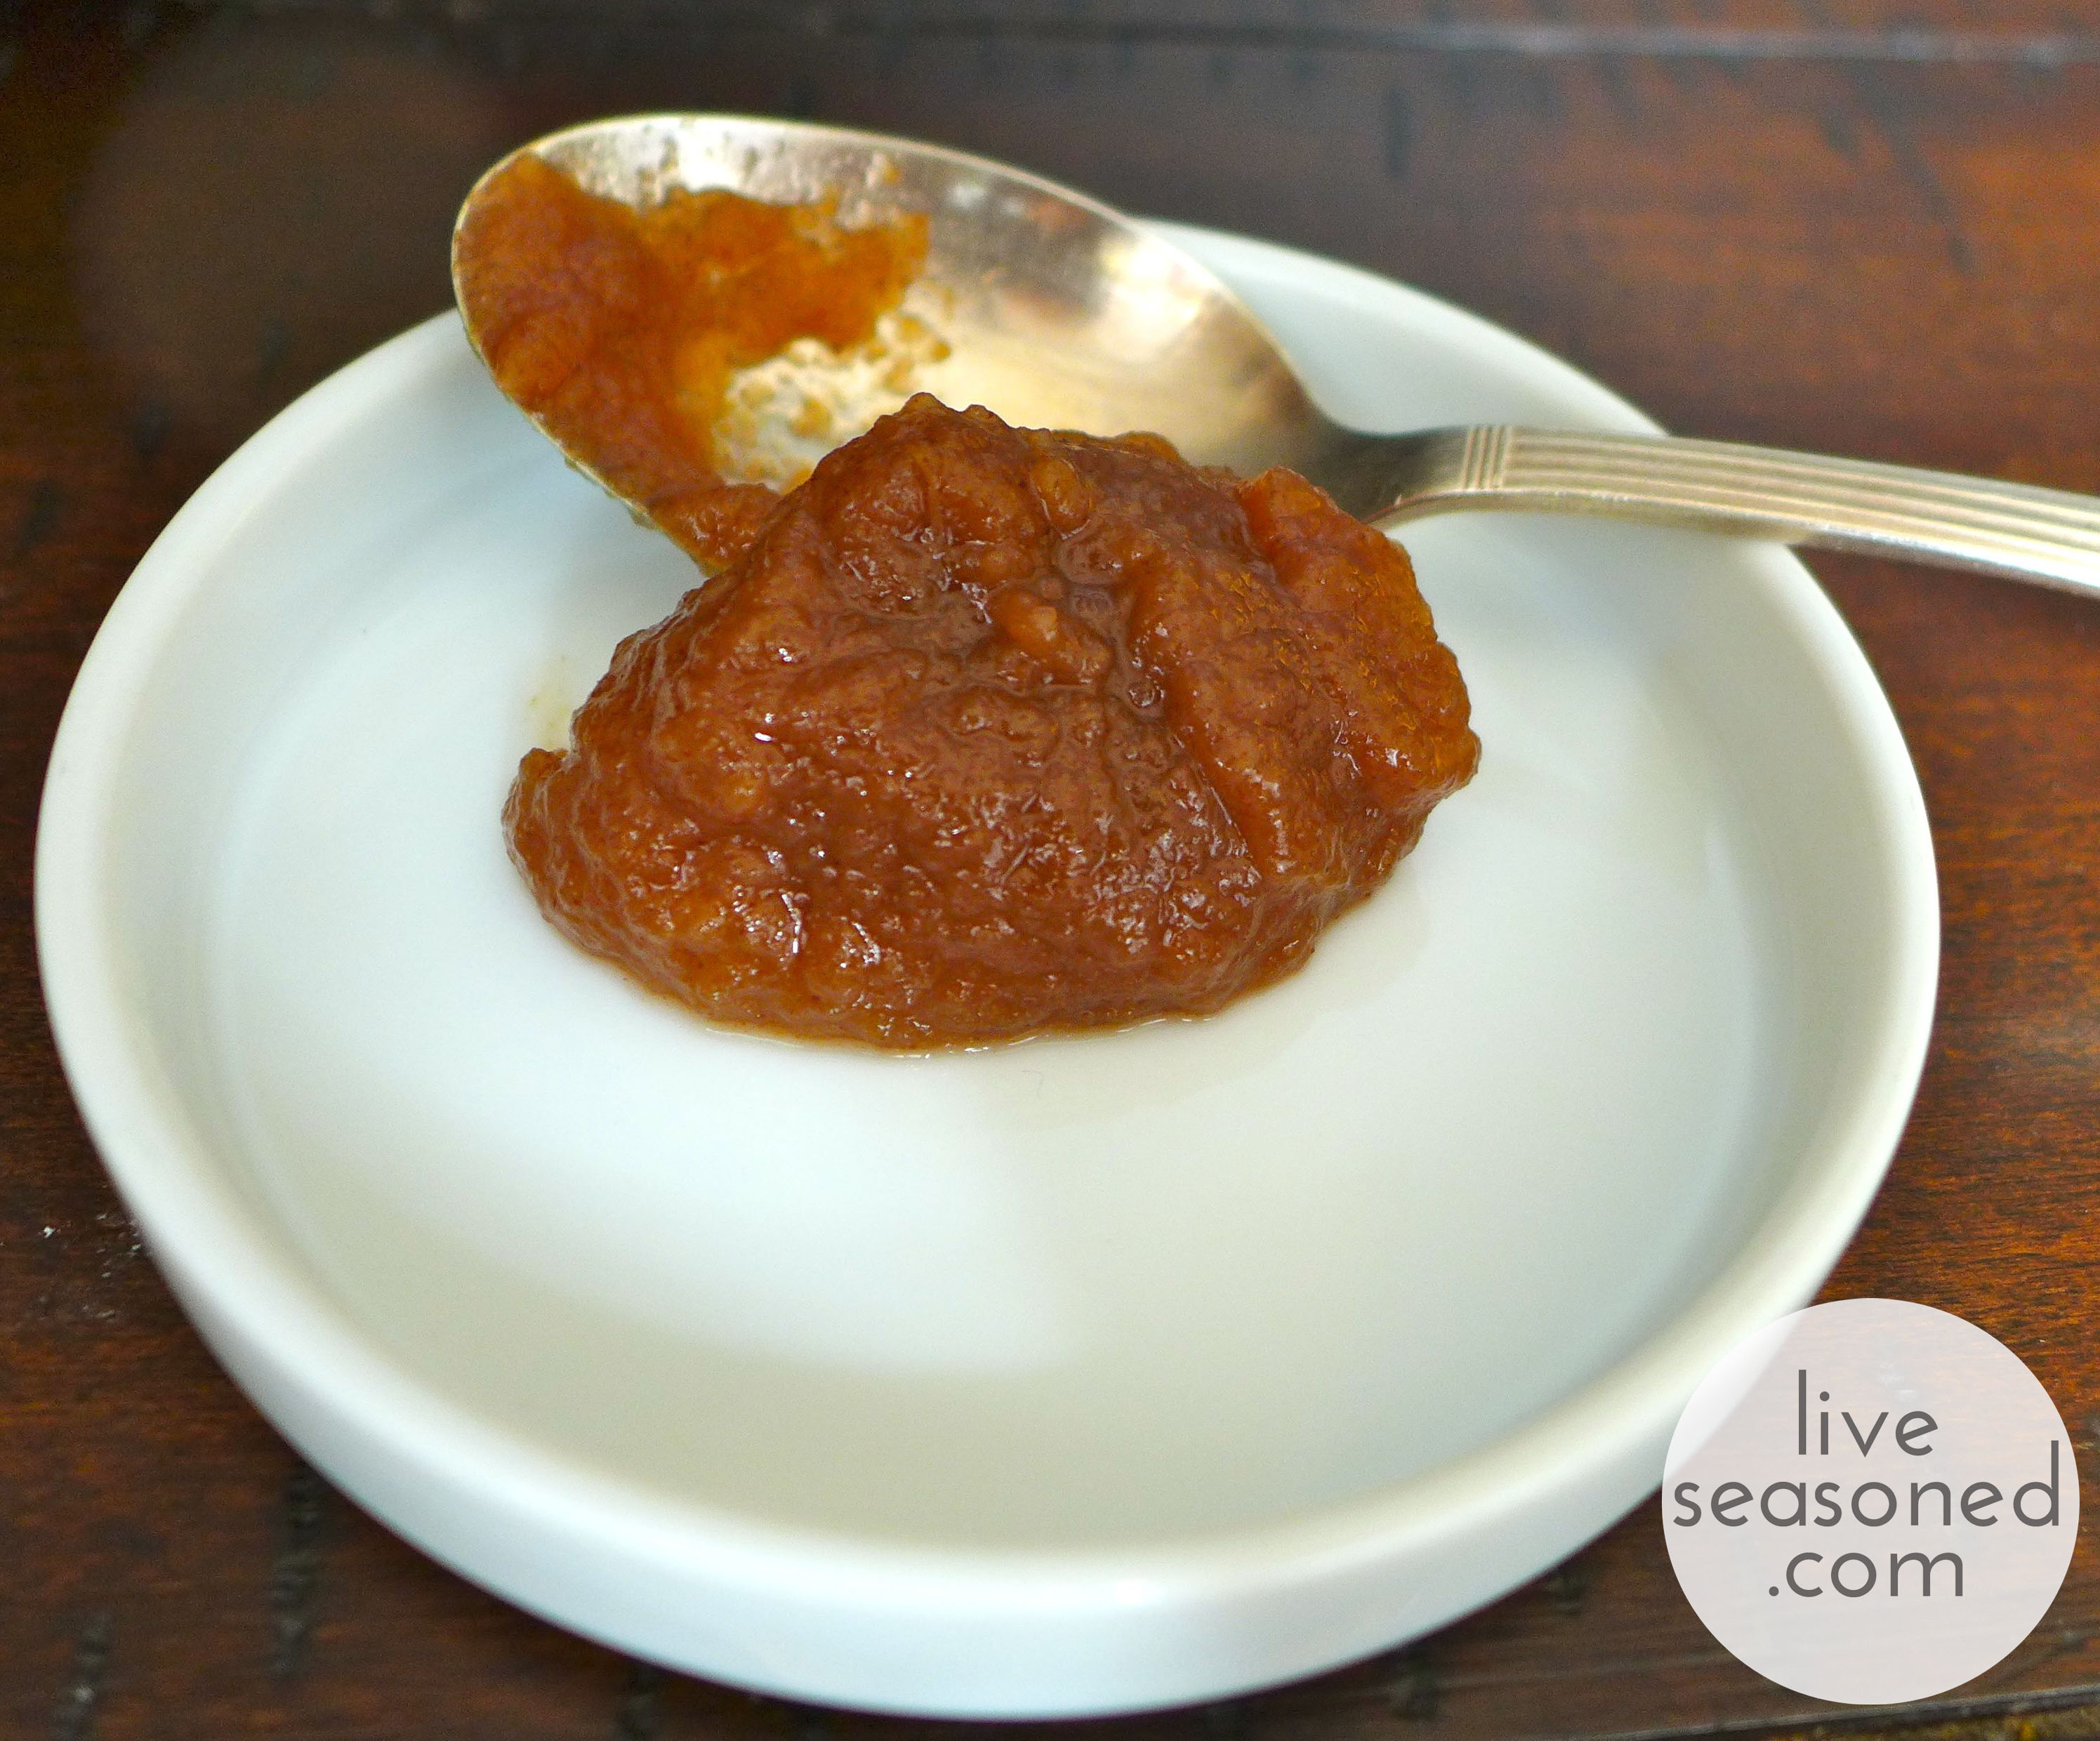
Have you tried apple butter yet? Apple butter is a more concentrated form of apple sauce, taking all of fall’s best flavors and turning them into the perfect little condiment. It was originally developed as a form of preserved apples that would last longer than apple sauce because of its higher sugar content. If you’ve never had it, it may be because it’s more of a regional food. Apple butter was developed in Germany and the Netherlands, making it a more popular condiment in regions of the US that were settled by people from those countries, particularly the Amish. If you haven’t had it, I encourage you to seek out a jar (or jump in with both feet and make our version below) ~ it’s soooooo good! Stumped on how to eat it? The spread is often eaten with bread, but I’ll share a few more fun ideas below.

I have to admit, two weeks ago when I was making this batch of apple butter, I was exhausted and little A was squawking because he wanted to go outside, making me question why I wasn’t just running to the store to pick up a commercial jar. But I quickly had a change of heart. Other than the hour of peeling and chopping, this butter required so little work, that I’m solidly convinced it’s worth the effort, especially since I can tailor the recipe to my wants, being sure to buy organic apples, lowering the sugar, and upping the spices. Plus, the concentrated apple and spice flavor is such a perfect condiment for the season, and that’s what we’re all about!

I have made apple butter many times, and never the exact same way, but every time it turns out delicious. I’ve made batches that started with 40 lbs of apples all the way down to this measly batch that started with 4.5 lbs. I’ve also made it in an electric roaster, an electric frying pan, and a crockpot. I’ve found the crockpot to be the easiest, but use what you have! That’s all to say – this particular condiment is so forgiving. As long as you start with a big pile of apples and allow them to cook down slowly with a touch of spices, liquid, and sugar, you’ll end up with something delicious. I promise.

liveseasoned_fall2014_applebutter2_wm

 Ingredients

Recipe makes approximately 5 cups of apple butter.
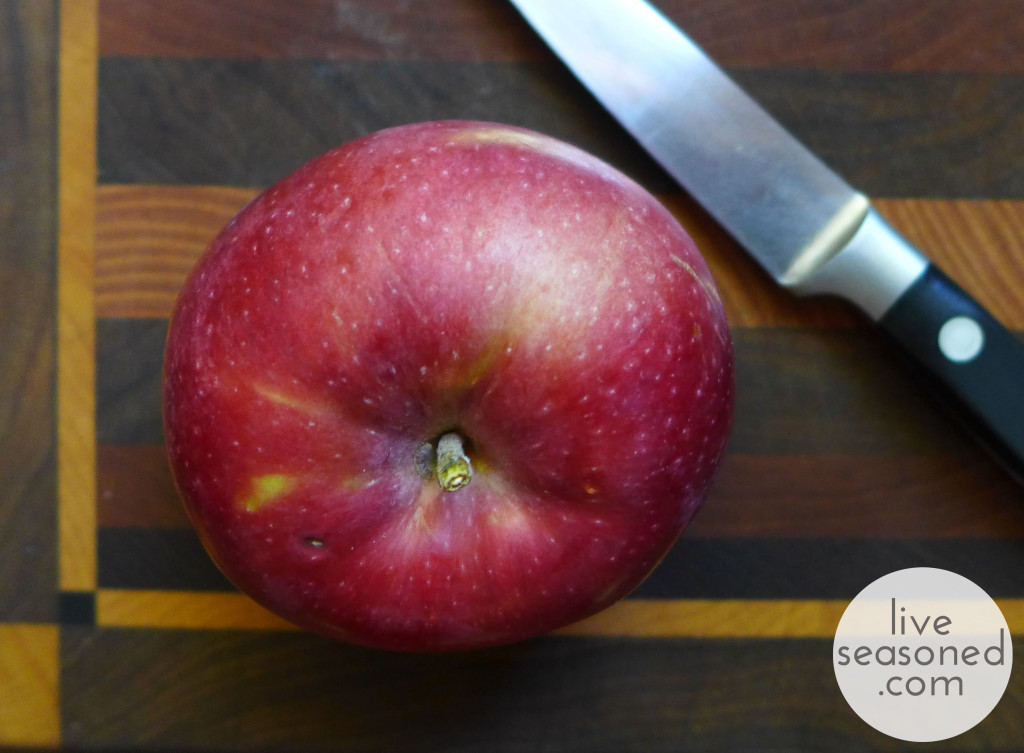
  • 4.5 pounds of McIntosh Apples, peeled, cored, and chopped
  • 1 cup brown sugar
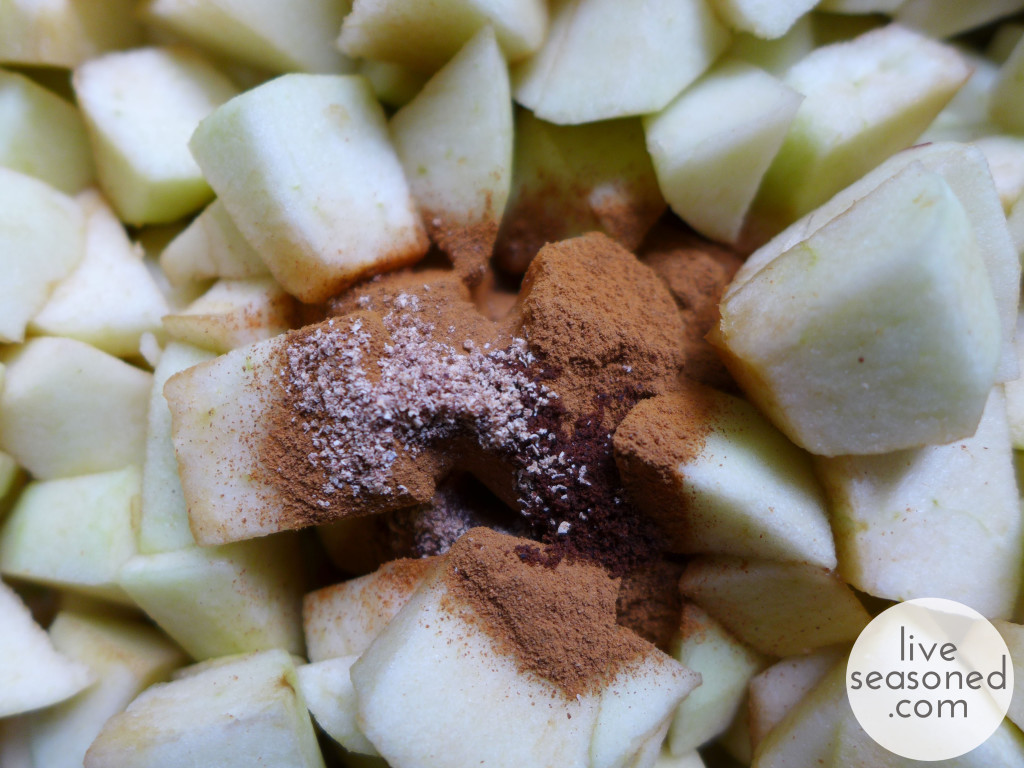
  • 1 tbsp ground cinnamon
  • 1/2 tsp ground nutmeg
  • 1/4 tsp ground cloves
  • 1/4 tsp salt
  • 1.5 cups water (or you could substitute apple cider for half or all of the water)
liveseasoned_fall2014_applebutter3_wm

How-to

  • Mix all ingredients together in your slow cooker and put the lid on, but leave it slightly ajar to allow steam to escape.
  • Turn it on high for 3 hours, at the end of three hours give it a good stir and assess the pot. If there’s a lot of liquid, you could keep it on high for another couple of hours before turning it to low. If the apple butter is more concentrated, you can turn it to low immediately and let it cook for an additional 4-5 hours (or longer) until you reach your desired apple butter consistency. You can even remove the lid in the last few hours of cooking if you want to let more steam out, but as your butter nears the end, be careful to stir it and watch for any signs of burning (this is less of an issue if the lid is partially on, slowing the evaporation).
  • When your butter is done cooking, let it cool. I do this with the lid off to allow for that final dose of evaporation and concentration. Transfer it to a container and refrigerate.

Tips and Tricks

  • Use a wire whisk for all of your stirring. It’s a great way to break up the apples and get a smoother consistency than if you use a spoon.
  • If you have to leave the pot for while at work, just start with the crockpot on low for that time. Similarly, some people will start their butter at night and let it cook on low while they sleep. After 8 or so hours, give it a good stir and then you can always turn it up to high for a few hours if there’s still a bit of liquid in the pot (I’ve made apple butter while at work and it’s always turned out fine).
  • If you’re unsure about when it’s finished, you can scoop out a bit on a spoon and pour it onto a plate – if it holds its shape and doesn’t become a pool of liquid, then it may be done.
  • If you feel like the liquid is evaporating too fast and your apples aren’t cooking down and creating that caramelized brown color, then you can always add more liquid! This was the case for me when I was making big batches in the electric roaster, with such a large opening, it would let out a lot of steam (unless I had the lid positioned just right). Just add a cup at a time, stir it in well, and let the mixture continue to cook.
  • As I said, I’m prone to using less sugar and more spices than other recipes may call for. Feel free to adjust those levels as you see fit. There really is so much wiggle room ~ I’ve really never had a bad batch!
liveseasoned_fall2014_applebutter10_wm

Serving Suggestions

This batch made 5 cups of apple butter. We’re currently down to about 2.5 cups, so yes, we have plenty of serving suggestions!

  • As I mentioned, it’s common to spread apple butter on bread. As with my jam, I like to spread on a layer of butter first and then the apple butter. It’s particularly good on bagels.
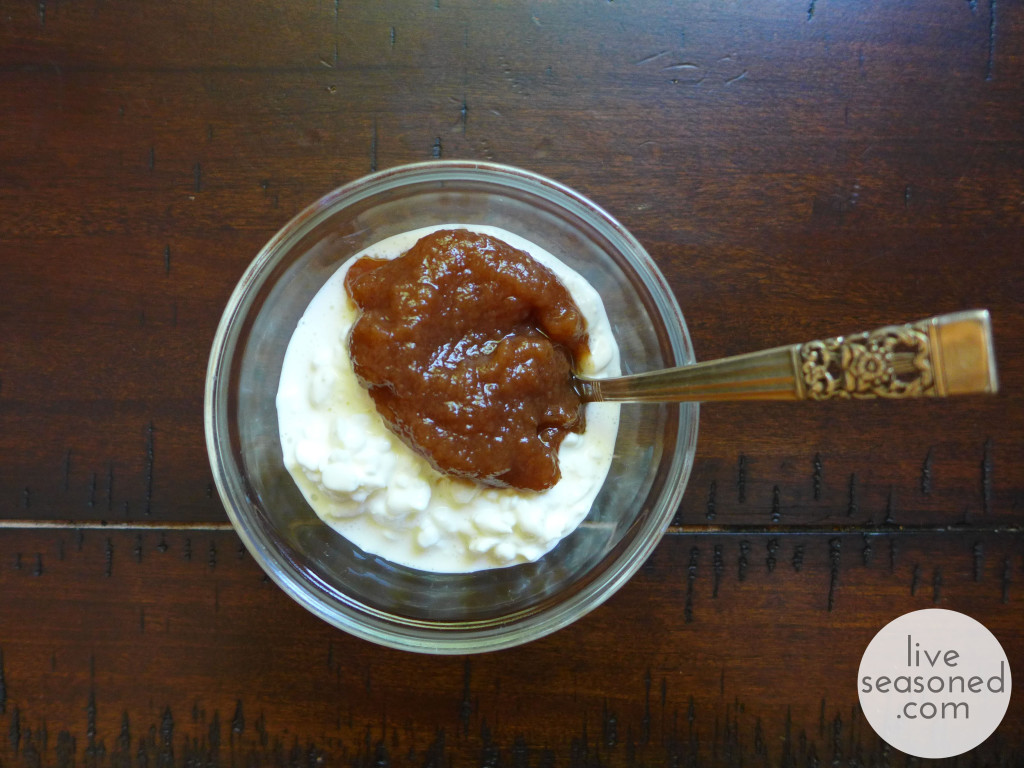
  • A very common way to serve apple butter in Amish communities is with cottage cheese. This is one of my favorite ways to eat it (and Alex’s too!). If you’ve ever eaten at a salad bar in the area around Lancaster, PA, it’s very common to see cottage cheese and apple butter next to each other in the salad bar (and now you know why!).
  • Similar to cottage cheese, I like to stir some into plain yogurt.
  • Last weekend we added a spread of apple butter to our Saturday morning crepes with ham and cheddar cheese (Calder’s figured out a super easy way to use Bisquick for crepe-making, we’ll have to share the recipe soon!).
  • When we had some dinner guests last week, I added a ramekin of apple butter to the cheese plate. It was delicious spread on baguette with either brie or cheddar!
liveseasoned_fall2014_applebutter7_wm