Coffee is our ingredient of the season, and we’re slowly building up an archive of our favorite coffee recipes!
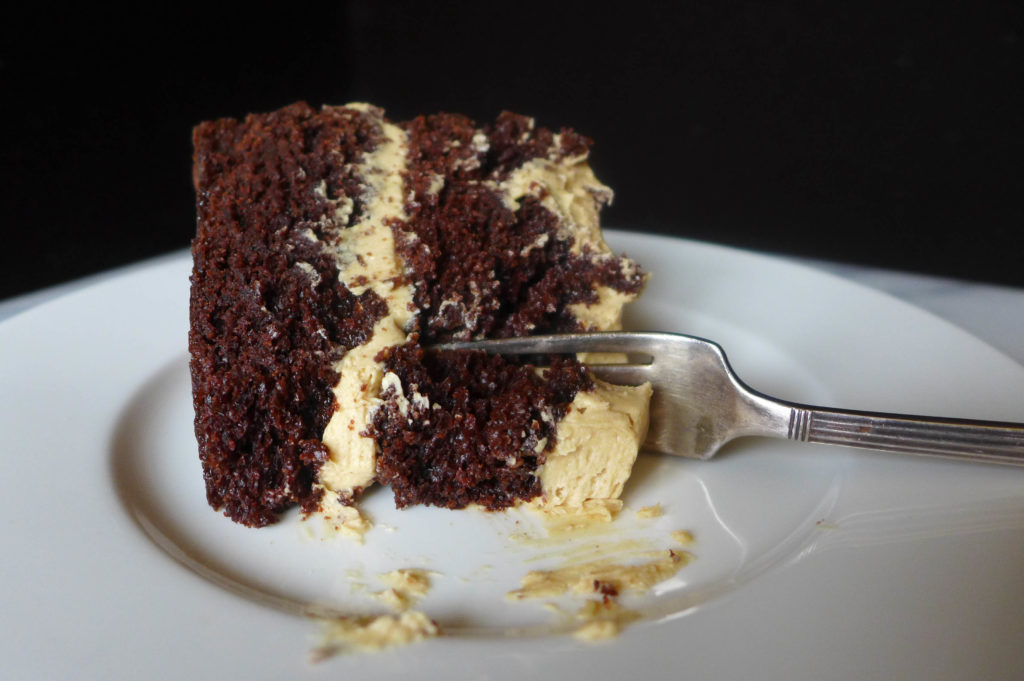
Yesterday was election day. Today we eat cake. Eat in celebration or to calm your frustration (it’s ok).

Yesterday was election day. Today we eat cake. Eat in celebration or to calm your frustration (it’s ok).
I love a good spice cake. In my book, there’s only one way to improve any good cake : make it portable! That must be why the whoopie pie was invented.
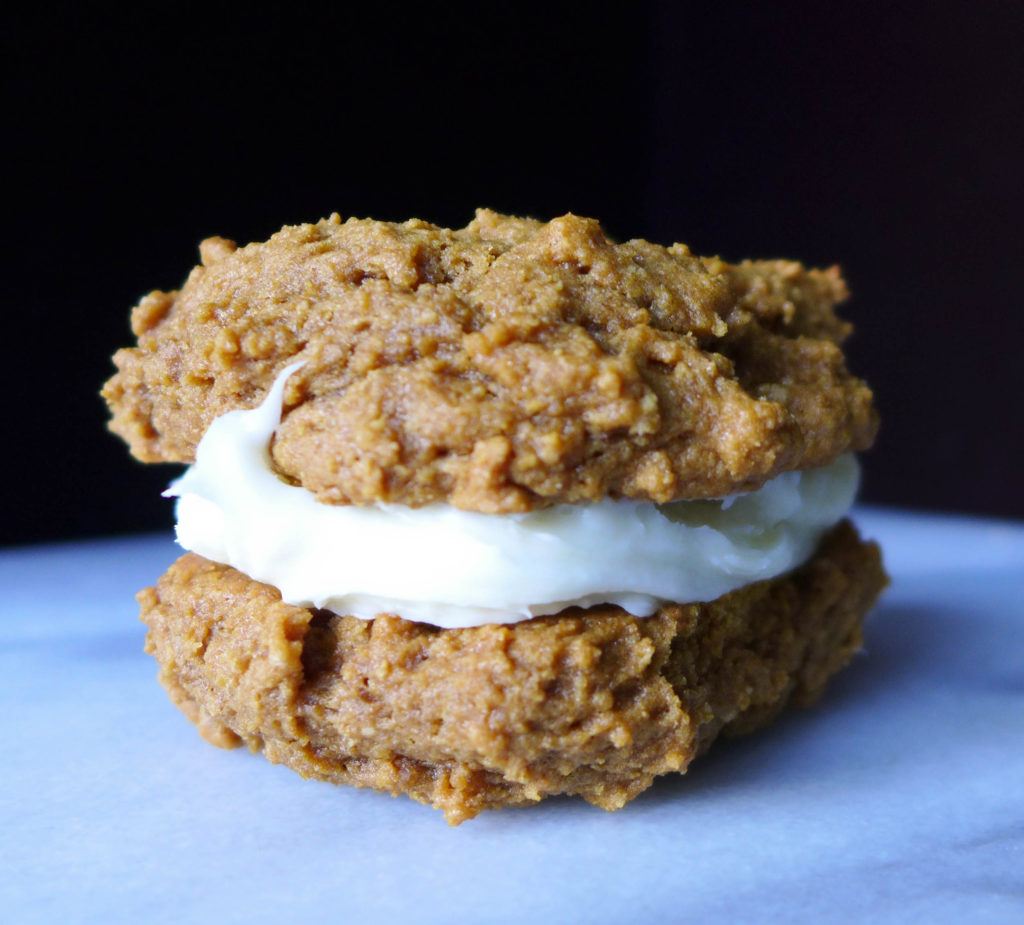
If you’re unfamiliar with a whoopie pie, let us introduce you. These are small treats made by sandwiching frosting between two small circular cakes. Most commonly, the cakes are chocolate and the frosting is vanilla, but I always felt lucky when I found a place selling the chocolate pies with peanut butter frosting!
Growing up in PA, it was common to see individual whoopie pies wrapped and for sale at farmer’s markets and near the cash registers of mom & pop markets. If you’re in Philly – stop into Reading Terminal and pick up a whoopie pie from the Amish stand. You can thank me later.

Today we’re sharing a recipe for ginger whoopie pies with cream cheese frosting. This recipe comes from the cookbook (appropriately named) Whoopie Pies. While this is still a fairly common whoopie pie flavor, that book is filled with a wide variety of cake and frosting options for mixing and matching.

Ingredients
Instructions
The cookbook comes with a candied ginger frosting recipe, if you want to go whole-hog with the ginger.
Personally, I love pairing these cakes with a simple cream cheese frosting. Beat together 8 oz cream cheese + 1 stick butter + 2 cups powdered sugar + 1 tsp vanilla. Spread a generous layer between two cakes.
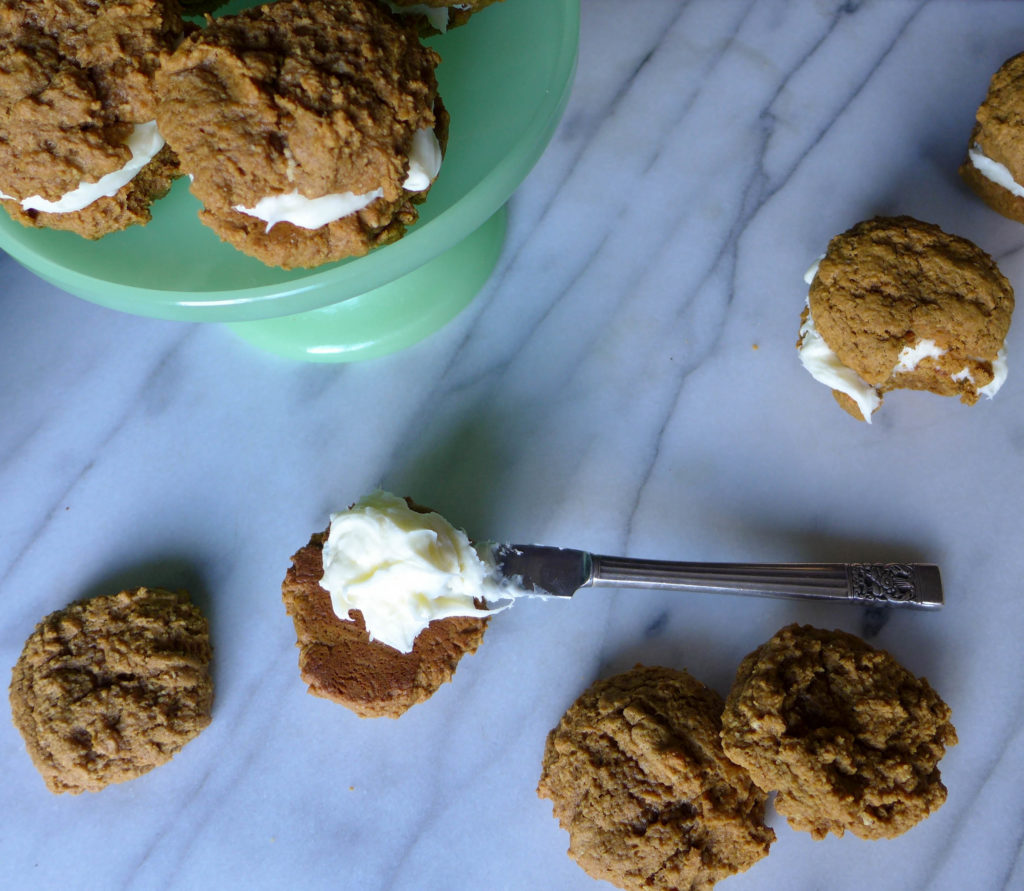
In my opinion, these are cakes that get better with age. Give them a few hours or even a day for the flavors to meld, and you won’t be disappointed.
As I mentioned, these are super portable cakes. We had a friend over last week that packed an extra one for the slopes… pass these out on the chairlift, and you’ll become a legend.
A few weeks ago, we woke up to our first snow of the season. If that wasn’t special enough, I thought that it was worth fully celebrating the day, and any celebration worth its salt requires a cake. That was the humble beginning of our “First Snow Cake”.
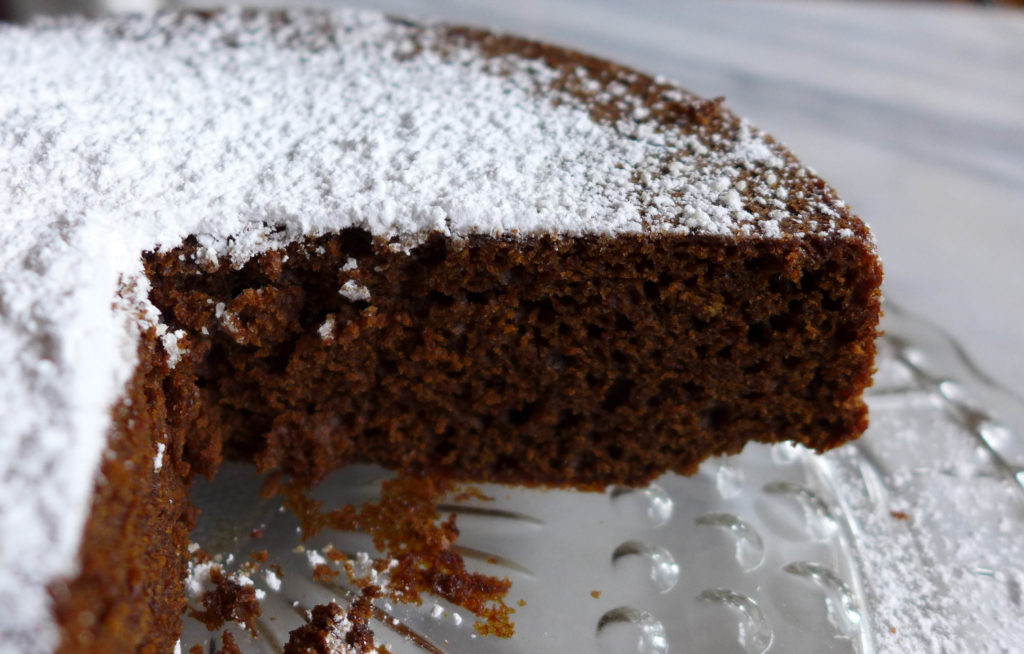
The base of our cake is a delicious ginger cake and it’s topped with a healthy layer of powered sugar snow. It’s a simple cake that’s easy to bake on a whim and should definitely be incorporated into your next snow day. The recipe and more thoughts on celebrating the everyday below. *I’m thinking that next year the cake has to be baked in this pan.
Right after Sarah and I picked vanilla as the ingredient of the season, this recipe for a double vanilla butter cake was published on A Cup of Jo, and I knew we had to try it! This cake is so delicious served plain, but we also enjoyed ours for breakfast with a side of berries and as an afternoon snack with a cup of coffee. Calder said that it reminded him of cakes he was served in Germany… and while I don’t have a specific example in mind, as soon as he said that, I couldn’t agree more, and was immediately transported back to my time there, having a snack on a train or stopping in to a little cafe for breakfast.
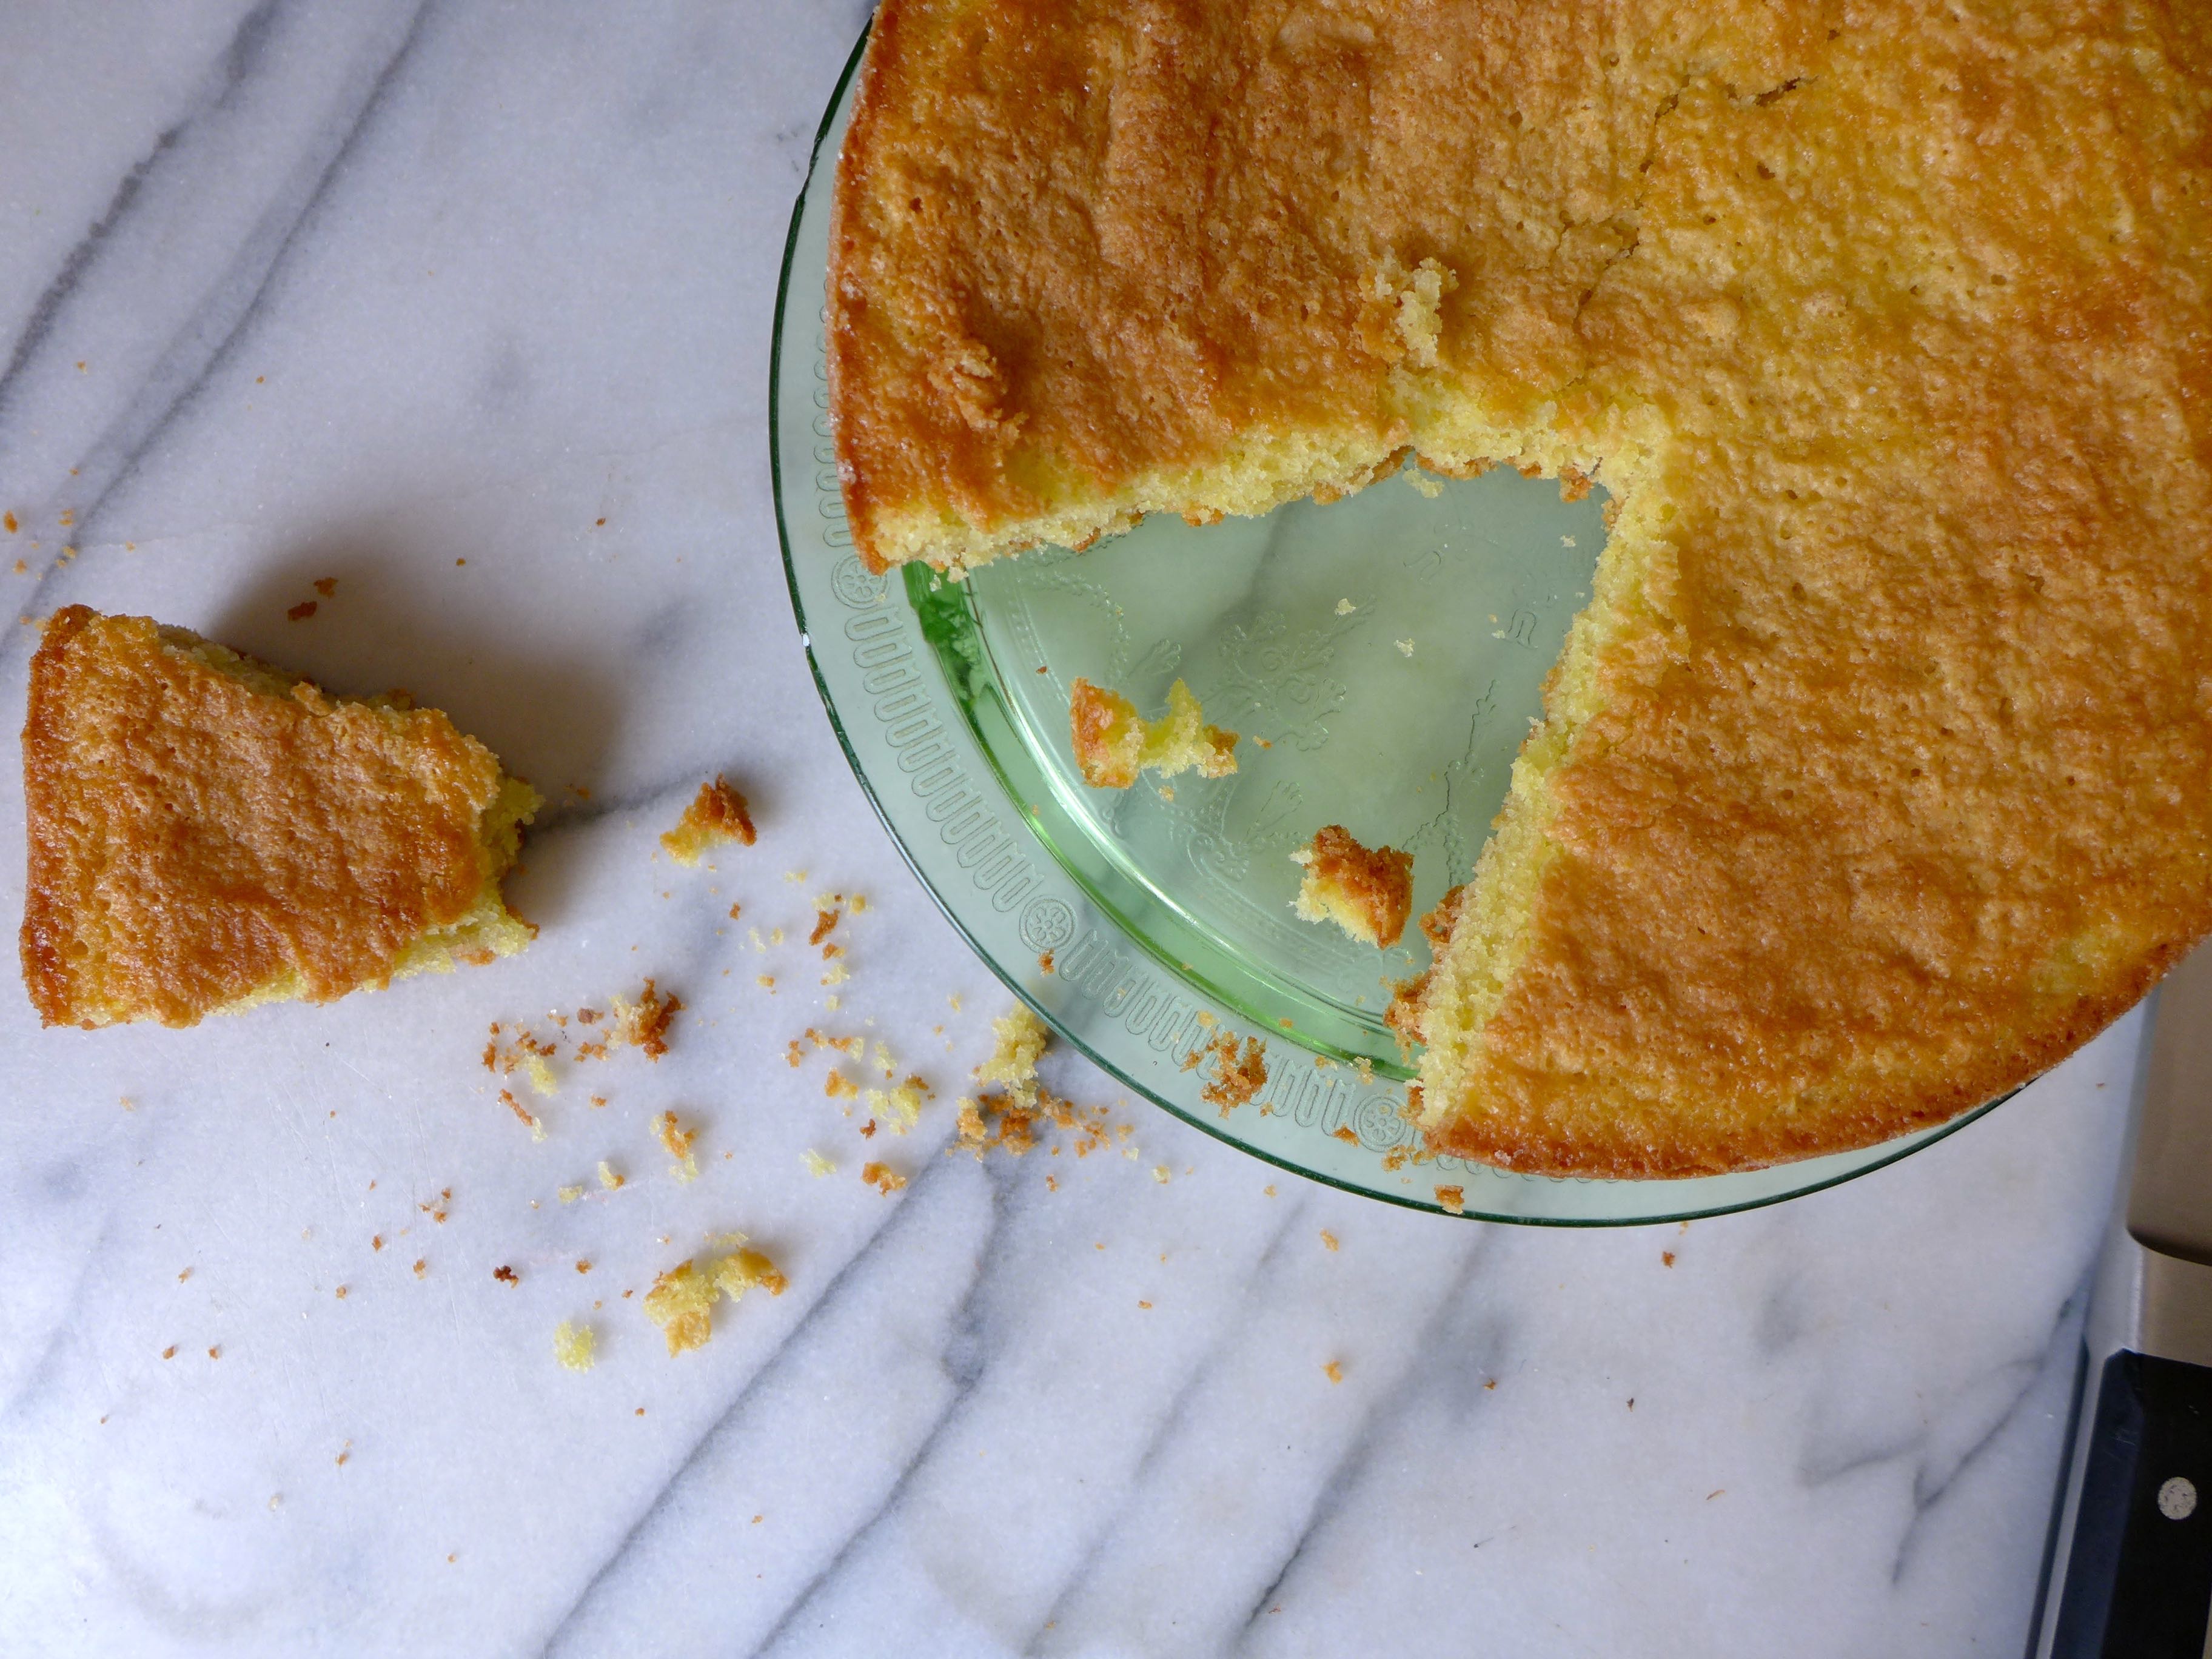
The original recipe called for both vanilla extract and vanilla paste, thus the double in its name. I didn’t have paste, and at first I wanted to make some, but after looking up a few different recipe and seeing that each one used different techniques, I felt unprepared to waste my precious beans on something I wasn’t sure about. Maybe I’ll do a bit more research and discuss vanilla bean paste in another post. Instead, I took the author’s advice and substituted vanilla extract for the paste, but then I used vanilla sugar (details at the end of the post) to dust the pan, keeping with the call for two types of vanilla.
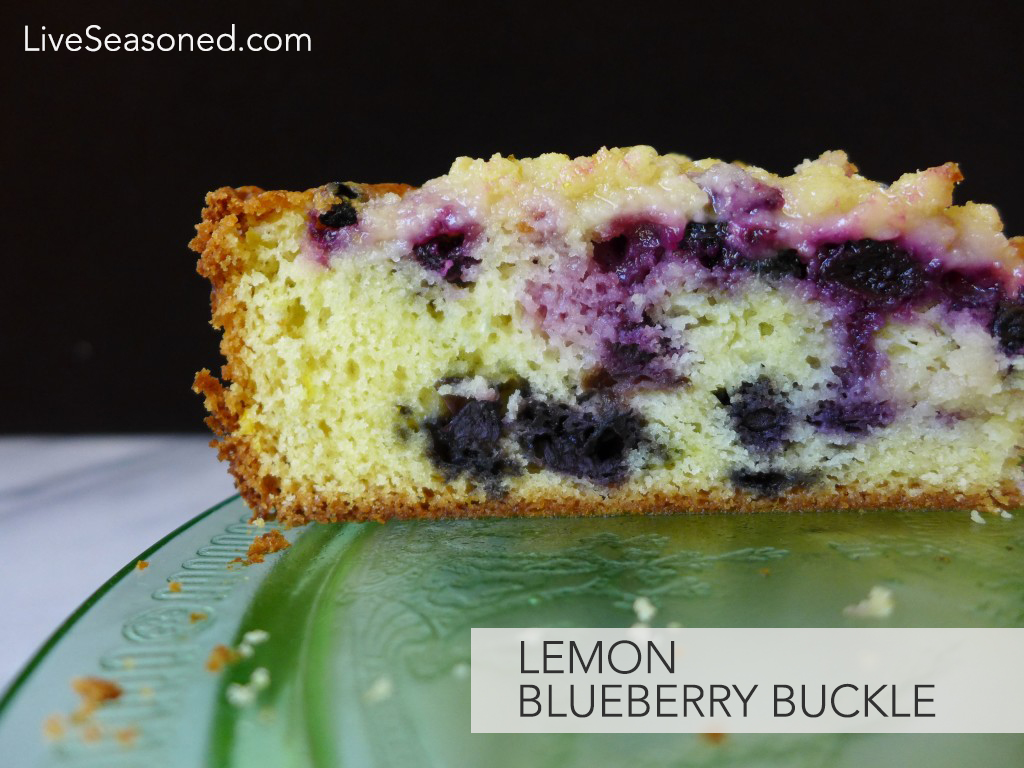
This past weekend we pulled together a last minute brunch at our place, and one of the things we served was this blueberry lemon buckle. Now that we’re fully settled in the new house, we want to do a lot of entertaining, especially during the summer months when we can have everyone out on the deck and the kids playing in the kiddie pool. To make entertaining actually happen, and to keep it stress-free, it’s nice to have a few reliable recipes, like this buckle, that you can make ahead. Don’t know what a buckle is? Read on to find out!
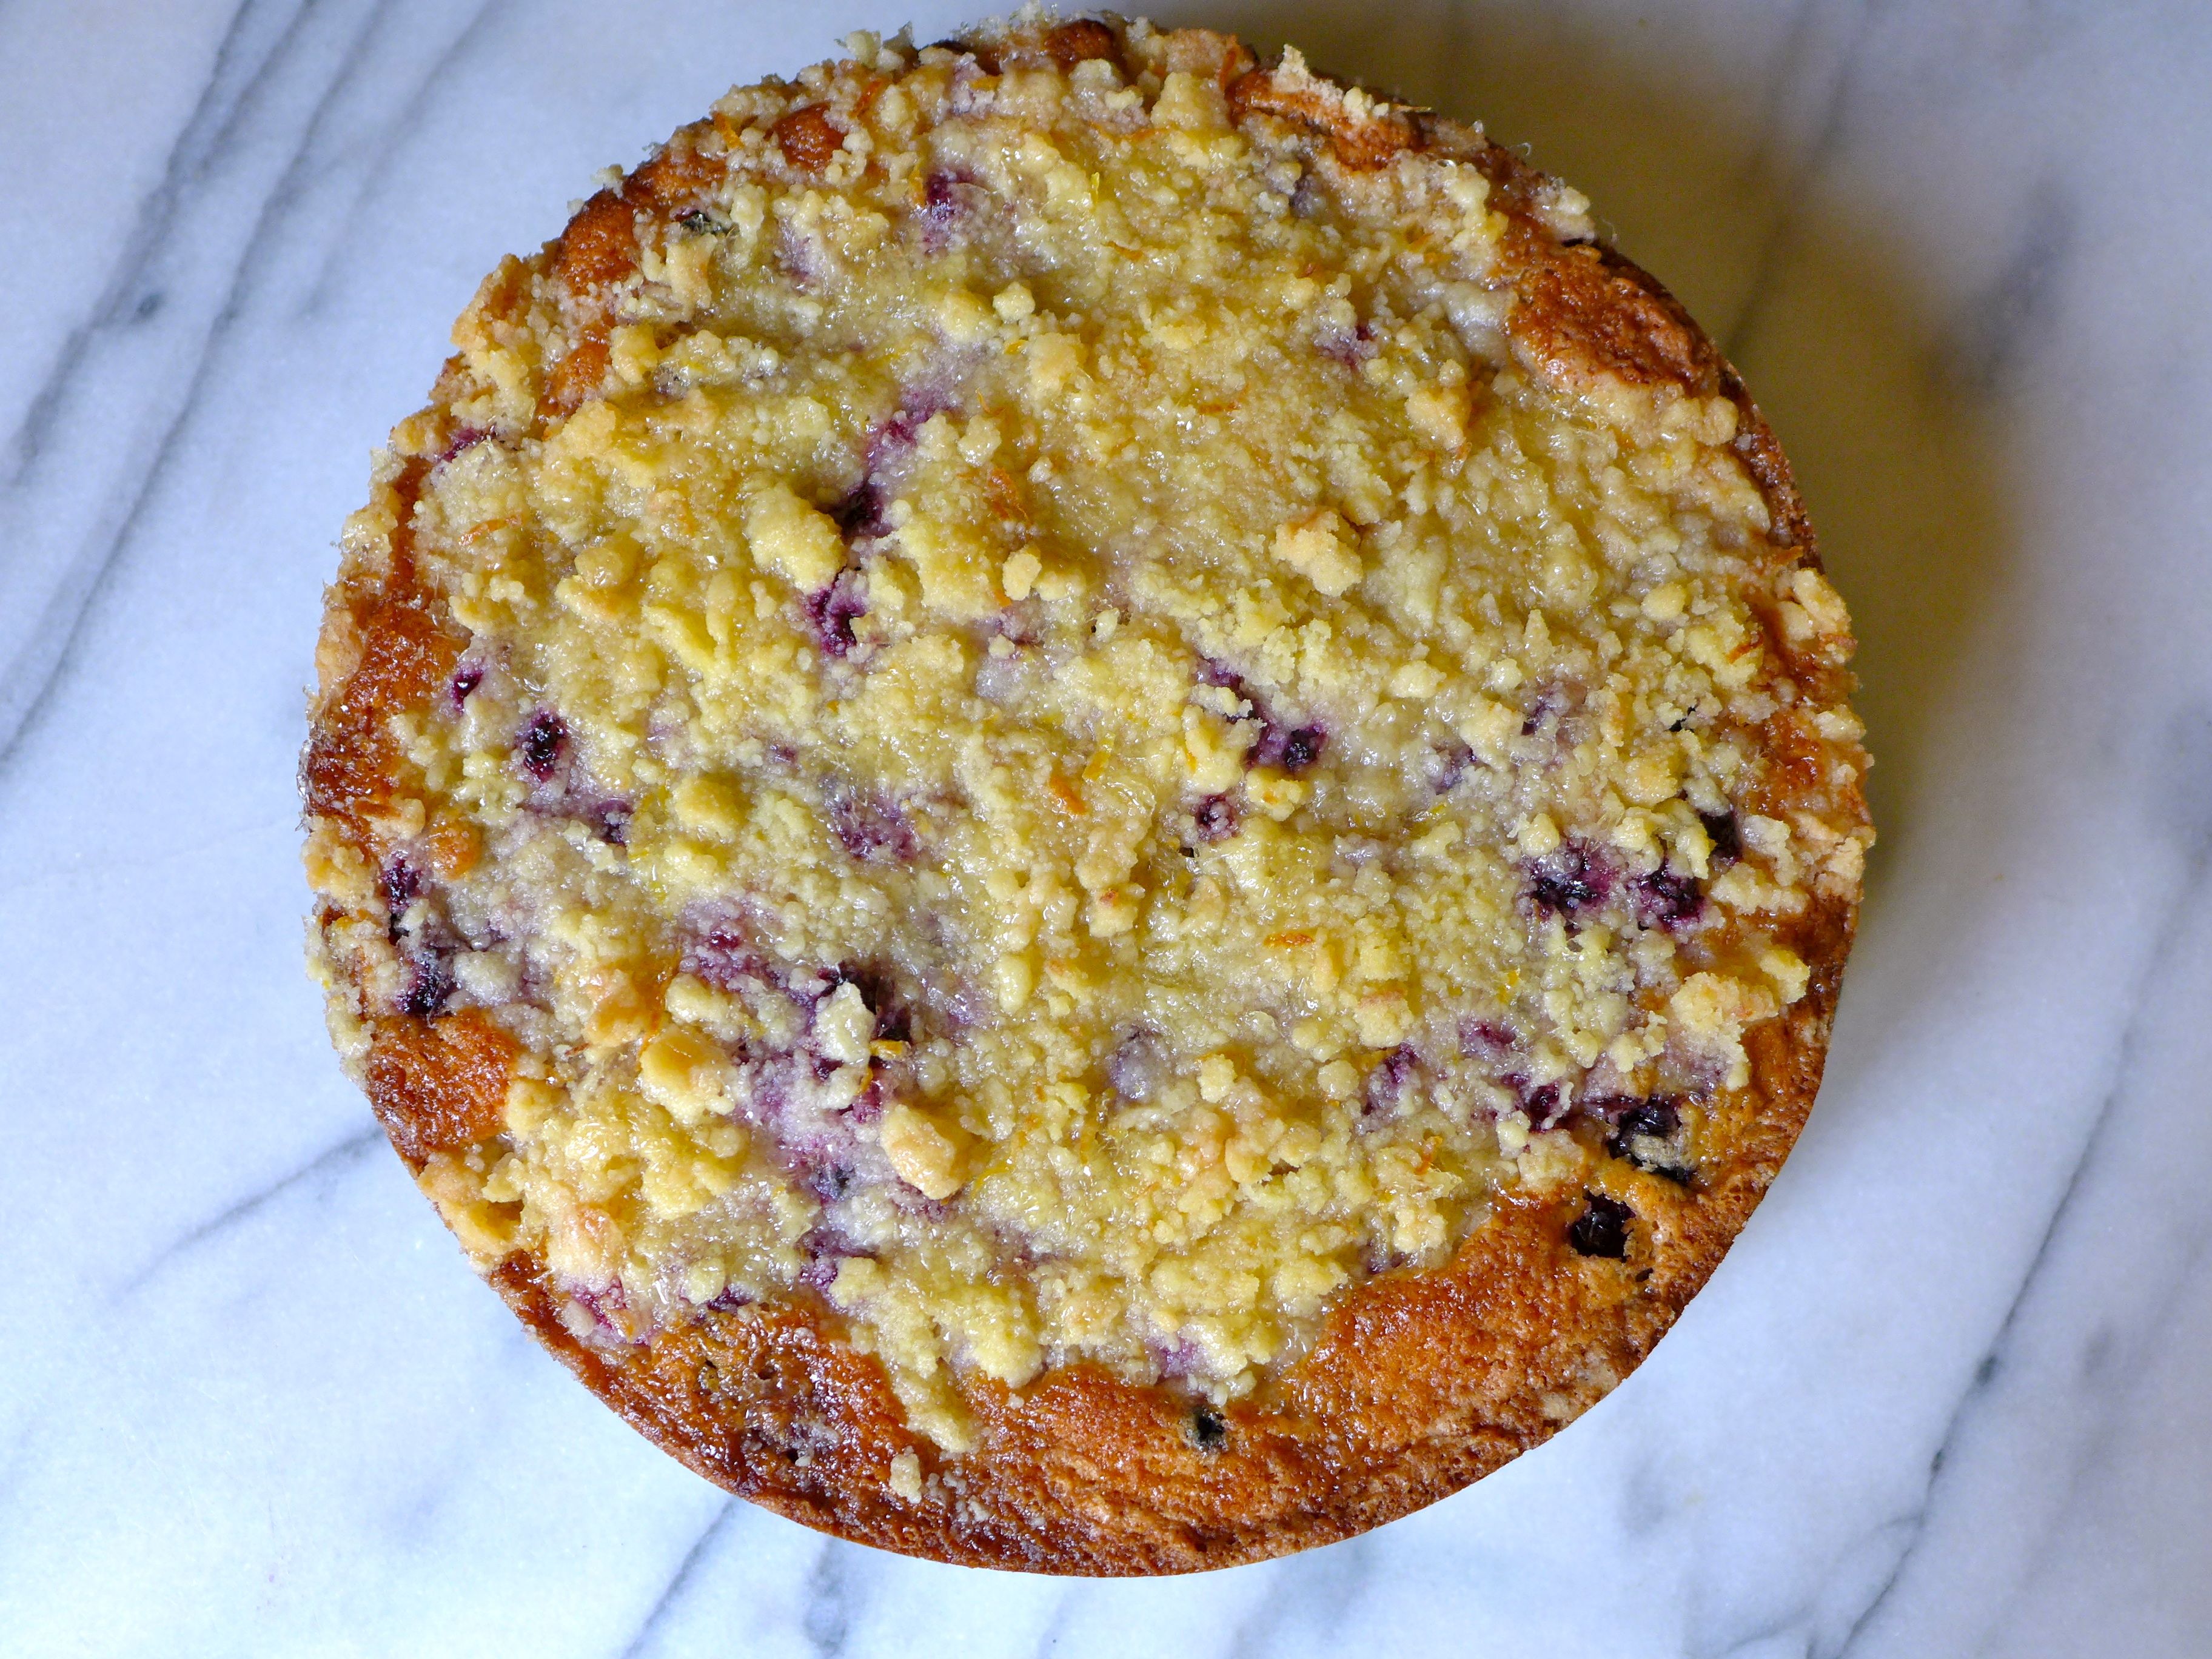
In my vocabulary, buckles are fruit-filled coffee cakes. You’ll commonly see buckles that call for blueberries as the fruit, but I was introduced to the buckle in Rustic Fruit Desserts, where my mind was blown by the variety of buckle options (rhubarb, apple, blueberry, and cranberry!). You really can have a buckle for each season. So far I’ve made the apple, cranberry, and blueberry varieties, but we recently discovered a rhubarb plant growing in our yard (no joke), so that will be next!
Alex turned two at the end of April, and the timing worked perfectly that we had a house full of family ready to celebrate! Since we weren’t inviting his super cute little friends, we didn’t bother to have a theme party. Plus, how could we pick just one theme for the guy who loves, in no particular order : kitty cats, anything with wheels (and wings!), dinos, tools, and speed? We could have gone with a bike-riding kitty cat holding a screw driver, but without including the dinosaur, why even bother, you know?

Even without a theme, I wanted to make a cake that the little guy would love. I also wanted it to be relatively simple. There are so many awesome ideas out there, just scanning Pinterest can put you into option overload. Want to see my kids’ party board? This is where I’ve become good at putting my blinders on. I have sense of what will excite Alex the moment he sees it, and that’s my first criteria in picking a cake. The second criteria is that it be simple, especially since I had my hands full this year. Once I found “the” cake, I stopped looking. And that’s that.
Oranges are our ingredient of the season. We’re filling our archives with zesty drinks, candies, crafts, and even cleaners!
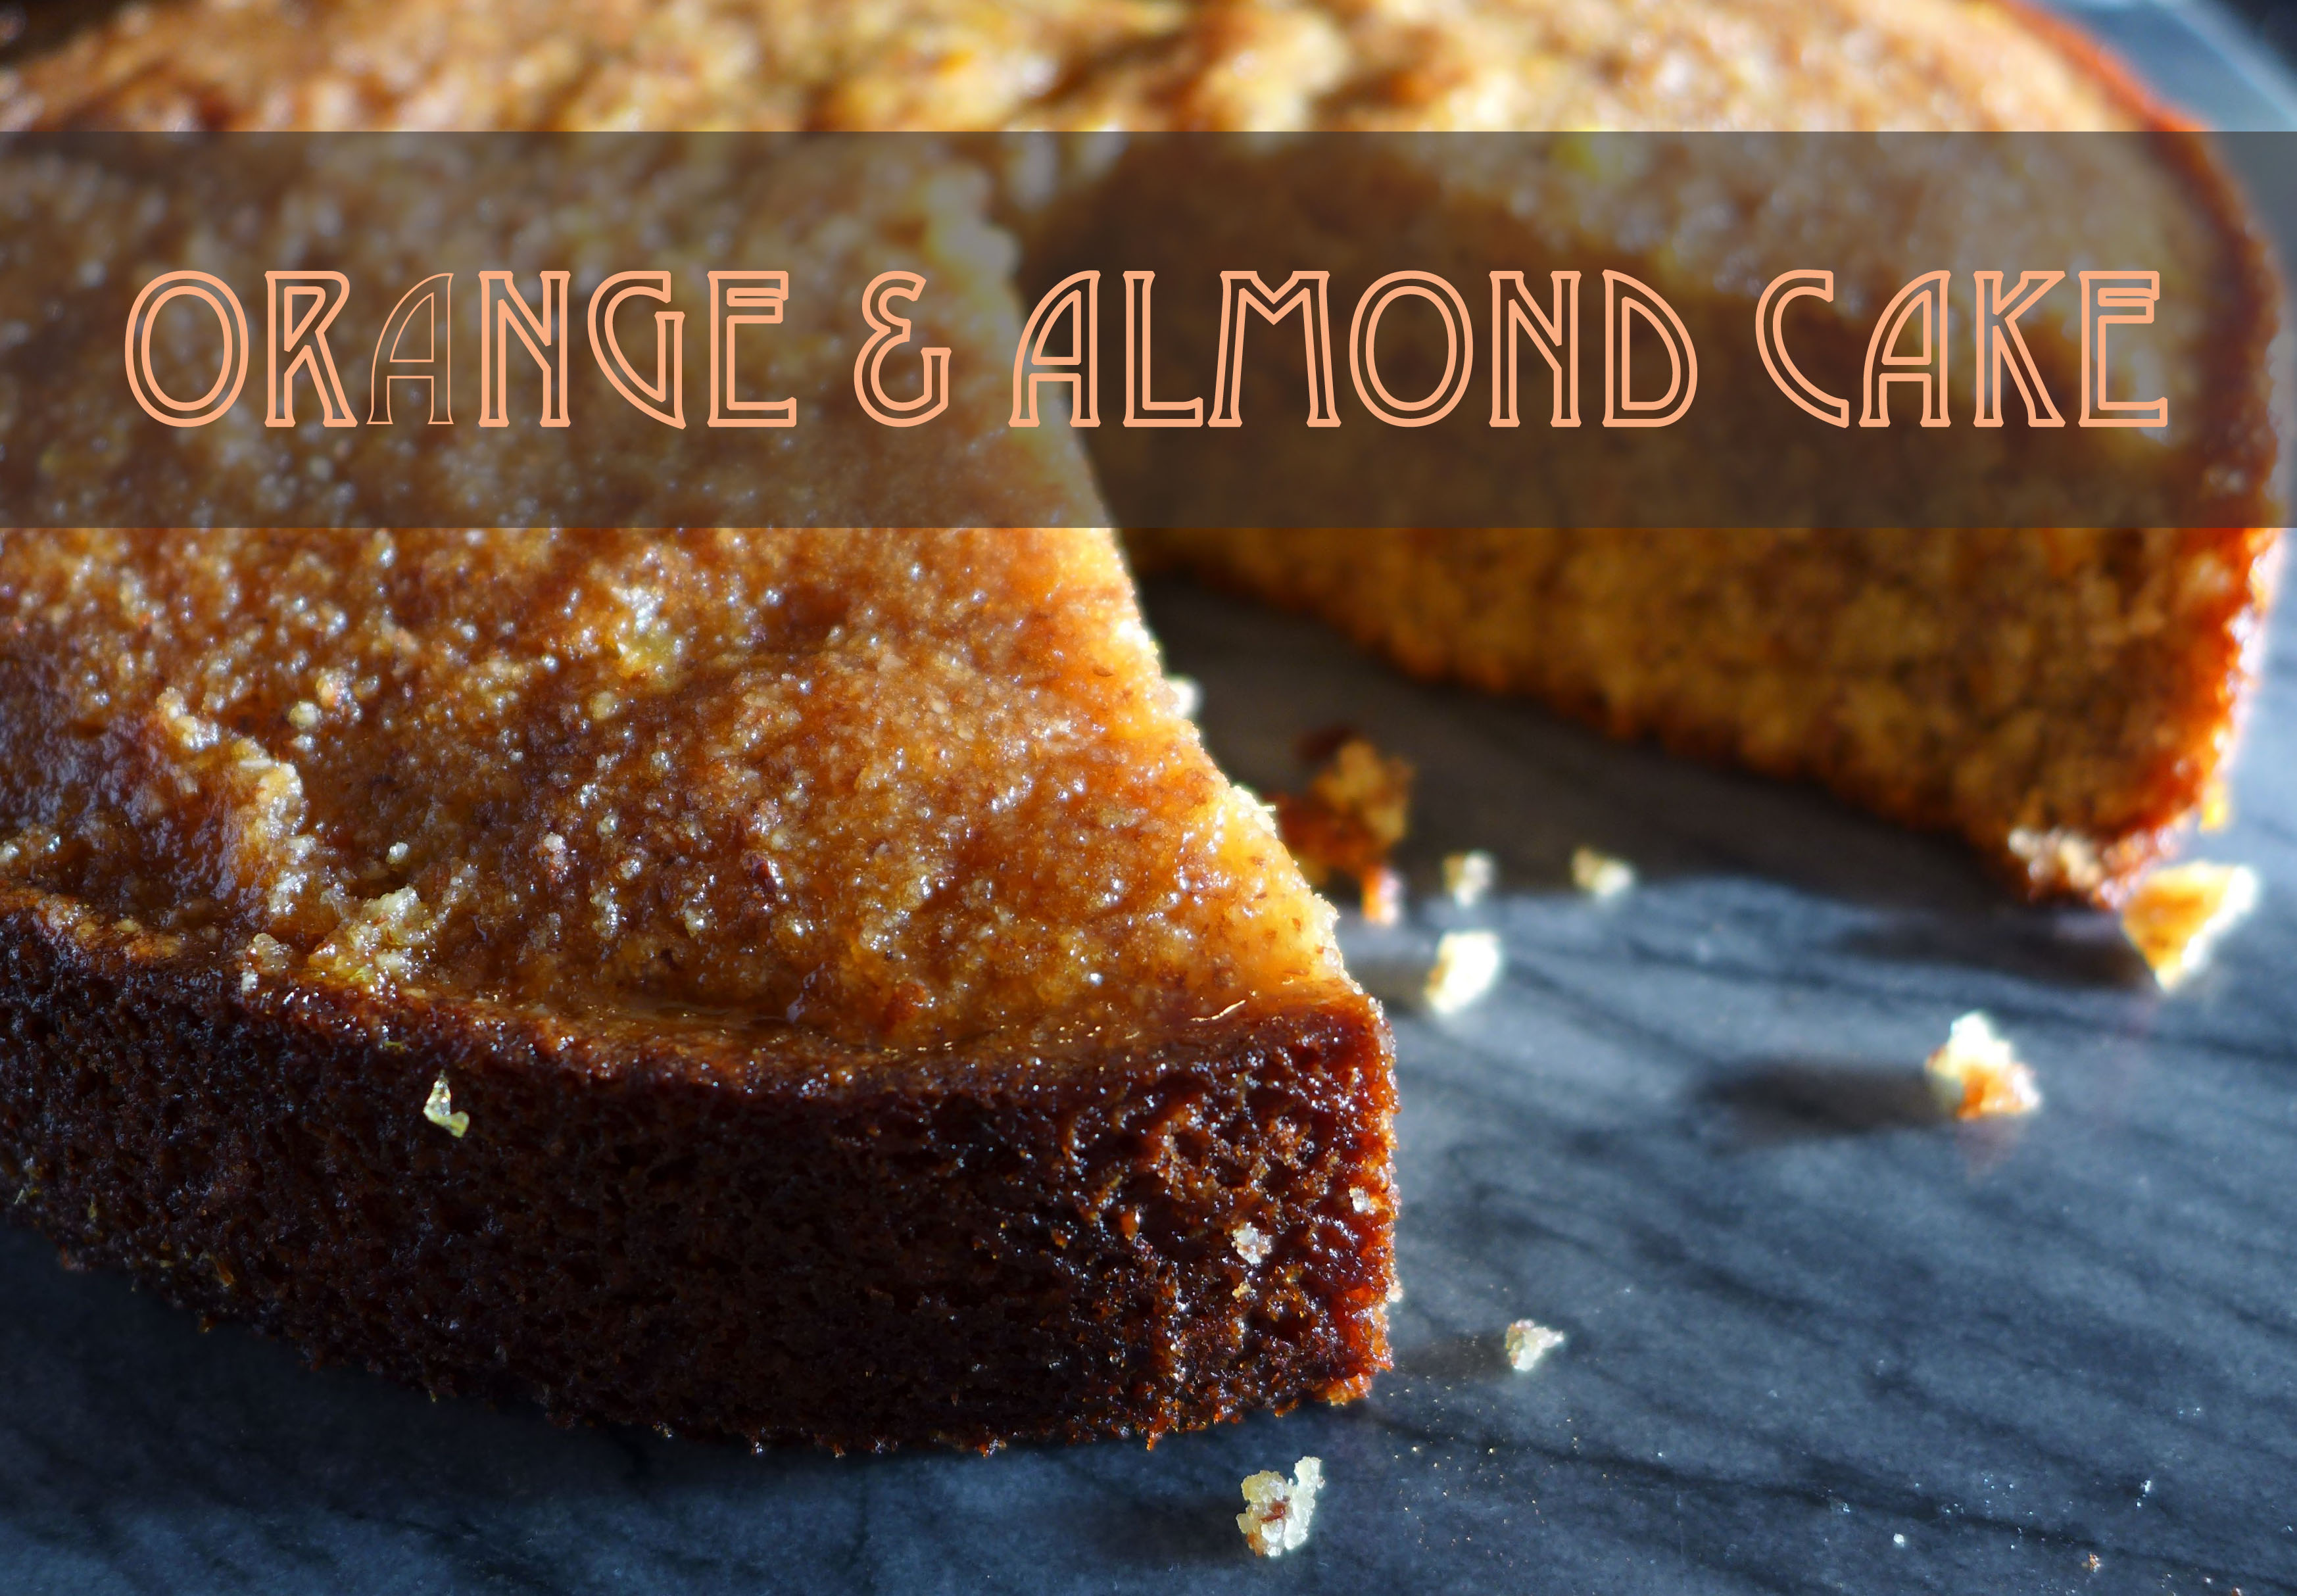
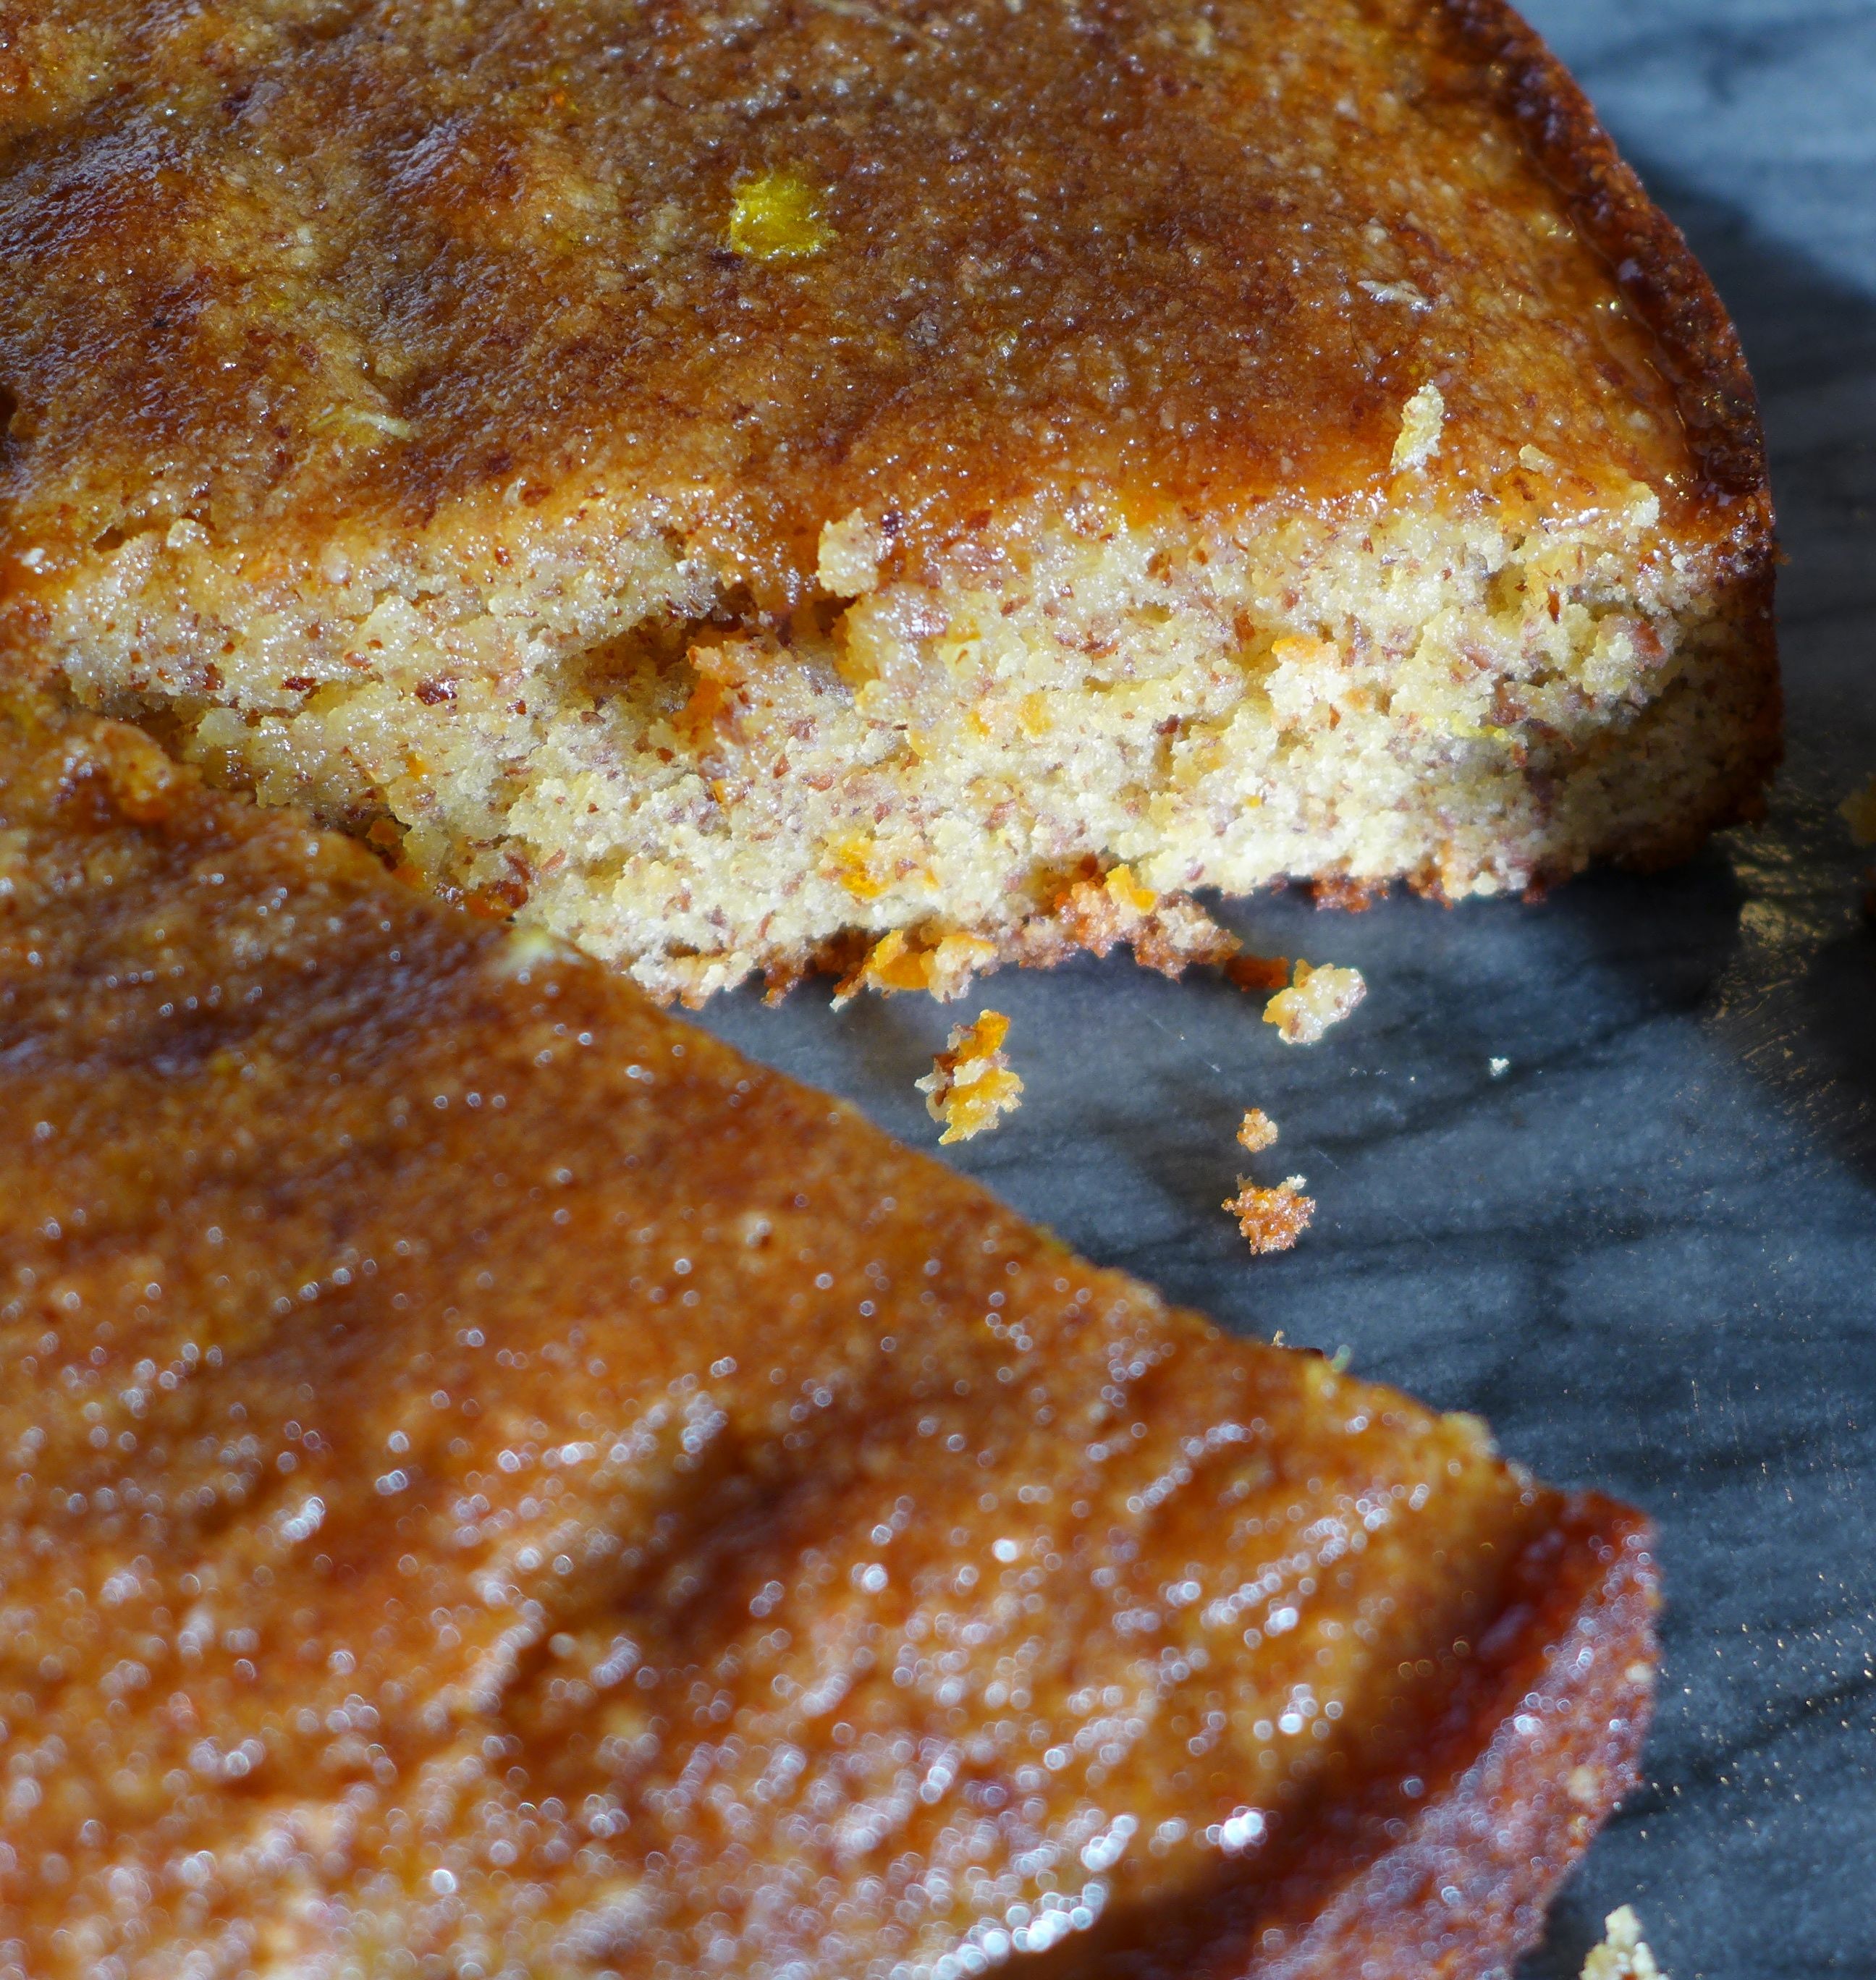
This recipe for orange and almond cake produces a deliciously dense cake with just the right amount sweet, citrusy zest to brighten any cold and grey afternoon. And that’s why it’s become a winter staple in our house (of course, yesterday I happened to make it on one of the warmest & sunniest winter days, but I couldn’t fight the urge to bring the sunshine in!). The cake is finished with a sweet syrup made from fresh orange juice, and as a result, it definitely doesn’t need any sort of frosting, rather it pairs perfectly with an afternoon cup of tea or coffee ~ just what you’ll need after a day out in the snow.
The recipe comes from one of our favorite cookbooks, Jerusalem, which we may have mentioned here and here. I’m sure this won’t be the last time we share a favorite dish from the book!
A note about the ingredients ~
I love this cake’s short and sweet ingredient list. Of course the eggs, butter, sugar, flour, and salt are pantry staples; you just have to pick up fresh citrus and almonds or almond meal.
This recipe calls for the zest from four oranges and a lemon, as such, be sure to buy organic. There are two reasons to think about buying organic: 1. environmental and 2. health. From a health perspective, you’ll often see oranges and other citrus as being a “low pesticide residue” fruit as they are protected by their thick skin. Since those pesticides remain on the rind, anytime you’re using the zest in a recipe, you would be exposing yourself to a higher concentration of the pesticides if you don’t buy organic. And, I’m sure you know this, but an easy way to ensure that you’re buying organic in the produce section is to look for fruit and veg with a 5 digit code that starts with 9.


As for the almond meal, you can easily buy whole almonds and use a food processor to make the meal, but since this recipe calls for a whopping 2.5 cups, I find that it’s easier to just pick up a bag of pre-ground almonds. Not sure where to look? You can always find it for a good price in Trader Joe’s nut section.
When it comes to zesting the citrus, I find that it’s quicker and easier to use a zester that produces the nice long strips of zest. You can zest a whole orange (or four!) relatively quickly, and then use a chef’s knife to give the pile a few chops and create the smaller pieces that you need.


On with the recipe then. We’re trying out a new feature on our recipe posts, and we hope you like it! You can see the recipe below as in the past, but now, if you would like to print it, just hit the “print” button to the right of the title. That will open the recipe without photos in a new window as well as allowing you to print the PDF and/or save it as a file on your computer. yay! If you’re having any trouble or have any suggestions for further improvements to our recipe posts, we would love to hear them.
Ingredients
Instructions


