Orange & Almond Cake

Oranges are our ingredient of the season. We’re filling our archives with zesty drinks, candies,  crafts, and even cleaners!

liveseasoned_w2015_orangecake_title1

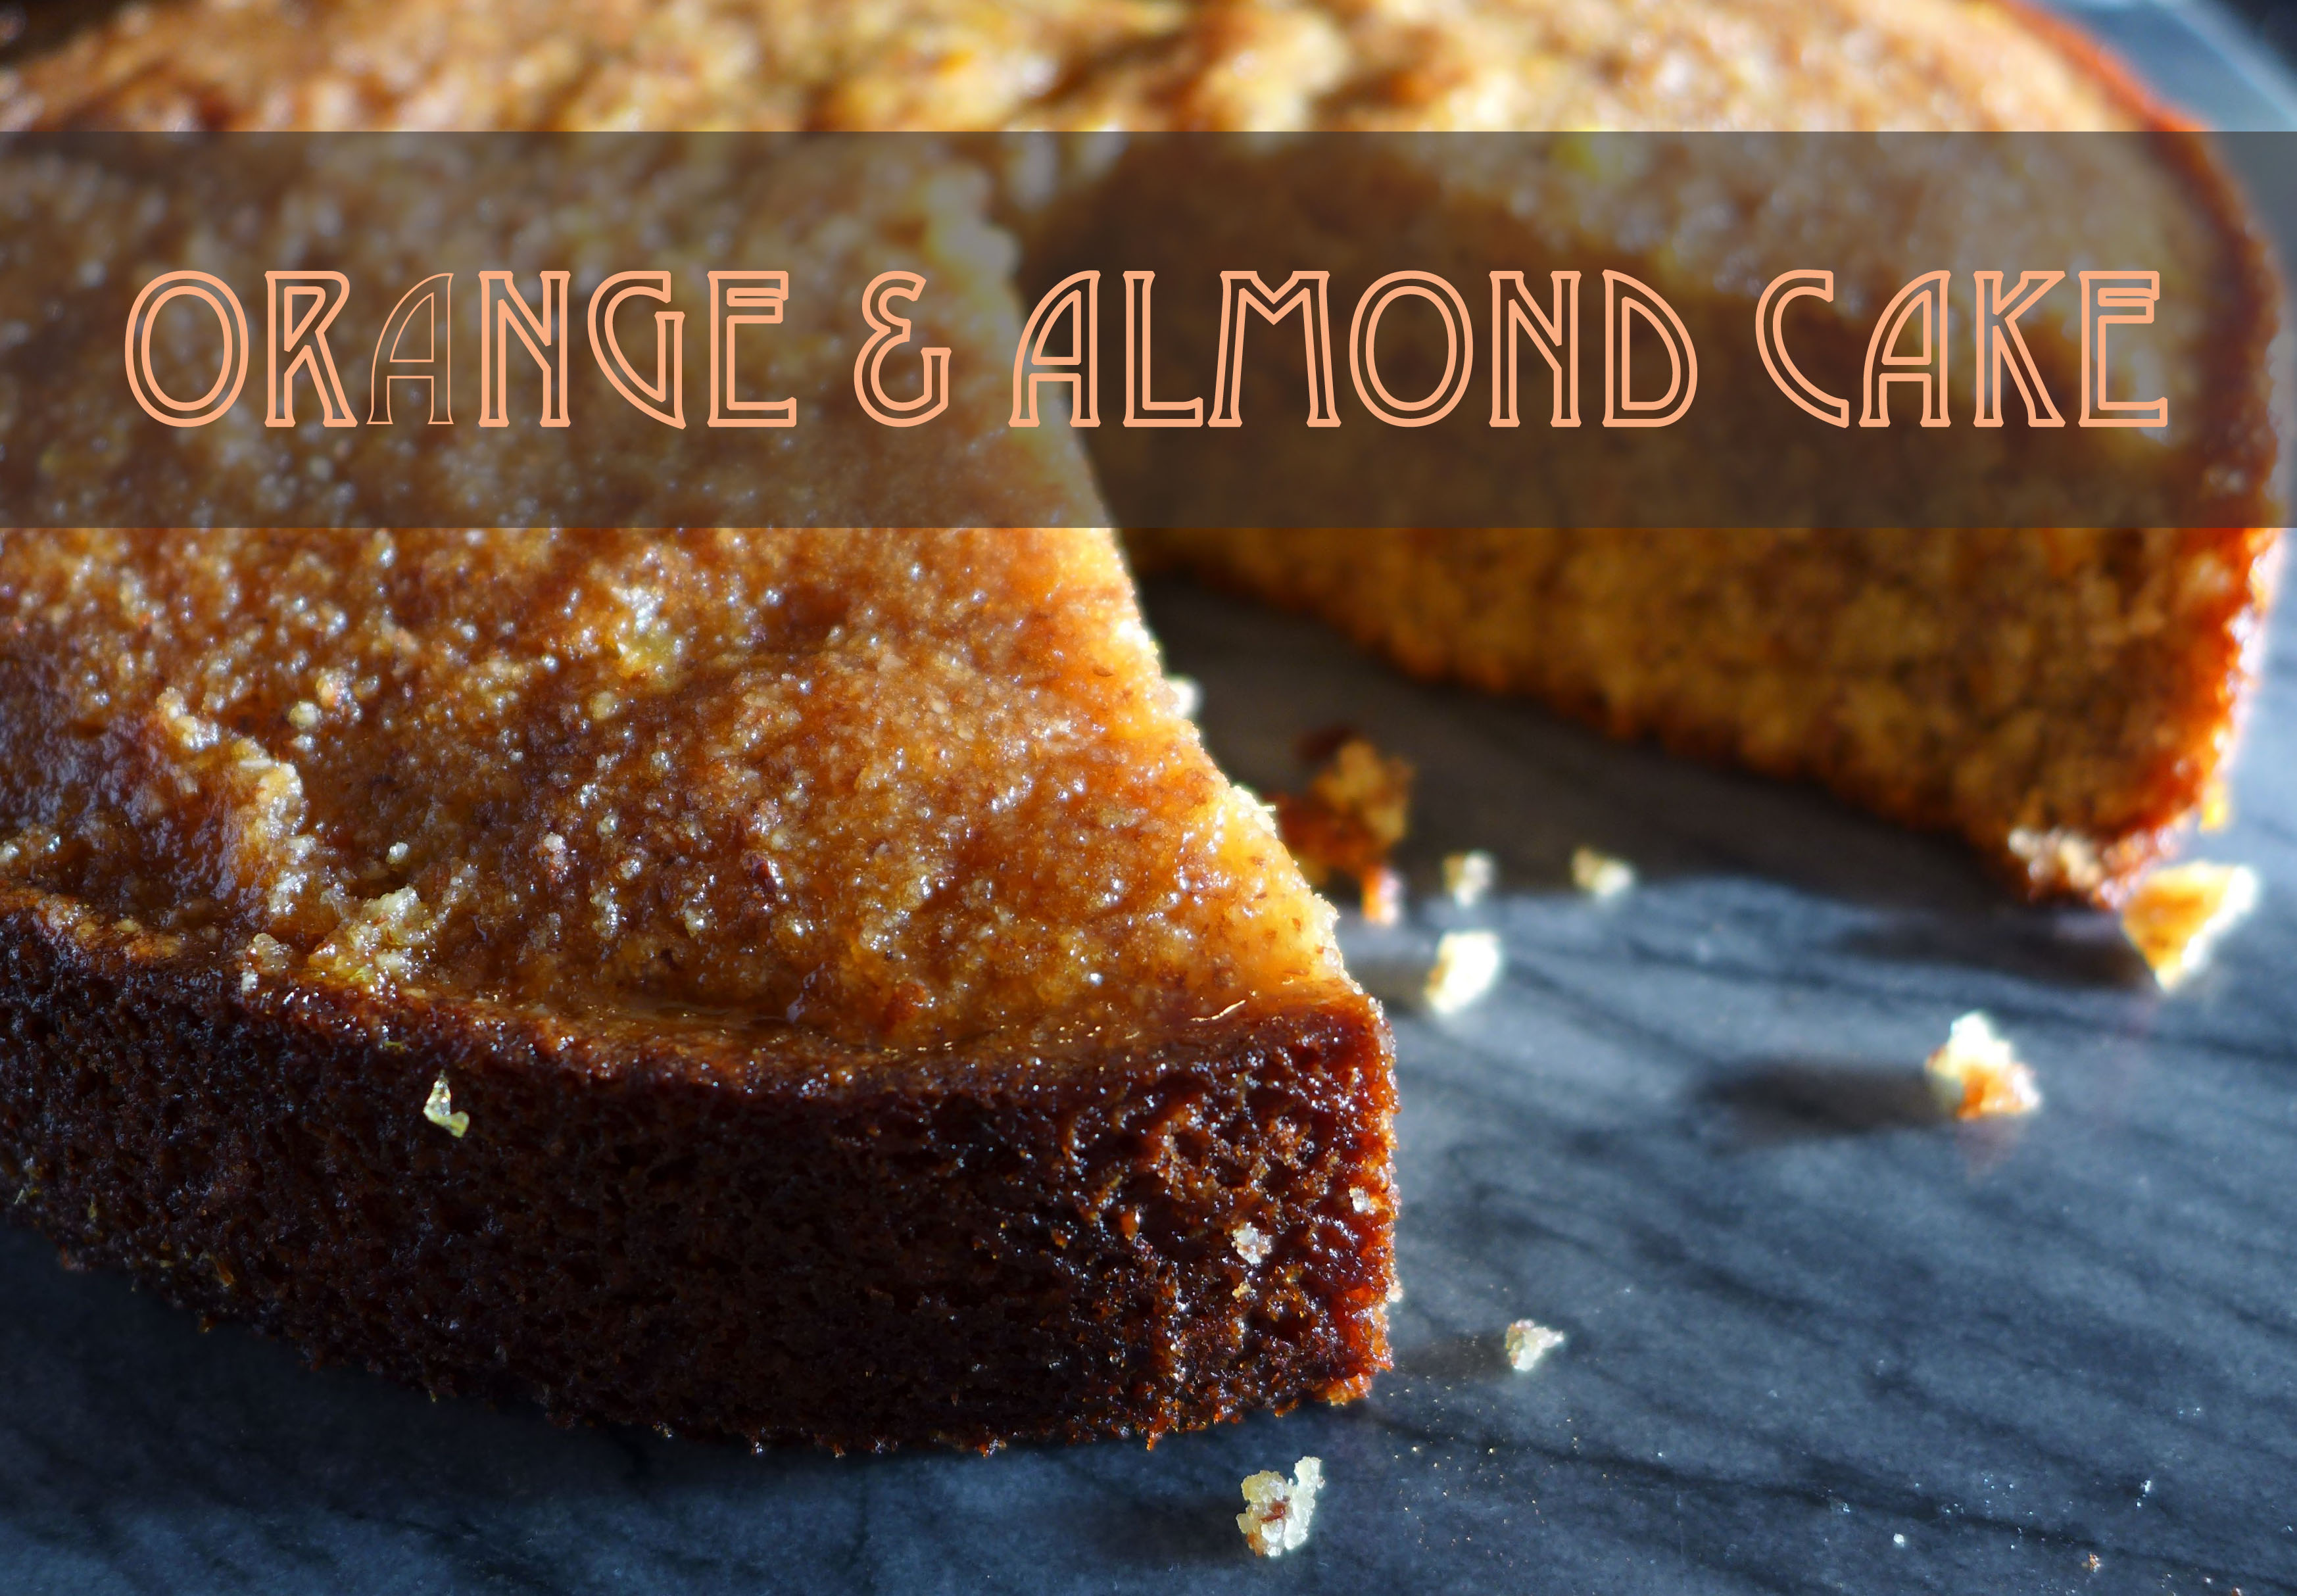
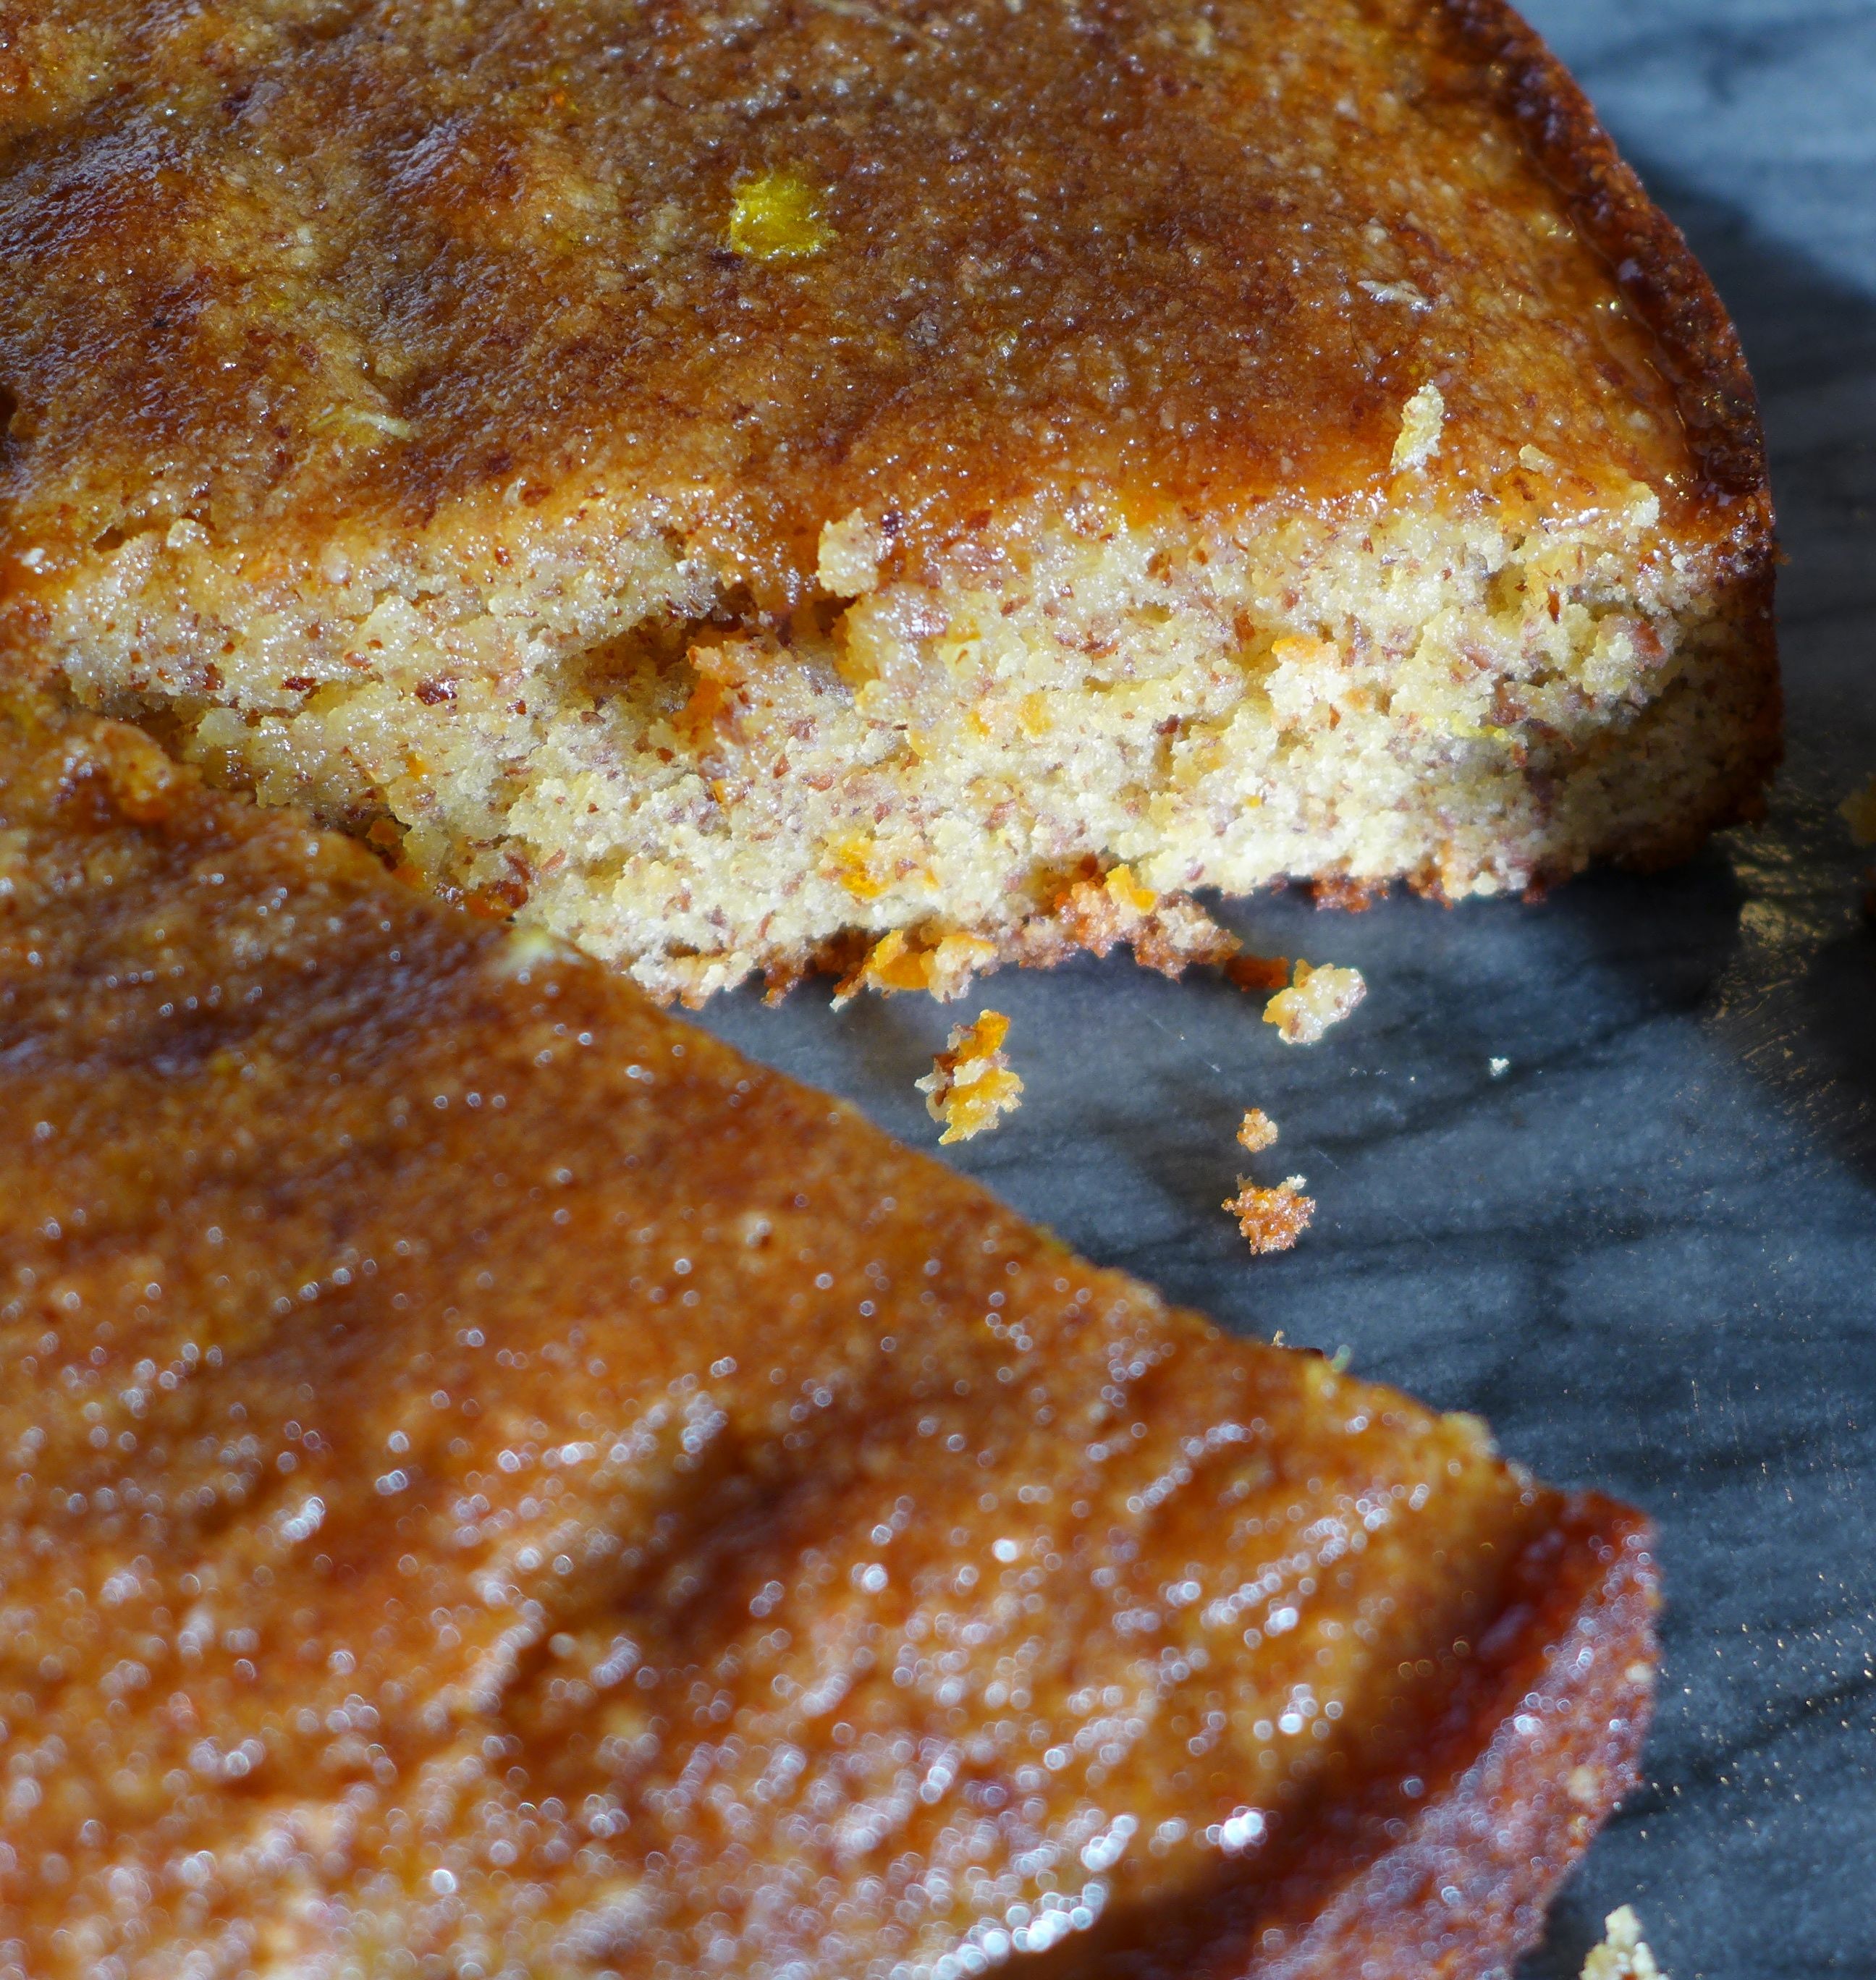
This recipe for orange and almond cake produces a deliciously dense cake with just the right amount sweet, citrusy zest to brighten any cold and grey afternoon. And that’s why it’s become a winter staple in our house (of course, yesterday I happened to make it on one of the warmest & sunniest winter days, but I couldn’t fight the urge to bring the sunshine in!). The cake is finished with a sweet syrup made from fresh orange juice, and as a result, it definitely doesn’t need any sort of frosting, rather it pairs perfectly with an afternoon cup of tea or coffee ~ just what you’ll need after a day out in the snow.

The recipe comes from one of our favorite cookbooks, Jerusalem, which we may have mentioned here and here. I’m sure this won’t be the last time we share a favorite dish from the book!

liveseasoned_w2015_orangecake3

A note about the ingredients ~

I love this cake’s short and sweet ingredient list. Of course the eggs, butter, sugar, flour, and salt are pantry staples; you just have to pick up fresh citrus and almonds or almond meal.

This recipe calls for the zest from four oranges and a lemon, as such, be sure to buy organic. There are two reasons to think about buying organic: 1. environmental and 2. health. From a health perspective, you’ll often see oranges and other citrus as being a “low pesticide residue” fruit as they are protected by their thick skin. Since those pesticides remain on the rind, anytime you’re using the zest in a recipe, you would be exposing yourself to a higher concentration of the pesticides if you don’t buy organic. And, I’m sure you know this, but an easy way to ensure that you’re buying organic in the produce section is to look for fruit and veg with a 5 digit code that starts with 9.

As for the almond meal, you can easily buy whole almonds and use a food processor to make the meal, but since this recipe calls for a whopping 2.5 cups, I find that it’s easier to just pick up a bag of pre-ground almonds. Not sure where to look? You can always find it for a good price in Trader Joe’s nut section.

When it comes to zesting the citrus, I find that it’s quicker and easier to use a zester that produces the nice long strips of zest. You can zest a whole orange (or four!) relatively quickly, and then use a chef’s knife to give the pile a few chops and create the smaller pieces that you need.

On with the recipe then. We’re trying out a new feature on our recipe posts, and we hope you like it! You can see the recipe below as in the past, but now, if you would like to print it, just hit the “print” button to the right of the title. That will open the recipe without photos in a new window as well as allowing you to print the PDF and/or save it as a file on your computer. yay! If you’re having any trouble or have any suggestions for further improvements to our recipe posts, we would love to hear them.

Orange & Almond Cake

Orange & Almond Cake

Ingredients

  • 3/4 cup + 2 Tbsp butter
  • 1 1/2 cup + 3/4 cup sugar
  • zest & juice from 4 oranges & 1 lemon
  • 2 1/2 cups ground almonds
  • 5 large eggs
  • 3/4 cup flour
  • pinch of salt

Instructions

  1. Prep the oven and pan. Preheat the oven to 350F. Grease a 9.5 inch springform pan.
  2. Mix up the ingredients. Place the butter, 1 1/2 cups sugar, and all zest in the bowl of an electric mixer and beat on low until combined, but do not add too much air to the mixture. Add half the ground almonds and mix until combined. With the mixer on, add the eggs one at a time. Add the remaining almonds, the flour, and the salt. Beat until all ingredients are combined, stopping to scrape down the bowl as necessary.
  3. Bake the cake! Pour the batter into the pan, smoothing with a spatula. Bake for 50-60 minutes. Use a skewer or toothpick to test for doneness, you'll want the cake to be baked through, but still be moist.
  4. Make the syrup. When the cake is near done, place 1/2 cup of the citrus juice and the remaining 1/3 cup sugar in a small saucepan on medium-high. Bring the juice to a boil and then remove it from the heat.
  5. As soon as the cake is removed from the oven, brush it with the boiling juice, allowing the syrup to soak into the cake. Let the cake cool completely in the pan before removing it.
  6. Serve as is or add a dollop of whipped cream.
https://liveseasoned.com/orange-almond-cake/

No Bake Mini Pumpkin Pies {Vegan + Gluten Free}

liveseasoned_fall14_pumpkinpies-4 copy

Thanksgiving is a time of indulgence and as much as I love to nibble on holiday goodies, I hate the guilt that comes along with it. There is no reason you can’t make a concerted effort to eat clean, whole foods during the holidays.  In some cases it takes a little bit more effort, but with these mini no-bake pumpkin pies, it takes considerably less!  Pumpkin pie has been my favorite Thanksgiving dessert for as long as I can remember and while I love the original, I’m cheating on it with this new no bake, vegan and gluten free alternative.

This recipe substitutes out the eggs, half and half, butter and sugar for nuts, raisins, and natural sweeteners.  It’s also a recipe that can be made a day or two ahead of time so that you have more time to relax with your friends and family.  While it’s not technically raw because the pumpkin puree is cooked, this recipe doesn’t require any baking, which is pretty handy since your oven will probably be busy with other delicious eats.  Join me in feeling great about this year’s holiday dessert choices; your guests and your waistline will thank you.

liveseasoned_fall14_pumpkinpies-2

 Crust Ingredients:

  • 1 tablespoon coconut oil
  • 4 cups walnuts
  • 4 cups raisins
  • Pinch of salt

Topping Ingredients:

  • 1 15oz can organic pumpkin puree
  • 2 cups cashews
  • 2/3 cup maple syrup
  • 2 tablespoons coconut oil
  • 2 teaspoons cinnamon
  • 1 teaspoon nutmeg
  • 1 teaspoon clove
  • 1 teaspoon all spice
  • pinch of salt

liveseasoned_fall14_pumpkinpies-3 copy

 The how:

  • Pulverize 4 cups walnuts in food processor or high powered blender.  Add 4 cups of raisins and blend until they combine with the walnuts and form a dough.
  • Grease two 12 count muffin tins with coconut oil.
  • Firmly press dough into each cup (about a half inch) and sprinkle each with a tiny bit of salt. Place in the freezer.
  • After 2 hours run a butter knife around each muffin tin and pop the crusts out so that they’ll be easier to remove when the pies are completely finished.
  • Blend the pumpkin puree, cashews, melted coconut oil and maple syrup until combined. While blending, add the cinnamon, nutmeg, clove, all spice and salt. If you like your pumpkin a little sweeter, feel free to add more maple syrup.  (The consistency should be nice and creamy, if it’s a little thick, add some coconut oil, if it seems runny, add some cashews. If you followed the recipe exactly, it will be just right.)
  • Spoon a dollop of topping onto each frozen crust. However the filling settles is how it will freeze so take the time to smooth or swirl it, whatever you prefer. Allow the pies about two hours to freeze.
  • Remove them from the freezer 15 minutes before serving. Use a butter knife to easily pop them out of the tins. Top with a piece of walnut if you wish.
 *Recipe makes 24 individual sized pumpkin pies.

liveseasoned_fall14_pumpkinpies-6

See that? Easy as pie. Now go pop these in the freezer so you have something to nibble on during the parade tomorrow 🙂


Nut Crusted Brie

Apples are our ingredient of the season.  This recipe is perfect served and garnished with a thinly sliced apple. This is also the first of a few cheese plates that we’ll be serving up this fall.  If you are vegan, we apologize in advance.

LIVESEASONED_fall14_brie2

Calling all cheese lovers! This recipe goes out to you…

Autumn is the perfect time to turn on the oven, wouldn’t you agree?  I love heating up my house a bit and making something warm to snack on.  This nut crusted brie is ridiculously simple and it’s classy as all get out.  Need a quick hors d’oeuvre? Having a few friends come over? Wanna feel better about eating an entire wedge of cheese?  Need snacks for Sunday night football?  All those and more are perfectly good reasons to roll your brie in crushed nuts and pop it in the oven. This takes ten minutes max (and only about a minute of active work) and you’re likely to have at least half the ingredients on hand.

Ingredients:

  • Brie (I used Auguste Le Petit. You can use whatever you’re comfortable with)
  • Buttermilk (or heavy cream)
  • Egg
  • Nuts of choice (I used almonds+walnuts. Macadamia would work well.)
  • Apple
  • Baguette

Instructions:

  • Preheat your oven to 300° and line a baking sheet with tinfoil.
  • Pulse the nuts in a blender or food processor until finely chopped, but not powdery.  I used about a half cup of nuts for a medium sized wedge. Set the bowl of nuts aside.
  • Whisk together one egg with a half cup of buttermilk.
  • Coat the brie wedge or wheel in the buttermilk and then press it firmly into the nuts. Repeat on each side of the brie making sure to completely coat it.
  • Delicately transfer the brie to the baking sheet and put it in the oven for 5-8 minutes.  You want the brie to be very warm, but not a melted puddle.  A full wheel will take about 10 minutes.
  • While the brie is baking, thinly slice the baguette and arrange on a baking sheet.  Put the bread in the oven while the brie is baking.  If you like your bread slightly browned, once the brie is done baking, turn the oven onto broil and toast the baguette.  Watch the bread closely so it doesn’t burn!
  • Thinly slice an apple or two and serve it along with the brie and baguette.

LIVESEASONED_fall14_brie4

I love this recipe for fall. Apples, nuts and warm cheeses, I don’t think there is a better combination. Unless you’re talking drinks, then I’m all about the fresh apple juice, cinnamon and vodka…


Vegetarian Pesto Pasta Salad

Summer is in full swing, which means everyone needs a picnic pasta salad recipe, including you!  Cold salads are great for lunches, beach coolers and midday hikes so mix this up, throw it in a jar and eat it in the sunshine!

liveseasoned_summer2014_pestopasta-1-2 liveseasoned_summer2014_pestopasta-2

Ingredients:

  • 1 cup peas (fresh or frozen)
  • 1 large cucumber peeled, deseeded and chopped
  • 2 carrots peeled and chopped
  • 1 yellow or red sweet pepper chopped
  • 1 cup chopped broccoli
  • 1 box of your favorite penne or rotini (I’m a big fan of this veggie pasta)
  • 2 heaping cups fresh basil
  • 3 cloves garlic
  • 1/4 cup pine nuts (or walnuts if pine nuts aren’t available)
  • 2/3 cup good olive oil
  • 1/2 cup freshly grated parmesan
  • salt and pepper to taste

The how:

  • Put a pot of water on to boil and add a tsp of salt to it.  Once the water boils, cook the pasta according to the box.  Drain and set aside to cool.
  • Clean the basil and add it to the blender along with the peeled garlic, nuts, 1/3 cup olive oil and the parmesan.  Add more olive oil until it reaches the desired consistency.  Add a few shakes of salt and pepper to taste.  Set the pesto aside.
  • Chop up the pepper and broccoli and add them to a large serving bowl. Peel and cut the carrots.  Peel the cucumber, cut it in half long ways and scoop out the seeds. Chop up the cucumber and add it to the bowl.  Rinse off the peas.  If you’re using frozen peas, defrost them in a bowl of hot water for five minutes then drain and add them to the other veggies.
  • Add the pasta to the serving bowl and mix in half of the pesto.  Add more pesto spoonful by spoonful until desired coverage is reached.  (Save the remaining pesto to hydrate the pasta salad in the future.)  Sprinkle some parmesan on the salad if you wish.
  • Keep covered in the fridge for up to a week.

liveseasoned_summer2014_pestopasta-1

liveseasoned_summer2014_pestopasta-3


I promise this pesto pasta salad will rival the classic mix of meat, cheese and pasta that your mother used to make.  Enjoy!