Elving : Part 1

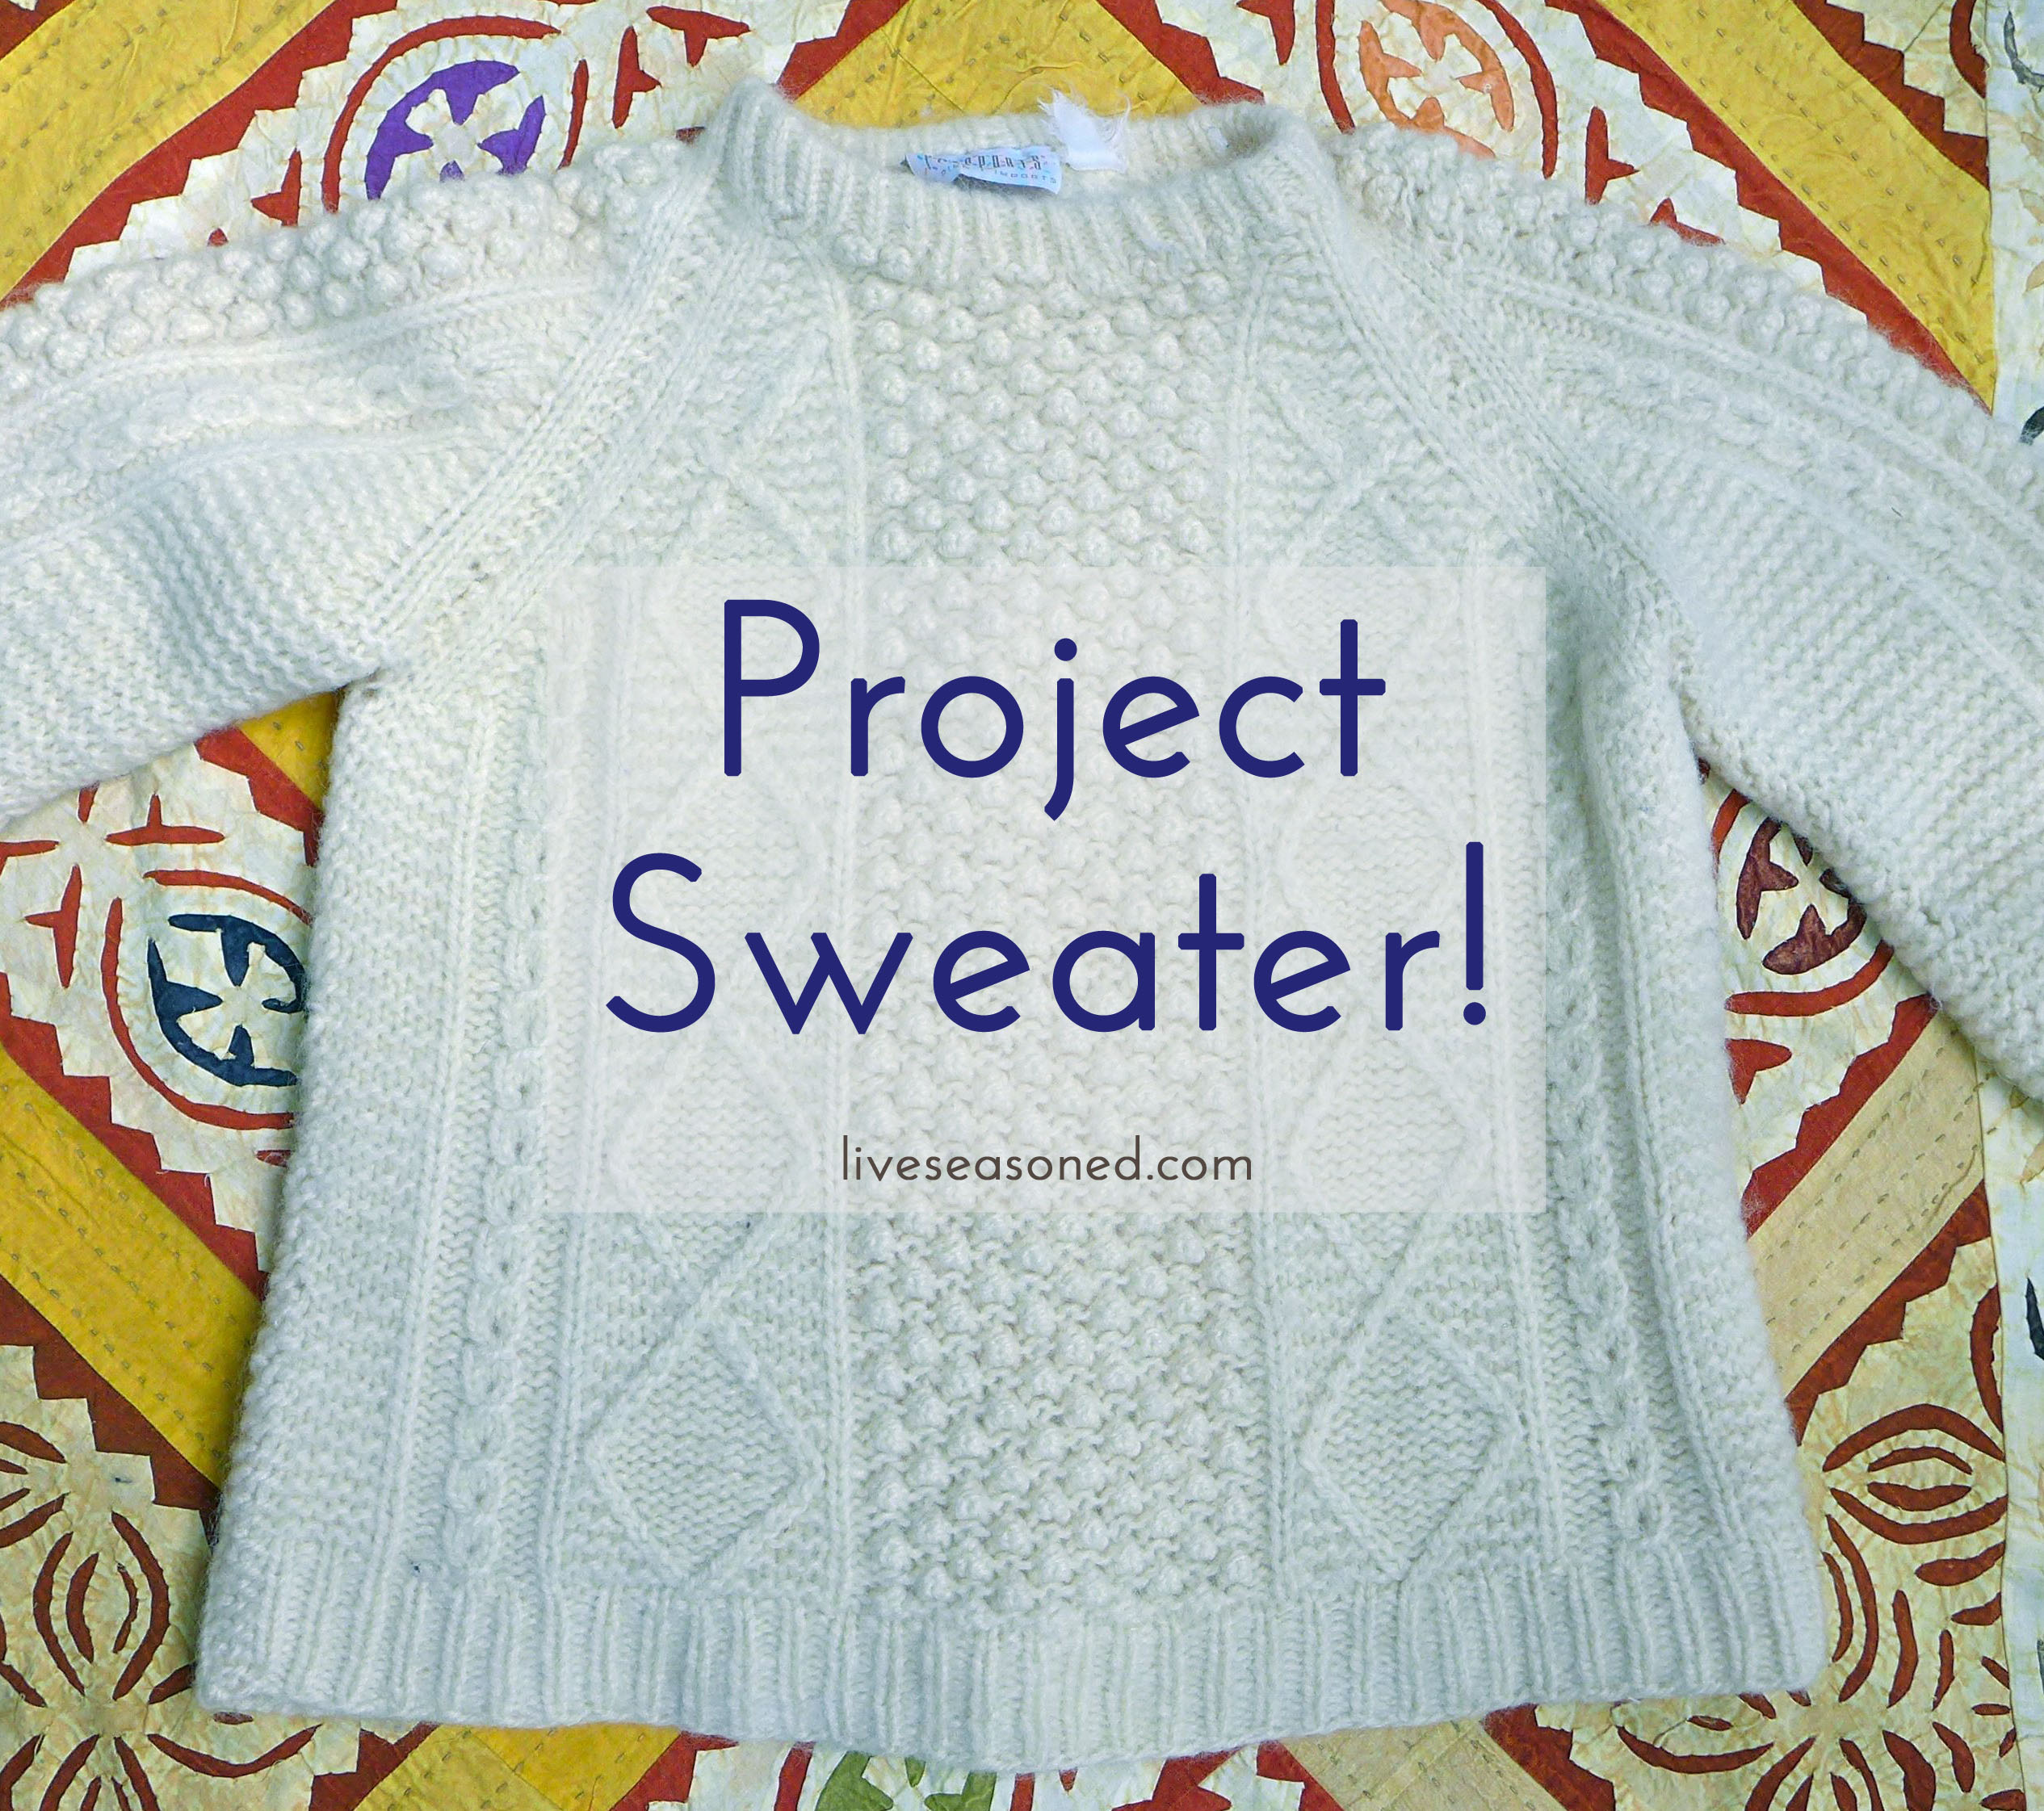
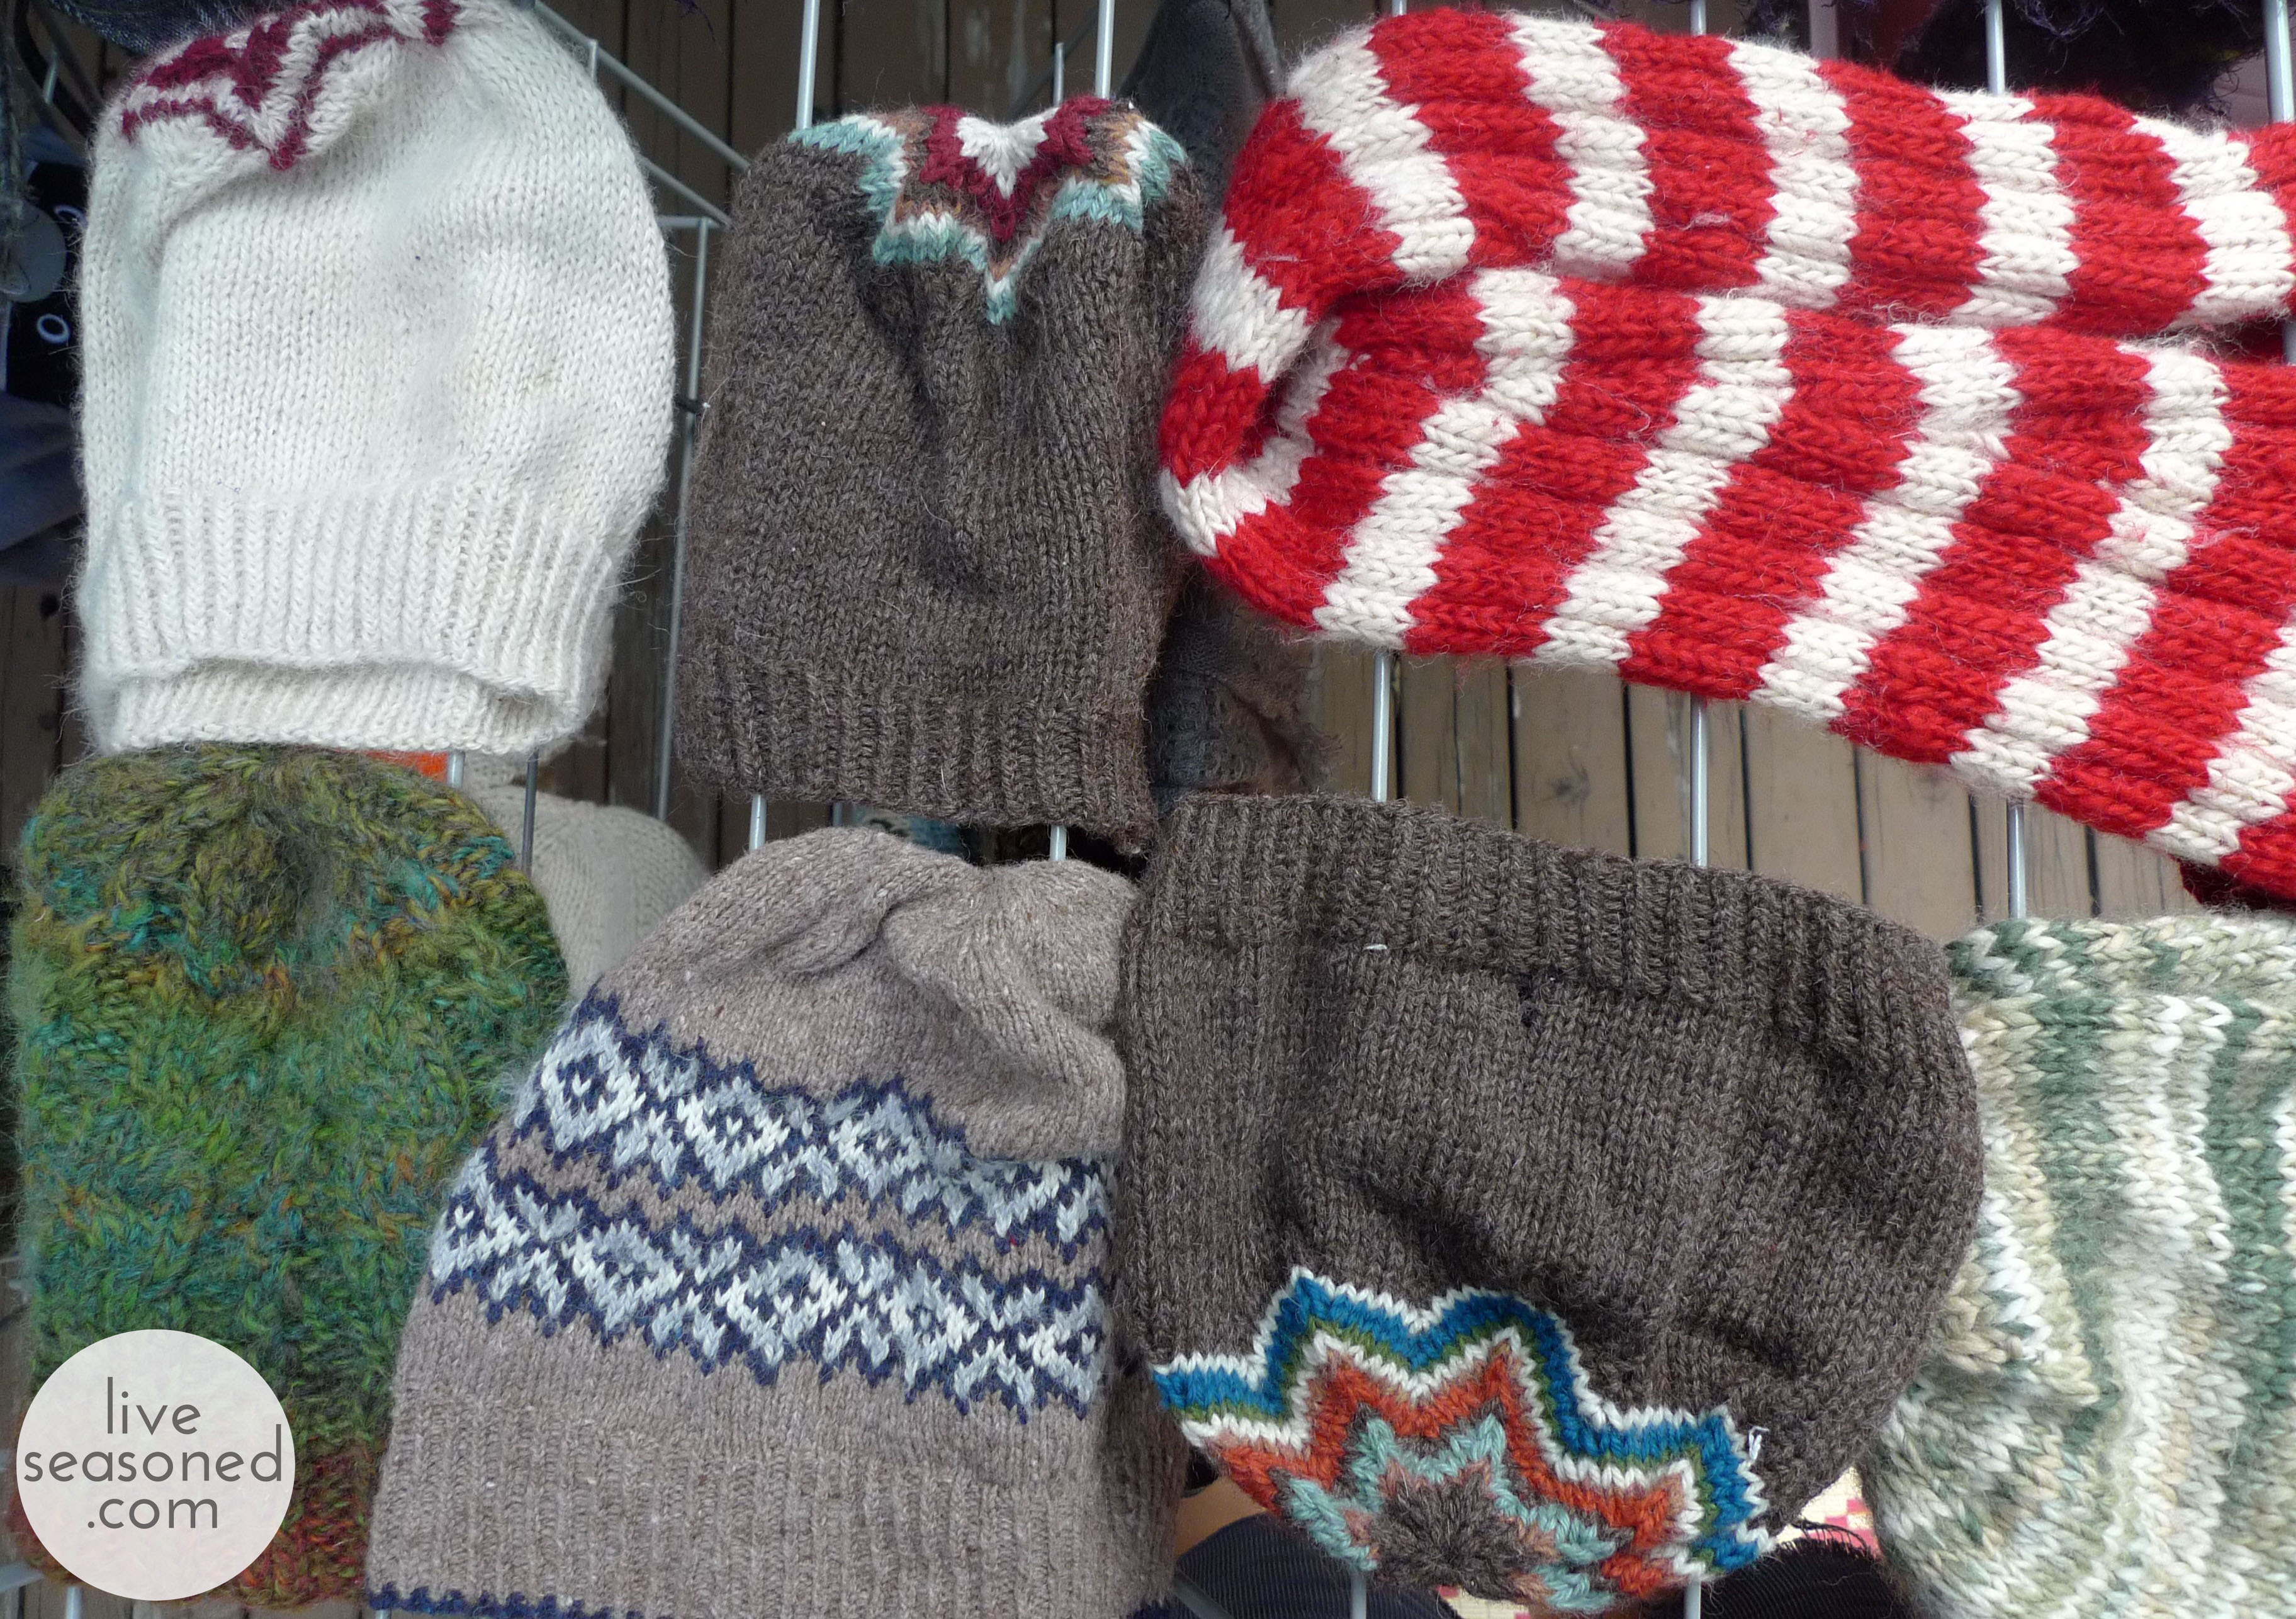
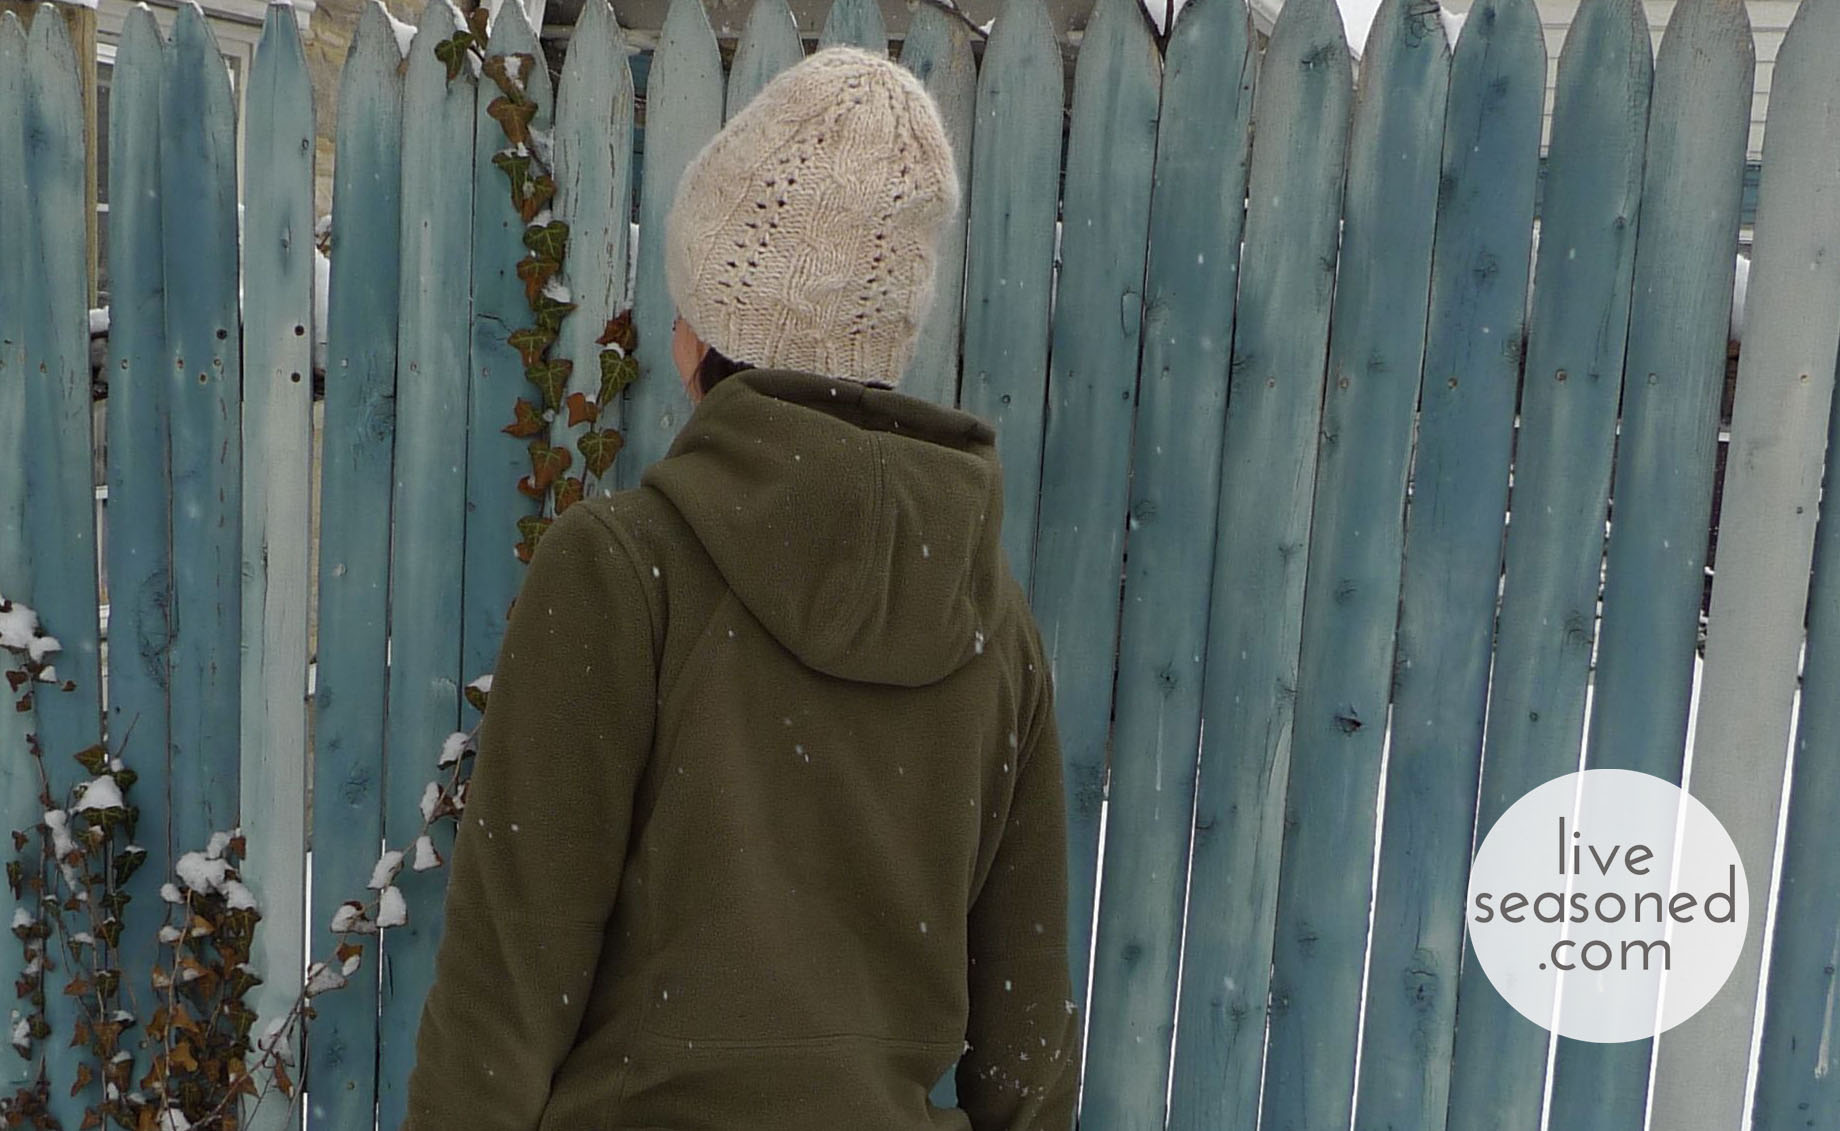
Ok, after I hit publish on this post, my attention will turn back to Thanksgiving (at least until Thursday!), but today we thought it would be fun to jump ahead and give you a sneak peek of the Christmas crafting that’s begun in our house. Somewhere along the way, Calder and I started referring to this as “elving” ~ sneaking away to my craft room to either work on Christmas presents or decorations. Today is labeled “Part 1” because I’m sure this will be the first of many elving posts from the Seasoned sisters!

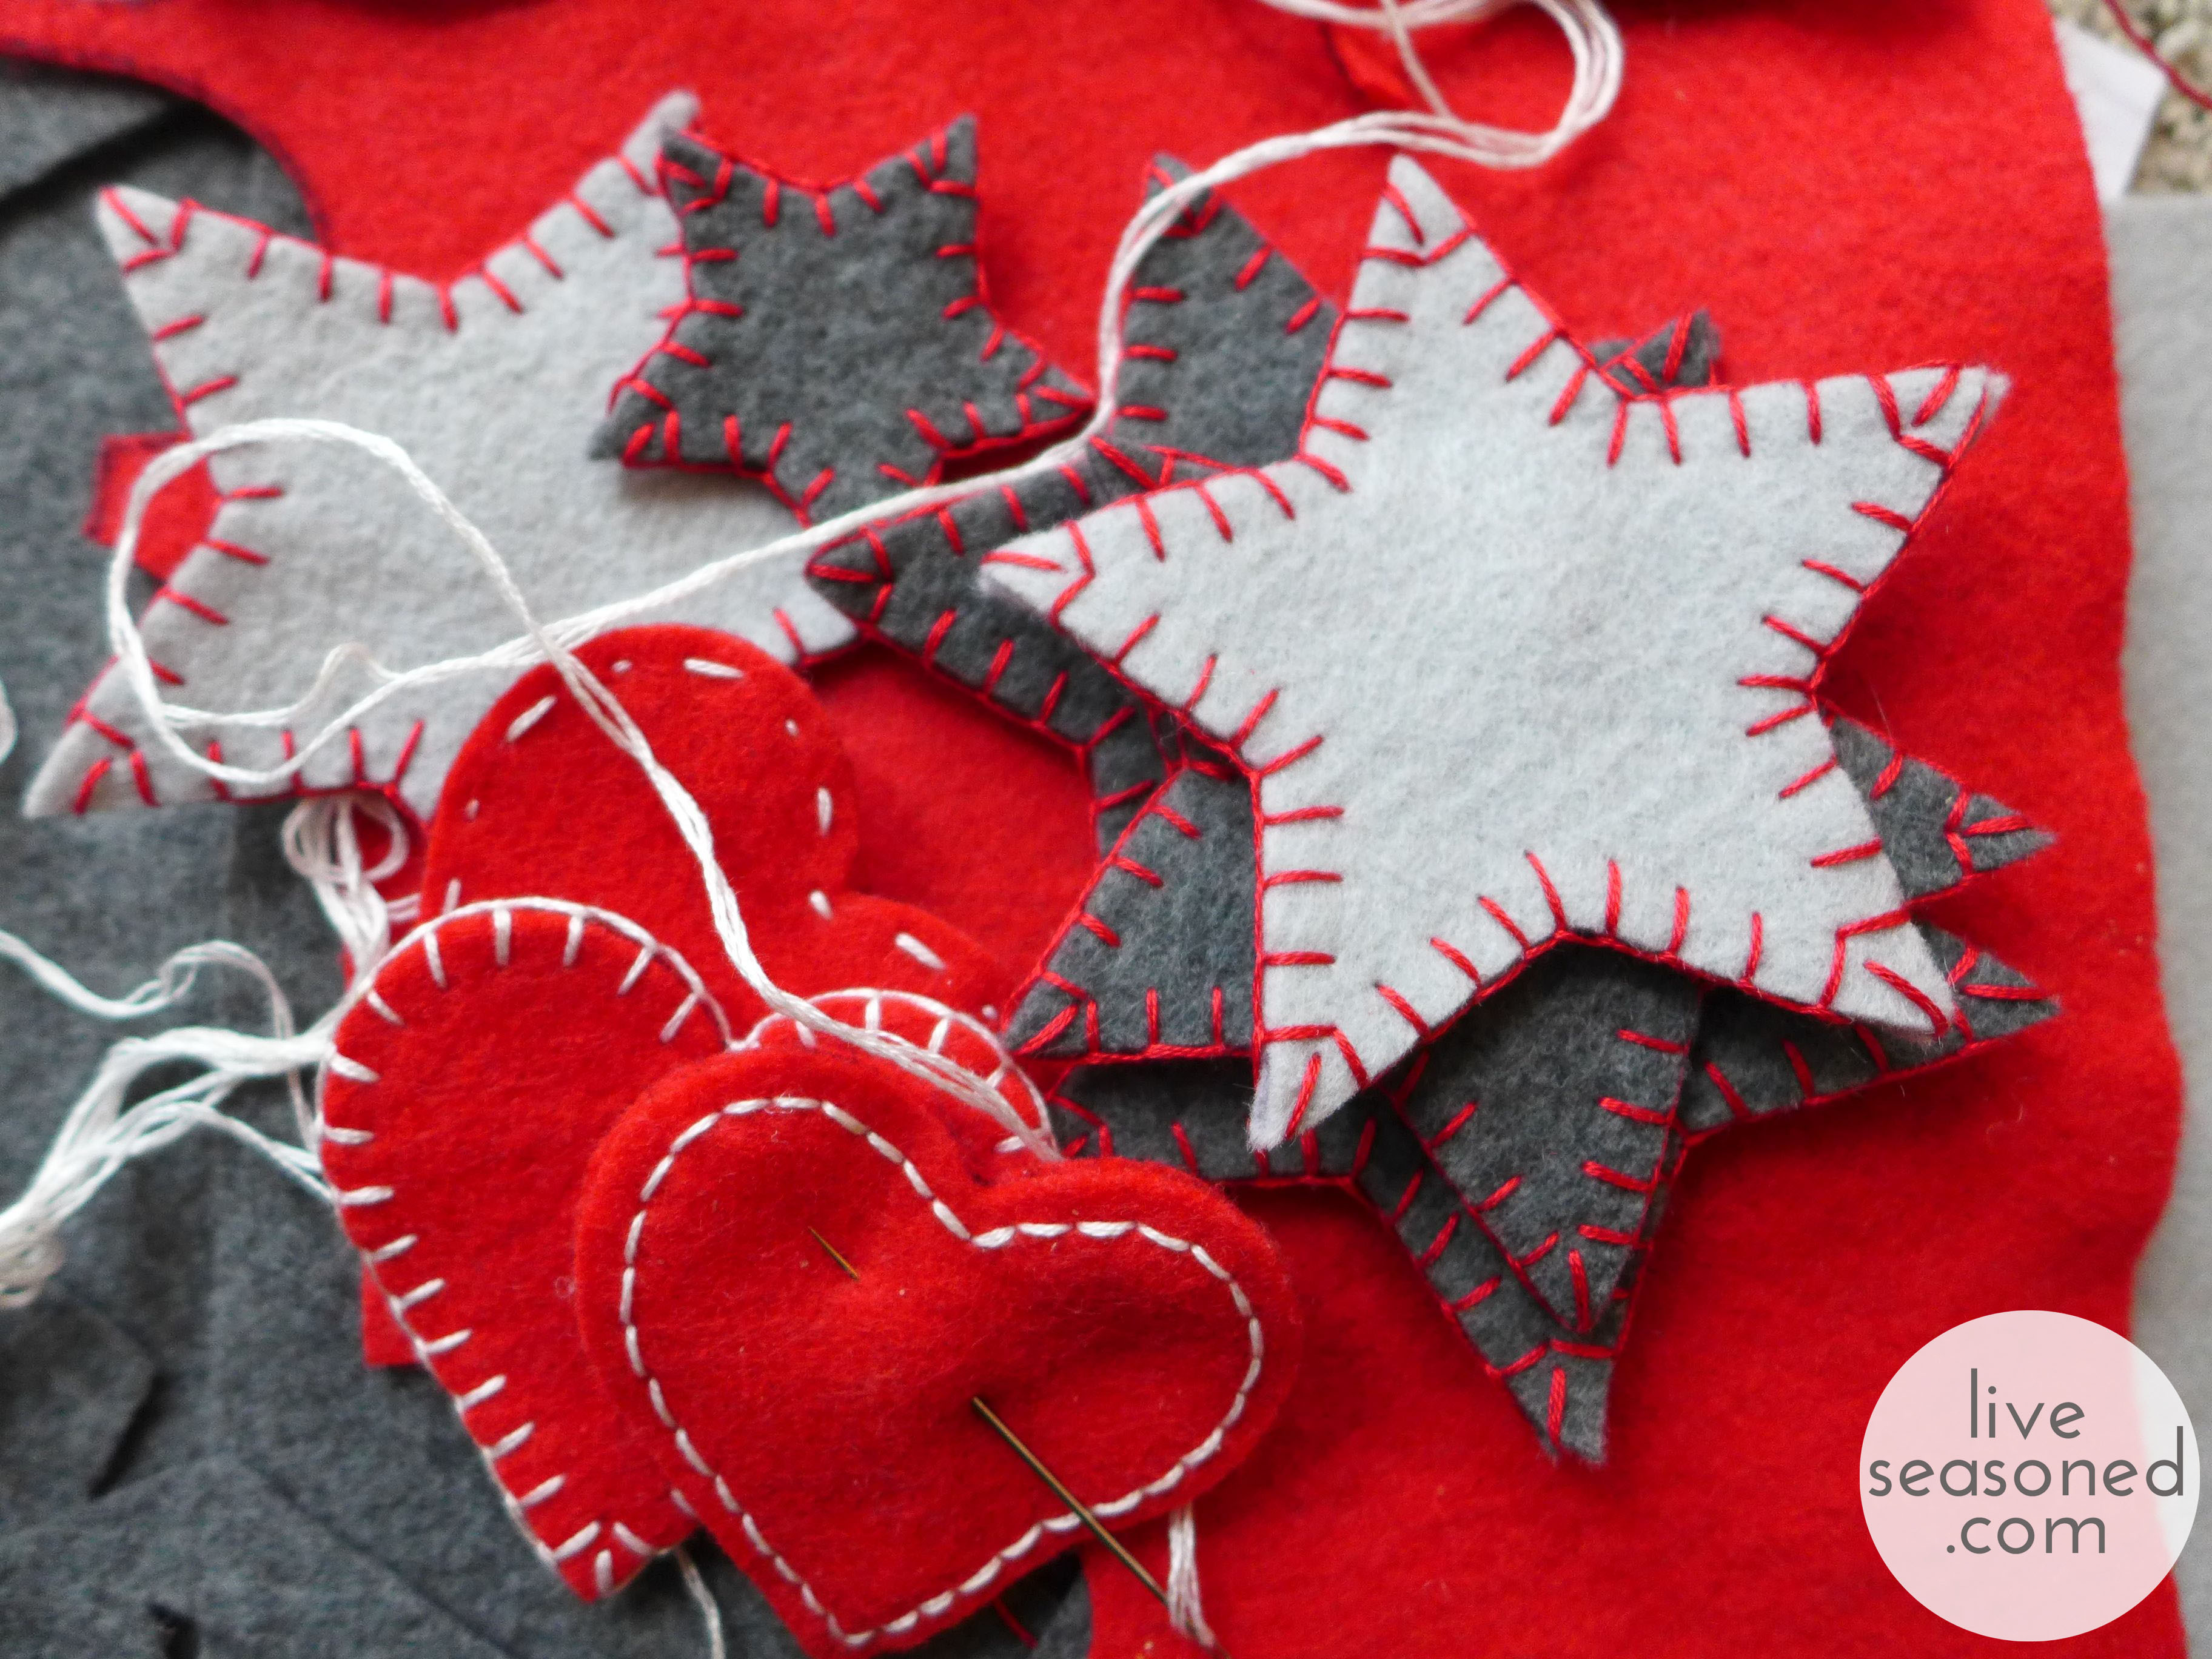
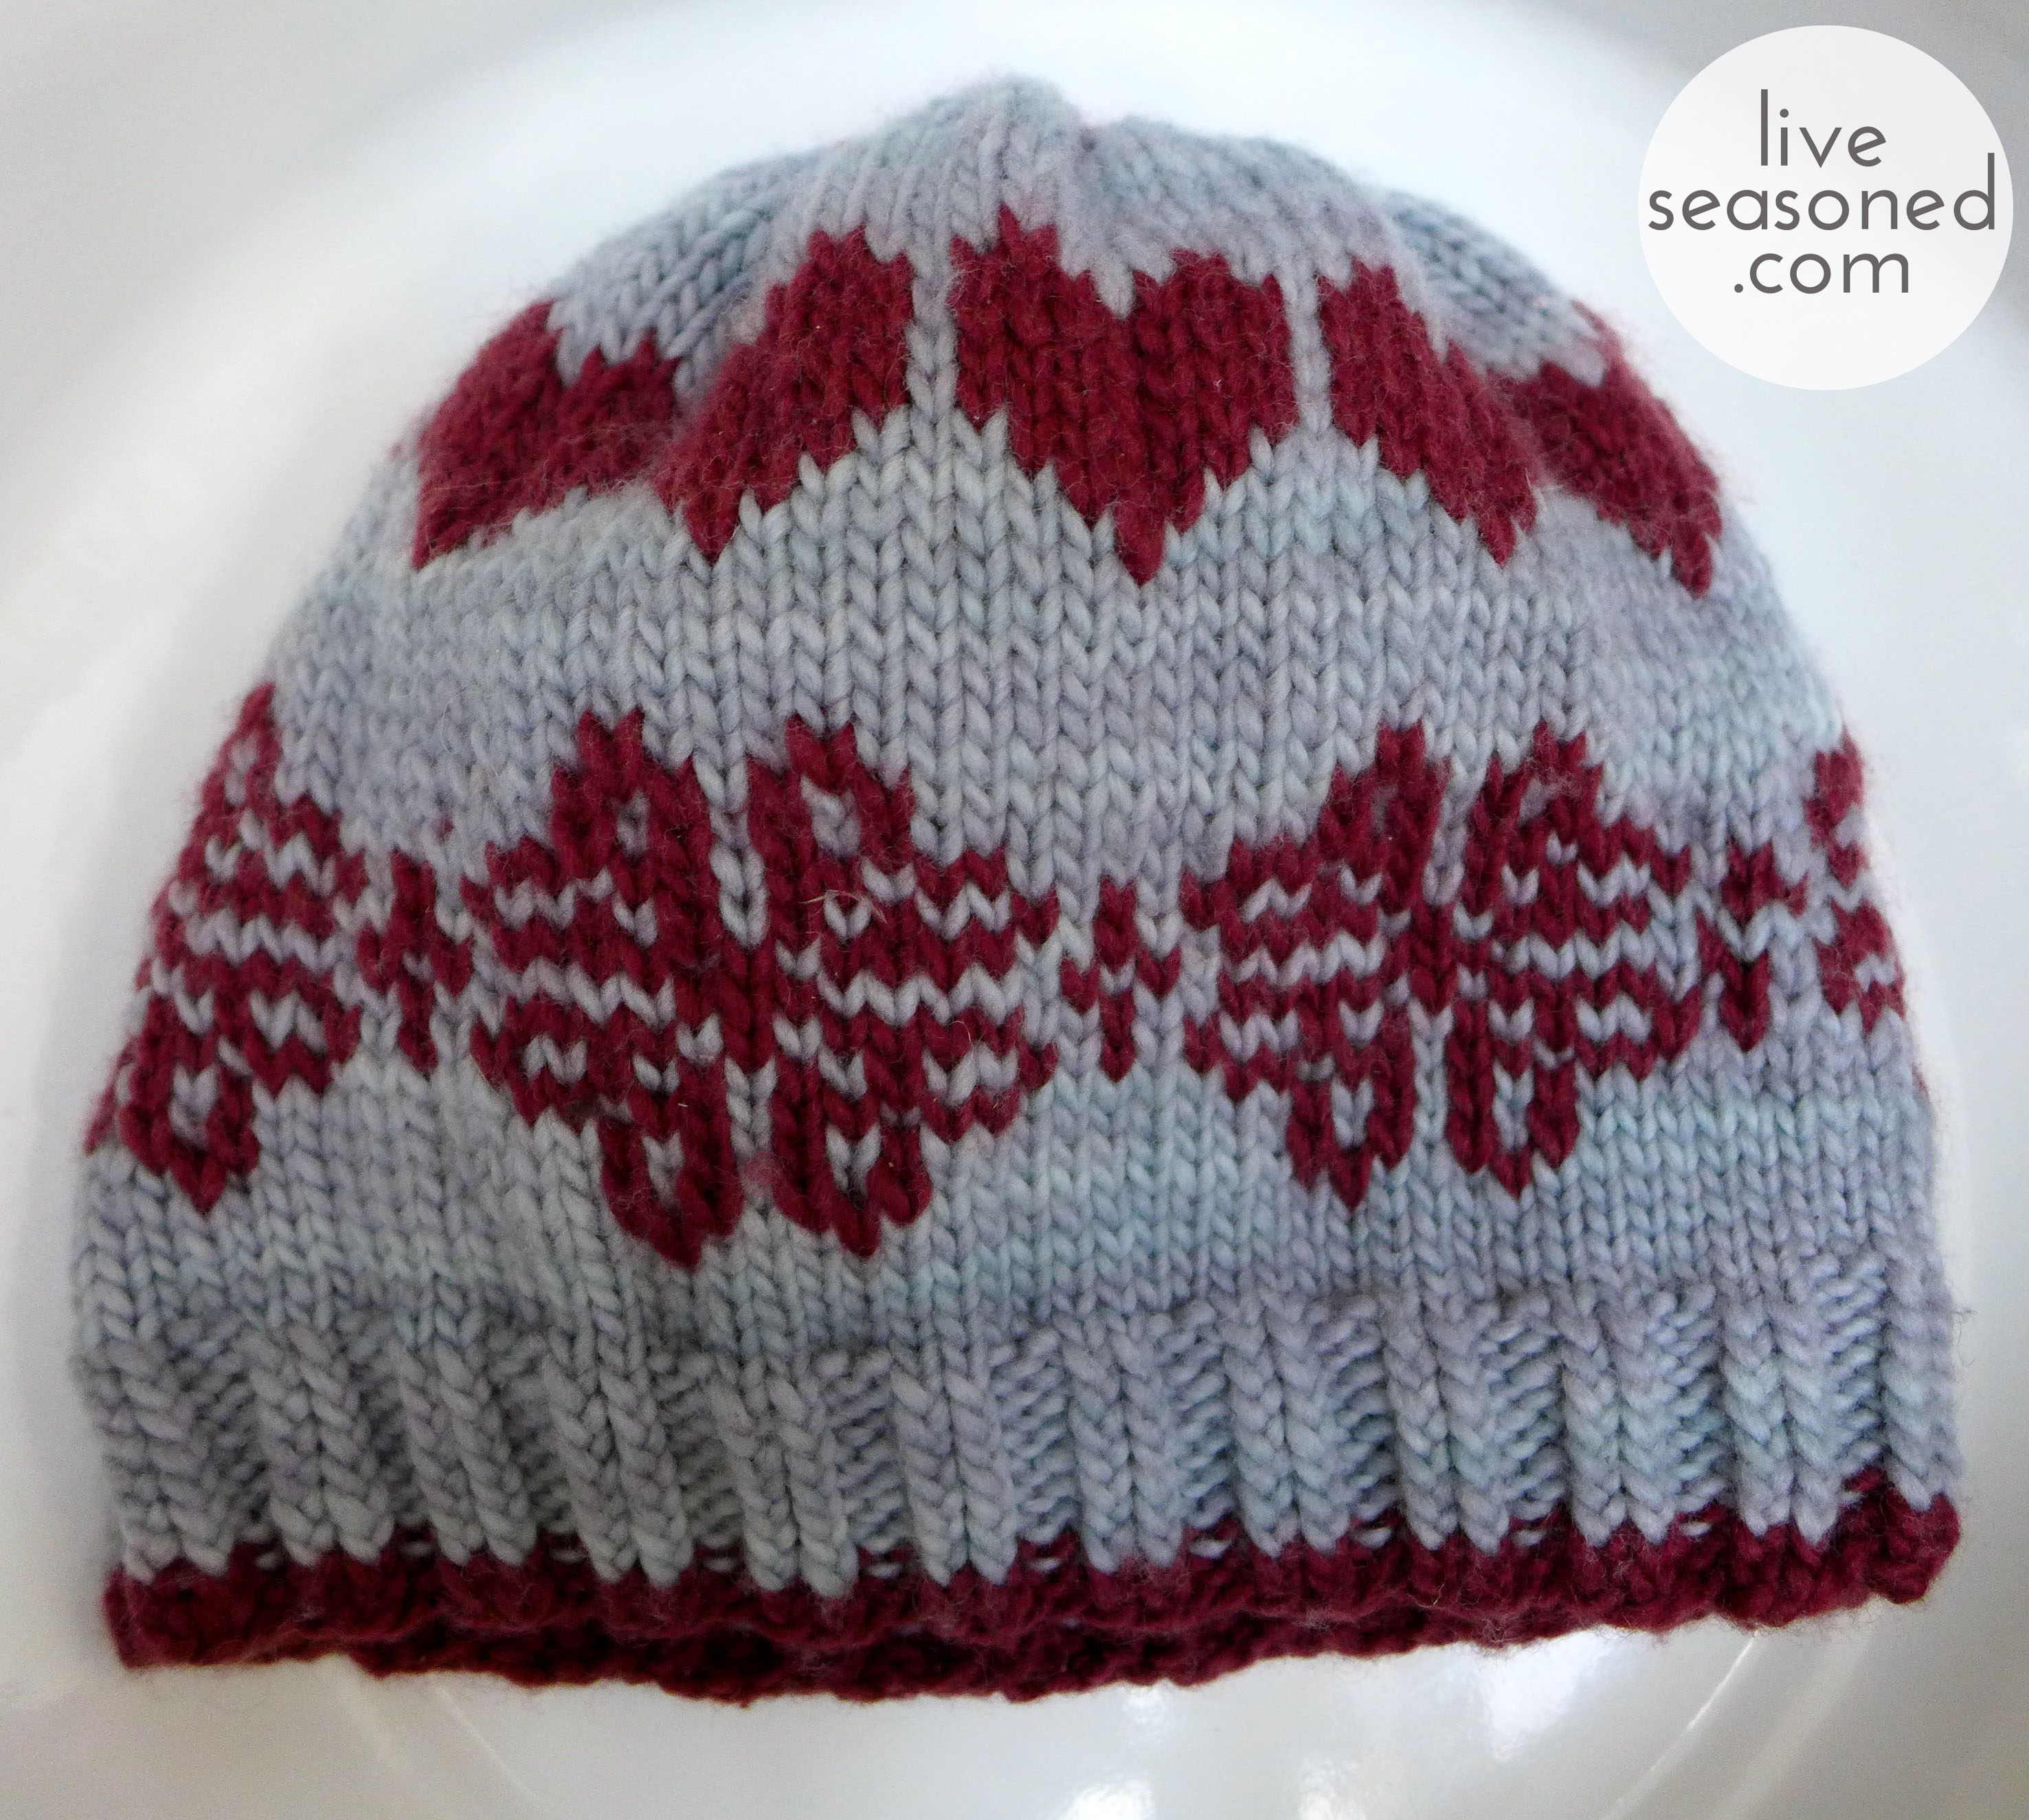
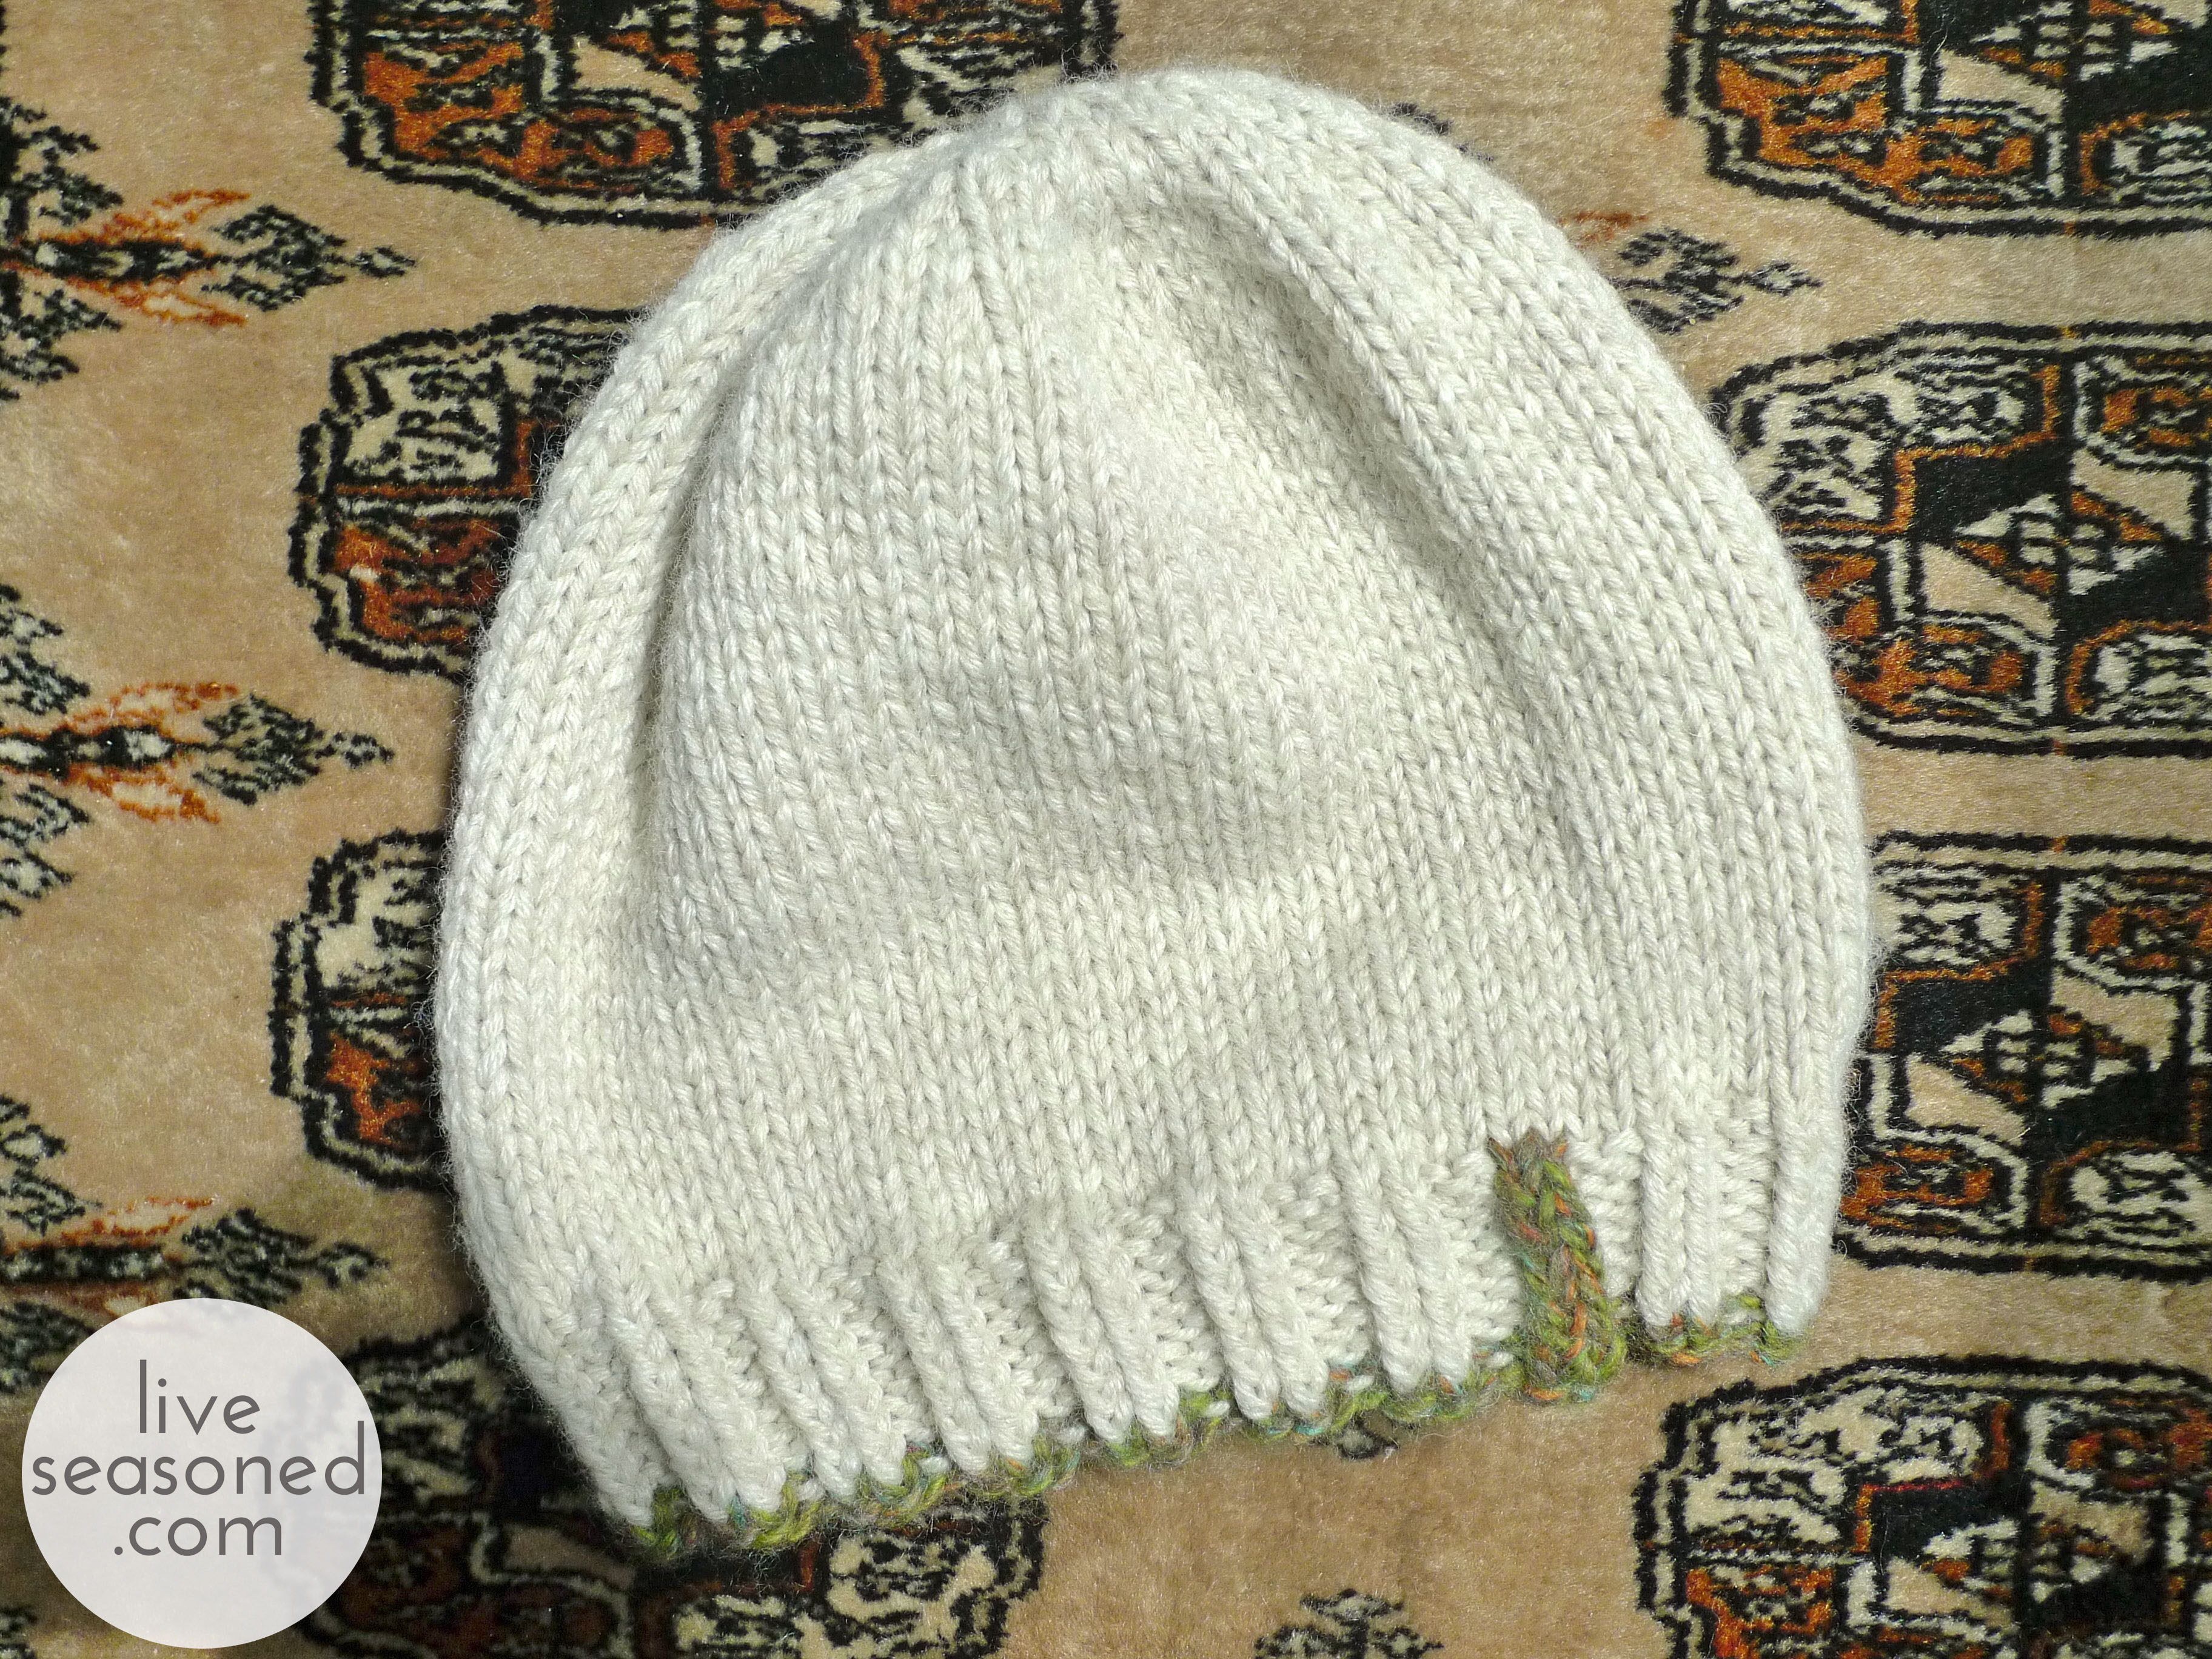
On Friday, I shared a picture of one of the Alex-friendly ornaments for the tree. Along with the filled balls, I’m also sewing a few simple felt ornaments. I have to admit that I really leaned on Pinterest for ideas this year, getting my inspiration for the ornaments from photos I saw while browsing pins and then just putting my own spin on them.

liveseasoned_fall2014_xmas_crafts3_wm

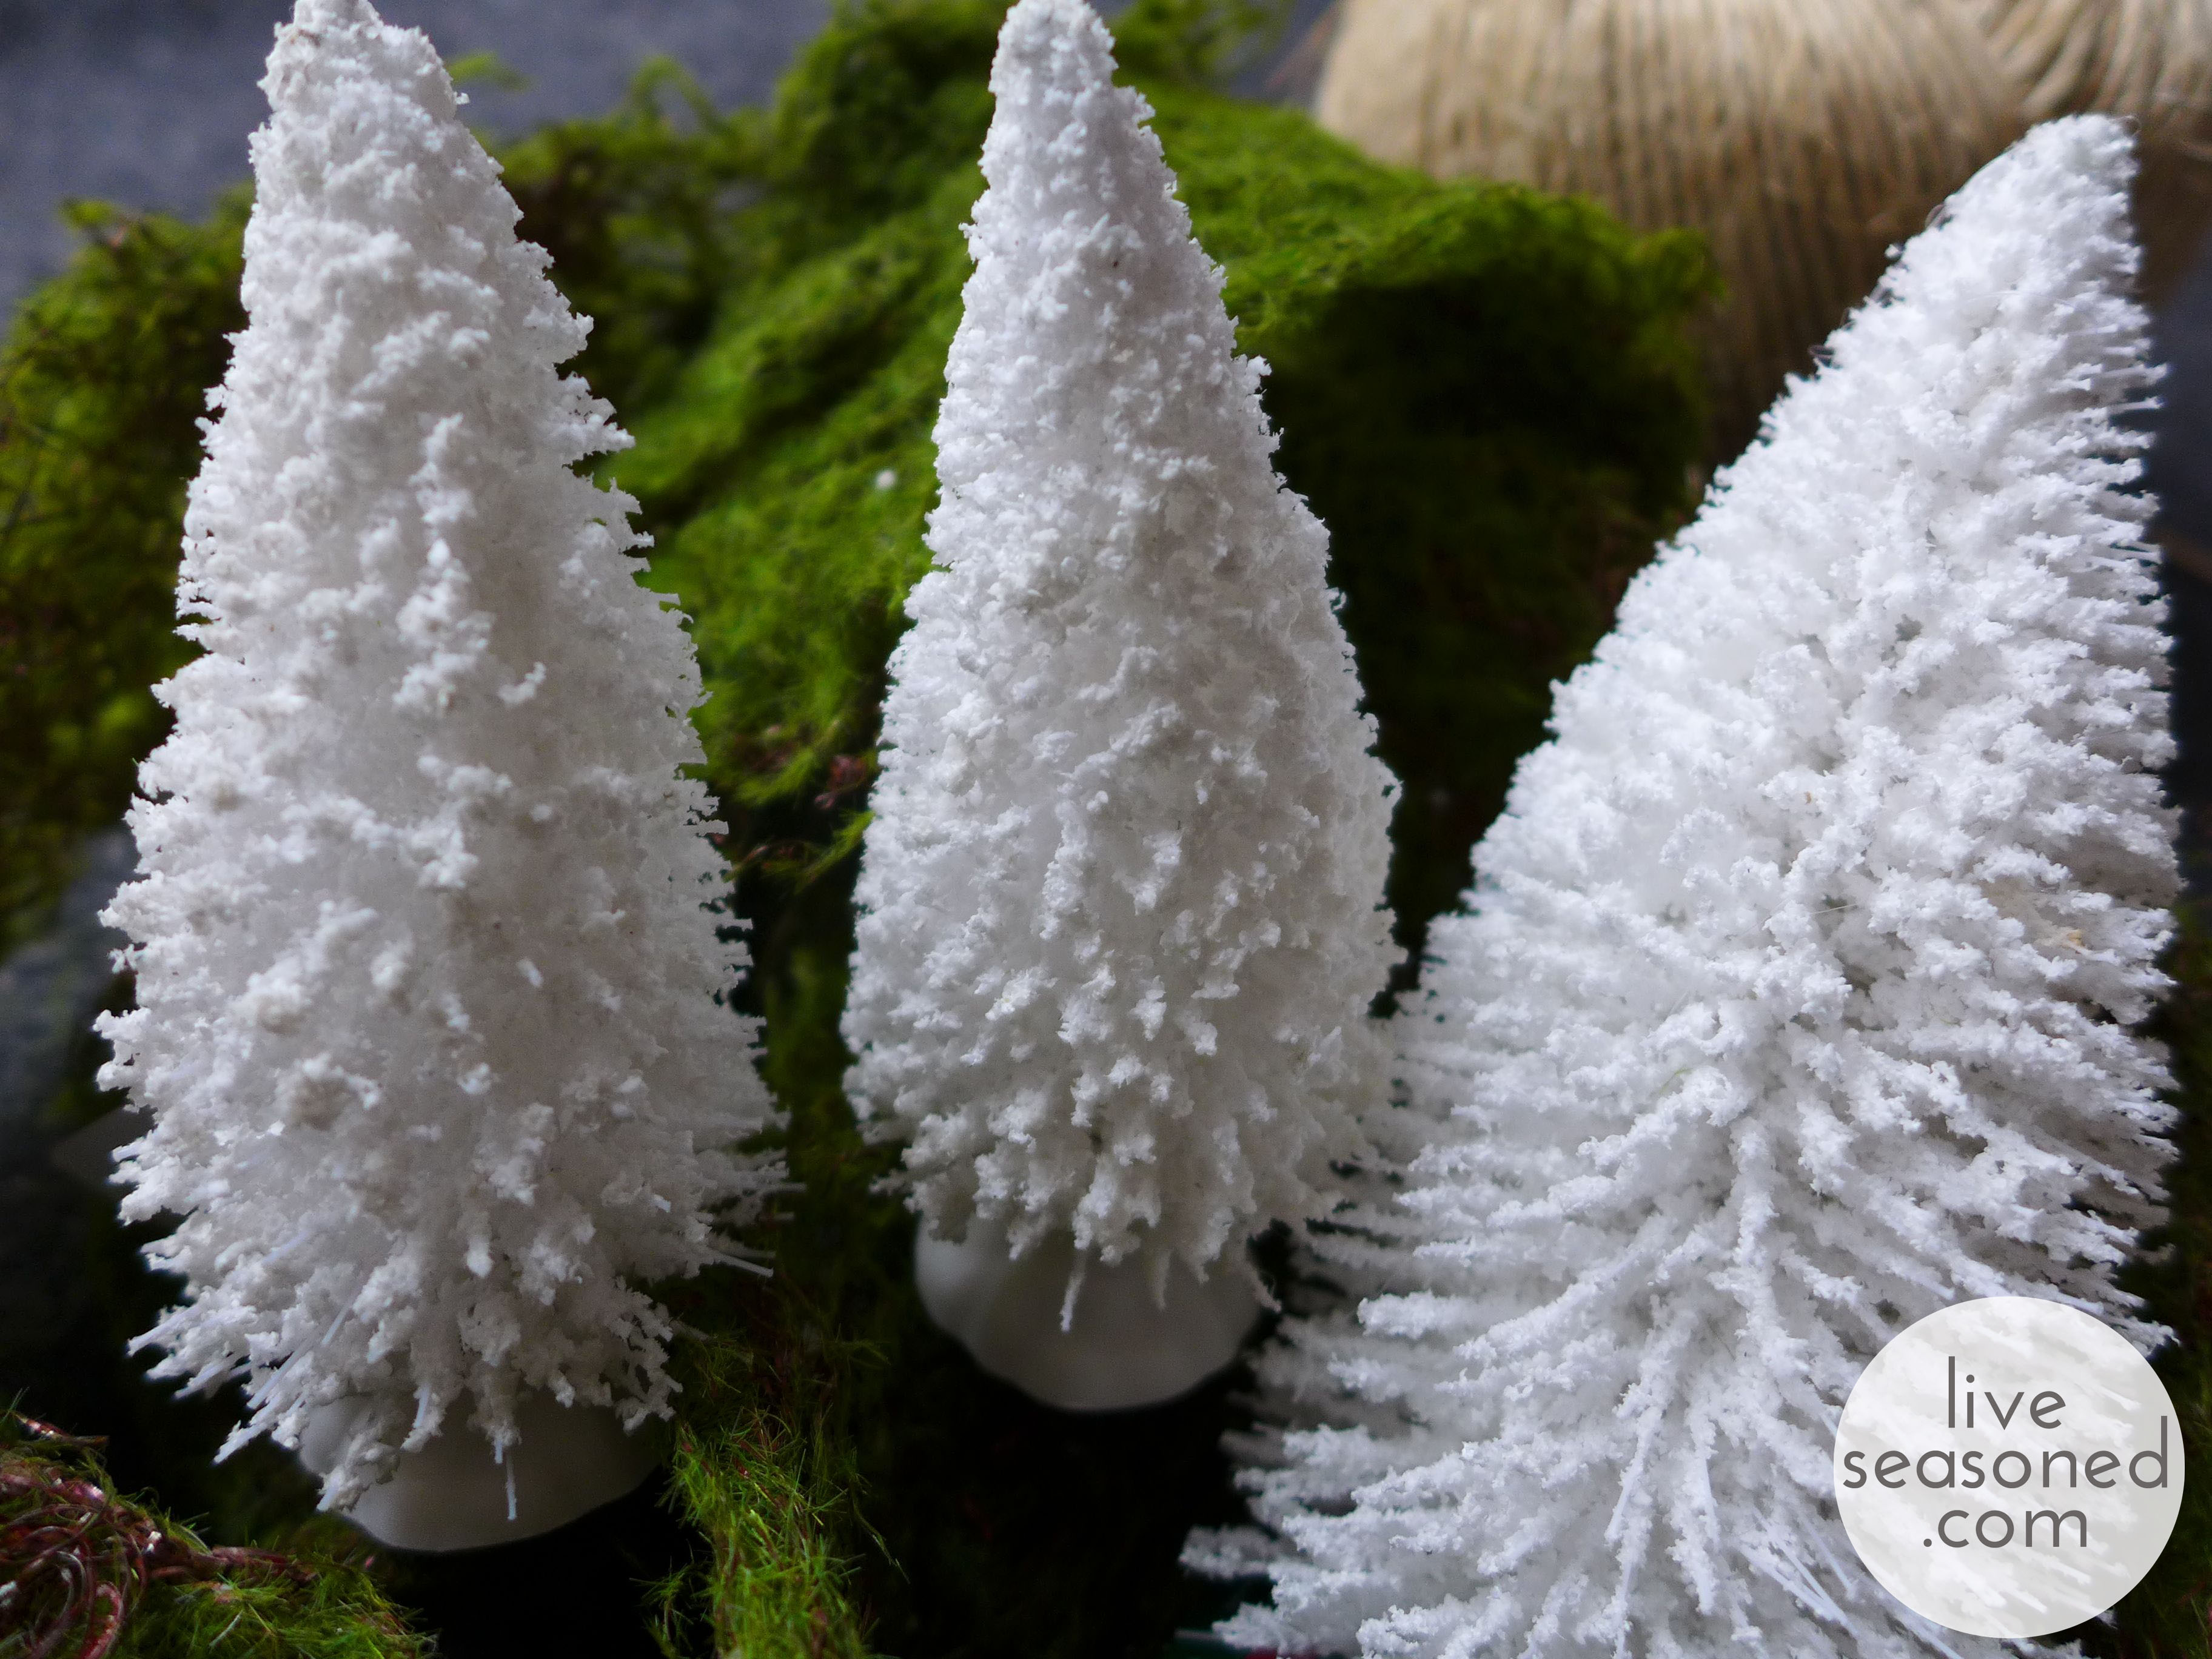
Another Pinterest-inspired project is going to come from the white trees and ribbon of moss in the photo below. This little project surprise is something that’s so simple, and I’ve wanted to make it for years. So I may be a little too excited that it’s finally happening.

liveseasoned_fall2014_xmas_crafts2_wm

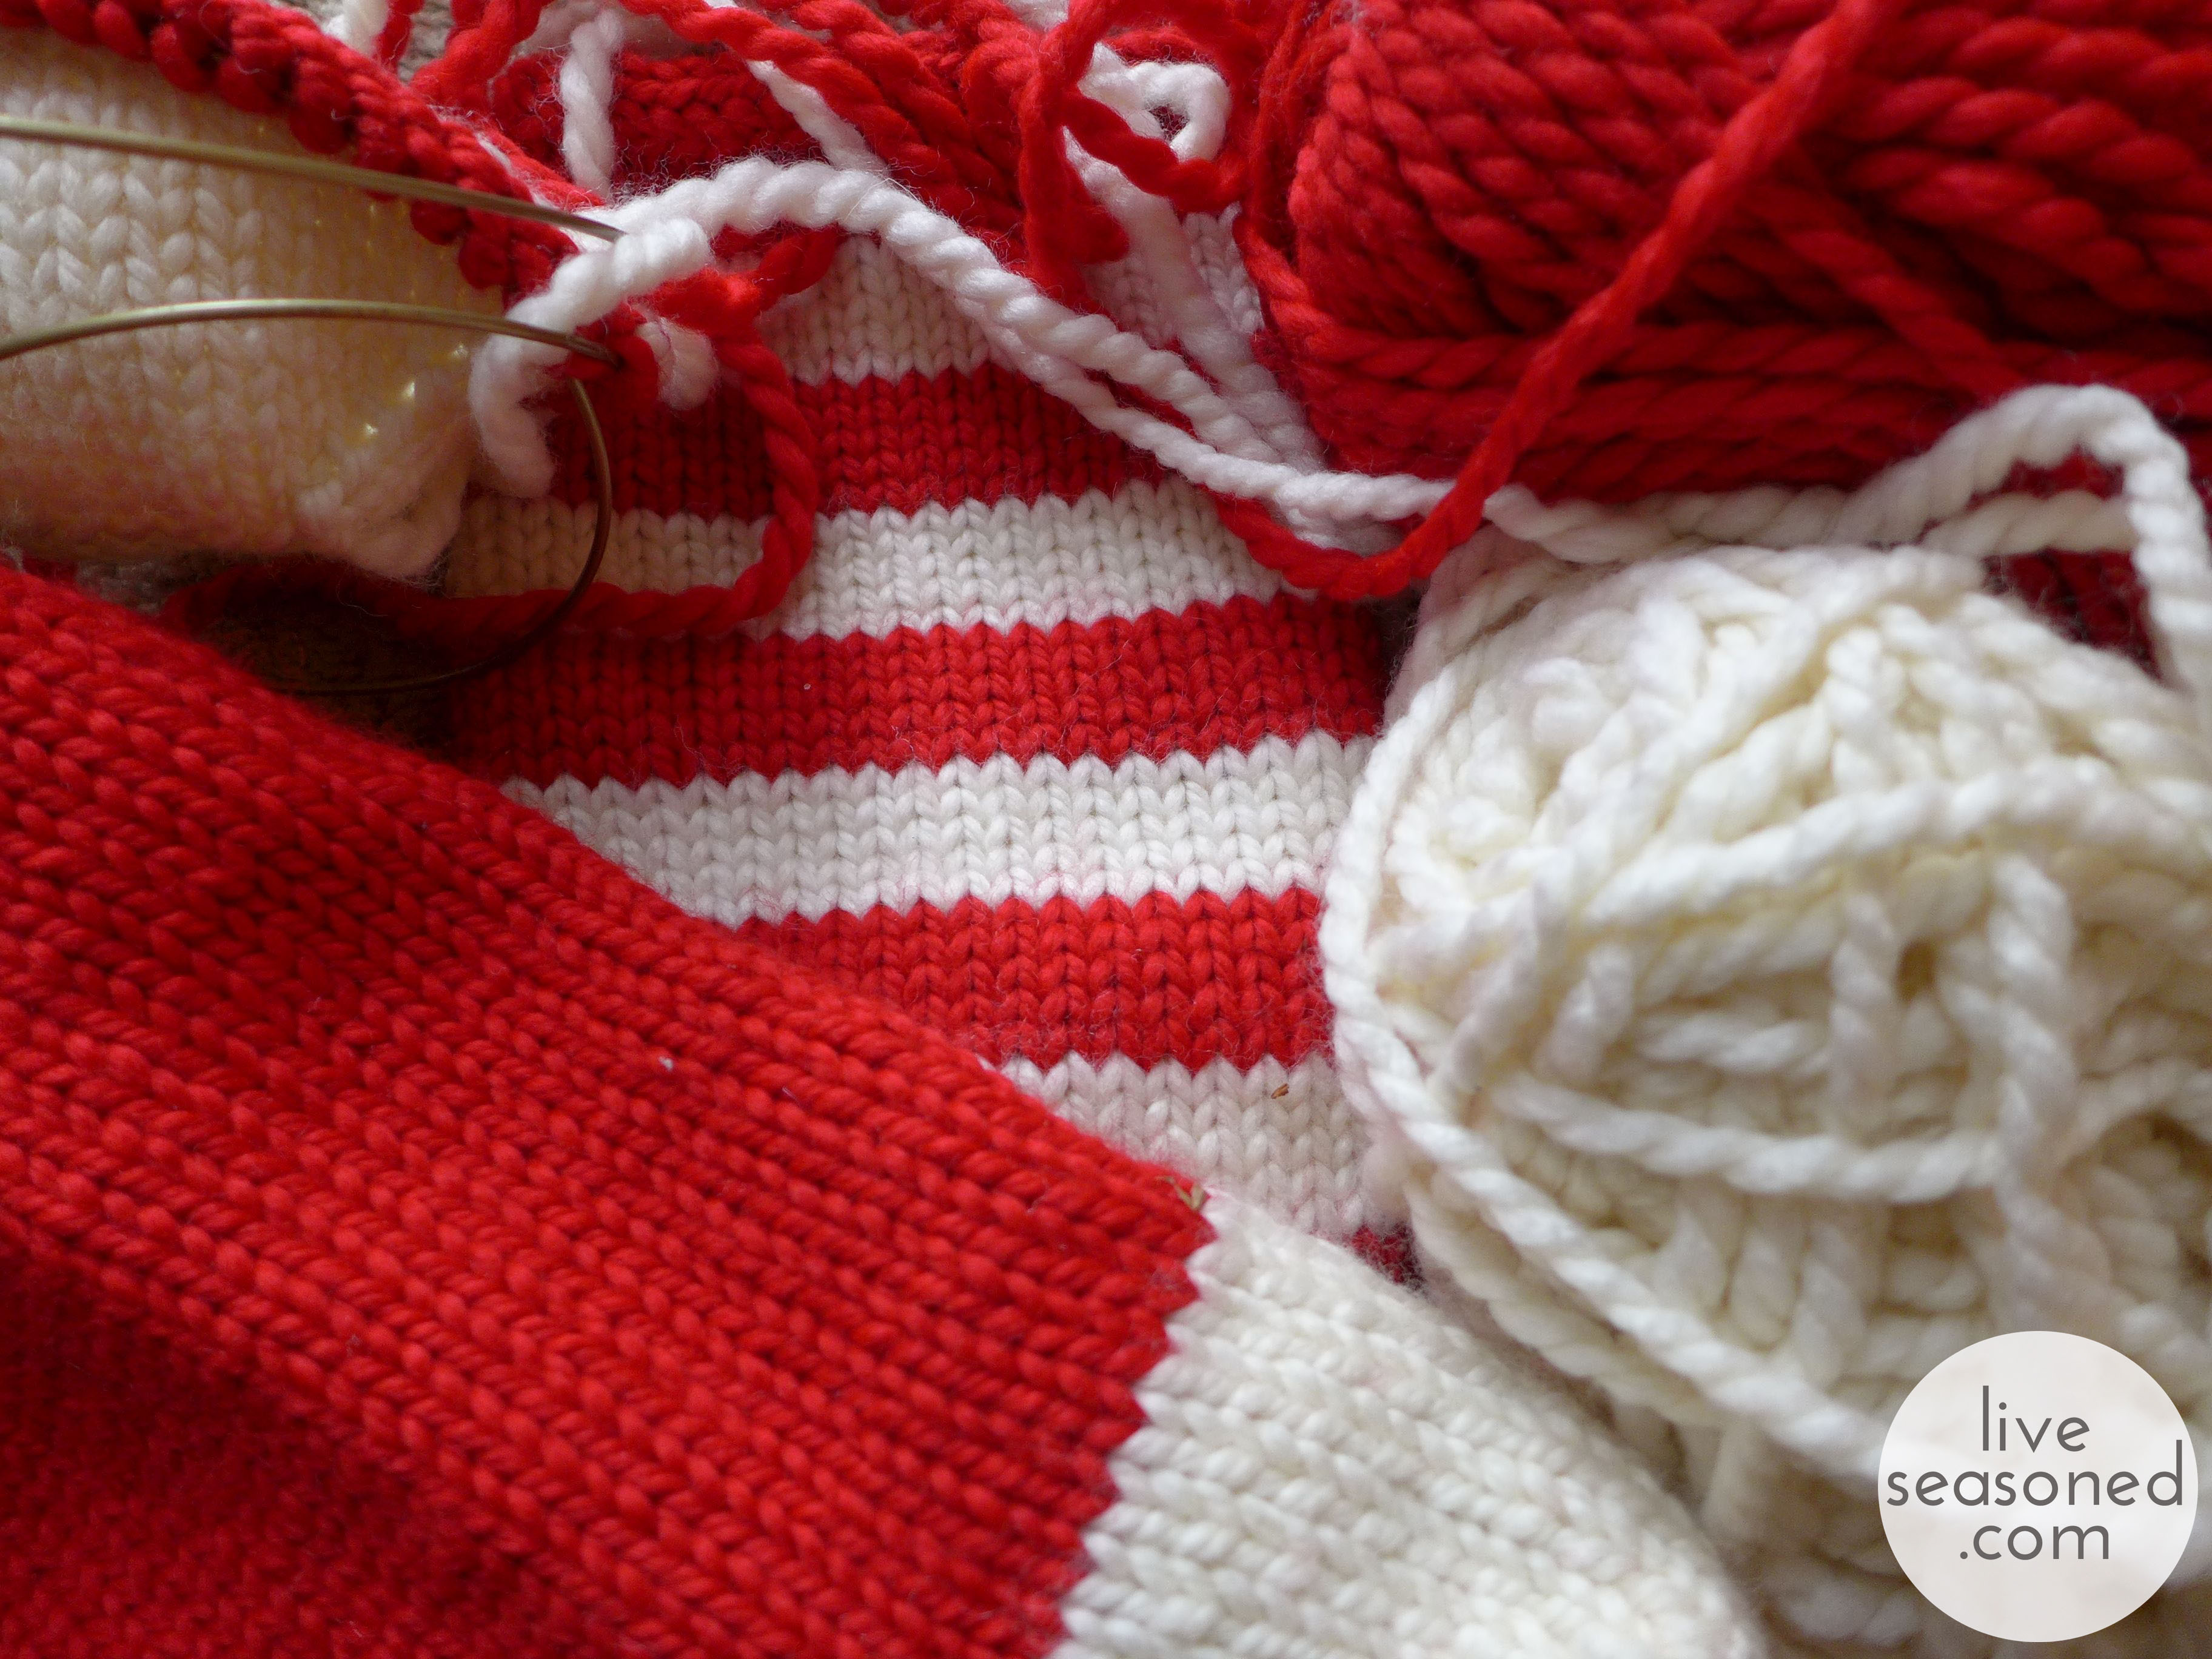
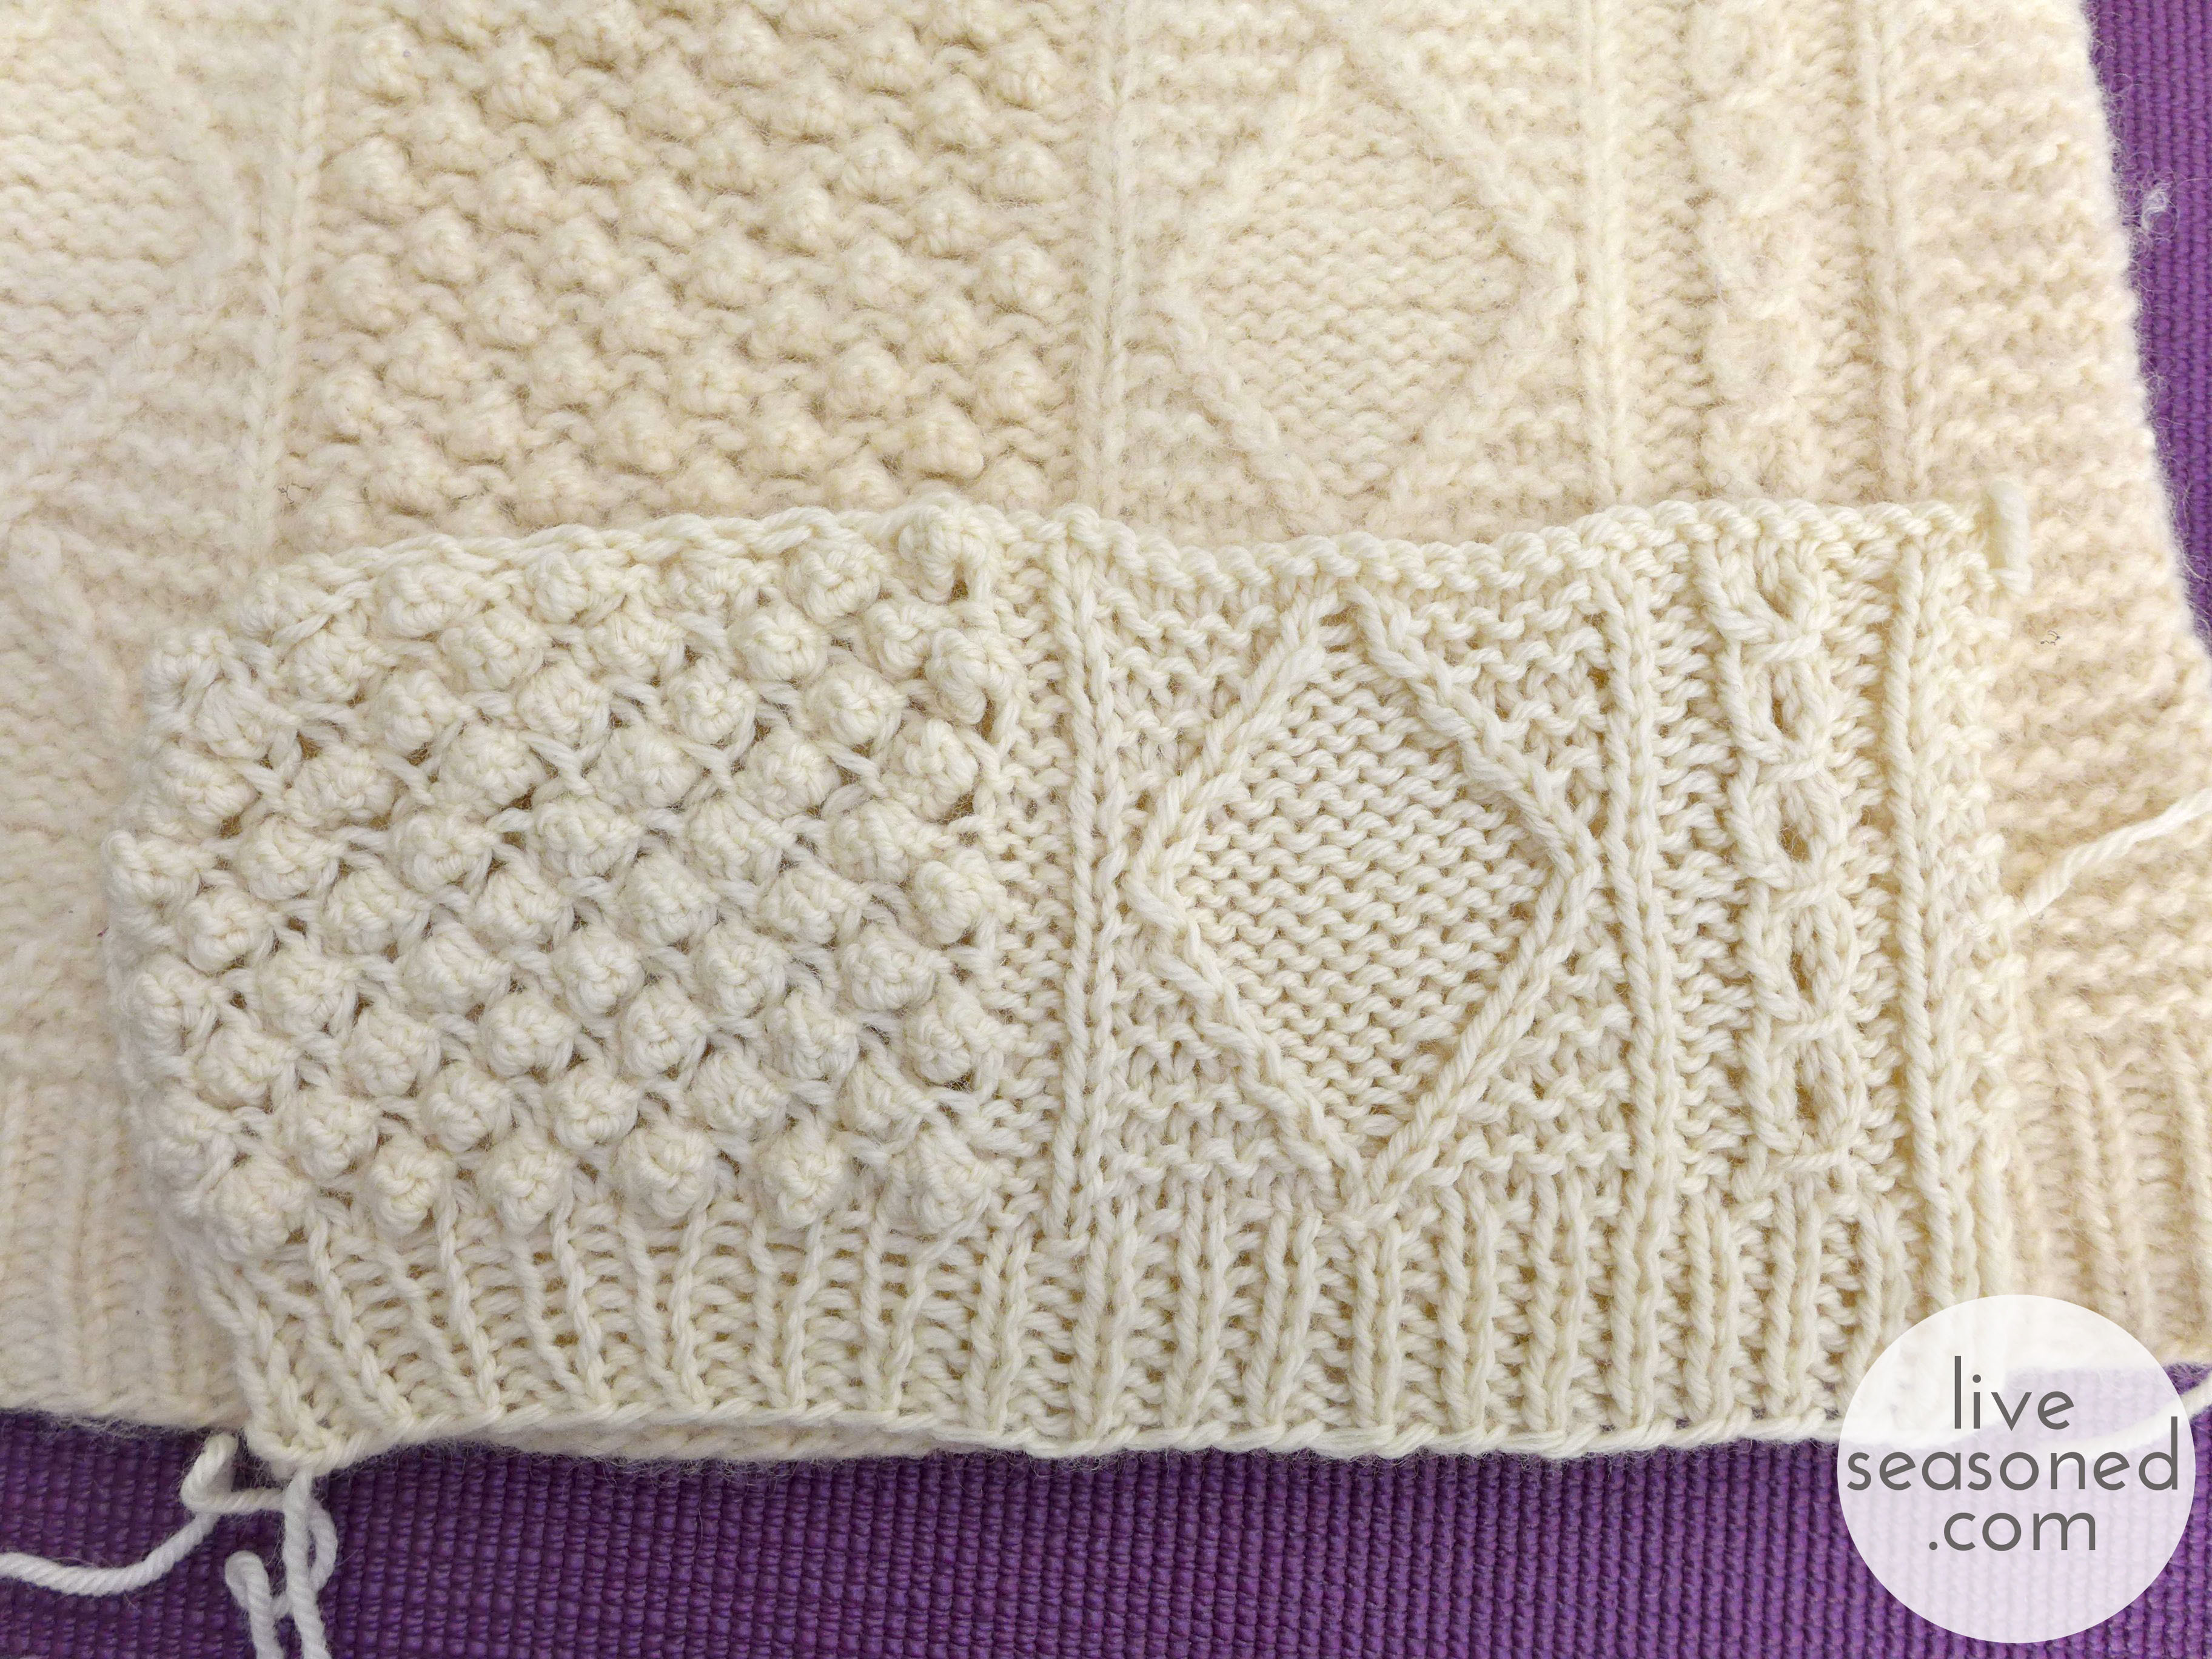
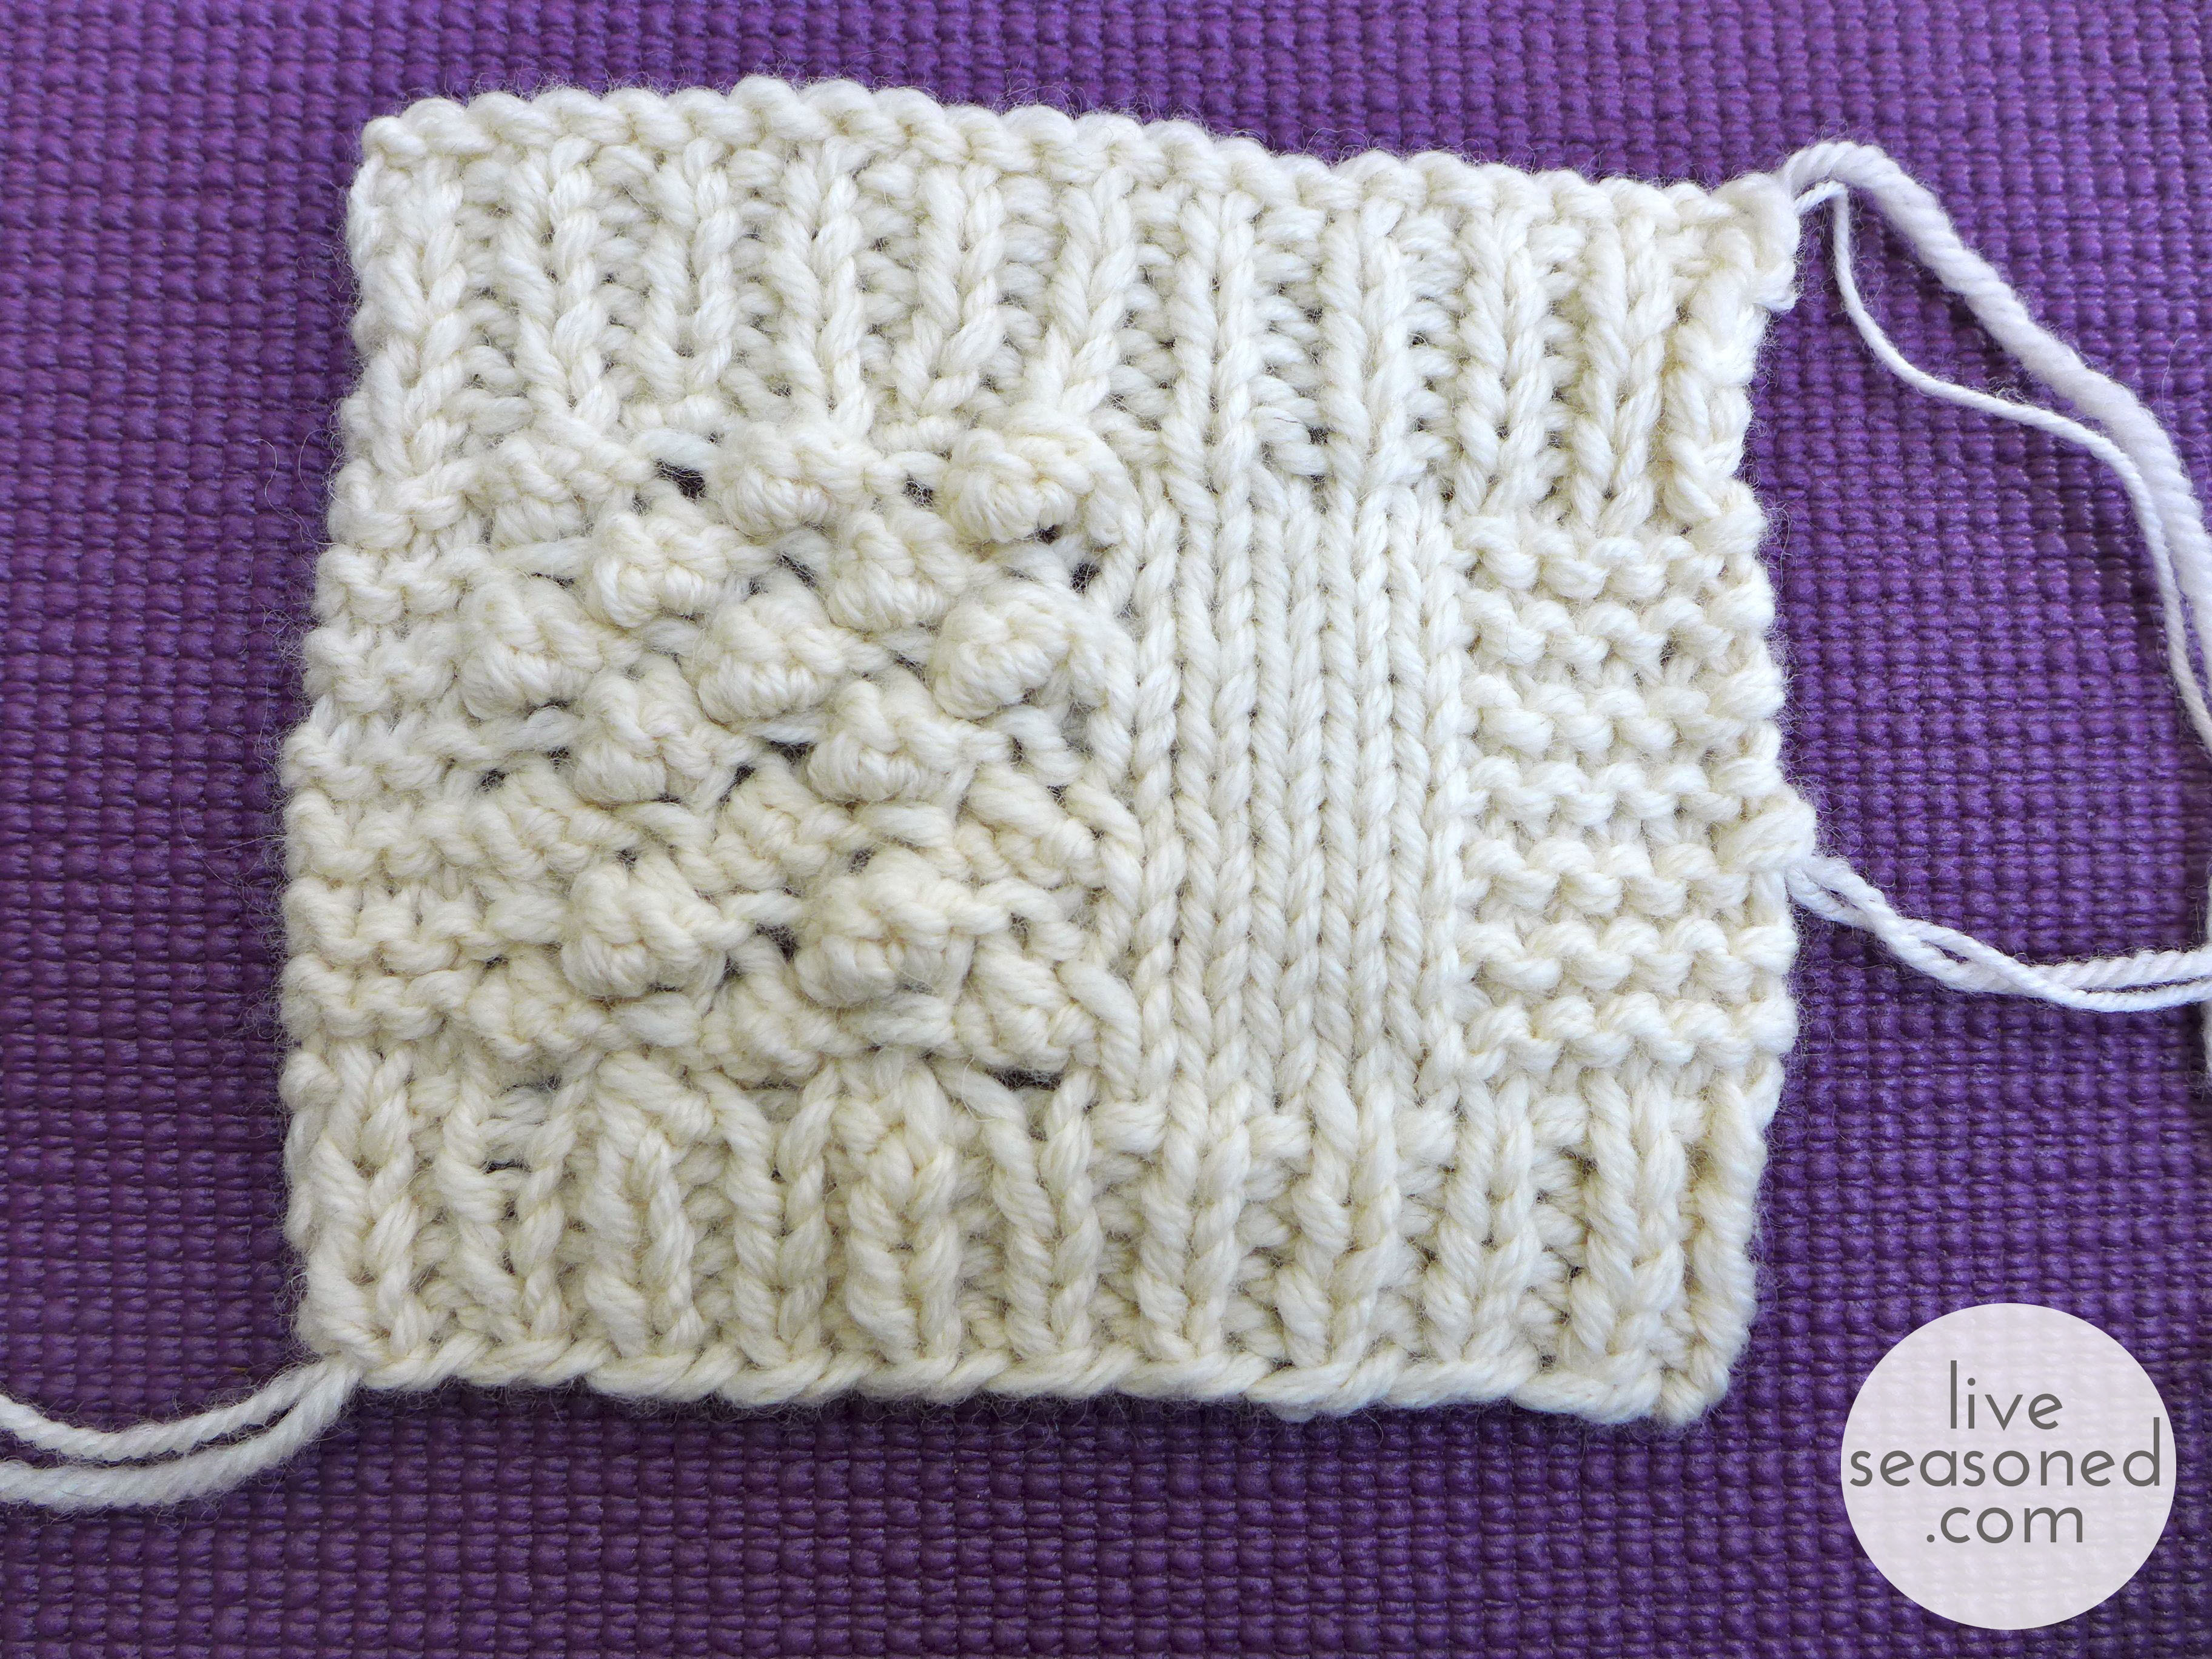
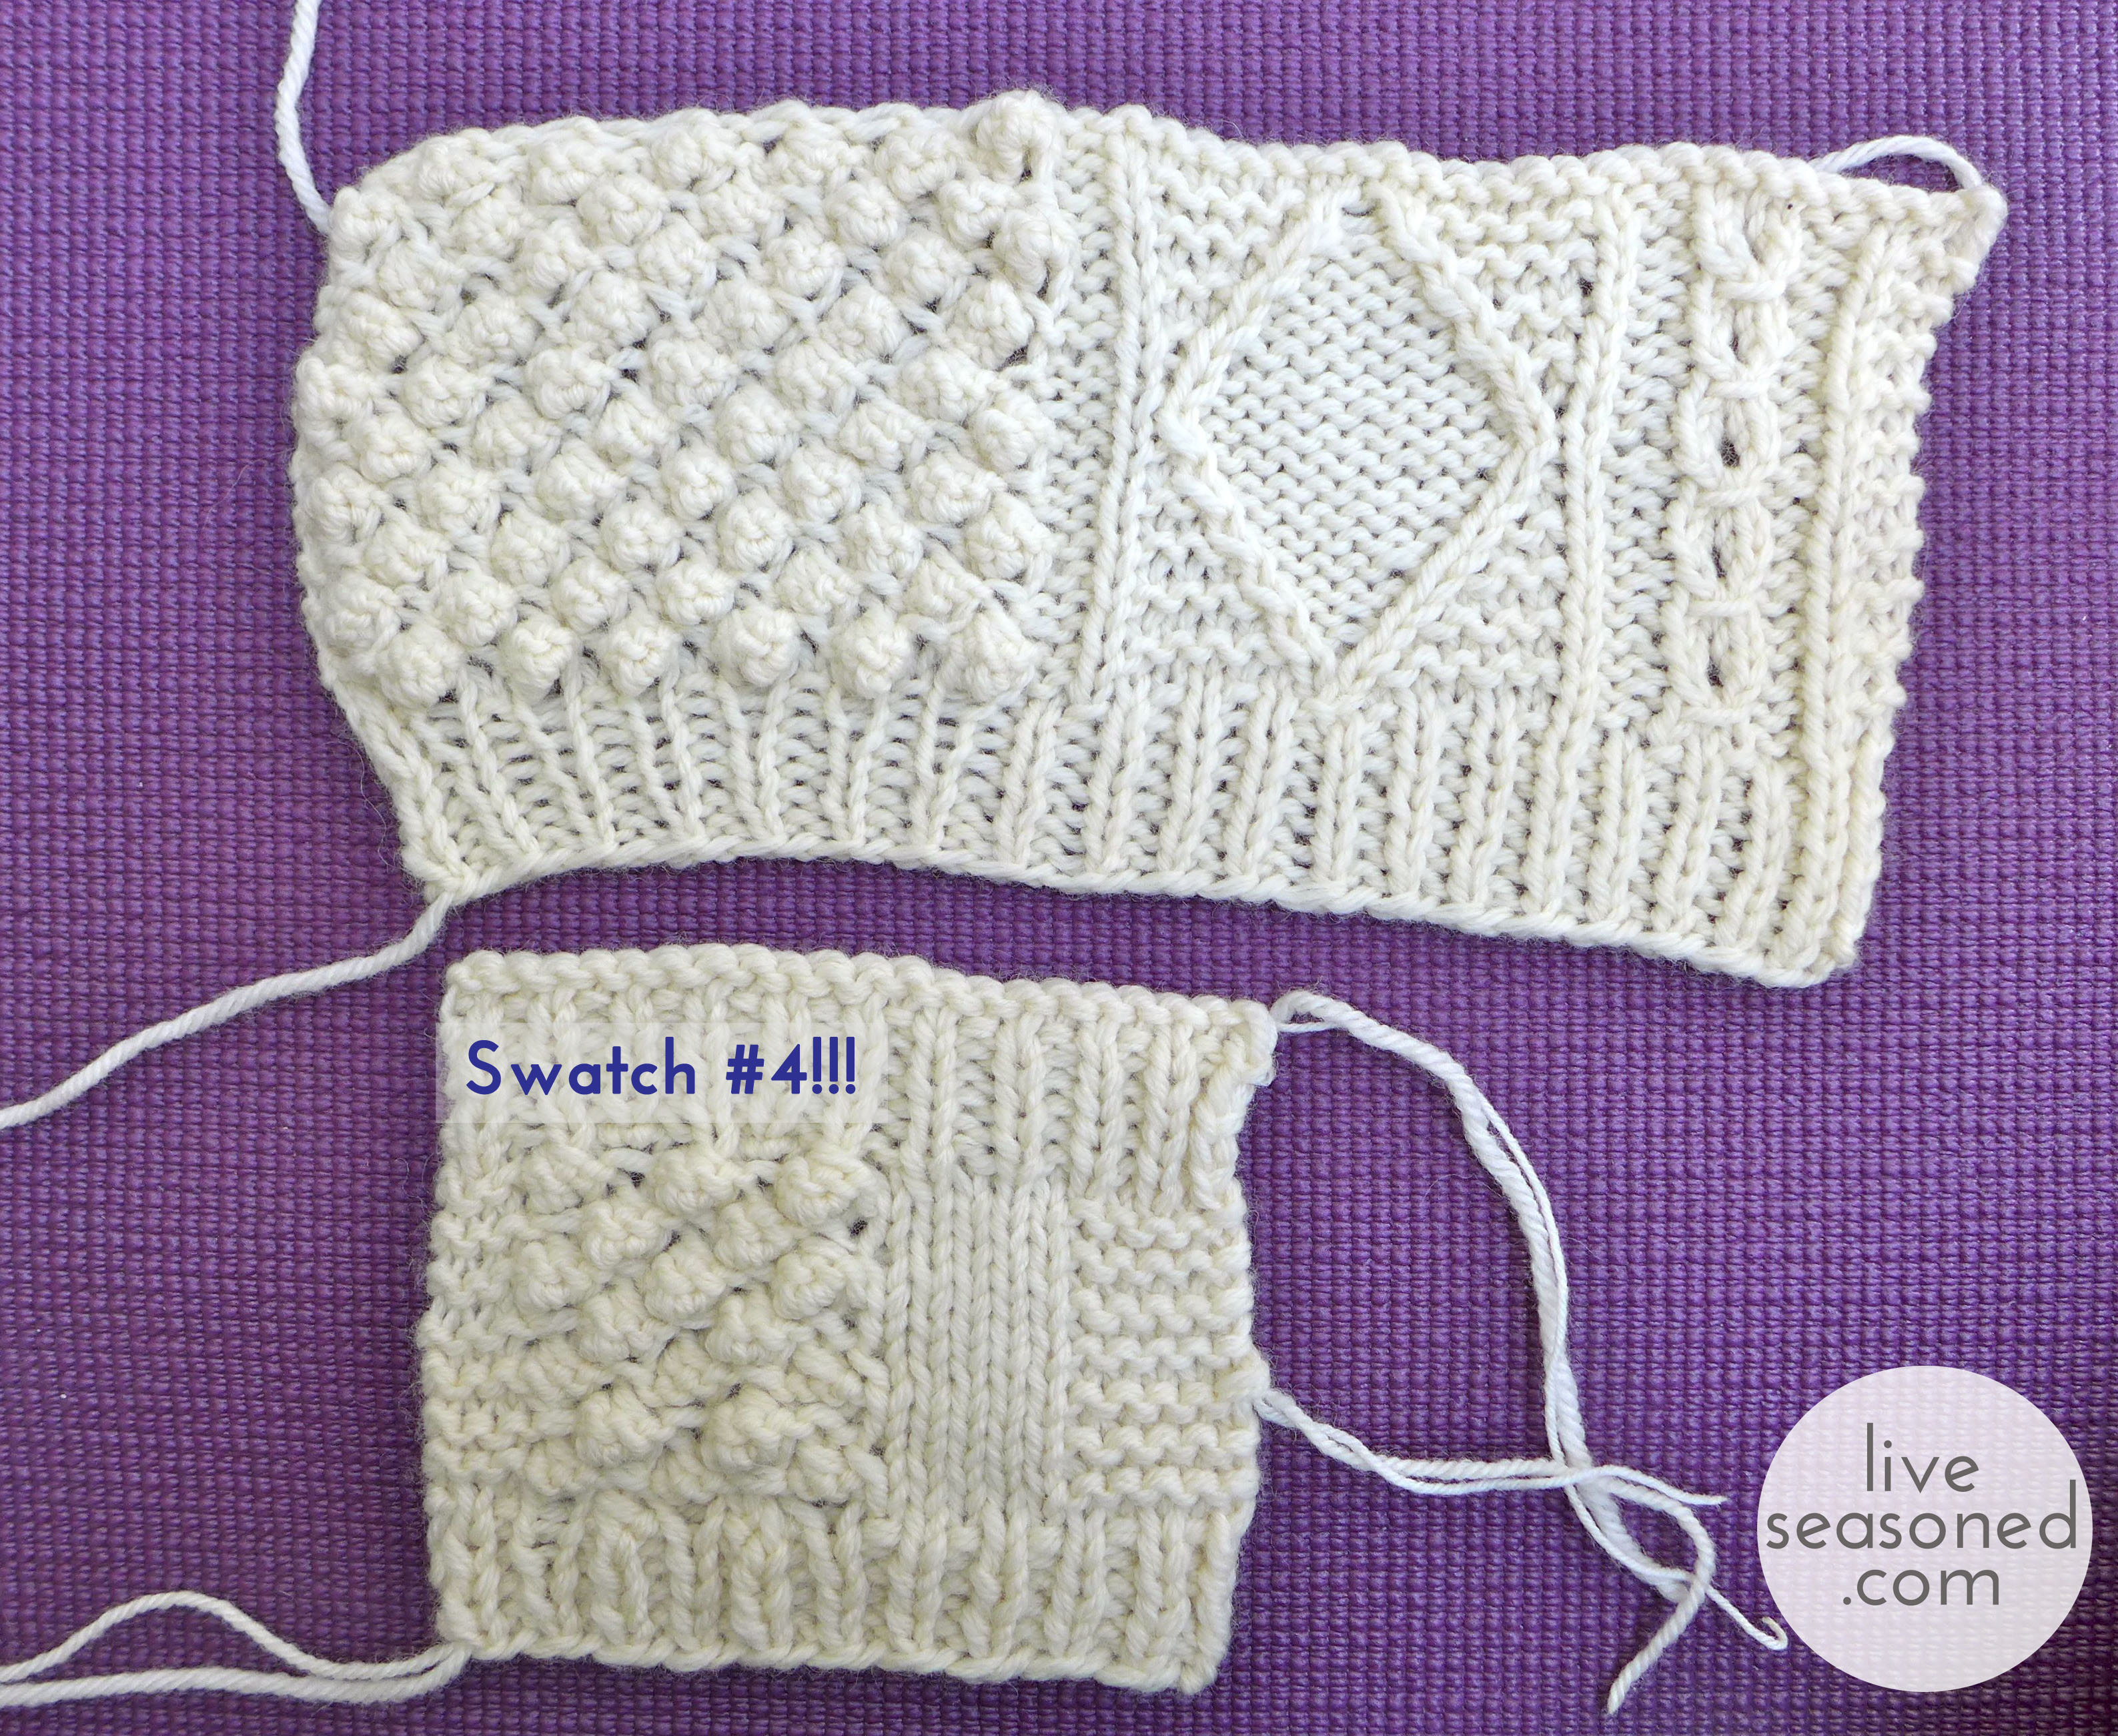
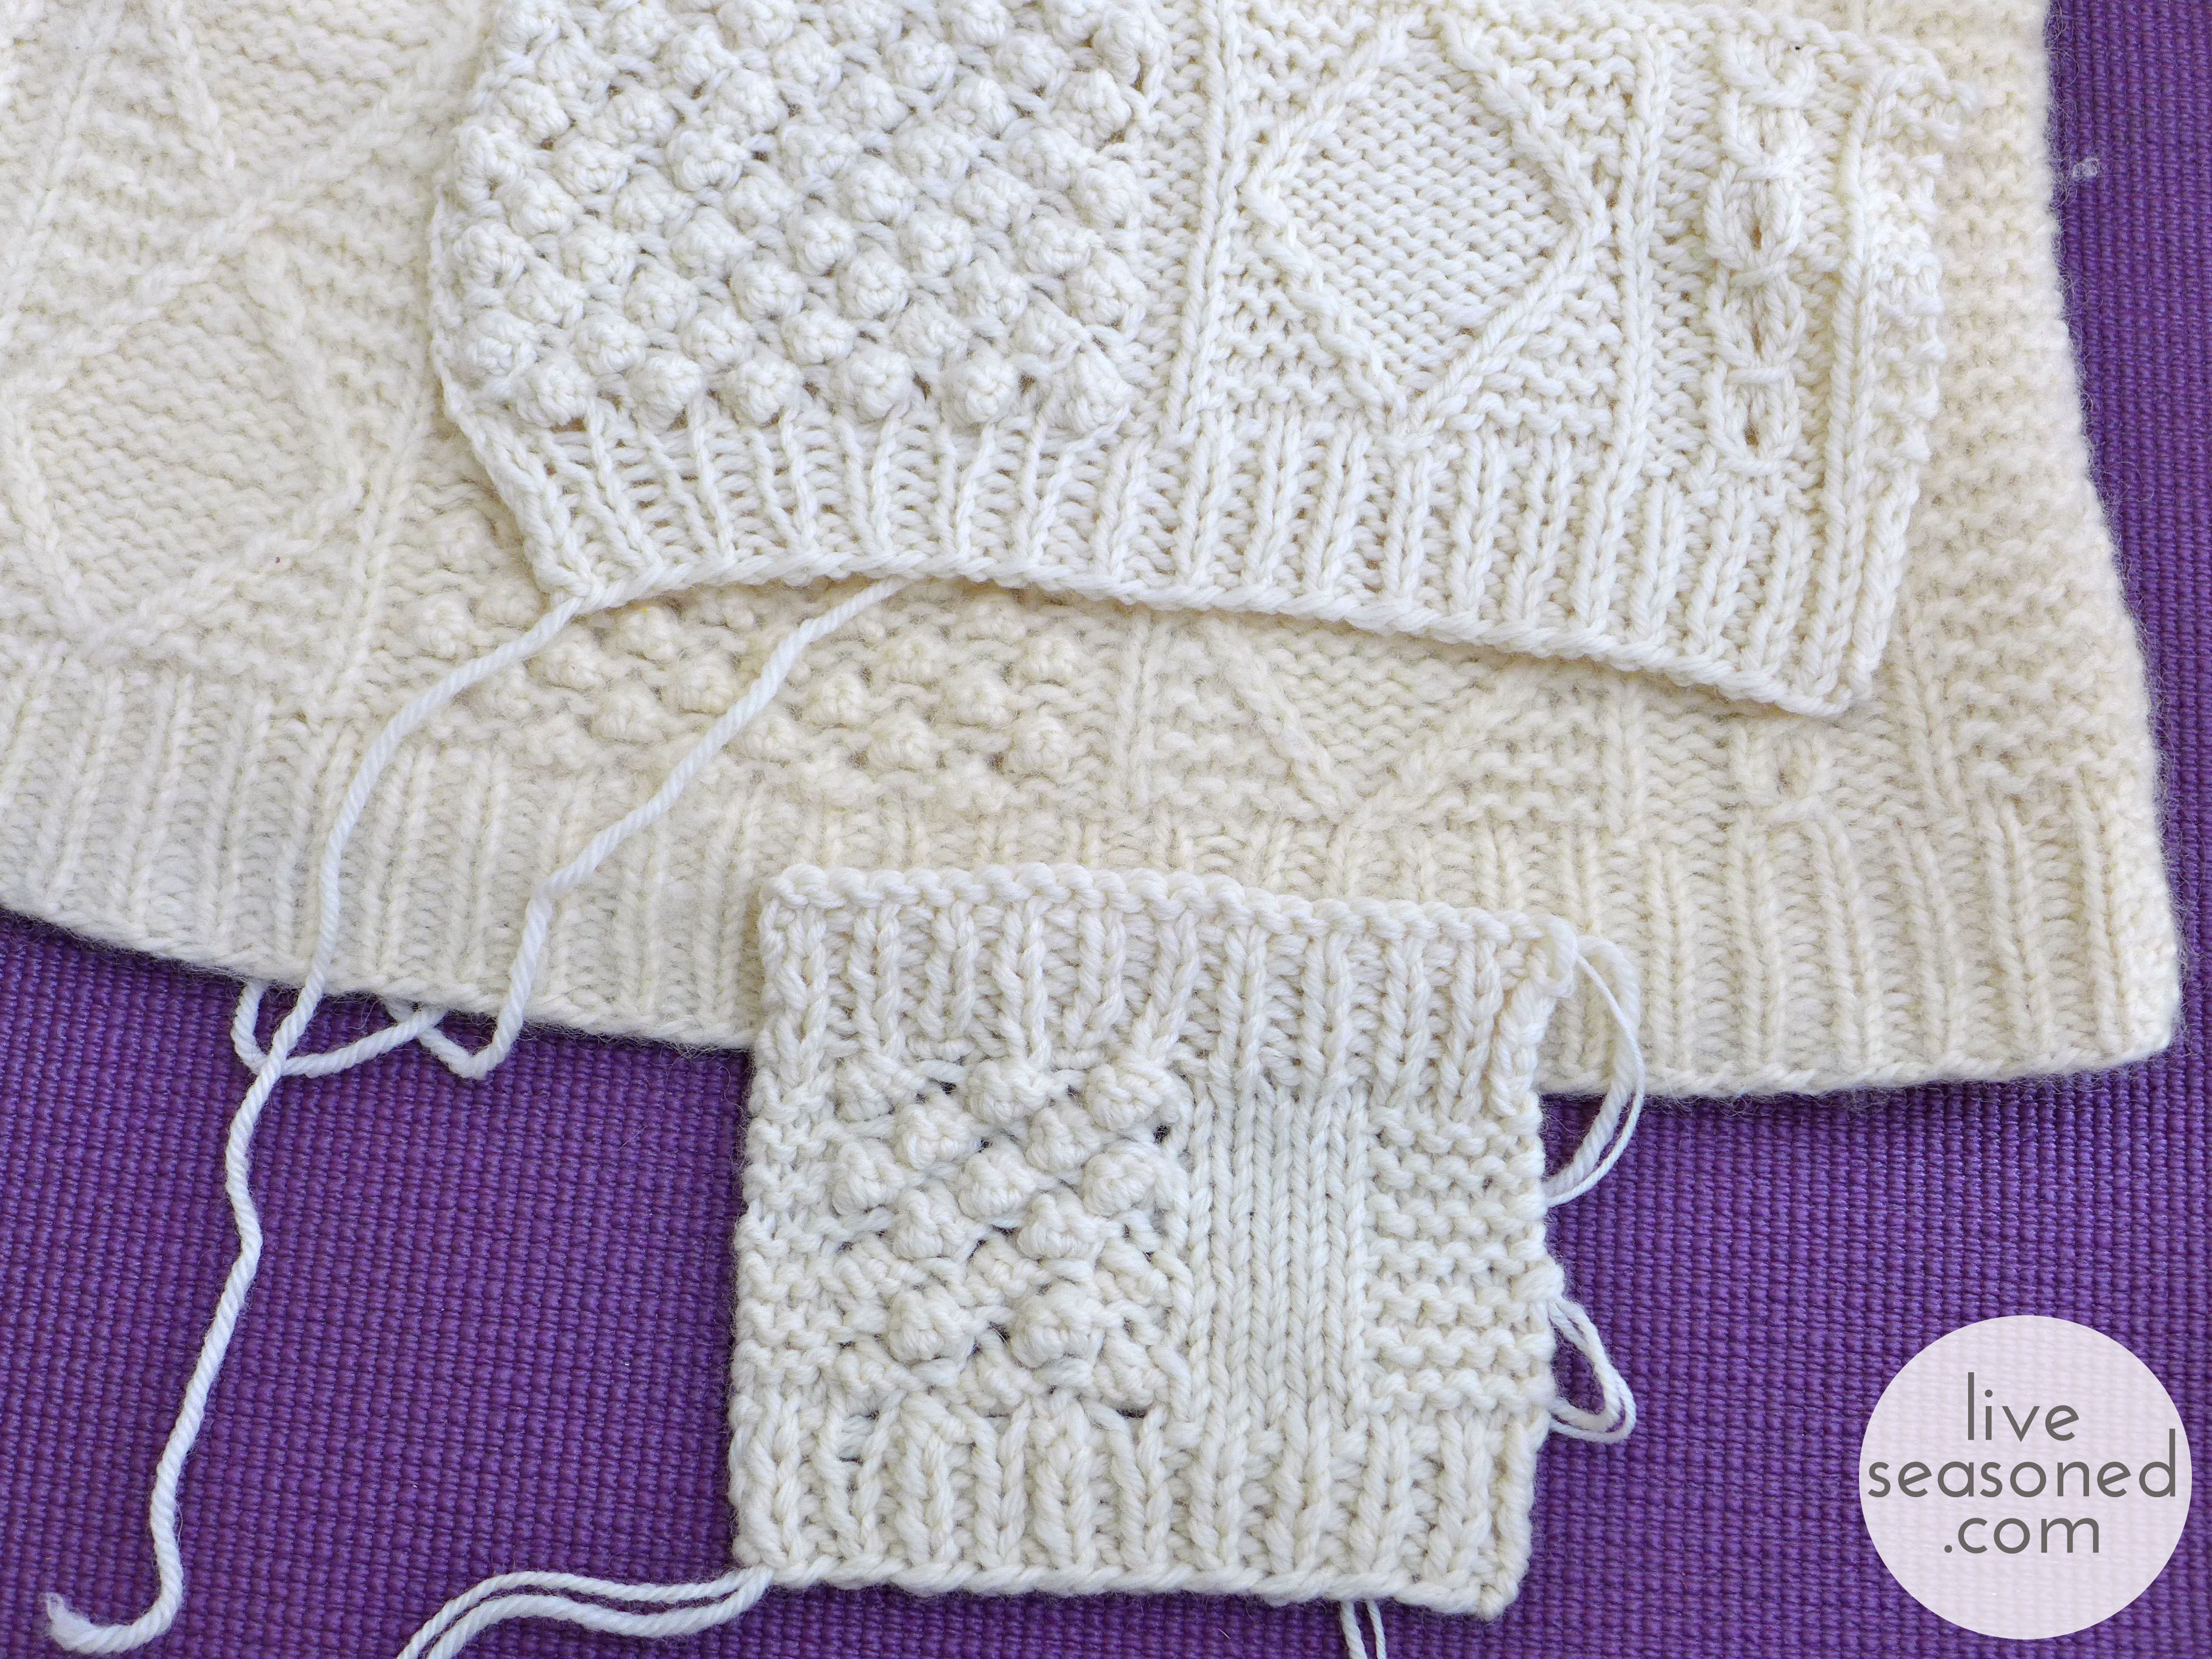
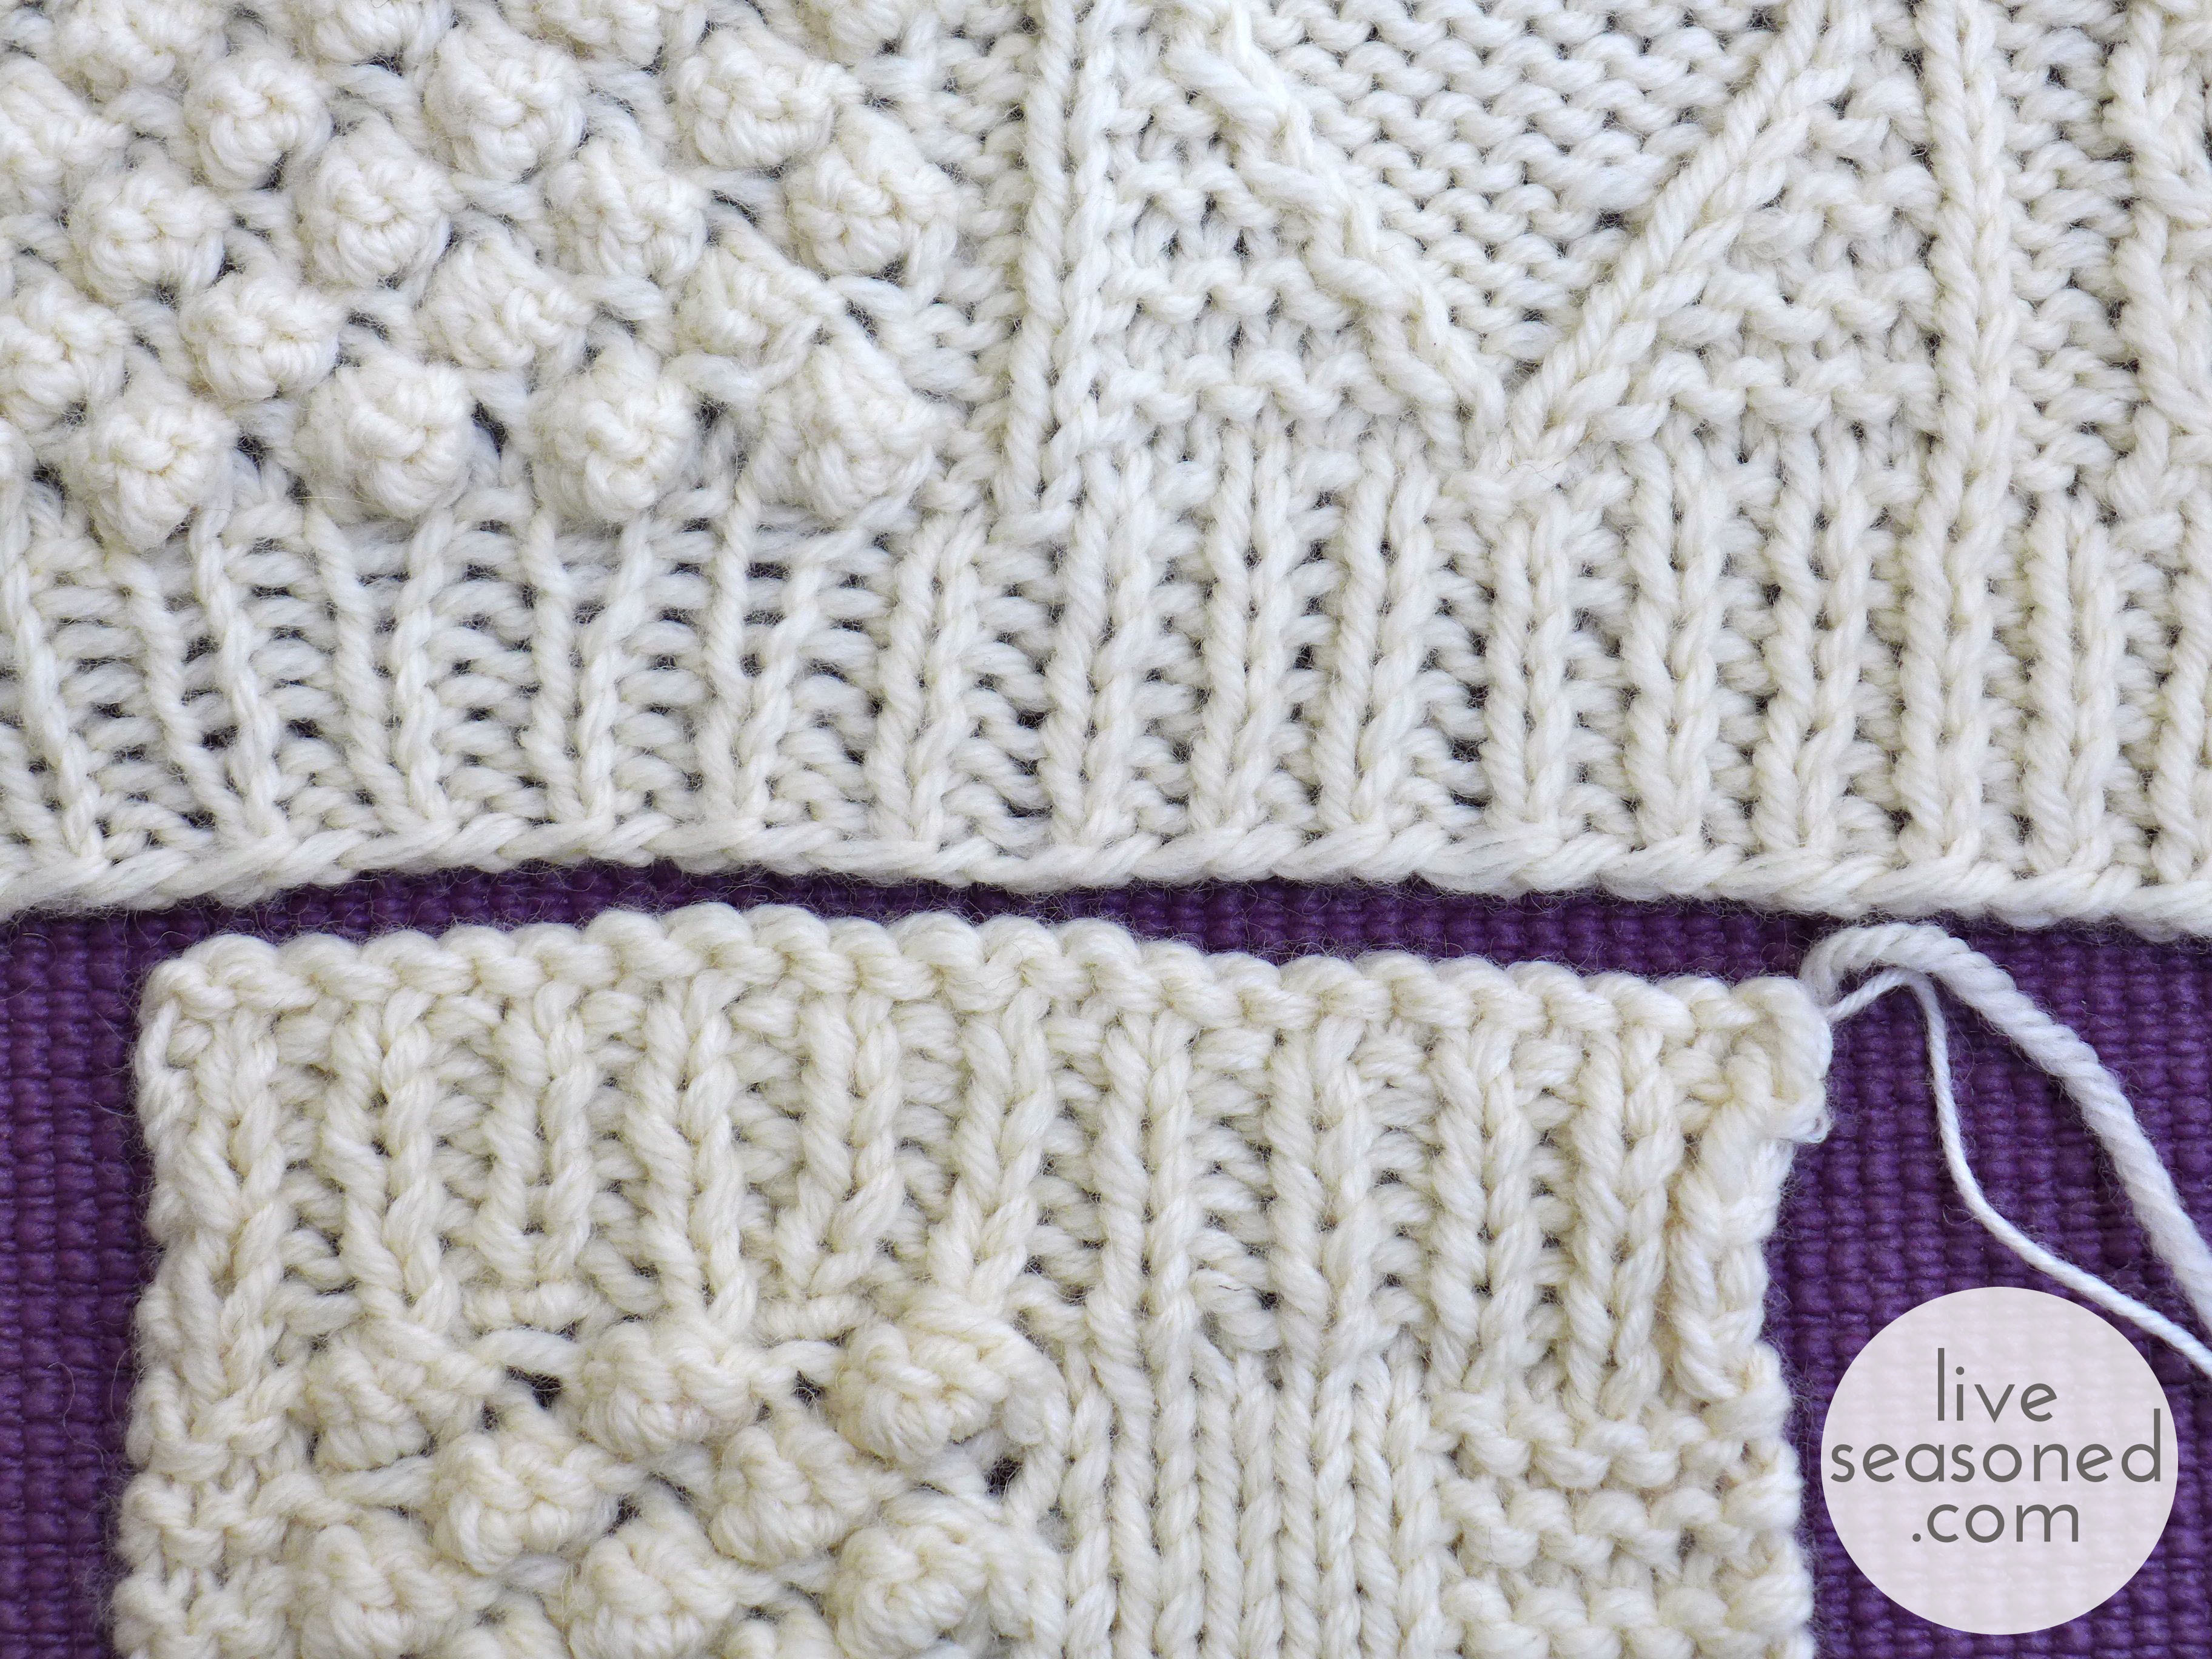
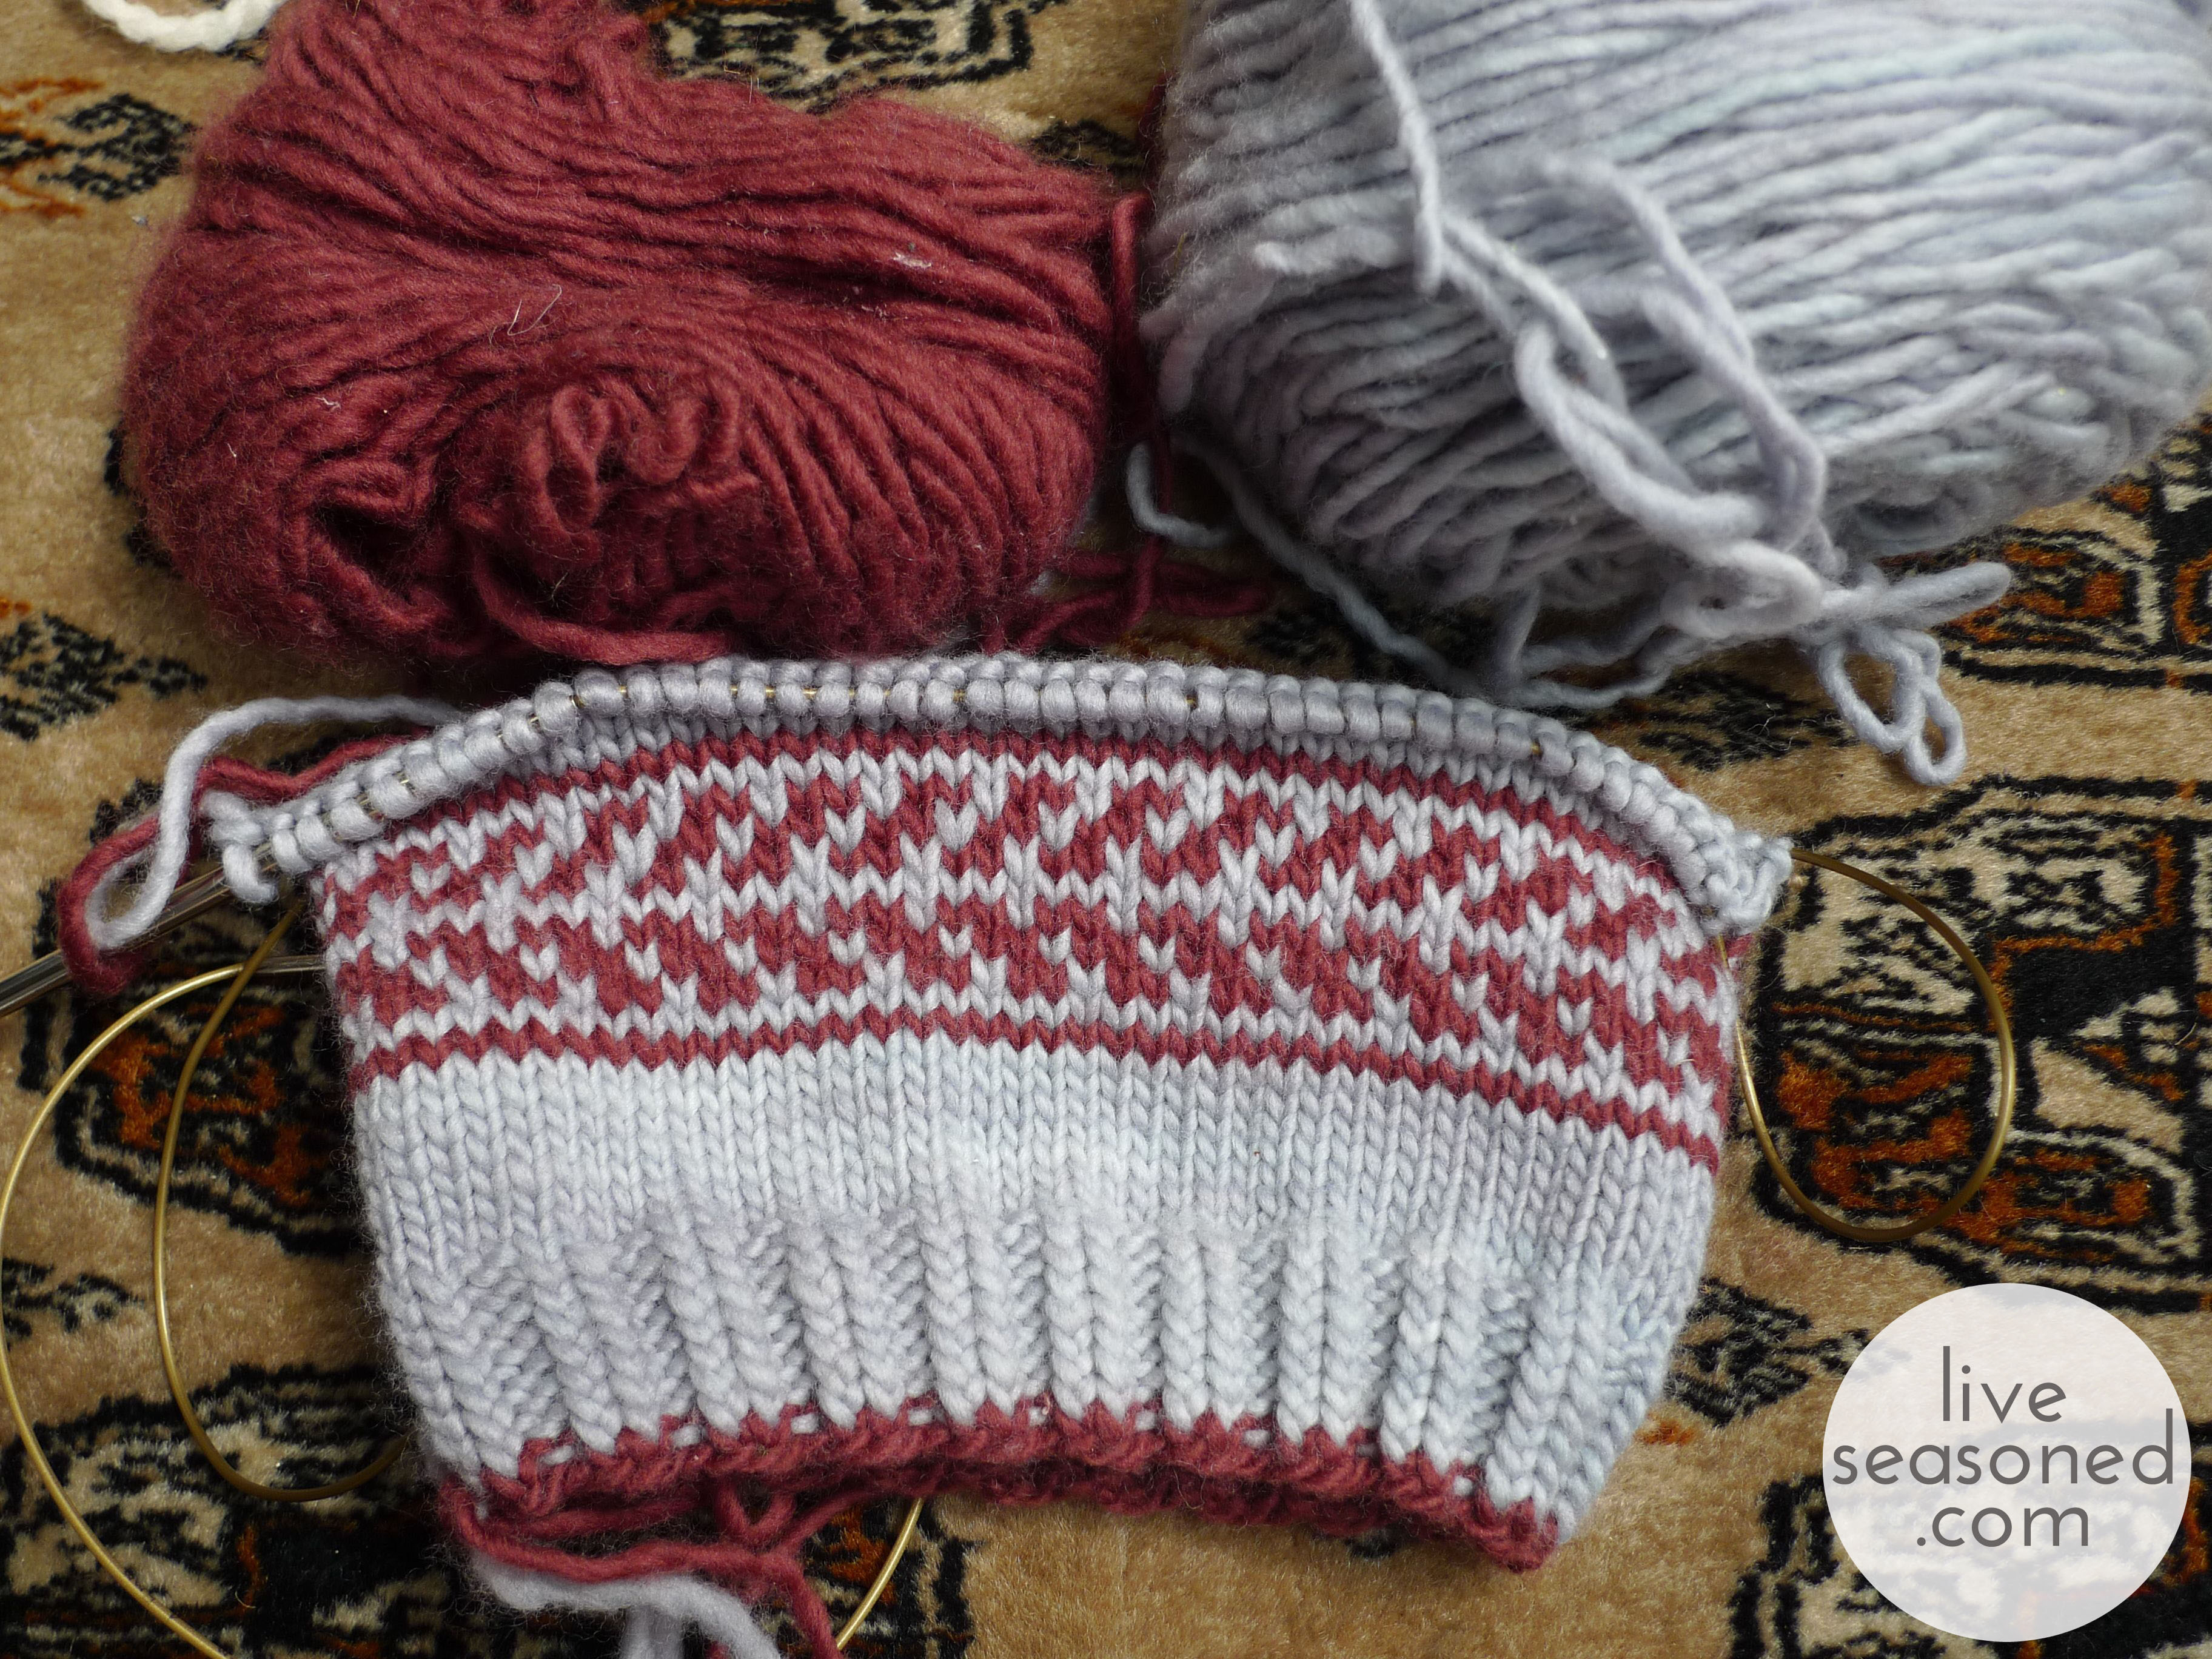
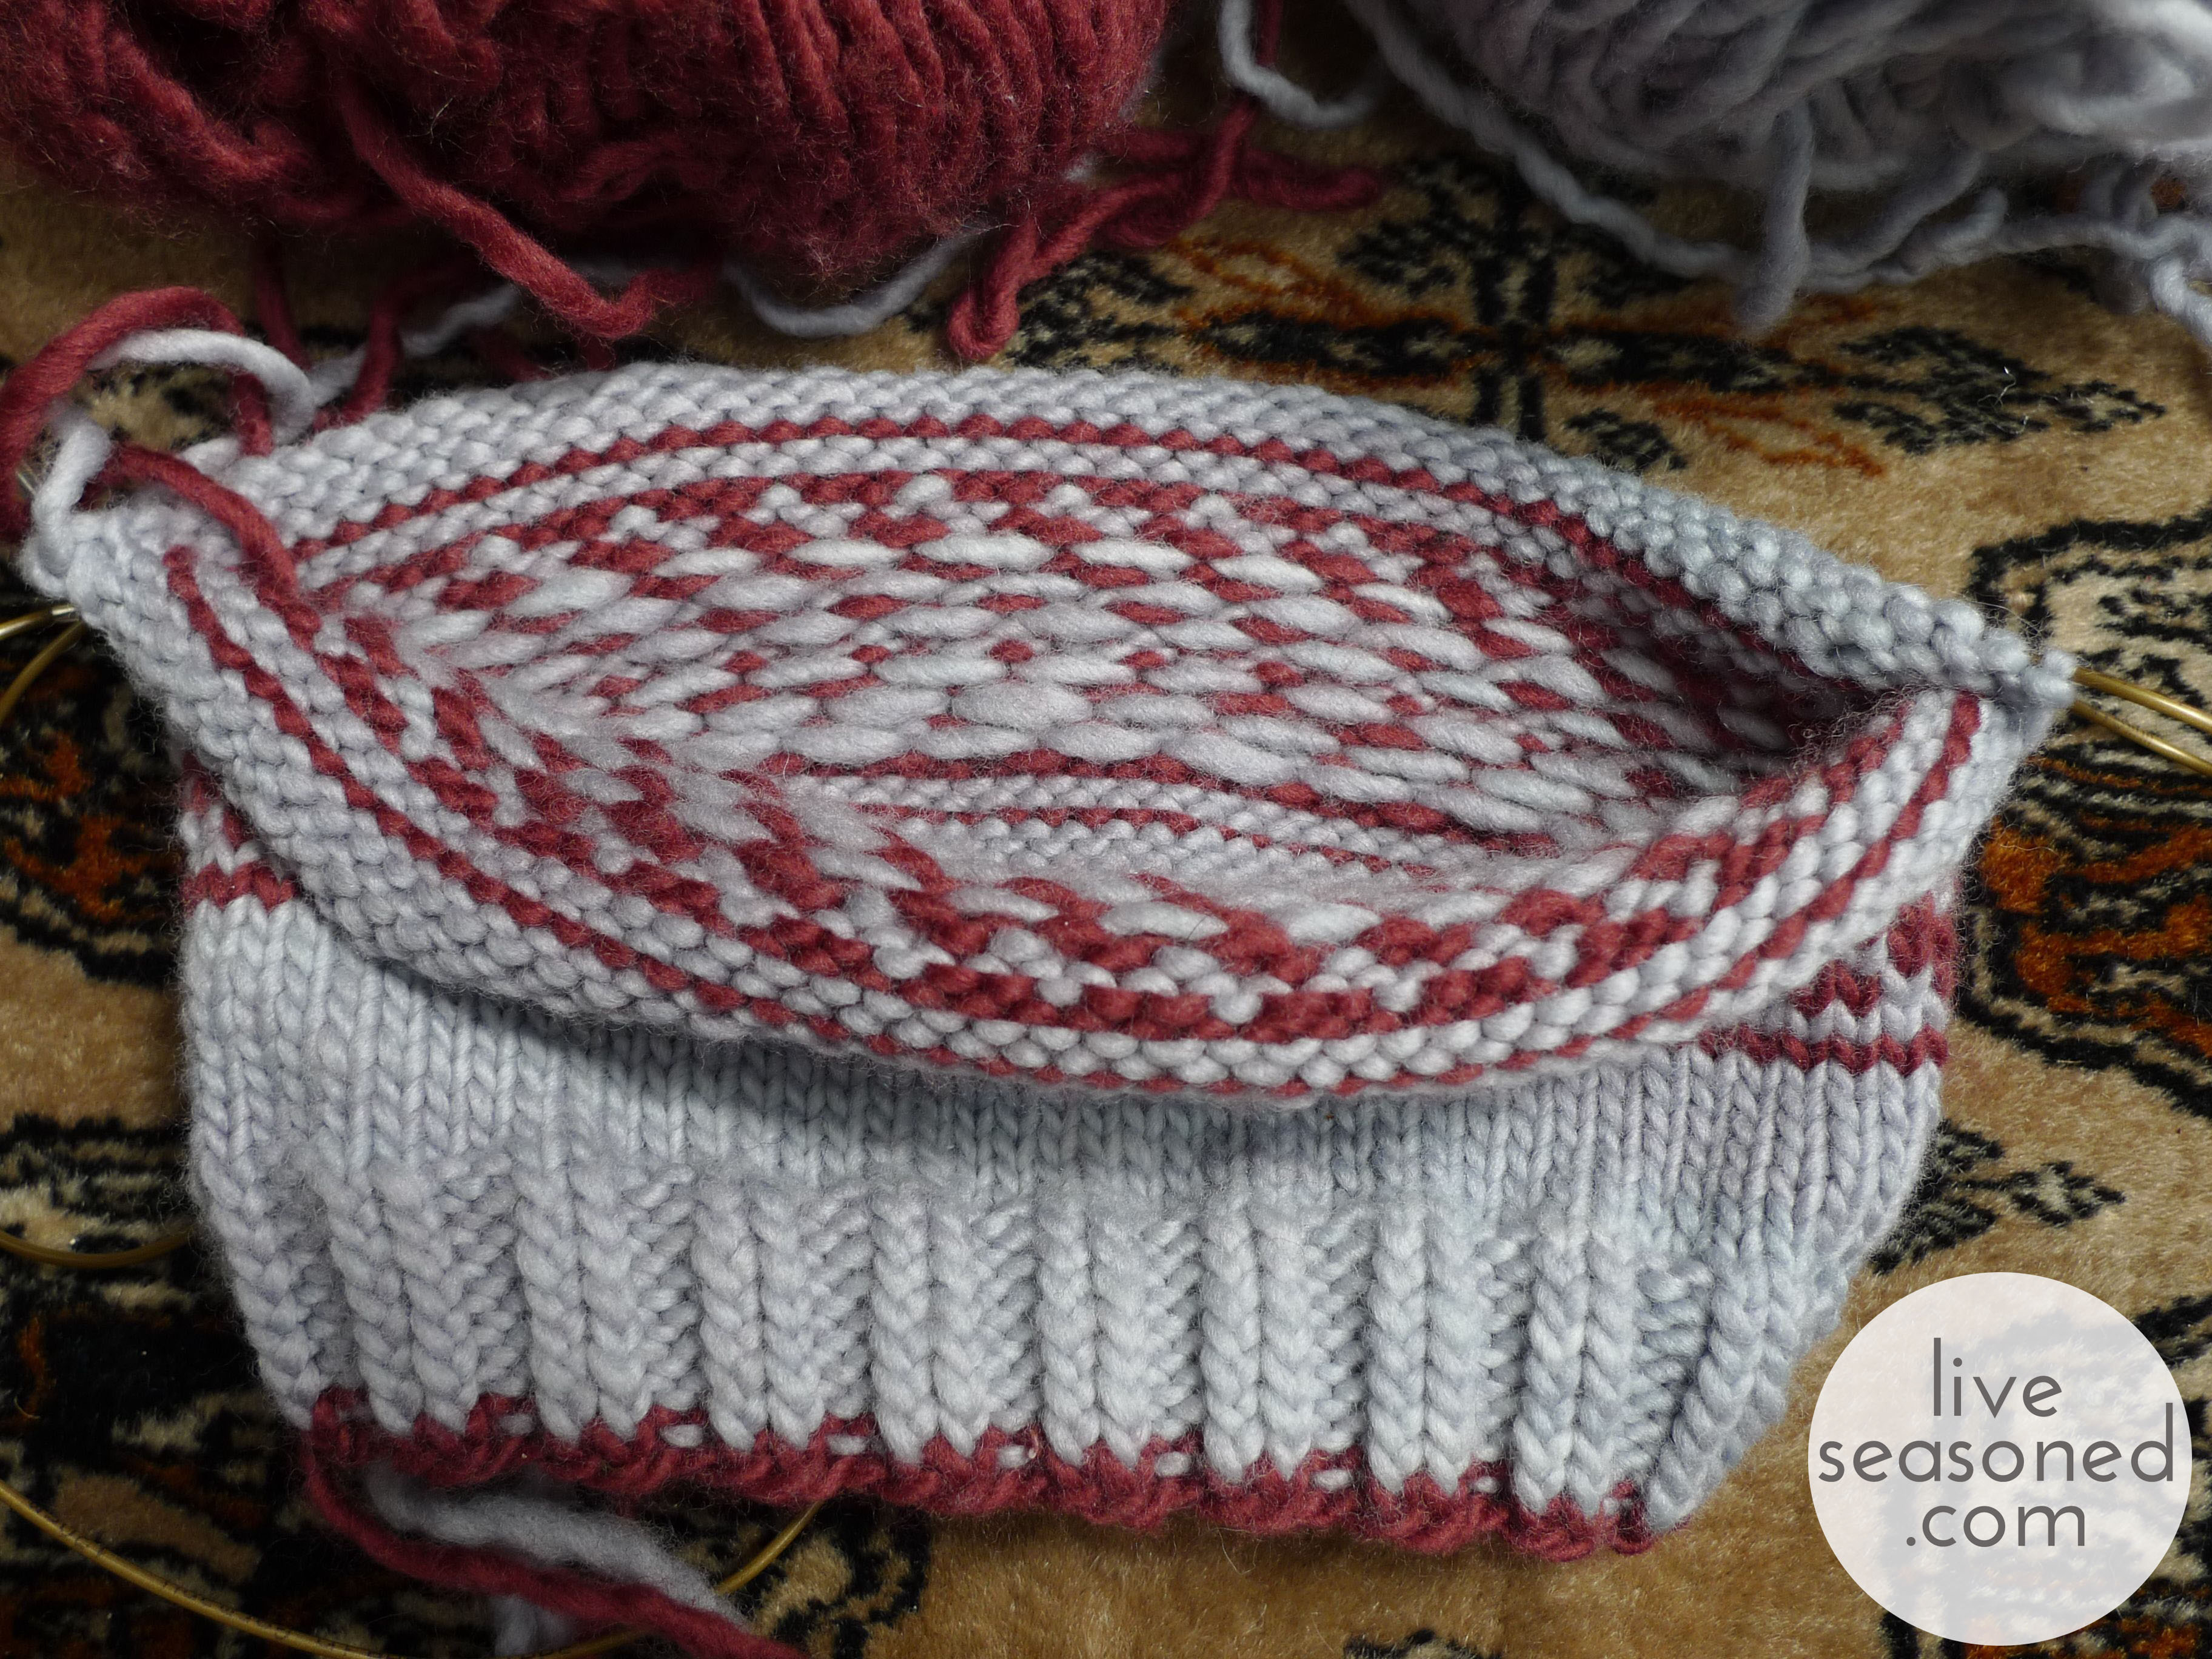
Then, there’s my impulse buy of yarn last weekend that is turning into some fun red and white stockings for our house. I saw the yarn in Michaels, and knew it was bulky enough to knit up quickly, but I didn’t want to commit to knitting the stockings if it turned out to take longer than I expected (there are too many other little elving balls in the air to add a big unexpected knitting one!). I picked up two skeins, and they made one cute stocking. When I went back to the store for more yarn, I discovered that the white was out of stock in most stores and online (it’s a holiday made-for-tv tragedy in the making!). After calling a few more stores, I found some in stock and bought enough of both colors to make the remaining two stockings for this year and to add another to our mantel for next year… maybe I went a bit overboard and bought enough to knit stockings for every possible future family member, including future pets.

liveseasoned_fall2014_xmas_crafts4_wm

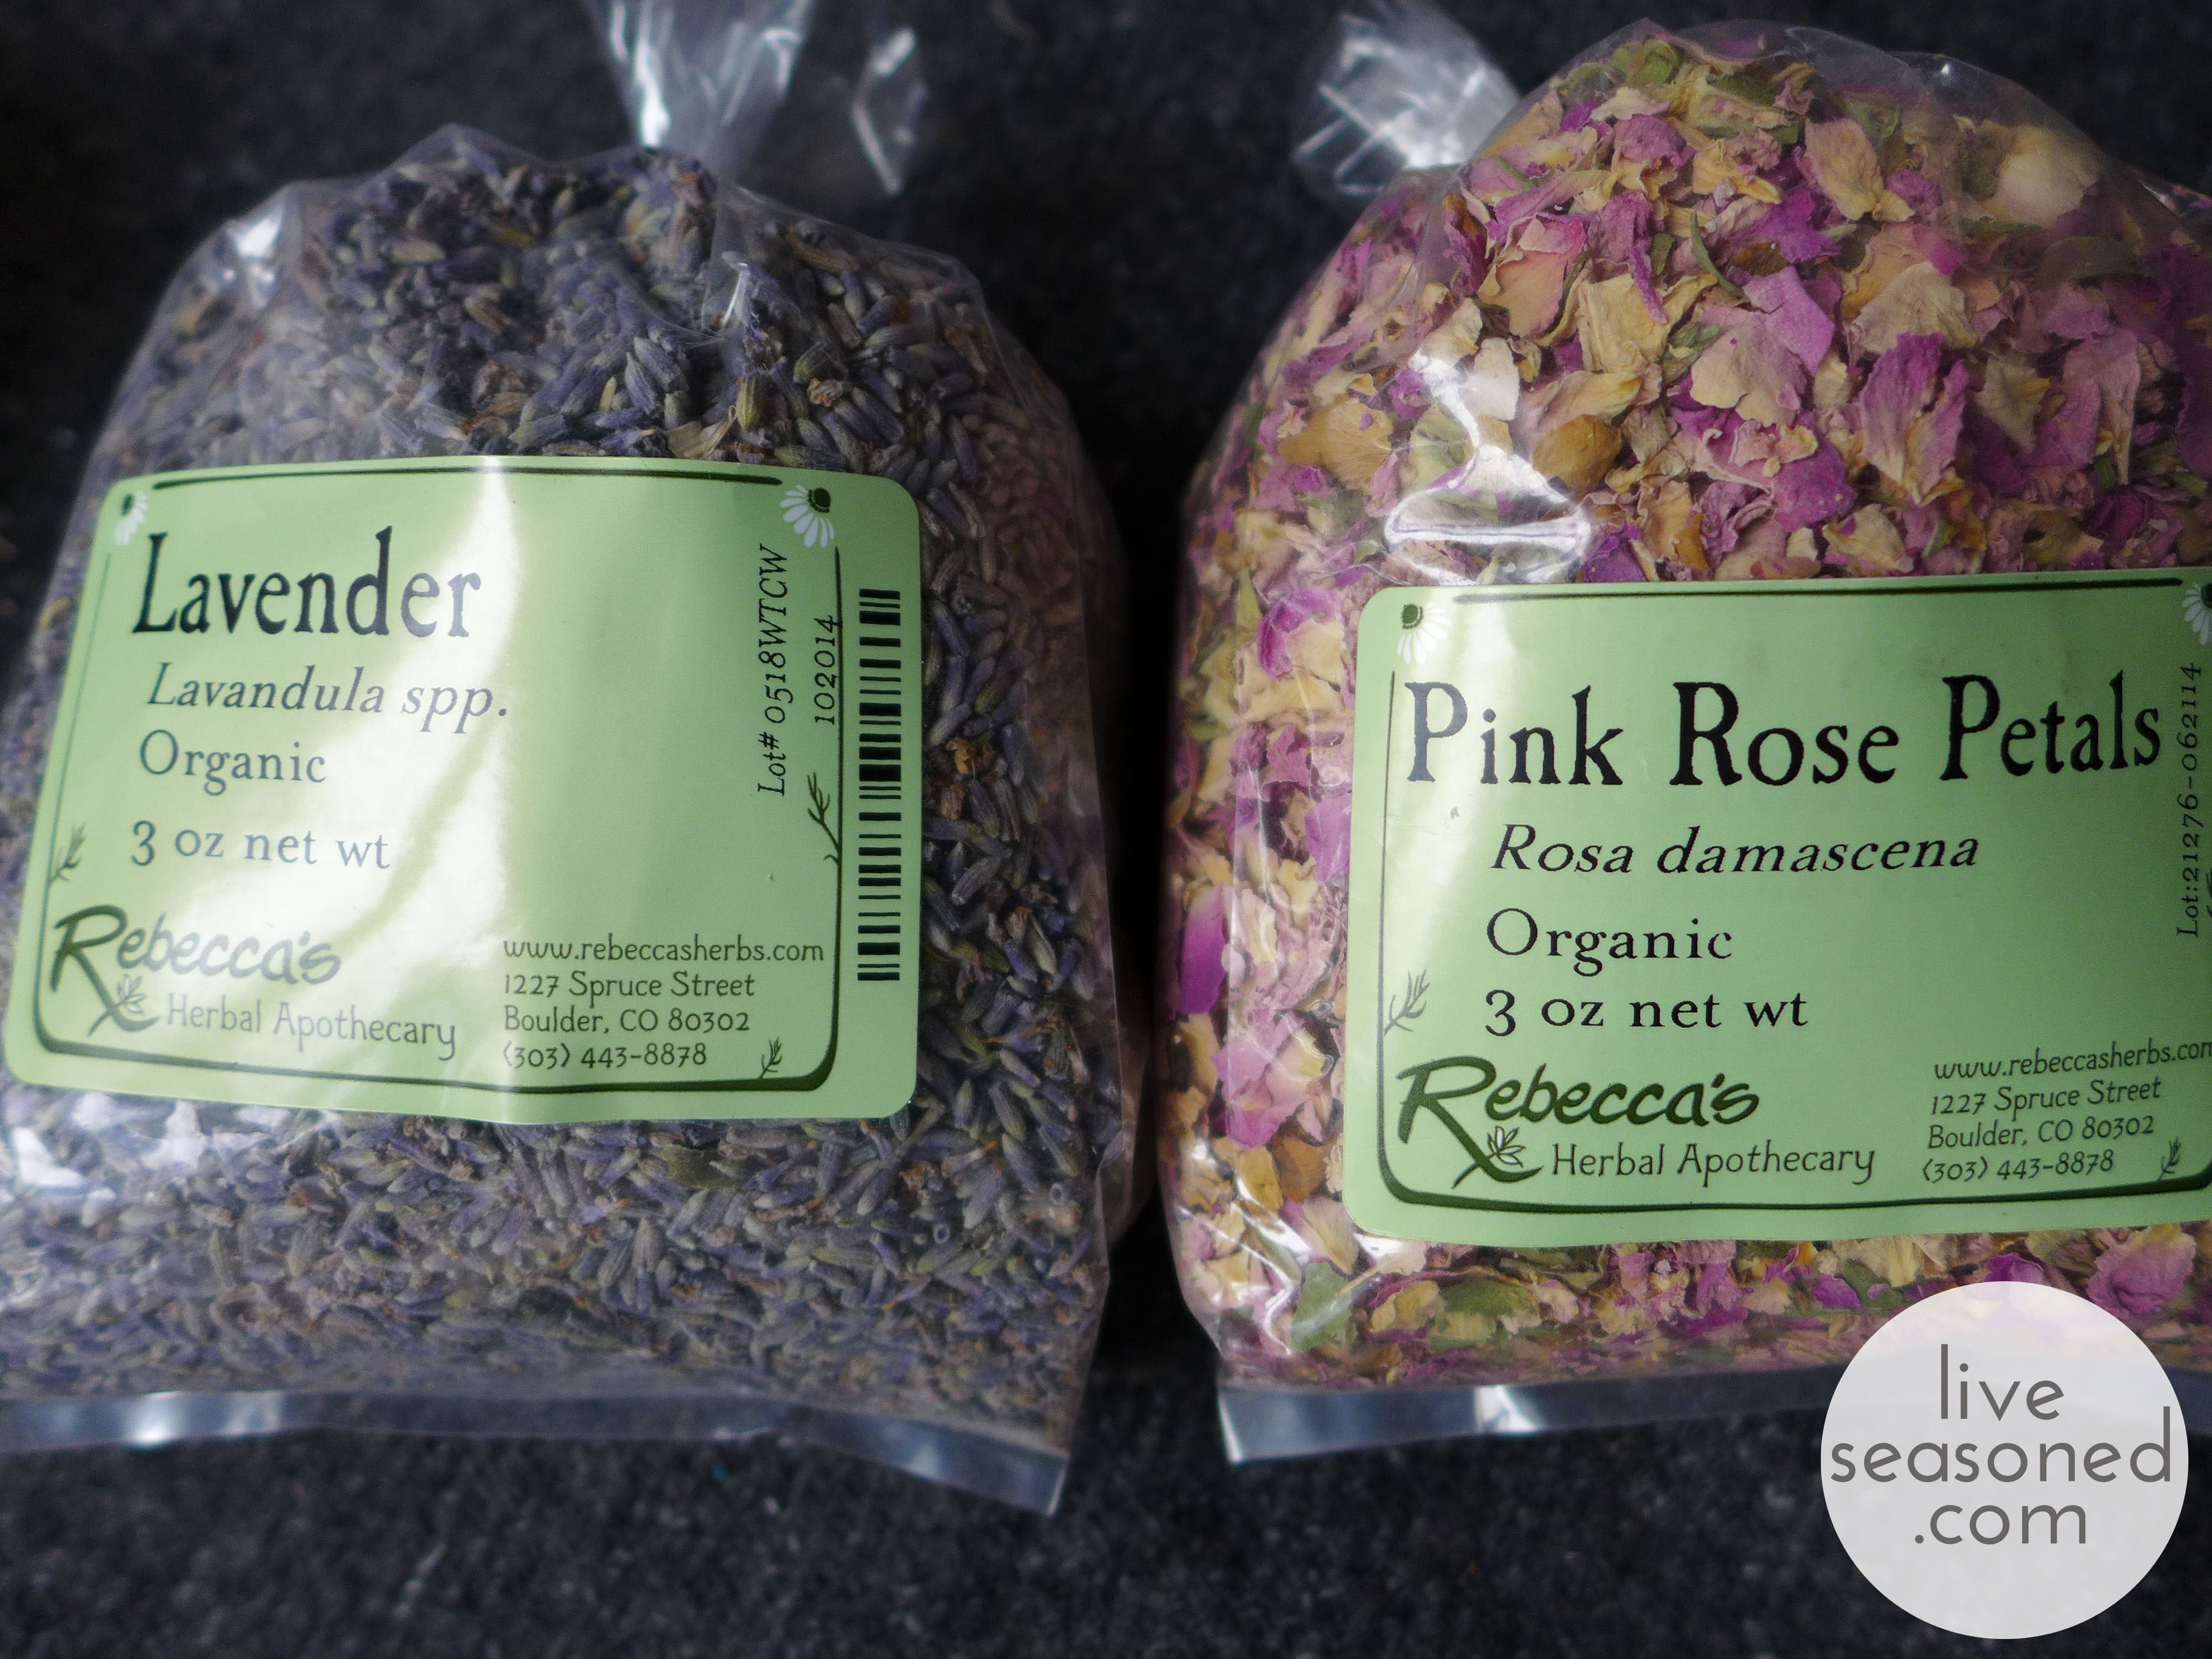
I’ve mentioned our local apothecary a few times. I love that place, and it’s quickly becoming my number one elving resource this year. I stopped in this week to pick up oils, herbs, and other ingredients to make a few different gifts for giving. These are my top secret projects that I’ll be so excited to share come January when the gifts are all finally opened.

liveseasoned_fall2014_xmas_crafts1_wm So that’s just a snippet of what’s going on around here. What doesn’t come through in this post is that I may have already started playing my Pandora Christmas station and downing glasses of eggnog nonstop whenever crafting… I promised myself that I would hold off until Thanksgiving, but the mood struck when the elving started.

Project Sweater : Update 1

liveseasoned_summer2014_sweaterproject1_wmb

A little over a month ago I introduced you to my big fall sweater project. At that point, I introduced you to the sweater’s main stitches and showed you my first two swatches. Neither swatch was spot-on, as both reproduced the stitch pattern at a smaller scale than the sweater. I was able to decide that I liked the bulkier second yarn better than the worsted weight first yarn, so my plan was to make at least one more swatch (and maybe more) with the second yarn using larger needles. In this post, I’m going to share the rest of my swatching and final yarn selection.

I began by adding a third swatch to the initial two using the Knit Picks bulky yarn (the same used for Swatch #2) and US size 11 needles. Below I listed the yarn and needle combinations for the first three swatches. After finishing the swatches, they had to be blocked.

  • Swatch #1 : Yarn: Cascade Eco ~~~ Needles: US9
  • Swatch #2 : Yarn: Knit Picks Wool of the Andes ~~~ Needles: US10.5
  • Swatch #3 : Yarn: Knit Picks Wool of the Andes ~~~ Needles: US11

Blocking Wool

Whenever knitting with wool and other natural fibers, the last step of your project or swatch should always be to block it. Blocking wool helps to relax the stitches into their final formation, it will even out the stitches within their rows and columns, making a swatch more square. Additionally, blocking may be used to adjust the size and fit of a finished garment (to some extent you can make something a touch bigger if needed such as adding length to sleeves or adding curves to a sweater if to fit more appropriately around your bust or hips without using darts).

There are a number of different ways to block your fibers, but I’m partial to the wet method. In this case I soaked the swatches in a lukewarm bath for 15 minutes. Removed them from the bath and gently squeezed out as much excess water as I could before laying them out in their final dimensions to dry. When I placed these pieces on a yoga mat for drying. I wasn’t interested in increasing their size, I was just interested in staying as true to their natural size as possible, so I tried not to stretch them at all, just to lay them down keeping the stitch rows and columns even. Once in their final place, I added a few straight pins around the edges to keep the swatches from shrinking for morphing as they dried.

In the photos above, you can see the difference between the unblocked (right) and blocked (left) swatches. Notice that the blocked swatches have a neater shape with straighter edges… except for swatch #3, where I tried something slightly different to start the bobble section and it ended up backfiring by adding too many stitches to that section.

liveseasoned_fall2014_sweaterupdate8_wm

The photo above shows the blocked swatch #3 laying on top of the sweater. You can see that it’s a spot-on match for the sweater’s pattern gauge. Exciting! My one concern was that with the larger needle, the stitches were starting to look slightly too loose for my liking. What would this mean for the final sweater? When it’s being worn, the stitches that are carrying a lot of the weight, such as the ones over your shoulder, would look really stretched out and you would be able to see through them.

One way to fix this would be to find yet another thicker yarn (this is why I switched yarns between Swatch #1 and #2). But I really liked the feel and shade of this wool, and I was concerned that that search could lead to many dead ends (and unsuccessful swatches) before I found another contender. So, I decided to go in another direction: hold a smaller gauge yarn together with the bulky weight, increasing the thickness of the yarn being stitched. So it was time to swatch again.

liveseasoned_fall2014_sweaterupdate4_wm

For this swatch I simplified things and just tested the ribbing, bobbles, stockinette stitch, and garter stitch. I started by holding the bulky yarn with a worsted weight yarn and then switched to a fingering weight yarn halfway up the swatch. The worsted-bulky combination was too thick, but the fingering-bulky combo was just right!

liveseasoned_fall2014_sweaterupdate5_wm

In the photo below, I placed Swatch #3 and #4 over the sweater. You can see that the gauge is still great – matching the sweater. I “fixed” the bobble problem by going back to my methods from Swatch #2 (specific stitch details will come in a future post).

liveseasoned_fall2014_sweaterupdate1_wm

Below is a final closeup of the two swatches, with Swatch #3 on top and #4 on the bottom (fingering-bulk yarn combo showing). In that photo it’s obvious that there isn’t as much empty space between the stitches, rather they are producing a nice fabric. So, that’s my final solution – to knit the sweater holding the Knit Picks bulky yarn with a fingering weight yarn on size US 11 needles. I’ve ordered the yarn and my next post will be an actual sweater-knitting update!

liveseasoned_fall2014_sweaterupdate3_wm

Little A’s New Winter Hat

Two months ago I shared some of the projects sitting in my knitting basket. Since then there’s been a bit of progress made on almost everything in that post. The socks have doubled in length. I’ve repaired a few of the moth-eaten hats (going to share some of that soon!). I gave you a detailed update about the sweater and am working on a second post in that series. Today, I’m sharing the pattern for Alex’s little hat, which doesn’t look anything like it did in the previous post. All in all not bad work considering those long winter knitting and TV evenings are just getting started!

liveseasoned_fall2014_littleahat5_wm

I tried Alex’s hat on his big head before the last post, and thought it was a bit snug, but didn’t want to admit it to myself. Trying it on him again last week, which involved wrestling that little 18 month old to the ground for a tickle-fest, confirmed my worries that he would quickly outgrow it. Over the weekend I finally ripped out the original hat and started again. A small sacrifice for that little cutie.

liveseasoned_fall2014_littleahat6_wm

In the process I scrapped the tire track pattern for something that was more detailed, would cover the whole hat, and that included at least one traditional motif.  This hat is knit from the bottom up, and I developed the patterns as I went, completing one row of color before thinking about what to do next. A quick Google image search for “fair isle knitting” turned up this sample (shown below) and I decided to use the bottom snowflake for the lowest band on Alex’s hat. I knew I wanted to incorporate a heart somewhere (because how many more years do I have to knit hearts into his clothes), so why not a whole band of hearts? Then I finished the top with a red circle to keep the color repeats going.

Fair-Isle-Knitting-Design-Idea

I’m sharing the pattern here for the exact hat that I knit. I haven’t put any work into up- or downsizing this pattern, but I do think that it would be a fun experiment to knit it with bright chunky yarn and big needles to create an adult-sized hat (just a different version of the simple fair isle hat I knit for our sister Kristin a few Christmases ago).

liveseasoned_fall2014_littleahat1_wm

Pattern

Yarn : Malabrigo worsted in two colors, I will refer to the color that you use for the patterns as the contrast color

Needles : US 7, 4.5 mm

Pattern Chart : Charts are  below, but you can also download a PDF of the charts by clicking here.

  • Using your contrast color cast on 96 stitches. Use your preferred stretchy cast-on method (I like the long-tail method).
  • Row 1: Begin a K2 P2 rib using the contrast color.
  • Rows 2-9: Switch to your primary color and continue the K2 P2 ribbing for 8 more rounds.
  • Rows 10-15 : Using the primary color, knit in stockinette for 5 rounds (knit all stitches).
  • Rows 16-29 : Snowflake pattern. Repeat Chart 1 six times around each row (you should read the chart from right to left and bottom to top, with the dark squares representing stitches knit with the contrast yarn).
  • Rows 30-35 : Using the primary color, knit in stockinette for 5 rounds.
  • Rows  36-43 : Heart pattern. Repeat Chart 2 six times around each row.
  • Rows 44-51 : Using the primary color, knit in stockinette.
  • Row 52 : Decrease row. *K2 K2tog*, repeat ** for the entire row. 72 stitches remaining.
  • Row 53 : Knit all stitches.
  • Row 54 : Switch to the contrast color. Knit all stitches.
  • Row 55 : Decrease row. *K1 K2tog*, repeat ** for the entire row. 48 stitches remaining.
  • Row 56 : Knit all stitches.
  • Rows 57 & 58 : Decrease rows. *K2tog*, repeat ** for both rows. 12 stitches remain.
  • Finish off the hat by cutting your working yarn, weaving it through the active loops, tightening and weaving in all ends.

charts2
 All in all it’s a super simple hat that will keep any Colorado kid’s head warm with its double layering of yarn from the fair isle knitting. I love it, but I think if I were to knit another one, I might add more little color flourishes between the rows of pattern. Who knows. I do know that I still have yarn left on both of these balls – possibly enough to knit a baby hat for Little A’s little bro!


My Big Sweater Project

liveseasoned_summer2014_sweaterproject1_wmb

As I mentioned in this post, I have a growing uncontrollable pile of knitting projects going on. One of those is this sweater project. This is a friend’s sweater that she’s worn and loved for many years (I don’t remember how many, but she bought it at Pier One when they still imported and sold clothes!).

I’m not sure if you can tell in these photos, but the sweater is well-worn and has been slightly felted. She asked me to re-knit the sweater and add some length (about 4 inches or so). Rather than work on the whole project behind the scenes and share the finished sweater, I thought it would be fun to turn this into a series and share the process. Today I’m going to talk about my first two steps, which I try to conquer at the same time: 1. choosing the appropriate yarn and 2. working out the stitch pattern.

liveseasoned_summer2014_sweaterproject6_wm

The Stitch Pattern

I start by just looking at the sweater and identifying simple stitches and bigger blocks. If you look at the first picture in this post, you’ll see that the areas on the sides of the sweater and the underside of the arms are garter stitch (the most basic knitting stitch). The cuffs and sweater bottom are knit 1 purl 1 ribbing. The bigger blocks are identified in the photo above: Cable #1, Cable #2, and the bobbles. The next trick is figuring out exactly (or approximately) how those blocks of stitches are made.

Cable #1. I work from right to left because that’s how the rows are knit. Cable #1 is relatively simple to figure out because it’s so small, worked across just 3 stitches. The area where it narrows is typically a point where the cabling actually occurs (where we would change the order of one or more stitches moving them in front of or behind others). In this case, that doesn’t happen, and at the same time you will make the small eyehole that’s in the cable! It was a fun puzzle to work this one out, but I’ll save the exact pattern for a future post. 

Cable #2. If you’ve ever knit a simple cable pattern before, Cable #2 should look relatively easy. There are two stockinette stitches that are forming the diamonds: moving out from the middle to the sides and then back in again. Inside the diamonds is a stockinette stitch and outside the diamonds is garter stitch. 

Bobbles! The bobbles were definitely the hardest stitch to work out (as you’ll see below in Swatch #1). I was able to figure out the cable stitches within a few attempts, but the bobbles took a lot longer. I began by looking at a few stitch guides online and knitting the bobble patterns. It took a long while to find a bobble that wasn’t too big or too small and with a spacing between bobbles that matched the original sweater. 

Choosing the Yarn

The easiest way to narrow your choices is decide what type of fiber you want. In this case we wanted to go with a wool again, then comes narrowing in on weight. I knew that this sweater was knit with a bulkier yarn, but the lines between yarn weights can be fuzzy. I started with a yarn that I used before and loved, Cascade Eco. Eco is a softer wool, and the Ecru color was a fairly good color match. As you can see, it’s considered a bulky wool on the Cascade site, but it’s really on the thinner side of bulky. The second yarn I tested was Knit Picks Bare Wool of the Andes. A slightly thicker bulky weight yarn and again a good (even better) color match but not as soft to the touch.

liveseasoned_summer2014_sweaterproject2_wm

Swatch #1

Yarn: Cascade Eco ~~~ Needles: US9

This is the swatch where I worked out most of my stitch confusion, particularly the bobbles as you can see in the left panel. As mentioned above, the cables were easy, but the bobbles are a mess. I finally worked things out in the last few rows at the top of the swatch. You can also see that I made a mistake in Cable #2, using stockinette rather than garter on the top half of the diamonds. It’s good to see where you make those absent-minded mistakes in the swatches, so that you know where to be extra careful while knitting the sweater.

liveseasoned_summer2014_sweaterproject3_wm

Swatch #2

Yarn: Knit Picks Wool of the Andes ~~~ Needles: US10.5

With the stitches worked out, this swatch was more about testing the second yarn and double-checking my notes to confirm the patterns.

liveseasoned_summer2014_sweaterproject4_wm

Putting both swatches on the sweater, a few things are apparent. The gauge (the size of the swatch over a standard number of stitches or pattern) of the first swatch is definitely too small for this sweater. The gauge for the second swatch is slightly better, but still looks to be on the small side, but the stitch patterns look like a perfect match!

What’s next?

It’s time to test the second yarn in a few more ways. First, before ruling out a swatch that is close to the final object, I’ll block it (more on this in the next post). If it seems slightly too small after blocking, then I’ll move up a needle size and see how that works. There’s a risk that it could make the knitting look too loose, but in this case the original sweater looks to have a more loose weave so that might be the ticket.

Knitting – WIPS

For me, July was all about moving, settling into our new home/city/state, re-teaching little A how to go to sleep in this new and strange place, and other fun life duties. But then we flipped the calendar to August, there were no more boxes to unpack, Alex became a wonderful and prompt 7:30pm sleeper, and my evenings were free, albeit chained to the house with the little guy upstairs, but free none-the-less. It’s given me the time to get crafty again, and, as always, I turned first to my knitting basket. I have boards of non-knitting crafts pinned, but those will have to wait until I get at least one or two of these projects finished!

liveseasoned_summer2014_wips3_wm

Anyway, I thought it would be fun to share a few works in progress, hopefully passing along some knitterly inspiration to you, because even though the days are hot, the evenings are perfect for working on small projects for the coming fall and winter. In the mix are a variety of projects and swatches, some from published sources others are experiments.

liveseasoned_summer2014_wips9_wm

The socks. I always have some socks in progress, because as any wearer will tell you: they are so much better than store-bought socks! Hand-knit socks are the only ones that stay up when I’m wearing my Sorrels. Sorrel wearers know what I’m talking about, it seems like every other pair of socks is pushed off my feet within the first 10 yards of a hike through the snow.

Pattern : Jaywalkers (that link opens a PDF of the pattern)

Yarn : from Knitpicks, but it looks like they’ve discontinued the self-striping sock yarn.

liveseasoned_summer2014_wips6_wm

After my favorite mittens were completely (and utterly) destroyed by moths, I knew I had to make another pair. The first pair was made with Noro Kochoran yarn, which is mix of wool, silk, and angora, and the the mittens perfectly warm, soft, and durable. I picked another Noro yarn, but lost the label and am stumped as to what it’s called. It’s also knitting up beautifully, but as you can see at the top I’ve run into some color issues – the ball was cut and tied together at a different color sequence, so I’m trying to work with what I have to get a somewhat matching pair. Next will come the thumbs – you knit these mittens without thumbs and then go back, cut a hole where your thumb should be and knit the final piece!

Pattern : Elizabeth Zimmerman’s Mitered Mittens found in the Knitter’s Almanac

Yarn : Noro

liveseasoned_summer2014_wips4_wm

I wanted a quick and dirty hat. Something that was easy to knit, used some yarn from my stash, and would be the perfect thing for an evening around a campfire because we are yearning for a few good camping trips this fall.

Pattern : My own. Cast on 76 stitches, do some 2×2 rib, knit straight until it was long enough and then do some quick decreasing.

Yarn : Lionbrand Woolease and Amazing

liveseasoned_summer2014_wips5_wm

After the flat and plain knitting of the hat I craved some texture. The swatch above is a little experiment that I’m hoping to turn into a hat with a secret message! More on that soon.

Yarn : scraps from my basket

liveseasoned_summer2014_wips8_wm

I have another swatch that I think I’ve finally come to terms with. This is for a sweater that I’m re-knitting for a friend. They purchased the original years ago from Pier One (when it used to sell clothes) and they love it so much that they would like another one knit. I used the swatch above to work out the original cables and bobbles. The cables were fairly straightforward, but getting the right size and spacing for the bobbles was a chore. You can see those on the panel on the left. Now I just have to work out the gauge and we should be good to go. This is another one that I’m going to share in more detail as it progresses!

Pattern : copying an old sweater

Yarn : Cascade Ecological Wool

liveseasoned_summer2014_wips10_wm

And this last one is a hat for little A. It’s been so much fun pulling out leftover balls of yarn that are too small for adult projects, but perfect for the little guy. Here I’m using some leftover yarn to make him a hat. It’s my own pattern, and really nothing special. [Sarah here: You’re nuts! I think it’s super special!!] Since Alex loves (LOVES) all things trucks, I thought I would use stranded color work to try to make a tire track around the hat. I don’t think the track is obvious, so I’ll have to work on that for the next hat, but it’s good enough to add a stripe of color!

Pattern : none, yet!

Yarn : Malabrigo Merino Worsted (so soft and perfect for little noggins)

And the nice thing about using stranded color work in a hat is that you get some extra warmth from the double-layer of yarn:

liveseasoned_summer2014_wips11_wm

The embarrassing thing about all of this knitting? We have so many hats that we aren’t going to go cold anytime soon. I had to say that before I show you what else I’ve been up to. Summer (at least in Colorado) is the perfect time to wash your wools and get them ready for the season ahead. We have plenty of dry days, so I can wash the wools in the bathtub and then put them outside to dry and within 24 hours they are done! The humidity of the East Coast may not create the same results.

liveseasoned_summer2014_wips2_wm

As I wash, I’ve been looking for other moth damage. Some of it is years old, but this may actually be the year that I make those repairs. A few hats in these photos are duplicates that I’ve made as I try to work out a new pattern or idea… which will hopefully come to a blog near you!

liveseasoned_summer2014_wips1_wp

So tell us, what sorts of crafts have you been working on? Something out of season, like knitting. Or something perfectly in season, like digging that backyard bbq pit (that’s a craft, right?).

If you have any questions or want more details about any of the projects you see in the photos, just let us know.


Knitting Project : Washcloths

I’m the first to admit that knitting a washcloth sounds a touch absurd, especially since you can go out and buy a dozen lickety split. But don’t knock it until you’ve tried it. Washcloths are the perfect canvas for trying out new stitches. They’re quick to knit and make the perfect gift, especially when paired with a bar of fancy soap. The only downside? Knitting with cotton yarn can be a bit rough as it doesn’t have the same stretch as wool.

Today we’re sharing ideas for five washcloths including the full pattern for this cute-as-a-button lamb. Pick up the supplies this weekend and you’ll have plenty of time to knit a few lambs for Easter baskets!

liveseasoned_spring2014_lamb_wm

Continue reading

Vortex : Hat Pattern

I’m sure this winter’s arctic vortex won’t leave our memories anytime soon, but we felt that it was worth commemorating with a new winter hat pattern. Let me introduce Vortex!

liveseasoned_spring2014_newhat_solo_wm

I know not all of our readers are knitters, but if you’re ever given the opportunity or have the motivation to learn, I highly encourage it! There has been a true resurgence in knitting over the past decade, and this has led to awesome local knitting shops, knitting-focused blogs, and amazing pattern independent designers. If you’re new and wondering where to start, a quick google search will return a variety of handy tutorials and knitting guides. Ravelry is the place to start if you to explore knitting patterns and so much more (my username is winterfoliage, let’s be friends!).

I admit that there’s a slight learning curve, but once you grasp the basics, you’ll be pleasantly surprised to see how much you can do with just a few stitches. Plus, you can knit while watching TV! You know what this means, right? You’ll now have something to justify those marathon House of Cards sessions and the past two weeks spent doing nothing but watching the Olympics.


Continue reading