Cinnamon Ornament Surprise!

Cinnamon is our ingredient of the season! You can find our full archive of cinnamon posts here. This particular post was originally published on December 21 2014 (7 years ago!), we’re republishing it today, because I’m making up a fresh batch of ornaments tonight with my little elves.

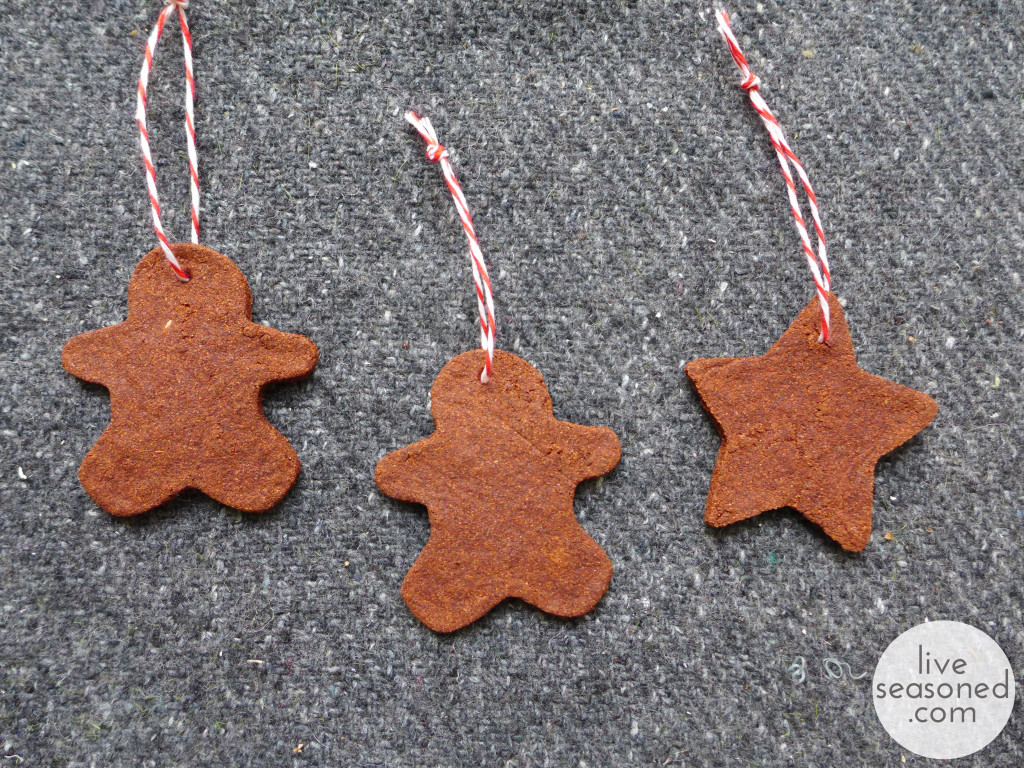
Hey! We’re popping in this weekend to share another super simple Christmas craft (this is for the folks that have finished their shopping – if you’re rushing around the mall today, don’t even bother to read this post). You’ve probably seen some version of cinnamon ornaments popping up on your Pinterest page? Or even made them as a kid? They are super easy, relatively fast, and a fairly kid-friendly project.

liveseasoned_w2015_cinnamonornament5_wm

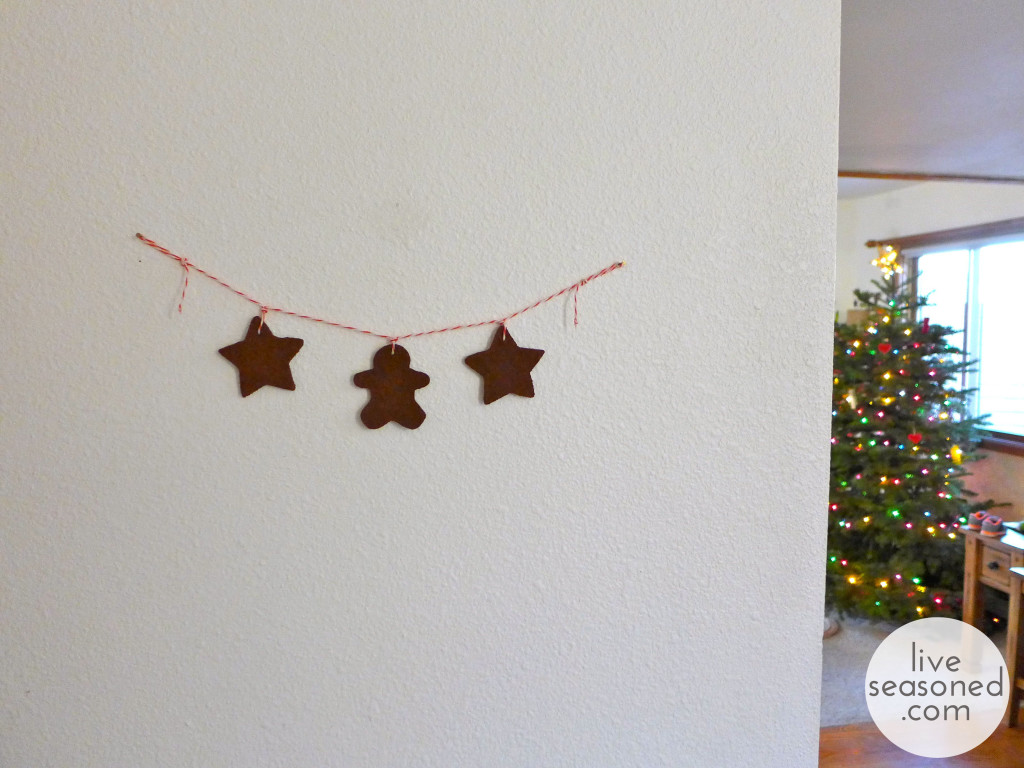
So, why are we sharing yet another cinnamon ornament post? Because as I was prepping mine for the tree, I realized that they would also make a really cute garland! The key here is to make a batch with shapes that are close in size, then your garland will hang nicely and you won’t have really heavy and big ones weighing it down in different areas.

liveseasoned_w2015_cinnamonornament_wm

Ingredients

You can use your favorite recipe, but I like the ones that have a little bit of kids’ glue in them.

  • 1 cup ground cinnamon
  • 1/4-1/3 cup applesauce
  • 2 Tbsp white glue

liveseasoned_w2015_cinnamonornament6_wm

 Instructions

  • Mix all ingredients together, adding more or less applesauce depending upon how dry your mixture is. You want it to form a nice ball that sticks together, but still feels slightly dry.
  • Cover the mixture and let it sit for one hour.
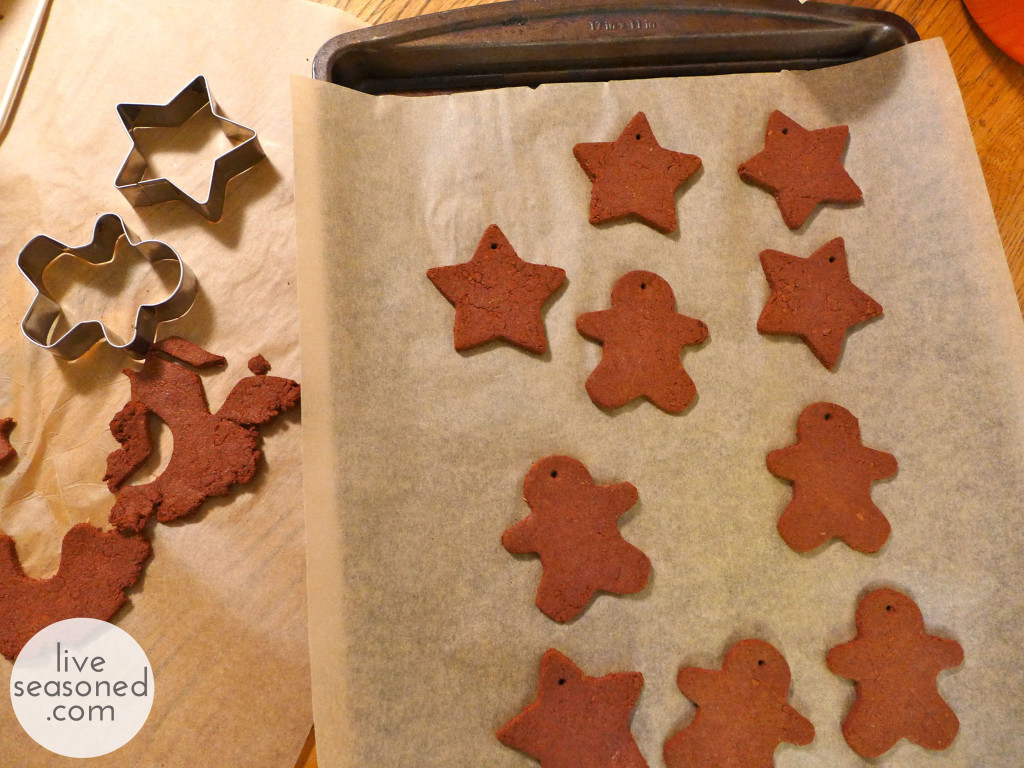
  • Break your ball into three or four sections for rolling. Roll out one section at a time between two pieces of plastic wrap or parchment paper. If the dough seems too dry when rolling, you can always spray it with a bit of water.
  • Cut out your shapes and add a hole for hanging. I used a wooden skewer to make my holes, and I think they were *just* barely big enough. Since there will be some shrinkage as the ornaments dry, you want to err on the side of a larger rather than smaller hole.
  • Place your ornaments in a 200F oven for two hours to dry, turning them halfway through. If your dough was on the drier side or you live in a dry climate, you may want to check on your ornaments after an hour and a half.
  • Once cool, using baker’s twine or another string for hanging.
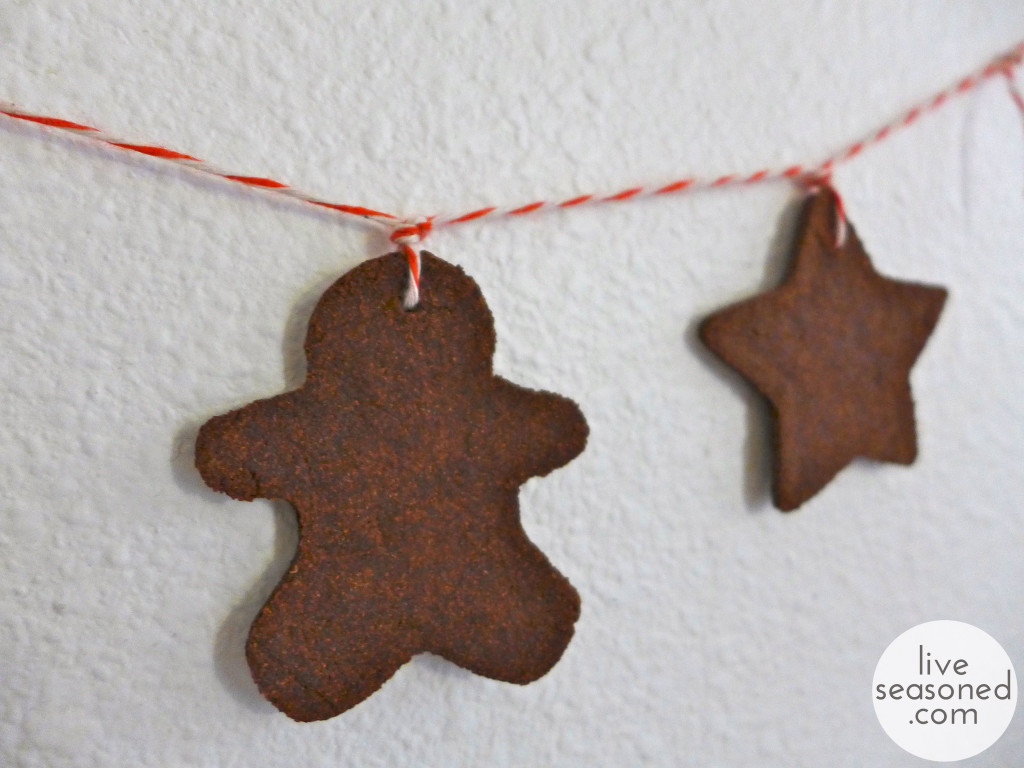
  • To make the garland, I brought the twine up either side of the ornament and tied a knot at the top, this allowed the ornaments to hang parallel to the string rather than perpendicular.

liveseasoned_w2015_cinnamonornament4_wm

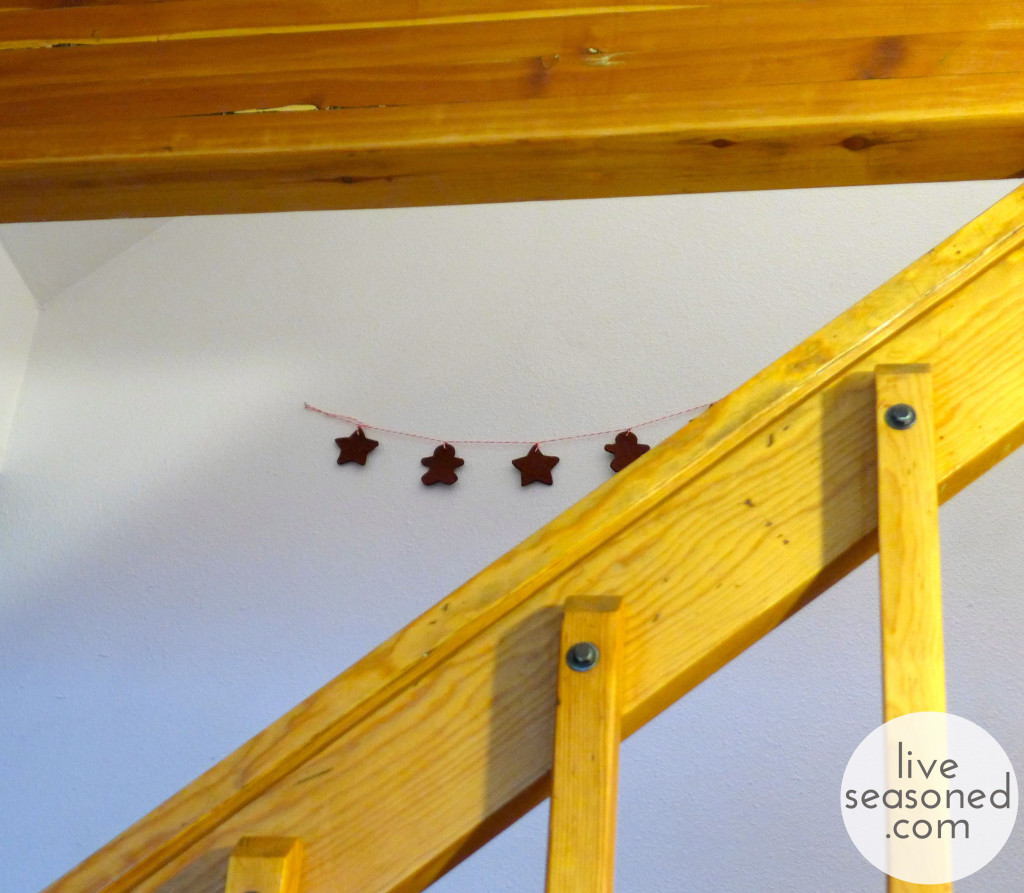
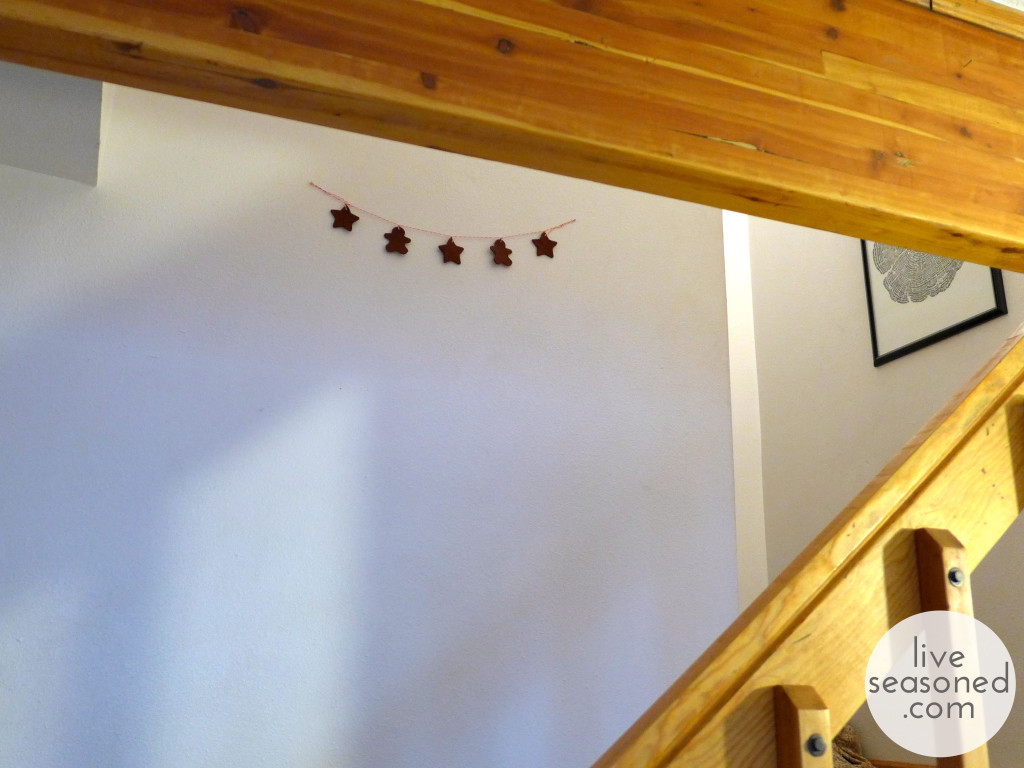
I ended up making two pieces of garland. The little three-piece one hangs just inside our door on a wall that was just an empty space, so you see it and the tree as you enter the house, creating a nice little Christmas scene when you enter! The longer one hangs on the empty wall going up our staircase, but because the staircase is open, we still get to see it from the living room, which I love.

liveseasoned_w2015_cinnamonornament3_wm

liveseasoned_w2015_cinnamonornament2_wm

There you have it, a super simple twist on an old Christmas craft, and one that you can use to decorate a small space that could use a touch of cheer! xo

Valentine Archives

Hey there sweethearts! With Valentine’s Day right around the corner, we wanted to share/re-share some super simple projects for dressing up your space and celebrating the ones you love. And don’t forget to put on your favorite lovey-dovey playlist as you craft.
liveseasoned_w2015_valentinesgarland3

Instead of packing away the felt hearts I made as Christmas ornaments, I strung them on a piece of rustic twine to create a mini garland that greets guests right inside our door.

liveseasoned_w2015_valentinesgarland3

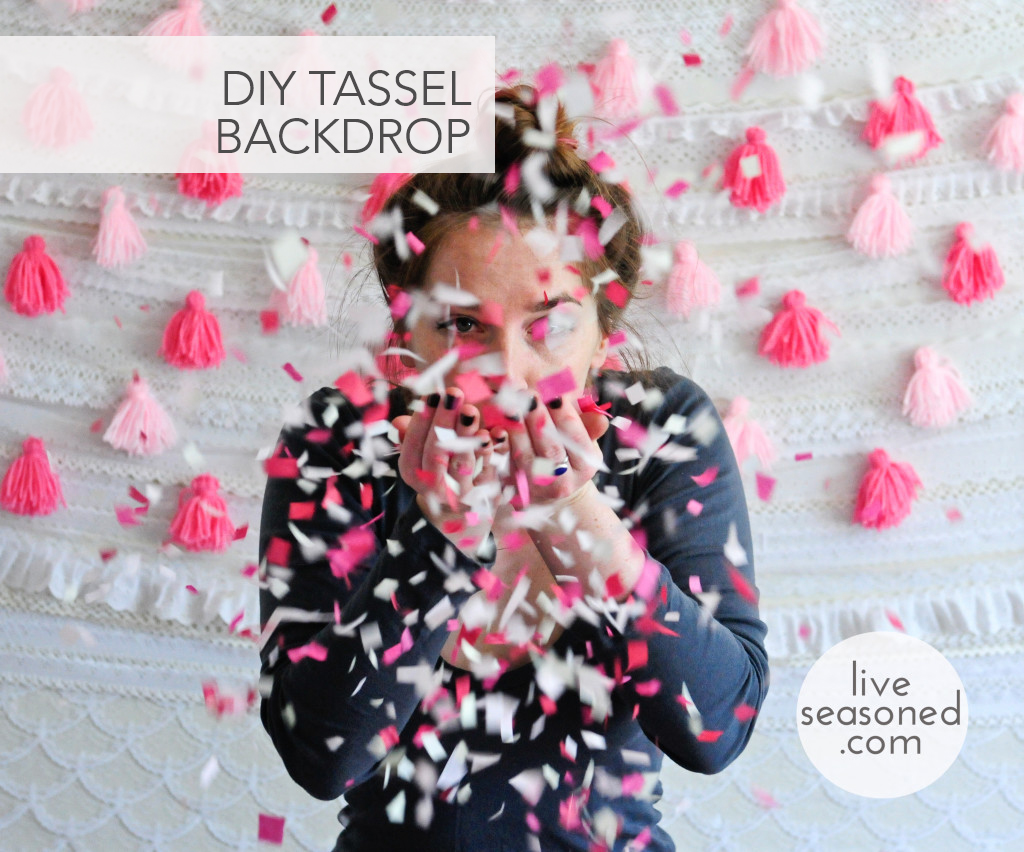
If you’re throwing a party, Sarah’s tassel and lace garland makes the perfect decoration and photo backdrop!

Continue reading

Pressed Leaf Garland and Place Cards

liveseasoned_fall14_leafgarland-10

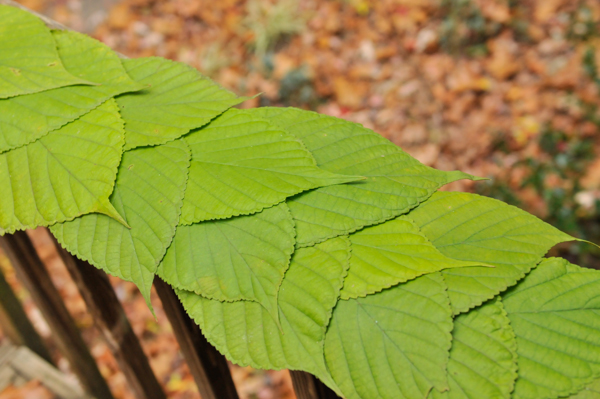
I love nothing more than bringing the outdoors in.  One day I hope I live in a mountain cottage full of fur, bones, feathers, antlers, crystals and insect specimens but until then I’ll build my collection and make leaf garland each autumn. If you follow us on Instagram you know that I tried to pick up a live praying mantis (I thought it was dead) the other day, what a shocking moment!  I actually found that big brown guy while I was collecting leaves for this project 🙂

liveseasoned_fall14_leafgarland-1

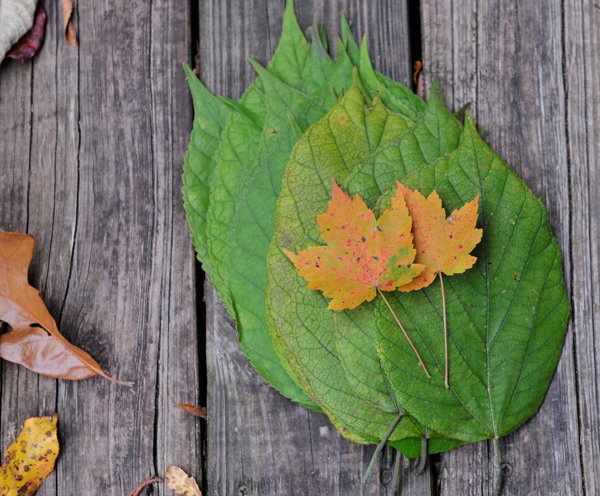
I love projects that encourage you to go outside and walk in the woods and making leaf garland is just that.  Wander around with a shallow cardboard box or bag and collect a big old pile of freshly fallen leafs.  You want some moisture in your leaves so that they haven’t started to brown or curl just yet.  You also want to preserve the leaves so that they continue to retain some color and lay flat on your string or table.

liveseasoned_fal14_leafpressing

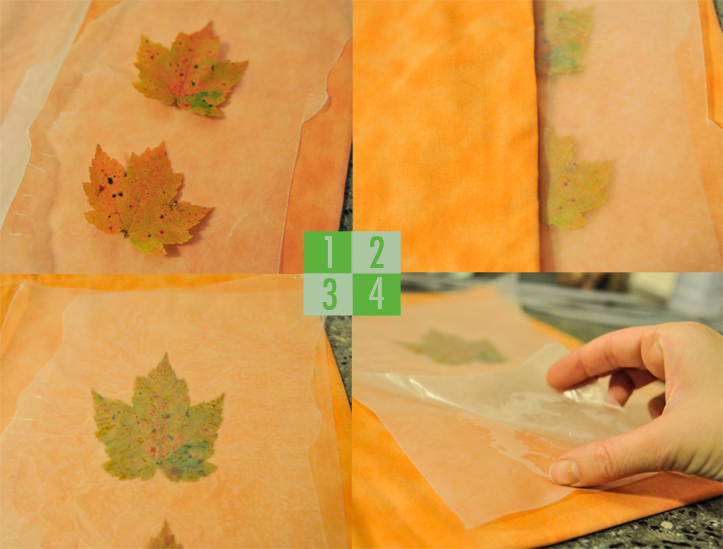
There are several methods for preserving fall leaves.  I choose what I found to be the easiest and safest method, which is sealing them in wax paper.

  • Simply lay down a piece of material (I used an old pillow case) and tear off two pieces of wax paper.
  • Lay as many leaves as possible (without the leaves touching) between the sheets and then place the material on top as well.
  • Iron slowly and on the highest setting for a minute or two, flip the entire material, wax and leaf sandwich over and iron the other side for another minute.
  • Remove the wax paper and let it cool while you repeat the process on more leaves.  Once the wax cools, gently peel the pieces apart and release the leaves.

The leaves should be dry and coated in a very thin layer of wax.  They’re now ready to be used as escort cards or strung onto embroidery thread for garland or a table runner.

liveseasoned_fall14_leafgarland-9

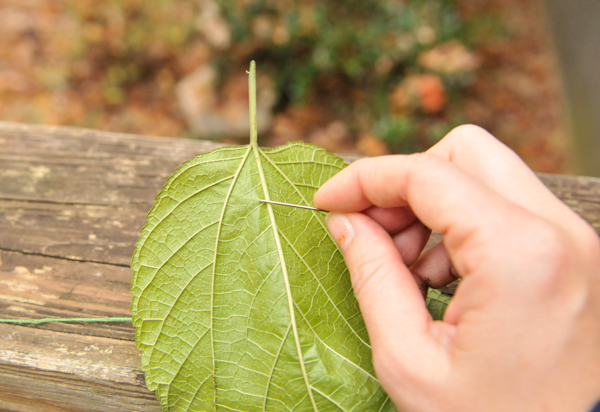
To make the garland, simply cut a length of embroidery thread, tie a knot at one end and thread the needle at the other and start stringing them up.  This is a somewhat delicate process, but it’s easy enough that you can sit and watch a show while you’re working on it.  For the best results, pierce the leaf at least an eighth of an inch in the any edges and gently move it down the thread.  As you become familiar with the fragility level of the leaf, you can pierce several at a time making the process move right along.

Making the table running is similar to making the garland, but I found it helps to work directly on the space you’ll be decorating.  As you can see, my work in progress photos were taken outside, but that was solely to photograph them in good light.  It’s a little tough to pick up a finished table runner and carry it so I recommend choose the space that you’ll decorate and making it there.  Like most crafts that we make on Seasoned, we encourage you to inject your own creativity into it; the sky is the limit.  For the green table running, I cut a long length of green embroidery floss, tied a knot and threaded a needle. I then added the leaves in a spaced out, loose and layered way.  I wanted the leaves to look like they were simply placed on the table.  I also wanted them to kind of flow or drift through the center of the table, which is why I had them pointing in different directions.  I’m very pleased with the result, too bad I’m not entertaining this year!

liveseasoned_fall14_leafgarland-12

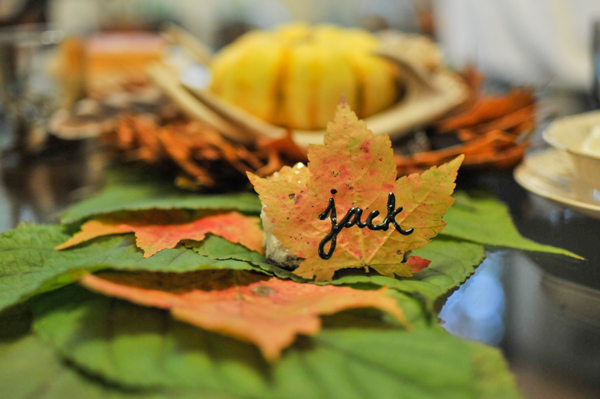
The escort cards and super simple to make as well.  Again, gather and preserve some colorful leaves.  Then use paint bottle with a tip or a paint marker to write each person’s name.  I propped mine up against crystals, but they look just as lovely laying flat on a cloth napkin or plate.

I had a great time making the leaf garland. I spent some time outside, had the opportunity to look closely at nature and then preserve it in my home.  It’s a free and simple craft that is great for kids too.  Iron up some leaves and let them do what they please.  How are you decorating your table for turkey day?


*Just so you know, I did press the green table runner leaves, but I didn’t press the orange and brown leaves that are hanging up and also arranged in a circle.  I kind of liked the transitional look for the hanging garland, but I didn’t want the table runner leaves to be dry and brittle.

Dried Fruit Garland

Apples are our ingredient of the seasons. So far we’ve gone crazy with them in the kitchen, but today we’re filing getting crafty!

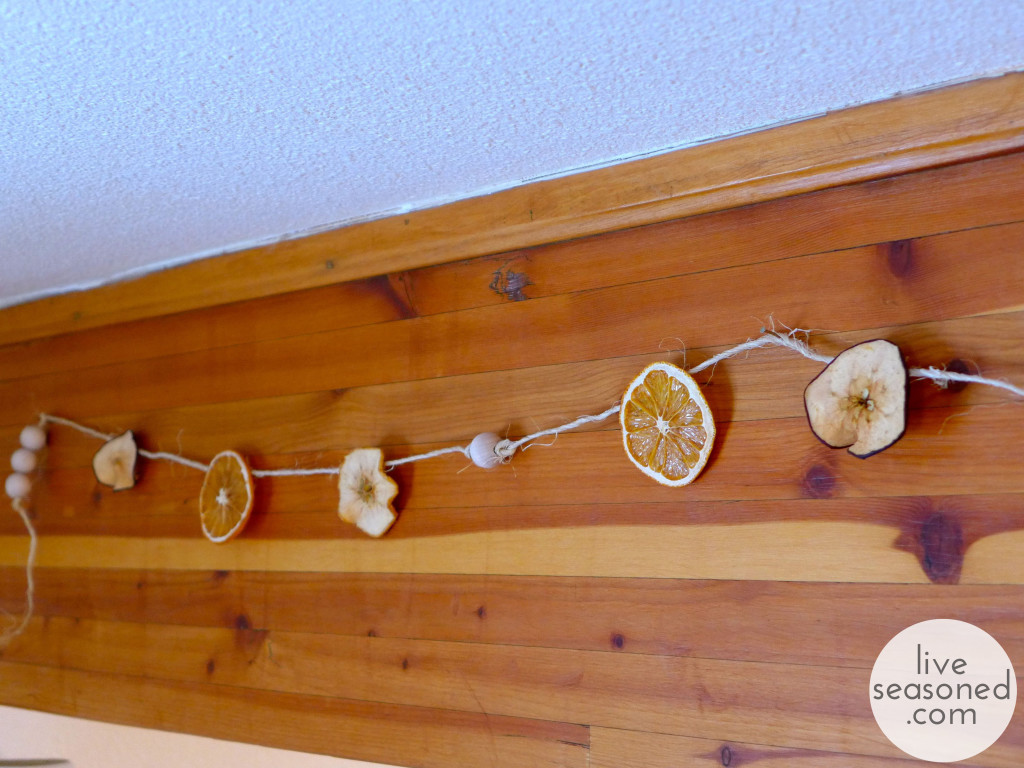
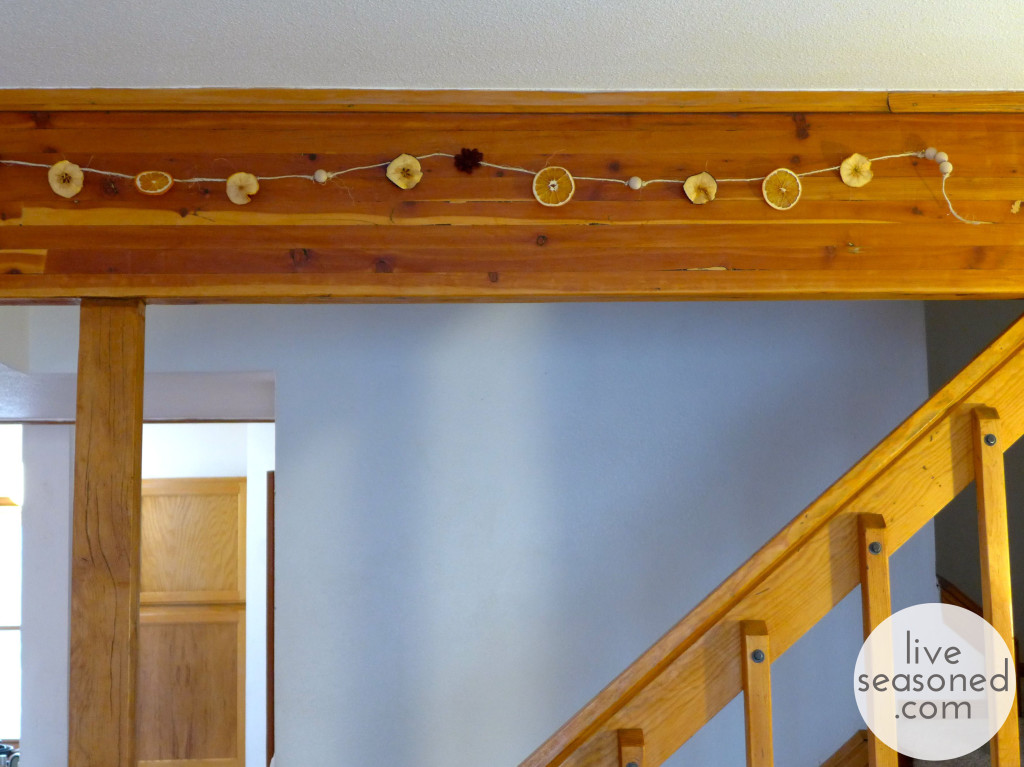
This year, after taking down our Halloween decorations and while waiting to up a Christmas tree, I was really feeling the urge to decorate. So I put together this simple garland that’s a snap to make, celebrates the bounty of the season, and is perfectly suited for my need to add a little touch of something to our November walls.

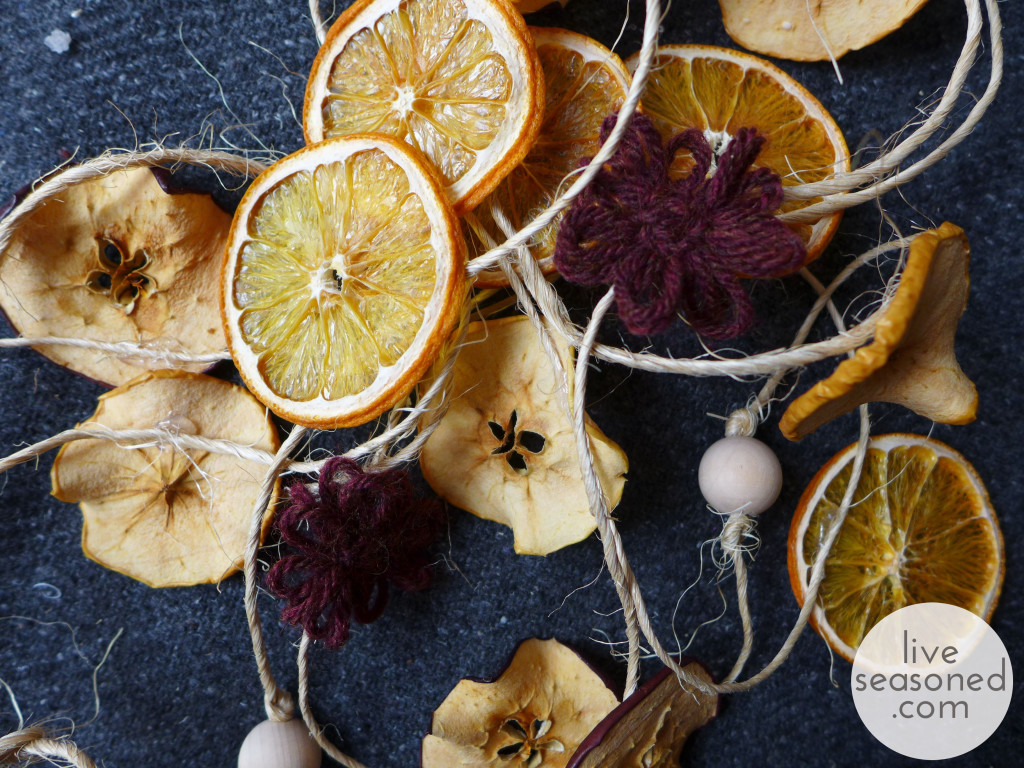
liveseasoned_fall2014_fruitgarland19_wm

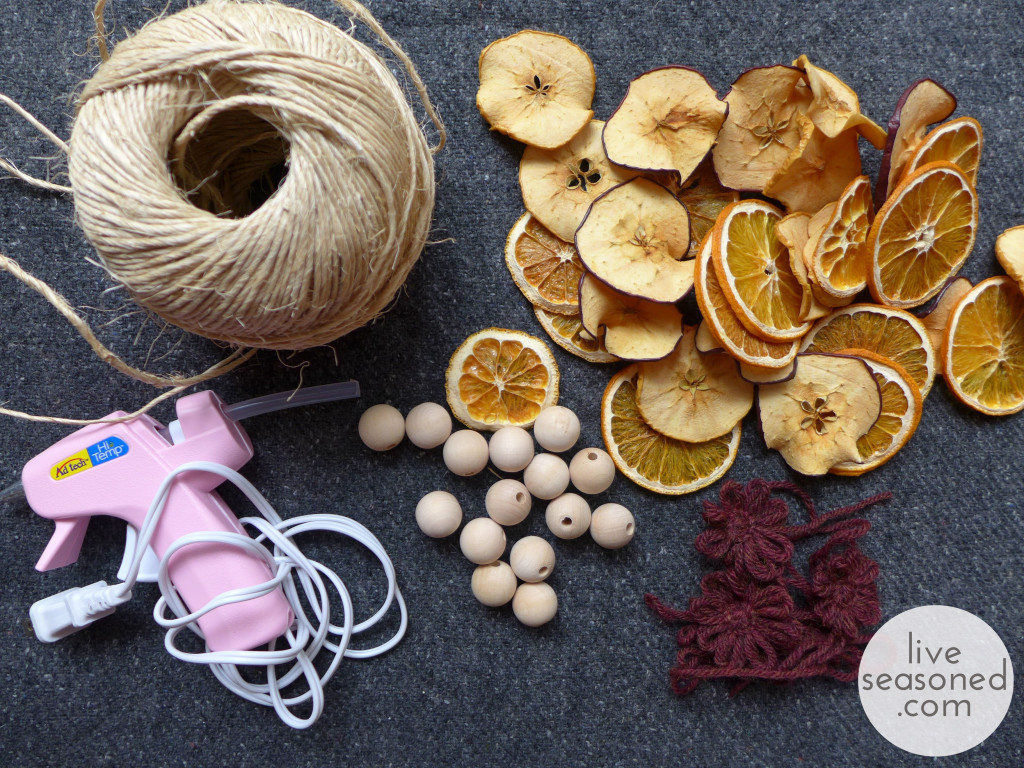
Supplies:

This project requires relatively few supplies, but as with everything we do around here, the garland is easily customizable, so look around your craft room and get creative!

  • twine
  • dried fruit (more on this below)
  • wooden beads
  • simple yarn flowers (how-to below)
  • hot glue gun
liveseasoned_fall2014_fruitgarland10_wm

Drying the Fruit

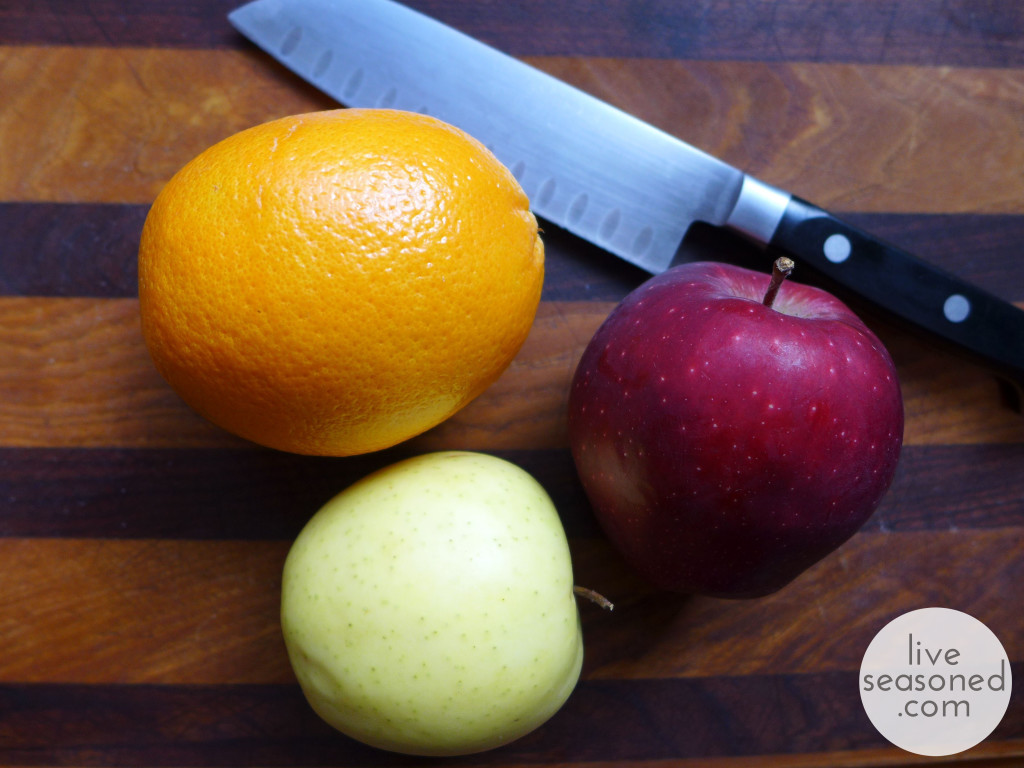
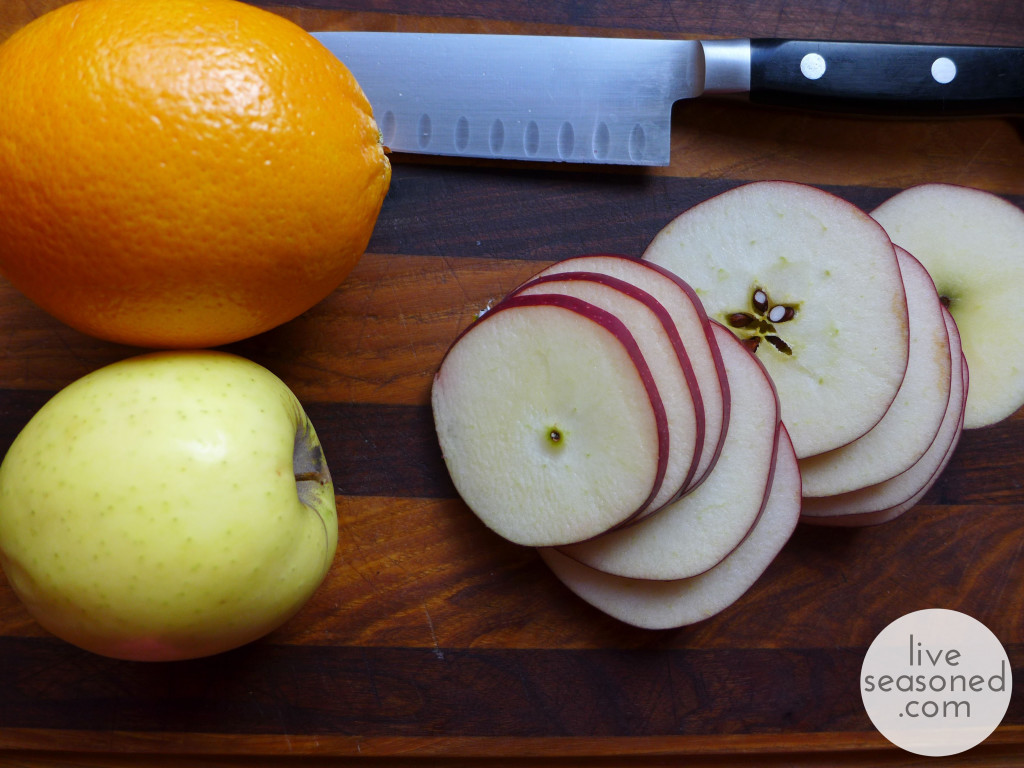
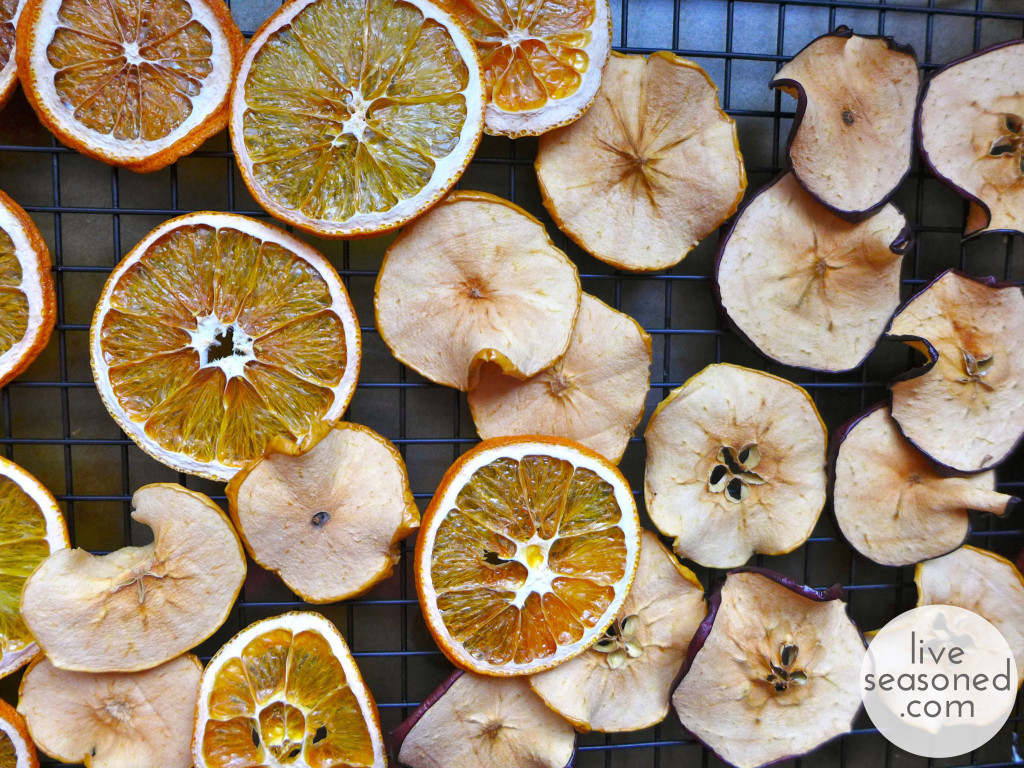
I began the project by slicing and drying three pieces of fruit: red and gold delicious apples and a seedless navel orange. The fruit were sliced into quarter inch discs. Sharpening your knife will go a long way towards helping you make even slices with nice smooth surfaces. You’ll find it difficult to cut through the seeded area of the apples, but my advice is to keep your knife horizontal (rather than pushing the point or handle ends up and down) and to saw back and forth with even pressure.

liveseasoned_fall2014_fruitgarland1_wm


liveseasoned_fall2014_fruitgarland2_wm

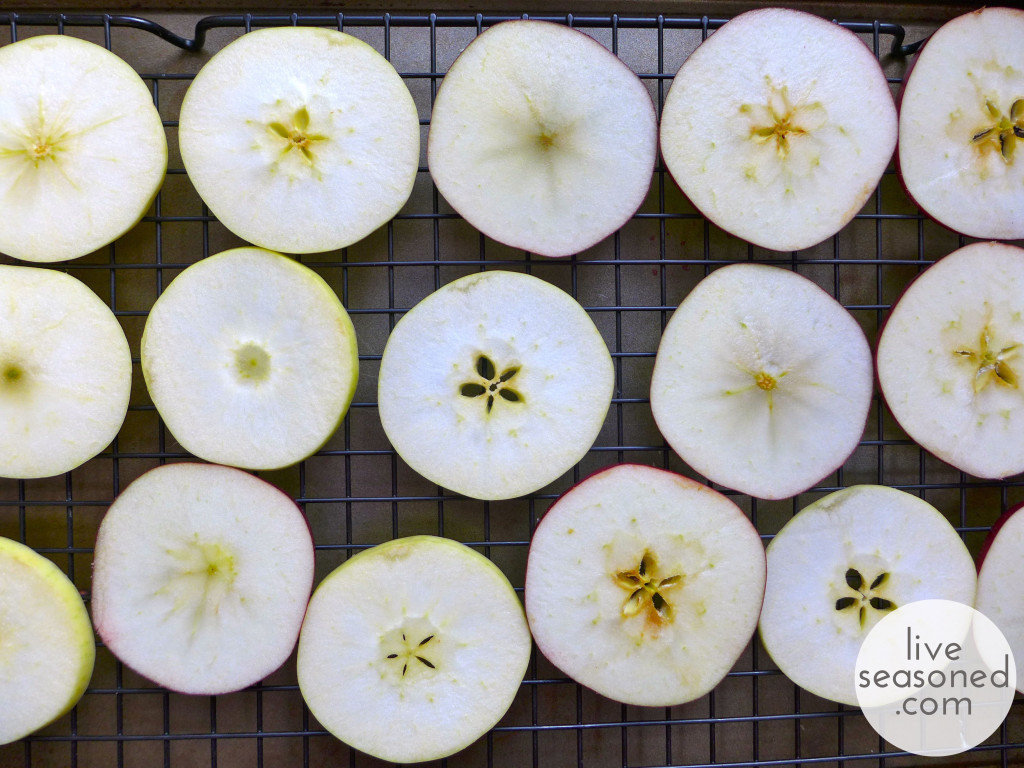
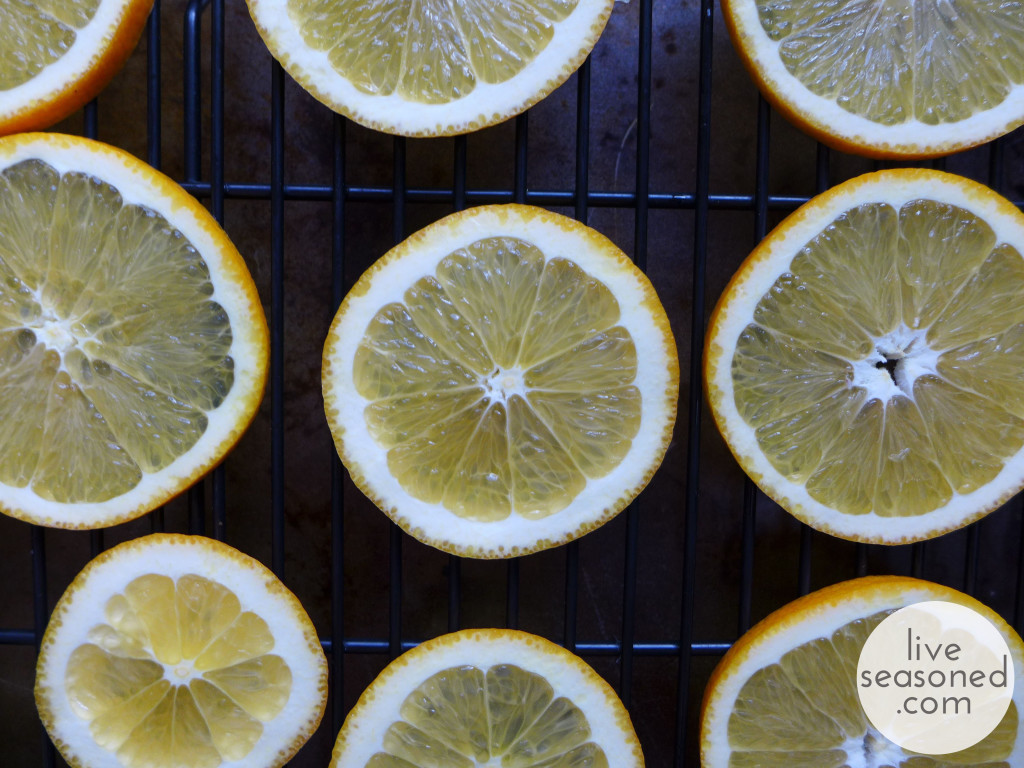
Once sliced, I removed all seeds and placed the pieces on cooling racks over cookie sheets for drying.  I then dried the fruit in a 200F oven for about 5-6 hours, flipping the slices twice to help minimize curling of the fruit.

liveseasoned_fall2014_fruitgarland3_wm
liveseasoned_fall2014_fruitgarland4_wm


liveseasoned_fall2014_fruitgarland5_wm

The Beads

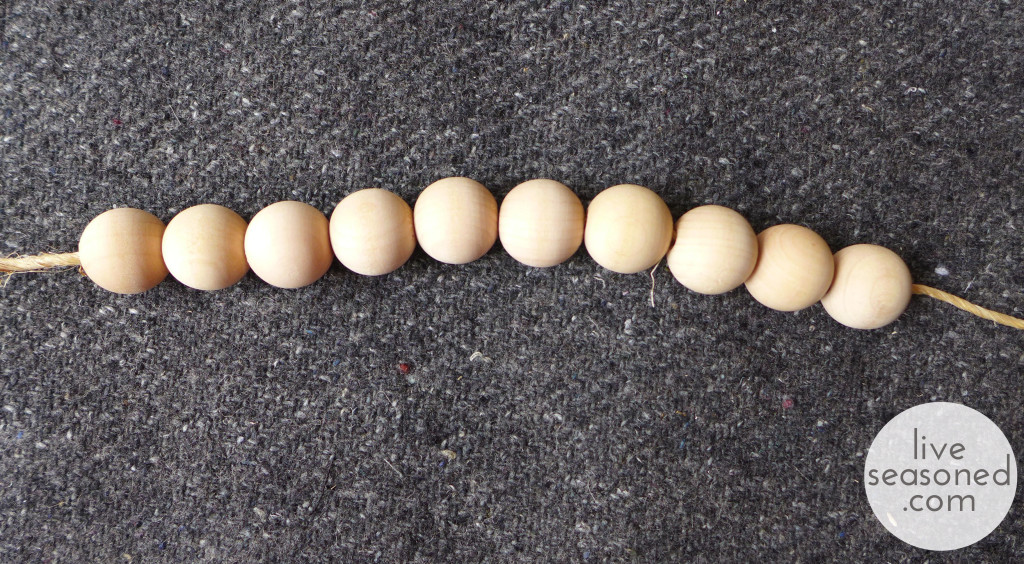
In addition to the fruit, I wanted to add a few other textures and colors to the garland. First up, some natural wooden beads. I bought a 20-pack of these beads at Joann’s. Once home I thought about painting these, but didn’t have any craft paint, so decided to keep them natural and add color with a bit of yarn (something I have plenty of!).

liveseasoned_fall2014_fruitgarland11_wm

The Flowers

Using some rusty-red yarn, I made a few very simple flowers. I originally saw these flowers on Pinterest and made from twine. The link to that Pin was bad, but a quick Google search led me to this really helpful how-to video.

liveseasoned_fall2014_fruitgarland9_wm

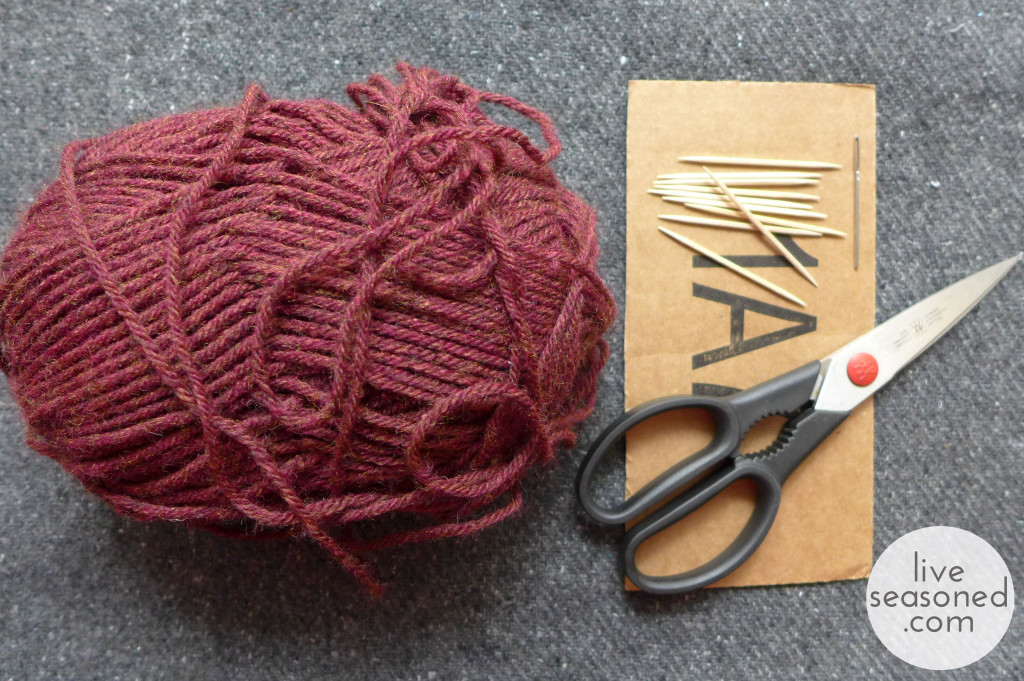
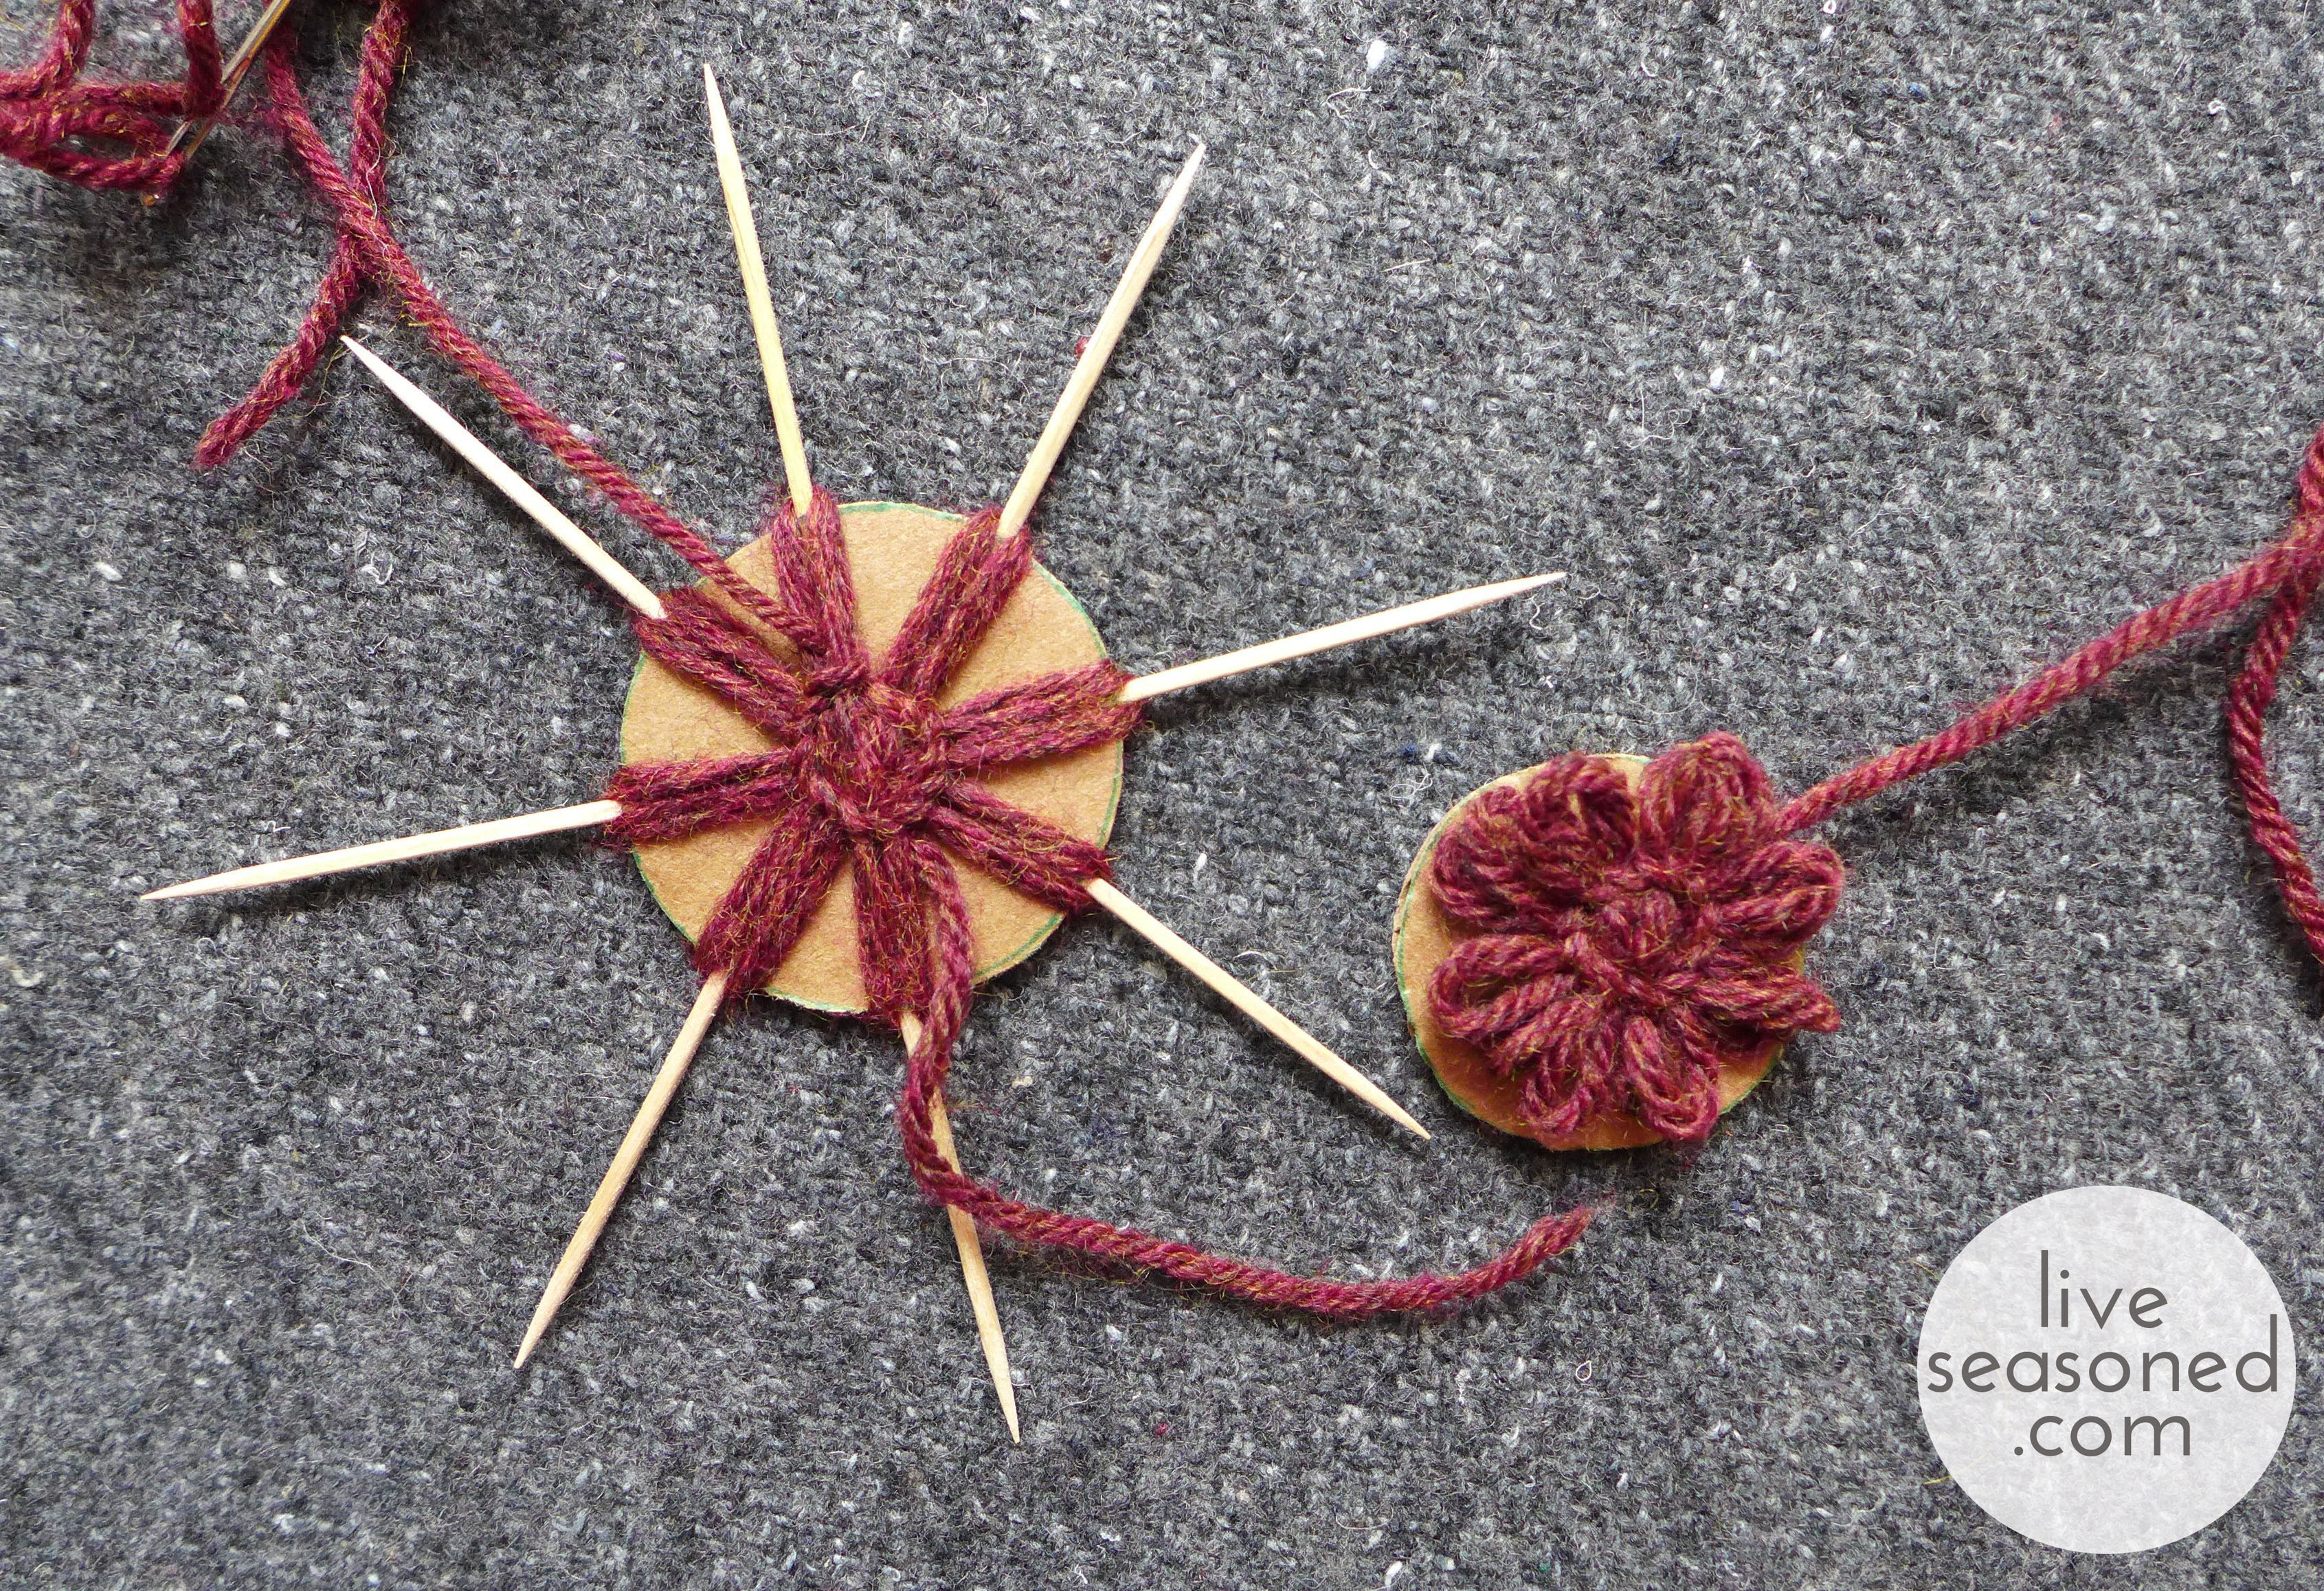
The only supplies you’ll need to make these are a piece of cardboard, yarn or twine, scissors, a yarn needle, and 8-12 toothpicks. If you assemble that, you’ll be able to make a flower right along with the video because she explains everything at a nice slow speed.

liveseasoned_fall2014_fruitgarland6_wm

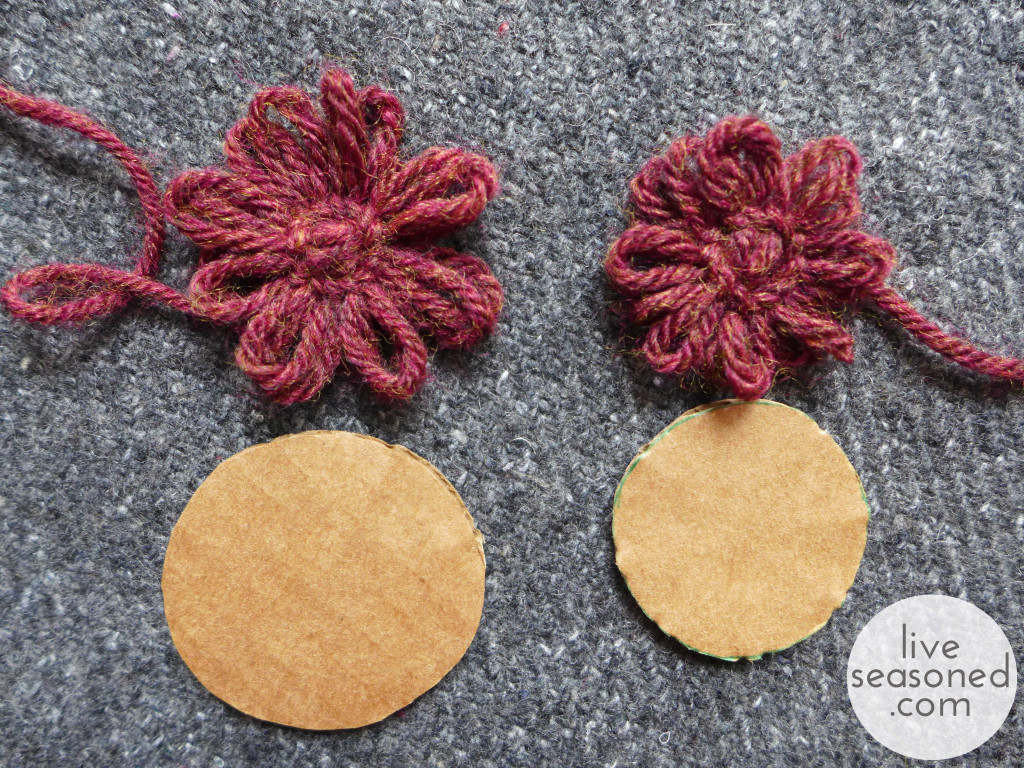
In the video, 12 toothpicks are used, but as I mention, you may need as few as 8, depending upon how large and full you make your flower. I made my flowers with cardboard discs that were 1.5 and 2 inches in diameter. As you can see in these photos, the diameter of your disc determines the final diameter of your flower.  I wouldn’t go any smaller than 1.5 inches, and if I were to do it again, would probably uses discs that were 2 and 2.5 inches. As you can see, my flowers are quite full with only 8 petals, and I think 12 would have been too much, but may be just right for a 2.5 inch flower.

*Don’t cut off the extra yarn ends when you’re done making your flower – these come in handy for tying the flowers to the twine.

liveseasoned_fall2014_fruitgarland8_wm

Assemble the Garland

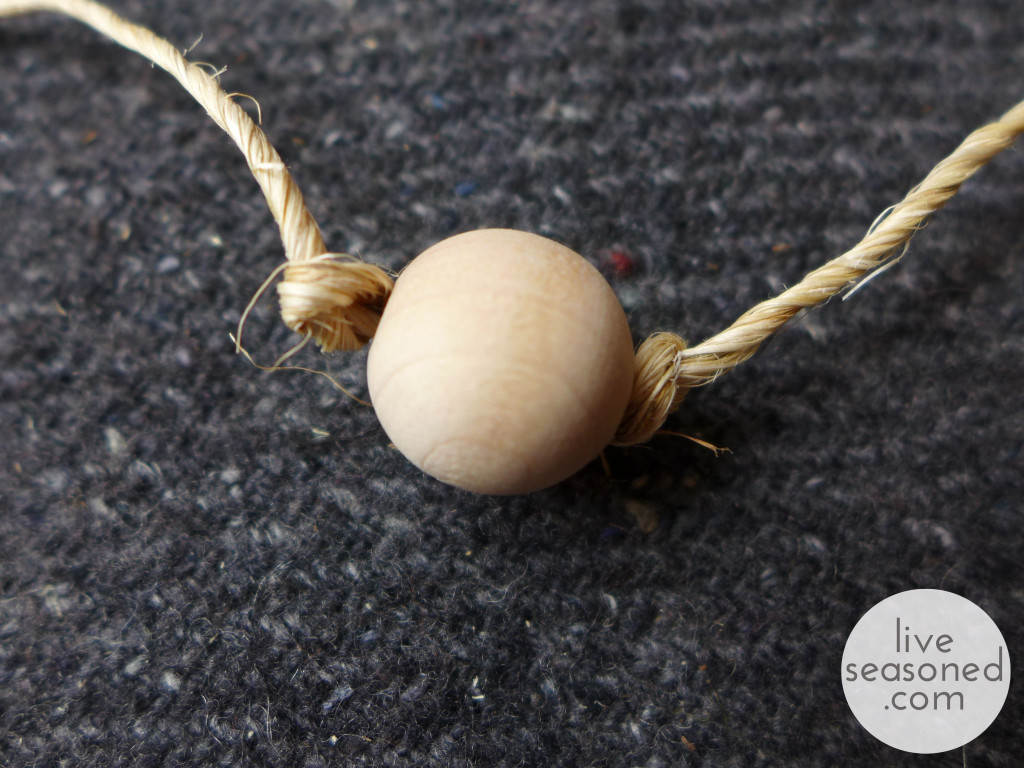
With your garland swag in order, it’s time to assemble! I attached the fruit with hot glue. In order to get the fruit to hang nicely, you should glue the twine on no more than 1/3 of the way down the slice (rather than along the widest part, if that makes sense?). If you glue the twine too far down, the weight of the fruit will cause them to face downwards rather than out. The flowers were tied on by the extra yarn ends. If you cut off the yarn ends, you could easily hot glue these too. Once tied, I then cut any excess yarn off. And to make bead placement easier, I strung a whole bunch at once (as you saw in the photo above), then just knotted the twine on either side of the bead.

liveseasoned_fall2014_fruitgarland12_wm

With those instructions, just go for a random placement of your items, but still keeping in mind that odd-numbered groupings are more appealing. The beads sort of act as breakpoints in your garland, so I thought it was useful to place 3 or 5 of the fruit and flower items between any two beads.

liveseasoned_fall2014_fruitgarland13_wm

 Hang it up!

And now comes the hardest part, figuring out where to hang your garland. I started by stringing mine along one of our ceiling beams and thought that it looked OK, but maybe a little bit too puny for that space? What do you think?

liveseasoned_fall2014_fruitgarland14_wm

From there I took the garland over to our fireplace. First, I tried stringing it along the mantel and letting the excess hang down on either side. I loved the look of the garland along the skinny front of the mantel, but knew that if we were to keep it here, I’d have to shorten the ends to keep Little A from pulling on or trying to eat it.

So I moved the garland with the same hanging profile to above the mantel. I’m not completely in love with how it looks here, I feel like there’s nothing specific that’s anchoring the garland to that spot (am I wrong?). I do love being able to see it as we sit on the couch, especially when I catch a look at the fruit in the glow of the candle light. But, now what’s this renter to do with those ugly brown vents? Any tips?

So, that’s our simple bit of decoration for November. Just enough to tide me over until I go evergreen and light crazy!

Yarn Tassel Garland

I’m loving these sweet and simple yarn tassels.  Knowing that I needed a cute backdrop, I decided to hop on the yarn train to garland town.  Once I got started, I quickly decided that one can never have enough fun fluff to string about the house.  I’m not sure my live-in boyfriend agrees, but if he says anything I’ll just shove a tassel in his yap trap.  These little tassels are really easy to make and their design is easily customizable to suit your tassel taste.

liveseasoned_spring2014_tasselbackdrop-2-1024x852 copy

Continue reading