Holiday Drinks

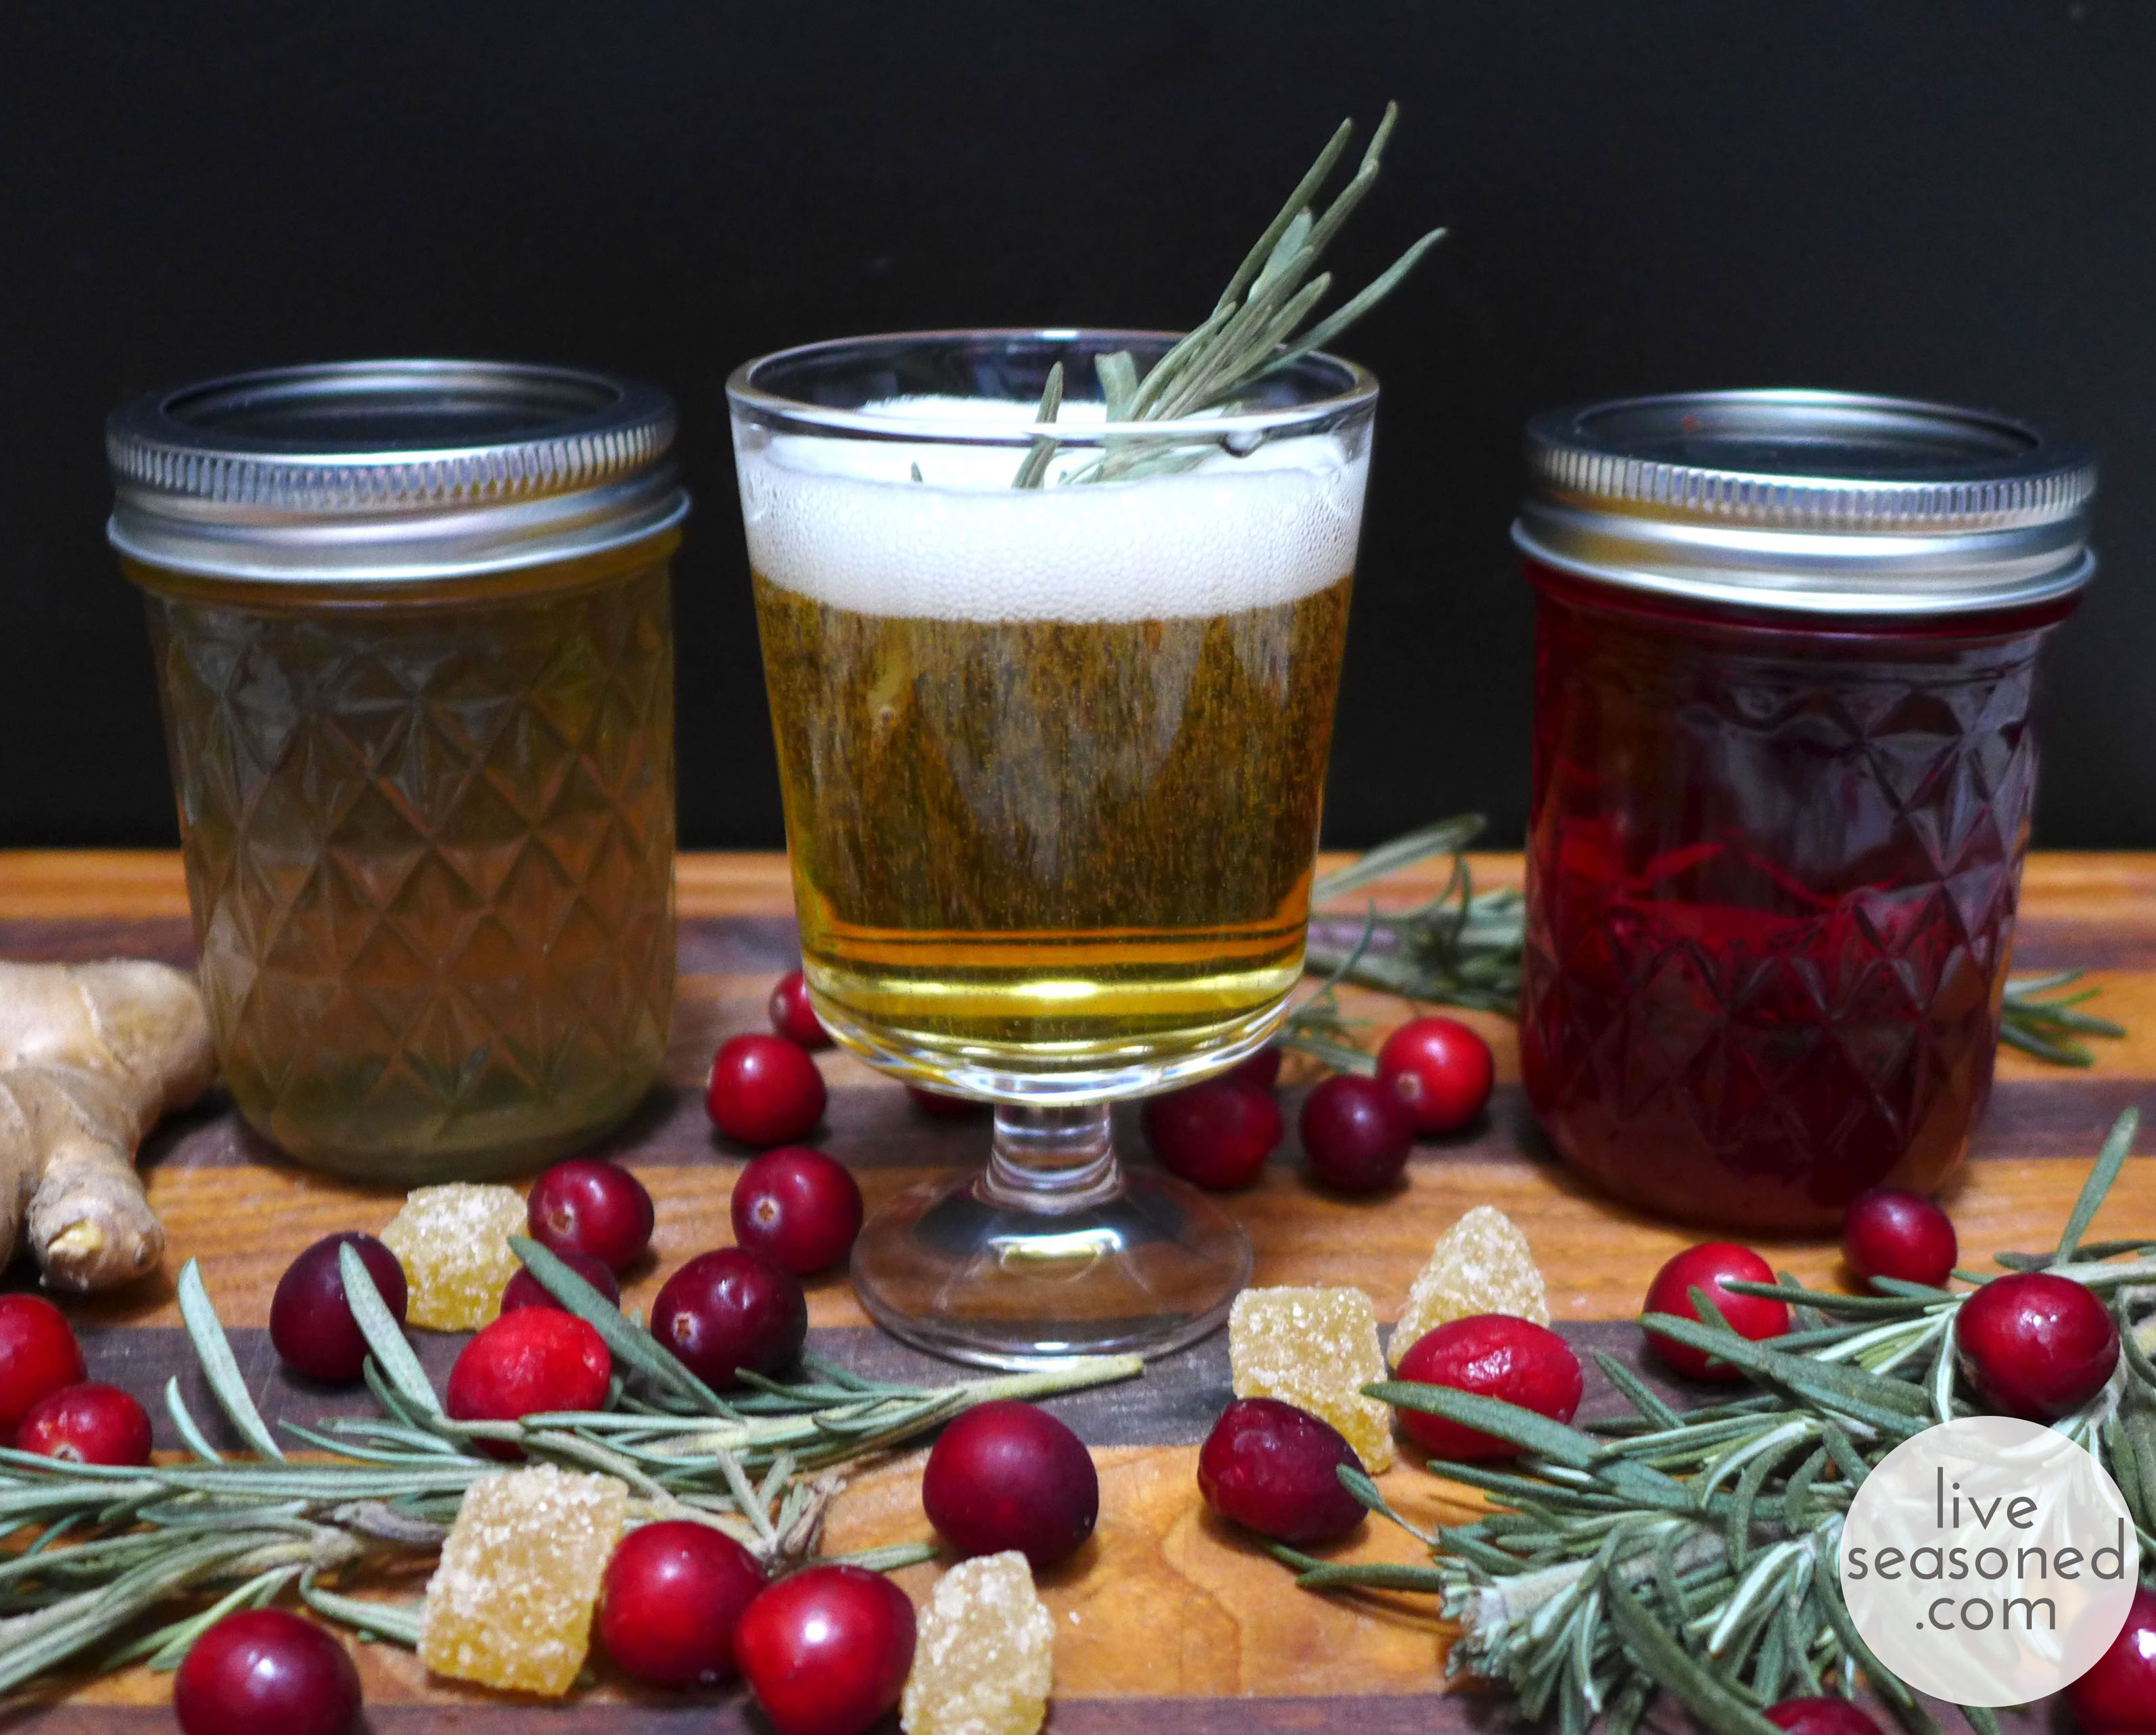
Happy Thanksgiving stateside friends!  No matter where you’re reading from, these delicious wintery drinks will be cause for celebration.  Gather your friends and family (or your cat) and start mixin’.

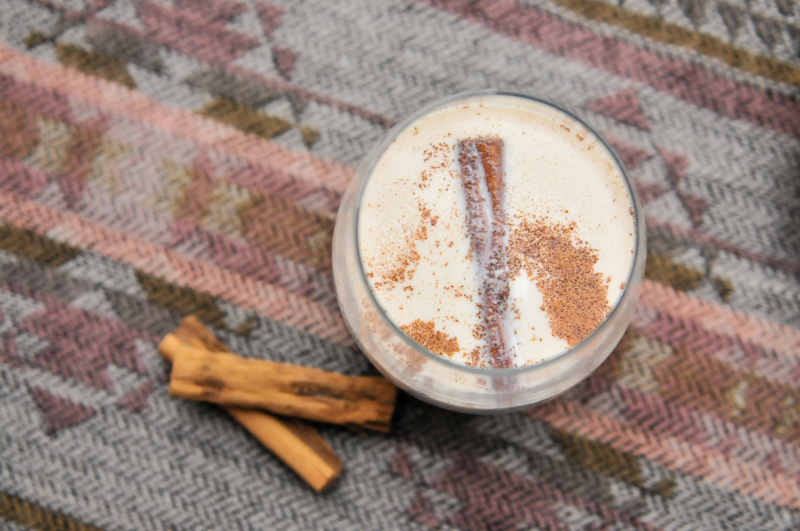
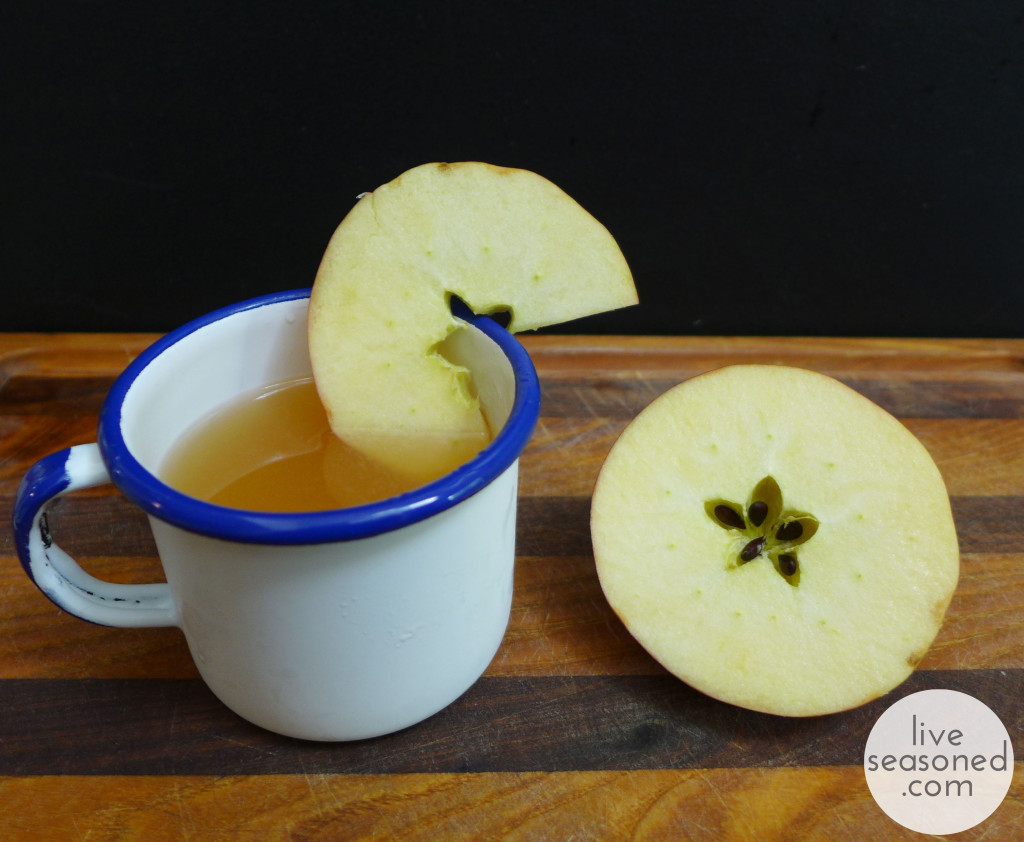
liveseasoned_summer2014_mocktails1_wm2liveseasoned_w14_winterdrink-2liveseasoned_winter14_spritzer-5liveseasoned_fall2015_psl2liveseasoned_fall2014_sidecar3_wmliveseasoned_fall2014_thanksgivingmocktails9_wmFruity MocktailsA Warm Winter Rice Milk DrinkChampagne Citrus SpritzerPumpkin Spice LattesApple Sidecar – Sparkling Cider Mocktails

Christmas Candids: A few tips!

I just watched a video of people unwrapping puppies and I’ve never been more grateful for family photographers.  We all want to capture the cheer and joy during holidays and gatherings so here are a few tips for photographing this year’s festivities.  First off, it really doesn’t matter if you’re shooting with a phone, point and shoot or a DSLR, these tips will work for you. Second, have fun while photographing, try to capture candid moments and remember to put down your camera for a few hours and really enjoy the moment as it is unfolding.  Happy Holidays!

White Balance

  • Check it!  The camera’s default setting is Auto White Balance, but that may not be the best option for the scene at hand.  Change the white balance to Incandescent or Fluorescent to see which setting works best for your home and lights.  If that sounded like Chinese to you, check out this Photography 101 post.

liveseasoned_winter14_holidayphototips-1-2

Point of Focus

  • Pick one.  There is SO much going on at the holidays that you might see cookies, presents, lights and decorations all in one scene.  Decide what the point of focus is for your photo and zone in on that.  If it’s a little boy unwrapping a present, the photo is about his expression not the christmas tree behind him so frame the boy, not the entire living room.  Think about what you want to stand out about the photo and choose an angle that will highlight the subject not distract from it.

liveseasoned_winter14_holidayphototips-1-3

Shooting on Burst Mode

  • Anytime you’re shooting action like unwrapping presents, a New Year’s toast, someone blowing out candles, shoot on burst mode.  It might also be called continuous mode and depending on your camera and settings it will take anywhere from a couple to a dozen shots each second.  Shooting on burst mode is the perfect way to capture every expression especially in candid situations.

Out-of-focus Christmas Lights

  • Lots of folks are always asking me how to achieve a bokeh effect with Christmas lights – good news, it is super easy! Simply choose a low aperture a.k.a. fstop number and that will effectively blur whatever you are not focusing on, in this case it’s the lights.  An example?  If I’m photographing my nephew in front of our Christmas tree, I want the tree to be visible so I can set the scene, yet he is the main focus of the photograph so I would set my aperture to f2.8 and focus on his sweet little face.  The tree behind him would be out of focus and therefore the lights would attain the bokeh effect. In the photos above, all three photos are of the same scene, but the light circles grow bigger as they become more out of focus. I simply pointed my camera at a Christmas tree and turned my focusing ring just out of focus, a little out of focus and majorly out of focus.

Photographing Outdoor Lights and Decorations

  • There are a few things that are relatively difficult to photograph.  Outdoor Christmas lights are one of them.  You basically have a really bright object (the lights) against a really dark object (the house and sky), which makes a tricky situation to expose properly.    I feel like we have all been here before.  You see an amazingly gorgeous sunset and you think, ‘family photo opp!’ only to be completely disappointed by the results.  You either end up silhouetted against the sun or you use the flash and hate the unnatural outcome.  It’s the same type of deal, dark and light competing for a proper exposure.
  • Head outside during twilight when the sky is nice and blue – right after sunset, but before it gets dark.  You have a small window of time for these shots, only about twenty minutes.  Set up your camera and tripod.  Choose a low ISO number like 400.  Also choose a slow shutter speed somewhere around 1/25 of a second or slower.  Set your aperture according to your light meter and then experiment from there.  I usually set up the shot, ISO and shutter speed and then take a dozen shots adjusting my aperture by one stop (click) each time.  Then I’ll scroll through the shots, decide which I like the best and set the aperture accordingly.  This time I’ll play with the shutter speed a little bit by adjusting it a tiny bit faster or a tiny bit slower.  That way you get a good variety of exposures.

Good luck and let us know if you found any of these tips useful by posting your pics to IG and tagging us 🙂

German Christmas Markets

liveseasoned_winter14_germany-7-2

In October, we revisited our adventures in Thailand.  We thought we should give you a glimpse of what we were up to a few Decembers past.  In 2010 Katie and I went to visit Calder, her fiancé (they’re married now), who was living and working in Germany.  Our trip was amazing and I think it had to do with a few key factors: Katie, C and I all get along really well, C is fluent in German (hellllllo helpful!) and we kept the trip spontaneous and largely unplanned.  Mix great buddies with little stress and lots of snow and you have a Christmas adventure that will never be forgotten.  Oh and breakfast!  Almost every hotel offered a complimentary breakfast, which consisted of a big deli platter with lots of yummy meats, cheeses and the best baked bread.  You are also offered eggs, cereal, yogurts and fruit.  We started each day with coffees and cheese, please tell me how we could have possibly had a bad time? I actually had such a blast that I completely forgot to e-mail a final paper to a professor during the trip! Yep, I wrote a ten page research paper and forgot to turn it in that’s how awesome our Christmas trip to Germany was.

Now when I think of Christmas traditions, I actually think of the German Christkindlmarkt.  I feel like visiting the markets is the most historic lens I’ve ever looked through when it comes to the holiday season. The markets are held in the center of villages, towns and cities.  The backdrop and surroundings of each market is historic and stunning in itself.  Every Christkindlmarkt has a variety of gifts and holiday goodies.  The markets are a glimpse of the past; you won’t find tacky Christmas commercialization here.  Over the course of a week, we visited five markets ranging from enormous to quaint. Each market had crib figurines, ornaments, toys, wood carvings, decorations, candles, furs and a variety of other crafts and goods.  The markets also had the most amazing food.  It kicked any American fair food’s behind.  We usually ate some type of bratwurst and sauerkraut on a fresh, crusty roll. We kept warm by sipping glühwein and sampling dozens of treats throughout the day.  Each city’s market had a slightly different vibe and while I loved visiting every one, Esslingen’s medieval market may have been my favorite.  Read on to see why…

Continue reading

Felt Ornaments

Hey! I looked at our calendar and realized that we have entered a week of Christmas crafting making on the blog! This isn’t necessarily gift crafting, just more little projects to decorate the tree, your walls, to send off in the mail (technically, I guess that’s giving), and maybe we’ll even have something to eat or drink by the time the week’s complete.

liveseasoned_w2015_feltornament1_wm

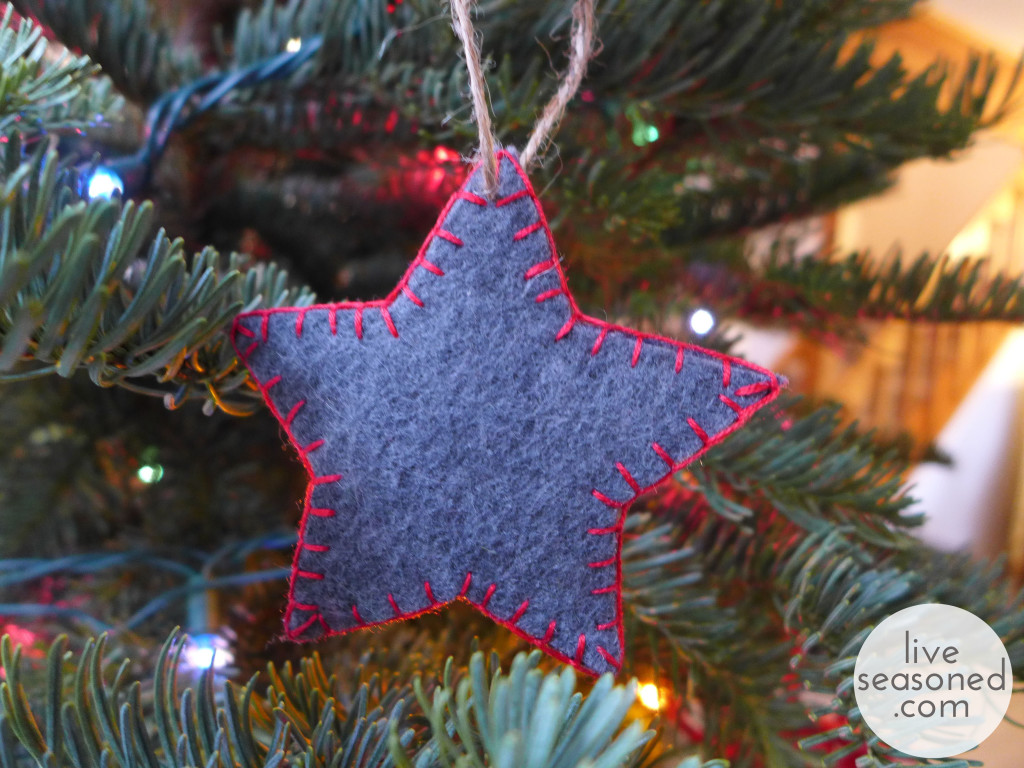
Today I’m talking about the felt ornaments and wreath that were pictured in this post. Both of these ideas came from my Christmas board on Pinterest, but unfortunately the links associated with the pins won’t take you to the original source for attribution. You’ll see that I’ve pinned many different felt ornaments, and I’m thinking that over the next few years I may make quite a few as we become a house with two little boys! Felt ornaments are just so kid-friendly, with a big loop, they are easy for little hands to hang and pull off the tree, and there’s so little investment in terms of both time (the the case of the ones I’ve made) and money, that I don’t mind if little A throws them around a bit while playing. Plus, they look really cute.
liveseasoned_w2015_feltornament9_wm

liveseasoned_w2015_feltornament3_wm

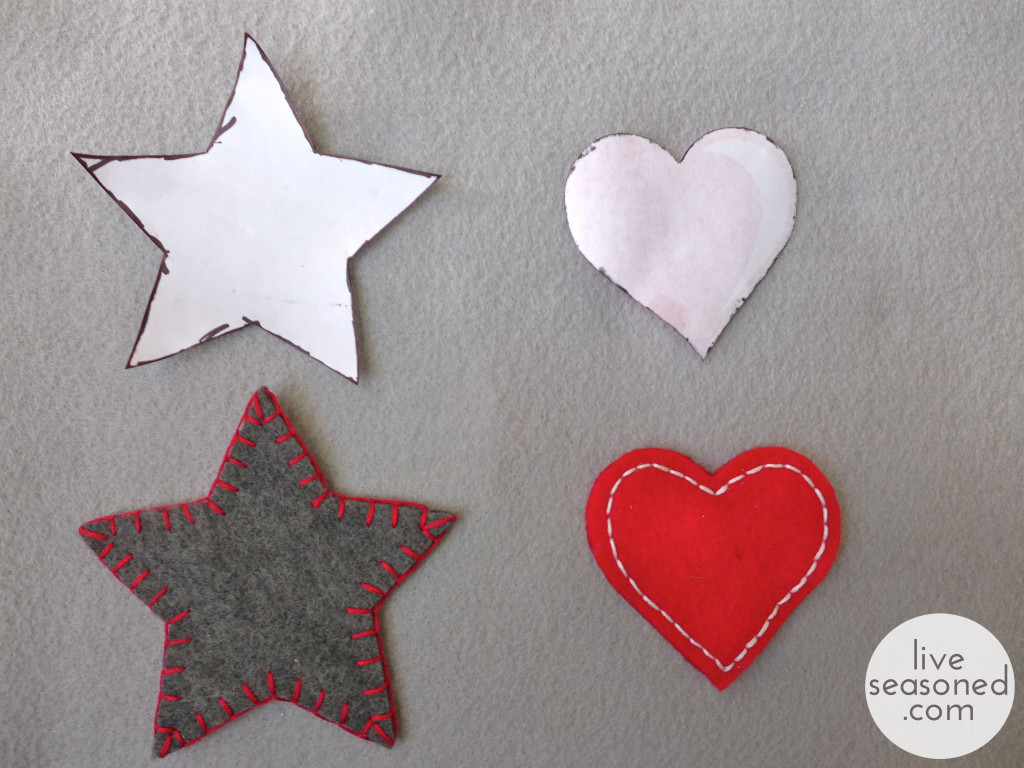
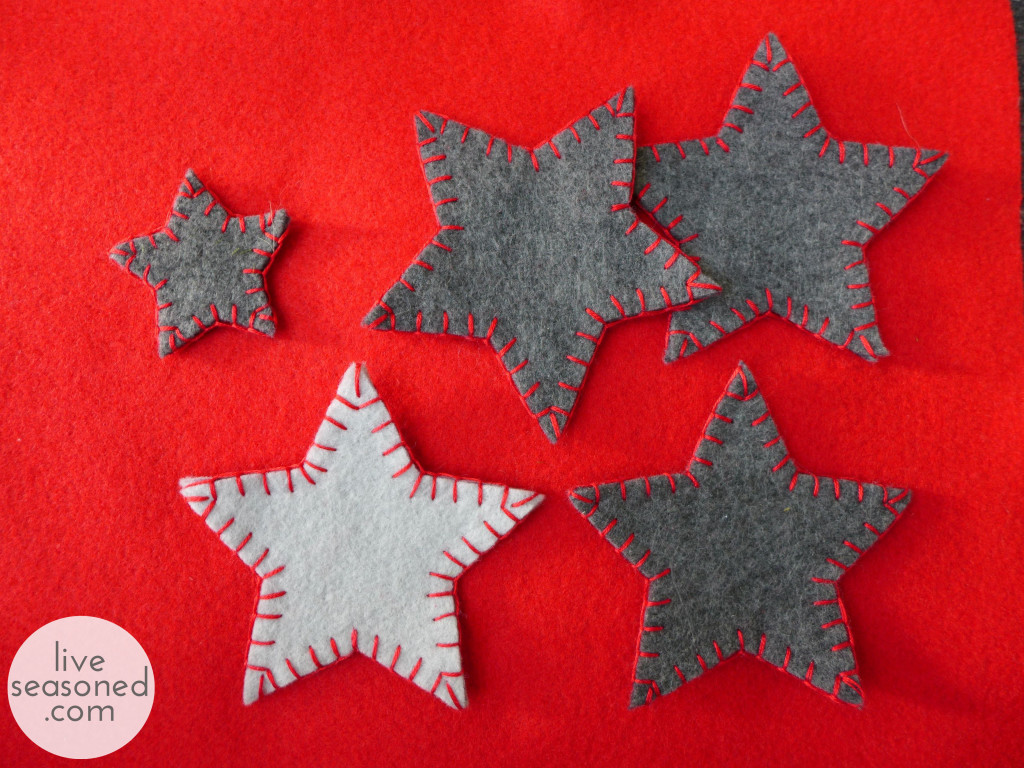
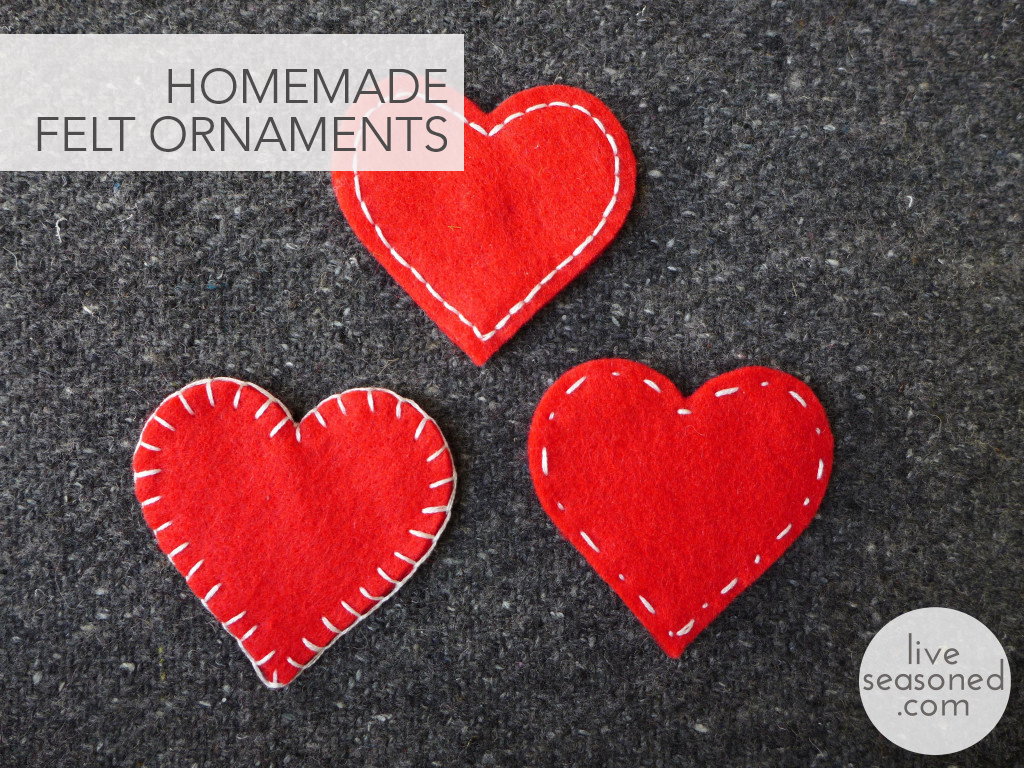
For today’s ornaments, I was first inspired by this photo. In addition to the stars, I added a few hearts with white stitching to our collection, inspired by these red felt ornaments. I personalized the stars by using a red blanket stitch around the edges, and I drastically simplified my hearts from the inspiration photo, eliminating the stuffing and choosing simple stitches that would follow the hearts’ edges.
liveseasoned_w2015_feltornament7 copy

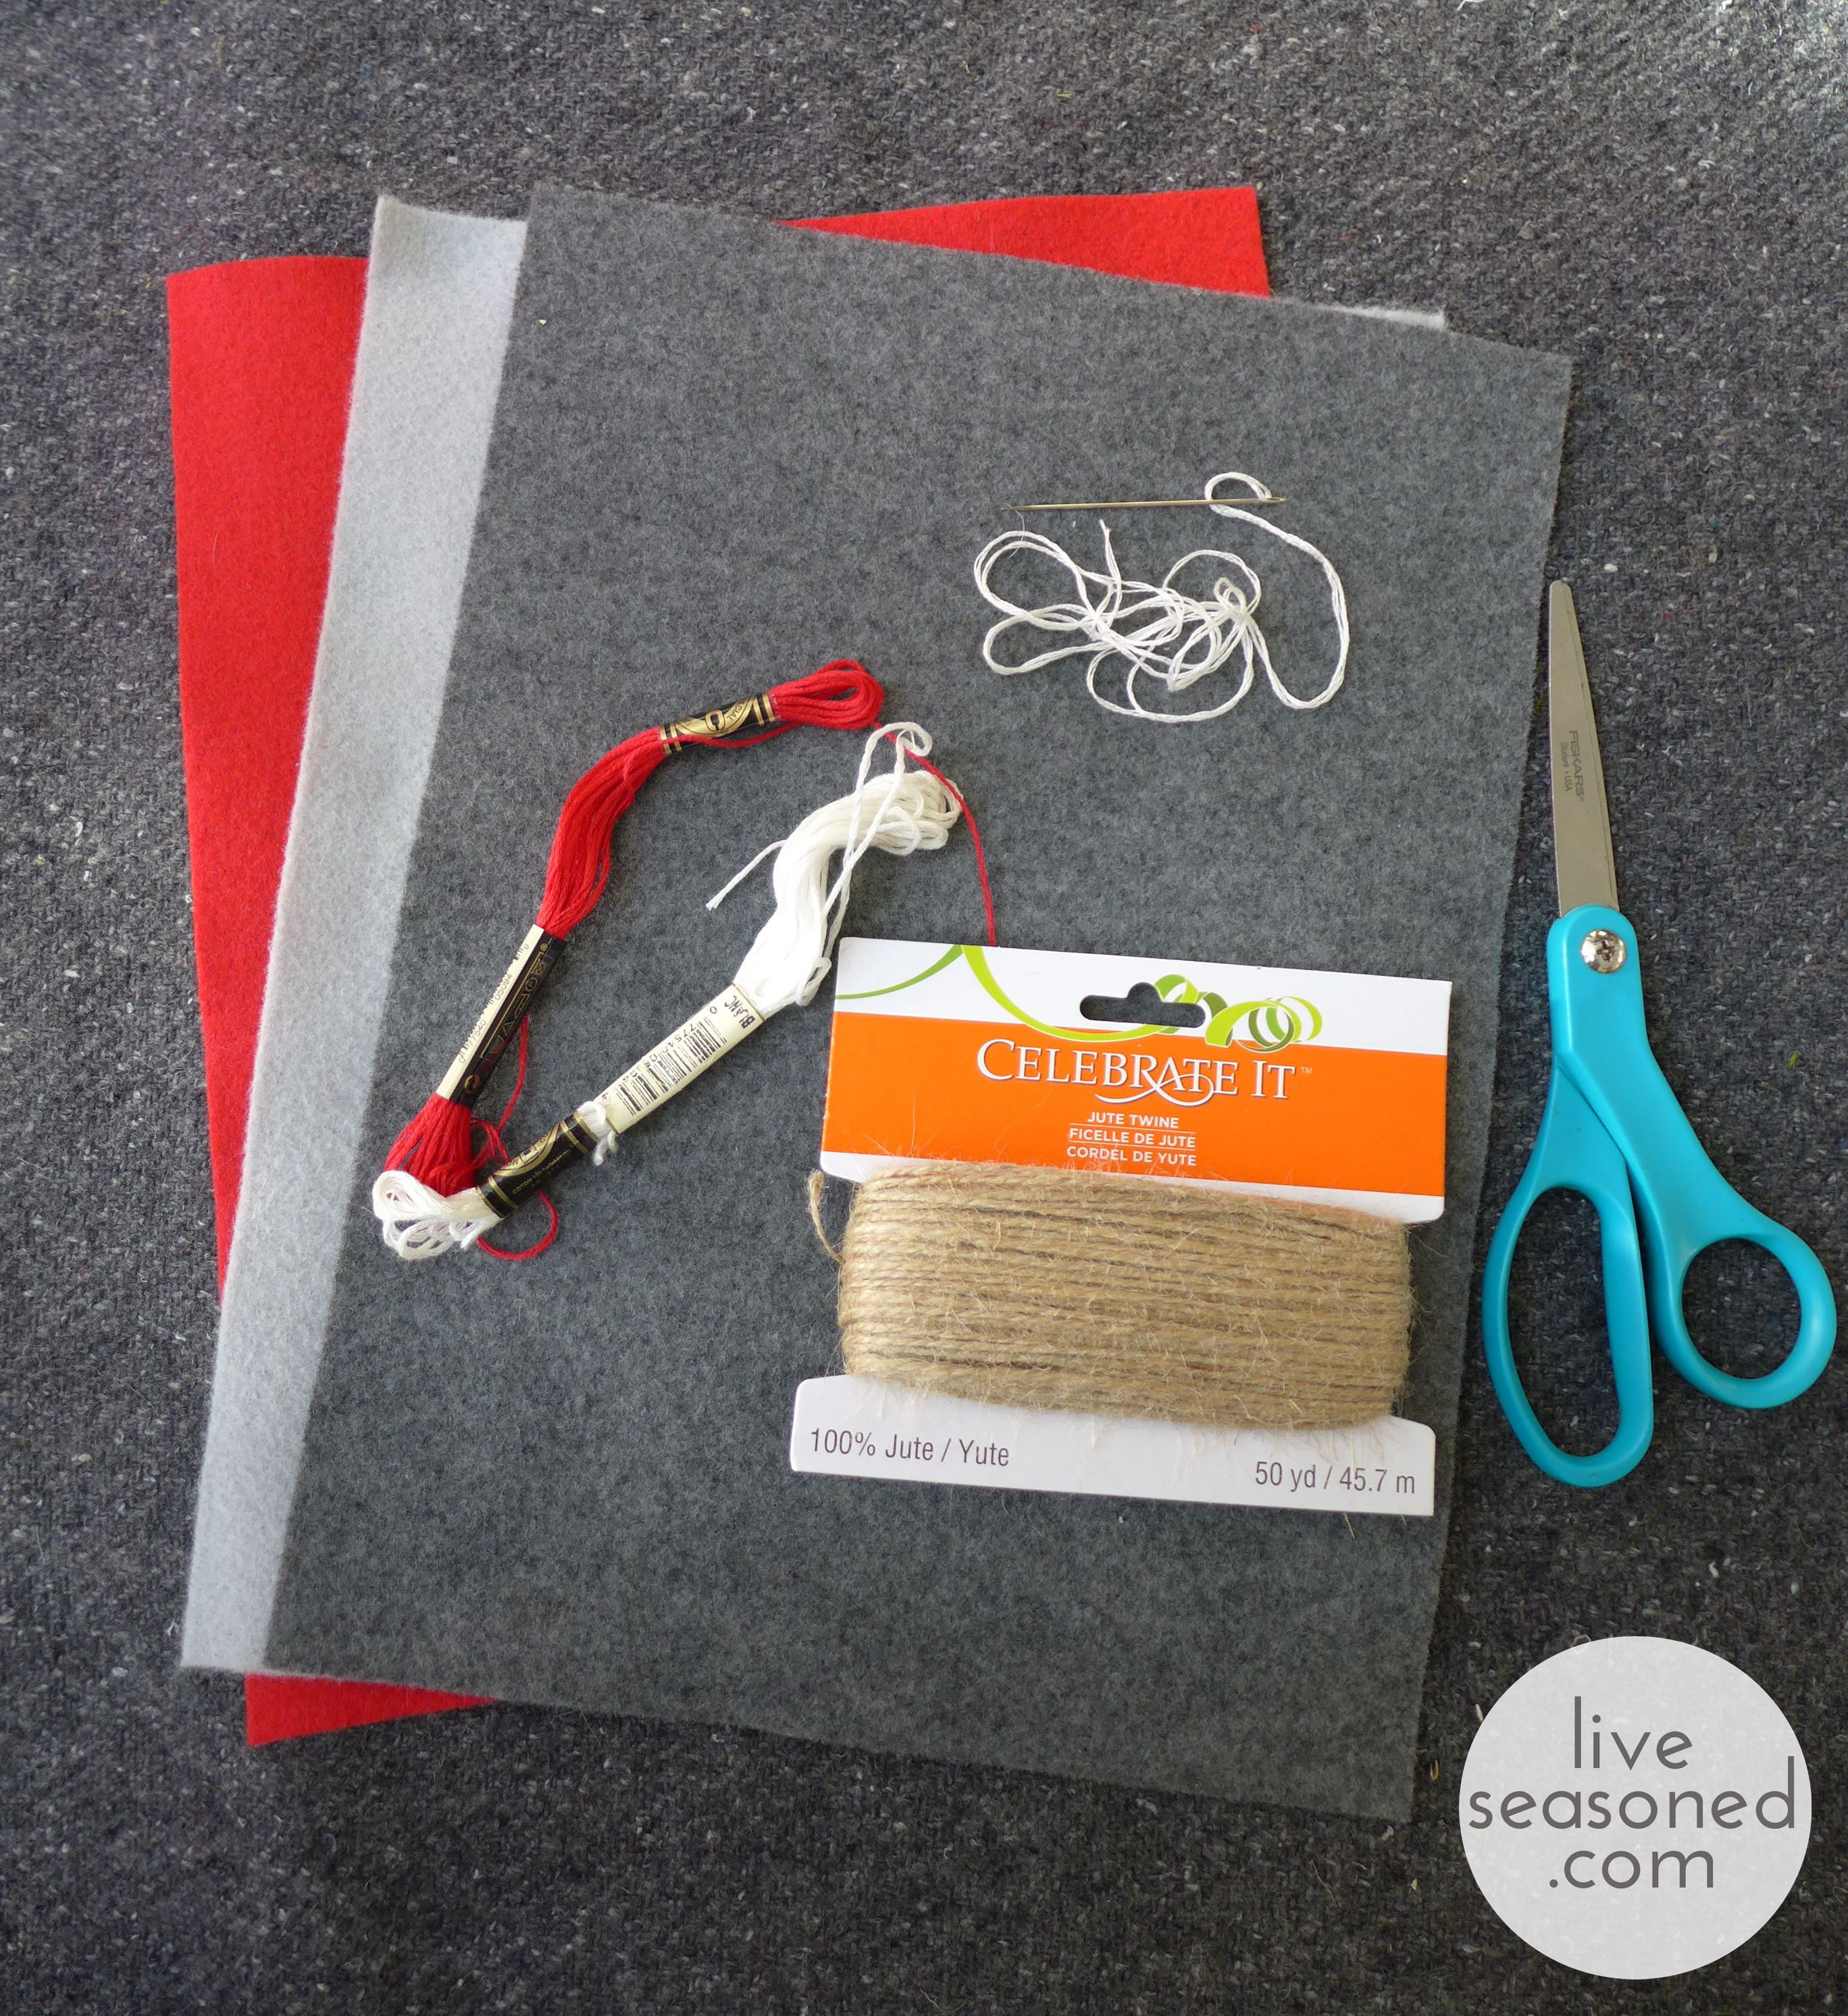
Supplies & Tools

  • Felt
  • embroidery floss
  • thin jute
  • sewing needle
  • scissors
  • shape template

liveseasoned_w2015_feltornament8_wm

Instructions

  • Find or draw your template. For my templates, I did a Google image search for  “heart clipart” and “star clipart”. I was able to find images that included hearts and stars of different sizes, so I printed them out and cut out the size that I liked for each.
  • Trace your template on the felt and cut out two of the same shape. As you can see from my template, I traced around it with a marker. Having those marker images on your felt isn’t a problem, because you can have the marked sides face inwards.
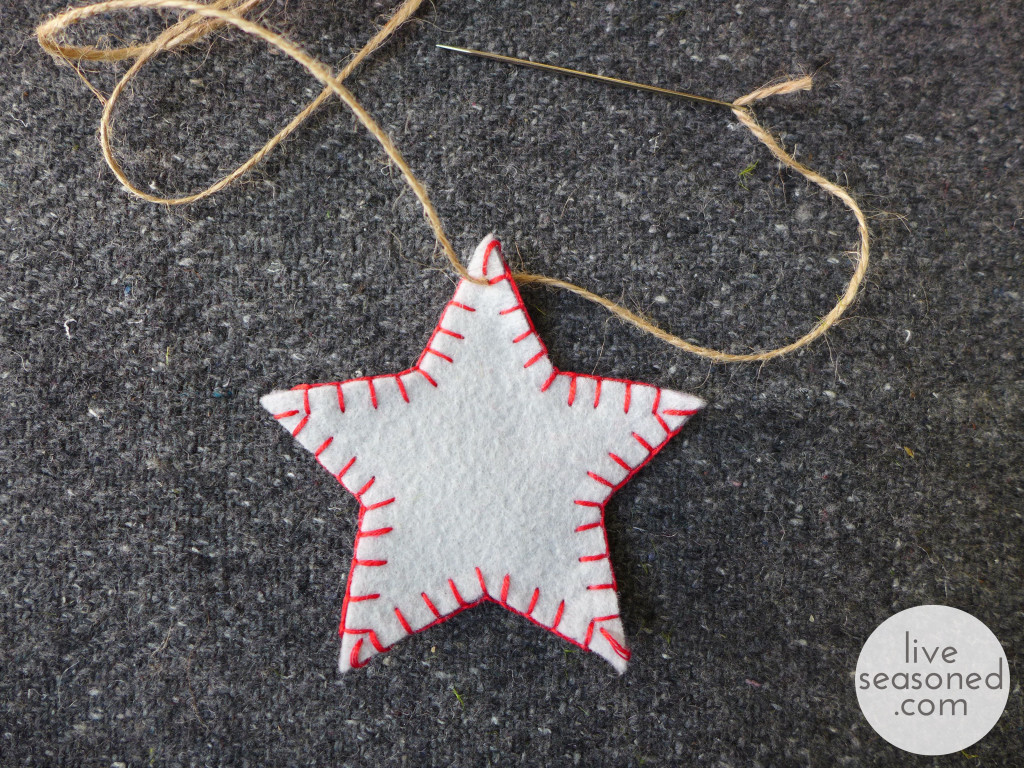
  • Sew your pieces together. Use three stands of embroidery floss for the embroidery. Holding the two felt pieces together (marked sides in), use your favorite stitch to hand sew the pieces together. I used blanket stitch for all of the stars, but was more creative with the hears, using blanket stitch,  back stitch, and a simple combination of long and short running stitches to create the third.
  • Add your loop for hanging. I used skinny jute for the hanging loops. You can find this in craft stores, and it’s usually sold in a smaller quantity than the bigger balls of fat jute (you can see the packaging in my supplies photo). The jute will not pull through your felt as easily as the embroidery floss. I found that it was easiest to thread the jute through the eye of my needle, pierce the felt with my needle, and then move the needle in circles to create a larger hole (but one that is still snug) for the jute to fit through.
liveseasoned_w2015_feltornament12_wm-1024x768 copy

liveseasoned_w2015_feltornament10_wm

While we were so excited to put the tree up, after the lights were hung it looked so pretty that we’ve been really lazy about adding more decorations. But a few nights ago we were looking for one more activity for little A before bath time, so I pulled out these ornaments and a few others for him to add to the tree. The pictures aren’t great, but I think you can tell that he was excited to get in on the tree action (clapping after each ornament was hung), and now it’s become a daily activity to remove and rehang a few.

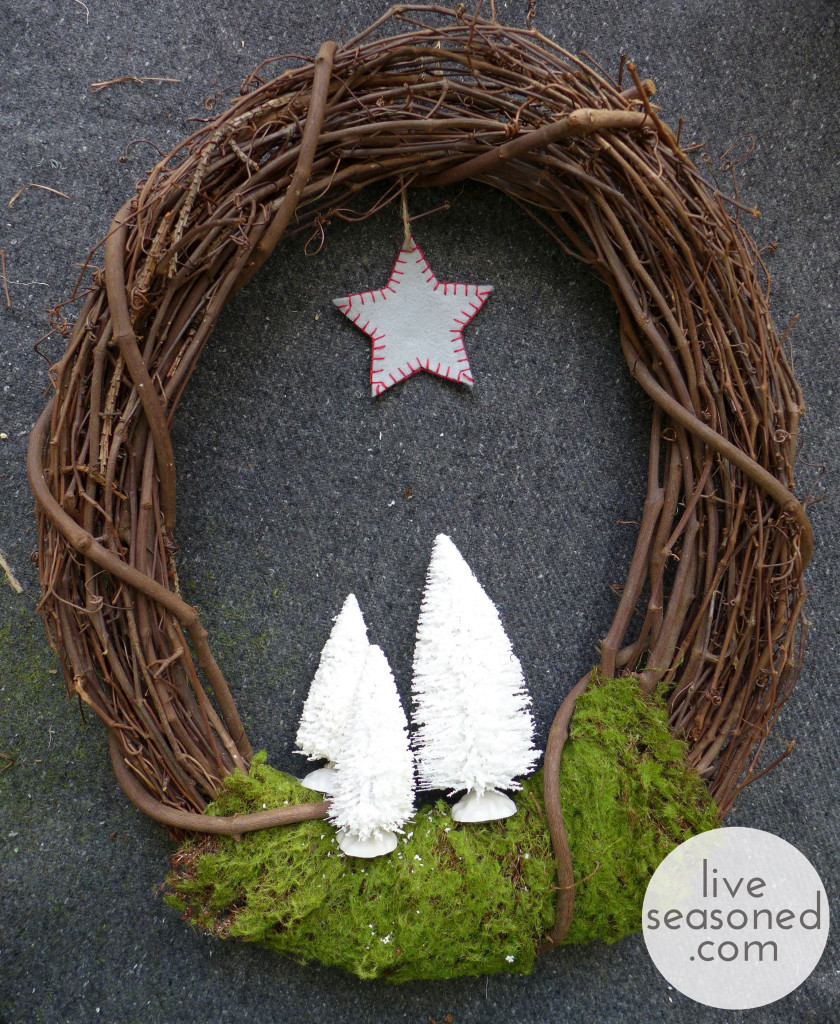
In addition to making their way onto the tree, I used one of the stars in our new wreath. Again, I’m borrowing and modifying this idea from something brilliant I saw online. 
liveseasoned_w2015_feltornament13_wm

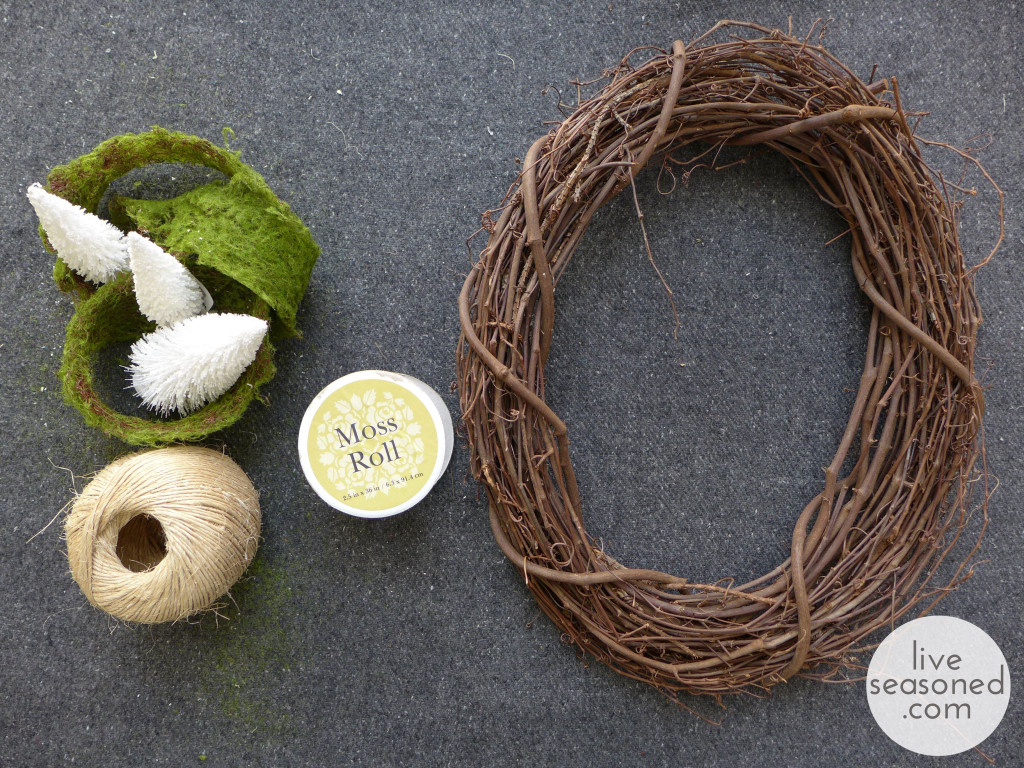
Supplies

  • grapevine wreath
  • white bottle brush trees
  • moss roll (you can see the packaging below)
  • hot glue gun & glue

How cute is that wreath? It came together easily with a few supplies from the craft store. The project is relatively self-explanatory : wrap the moss around your wreath, slipping it under a few of the larger vines if possible (this just takes a bit of wiggling). Glue the trees where you would like them. Tie a star ornament from the top of your wreath. Bam!
liveseasoned_w2015_wreath3_wm

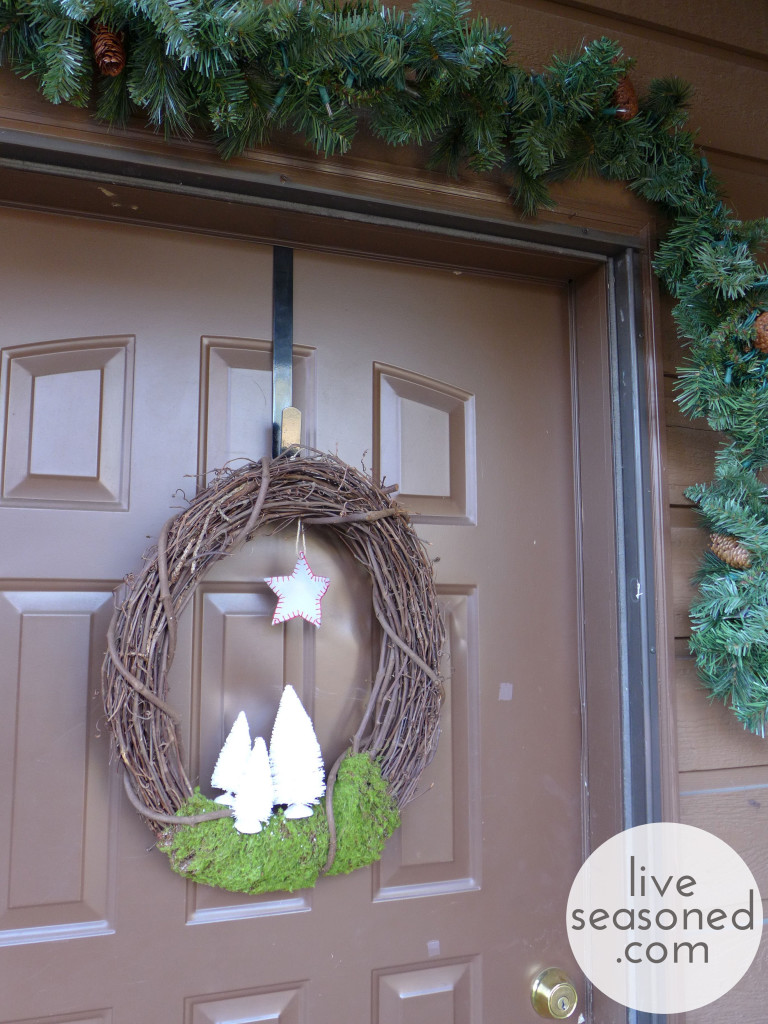
Once I hung this and the green garland above the door, I realized that we have a lot of brown and green going on out on the front porch. Maybe this year it would have been nice to go with something brighter? But I’m loving the peaceful look every time we walk in the door.
liveseasoned_w2015_wreath1_wm So, that’s my little felt project for the season. It’s been a long time since I’ve done anything with felt (or even had a little supply of it in my craft room), and I’m excited work with it more in the future. I really enjoyed making these ornaments because they were so easy and mindless to put together, creating a polished result. What does that mean for you? If you want to slow this weekend, but still feel a little bit productive, this is a great meditative project


liveseasoned_w2015_feltornament2_wm

Balsa Christmas Trees

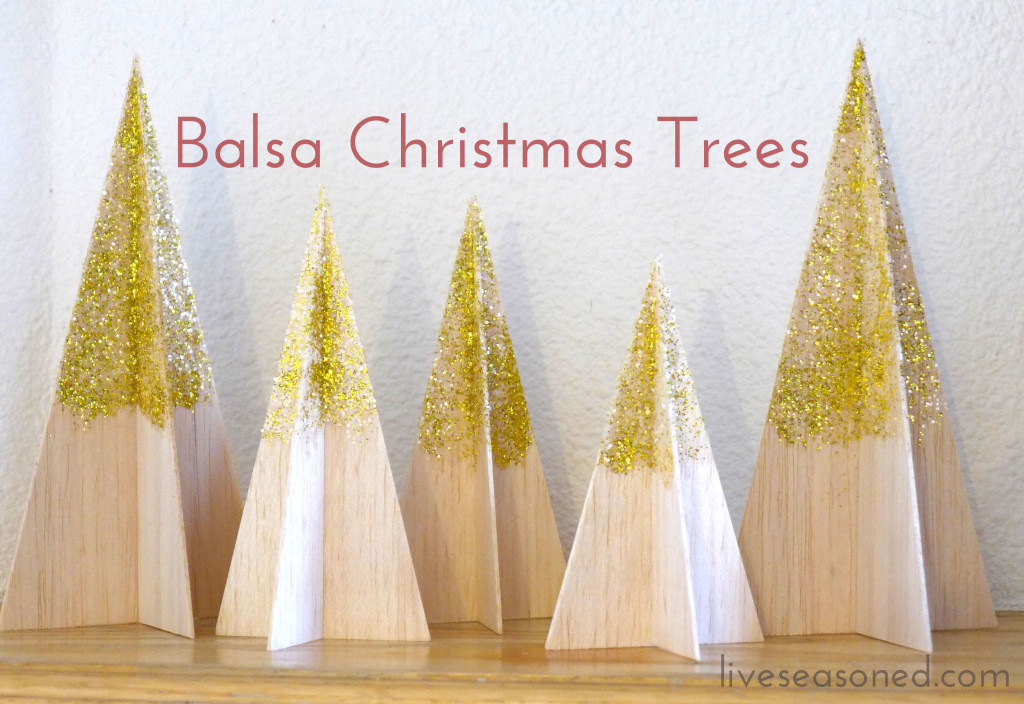
Happy Monday! How was your weekend? Did you get your tree? We had a disappointing, but funny, experience at a local tree “farm”. In more uplifting news, I was excited to realize that we’re almost done with the Christmas shopping! Unbelievable, right? Of course, there’s still a bit of Christmas crafting to do, but I’m feeling confident that it will get done. As a result, I had time to work on some of the decorations that have been on my list. First up ~ some super simple and quick Christmas trees for our mantel.

liveseasoned_w2015_balsatrees14_wm

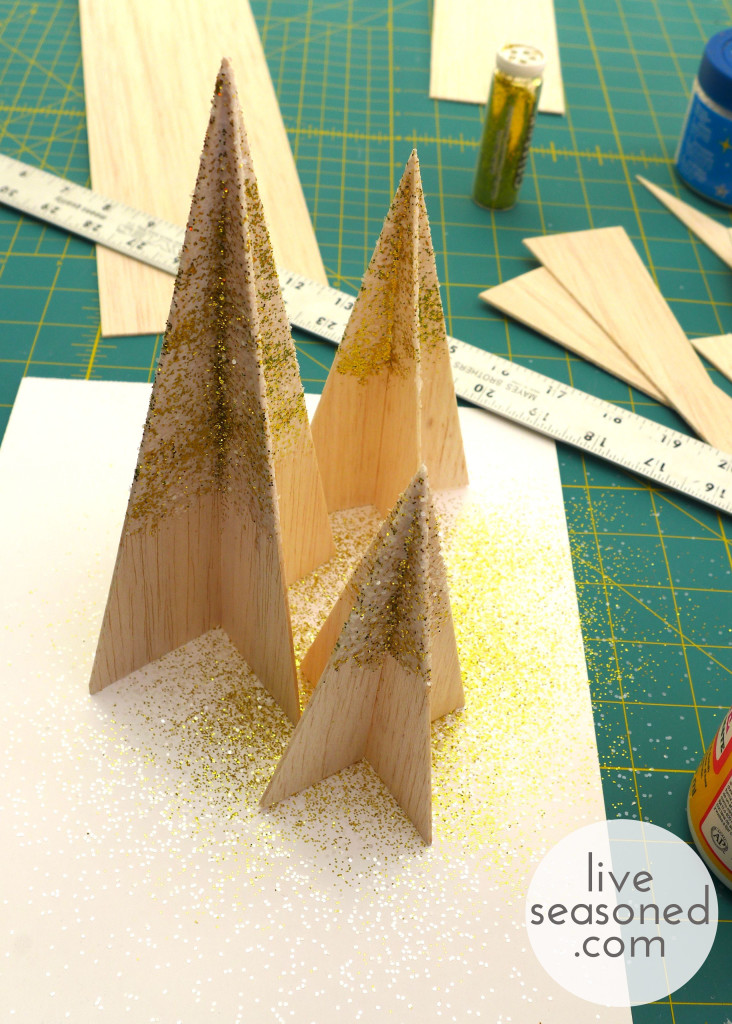
As I mentioned in my Elving post a couple of weeks ago, browsing Pinterest provided the inspiration for many of my Christmas decorations this year, including these simple Christmas trees. It started when I found an image from this post. I liked the simplicity of those trees and that they were made using balsa wood (no power tools or hard cutting required). I wasn’t as excited about how they were put together – mainly using glue to hold the pieces together. Having also come across this wooden tree post, I knew there was an easier way to build the same tree. And really, between those two posts, you have all the information you need for this project, but I’m happy to share my process photos below. And again I want to stress how quick these trees were to make – with all of the materials on hand, it took me less than an hour and a half to make the five trees from first cut to last dash of glitter!
liveseasoned_w2015_balsatrees13_wm

liveseasoned_w2015_balsatrees1_wm

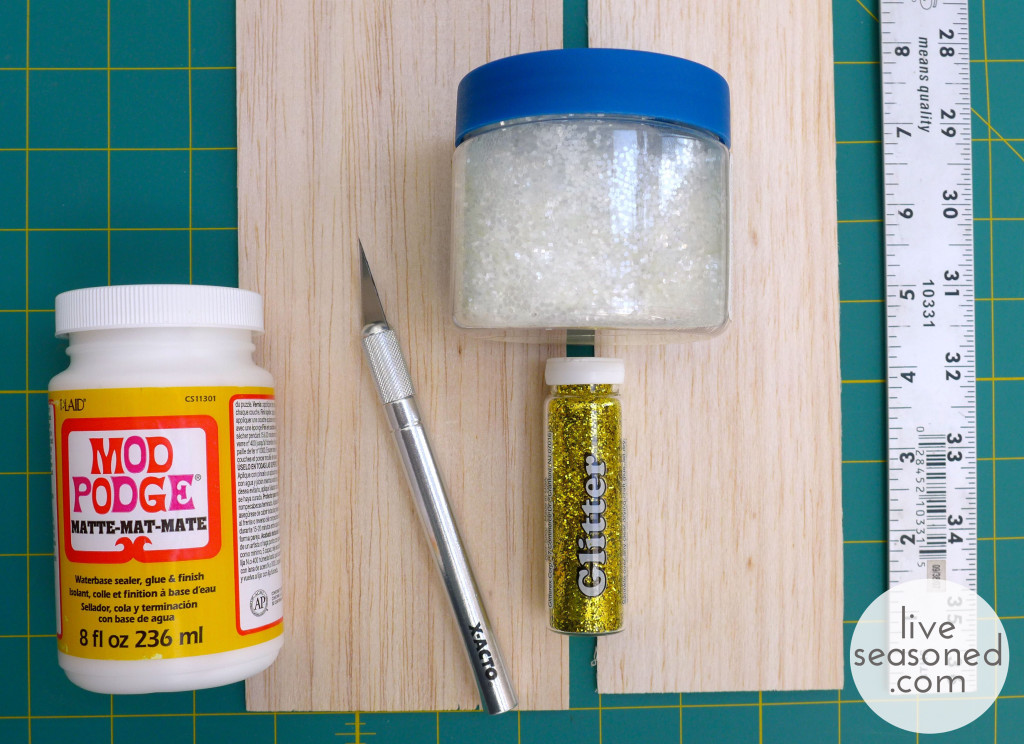
Materials & Tools

  • balsa wood
  • Mod Podge
  • glitter
  • Exacto knife
  • ruler
  • cutting mat or board

About the wood : You can find balsa wood at many crafts stores, but not all (some Joann’s and some Michael’s carry it, but not all). If you’ve never worked with it, balsa wood is extremely soft and very easy to cut with an exacto or craft knife. It comes is a variety of thicknesses and widths, and there is no strict rules as to what you should buy for this project.  I picked up two 36” long and 1/8” thick balsa boards; one was 3” wide and the other was 4” wide.

liveseasoned_w2015_balsatrees3_wm

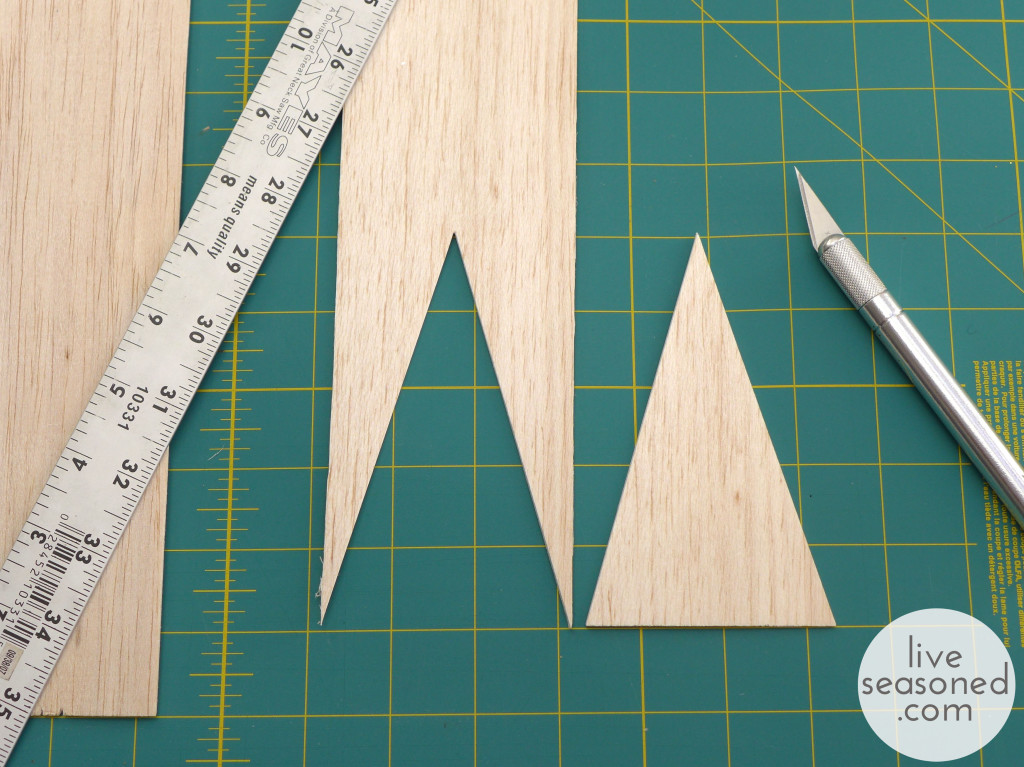
Process

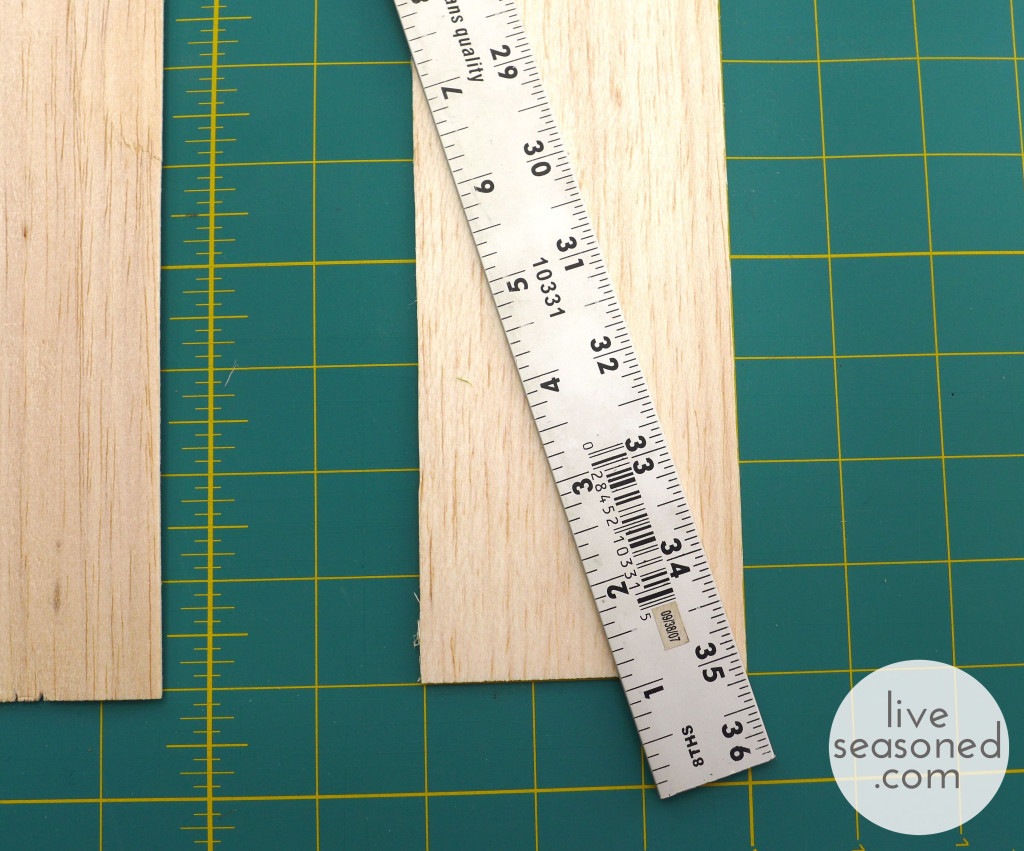
  • Cut two isosceles triangles of the same size. I found that it was easy to do this without using a pen or pencil. Just mark the height of your triangle with a small cut, noting with a poke of your knife where the middle point of the board is width-wise. For example, the tree I’m cutting in the photo above is going to be 5” tall on the 3” wide board. The middle top point of the triangle is at the 31” mark on the ruler above. To cut the sides of the triangle, just place your ruler on the board, so that the ruler’s edge is at a diagonal from one of the bottom triangle points to the top middle point (as I did in the photo above). Make a cut along the ruler, and then follow this same process to cut the other side of the triangle.

liveseasoned_w2015_balsatrees4_wm


liveseasoned_w2015_balsatrees5_wm

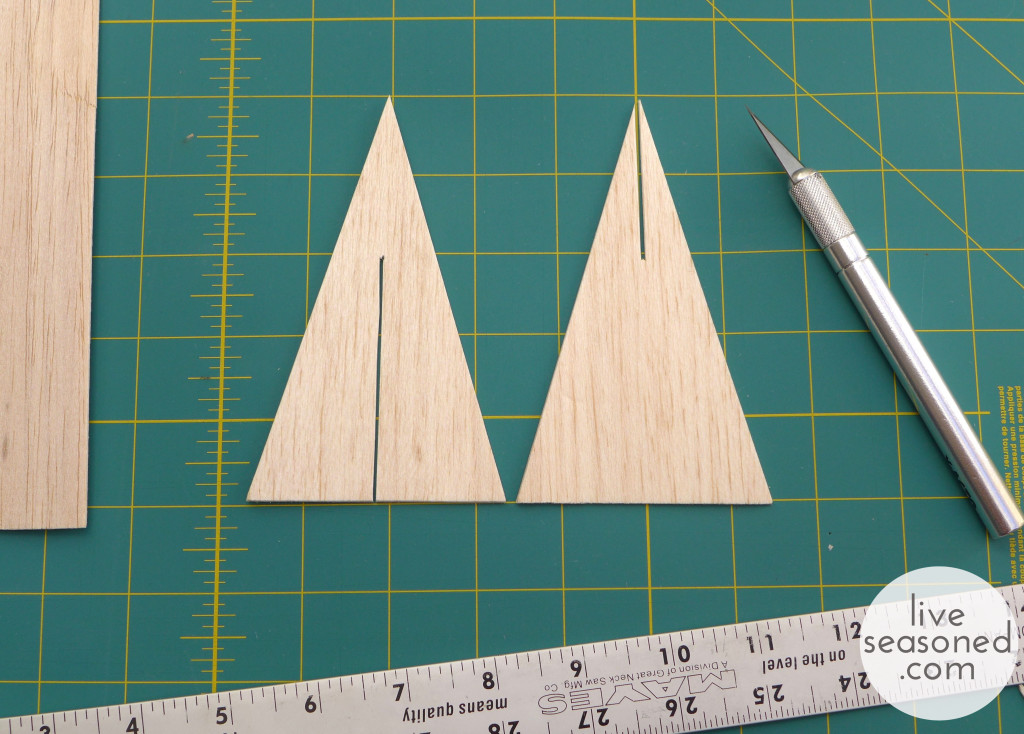
  • Following the image above, cut the slits that will be used to fit your triangles together. You want to cut a slit in each triangle that is as wide as the width of your wood (1/8” in my case). One piece will have a slit that runs from the top middle of the triangle halfway down the height of the tree. The other triangle will have a slit that runs from the bottom middle of the triangle halfway up the height of the tree.

liveseasoned_w2015_balsatrees6_wm

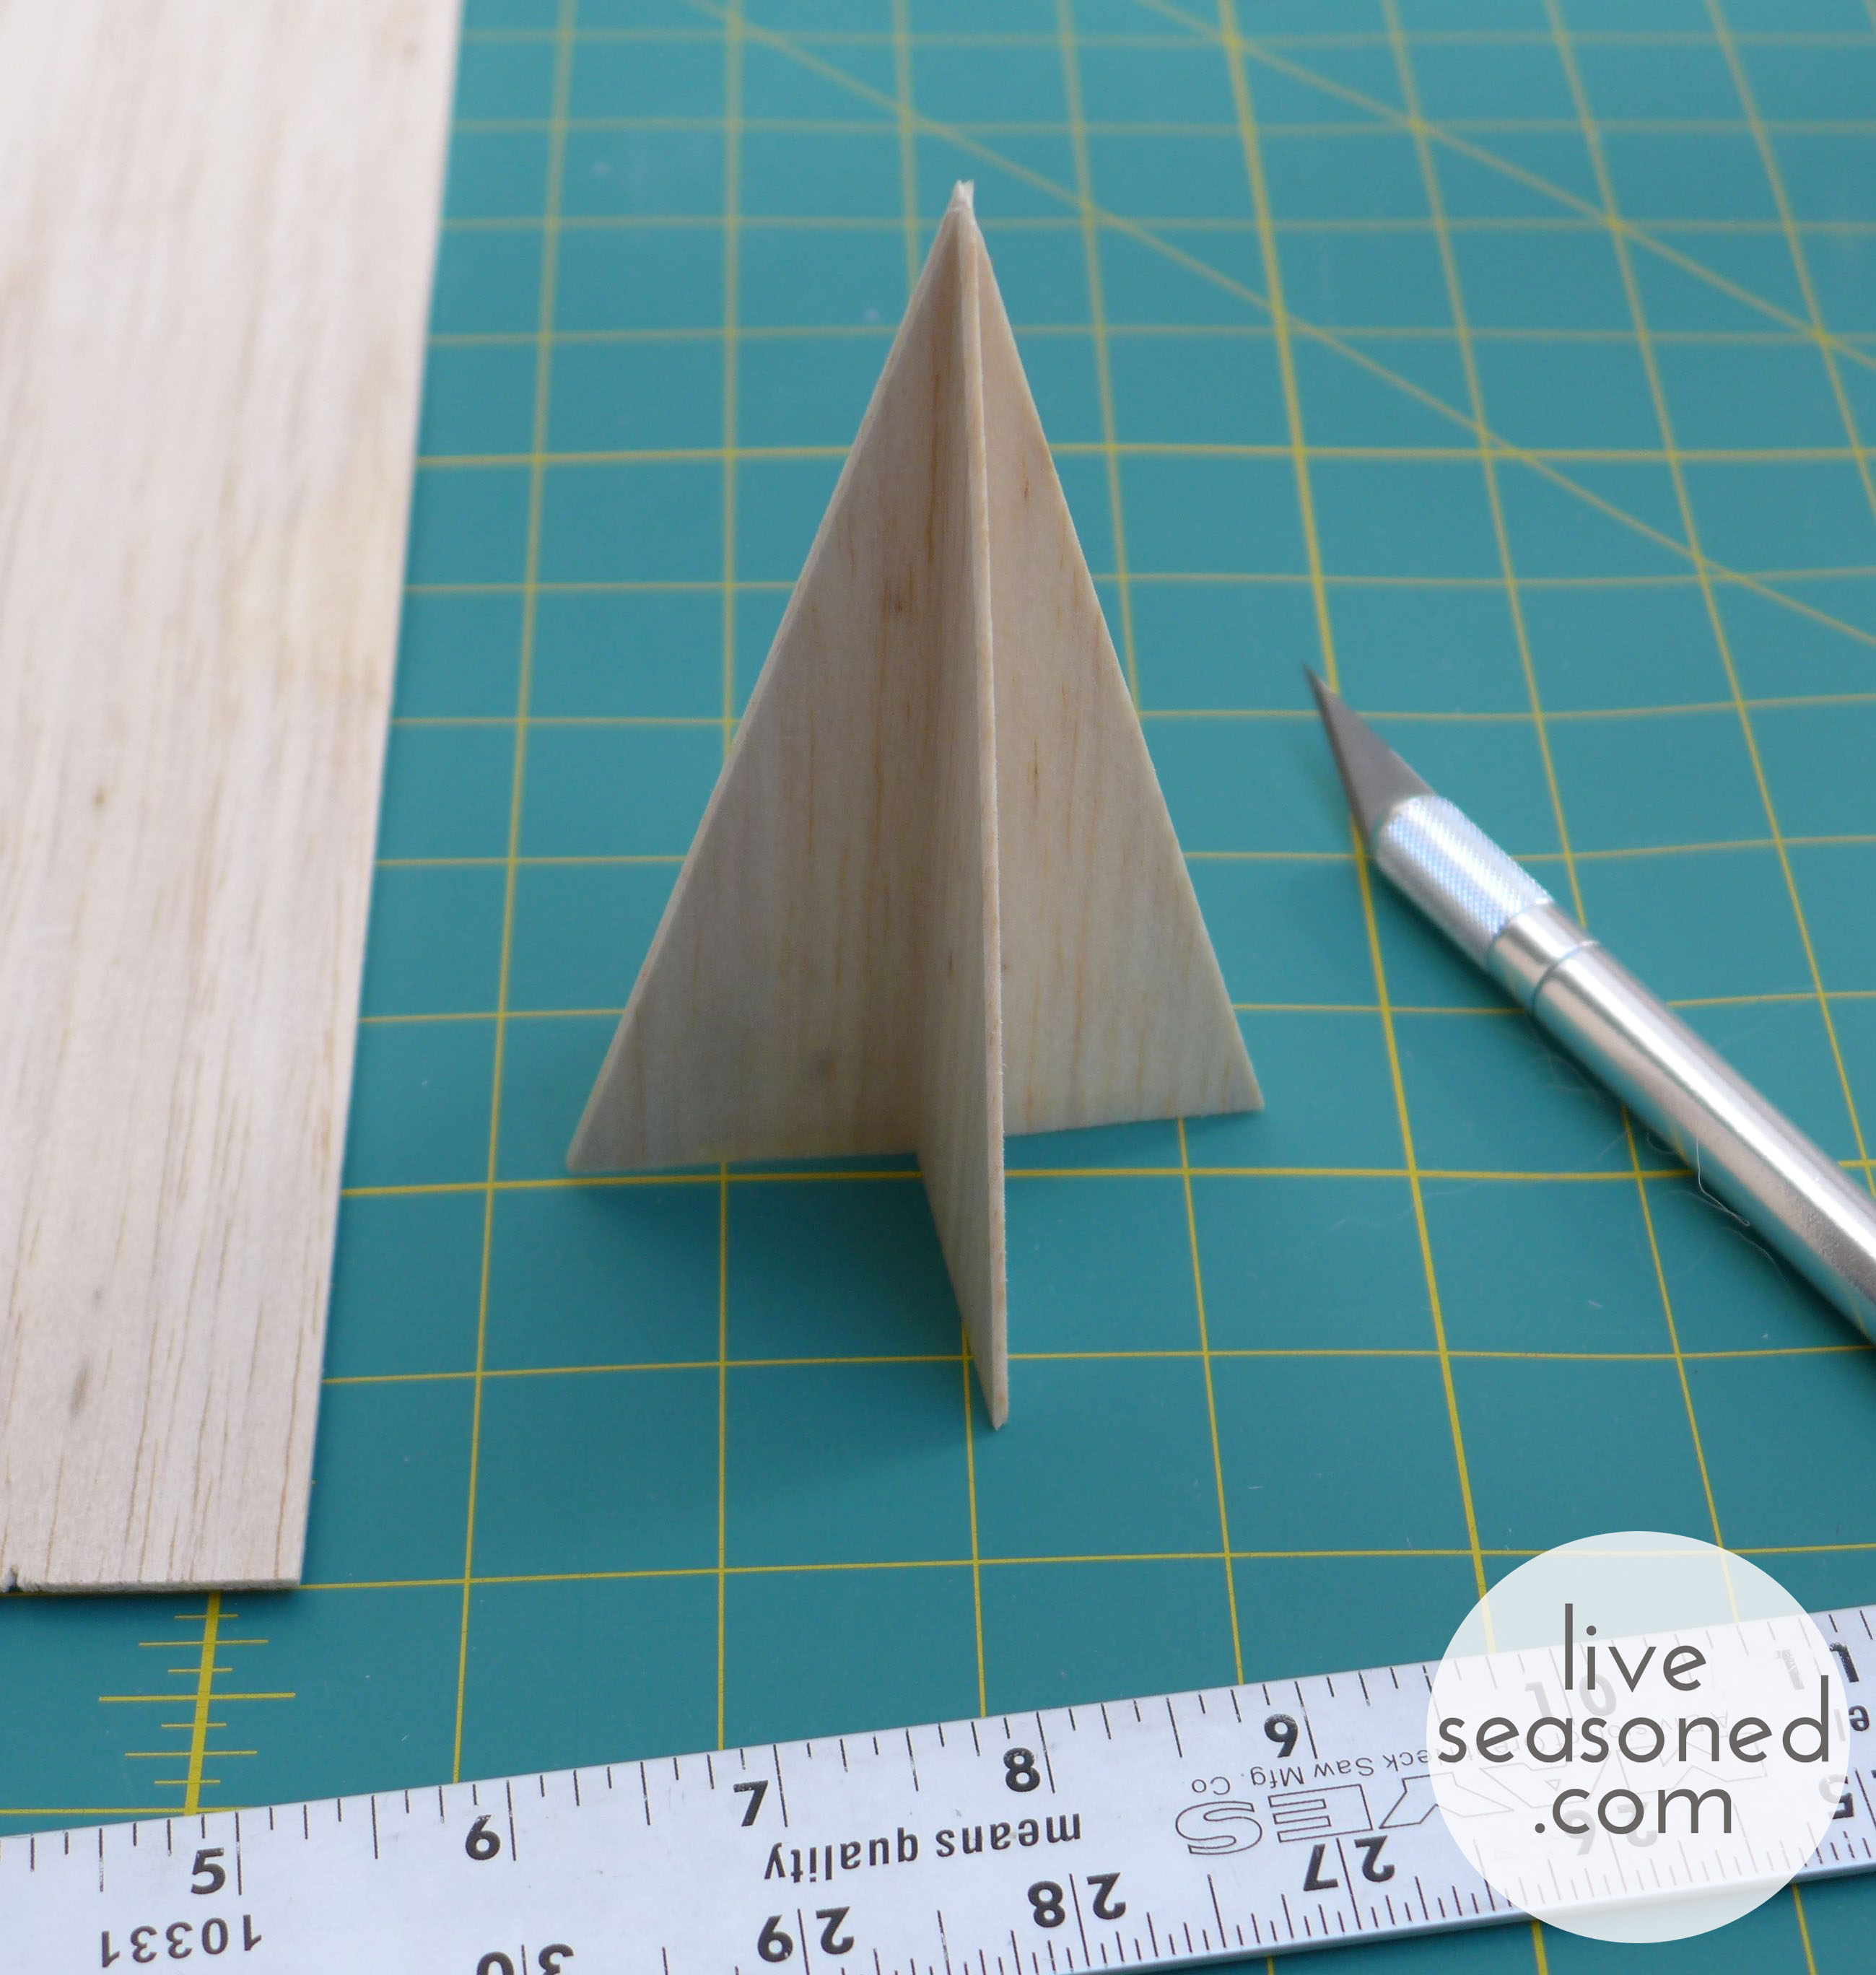
  • Put your tree together! Placing the triangles perpendicular to each other, slide the piece with the bottom cut down over the piece with the top cut. You’ll produce a free-standing tree that looks like the photo above.

liveseasoned_w2015_balsatrees8_wm

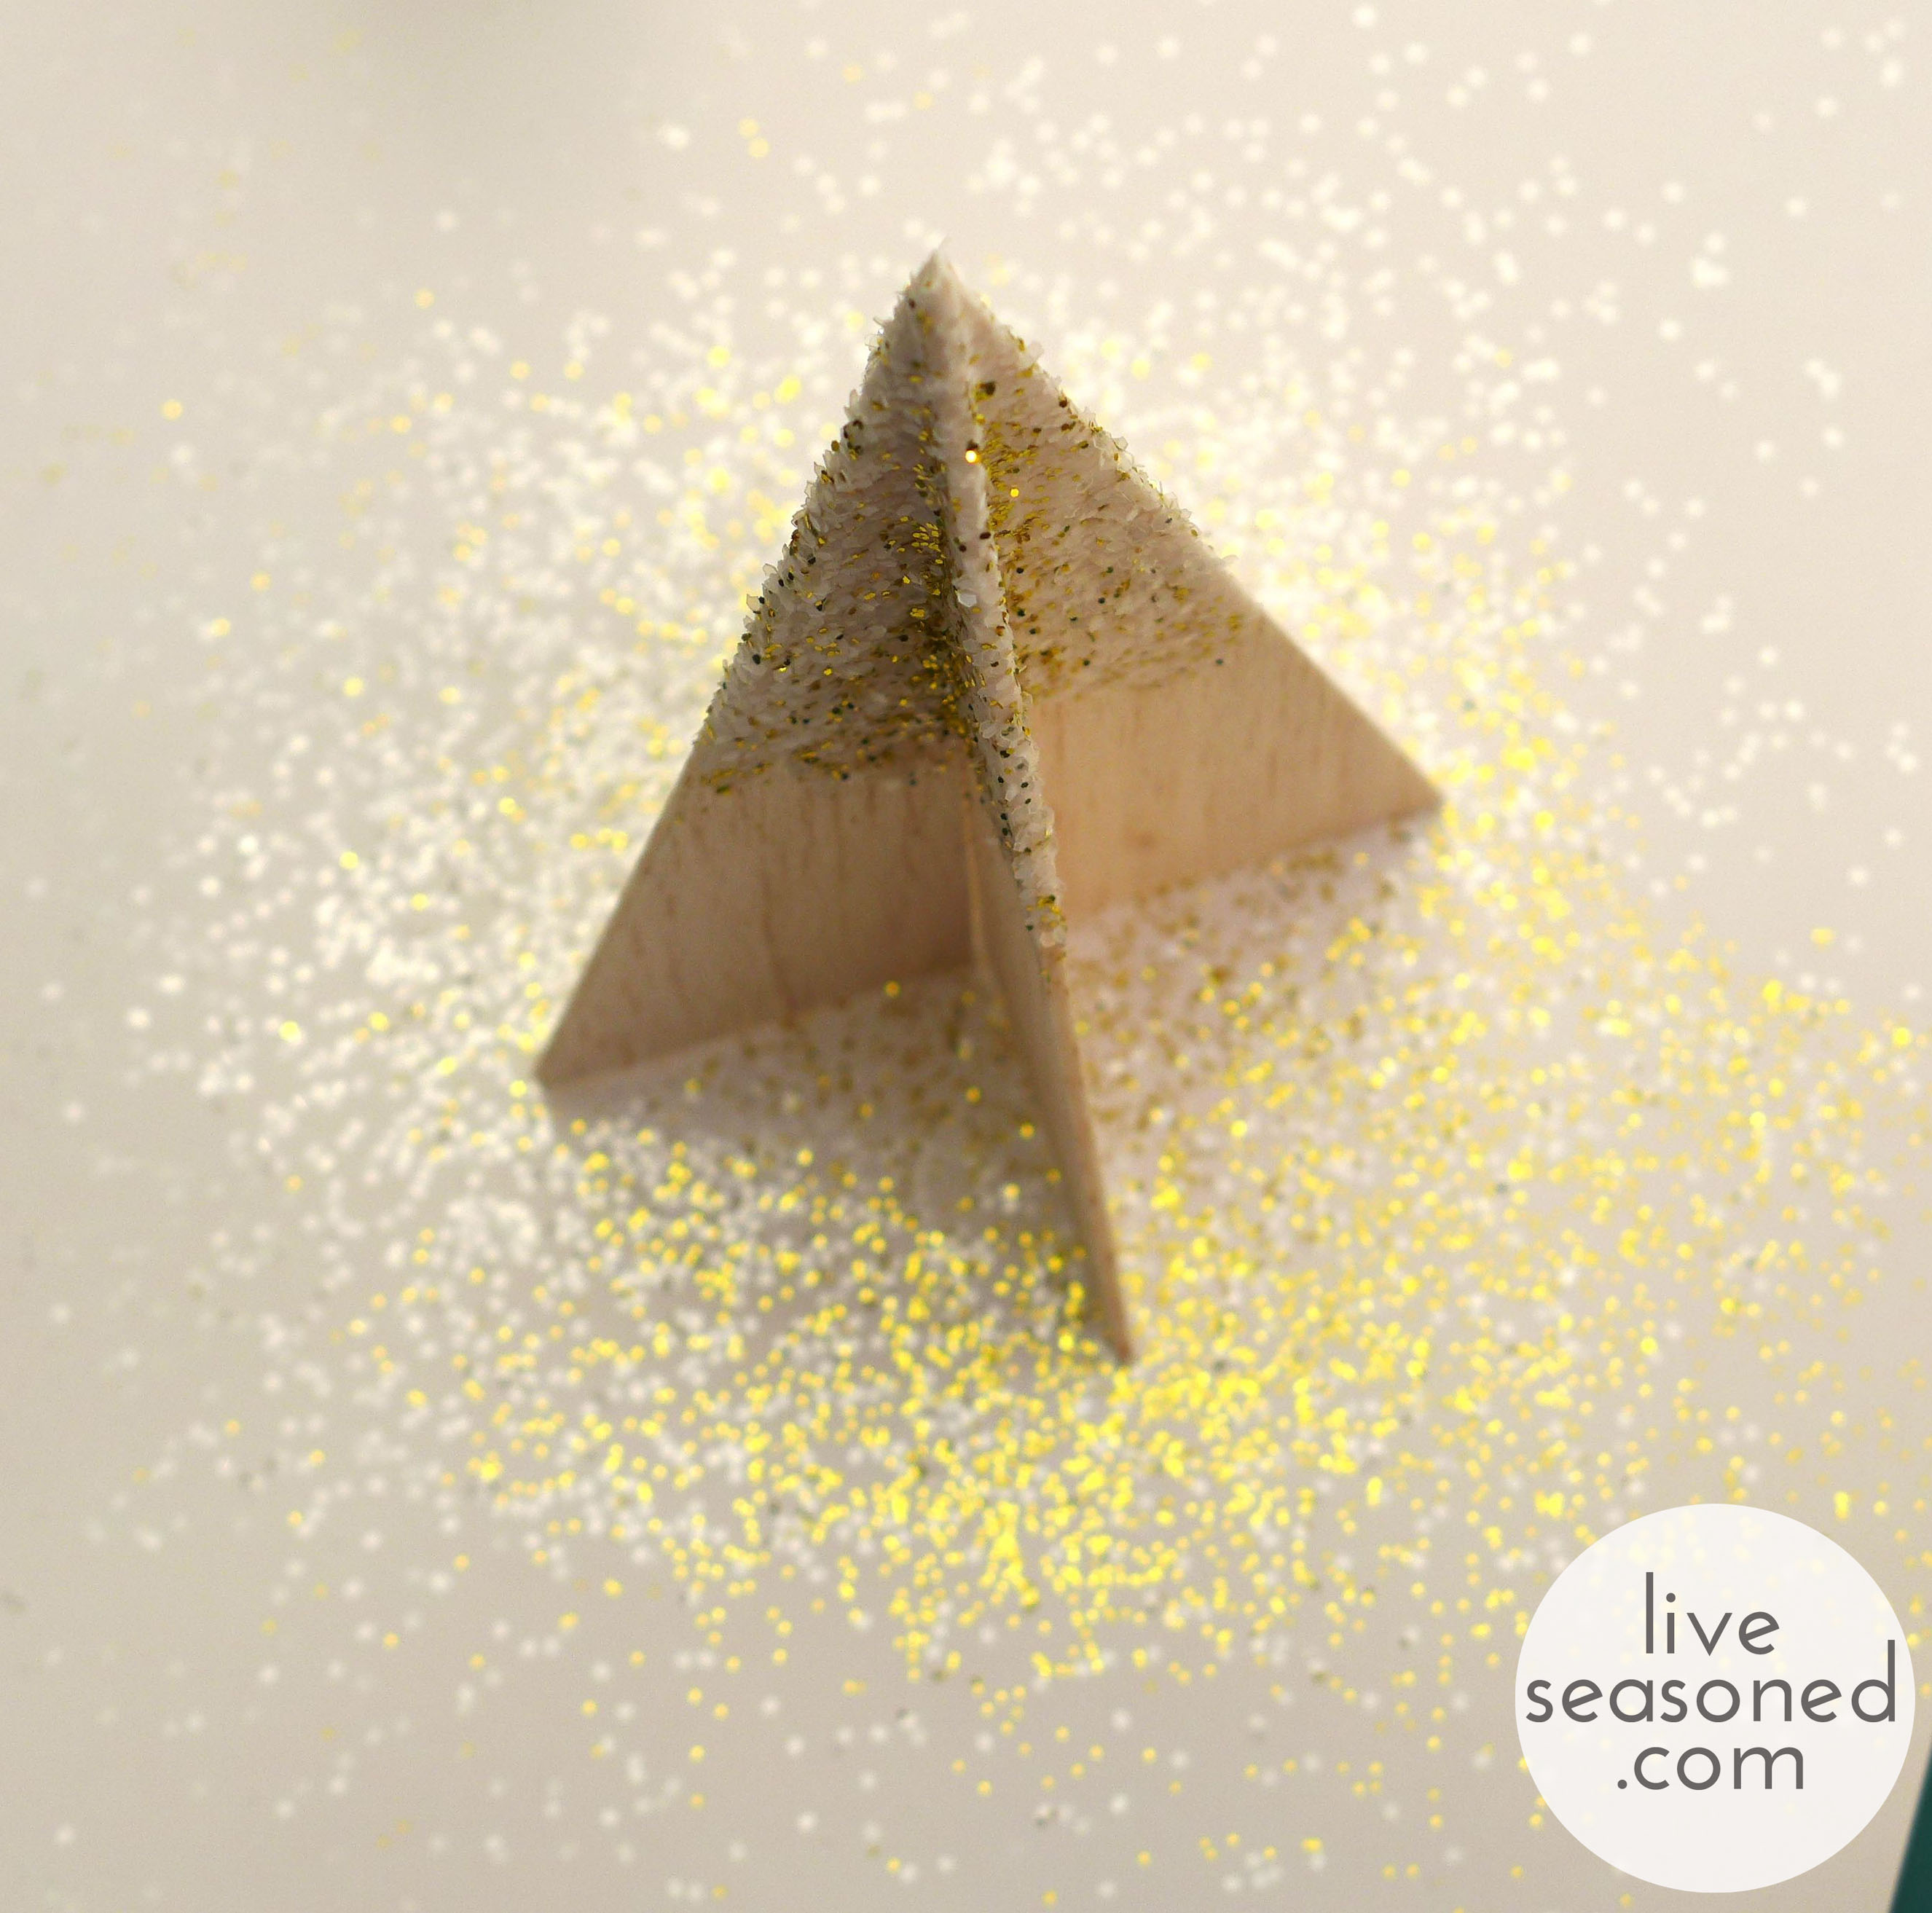
  • Decorate your tree! I put a layer of Mod Podge on the upper portion of my trees, and then sprinkled iridescent and gold glitters over the surface. Do what you want: you could leave your trees natural, add glitter, or paint!

liveseasoned_w2015_balsatrees9_wm

  • Repeat the process making trees of different heights. From the 3” wide board I made two trees that are 6” high and one that is 5” high. From the 4” board I made two 8” high trees.

liveseasoned_w2015_balsatrees13_wm

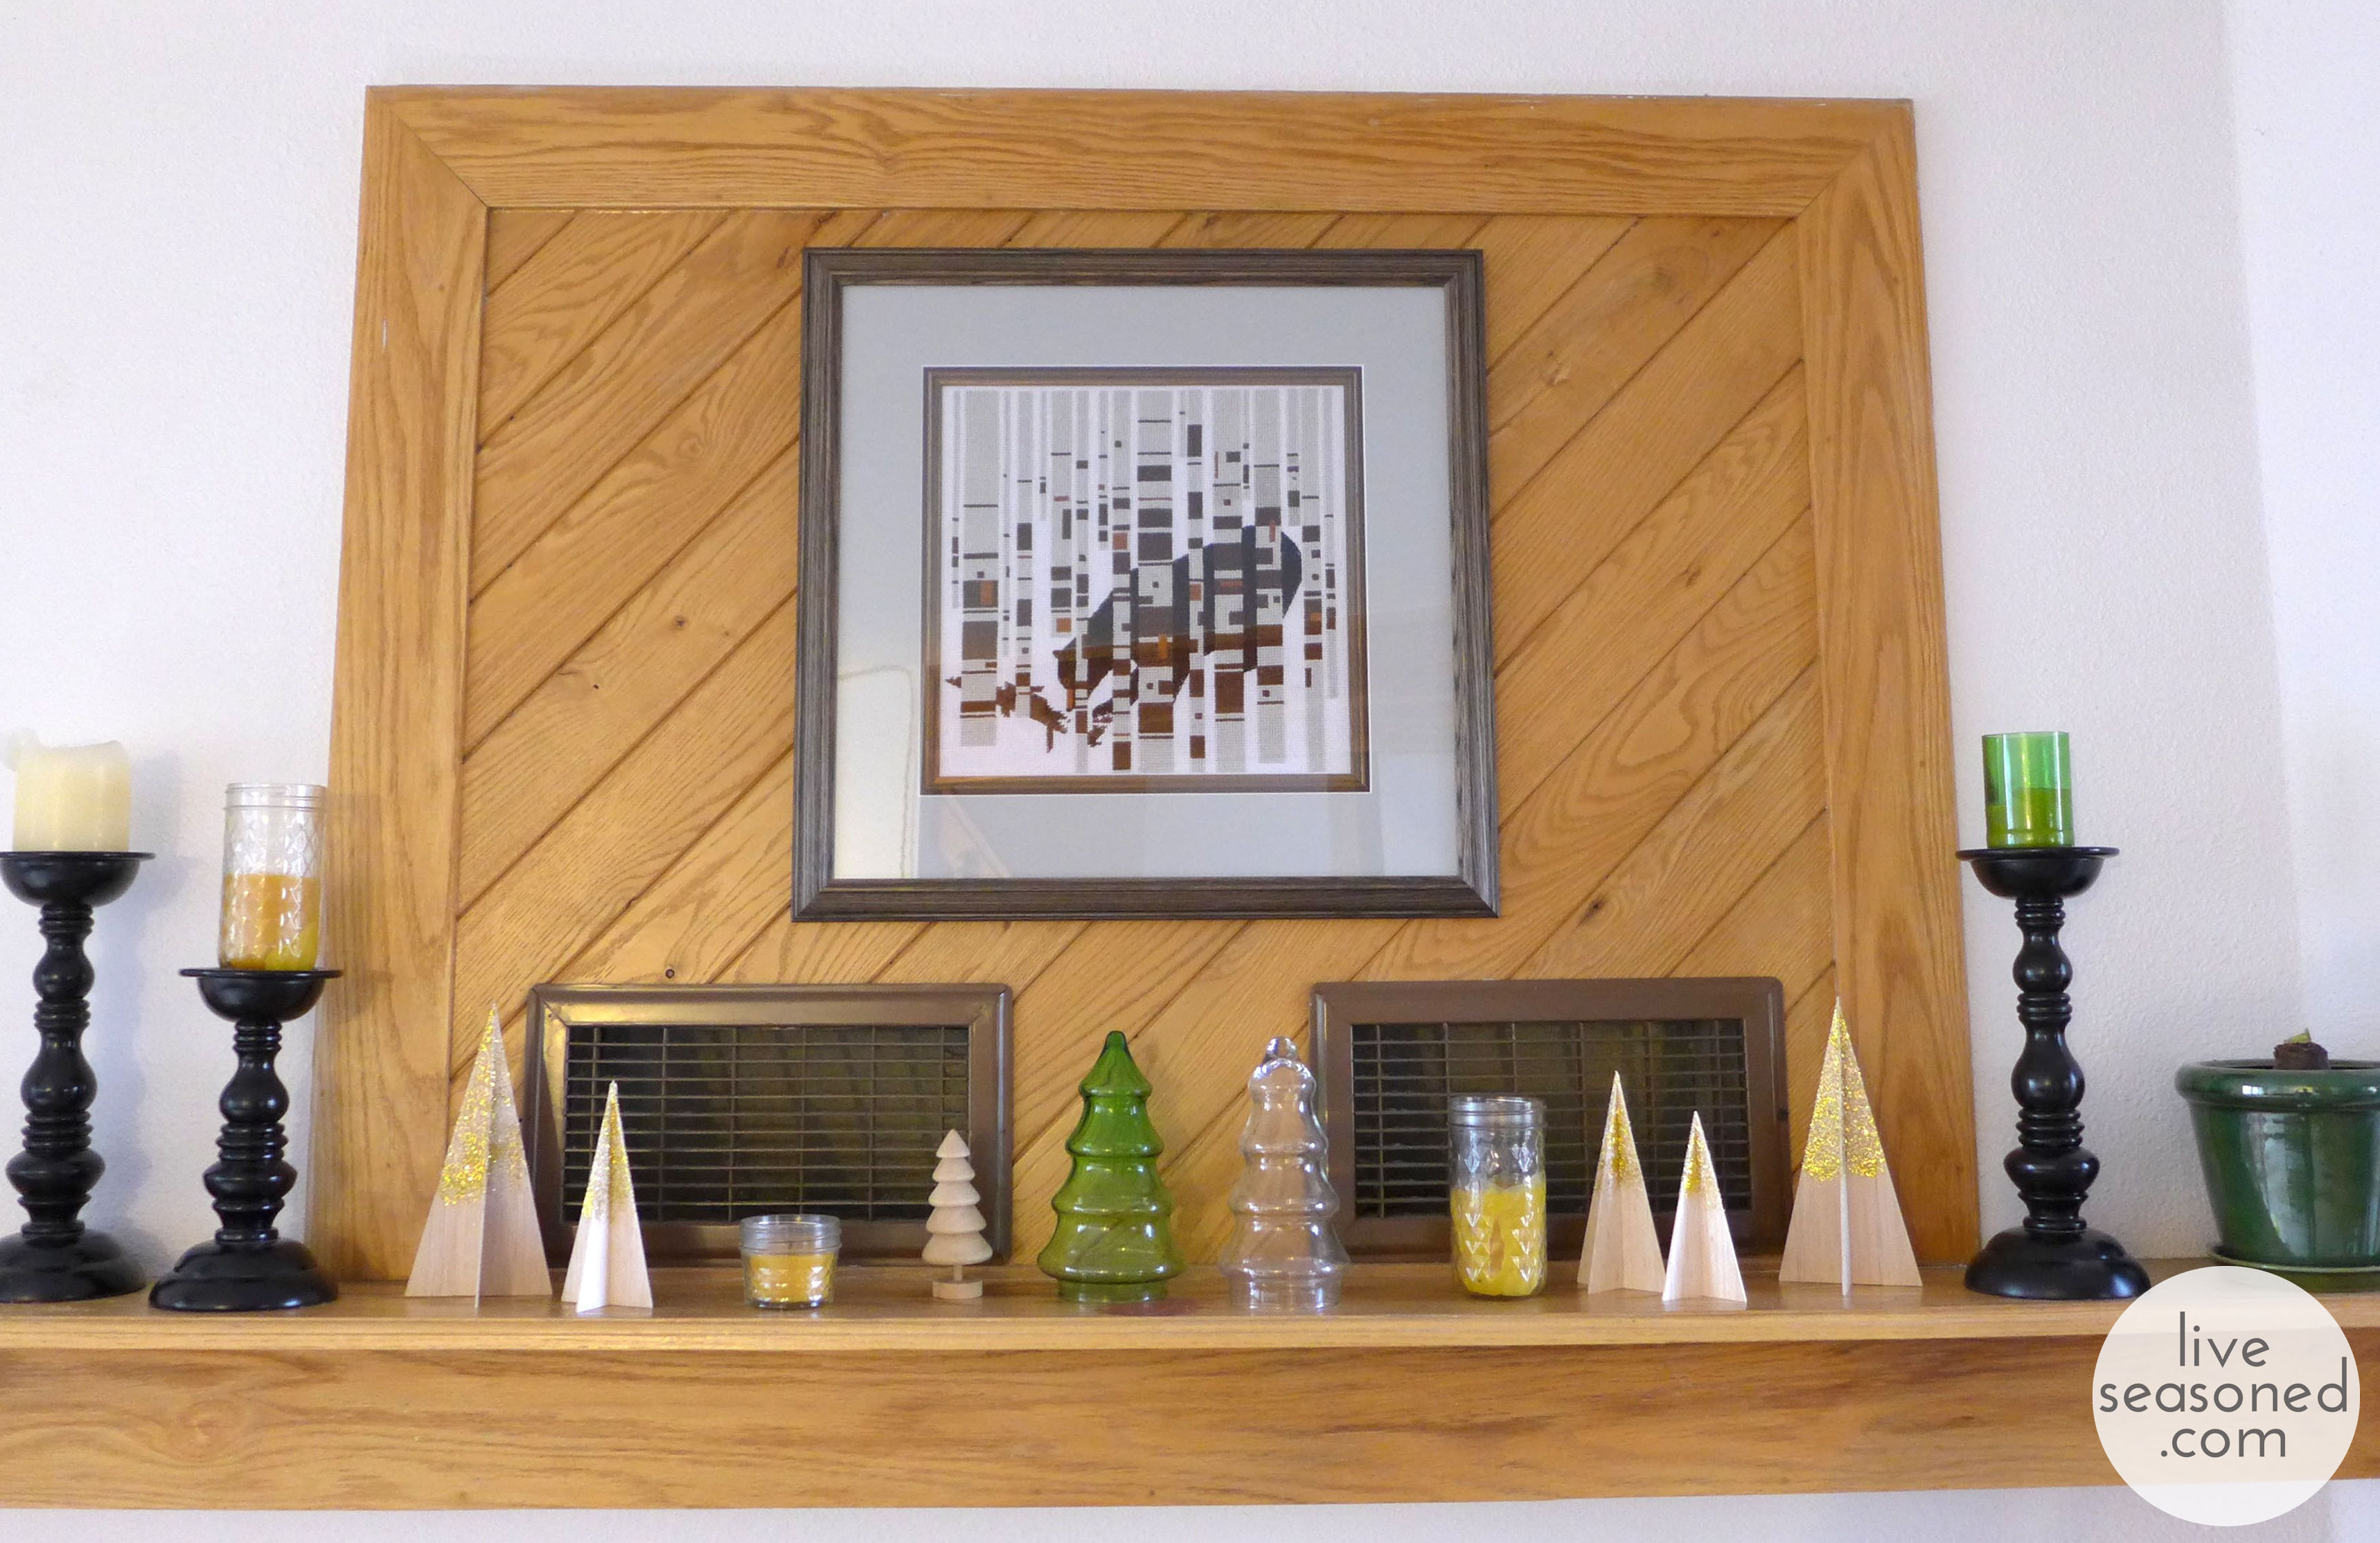
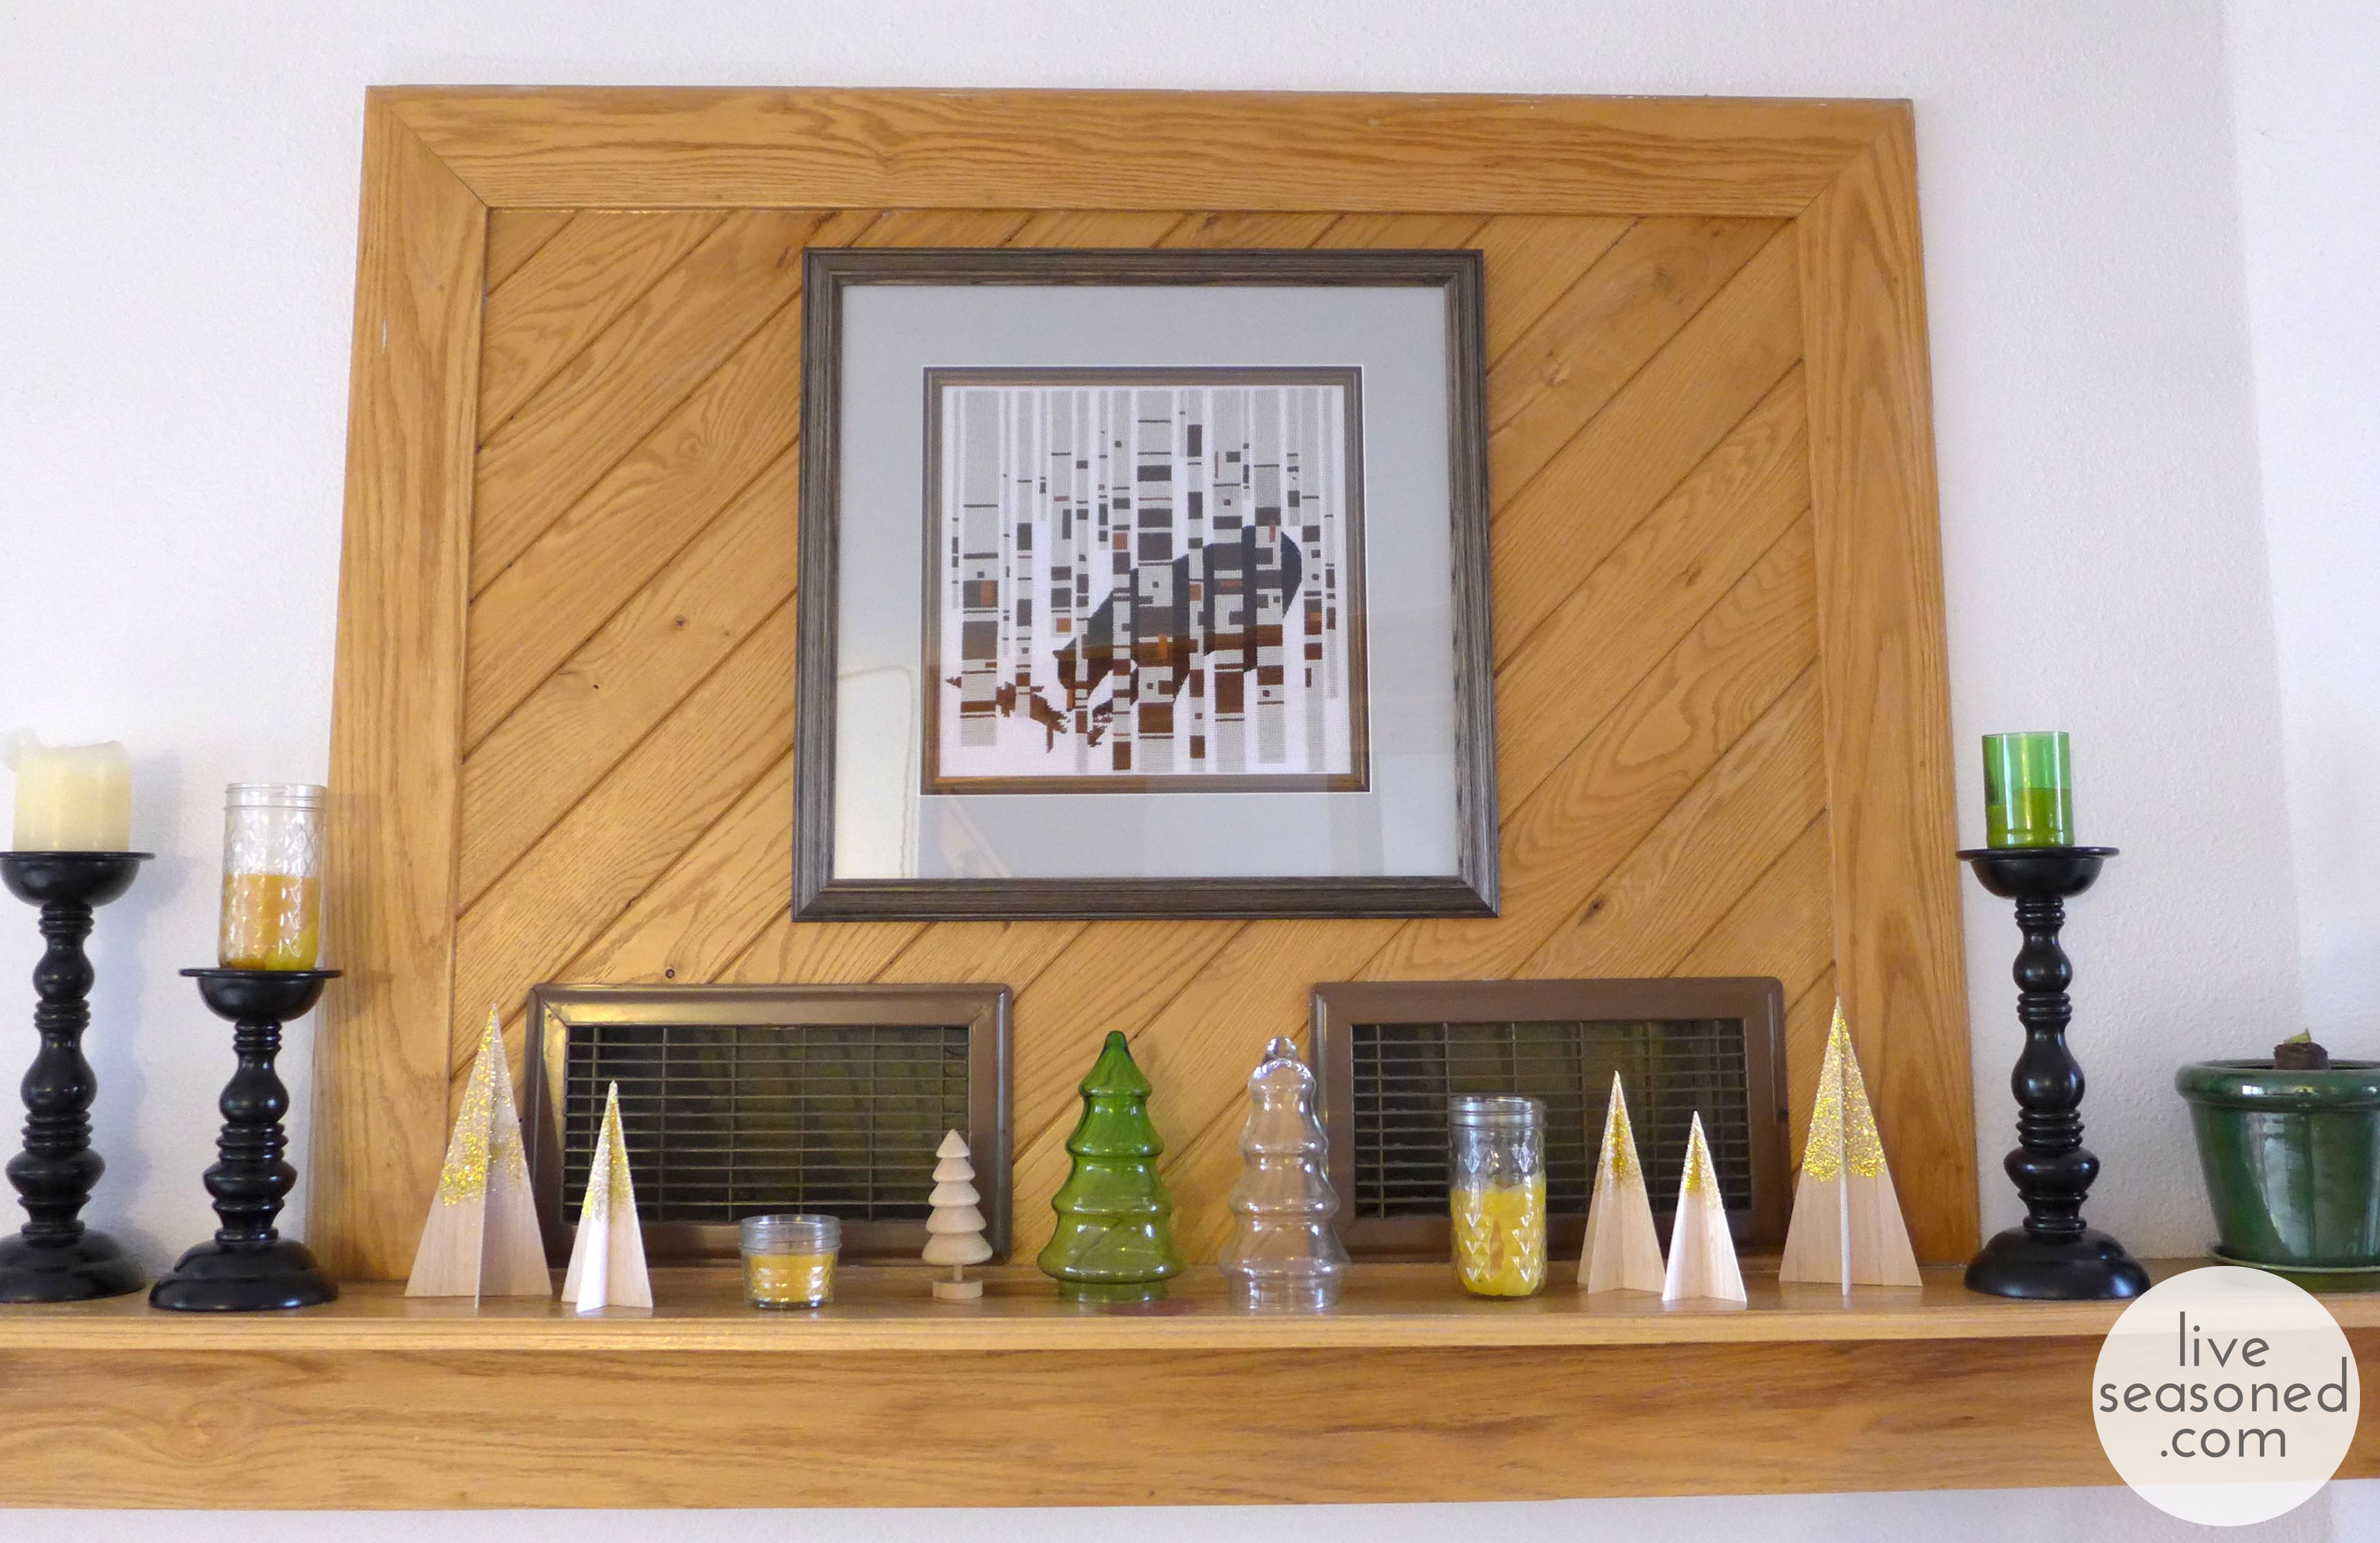
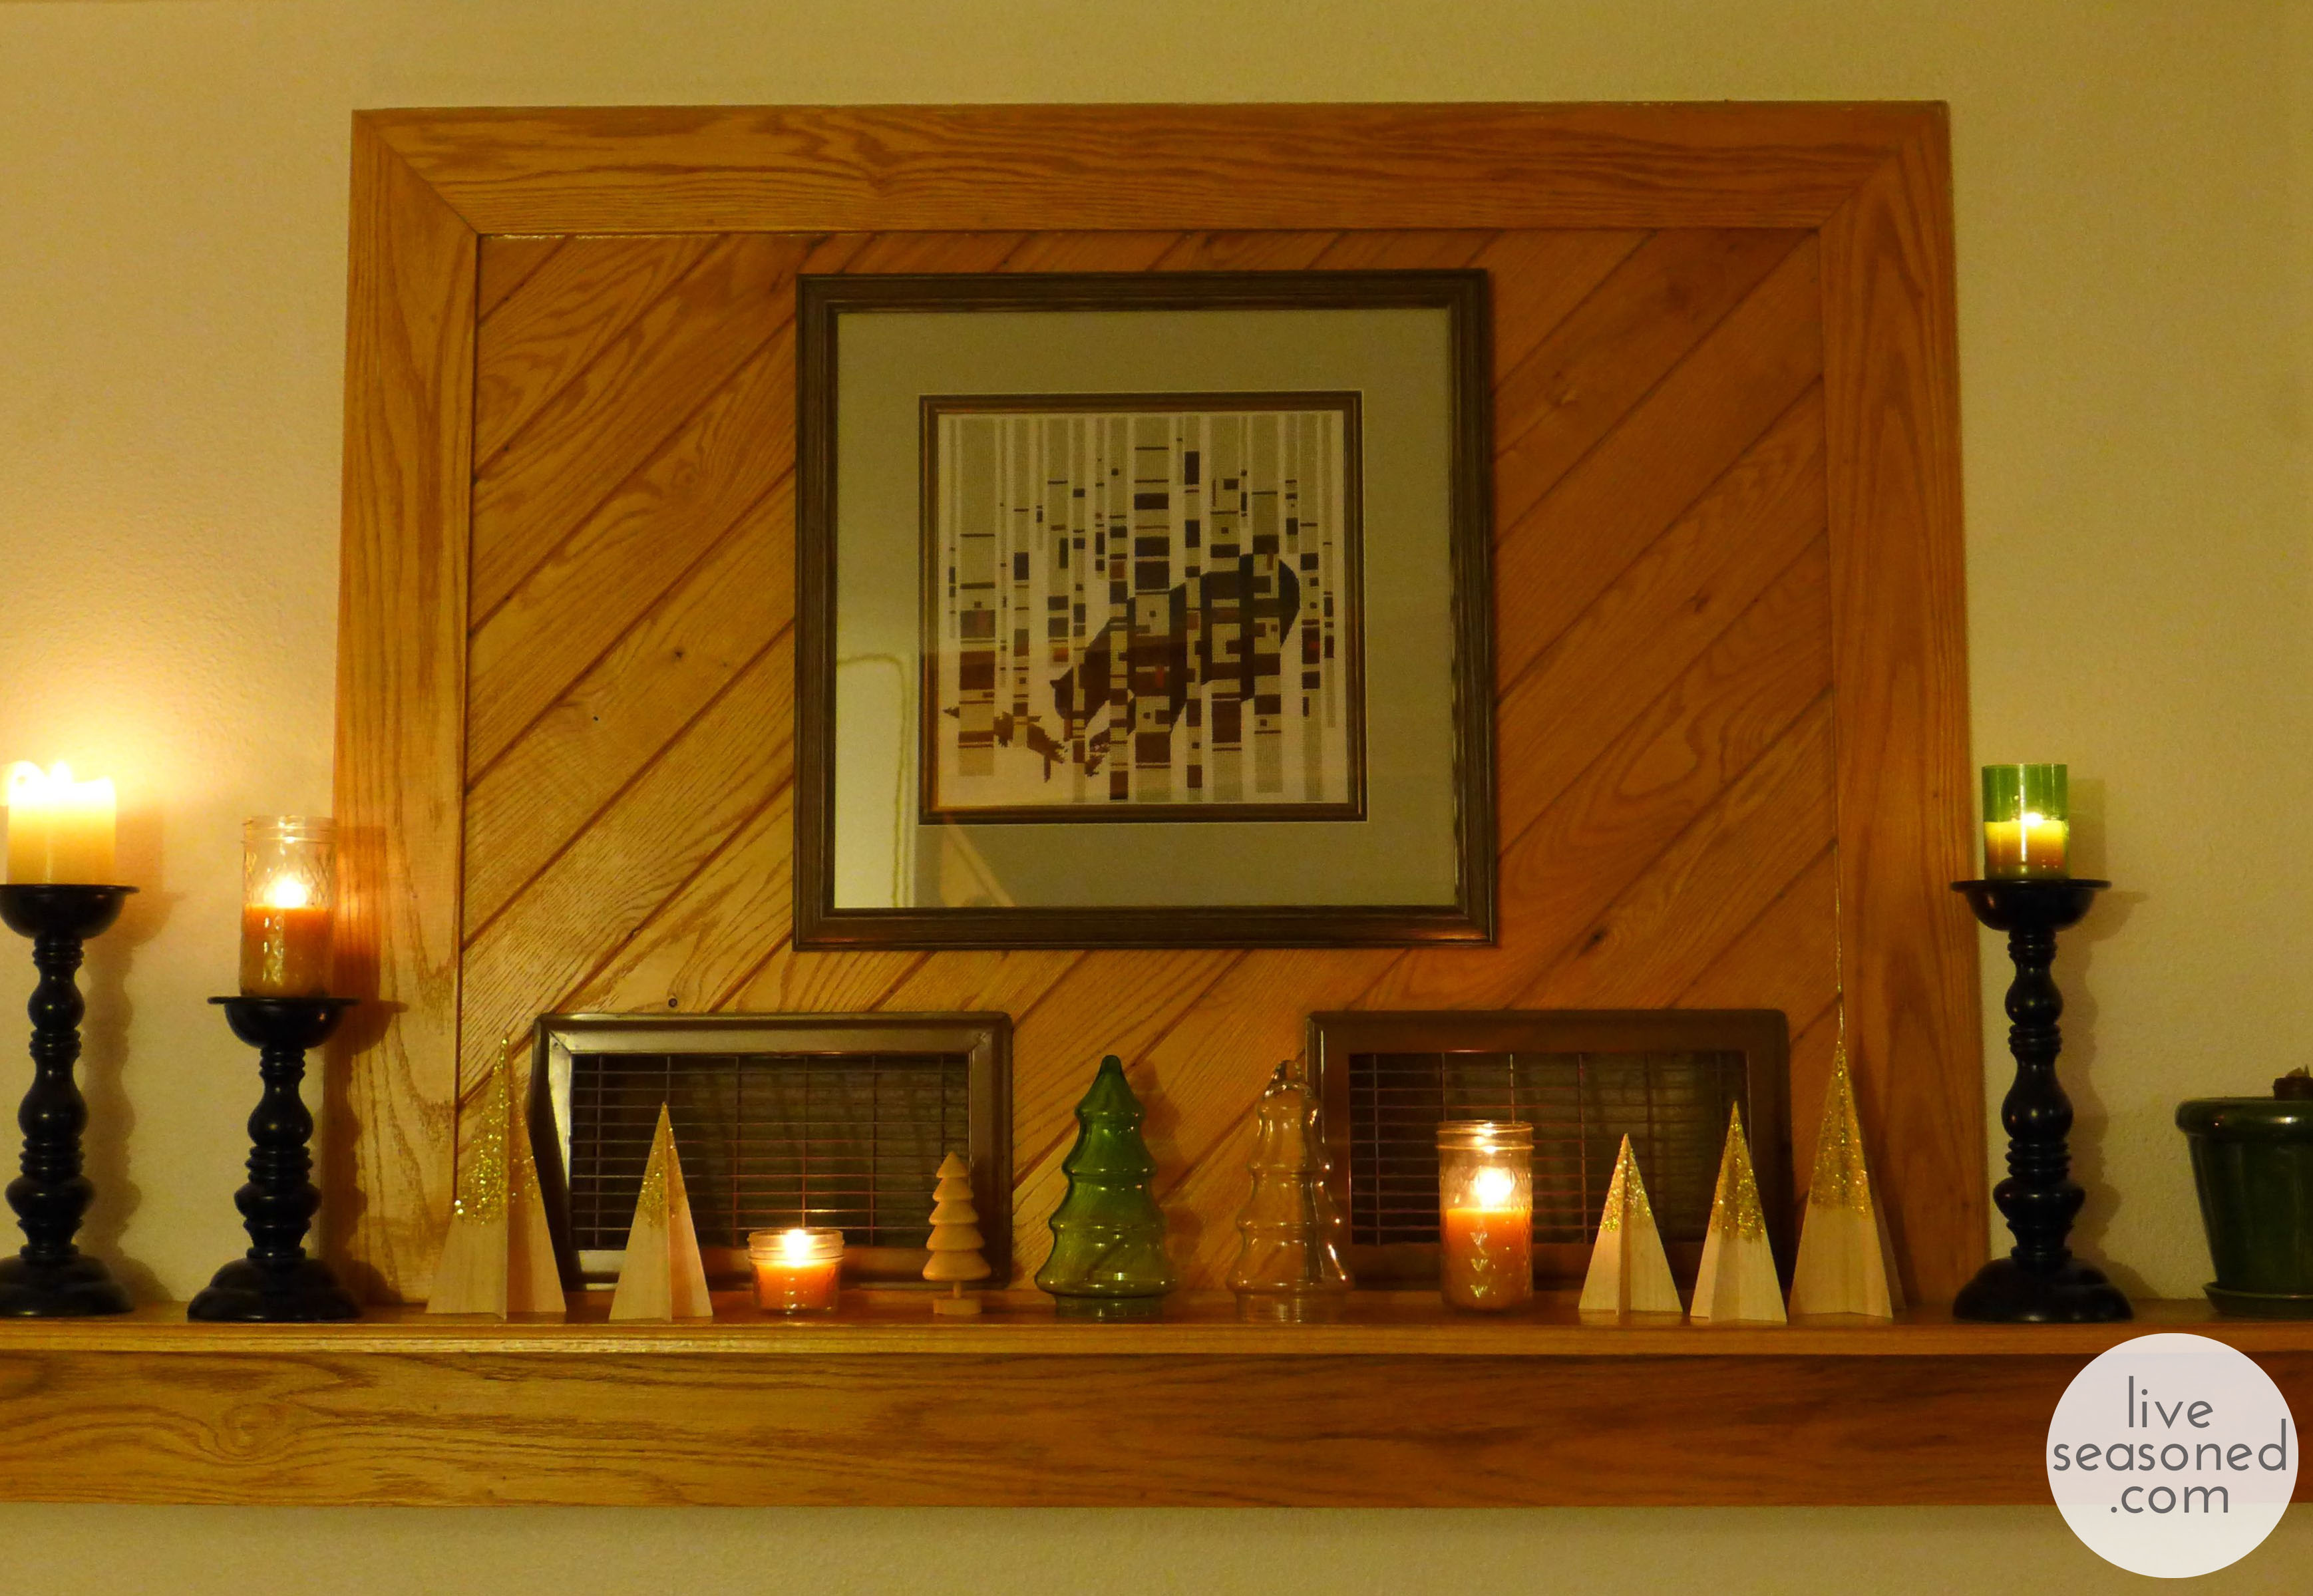
I used these trees for simple forest scene on the mantel ~ pairing them with a cute little wooden tree from Michael’s and a couple of old glass trees that were once candy dishes (they have an opening on the bottom, but without their lids, they’re just glass trees). In addition to the trees, I added a few beeswax candles that were leftover from our wedding. You can read about how we made the candles (choosing your wick is key) and cut the green bottles here and here.

liveseasoned_w2015_balsatrees10_wm

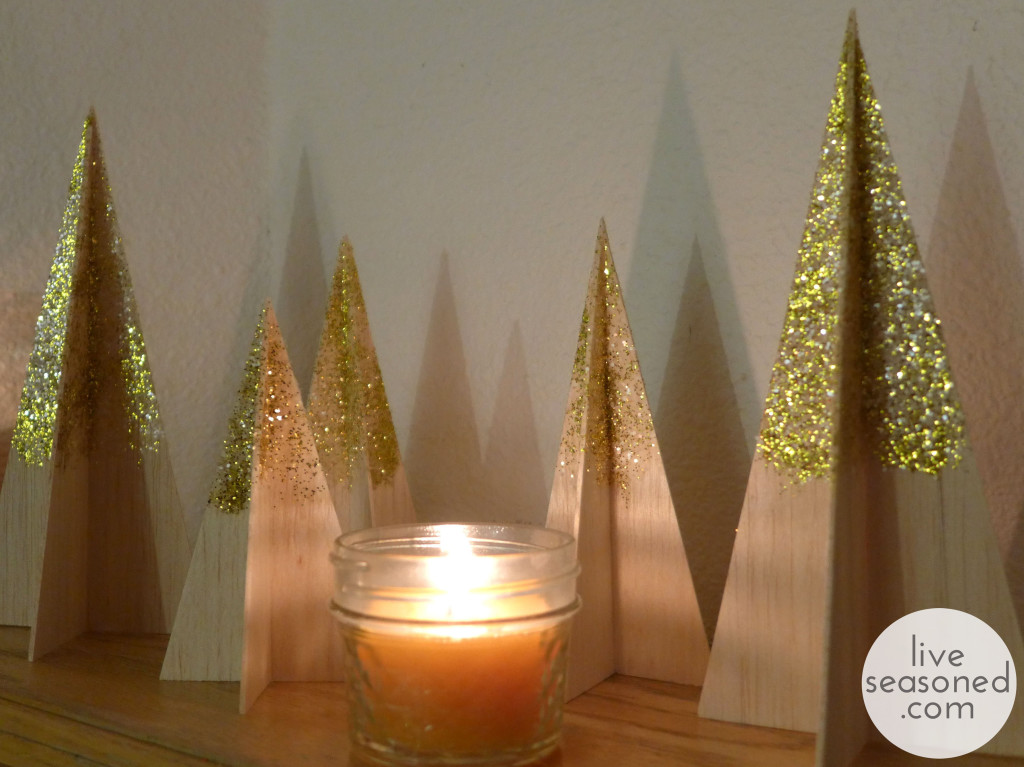
It’s so much fun to see the trees sparkle in the candlelight and to see their shadows on the wall. Calder mentioned that they also look like mountain peaks, which I think is really true when they are grouped together creating overlapping shadows!

liveseasoned_w2015_balsatrees12_wm


DIY Advent Calendar


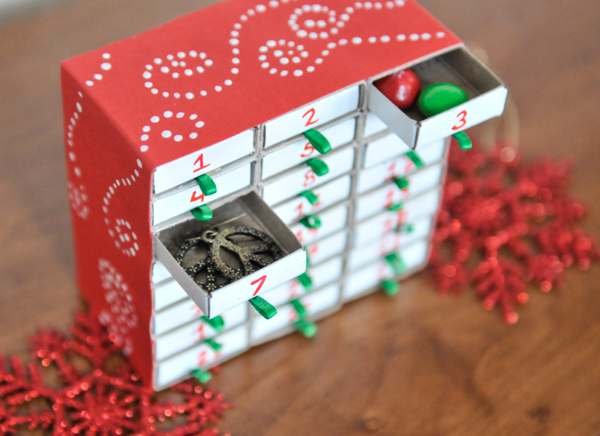
liveseasoned_winter14_adventcalendar-10

It’s time guys! You can finally start singing Christmas carols and hanging holiday wreaths!  I spent this past week with my dearest friend who is also on the ‘no Christmas cheer until Thanksgiving is here’ train so it wasn’t until Saturday night that I crafted this little advent calendar. It is the sweetest little addition to a bookshelf or mantle.  There is nothing more childlike than counting down the days until Christmas, but really, if we didn’t count them they would just fly right by.  Advent calendars remind me to crank up the Christmas tunes, send out those glittery cards and craft gifts for my friends and family.

liveseasoned_winter14_adventcalendar-9

This sweet miniature advent calendar is easy to make and pretty perfect for the wee ones to create. No exacto knives or blowtorches involved here.  The fun doesn’t end with the making of this little advent chest either, then you must fill it with tiny treasures and on Christmas eve you have to unscramble the secret picture!  Put on a Christmas record pandora and pour yourself some eggnog mudslides.

liveseasoned_winter14_adventcalendar-1

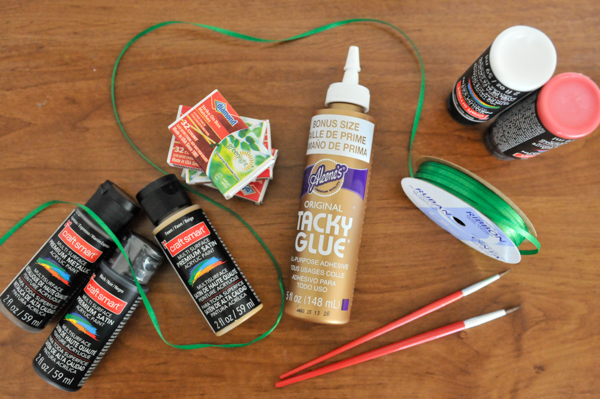
Supplies:

  • 24 mini match boxes
  • Tacky glue
  • Paint brushes
  • Paints
  • Ribbon
  • Card stock or construction paper

Steps:

  • Glue 8 matchboxes together vertically. Repeat two times so that you have 3 tall stacks each with 8 matchboxes each. Glue the three stacks together side-by-side like shown.
  • Once the chest is securely glued, about 15 minutes, remove all the matches from the boxes and set aside for another project or that horrid moment when your power goes out while you are cooking dinner or washing your hair.
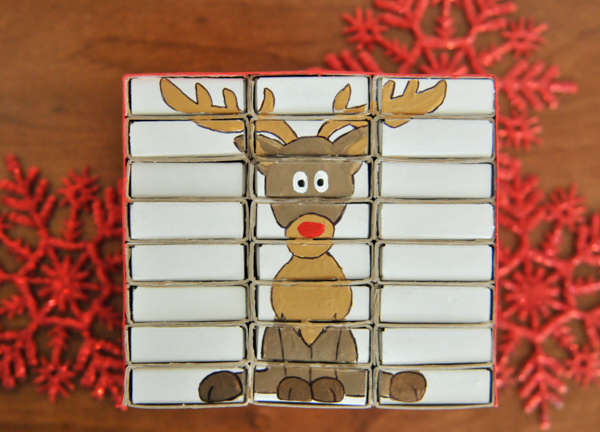
  • Paint a holiday design on the chest.  I choose to paint a reindeer. Some other ideas are a tree, an ornament, a candy cane, a toy soldier, santa or maybe a kitty wearing a santa hat (I wish I had that kind of skill). Allow the design to dry completely.
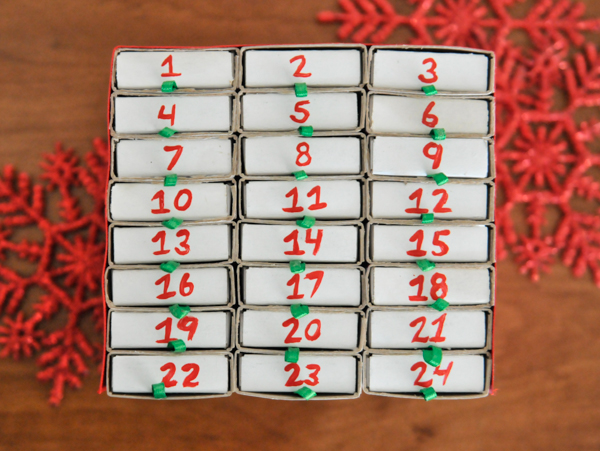
  • Remove each drawer and randomly number them 1-24. You can use acrylic paint or a marker.
  • Attach a small ribbon loop to the bottom of each drawer on the numbered side.  Simply squeeze a dab of glue, press one end of the ribbon onto it and then squeeze another dab of glue and press the other end onto it forming a loop.  Allow each drawer to dry completely.
  • Place the drawers back into the chest. You can place them in order or randomly, either way the painted design on the back should be scrambled.
  • Finally, cut a piece of card stock or paper to cover the top and sides of the advent calendar.  I cut a strip of red card stock and dabbed a few dots of white paint to make some snowflake inspired swirls.
  • Fill the drawers with little candies, notes, event tickets or even jewelry.
  • As each day passes, open the drawers and put them in backwards so the painted design side is now facing forward.  On Christmas even you’ll be left with a mini puzzle picture to unscramble, good luck!

liveseasoned_winter14_adventcalendar-11

Think you’ll give this quick Christmas craft a try? I had a bunch of fun creating this advent calendar because it is cheap and disposable. There wasn’t a ton of pressure to paint the perfect reindeer or perfectly align the $1 match boxes, it was merely a little project to jumpstart my holiday crafting sessions and an excuse to eat a few peanut butter M&Ms every day until Christmas. Cheers!