Chapel Hill & Carrboro in 24 Hours

liveseasoned summer16 chapel hill in 24 hours-5liveseasoned summer16 chapel hill in 24 hours-2

Wake up! It’s time to explore! The Chapel Hill & Carrboro area has had a solid hold on my heart since I moved here a few years ago. It’s a quaint little college town full of independently owned restaurants, coffee shops, bookstores, and artists’ studios. As you wander around town, you’ll find a large selection of local and thoughtfully curated items both on menus and on store shelves. If you wander a little outside of town, there’s plenty of farms and nature to explore. It’s a safe little city full of southern charm and close to pretty much any activity or cuisine you could think of.

Visitors flock to Chapel Hill to watch UNC basketball games, partake in the enormous Halloween parade, view the best fireworks display in the Triangle, but mainly to help their kids settle into college, checking up on them frequently during the weekends as there’s always a little wait for brunch.

If you’re popping through Chapel Hill with no plans in mind, I suggest a little bit of nature, some window shopping, maybe a campus stroll and a bunch of people watching. Sandwich these activities with delicious eats and treats and 24 hours in Chapel Hill will pass in a flash. If you want a local activity, check out the calendar, it’s always filled with neat activities. Chapel Hill is packed with deliciousness, but here are my absolute favorites for one day in Chapel Hill ::
liveseasoned summer16 chapel hill in 24 hours-3liveseasoned summer16 chapel hill in 24 hours-4

Sights & Activities

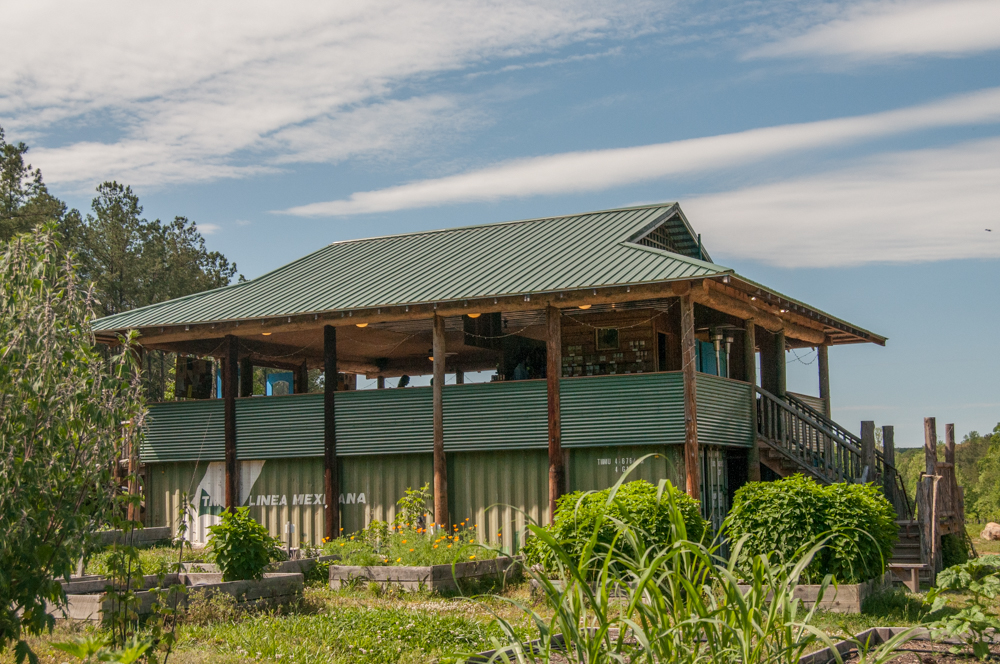
  • Honeysuckle Tea House is my absolute favorite place in Chapel Hill. It’s a little bit of a drive into the country, but you will thank yourself over and over once you arrive. It’s an oasis, it seems like something straight out of Ubud, Bali. While the beverages are on point, Honeysuckle Tea House is still working on its menu, so eat before you come that way you’ll have the energy to hang out in the gardens and around the grounds for a couple hours while you sip kombucha, tea, coffee, or one of their creative smoothies.
  • Look around! Take a walk down Franklin street. Start in the center of town (MLK + Franklin) and head west eventually veer right on Weaver Street, wander through the Carr Mill mall or better yet, stop at Weaver Street Co-op for lunch or a cold drink and enjoy it on the lawn.
  • Coker Arboretum has nothing on the Duke Gardens, but we’re talking Chapel Hill not Durham today. Coker is small but lovely and it’s free! The North Carolina Botanical Gardens is also great, but Coker is right downtown so it’s more easily accessible.
  • Ackland Art Museum is worth a visit. If it is after hours, stop in at the store, which is unlike any museum store. A perfect mix of high-end and affordable gifts for anyone in your life. I wander through Ackland quite often just to feel inspired.
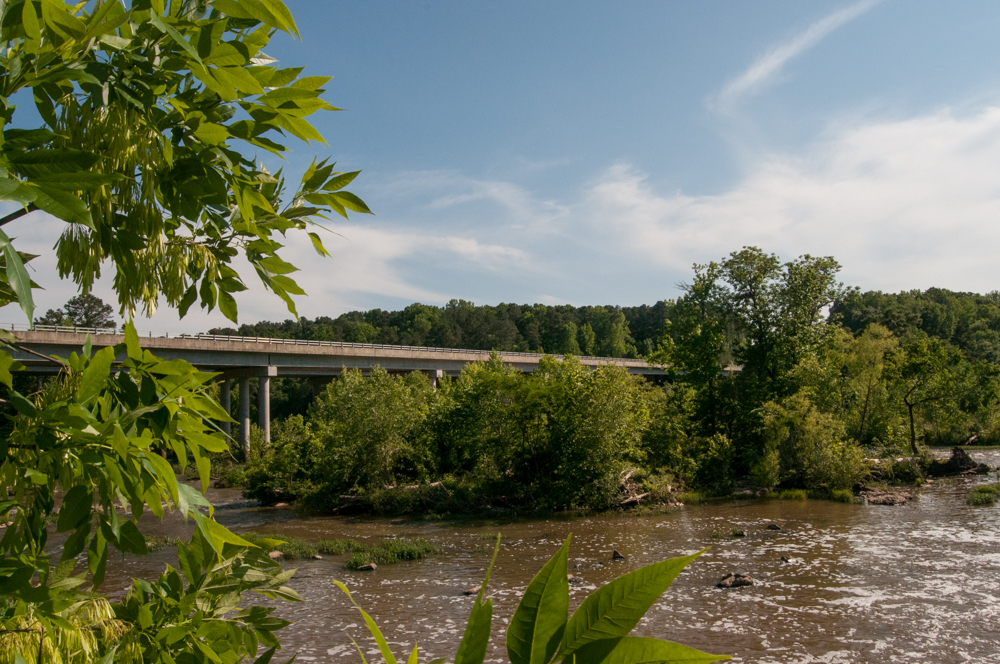
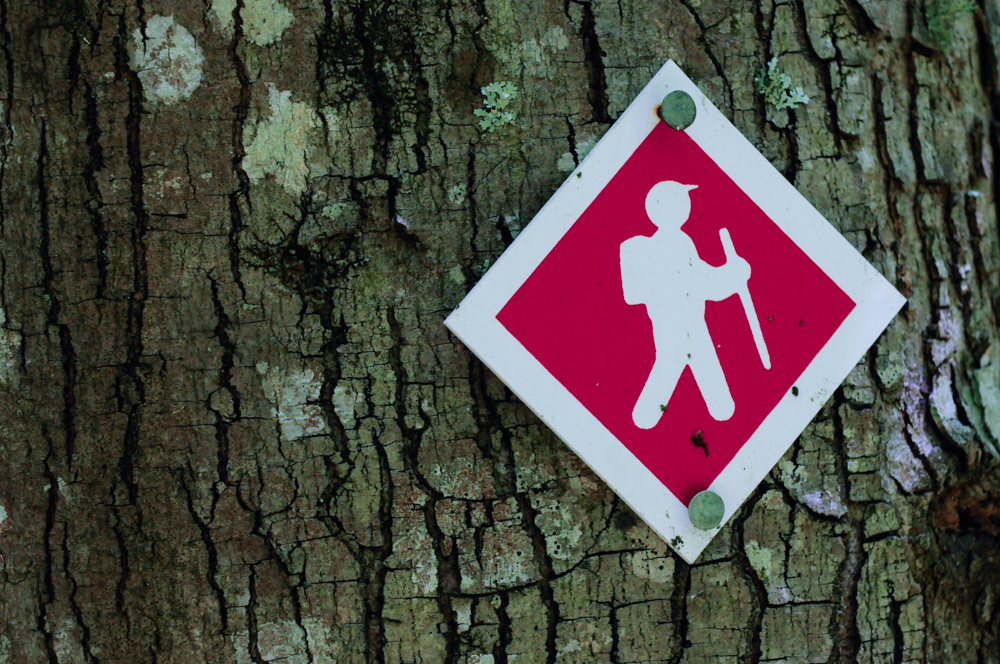
  • Go for a hike! There are dozens of local green spaces to get your hike on. My favorites? The Battle Branch Trail is perfect for the entire family. It’s scenic and pretty easy, a perfect early morning strolling spot. This trail actually leads to campus if you want to check out UNC. The Bolin Creek Trail is more of a path that winds through residential neighborhoods, but it’s extremely accessible, so if you need to stretch your legs, check it out. The Haw River Trail near 15-501 (more info), which is conveniently near Allen & Son’s gives visitors a good idea of North Carolina’s climate and forests. If it has recently rained, I’d skip this one.
liveseasoned summer16 chapel hill in 24 hours-1-5liveseasoned summer16 chapel hill in 24 hours-1

Breakfast & Coffee

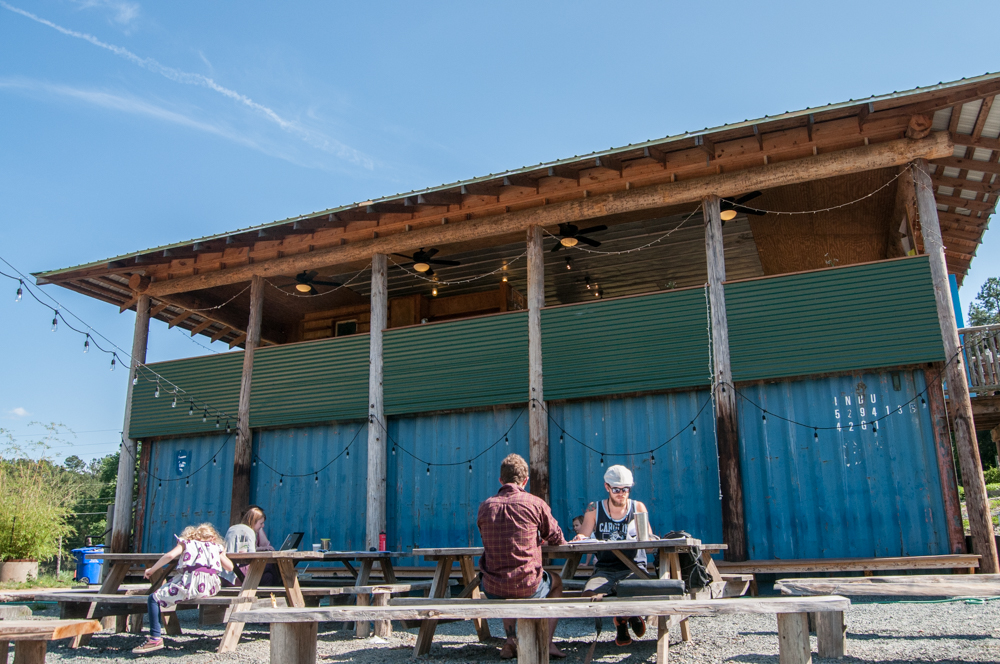
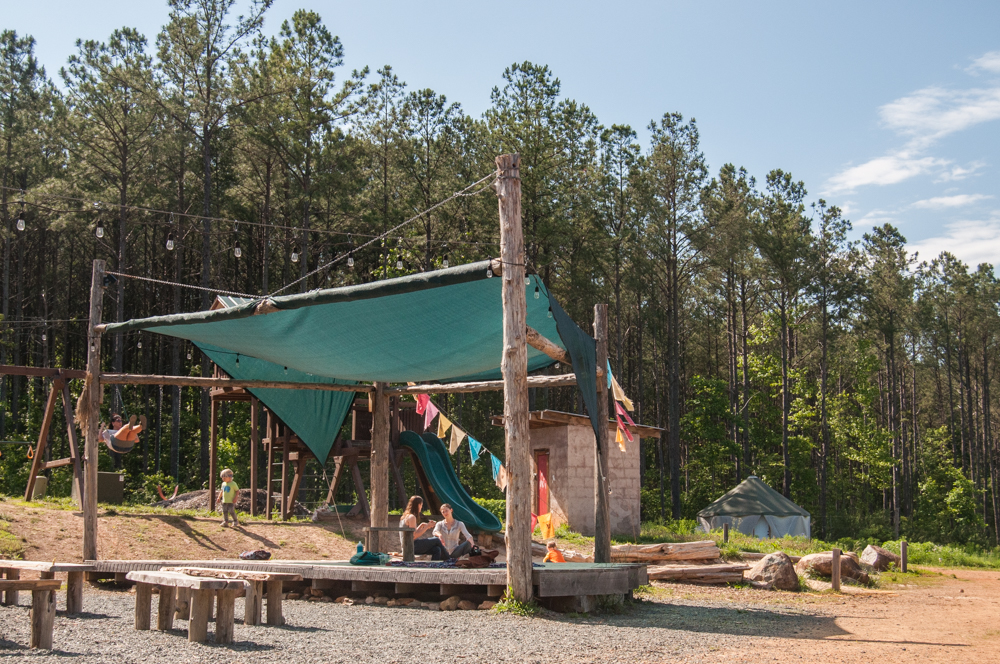
  • Coffee only – Cafe Driade is an absolute gem. Tucked away outside of town on East Franklin street, this is a cafe that locals know and love.  Order your favorite brew and pick out a snack from the counter then head outside. There’s seating sprinkled around the side of Cafe Driade, but take a look around the back.  Wander down into the woods for a meditative way to wake up in Chapel Hill or stop in the art gallery that shares Driade’s parking lot.  If you wander by Cafe Driade in the afternoon, try my favorite treat the espresso affogato.
  • Coffee and a quick breakfast – Looking Glass Cafe is my favorite coffee shop in Carrboro.  The atmosphere inside and out is inviting; perfect for conversation with friends or a full on study session.  Without fail, I order an iced americano with a jalapeno bagel although they serve up plenty of great quick yet filling breakfast and lunch options.
  • Full Breakfast or Brunch – Elmo’s Diner is always my top pick for a sit-down breakfast.  The menu is enormous and each plate has character and flavor.  I’m constantly grappling with all the options until ordering and I’m always satisfied and stuffed when I leave.  If you’re eating when the rest of Chapel Hill is, there’s usually a wait, but Elmo’s is located in Carr Mill Mall so you’ll have plenty of little shops to visit while you wait. My favorite in the plaza is Townsend and Bertram, an independently owned outdoors store with the kindest, most helpful employees.
liveseasoned summer16 chapel hill in 24 hours-1-3

Lunch or Dinner

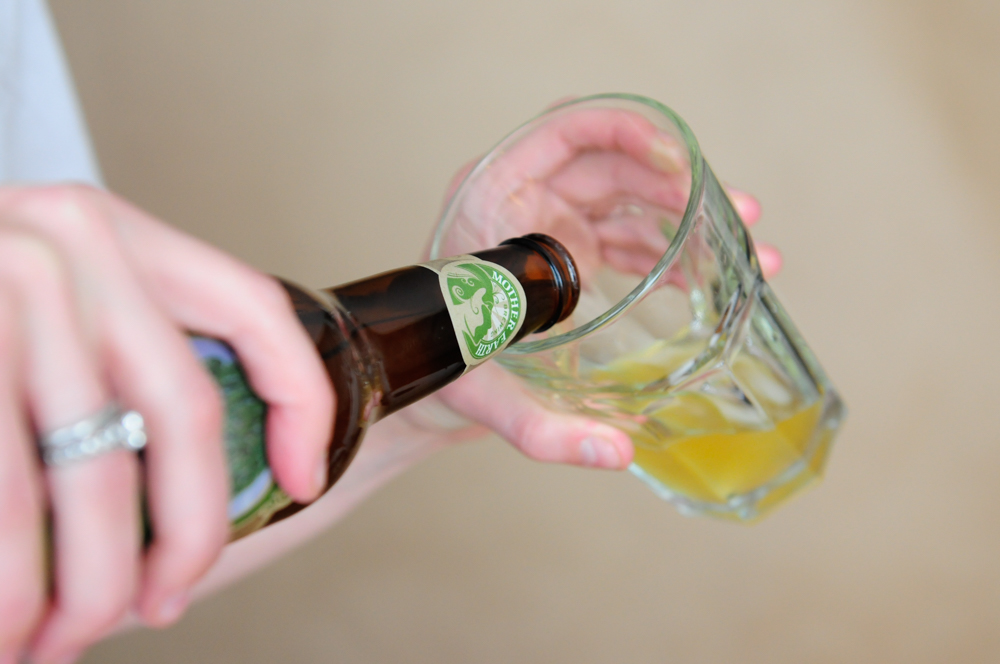
  • Al’s Burger Shack serves up fresh, local, sustainable southern grub.  The burgers come in three sizes so you can snack according to your stomach size. These are some of the best burgers I’ve ever had, add a local beer, sit outside and enjoy the action on Franklin Street.
  • Mediterranean Deli will please everyone who eats there.  The selection of wraps, deli salads, and Mediterranean desserts will almost overwhelm you.  It’s cheap, quick and ridiculously filling.
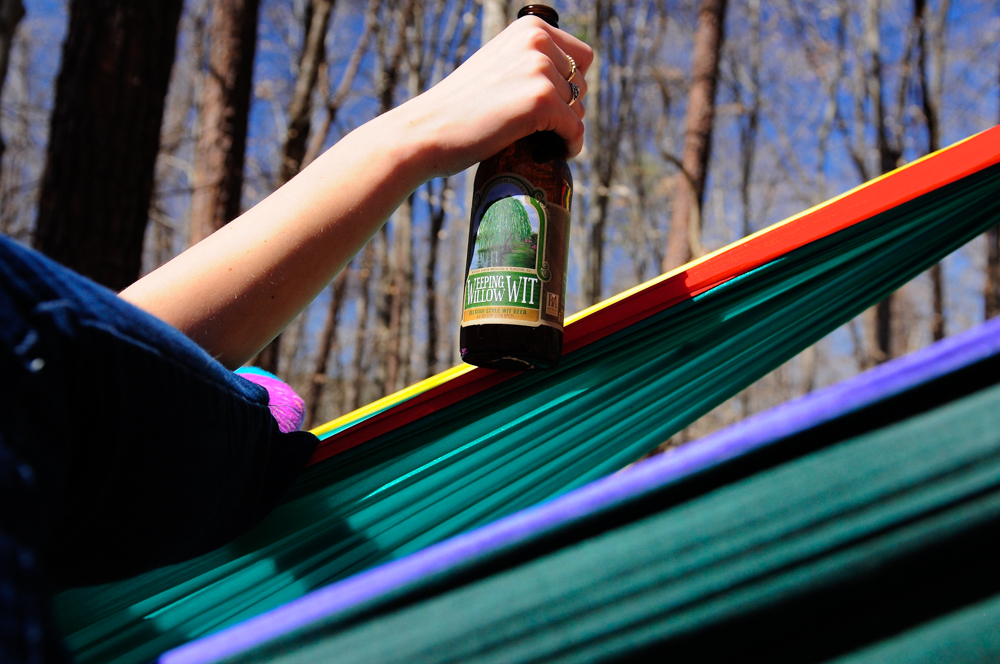
  • Allen & Son’s is the place to go if you want authentic Carolina barbecue. There are two locations, both equally out of the way, but they are a destination in themselves. If I’m picnicking, I’ll order a pound of pulled pork, coleslaw, and a dozen hush puppies then I’ll grab a bag of rolls and some beer and head to a serene spot.  There’s seating at Allen and Son’s, but I find it a bit too southern, country, authentic for my taste (think musty hunting cabin) so I usually grab a table outside or take it to go.
  • Venable describes itself as a rotisserie bistro serving elevated southern comfort food.  Each meal incorporates southern elements, but the portion sizes keep the food coma at bay.  The cocktails are amazing and worth every penny, but the beer list is lengthy too if that’s more your speed.
  • Food Trucks! There’s a bunch roaming all over town. Spot one yourself or ask someone on the street, they’ll be able to direct you to one of the truck’s regular parking spots.
liveseasoned summer16 chapel hill in 24 hours-1-4 liveseasoned summer16 chapel hill in 24 hours-1-6

Drinks & Bar Bites

  • Beer Study is theeee place to go for a brew. SO many options, various sizes for tasting or chugging, outside seating, an old school Nintendo and TV inside. Beer Study is where it’s at.
  • Top Of The Hill is my favorite people watching perch. The bar and distillery sit in the center of town at the corner of Franklin and MLK. Try and find seating outside and you’ll find yourself sipping on TOPO’s unique cocktails, brewtails, and delicious draft beers for hours.
  • The Cellar is a dive bar, but those are my favorite kinds if I want a cheap mixed drink or a good beer.  You won’t find crowds of college kids, but rather pool sharks and smoke-smelling middle aged men.  There’s also a nice little patio out back for your cig-smoking friends.
  • Linda’s Bar & Grill is the perfect stop to start or end the evening.  The bar food is on point and the drinks and top notch.  I love the crew at Linda’s. The owner, Chris Carini, is a Penn State graduate, a dude who knows his cars and bars, so chat him up if you wish. When I go to Linda’s I feel immediately comfortable and well taken care of no matter how crowded it gets.
 

liveseasoned summer16 chapel hill in 24 hours-7

Garden Update : The Pond

Throughout this summer, I’m documenting our garden. How it’s growing, what we’ve planted, and any changes we make to the space. Here’s my introduction to the bulk of our flower and veggie beds here.

Ugg, we’re such lazy bloggers lately! I realized that if I didn’t put this post up soon, then I’d miss my window of opportunity for pond introduction photos. Without further ado ~

When we lived in PA, I experimented with a few water gardens on our deck. Click here to read more about those experiments and the Thai water gardens that inspired my experiments.

With this house we inherited a small pond. It’s not something that either Calder or I would want to instal in our yard, especially in such a dry area where it seems a bit frivolous, but since it’s here, I’m so excited to expand my water gardening to this bigger space!

pond - 1

The Pond

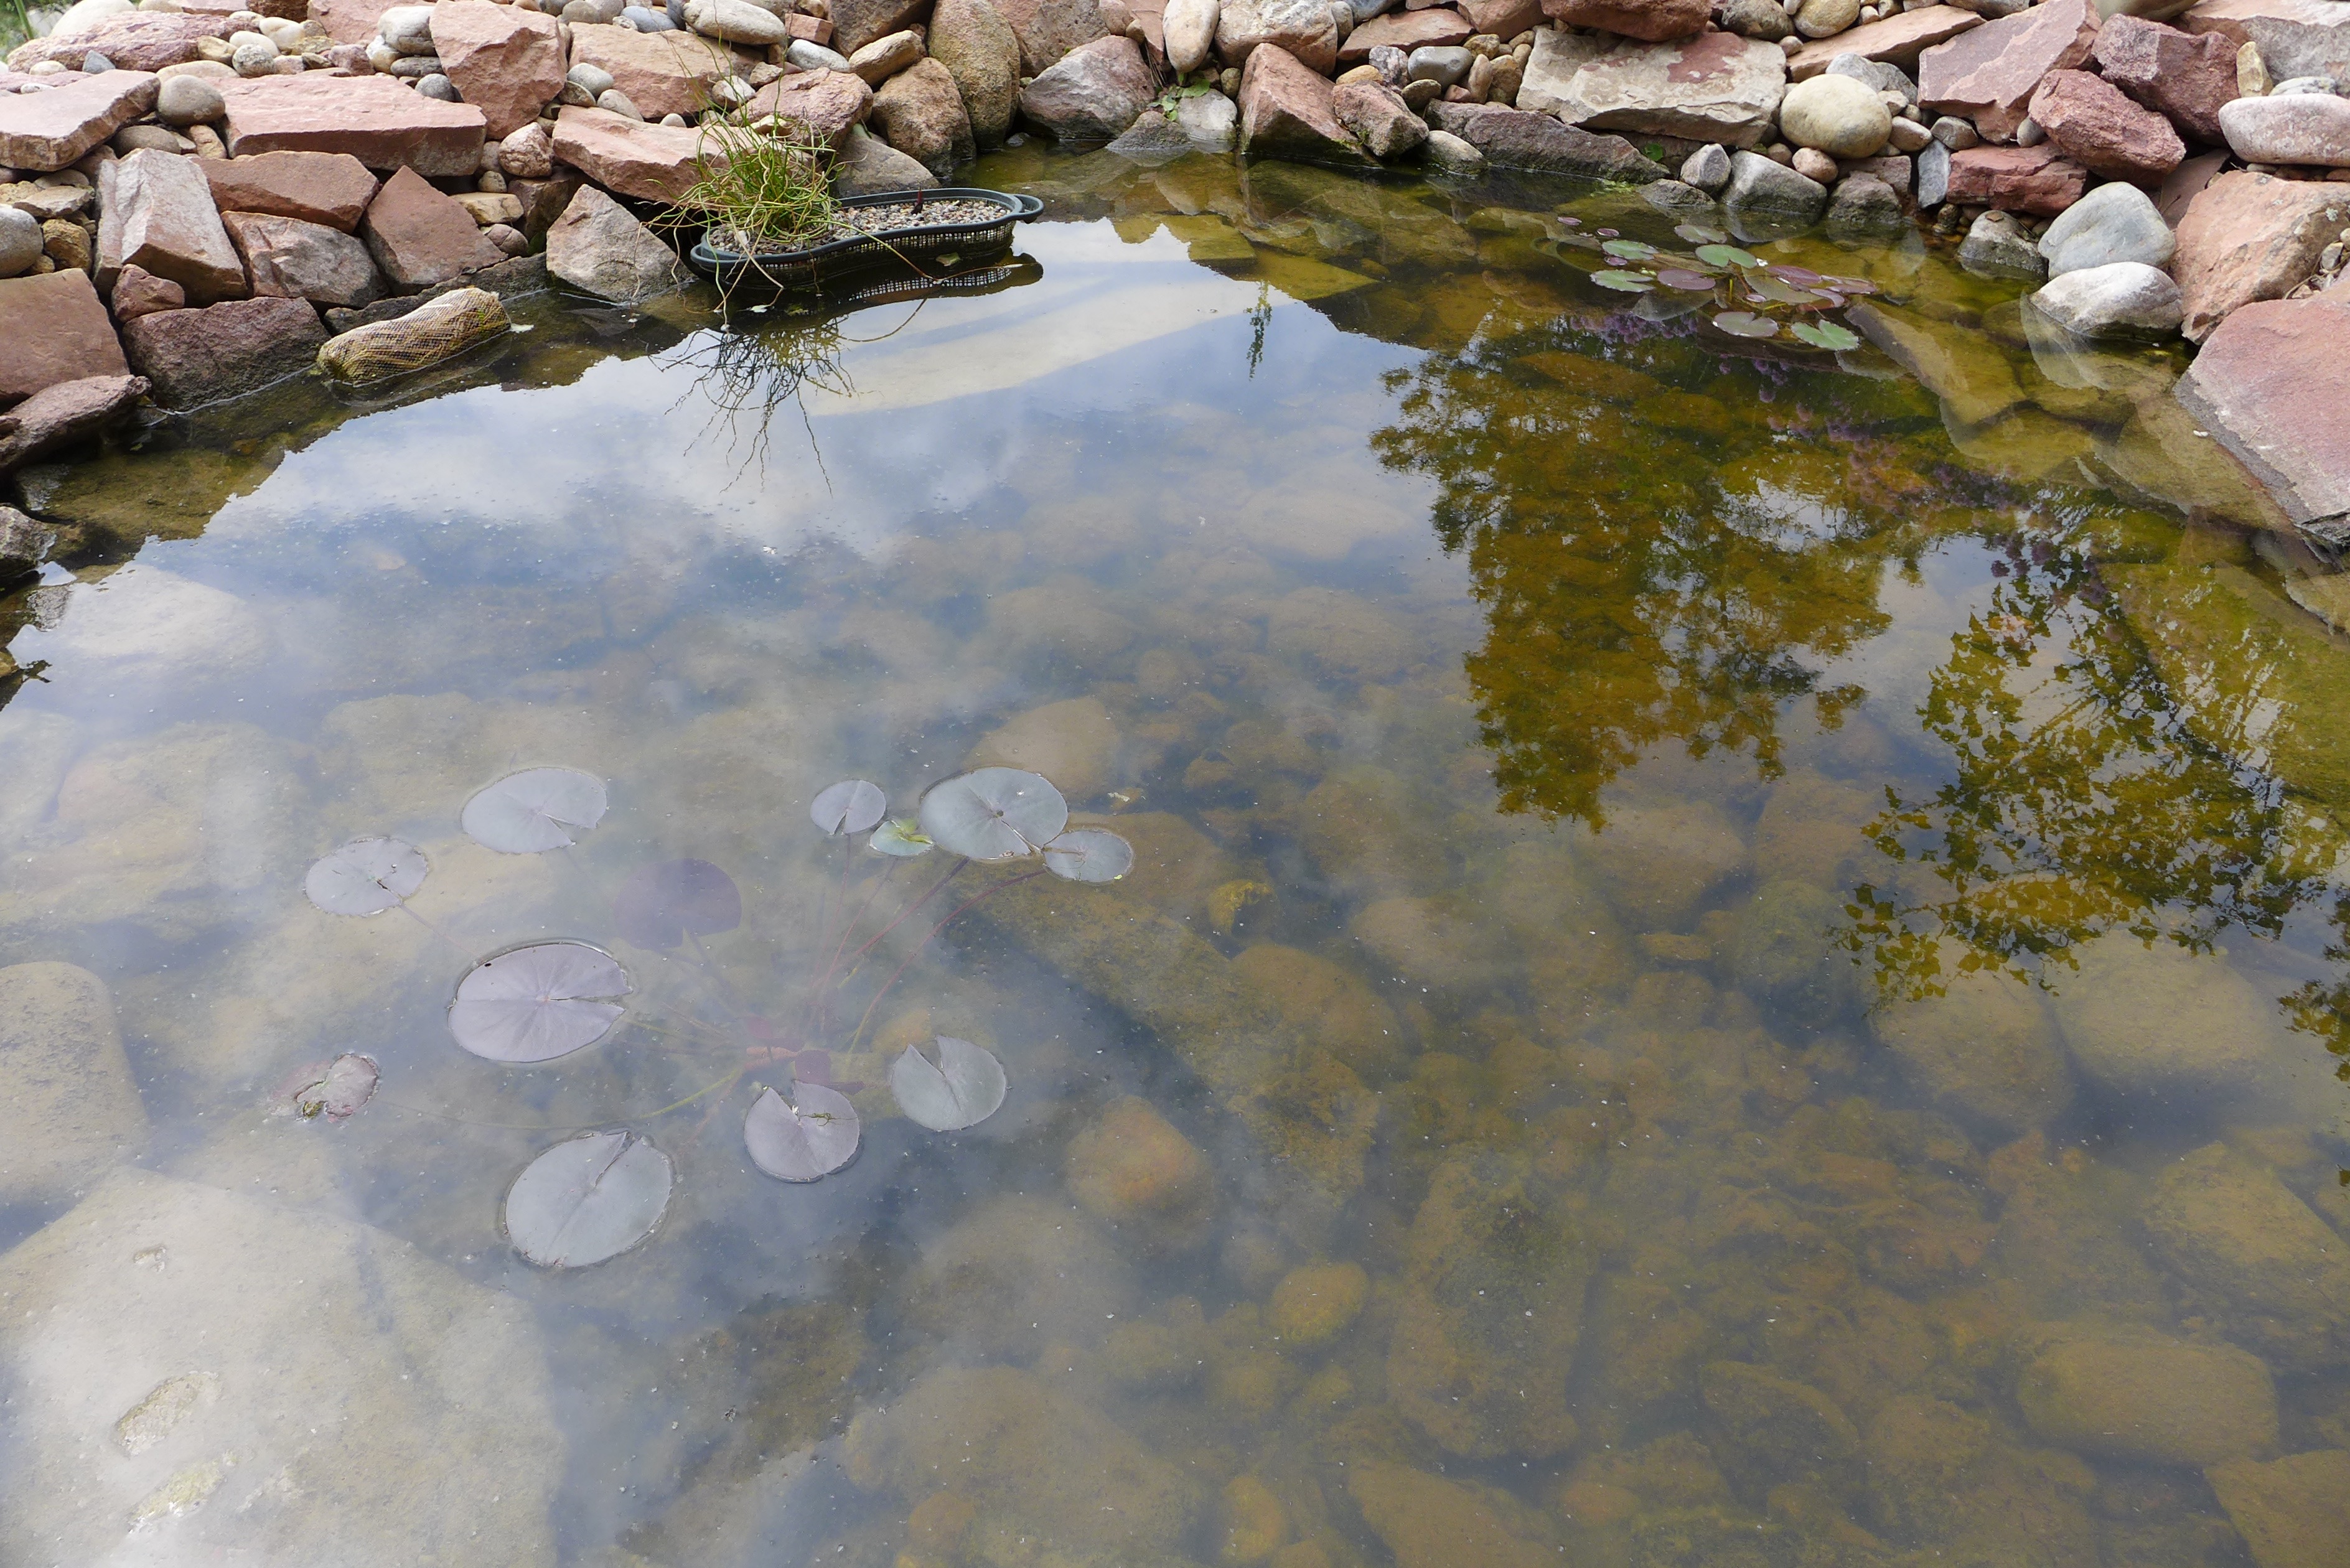
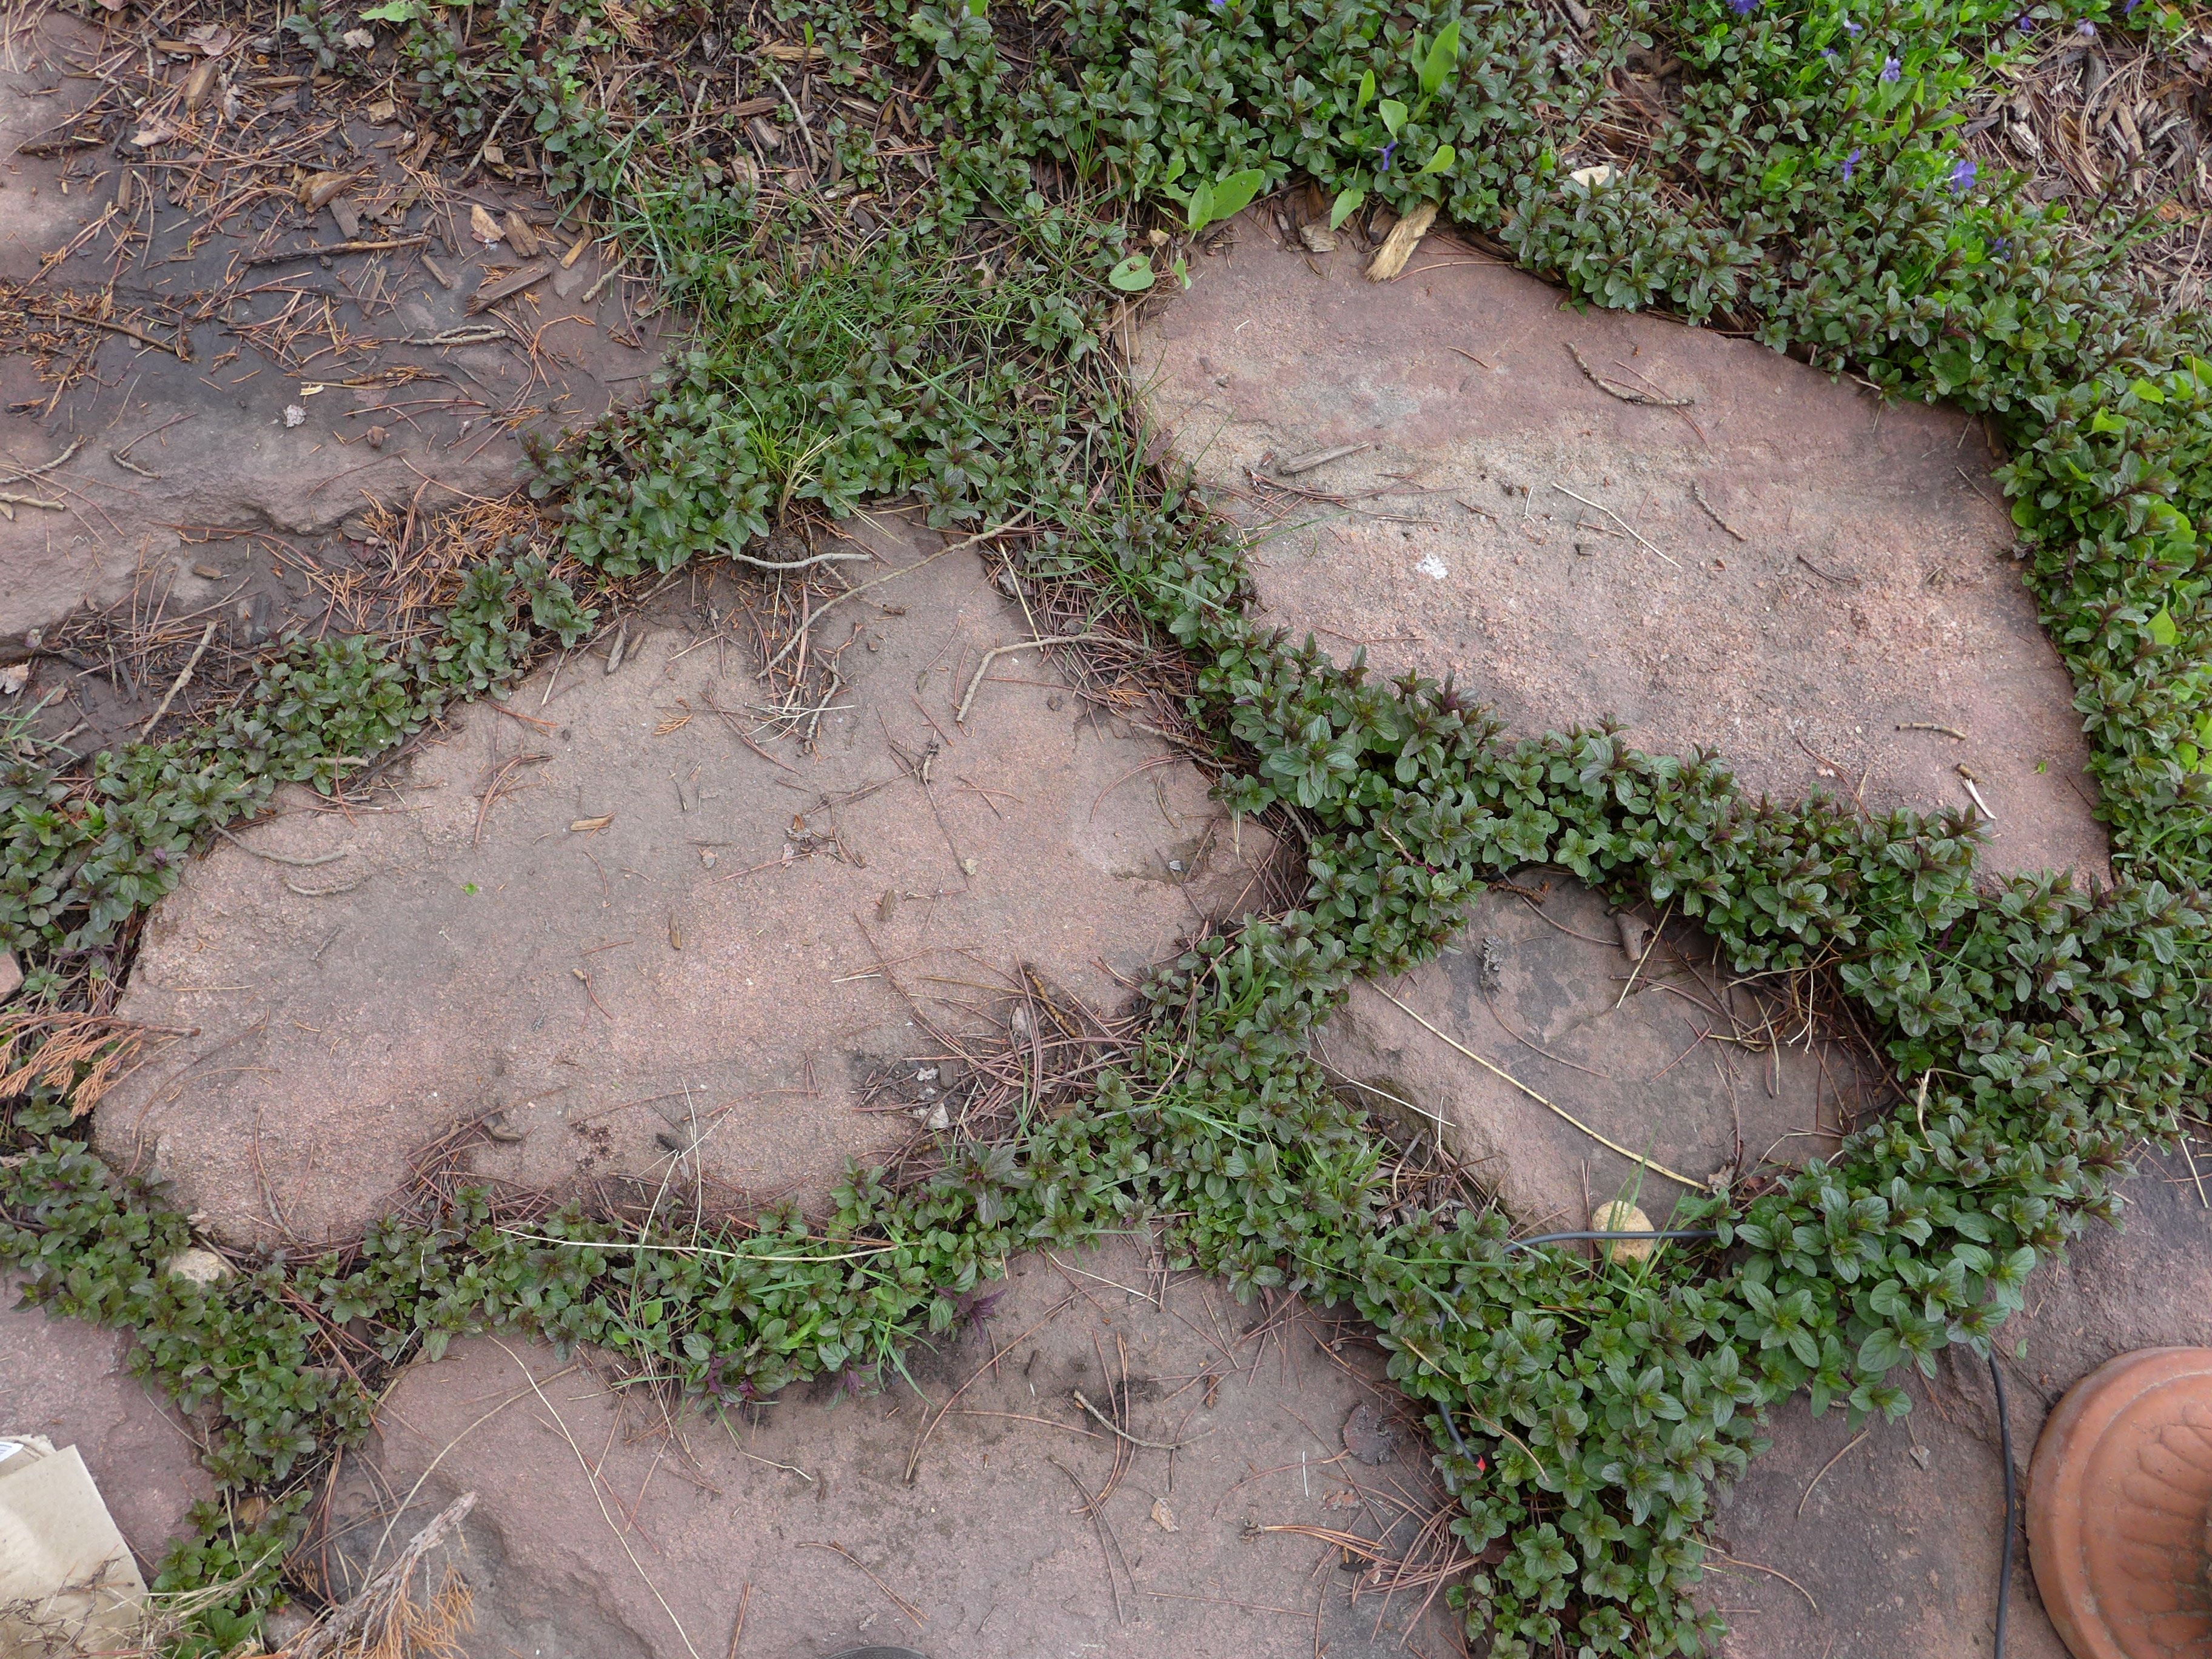
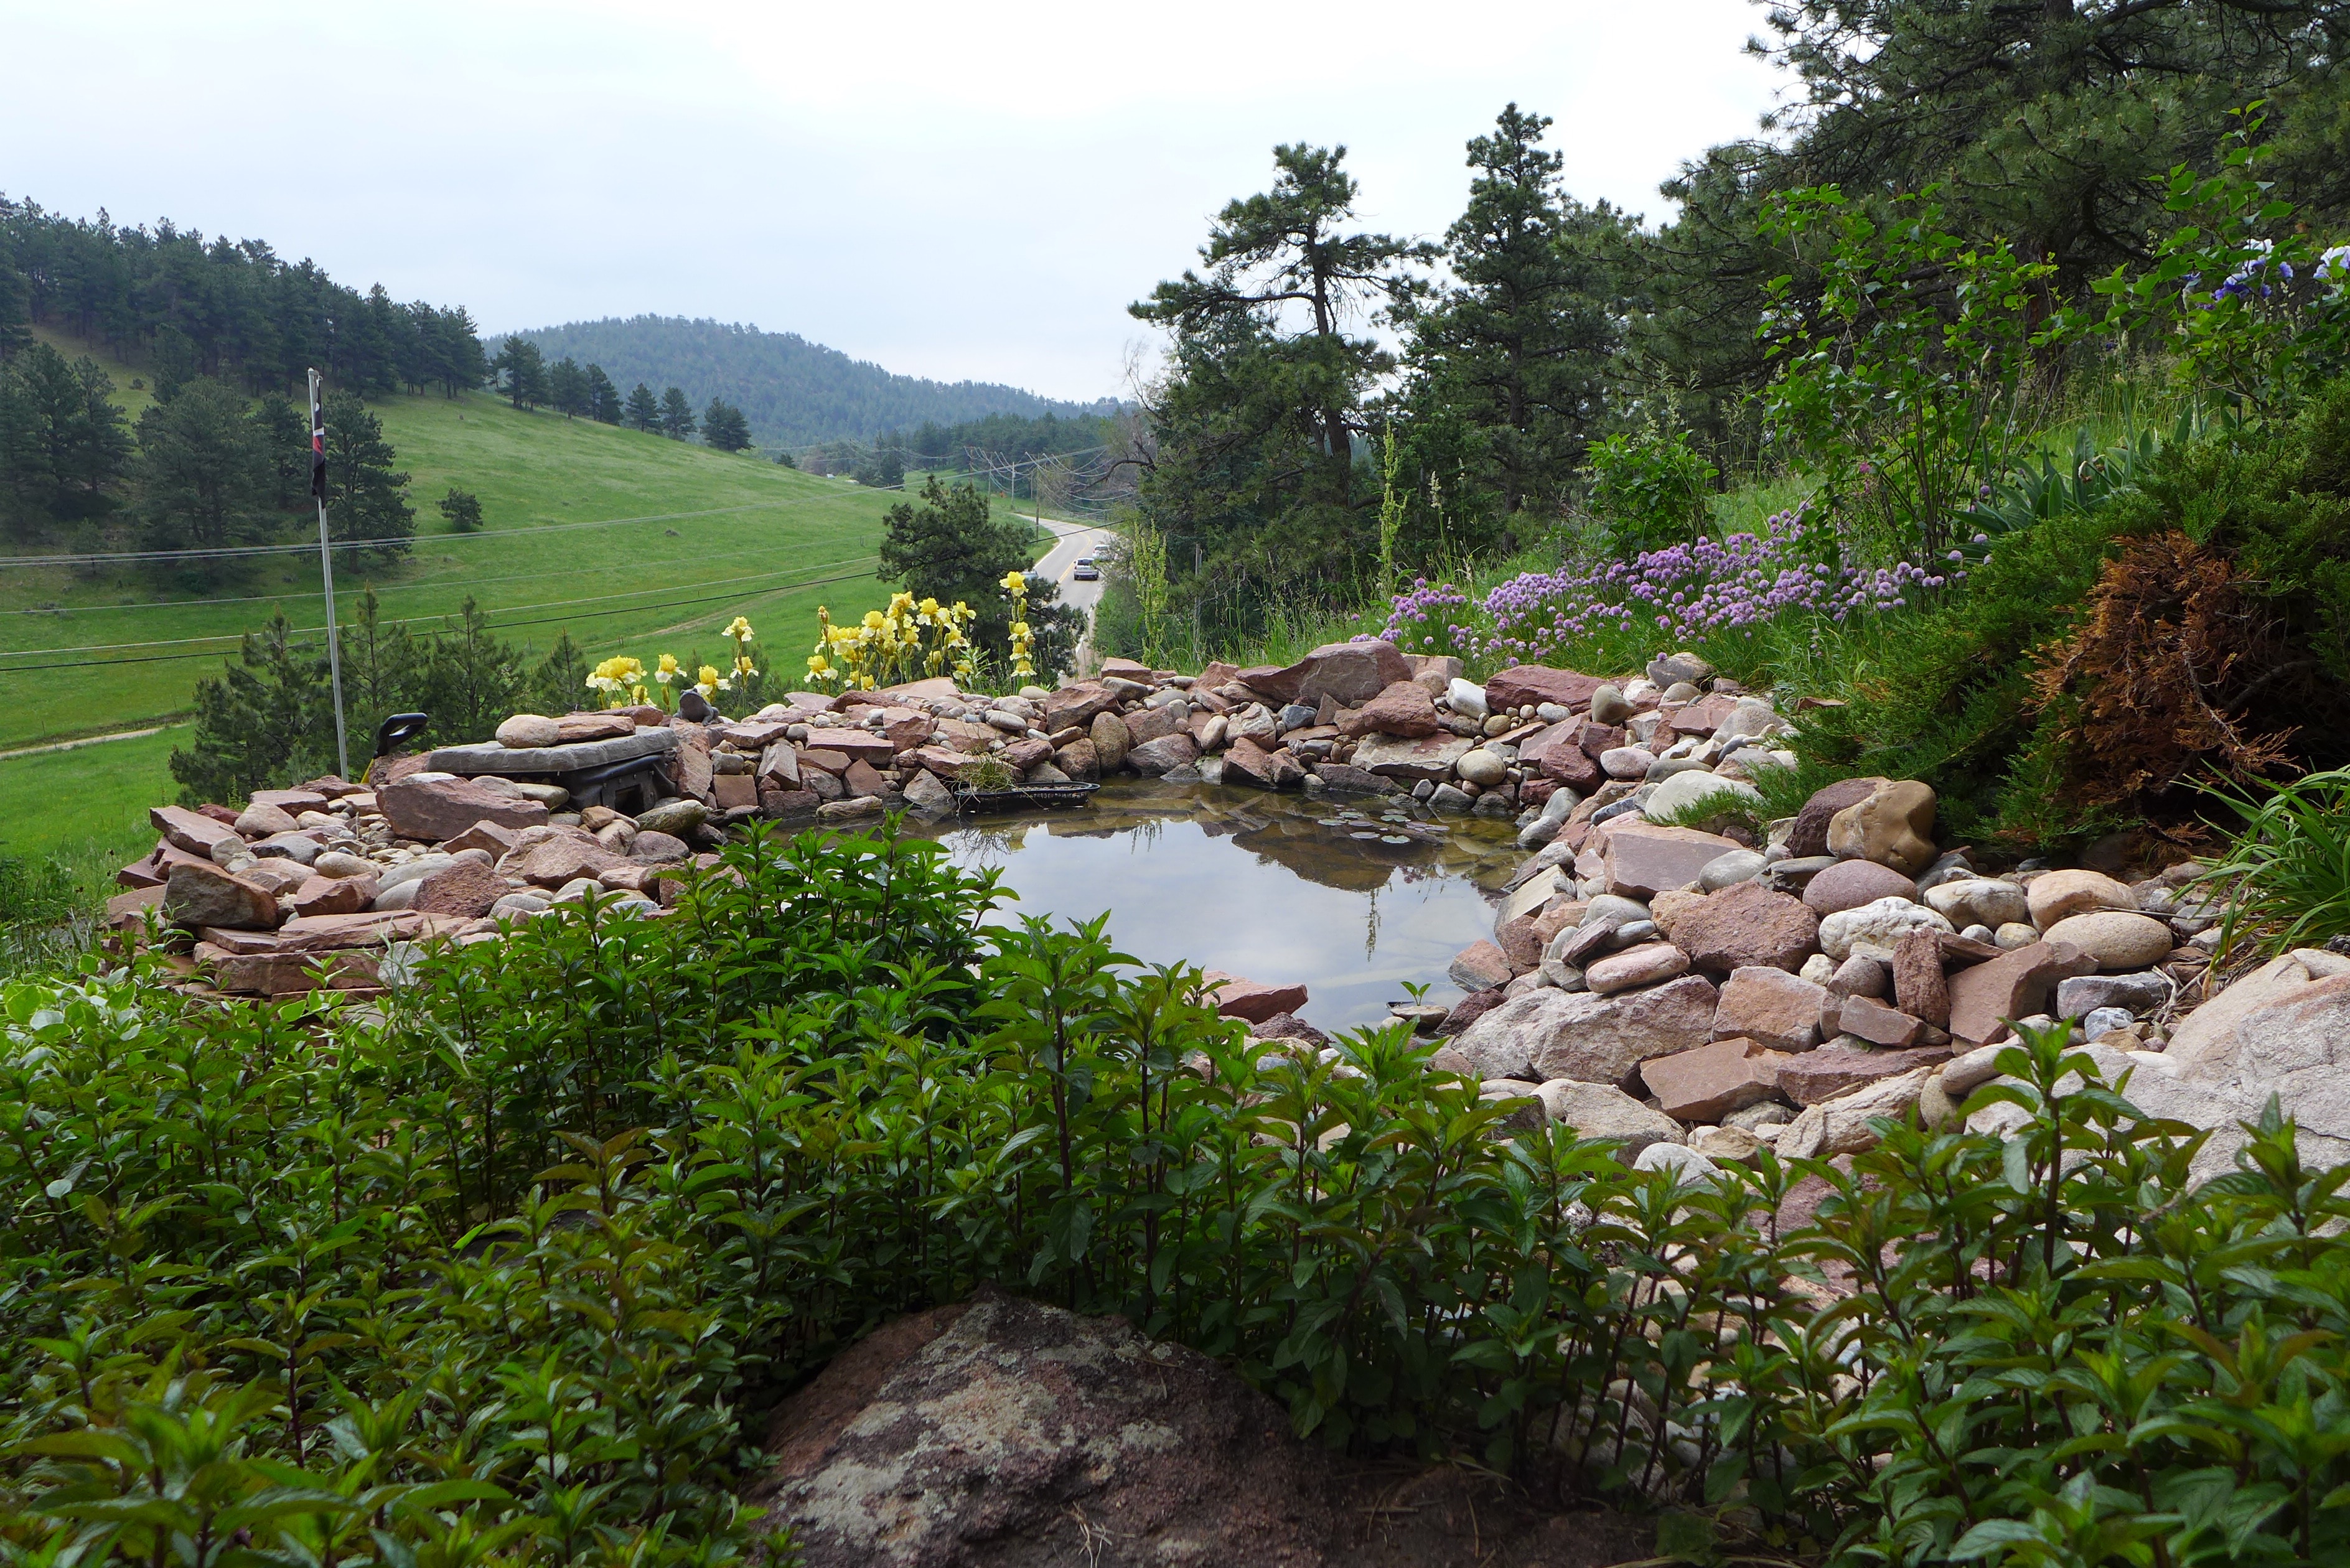
This pond is created using a waterproof rubber liner that is then covered with rocks. The pond is about 10 feet from our deck, and between those to spaces is a flagstone path with mint growing between the rocks (that’s what you see in the foreground above). The pond has a filter and pump system that pump water to a waterfall that’s about 6 feet high and 10 feet away from the pond. The water then trickles down a stream and into the pond. Last season we turned on the pump once (right after cleaning it), but then never used it again. This summer we’re hoping to tweak it slightly and use it a bit more, but I’ll discuss that feature in a future post.

Spring Cleaning

Both last year and this year we started the season by draining the pond and spraying it down to try to remove as much algae and silt as possible. I didn’t photograph that process, but realized I should next year. We learned a lot of things last year that made what was at least a 12-hour project the first time just a 2-hour jaunt this time.

We drain the pond with a big hose using this technique. You just fill the hose with water, submerging one end in the pond water and putting the other end at a lower point, letting gravity do the rest.

With a pond of our size, it takes a while for it to drain completely, so while it’s draining, I get to work removing the algae. I drag a large pitchfork through the water, picking up sheets/strings of algae that I then dump outside of the pond. As the water level goes down, I’ll hook another hose up to a water source and start spraying down the rocks on the side of the pond, trying to remove any algae and slime on them.

Once the pond is almost completely drained, you have to be careful that the draining hose doesn’t lose suction. It’s just a pain because then you have to fill it with water and get suction going again to get any remaining water. During this phase, I’m almost constantly spraying fresh water onto and between the rocks to wash out as much silt, slime, and algae bits as possible.

I don’t remove every bit of gunk from the bottom of the pond, but once I’ve done a fairly good job, the process is done and I start filling it again with fresh water.

pond - 1 (2)

Algae

If left unchecked, our pond came become overgrown by string algae. From what I understand, the algae is not a danger to us or other organisms, but cosmetically, it’s a bit unsightly and makes the pond look more like a swamp than an oasis.

One of the reasons that our pond seems to be a prime target is because it gets a lot of direct sunlight throughout the day, and just like other plants using chlorophyl to make their food, sunlight will encourage growth. I was told that I could eliminate the algae and have crystal clear water by adding bleach to the pond, but this is only a solution if I don’t want to have any other plants or animals growing in the pond (and if I don’t mind dumping bleach into the environment, which I do). There are a few other solutions, so this summer I hope to keep you updated with my algae successes and failures.

In addition to physically removing the algae (as described above) and using an algaecide (discussed below), I can try to physically limit the amount of sun reaching the water’s surface. One easy way to do this is by adding water plants that will grow on top of the water, so that’s what I’ll be experimenting with this summer.

pond - 1 (1)

Mosquitos

Because of the cool weather in the mountains and the lack of standing water in our dry climate, the mosquito population in the mountains is generally low. That said, we don’t want this pond to become a mosquito breeding ground. There are a few ways to avoid that.

Generally, mosquitos will successfully breed if they have access to the surface of still water and if nothing eats the larva. If we keep the waterfall on, this would agitate the water enough to deter mosquitos from laying their eggs. It’s unlikely that we’ll do that because of the noise, energy use, and increase in water loss that would happen. Another option is to cover the surface of the water in plants so that it’s hard for the mosquitos to lay their eggs. I’m going to attempt to cover most of the water with plants (more below), but it’s unlikely that we’ll completely cover the surface. If I do achieve relatively good plant cover, then I would love to add a few goldfish to the pond, and they would help to eat the larvae. So, there are some options, but they aren’t guaranteed to work at this point in our pond’s lifecycle.

So, for now, we’ve decided to add Mosquito Bits to the water. The mosquito pellets/dunks contain BTI, which is a bacteria that is toxic to the larvae and will kill them. The dunks are considered safe and non-toxic (when used correctly) for all other animals.

pond - 1

Plants

This year I’m hoping to do some experiments and expand the variety of plants that I grow in the pond.

Right now our pond contains two groupings of water lilies. Both are made up of lilies that I put in the pond last summer and they successfully spent the winter out there. Not only did they survive in our little pond, but they thrived, multiplying successfully in their pots. This year I repotted them and added another one that came as a dry root from Home Depot. I bought that one because it was so much cheaper than the live plants and I wanted to grow it as a test this year to see how well it does.

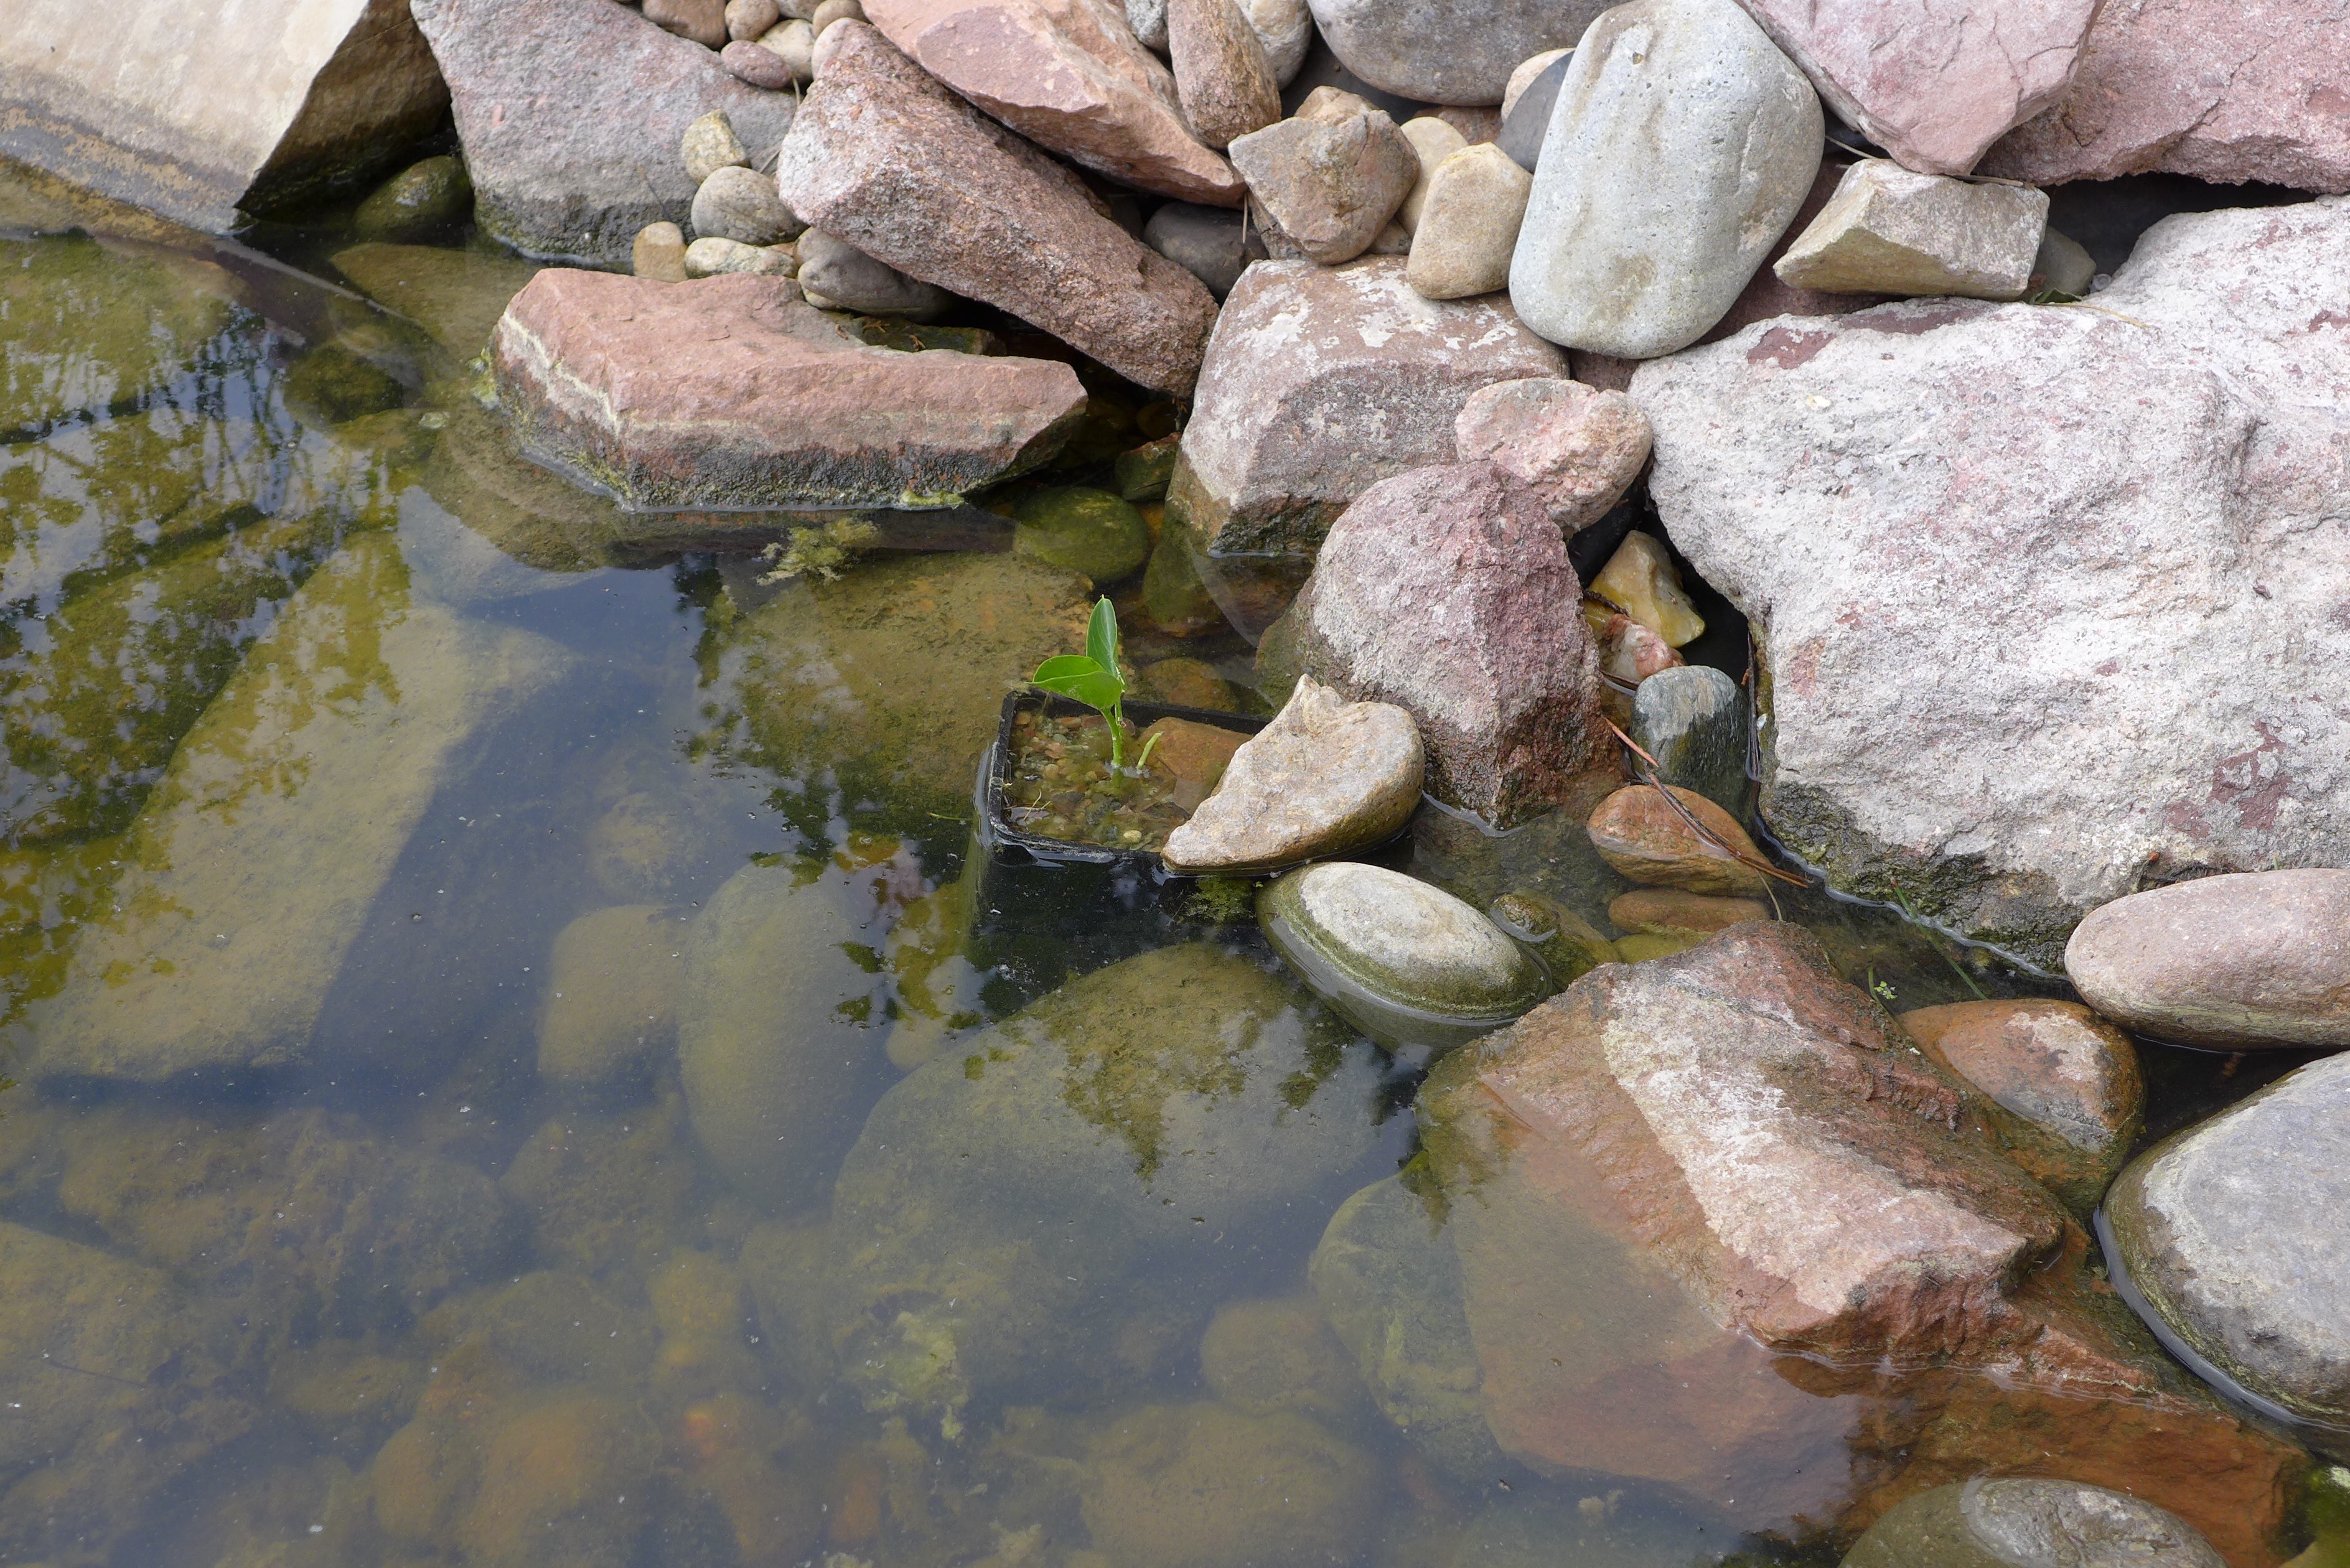
I’ve also added a curly rush, two canna lilies (from dried roots), and another mystery lily that I picked up in the pond section at Home Depot. You can see the leaves of the mystery lily just starting to sprout in the photo above. All of these plants live on the “margins” of waterways ~ along the edge where their roots may be submerged in water, but their stems and leaves aren’t. So I have them in pots near the surface of our pond. It isn’t the most beautiful presentation, but I’m hoping that the floating plants will disguise the pots, and if they plants are successful, then I’ll come up with a better solution next year.

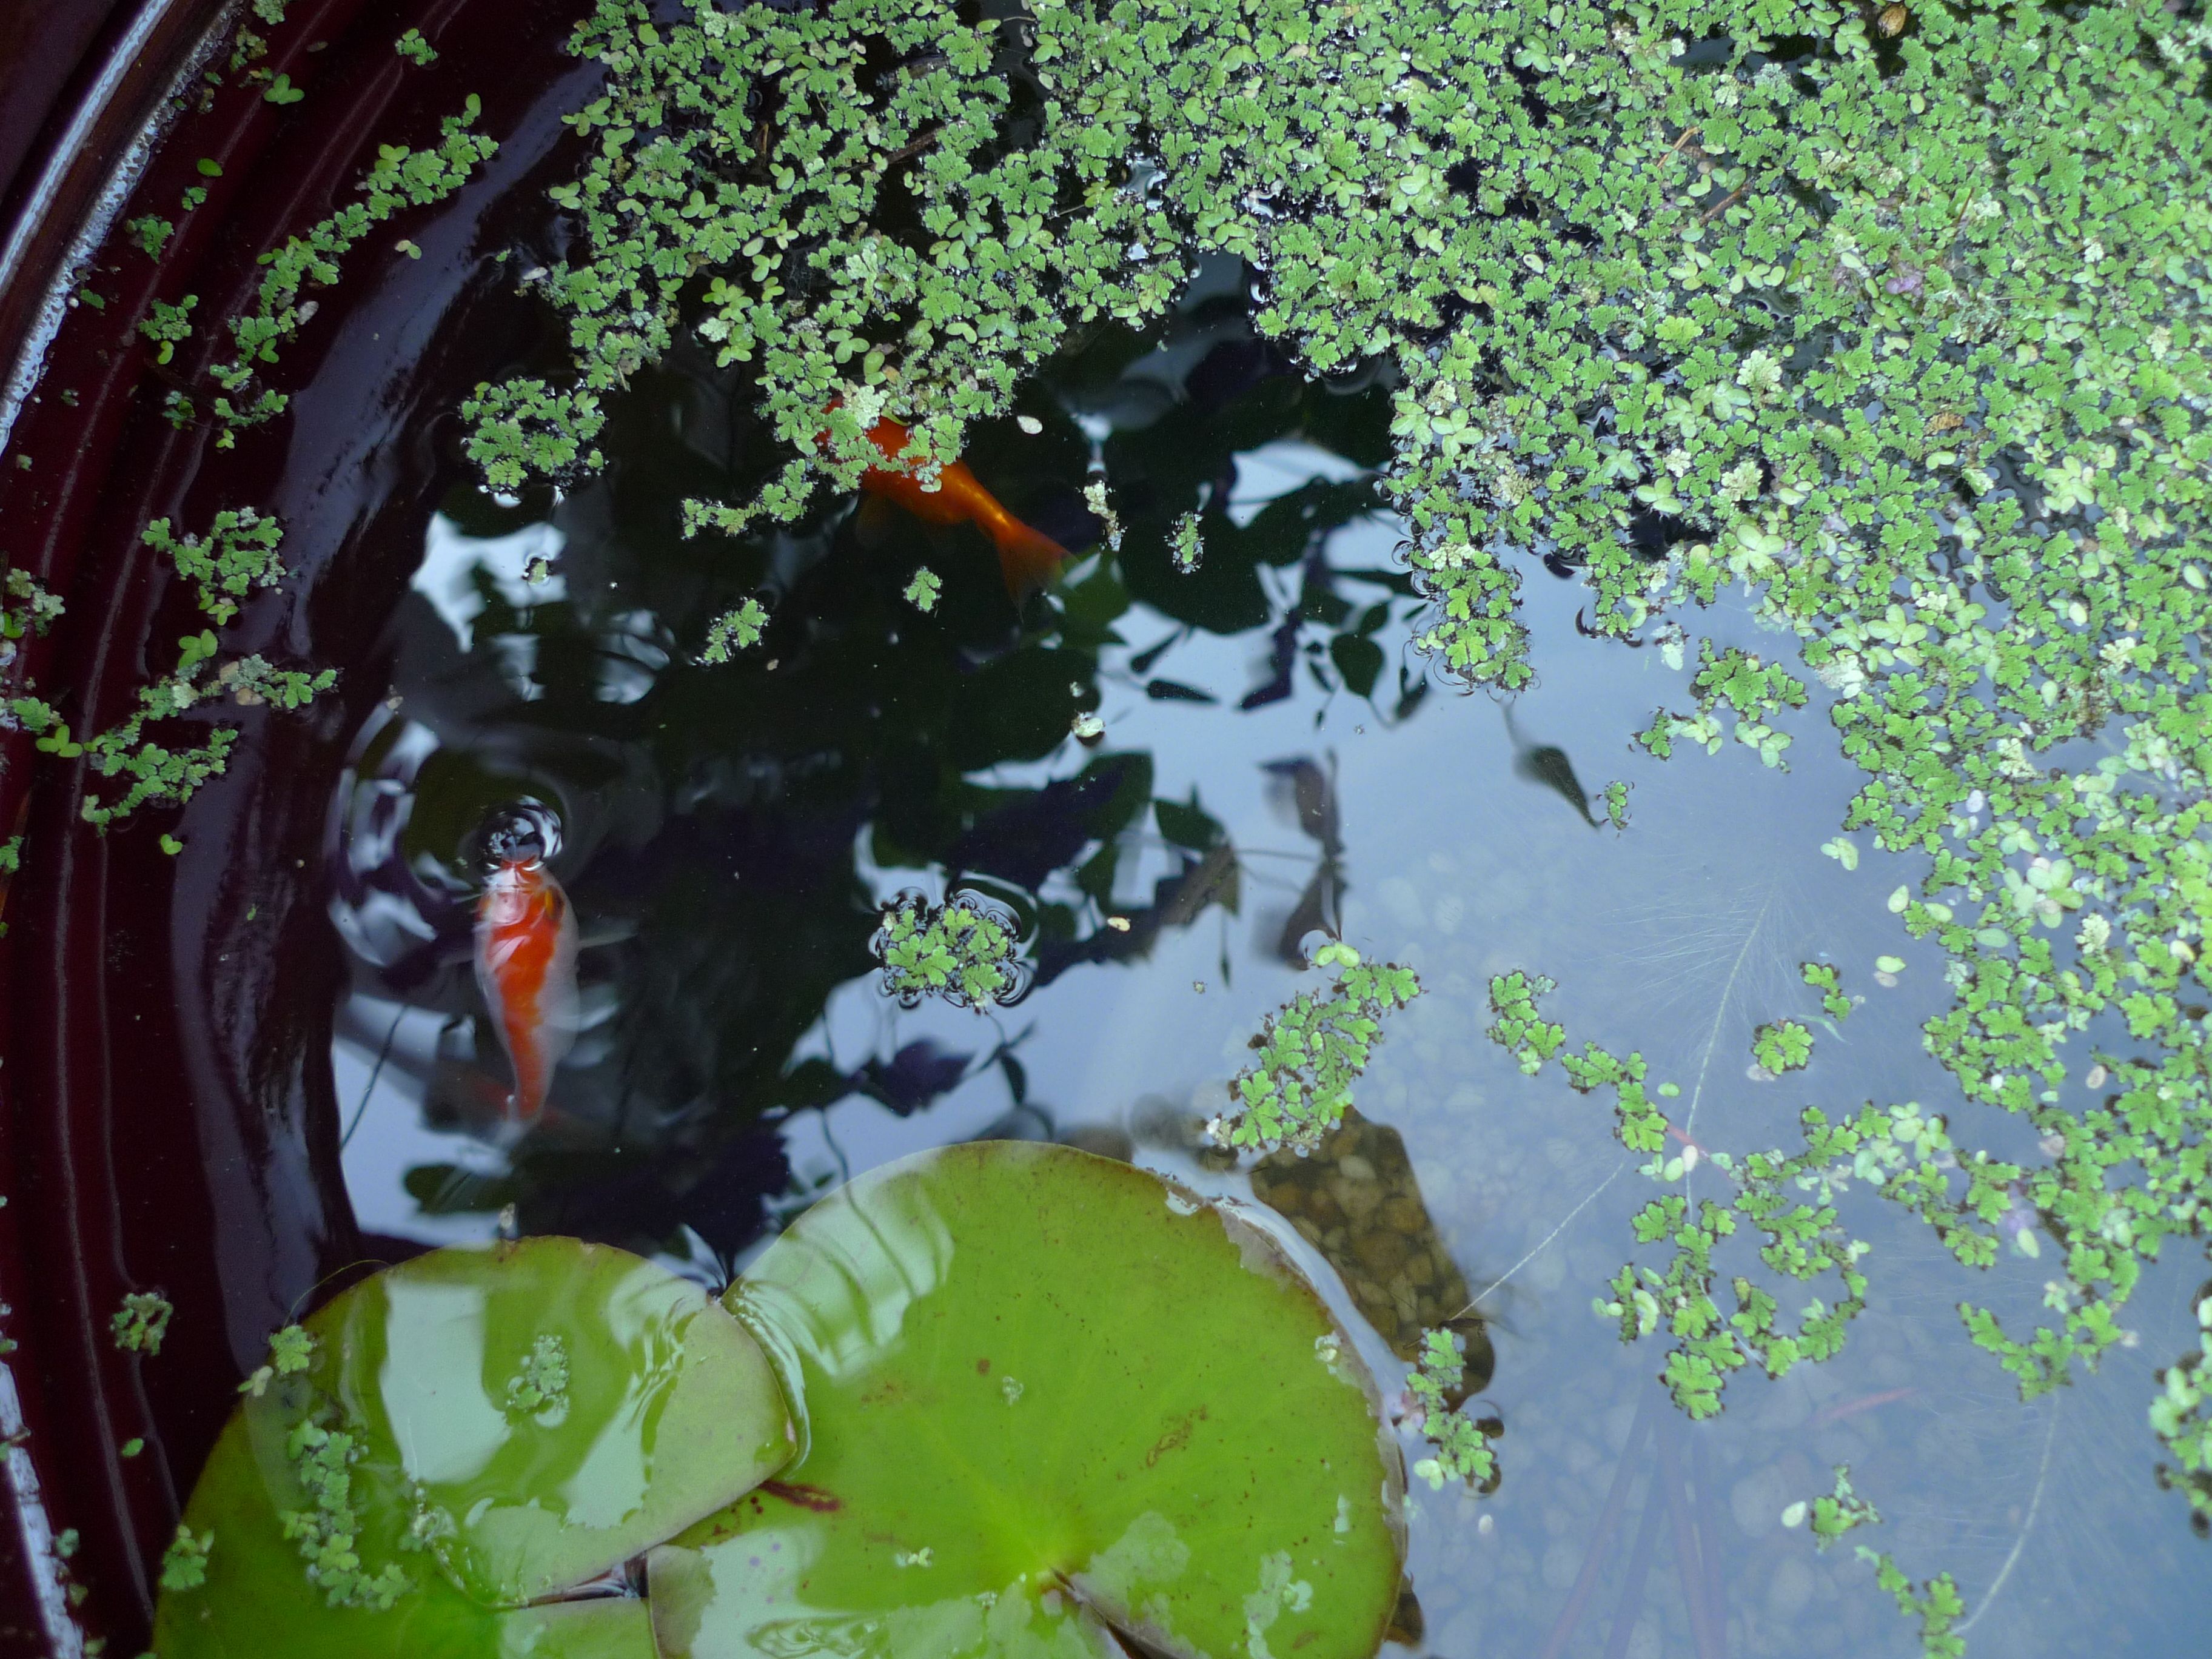
I was going to use duckweed as a floating plant to cover the water surface, but I wasn’t happy that the batch I received in the mail. So just this week I placed an order for fairy moss (it’s the small floating plant growing in the photo above), and a couple of water lettuce (another floating plant that is larger, like a small head of lettuce, and multiplies like crazy).

~

That’s our pond in early spring. I’m hoping to get some lush growth from the plants this year. I would love to add a couple of goldfish, knowing that they will be super attractive treats for birds (thus wanting some good plant cover for them to hide under). We have a couple of frogs out at the pond now; we hear them but can never see them! Last year they laid eggs, so we’re hoping for another batch of tadpoles this year.

I’m excited to keep you updated as the pond grows and evolves this summer!

A Weekend in Fishtown, Philadelphia


jai-live-seasoned-fishtown

Fishtown is a small neighborhood northeast of center city.  When I first moved into Fishtown in 2008, it was considered an up-and-coming neighborhood.  During my visit this past weekend, I would say Fishtown has arrived. Walking down the main drag, I spotted dozens of new shops, cafes, bars, and restaurants.  I could not believe the hoards of young people walking around enjoying the sunshine in what was once a semi-desolate, working class neighborhood. There were only a handful of bars and pizza shops, one good cafe, and a single thrift store. I loved the neighborhood because it was removed from the hustle and bustle of center city, sheltered from the crime stats of Kensington, and small enough that I ran into friends on a weekly basis.  It felt like my little neighborhood and while I sensed a bit of pushback from the families that lived in Fishtown their whole lives, I still felt welcome and secure.

Fast forward eight years and the whole landscape of Fishtown has shifted.  It’s clear that short-term yearly rentals are more common in the community. You can see new housing popping up everywhere to accommodate students and hoards of younger crowds that are flocking to Fishtown to settle.  With the crowds comes the coffee shops, restaurants, yoga studios, community spaces and art galleries.  No longer are there abandoned lots waiting to be bought, instead there is a taco stand or a vegan ice cream shop filling the once vacant space.  Spending 24-48 hours in Fishtown would have been in enough in 2008, but now you’d need a week to really see and taste all it has to offer.  Instead of overwhelming you with every bit of goodness, I’ll let you in on my favorite gems, and you can explore the rest as you see fit.

Continue reading

A Garden Introduction

Throughout this summer I’m excited to keep a journal documenting the growth, updates, and general observations of the gardens around our house. Since it’s the start of the season, I thought it would be appropriate to begin with a little overview of the outdoor space. Admittedly, the photos in this post aren’t that exciting, but I’m happy for the visual record they’ll provide as the season progresses.

liveseasoned_spring2016_garden10

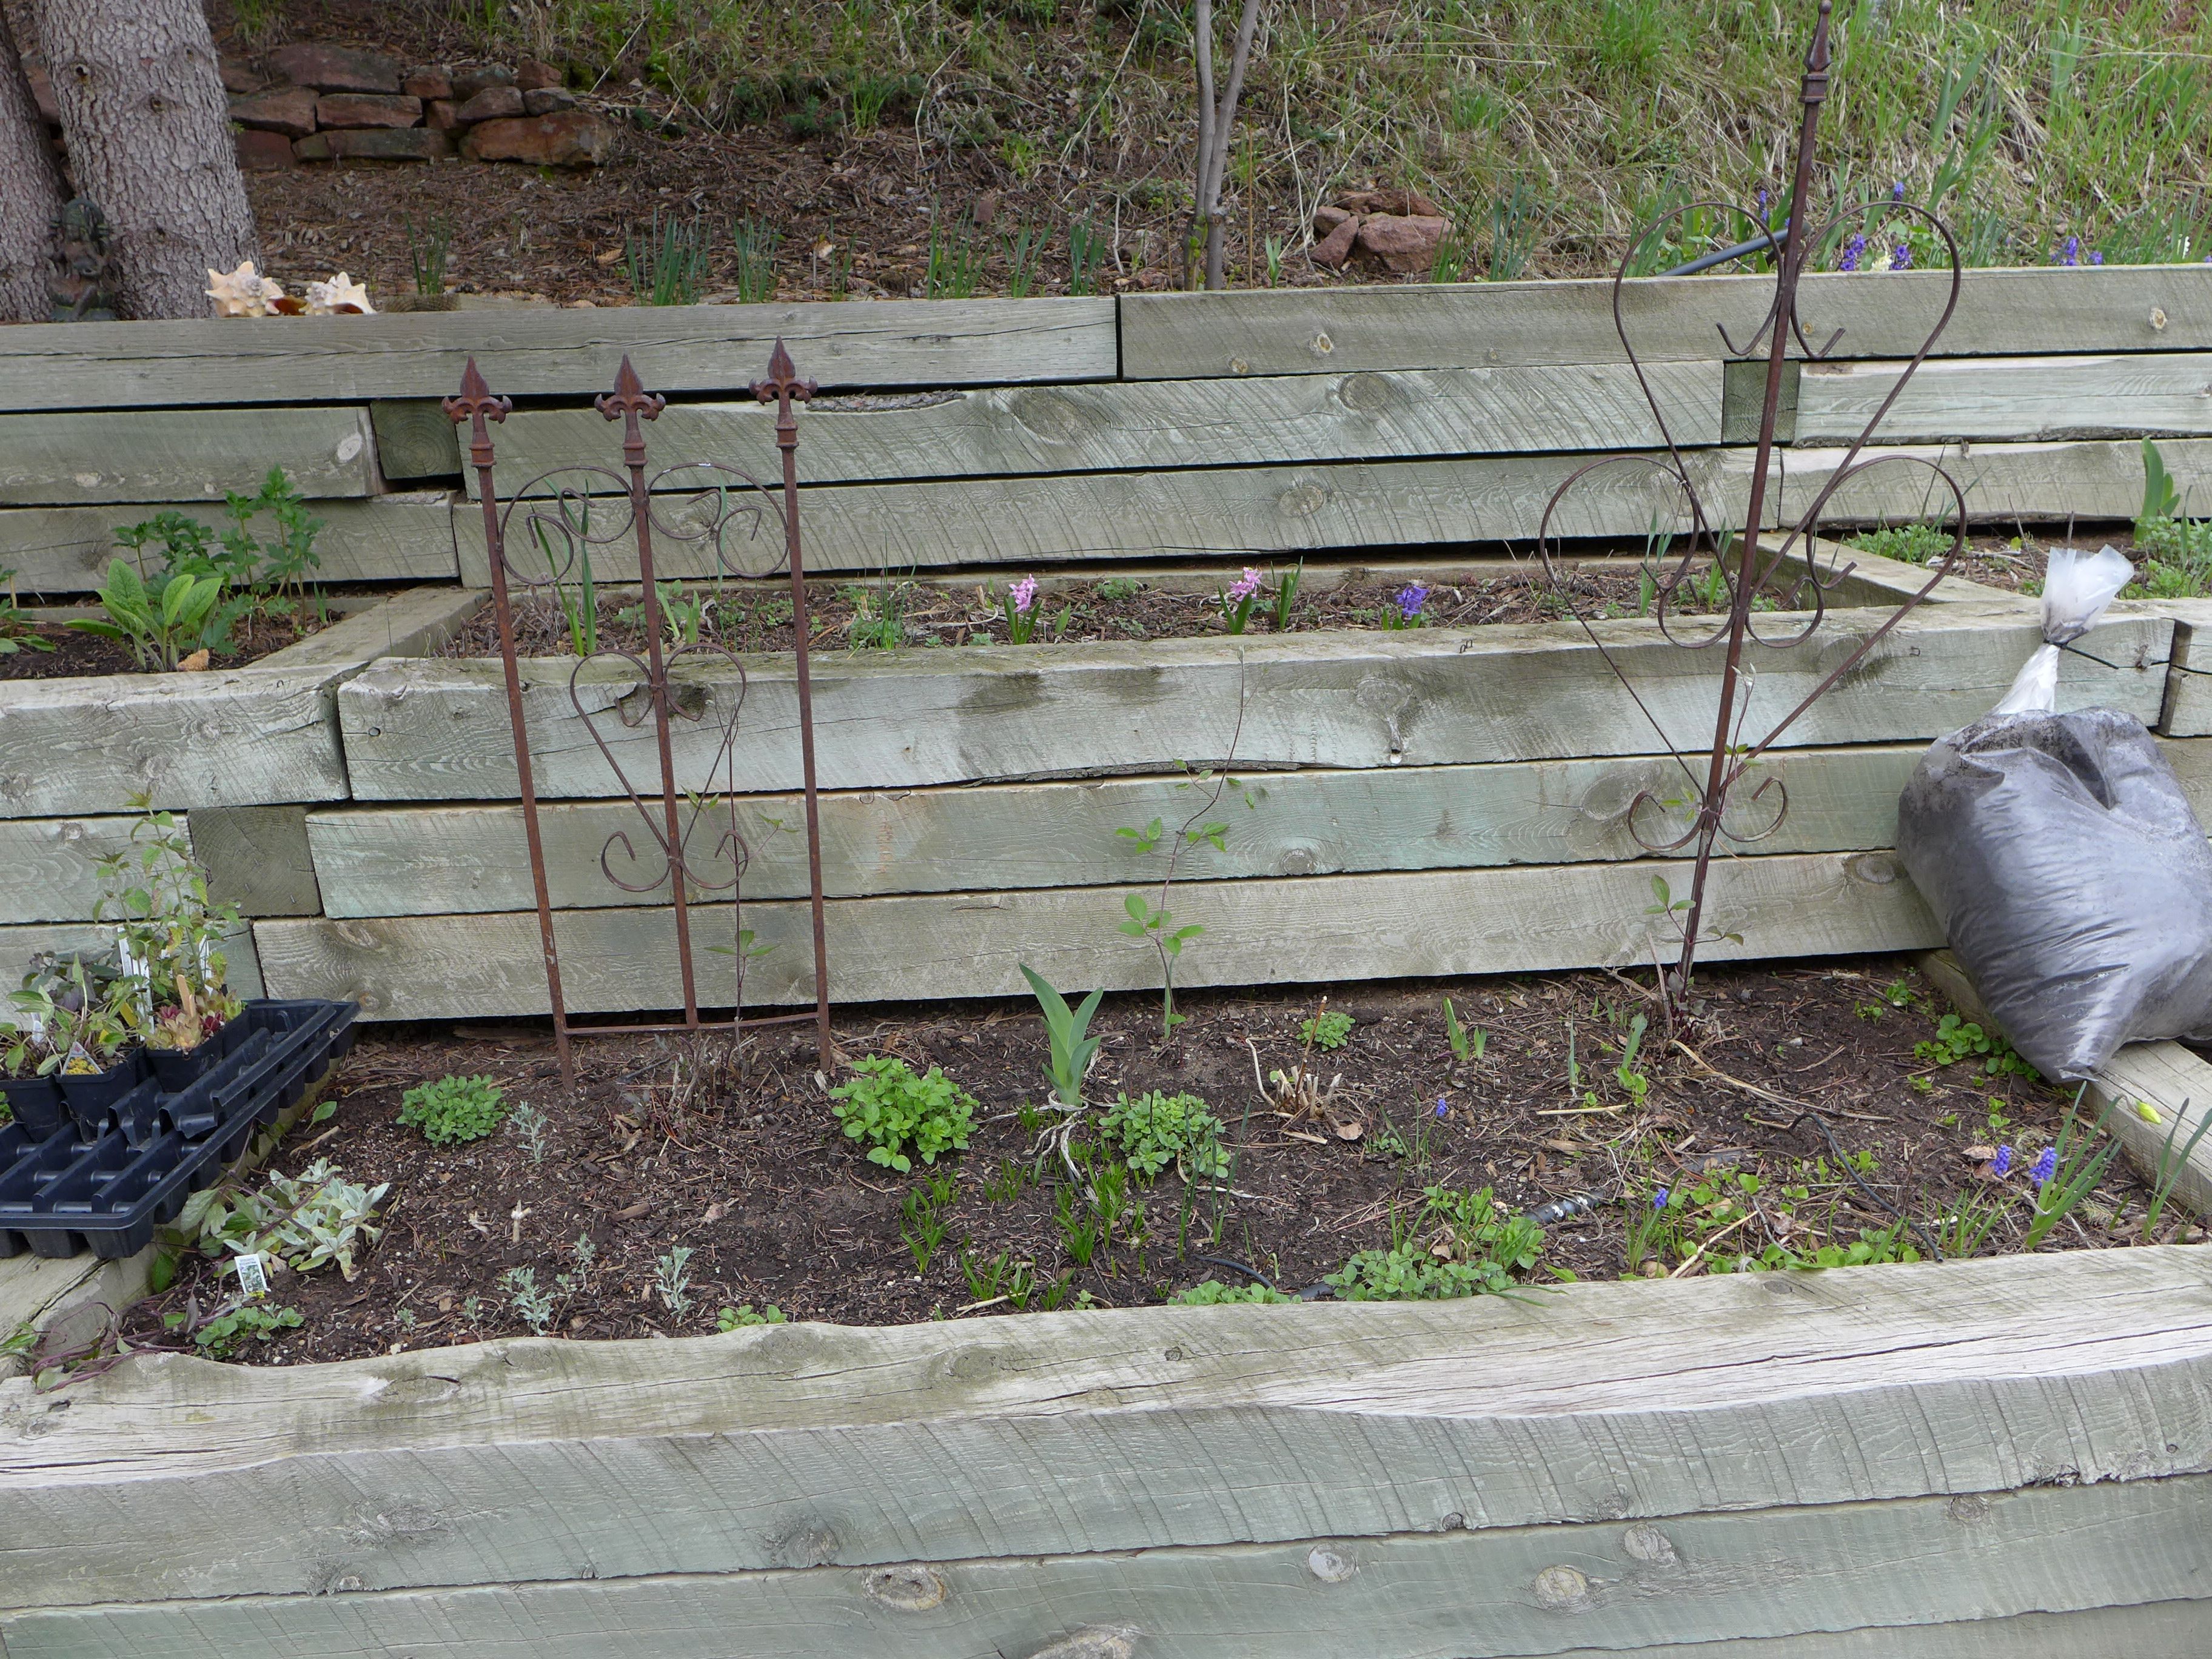
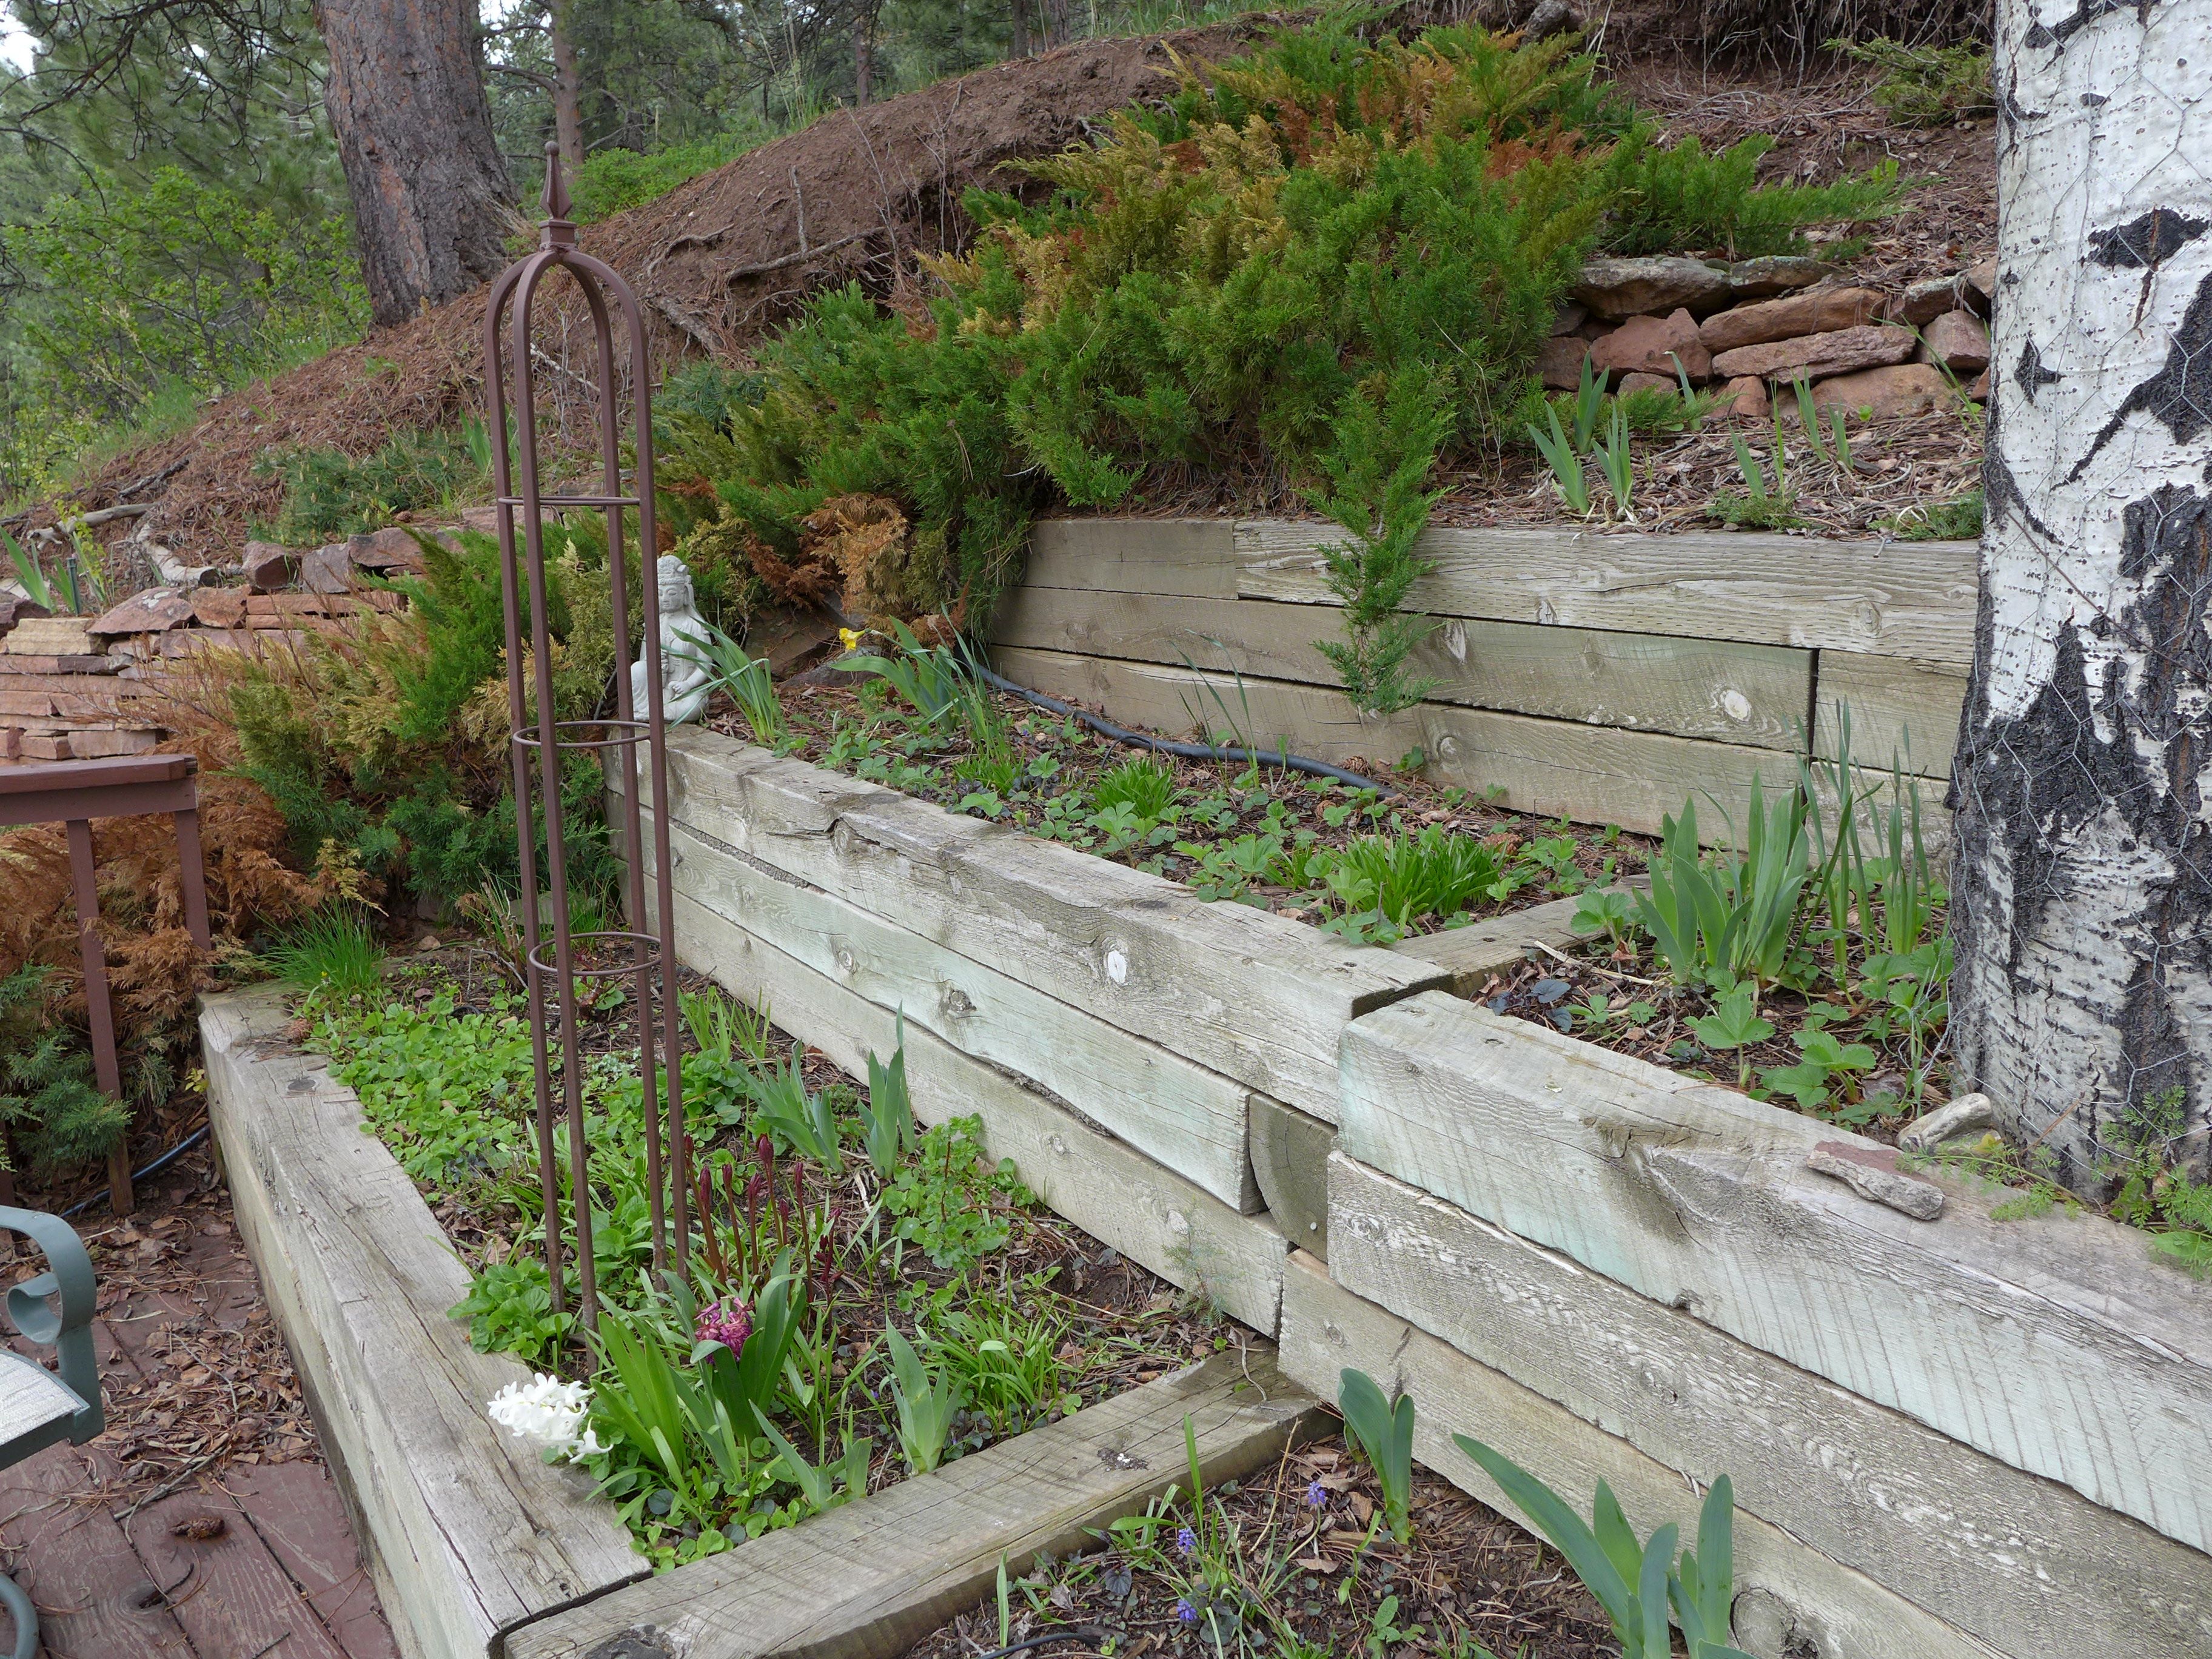
We have a very large deck, a number of raised beds, a small-ish pond with a waterfall/stream powered by a pump that we can turn on and off. There’s a small rock path leading from the deck to the pond, and then this path continues down the side of the hill to our driveway. The rest of our outdoor space is rustic. Our house is built on the side of a hill/mountain, and fortunately there is no landscaping, instead, we just get to walk off the porch and and are immediately immersed in the native Rocky Mountain foothills ecosystem, full of evergreen trees, cactuses, native grasses and flowers, and small shrubs, all dotted with many rock outcroppings.

Location

For anyone interested in the nitty gritty – I’m gardening in Boulder, CO in the foothills of the Rocky Mountains. We’re at about 6000 feet altitude, and in USDA zone 5b.

The Challenges

This is going to be my first real season gardening in Colorado. For the past two summers, I mainly grew herbs and a few things in pots on our deck, but this year my goal is to start improving the permanent spaces around our house. The main challenges that I want to keep in mind are water supply, animal predation, and length of the growing season.

liveseasoned_spring2016_garden11

I think I’m already doing a good job of reining in my expectations when it comes to that last item. If this were PA, I would have been actively working in the garden and adding new plants back in April. But here, we saw some of our biggest snow storms just a month ago! That definitely helped to keep my expectations in check. It also helps that the nurseries (knowing what’s what) don’t put out many of their plants until we’ve entered the window where putting them in the ground is ok. So, I’ve just started to add some perennials to the flower beds, and while it *feels* late, I think I’m right on schedule.

When it comes to plant choices, I want to create a responsible garden, so I’m really focusing on plants that will do well in a more arid environment. Fortunately for me, many of the flowers that I like also fit the bill as having low-water needs. After their first season, that is. You want to water plants well in their first season to ensure that they become established in the beds, growing nice deep roots that will help them  in future seasons with lower water supplies. We have a drip irrigation installed throughout the beds, so that will help with watering but even so, I want to make sure we’ve installed a water-wise garden.

liveseasoned_spring2016_garden5

The other challenge that I’m trying to keep in mind are the foragers that frequent/live on our property. There are families of Mule Deer living in this area, and they love to graze in our yard. They are often eating the native grasses growing on the hillside, but they also walk right onto the deck and will look for anything tender growing in the garden. We also have rabbits living in the yard and they have no qualms about eating from the garden. Again, I’m lucky that many of the flowers I want to add to the garden are generally considered to be deer and rabbit-safe, but this is not the case for most vegetables, so as you’ll see below, I have a plan…

The Raised Beds

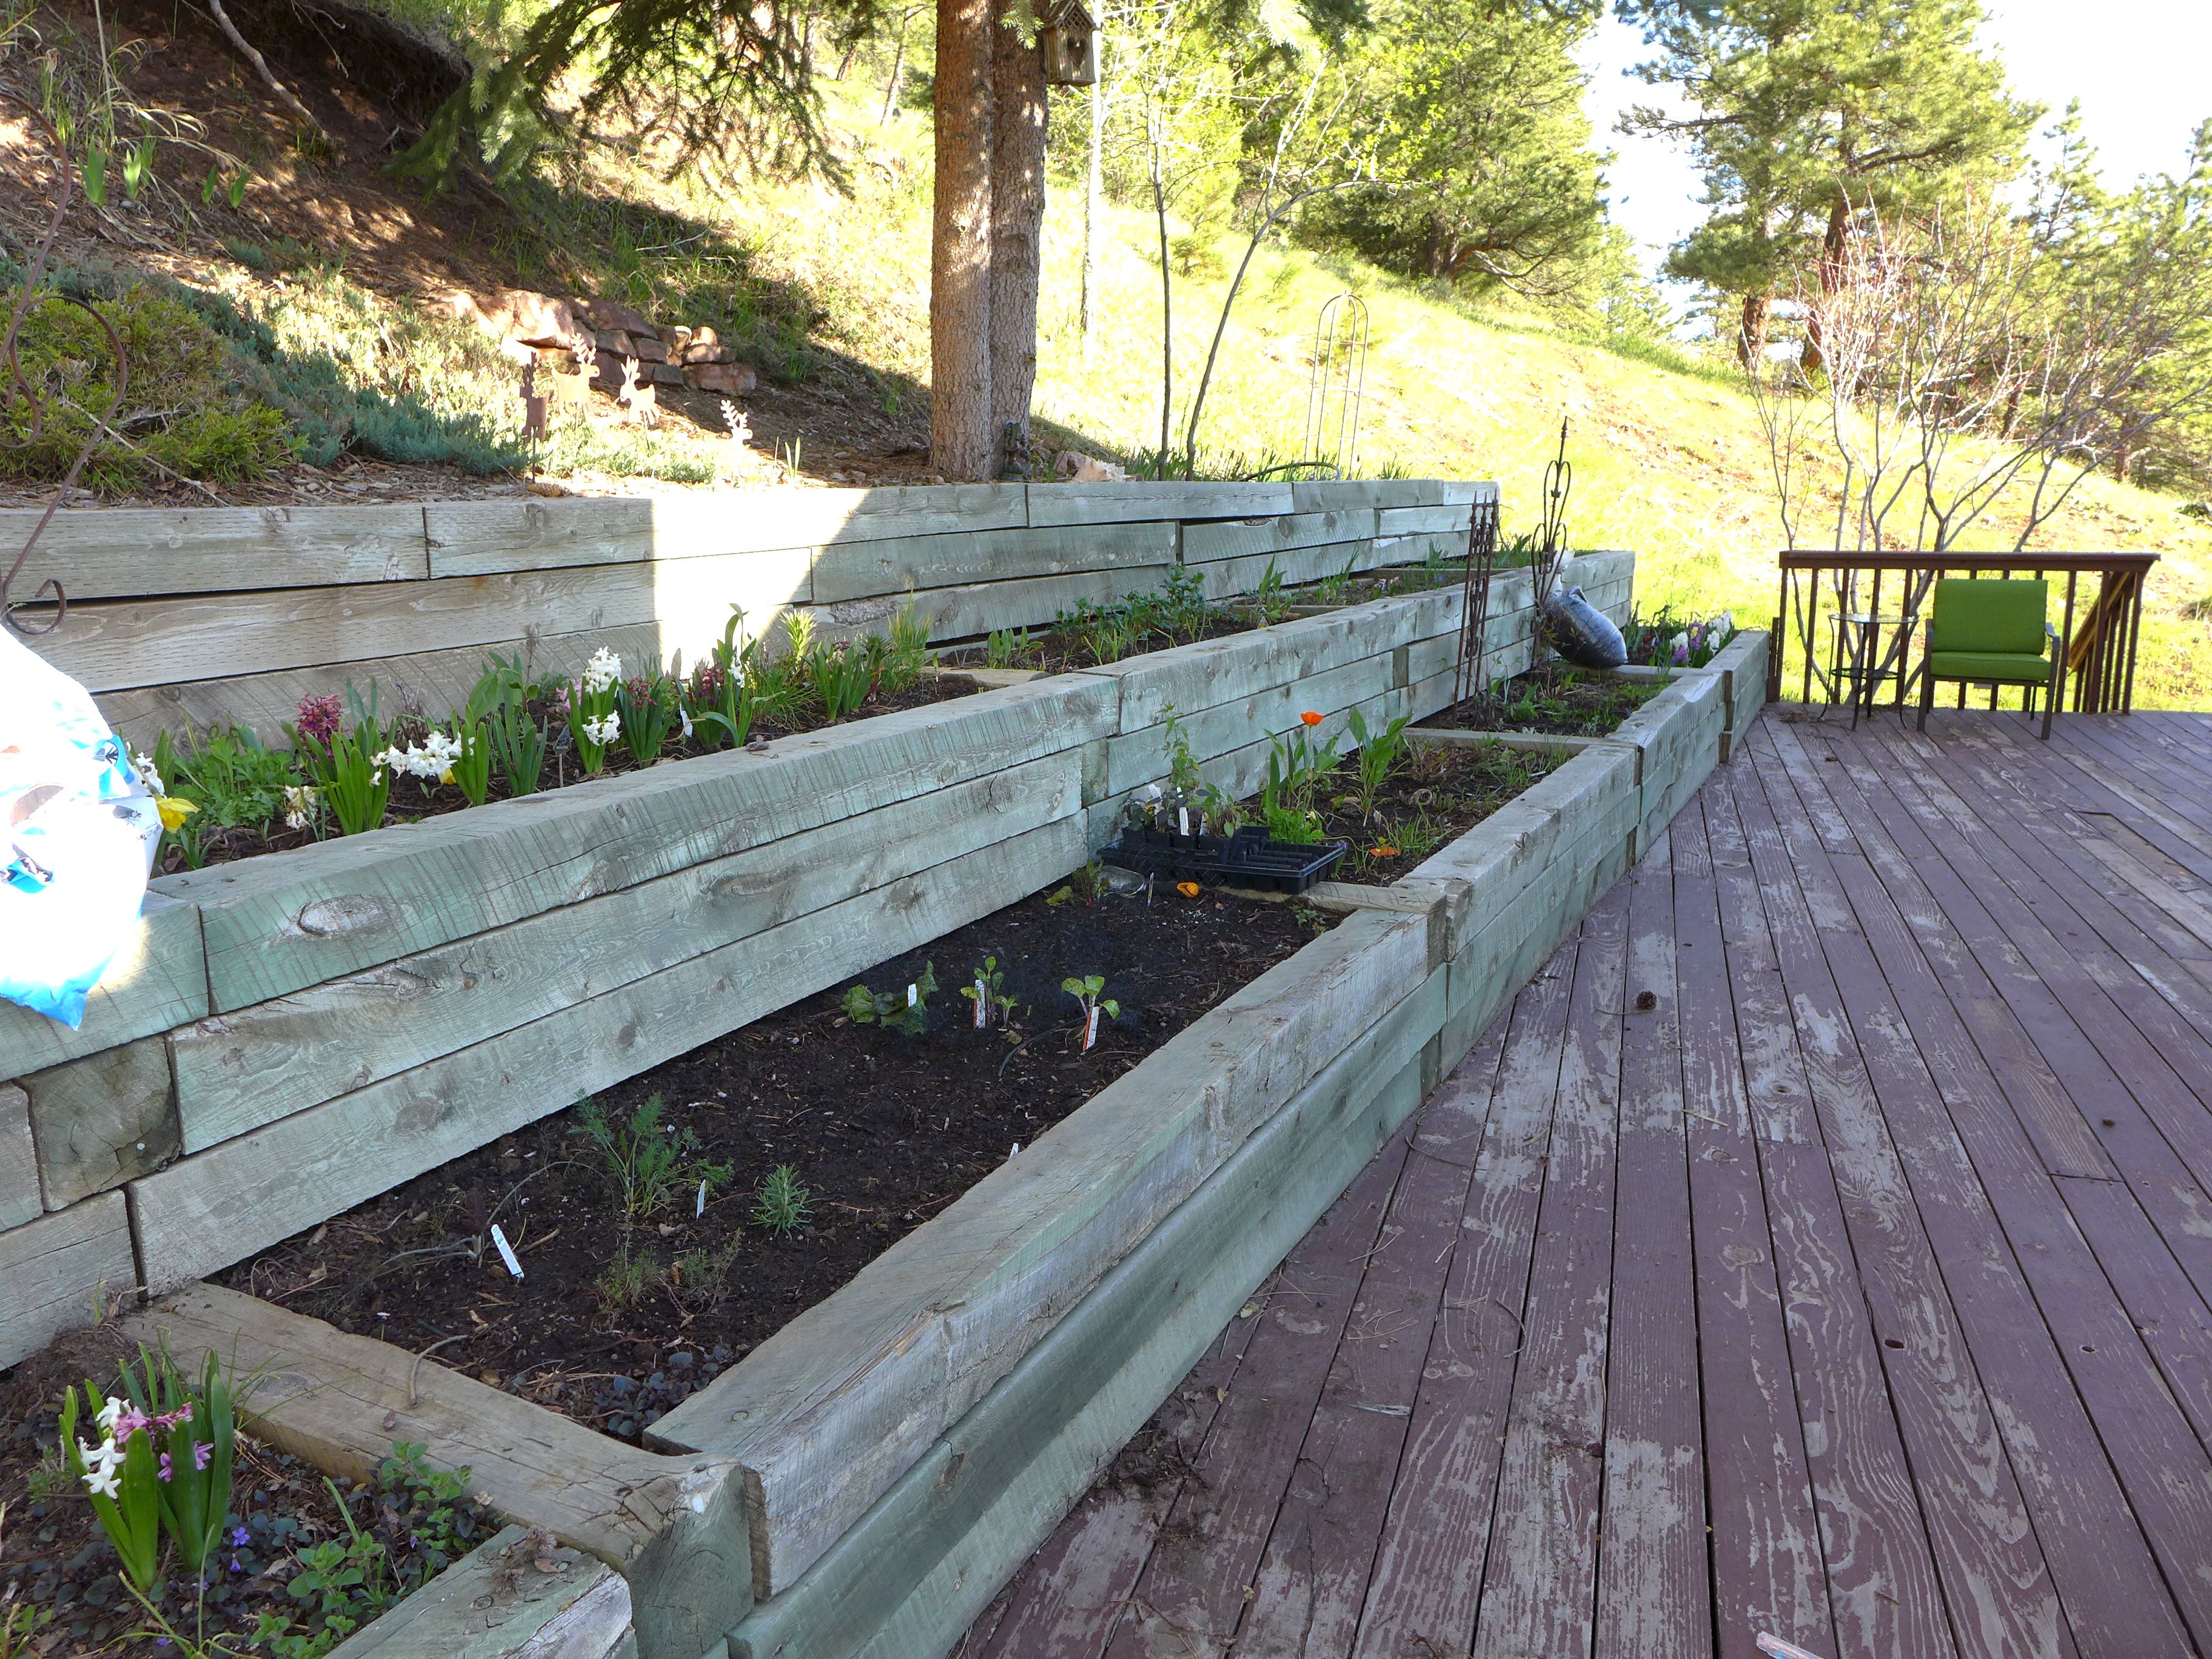
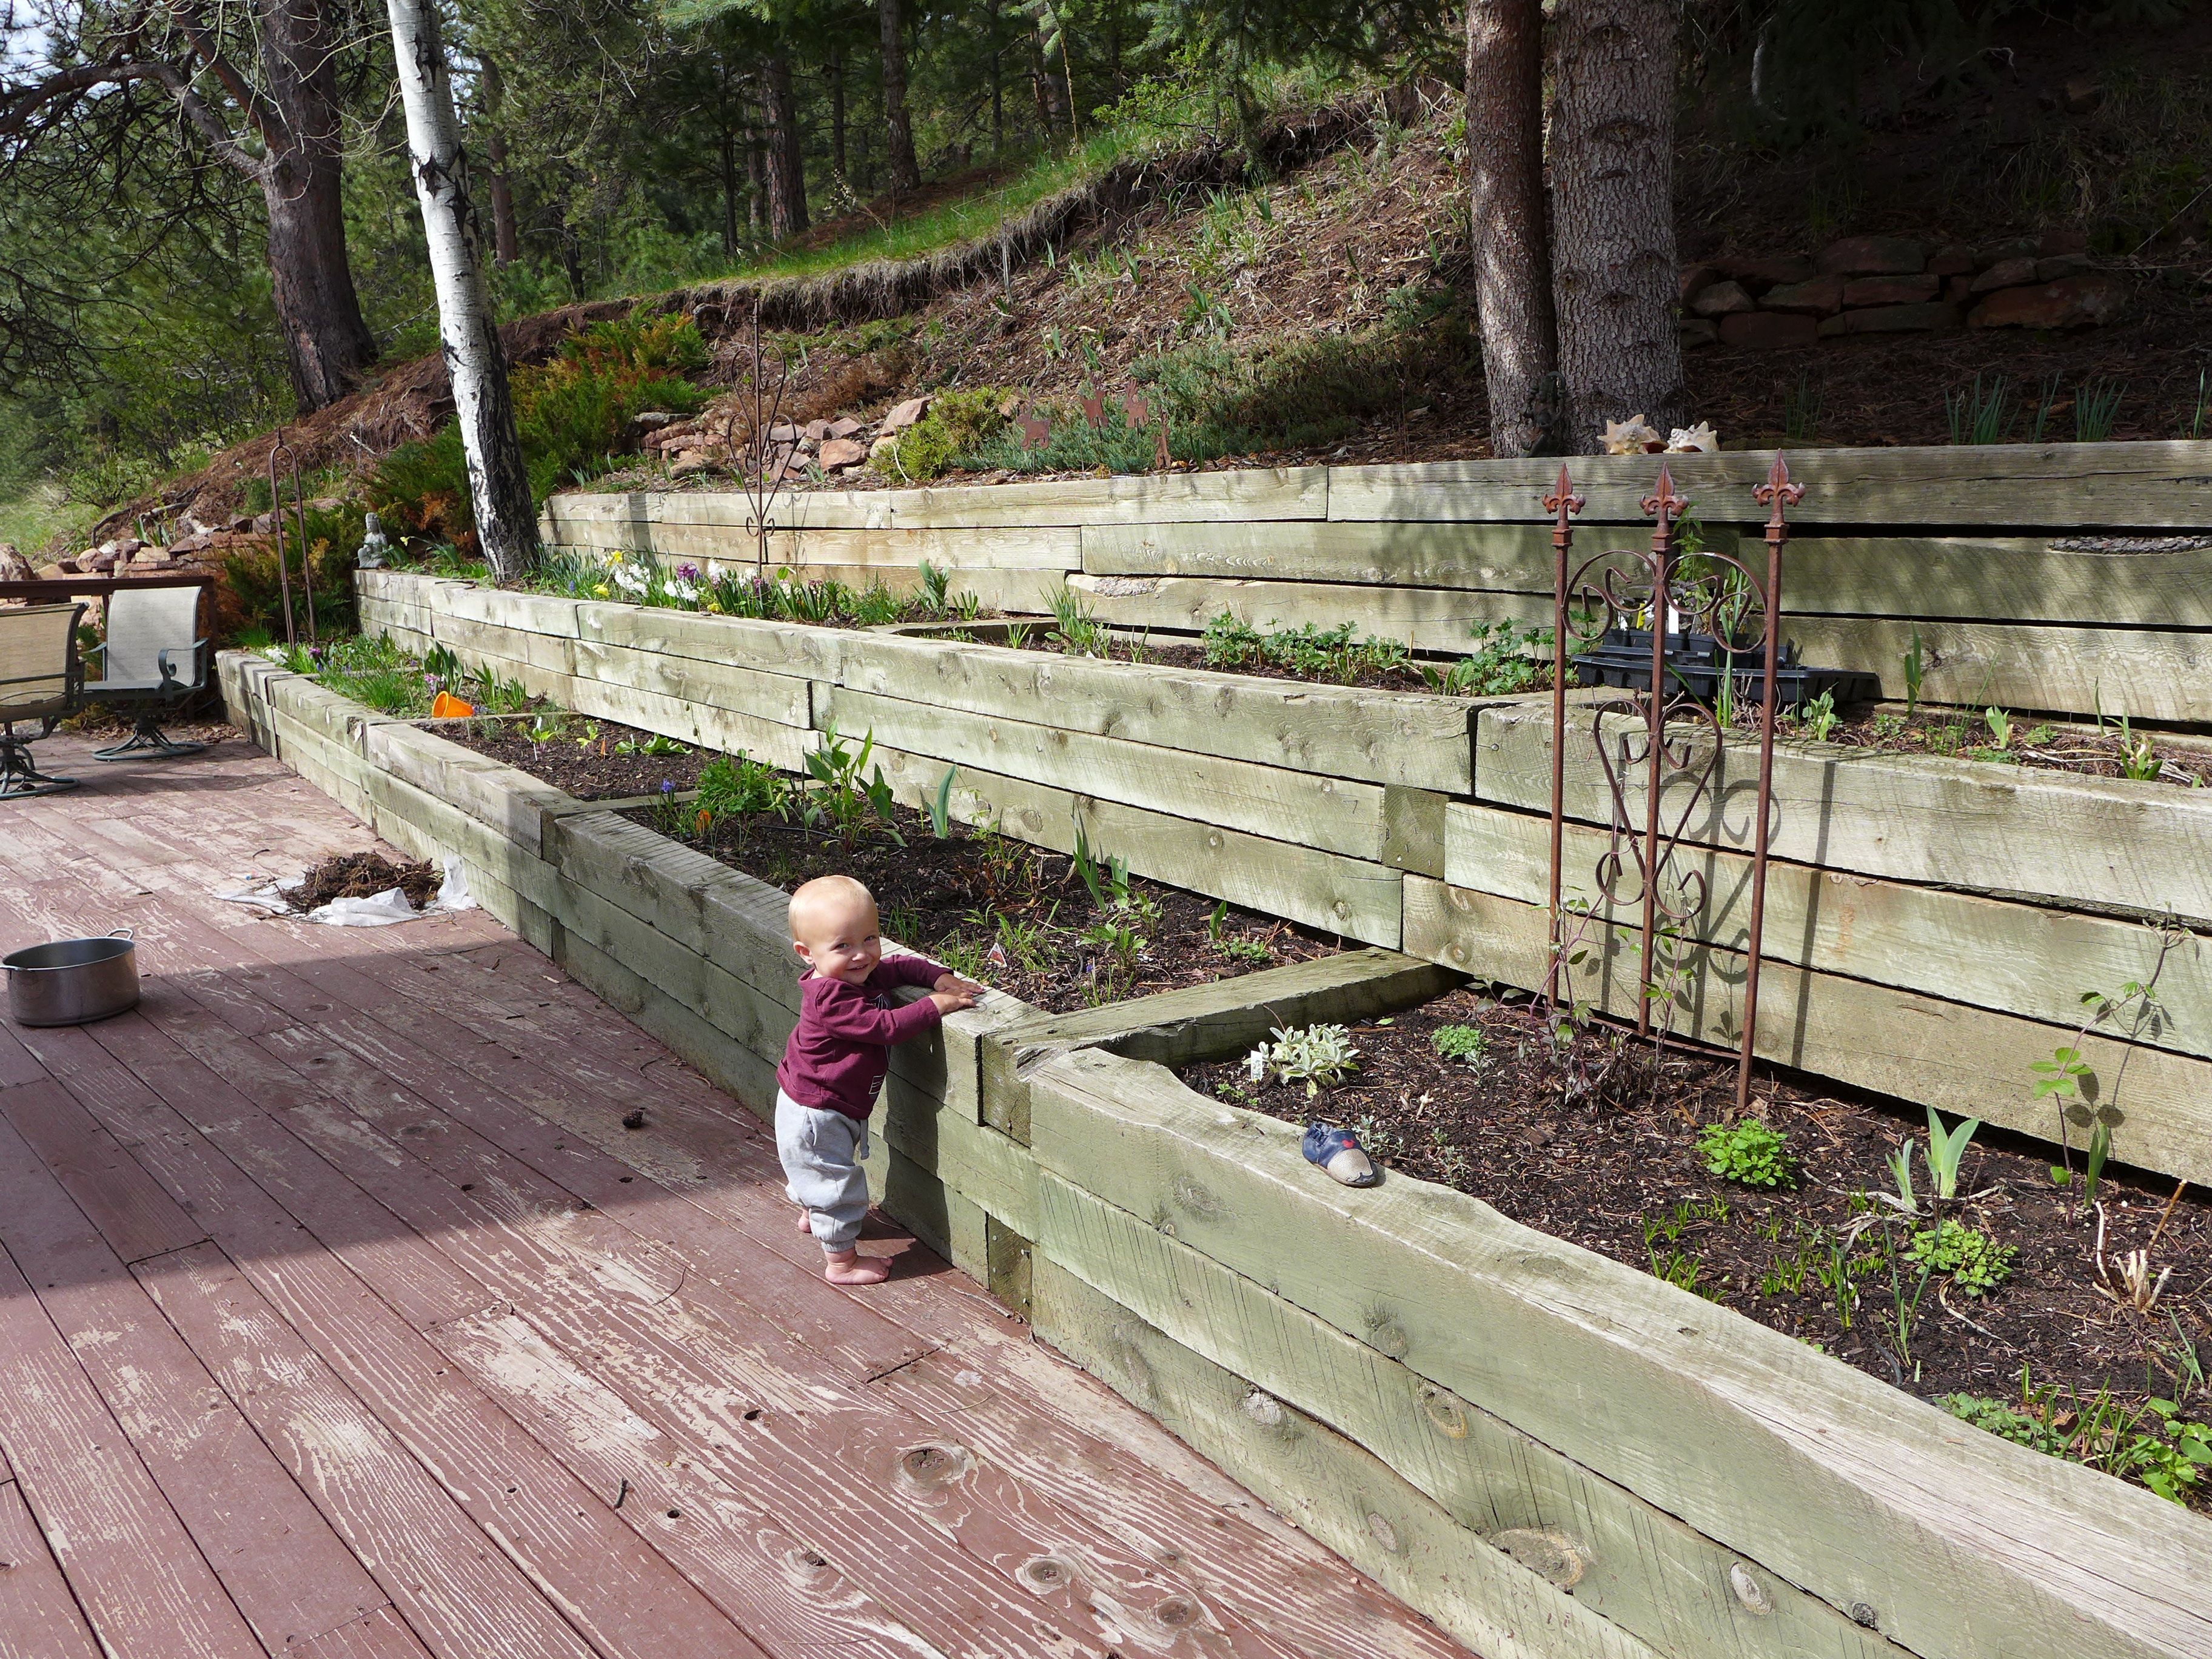
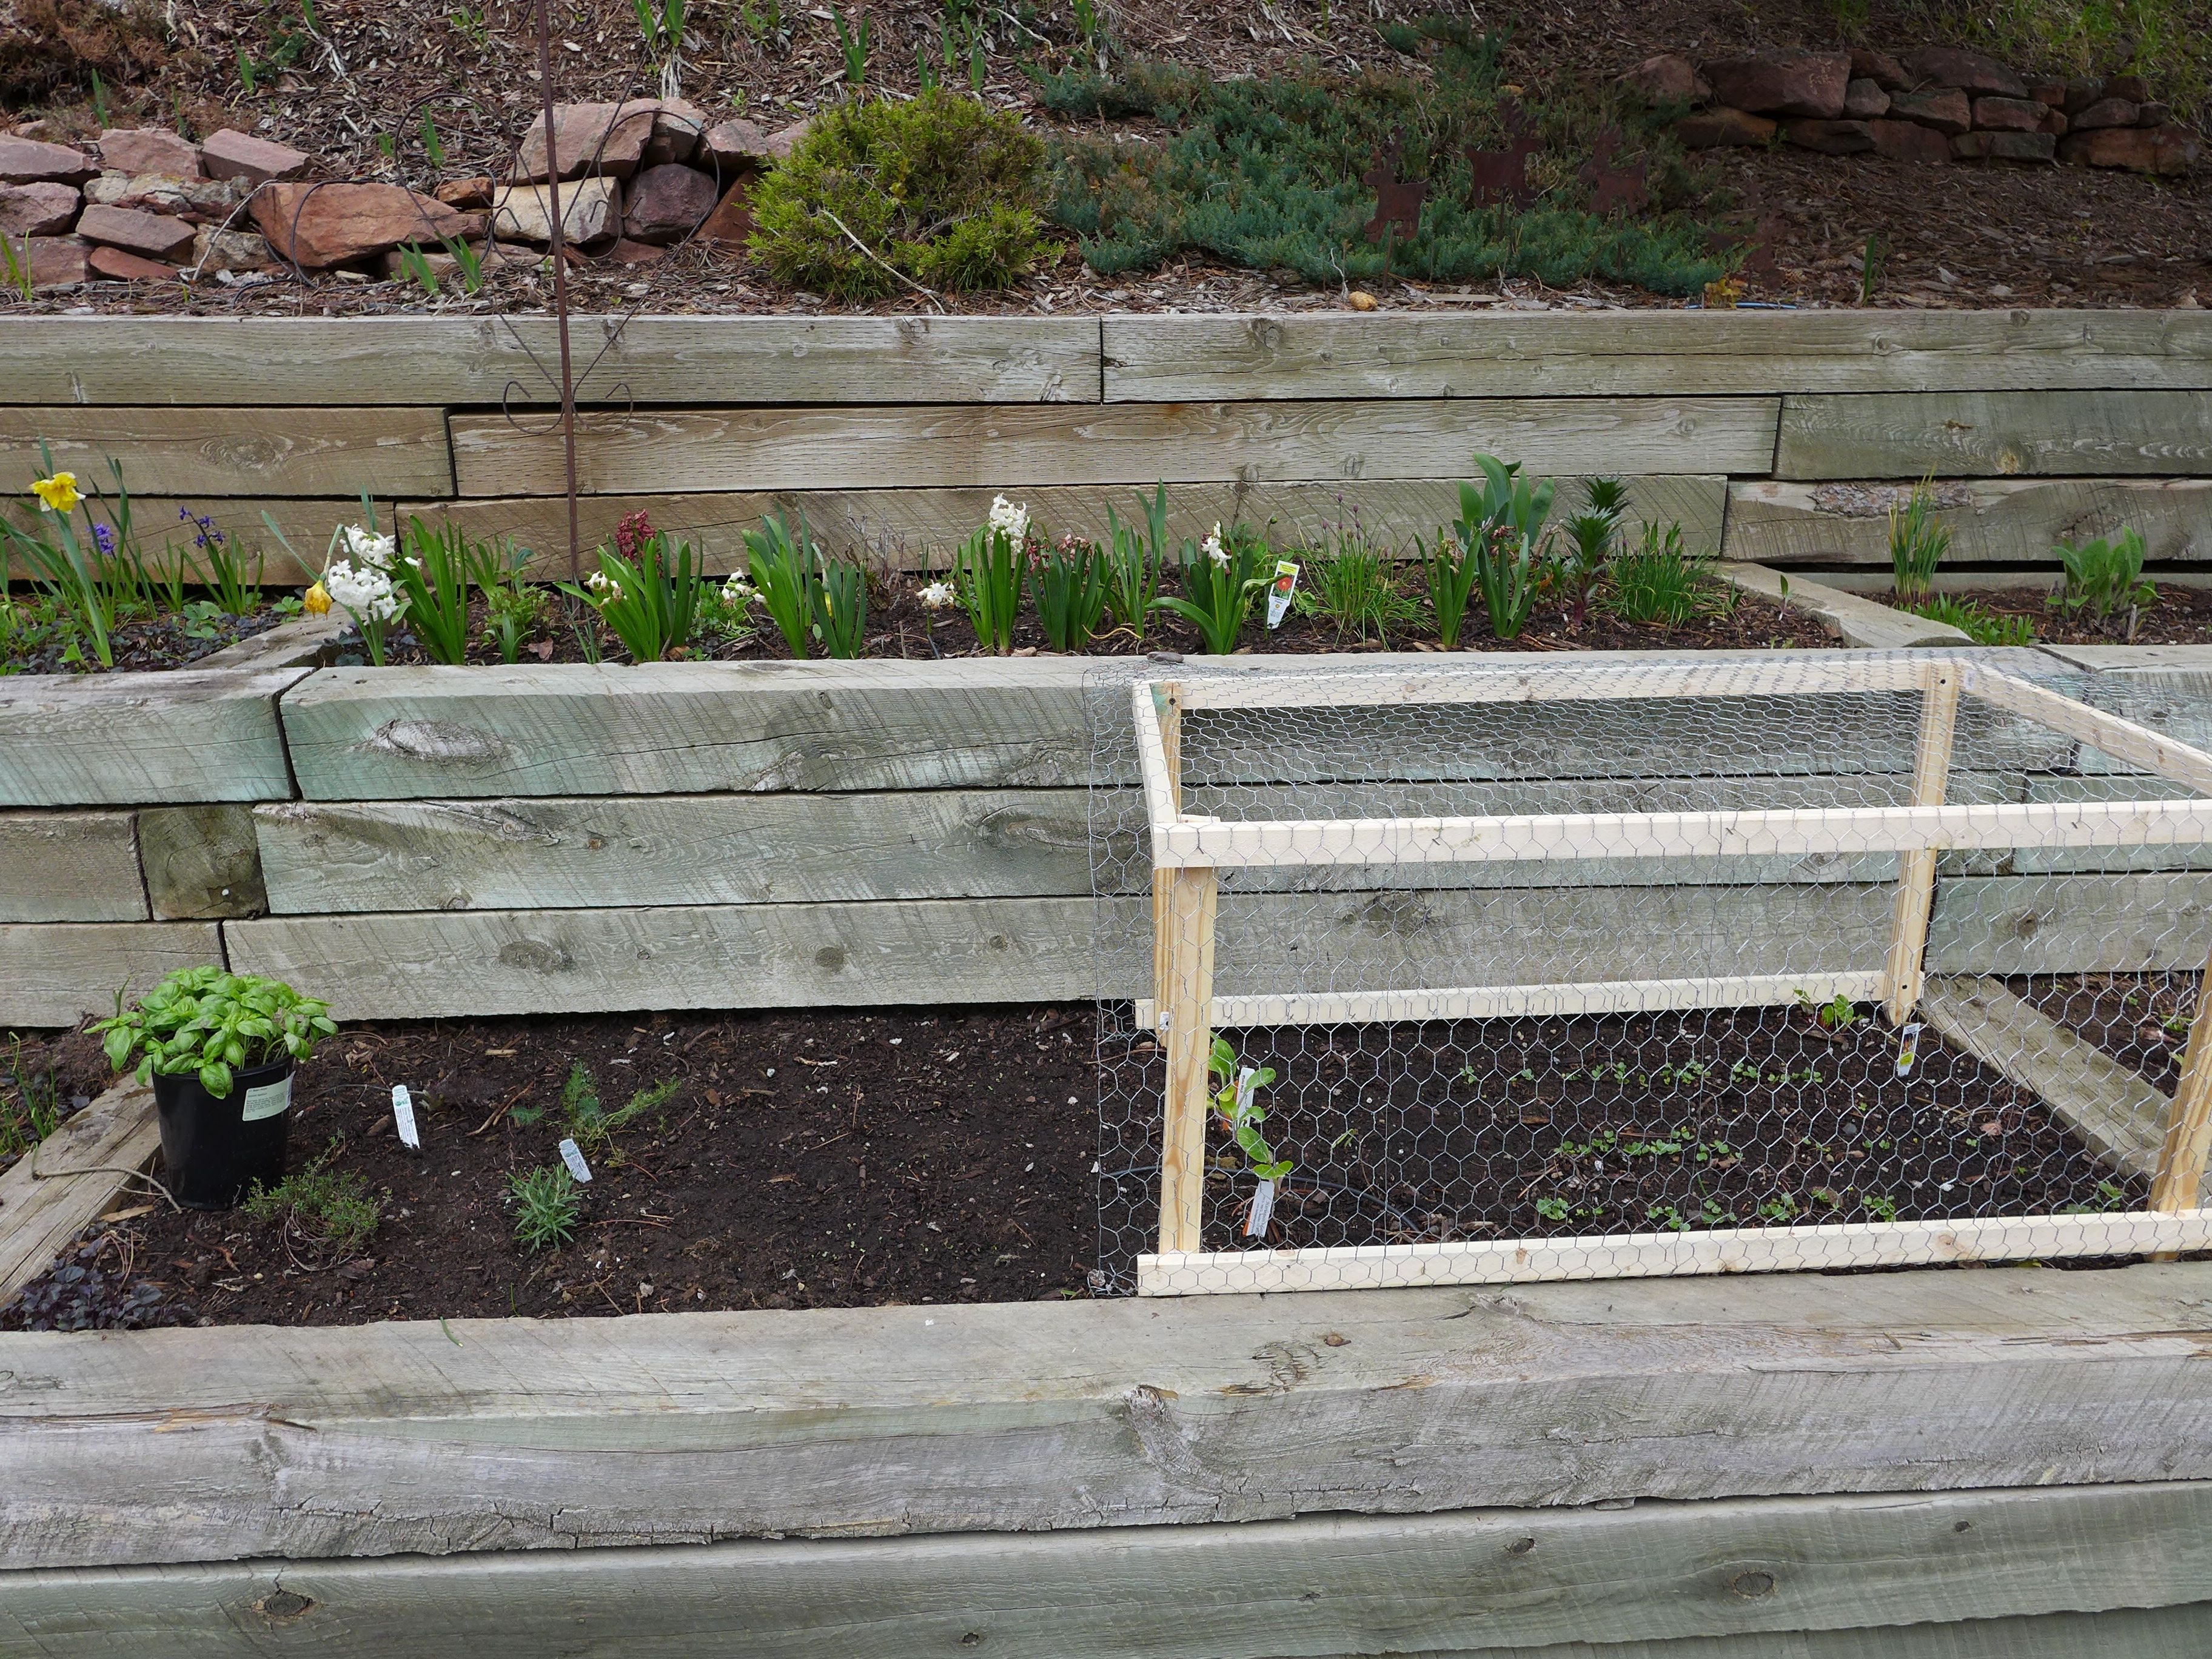
There are twelve tiered beds along one side of our deck, a few more that line the stairway from our driveway to the front door, and a couple more on the east-facing slope of our mountain below the house. We don’t see those last two on a daily basis, so I think I’ll end up ignoring them for most of this summer while I keep my focus on developing the plantings in the other beds.

Flowers

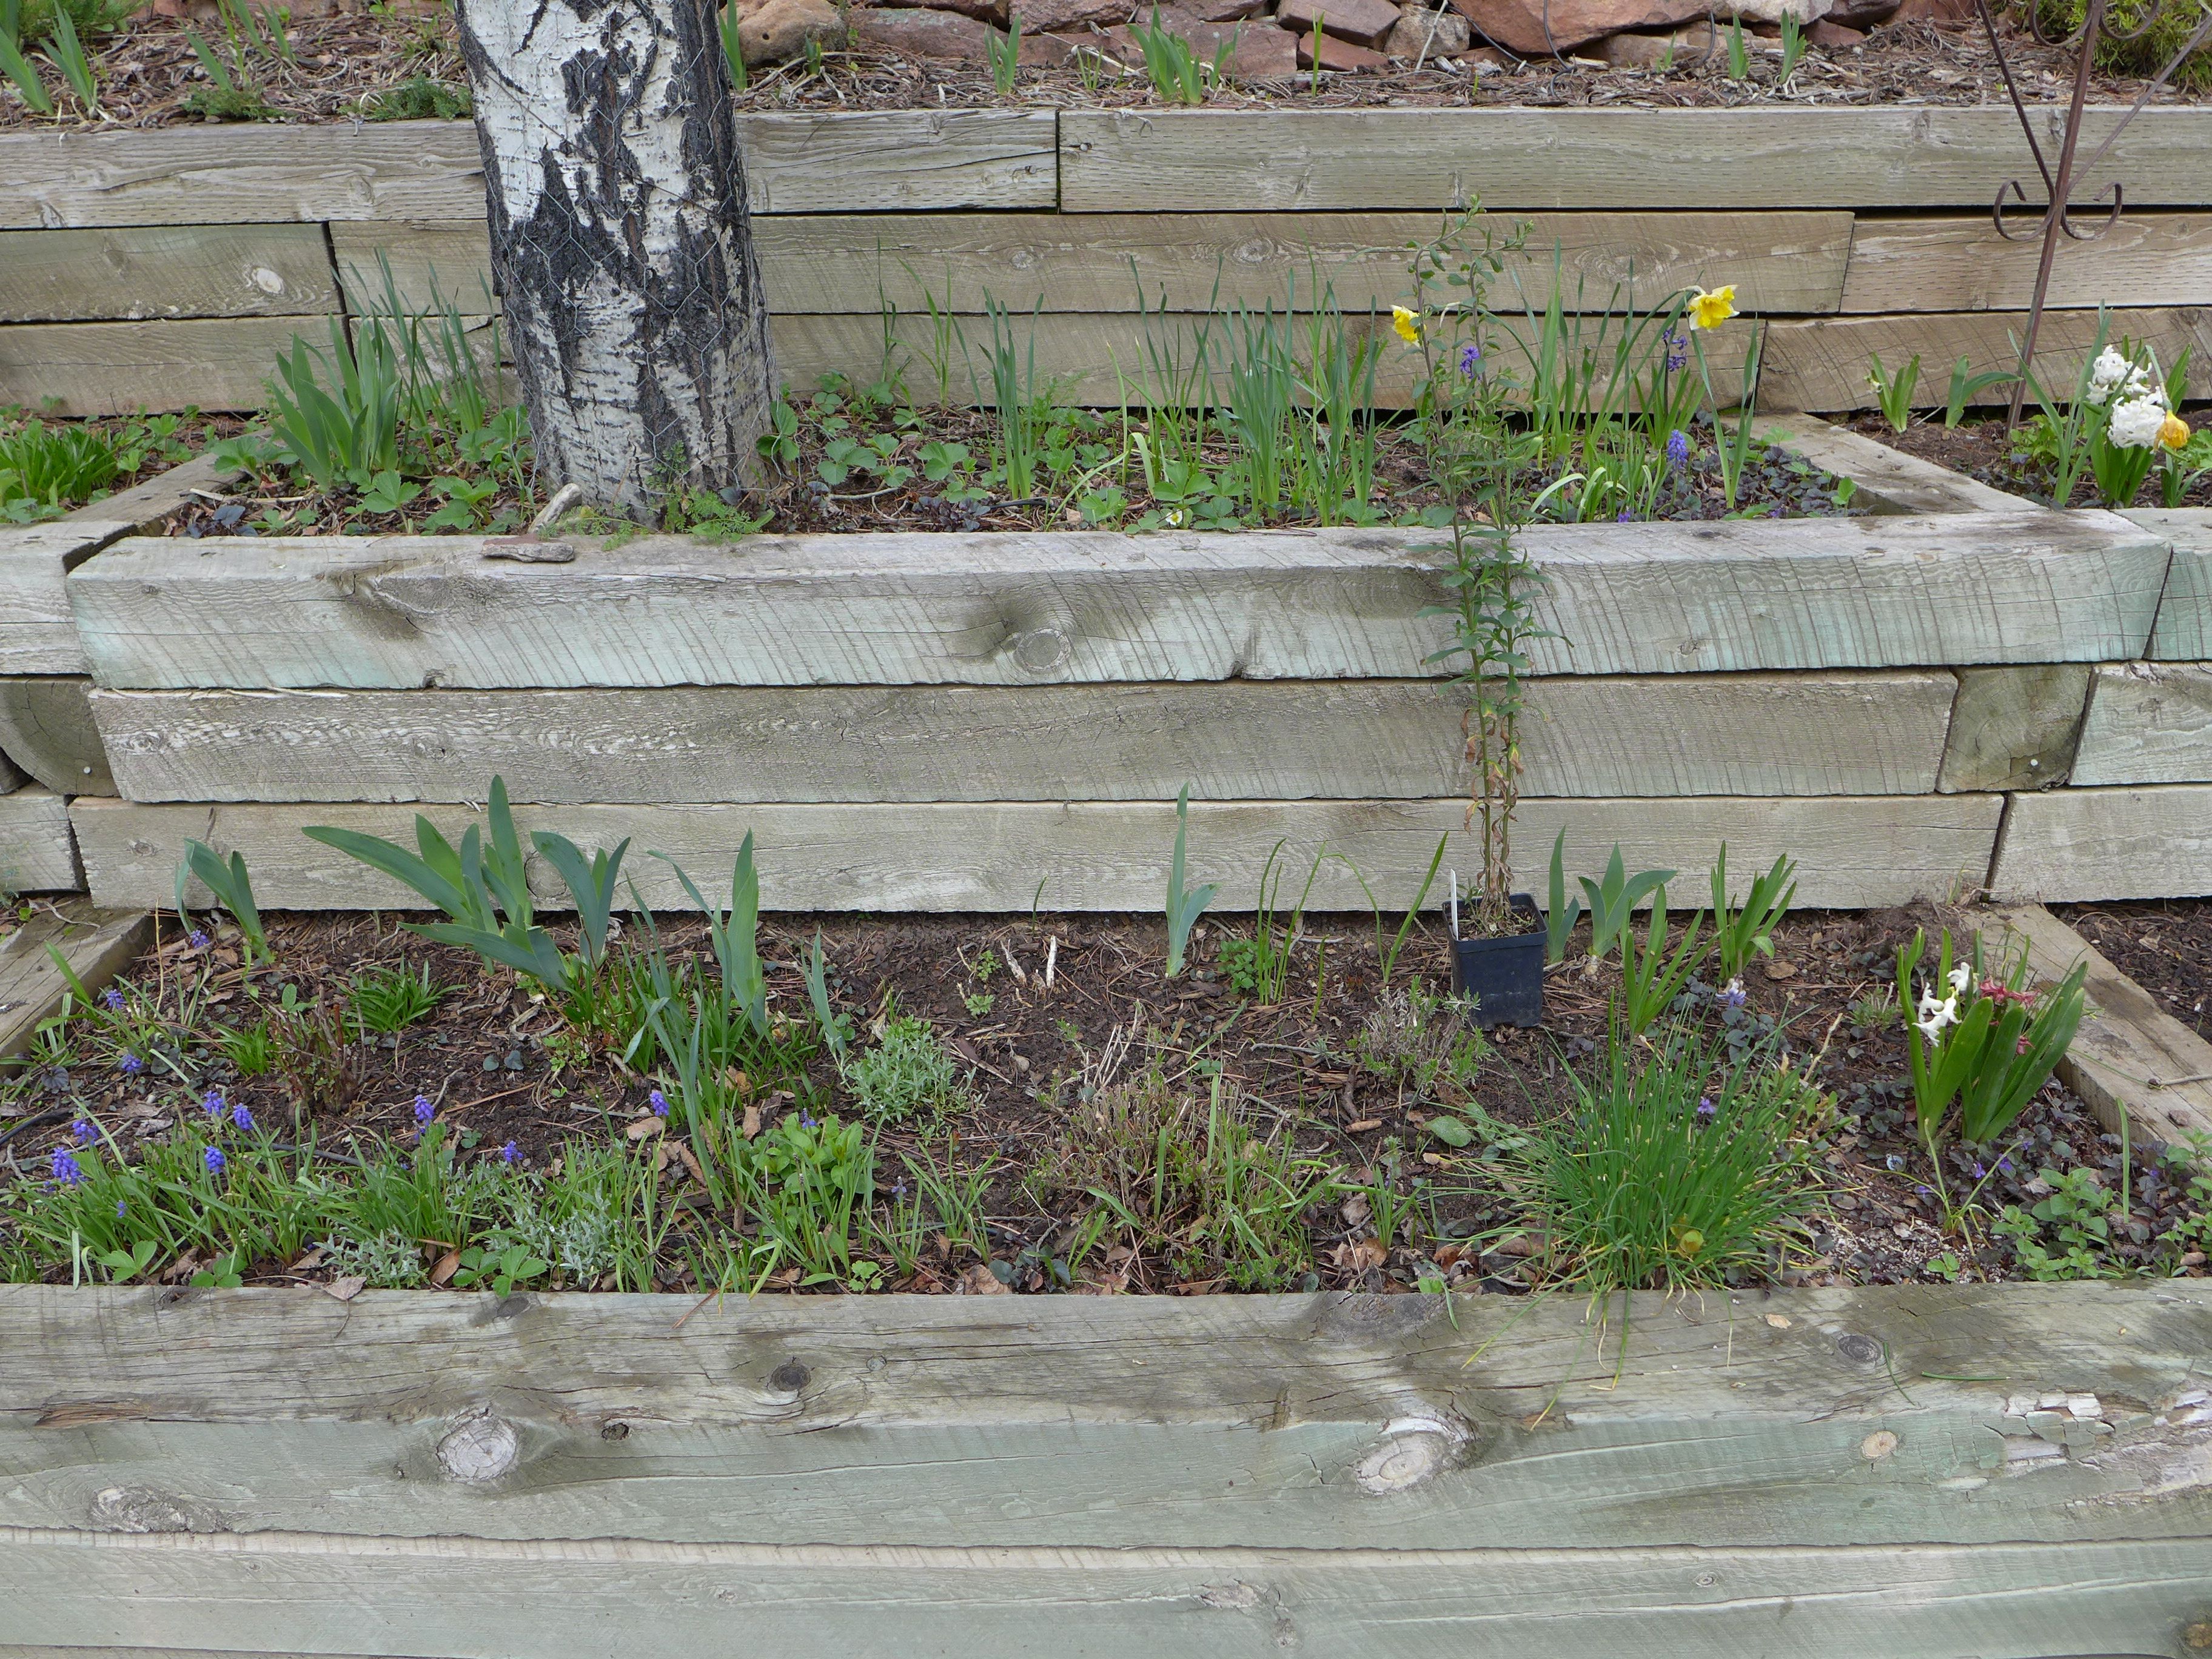
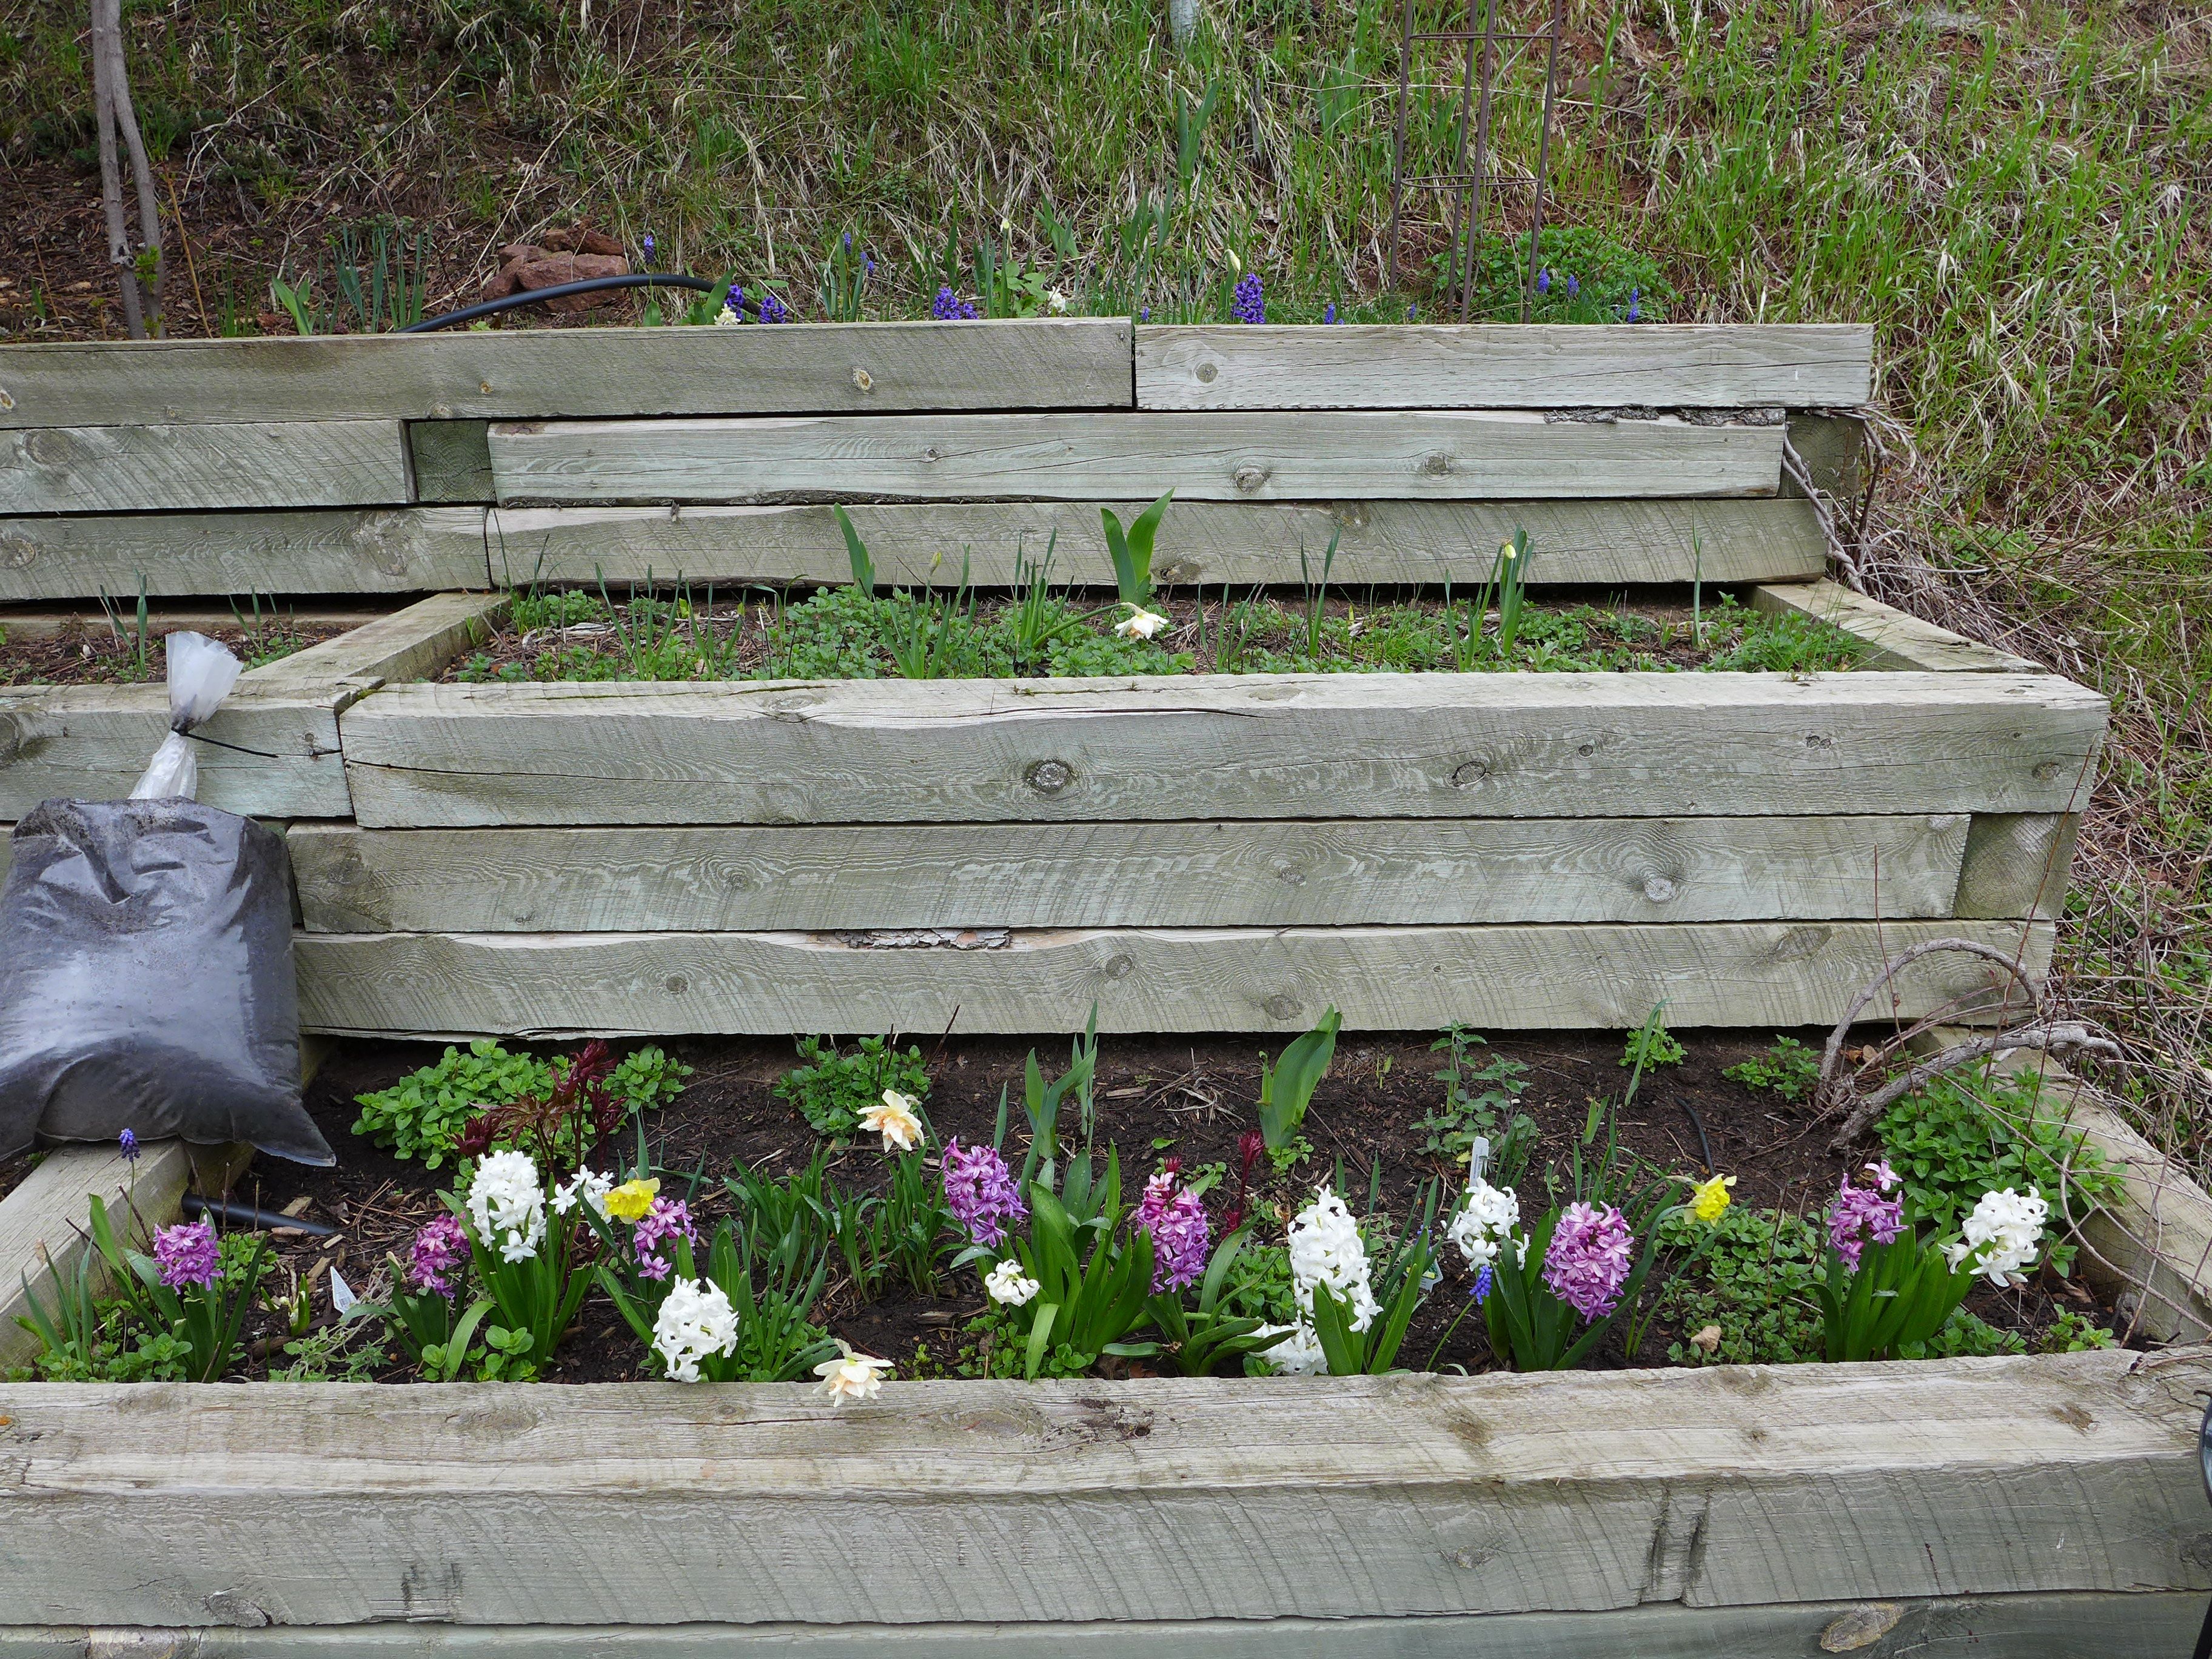
All of the planted areas currently contain a collection of early-season bloomers (daffodils, snowdrops, hyacinths). There are a few peony plants, lavender, roses, and a lot of bearded irises.

liveseasoned_spring2016_garden1

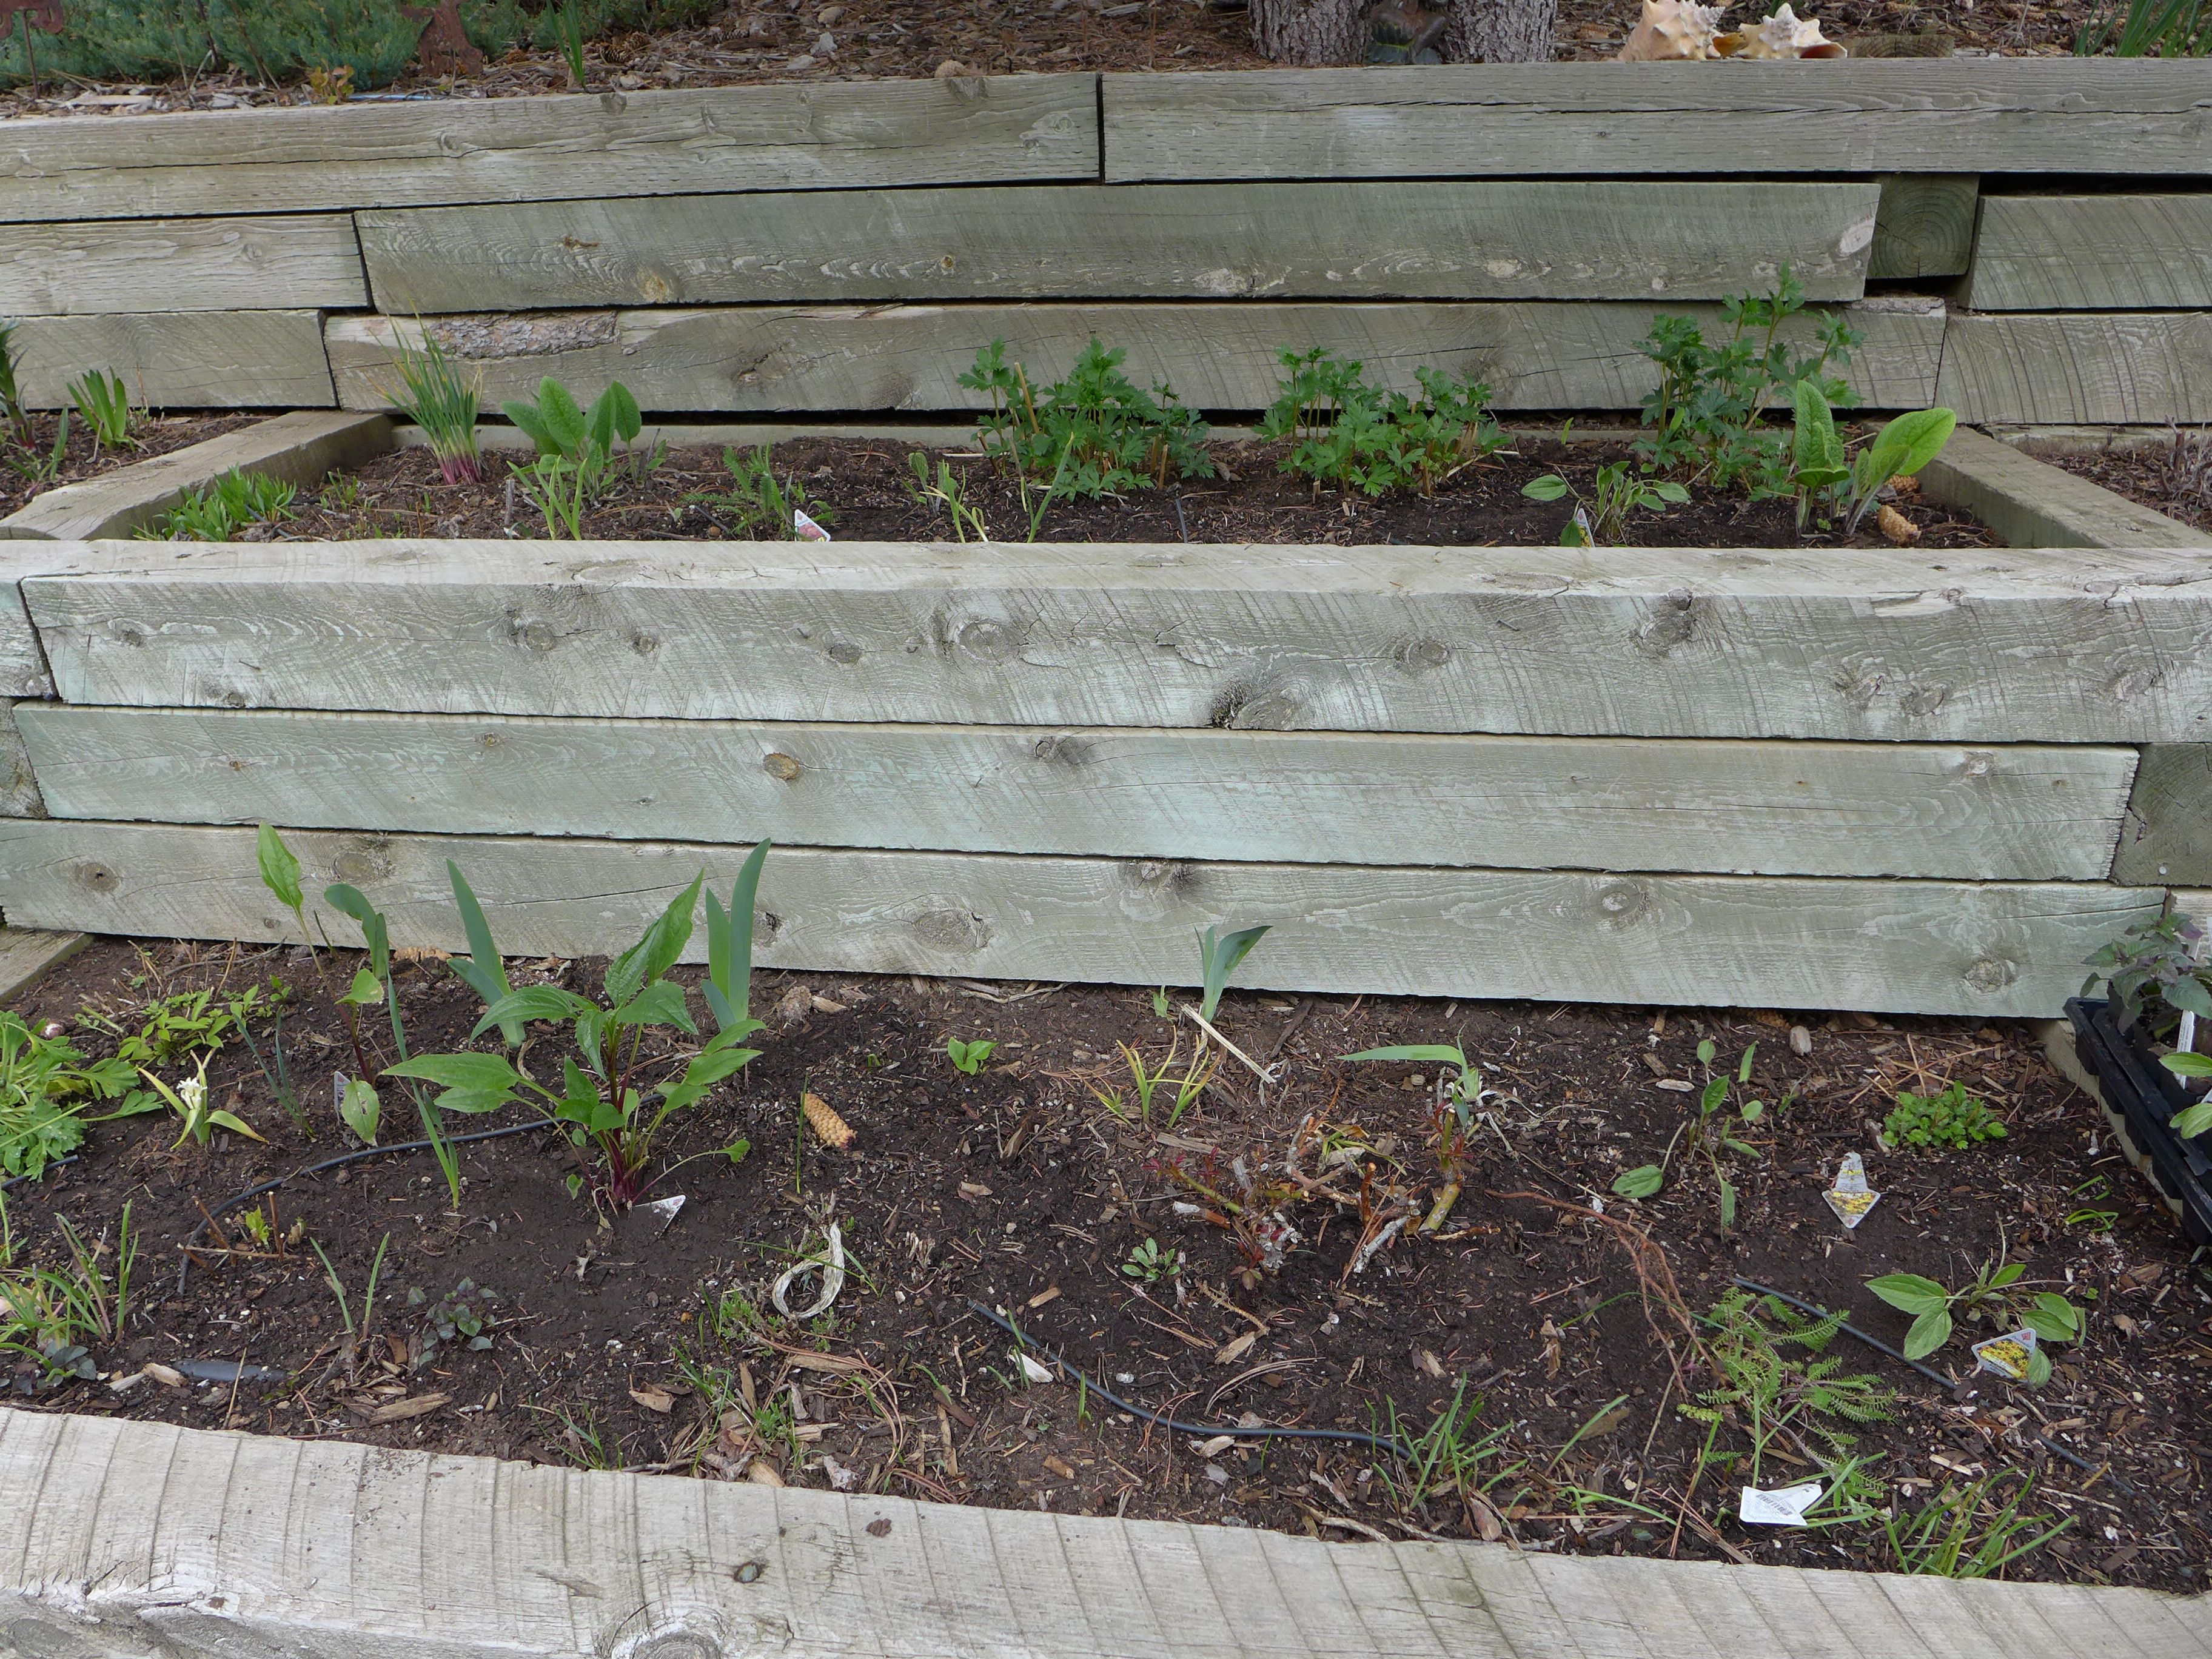
This year I’m hoping to expand the variety of flowers growing in these beds. My plan is to add black-eyed susans, purple coneflowers, bee balm, catmint, yarrow, goldenrod, and milkweed. From my research, these all fit the bill as having low water needs and also being relatively unattractive to foraging from deer and rabbits. And while I’m trying to keep away some animals, I’m hoping to attract others. These flower choices are all attractive to a combination of hummingbirds, butterflies, and bees.

In addition to the flowers, we have a number of ornamental shrubs – butterfly weed, flowering hydrangea, and lilacs. I don’t plan on adding any more shrubs at the moment; I just want to maintain what we have.

liveseasoned_spring2016_garden3

liveseasoned_spring2016_garden2

Edibles

We inherited a few edible plants in our garden. There are perennial herbs (sage, chives, oregano, and mint), a raspberry patch, and a few old strawberry beds.

A lot of people flinch when they here about mint in the garden because it’s so invasive. We’re fortunate in that all of our mint is planted in the rock pathway between our deck and the pond. It’s slightly shaded and is an area with soil that stays more moist than other beds (perfect for water-loving mint), and fortunately, it can’t really spread beyond that zone because it’s cornered by the pond, stream, and deck.

liveseasoned_spring2016_garden9

I didn’t know anything about raspberries before moving in, and I still feel like there’s a lot to learn. I know that there are some varieties that produce berries late in the season off of new canes and other varieties that produce berries throughout the season off of old growth. Right?

Last summer I cut all of these canes back. We only ended up getting two berries (no joke!), but they were delicious! It could have been that we didn’t water the area enough? Or it could be that this is a variety that produces berries on old growth? I didn’t prune anything this season and am going to see what happens. I’ve also signed up for a “small berries” class at a local nursery. I’m hoping to walk away from the class with both tips for growing and caring for our berry plants as well as information about different varieties that do well in our area.

liveseasoned_spring2016_garden6

I think our strawberry beds are all past their prime. I’ve read and been told that a strawberry plant only has a few years in it before its production slows down. Last year we had quite a few flowers, and I think I saw a berry or two, but we never got to any of them before the animals (this might be an unavoidable problem). I’d like to re-energize our beds, but I think I’ll wait to do anything until after the class.

When we moved in, every one of our raised beds had something growing in it – some were more full than others. Calder and I were both excited to completely empty at least one bed for growing veggies. We don’t have high expectations, or necessarily a high demand since we have a farm share, but we want to grow a few things that we can pick and eat, and more importantly to give the boys the exposure to growing something that they can pick and eat.

liveseasoned_spring2016_garden7

liveseasoned_spring2016_garden4

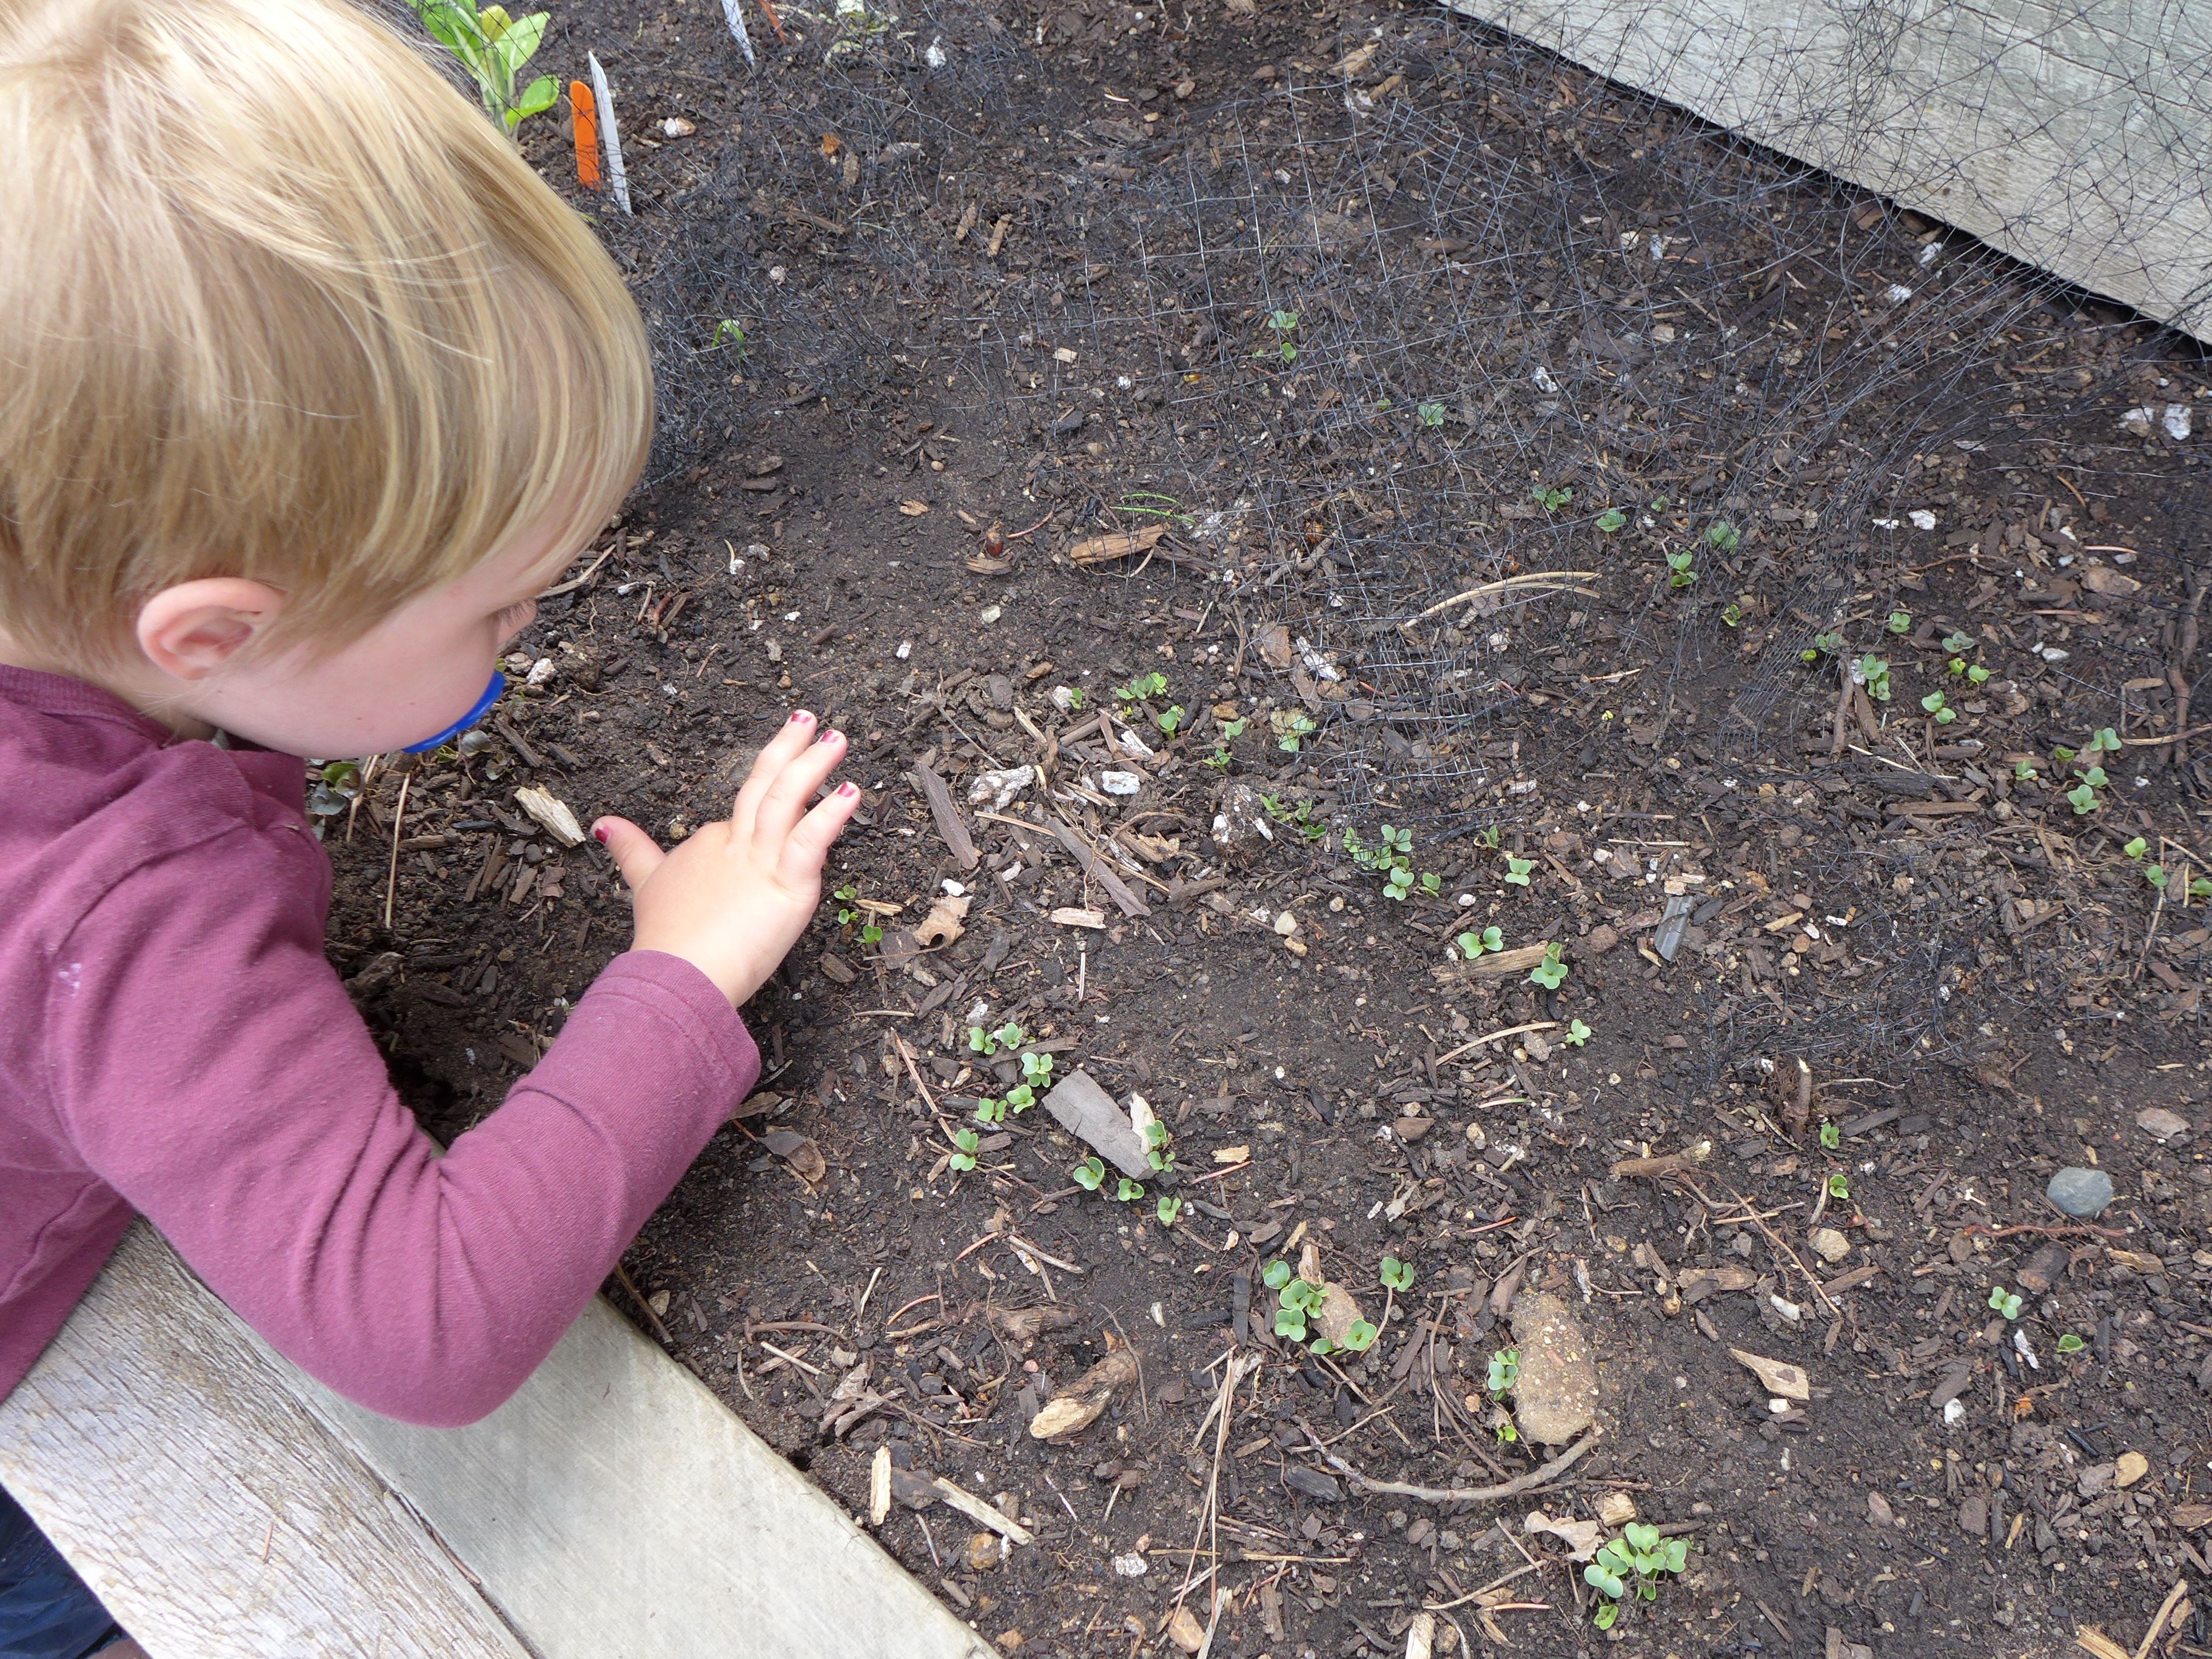
So this spring, I cleared one of the beds right off of the deck, moving most of the plants to open spaces in the surrounding beds. We then turned over the soil, added compost, and planted a few early-season veggies and herbs. Right now we have a little area of loose-leaf lettuces and another area of radish varieties (I’ve heard radishes are absurdly easy to grow, and I’m looking for an easy success in our first season). One side of the bed is dedicated to herbs – we have thyme and a hardy rosemary, if we’re lucky, both will be perennials in that space. We also added a dill and a fennel plant. In the middle of the bed I put in a couple of bok choy plants and one rainbow chard because we like to eat those greens. I think that as it gets too hot for the lettuce area, I’ll plant some basil in that zone.

This past weekend we built a couple of fenced boxes to fit over the vegetable bed. Nothing fancy just a super-simple frame using the cheapest wood from the hardware store with chicken wire stapled to it. I built the box in two pieces so that it would be easy to pick them up and move then aside when we’re working in that bed, and we can use only one if we only need half of the bed covered.

liveseasoned_spring2016_garden8

~

So that’s the state of the garden as of this week. Between the late snowstorms and recent rain, we’ve had a relatively wet spring, which is getting everything off to a really nice start (even if we are all going a bit stir-crazy inside!). The radish and lettuce seeds have sprouted! And all of the perennials I’ve planted thus far seem to be thriving. I’ll be excited to update this series throughout the summer as a record of how the beds change, and I’m hoping that the visuals will really help me each year as I think about what I’d like to add/change in the garden.

In the next post I’ll introduce you to our pond and my dreams for a big, lush water garden… they’re competing with Calder’s dream to turn the pond into our hot tub!


DIY Vanilla Extract

Vanilla is our ingredient of the season. So far we’ve made some vanilla-infused vodka (great for milkshakes!), a savory roasted chicken with vanilla bean, and some homemade perfumes with vanilla essential oils.

Forgive me for stating the obvious, but today we’re finally hitting on the key ingredient in every kitchen – vanilla extract! Who doesn’t have a bottle of vanilla extract in their kitchen? It gets used in everything. In fact, yesterday the boys and I baked our favorite chocolate cake, and even that called for two teaspoons of vanilla extract. 

liveseasoned_spring2016_vanillaextract5 - 1

My fist exposure with homemade vanilla extract was a few years ago when I received a bottle from my BFF for Christmas. It was amazing, and I cherished that bottle, wanting to use it but also keep it for ever because it was just so good. As you’ll see, DIYing your own extract is so easy that I probably should have reigned in my emotions a bit…

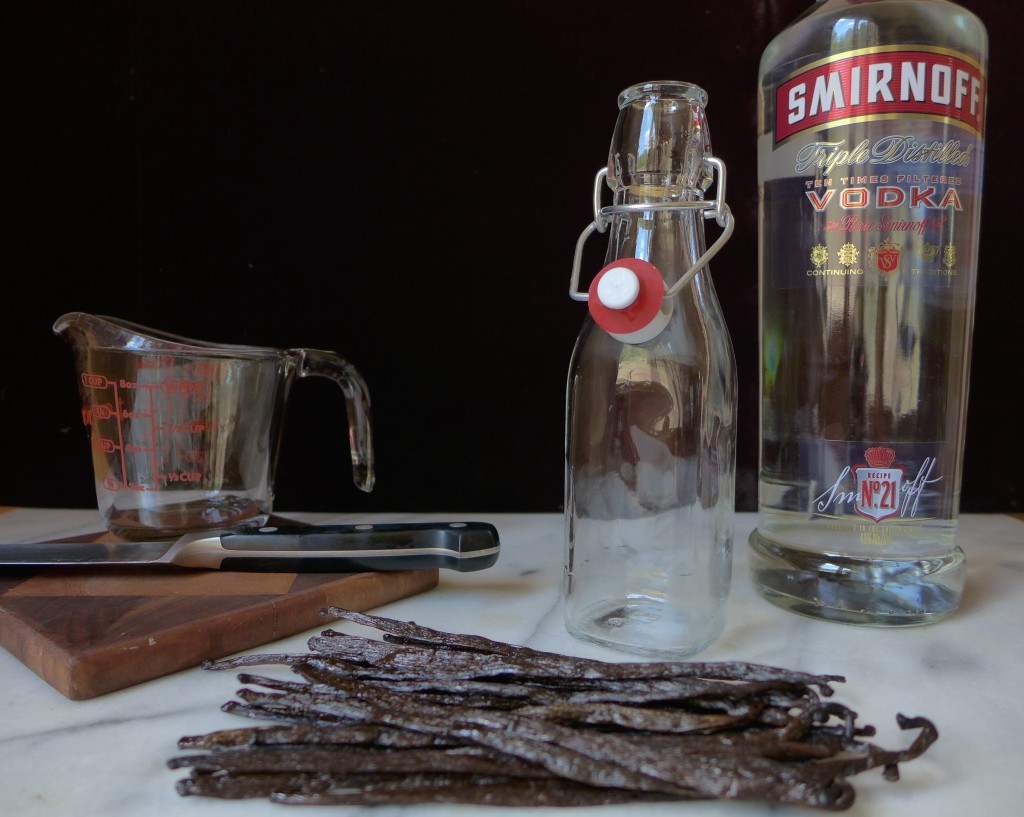
The key to make a quality vanilla extract comes down to two things : 1. quality beans and 2. time.

liveseasoned_spring2016_vanillaextract3

How-to

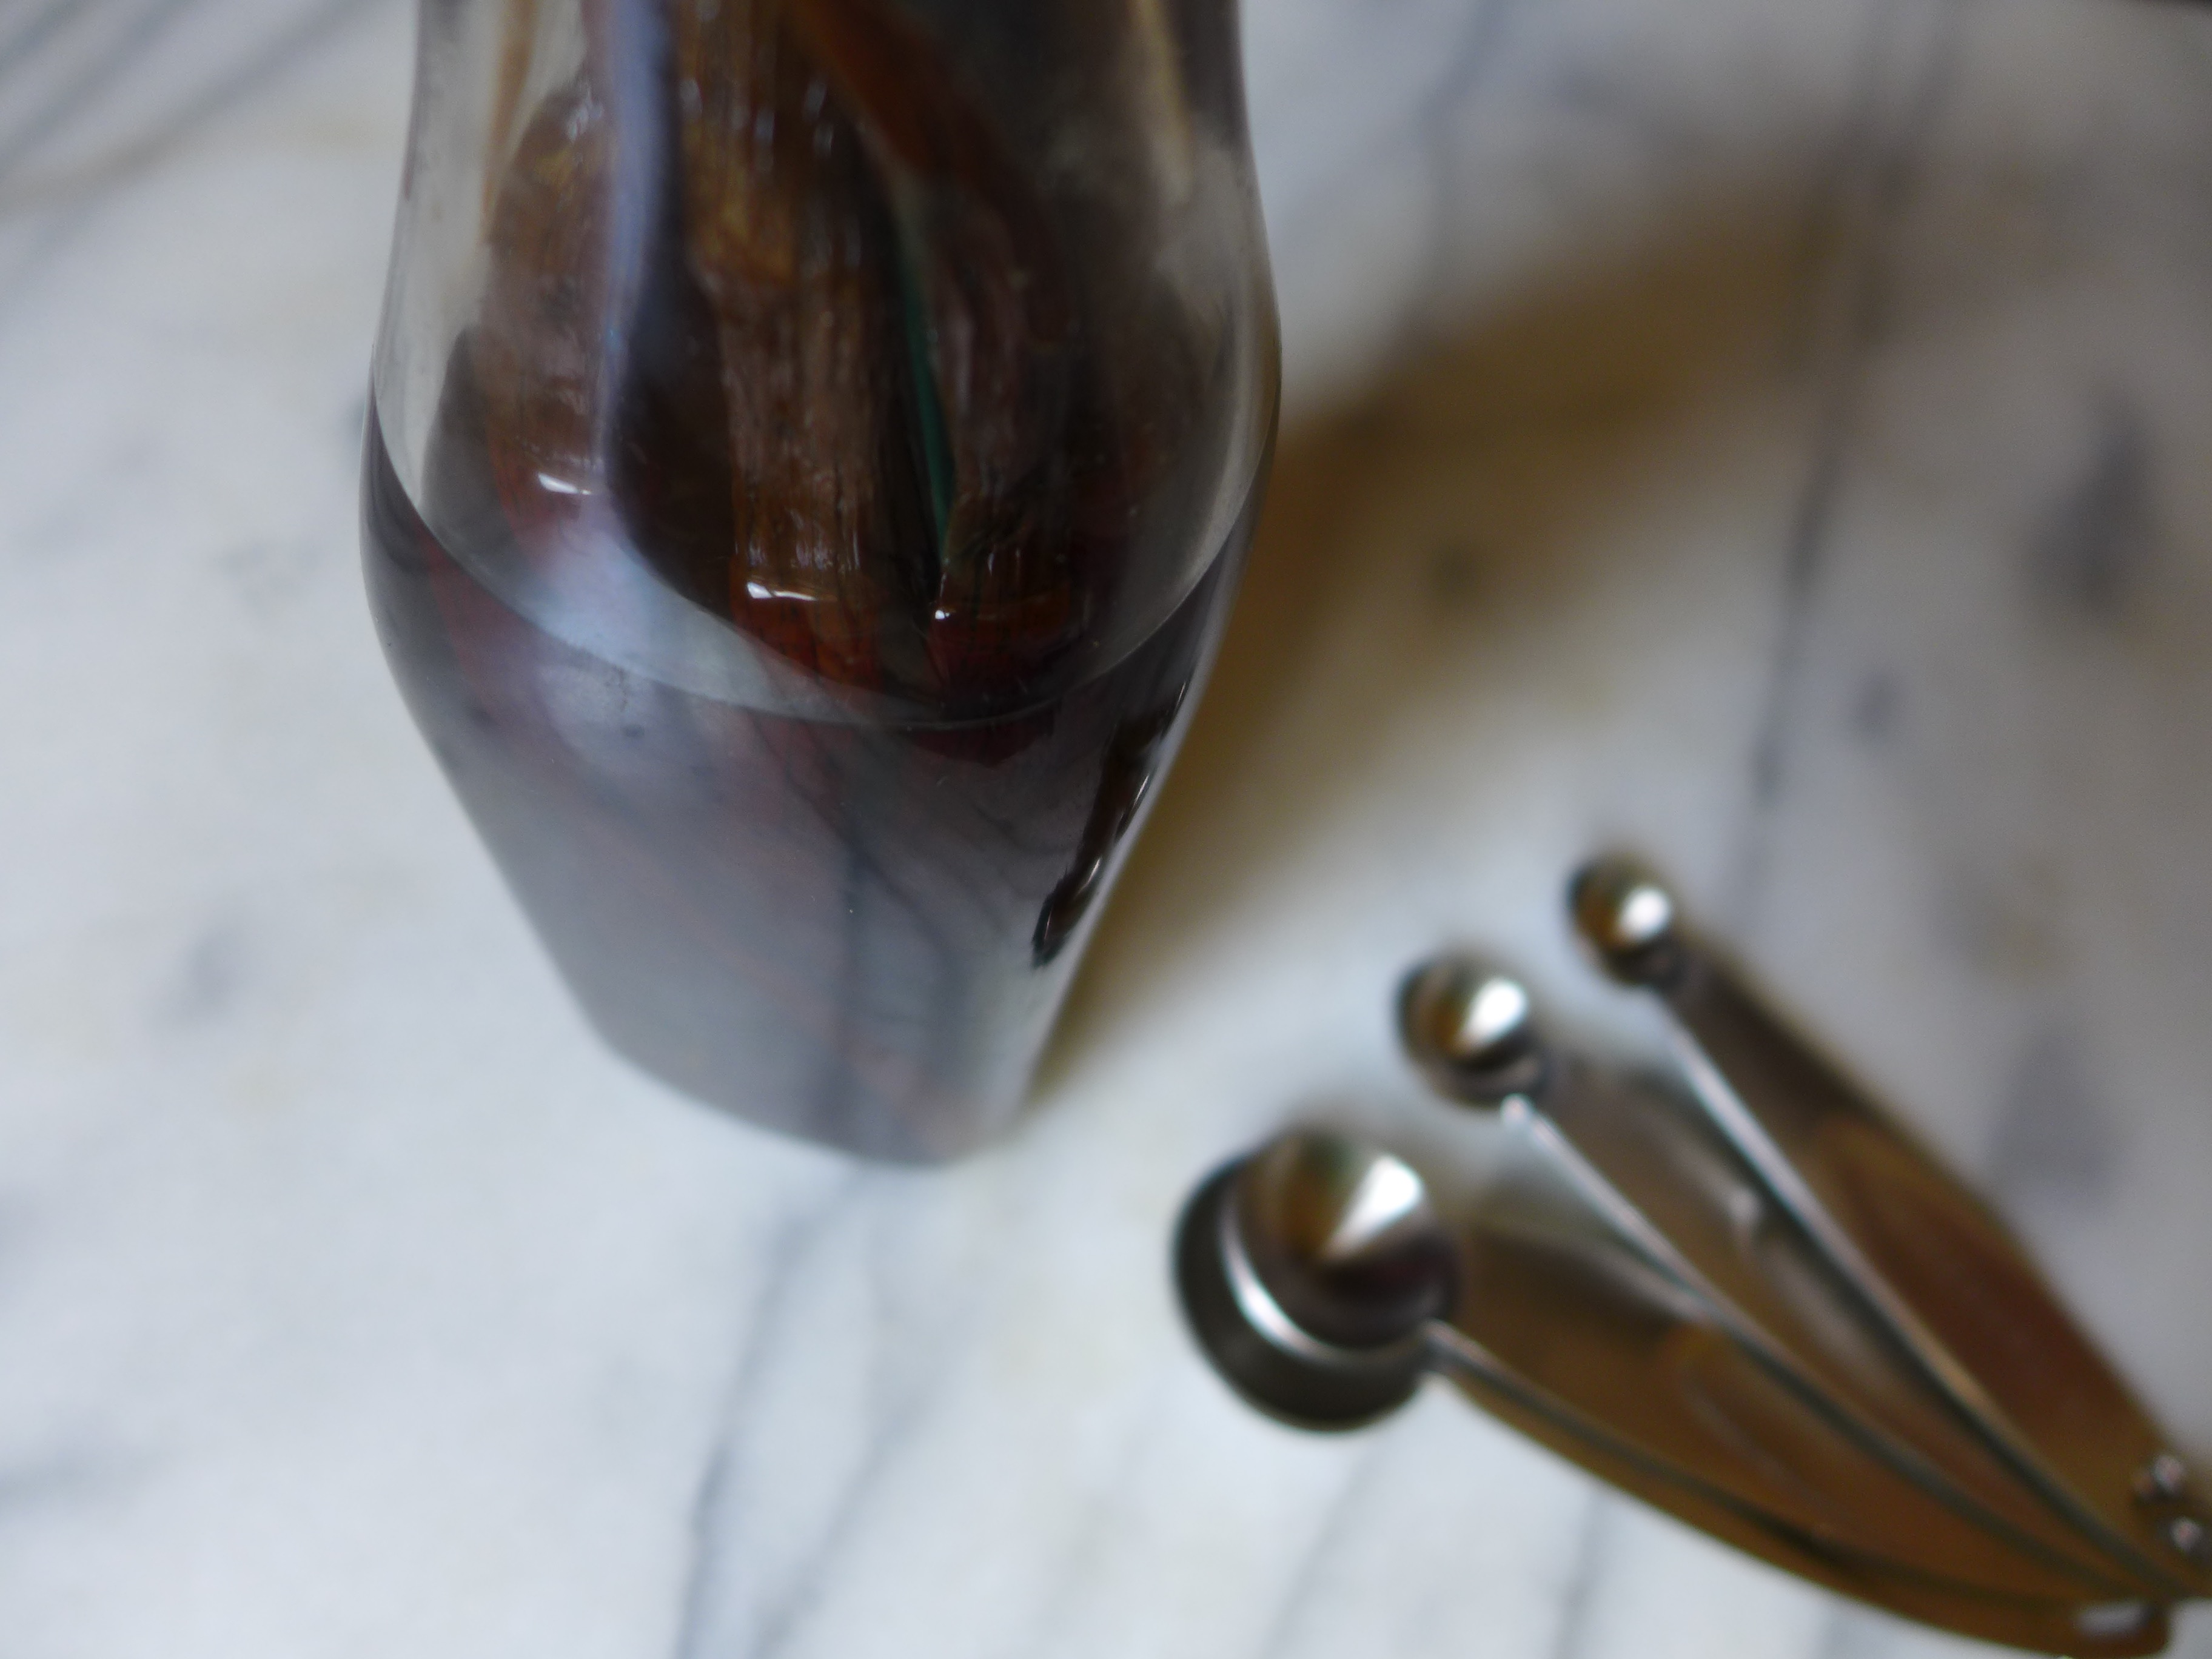
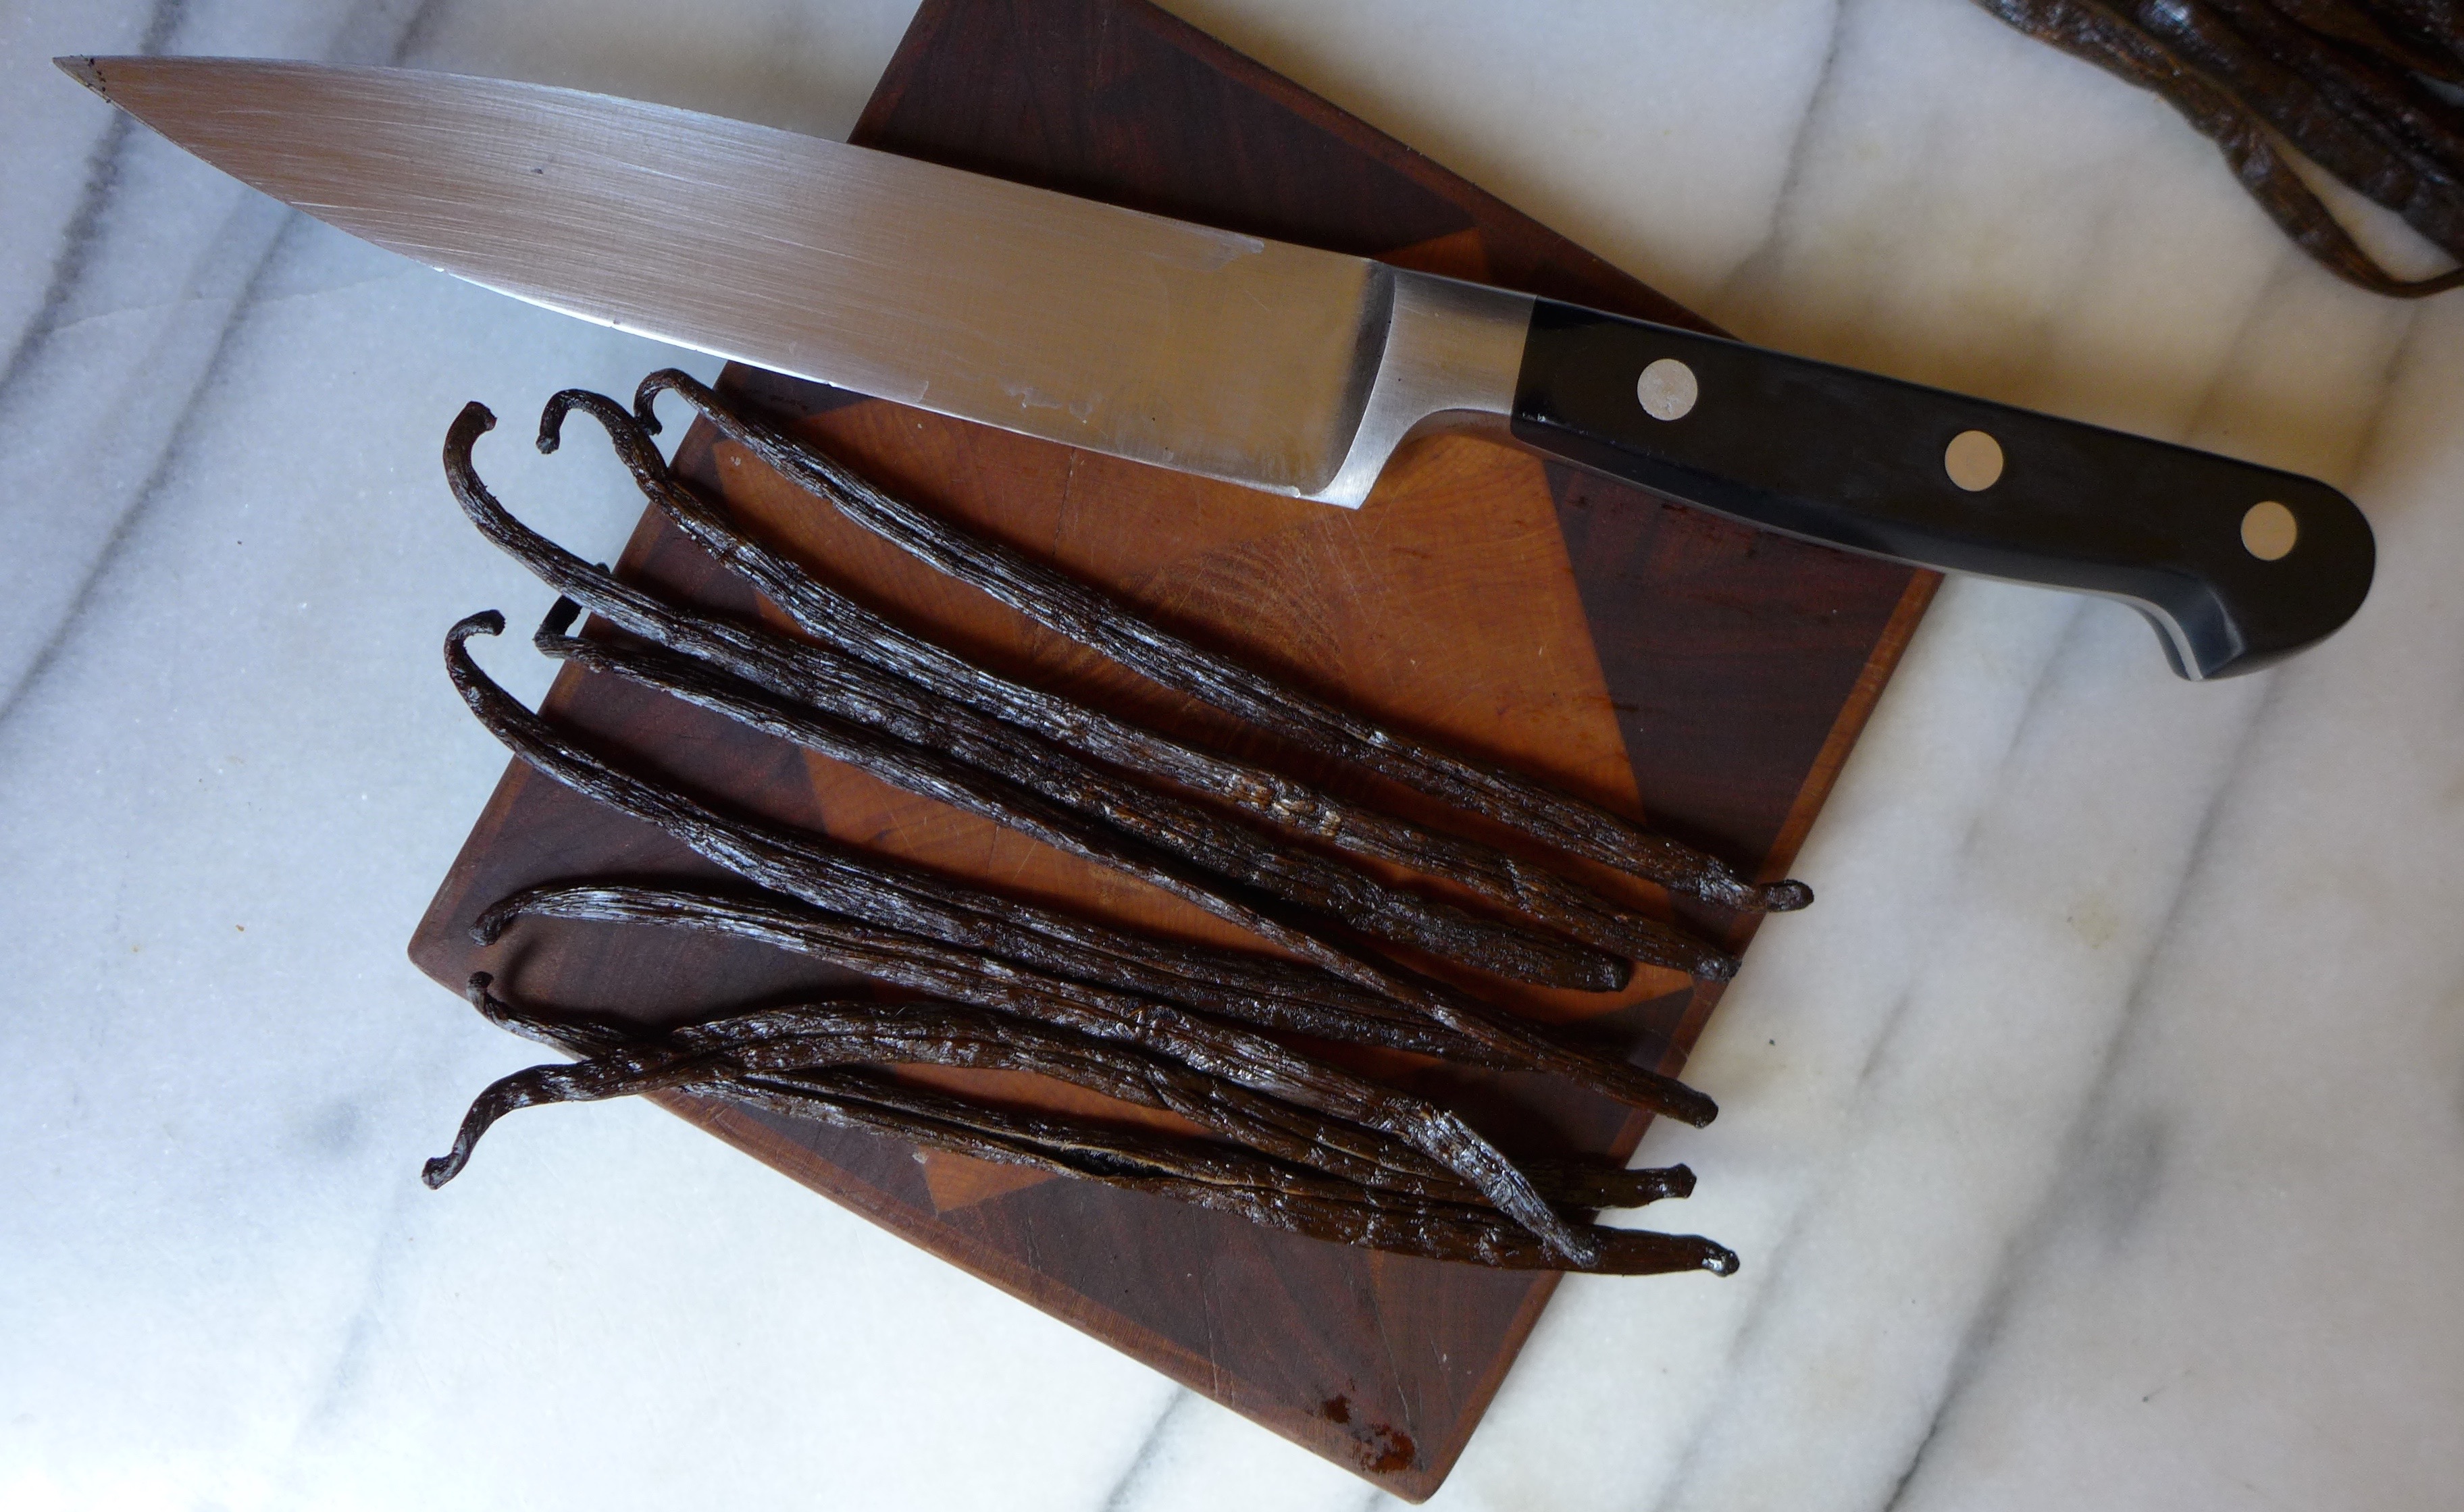
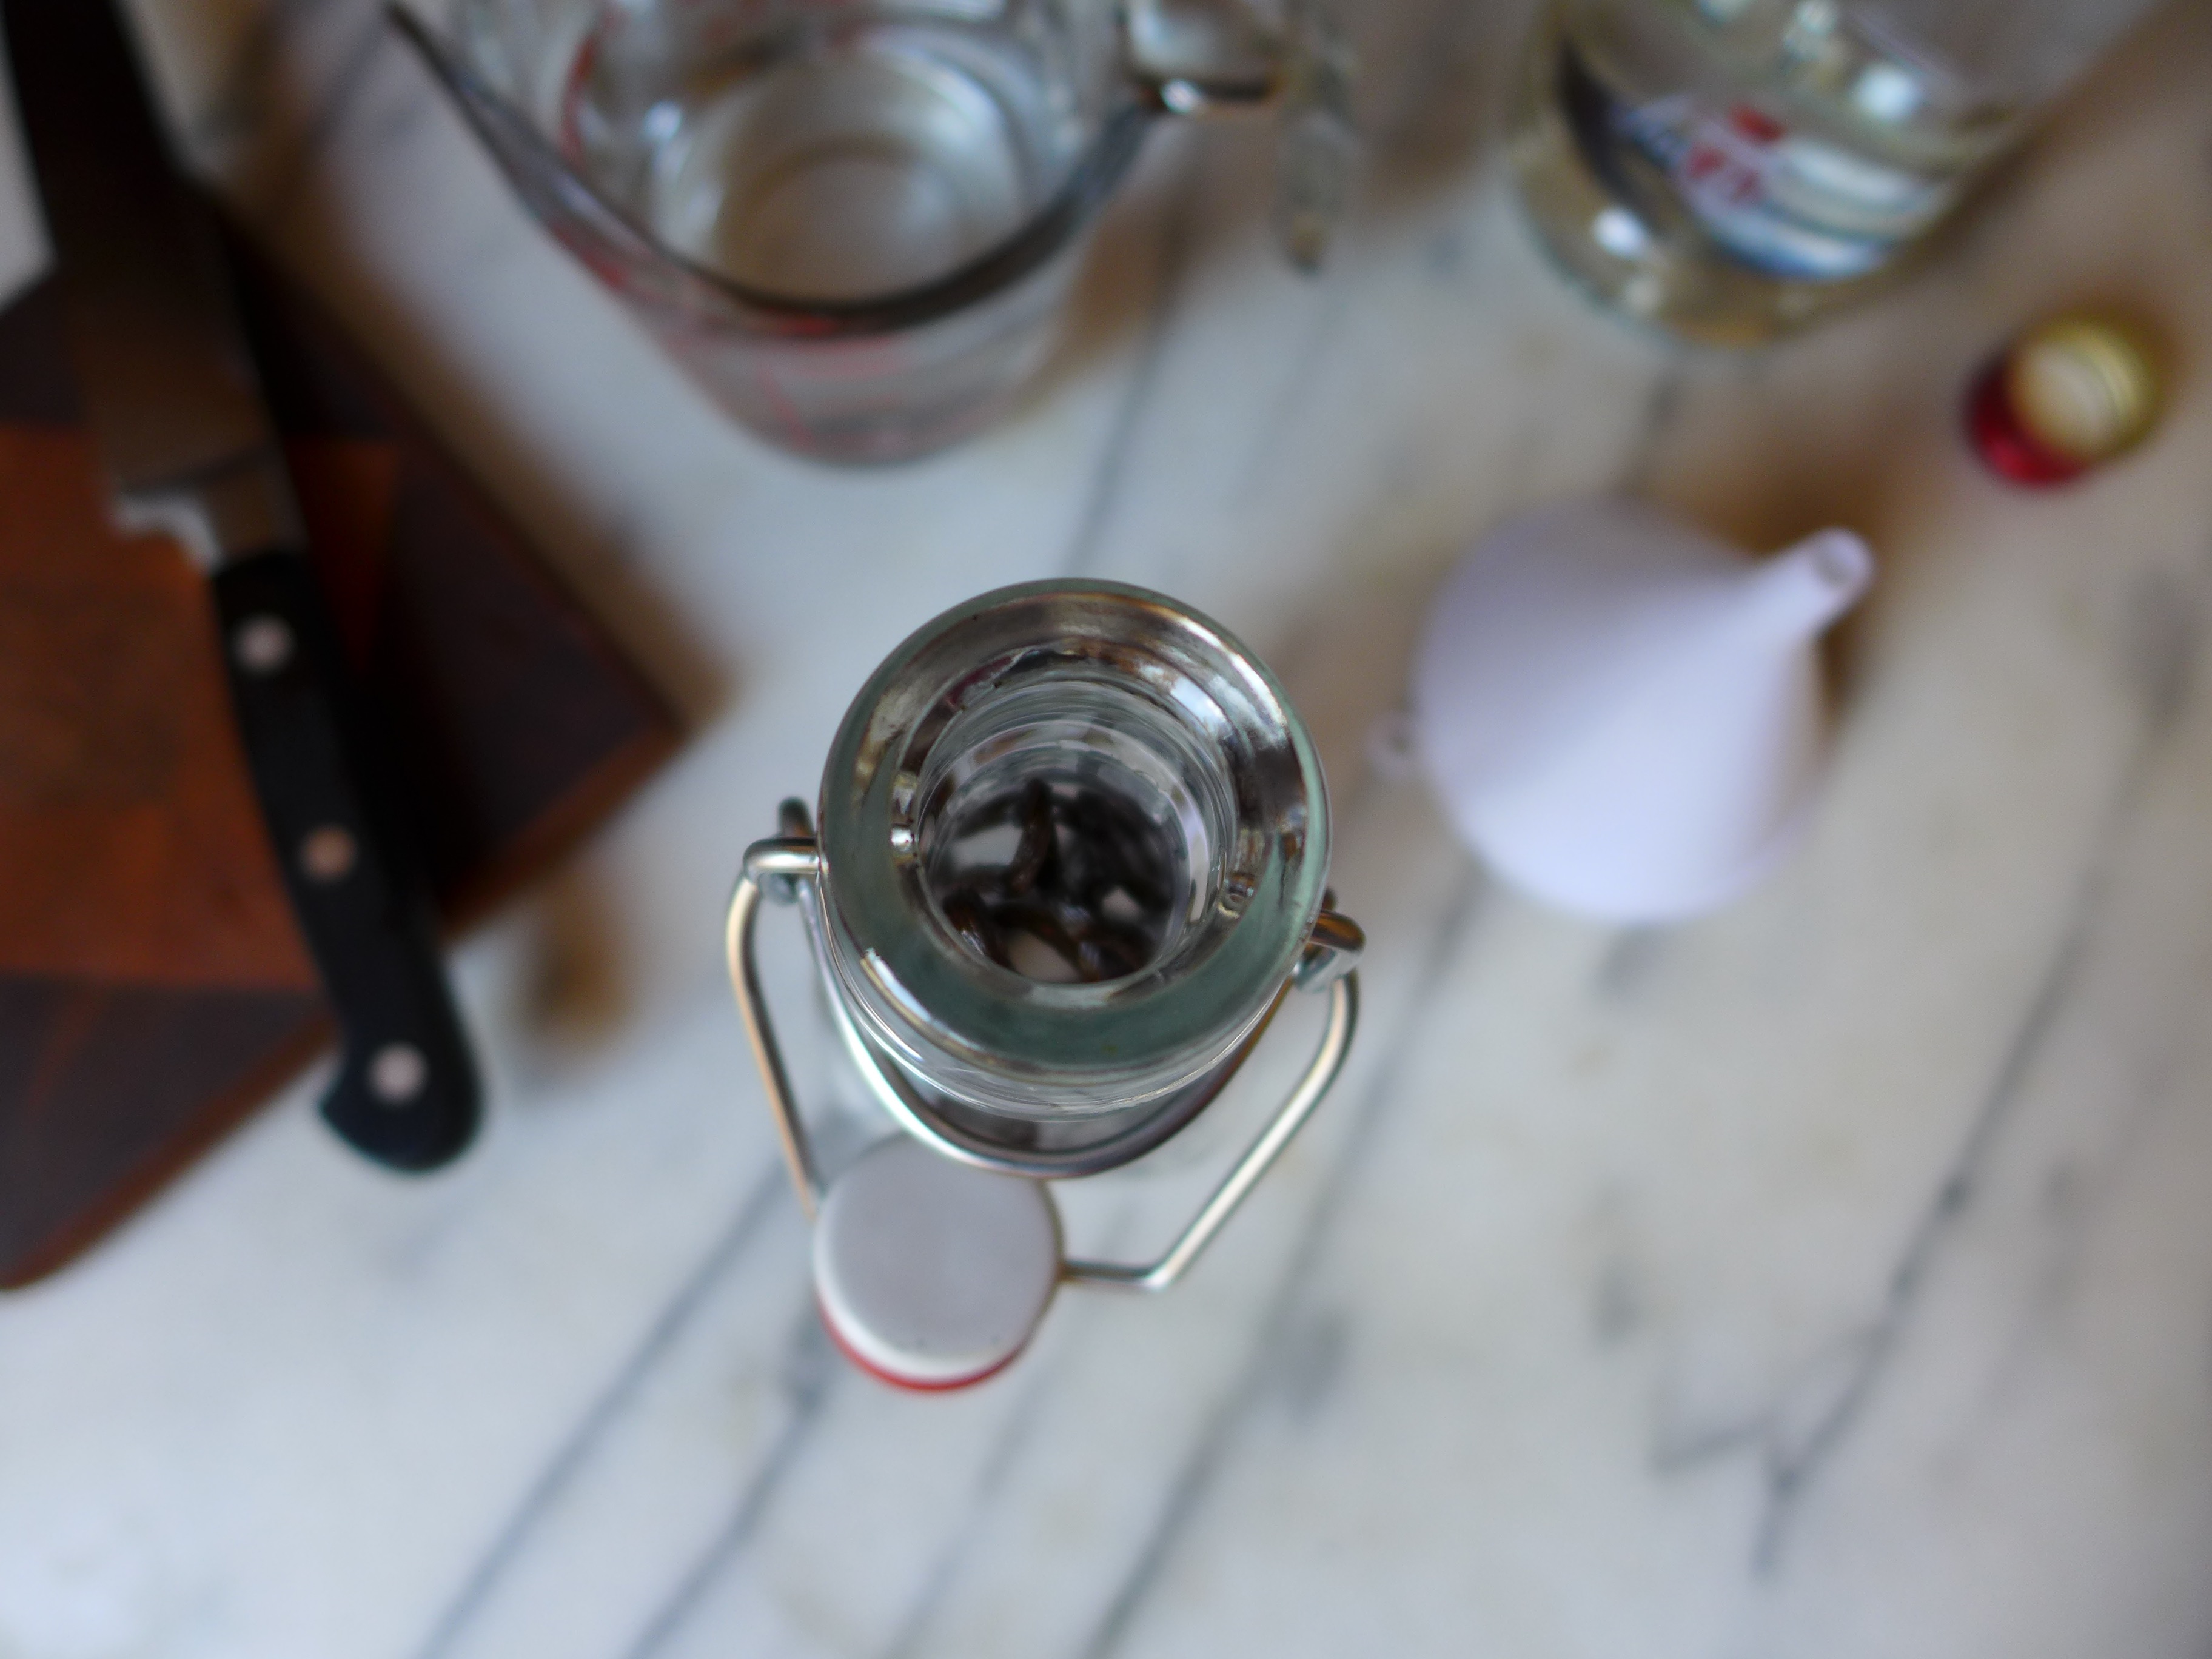
For this bottle of extract I used 8 Madagascar Bourbon vanilla beans and 1 cup of vodka. Split each bean by slicing through it lengthwise, then place the beans in a jar, add the vodka (making sure that it covers the beans), and let sit for at least two months.

After that time, you don’t have to remove the beans. In fact, you can let the extract sit longer to get a richer flavor. And as you use the extract, you can top it off with more vodka to keep your batch going.

That’s it!

liveseasoned_spring2016_vanillaextract2

For how simple this recipe is, there are many ways to personalize it. Try different vanilla beans for different flavors (for example, Ugandan beans are supposed to have a more smokey flavor). You can also use different alcohols. I used vodka because it’s flavorless, so I would really only taste the vanilla from my beans, but you can substitute rum or bourbon. Personally, now that I have this bottle, I’m excited to experiment with a few more bean/alcohol combinations.

liveseasoned_spring2016_vanillaextract4

And if you just happen to have a big bottle of vodka sitting around, don’t forget that with a single vanilla bean and a few days, you can turn it into a smooth vanilla vodka! If you’ll remember, Calder made fun of my idea to make vanilla vodka, but the joke’s on him because that stuff was so good that it’s already gone and I’m thinking about making another batch (maybe with lime this time!).

A New Season

Hey there, we’re still here! Somewhere.

P1190165

As the weather has changed, we’re finally enjoying spring in the mountains and have turned our attention outside. Breakfast on the deck, planting a little bed of veggies, cleaning up the pond, afternoons at the park, which morph into evenings and dinner in the park. It’s all amazing, but it’s pulled me away from the computer, which is both good and bad. I love all of the time in the sun and fresh air, and there’s nothing that puts a bigger smile on my face than digging in the dirt (especially when the boys help), but I do miss documenting our days. So, I’m hoping to get back here, even if it’s at a more relaxed pace over the next weeks/months.

P1190190

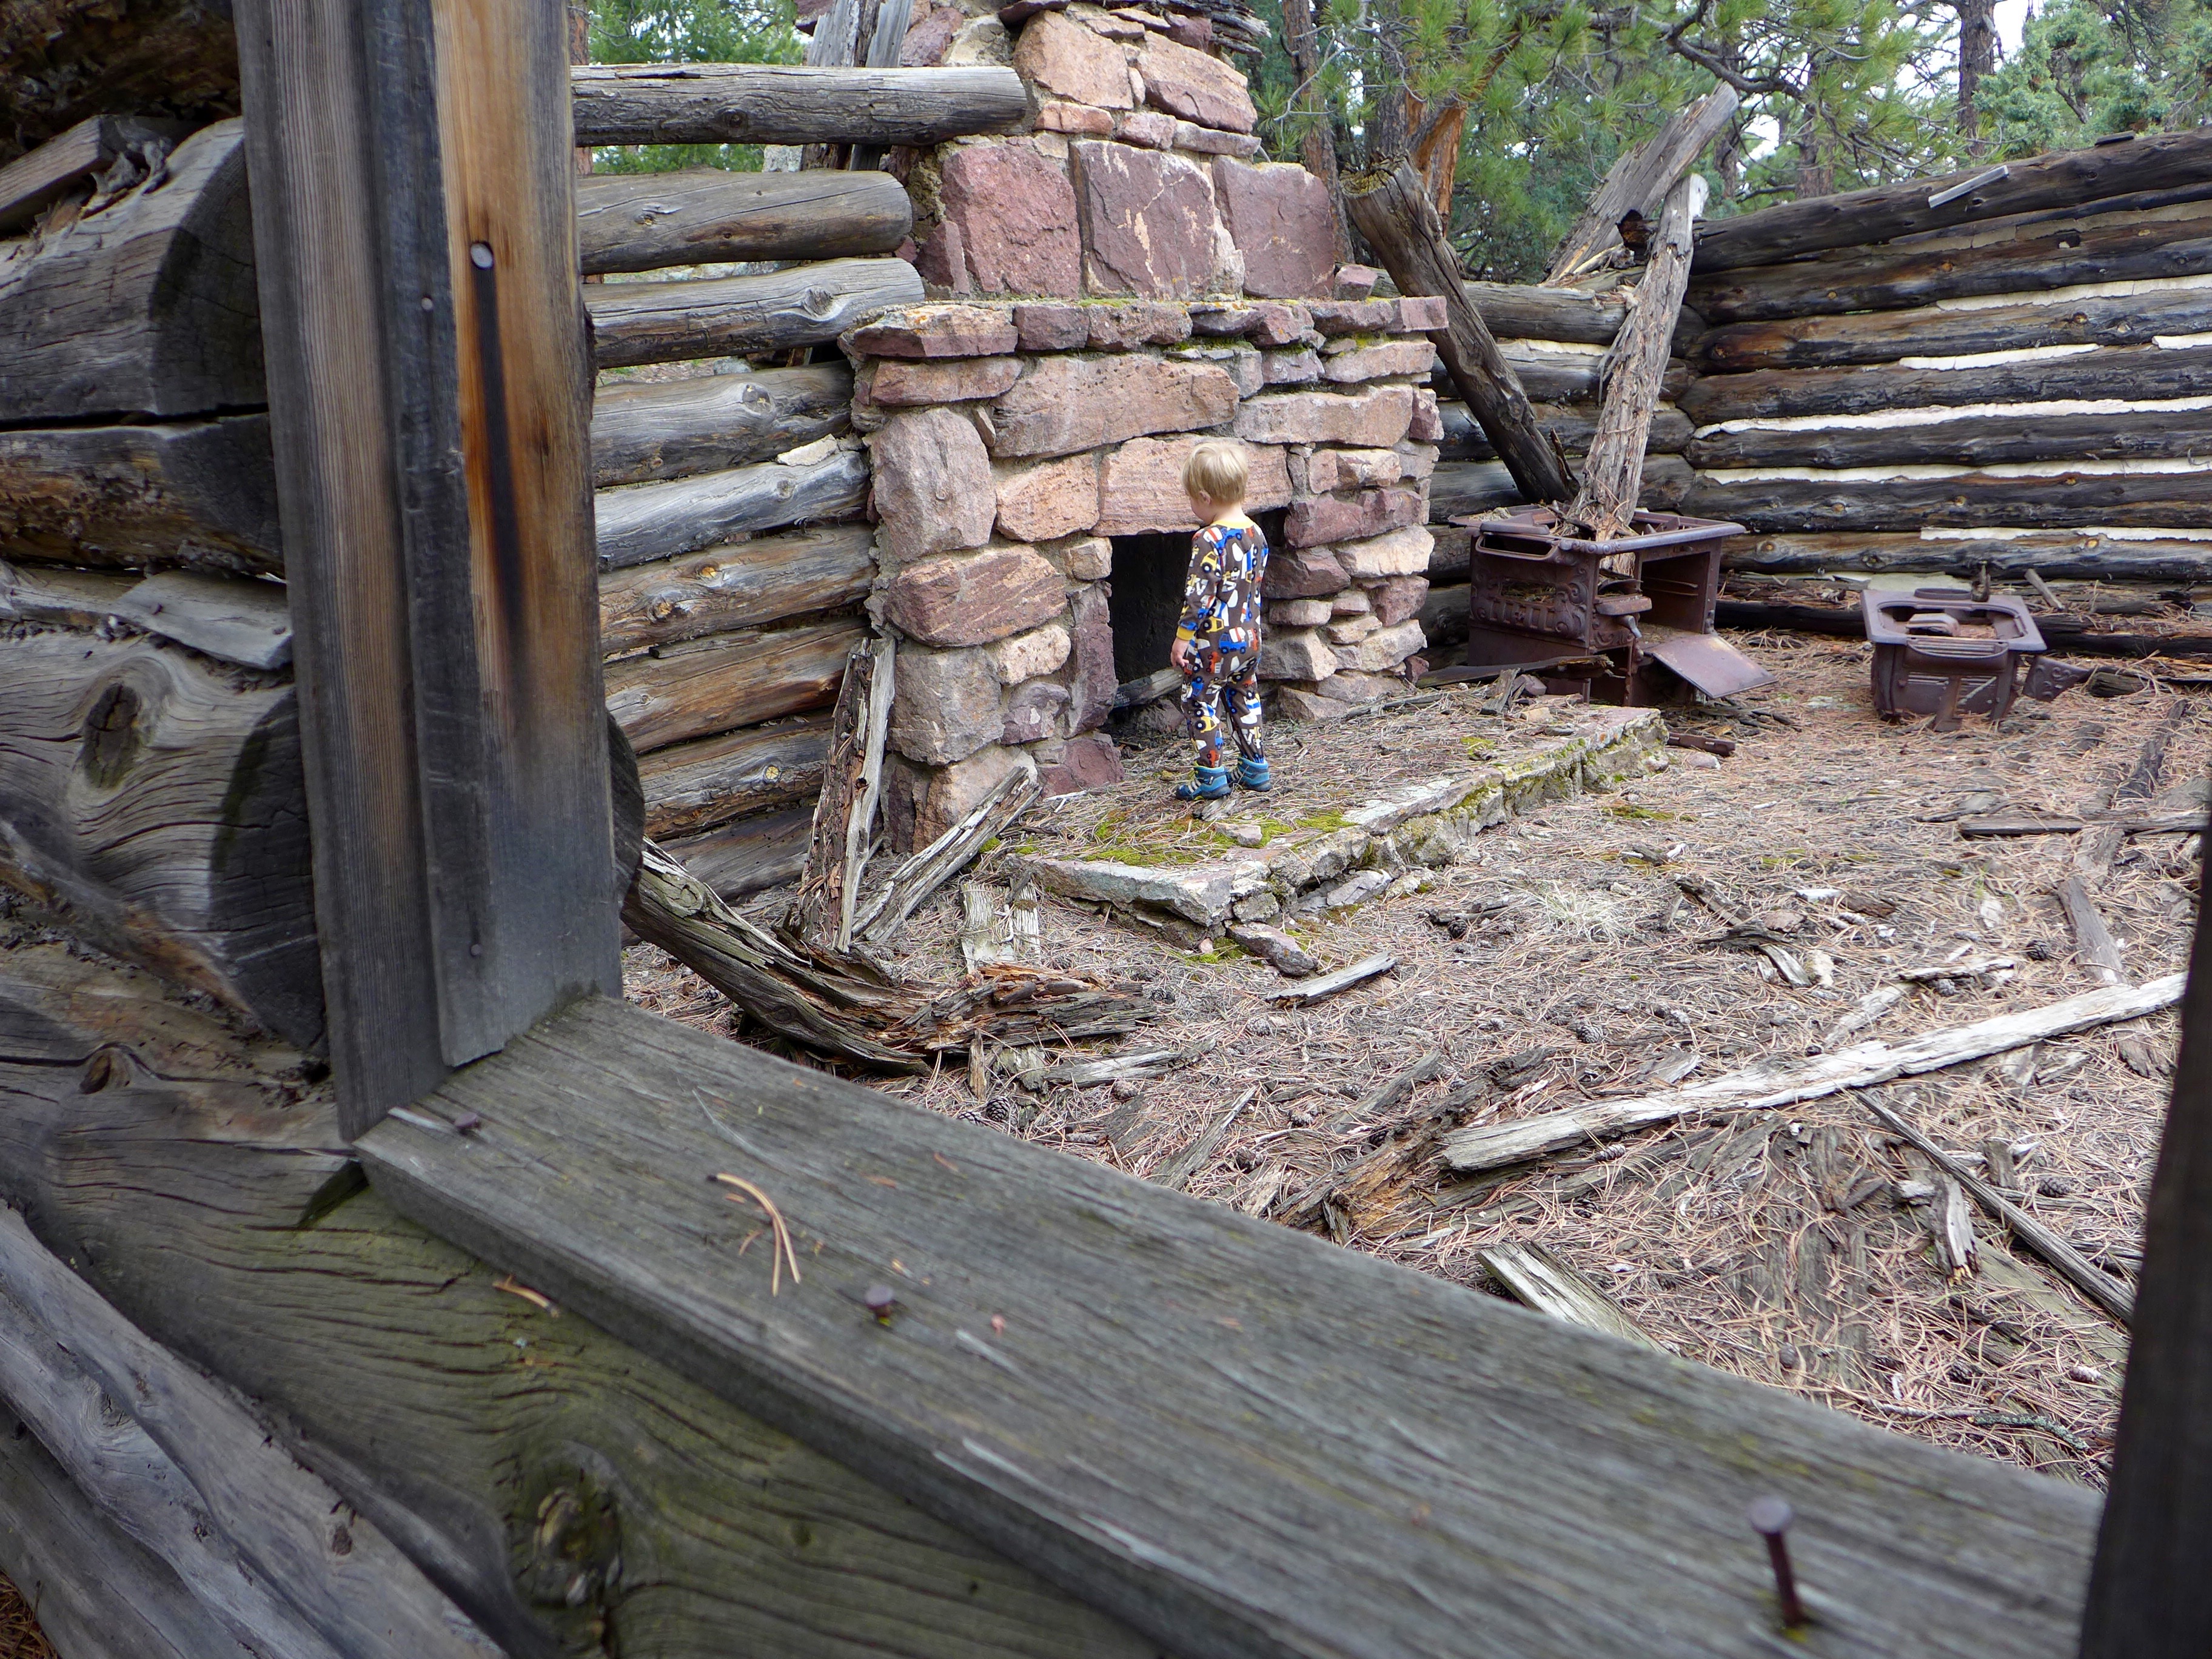
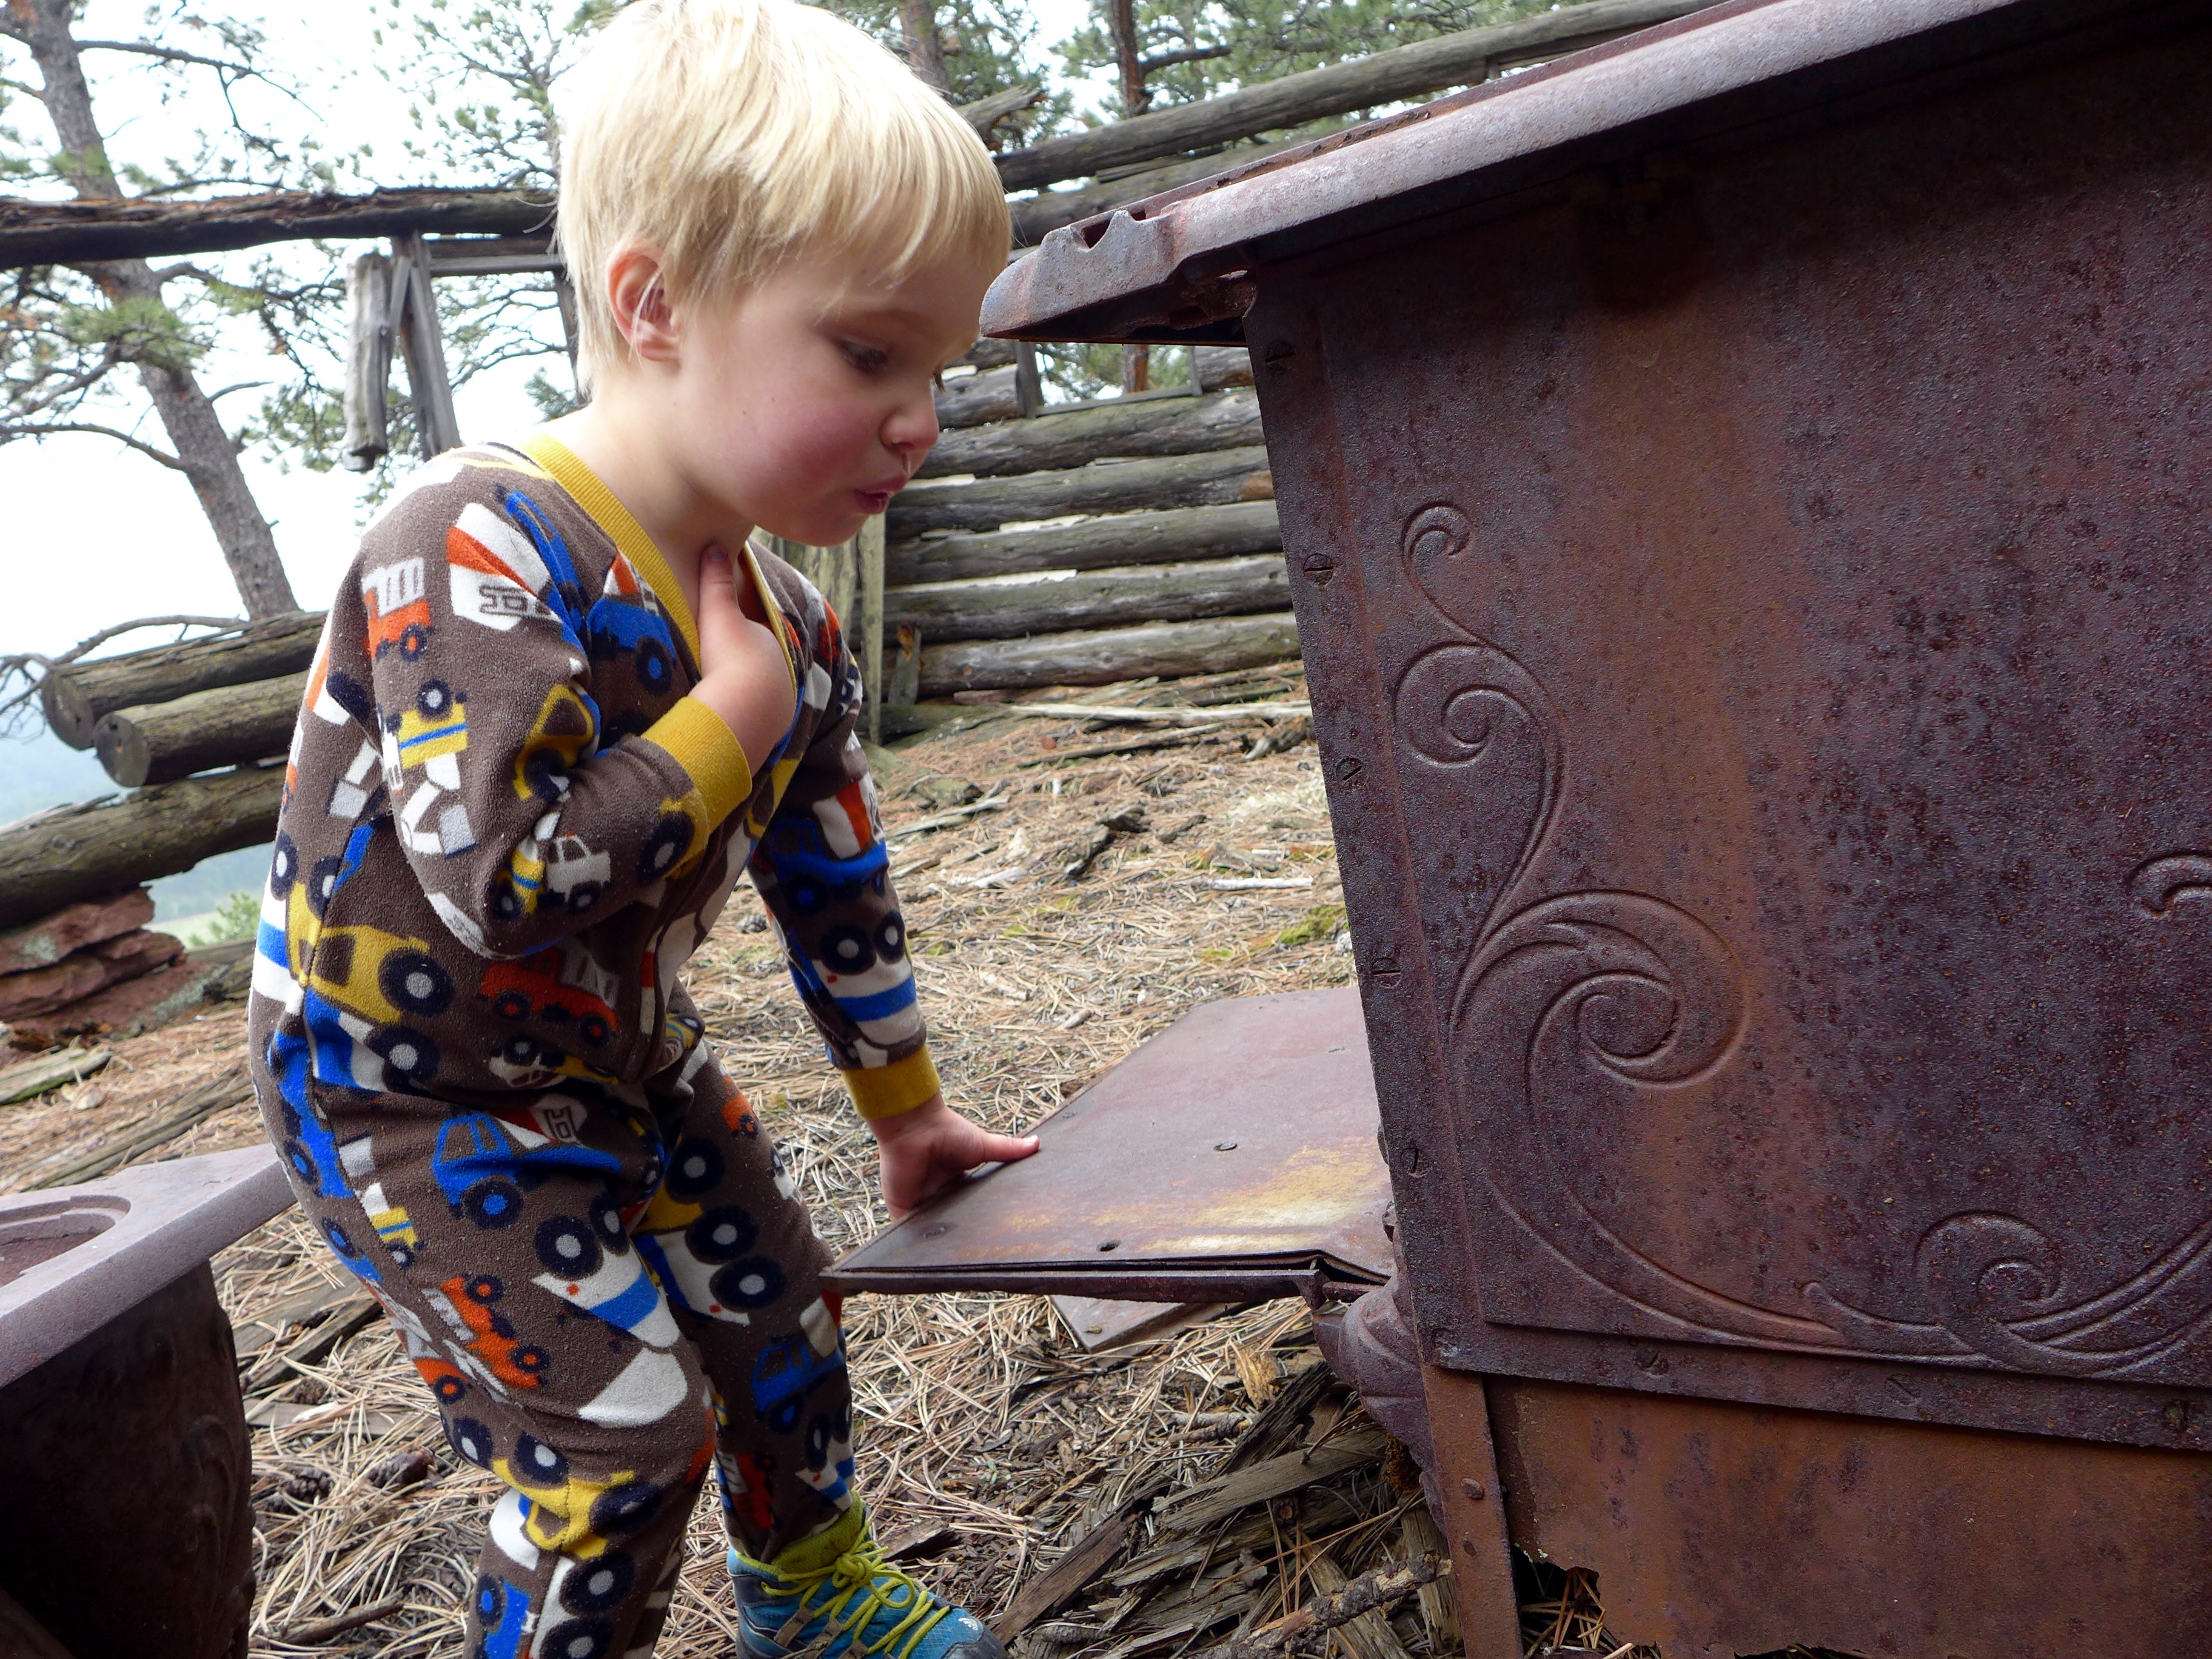
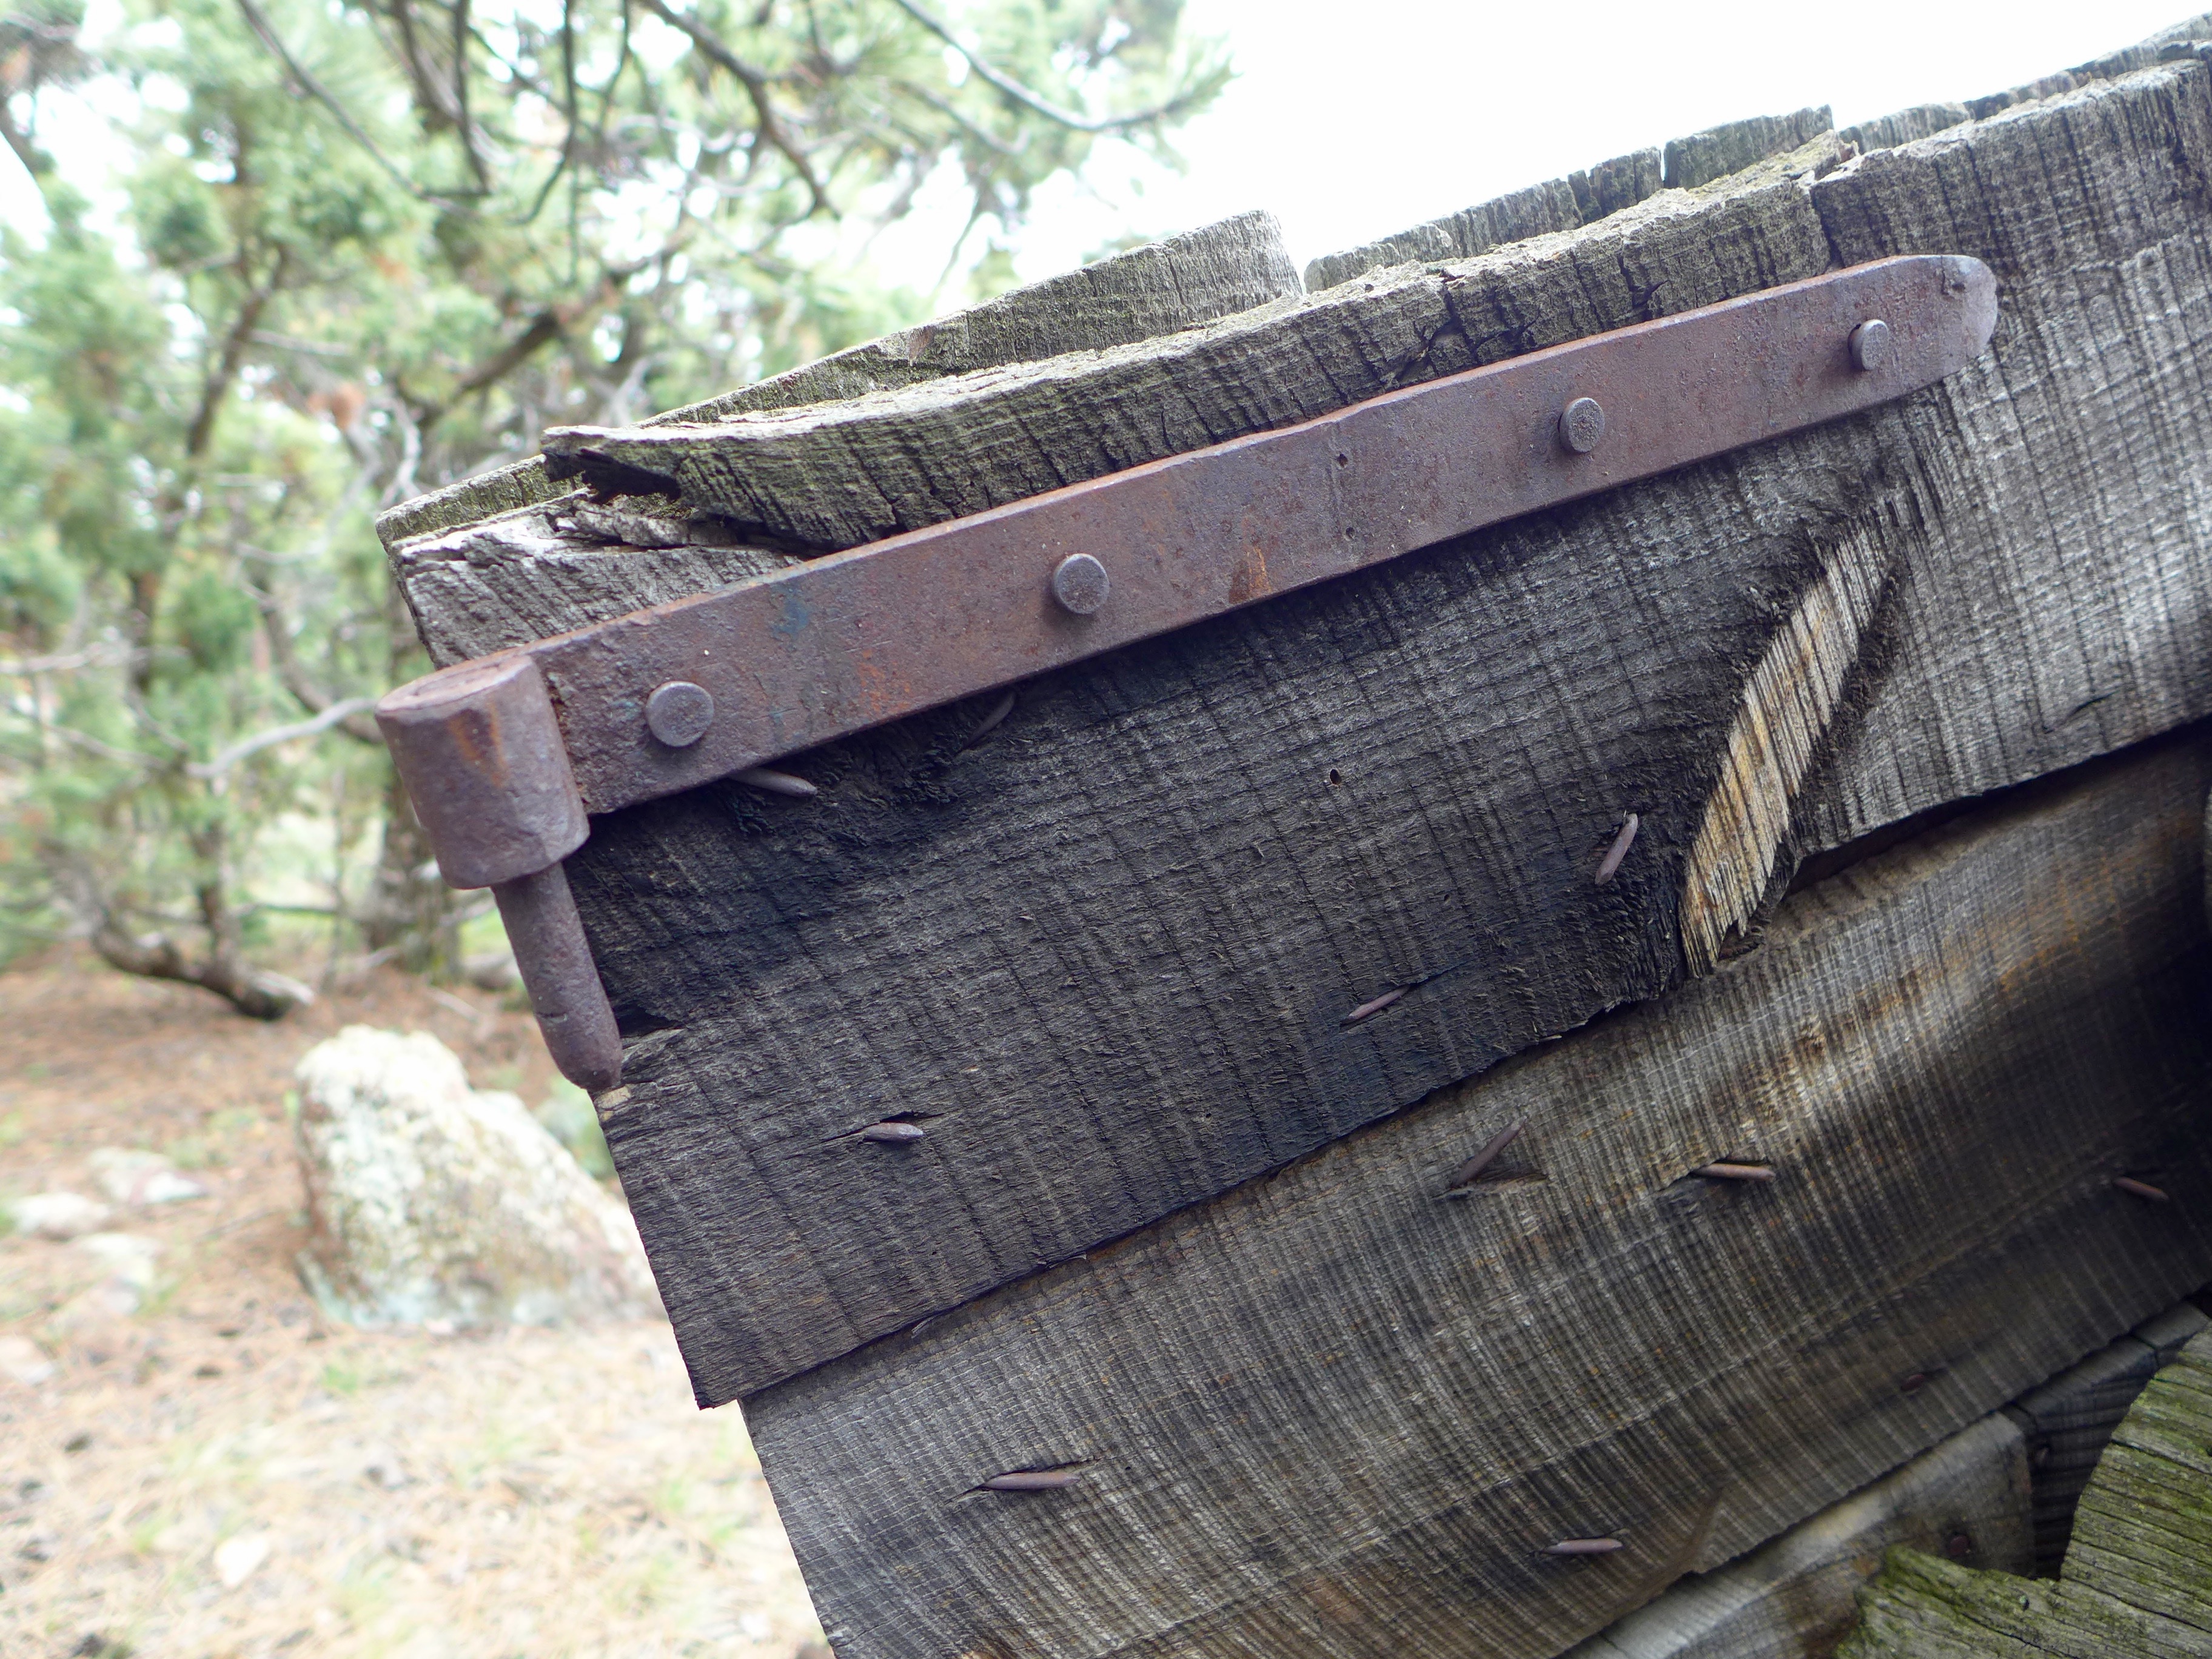
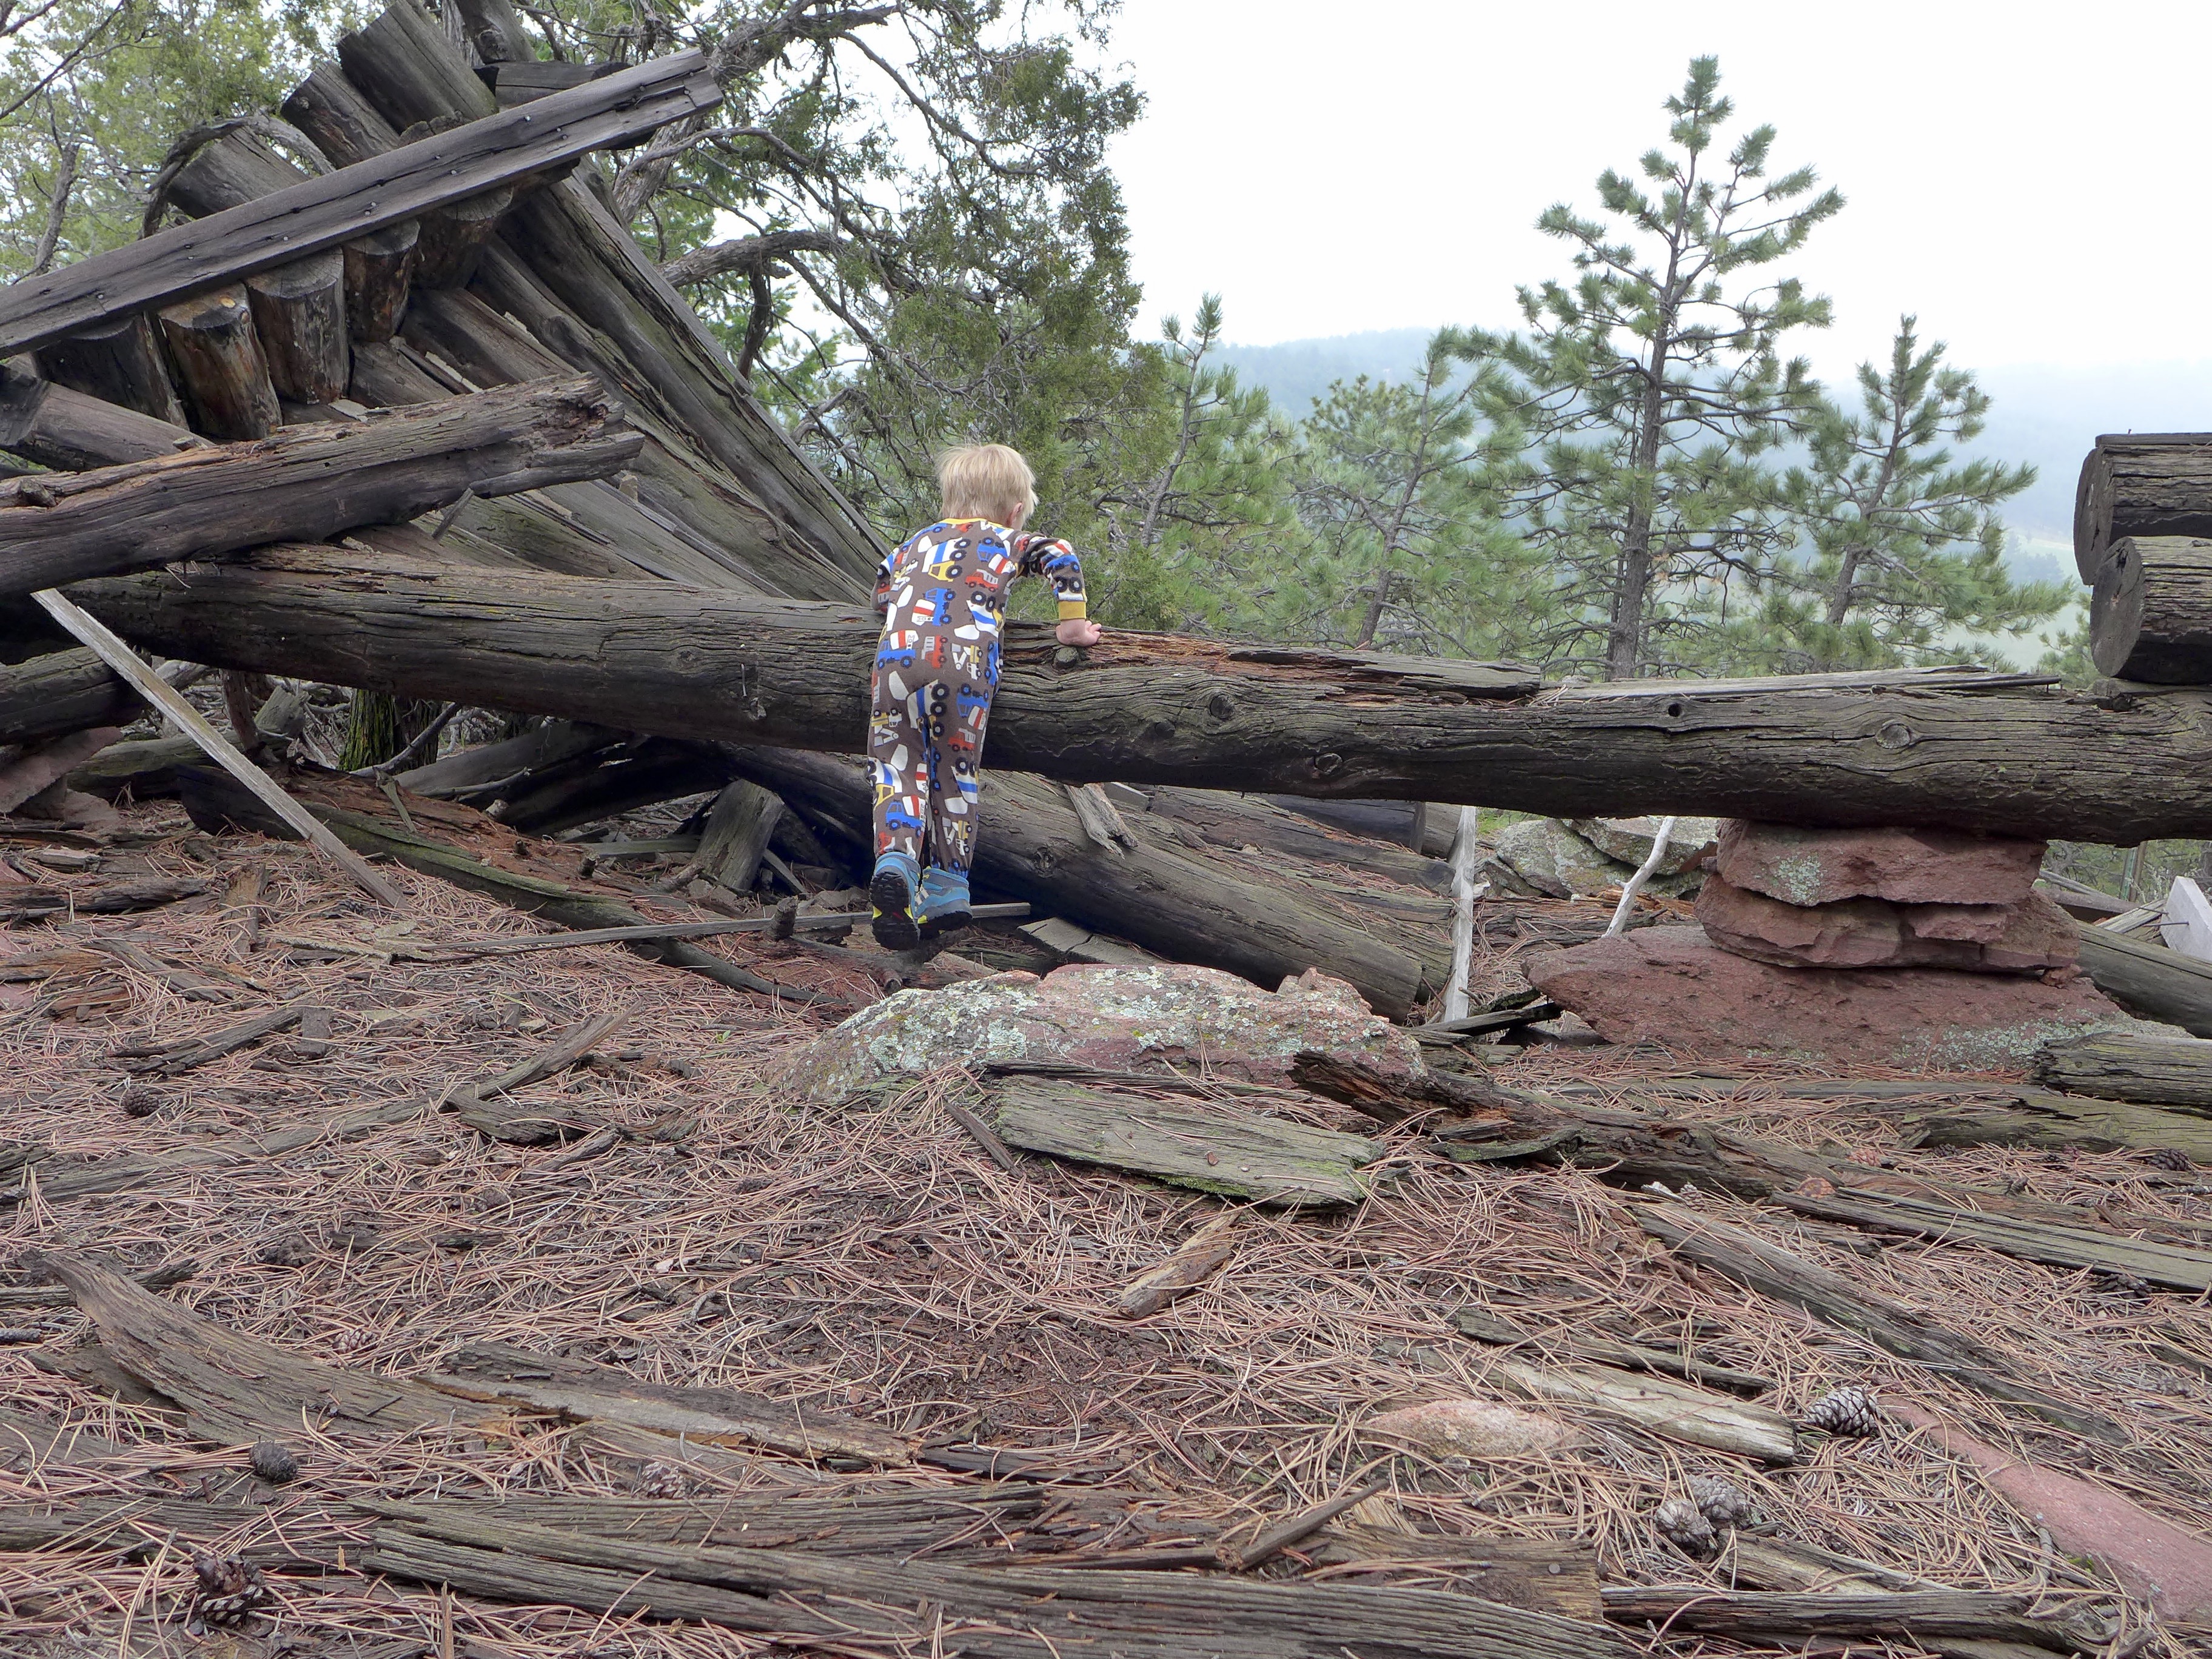
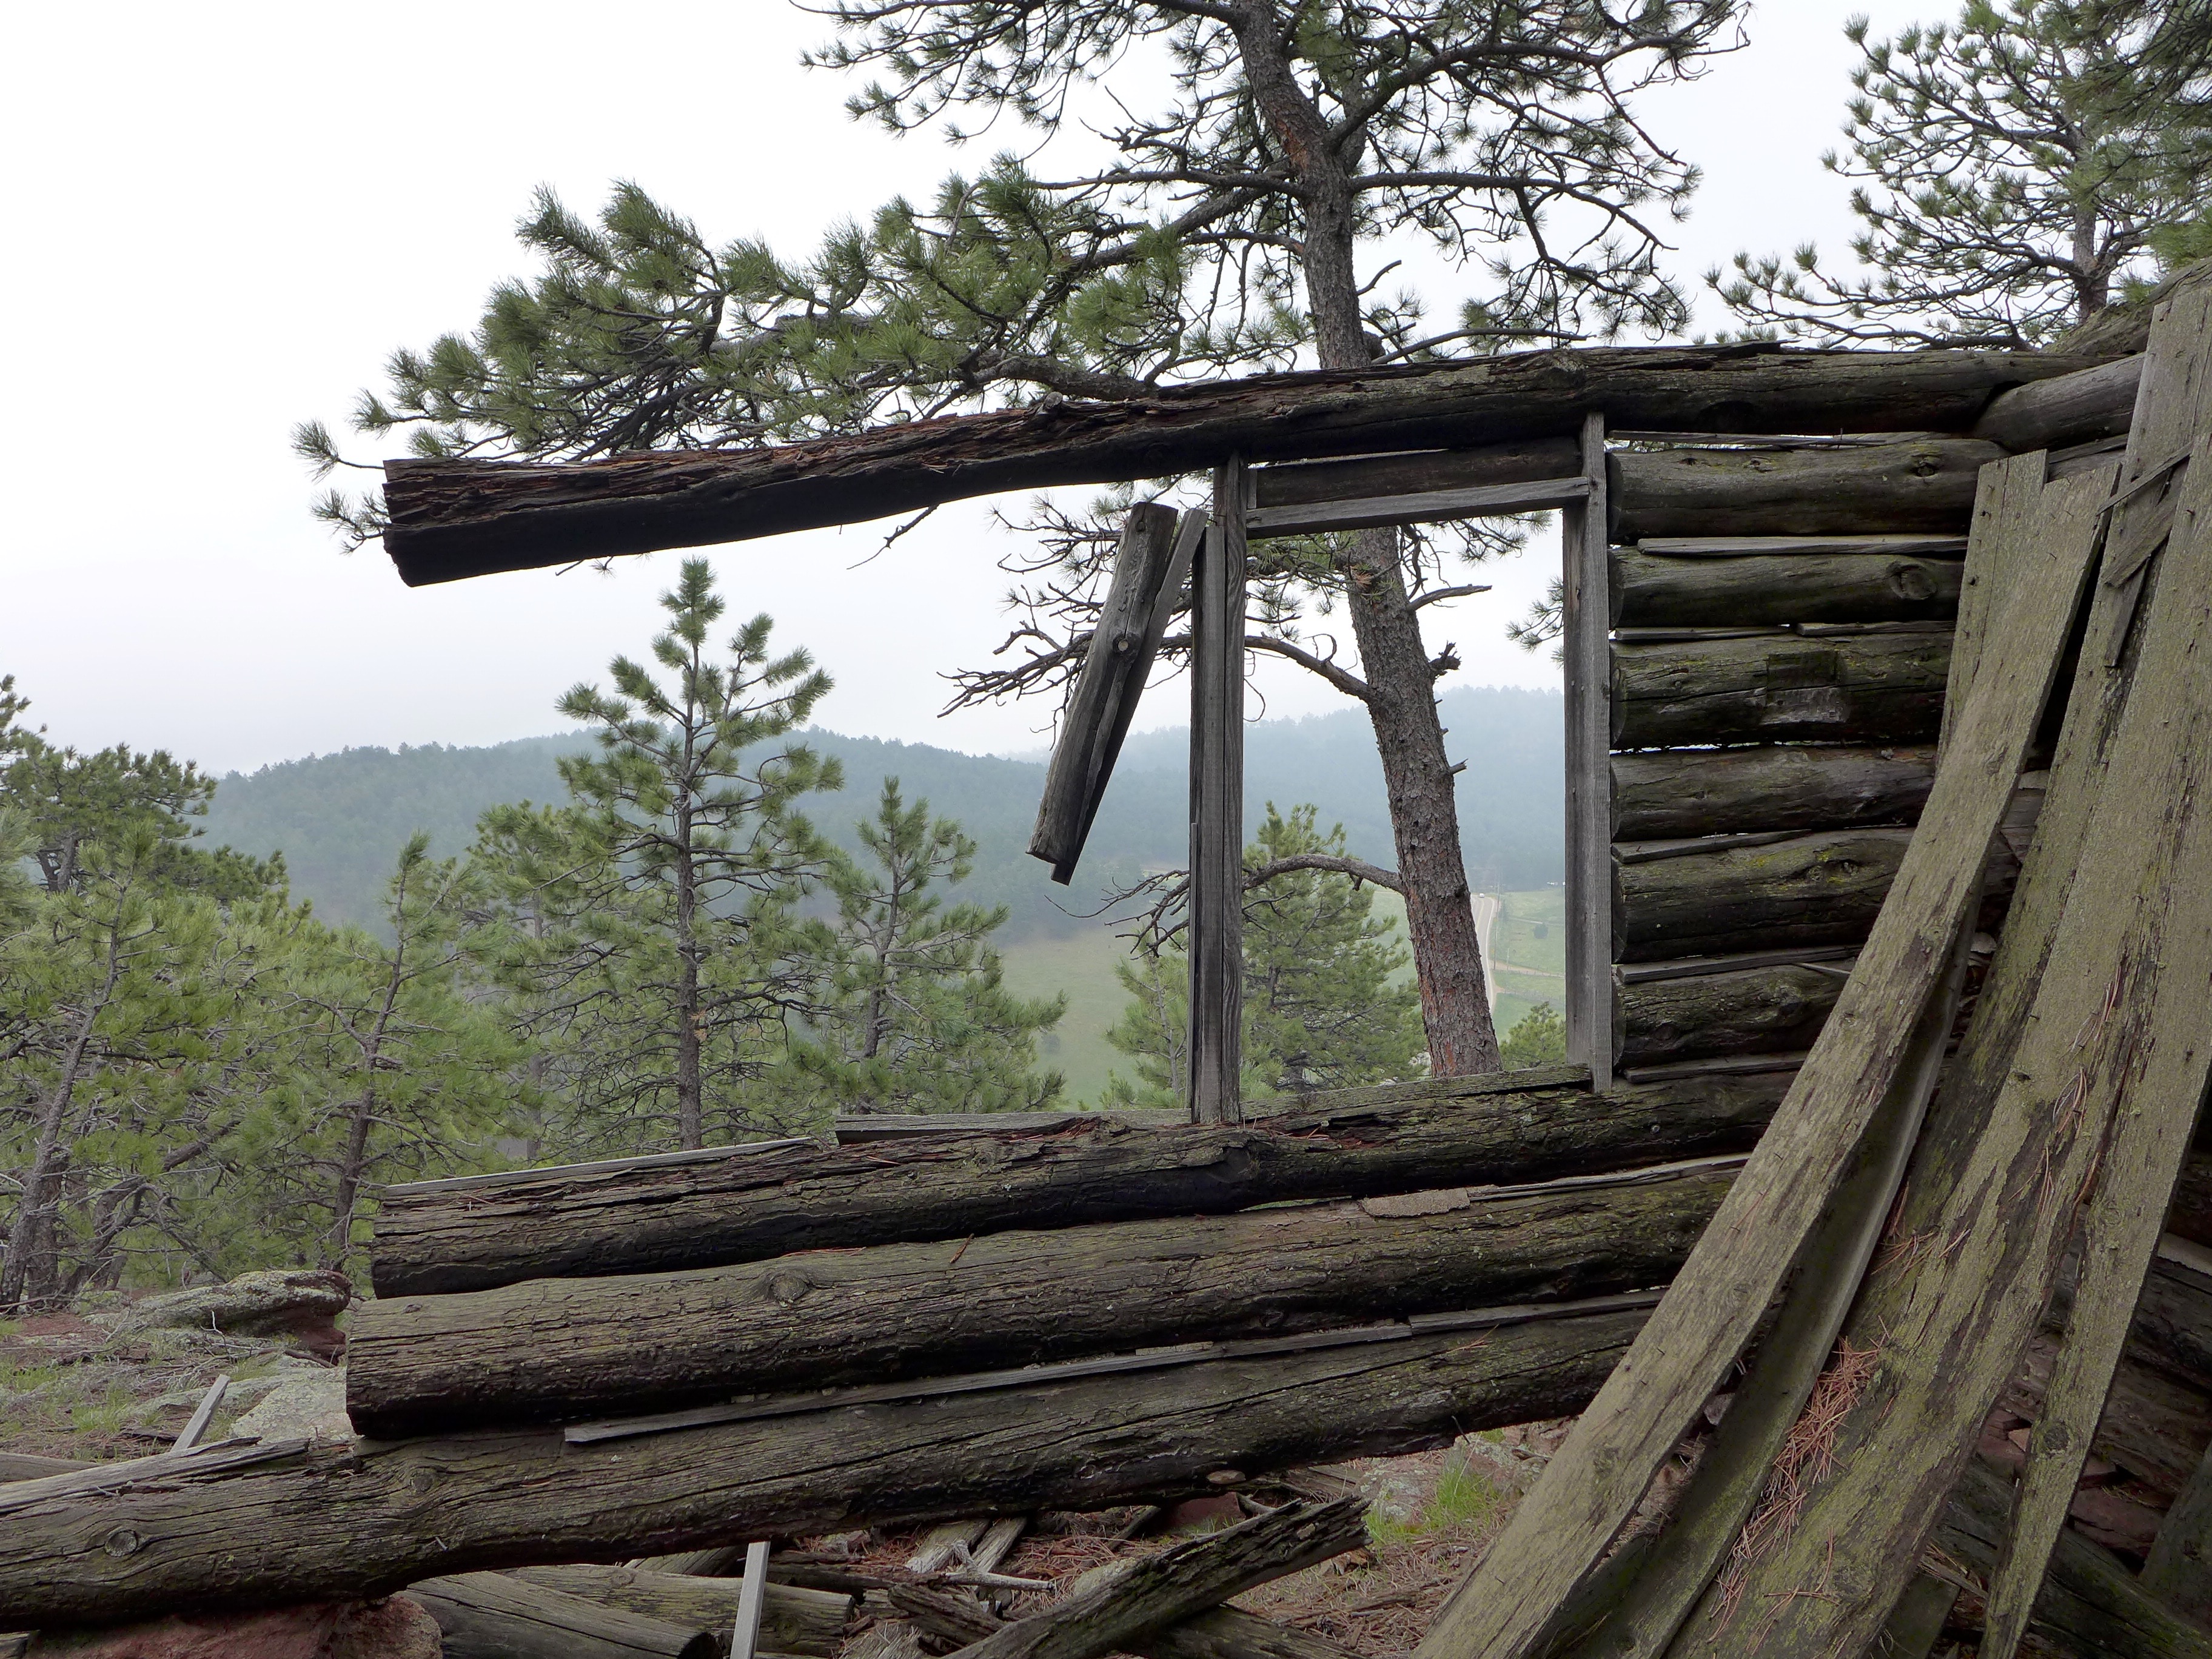
The photos in this post are from a Mother’s Day hike that Alex and I took up our mountain to the old cabin in the woods. I wanted to spend one-on-one time with each boy on Sunday, and when I asked Alex what he wanted to do, “hike to the cabin” was his idea. It was so perfect. There was only one moment when I threatened to leave him in the woods – three year olds are tantrum masters. But we recovered, and then had a great time exploring that cabin.

P1190167

P1190180

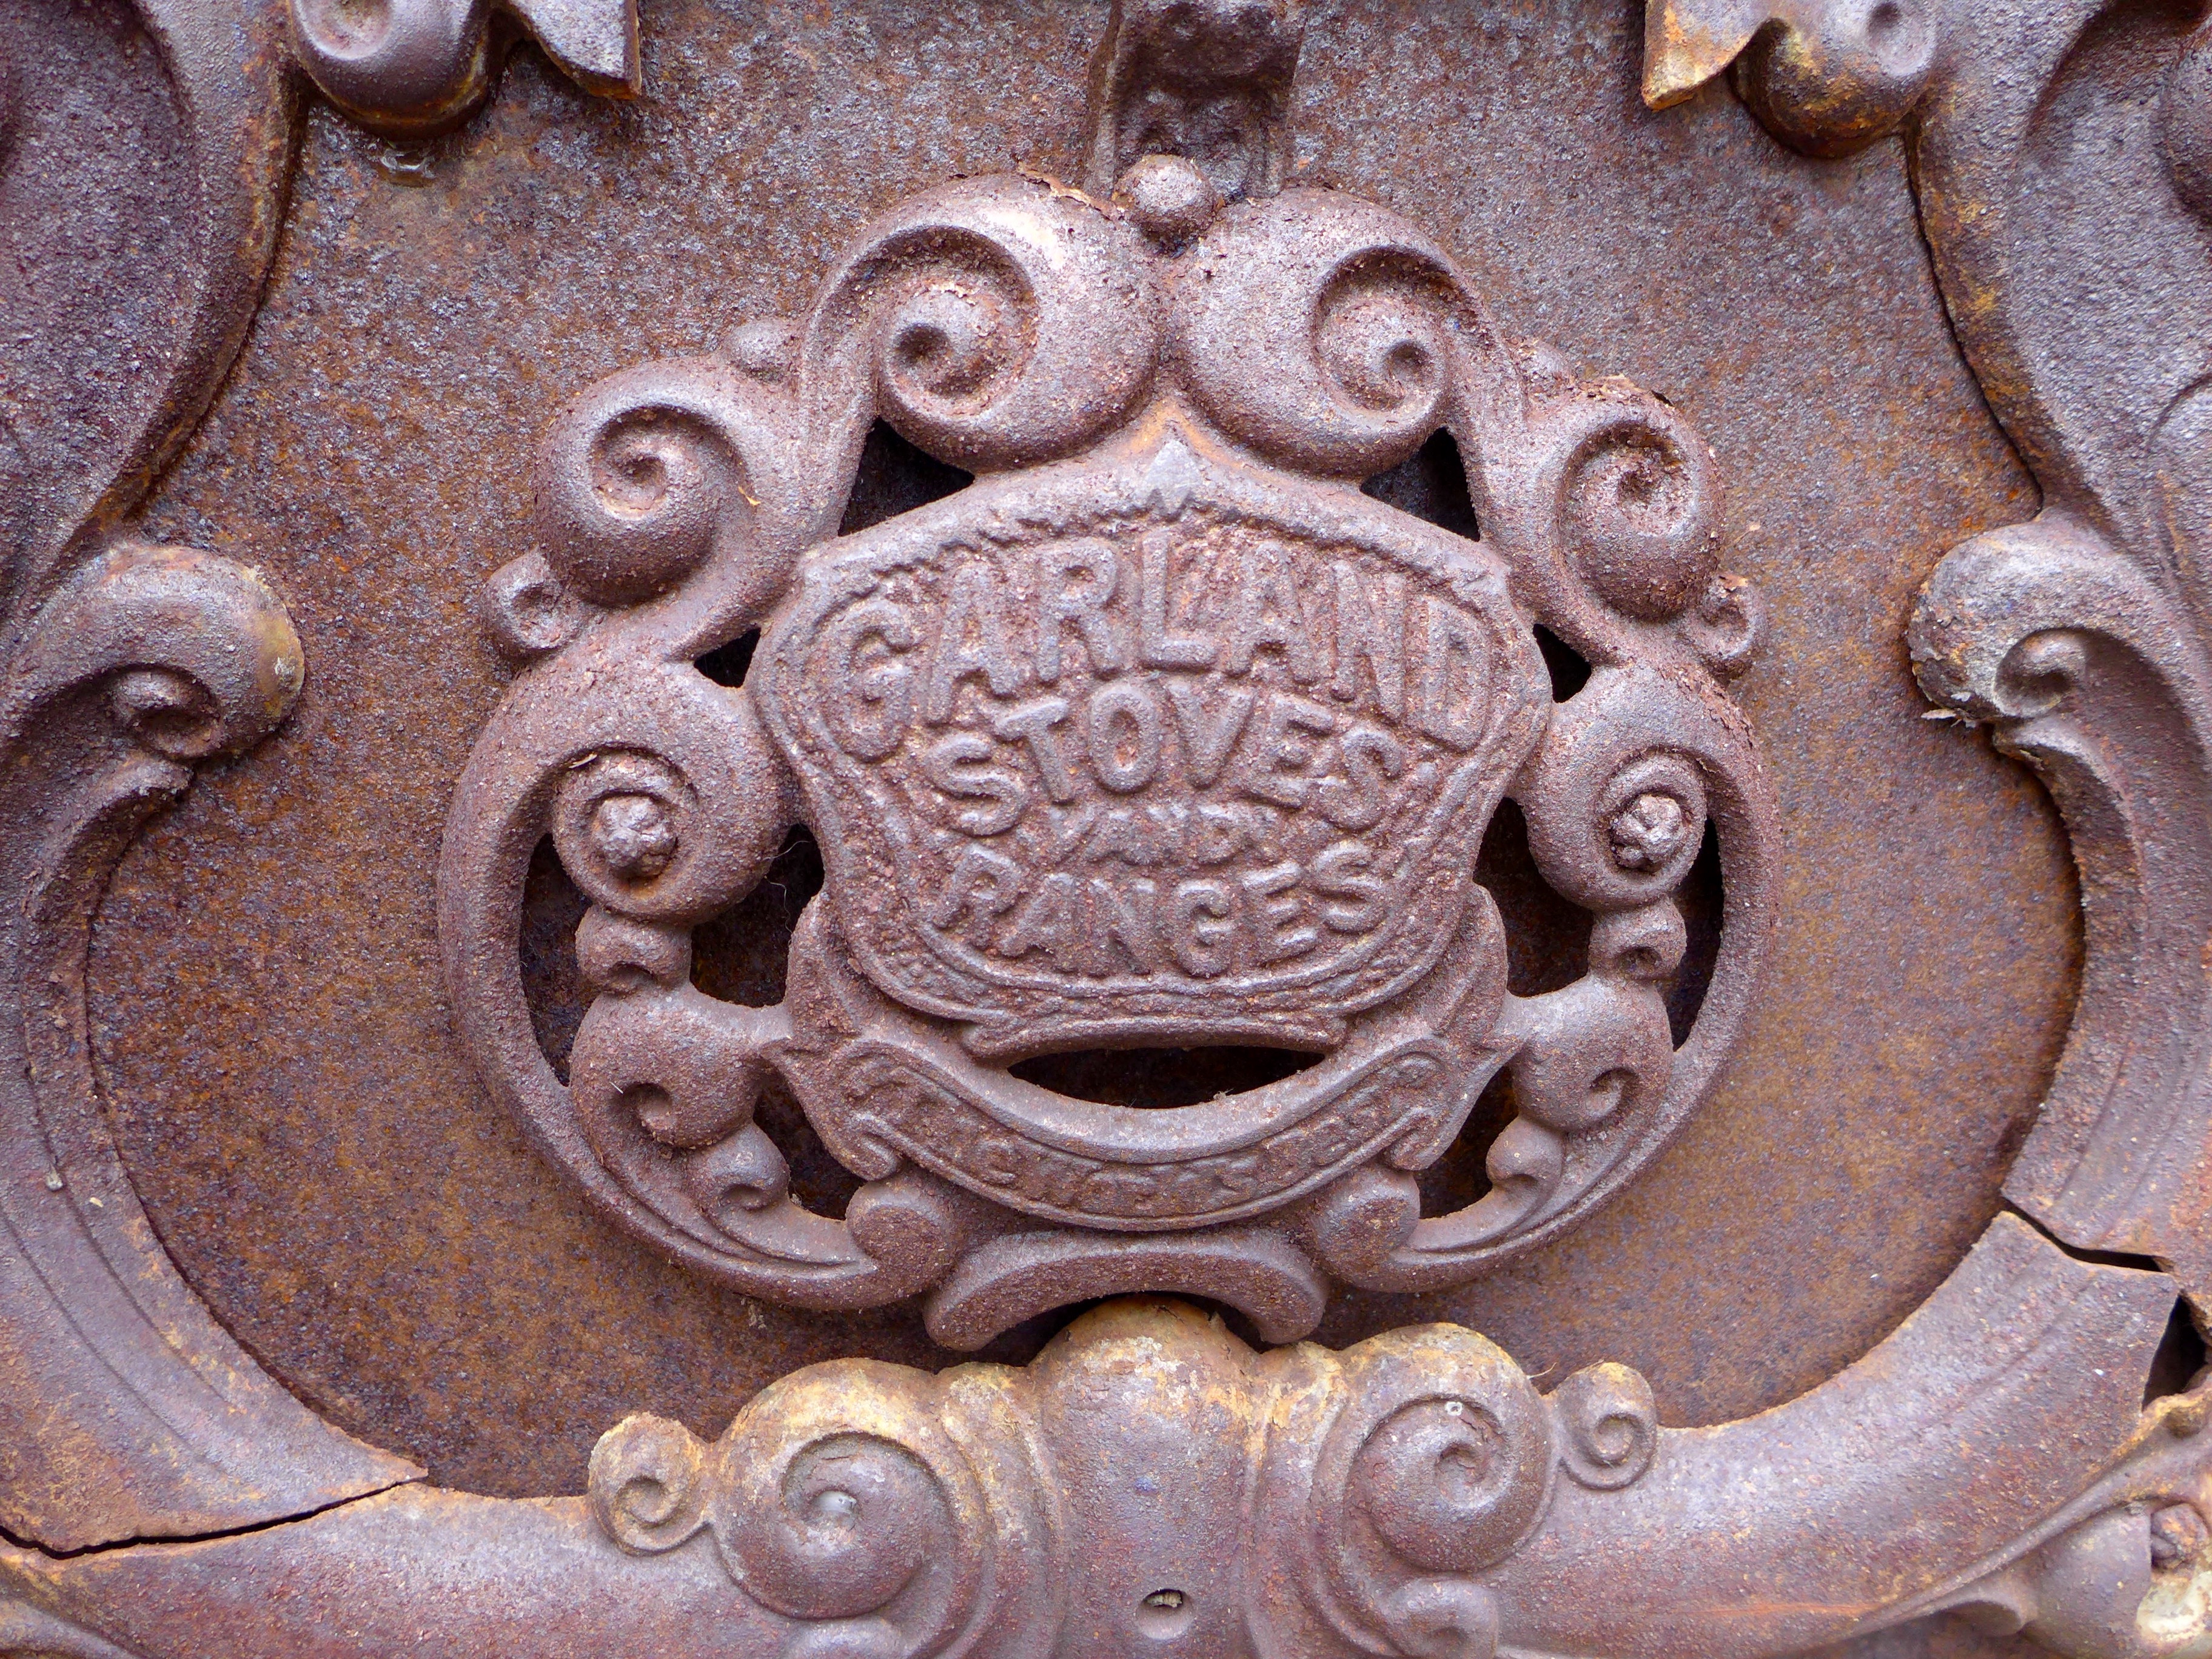
Every time I visit the cabin, I’m in awe of what it must have taken to trek all of the materials to that spot, and I’m also left with so many questions. Who was it? Why there? when did the cabin start to fall apart? It looks like such a quality piece of work, not a temporary shack. And it’s so cool that I wish I could freeze it in time, but I know that we just have to let nature take its course.

P1190169

On this particular trip Alex came to the realization that “maybe this was a house!” and “maybe somebody lived here!”. It was amazing to watch his little brain grasp these big ideas, especially as he started to wonder what happened to the cabin, where did its floor go, etc. etc.

P1190182

P1190186

And in other news, little Luc started walking over the weekend! Soon the three of us will be taking that hike together.

And with that, I’m signing off to get back out in the garden. I’ve been working hard in that space and am so excited to share/document the work.

P1190177

In the Field : Sara Lingenfelter

This post was originally published on April 25th, 2014. We’re republishing it today because it’s Arbor Day! Get out there and hug a tree, but first, read about someone who’s doing some awesome work to help save the American Chestnuts.

As we mentioned on Monday, today we’re introducing a new column called In the Field, where we tag along with someone doing interesting work. In this post we’re talking to Sara Lingenfelter (formerly Fitzsimmons), the regional science coordinator for the Pennsylvania Chapter of  The American Chestnut Foundation (TACF). I think I can speak for both Sarah (my sister) and myself when saying that having an excuse to search out and talk to someone like Sara is just the sort of reason why we started Seasoned. I couldn’t wait to learn more about TACF’s mission and current projects as well as Sara’s research and the day-to-day aspects of her job!

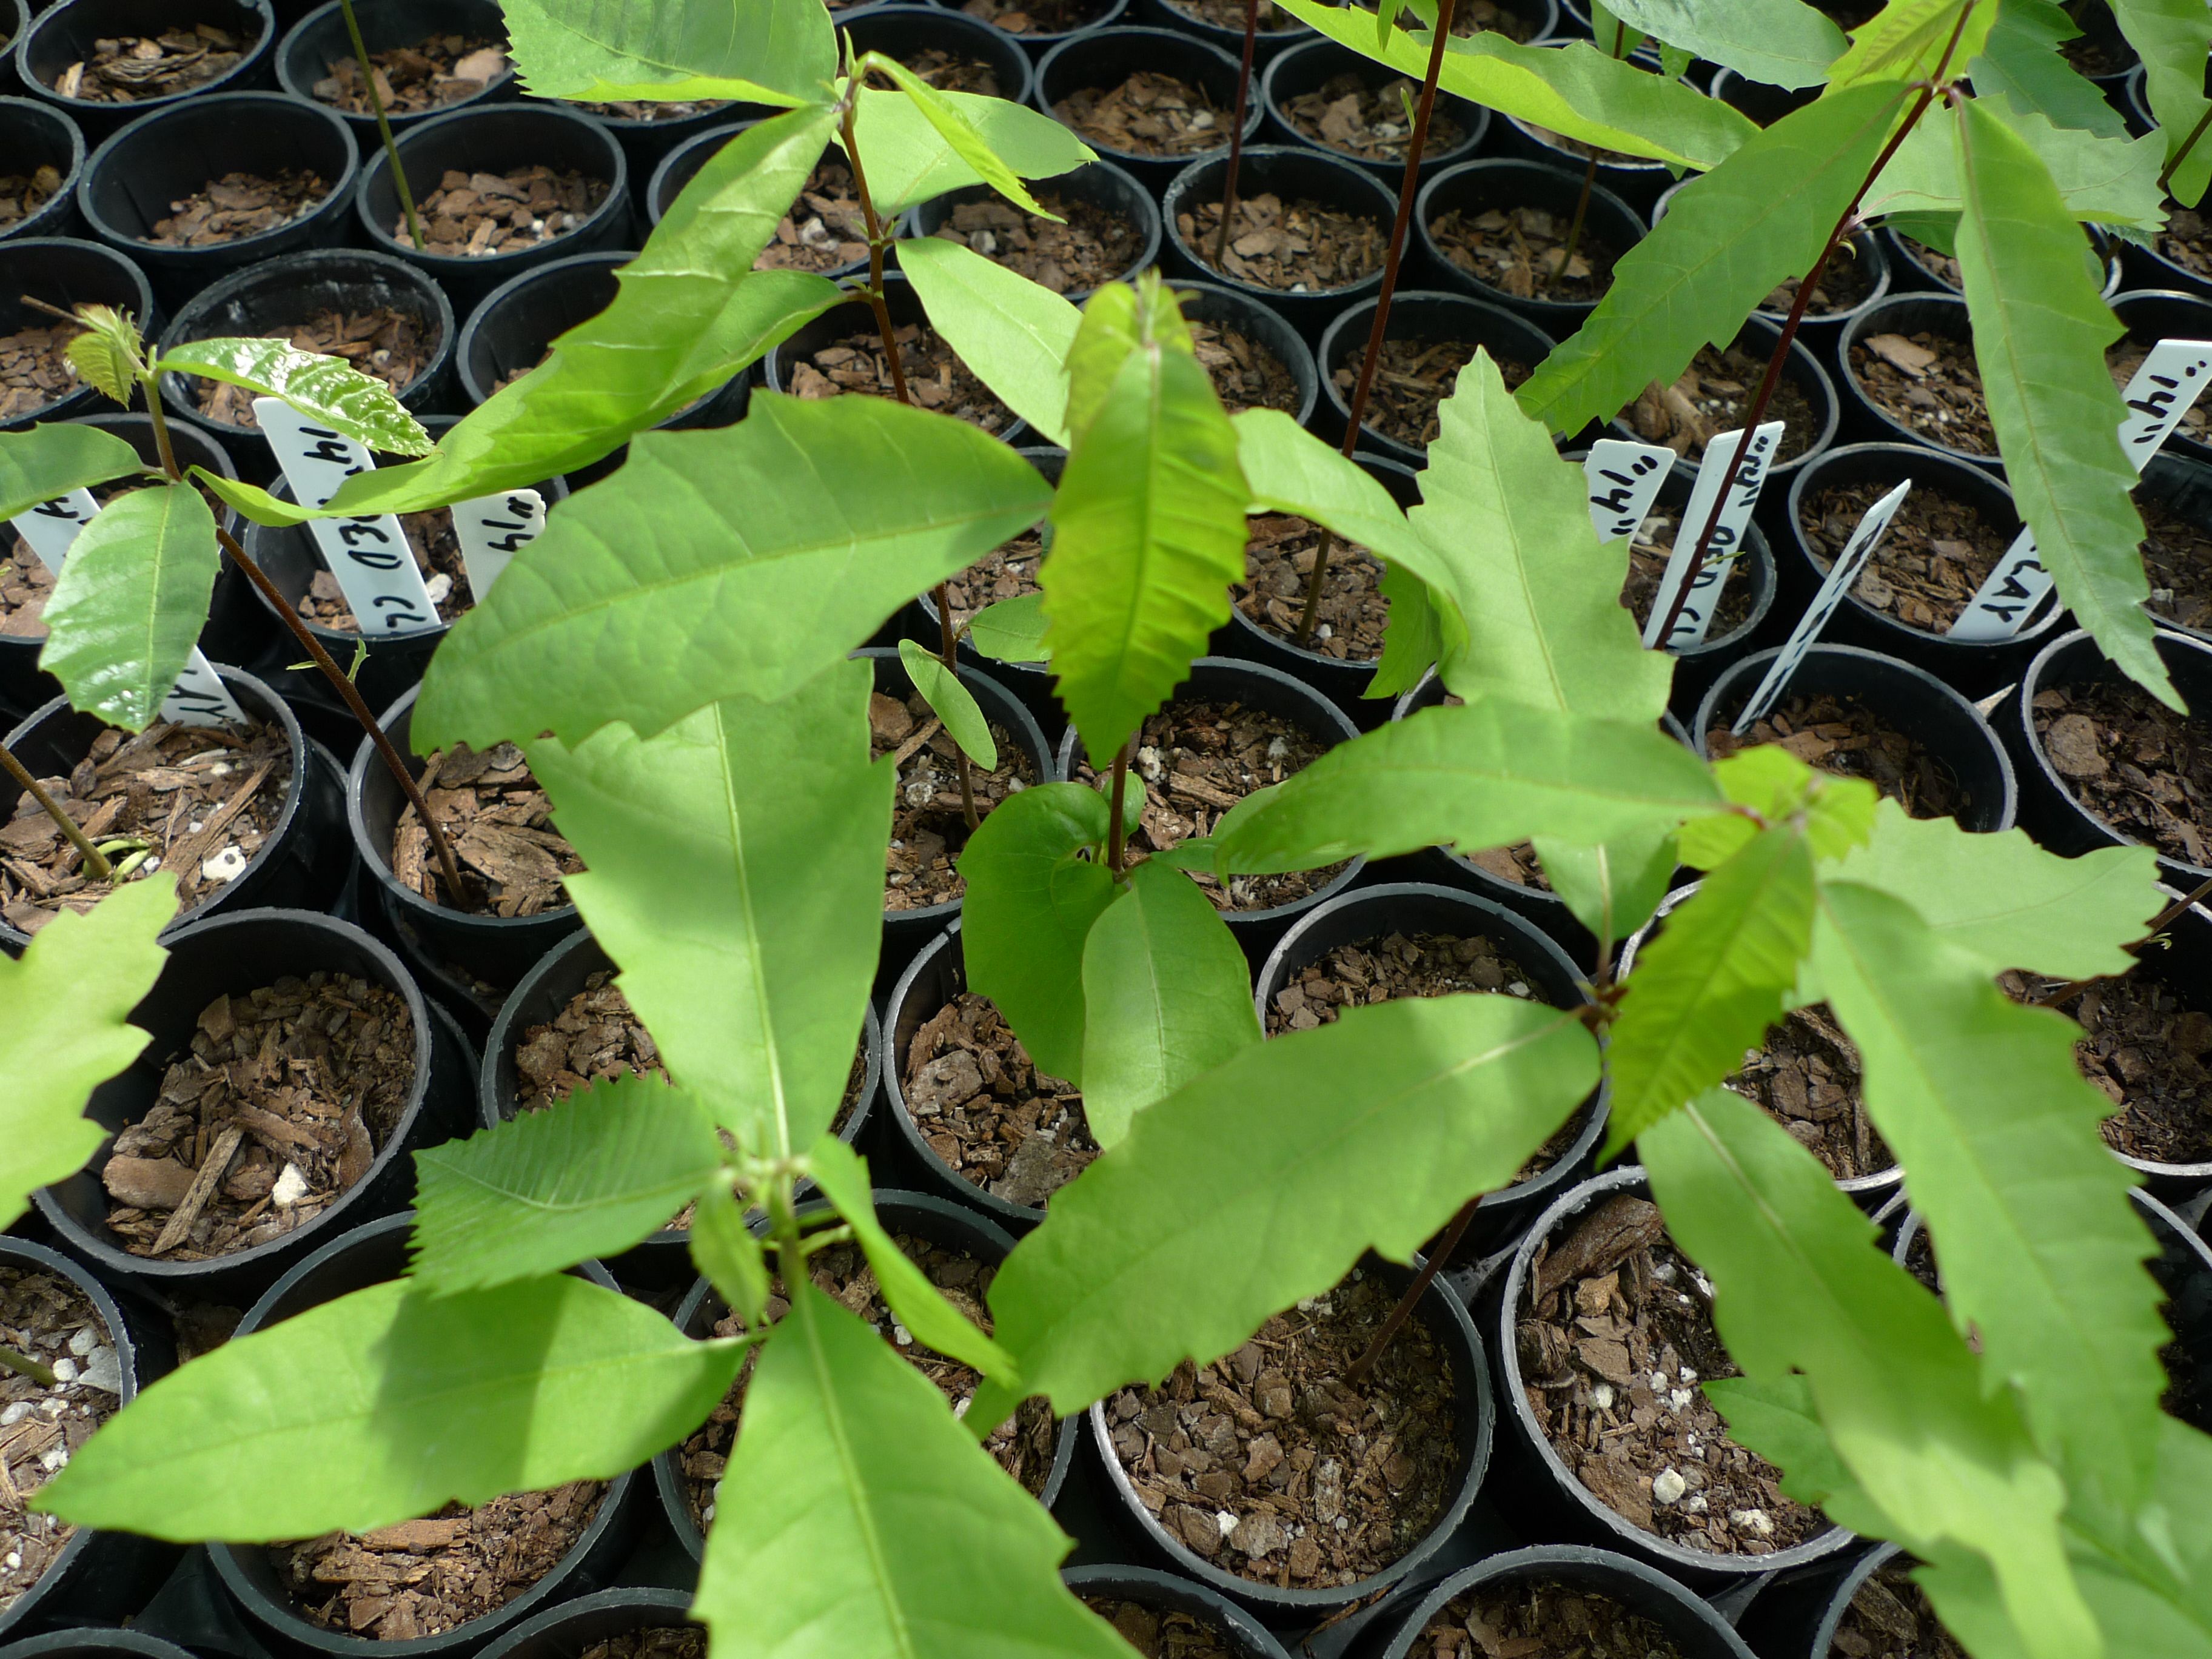
Given that today is Seasoned’s first Arbor Day, we couldn’t think of a better tree to talk about than the American chestnut, Castanea dentata.  Depending upon your age, you may have heard your parents, grandparents, and/or great-grandparents talk about the majesty of the American chestnut. These trees are native to the forests of the Eastern US, where they were considered extremely important for their role within the ecosystem and as a valuable economic resource.

Continue reading

How To: Fill and Hang a Hummingbird Feeder

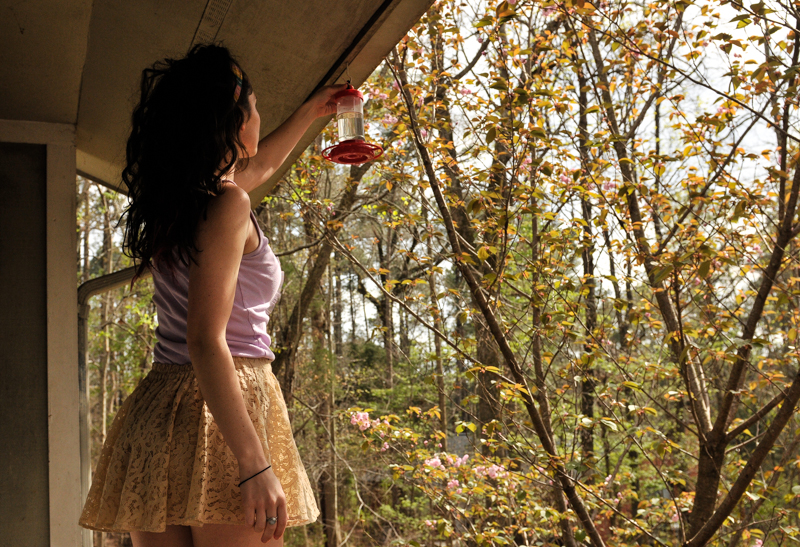
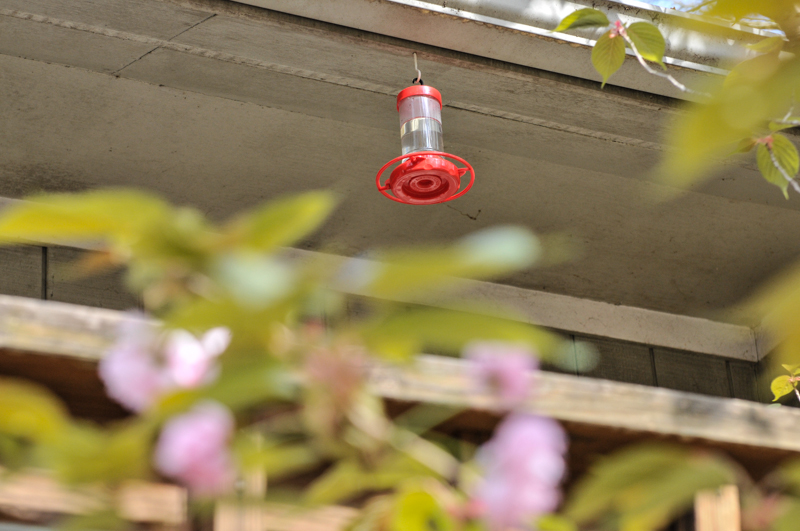
 Here is the feeder I have & here’s one double the size. Katie has one similar to this (because she’s shmancy). These feeders are extremely easy to fill, hang and clean. The red color attracts hummingbirds, but not stinging insects – bees, wasps, hornets, etc can’t see red, but are attracted to yellow. BTW we love bees, just not near our hummingbird feeder.

It’s that time of year again 🙂 hang up those feeders, plant flowers to attract pollinating insects and watch your yard come alive with activity. We originally posted this just about a year ago, but thought it was a fun reminder – so here it is again.

liveseasoned_sp15_hummingbirdfeeder-6

I spotted my first hummingbird of the season yesterday, which means it’s time to hang up the feeder.  This post is kind of a no-brainer, but who knows, maybe you’ve never hung up a hummingbird feeder? Maybe you didn’t even think of doing it until this post and then you were like DUH, I should totally hang up a hummingbird feeder. Is that you? Cool, keep reading.

liveseasoned_sp15_hummingbirdfeeder-11

Continue reading

Creative Corner : Artist Benjamin Gazsi

We’re republishing one of our favorite artist interviews today – originally posted on April 22, 2014.

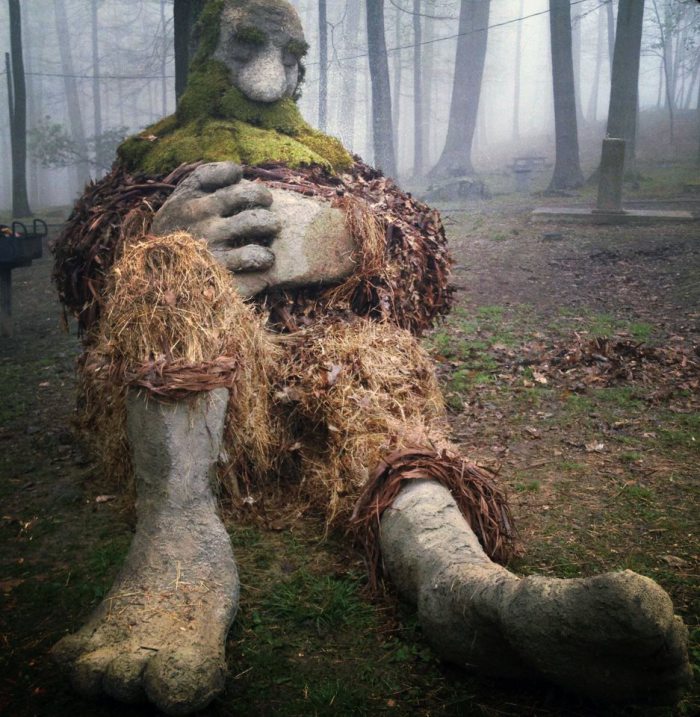
Ben Gazsi is an artist who may be best known for his eco-sculptures, but before we delve into his work, let’s get one thing out of the way. Yes, his given name really is Benjamin Gazsi; it’s a Hungarian name, not a political statement related to incidents in the Libyan city.  And get this, he’s not the only Ben Ghazi (different spelling intentional) to be asked such questions. So, on with the art then?

coopers_giant2

I discovered Ben’s work while preparing for our camping trip to Cooper’s Rock State Forrest. I knew that his bear sculpture was still standing and was excited to see it and take a few pictures while we were there. As luck would have it, Ben was in the forest working on his next installation for Cooper’s Rock: a turtle that is being unveiled today, Earth Day 2014! Of course I couldn’t pass up the chance to photograph his process and ask a few questions.

Continue reading

Winter Photography Tips

Sarah is a professional freelance photographer – she’s always sharing tutorials. Learn how to find flattering natural light for selfies and portraits or catch tips on photographing kids and pets. See what camera Katie shoots with or check out my favorite lenses.

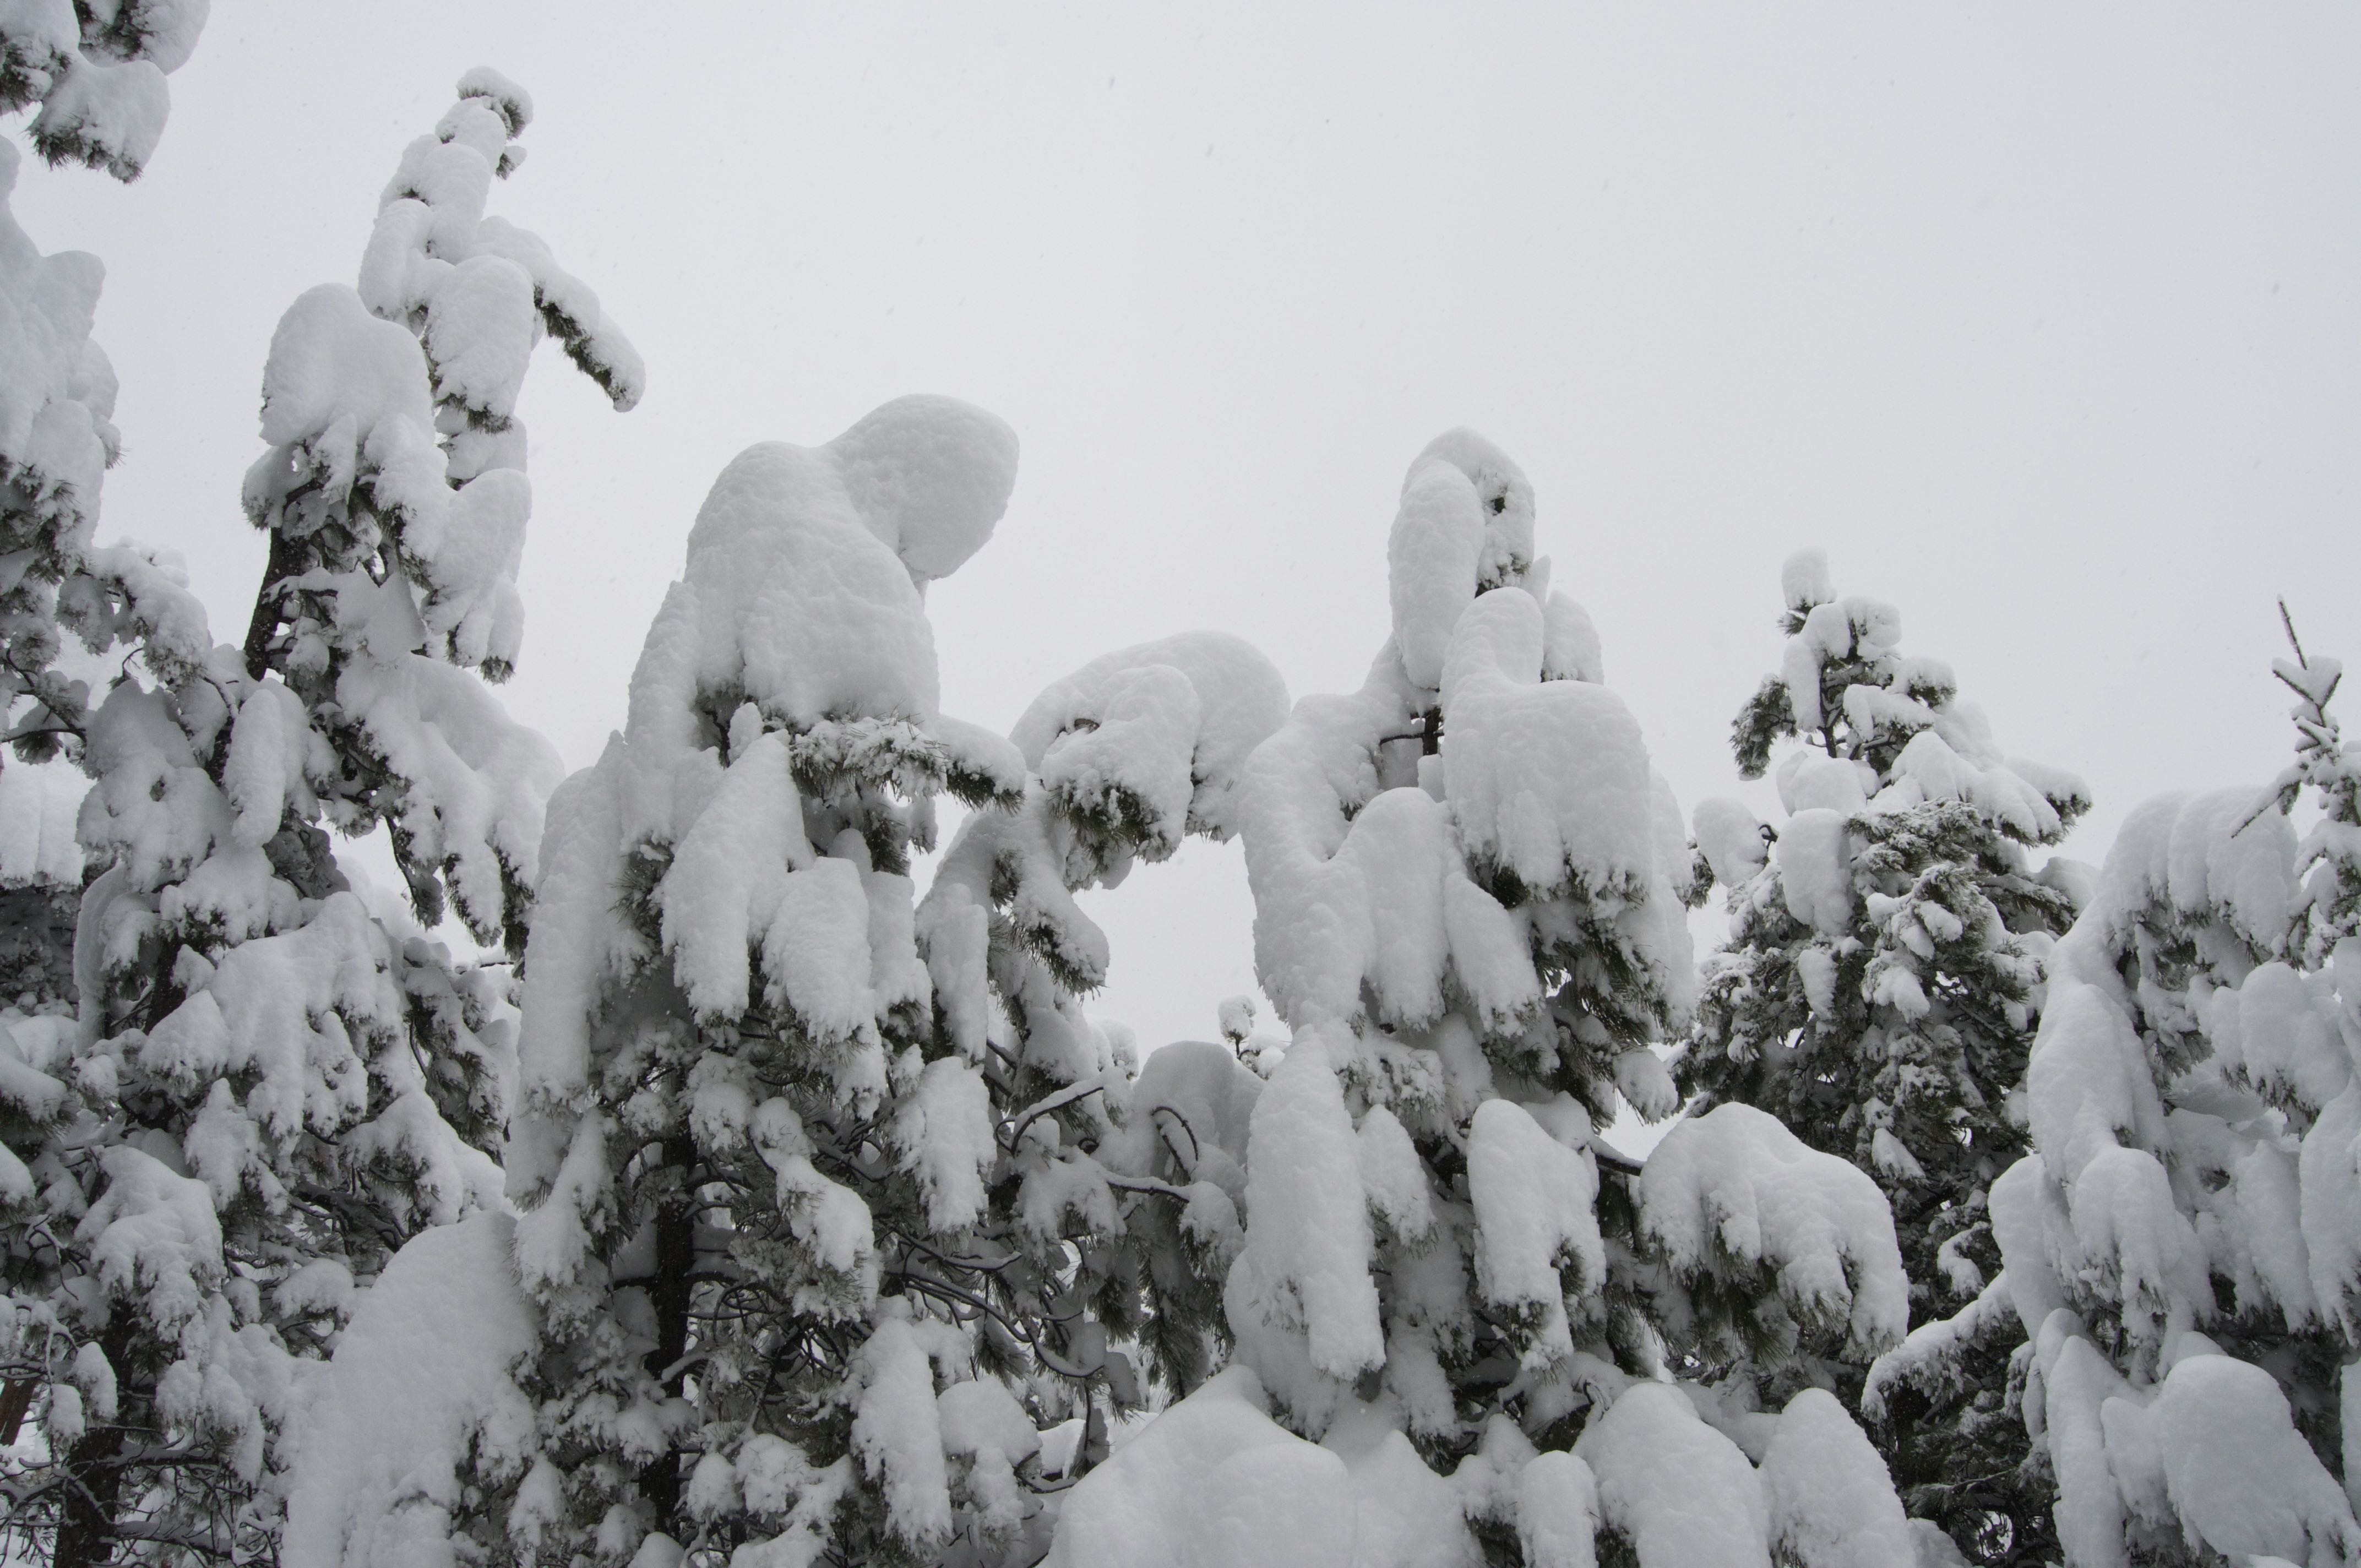
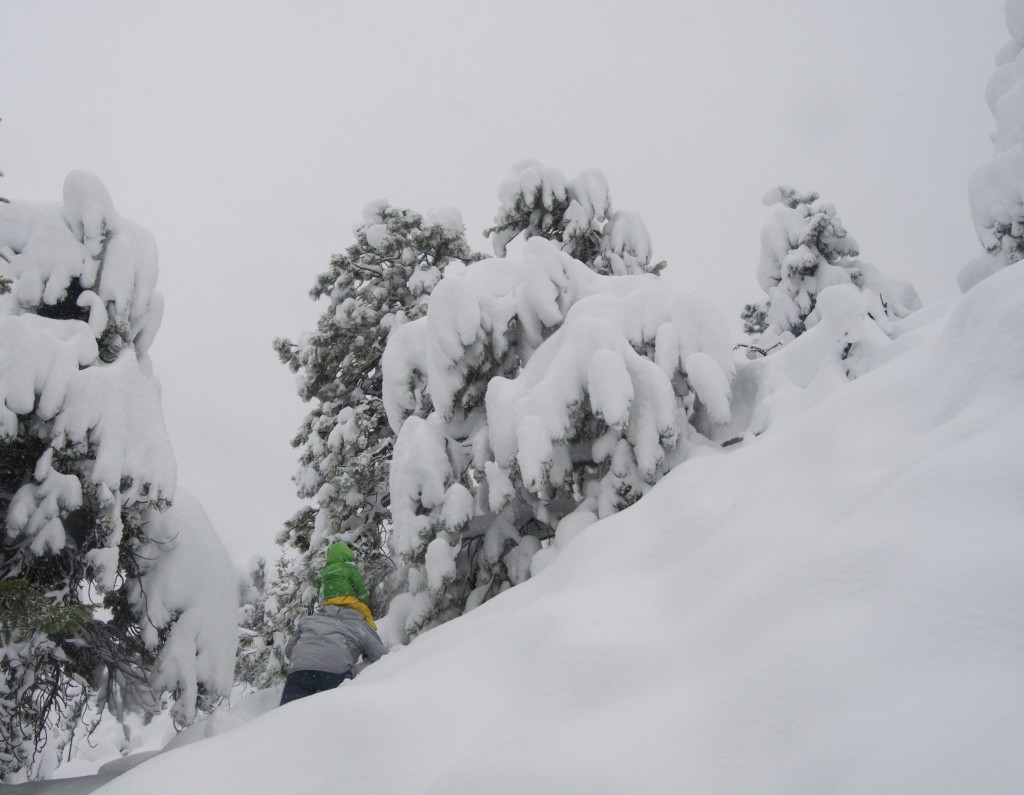
Live Seasoned Spring 16 Photographing Winter Landscapes08Live Seasoned Spring 16 Photographing Winter Landscapes14 We agree, it’s a little bit strange to talk about Winter Photography Tips in mid-April, but did you see all the snow that fell in Boulder this past weekend? It wouldn’t stop! With a house full of food and relatives and the fire on full blast, we enjoyed every second of the snow.  We even made it outside for a hike up the mountainside.  If you’re still enjoying wintery snowscapes, here are a few practice pieces of advice for photographing in the snow. Continue reading