
Dreaming up a trip? Here’s how to create a budget and here’s how you can start saving today.
I’m not a planner per say, but mention a trip idea and I’ve already booked the accommodations. There’s just something about travel, adventures, and vacation that puts me into planning mode and not the crazy, ‘there are so many things to think about that I can’t even think’ type of planning mode, but the, ‘wow, what wonderful possibilities, let’s go with the best one‘ type of planning mode. I have a certain travel planning chi that allows me to avoid the overwhelm and skip right to the excitement. I started my travel guiding service, Schu Tours, partly because everyone is always asking for travel planning help.
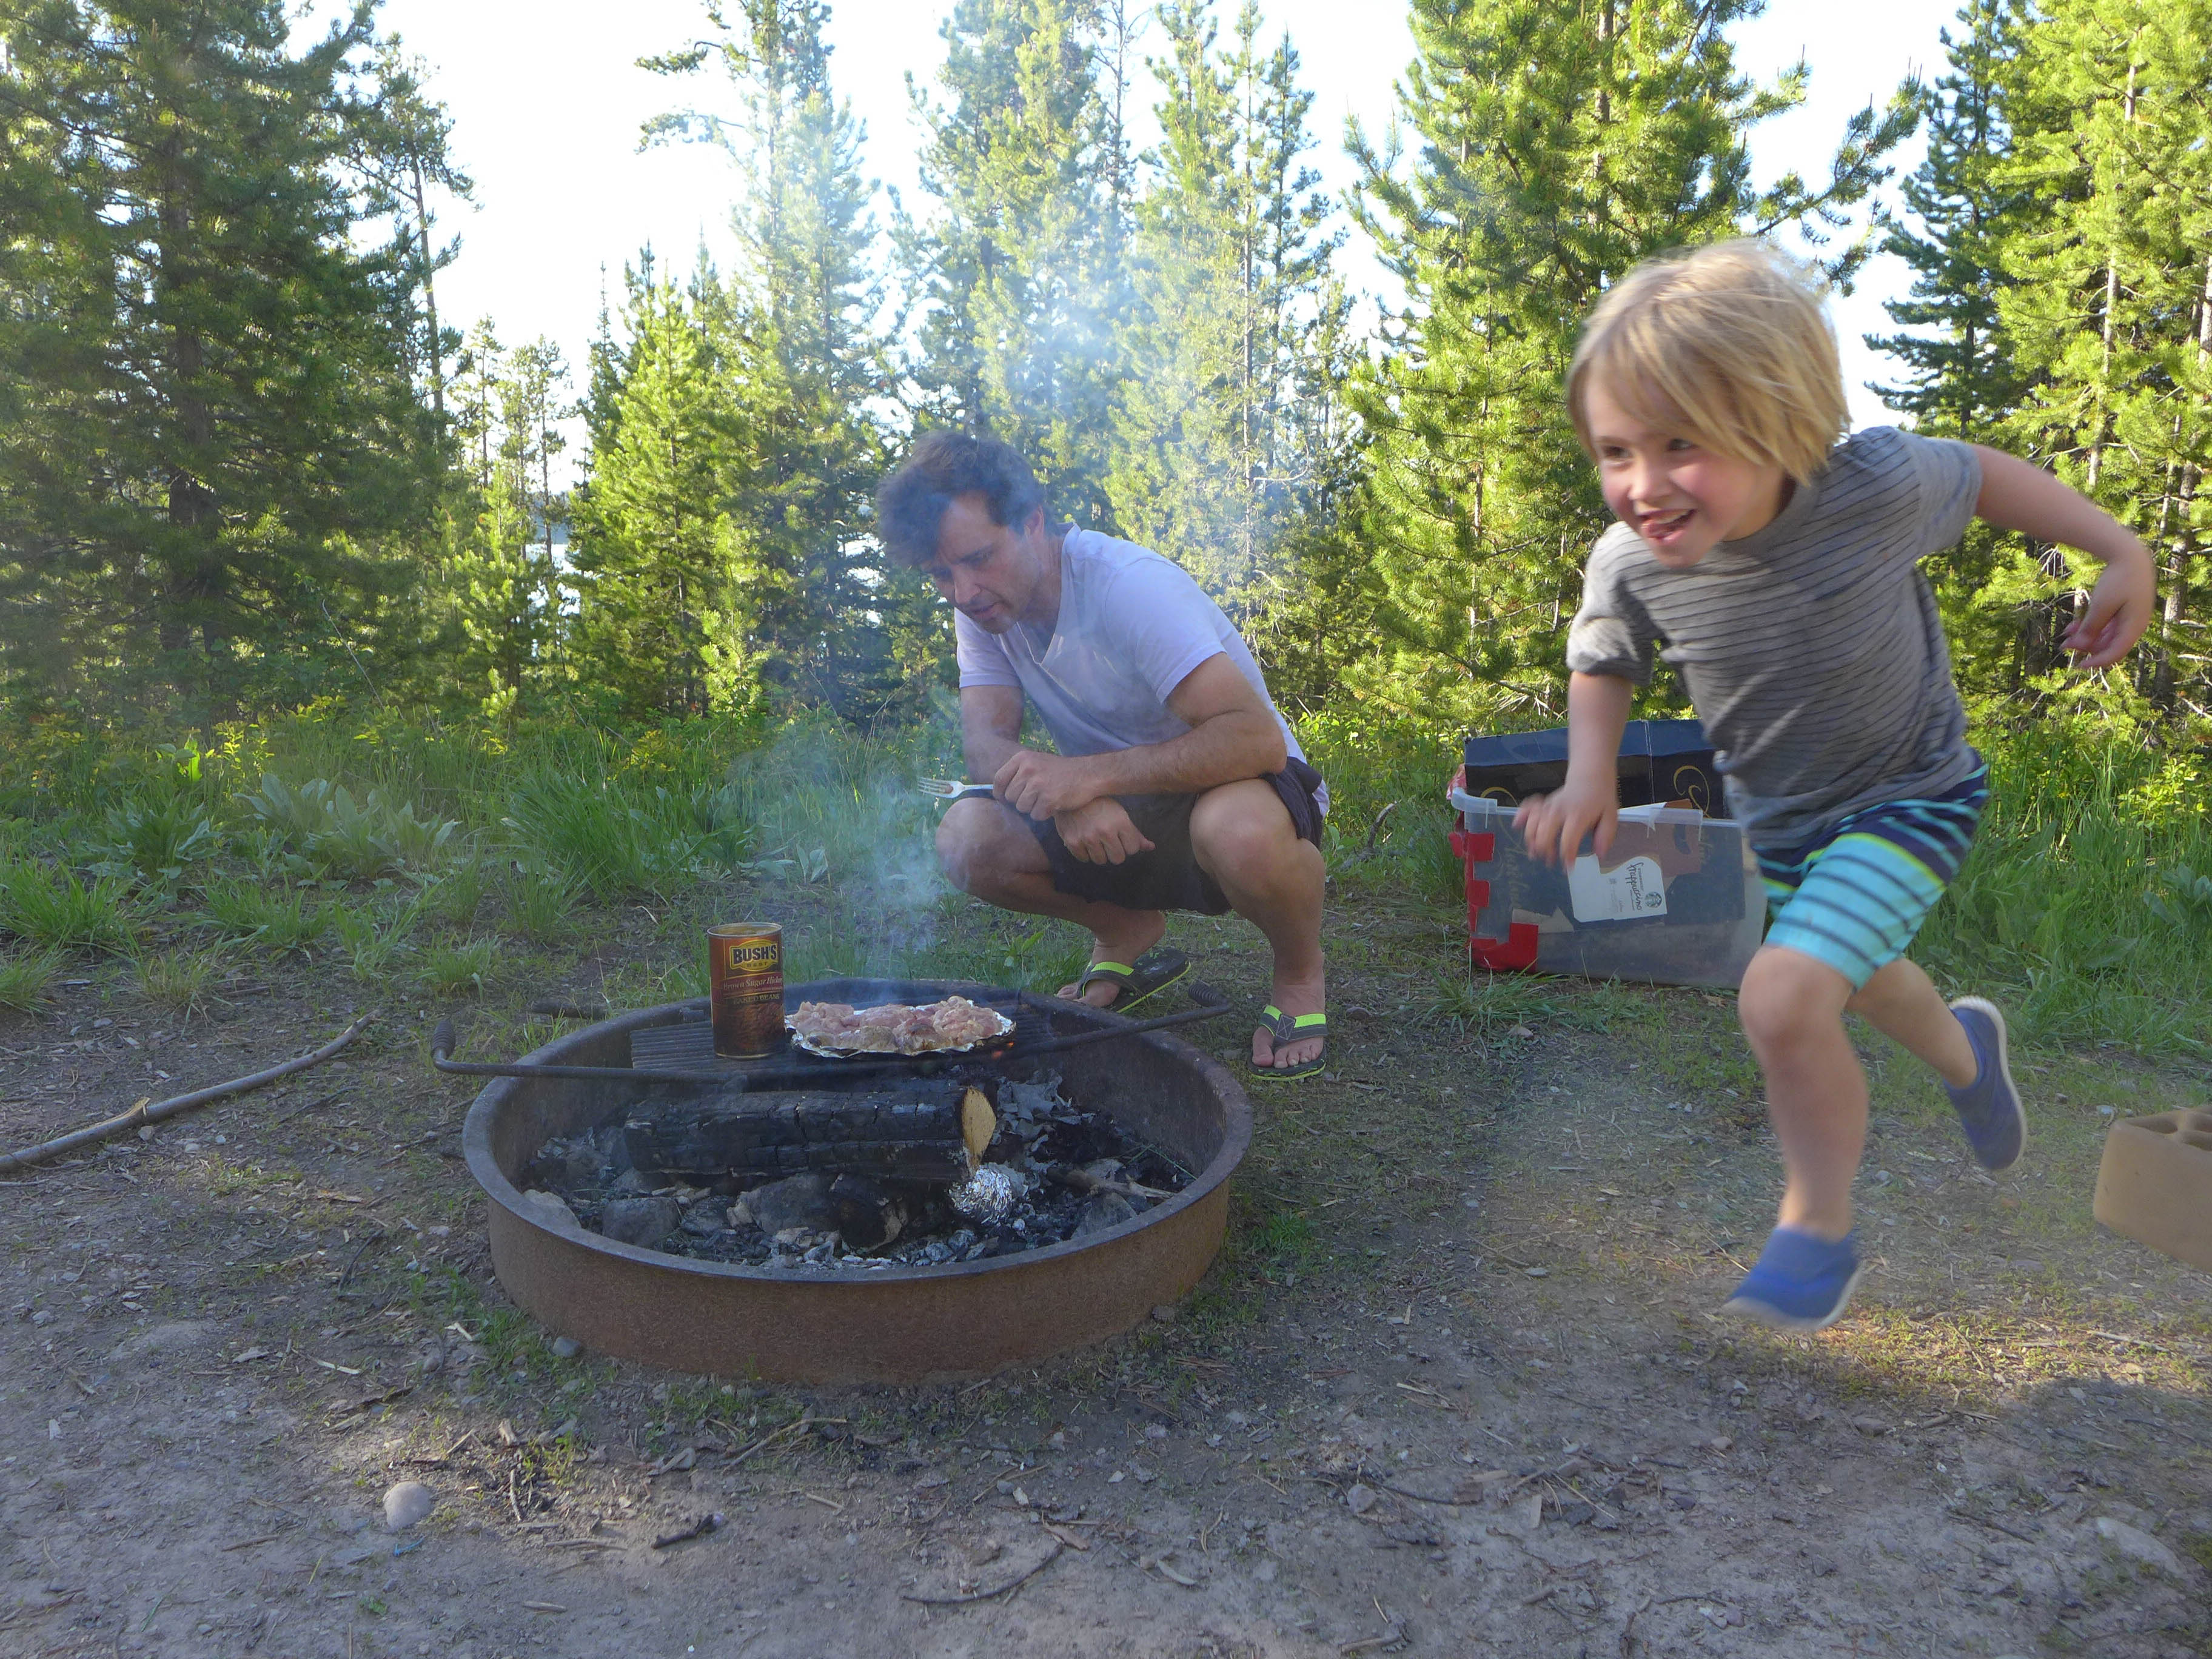
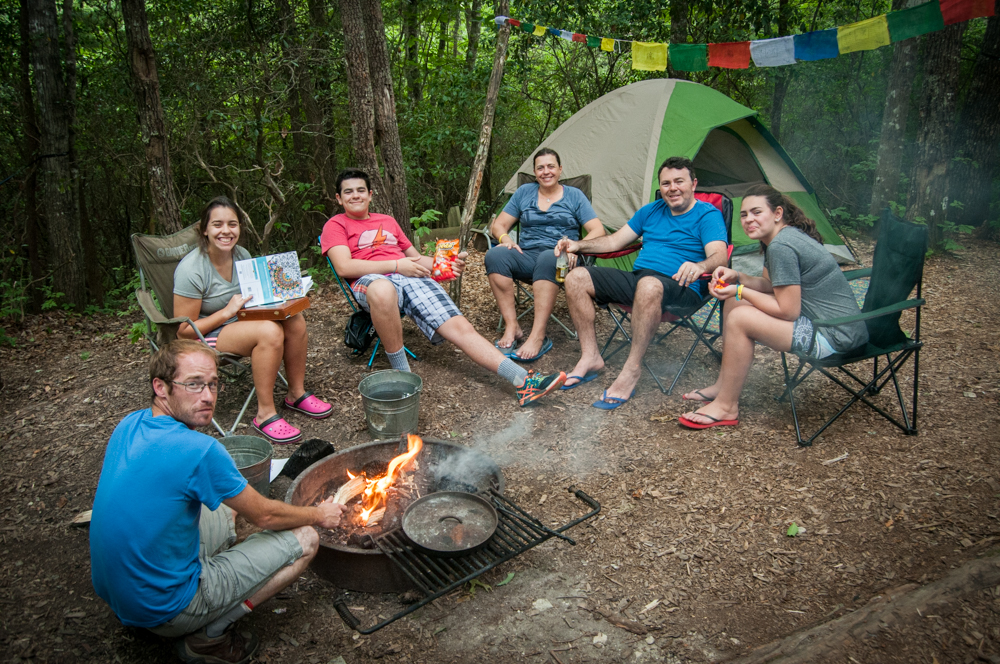
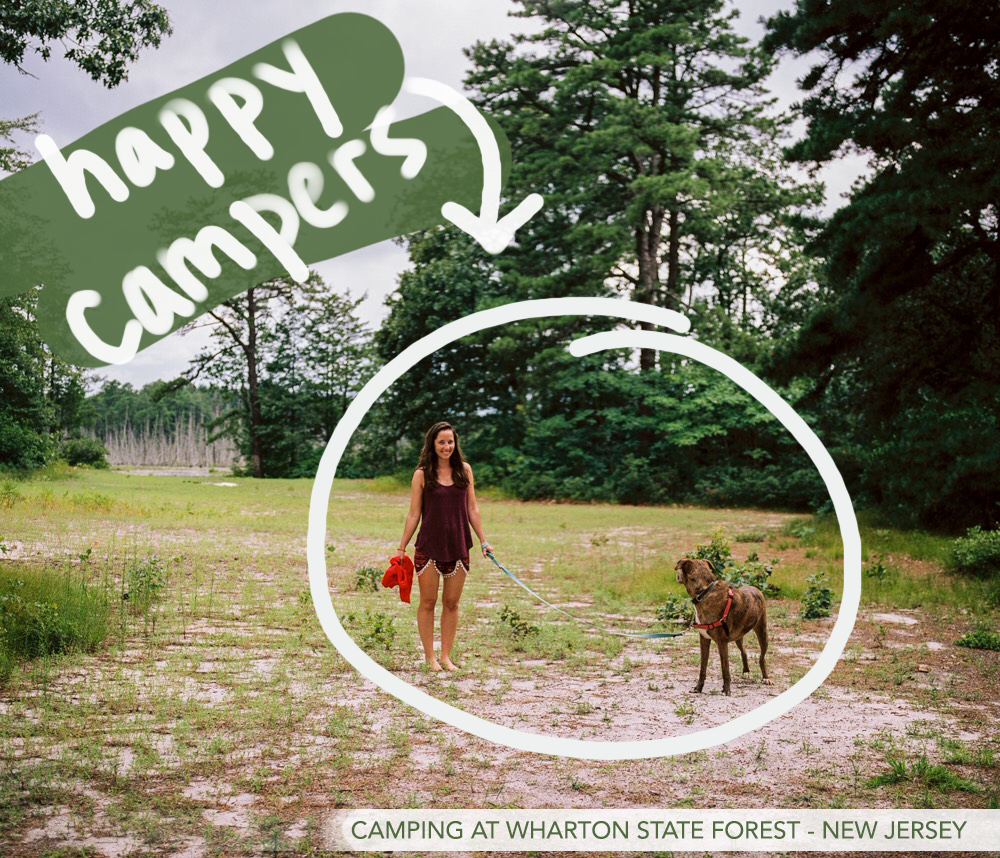
When some family friends asked for my help planning their first ever family camping trip, I jumped at the opportunity and even asked if I could guide the whole trip for them. They agreed and the planning began. Here’s how I planned a custom camping trip for a crew of seven.
Step 1. Choose Your General Location
Pick a spot based on a variety of factors, but mainly weather, activities, convenience, and cost. Weather is a big one when it comes to camping. You can’t control the rain, but you can avoid camping in a rain forest, ya know? Basically, if you don’t like heat and humidity, steer clear of Florida. Hate cold mornings? Maybe don’t choose Montana in May. Set yourself up for comfort by taking into account the general climate of your proposed destination.
Also keep in mind activities. If you’re hankerin’ to climb a mountain, Delaware is the last place you should look, but if you’re trying to catch blue crabs all afternoon, do it! Head to The Diamond State!
That leaves us with convenience and cost, which go hand in hand here. Choosing a location closer to your home gives you more financial freedom since you’re not flying to your destination and then renting or buying a bunch of gear. It also allows for some wiggle room in case there is some type of event or emergency that messes up your original plans.
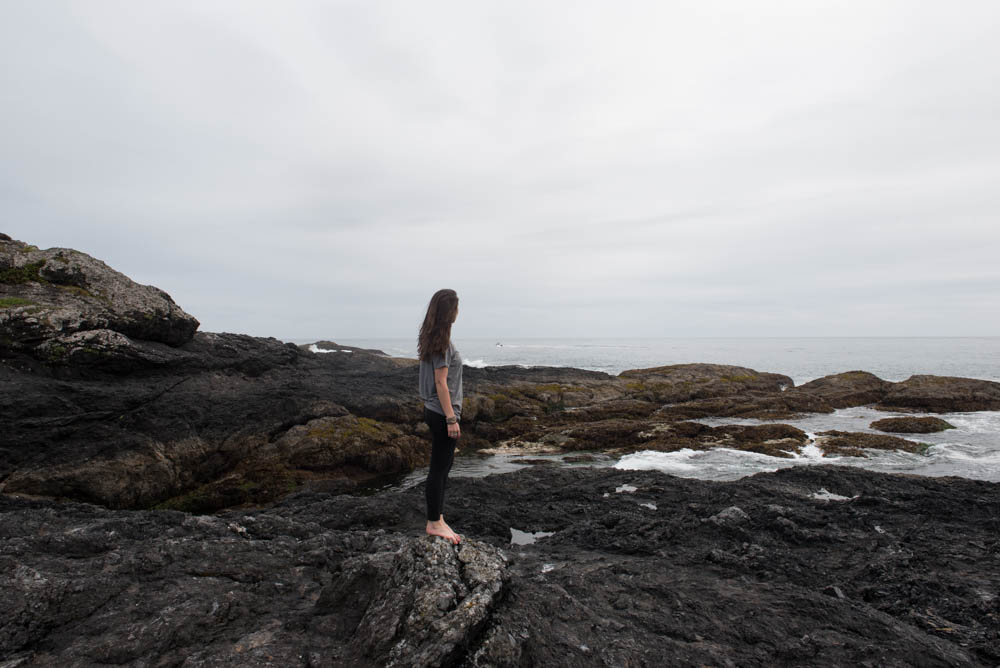
However, I would weigh weather and activities over cost and convenience because sometimes you really need that epic adventure. Traveling far from home and experiencing a landscape that is completely different from yours or seeing something totally awe inspiring will be something that stays with your kids forever when they may forget a camping trip that was less of an expedition and more of a road trip to a forest that looks similar to their backyard.
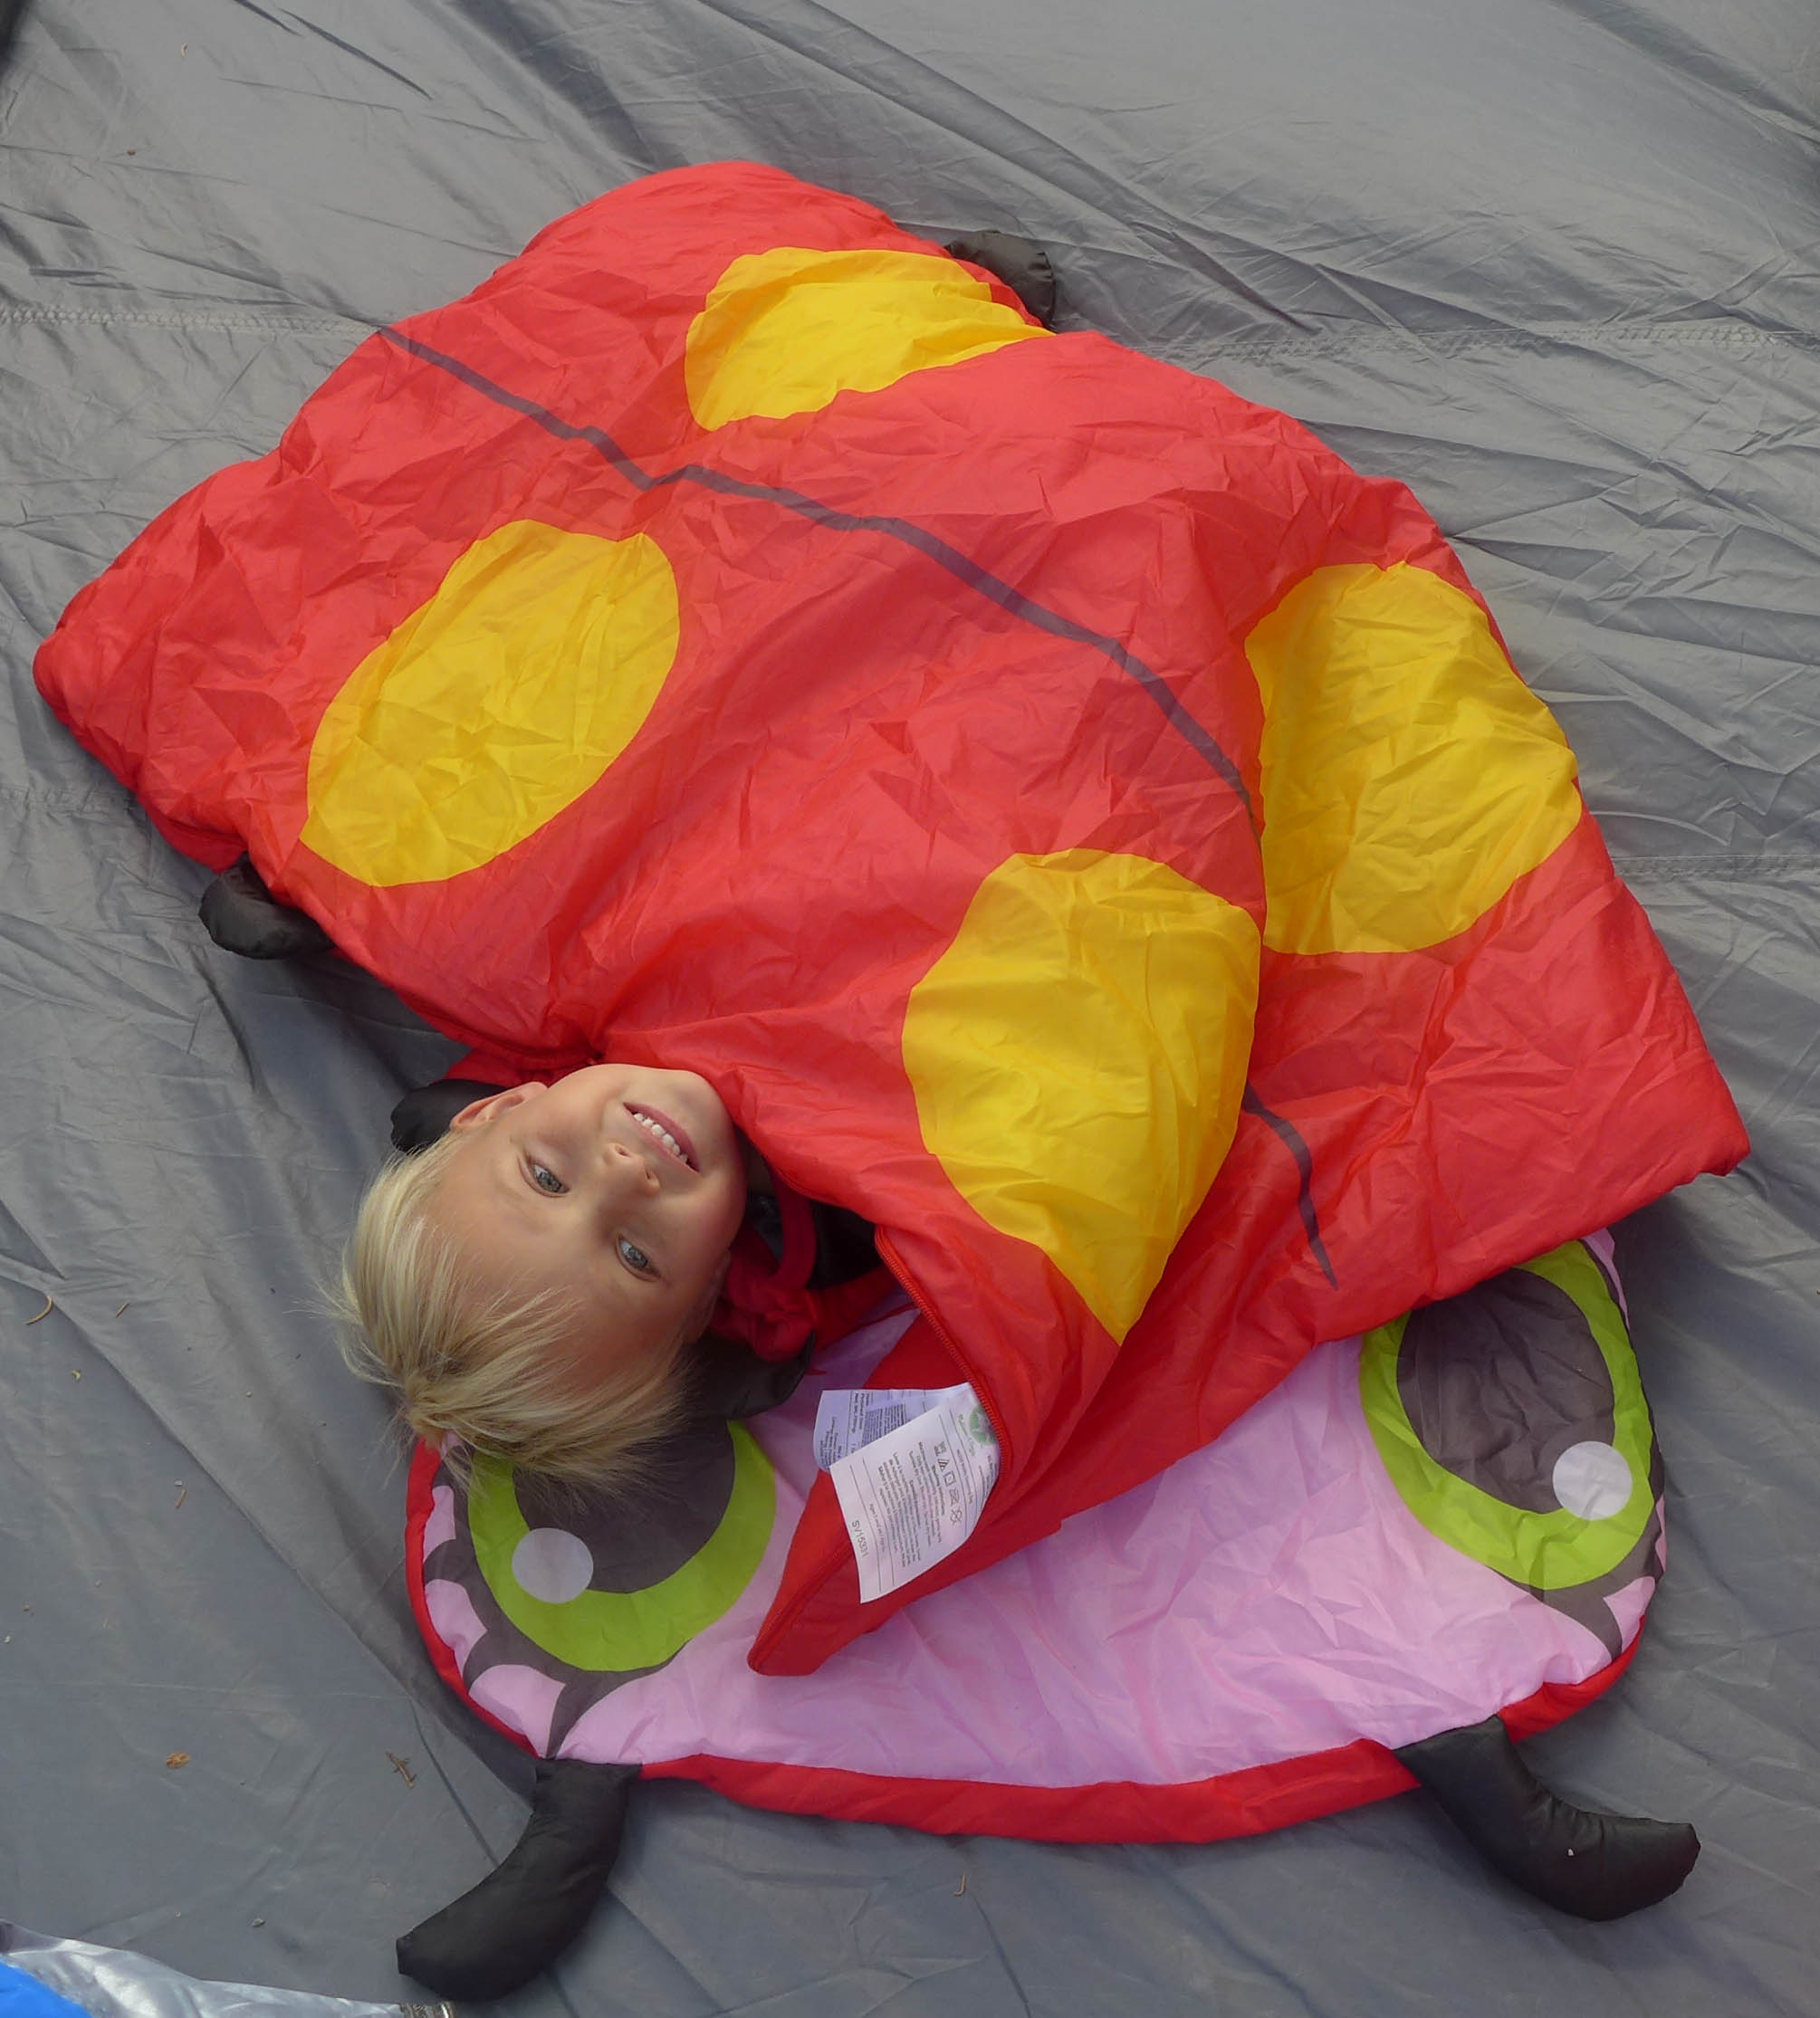
Step 2. Choose Your Shelter
This should be a personal decision that takes into account your family’s comfort level outdoors. Have your kids ever slept in a tent? Your partner? Open Step 2 up to a family discussion before you book the backcountry site with no electricity or running water. Planning you first camping trip is exciting and awesome, but you don’t want it to be your last. Settle on a shelter that will challenge your family’s perceptions of comfort, but won’t stretch them to the absolute limit. Some options could be: a rental house in the wilderness, a rustic cabin, an RV, a popup trailer, a van, a three-sided shelter, a tent, or a tarp.
Step 3. Create a List of Activities
After you choose a general location and a way to keep out the rain, it’s time to think about activities. What does your location have to offer? Epic hikes? The best windsurfing on the east coast? Great fishing holes? Again, ask your family members what types of activities they are looking forward to and make a short list. Then look up specifics. If they want an awesome hike, look for one in the area that is top rated. Maybe it has an amazing view or it’s full of wildlife. Whatever activities you choose, see where those activities will actually take place and pin them on a google map.
Step 4. Choose Your Campsite or Rental Reservation
If the choice isn’t obvious, now is the time to choose the right campground for you. This is where your google map of intended activities comes into play. You’ll be able to see just how far it will be to go play each day and also where the gas stations and grocers are located in relation to your camp spot. Choosing a campsite is sometimes difficult. You obviously want to look at location, but also cost and amenities. Yelp is a great resource here. I also use google images a lot to see details of each campground that are posted by actual campers instead of the campsite itself. Sometimes a google image search or yelp review will lead you to a blog (like this one) with a lot of helpful info. Try not to get overwhelmed, just think of things in order of importance, for me this looks like: proximity to most activities, hot showers, picnic table, etc. Yours might look like this: ranger-led programs, proximity to grocery store, laundry on site, swimming pool, etc.
Step 5. Plan Your General Schedule
I’m not asking you to plan step-by-step or even make the kayaking rental reservation or sign up for the surf lesson, but I am asking you to get a feel for exactly what your days are going to look like. This helps both in planning your menu and your packing list and it always takes away a lot of the anxiety of the ‘what are we going to do today?!’ feels when you’re on vacation.
I usually plan my schedule with the help of sticky notes. Write an activity on each one and be specific ie. ‘3 hour surf lesson’ ‘hike McAfee Peak’ ‘dinner at Al’s Crab shack’ ‘tour the old lighthouse’ ‘sunset at lover’s leap’ etc. By being specific with plans, you’re able to see what actually makes sense for your schedule in terms of driving from place to place, energy levels, dinner plan ambitions, all that good stuff.
This step *really* helps to create a free-flowing vacation that has plenty of backup plans worked in. What does that mean? Well you may wake up with a ton of energy and so you know that’s the day you’ll do the surf lesson and the sunset hike before heading to dinner at the crab shack, but if you wake up and it’s pouring outside then you can easily opt for the day that has you exploring an old lighthouse, sipping tea at the iconic coffeehouse, and touring the visitors center/environmental museum before watching a ranger’s presentation. Having your days generally planned also helps in case one of your kids is feeling really sore or tired from the day before, you can swap an easier day in and still reassure the rest of the crew that you’ll have time another day for the energetic stuff you had planned. If you successfully complete Step 5, you’re granting yourself the freedom of not having to plan while on the actual trip. Have I convinced you yet?
Step 6. Plan Your Menu
If you completed Step 5, you’ll know about how many meals you need to prepare or buy for your camping trip. I always recommend cooking at camp as this will save you a ton of money, but it’s also a neat experience and the food will taste extra good! A camp kitchen is pretty easy to put together – here’s a post that details all the essentials.
Cooking at camp also ensures that you spend more time at the campsite. What’s the point of camping if you’re out doing activities all day and eating each meal at a restaurant? JK no judgment, but cook at camp! It’s fun and you can drink a gin and tonic while you’re at it. Make the kids collect firewood while you prep everything.
Creating a menu before you leave is a must. Again, I use the sticky notes method. Start with your favorite camp foods and then branch out from there. Writing one meal idea or restaurant per sticky note. I like to keep it pretty simple, but I’ll always try to add a new menu item to challenge myself and broaden my horizons. Once all the meals are pretty much decided on, you can stick them into your activities schedule, taking into account the energy it takes to make the meal, the desired freshness of ingredients (ie is this a meal that should be made on a day we visit the grocery store or will the ingredients be fine in the car and cooler for a few days?), or the proximity of the restaurant.
Step 7. Make a Packing List
The packing list. For some, packing is overwhelming, but I love it. As long as I have a great master list, what is there to worry about? Taking into account your location, weather, activities, and meal planning, write up a comprehensive packing list. Don’t be scared to google or pinterest or search this blog for various packing lists either. It’s a good safeguard against forgetting anything, but really against worrying about forgetting something. Most times whatever you forget, you can either buy or live without. Remember Kate’s camping snafu that turned into this frappe greatness?
If possible, pack in a few large Rubbermaid containers or duffle bags. It’s best to have everything consolidated in some way so a random boot or bag of tent poles doesn’t wander away from the car before you get to your destination. If you’re flying to your camping destination, many outdoors stores will rent gear for a reasonable rate. Even though it seems silly to spend money on something you’ll return, it may save you a huge hassle, extra luggage fees, and the anxieties of having to remember it all. Plus most times the rental gear is awesome new versions of whatever gear you already own, so you’re really upgrading and getting to test out quality gear.
Step 8. Enjoy Yourself
Wherever you go, whatever you end up doing, enjoy it! Even the best plans fail sometimes so remember to keep it light while you adventure outside. Maybe it rains or maybe you end up in the emergency room for a few stitches (true story!) either way – memories will be made!