
Cinnamon is our ingredient of the season! You can find our full archive of cinnamon posts here. This particular post was originally published on December 21 2014 (7 years ago!), we’re republishing it today, because I’m making up a fresh batch of ornaments tonight with my little elves.
Hey! We’re popping in this weekend to share another super simple Christmas craft (this is for the folks that have finished their shopping – if you’re rushing around the mall today, don’t even bother to read this post). You’ve probably seen some version of cinnamon ornaments popping up on your Pinterest page? Or even made them as a kid? They are super easy, relatively fast, and a fairly kid-friendly project.
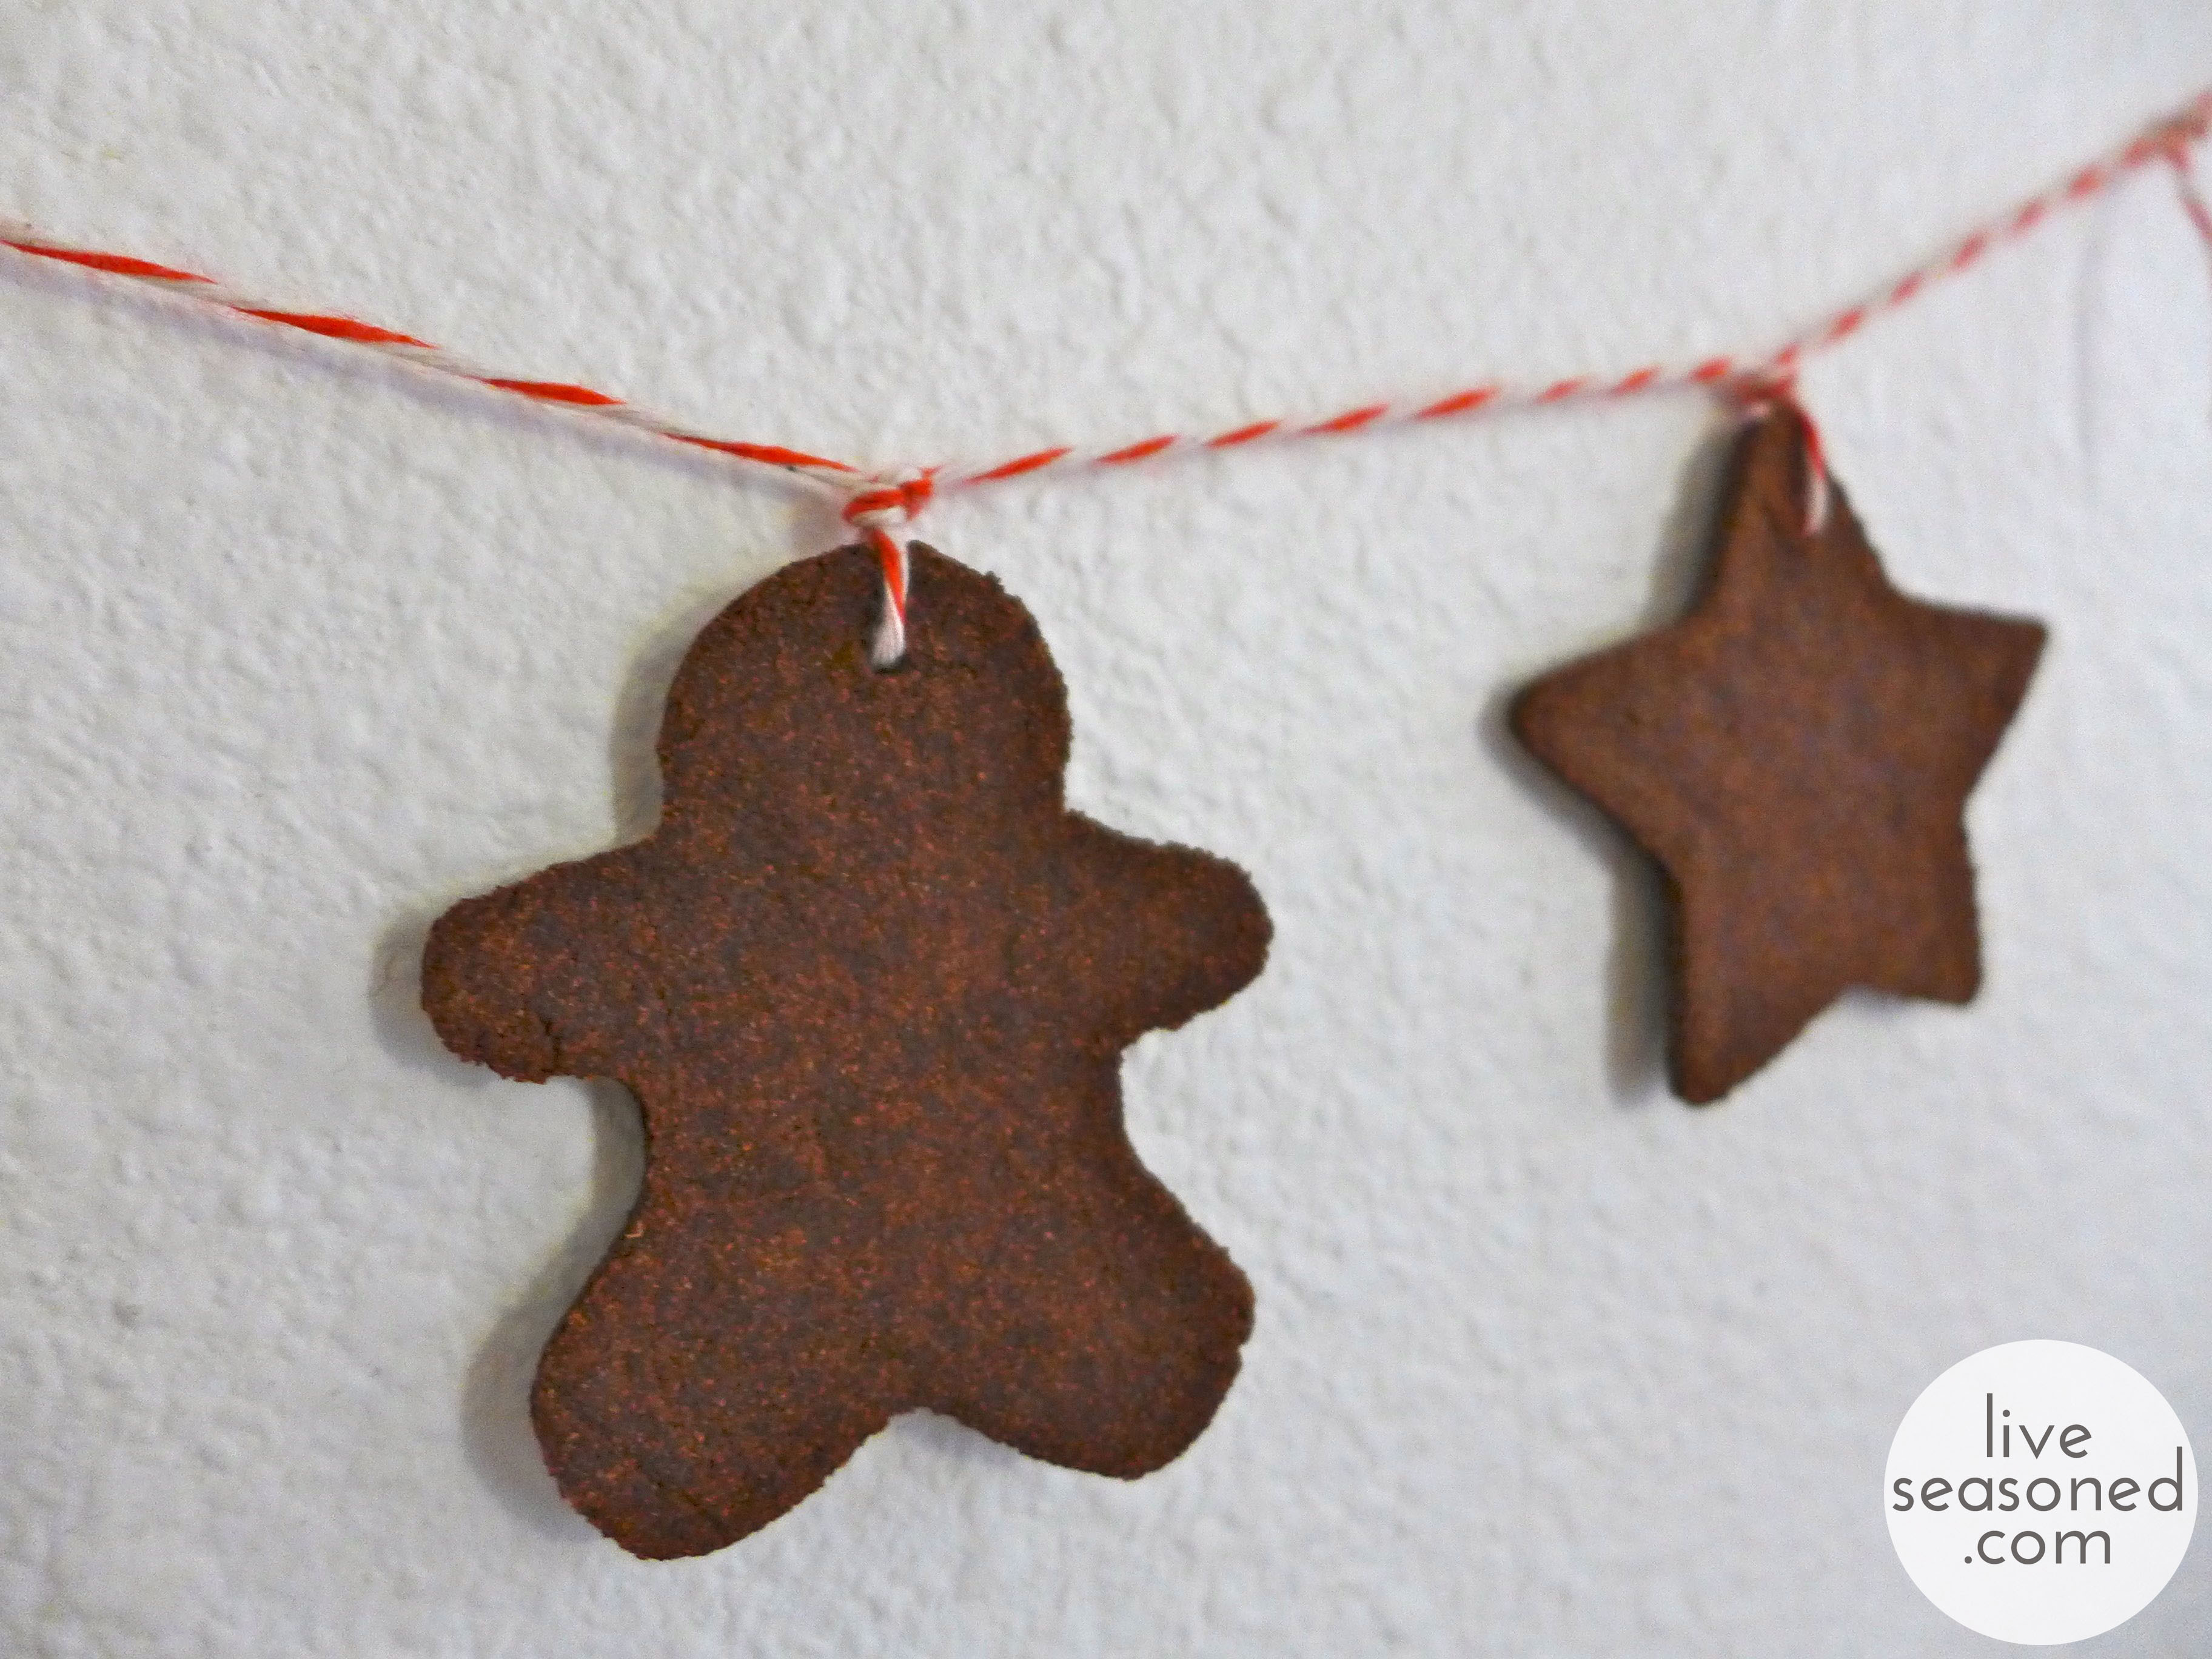
So, why are we sharing yet another cinnamon ornament post? Because as I was prepping mine for the tree, I realized that they would also make a really cute garland! The key here is to make a batch with shapes that are close in size, then your garland will hang nicely and you won’t have really heavy and big ones weighing it down in different areas.
Ingredients
You can use your favorite recipe, but I like the ones that have a little bit of kids’ glue in them.
- 1 cup ground cinnamon
- 1/4-1/3 cup applesauce
- 2 Tbsp white glue
Instructions
- Mix all ingredients together, adding more or less applesauce depending upon how dry your mixture is. You want it to form a nice ball that sticks together, but still feels slightly dry.
- Cover the mixture and let it sit for one hour.
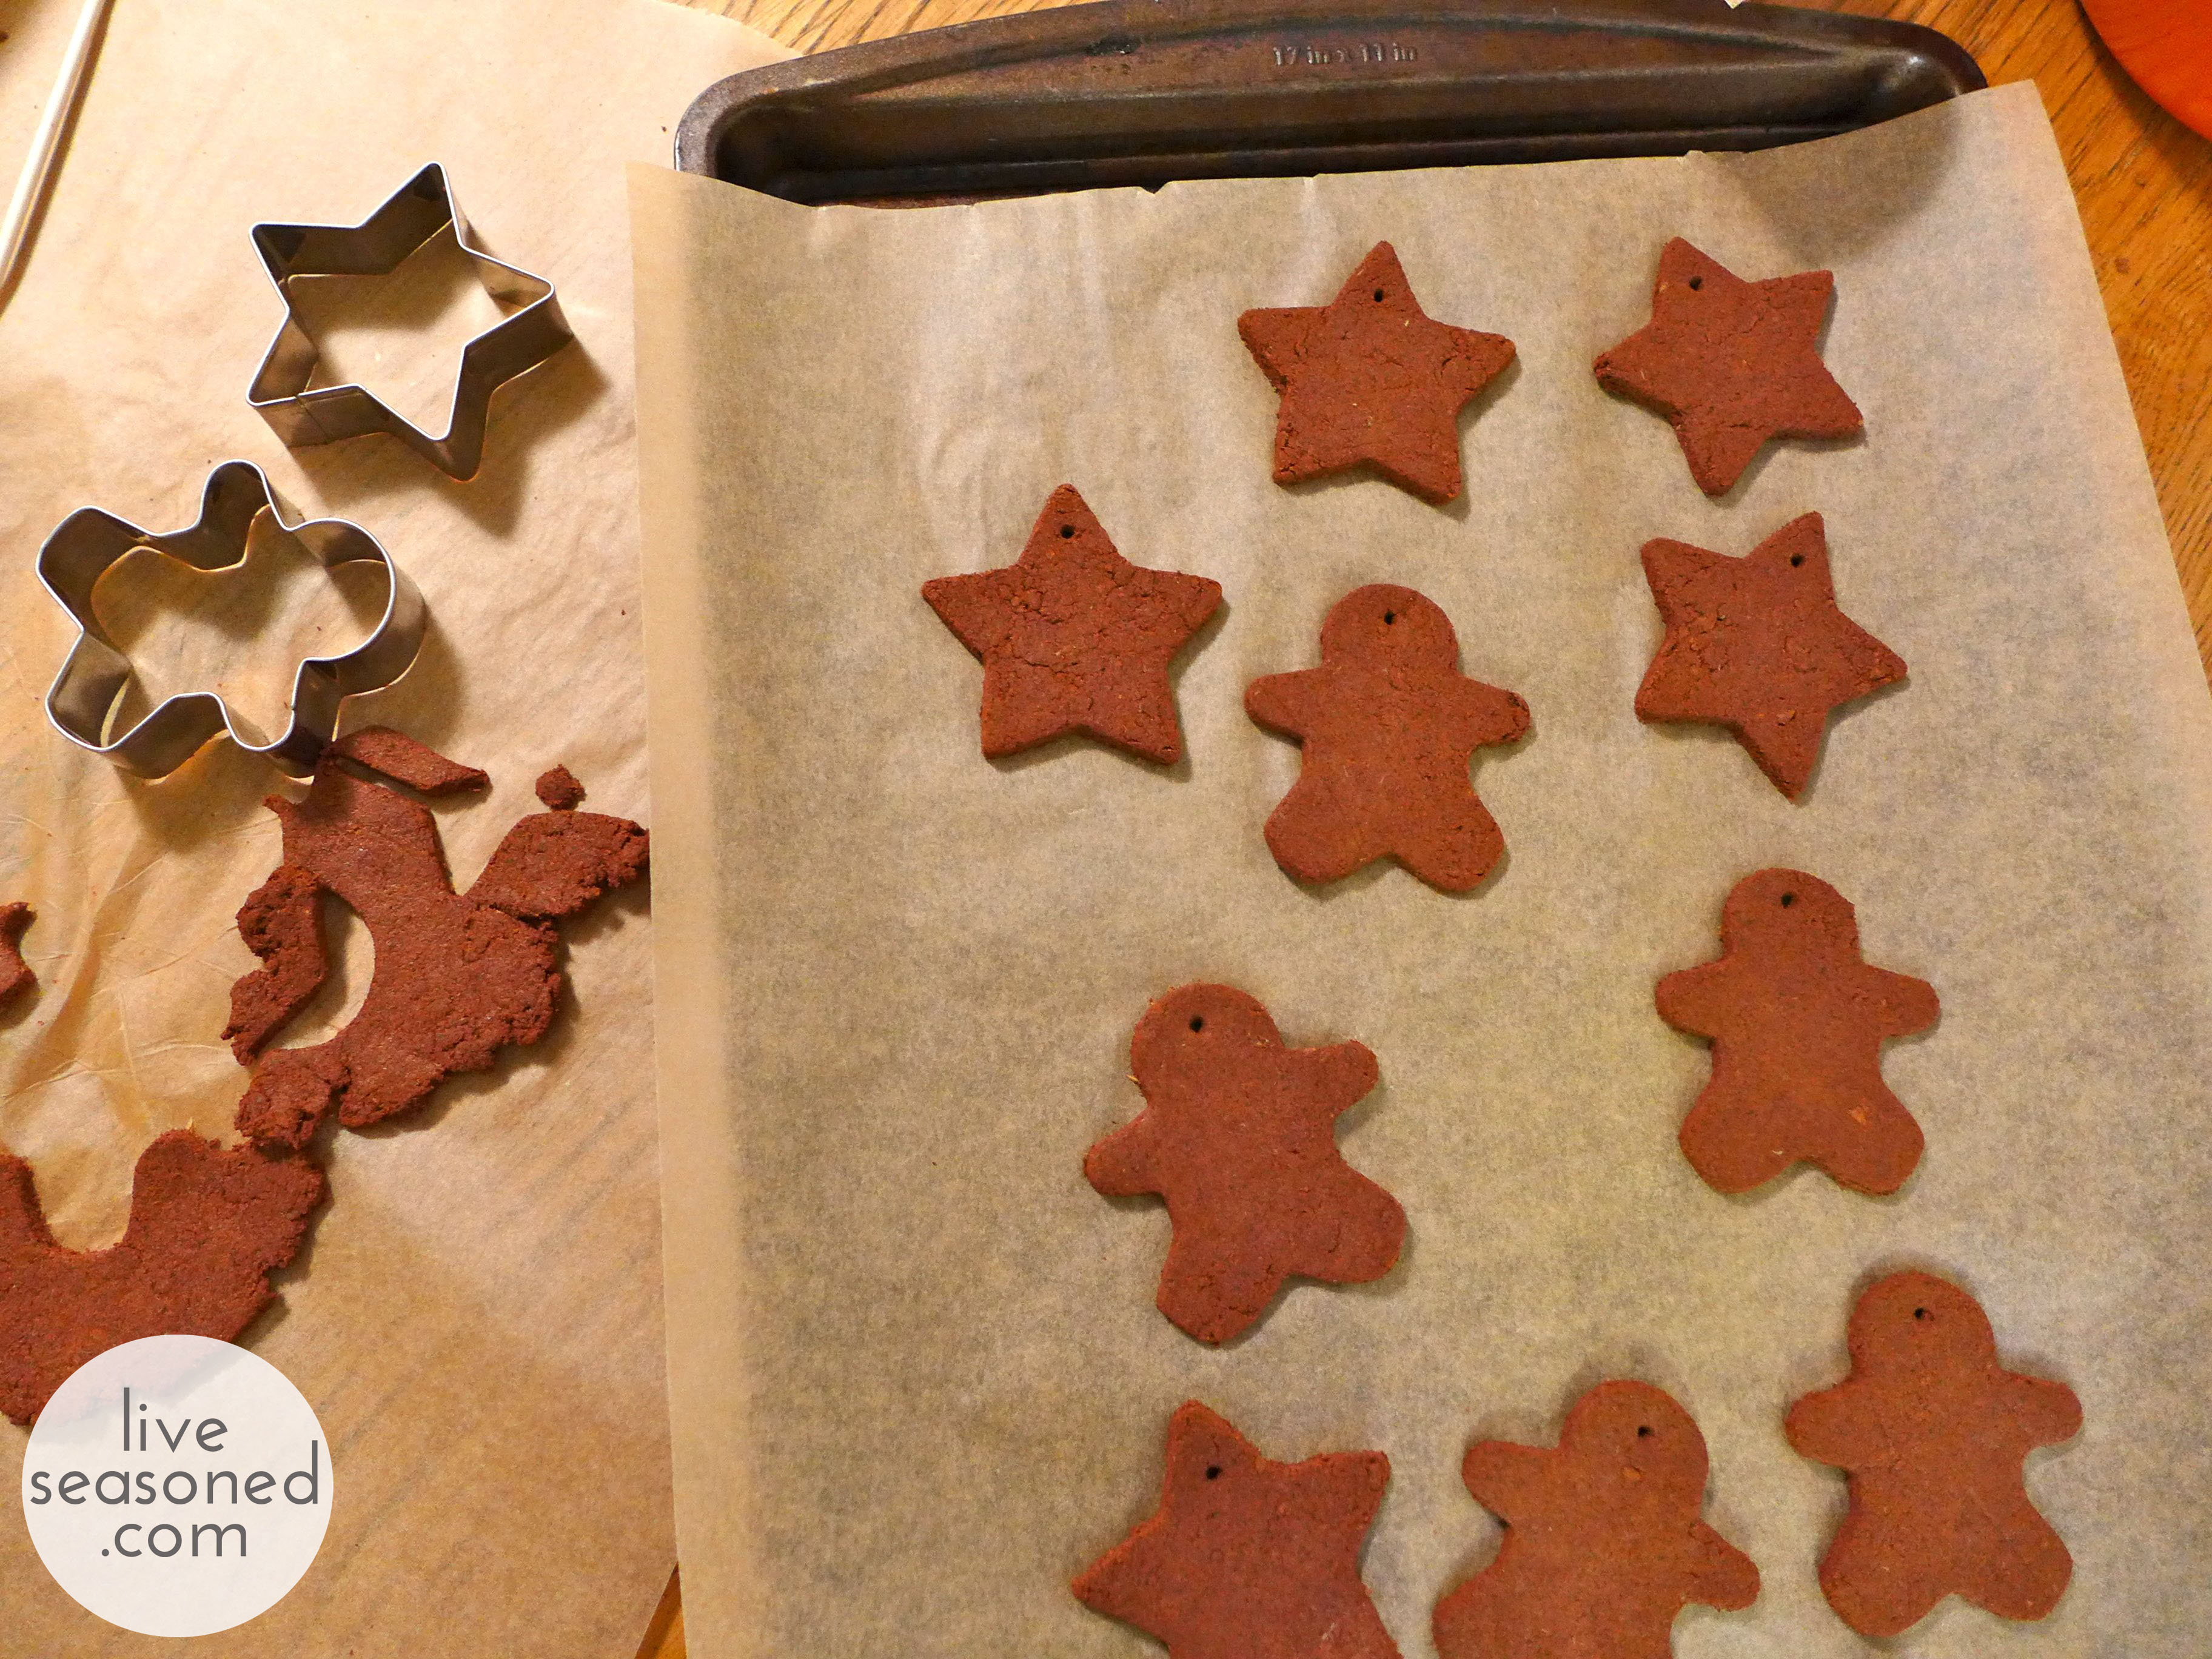
- Break your ball into three or four sections for rolling. Roll out one section at a time between two pieces of plastic wrap or parchment paper. If the dough seems too dry when rolling, you can always spray it with a bit of water.
- Cut out your shapes and add a hole for hanging. I used a wooden skewer to make my holes, and I think they were *just* barely big enough. Since there will be some shrinkage as the ornaments dry, you want to err on the side of a larger rather than smaller hole.
- Place your ornaments in a 200F oven for two hours to dry, turning them halfway through. If your dough was on the drier side or you live in a dry climate, you may want to check on your ornaments after an hour and a half.
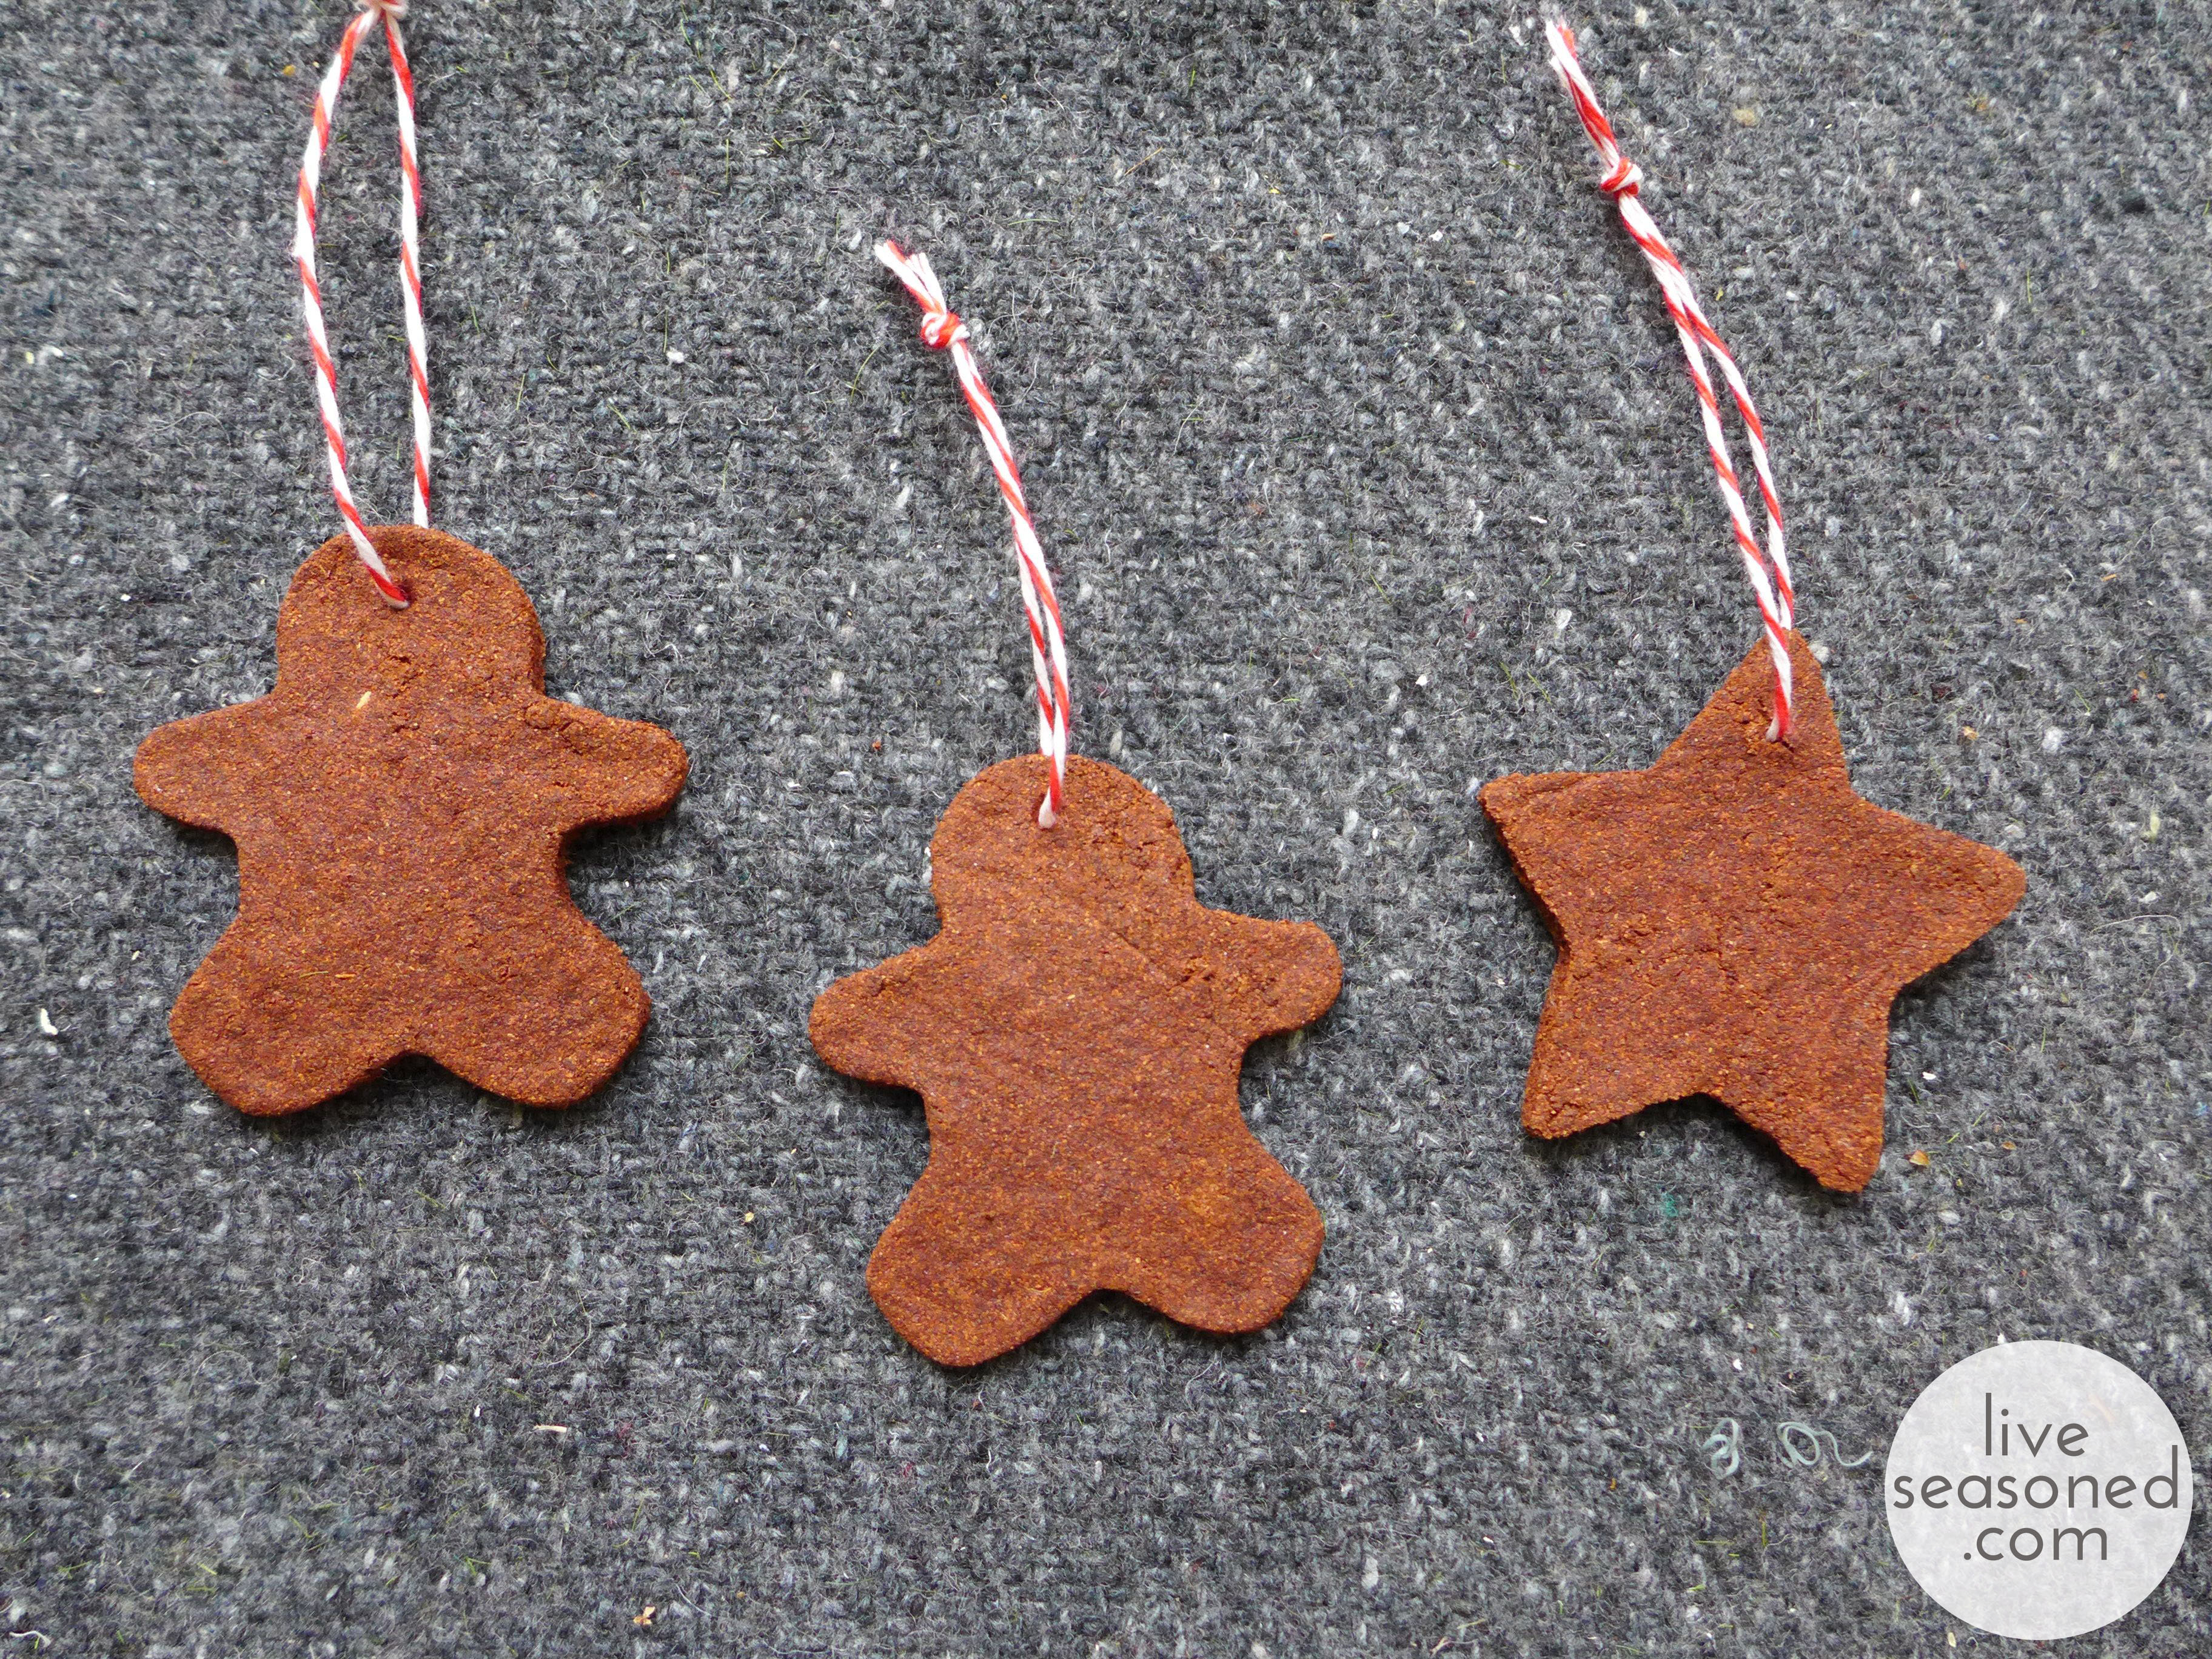
- Once cool, using baker’s twine or another string for hanging.
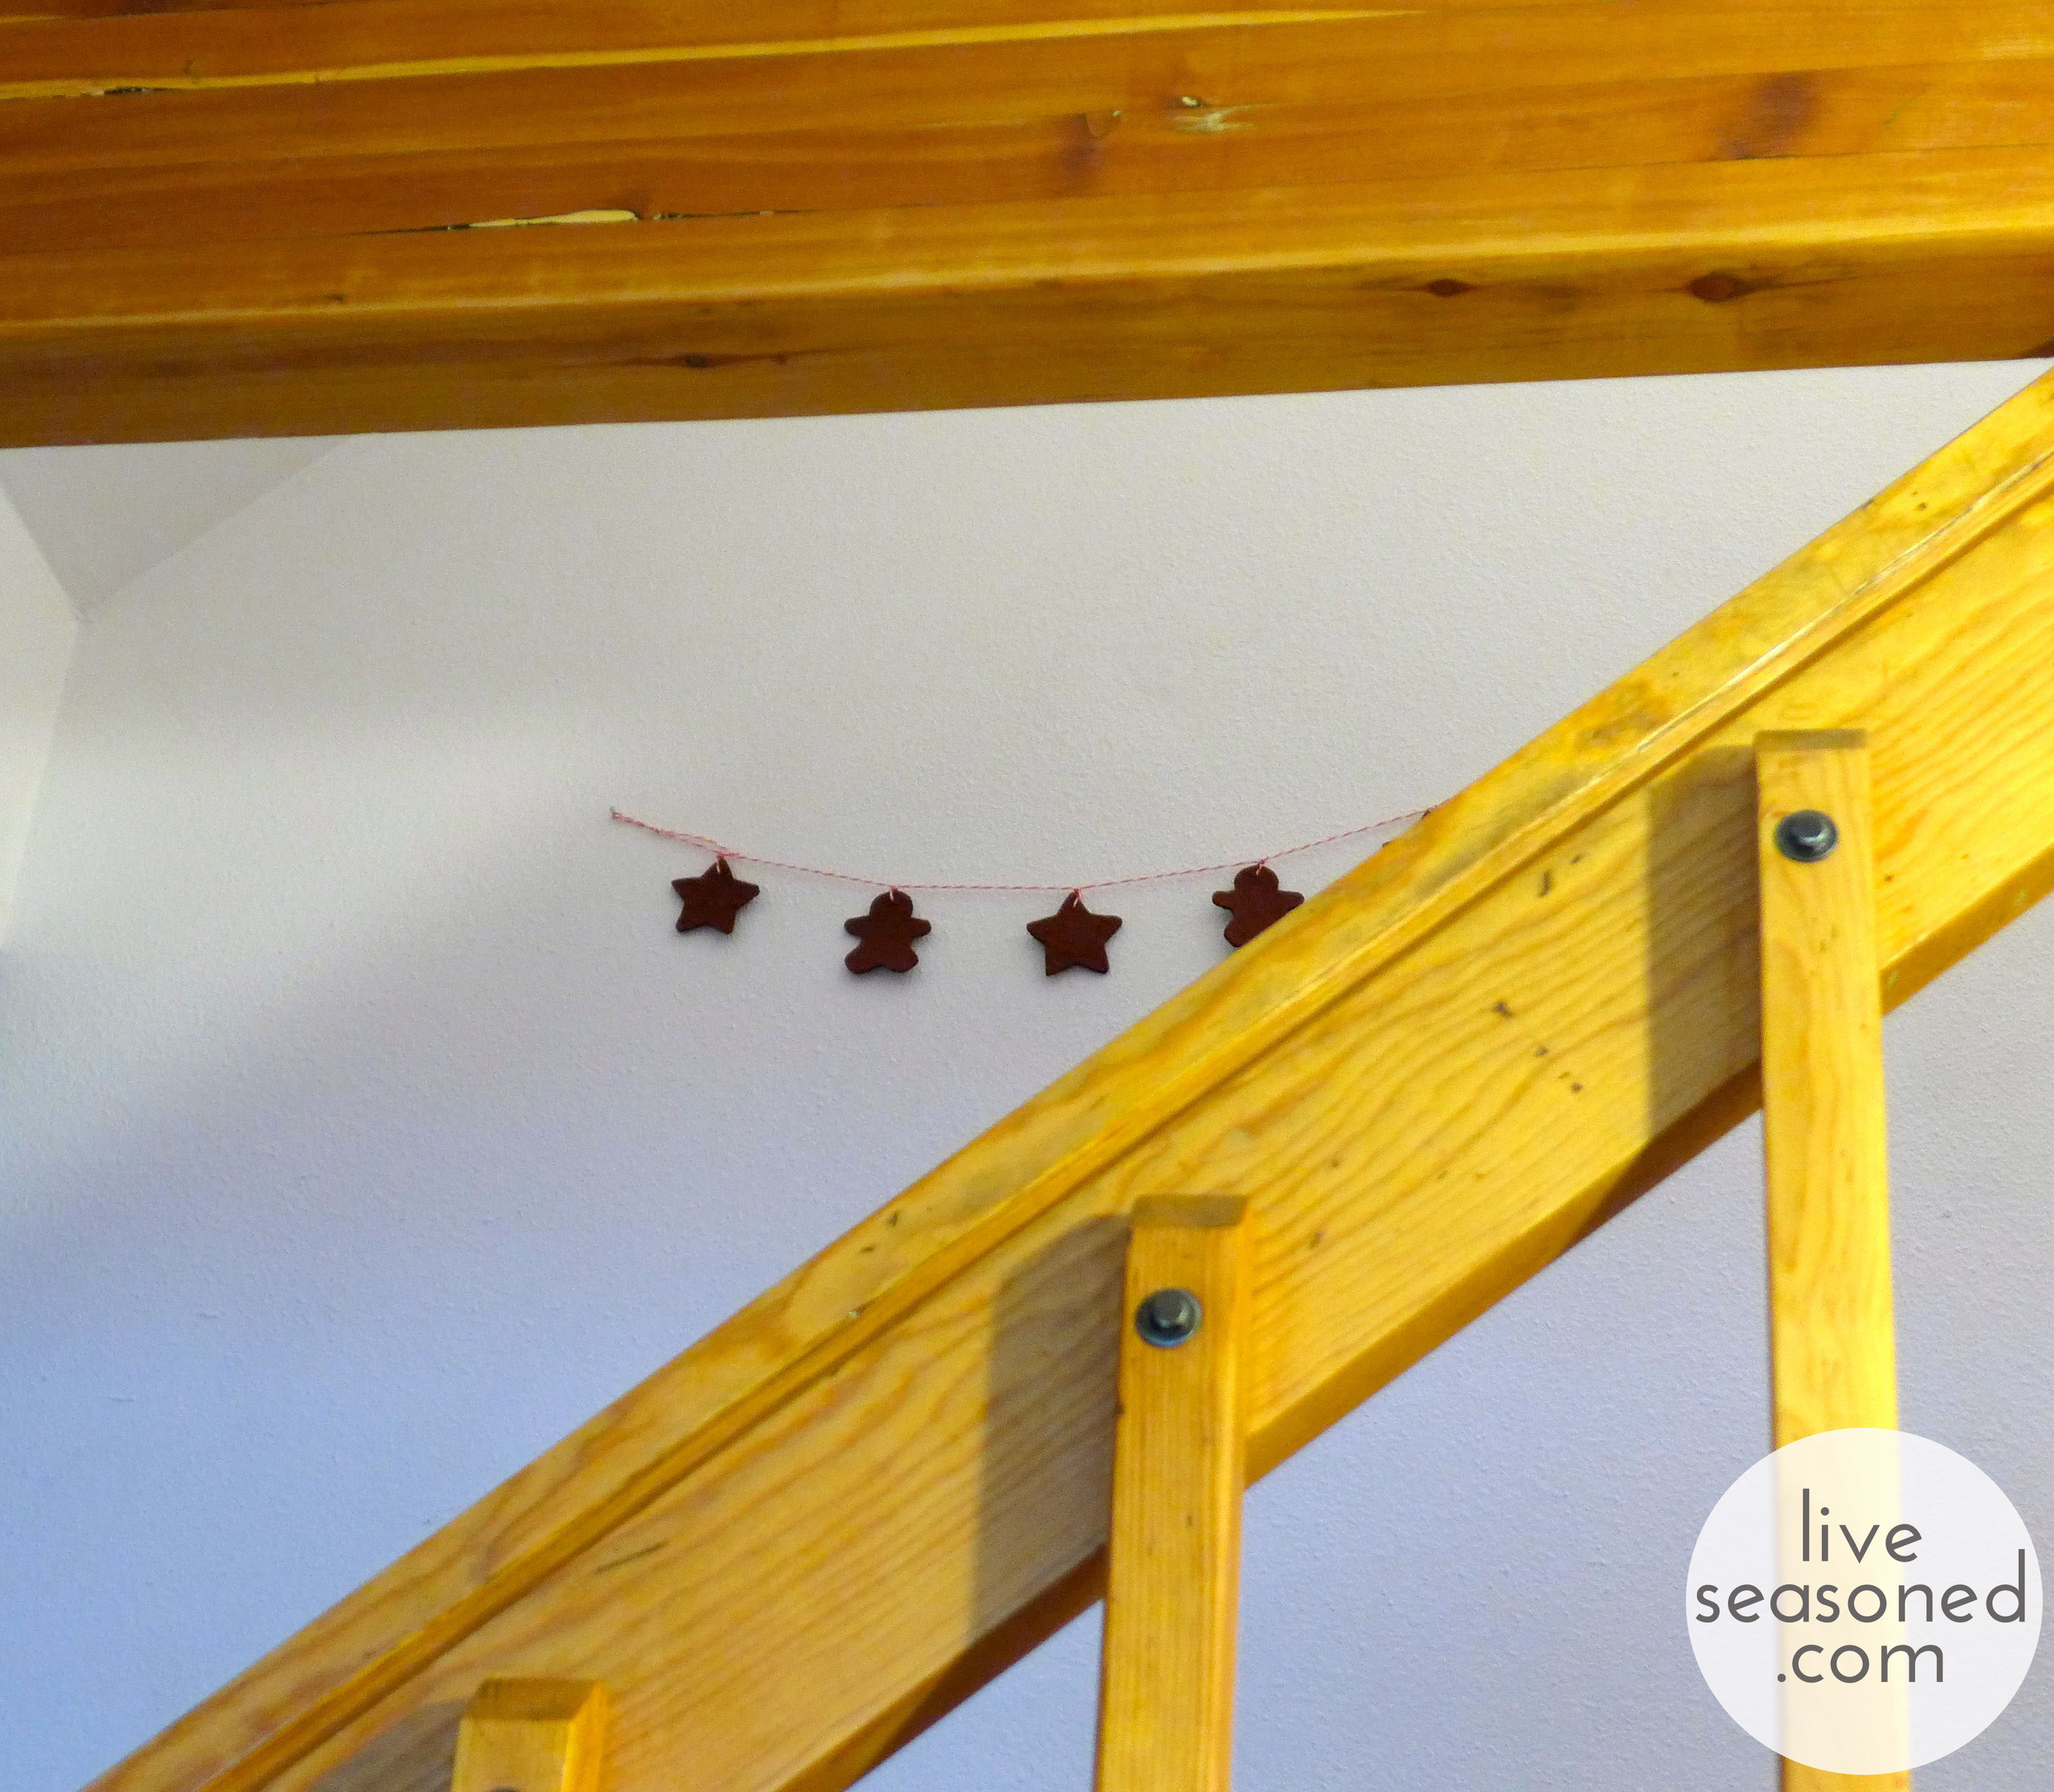
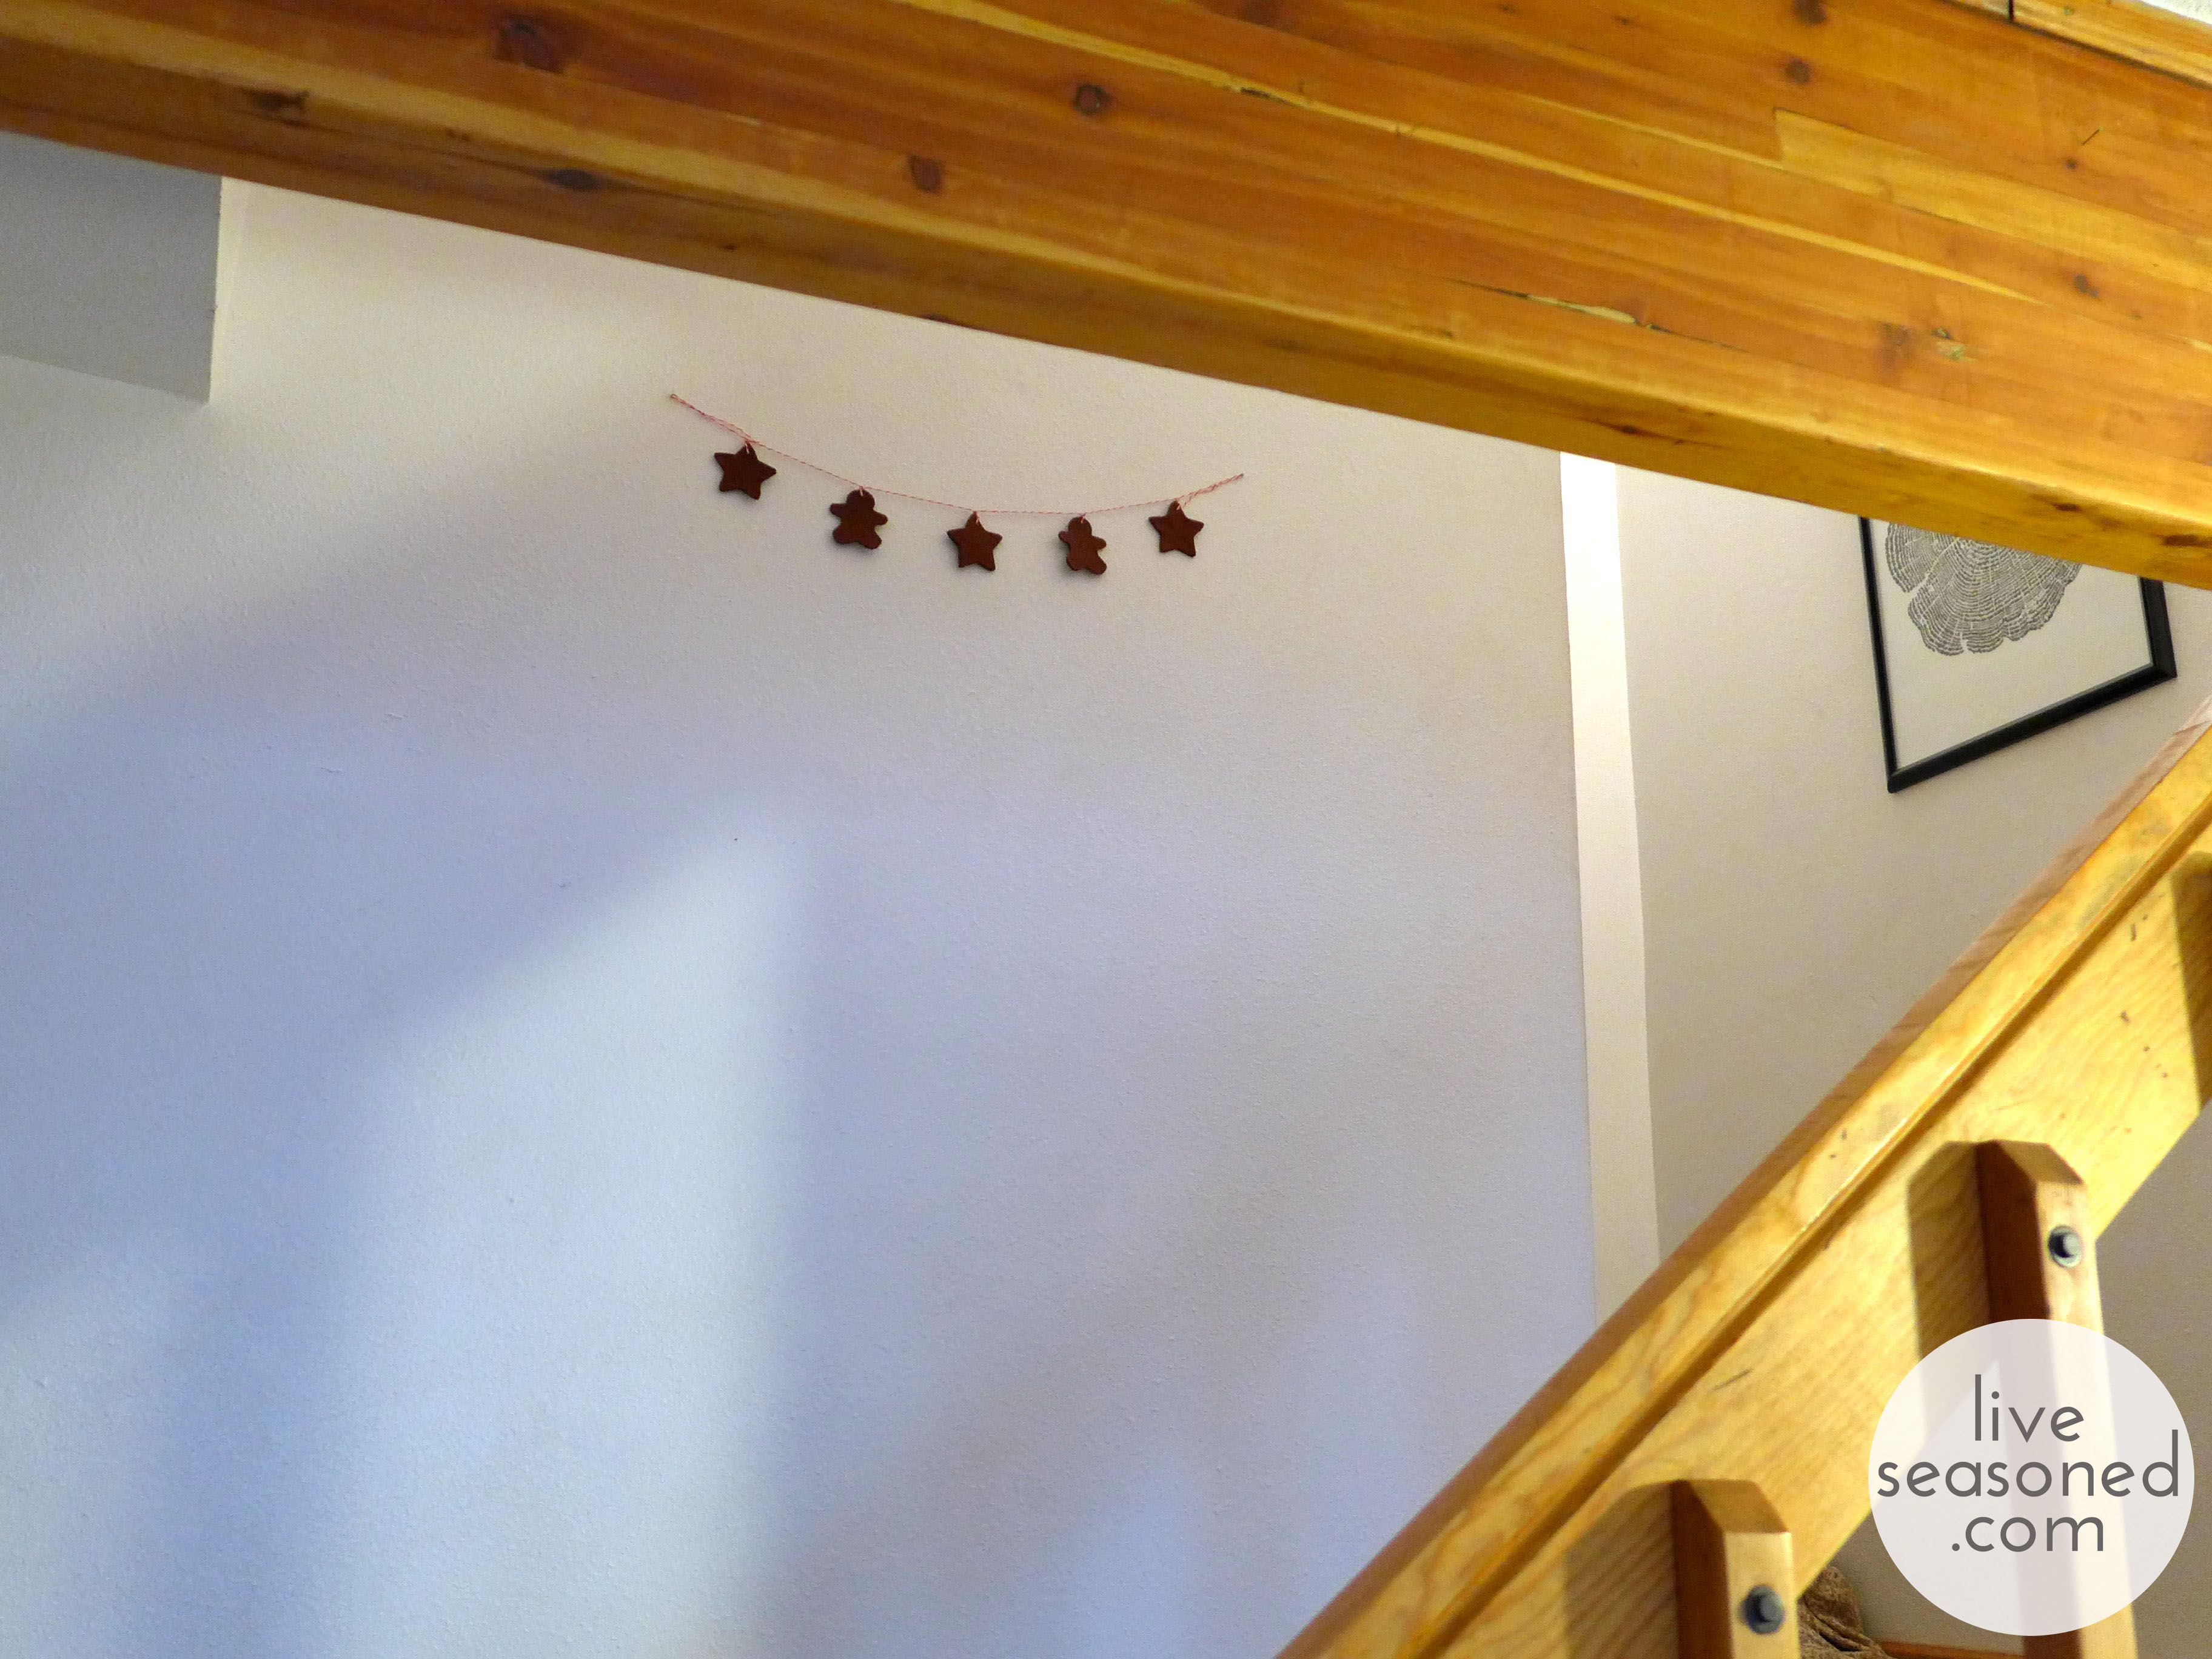
- To make the garland, I brought the twine up either side of the ornament and tied a knot at the top, this allowed the ornaments to hang parallel to the string rather than perpendicular.
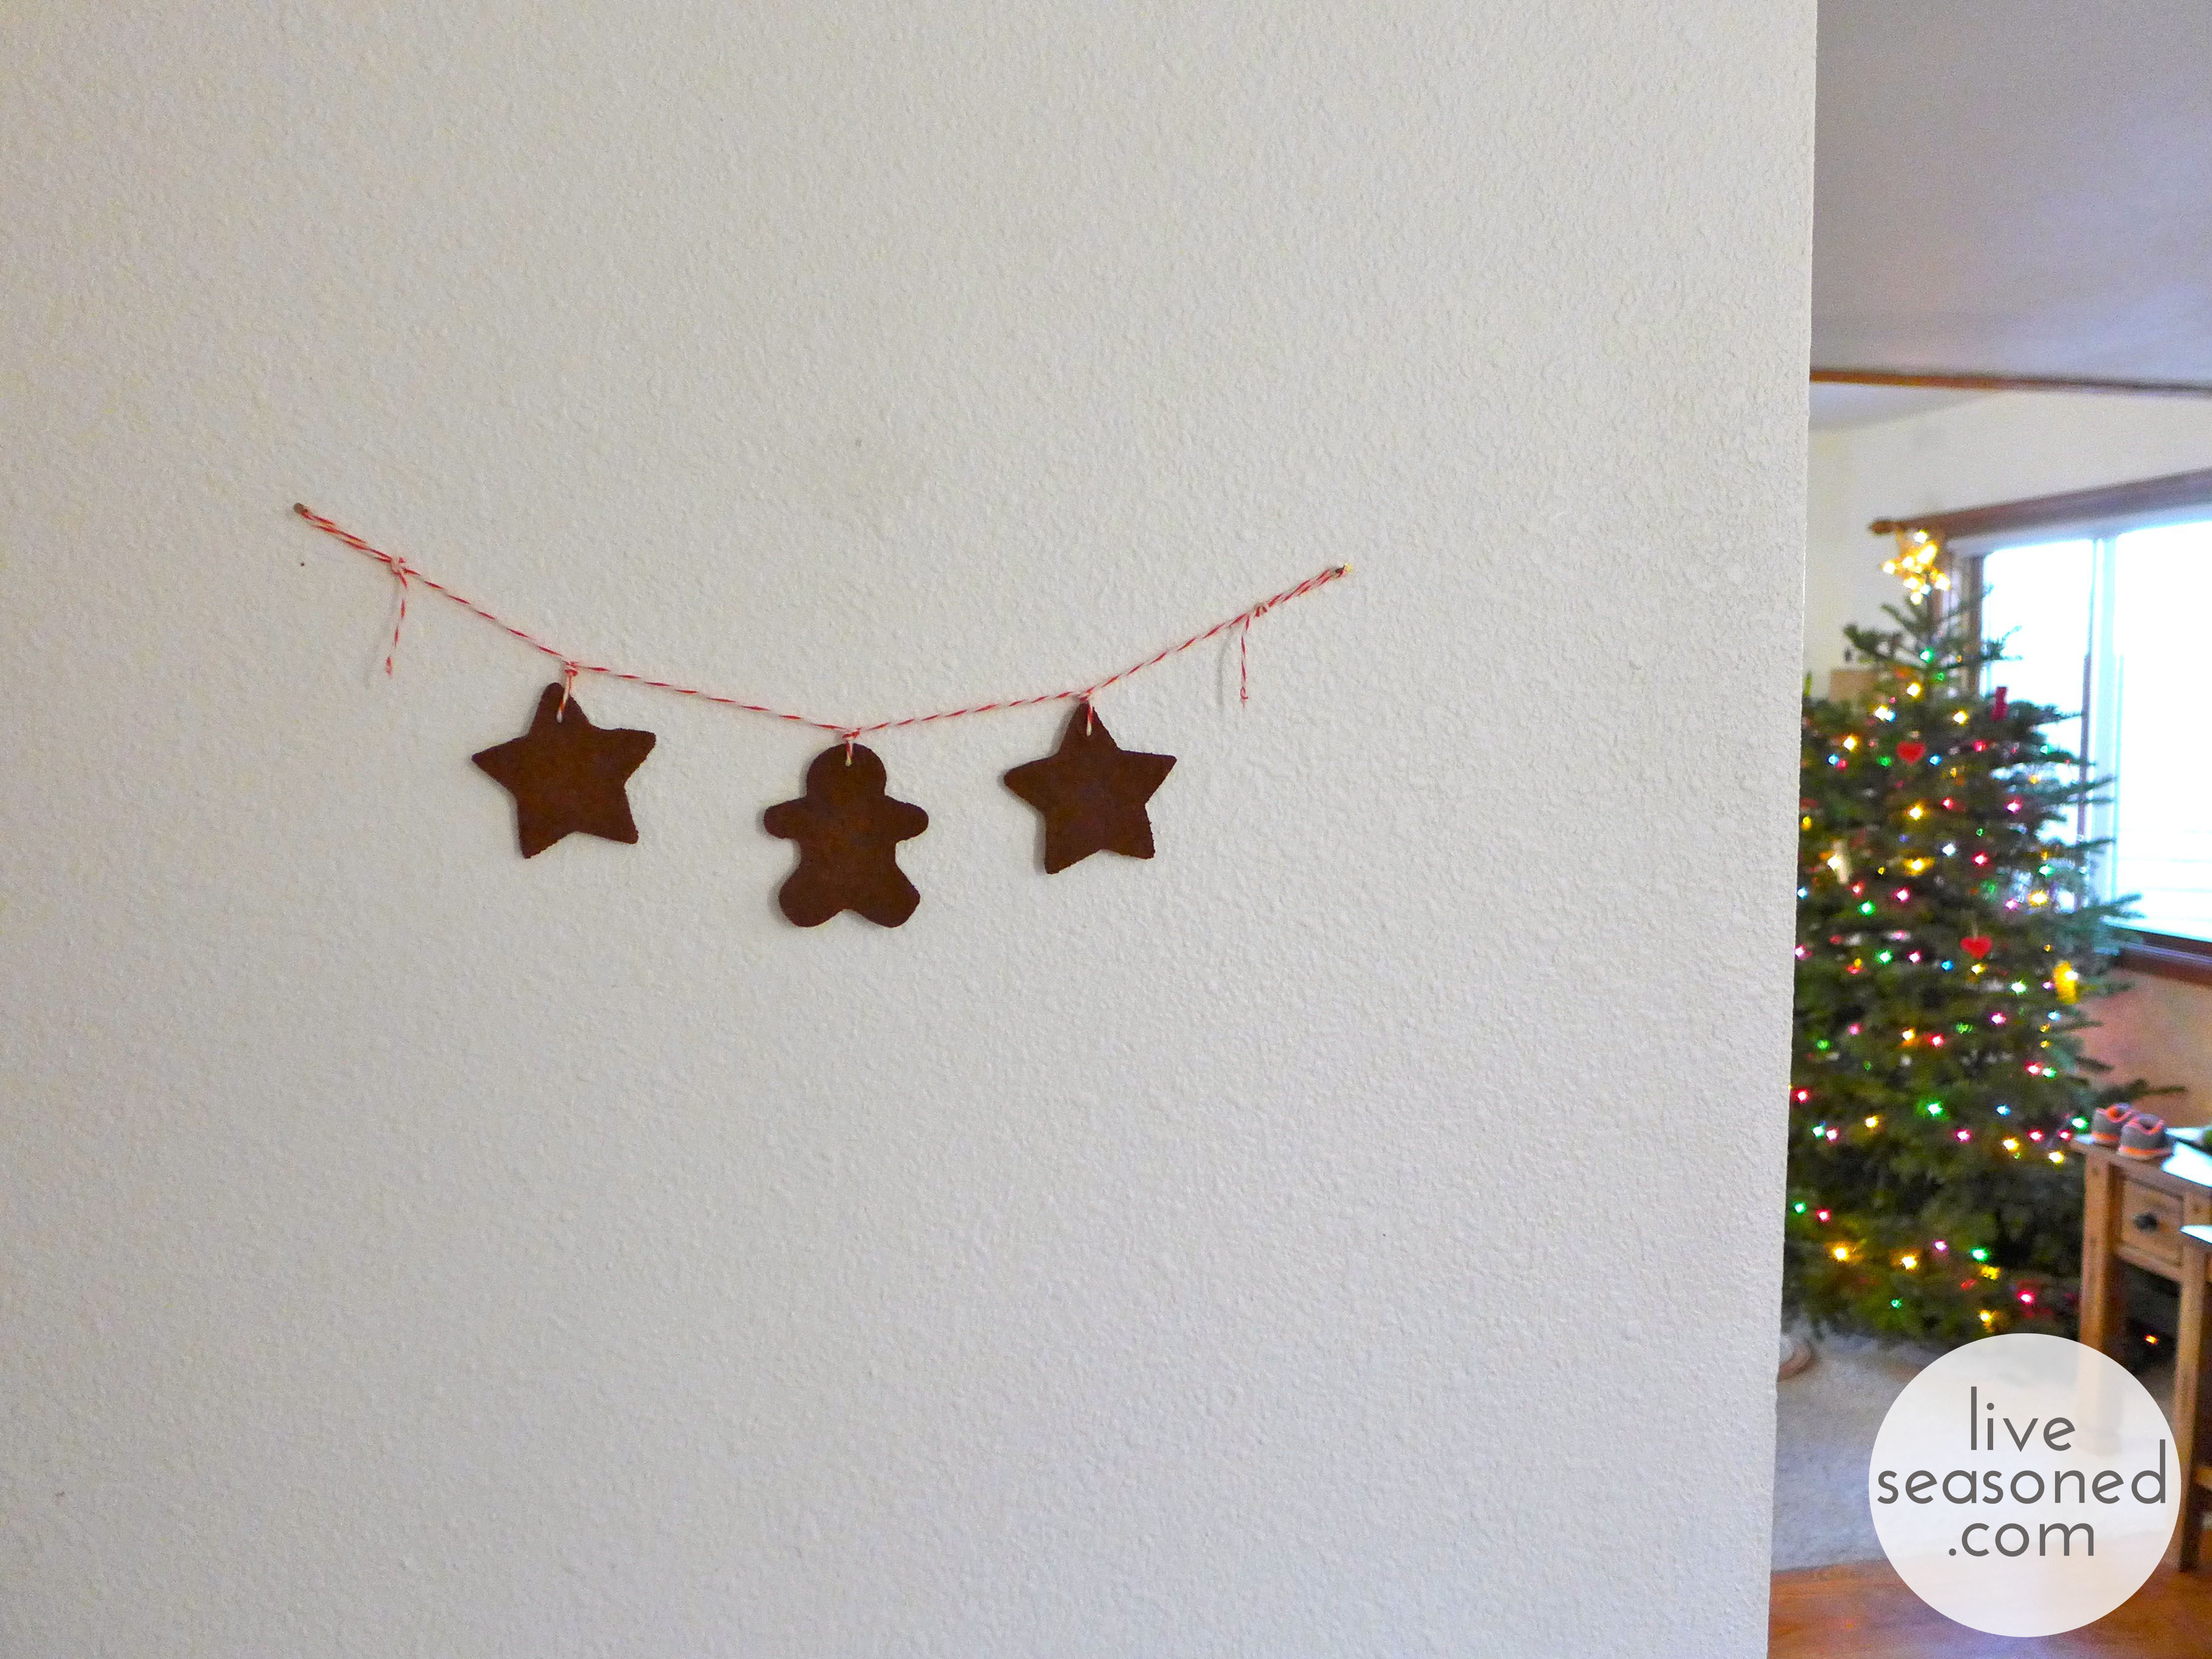
I ended up making two pieces of garland. The little three-piece one hangs just inside our door on a wall that was just an empty space, so you see it and the tree as you enter the house, creating a nice little Christmas scene when you enter! The longer one hangs on the empty wall going up our staircase, but because the staircase is open, we still get to see it from the living room, which I love.
There you have it, a super simple twist on an old Christmas craft, and one that you can use to decorate a small space that could use a touch of cheer! xo