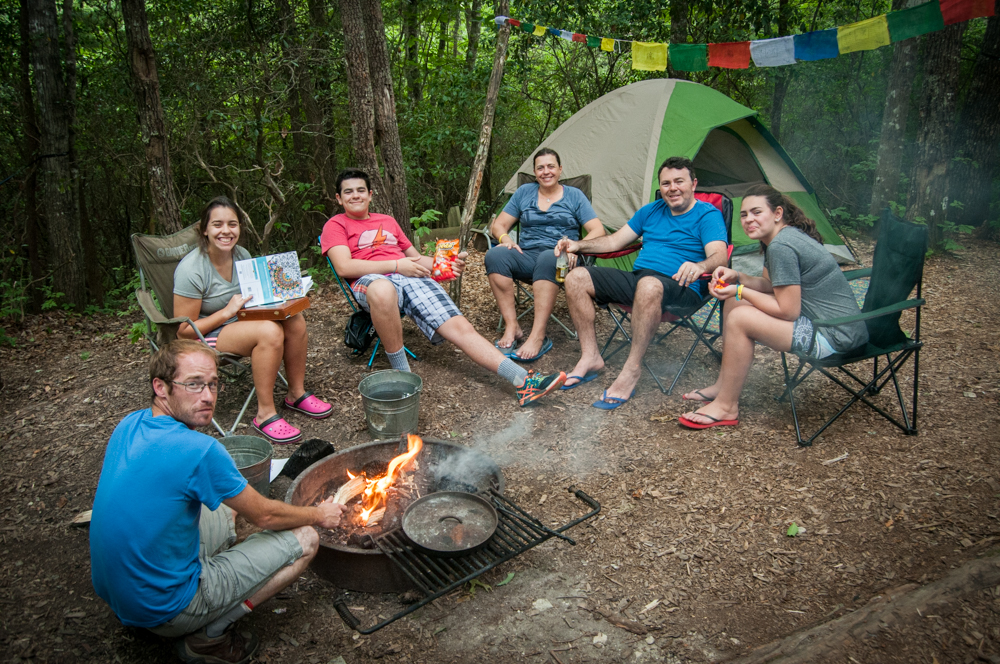
This summer we have a weekly farm share that provides our family with a slew of fresh and local vegetables, meats, dairy products, and other goods. I’m doing a series of posts documenting how we’re using the food. You can read more about the share and our first month of meals here.


Month two with the farm share and we’re still going strong! We’ve repeated some meals and gotten creative with others, spicing up our routine with dishes that are becoming fast favorites!
In the first post I explained what a farm share, or CSA, is and gave an overview of our particular share. This month, I’ll continue to list the variety of foods we’ve received over the past month and will post photos and recipe links to meals.
I was going to discuss our fruit and produce storage system, but this post on Design Mom does a great job of that, discussing many of the methods I use plus more! Instead, I thought it might be fun to start a discussion or just document how we approach eating with our two kiddos (ages 3 and almost 1.5).
Eating with Kids
Let me start by saying that we are lucky because both boys are generally adventurous and willing to try new things, both at the dinner table and in their day-to-day life. Also, they are great eaters (more on why this may be below), they come to the table hungry and willing to eat.
It wasn’t intentional, but over time, I’ve realized that I/we have some standard practices when it comes to dinner time.
- I only make one dinner, never something special for the boys.
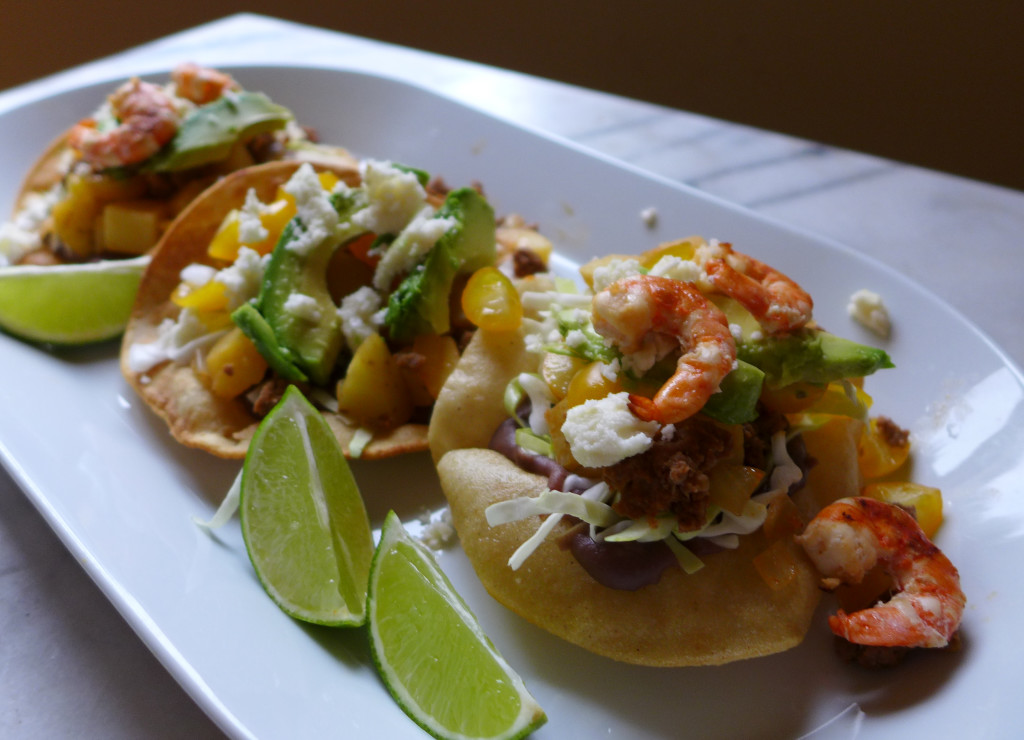
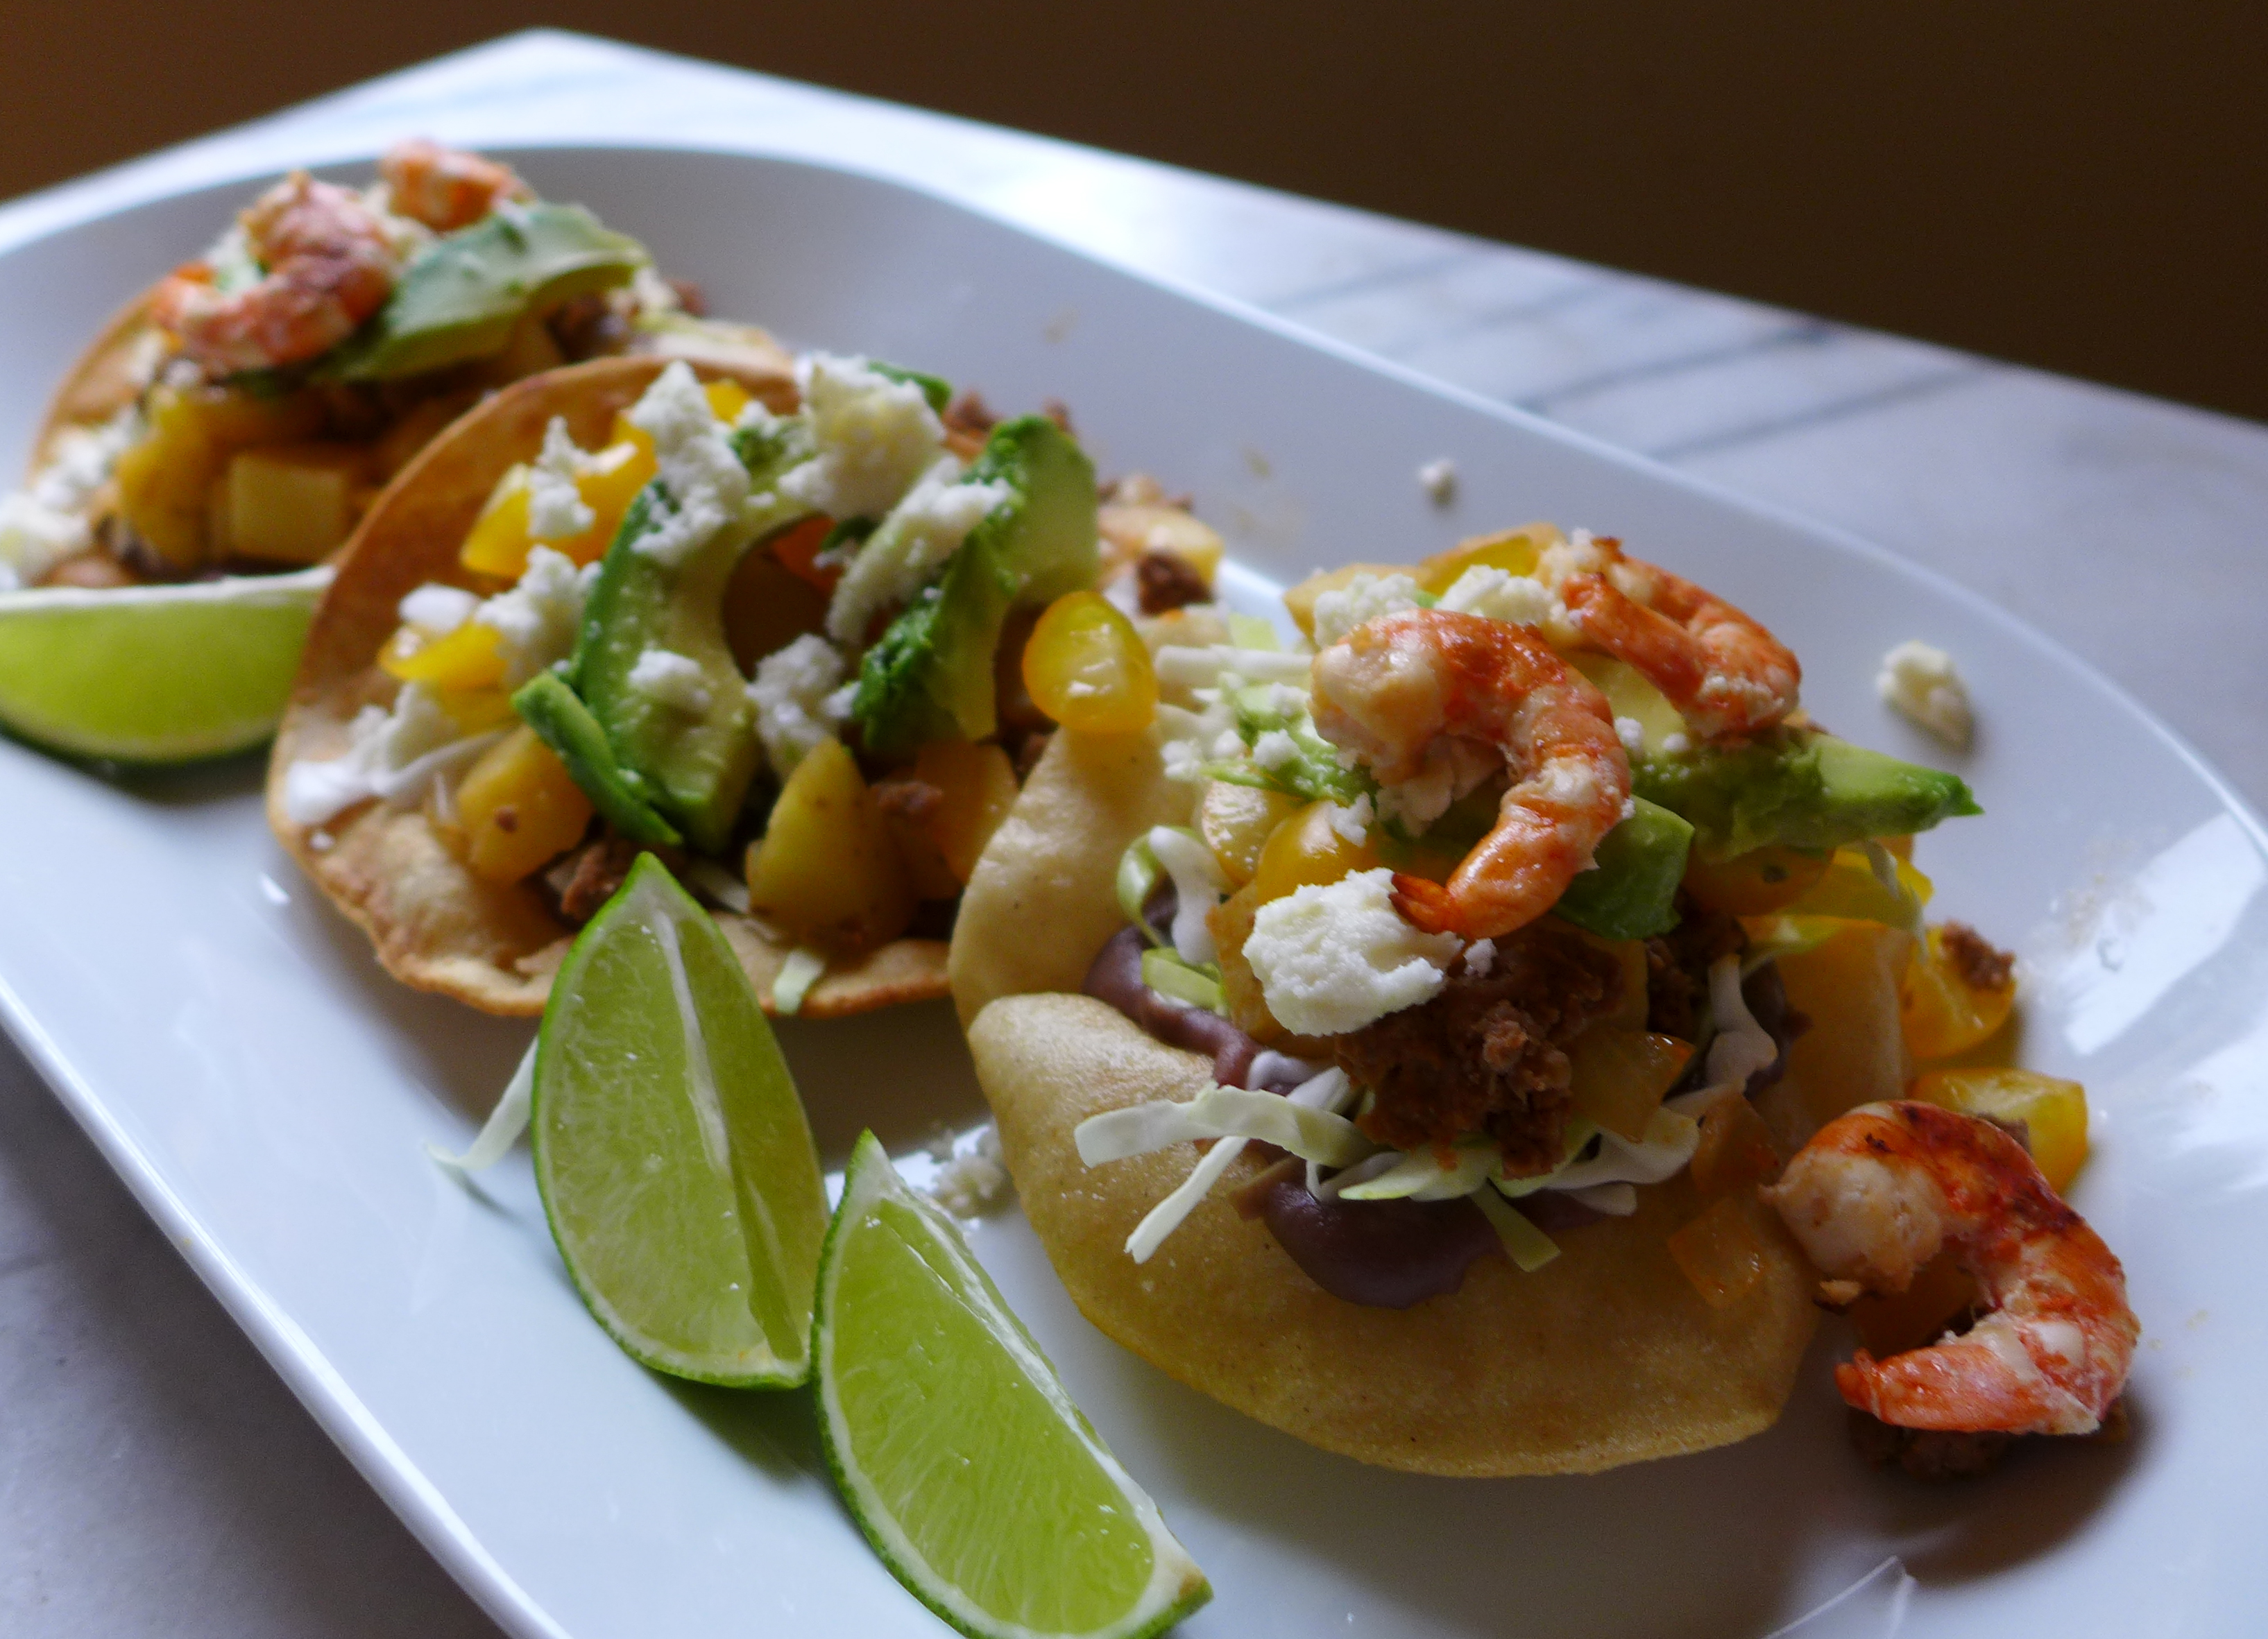
- BUT if I know that something would be hard for them to eat (for example if it’s too spicy or hard for them to chew), then I do offer them an alternative form of what we’re eating. For example, we served them the shrimp tostadas below, but as separate ingredients on their plates (refried beans, shrimp, avocado, cheese), this also allowed us to keep the chorizo out if it was too spicy (Alex ended up loving it!).
- AND I do allow for alternate meal requests if they’re asking for something that was leftover from the day before. For example, Alex loves the coconut curry and will sometimes ask for that for a few days.
- Similarly, I’ve noticed that my boys are both starving by 5pm or even 4:30pm. Rather than give them snacks or try to make them wait for dinner to be ready, on some days I’ll serve them leftovers from the previous day as their dinner while I’m making that night’s dinner for Calder and I. Then they’ll still join us and sample that night’s dinner when it’s ready around 6:30, but they aren’t going crazy from being overly hungry or tired.
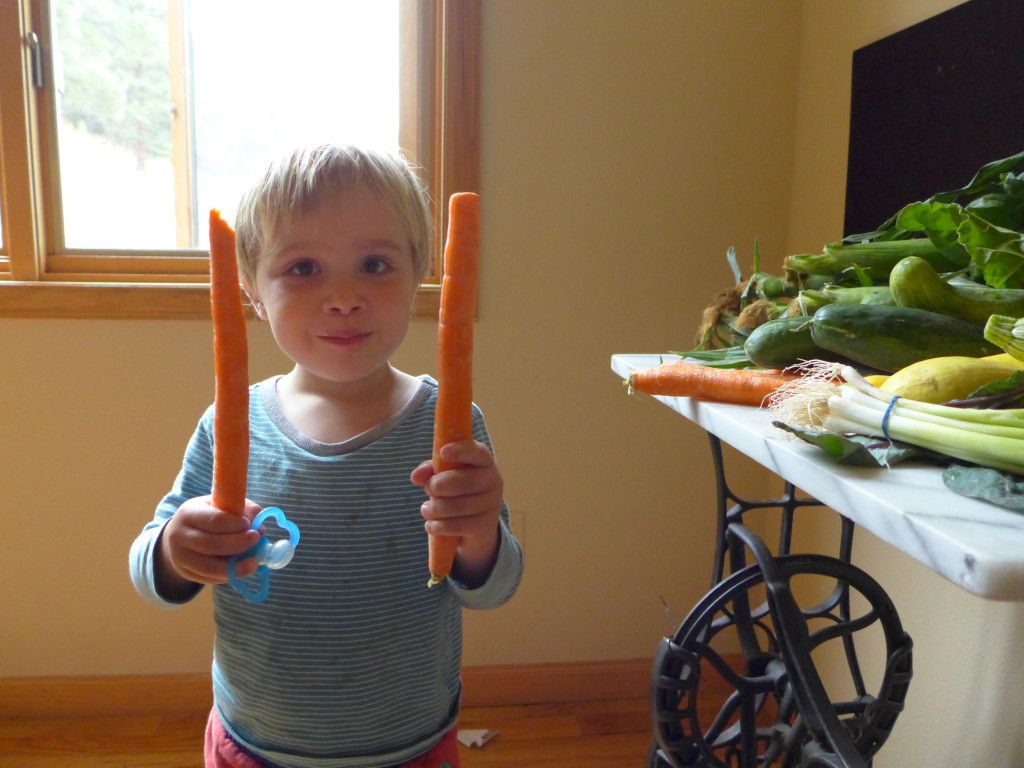
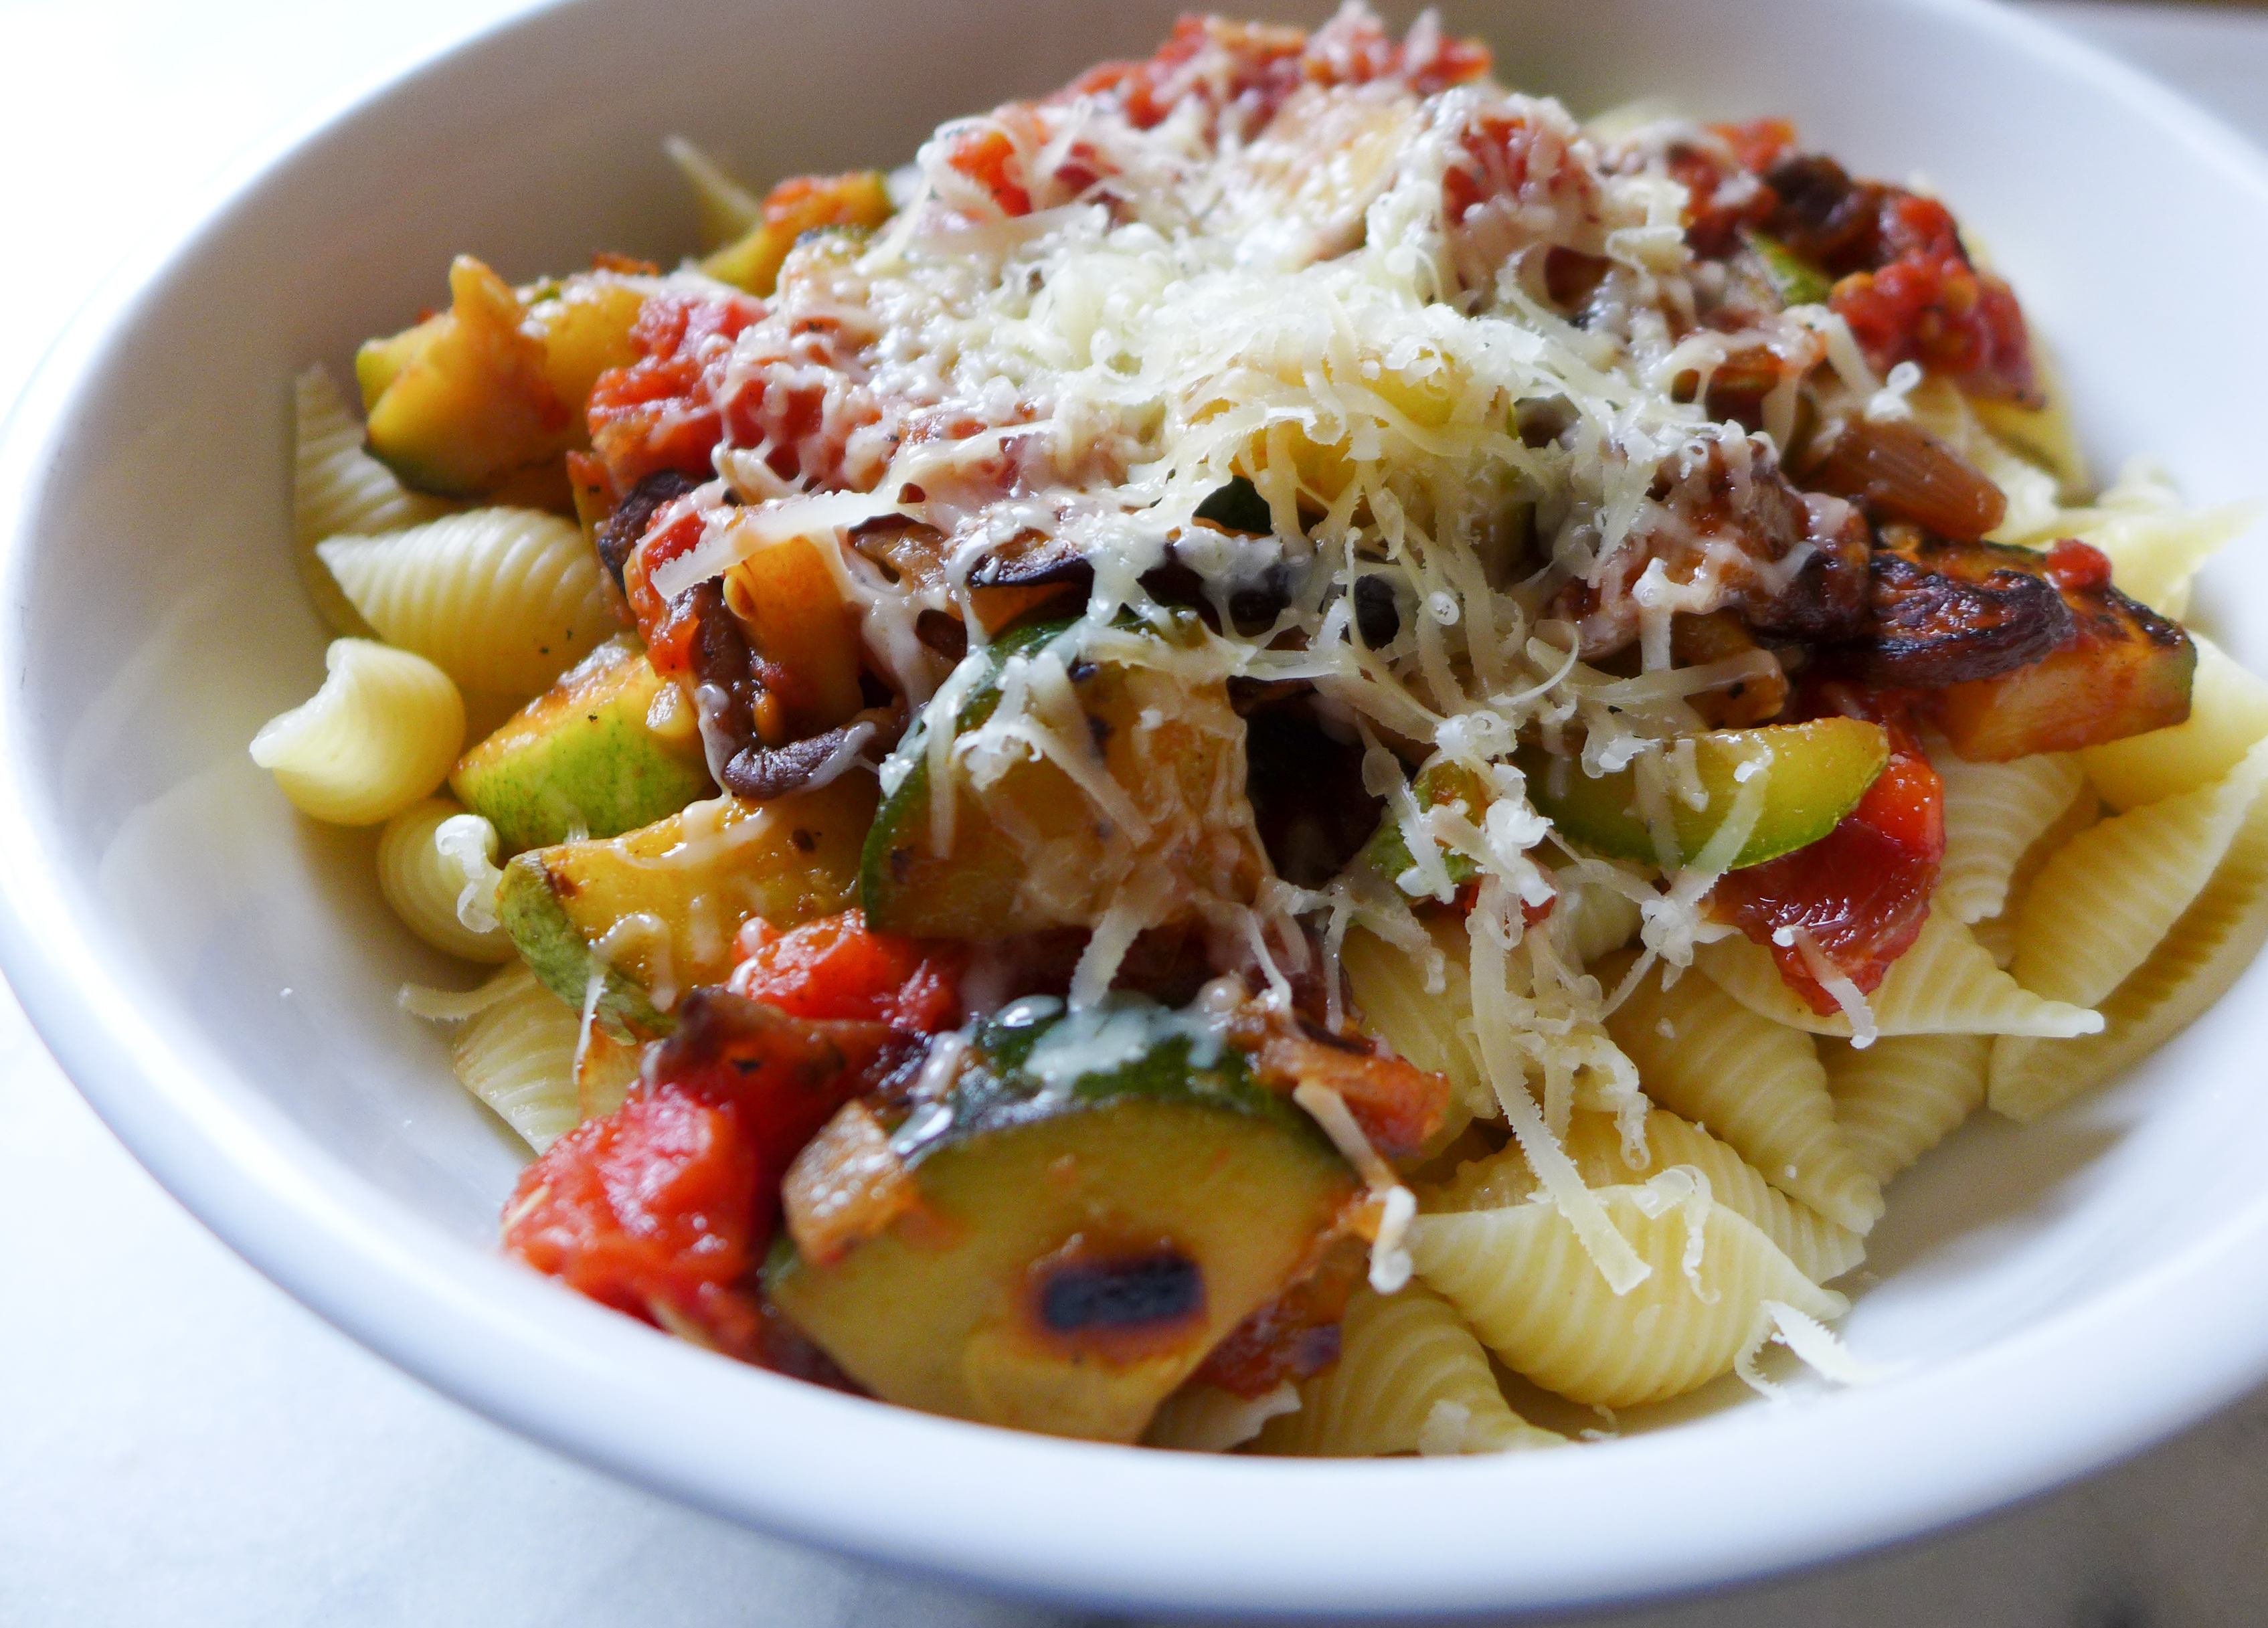
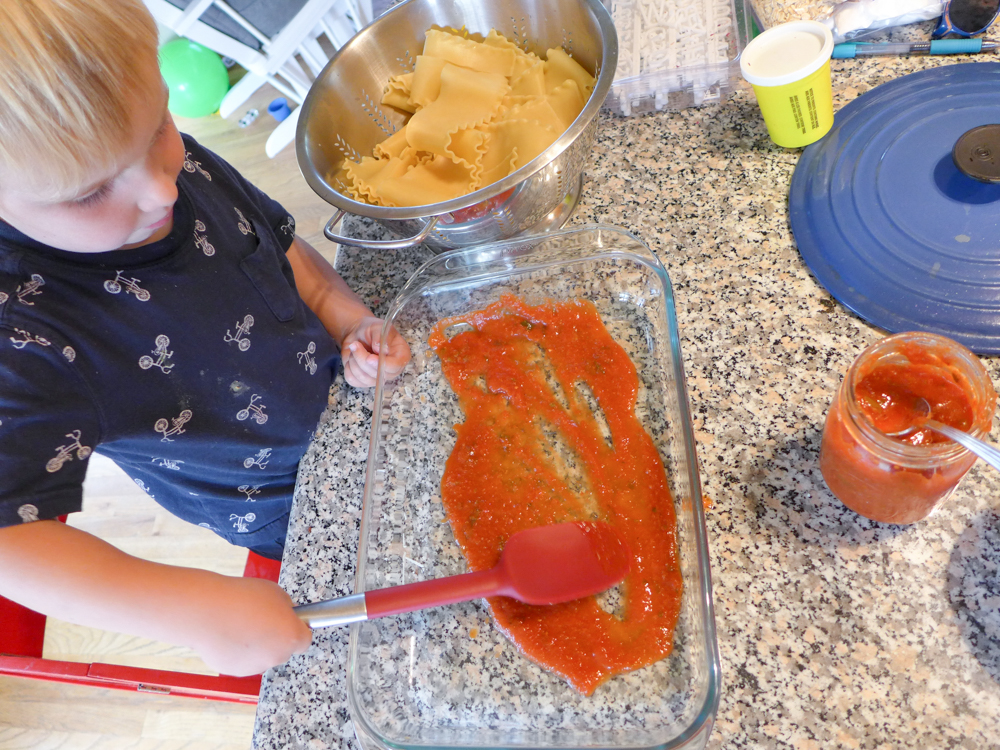
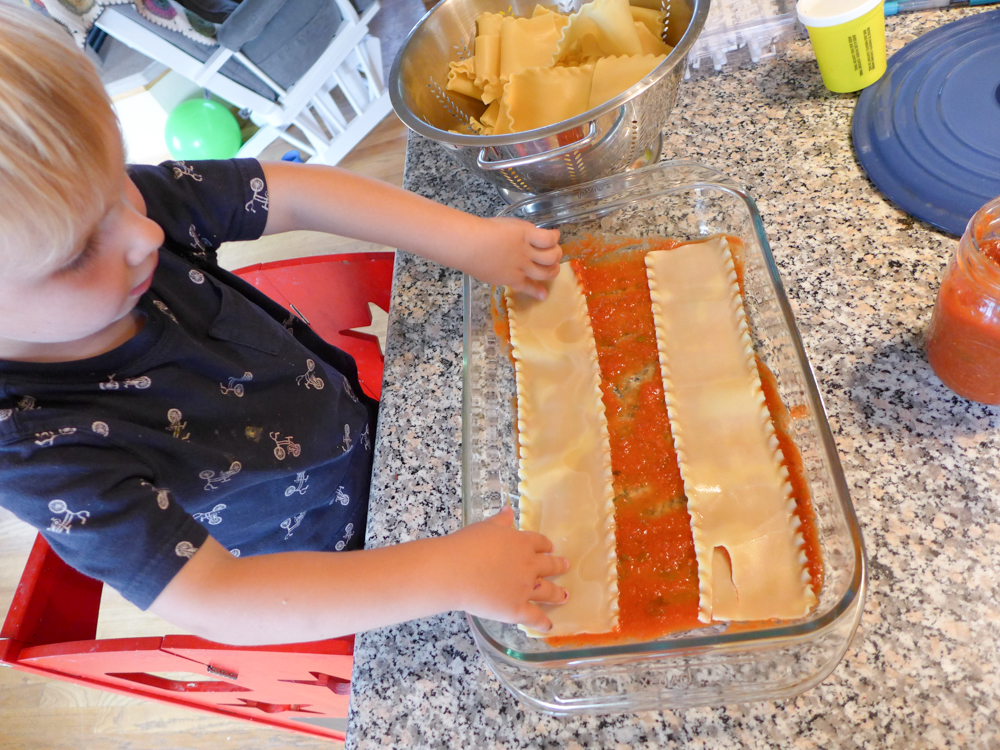
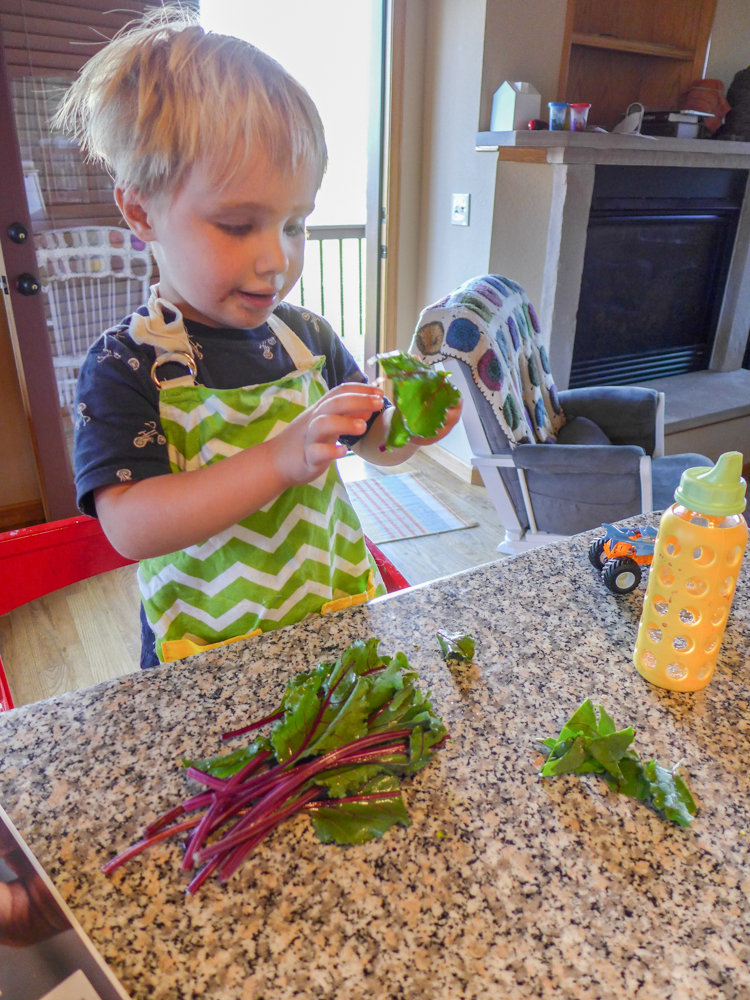
- And of course, we love to have them involved with our food and food prep as much as possible. Alex cut all of the zucchini for the pasta dish below! And you can see some of my cooking-with-kids tips in this series of posts.
And on them being good eaters, we have a few theories.
- Other than a mid-morning fruit and cheese snack, between-meal eating is not a common part of our day. I’m not a big snacker, and so I just never think of offering something to them. And as I said above, during the one time that could be prone to snacking (late afternoon), I just offer them an early dinner.
- We don’t give them juice. The only thing we ever use juice for is to make some quick mini popsicles. Otherwise they never drink juice at home. I’m mentioning this because we’ve noticed that when we’re traveling or visiting friends and they have some pre-dinner juice, then they never seem as hungry for dinner. We’re starting to think that the sugar in the juice fills some of their calorie needs and raises their blood sugar, and so then they just don’t feel hungry for their meal…. and it’s not that we don’t give them sweets – you’ll see plenty of dessert ideas below!
- We do let them try anything and everything in the kitchen. One of our favorite things to do is make “combo-soups” at the Whole Foods soup counter. Because why have just clam chowder when you could mix it with crab and butternut squash bisque (seriously, try it). This creativity carries over into our home. One night Alex asked to have refried beans (we had tacos for dinner) on his vanilla ice cream. Why not, sweetened beans are a common ingredient in Asian desserts. He loved it, and got an extra dose of fiber with his dessert!

Meal Planning – Month 2
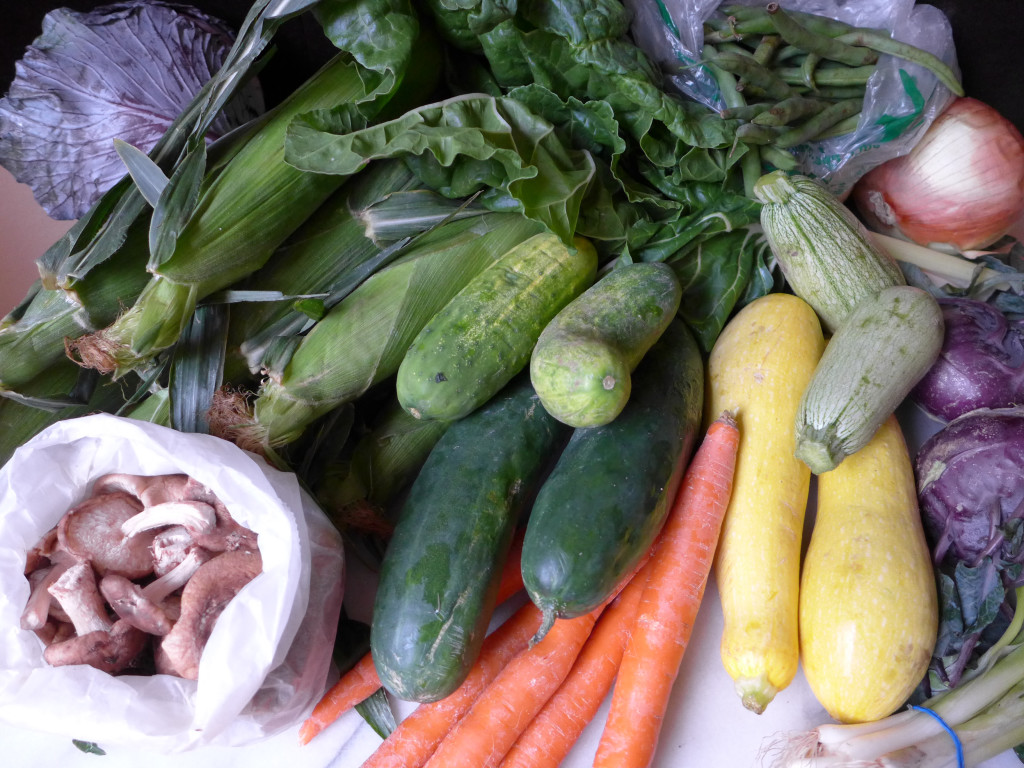
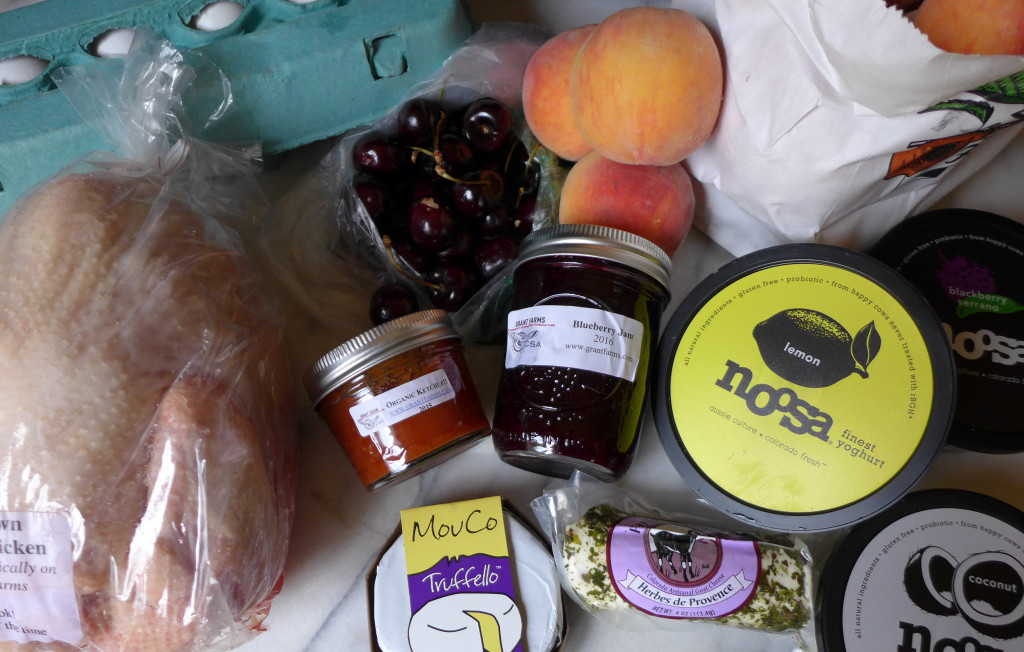
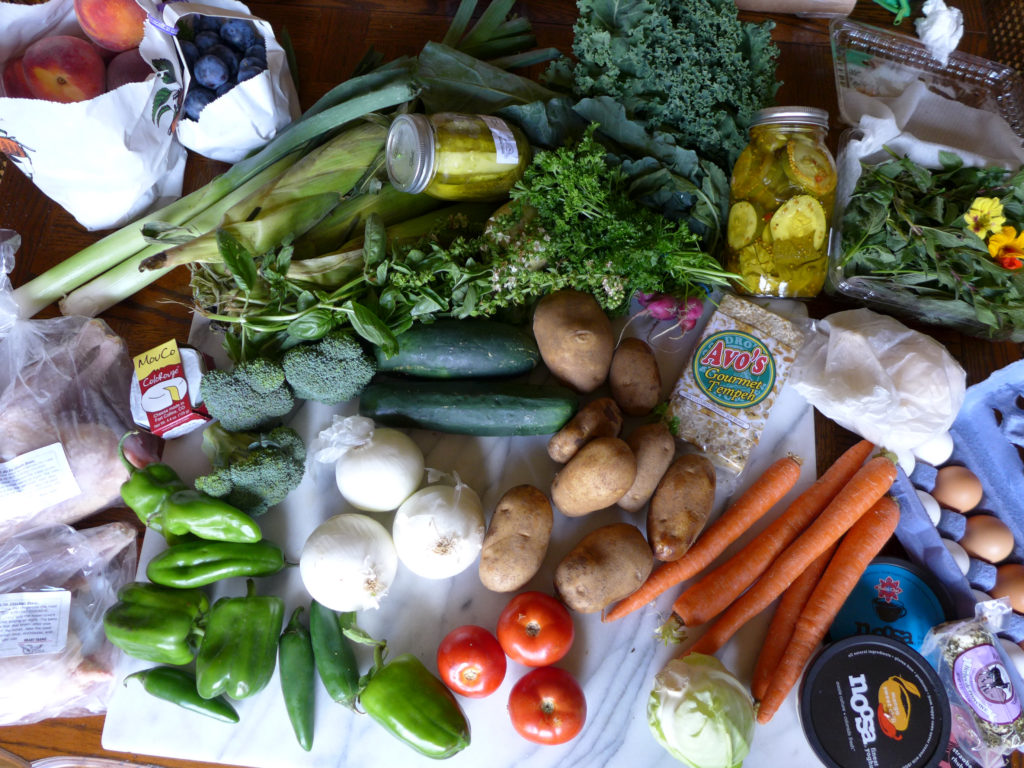
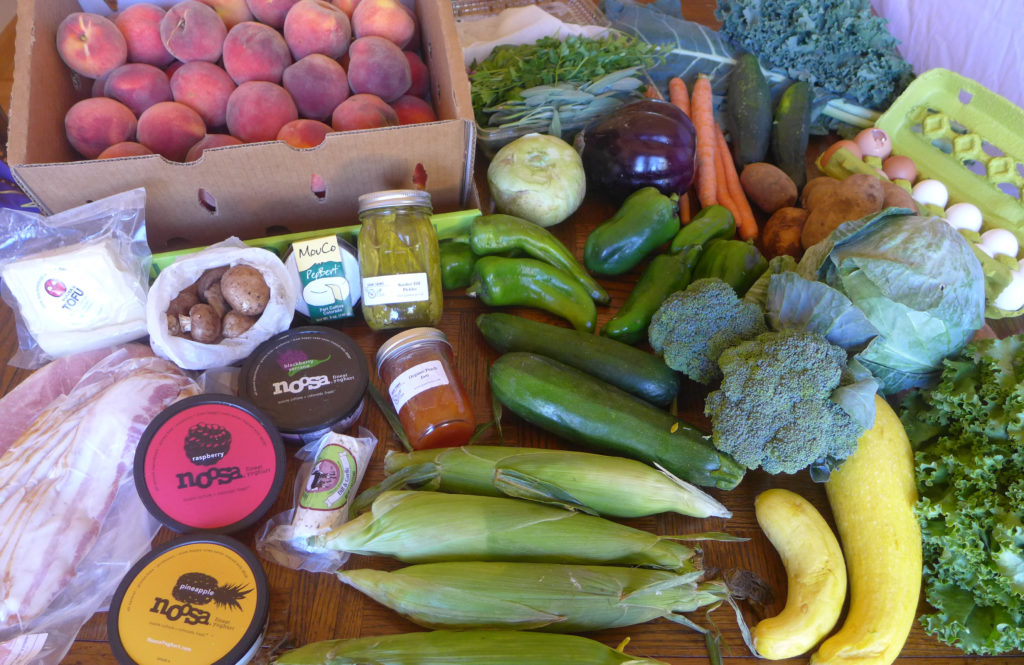
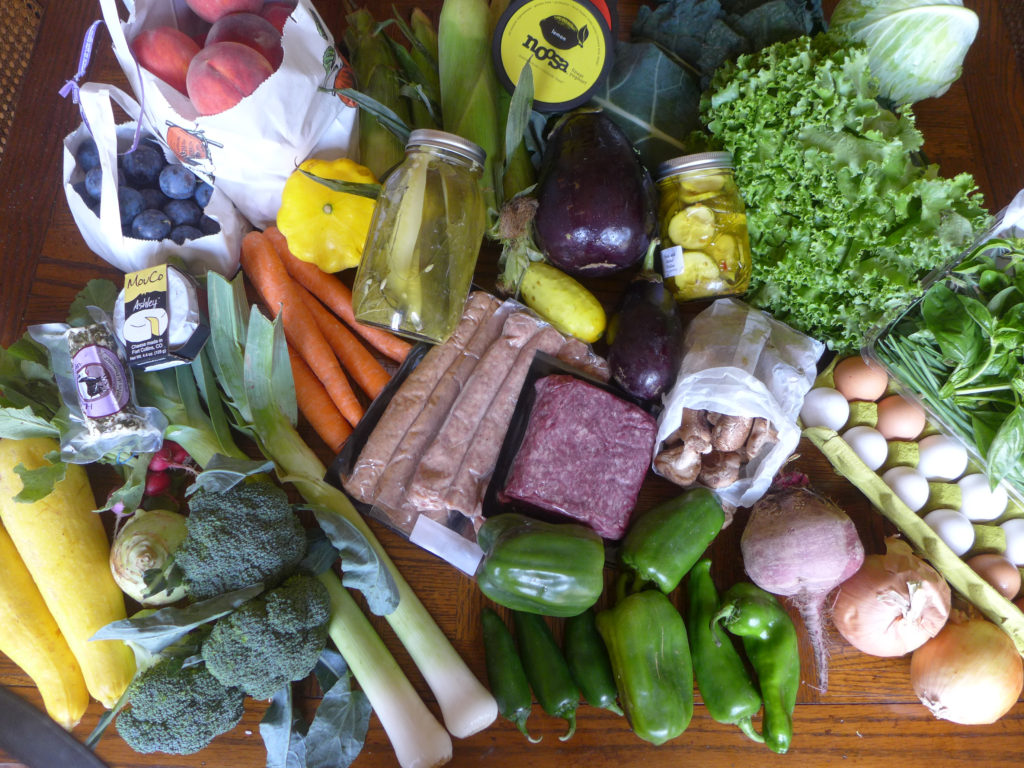
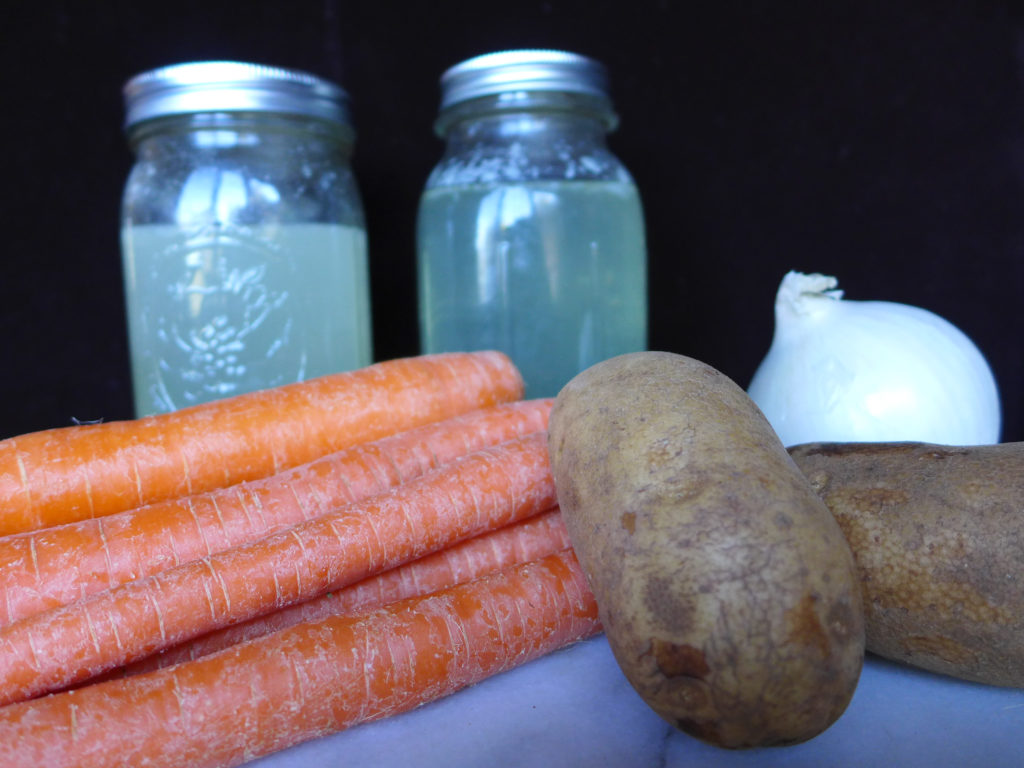
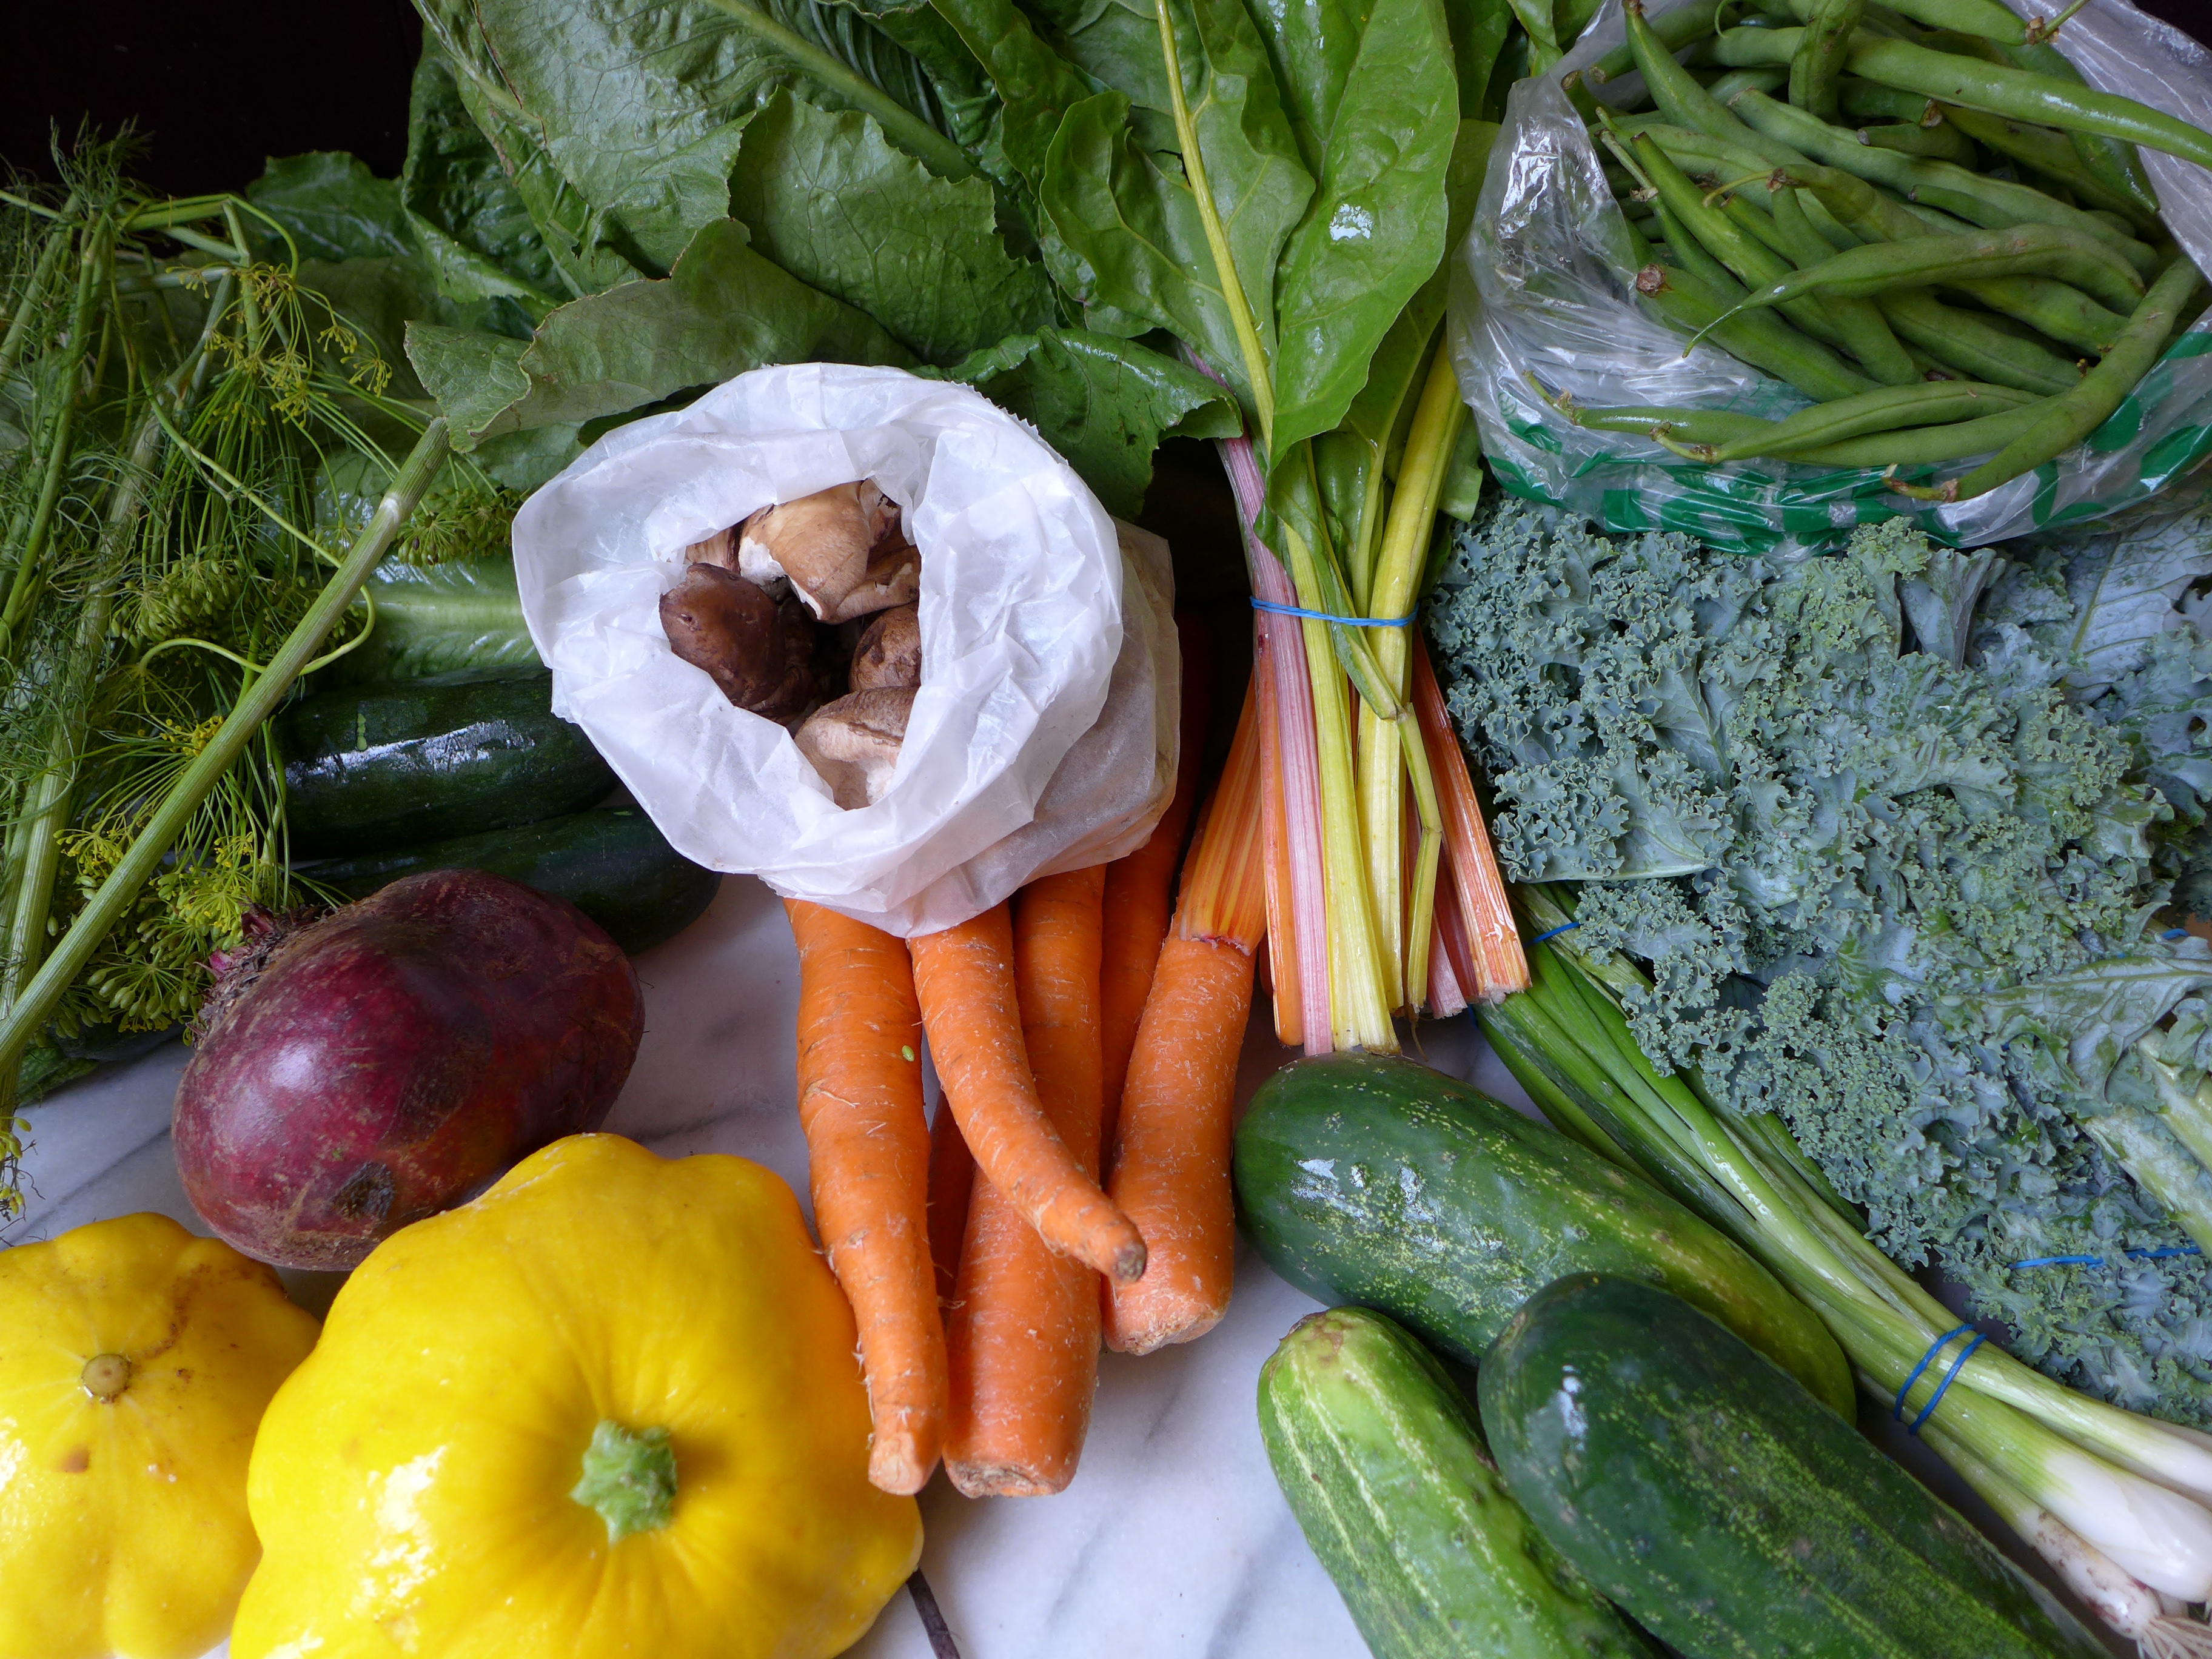
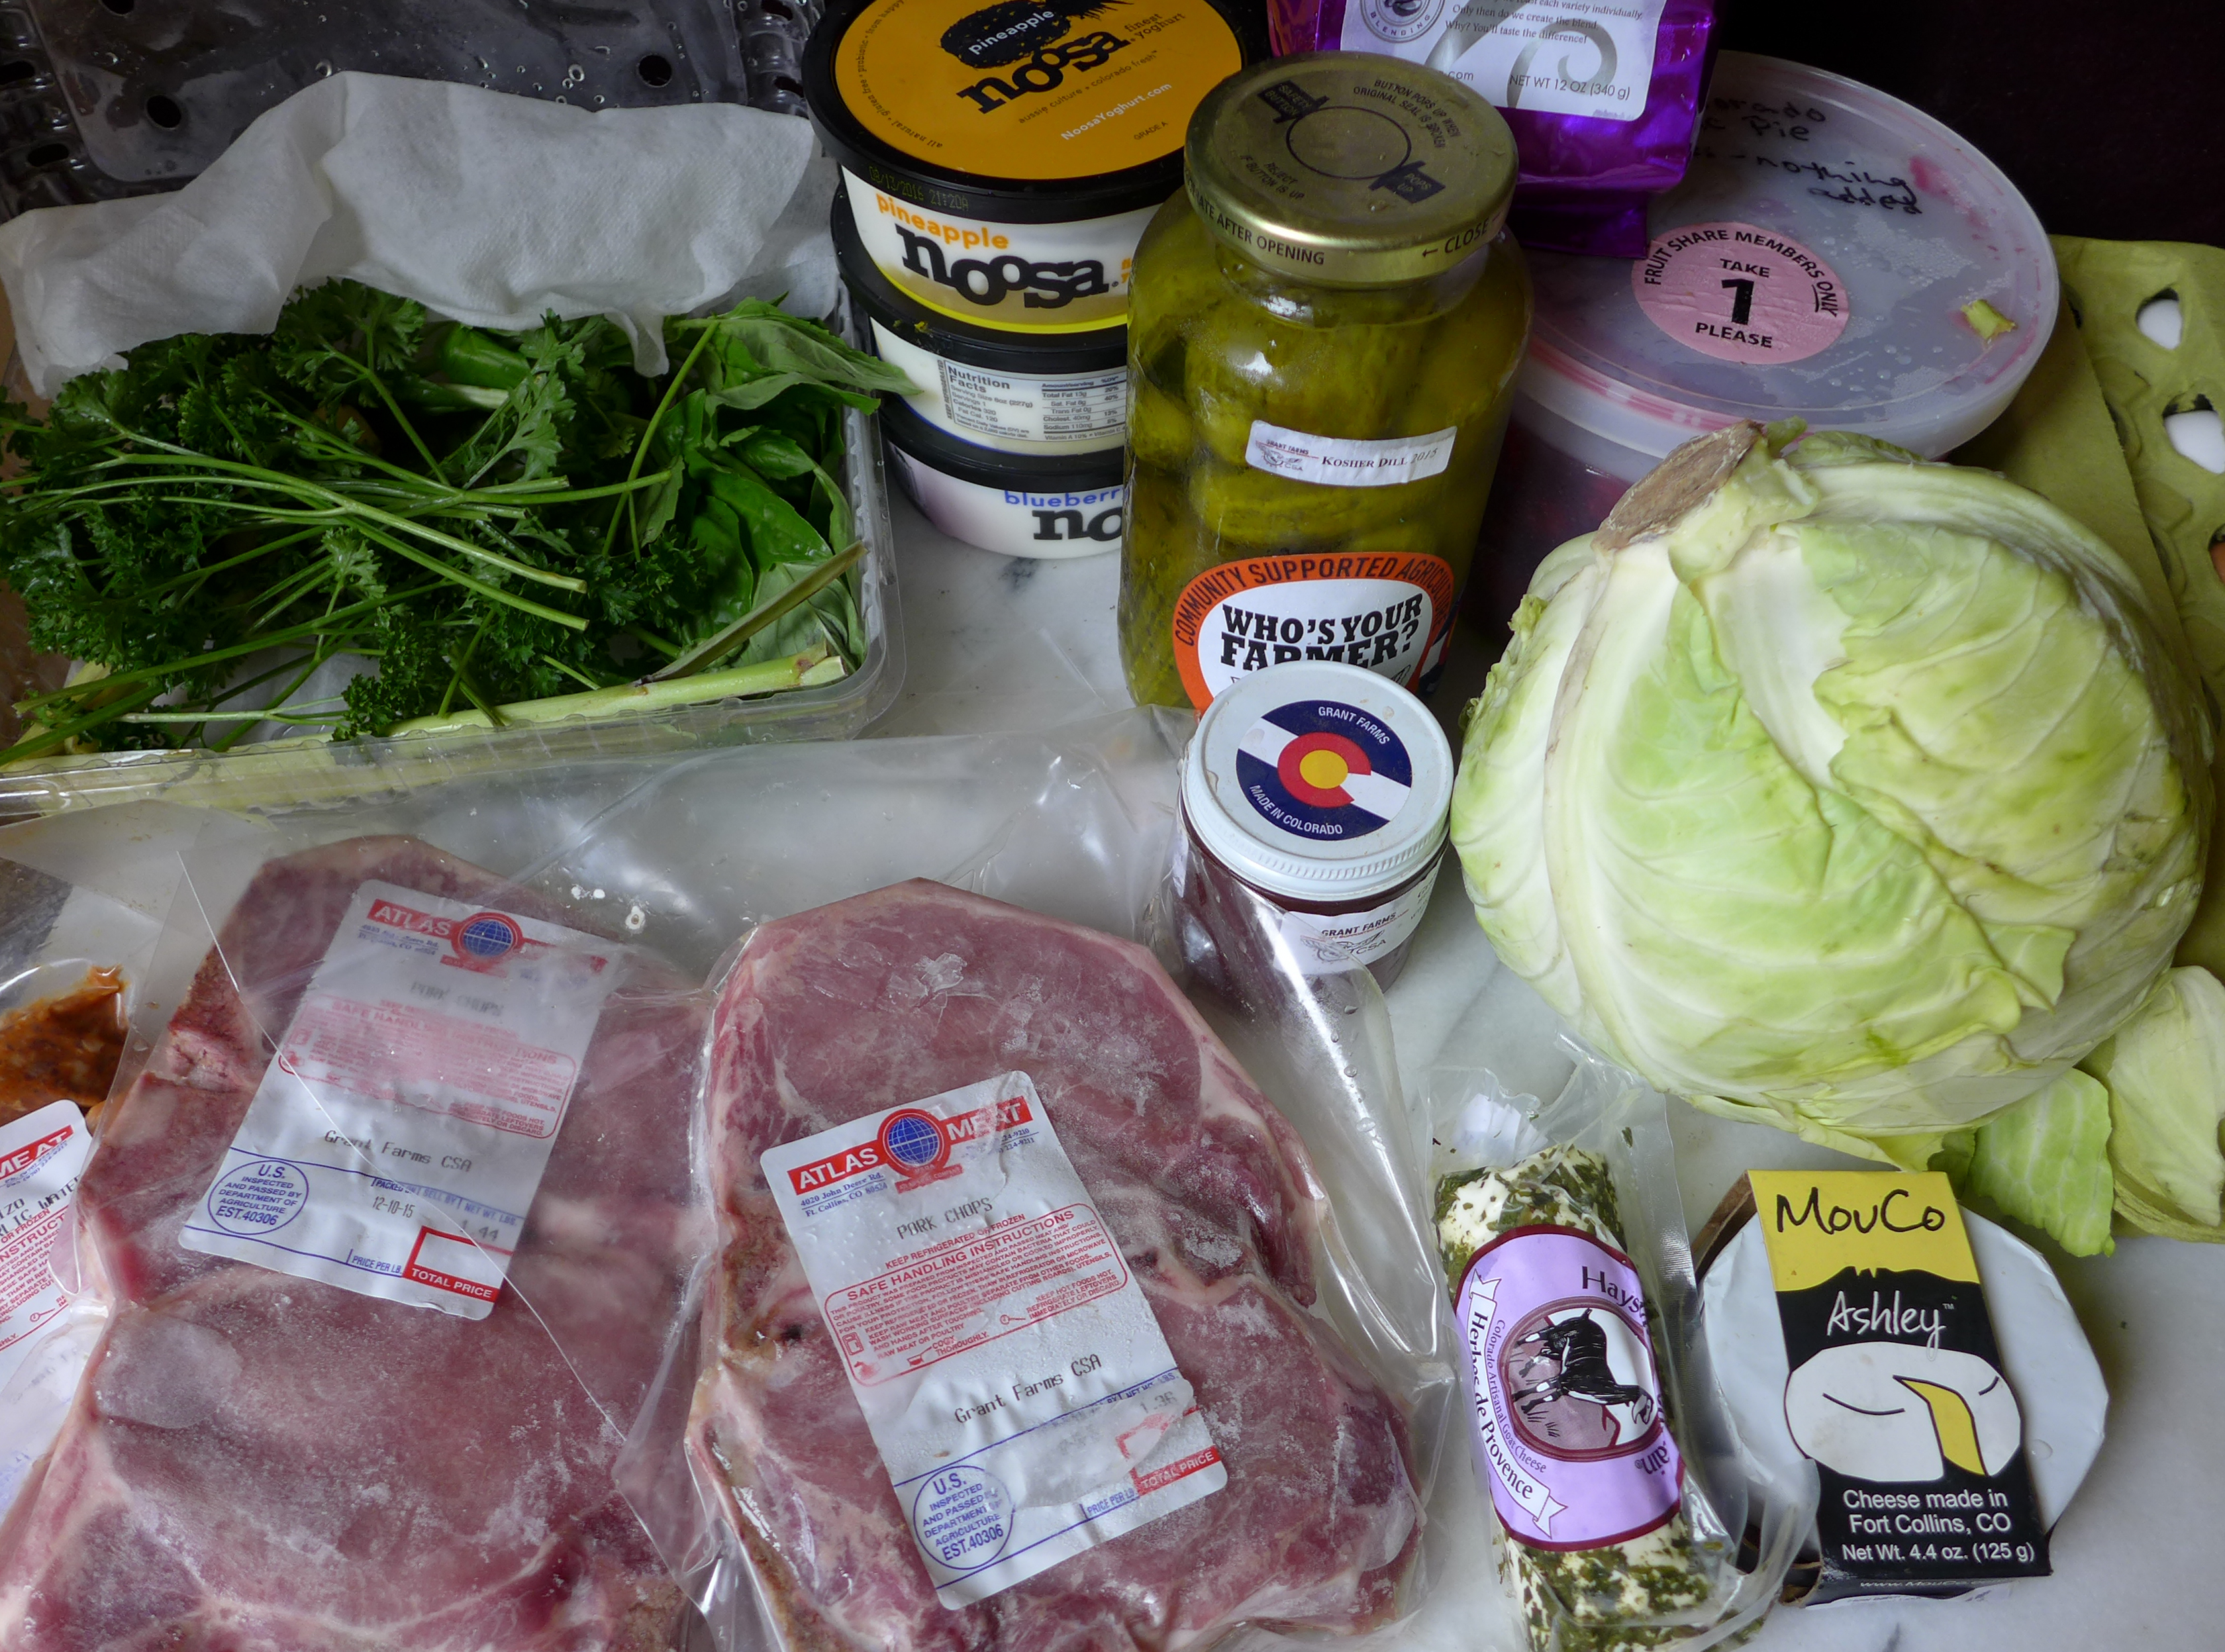
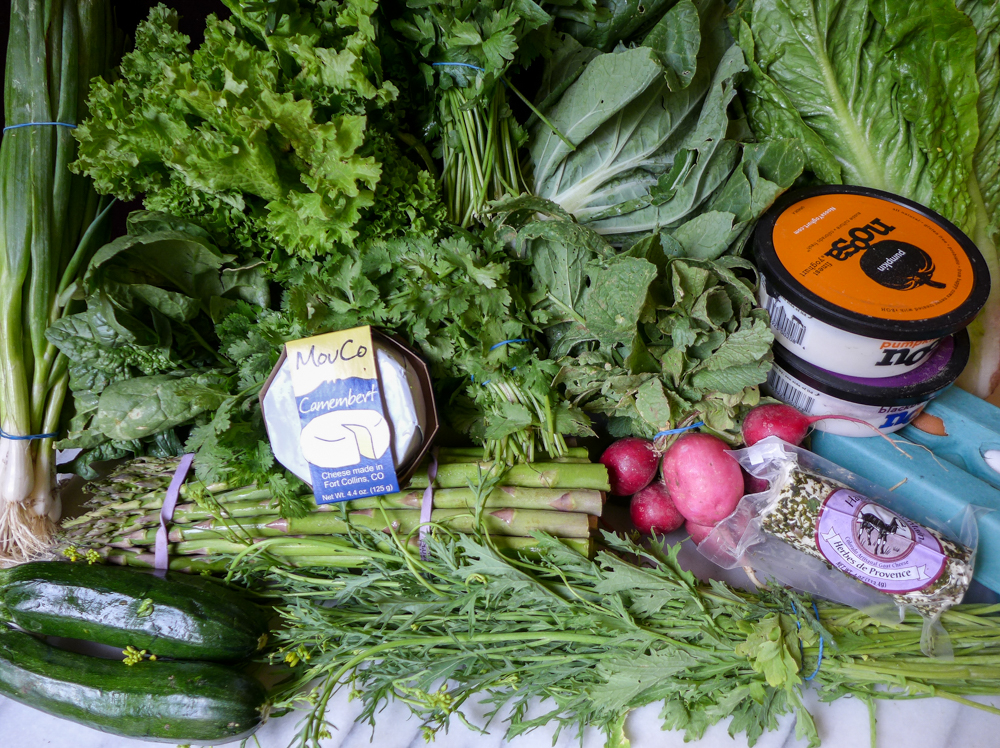
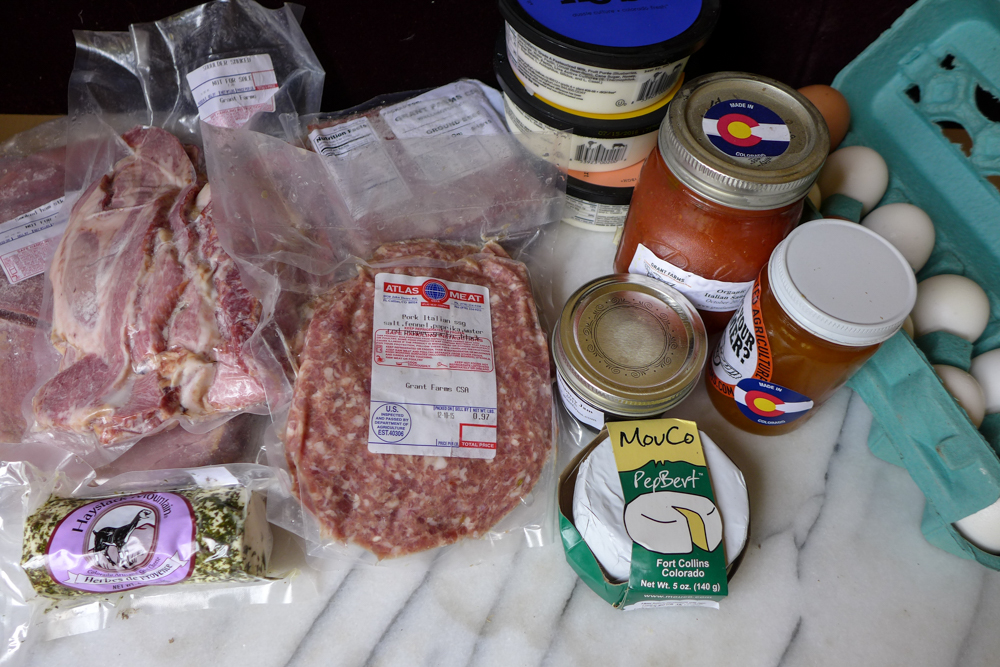
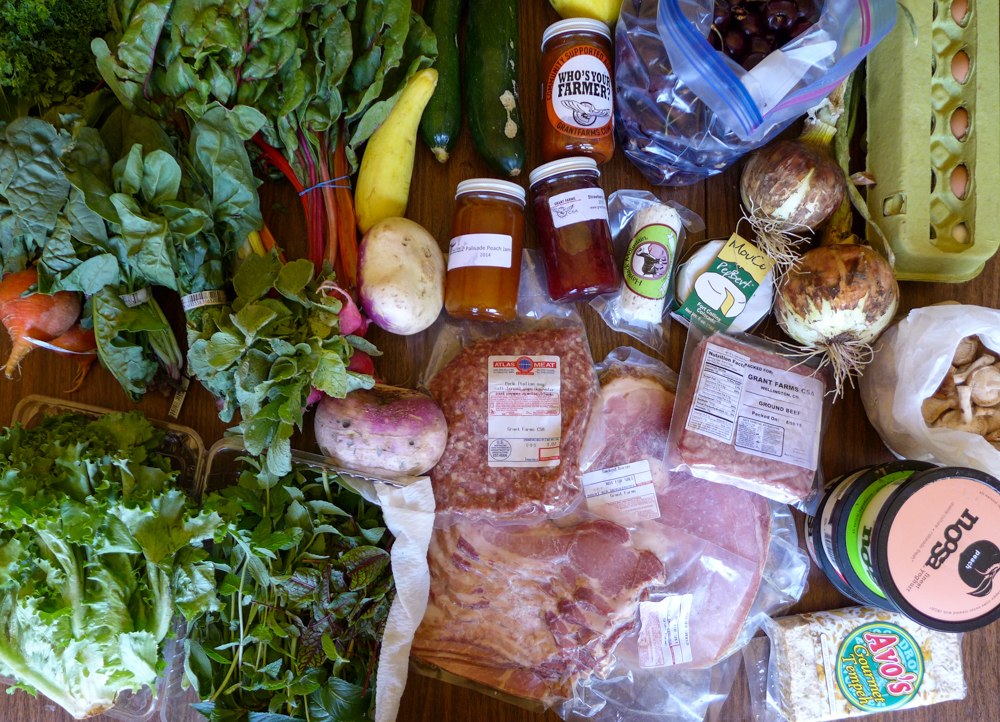
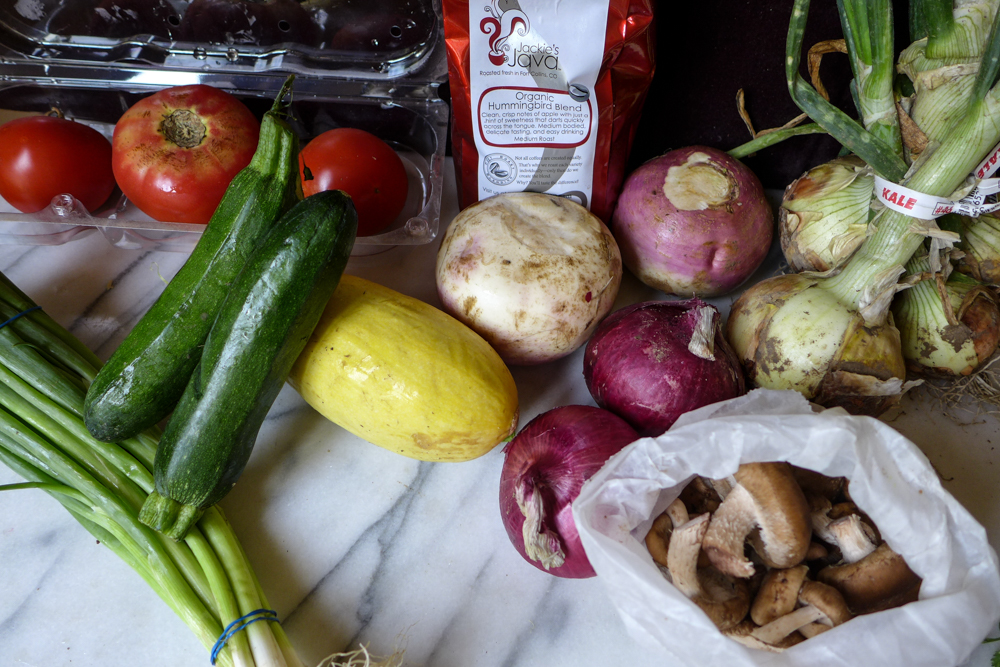
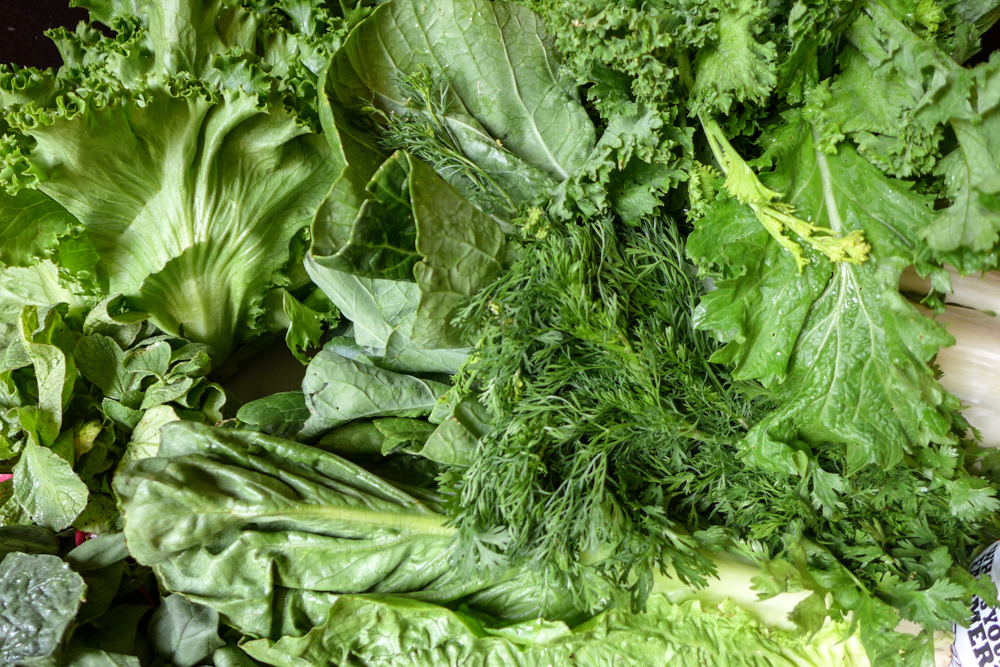
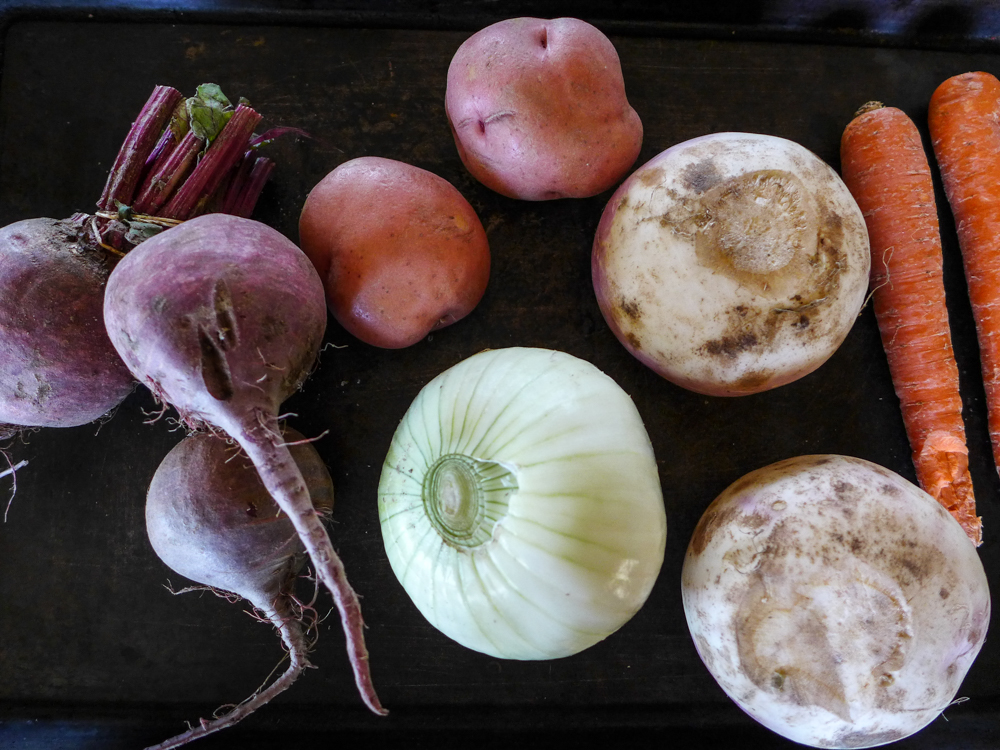
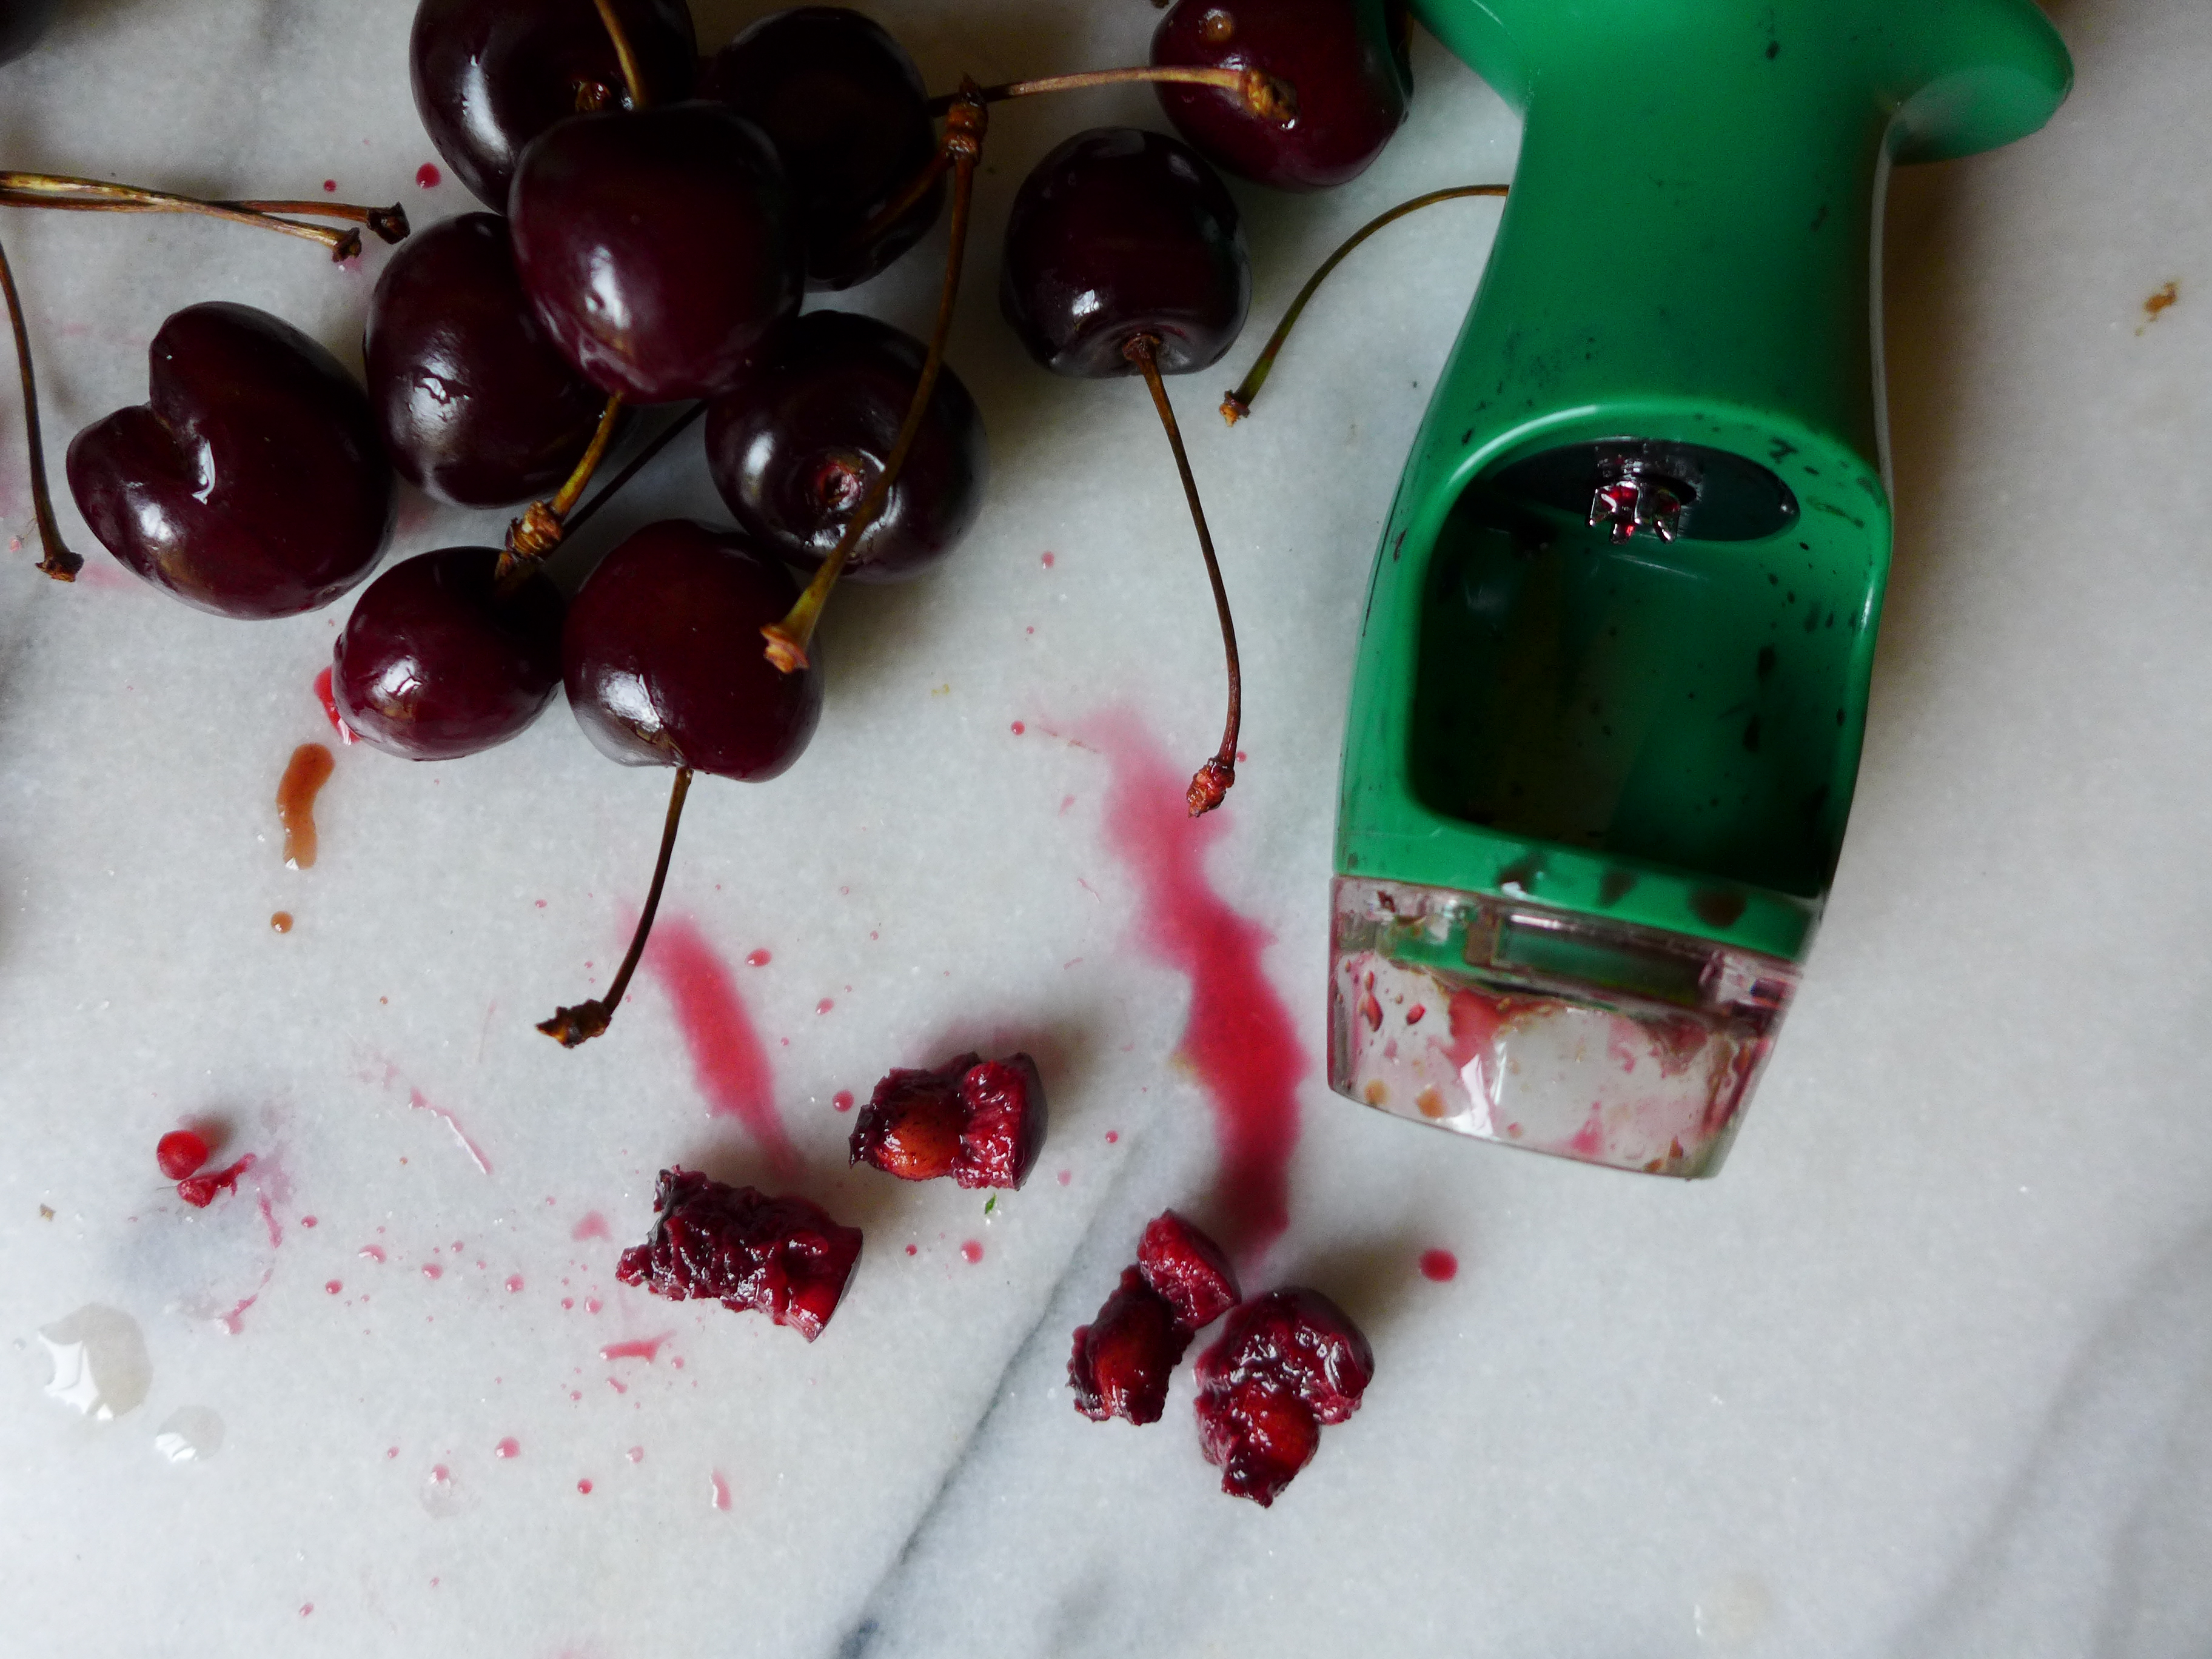
The table below lists the variety of foods that we’ve received for the past month. I don’t know the exact quantity of vegetables we receive each week (it’s a large grocery bag filled with veggies, and I would say it’s about 20 lbs), definitely enough to feed our family for the week. During our second month, the vegetables have been some combination of those on the list below. In the protein category, we receive about 3-5 lbs of meat each week, made up of a combination of the items on the list. The tofu and tempeh each arrive once per month. Under the dairy & misc. category, we receive the yogurt & cheeses each week, we receive 1 lb of coffee once per month, and approximately two canned goods each week. While in season, we receive fresh fruit (so far it’s been a lot of cherries!) and some variety of fresh herbs.
| veggies |
proteins |
dairy & misc. |
fruit & herbs |
| cucumbers |
pork chops |
herbed goat cheese |
sweet cherries |
| romaine lettuce |
chorizo sausage |
camembert |
tart cherries |
| carrots |
fryer chicken |
yogurt |
peaches! |
| cabbage |
tofu |
coffee |
lemongrass |
| green onions |
tempeh |
fruit jam |
basil |
| onions |
|
tomato sauce |
parsley |
| zucchini |
|
ketchup |
dill |
| summer squash |
|
pickles |
|
| mushrooms |
|
|
|
| beets |
|
|
|
| chard |
|
|
|
| kale |
|
|
|
| kohlrabi |
|
|
|
Above each photograph, I list the farm share ingredients used for the dish and, where available, I’ve linked to the recipes. Where necessary, I also include some notes about that day’s meal.
~
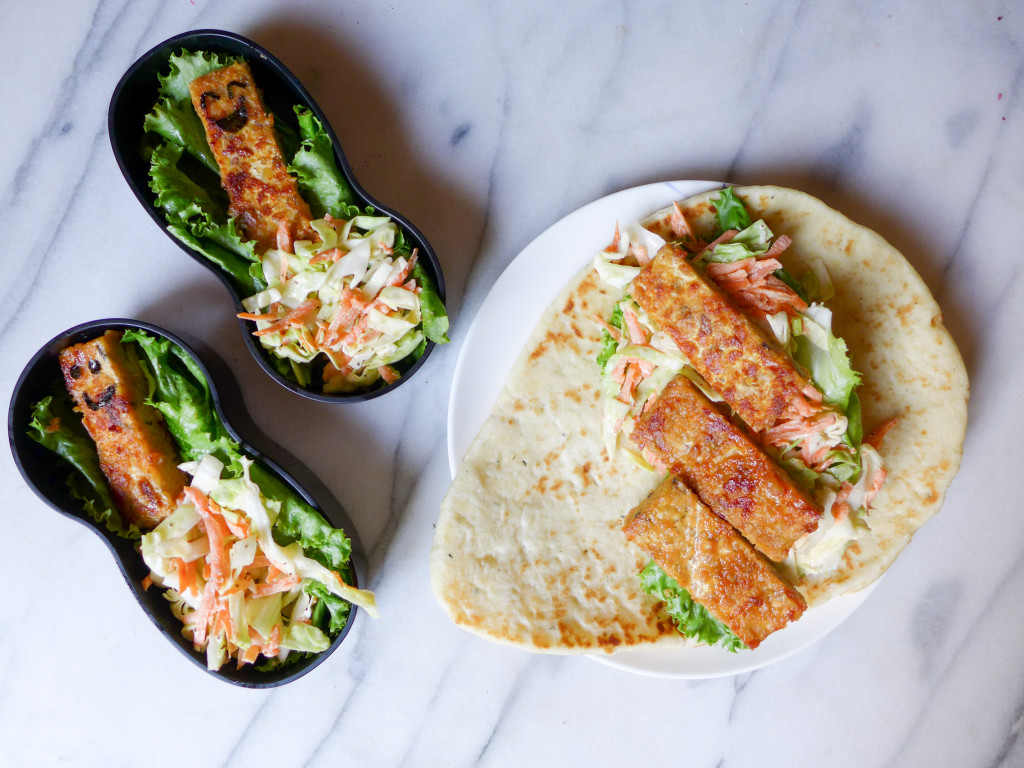
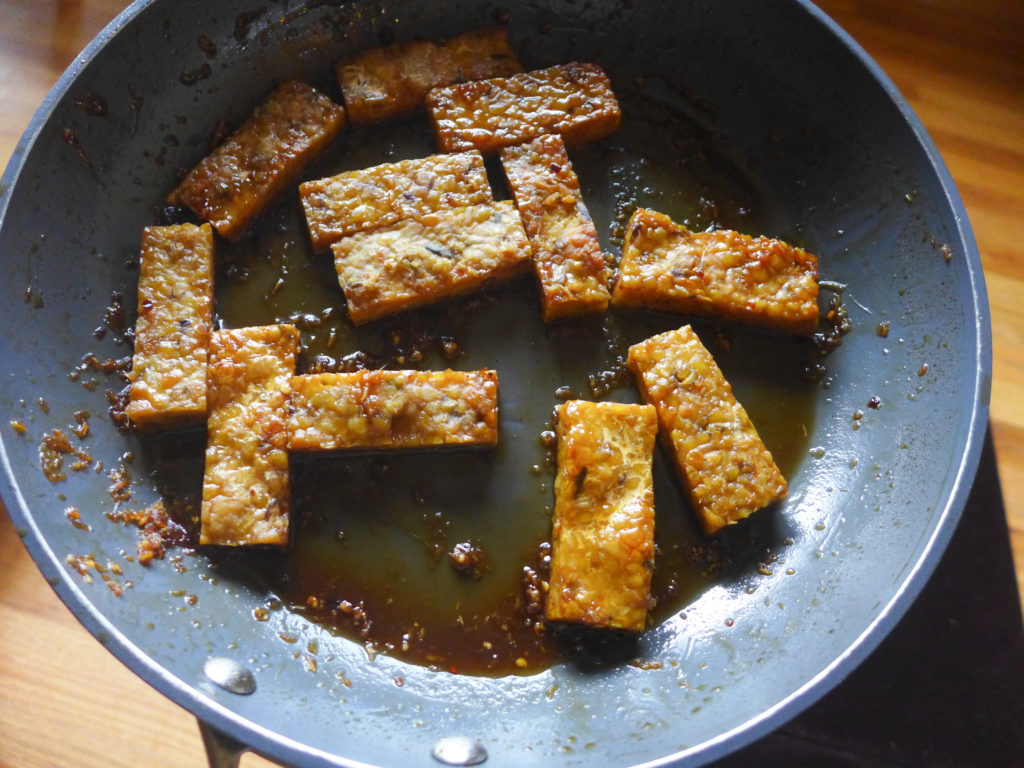
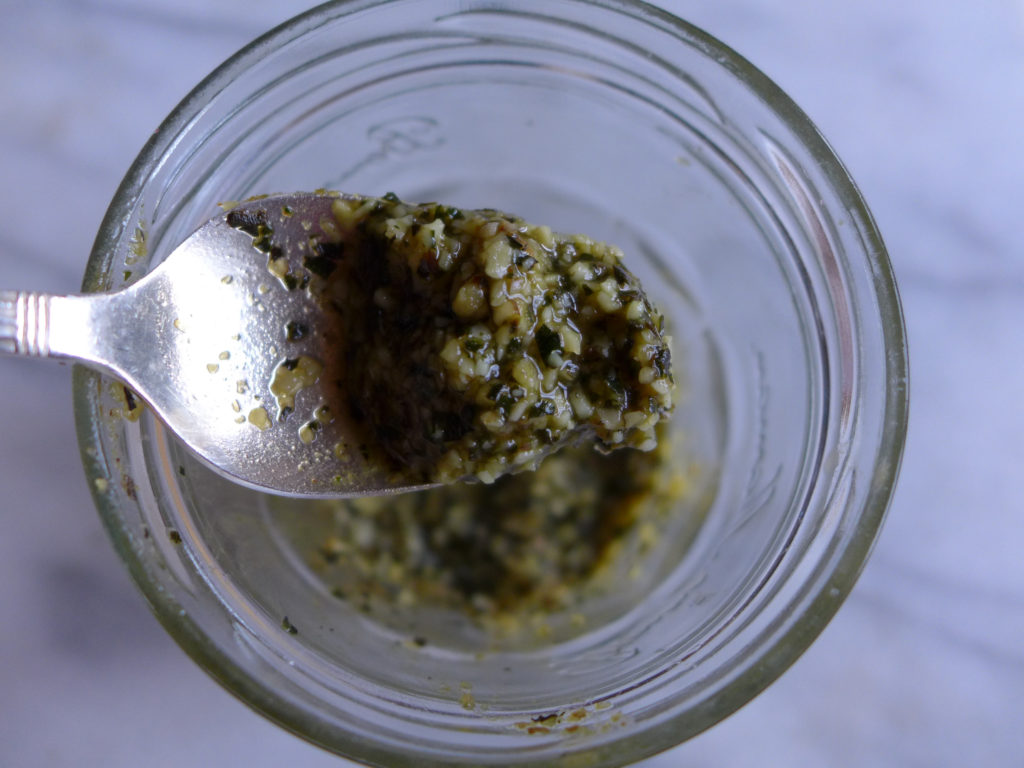
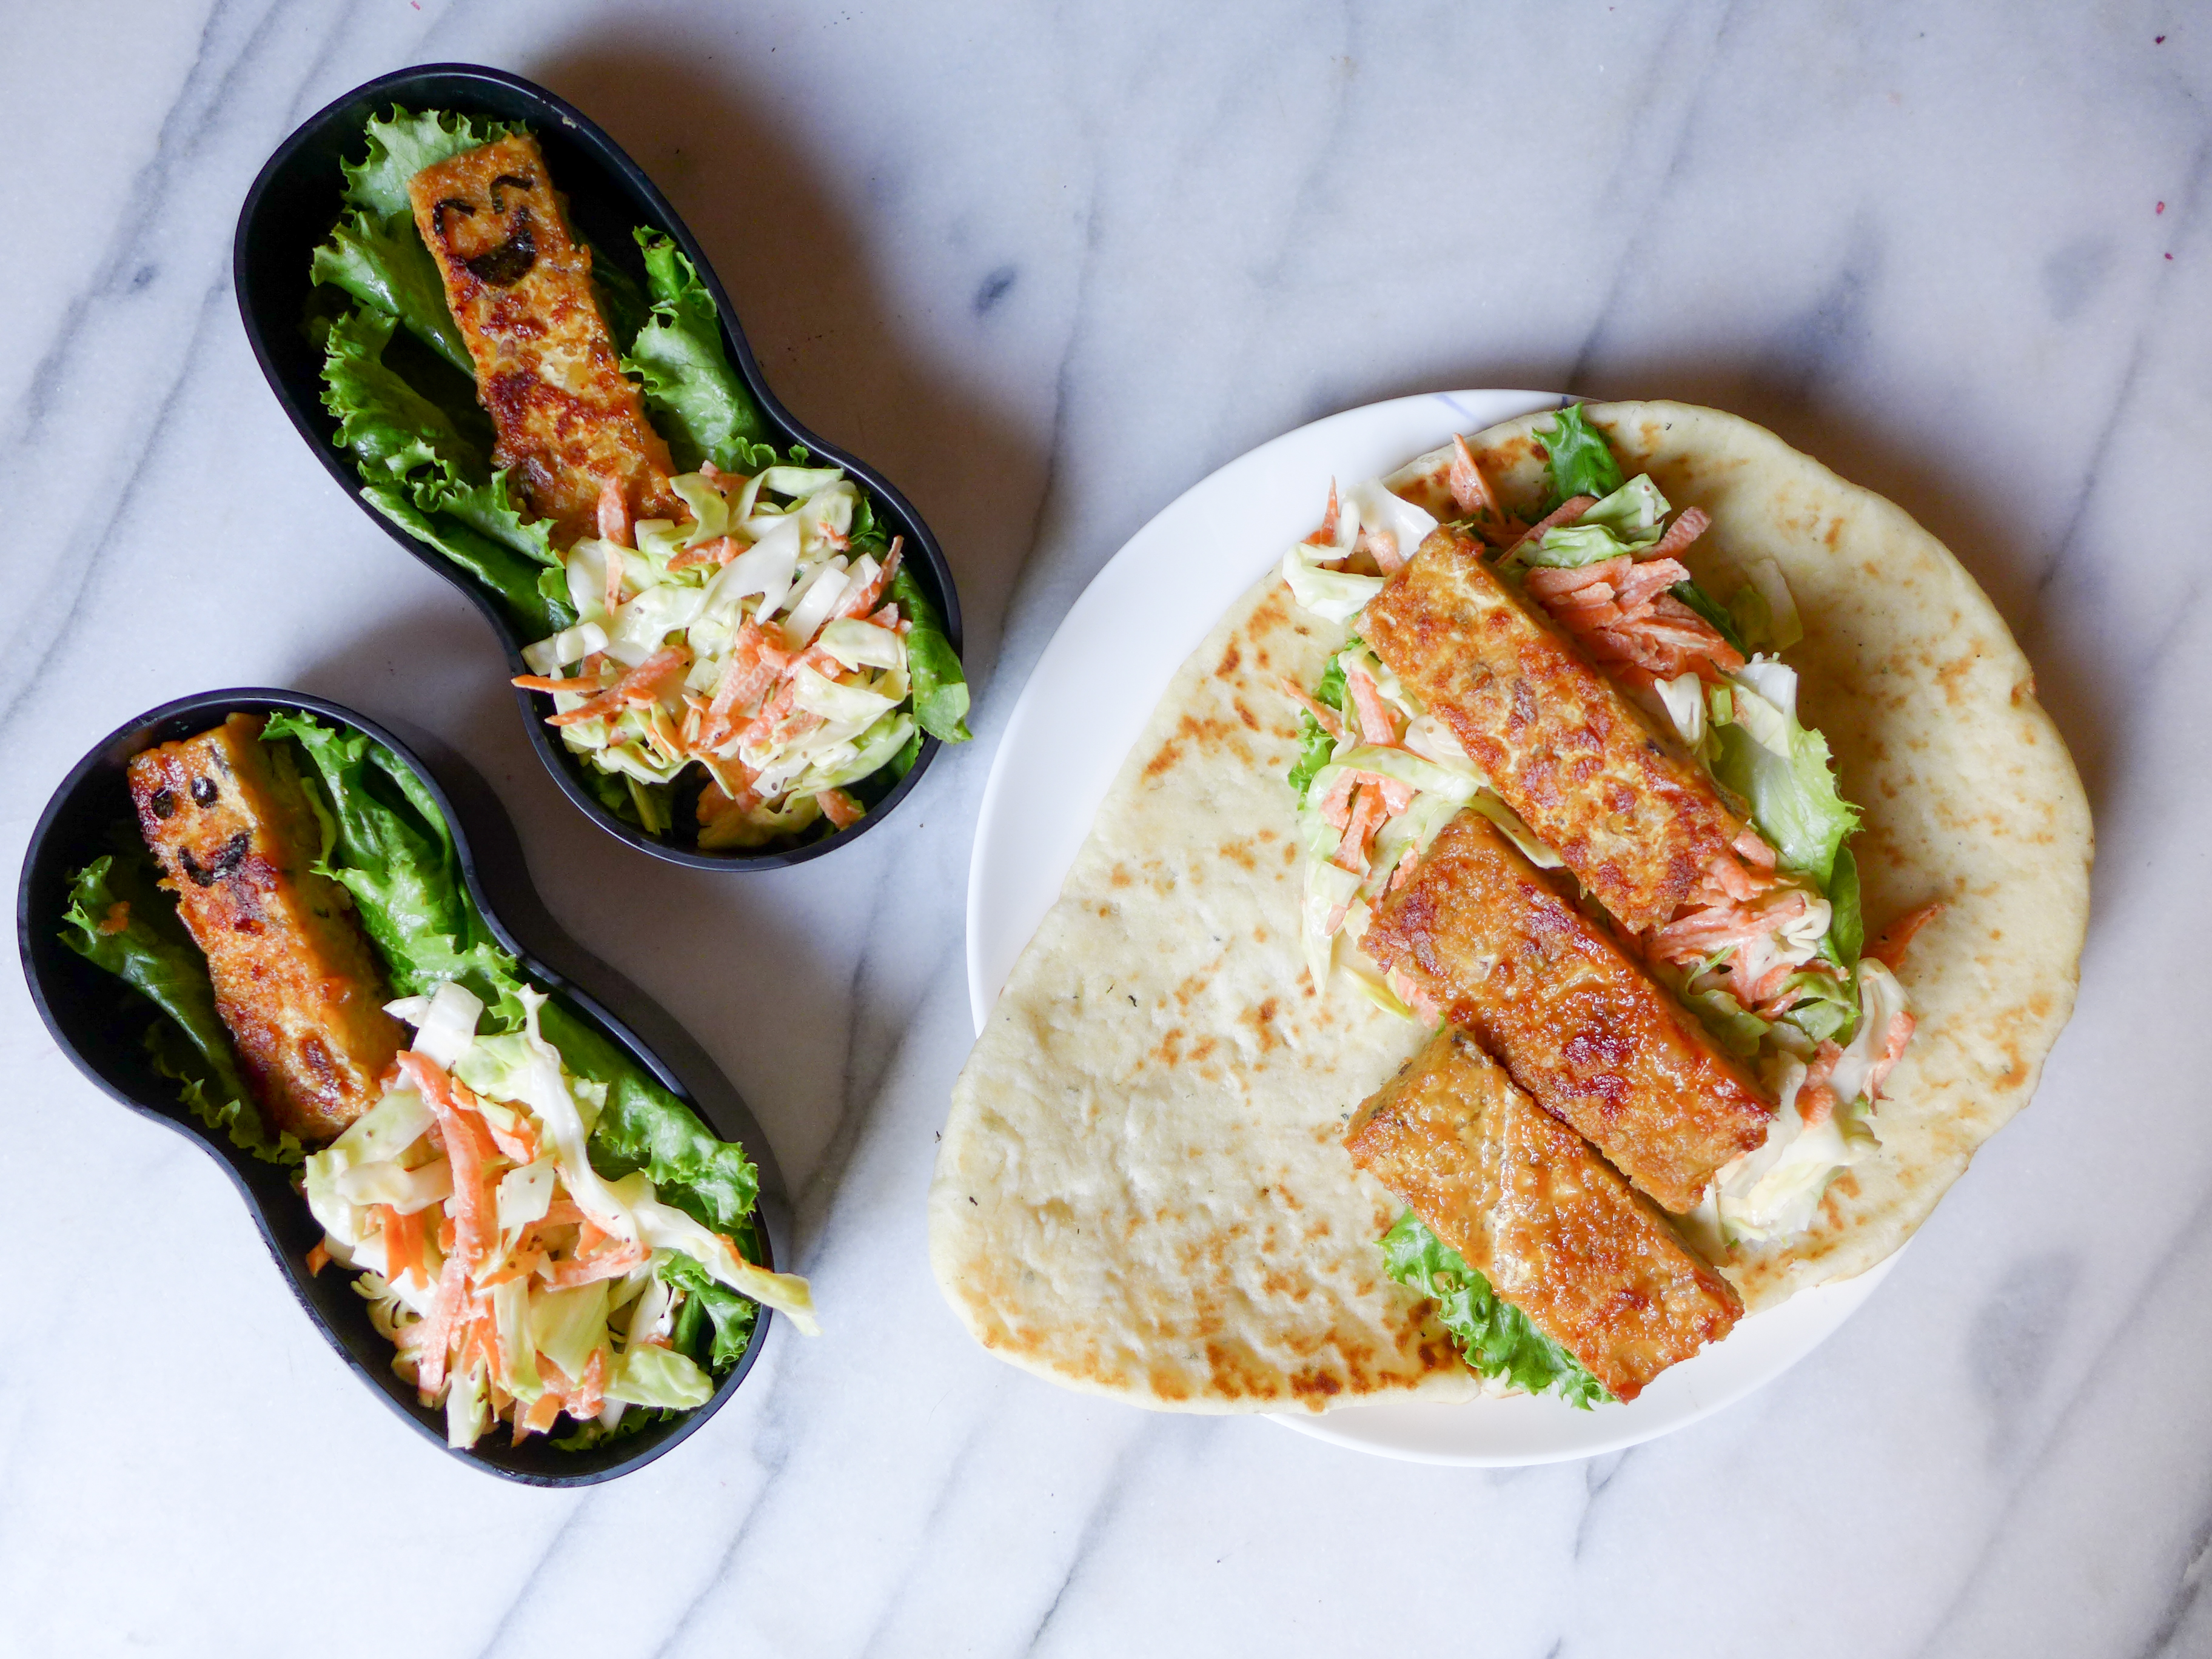
Miso-dipped Tempeh Logs + coleslaw wraps (scroll down within those links for each of the recipes): tempeh, cabbage, carrots
This was a meal that we took to the park for a picnic dinner. The wraps, using warmed naan, were the grown-up version. For the boys, I packaged their tempeh, slaw, and some extras (hard boiled eggs, fruit) in bento boxes, adding seaweed smiles to the logs for a bit of fun.
~
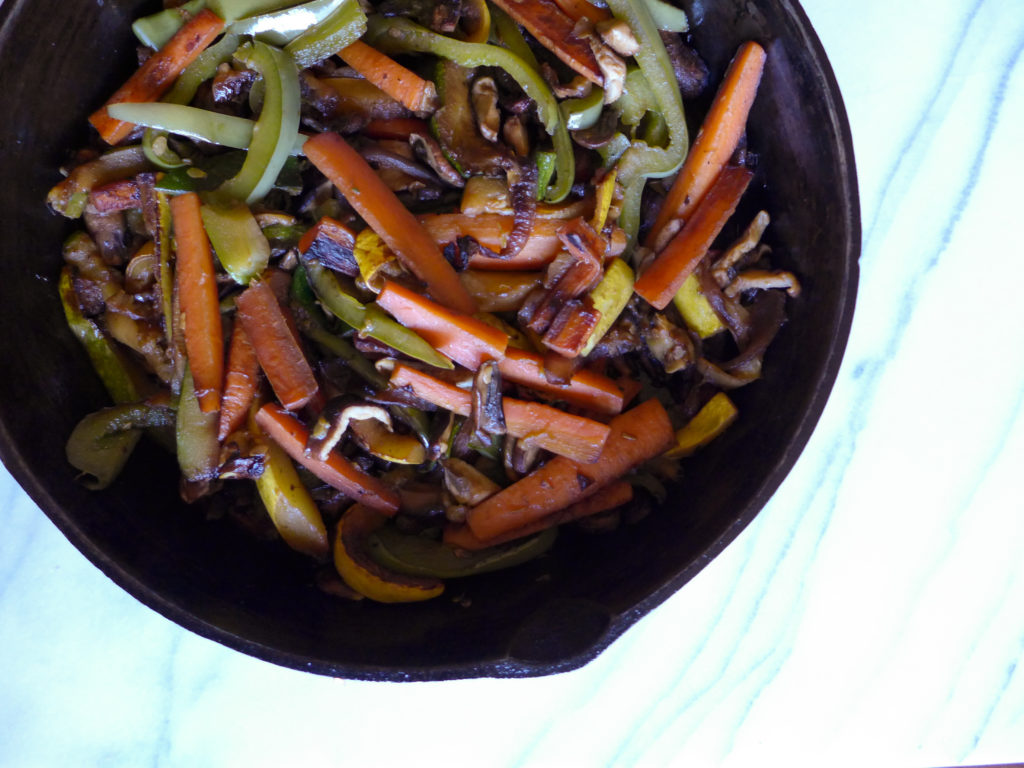
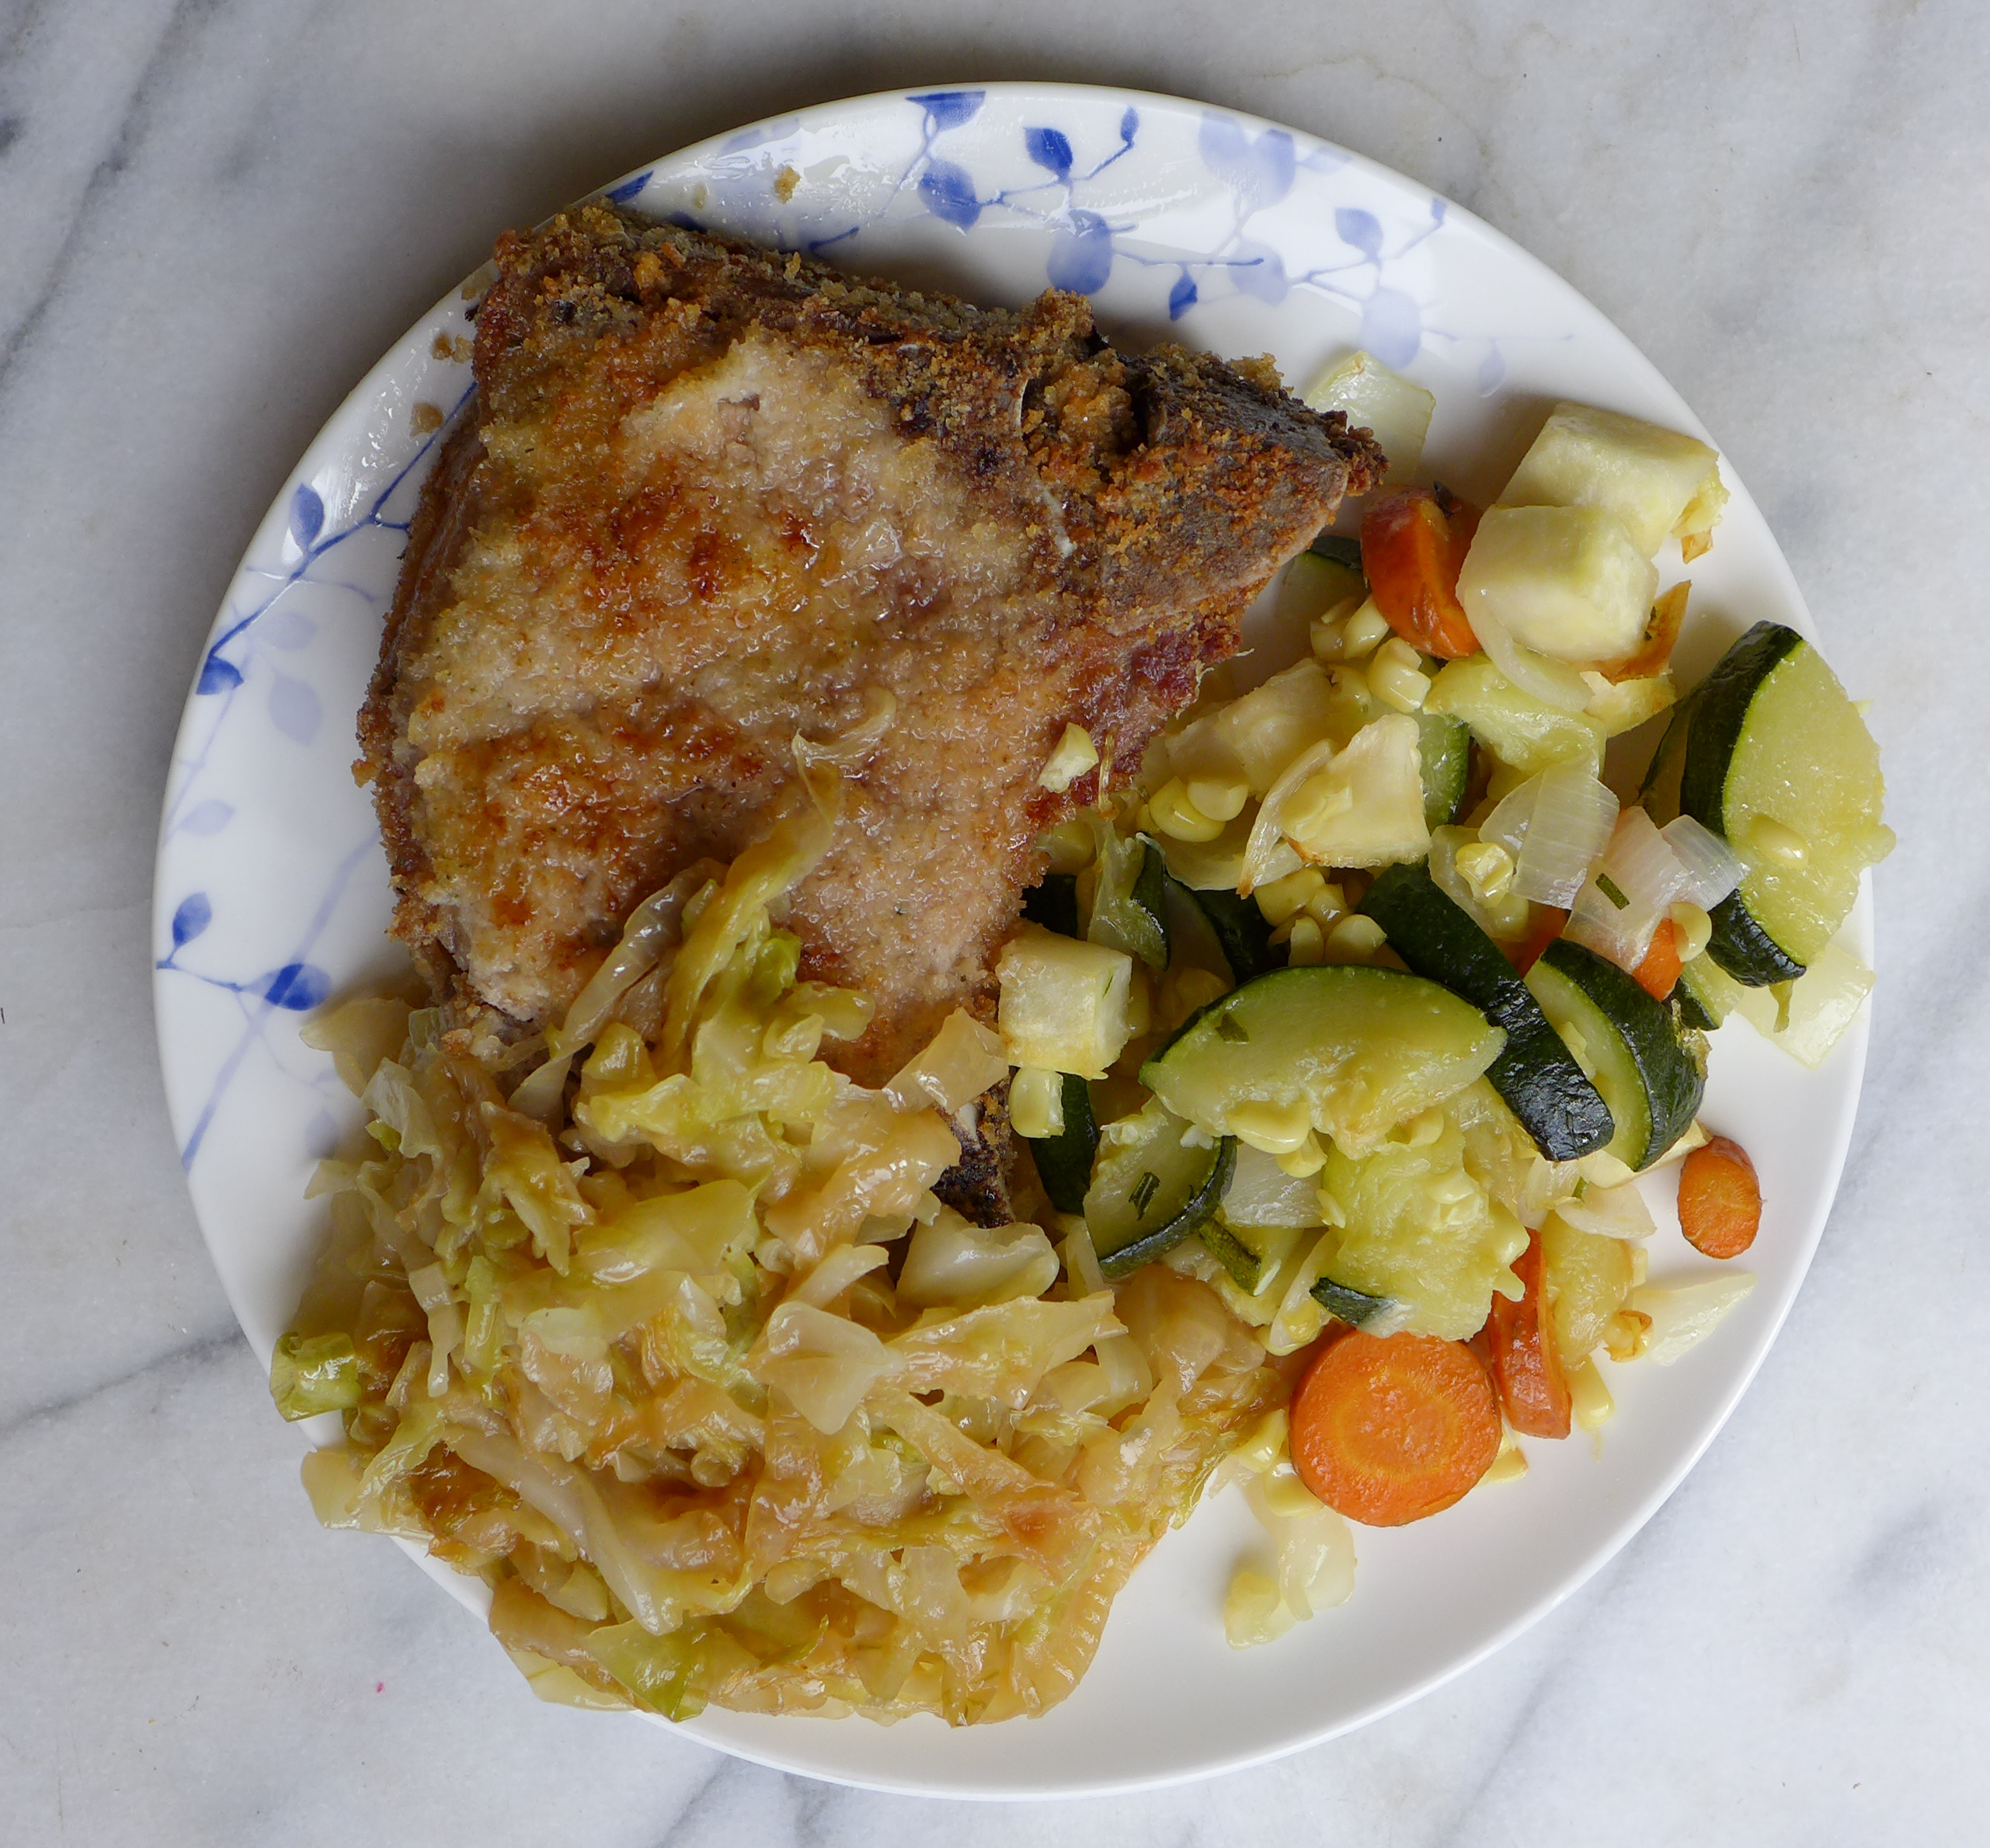
Breaded Pork Chops, Braised Cabbage & Roasted Vegetables : pork chops, zucchini, turnips, carrots, cabbage, onions

~
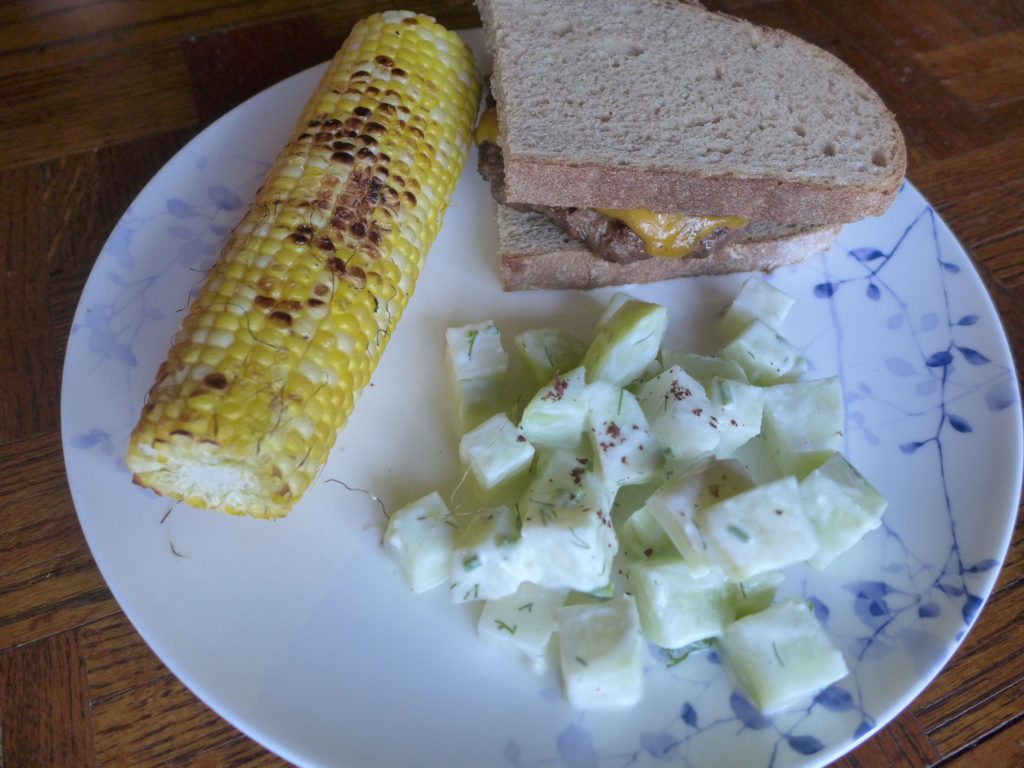
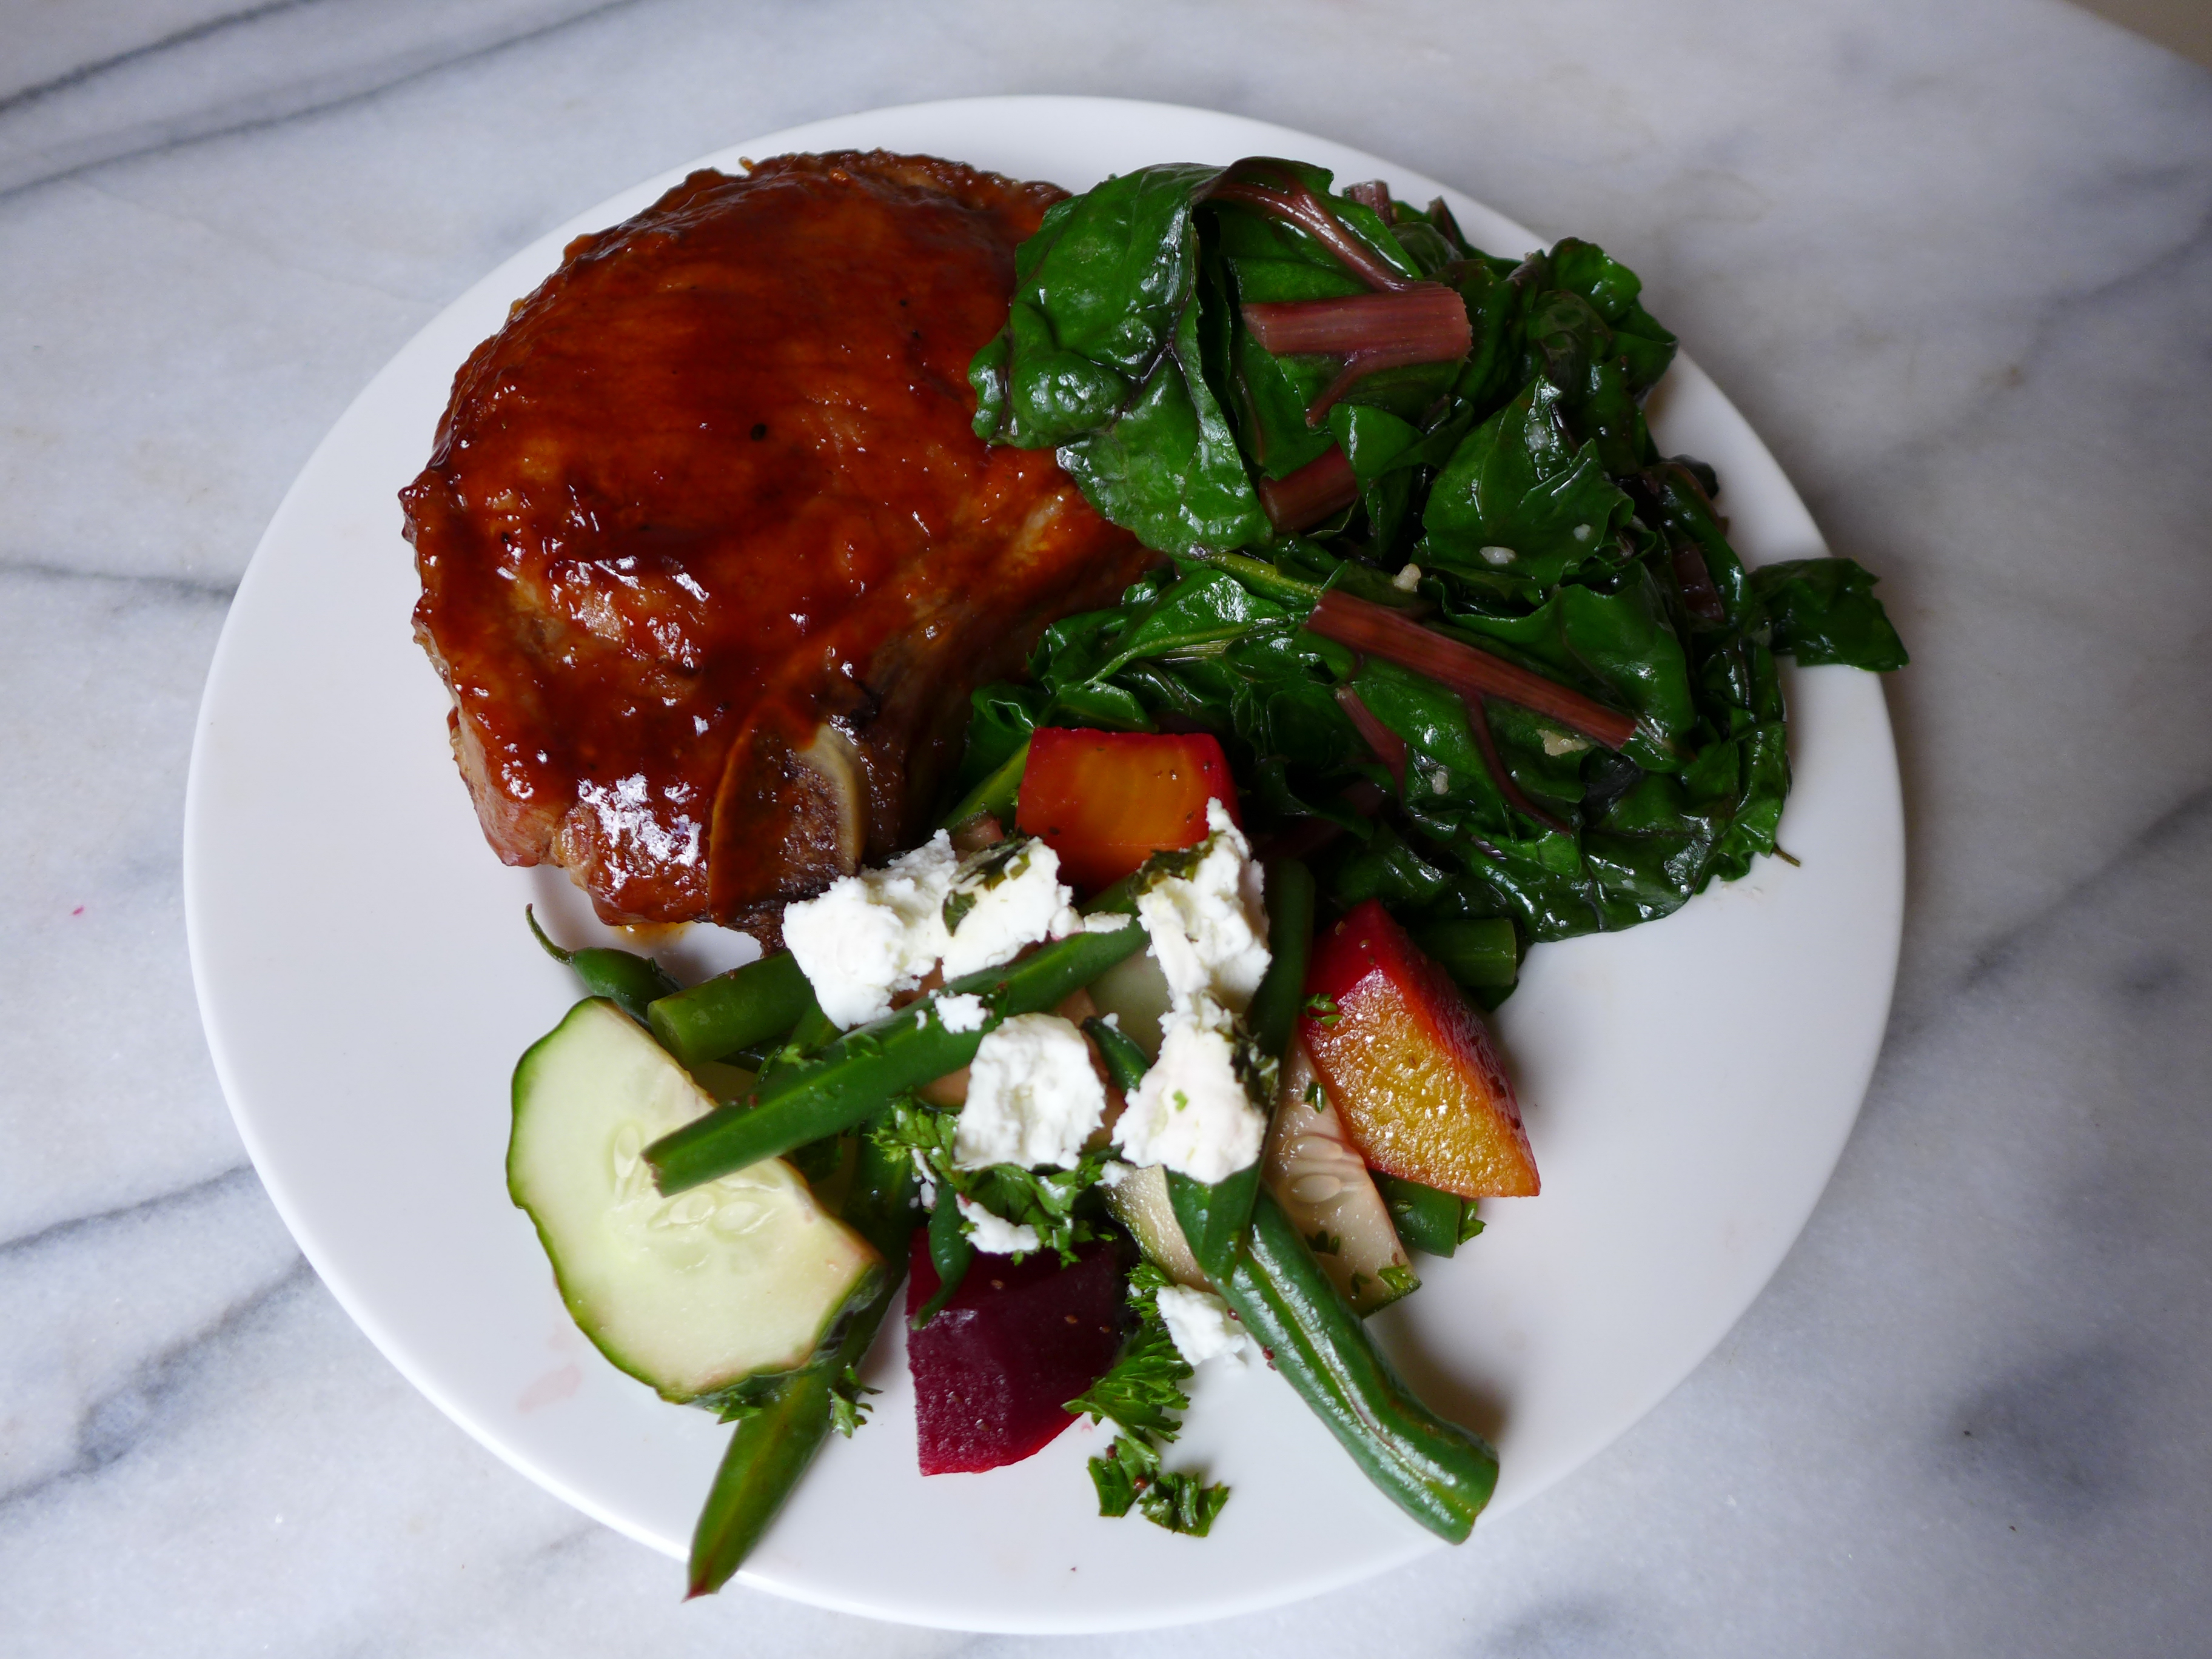
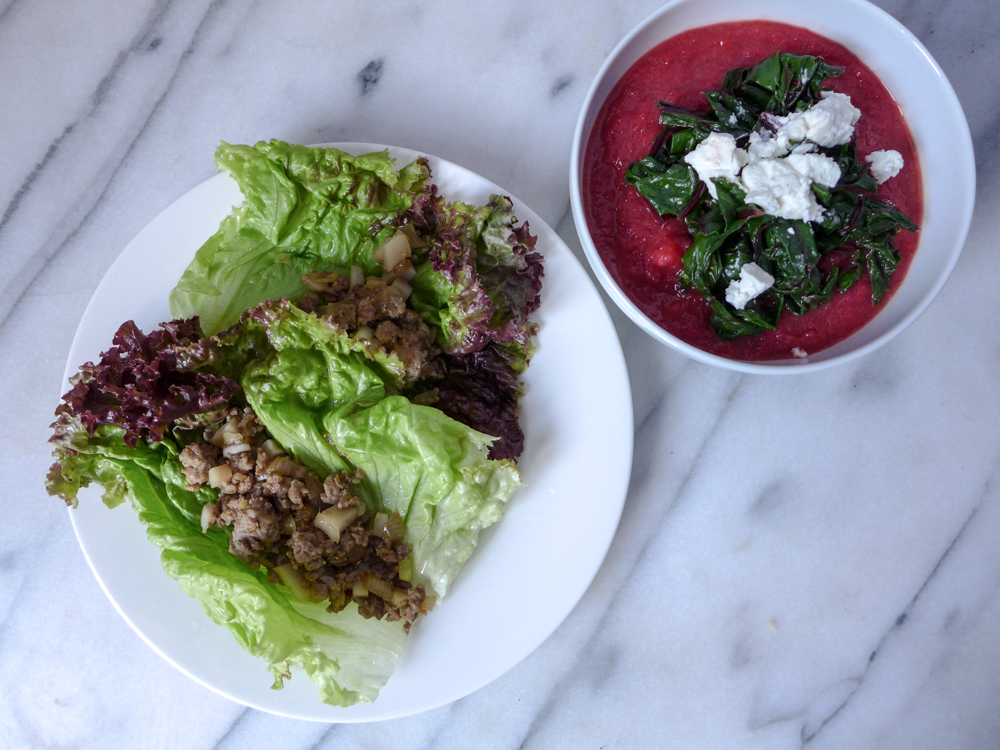
BBQ Pork Chops, Sauteed Kale, Beet & Green Bean Salad : pork chops, kale, onions, green beans, beets, cucumbers, parsley, goat cheese

~
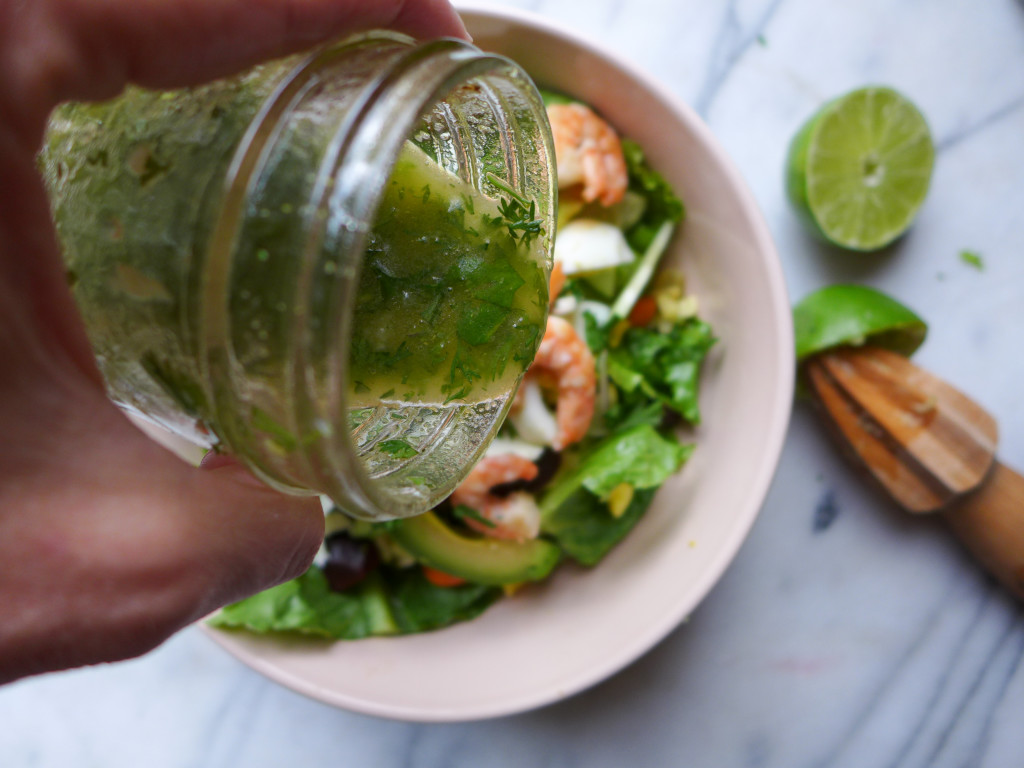
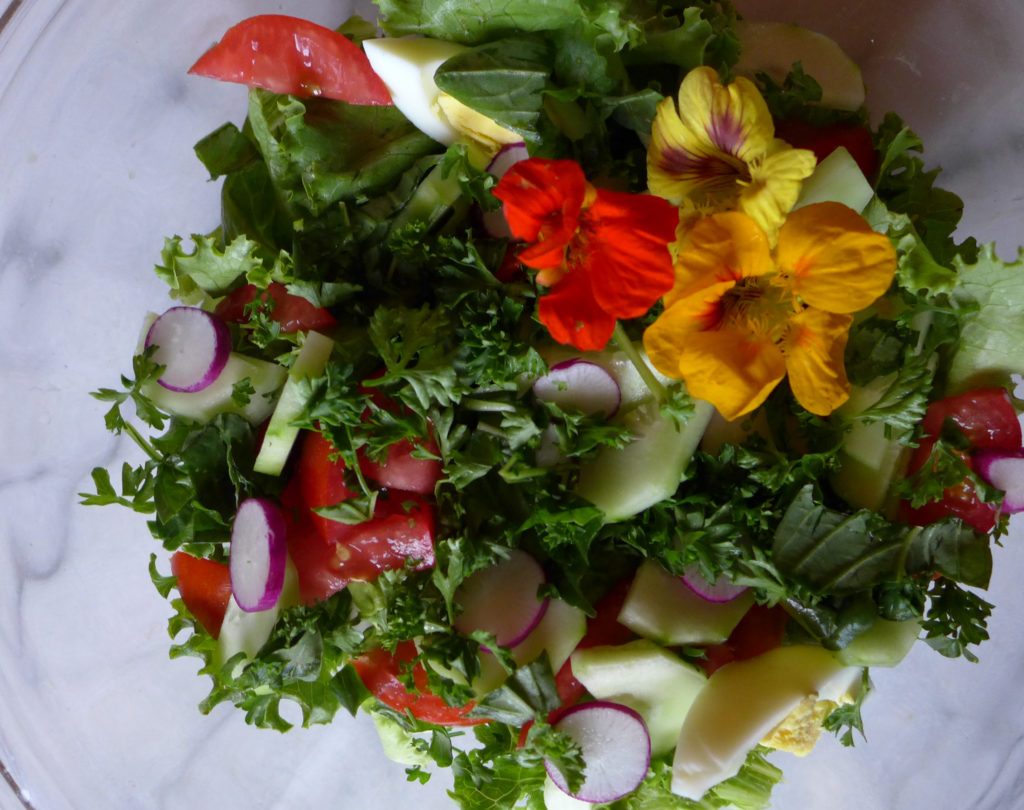
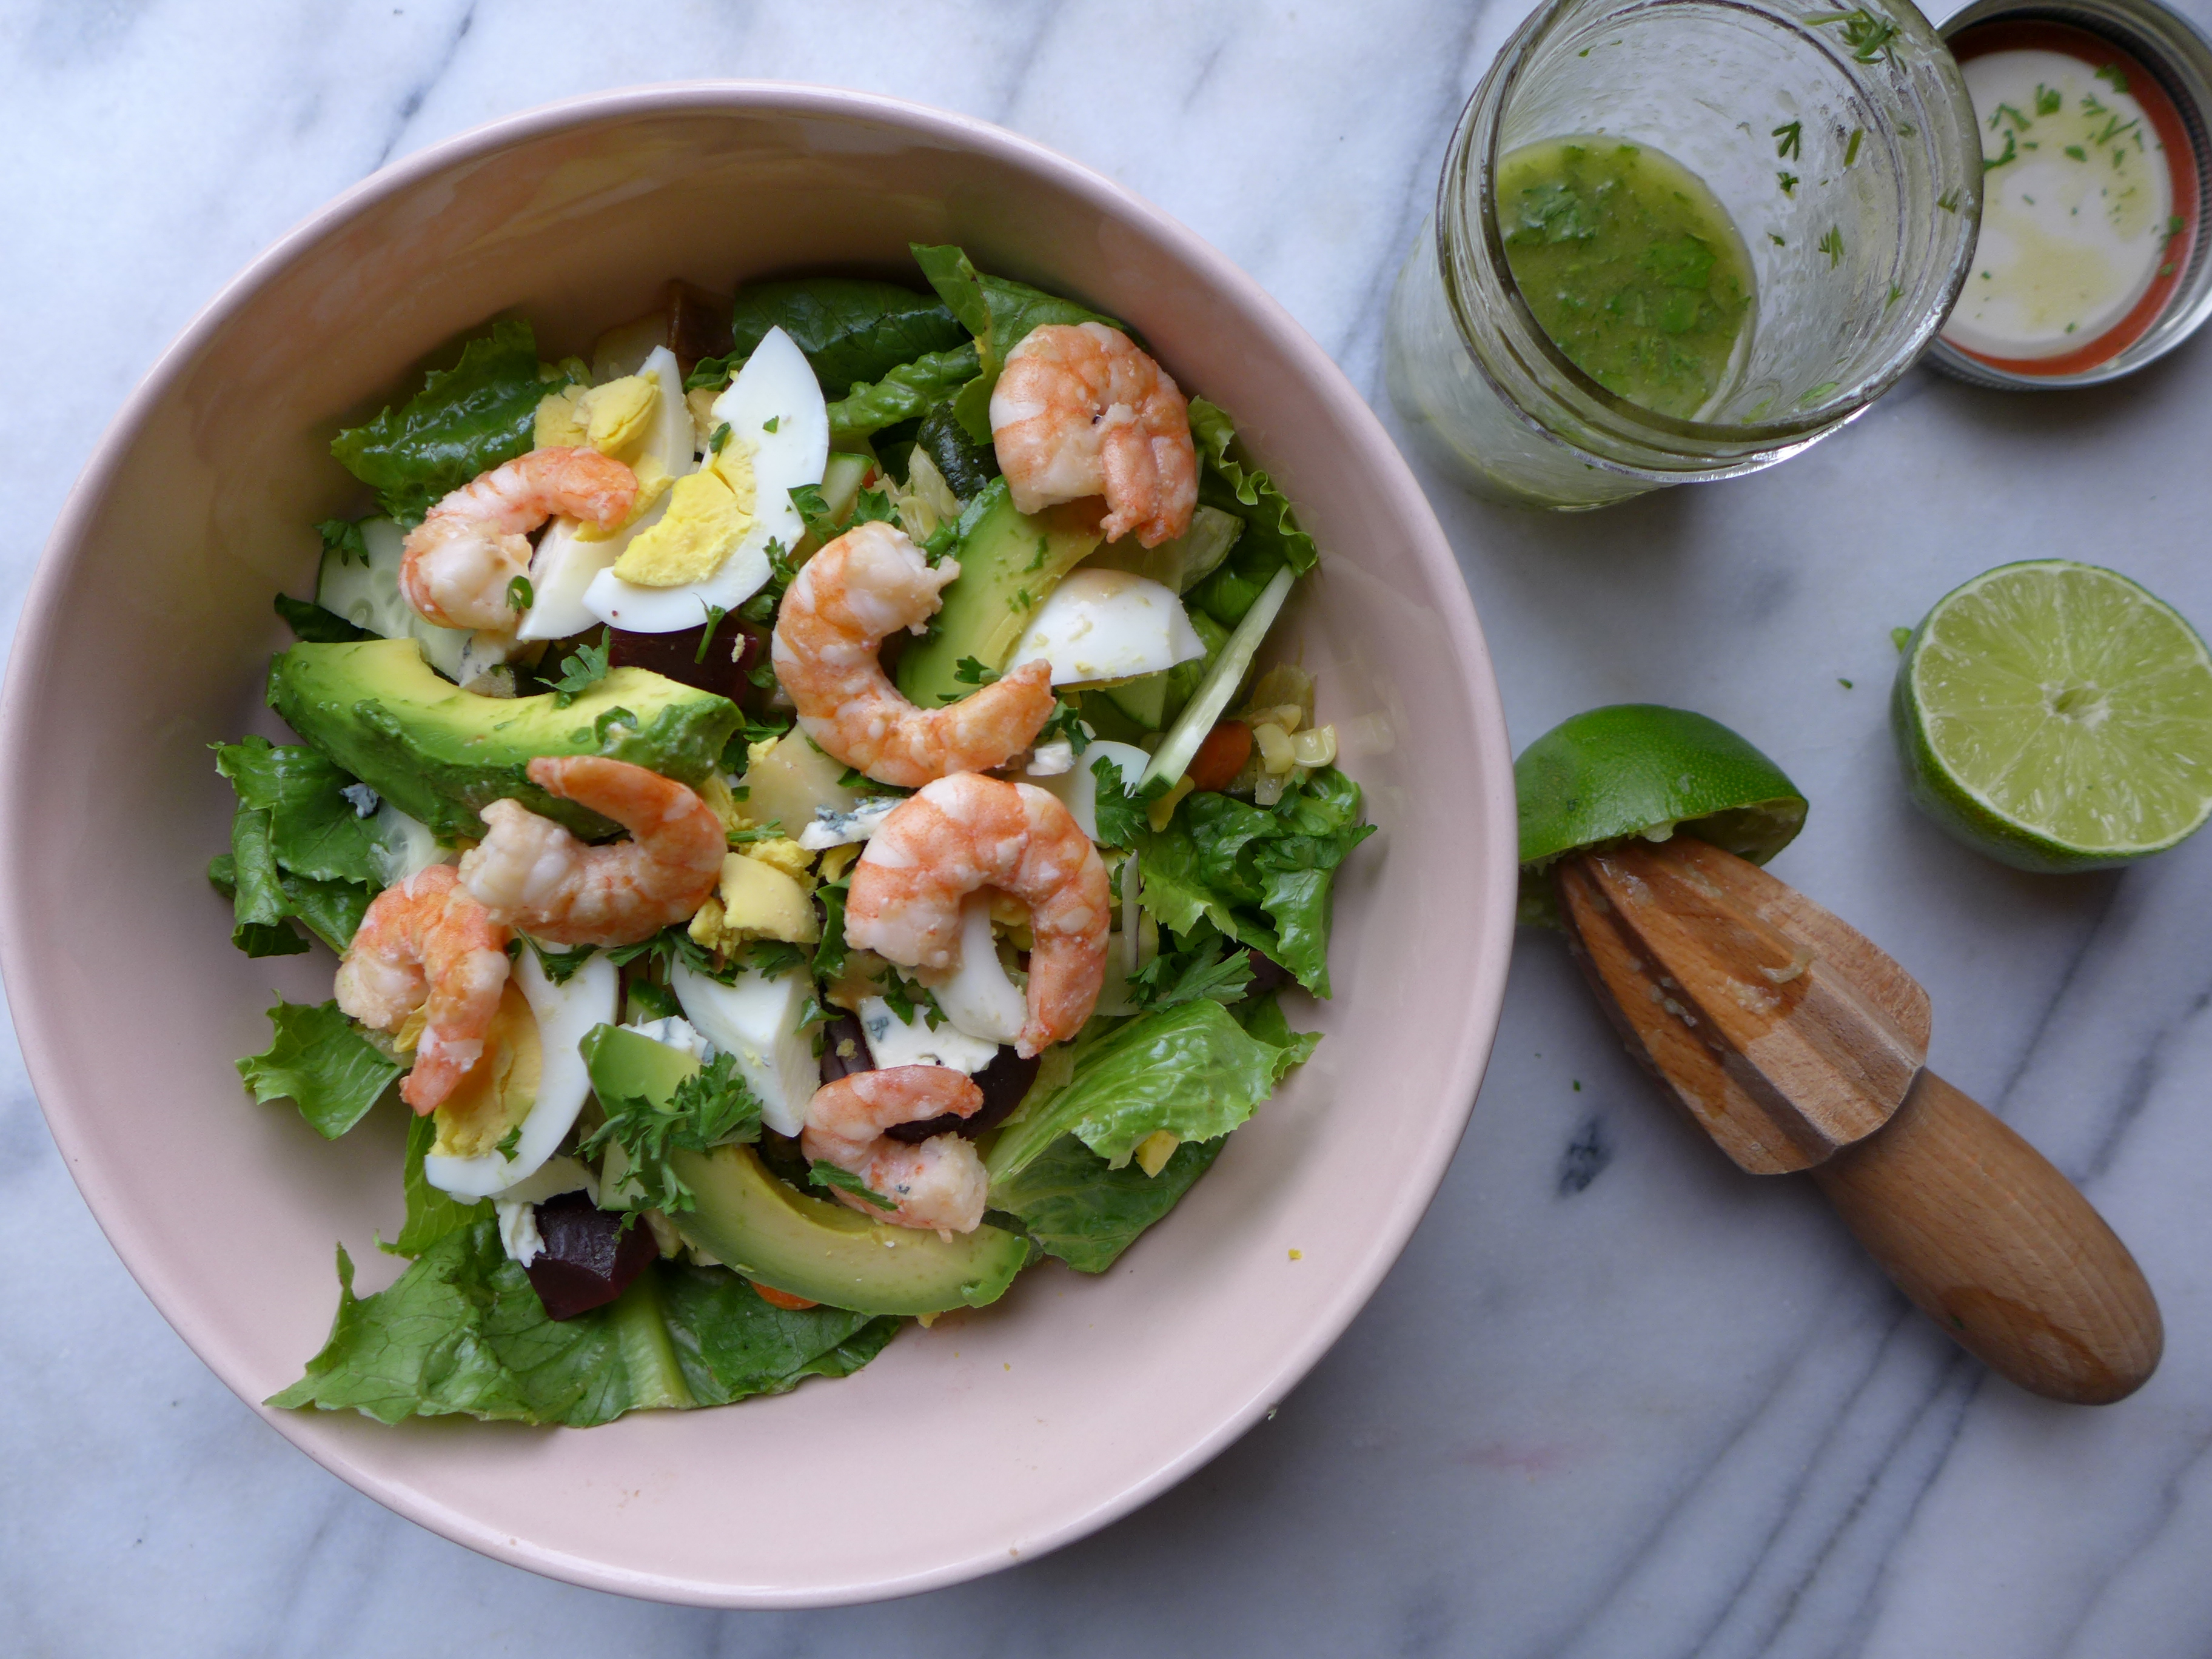
Salad with Sauteed Shrimp & a Cilantro and Lime Dressing : romaine lettuce, cilantro, dill, parsley, basil, (hard-boiled) eggs, cucumbers

~
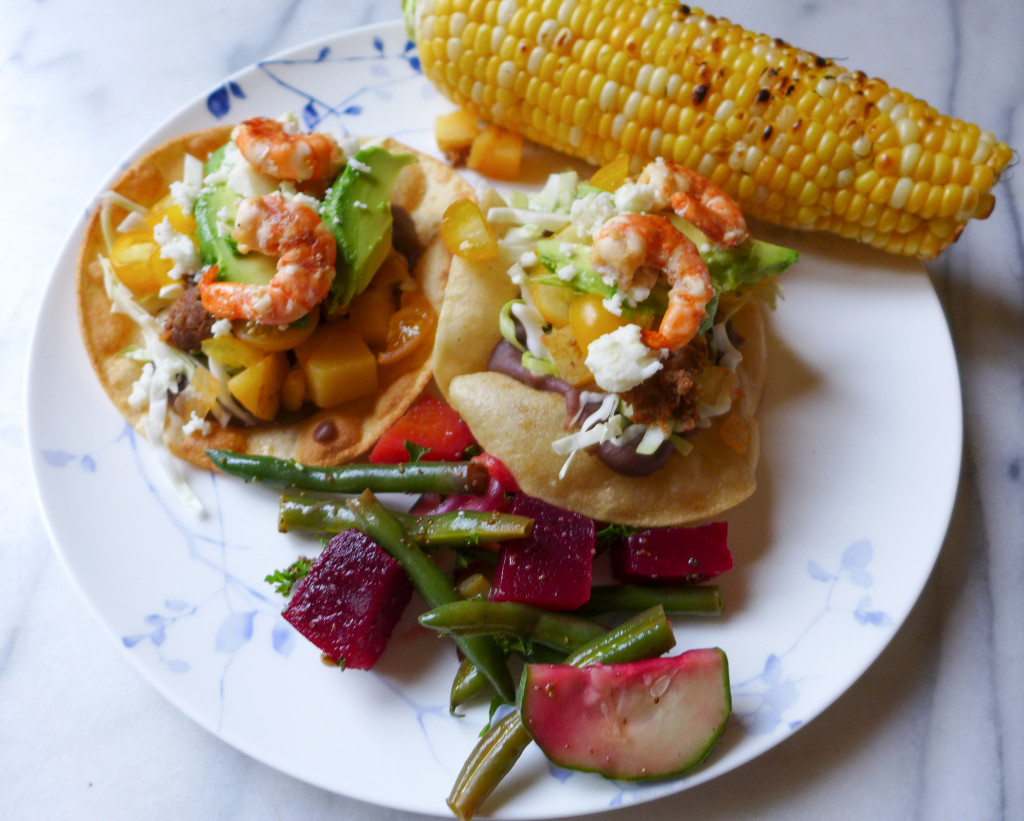
Chorizo & Shrimp Tostadas w/ leftover Beet & Green Bean Salad and Grilled Corn : chorizo, onion, cabbage, beets, green beans, cucumbers, parsley, corn
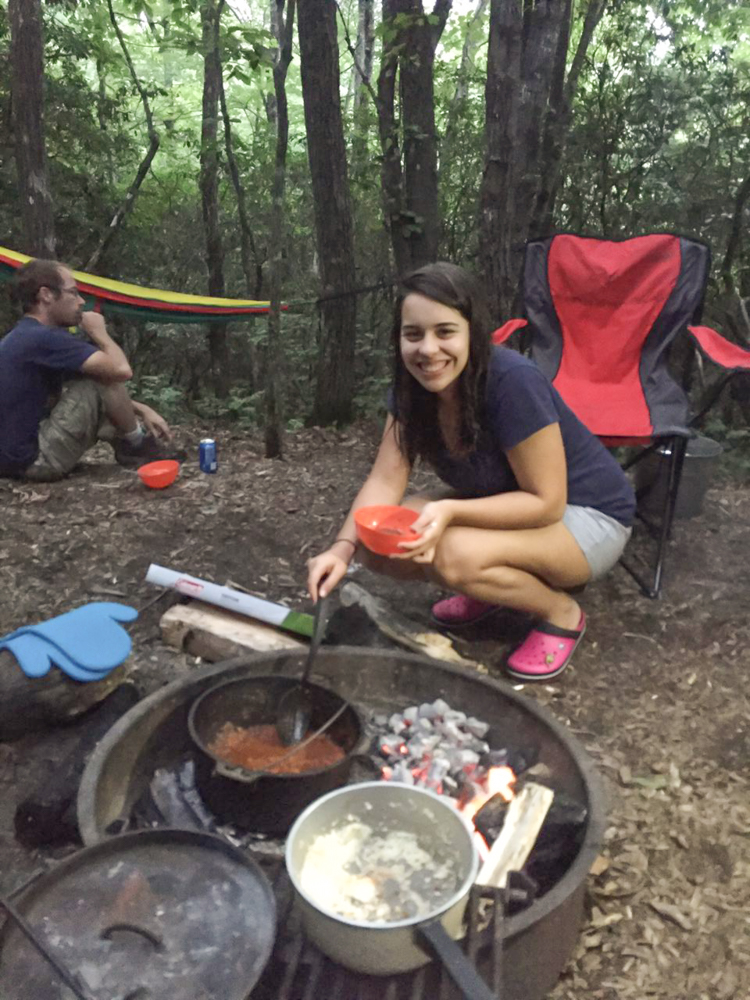
These were so delicious that we made them twice! The first time we used our salt-block on the grill to cook the shrimp (it’s so worth the extra time required to slowly heat the salt!) while the we grilled the corn. The second time we were pressed for time and just sauteed the shrimp in a cast iron pan on the stove.

~
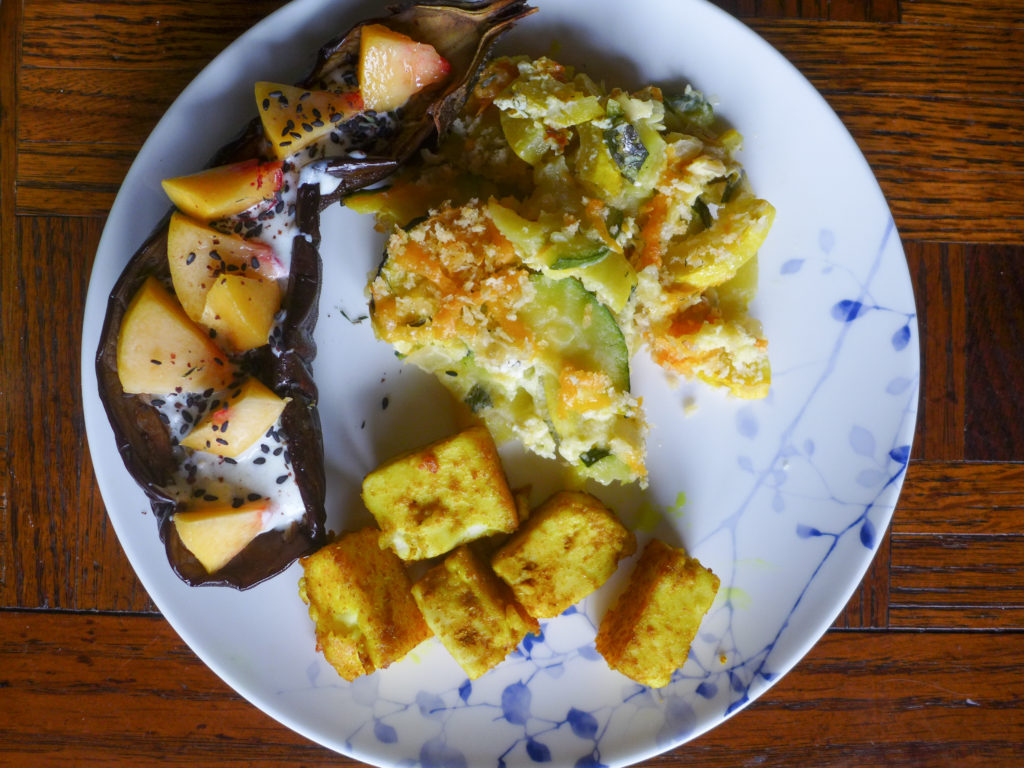
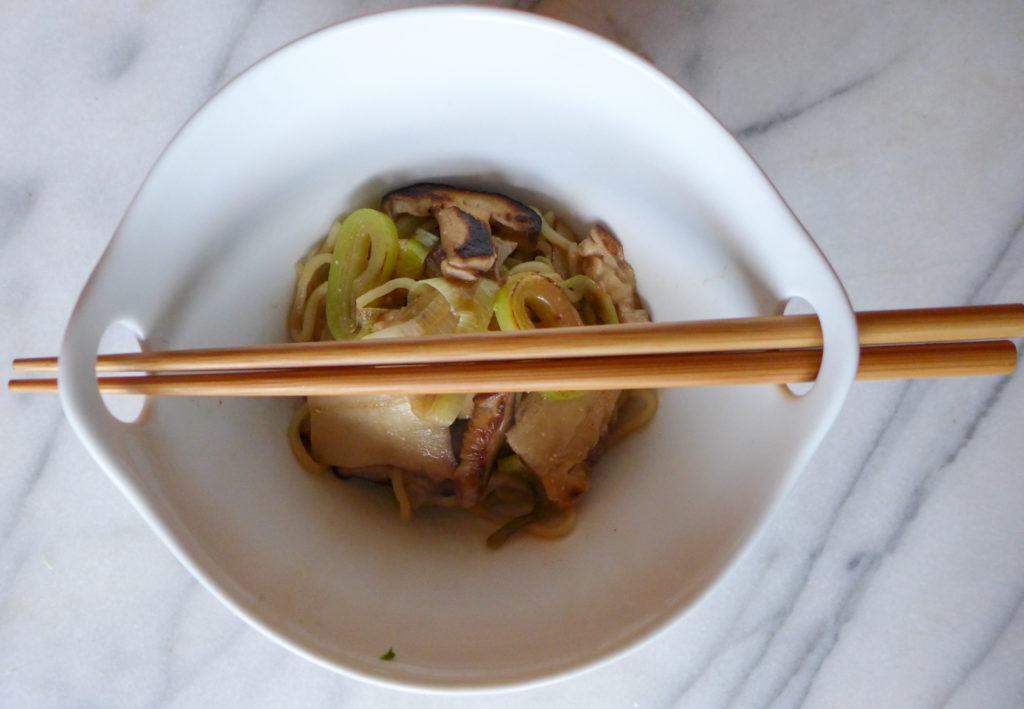
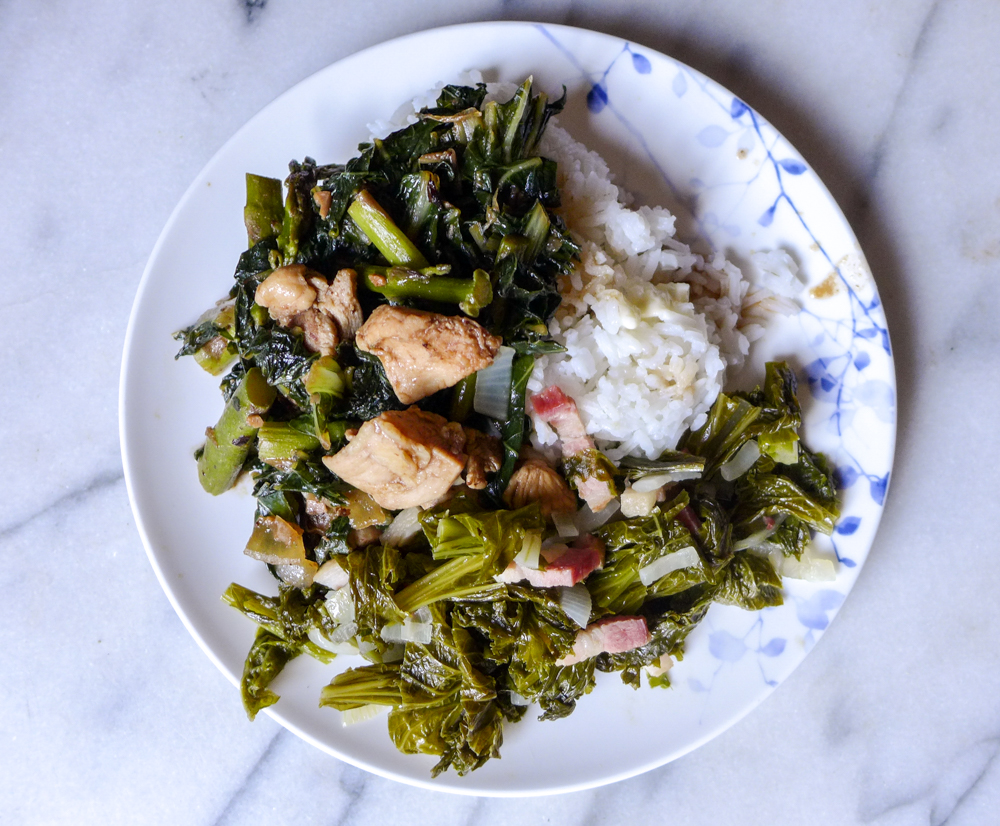
Tofu Vegetable Curry (two months in a row – it’s a favorite!) : tofu, yellow squash, zucchini, green onions, chard, lemongrass

~
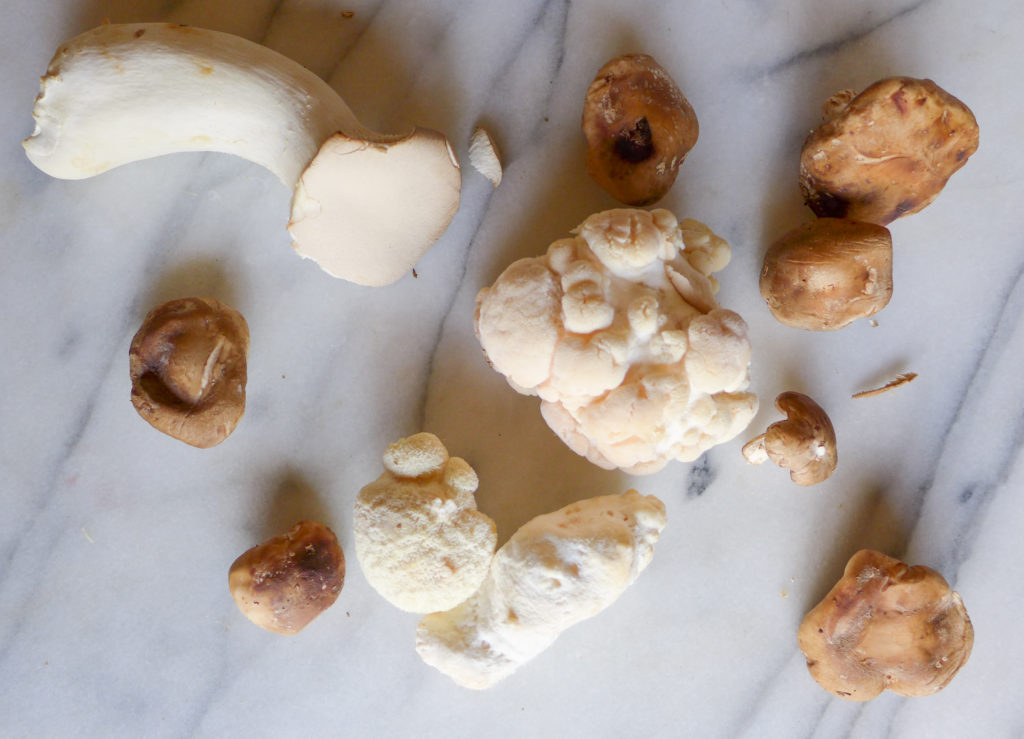
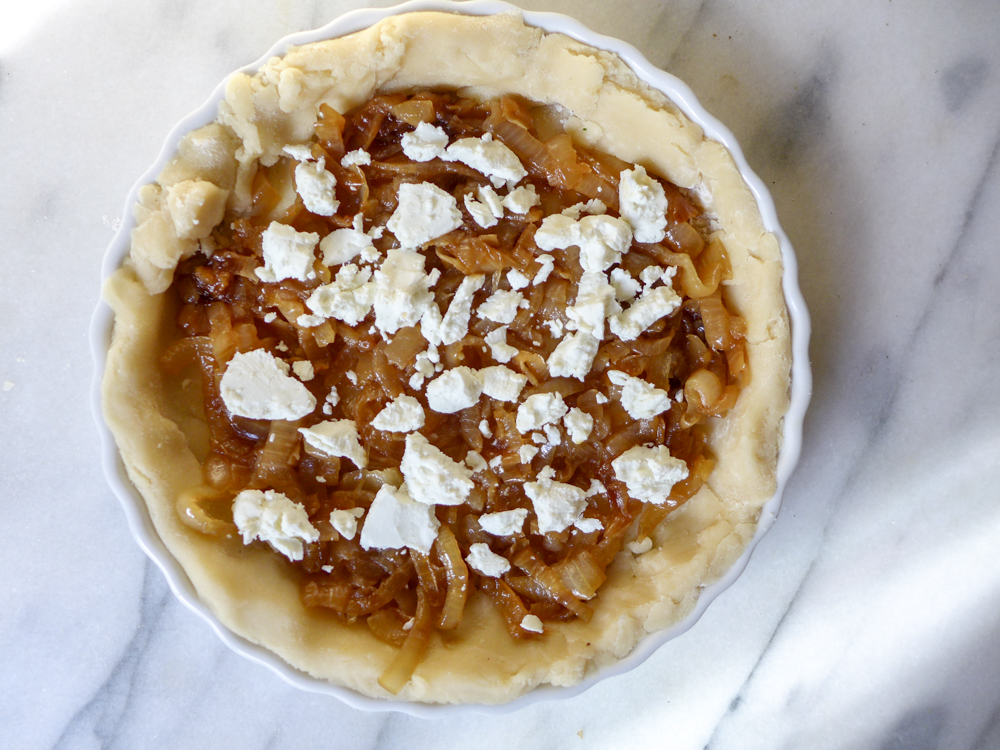
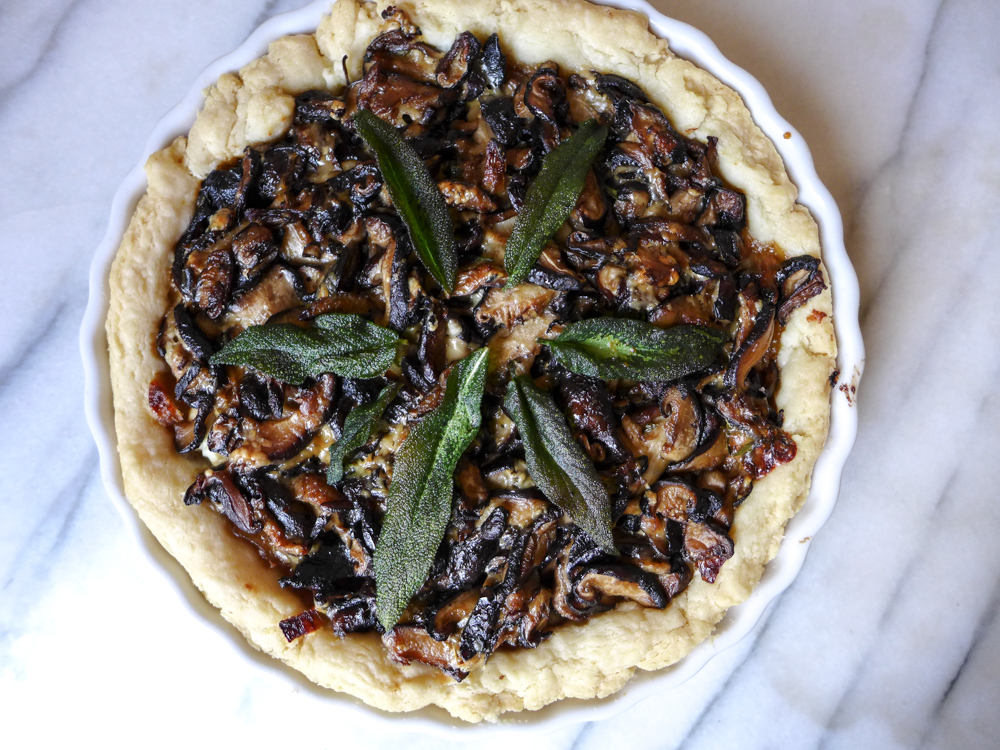
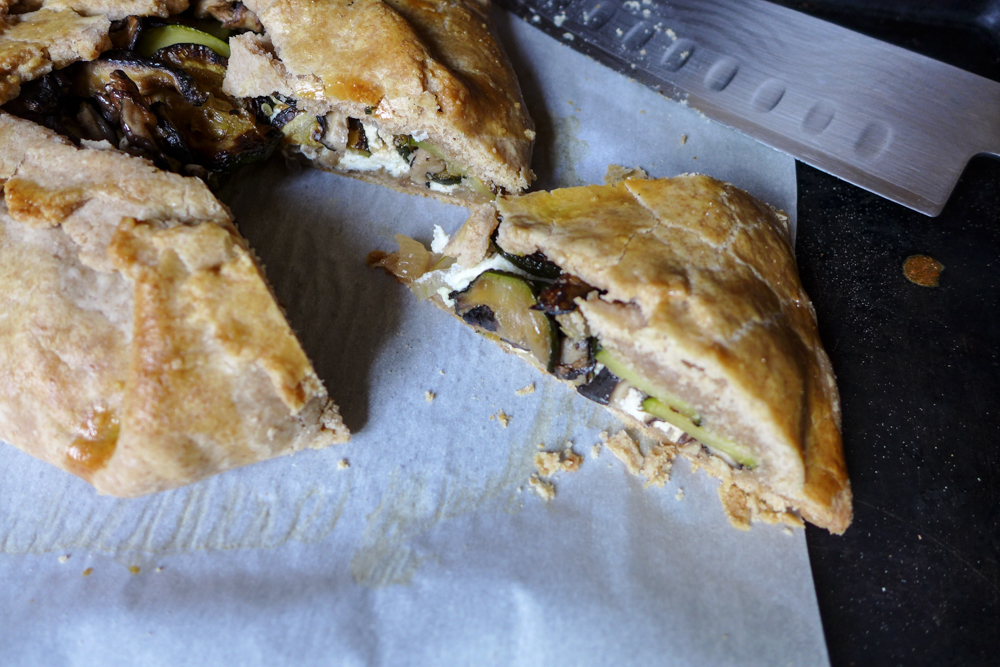
Pasta with a vegetable marinara sauce : canned tomatoes with garlic and basil, zucchini, mushrooms, onion

~
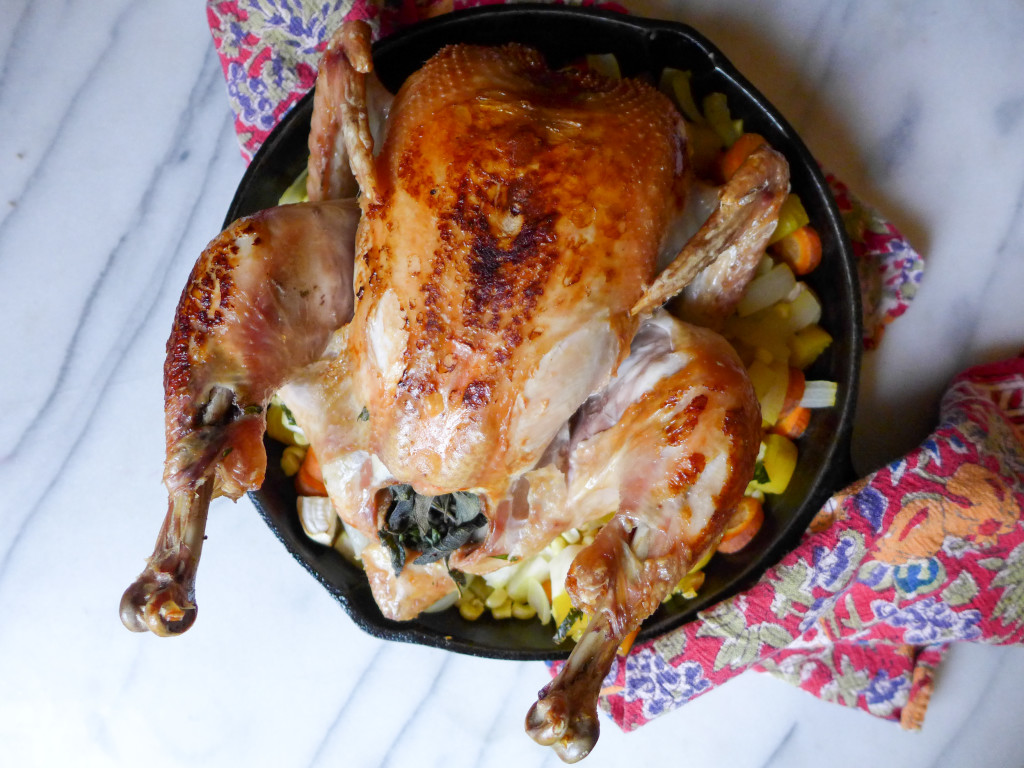
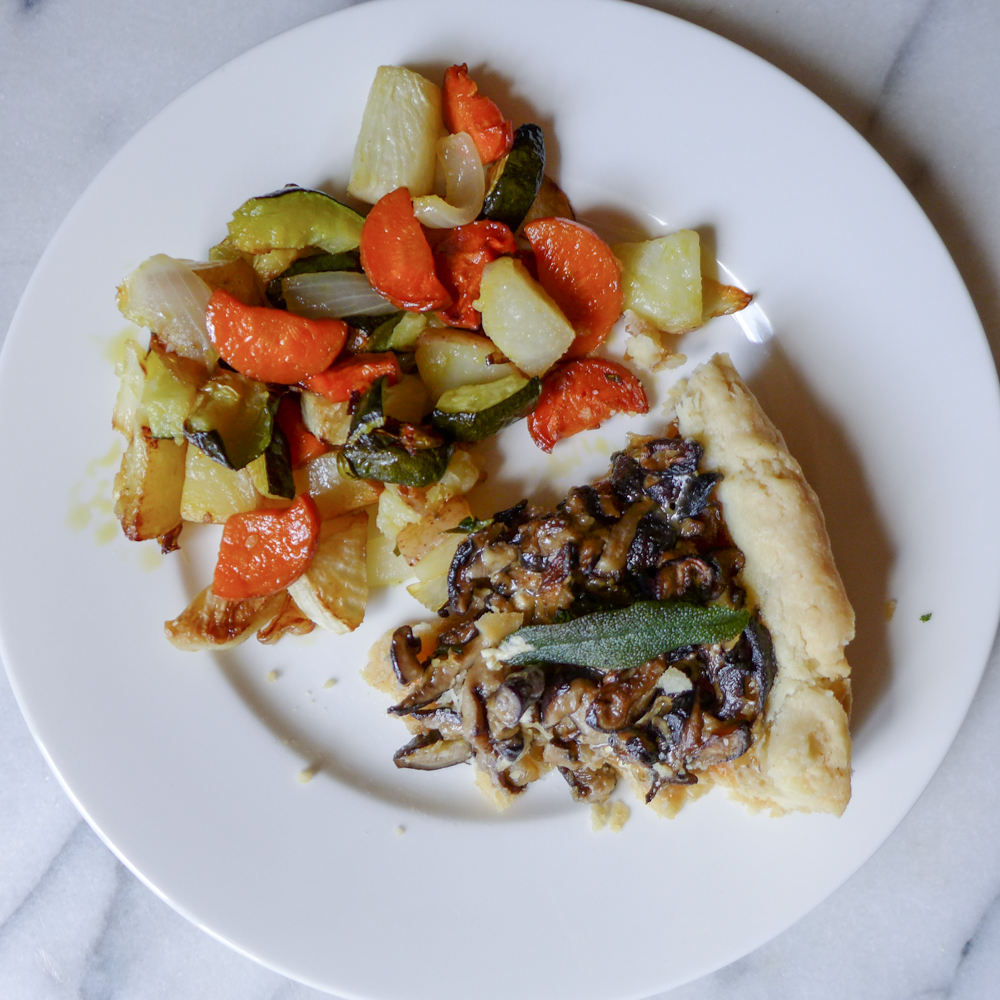
Roasted Chicken with Vegetables : chicken, sage, parsley, carrots, onion, turnip, golden beets
I’m a big fan of roasting chickens using this method of first searing the skin in a cast iron pan on the stovetop before placing it in the oven. After the breast side is seared, I remove the chicken from the pan, place all of the chopped vegetables in the pan and then put the chicken back on top. This way everything roasts in one pan and the veggies get to soak up the amazing juices from the chicken.
~
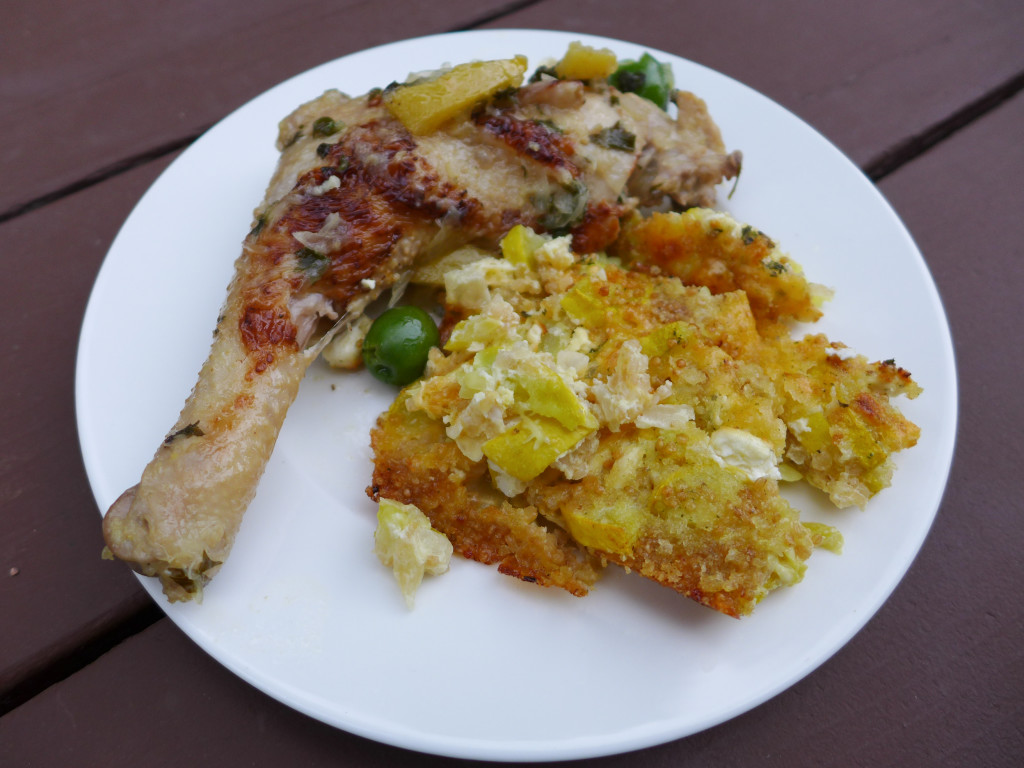
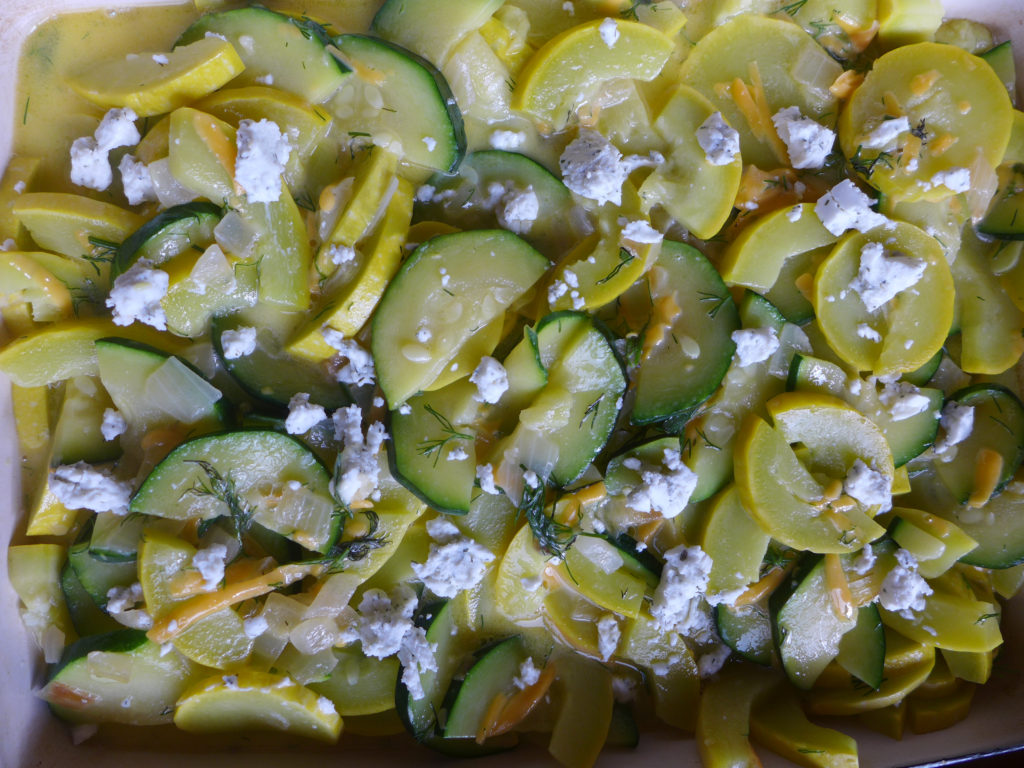
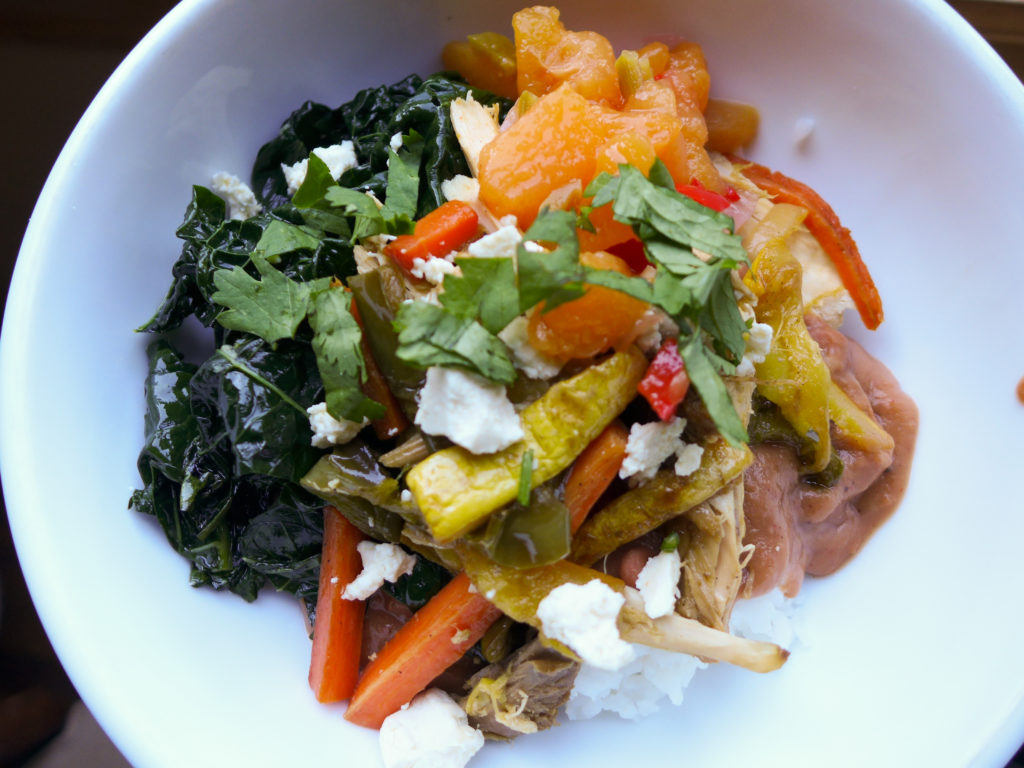
Chicken with Preserved Lemons & Yellow Squash Casserole : chicken, onions, yellow squash, eggs, goat cheese
This meal, and really, the farm share, taught me something I never saw coming : how to cut apart a whole chicken! We receive a whole chickens in the share, but I only wanted to use the legs to cook this dish. We already had two whole legs in the freezer and I wanted four. Cutting off the legs was easier than I expected! I’m happy to have the new skill, and am happy that I held it together while both popping chicken joints out of their sockets and cutting them (I can barely type that without squirming).
And the squash dish ended up being a bit of a (very delicious) experiment. I mainly followed the recipe above, but didn’t have any crackers in the house. So instead, I used toasted quinoa that I had on hand and some panko bread crumbs. I also added dollops of goat cheese in addition to the cheddar that the recipe called for.
So there you have it, chicken and yellow squash make for a delicious, albeit very beige, meal.
~
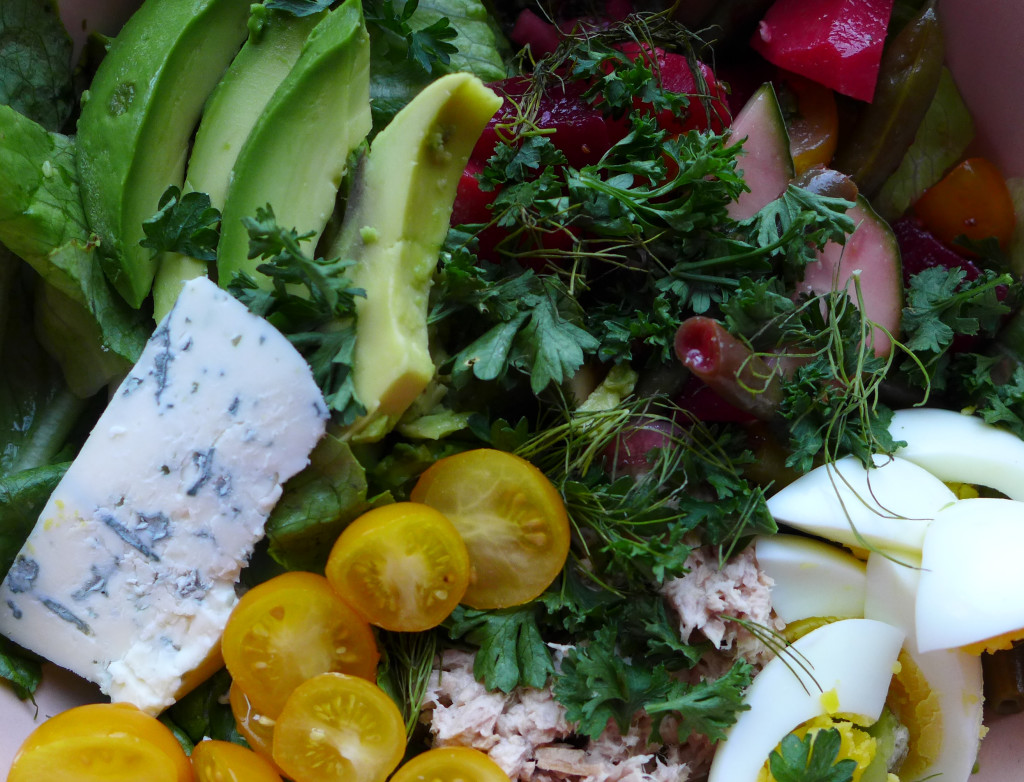
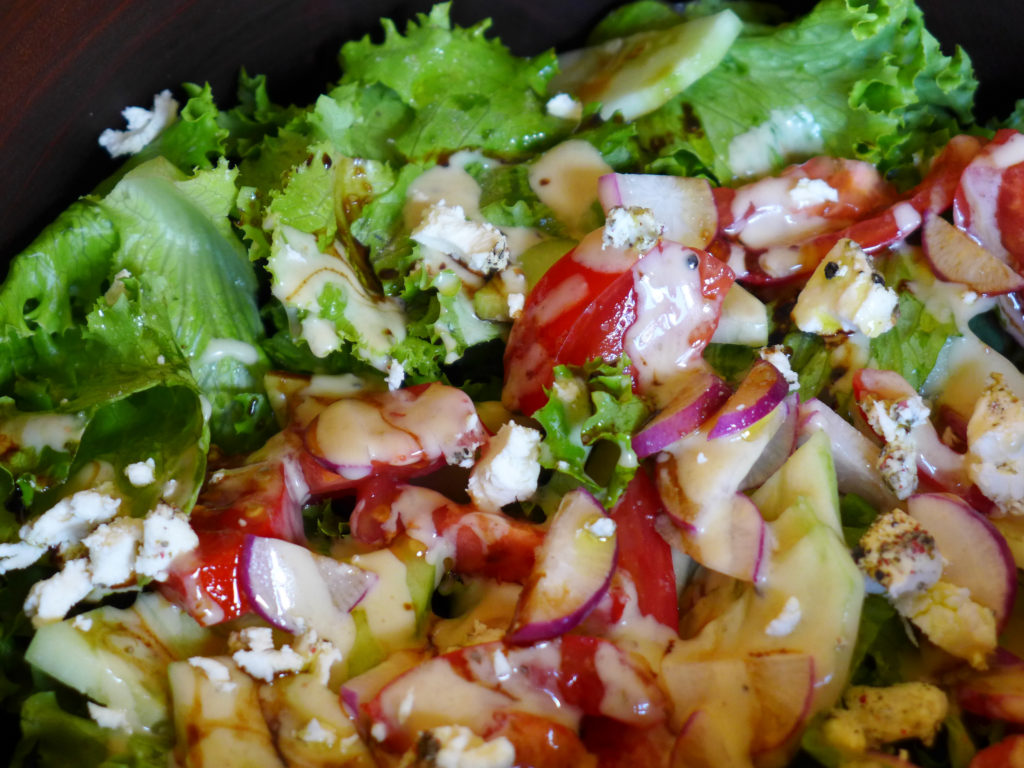
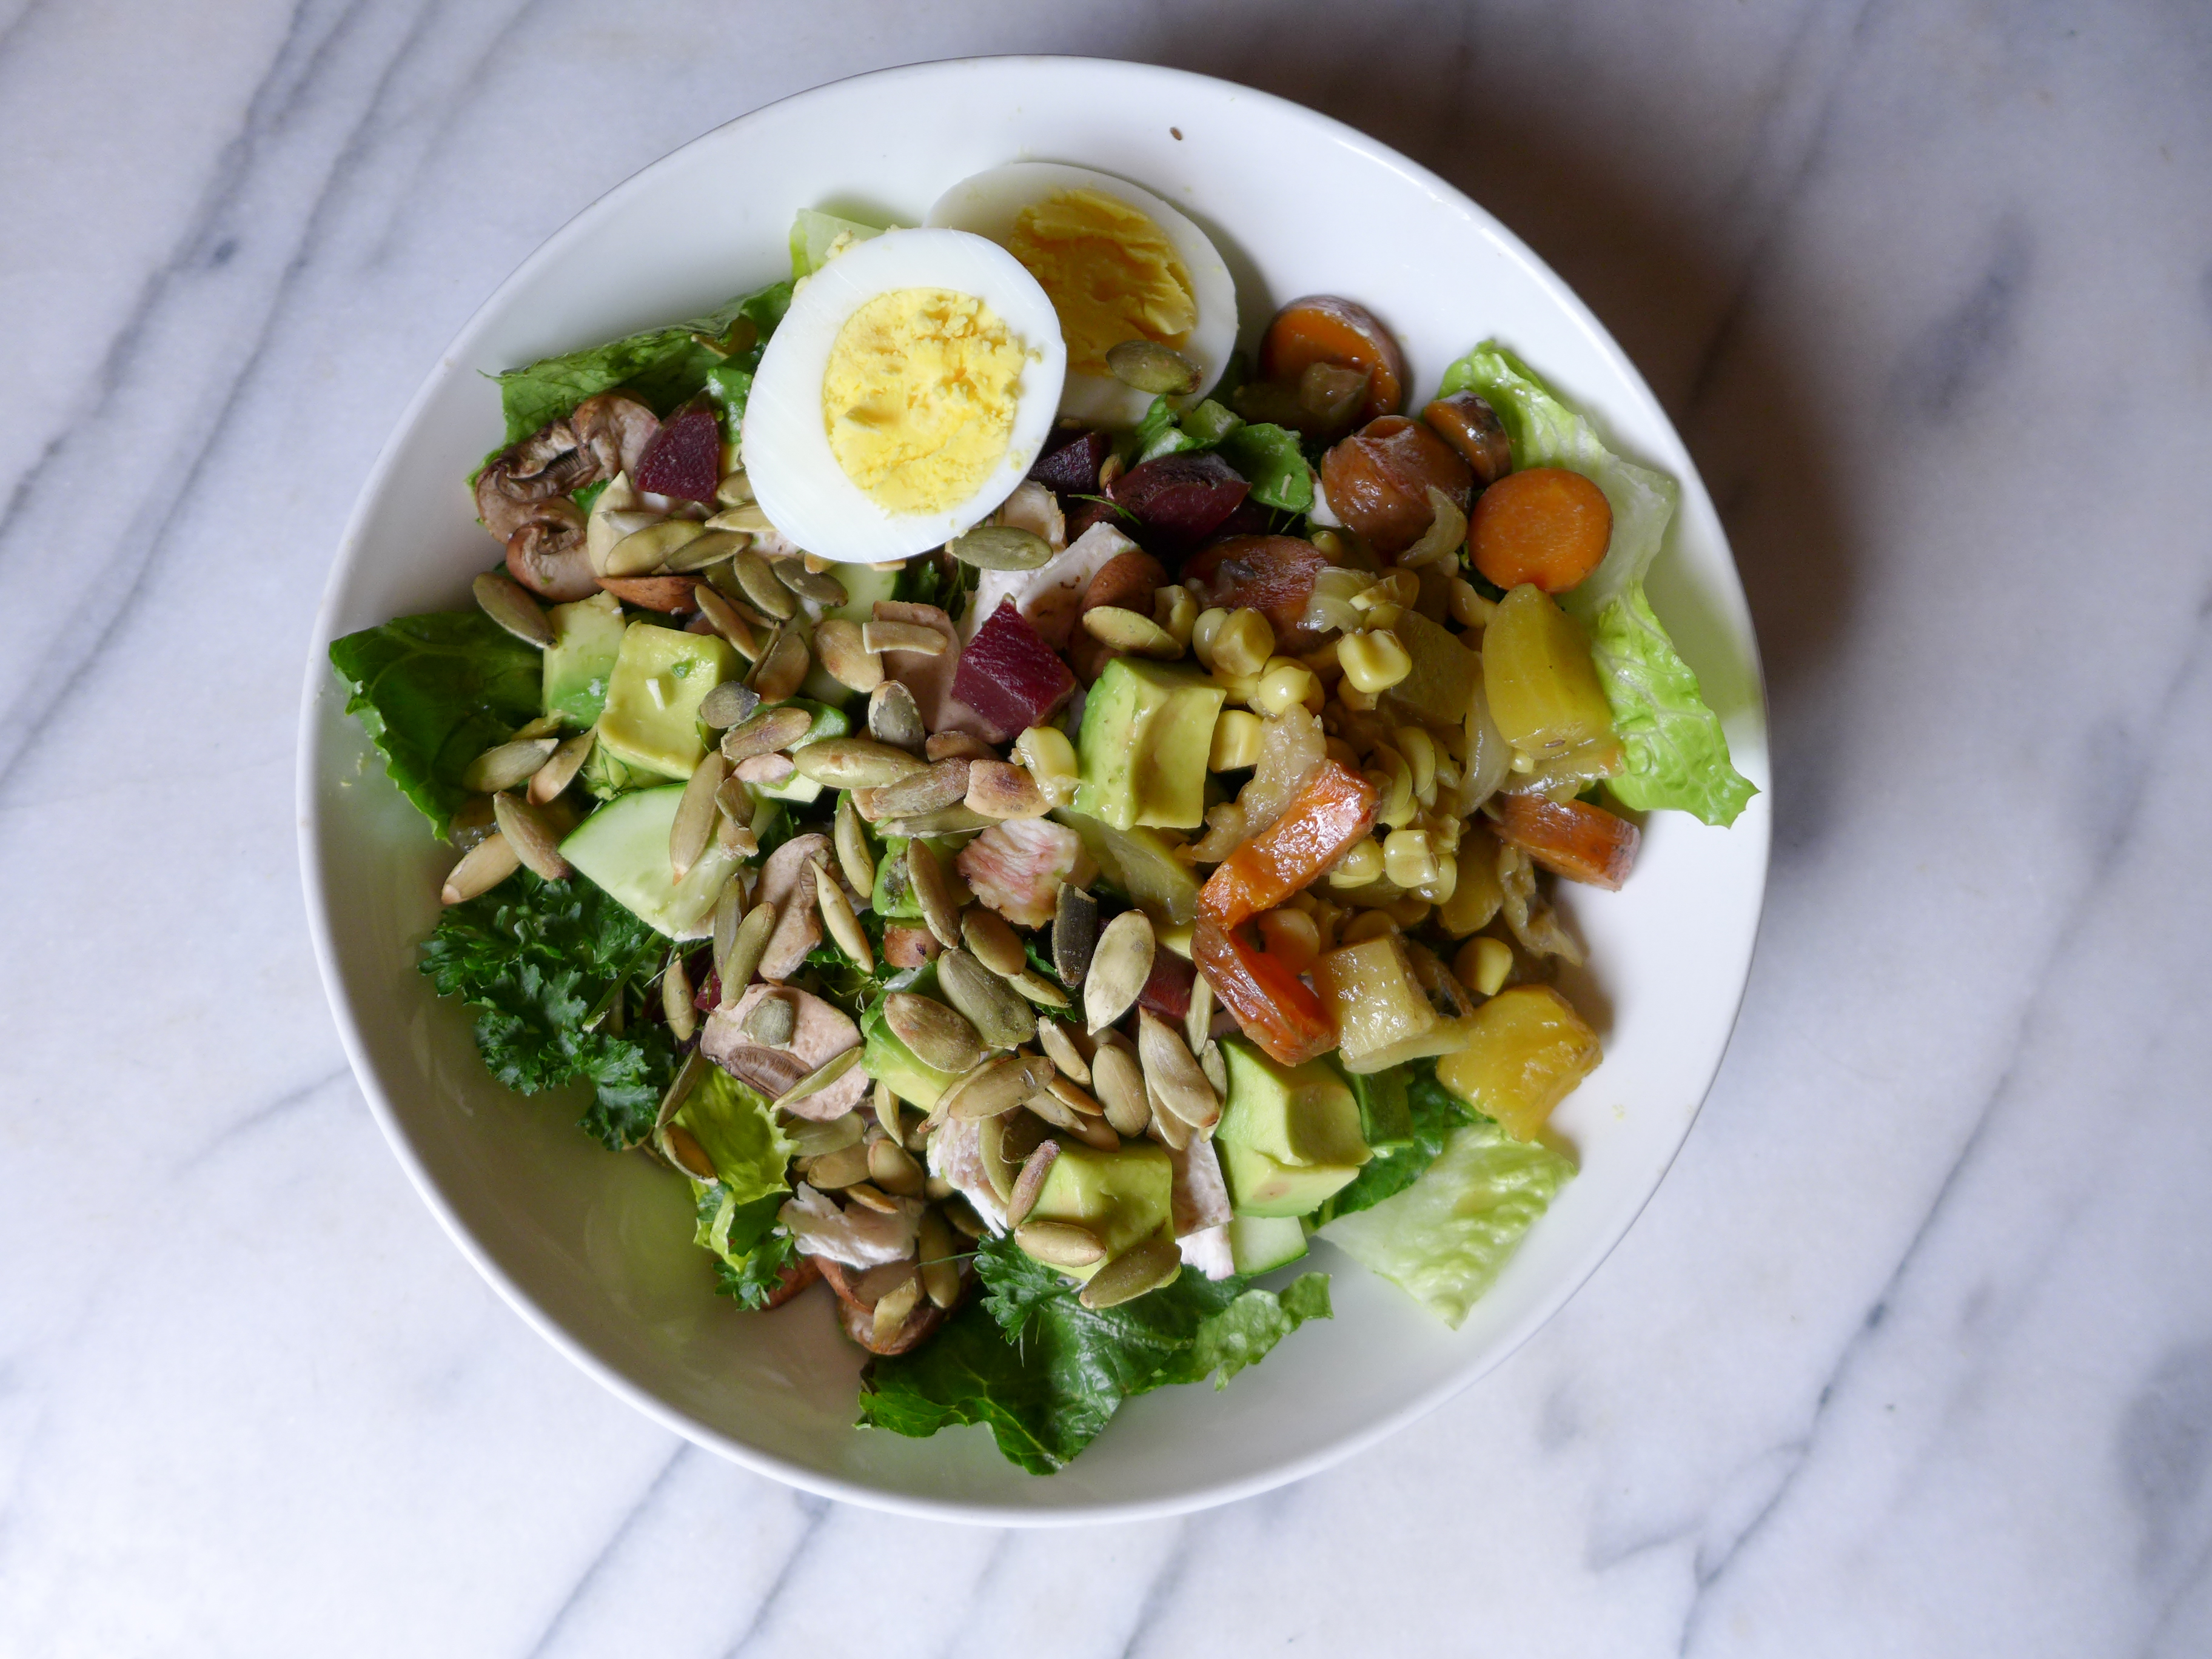
Salads! : hard boiled eggs, leftover roasted vegetables, leftover beet and green bean salad, cucumbers, herbs, lettuce
I know everyone knows how to make a salad, but I thought I would add these in case you’re trying to break out of a rut. I throw anything under the sun in my salads.

~
Omelette with mushrooms and onions : eggs, mushrooms, onions
Thinking ahead, we saved some of the sautteed mushrooms and onions that were going into the aforementioned pasta sauce and used them the next morning in these omelettes.

~
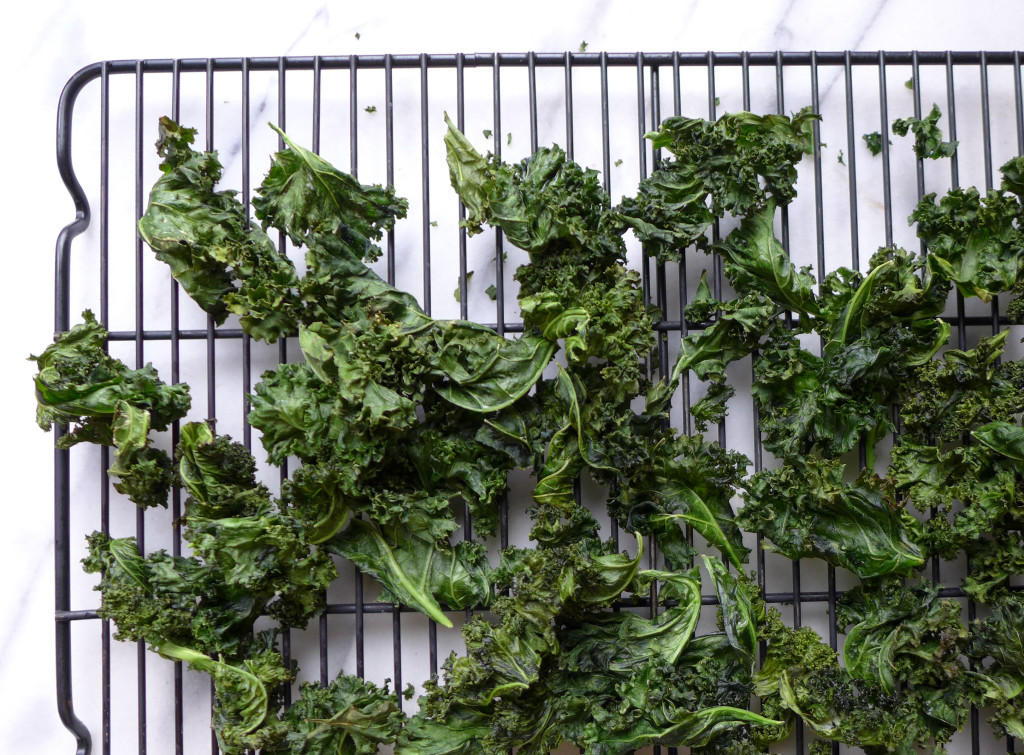
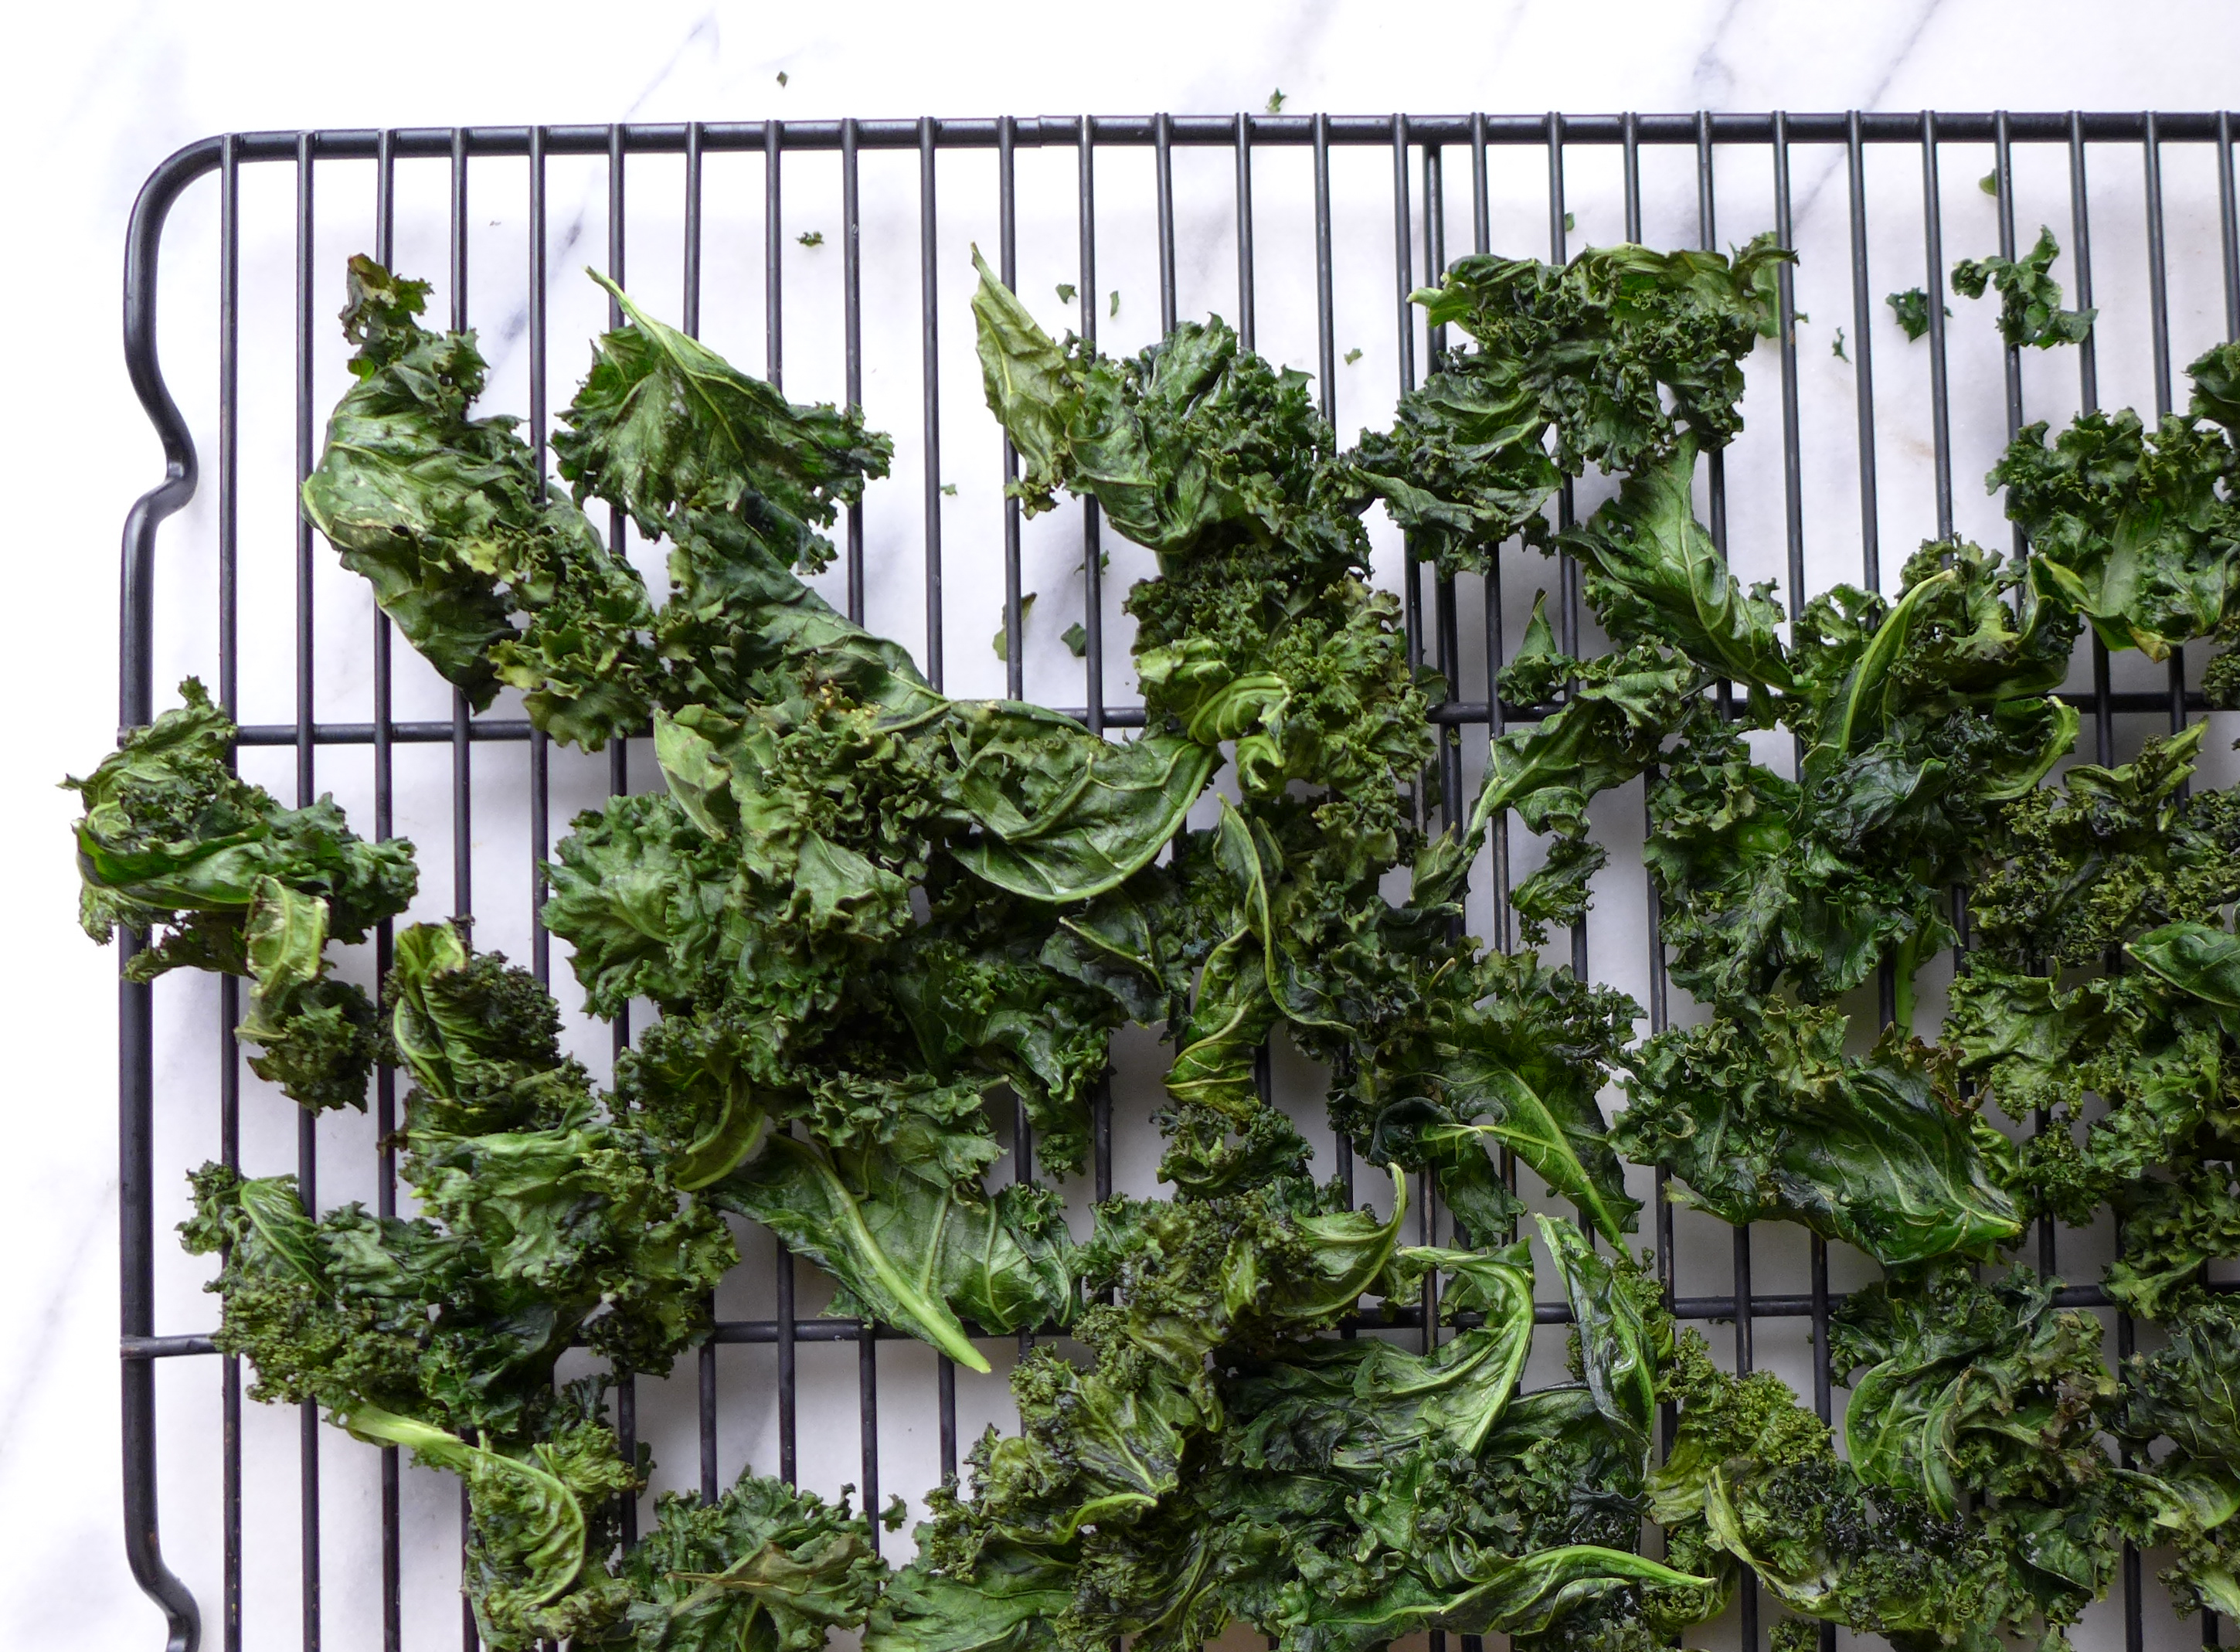
Kale Chips
~
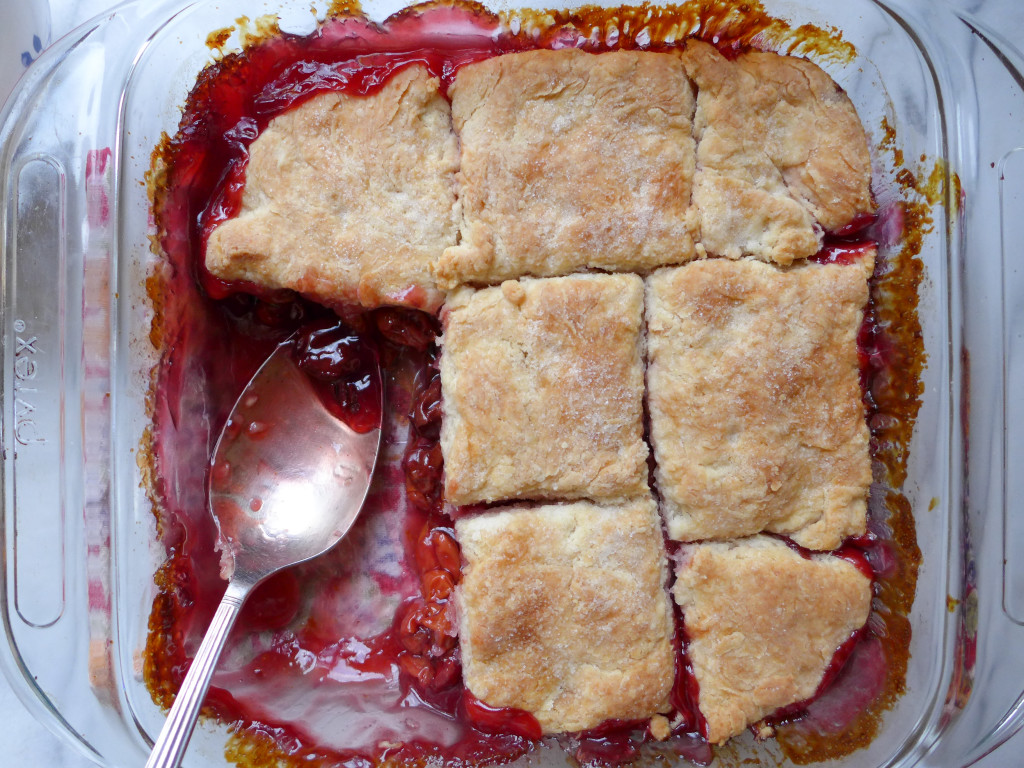
Tart Cherry Cobbler (from Rustic Fruit Desserts) : cherries
~
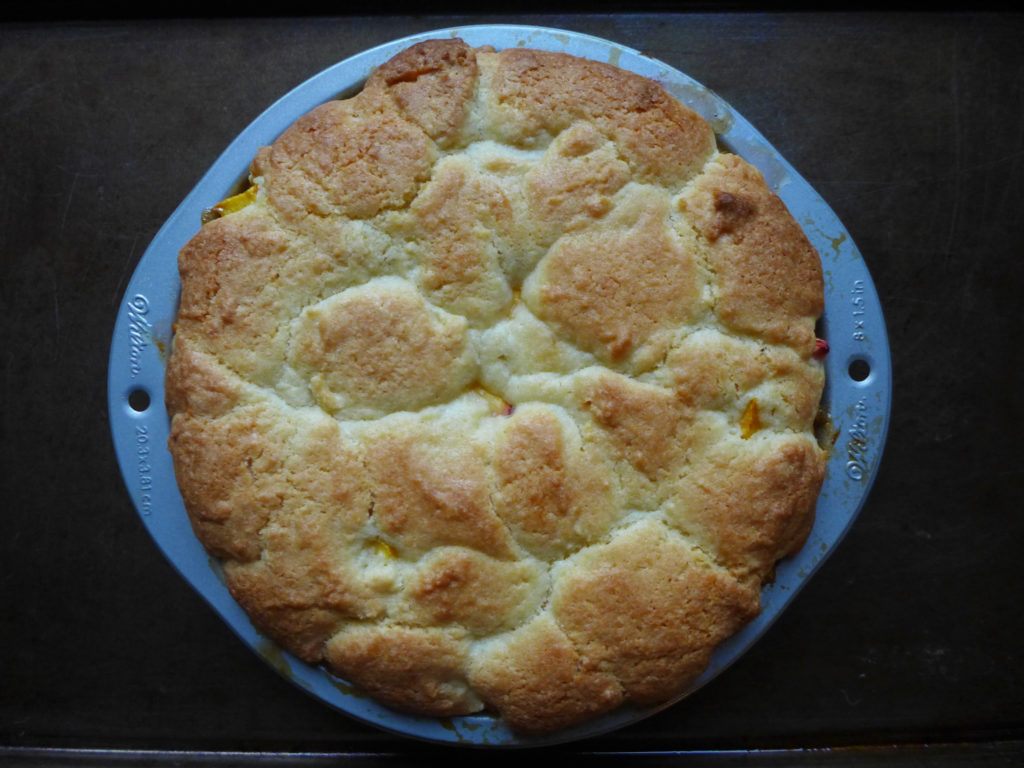
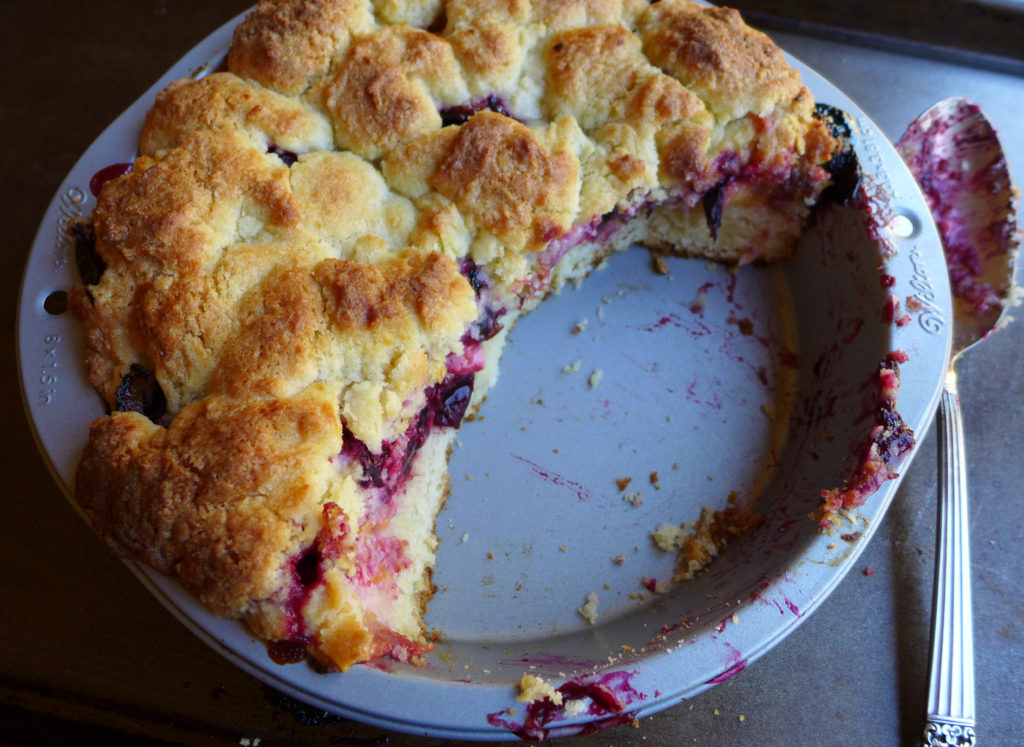
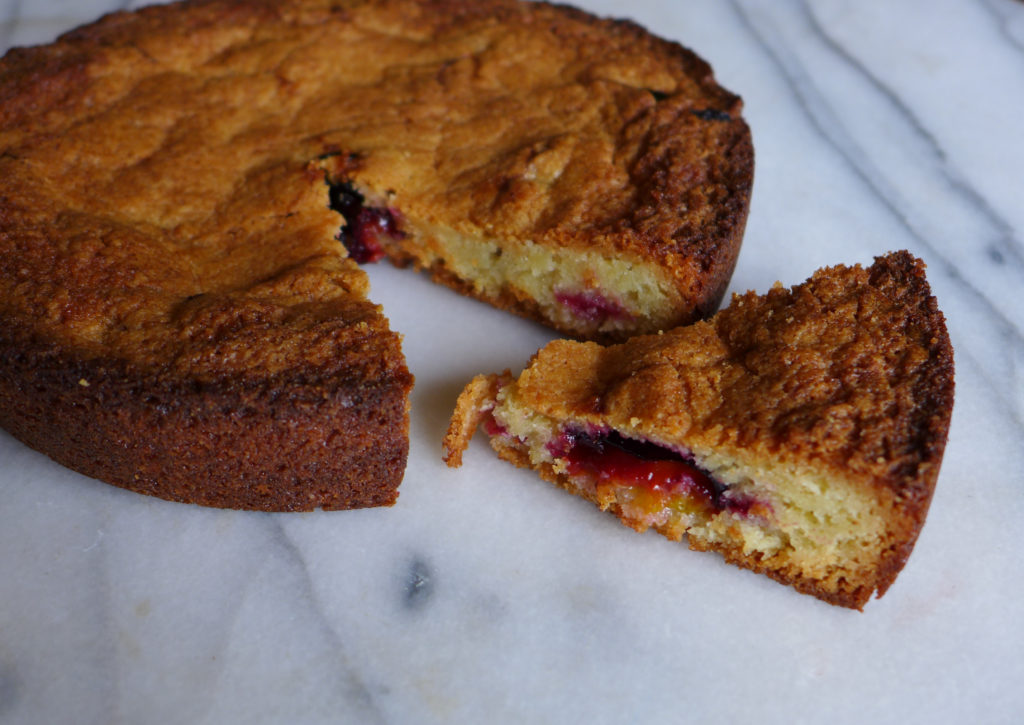
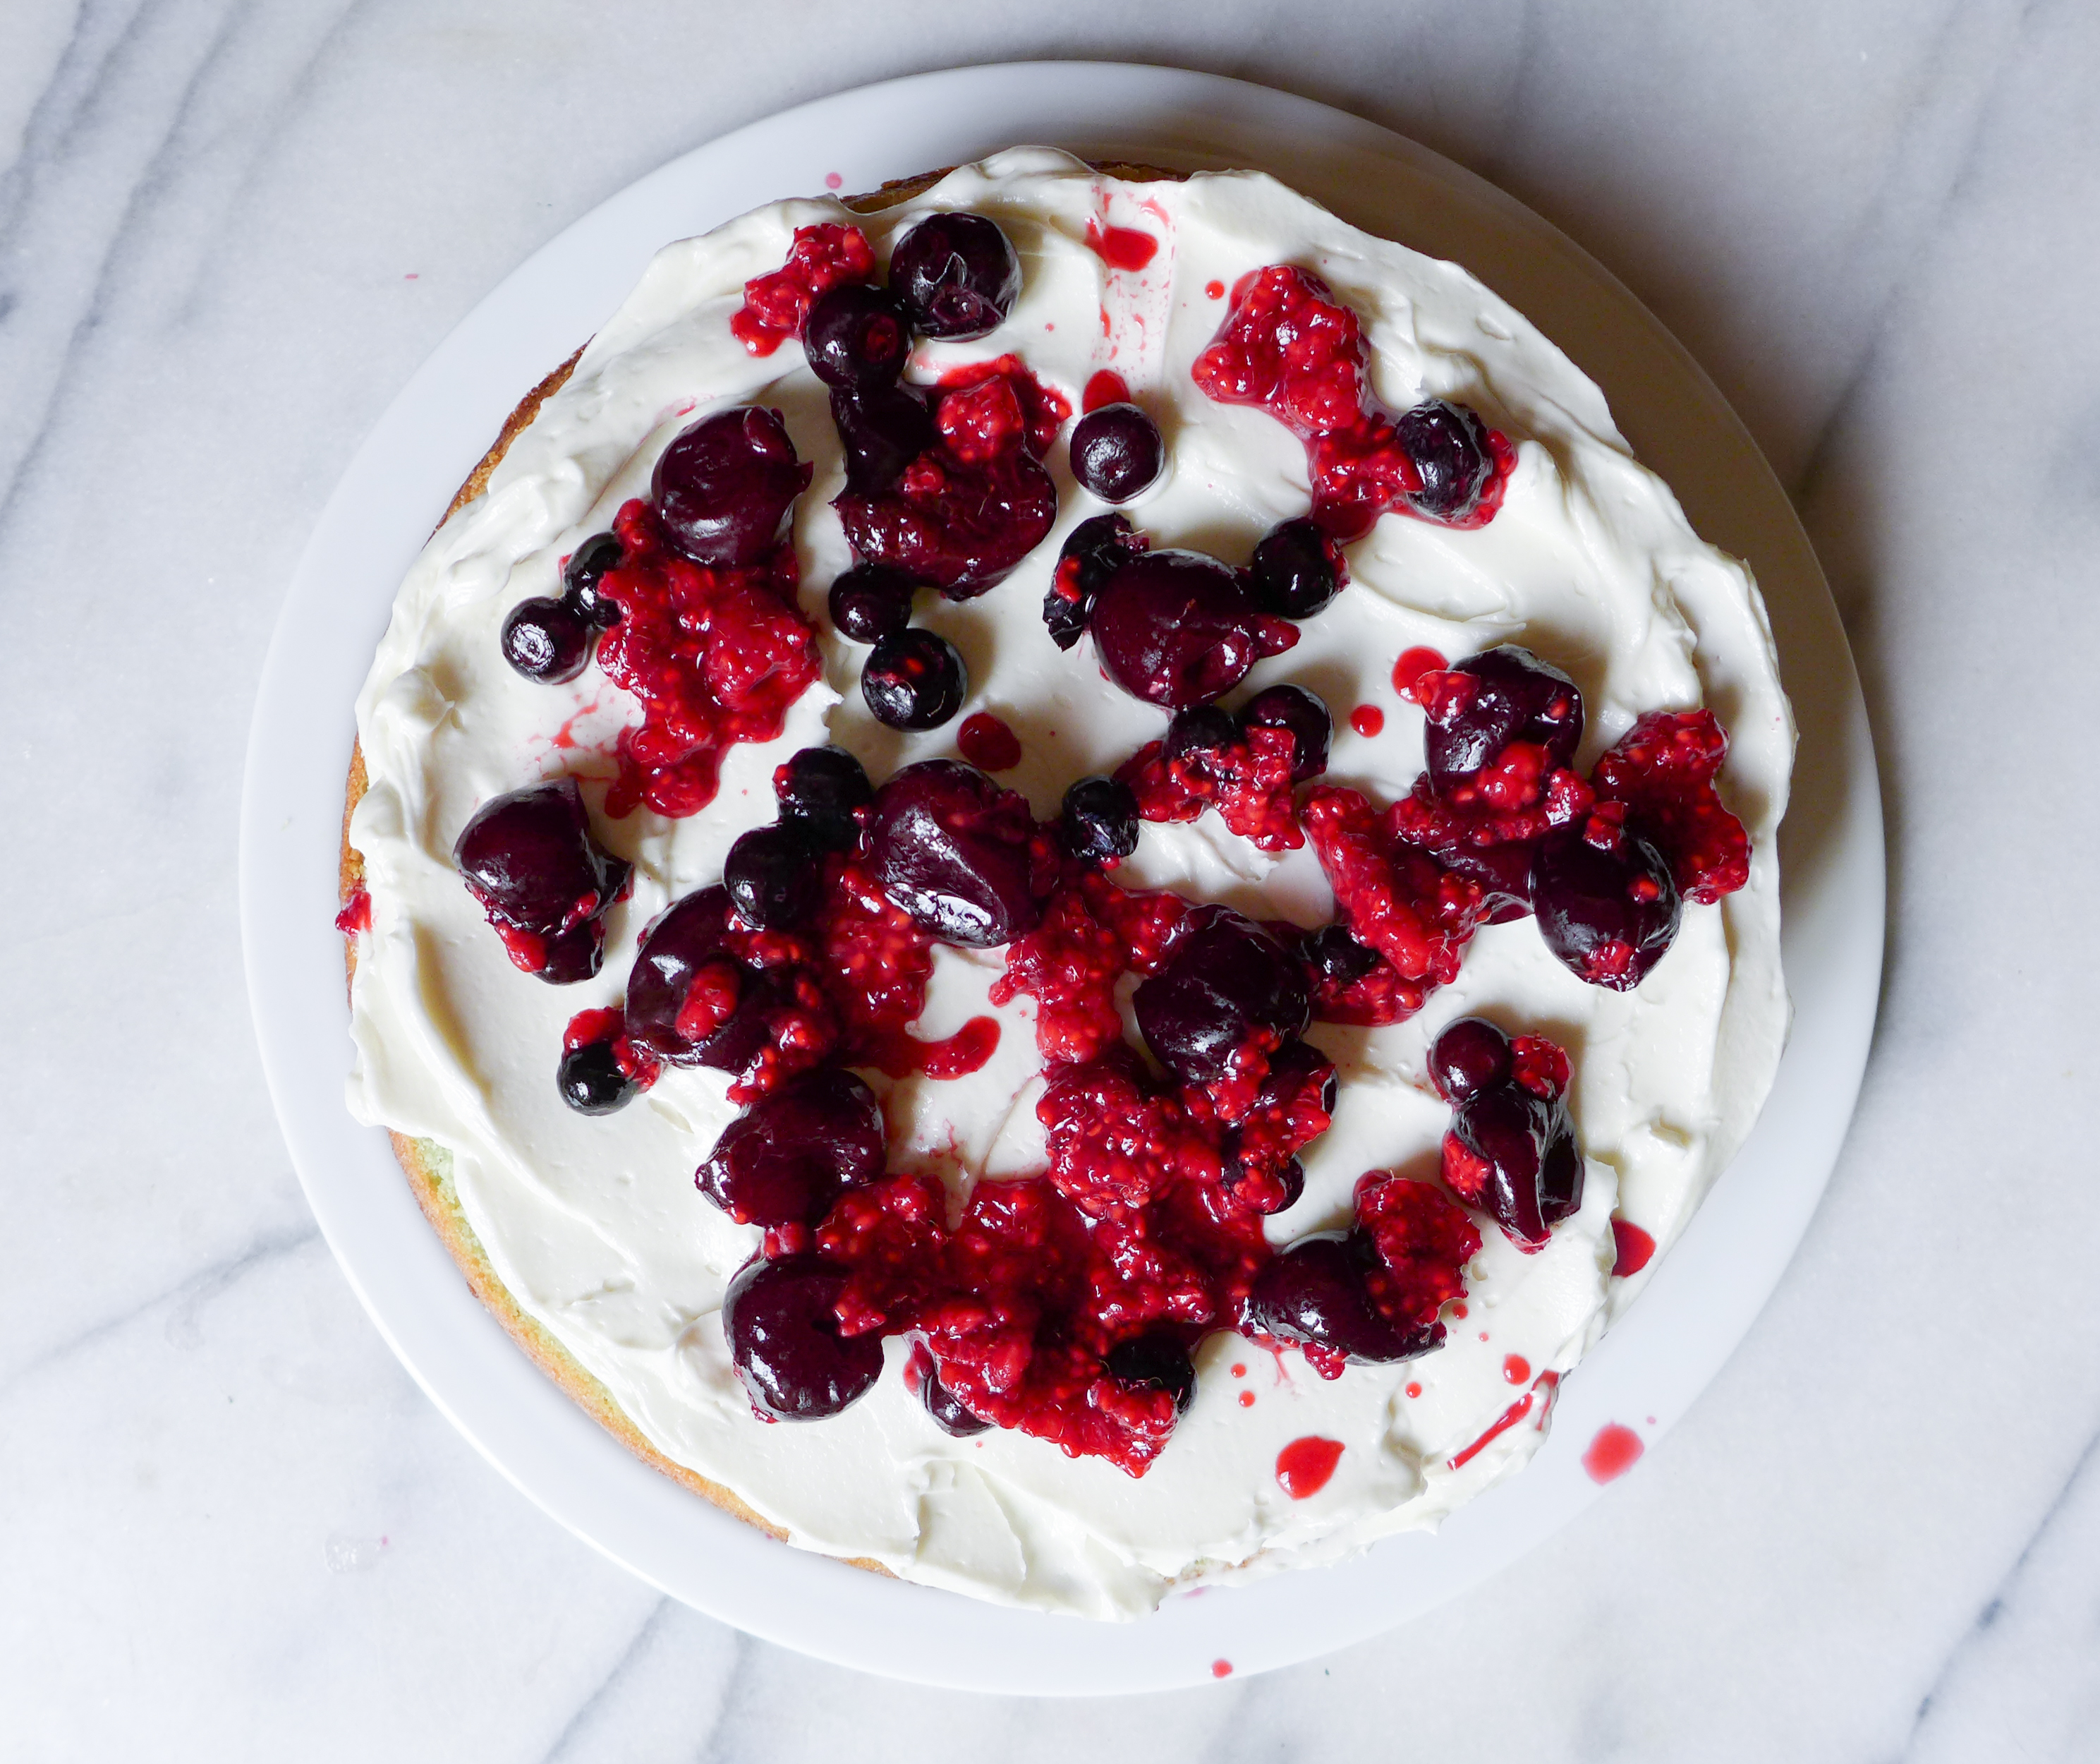
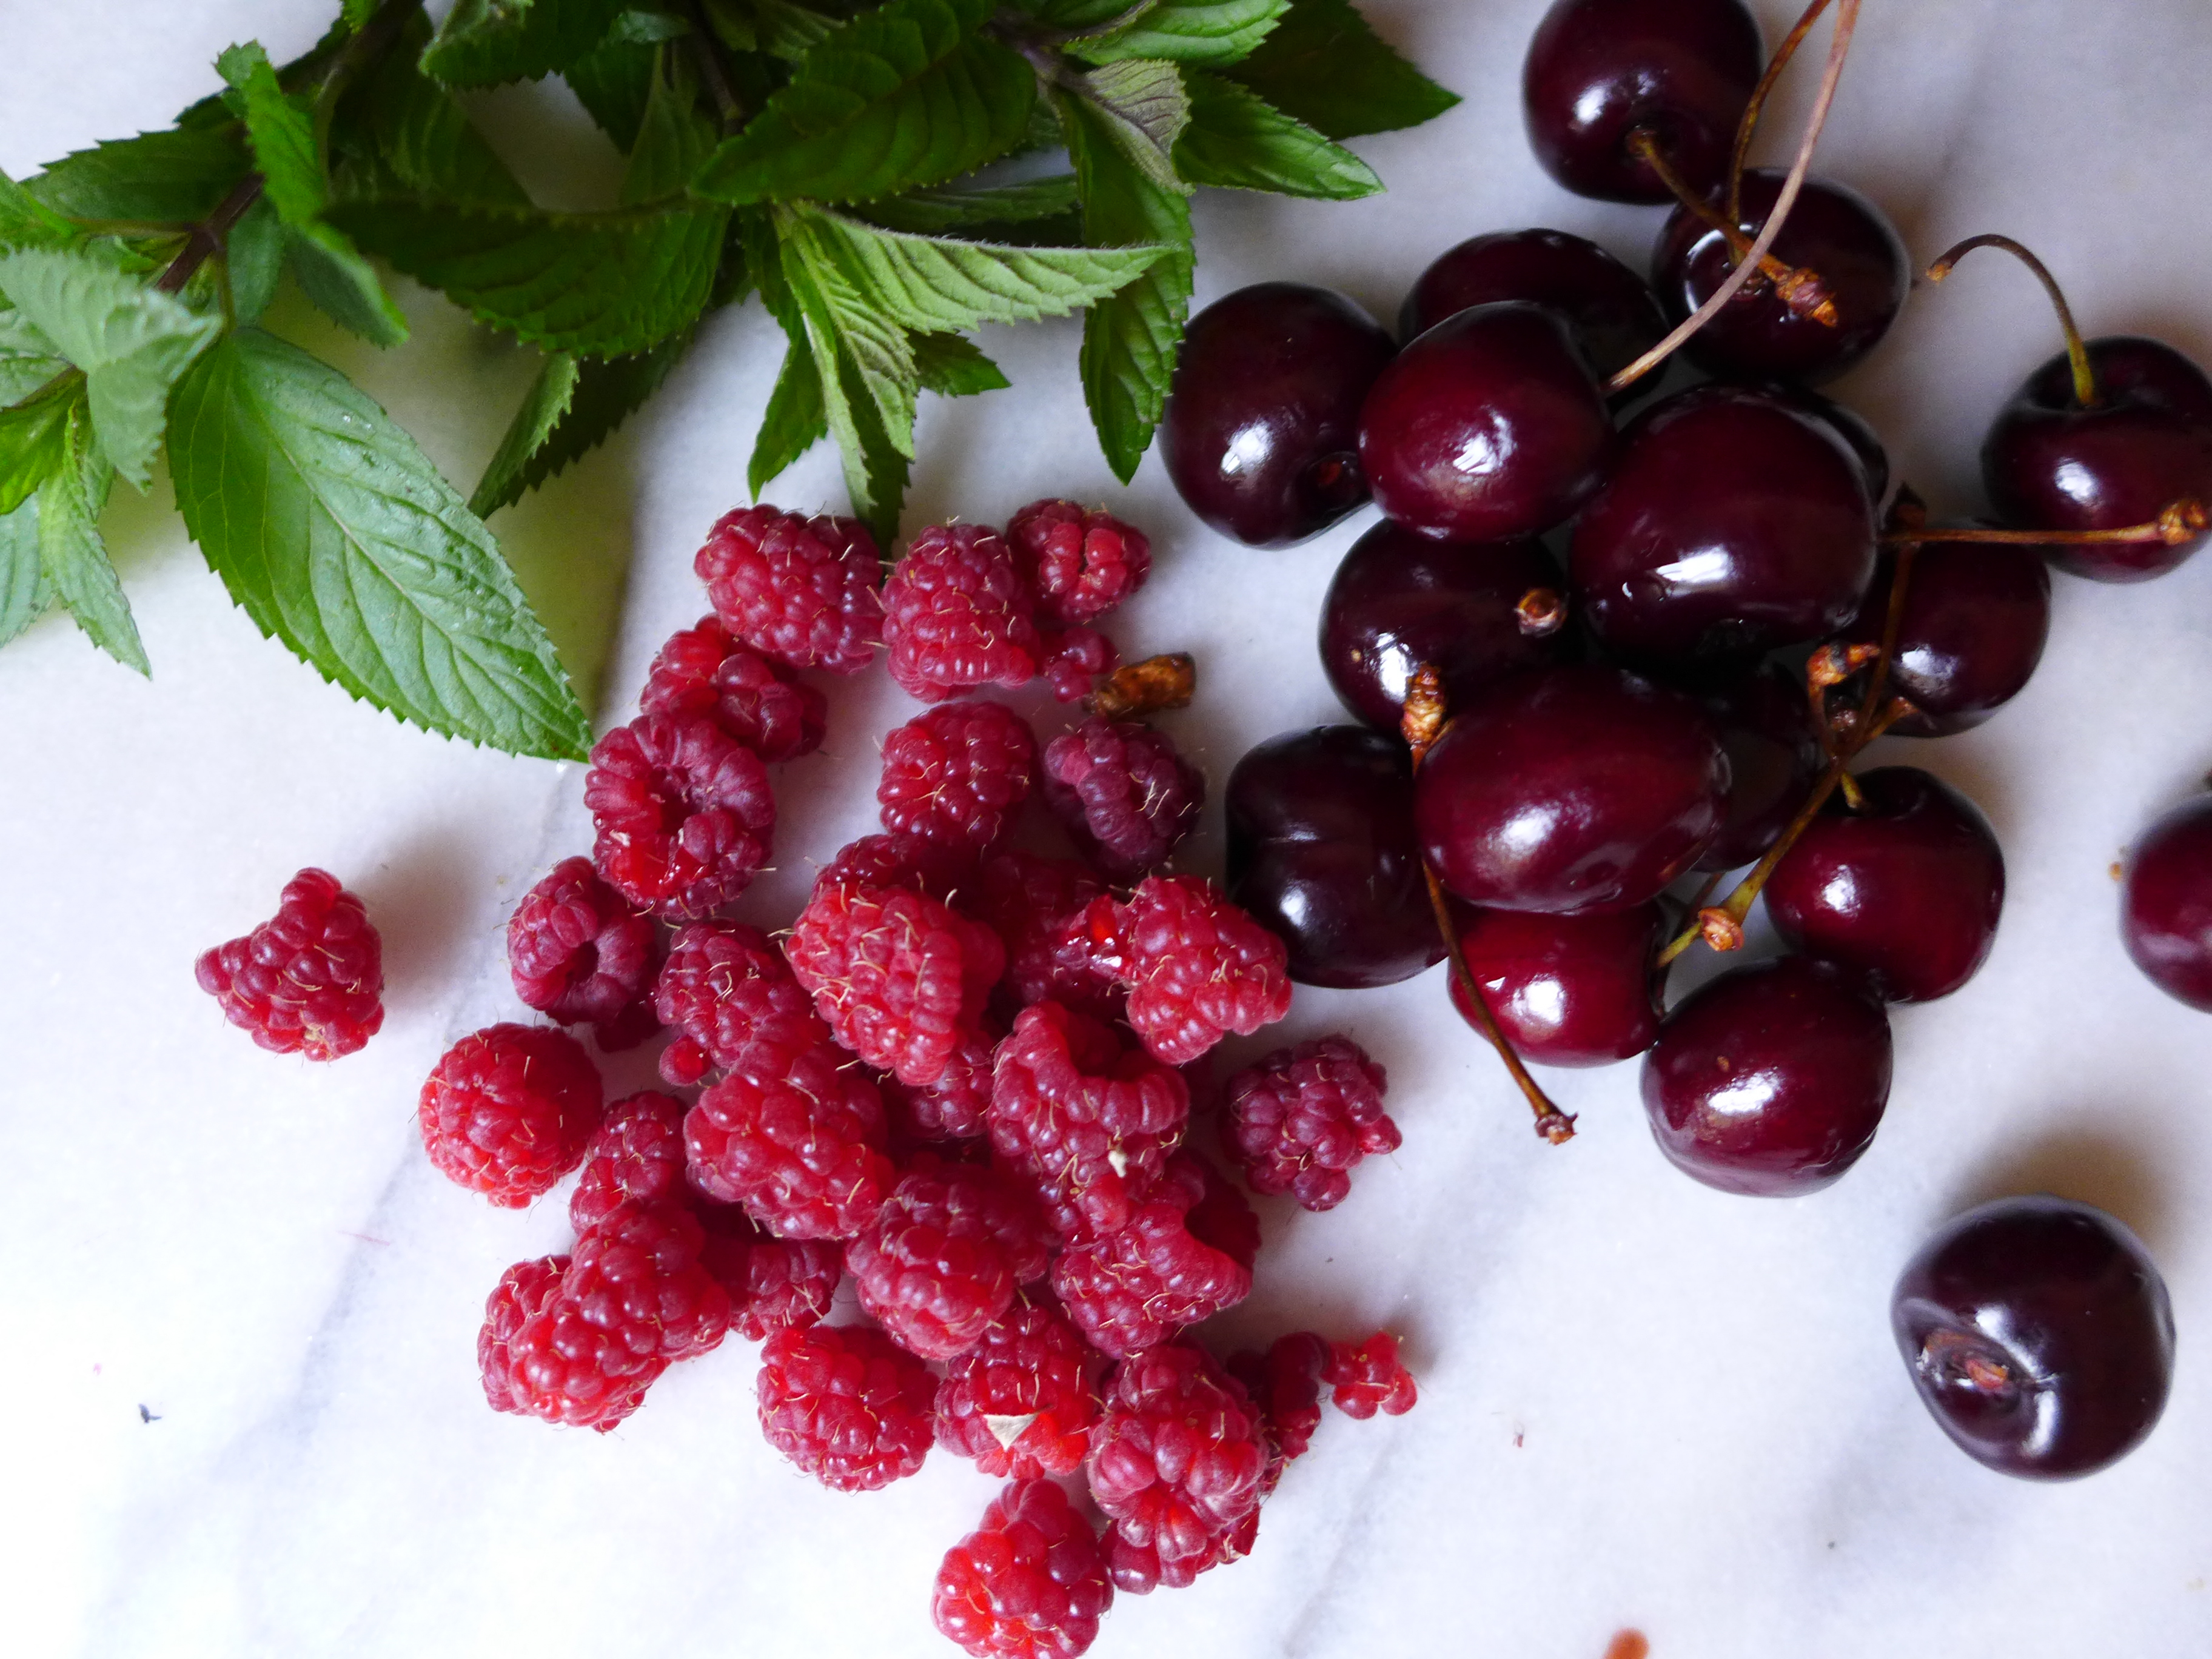
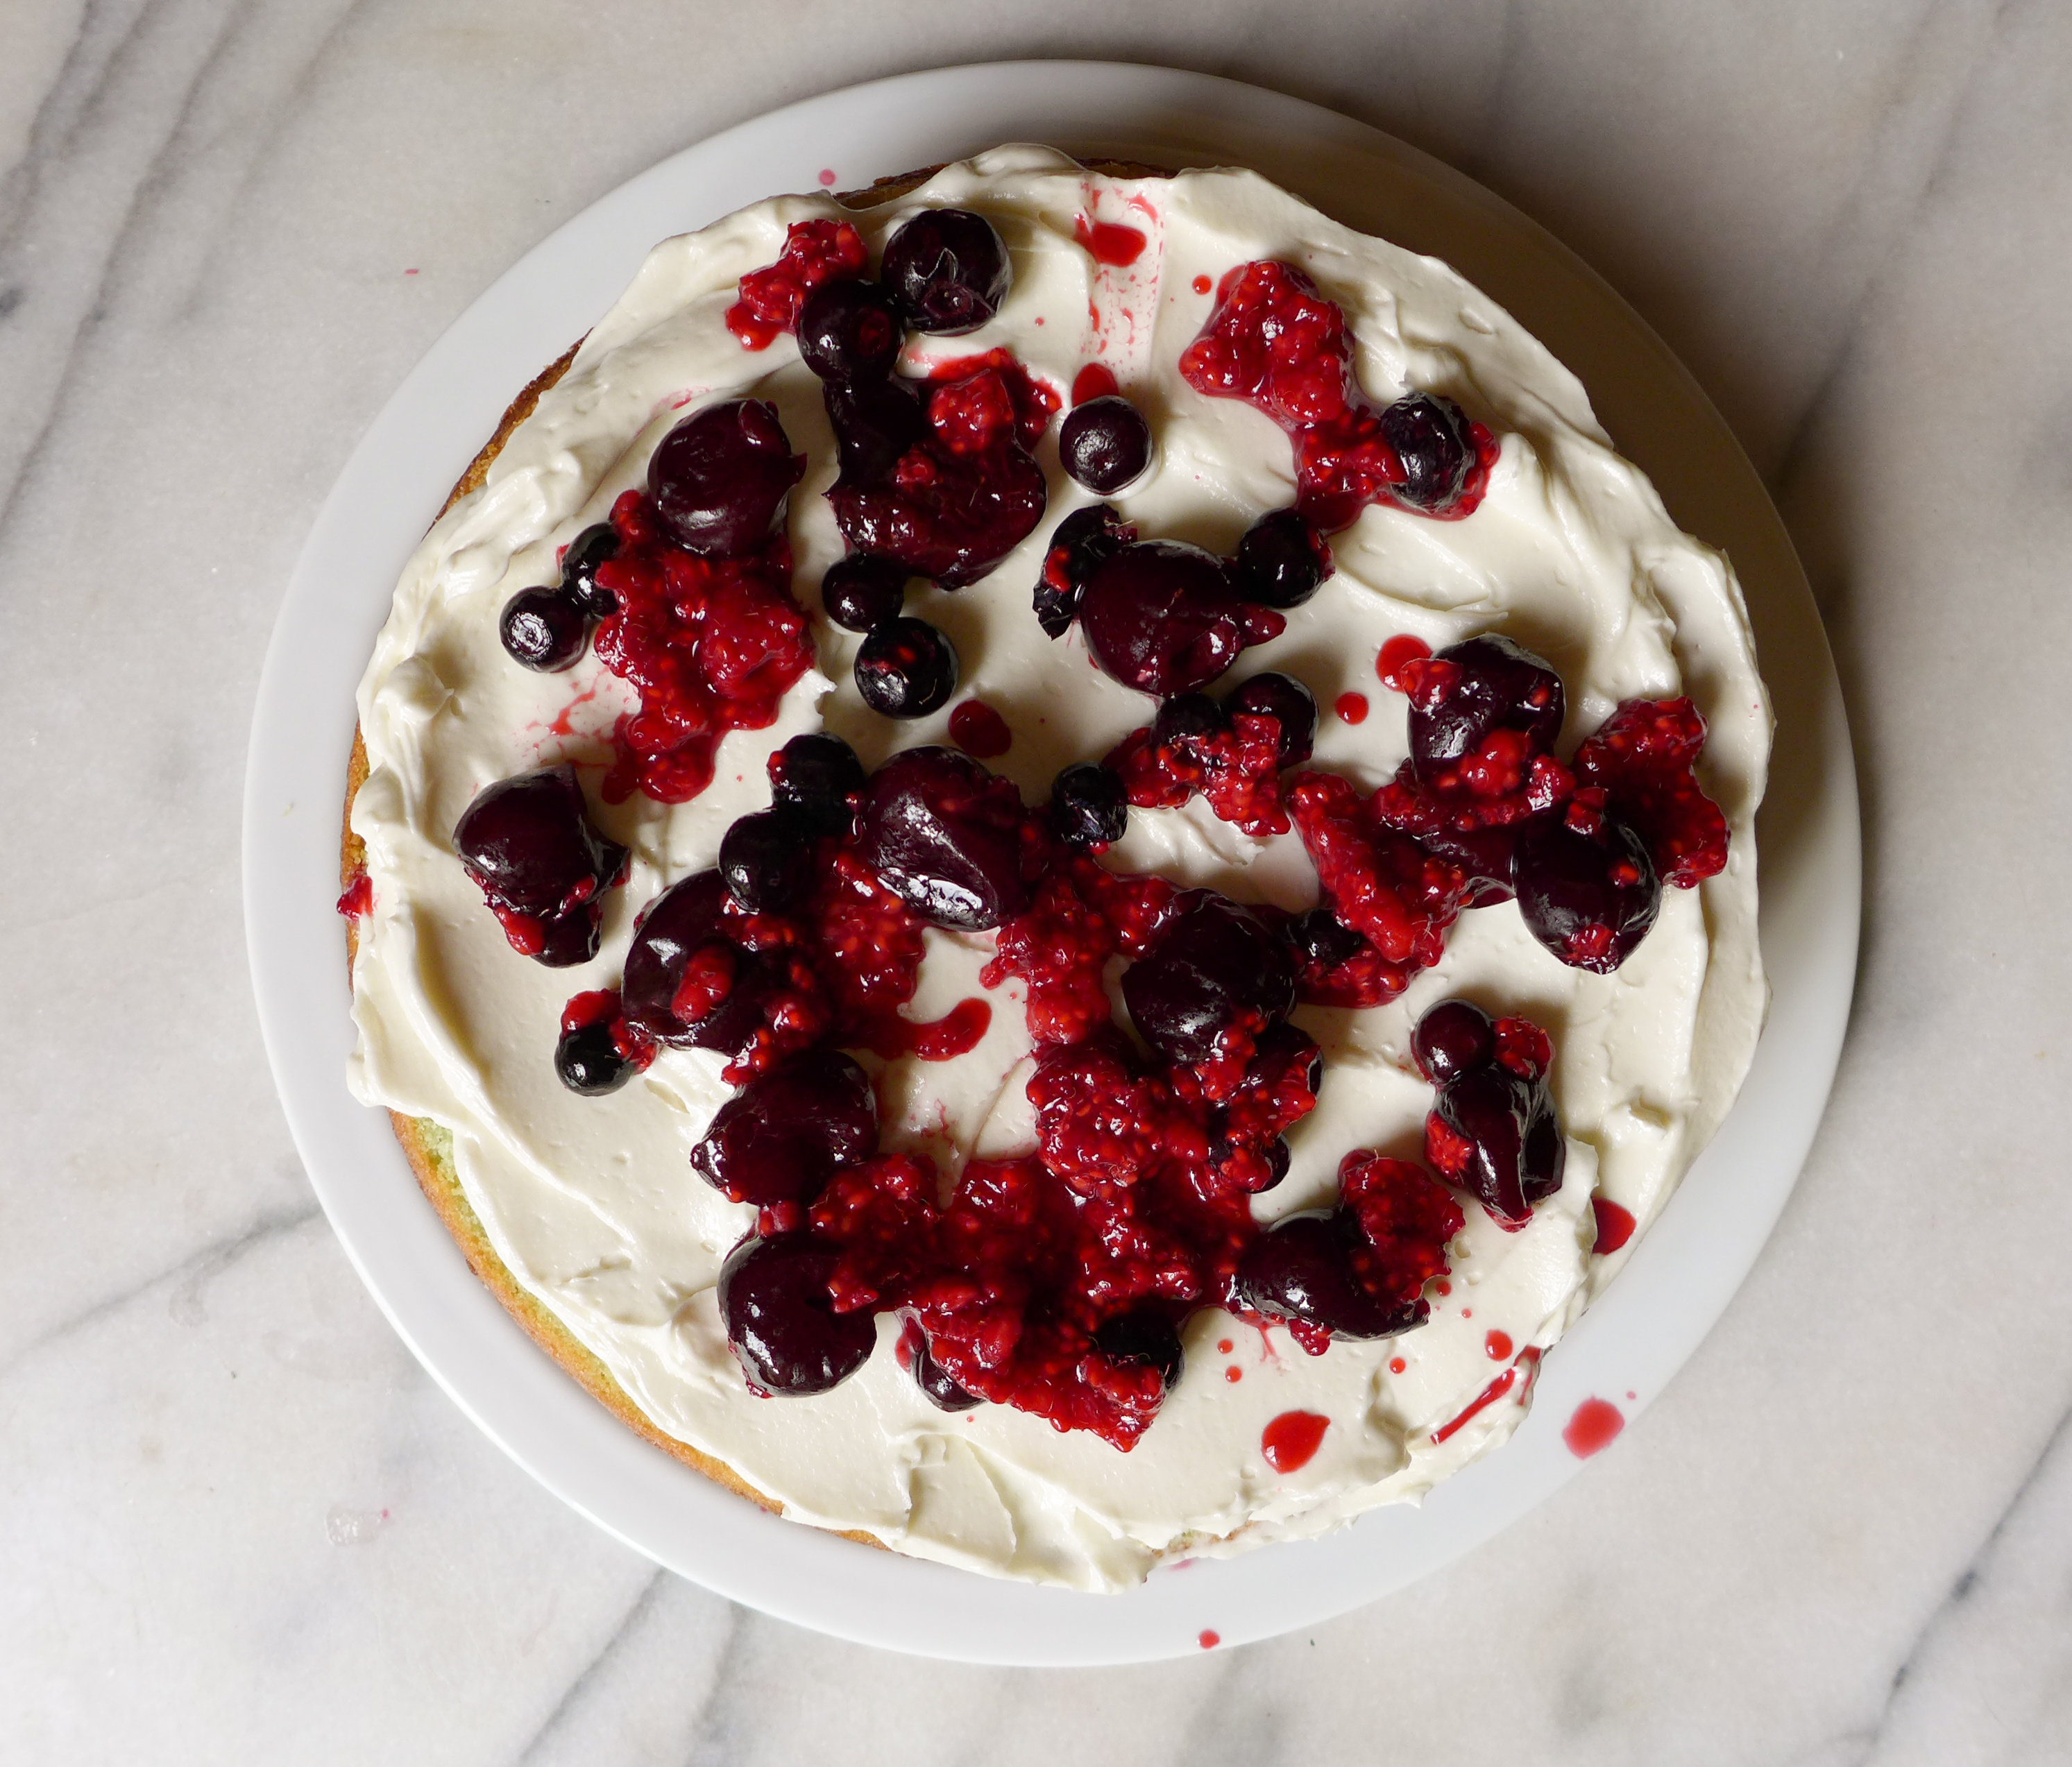
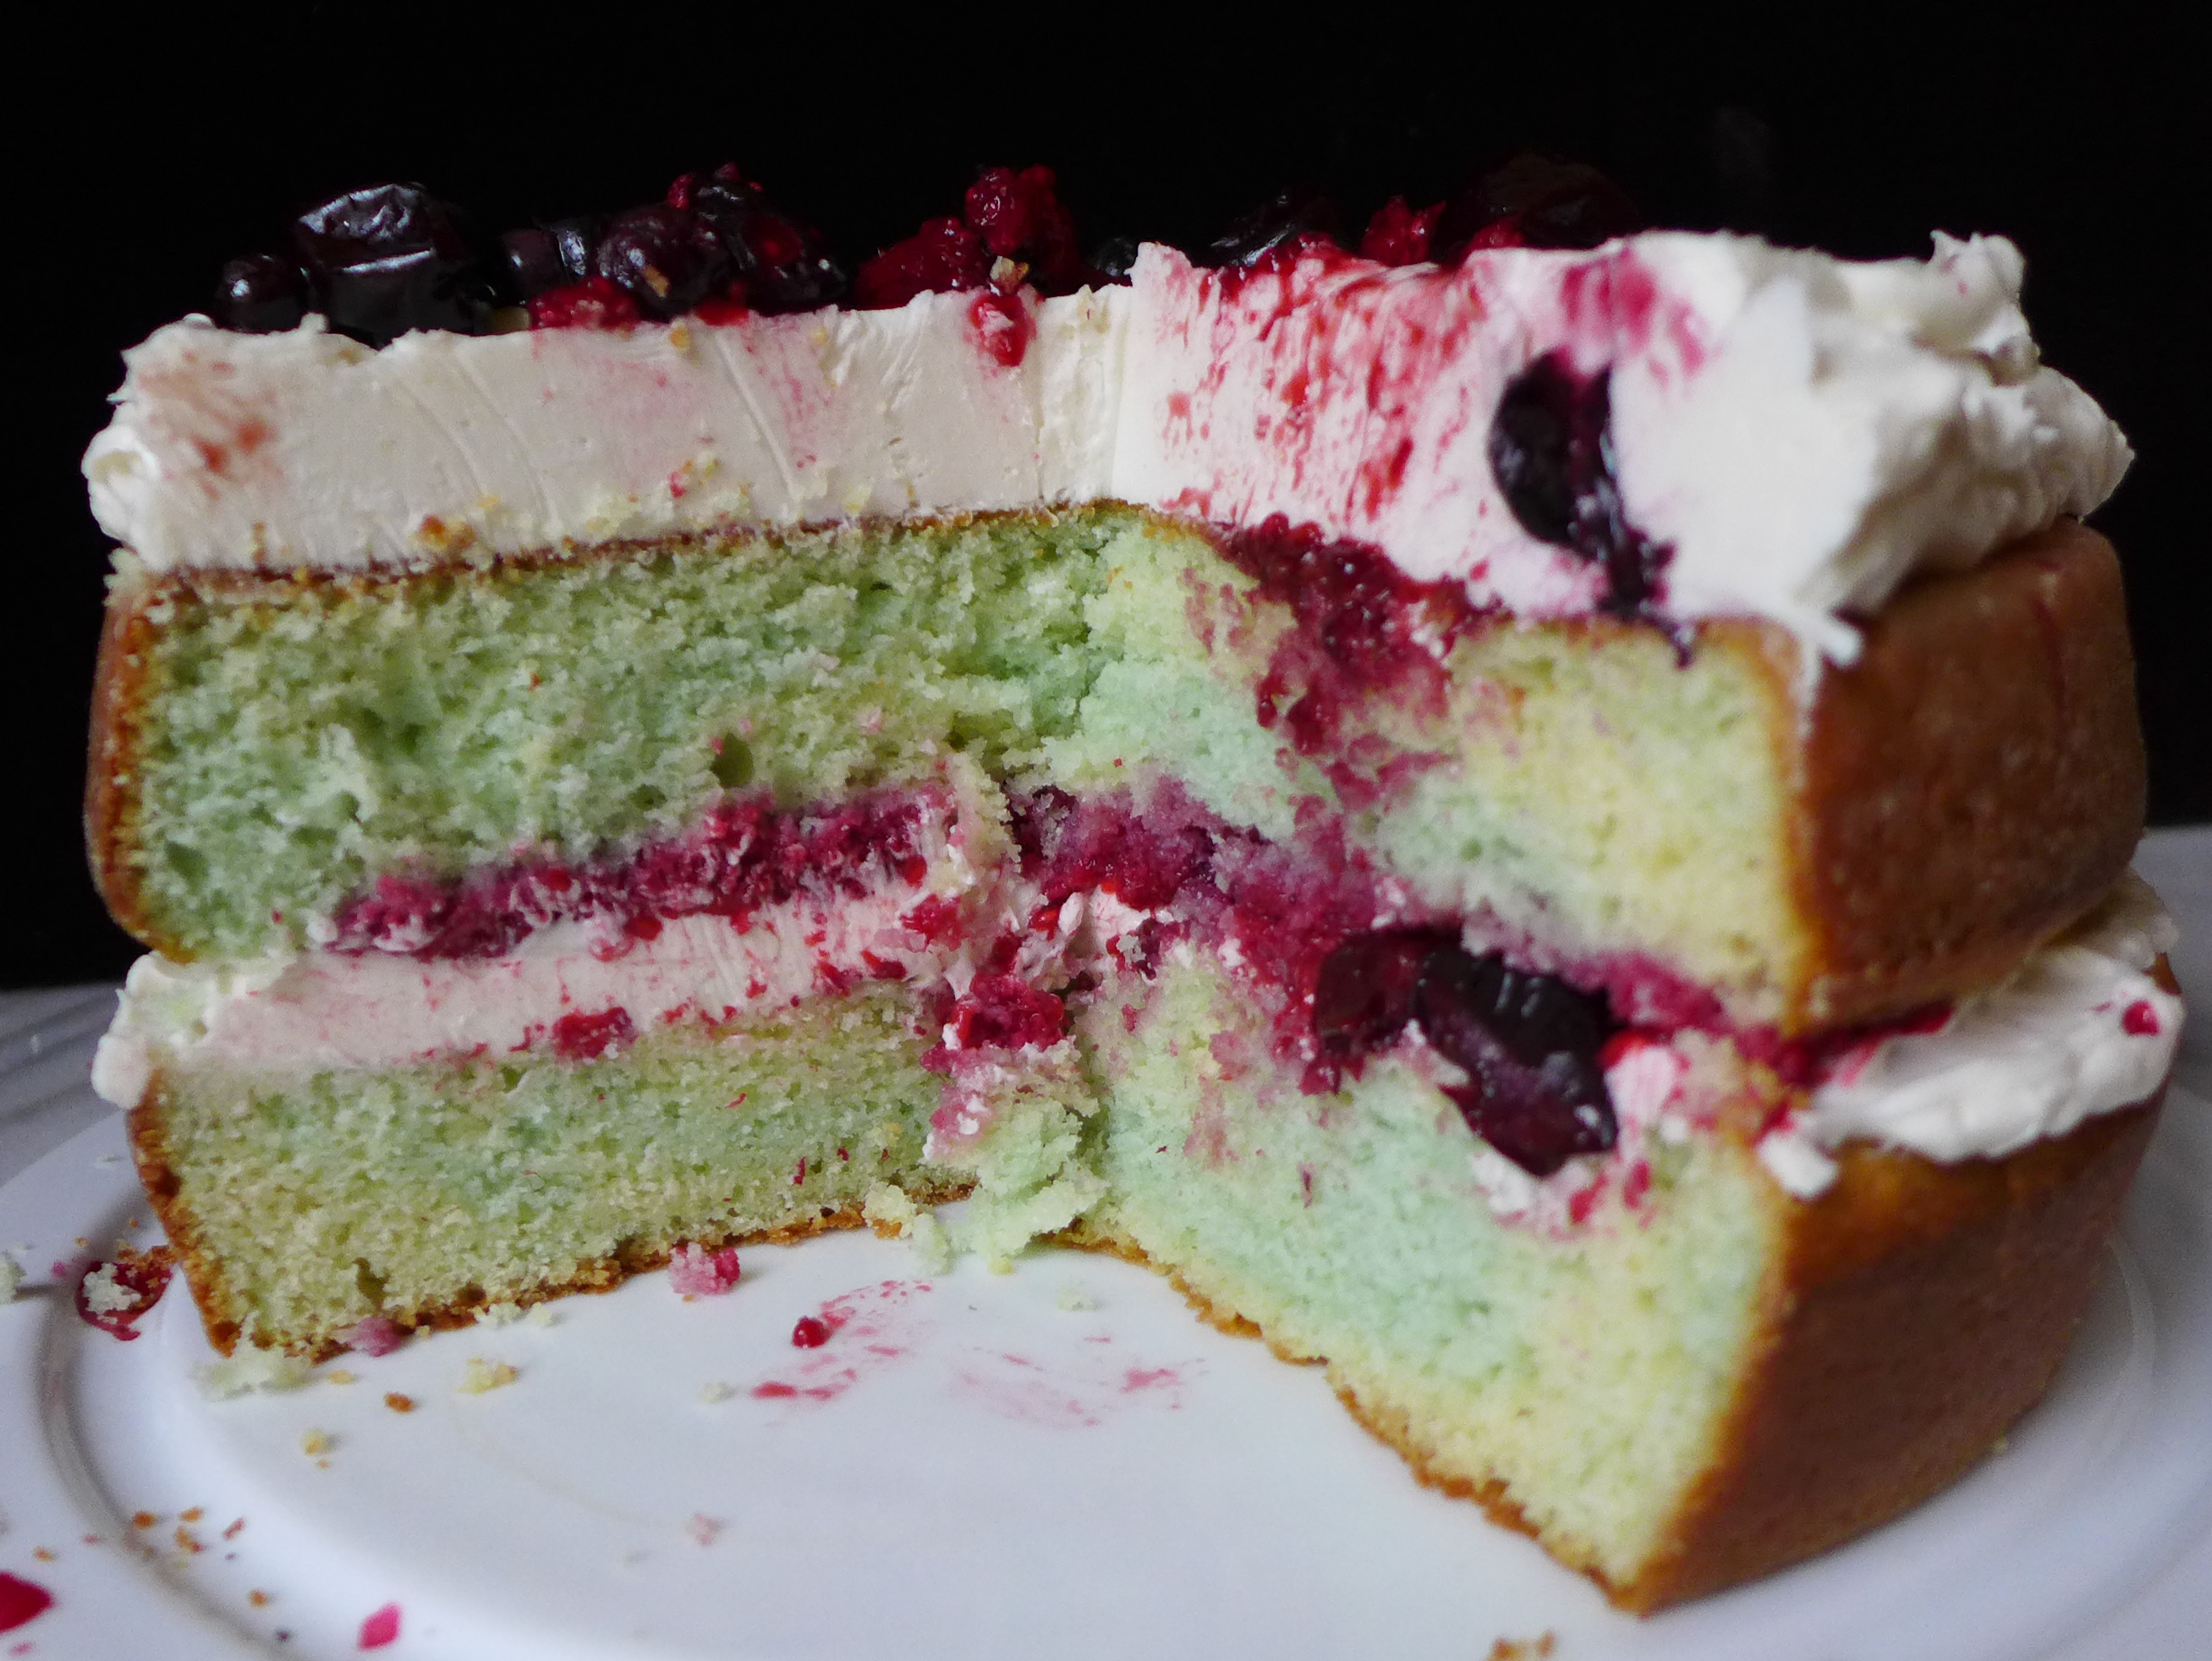
Yellow cake with our favorite coconut buttercream and fruit : cherries with raspberries from our yard

~
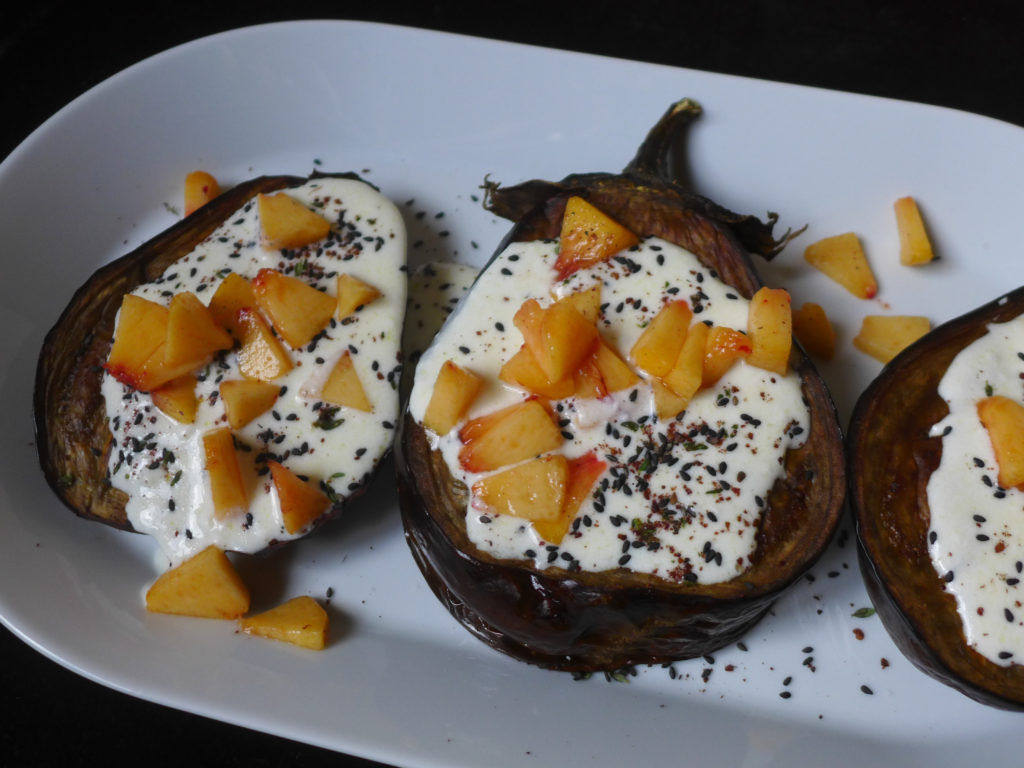
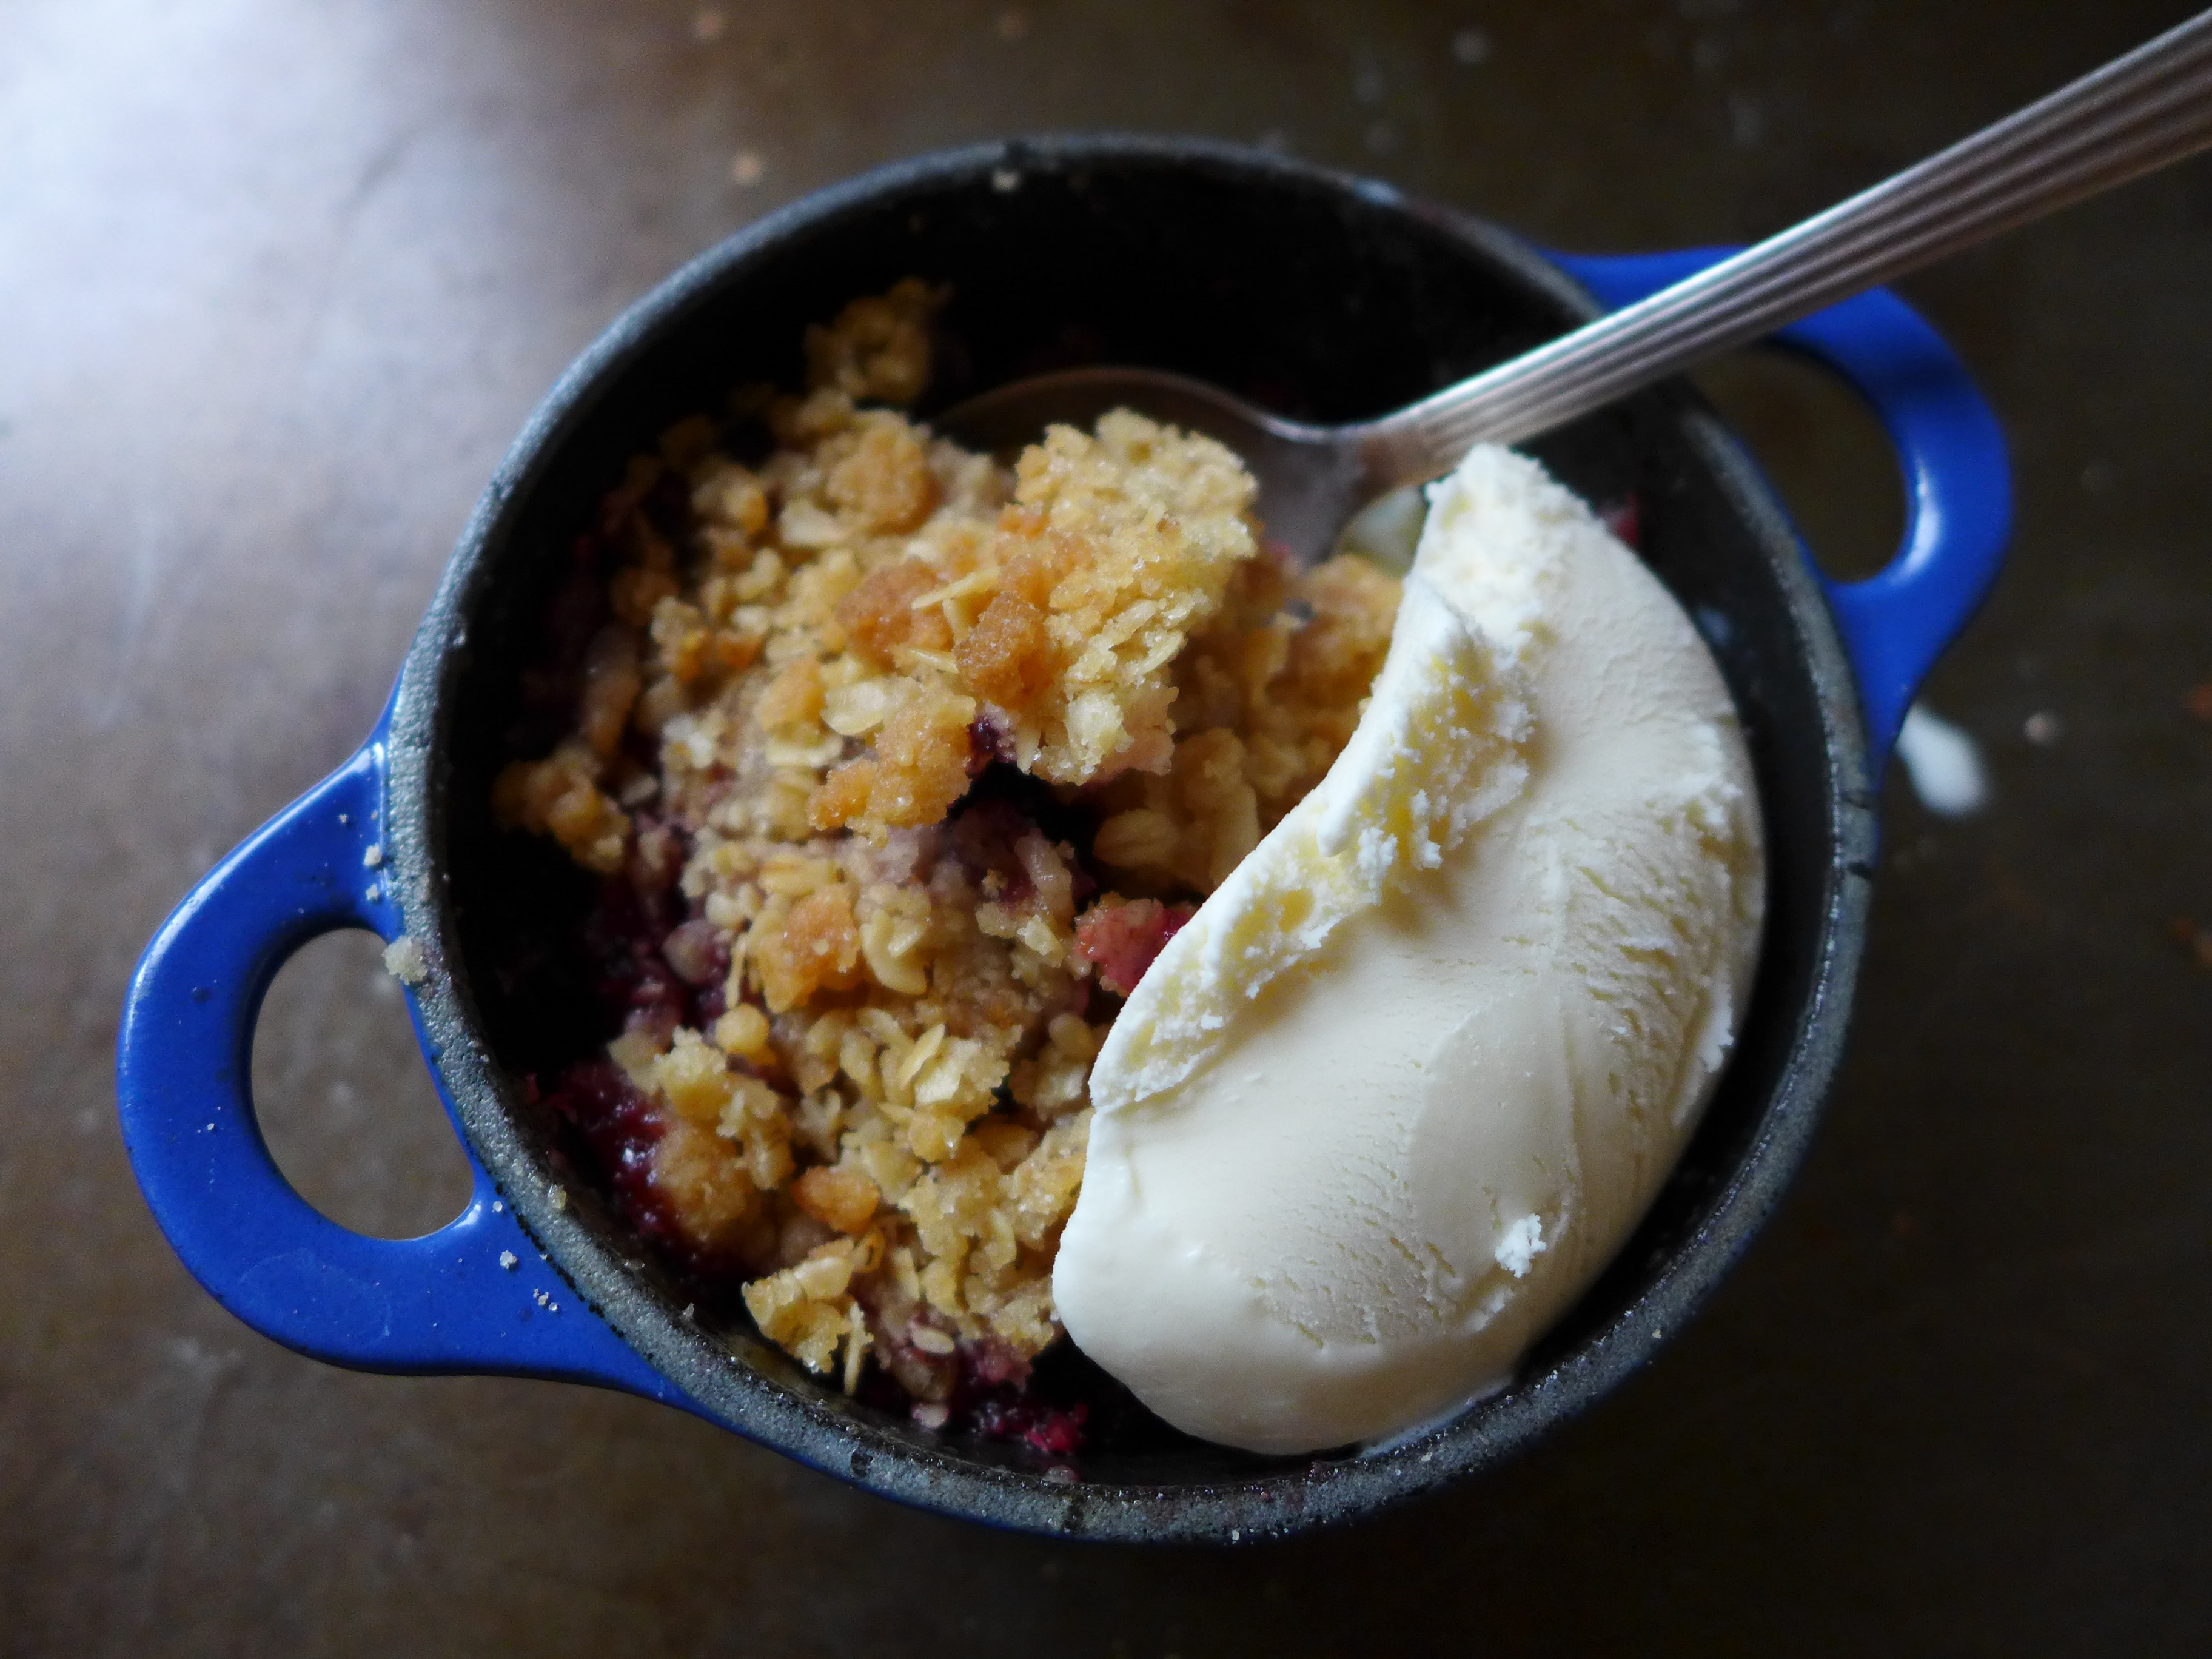
Mini Peach and Cherry Crumble : peaches, cherries
This was a super simple treat that I put together for us one night. I didn’t want to make a big crumble, because we’ve been enjoying the fresh peaches, but I knew that we could spare 3 or 4 for a few mini crumbles, so I made three of these.
I added some butter, water, ginger, cinnamon, and nutmeg to the sliced fruit. Then I topped it with some of the vanilla crumble from Rustic Fruit Desserts that I mixed with a little bit of quick oats to beef it up. The crumble topping is a stand-alone recipe in the book that gets used on top of some of the desserts (my favorite is the cranberry buckle), and it makes enough that I always seem to have some leftover in my freezer, which is perfect for quick desserts like this!

~
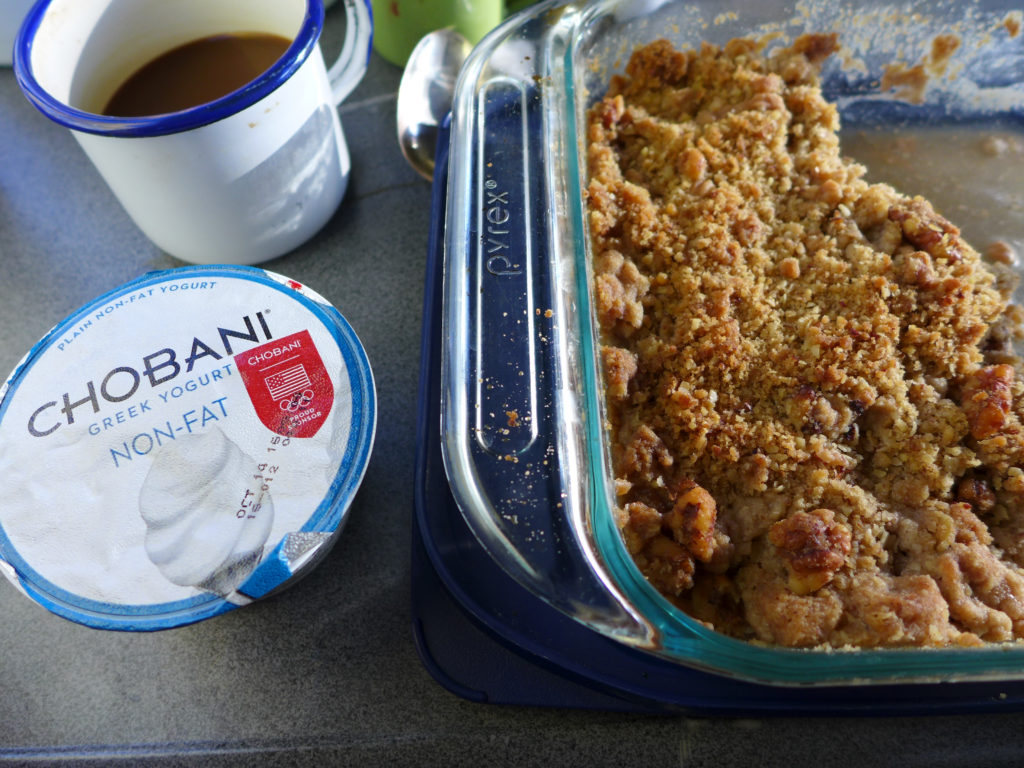
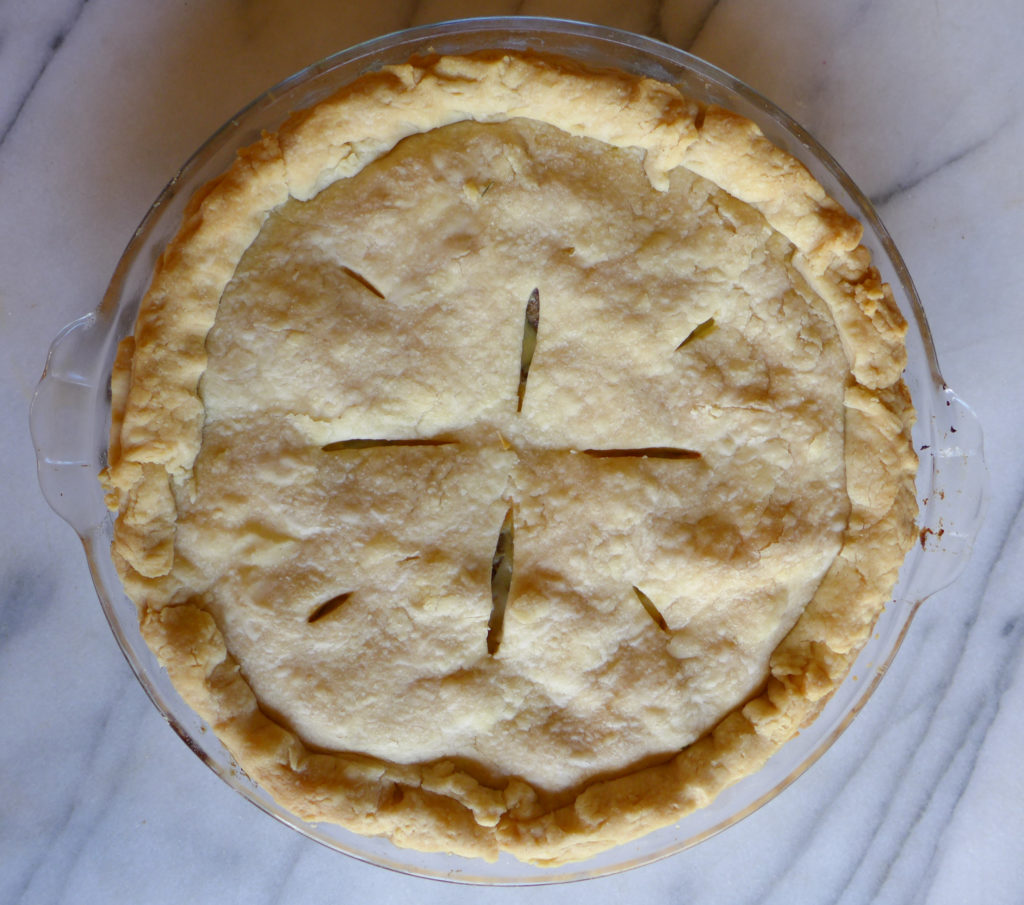
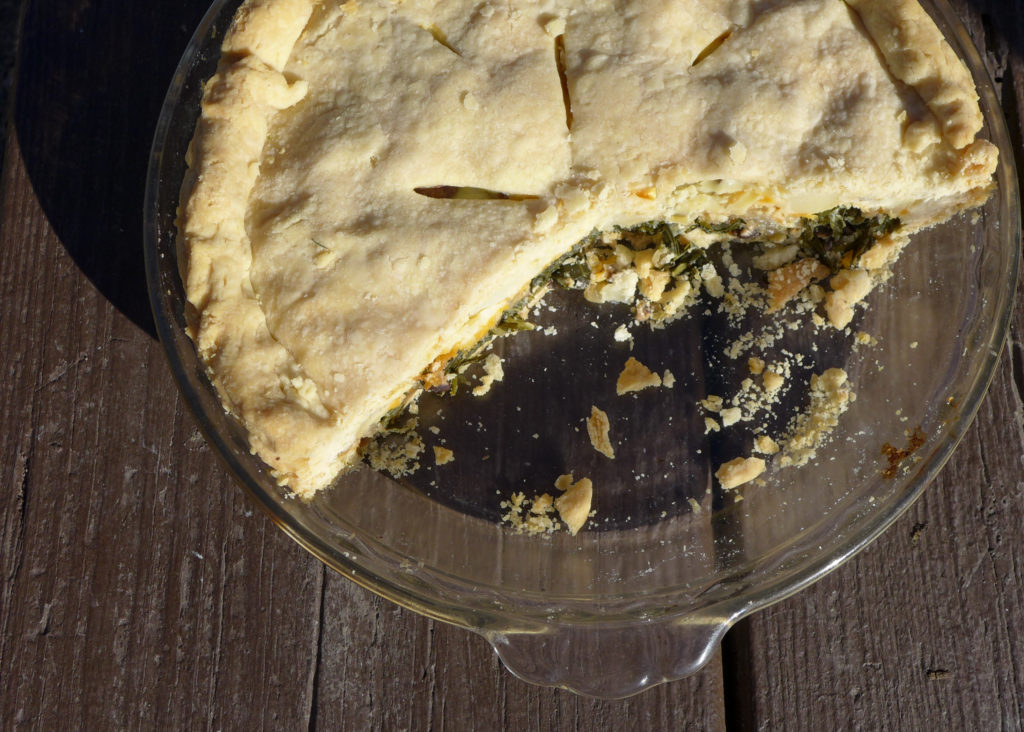
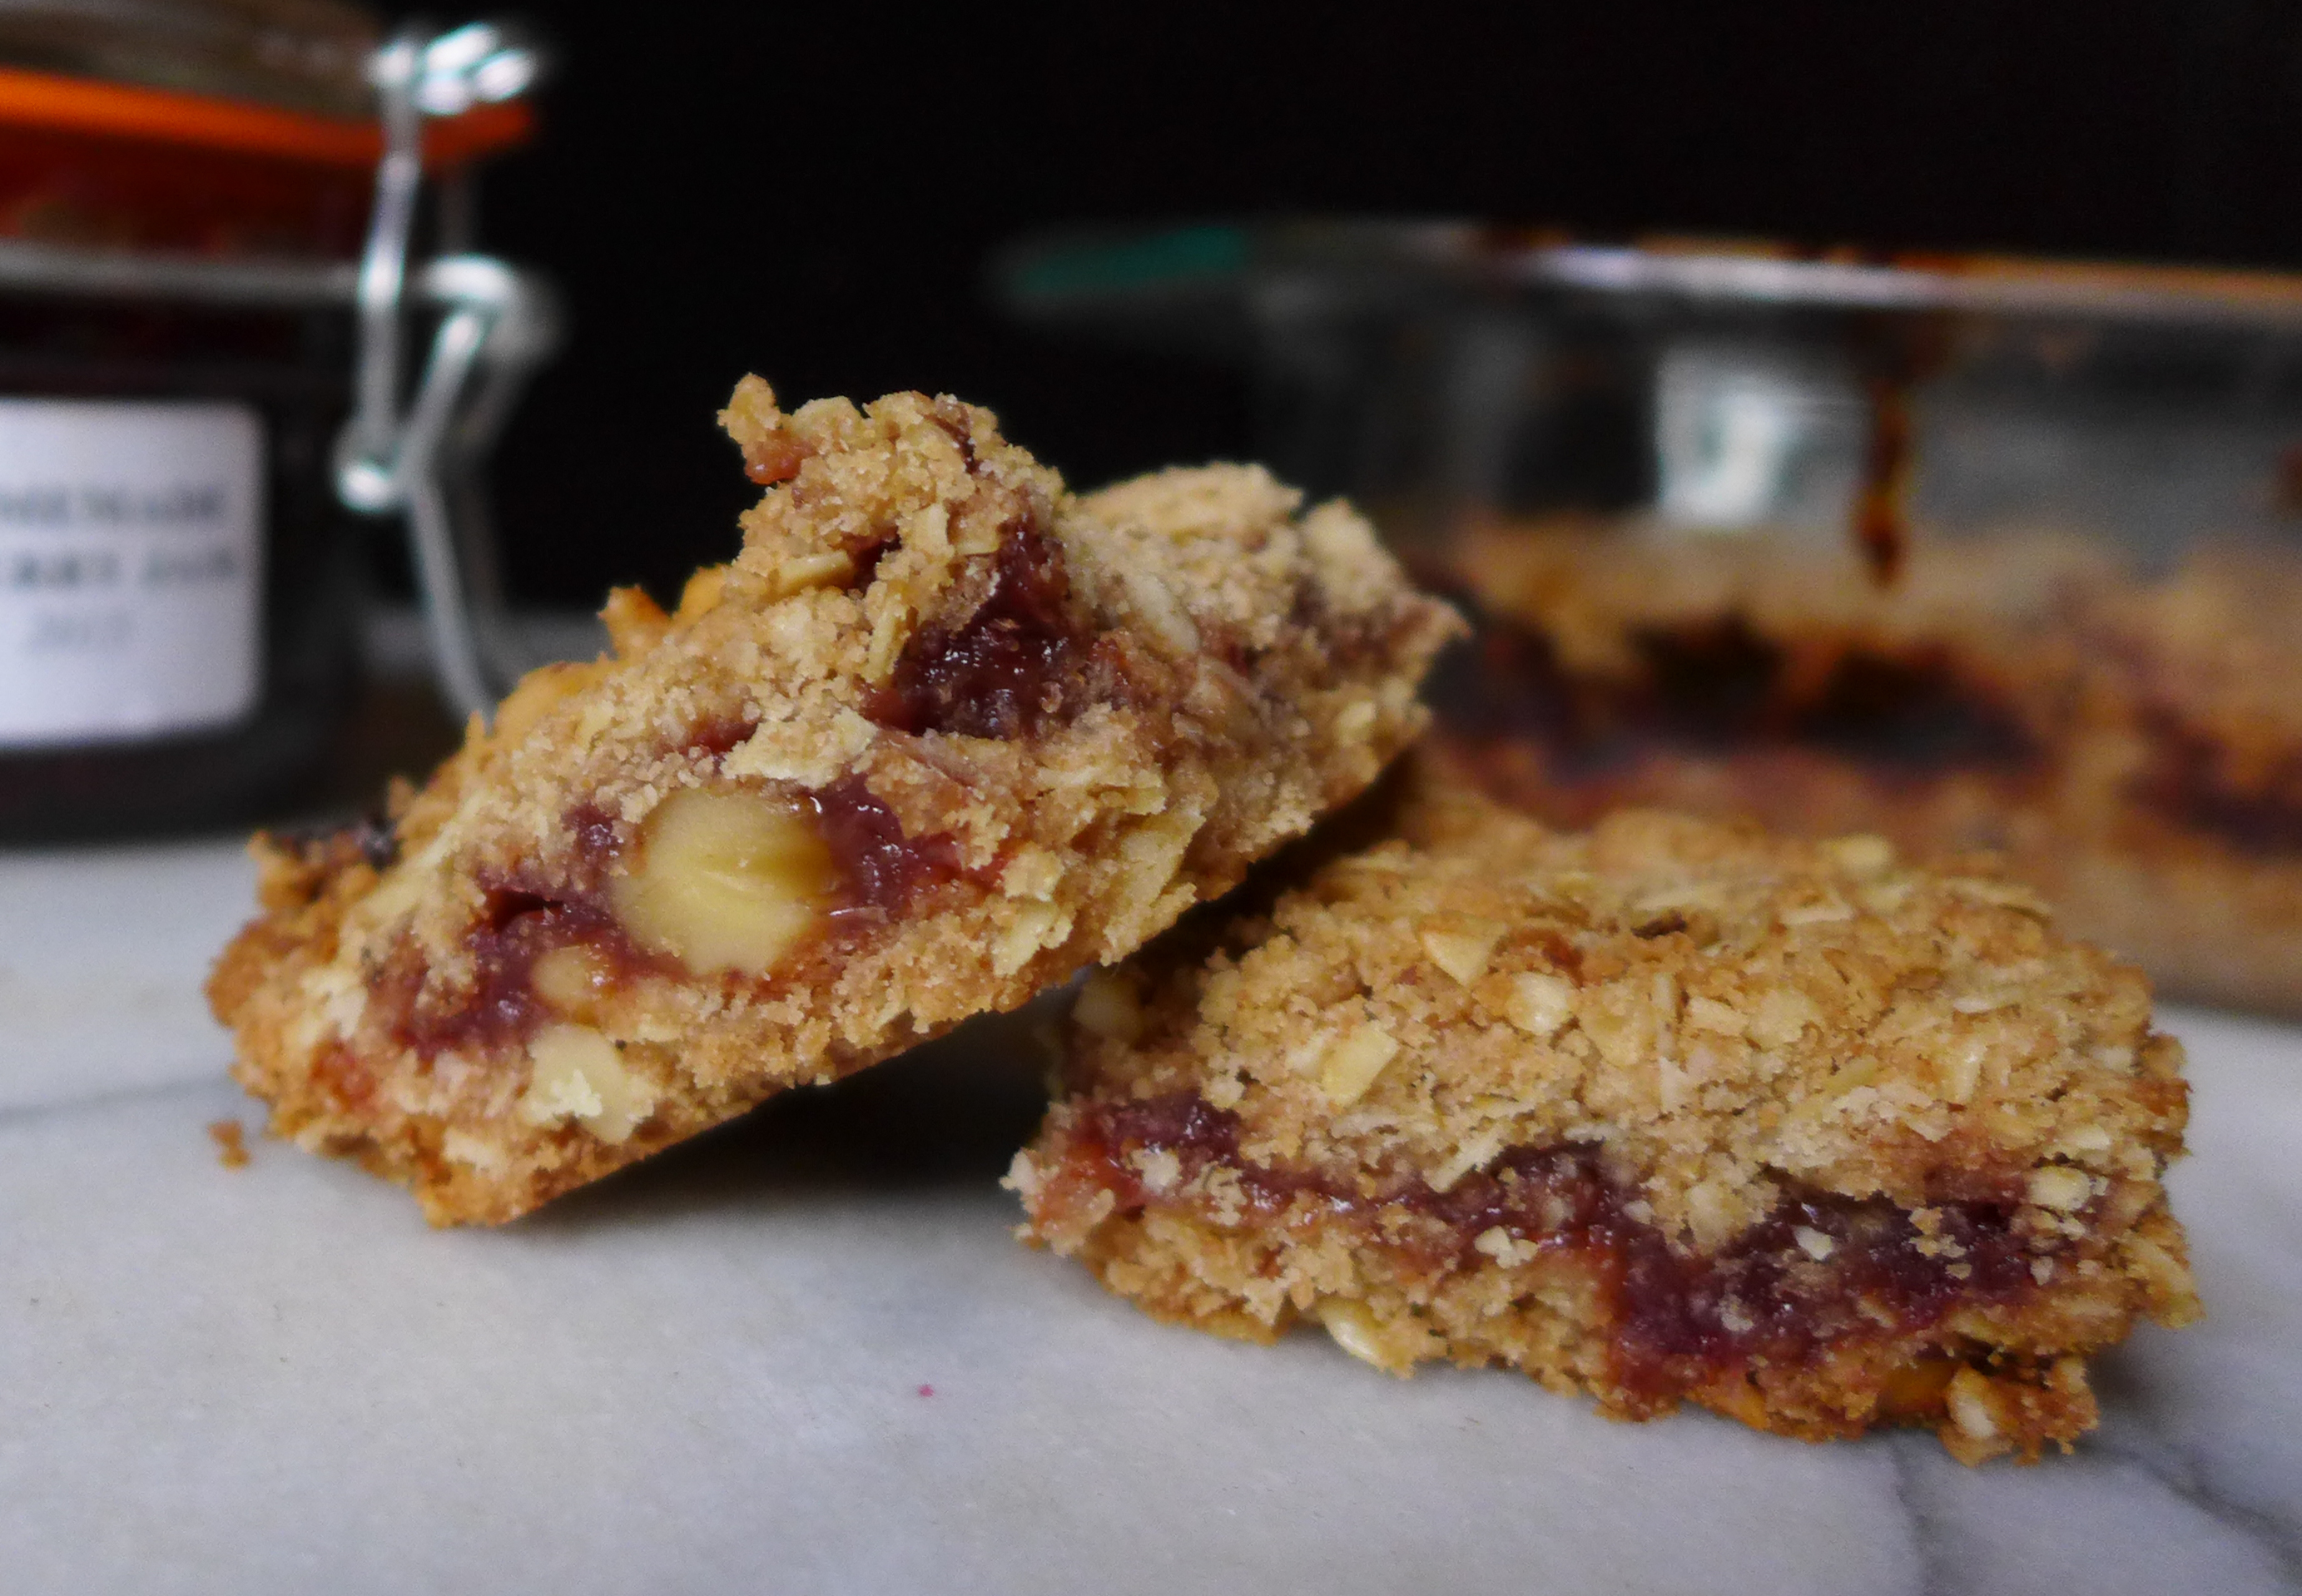
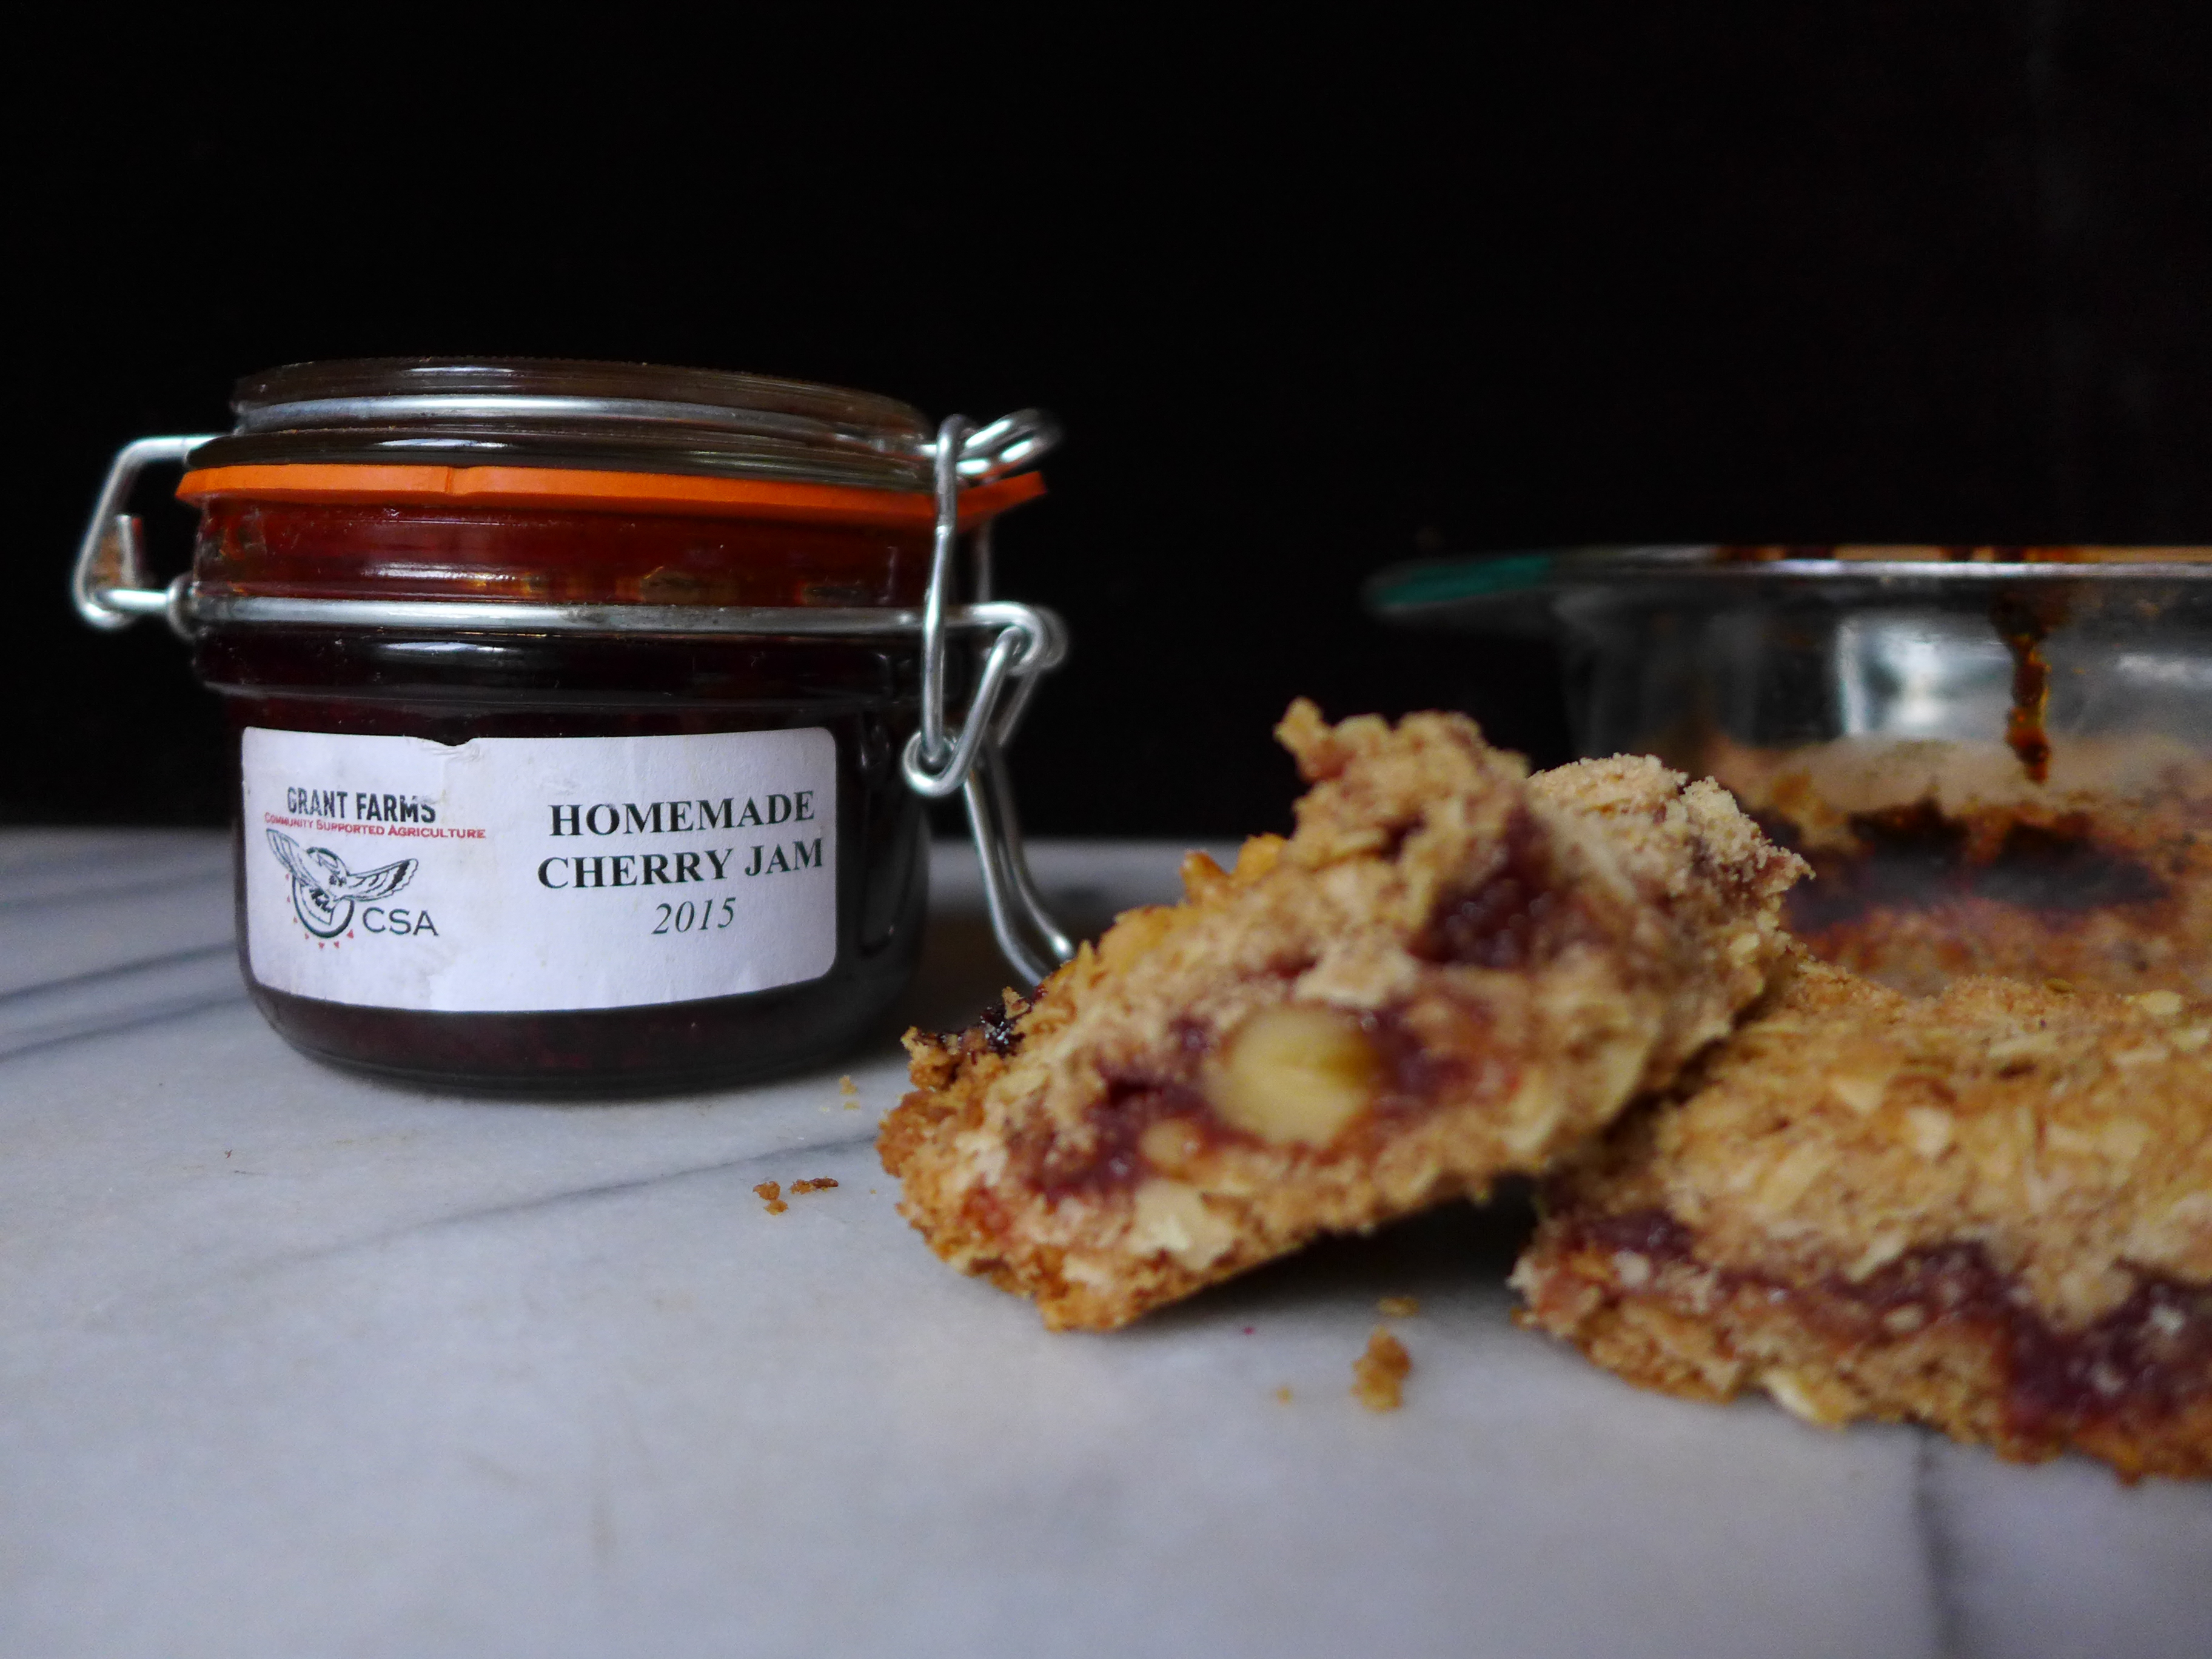
Jam & Nut Struesel Bars : cherry jam
We get a lot of jam through the share (about a jar or two per week), but we’re still pretty slow jam eaters, especially since the boys are so small and aren’t devouring PB&Js yet.
While we’re happy to stock the jam away, I also wanted to find a way to use up a jar at a time in different desserts. Enter, one of my favorite easy desserts. I first came across this around the holidays when we actually had some leftover cranberry sauce in the fridge (that’s what the original recipe calls for). I now make these bars every year between Thanksgiving and Christmas, but this is the first time that it dawned on me to make them with jam as a summer treat.
I didn’t add the extra sugar to the jam (as called for with the cranberry sauce), and I did substitute some of the white flour for whole wheat to give it a nuttier flavor and some extra good stuff.


~
Man oh man, month two of the share was so good! The boys and I are heading off to the east coast, which means that Calder’s going to have to try to find a way to eat his way through the share, give away greens to friends, and come up with next month’s blog post! 😉
My mom has a share from a local farm on the Eastern Shore of Virginia/Maryland, and I’m excited to see what we come up with while cooking from her share for the next month. It’ll also be interesting to see how the shares differ at this time of year.
What about you? Have you discovered any new recipes, tweaked old favorites, or learned some new skills while cooking from a farm share? We’d love to hear about it! And how do you keep the kids happy while cooking?

 Early in the month, I leaned on a couple of my favorite cookbooks,


