Dutch Oven Chili

We’re half way through JULY! I think Kate will agree, this is our favorite time of year. We’re both July babies so this month has always been special for us. Growing up, we would have joint pool parties together even though there’s a nine year gap between us! This year we haven’t managed to get together, but both of our Julys have been packed with outdoor adventure and ample family time.
live seasoned summer 15 dutch oven chili-1

Last week, I took a family of Brazilians out into the mountains for the first camping trip of their lives. We had a wonderful time hiking, learning new skills, and hanging out at camp. I plan on sharing more aspects of that adventure in future posts, but for now I wanted to share a Dutch Oven Chili recipe that is perfect for a camping crowd. The way I make chili is incredibly simple.. So simple that it’s almost one of those recipes that’s not really a recipe, WTF do I mean? You’ll see..

Even though this post is entitled Dutch Oven Chili, you can also make it on the stovetop by following this recipe. If you’re making it in a dutch oven, you’ll want to get a great layer of hot coals going. Another option, and perhaps a more reliable one, is to light a couple dozen charcoal briquettes. For the first half of the recipe have the dutch oven sitting directly on a bed of hot coals or charcoal briquettes. The lid should be kept off while you brown the meat and cook the fresh veggies that way you can monitor the heat, ensuring you don’t burn your dinner. Once you add all the canned items there will be a good amount of liquid in the pot so you shouldn’t have any trouble with burning or sticking. Place the lid on the dutch oven, cover it with coals or briquettes and wait twenty minutes or so (this really depends on the condition of your coals and briquettes) until the contents of the pot comes to a bubble.

Dutch Oven Chili

Ingredients

  • Onion
  • Bell Pepper
  • Jalapeño (or a small can of Jalapeños)
  • 3-5 cloves Garlic
  • 1 lb Ground Beef
  • 1 15oz can Kidney Beans
  • 1 28oz Diced Tomatoes
  • 1 jar of Salsa
  • Ann Schu's homemade Chili Sauce*
  • Chili Seasoning Packet

Instructions

  1. Start by cooking the ground beef over medium heat. Break up the beef into smaller pieces with a fork while it's still raw.
  2. Once the beef is cooking, begin chopping your onion, bell pepper, jalapeño and cloves of garlic.
  3. Add the vegetables to the meat as you chop.
  4. By the time the beef is completely cooked, the onions should be clear and the peppers a little soft.
  5. Drain off the grease if necessary - this is totally your call. When I make it in the kitchen, I drain the grease, when I make it in the Dutch oven I keep it because more liquid and flavor is better than less (usually it's a small amount anyway).
  6. Now it's time to work those arms - open all the cans: beans (drain off the liquid), tomatoes, jalapeño, salsa, and add them to the cooked beef and fresh veggies. Splash a bit of water in each can too, swirl it around, and add it to the chili mixture.
  7. Add your chili seasoning (or your own special spice mix) and mix well.
  8. If it's looking dry, you could add a splash of water or tomato paste and water to add a little liquid.
  9. Turn the heat down to a simmer, cover with a lid and allow the mixture to bubble before enjoying.
  10. If the mixture looks extra juicy, allow it to bubble a bit with the lid off, this should take care of some of the extra liquid.
  11. Serve over couscous or rice and top with shredded sharp cheddar cheese.
  12. *Ann Schu's homemade chili sauce is obviously optional and most times I don't have it, but when I do, I receive five times the compliments!
https://liveseasoned.com/dutch-oven-chili/

live seasoned summer 15 dutch oven chili-1-2


There you have it. Super simple. How do you make chili? Do you serve it over rice or couscous? Are we the only ones?!


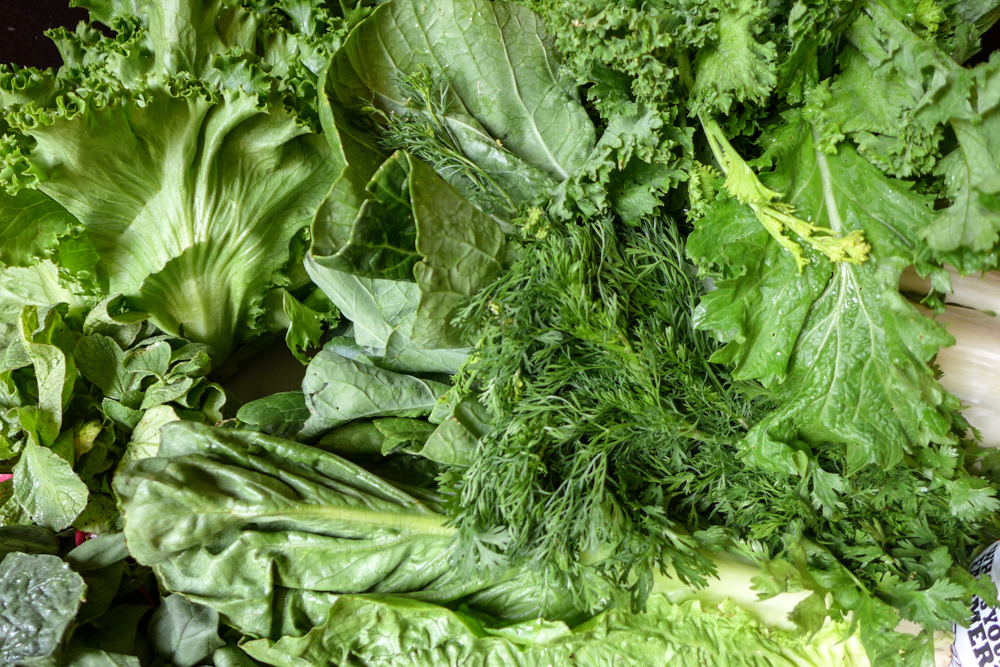
Arugula Walnut Pesto

Nuts are our ingredient of the season. We’ve been using them for sweets, drinks, and snack bars. Today we’re finally using them for a savory condiment!

Sarah here: Comin’ at ya with a republished post today – I’m making this tonight and I’m papapumped about it. Pasta and pesto all day please. Carry on.

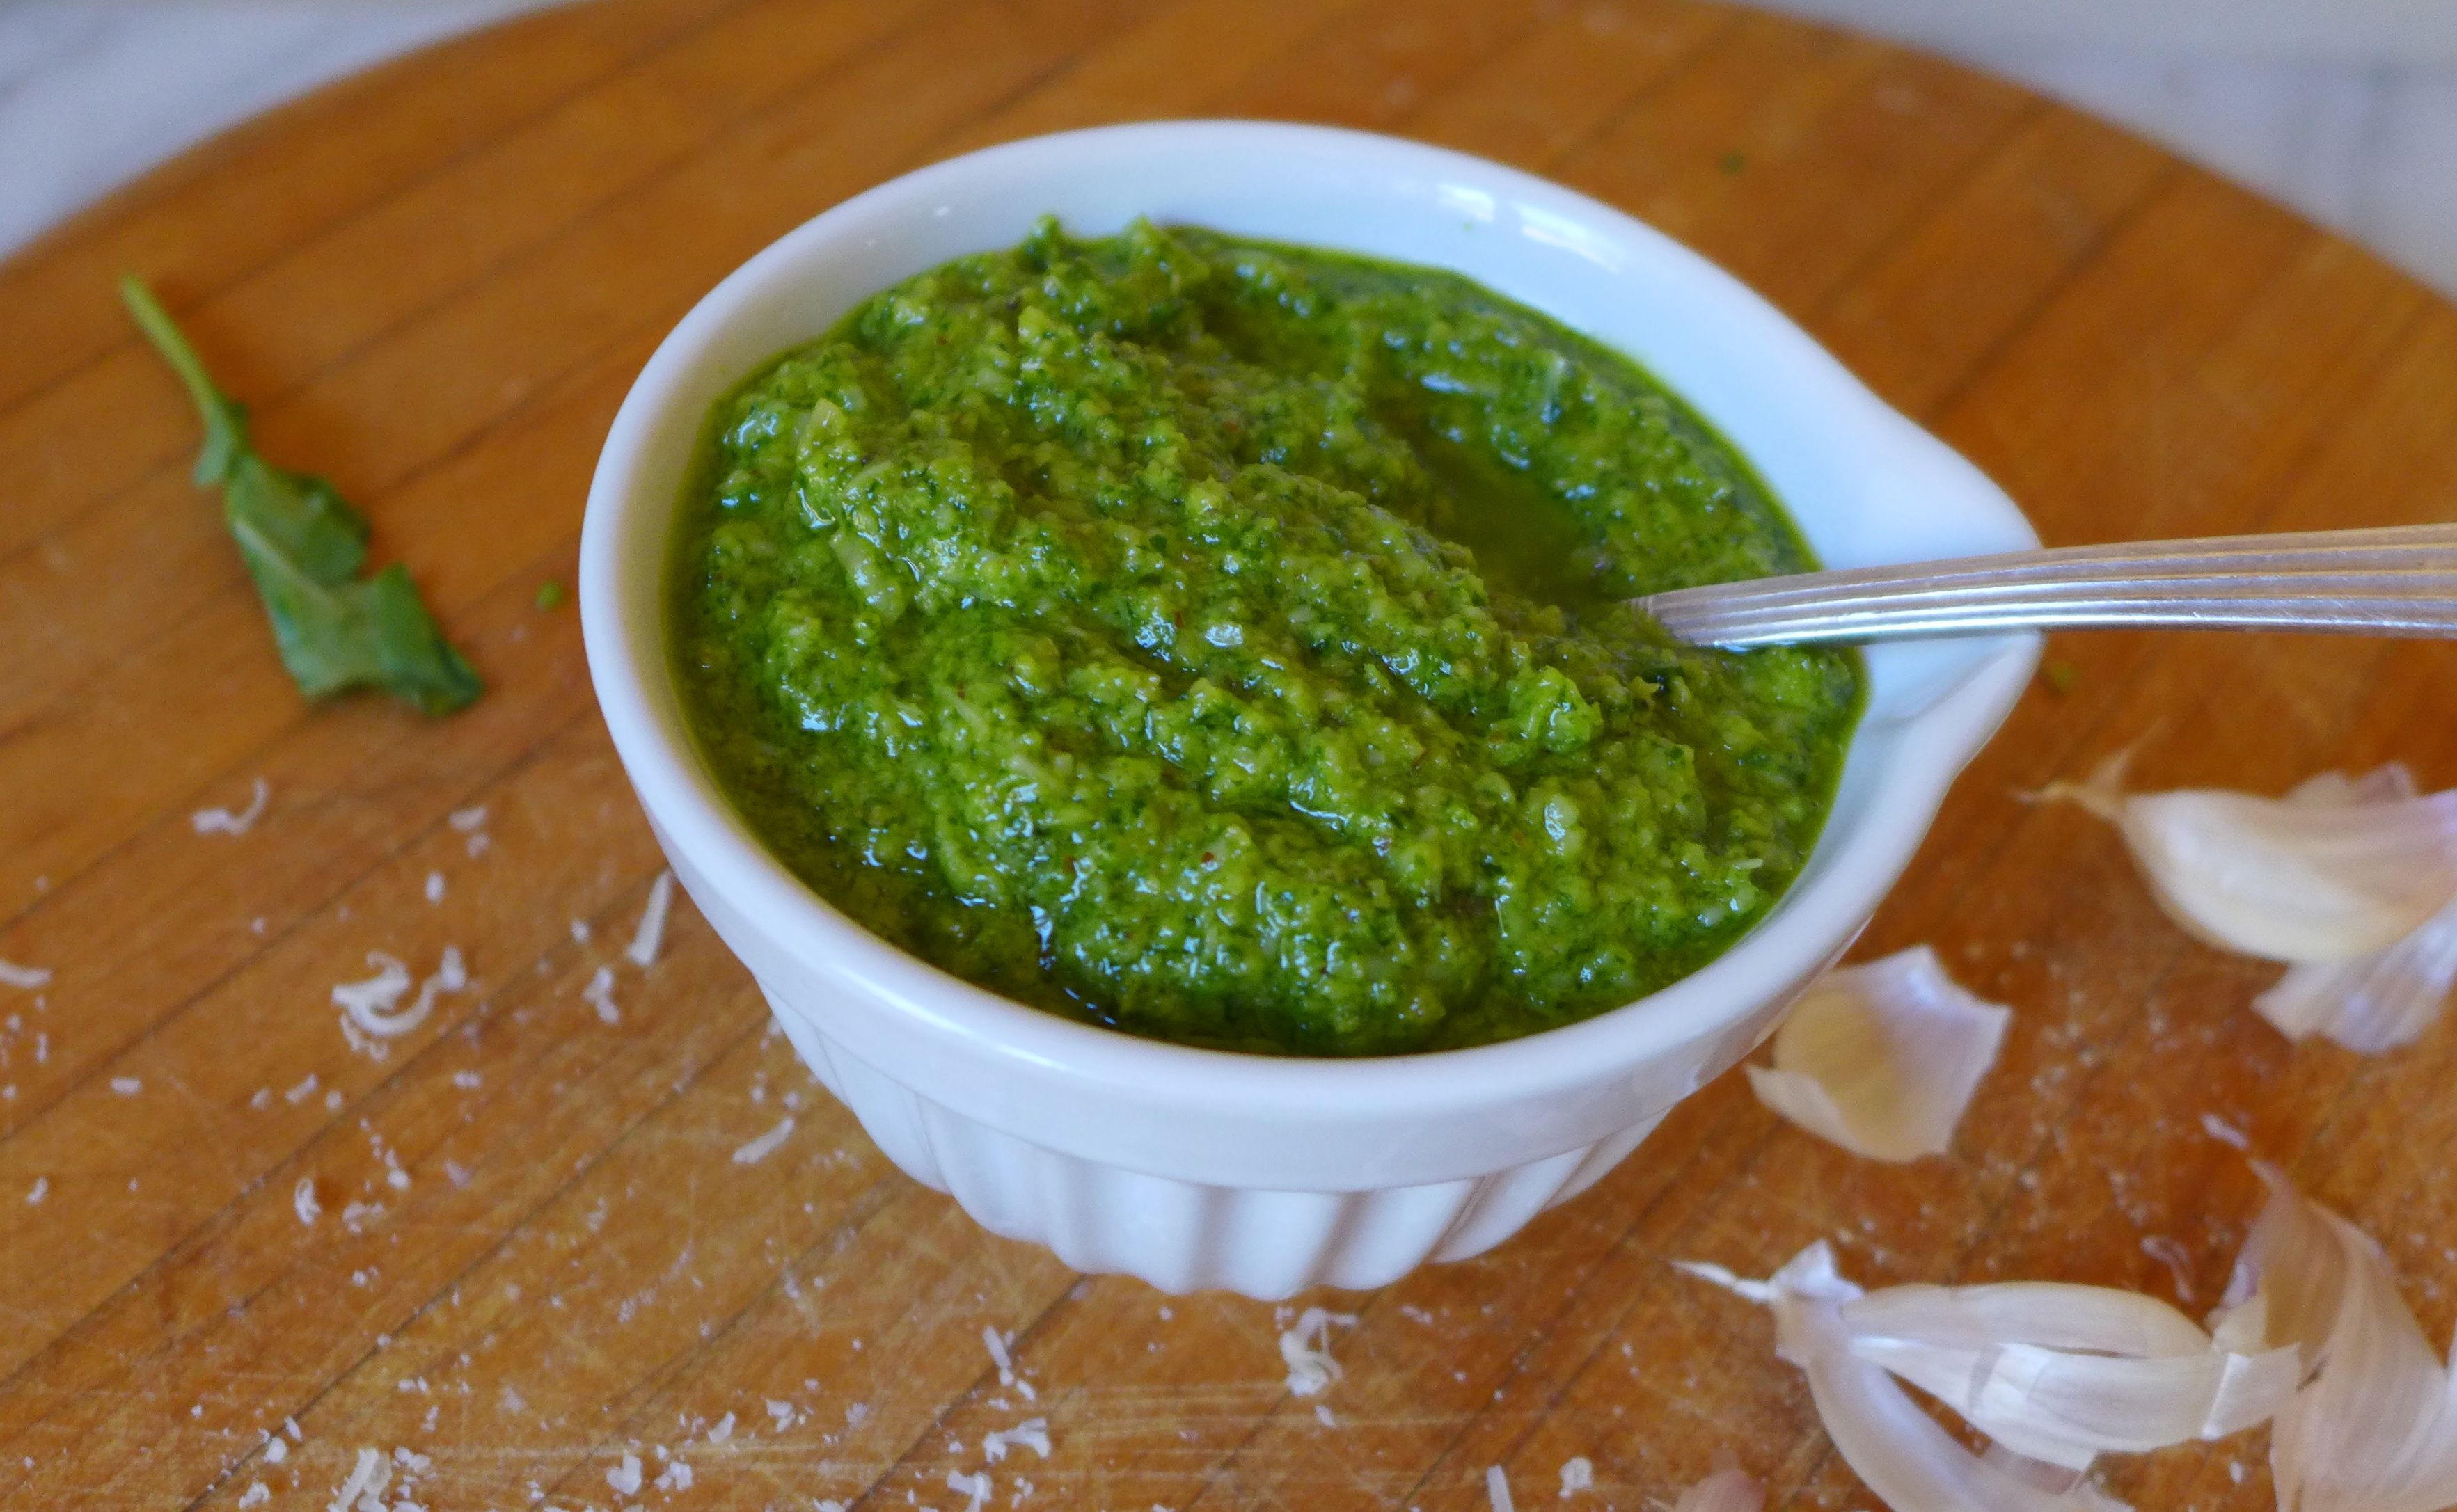
I didn’t even know I was looking for it, but I found my new favorite condiment in this arugula walnut pesto! I think I overdid the traditional basil and pine nut pesto, because the past few times I’ve had it, I just wasn’t excited by the flavor, but the peppery-ness of the arugula and parmesan combined with the savory walnuts and olive oil and the zing of fresh garlic allows this pesto to brighten any dish, creating the perfect cure for grey days when you’re faced with another late spring snow!

liveseasoned_spring2015_walnutpesto2

I have to admit, I didn’t go to the grocery store with arugula on my list and the intention of making this pesto, but when a super-sized container of arugula landed in our fridge,  I was looking for a way to use it up!

Continue reading

Sarah’s Jambalaya

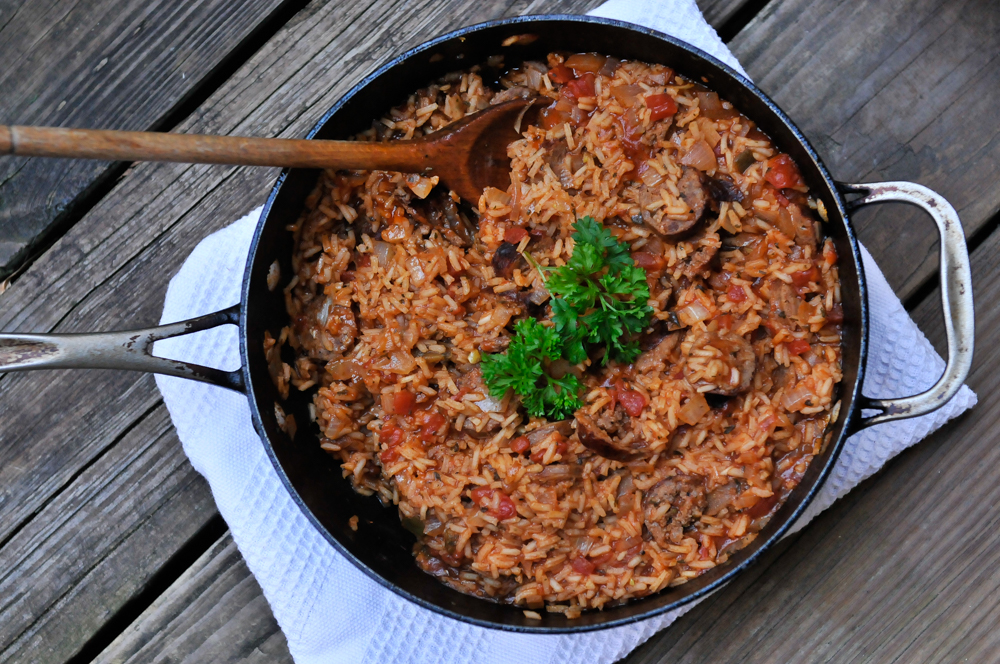
Guys! I almost dropped the ball on posting today, it’s so nice outside and I have a couple of gigs to run off to, but then these jambalaya pics appeared out of nowhere.  This recipe was begging to be shared and for good reason. This jambalaya is a fan favorite and it’s a one pot meal.  How can a home cooked dinner be any easier? Chop a few things, add a bunch of spices, set it and kinda forget it, cause it will be done before you finish one episode of House of Cards.live seasoned spring 16 jumbalaya-2

Continue reading

Pumpkin Galette

Pumpkin is our ingredient of the season. We have all sorts of sweet and savory dishes, as well as a face mask to wear while drinking your lattes.

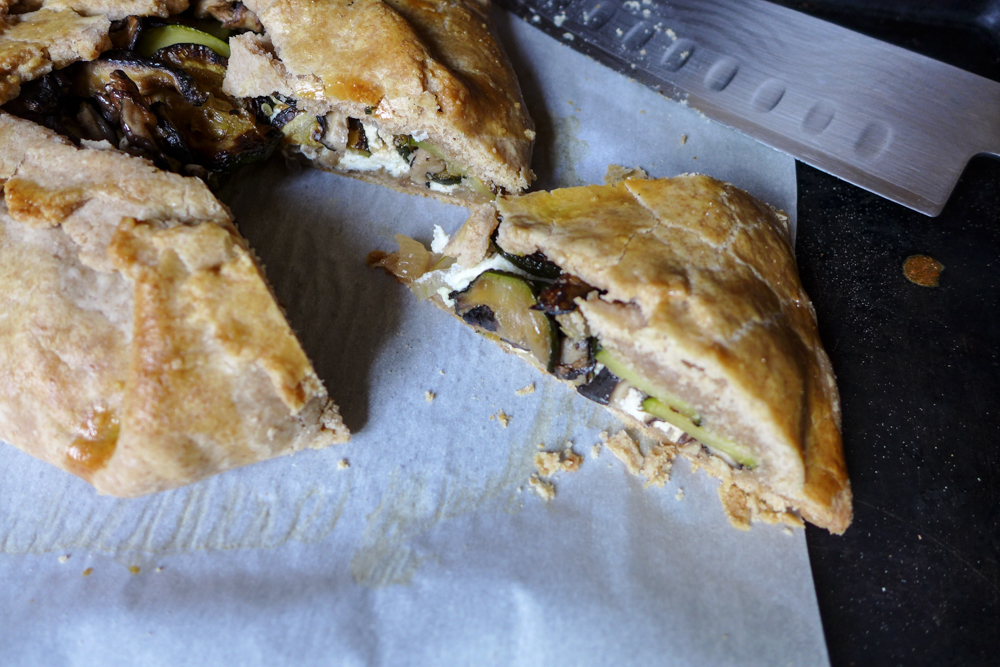
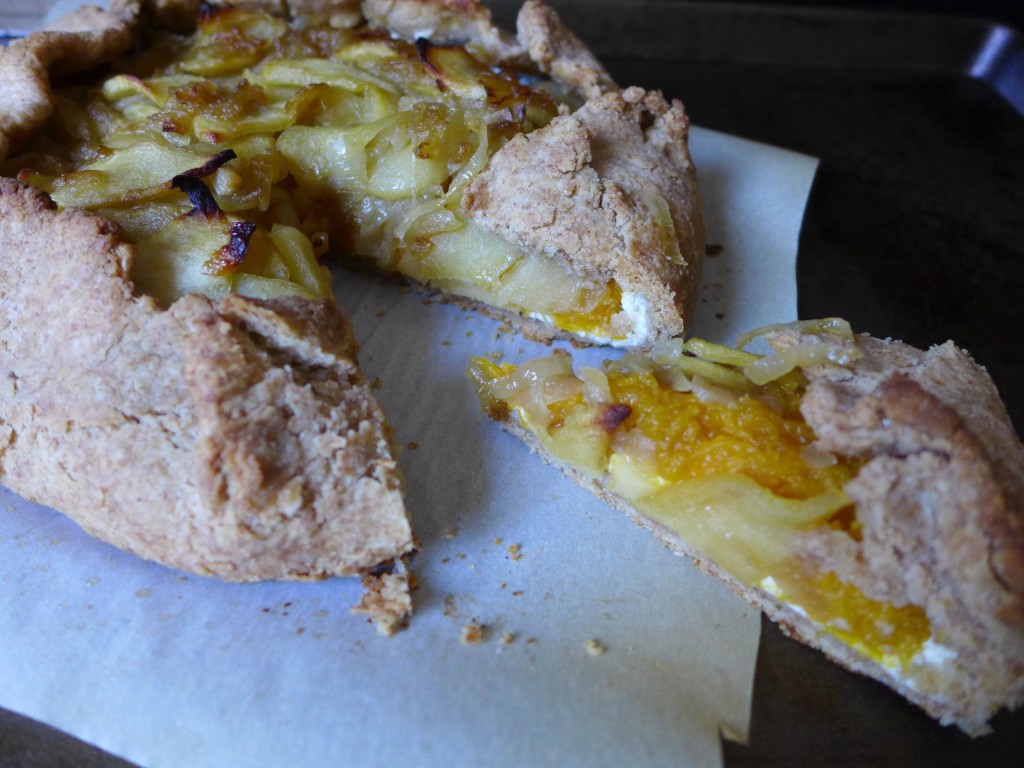
liveseasoned_fall2015_pumpkingalett6

Have you made a galette? I have the feeling that they’re a trendy-food-of-the-moment, as I keep seeing them pop up on blogs and places like the cooking section of the NYTimes. And you know what I think? If it’s trendy, there might be a reason why… flaky pastry crust and savory fillings. That’s why.

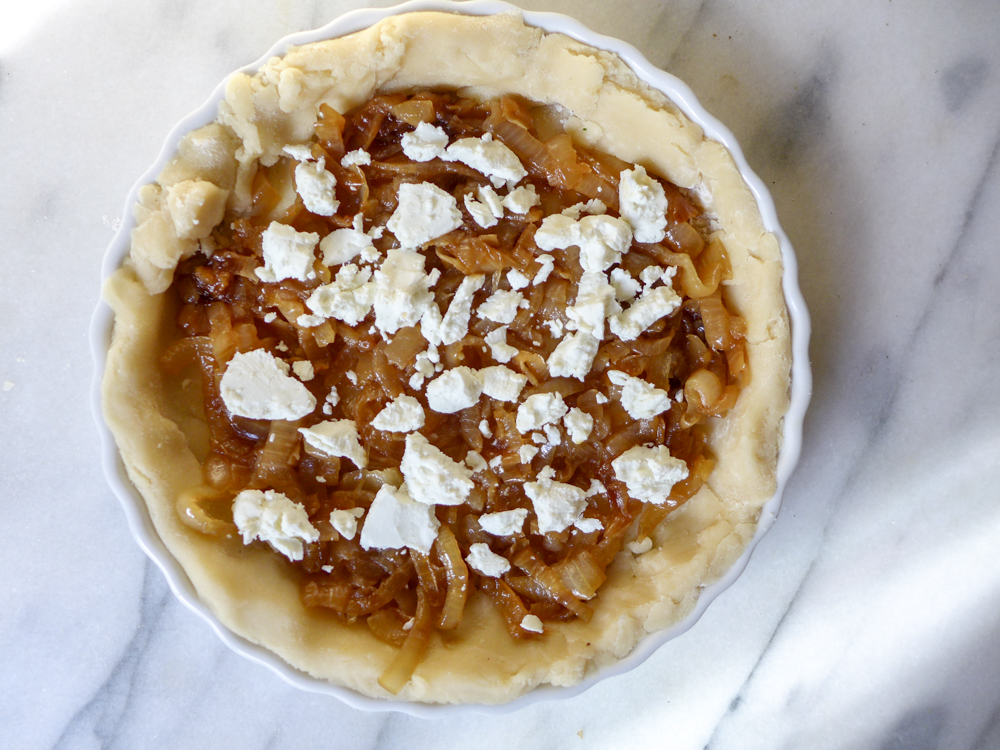
Very simply, a galette is a rustic pie without a pan. The pastry dough is rolled out into a rough circle, the filling is piled in the middle, and then the sides of the dough are turn up and over the filling. It gets baked on a flat pan and that’s it. Simple as pie (I had to say it)! Galettes can be sweet or savory. With a filling of pumpkin, caramelized onions, apple, and ricotta cheese, this one is a little of both. The dough’s whole wheat flour is a perfectly nutty compliment to the savory-sweet fall filling. Enjoy!

Continue reading

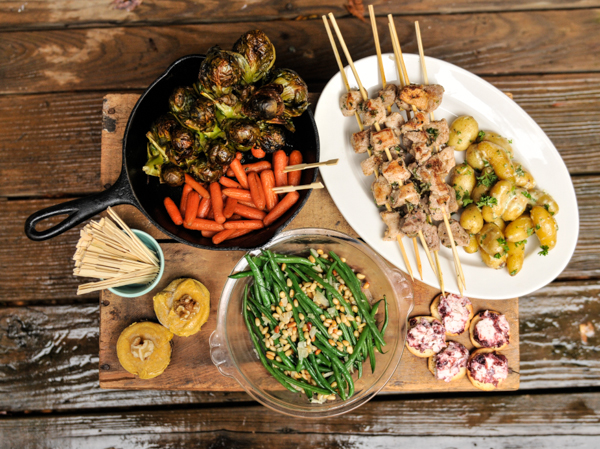
Thanksgiving Inspired Tapas

We’re republishing this yummy Thanksgiving inspired Tapas post from last year because it was so darn yummy.  Steal a recipe or two (or all five) for your big dinner this year.

liveseasoned_fall14_thanksgivingtapas-7

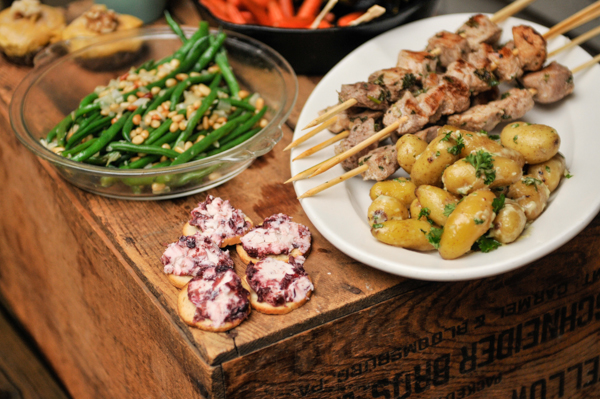
Happy Thanksgiving! I know, I’m a couple days early, but I wanted to show you how I celebrated Thanksgiving with my bf  last week.  I’m currently visiting a friend in Florida so I wanted to celebrate with K before I left.  I decided to create a tapas inspired Thanksgiving because it is perfect for couples, small families or those who are scared of cooking a turkey (me!). With some prep the night before, this all came together in under an hour.  Can you believe it?! I think my favorite part was the aioli tossed potatoes and the fact that everything is bite sized.  Eating tapas helps me slow down, enjoy the meal and talk between tiny bites.  We had a bunch of leftovers too and who doesn’t love that?!

One thing I try to do before starting to prepare a huge meal is to write a schedule.  I jot down all the names of the recipes in the order that I should start them.  That gives me a general guide so I’m not standing over the stove wondering what to do next.  At the end of the post, I’ll share my schedule with you.  I think it’d be easier to understand after you read the recipes.

liveseasoned_fall14_thanksgivingtapas-5

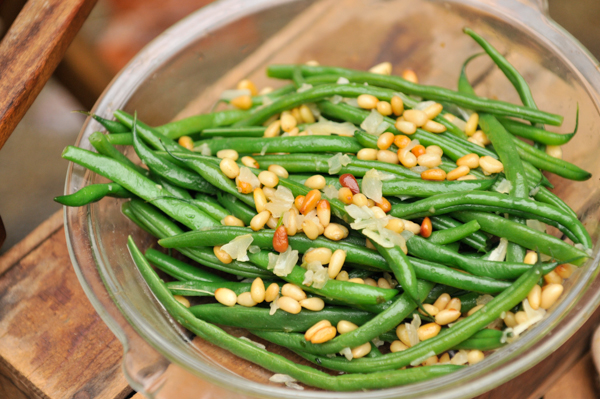
Garlic Tossed Green Beans with Toasted Pine Nuts

  • Half of an onion
  • 2 garlic cloves
  • 1/3 cup pine nuts
  • 1 lb green beans, trimmed
  • salt and pepper to taste
  • 2 tablespoons olive oil
  • Fill a tea kettle with water and turn it on to boil.
  • In a large sauté pan, pour 1 tablespoon of olive oil and turn the burner onto medium heat.  After a couple minutes, when the oil has heated up, add the pine nuts.  Toss the nuts every couple minutes.  When they start to pop or turn slightly brown, use a slotted spoon and place the nuts on a paper towel to drain. Turn the burner off for a moment. This should take no more than six minutes.
  • Place the trimmed green beans in a medium sized pot.  Pour the boiling tea kettle over the green beans and turn the burner on high heat.  Time the beans for seven minutes.  The green beans should be cooked, but still crisp. Once they’re done, drain them in a colander.
  • While the green beans are cooking, finely chop half an onion and two cloves of garlic. Add the onion to the sauté pan that you toasted the nuts in. Sprinkle a little salt over the onions.  Cook the onions on medium low heat until they are soft and translucent, about five minutes.  Add the garlic and continue to sauté for two more minutes.
  • By this time the green beans should be finished boiling.  Add them to the sauté pan and drizzle the remaining tablespoon over the green beans. Sprinkle with salt and pepper.  Stir the beans around to coat them with onions and garlic and add the pine nuts.  Stir for another minute or two to incorporate all the flavors and serve.

liveseasoned_fall14_thanksgivingtapas-6

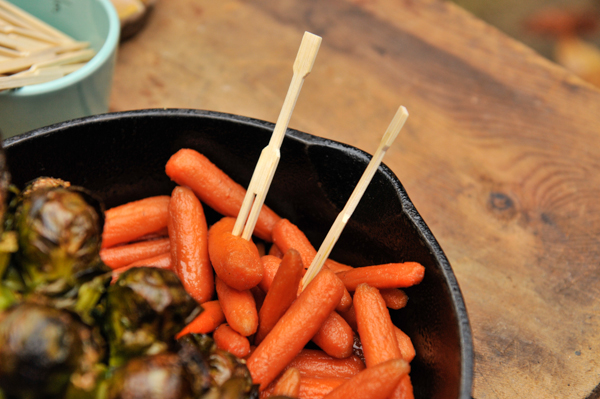
Brown Sugar and Maple Syrup Glazed Carrots

  • 1/2 lb of baby carrots or large chunks of full-sized carrots
  • 1/4 cup of maple syrup
  • 2 tablespoons of brown sugar
  • Preheat the oven to 375°.
  • Whisk together the maple syrup and the brown sugar.
  • Put the carrots in a cast-iron pan or a vessel that is able to be baked.
  • Add the carrots to the pan and pour the glaze over them.  Don’t worry if the carrots aren’t completely covered or saturated. The glaze will bake into the carrots just fine.
  • Cover the pan with tin foil to create a steaming effect.
  • Time for thirty minutes. Check the carrots by piercing them with a fork.
*These measurements are based on baking carrots for 3 people – increase as necessary.

liveseasoned_fall14_thanksgivingtapas-3

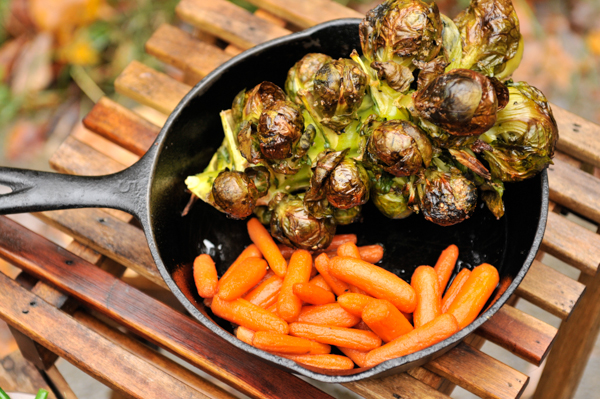
Roasted Brussel Sprouts

  • Stalk of brussels sprouts
  • 2 tablespoons of olive oil
  • 1/4 teaspoon cayenne pepper
  • 1/4 teaspoon salt
  • 1/4 teaspoon pepper
  • Preheat the oven to 375°
  • Optional step: Wrap the stalk of brussels in plastic wrap and microwave for three minutes.
  • Whisk together olive oil, cayenne, salt and pepper.
  • Place the brussels sprouts in a glass baking dish and drizzle with olive oil mixture.
  • Place in the oven and bake for 30 minutes.
*I like my brussels sprouts nice and brown, if you don’t, check the sprouts every ten minutes.

liveseasoned_fall14_thanksgivingtapas-1

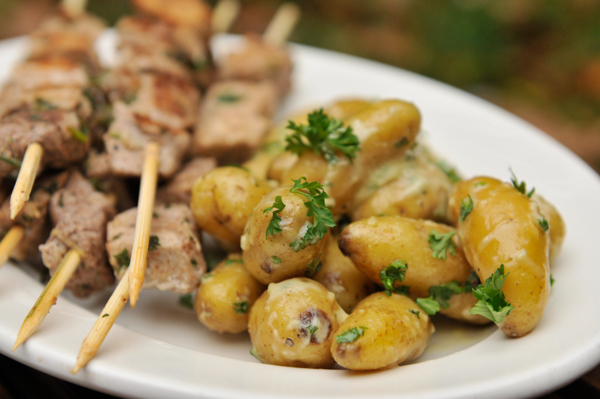
Aioli Tossed Potatoes

  • 1 egg – room temperature
  • 2 garlic cloves, pressed
  • 2 tablespoons olive oil
  • 2 tablespoons of vegetable oil
  • 1 tablespoon fresh lemon juice
  • sprinkle of pepper
  • 1 teaspoon of salt
  • 1 lb of very small potatoes
  • 2 tablespoons finely chopped fresh parsley
  • Bring a medium-sized pot of salted (add the tsp of salt) water to boil. Add the potatoes and cook until just soft.  Test the potatoes by piercing them with a fork.  About ten minutes.
  • Whisk together the room temperature egg, pressed garlic cloves, olive oil, and fresh lemon juice.  Sprinkle some pepper into the aioli.
  • Slowly drizzle in the vegetable oil, little by little while whisking the aioli.
  • When the potatoes are cooked, drain them and put them in a large bowl.
  • Toss the warm potatoes with aioli and parsley.
  • Let sit for 10-15 minutes before serving so that aioli soaks into the potatoes.

liveseasoned_fall14_thanksgivingtapas-4

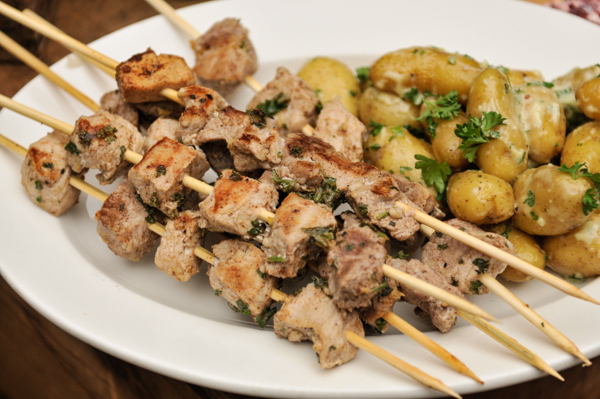
Warm and Spicy Grilled Pork Skewers

  • 1/4 teaspoon cayenne
  • 1/4 teaspoon cloves
  • 1/4 teaspoon nutmeg
  • 1/4 teaspoon cinnamon
  • 1/4 teaspoon allspice
  • 1/4 teaspoon pepper
  • Juice from one large lemon
  • 3 tablespoons olive oil
  • 3 garlic cloves, pressed
  • 3 tablespoons roughly chopped parsley
  • 1/2 – 1 lb pork
  • skewers
  • The marinade must be made the night before; please keep that in mind.
  • Whisk all the spices, garlic, lemon juice, parsley and olive oil in a bowl.
  • Cut up the pork pieces into quarter-sized chunks and place in a single layer in a shallow nonmetallic dish.
  • Pour the marinade evenly over the pork pieces, cover with plastic wrap and place in the fridge. Ideally, you should stir the pork two or three times over the course of 8-12 hours.
  • 8-12+ hours later, place the pork pieces onto skewers.  If you’re using wooden skewers, soak them in water for at least twenty minutes prior to grilling.
  • Place the pork skewers on the grill or broil them.  I used a George Foreman grill and it took approximately 6 minutes to grill each group of skewers.

liveseasoned_fall14_thanksgivingtapas-8

Also shown in the photos are cranberry goat cheese topped crackers and mini no bake pumpkin pies.  I picked up the goat cheese from Trader Joe’s; served at room temperature, it is the perfect appetizer. The mini pumpkin pie recipe will be shared tomorrow, so stay tuned 🙂

After typing all those recipes, I realize that seems like a lot to do, but with a little preparation it comes together quickly.  The night before you can prep by washing the carrots, brussels, green beans and potatoes.  Chop a big pile of parsley and make the marinade and the aioli as well.  I also did a mental walkthrough of all the recipes and pulled out garnishes, gadgets, pots, pans and serving dishes for everything.  It’s a small step, but it really helps on the morning of.  That way everything is sitting out on the counter ready to be grabbed at a moments notice.

The day of, start by making the brussels sprouts and carrots.  Then bring several pots of water to boil for your beans and potatoes.  After your green beans are completely finished and the potatoes are tossed with aioli, quickly grill up the pork skewers.  By that time the oven veggies should be finished up and you are ready to serve dinner!

Butternut Squash Pasta

Pumpkin is our ingredient of the season. Today I went crazy and threw out the pumpkin for a butternut squash. Hope you don’t mind!

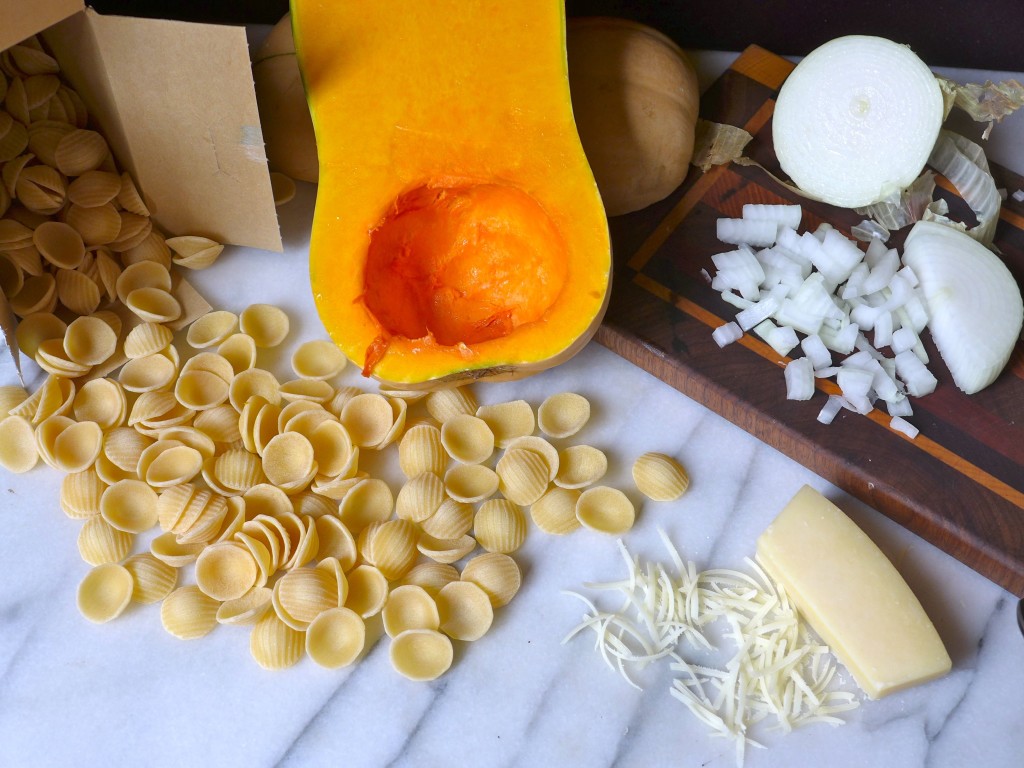
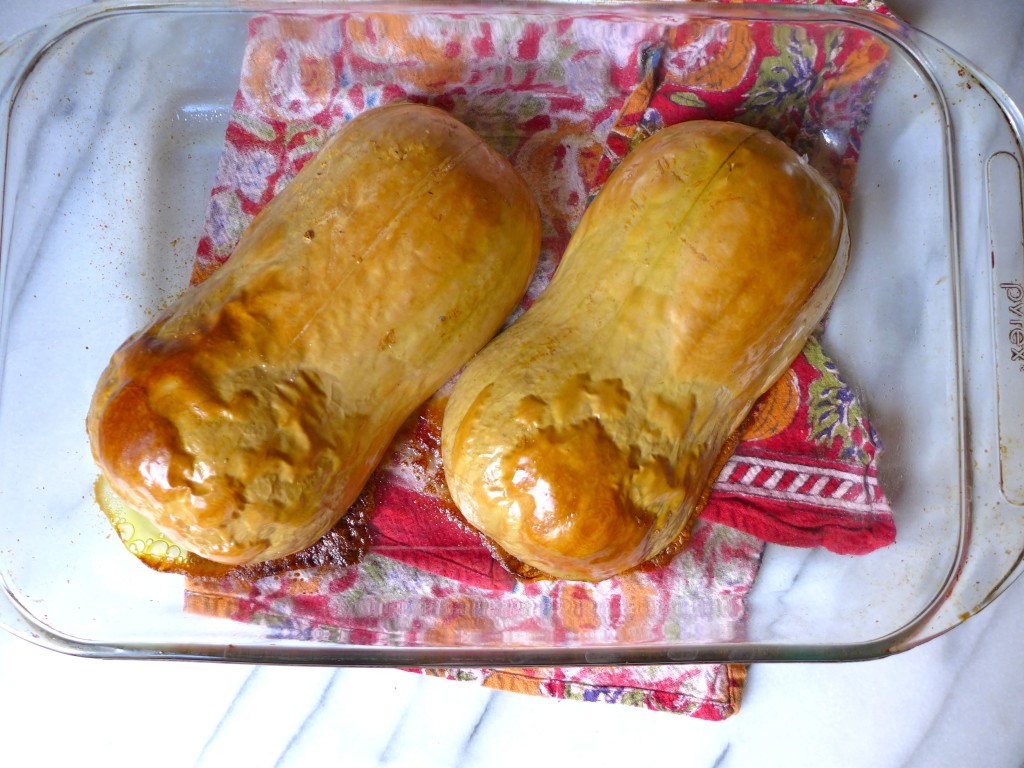
Today’s recipe for butternut squash pasta is absurdly easy, and it’s something that I find myself making every fall to usher in the season of squash. Come fall, I always have at least one butternut squash on the counter, so that’s what I used today, but this dish would be just as delicious if made with a sugar pumpkin. If you currently have a few squash on the counter, roast two squash today, eat one with your pasta, and use the other for our roasted root and squash soup.

liveseasoned_fall2015_squashpasta10

It’s been years since I’ve lived with roommates, and while sharing space has plenty of downsides, one thing I always loved was sharing the kitchen during meal times. I didn’t live in many situations where we actually shared meals (we were all on different schedules and often had different diets), but being in the kitchen while roommates were cooking often exposed me to new ideas, flavors, dishes, and stories. We all know it, time spent in the kitchen together is special, and it’s no surprise that guests/roommates/family will often congregate in the kitchen. This dish came from one of those random roommate moments in the kitchen.

liveseasoned_fall2015_squashpasta1

It was my first year living in Boston, there was a fall chill in the air, and my roommate had just roasted a squash. He didn’t have a particular dish in mind, but while the squash was roasting, he was also boiling pasta. The squash came out of the oven, a lightbulb went off in his head, and he combined the two. I don’t remember what else was in his dish, but I remember taking a bite and loving the combination of perfectly cooked pasta caked in the sweet squash with a dash of salt.

liveseasoned_fall2015_squashpasta3
liveseasoned_fall2015_squashpasta2
liveseasoned_fall2015_squashpasta4

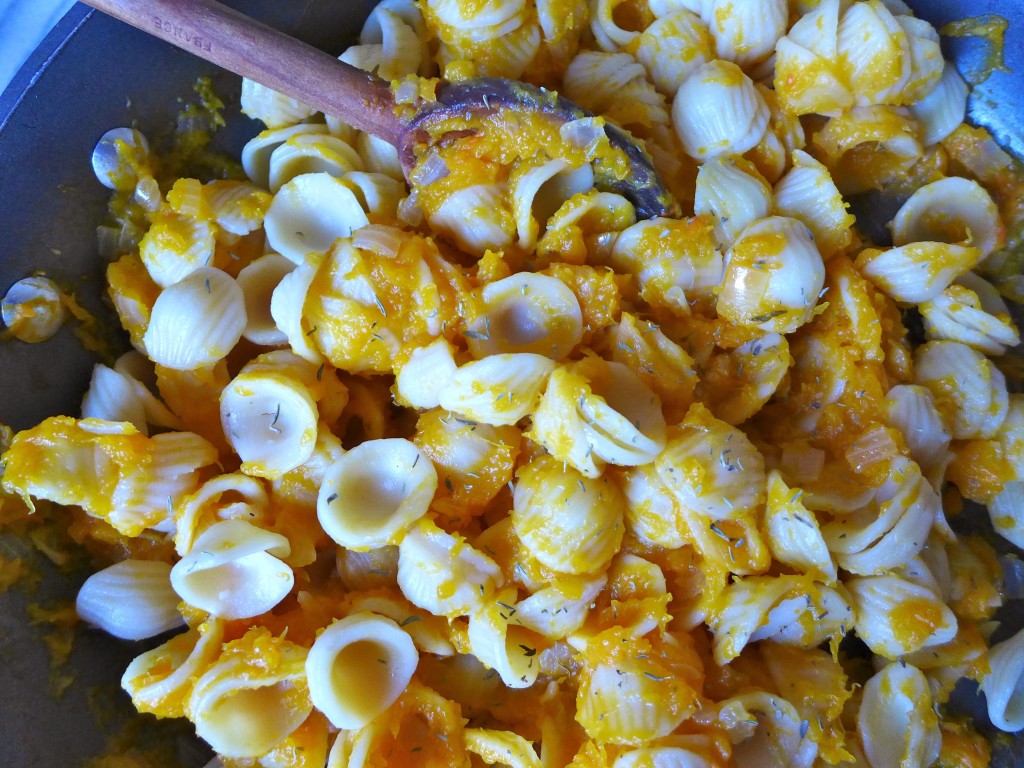
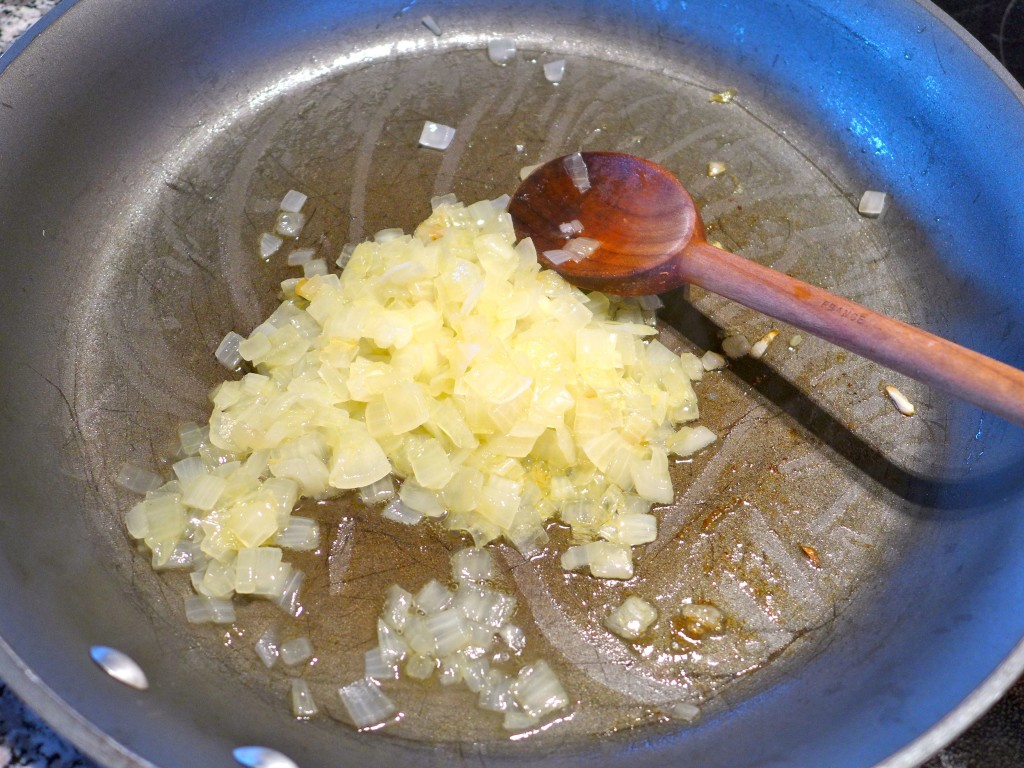
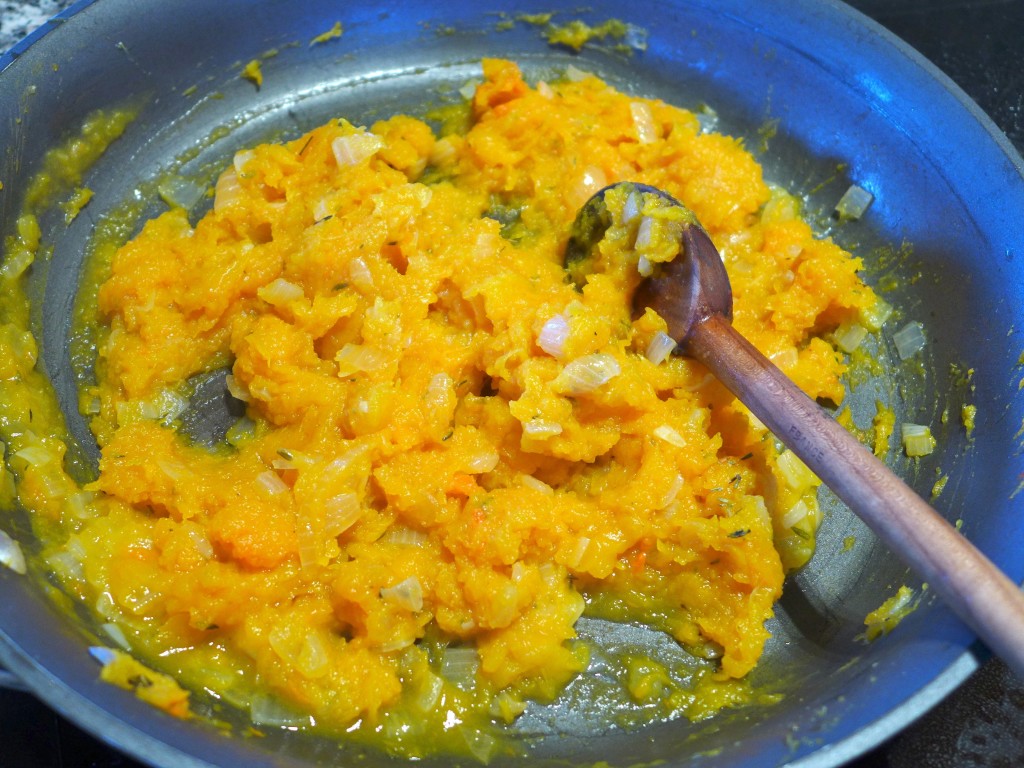
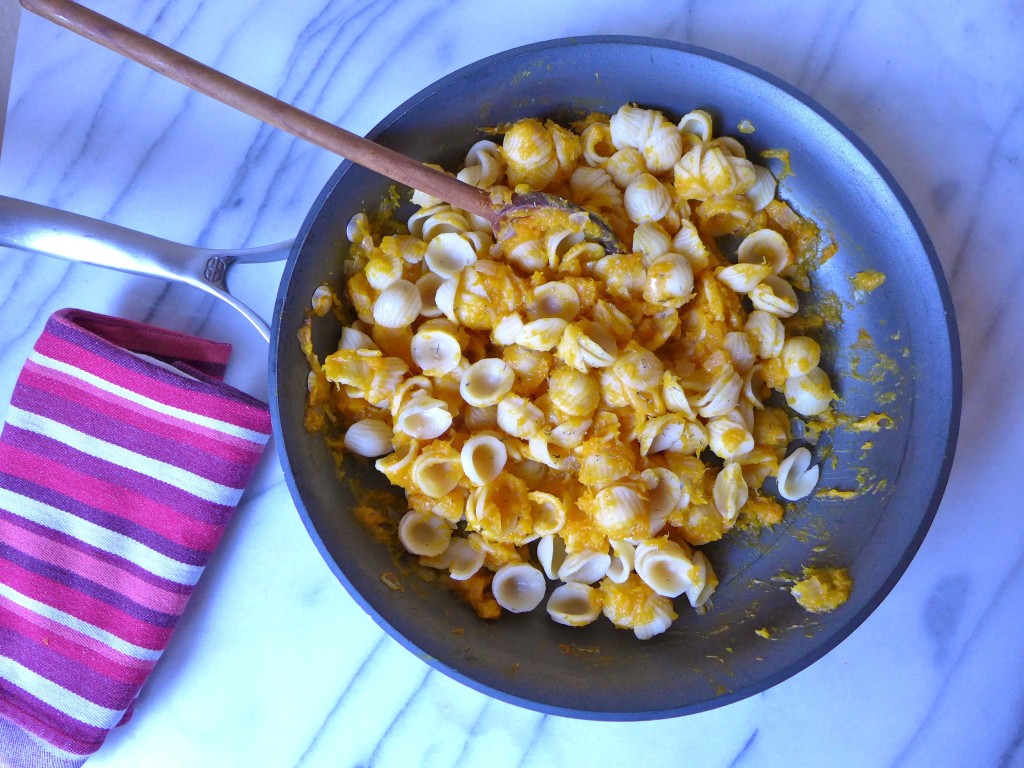
Over the years, I’ve made some version of this dish every fall, and I’ve started to fall into a routine. I always slowly sauté the onions in some butter and olive oil until they are translucent, super soft, and amazingly sweet. After the roasted squash is added to the onions, I season it with a bit of dried thyme and garlic powder, and I use water from the cooking pasta to get a sauce consistency that is thin enough to easily mix with the pasta, but thick enough to stick in every nook and cranny.

liveseasoned_fall2015_squashpasta8

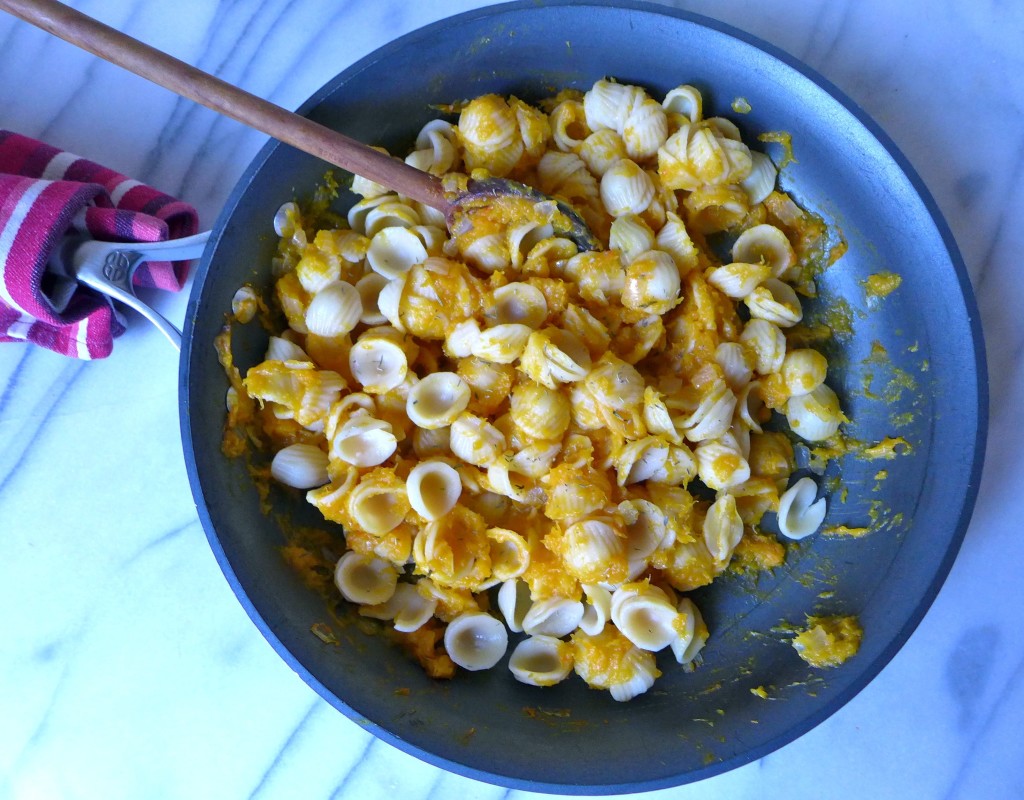
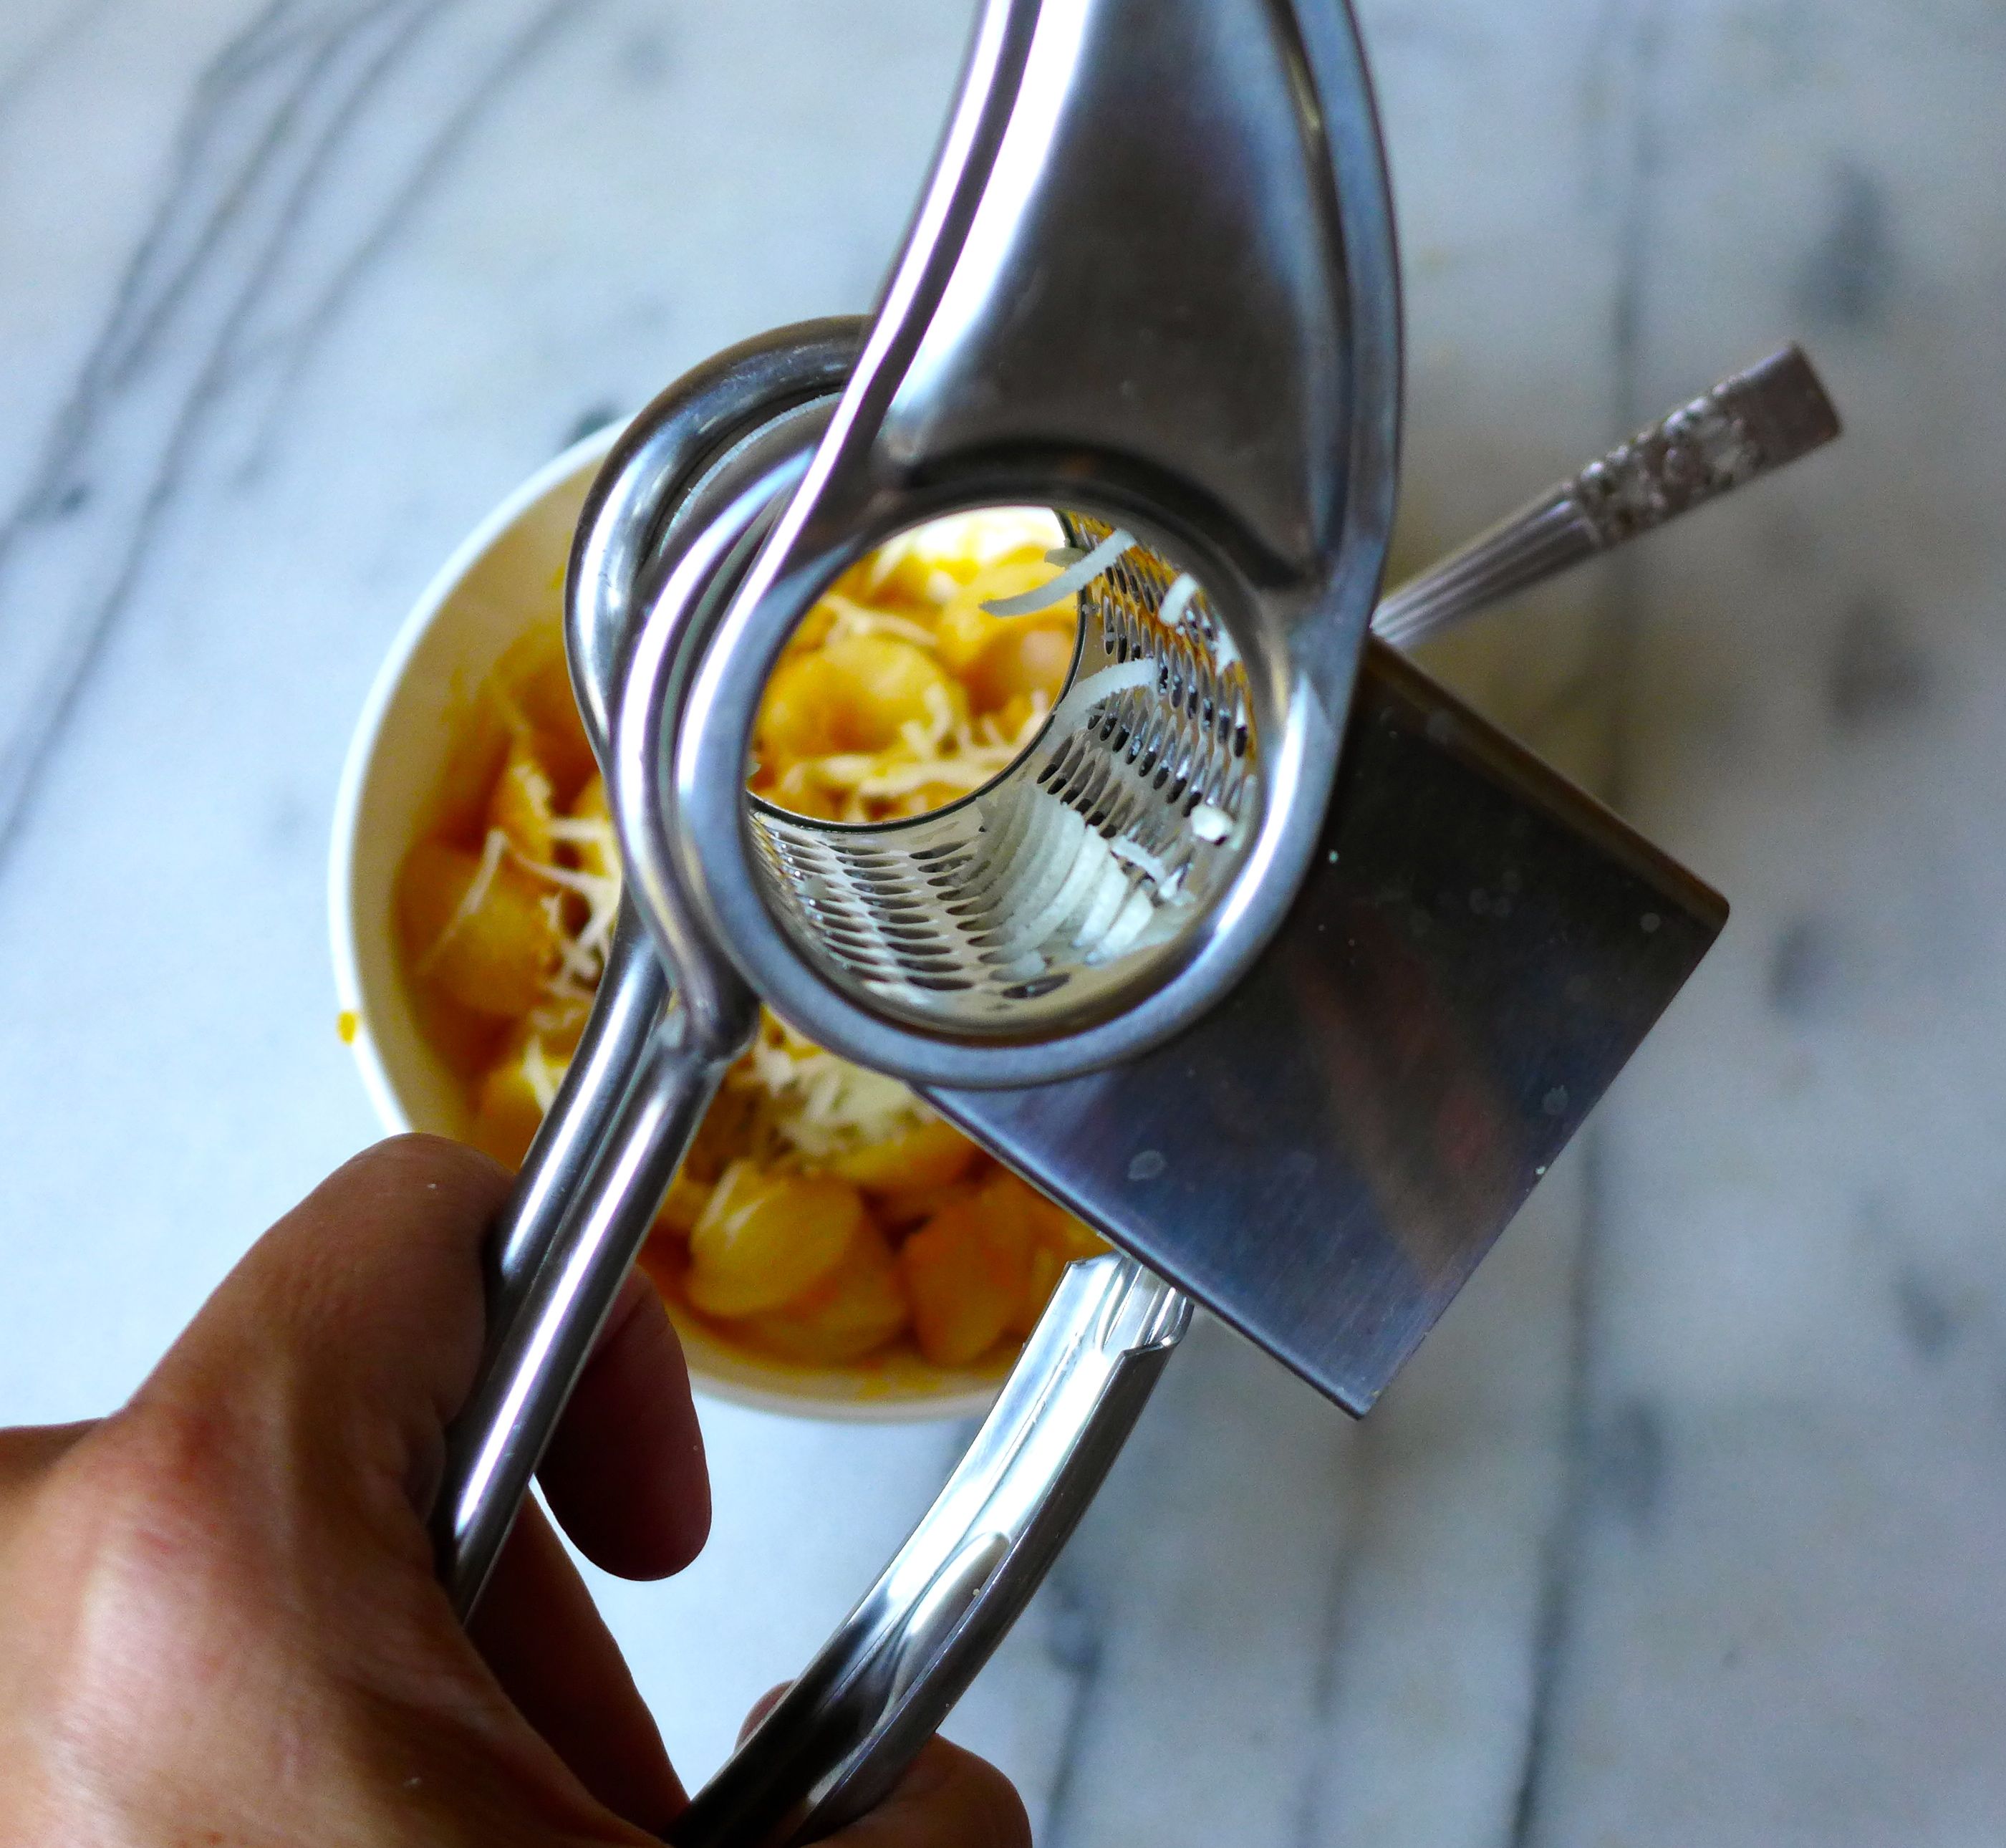
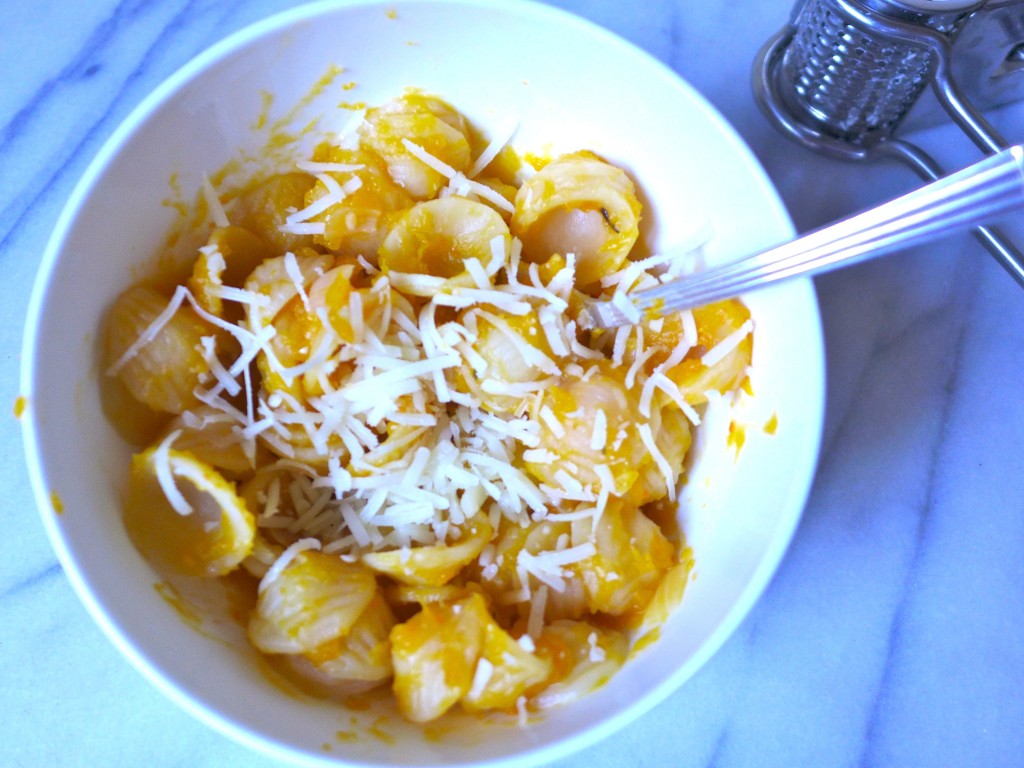
Once the sauce is ready, I stir in the cooked pasta and season it with salt. Before serving, there’s one more, absolutely crucial step : add a bit of freshly grated parmesan. The nutty and salty flavor of the parmesan does something amazing to the squash and pasta combination. It adds a deeper flavor (maybe it’s a touch of umami?) that rounds out each bite, and will have everyone at the table finishing their plate.

And speaking of finishing plates, now that one of my roommates is a toddler and the other just got his first teeth, I love making healthy food that they devour. As all moms know, you can’t go wrong with pasta, but you don’t necessarily love giving them plain noodles. This, my fellow moms, is a winning vegetable main course with my boys (granted, baby Luc can only eat the squash).

liveseasoned_fall2015_squashpasta11
 
liveseasoned_fall2015_squashpasta5

We don’t have a formal recipe today, that would just ruin the experience of the casual weeknight meal shared by roommates hanging out in the kitchen after too many hours in the library.

liveseasoned_fall2015_squashpasta9

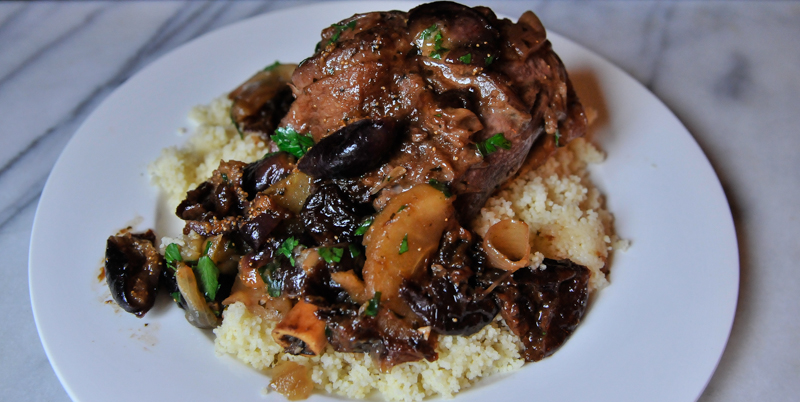
Roasted Lamb Shank with Fruit and Herbs

Lemon is our ingredient of the season! Today we’re cooking up a savory dish, and if you like this, you may want to check out our lemon pasta and chicken with preserved lemons.

The night before leaving for our big trip east, I roasted lamb shanks as a going away dinner. We were going to be away from Calder for about two weeks, and in just a few more days, Sarah’s off to Nepal! So something special was definitely in order.

liveseasoned_fall15_lamb-6

Since we loved the creativity and flavor of the chicken with preserved lemons, Calder said we should just make that again (it was that good!). Instead, I decided to test another recipe from the Tagines & Couscous cookbook, and I’m so happy to report that we hit another home run!

Continue reading

Chicken with Preserved Lemons

Lemon is our ingredient of the season! So far we’ve used it in a bucklein barsin a savory pasta, popsicles, and in the shower.

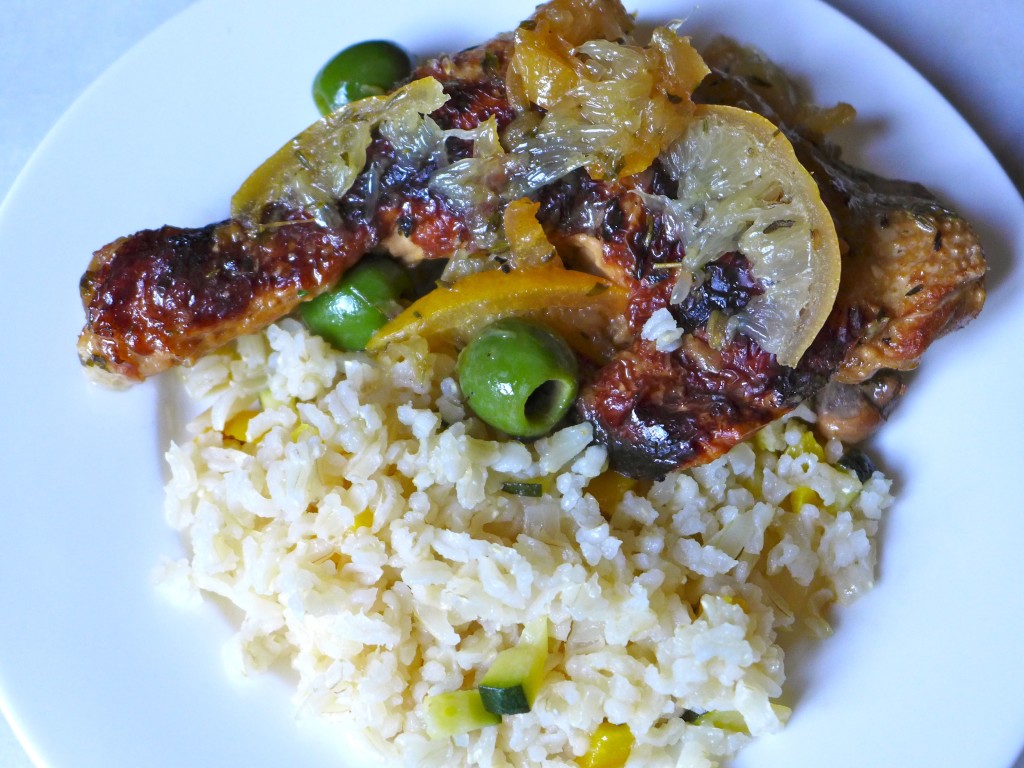
If there’s one thing making this chicken with preserved lemons dish confirmed, it’s that Calder and I fall hard for main dishes with a mix strong flavors. For example, this dish calls for fresh and preserved lemons, fresh ginger, garlic, onions, olives, and cilantro (wow!). I would never dream of putting that many flavors together on my own, and I wouldn’t have the confidence to assume that they would go well with chicken. BUT when flipping through cookbooks, that’s just the sort of edgy combination that jumps out and gets me excited to try a new recipe. Such was the scene last week when I pulled our Tagines & Couscous cookbook off the shelf.

preserved_lemon_chicken10

Stop. Do you know what a tagine (also spelled tajine) is? It was only in the past few years that I learned, and then we received a beautiful tagine as a wedding gift. A tagine is a piece of cookware from North Africa that’s made of clay and is sometimes glazed or painted. It’s made of two pieces, the bottom is flat with low sides, the top is cone-shaped. The top’s shape is meant to allow condensation to form and drip back down into the bottom of the dish. While tagines are traditionally used to cook over hot coals, they can also be used on traditional stovetops and in the ovens.

Funny thing – ours is so beautiful that I still haven’t gotten up the courage to actually use it. I’m scared it’ll break! Luckily, even if you don’t have a tagine, you can still make many of the recipes that call for them using a heavy-bottomed pot, like a dutch oven. That’s what I did for this dish.

Continue reading

Lemon Ricotta Pasta

Lemon is our ingredient of the season! So far we’ve used it in a buckle, in bars, and in the shower. Oh, and there are two on my counter waiting for our next project!

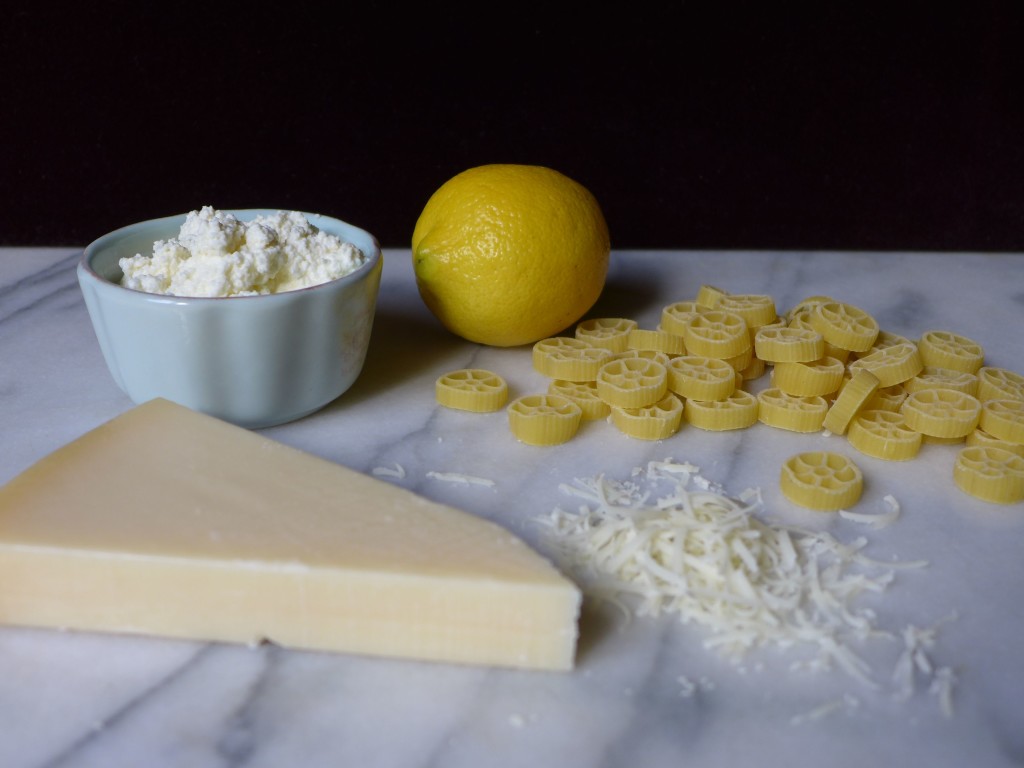
After all of our desserts and drinks in the lemon category, are you ready to try something savory? This Lemon Ricotta Pasta is the perfect savory use of lemon. The citrus takes a pasta dish that could feel heavy when mixed with two cheeses and lightens it up, perfect for a summer dinner on the deck.

liveseasoned_summer2015_lemonpasta

As you’ll see, this dish is also crazy easy to make.  After an early morning flight back to Colorado yesterday, our family is still in recovery mode and trying to get back into a routine. It’s weeks like these when I like to cut myself a break and keep dinner simple while still actually cooking because I find that even simple dinners are key to helping us regain a routine.

Continue reading