Welcome December!

On the first Wednesday of each month we like to pause and take a look at what’s going on in the world around us, with a particular focus on animal activity, celestial events, and our farmers’ fields.

liveseasoned_winter14_welcomedecember-1-2

Earth and Sky:

The sky is a flurry of activity this month. Dust off your telescope and bundle up because there is a lot to see.  This Friday (December 5th) I’m hoping to light a campfire and gaze up at the Cold Moon also known as the Long Nights Moon.  It rises during sunset and sets around sunrise on Saturday morning.  This is the only night all month when the moon is in the sky all night long; the other days, the moon is present, at least for a bit, in the daytime sky.

  •  Also on Friday, the full moon passes a bit north of Aldebaran, the red giant star, and the Hyades star cluster making for an amazing conjunction.  A little bit about Aldebaran: It’s the red eye of Taurus the bull and it’s also 66 light-years away.  If you’re familiar with Taurus you know that the rest of the face is made of the V-shaped Hyades cluster.  The glare of the nearly full moon will block your view of Hyades, but you should be able to see the cluster with a pair of binoculars.  The moon will glide by the Hyades cluster over the course of a few hours on Friday evening making it easy to witness the moon’s motion across our sky.
  • If you have access to a telescope, now’s the time to use it.  On Saturday evening (December 6) you can see the sky’s most famous and apparently the best example of a supernova remnant.  Find the moon, hold your arm out straight, pointing at the moon and now make a fist.  Crab Nebula should be about 4 degrees above the moon, which is a little less than the width of your fist.  Crab Nebula is about 7,000 light-years away and shines only faintly. According to National Geographic, Crab Nebula was first seen in the sky by Chinese astronomers during 1054 A.D. when it exploded.
  • The Geminid meteor shower peaks on the evening of the 13th and early morning of the 14th.  The last quarter moon will interfere a tad, but you should still see some action.  Each of the meteors can be traced back to Gemini, which rises in the northeast late at night.  The best meteors will be visible about ninety degrees away from Gemini.
  • I hope you kept your telescope handy. Shortly after midnight on December 15th, the shadows of both lo and Europa will fall simultaneously on Jupiter.  The event lasts for about fifty minutes at approximately 1:12 – 2:02 a.m. Good luck!
  • If you’re an early riser, you’ll see a pleasant sight on Friday, December 19th. Saturn returns to its station as a morning star sitting close to the waning crescent moon just before sunrise.  

Of course these aren’t the only sky events going on this month, but it’s an exciting list to start with.

Winter is not my ideal time to visit the farmers market, but I do try to make an effort to go several times a month.  Mostly I just feel bad for the frozen farmers, but I also need to eat veggies too and what better place to purchase them, am I right? I was considering signing up for a winter farm share, but I never ended up sealing the deal. Did you catch any of Katie’s posts or pics about her  CSA this season? So envious! Even though it’s a lot colder here in North Carolina than it was at this time last month, there is a lot in season. I spotted beets, turnips, broccoli, cauliflower, pumpkin, winter squash and oriental veggies at my market. There were also a bunch of collards, kale, mustard greens, lettuce, and spinach among other fall and winter veggies. Need I mention that it is the best place to buy handmade wreaths and other holiday greenery?!

liveseasoned_winter14_welcomedecember-1-6

 Earth Days and Events:

Speaking of holidays, along with Bodhi, Festivus, Kwanza, Christmas and Hanukkah, there are also a couple earth holidays this month.  December 5th is a big day for sky events, but also for our soil!  The World Soil Day campaign aims to connect people with soils in order to raise awareness about their critical importance in our lives.  If you are a gardener you know that much is obvious, but many might not see the important connection.  Soil is neglected by many.  We pollute the water, air and environment, which all equates to poor soil quality.  Without proper care for our soils, it turns full circle and we neglect the overall quality of our food, water, biodiversity and overall quality of life. So speak about soil on December 5th!

liveseasoned_winter14_welcomedecember-1-14


liveseasoned_winter14_welcomedecember-1-8

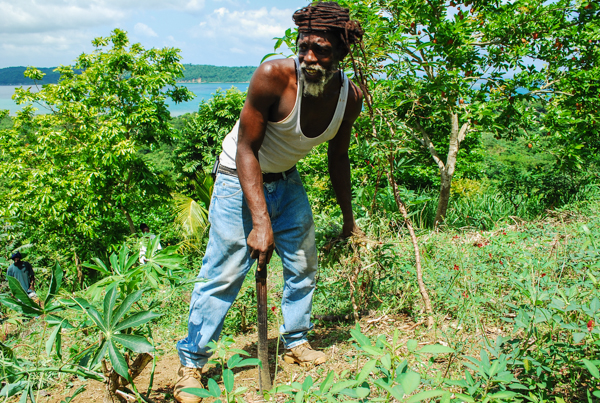
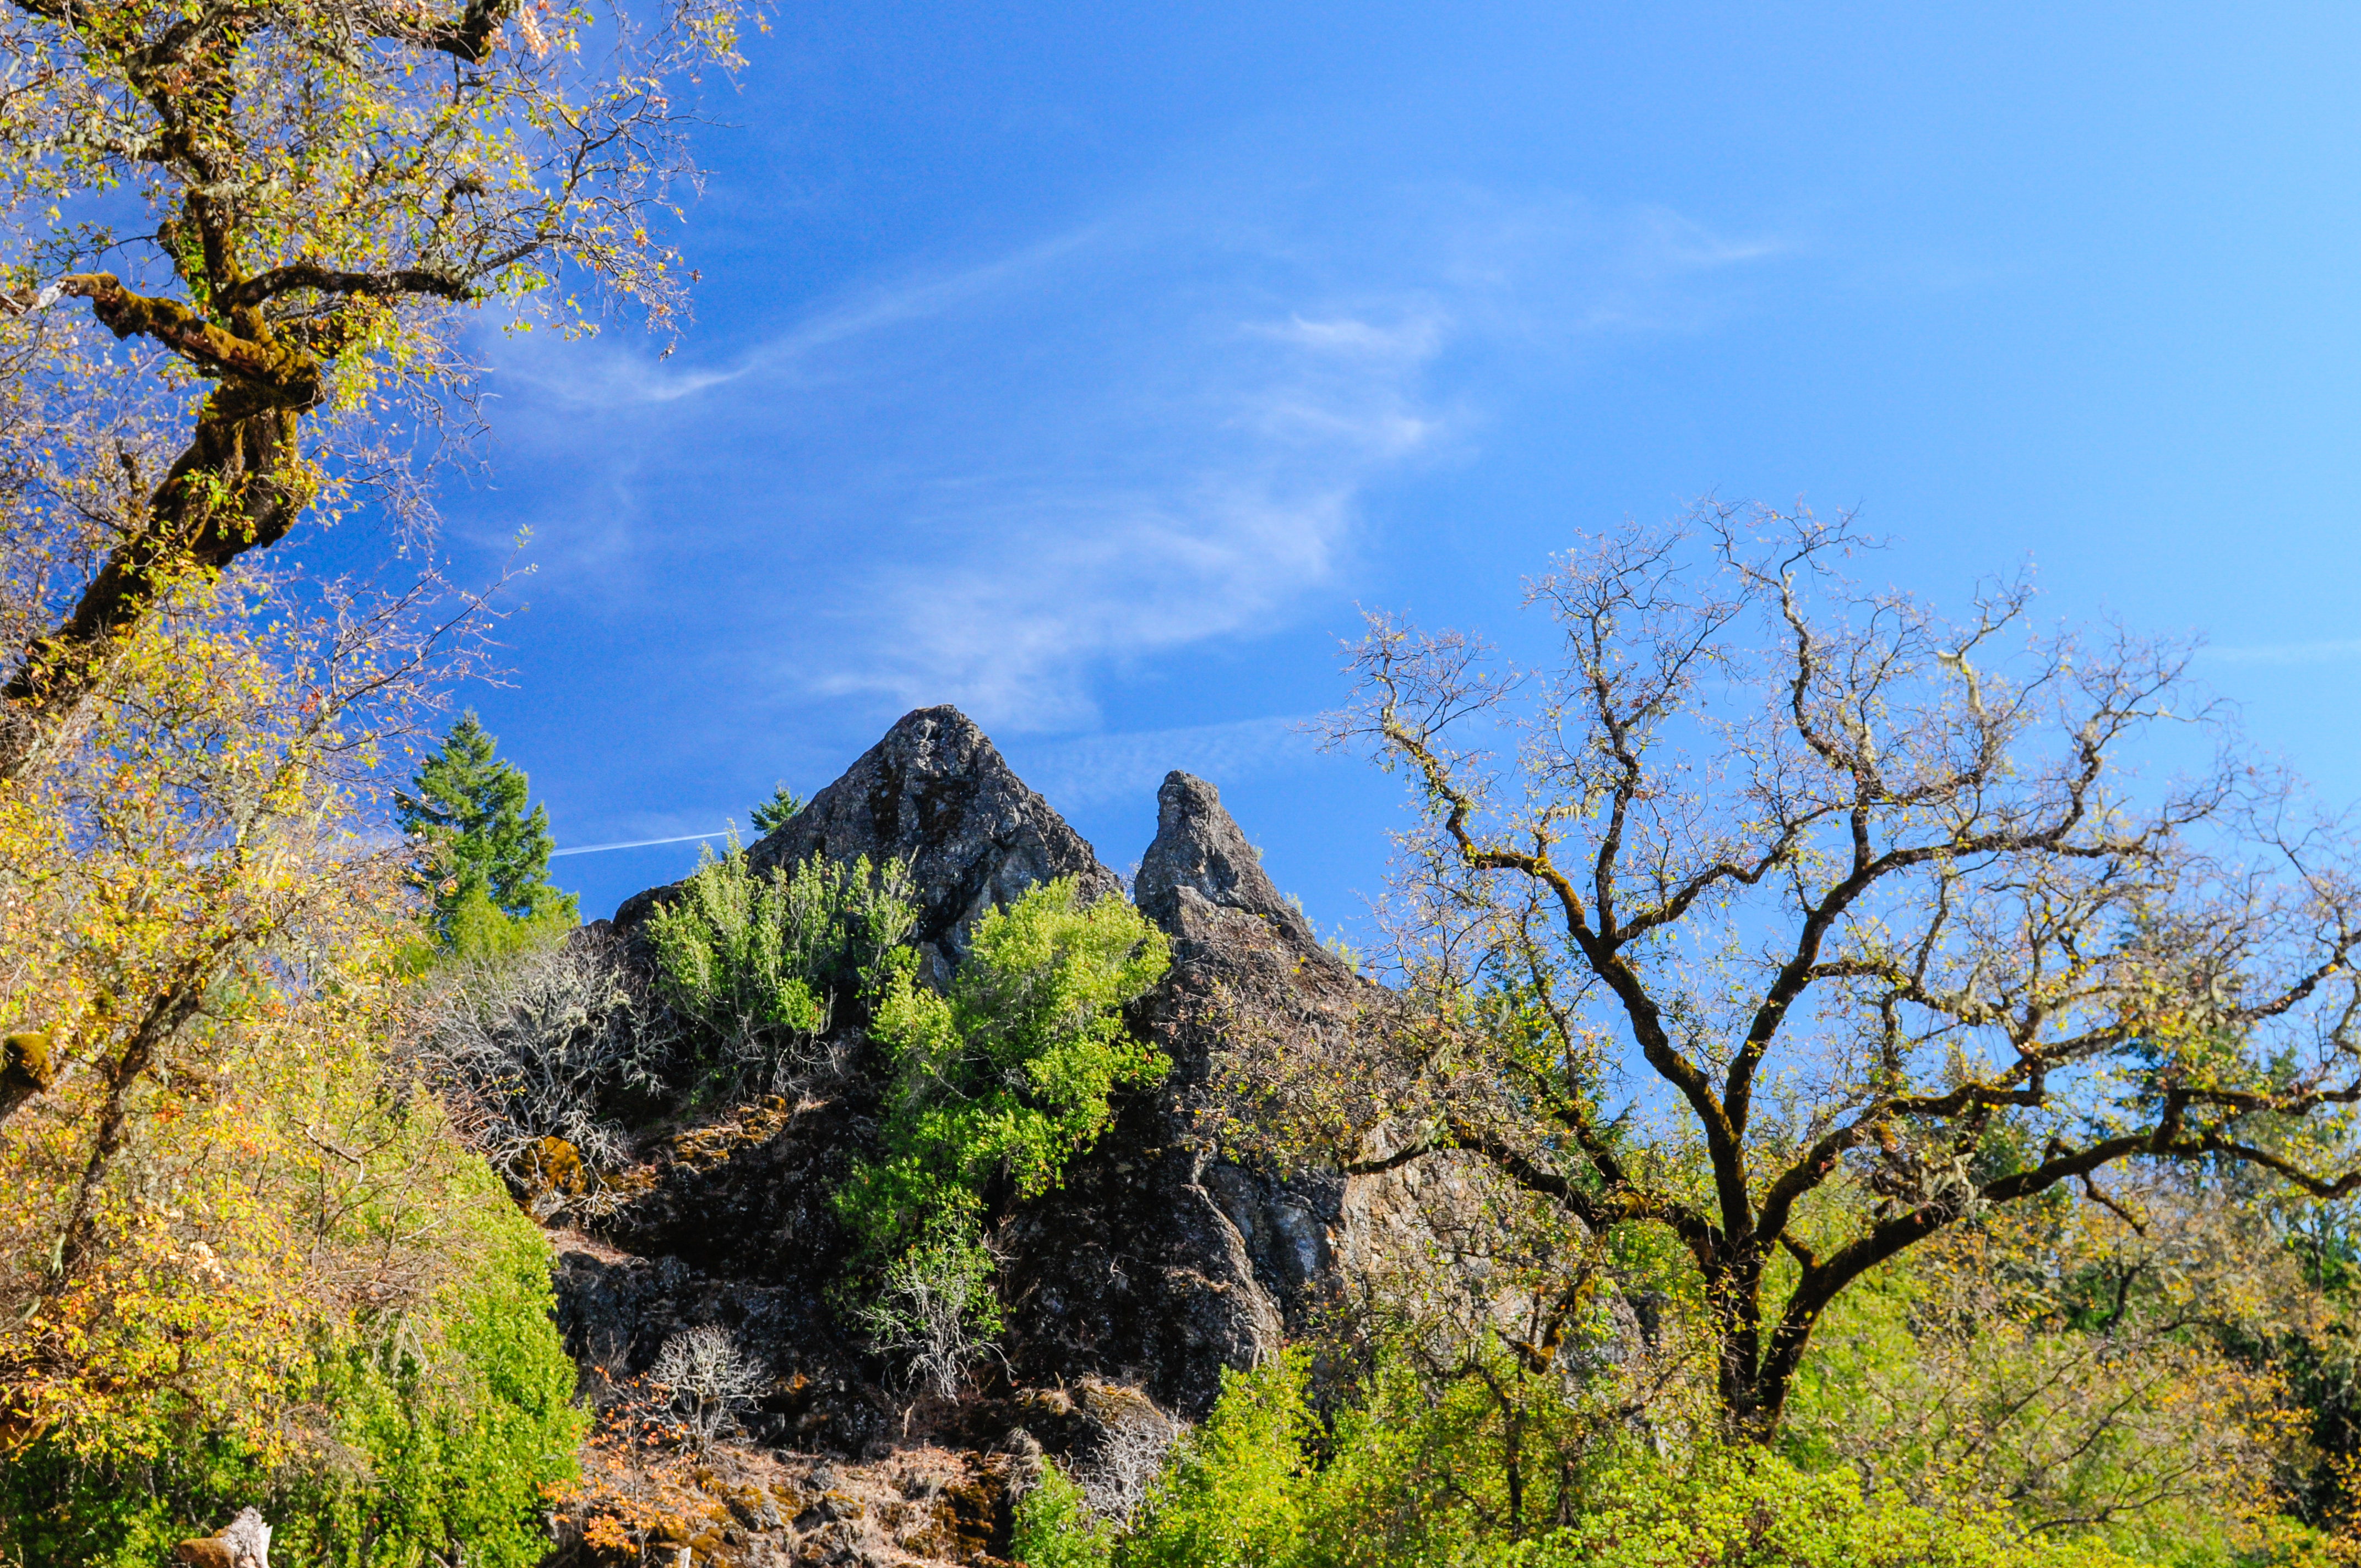
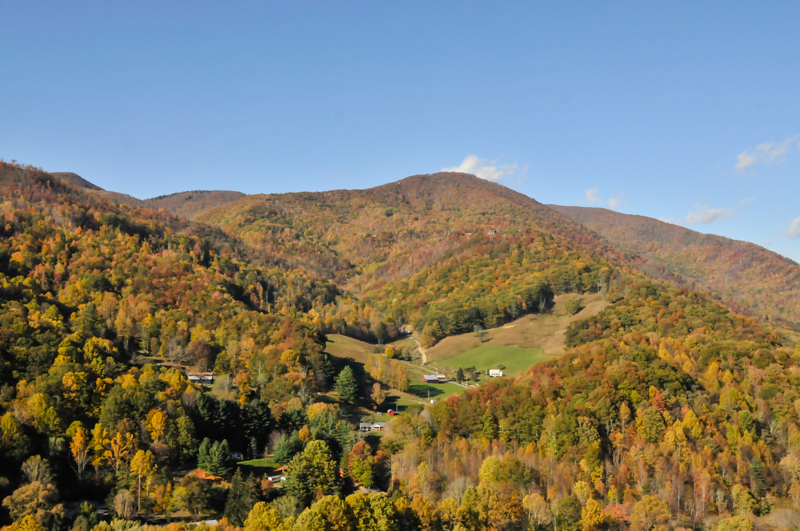
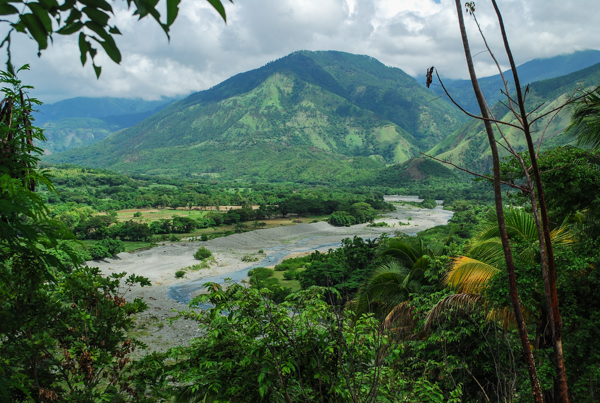
On December 11 the world celebrates International Mountain Day.  The United Nations General Assembly founded the day in order to encourage the international community to highlight the importance of sustainable mountain development.  I’m sure we have all viewed a mountain fondly, maybe hiked up one or even lived on one so we know the importance of taking care of that sacred space.  This years theme for International Mountain Day is farming.  According to the FAO, mountain farming is predominantly family farming and has been a model for sustainable for development for centuries.  I had the opportunity to work with Jamaican farmers on disaster preparedness and most of my work took place in the Blue Mountains.  I hadn’t known about this holiday until an hour ago, but now I’m going to explore options for spreading the word and awareness about the importance of sustainable mountain development.  This year provides an occasion to discuss how family farming in mountain regions is undergoing rapid transformation due to economic globalization, growing populations, and urbanization.

liveseasoned_winter14_welcomedecember-1-11

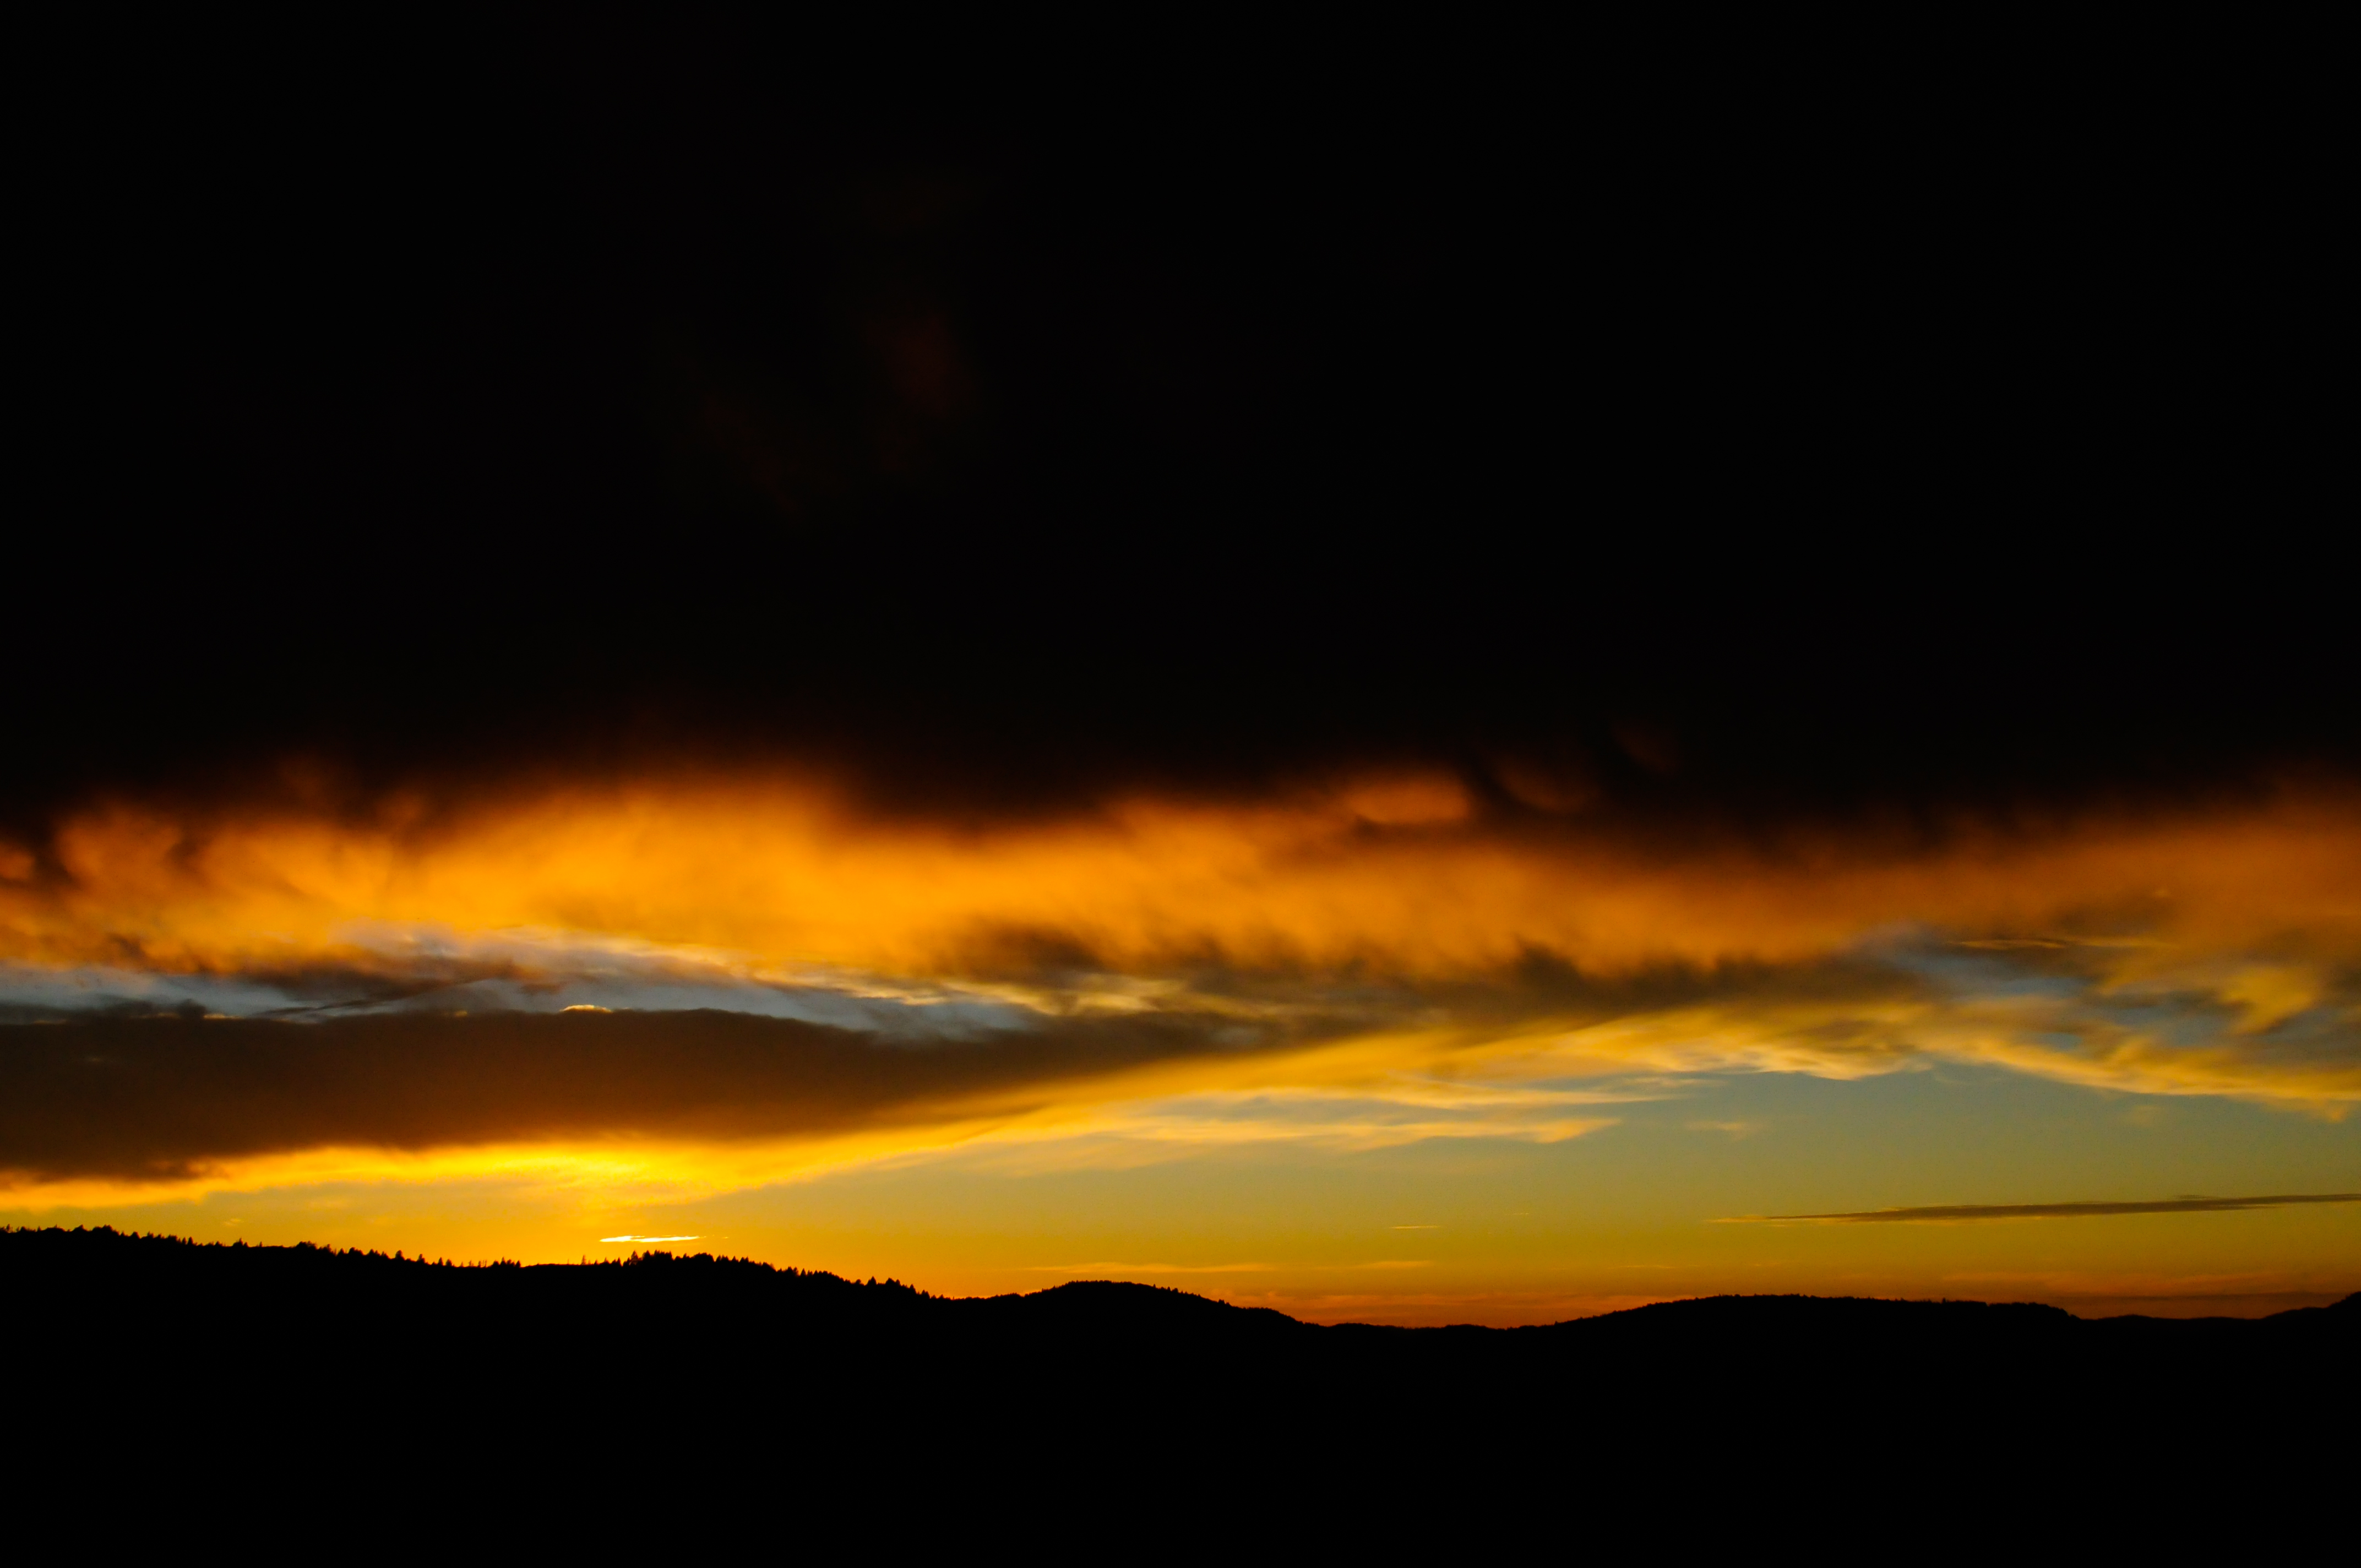
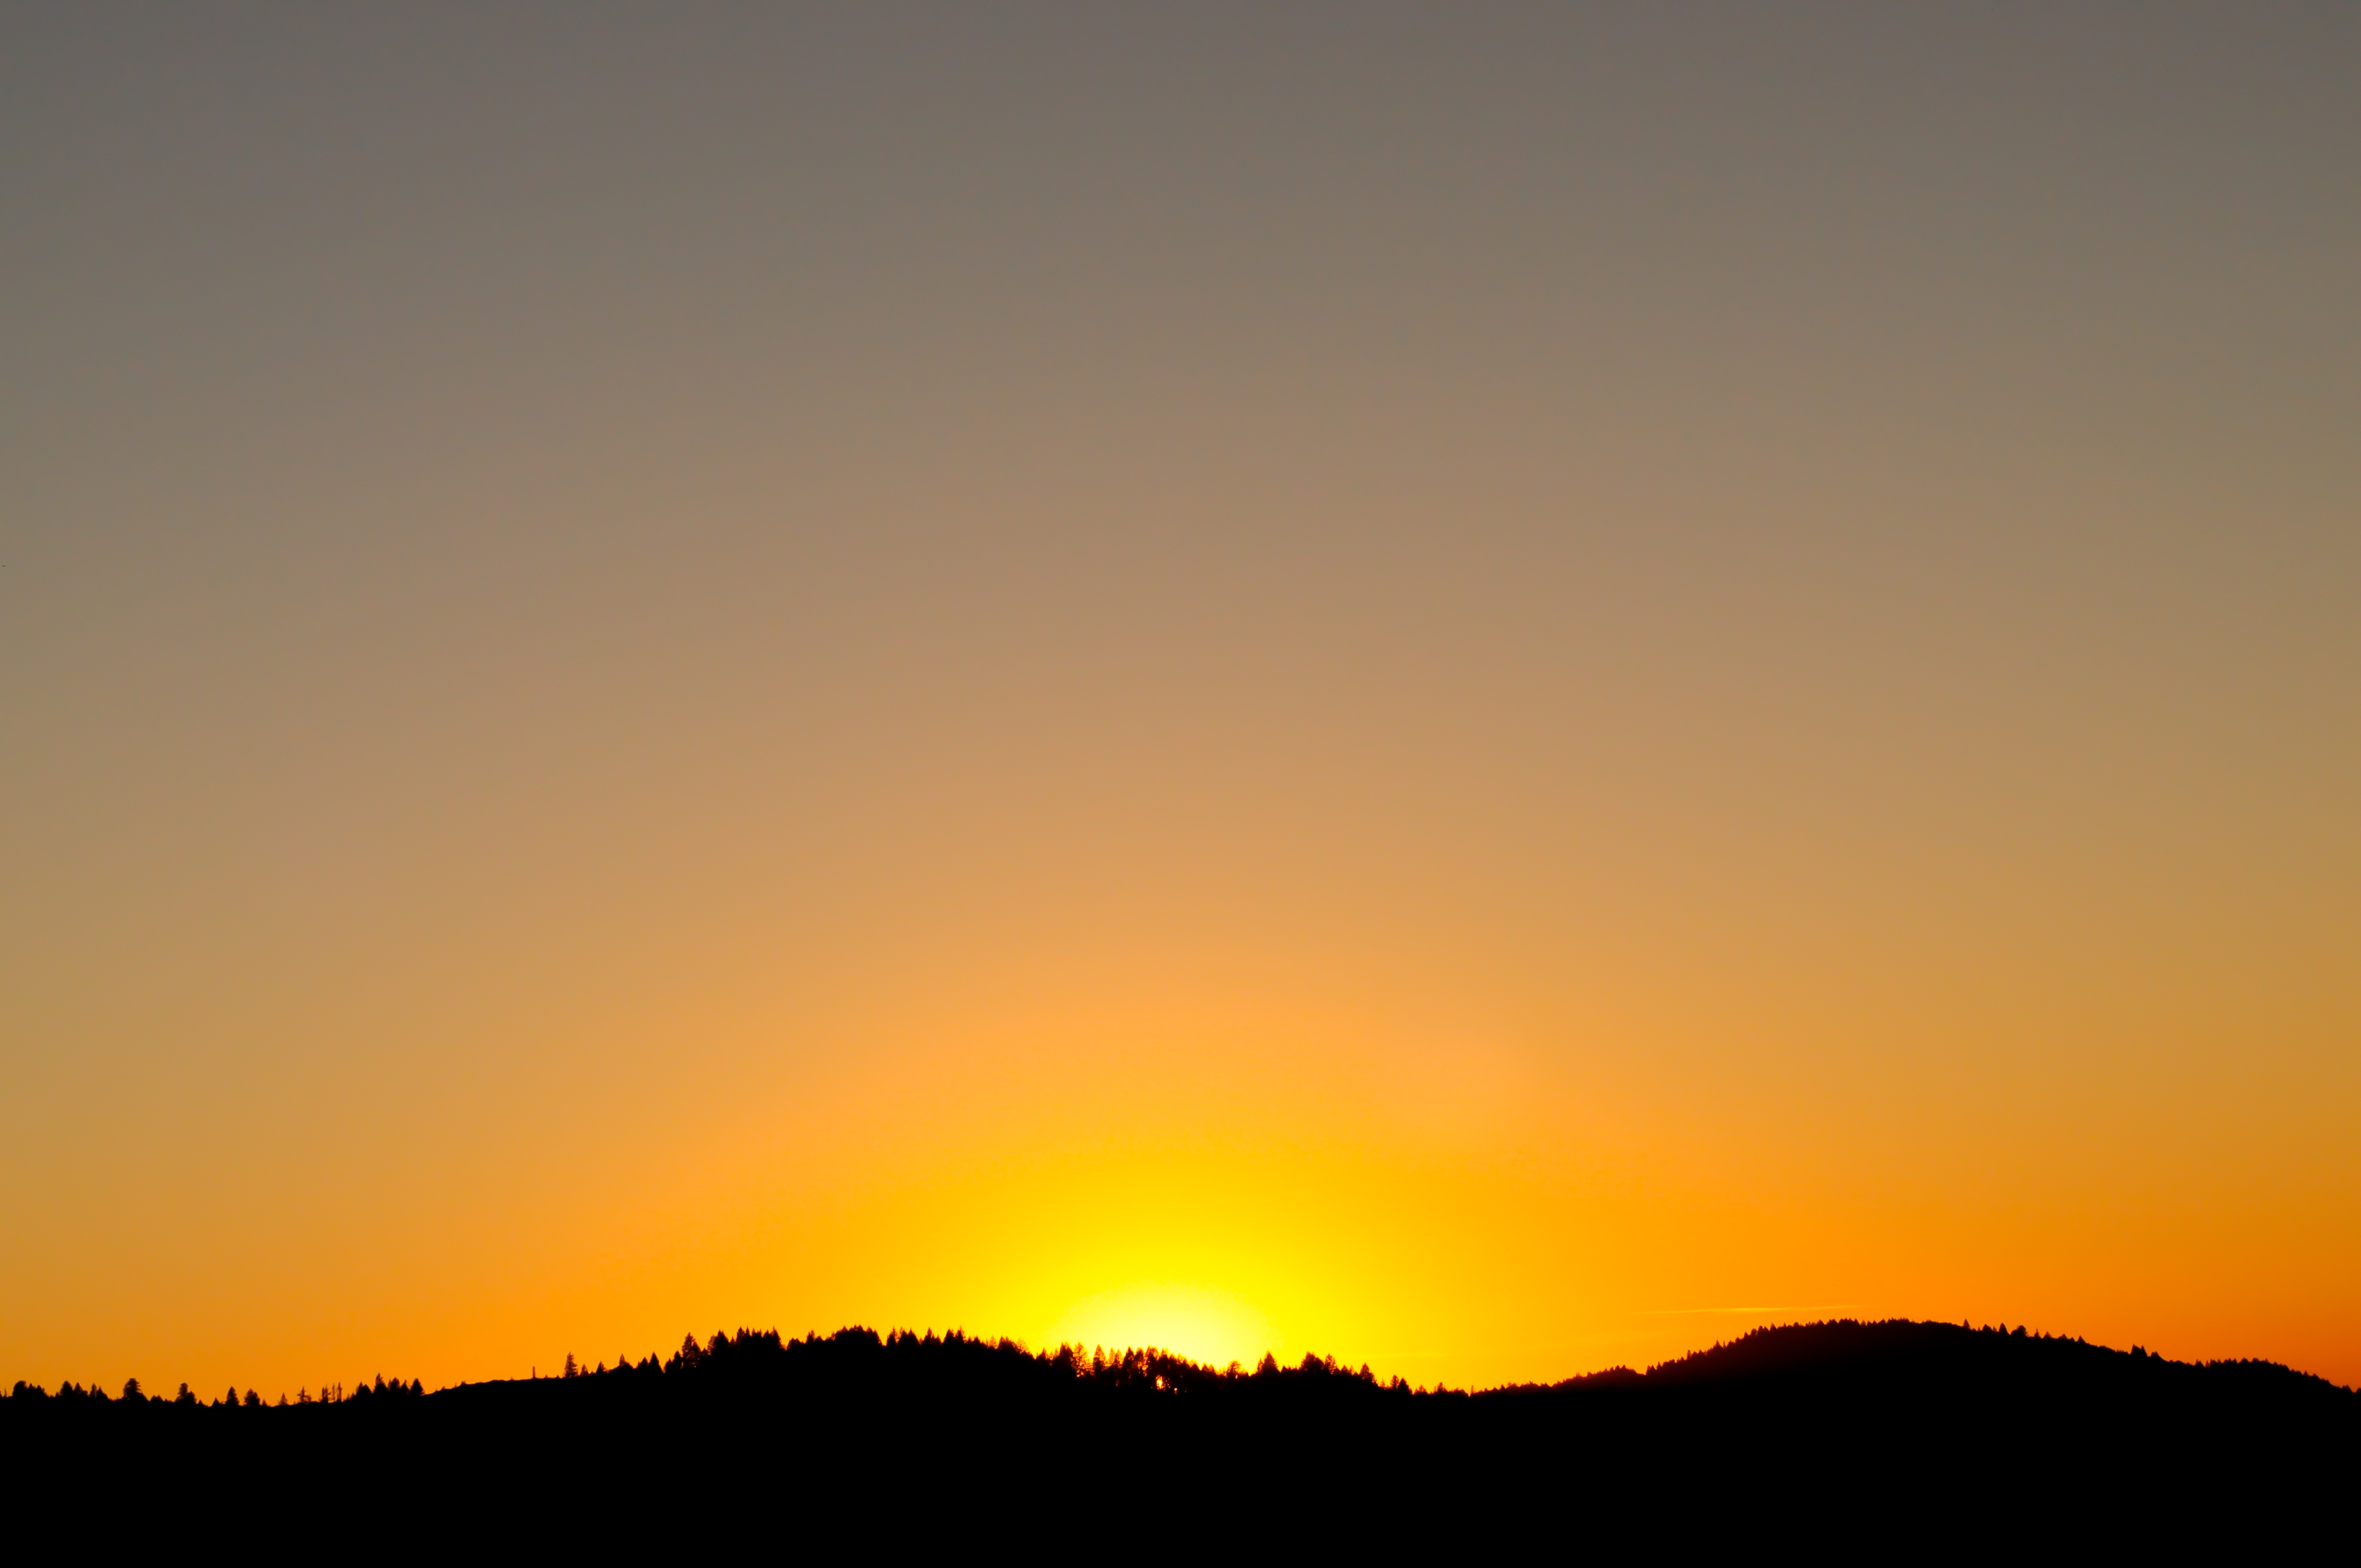
I feel like the Autumn Equinox was just yesterday, but alas the winter solstice takes place on the 21st.  Solstice comes from the Latin words “sol” which means “sun” and “sistere” which means “to stand still.” So what does this day mean in terms of the sun?  The sun is the farthest from the equatorial place, which causes longer days and nights. The sun reaches its southernmost position in the sky, and begins moving northward again.  If you are in the Northern Hemisphere, the December solstice marks the longest night, but if you are in the Southern Hemisphere it marks the longest day. I love the winter solstice because it means the days start growing longer again! Just typing this paragraph is making me smile and lifting the weight of the winter darkness off my shoulders.

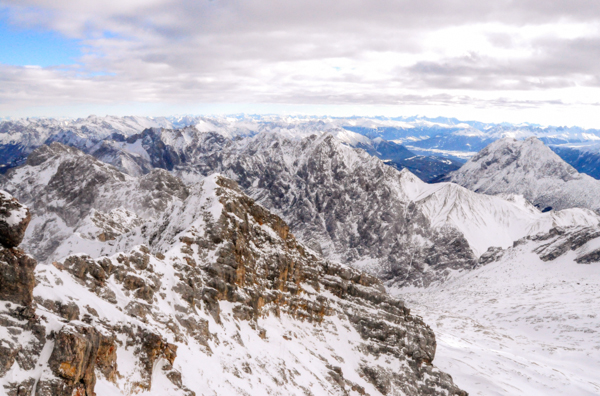
While I couldn’t nail down too many compelling migration stories for this December Welcome post, it got me thinking that as humans, we do a lot of moving during this month.  We flock to stores, tree farms, holiday parties, family homes and even go on vacations.  Personally, I’ve done some of my favorite traveling during the month of December whether it was sunning myself near the Andaman Sea or freezing my buns off in Germany, the cheer and relaxation of the end of the calendar year was always present in the air.  Here are a few quick traveling suggestions for the month of December:

Antarctica is buzzing with activity right now.  The seabirds are courting and mating and the penguins chicks are starting to hatch.  The days are twenty hours long, which means more time to spot penguins feeding their tiny chicks!  I always said that if I ever went on a cruise it would be to Antarctica and after reading Where’d You Go Bernadette, by Maria Semple, I am very tempted.  The feeling of seeing a landscape like nothing I’ve ever experienced before lights a fire in my belly. One day people, one day.

Guatemala has a few intriguing festivals in December.  On December 7th you can help the Guatemalans burn the devil. In local traditions, the devil lurks in the corners of homes, beneath beds and among garbage. Each year, as a prelude to Christmas, homes are cleaned, rubbish is collected, an effigy of the devil is thrown on top, and it’s all set aflame. From the 13-21st the highland city of Chichicastenango (Chichi) celebrates its patron saint with a week of typical festivities like parades, traditional dances, fireworks. On St Thomas’ Day (Dec 21) wooden poles as high as 30m are raised in the plaza beside the Iglesia de Santo Tomás and the dance of the palo volador (flying pole) begins.  It sounds absolutely terrifying to me, but as I understand it, two ropes hang from the top of each pole and the dancers ascend in pairs, scaling the poles on wooden steps and tying the ropes to their bodies. Then they leap, swirling around the pole at high speed, the ropes unravelling as they go, lowering them to the ground. Some hang onto the rope with their hands, and others tie it around their ankles. That doesn’t sound like something I’m capable of doing without peeing my pants, but I would love to witness it!

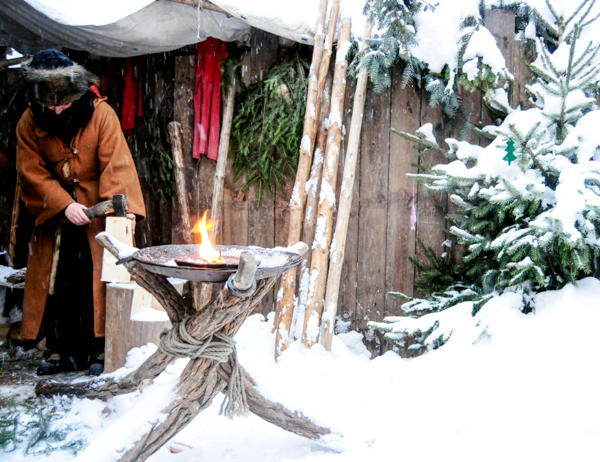
Last, but surely not least, Europe has all kinds of amazing Christmas markets taking place this month.  Katie and I had a chance to visit the Christkindlesmarkts of Germany and they were AMAZING. Each and every one was awe-inspiring and it really put the joy and wonder back into Christmas.  As an adult, I think it’s easy to overlook or take for granted the magical feeling of the season – all the giving, cheer and pure love that is flowing around, but after visiting the historic markets and experiencing the culture and tradition my wonderment was recharged.  It is almost like the medieval markets simplified (in the best way) my holiday season.  I’m finding it a little hard to explain right now so you may just have to visit the markets yourself.  Kate and I plan on reliving our week of Christkindlesmarkt experiences in a blog post later this month so that you can get a better feel for the adventure and maybe plan your own for next year!

Personally, as I welcome December I try to make a concerted effort to simplify and shed for the coming year.  I can easily get caught up in buying in excess because an item is cheap or has immediate appeal, but I try to keep a handle on it.  With all consuming I try to remember that the product used energy to be made and shipped to my city and that it will also take energy to dispose of it. Along with the season, what are you welcoming this December?

DIY Advent Calendar


liveseasoned_winter14_adventcalendar-10

It’s time guys! You can finally start singing Christmas carols and hanging holiday wreaths!  I spent this past week with my dearest friend who is also on the ‘no Christmas cheer until Thanksgiving is here’ train so it wasn’t until Saturday night that I crafted this little advent calendar. It is the sweetest little addition to a bookshelf or mantle.  There is nothing more childlike than counting down the days until Christmas, but really, if we didn’t count them they would just fly right by.  Advent calendars remind me to crank up the Christmas tunes, send out those glittery cards and craft gifts for my friends and family.

liveseasoned_winter14_adventcalendar-9

This sweet miniature advent calendar is easy to make and pretty perfect for the wee ones to create. No exacto knives or blowtorches involved here.  The fun doesn’t end with the making of this little advent chest either, then you must fill it with tiny treasures and on Christmas eve you have to unscramble the secret picture!  Put on a Christmas record pandora and pour yourself some eggnog mudslides.

liveseasoned_winter14_adventcalendar-1

Supplies:

  • 24 mini match boxes
  • Tacky glue
  • Paint brushes
  • Paints
  • Ribbon
  • Card stock or construction paper

Steps:

  • Glue 8 matchboxes together vertically. Repeat two times so that you have 3 tall stacks each with 8 matchboxes each. Glue the three stacks together side-by-side like shown.
  • Once the chest is securely glued, about 15 minutes, remove all the matches from the boxes and set aside for another project or that horrid moment when your power goes out while you are cooking dinner or washing your hair.
  • Paint a holiday design on the chest.  I choose to paint a reindeer. Some other ideas are a tree, an ornament, a candy cane, a toy soldier, santa or maybe a kitty wearing a santa hat (I wish I had that kind of skill). Allow the design to dry completely.
  • Remove each drawer and randomly number them 1-24. You can use acrylic paint or a marker.
  • Attach a small ribbon loop to the bottom of each drawer on the numbered side.  Simply squeeze a dab of glue, press one end of the ribbon onto it and then squeeze another dab of glue and press the other end onto it forming a loop.  Allow each drawer to dry completely.
  • Place the drawers back into the chest. You can place them in order or randomly, either way the painted design on the back should be scrambled.
  • Finally, cut a piece of card stock or paper to cover the top and sides of the advent calendar.  I cut a strip of red card stock and dabbed a few dots of white paint to make some snowflake inspired swirls.
  • Fill the drawers with little candies, notes, event tickets or even jewelry.
  • As each day passes, open the drawers and put them in backwards so the painted design side is now facing forward.  On Christmas even you’ll be left with a mini puzzle picture to unscramble, good luck!

liveseasoned_winter14_adventcalendar-11

Think you’ll give this quick Christmas craft a try? I had a bunch of fun creating this advent calendar because it is cheap and disposable. There wasn’t a ton of pressure to paint the perfect reindeer or perfectly align the $1 match boxes, it was merely a little project to jumpstart my holiday crafting sessions and an excuse to eat a few peanut butter M&Ms every day until Christmas. Cheers!


Give Thanks

liveseasoned_fall14_thanksgivingquote

Thanksgiving is a great reminder to be grateful for our daily joys and all that we have, even when sometimes that feels like not enough.  Today everything we have is plenty. Tomorrow we will have enough too.  Be thankful for it all and spread around the excess today and every day.

If you are here in the U.S., how are you spending your holiday?  I’m hitting the gym with my best friend and then we are going to a Friendsgiving where we will stuff ourselves silly.  Last night we prepped some potato stuffing, peanut butter pie and a pumpkin roll, except it turned out more like a pumpkin blob.  Sometimes life doesn’t pan out the way you expected, but practice thanks anyway 🙂 Happy Thanksgiving to you and yours!

No Bake Mini Pumpkin Pies {Vegan + Gluten Free}

liveseasoned_fall14_pumpkinpies-4 copy

Thanksgiving is a time of indulgence and as much as I love to nibble on holiday goodies, I hate the guilt that comes along with it. There is no reason you can’t make a concerted effort to eat clean, whole foods during the holidays.  In some cases it takes a little bit more effort, but with these mini no-bake pumpkin pies, it takes considerably less!  Pumpkin pie has been my favorite Thanksgiving dessert for as long as I can remember and while I love the original, I’m cheating on it with this new no bake, vegan and gluten free alternative.

This recipe substitutes out the eggs, half and half, butter and sugar for nuts, raisins, and natural sweeteners.  It’s also a recipe that can be made a day or two ahead of time so that you have more time to relax with your friends and family.  While it’s not technically raw because the pumpkin puree is cooked, this recipe doesn’t require any baking, which is pretty handy since your oven will probably be busy with other delicious eats.  Join me in feeling great about this year’s holiday dessert choices; your guests and your waistline will thank you.

liveseasoned_fall14_pumpkinpies-2

 Crust Ingredients:

  • 1 tablespoon coconut oil
  • 4 cups walnuts
  • 4 cups raisins
  • Pinch of salt

Topping Ingredients:

  • 1 15oz can organic pumpkin puree
  • 2 cups cashews
  • 2/3 cup maple syrup
  • 2 tablespoons coconut oil
  • 2 teaspoons cinnamon
  • 1 teaspoon nutmeg
  • 1 teaspoon clove
  • 1 teaspoon all spice
  • pinch of salt

liveseasoned_fall14_pumpkinpies-3 copy

 The how:

  • Pulverize 4 cups walnuts in food processor or high powered blender.  Add 4 cups of raisins and blend until they combine with the walnuts and form a dough.
  • Grease two 12 count muffin tins with coconut oil.
  • Firmly press dough into each cup (about a half inch) and sprinkle each with a tiny bit of salt. Place in the freezer.
  • After 2 hours run a butter knife around each muffin tin and pop the crusts out so that they’ll be easier to remove when the pies are completely finished.
  • Blend the pumpkin puree, cashews, melted coconut oil and maple syrup until combined. While blending, add the cinnamon, nutmeg, clove, all spice and salt. If you like your pumpkin a little sweeter, feel free to add more maple syrup.  (The consistency should be nice and creamy, if it’s a little thick, add some coconut oil, if it seems runny, add some cashews. If you followed the recipe exactly, it will be just right.)
  • Spoon a dollop of topping onto each frozen crust. However the filling settles is how it will freeze so take the time to smooth or swirl it, whatever you prefer. Allow the pies about two hours to freeze.
  • Remove them from the freezer 15 minutes before serving. Use a butter knife to easily pop them out of the tins. Top with a piece of walnut if you wish.
 *Recipe makes 24 individual sized pumpkin pies.

liveseasoned_fall14_pumpkinpies-6

See that? Easy as pie. Now go pop these in the freezer so you have something to nibble on during the parade tomorrow 🙂


Pressed Leaf Garland and Place Cards

liveseasoned_fall14_leafgarland-10

I love nothing more than bringing the outdoors in.  One day I hope I live in a mountain cottage full of fur, bones, feathers, antlers, crystals and insect specimens but until then I’ll build my collection and make leaf garland each autumn. If you follow us on Instagram you know that I tried to pick up a live praying mantis (I thought it was dead) the other day, what a shocking moment!  I actually found that big brown guy while I was collecting leaves for this project 🙂

liveseasoned_fall14_leafgarland-1

I love projects that encourage you to go outside and walk in the woods and making leaf garland is just that.  Wander around with a shallow cardboard box or bag and collect a big old pile of freshly fallen leafs.  You want some moisture in your leaves so that they haven’t started to brown or curl just yet.  You also want to preserve the leaves so that they continue to retain some color and lay flat on your string or table.

liveseasoned_fal14_leafpressing

There are several methods for preserving fall leaves.  I choose what I found to be the easiest and safest method, which is sealing them in wax paper.

  • Simply lay down a piece of material (I used an old pillow case) and tear off two pieces of wax paper.
  • Lay as many leaves as possible (without the leaves touching) between the sheets and then place the material on top as well.
  • Iron slowly and on the highest setting for a minute or two, flip the entire material, wax and leaf sandwich over and iron the other side for another minute.
  • Remove the wax paper and let it cool while you repeat the process on more leaves.  Once the wax cools, gently peel the pieces apart and release the leaves.

The leaves should be dry and coated in a very thin layer of wax.  They’re now ready to be used as escort cards or strung onto embroidery thread for garland or a table runner.

liveseasoned_fall14_leafgarland-9

To make the garland, simply cut a length of embroidery thread, tie a knot at one end and thread the needle at the other and start stringing them up.  This is a somewhat delicate process, but it’s easy enough that you can sit and watch a show while you’re working on it.  For the best results, pierce the leaf at least an eighth of an inch in the any edges and gently move it down the thread.  As you become familiar with the fragility level of the leaf, you can pierce several at a time making the process move right along.

Making the table running is similar to making the garland, but I found it helps to work directly on the space you’ll be decorating.  As you can see, my work in progress photos were taken outside, but that was solely to photograph them in good light.  It’s a little tough to pick up a finished table runner and carry it so I recommend choose the space that you’ll decorate and making it there.  Like most crafts that we make on Seasoned, we encourage you to inject your own creativity into it; the sky is the limit.  For the green table running, I cut a long length of green embroidery floss, tied a knot and threaded a needle. I then added the leaves in a spaced out, loose and layered way.  I wanted the leaves to look like they were simply placed on the table.  I also wanted them to kind of flow or drift through the center of the table, which is why I had them pointing in different directions.  I’m very pleased with the result, too bad I’m not entertaining this year!

liveseasoned_fall14_leafgarland-12

The escort cards and super simple to make as well.  Again, gather and preserve some colorful leaves.  Then use paint bottle with a tip or a paint marker to write each person’s name.  I propped mine up against crystals, but they look just as lovely laying flat on a cloth napkin or plate.

I had a great time making the leaf garland. I spent some time outside, had the opportunity to look closely at nature and then preserve it in my home.  It’s a free and simple craft that is great for kids too.  Iron up some leaves and let them do what they please.  How are you decorating your table for turkey day?


*Just so you know, I did press the green table runner leaves, but I didn’t press the orange and brown leaves that are hanging up and also arranged in a circle.  I kind of liked the transitional look for the hanging garland, but I didn’t want the table runner leaves to be dry and brittle.

Two Bits

Each Friday we share some tidbits from our week.  We want to break down these internet barriers and invite you into our lives and we’re hoping you’ll do the same.  You are welcome to share a bit of your week or day in the comments, or if they’re better represented by a photo, tag us on instagram @liveseasoned

Katie here:

liveseasoned_fall2014_nov14

If you’re following along on our Instagram feed, then you already know that it was cold and snowy in Boulder this week! We pulled the sled out of the garage and took Alex for a stroll around the neighborhood on that first morning – he loved it!!! In the photo above he just got on and fell backwards, but he soon figured out how to hold himself up as the sled jerked to a start. It was just as exciting for us to see his joy. Every time we mentioned the sled, he would run for the door. So that’s been our main mode of transport – I pulled him over to his friend’s for a play date, our babysitter took him on a few walks (after teaching him the fine art of snow angels), and last night on the sled, he figured out that waving to the snowplows would get them to honk their horns. Important stuff going on around here!

Meanwhile, inside the house I kept a pot of soup on the stove every day. I think because this blast came earlier in the season than we would have expected, it seamed extra magical having the steamed up windows, fire in the fireplace, candles going on the mantel and the blanket of snow outside. I feel like the week was a slow dream, and other than the fridge of leftovers and “first snow” pictures, I don’t have anything else to show for it, but that’s not a bad thing either. If the snow’s coming your way, I hope you enjoy it as much as we did!

Sarah here:

Screen Shot 2014-11-13 at 7.46.20 PM

This week was busy, busy over here! Lots of shoots, editing and meetings, but I did find time to rake the yard and go for a few hikes with the pup.  I also went shopping for clothes, which is a big deal for me. Those pants in the pic are newbies. Like ’em?  I rarely buy threads.  I just hate spending money on clothes, which is hard because I’m always envious of other people’s style, yet I’m not willing to spend money on shirts. First world problems, I know.

liveseasoned_fall14_stars-1

I also went on a date this week, whoop whoop! We went to see Interstellar, which is now one of my most favorite movies. I loved it so much. I’ve been thinking about it ALL WEEK and I even had a dream about it.  So, that’s kind of a big deal.  It’s rare that I go that bananas over a movie, but it was just so dreamy and intriguing.  Christopher Nolan is really securing his spot as my favorite director (I’m sure that is his most prestigious award yet..). This movie was just as mind boggling as Inception so if you enjoyed that, you’ll enjoy this. He also made Memento, The Prestige and The Dark Knight Trilogy and other greats.

Squash Soup with Citrus

liveseasoned_fall14_squashsoup-4

If you’re starting to feel the chill of winter (shoutout to the northern peninsula of Michigan with its 15 inch snowfall forecast!) this squash soup with citrus is exactly what you need.  The butternut squash will warm your belly and the time it takes to roast in the oven will warm your house.  It all comes together in about thirty minutes so you can quickly cozy back up on the couch.

My mom actually blended up this soup when I was visiting last weekend and it was so tasty that I had to share it.  Usually I find squash soups a little bland, but that is not the case here.  The lemon and orange zest add a lot of flavor, so please don’t skimp on those two ingredients.  While this soup fits perfectly into the fall since squash is in season, the citrus flavors really remind you of summer, which seems so far away now.  It’s also a hearty vegetarian dish to add to your soup rotation for the coming cold months.

liveseasoned_fall14_squashsoup-2

Ingredients:

  • 1 medium to large butternut squash
  • 5 TBSP olive oil
  • 2 carrots
  • 1 celery stalk
  • 1 onion
  • 4 cloves garlic
  • 1 TBSP orange zest
  • 1 TBSP lemon zest
  • handful of roasted pumpkin seeds
  • 1 small sweet red pepper
  • small pinch of saffron threads
  • sprinkle of nutmeg
  • salt and pepper to taste

liveseasoned_fall14_squashsoup-3

The how:

  • Preheat the oven to 400°. Cut the ends off of the butternut squash, peel it, cut in half, remove the seeds and cut into chunks. Spread the squash on a baking sheet and drizzle with 2 TBSP olive oil and sprinkle with salt, pepper and a dash of nutmeg.  Roast in the oven until the squash begins to caramelize, about thirty minutes.
  • While the squash is roasting, chop the onion, garlic carrots and celery.  In a large soup pot, drizzle the bottom with the remaining 3 TBSP of olive oil (no measuring necessary-just drizzle enough olive oil to coat the bottom of the pan).  Turn the pot onto medium-low and add the carrots, onions, garlic and celery.  When the veggies start to turn translucent and soft, stir in the saffron, lemon and orange zest.  After a few minutes, add a quart of water, turn the heat up to medium and allow the veggies to fully soften, about 15 minutes.
  • By now your squash should be starting to caramelize.  Add the soft squash to the soup pot.  Using an immersion blender, puree the soup. If you don’t have an immersion blender (welcome to the club!) simply add the soup to your regular blender little by little and puree.  It’s a little bit messier and delicate since the soup is hot, but it works just as well. Once the entire contents of the pot is pureed add salt if necessary.
  • Dish out the soup into small mugs and sprinkle roasted pumpkin seeds and finely chopped sweet red peppers on top.
  • This recipe is enough to feed 8-10 people.  If you plan on reheating the soup, I recommend doing in on the stovetop on low heat.


liveseasoned_fall14_squashsoup-5

I don’t know about you, but I am chest (cheeks?) deep in soup season.  This is the fourth soup I’ve made in two weeks!  I love the simplicity of only having to watch over one pot and I have to admit I love standing next to a hot stove.  My fingers and toes are always freezing so I tend to stand over the soup and stir it the entire time.  Maybe I was a witch in a past life?

*This recipe was slightly altered from a recipe found in Rachel Ray magazine.

Seasoned View: Vol. 8

Each month we share our Seasoned View.  Snapshots of nature taken by the Seasoned sisters. Find last month’s here and past month’s here.

November is here. I’m in disbelief! Where the heck did October go? All of a sudden there is a serious chill in the air and day light savings time is here.  A new month calls for a new Seasoned View and while perusing through my photo archives, I realized most Novembers I’m traveling. Three years ago I was in Thailand, two years ago I spent the month in Brazil and last year I slept in a tent in northern California for six weeks.  I guess I shouldn’t complain about chilly November weather since history reminds me I haven’t experienced it much, but here I am bundled up under an afghan wondering how I’m going to survive the winter ahead.

Screen Shot 2014-11-02 at 10.16.42 PM

This month’s photos are all from high atop Foster Mountain near Willits, CA.  As you can see, half of them are either sunrise or sunset photographs because I was busy working during the day. I hope you don’t mind some natural color palettes this month.   You can upload one or all of them to use as your desktop background or even as phone and tablet wallpapers.  Simply click on the download link below each photo and save the image.  Enjoy!

liveseasoned_fall14_novemberseasonedview-3Click here for pastel sunrise.

liveseasoned_fall14_novemberseasonedview-2-3Click here for the point.

liveseasoned_fall14_novemberseasonedview-1Click here for fiery sunset.


liveseasoned_fall14_novemberseasonedview-1-4Click here for mountainside.


liveseasoned_fall14_novemberseasonedview-3-2Click here for flight.

liveseasoned_fall14_novemberseasonedview-1-3Click here for clarity.

How’d you like the northern Cali November view?  Do you like knowing where the photos are shot or could you careless?  Happy Monday! xo

Simple Twig Wreath

liveseasoned_fall14_twigwreath-5

Happy Fall! This foraged twig wreath screams autumn and the best part about it is it encourages you to go outside and prance around in the woods.  You’ll need to gather a bunch of twigs and sticks, which is really easy at this time of year.  The forest should be full of dry kindling waiting to be collected.  I wanted to create a natural looking decoration that was quick and easy, but also cheap.  This wreath ended up costing me nothing but time (most of which I spent looking for my glue gun) since I already owned the other materials.  I made a pretty big wreath because I wanted it to be the center of attention on my tiny shed wall.  First things first, think about where you’d like to hang your wreath and measure or eye it up so that you have a general idea of how big you’d like your finished product to be.

Supplies:

  • thick cardboard
  • pen
  • scissors
  • tape
  • twine
  • glue gun
  • big ol’ pile of twigs

Steps:

  • Step 1: Draw a donut onto some scrap cardboard (I traced a random jar, but it doesn’t have to be perfect) and cut it out.  My cardboard seemed flimsy so I cut two identical donuts and taped them together with masking tape.
  • Step 2: Dispense a line of glue on one side of your donut. Press the twine into it and wrap it neatly around the donut.  Continue dispensing glue (on what will be the back side of your donut) and wrapping twine until you cover the entire donut.  Cut a length of twine (mine was about 4 inches) and tie it in a loop around your donut so you can hang it up later.
  • Step 3: Now it’s time to place the twigs.  This is where you can let your creativity come through.  Do you want a wreath of all tiny twigs? Bigger sticks? Bark or no bark? That’s all up to you.  I wanted something that looked really rustic so I strived for lots of variation in both size and color.  Start by placing the 12 o’clock and three o’clock sticks, but don’t glue them down yet.  Choose sticks to fill in the space between 12 and 3.  Once you have a quarter of your wreath laid out, you can begin hot gluing the sticks to the donut.  Don’t rush this process, glue each stick individually and pay attention to how they are arranged in the center of the donut. You will want the center to resemble a star when you’re finished.
  • Step 4: After you have filled in 12 o’clock to 3 o’clock section, place the 6 o’clock stick on the donut and repeat the process.  Continue until your entire donut is covered and your wreath is complete.
  • Because my wreath is so large, I wanted to create an additional layer of smaller twigs to add some depth.  I did this by repeating steps 1-3 and simple gluing my smaller wreath onto the larger one.

I had  a great time creating this project because there really is no way you can screw it up. It was a stress free craft project, which kind of equates to meditation for me.  I hate sitting idle, but sometimes I don’t feel like concentrating too hard on a project.  It’s also perfect for kiddos.  They can search for twigs and lay them out to their liking while a parent glues them to the donut.  Another reason I’m keen on this twig wreath, it gives me something to photograph in all seasons.  Have you ever taken the same photo over and over during each season?  It’s nice to have a single object that remains unchanged yet altered by whatever is going on in the shot (rain, sleet, snow).  I’m excited to see how this simple craft holds up this year and how pretty it will look with a dusting of snow 🙂


Two Bits

Each Friday we share some tidbits from our week.  We want to break down these internet barriers and invite you into our lives and we’re hoping you’ll do the same.  You are welcome to share a bit of your week or day in the comments, or if they’re better represented by a photo, tag us on instagram @liveseasoned

Sarah Here:

liveseasoned_fall14_twobits-1

I had a fantastic fall week!  I took a road trip to Asheville, NC and I camped creekside for a couple days.  The weather was actually a bit cooler than I anticipated, but it was nice warming up near the campfire each night.  Kevin, Cash the dog, and I spent our days winding along the Blue Ridge Parkway and visiting tiny towns and hiking trails in the Blue Mountains.  We spent our evenings eating out in Asheville, which was a welcome treat for the both of us.  If you’re headed to Asheville anytime soon, head to Over Easy Cafe for breakfast and Farm Burger for lunch or dinner.  Also, hit up Wicked Weed or one of the other dozen breweries for a buzz.  We wished we had more time to explore, but the little bit that we saw we enjoyed so much.  I had about a dozen more shops and restaurants on my to-visit list so I know I’ll be back.  I’m actually thinking that Asheville is the next stop on my home tour and Farm Burger is definitely helping the case as far as Kevin is concerned!

My other bit is the satisfaction of packing up a whole lotta bits.. I’m packed up and ready to move out! At noon today I’m going to pick up at 16 foot box truck, just imagine that while you’re on your lunch break 😉 I’m moving into an apartment with high ceilings and a big backyard. It’s actually smaller than the place I’m renting now, but the outdoor space makes up for it. I can’t wait to film my inaugural house tour! Hope your Friday is a bit more relaxing than mine, but just as exciting 🙂