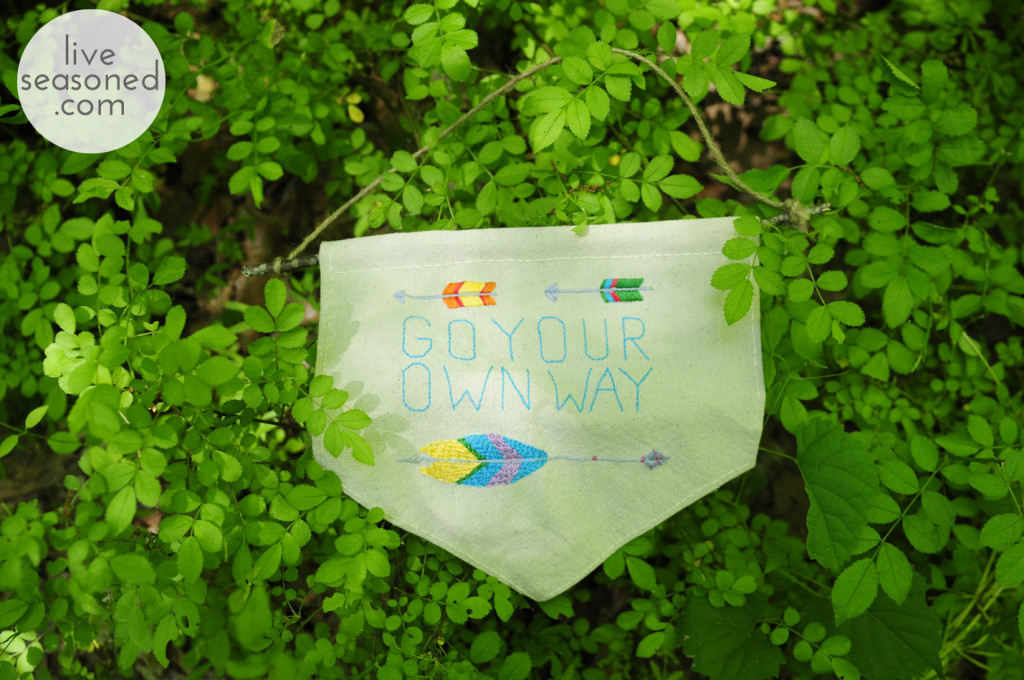
Don’t shoot! I know this post is a little later than normal, but that’s because I was working on an original arrow embroidery DIY for you cats. I think we can all agree that arrows are both adorable and hip. They deserve to be embroidered on cabin pillows, baby onesies, inspirational banners and just about everywhere else. Whenever I see arrows, I think summer camp, forest adventures and cabin get-aways. Who doesn’t want to think of those things? That’s why I created this arrow embroidery tutorial.
I’m not fibbing when I say arrows are easy to embroider. Each arrow is made up of a couple different stitches all of which are outlined below. The colors, style and feel of each arrow is up to you! I encourage you to sketch out a few arrows to define the style you’re going for and then start stitching. If you really want a summer camp vibe, take your arrow embroidery supplies to the woods!
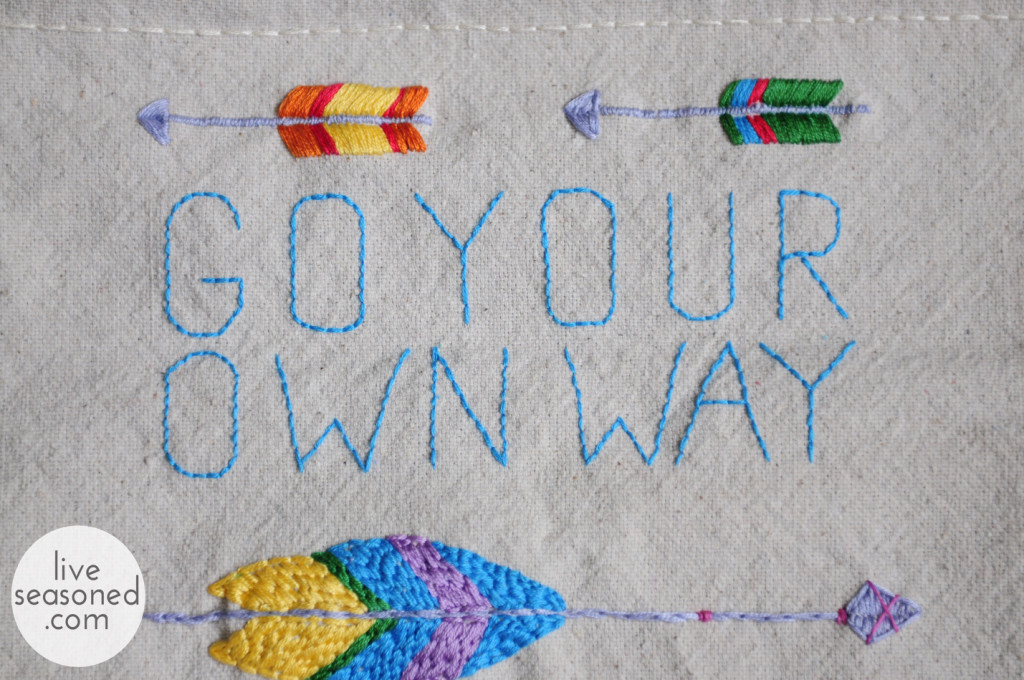
Since this tutorial is focused on arrow embroidery, I will skim over how to make the banner and the letters. My letter spacing is a little wonky, so I’m not sure you want my advice anyway. That’s what you get when you don’t sketch out your design first. Do as I say, not as I do! Oh, and people, don’t confine your arrow embroidery to a banner, let your arrows fly baby!
Supplies:
- Material of your choice – I used canvas drop cloth
.
- Embroidery needles
- Embroidery floss
- Embroidery hoop
- Water soluble pencil
or pen
- Iron
- Ruler
- Scissors
- Twig or dowel
- Twine or jute
Arrow Embroidery Instructions:
- Approximate how large you would like your arrow to be and make small marks with the embroidery pen to guide you.
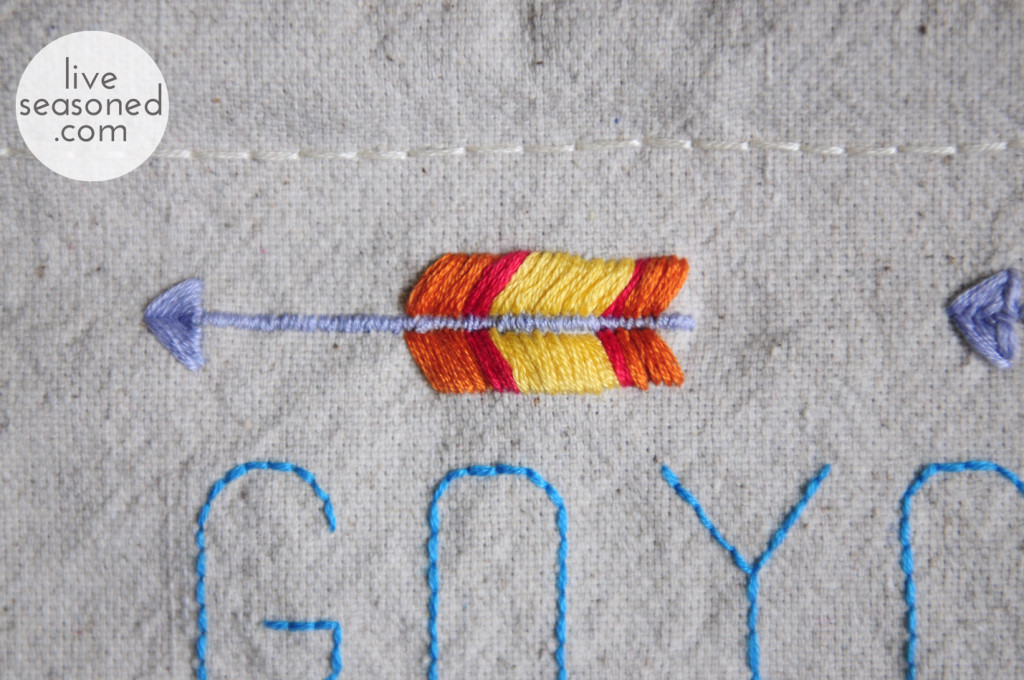
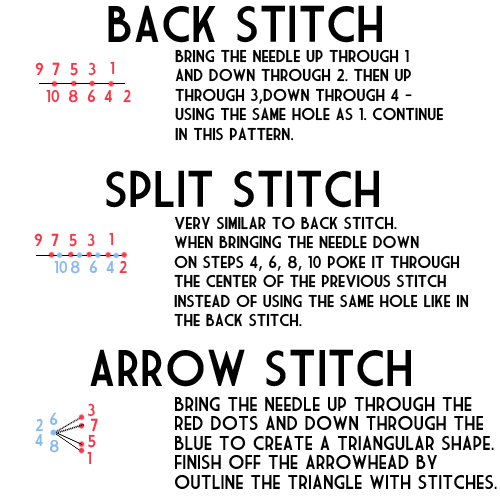
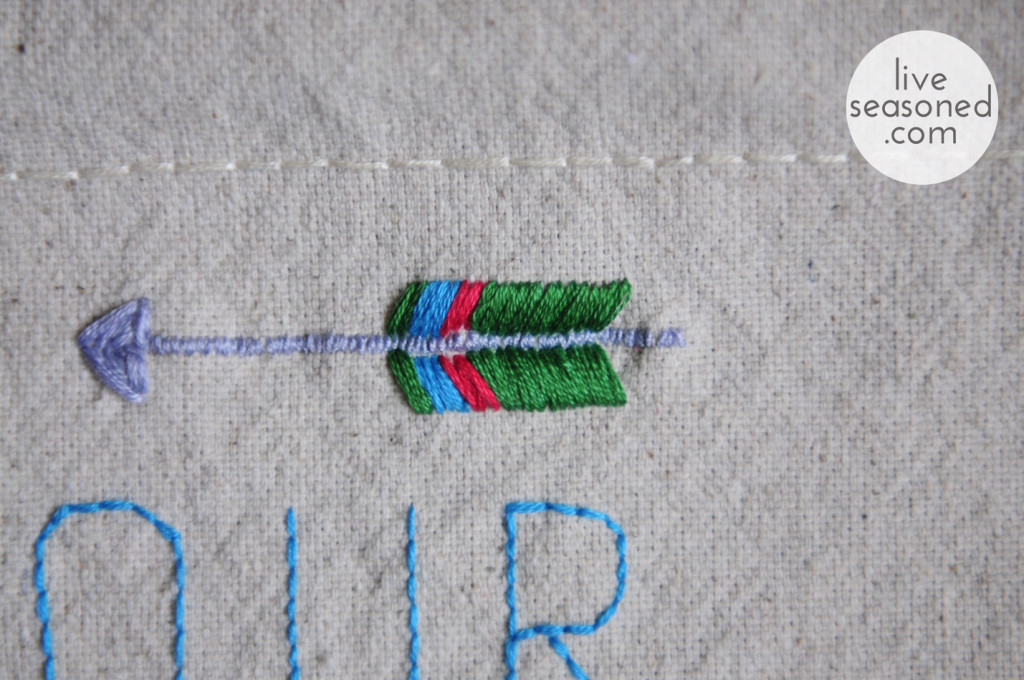
- Start by stitching the shaft of the arrow using the split stitch. Follow the diagram if you’re unfamiliar with the split stitch. I used 6 strands of embroidery floss at a time to create an even and full arrow shaft.
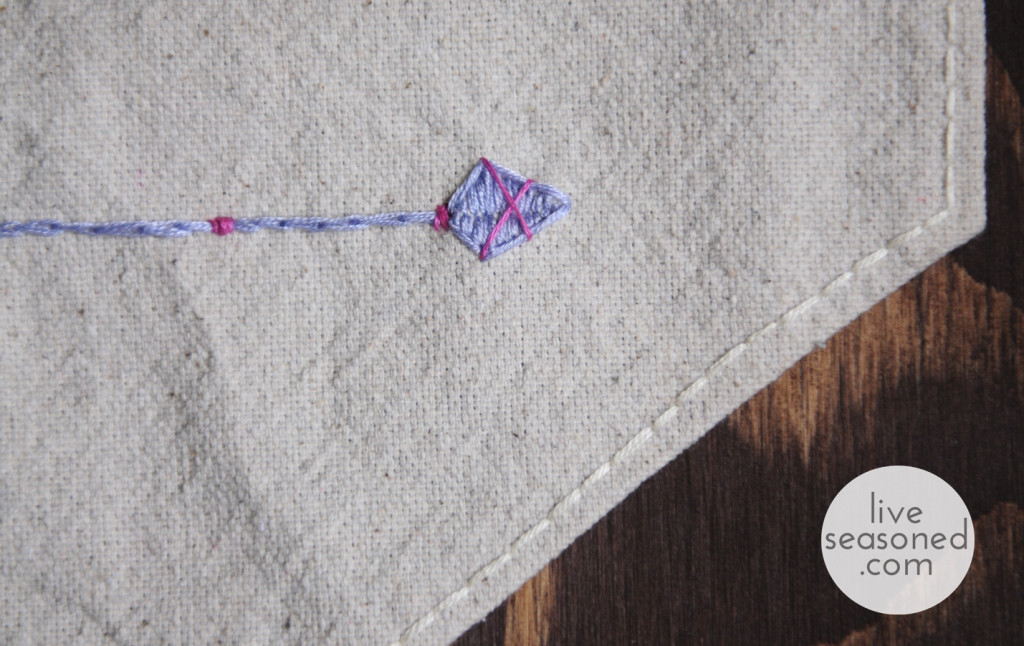
- Use the embroidery pen to sketch out a triangle to use as a rough guide for your arrowhead. Next stitch the head of the arrow using the arrow stitch. Refer to the diagram if you’re unfamiliar with the arrow stitch. To achieve clean edges when you’re finished with the arrowhead, simply outline it with stitches.
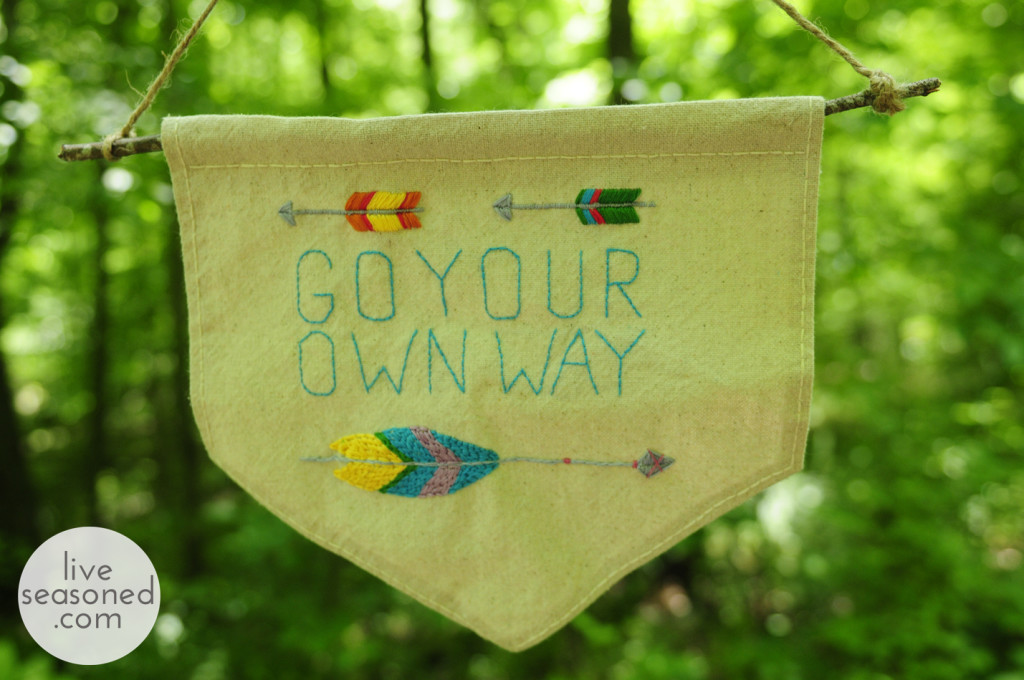
- Finally, craft your feather. Again, use the embroidery pen to approximate how large you’d like your feather to be. Once again, I used 6 strands of embroidery floss to create a full looking feather. You can use either the arrow stitch (working on one side of the feather at a time and essentially stitching half of the arrow stitch at a time) or the back stitch to outline and then fill in the feather. If you use the arrow stitch to create the feathers (like the two smaller arrows on the banner) simply choose the slope of your feather, bring the needle up through the fabric very close to, but above the shaft and down through the fabric a few squares up and over to the right (depending on what shape you’d like your feather to be – mine were 3 squares up and 6 squares over). Then bring the needle up through the fabric near, but above the shaft again in the square next to your first stitch and continue in the same pattern (3 squares up and 6 squares over) to create an even looking feather.
- If you’d like to use the backstitch to create your feathers, use the ruler and embroidery pen to make even marks on each side of the arrow shaft. This will ensure an even looking feather. Simply put a dot a 1/8 inch above and below the shaft, slide your ruler a little further down the shaft and mark a dot 1/4 inch above and below, slide the ruler a little more and mark a dot a 1/2 inch above and below . Slide your ruler a little further and start to decrease distance of the dots, marking 1/4 inch again and then a 1/8 inch. Remove the ruler and use the dots as a guide while you sketch out the curved line of your feather. Start with the first color and backstitch the outline of that segment of the feather and then fill it in with backstitches. Continue with each color until your feather is completed.
Quick Banner Instructions:
- Cut the material to your desired banner shape.
- On the front of your banner, find the center and mark it with an X. This will give you a general idea of how to lay things out. Start stitching the center elements onto your banner and work outwards.
- When you’re finished designing and stitching your banner, turn it over and measure a 1/4 border on the left, right and bottom edges.
- Fold and iron the 1/4 inch border on your banner.
- Finish the edges of your banner by back stitching the borders you just ironed.
- Lastly, fold the top edge of the banner (leaving enough space for your dowel or twig to be inserted) iron the fold and finish with a back stitch.
- Insert a twig or dowel into the space you just created and tie a piece of jute to one end and then the other.
- Hang up your banner and pat yourself on the back.
As you can see, the arrow embroidery possibilities are endless. You can mix and match different shaft, arrowhead and feather styles, sizes and colors. You know what they say, no two arrows are the same. Maybe they don’t say that, but I do and I just did so stitch an arrow and revel in the results.





Love the tutorial. Can’t beat a bit of embroidery, good for the soul. My Auntie has put aside a whole bin bag of her embroidery stuff for me to have, all her threads, tools etc coming all the way from. Holland. It will be like Christmas! I will try some arrows!
All my embroidery supplies are from my mom 🙂 Isn’t it great to have crafty people in the family?!