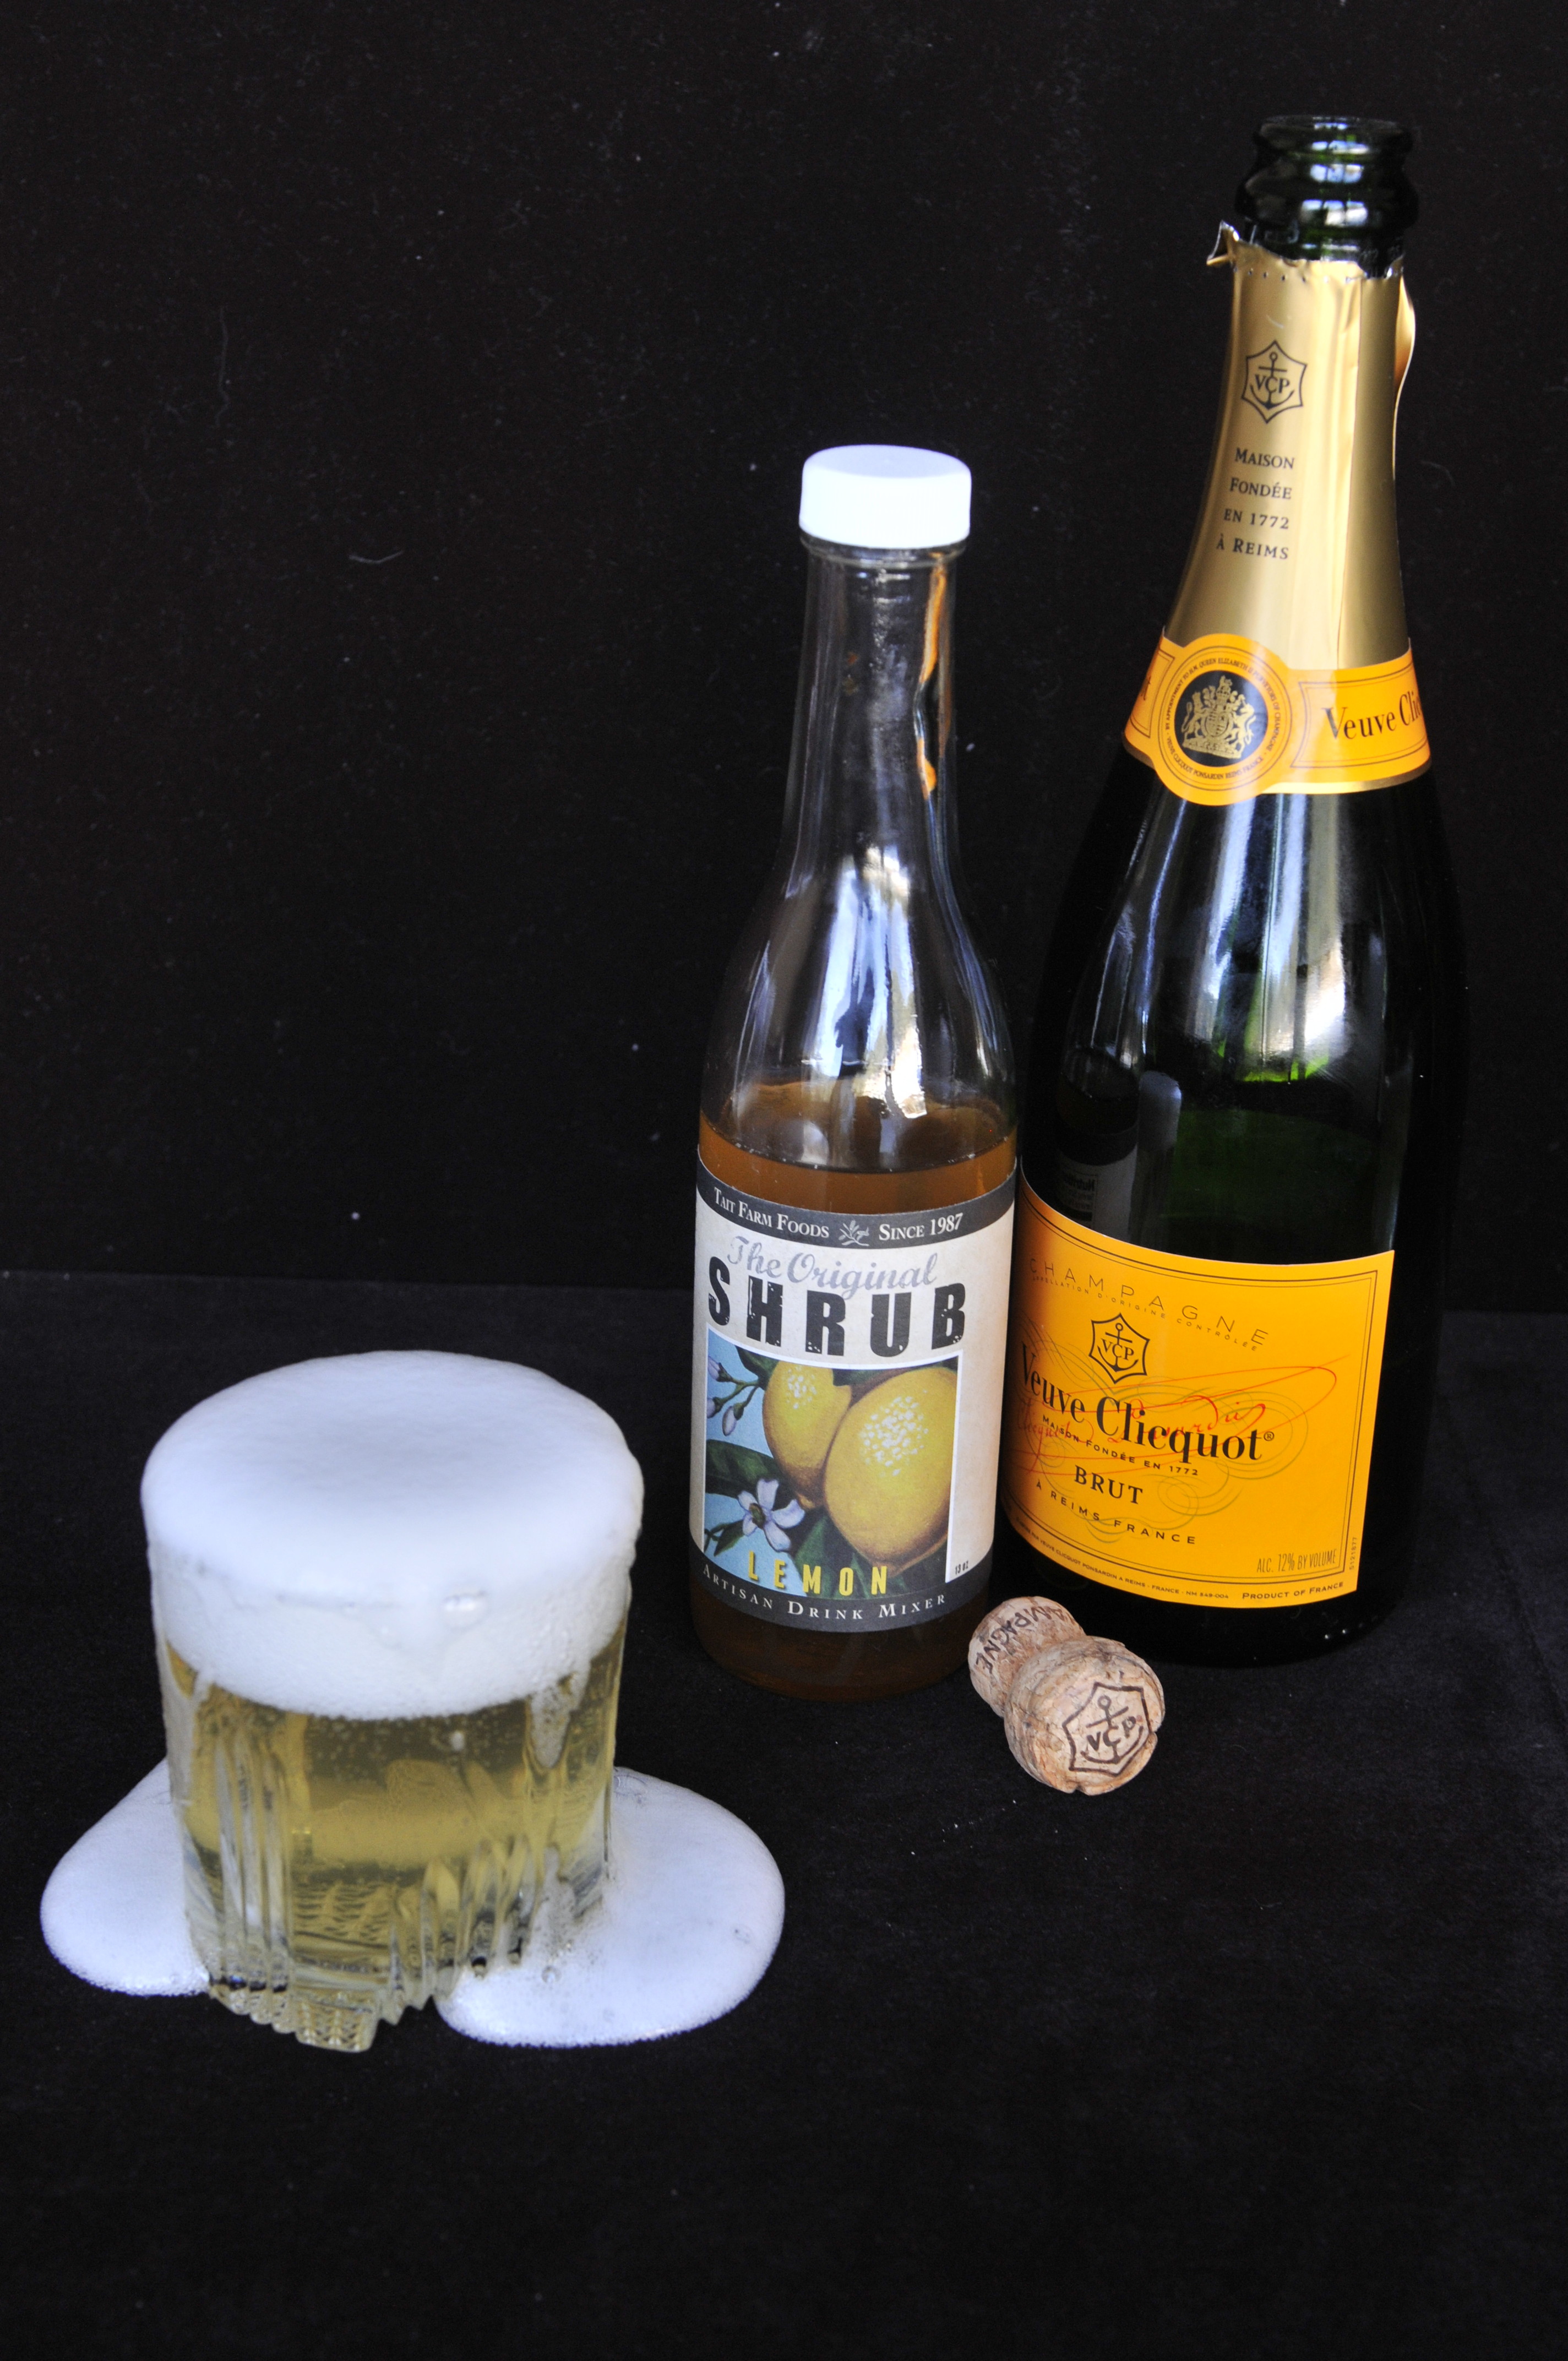
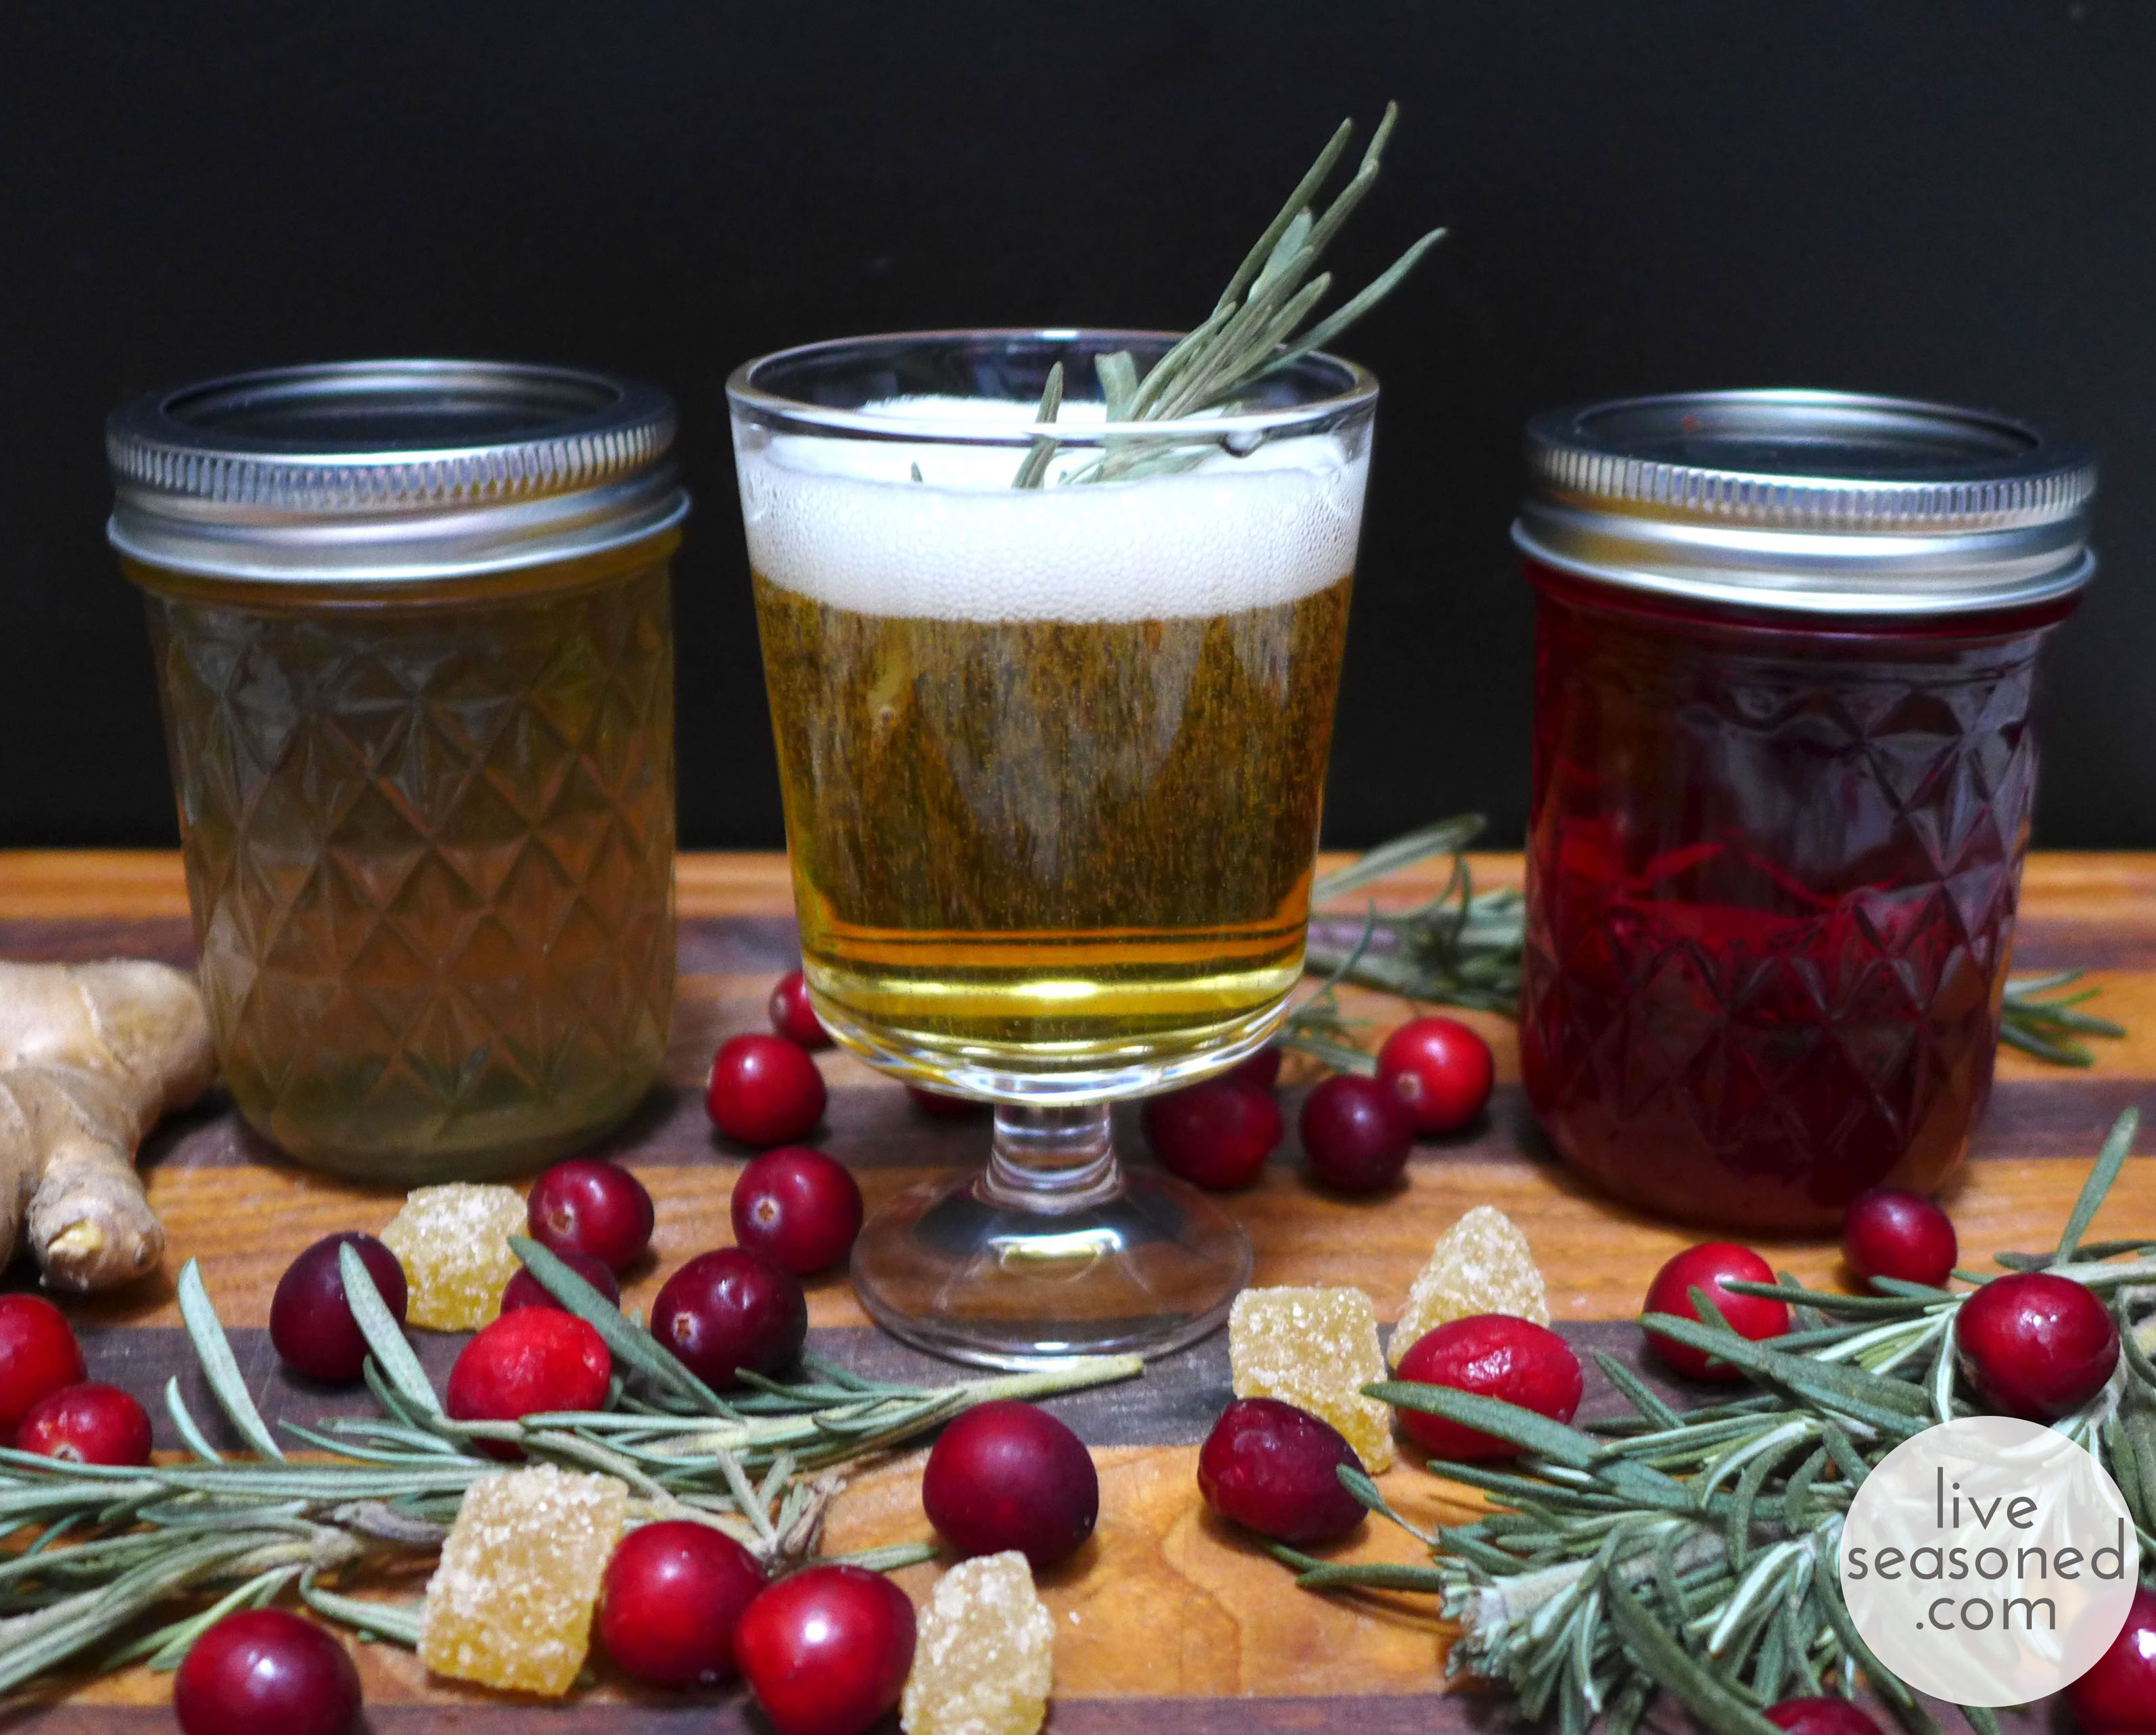
 Happy New Year’s friends! This morning we took a few minutes from our hectic, kid-wrangling schedule to create some quick and delicious shrub and champagne cocktails. Shrub is pretty much our favorite mixer and champagne is hands down the alcoholic bevy of New Year’s so boom – this post was born. If you’re having a dry New Year’s, no worries, just swap out the champagne for seltzer and ignore the liquor suggestions or stir up some of these delicious mocktails instead! If you’re down to drink, read on!
Tag Archives: holiday
Holiday Drinks
Happy Thanksgiving stateside friends! No matter where you’re reading from, these delicious wintery drinks will be cause for celebration. Gather your friends and family (or your cat) and start mixin’.

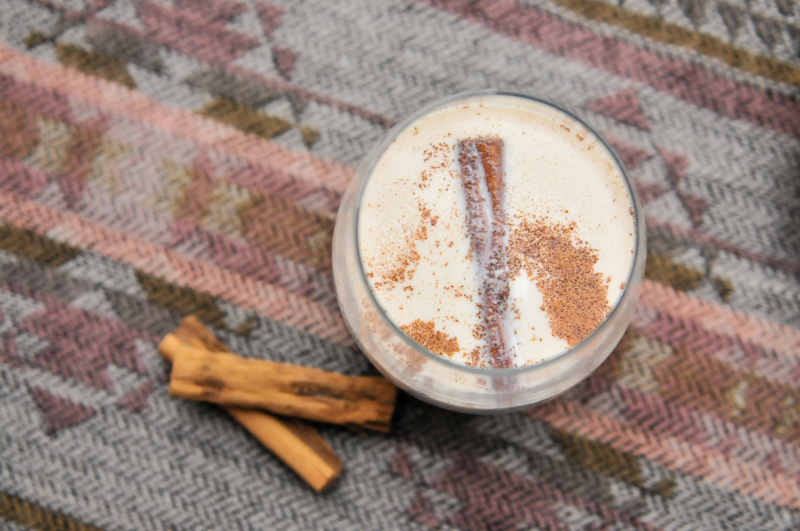
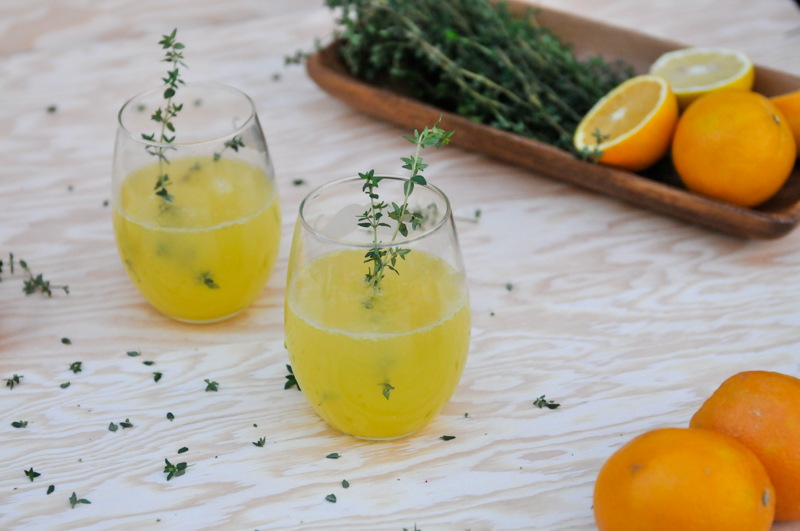
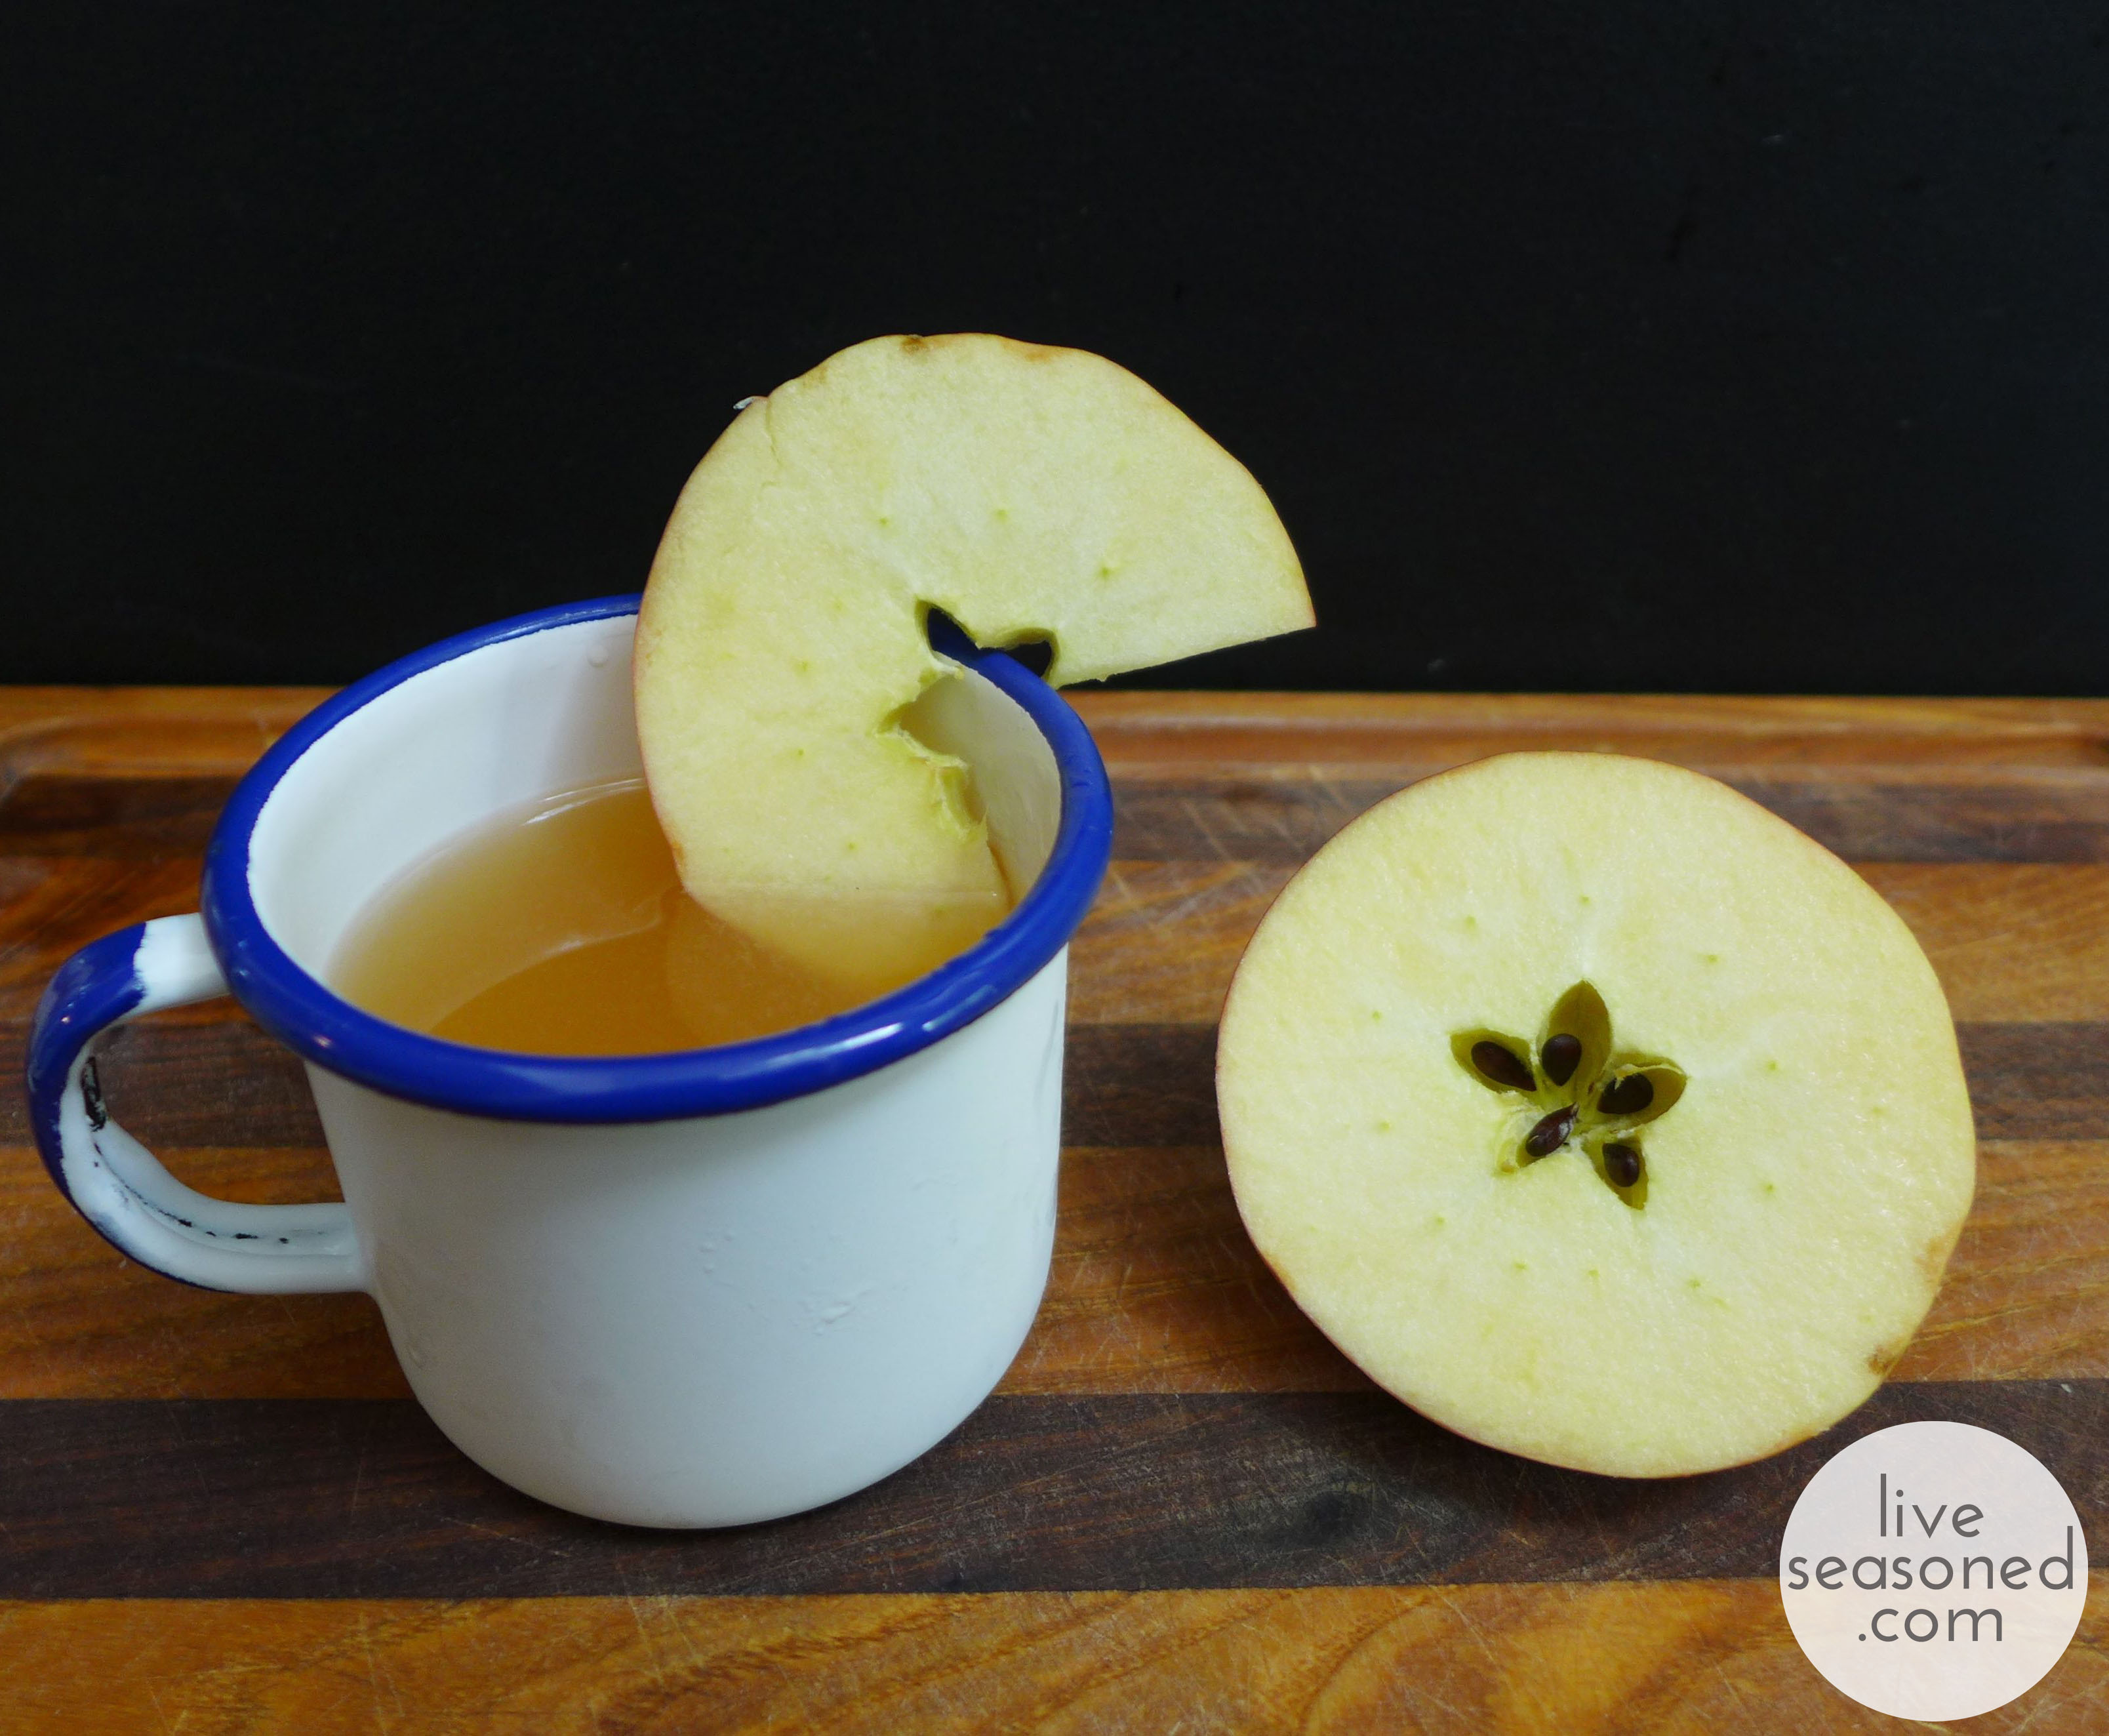
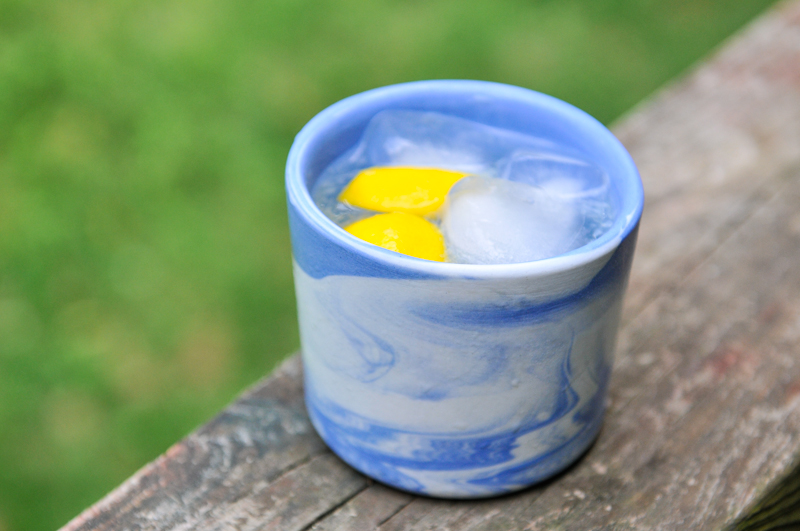
 Fruity Mocktails – A Warm Winter Rice Milk Drink – Champagne Citrus Spritzer – Pumpkin Spice Lattes – Apple Sidecar – Sparkling Cider Mocktails
Weekend Recipe Roundup
Hey there! A few friends are visiting this weekend and I found myself looking up old favorites in the archives of Live Seasoned. I thought I’d share my picks with you 🙂
Best snack EVER. Today we made a vegan version with coconut oil, nutritional yeast (instead of parmesan) and garlic.
Lemonade all the way. This lemongrass tea is exceptional too!
We love making these honey and brie crackers as a party snack.
Remember this meal? I grill up those pork skewers all the time.
Quick pickles and spinach dip are my new summer party staples.
I picked up a mixed six pack of Carolina beers and a sixer of Saranac Prism White Ale tonight.
I’ll probably make an adapted batch of these scones tomorrow for my gluten-free, vegan friend.
Oooo and some of these creamy avocado popsicles or maybe these toasted coconut ones.
Hope you all have a relaxing weekend! I’m out!
Christmas Candids: A few tips!
I just watched a video of people unwrapping puppies and I’ve never been more grateful for family photographers. We all want to capture the cheer and joy during holidays and gatherings so here are a few tips for photographing this year’s festivities. First off, it really doesn’t matter if you’re shooting with a phone, point and shoot or a DSLR, these tips will work for you. Second, have fun while photographing, try to capture candid moments and remember to put down your camera for a few hours and really enjoy the moment as it is unfolding. Happy Holidays!
White Balance
- Check it! The camera’s default setting is Auto White Balance, but that may not be the best option for the scene at hand. Change the white balance to Incandescent or Fluorescent to see which setting works best for your home and lights. If that sounded like Chinese to you, check out this Photography 101 post.

Point of Focus
- Pick one. There is SO much going on at the holidays that you might see cookies, presents, lights and decorations all in one scene. Decide what the point of focus is for your photo and zone in on that. If it’s a little boy unwrapping a present, the photo is about his expression not the christmas tree behind him so frame the boy, not the entire living room. Think about what you want to stand out about the photo and choose an angle that will highlight the subject not distract from it.

Shooting on Burst Mode
- Anytime you’re shooting action like unwrapping presents, a New Year’s toast, someone blowing out candles, shoot on burst mode. It might also be called continuous mode and depending on your camera and settings it will take anywhere from a couple to a dozen shots each second. Shooting on burst mode is the perfect way to capture every expression especially in candid situations.


Out-of-focus Christmas Lights
- Lots of folks are always asking me how to achieve a bokeh effect with Christmas lights – good news, it is super easy! Simply choose a low aperture a.k.a. fstop number and that will effectively blur whatever you are not focusing on, in this case it’s the lights. An example? If I’m photographing my nephew in front of our Christmas tree, I want the tree to be visible so I can set the scene, yet he is the main focus of the photograph so I would set my aperture to f2.8 and focus on his sweet little face. The tree behind him would be out of focus and therefore the lights would attain the bokeh effect. In the photos above, all three photos are of the same scene, but the light circles grow bigger as they become more out of focus. I simply pointed my camera at a Christmas tree and turned my focusing ring just out of focus, a little out of focus and majorly out of focus.
Photographing Outdoor Lights and Decorations
- There are a few things that are relatively difficult to photograph. Outdoor Christmas lights are one of them. You basically have a really bright object (the lights) against a really dark object (the house and sky), which makes a tricky situation to expose properly. I feel like we have all been here before. You see an amazingly gorgeous sunset and you think, ‘family photo opp!’ only to be completely disappointed by the results. You either end up silhouetted against the sun or you use the flash and hate the unnatural outcome. It’s the same type of deal, dark and light competing for a proper exposure.
- Head outside during twilight when the sky is nice and blue – right after sunset, but before it gets dark. You have a small window of time for these shots, only about twenty minutes. Set up your camera and tripod. Choose a low ISO number like 400. Also choose a slow shutter speed somewhere around 1/25 of a second or slower. Set your aperture according to your light meter and then experiment from there. I usually set up the shot, ISO and shutter speed and then take a dozen shots adjusting my aperture by one stop (click) each time. Then I’ll scroll through the shots, decide which I like the best and set the aperture accordingly. This time I’ll play with the shutter speed a little bit by adjusting it a tiny bit faster or a tiny bit slower. That way you get a good variety of exposures.
Good luck and let us know if you found any of these tips useful by posting your pics to IG and tagging us 🙂
German Christmas Markets
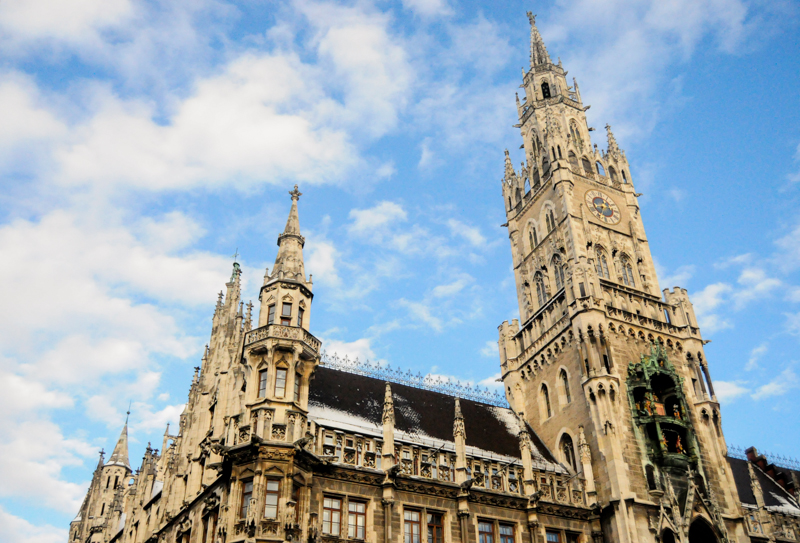
In October, we revisited our adventures in Thailand. We thought we should give you a glimpse of what we were up to a few Decembers past. In 2010 Katie and I went to visit Calder, her fiancé (they’re married now), who was living and working in Germany. Our trip was amazing and I think it had to do with a few key factors: Katie, C and I all get along really well, C is fluent in German (hellllllo helpful!) and we kept the trip spontaneous and largely unplanned. Mix great buddies with little stress and lots of snow and you have a Christmas adventure that will never be forgotten. Oh and breakfast! Almost every hotel offered a complimentary breakfast, which consisted of a big deli platter with lots of yummy meats, cheeses and the best baked bread. You are also offered eggs, cereal, yogurts and fruit. We started each day with coffees and cheese, please tell me how we could have possibly had a bad time? I actually had such a blast that I completely forgot to e-mail a final paper to a professor during the trip! Yep, I wrote a ten page research paper and forgot to turn it in that’s how awesome our Christmas trip to Germany was.


Now when I think of Christmas traditions, I actually think of the German Christkindlmarkt. I feel like visiting the markets is the most historic lens I’ve ever looked through when it comes to the holiday season. The markets are held in the center of villages, towns and cities. The backdrop and surroundings of each market is historic and stunning in itself. Every Christkindlmarkt has a variety of gifts and holiday goodies. The markets are a glimpse of the past; you won’t find tacky Christmas commercialization here. Over the course of a week, we visited five markets ranging from enormous to quaint. Each market had crib figurines, ornaments, toys, wood carvings, decorations, candles, furs and a variety of other crafts and goods. The markets also had the most amazing food. It kicked any American fair food’s behind. We usually ate some type of bratwurst and sauerkraut on a fresh, crusty roll. We kept warm by sipping glühwein and sampling dozens of treats throughout the day. Each city’s market had a slightly different vibe and while I loved visiting every one, Esslingen’s medieval market may have been my favorite. Read on to see why…
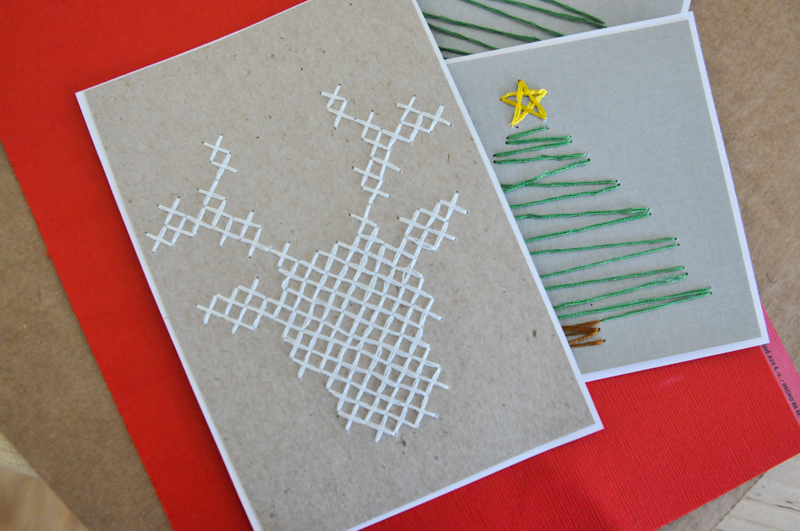
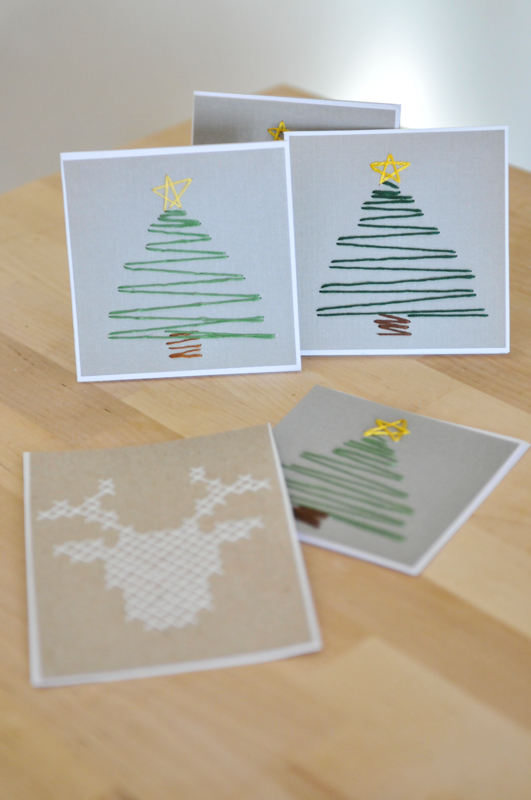
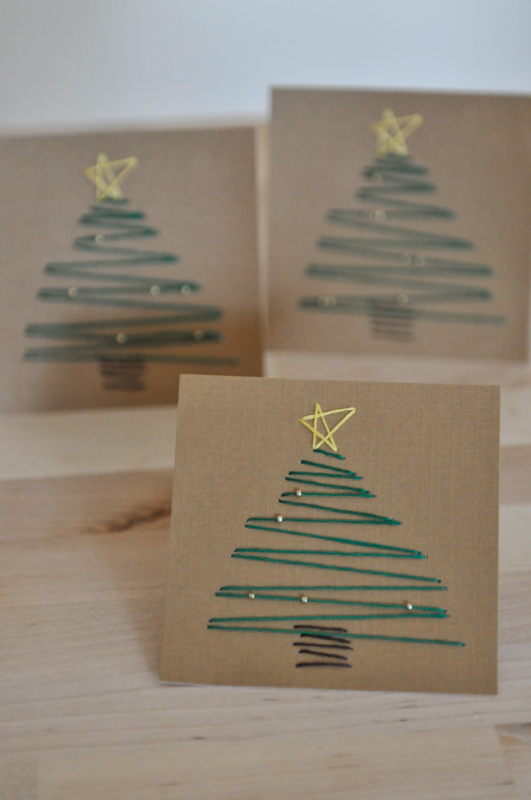
Embroidered Christmas Cards
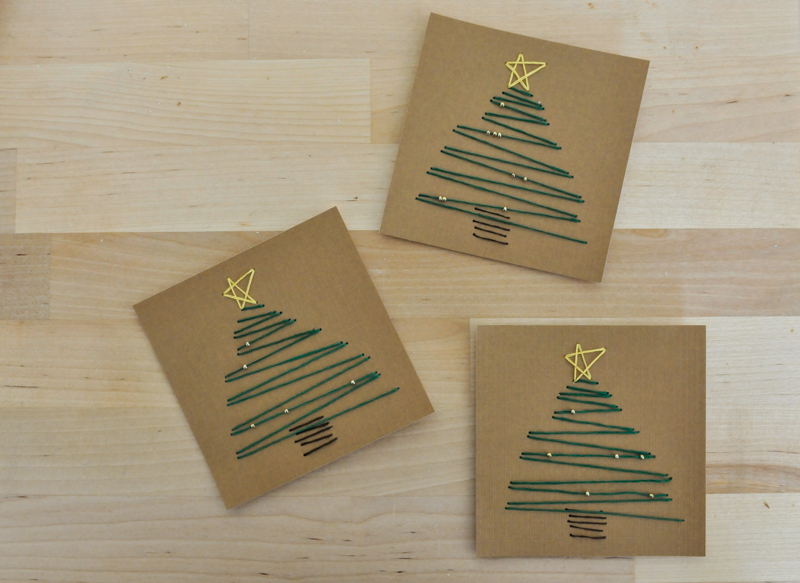 I like to call them stitchmas cards. I wanted to make cards this year, but I don’t have a printer so I had to think of an easy way to add a design. I drew a few doodles, messed around with some graph paper and I came up with these simple card ideas. Depending on how detailed you want to get, this is a great kids craft as well. Add a few cute and easy stitches to your handmade Christmas cards this year. I dare ya.
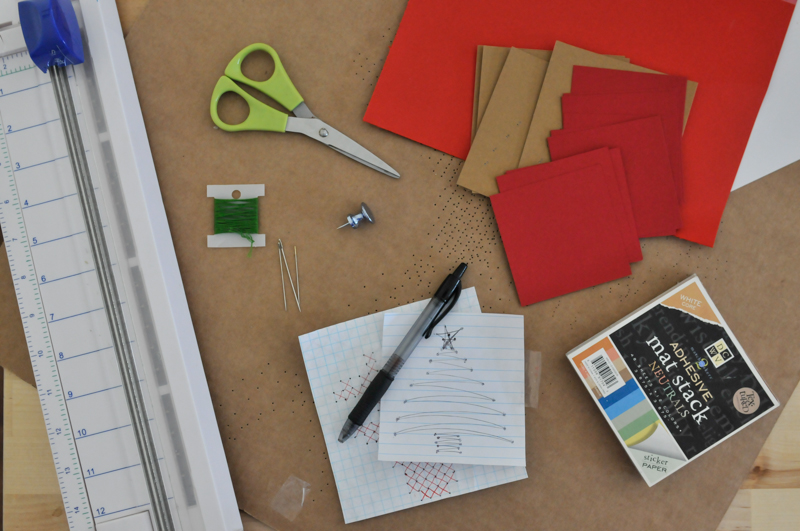
Supplies:
- Piece of cardboard or foam to work on
- Card stock (I used scrapbooking paper and these in neutral)
- Blank cards or folded card stock
- Paper cutter (optional)
- Scissors
- Thread
- Needle
- Thumbtack
- Pen
- Paper
- Tape
- Glue


The How:
- Doodle a design on a piece of notebook paper. It’s up to you how complex you want to make your cards.
- Tape the design onto the card stock and the piece of cardboard you are working on. Use the thumbtack to poke holes at every angle in your design. If you’re using graph paper, poke holes in each corner of the squares.
- Carefully remove the tape and doodle. At this point, I poked secondary holes onto my tree design adjacent to the original holes. I did this so I would not have to backstitch the entire design; instead it is similar to a running stitch. The design and hole placement is really up to you. There’s no strict rules for stitching cards, just a general practice.
- Once you are finished stitching with a particular color, use a small piece of tape to secure the thread. If you’re using paper with an adhesive backing leave the thread loose until the entire design is stitched. Carefully remove the backing, pull the threads tight and stick them down. Adhere the sticky sheet to the front of your card and place it under a stack of books. If using regular card stock, use rubber cement to glue the design to the front of your card and place under a stack of books.


Have you already mailed out your holiday cheer this year? I like to wait until the last moment so that my friends and family open their card closer to Christmas and New Years. That or I procrastinate until the week before where you’ll find me hustling to make them all in time 😉