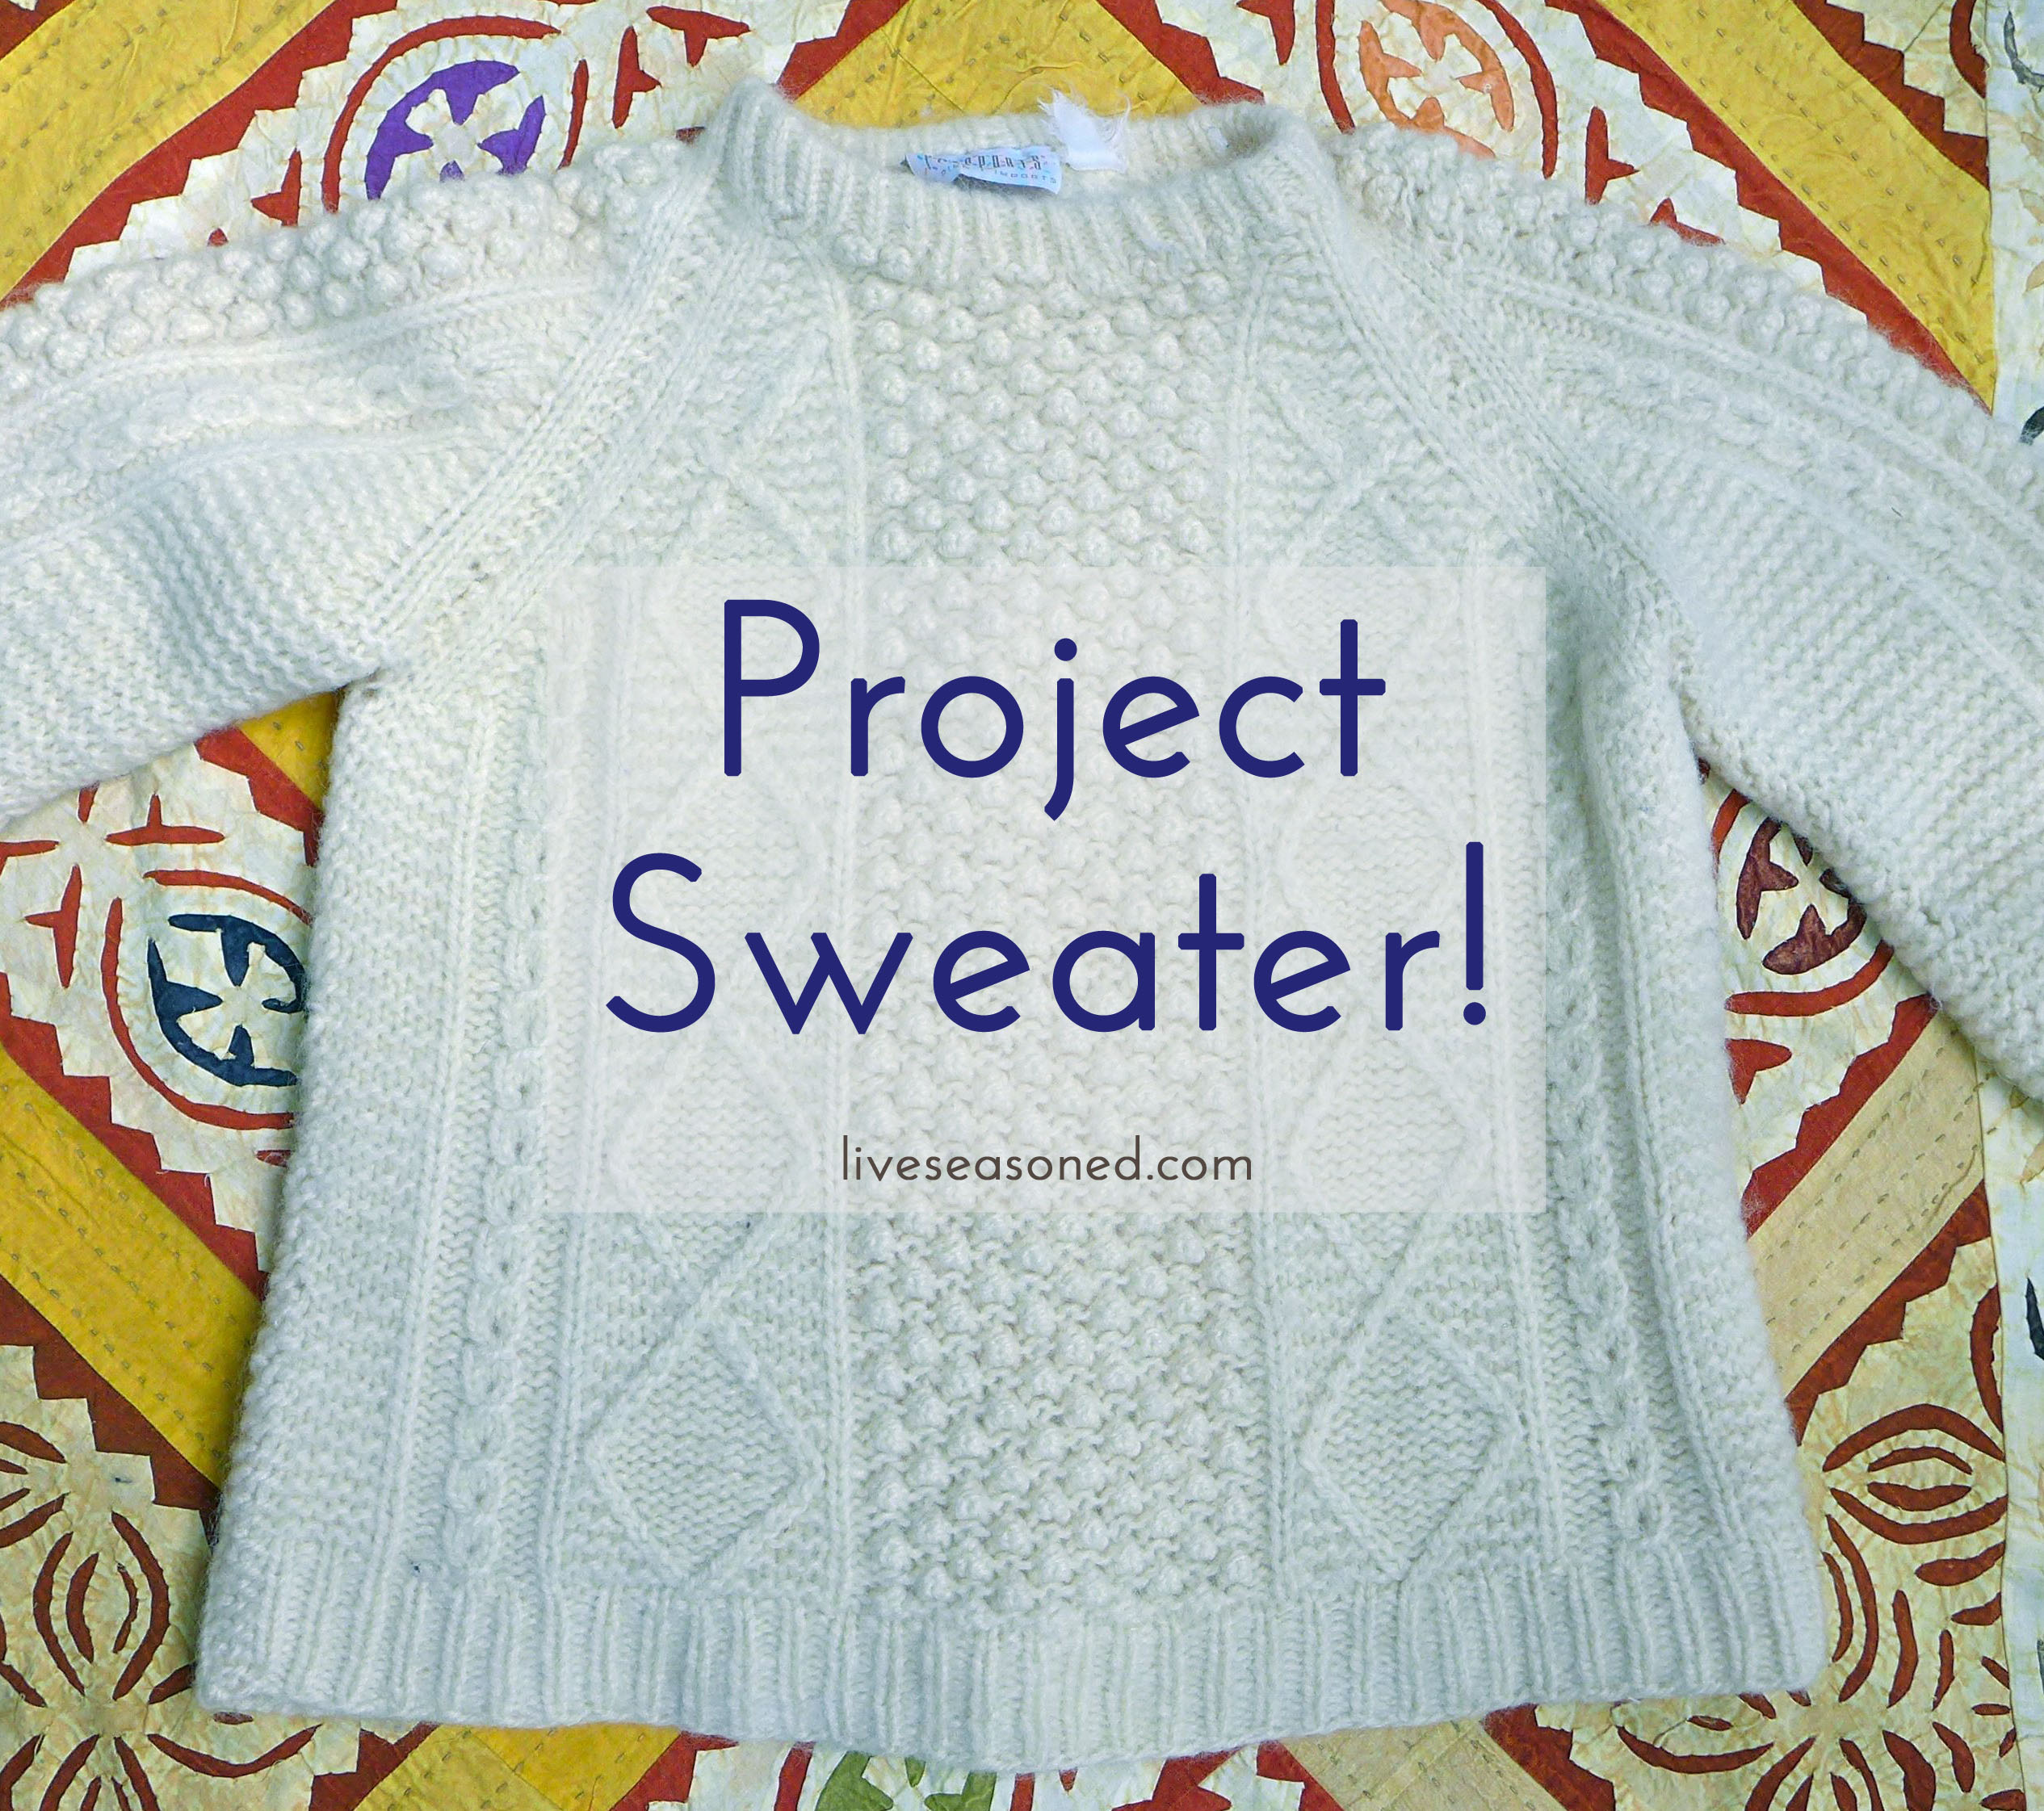
A little over a month ago I introduced you to my big fall sweater project. At that point, I introduced you to the sweater’s main stitches and showed you my first two swatches. Neither swatch was spot-on, as both reproduced the stitch pattern at a smaller scale than the sweater. I was able to decide that I liked the bulkier second yarn better than the worsted weight first yarn, so my plan was to make at least one more swatch (and maybe more) with the second yarn using larger needles. In this post, I’m going to share the rest of my swatching and final yarn selection.


I began by adding a third swatch to the initial two using the Knit Picks bulky yarn (the same used for Swatch #2) and US size 11 needles. Below I listed the yarn and needle combinations for the first three swatches. After finishing the swatches, they had to be blocked.
- Swatch #1 : Yarn: Cascade Eco ~~~ Needles: US9
- Swatch #2 : Yarn: Knit Picks Wool of the Andes ~~~ Needles: US10.5
- Swatch #3 : Yarn: Knit Picks Wool of the Andes ~~~ Needles: US11
Blocking Wool
Whenever knitting with wool and other natural fibers, the last step of your project or swatch should always be to block it. Blocking wool helps to relax the stitches into their final formation, it will even out the stitches within their rows and columns, making a swatch more square. Additionally, blocking may be used to adjust the size and fit of a finished garment (to some extent you can make something a touch bigger if needed such as adding length to sleeves or adding curves to a sweater if to fit more appropriately around your bust or hips without using darts).
There are a number of different ways to block your fibers, but I’m partial to the wet method. In this case I soaked the swatches in a lukewarm bath for 15 minutes. Removed them from the bath and gently squeezed out as much excess water as I could before laying them out in their final dimensions to dry. When I placed these pieces on a yoga mat for drying. I wasn’t interested in increasing their size, I was just interested in staying as true to their natural size as possible, so I tried not to stretch them at all, just to lay them down keeping the stitch rows and columns even. Once in their final place, I added a few straight pins around the edges to keep the swatches from shrinking for morphing as they dried.
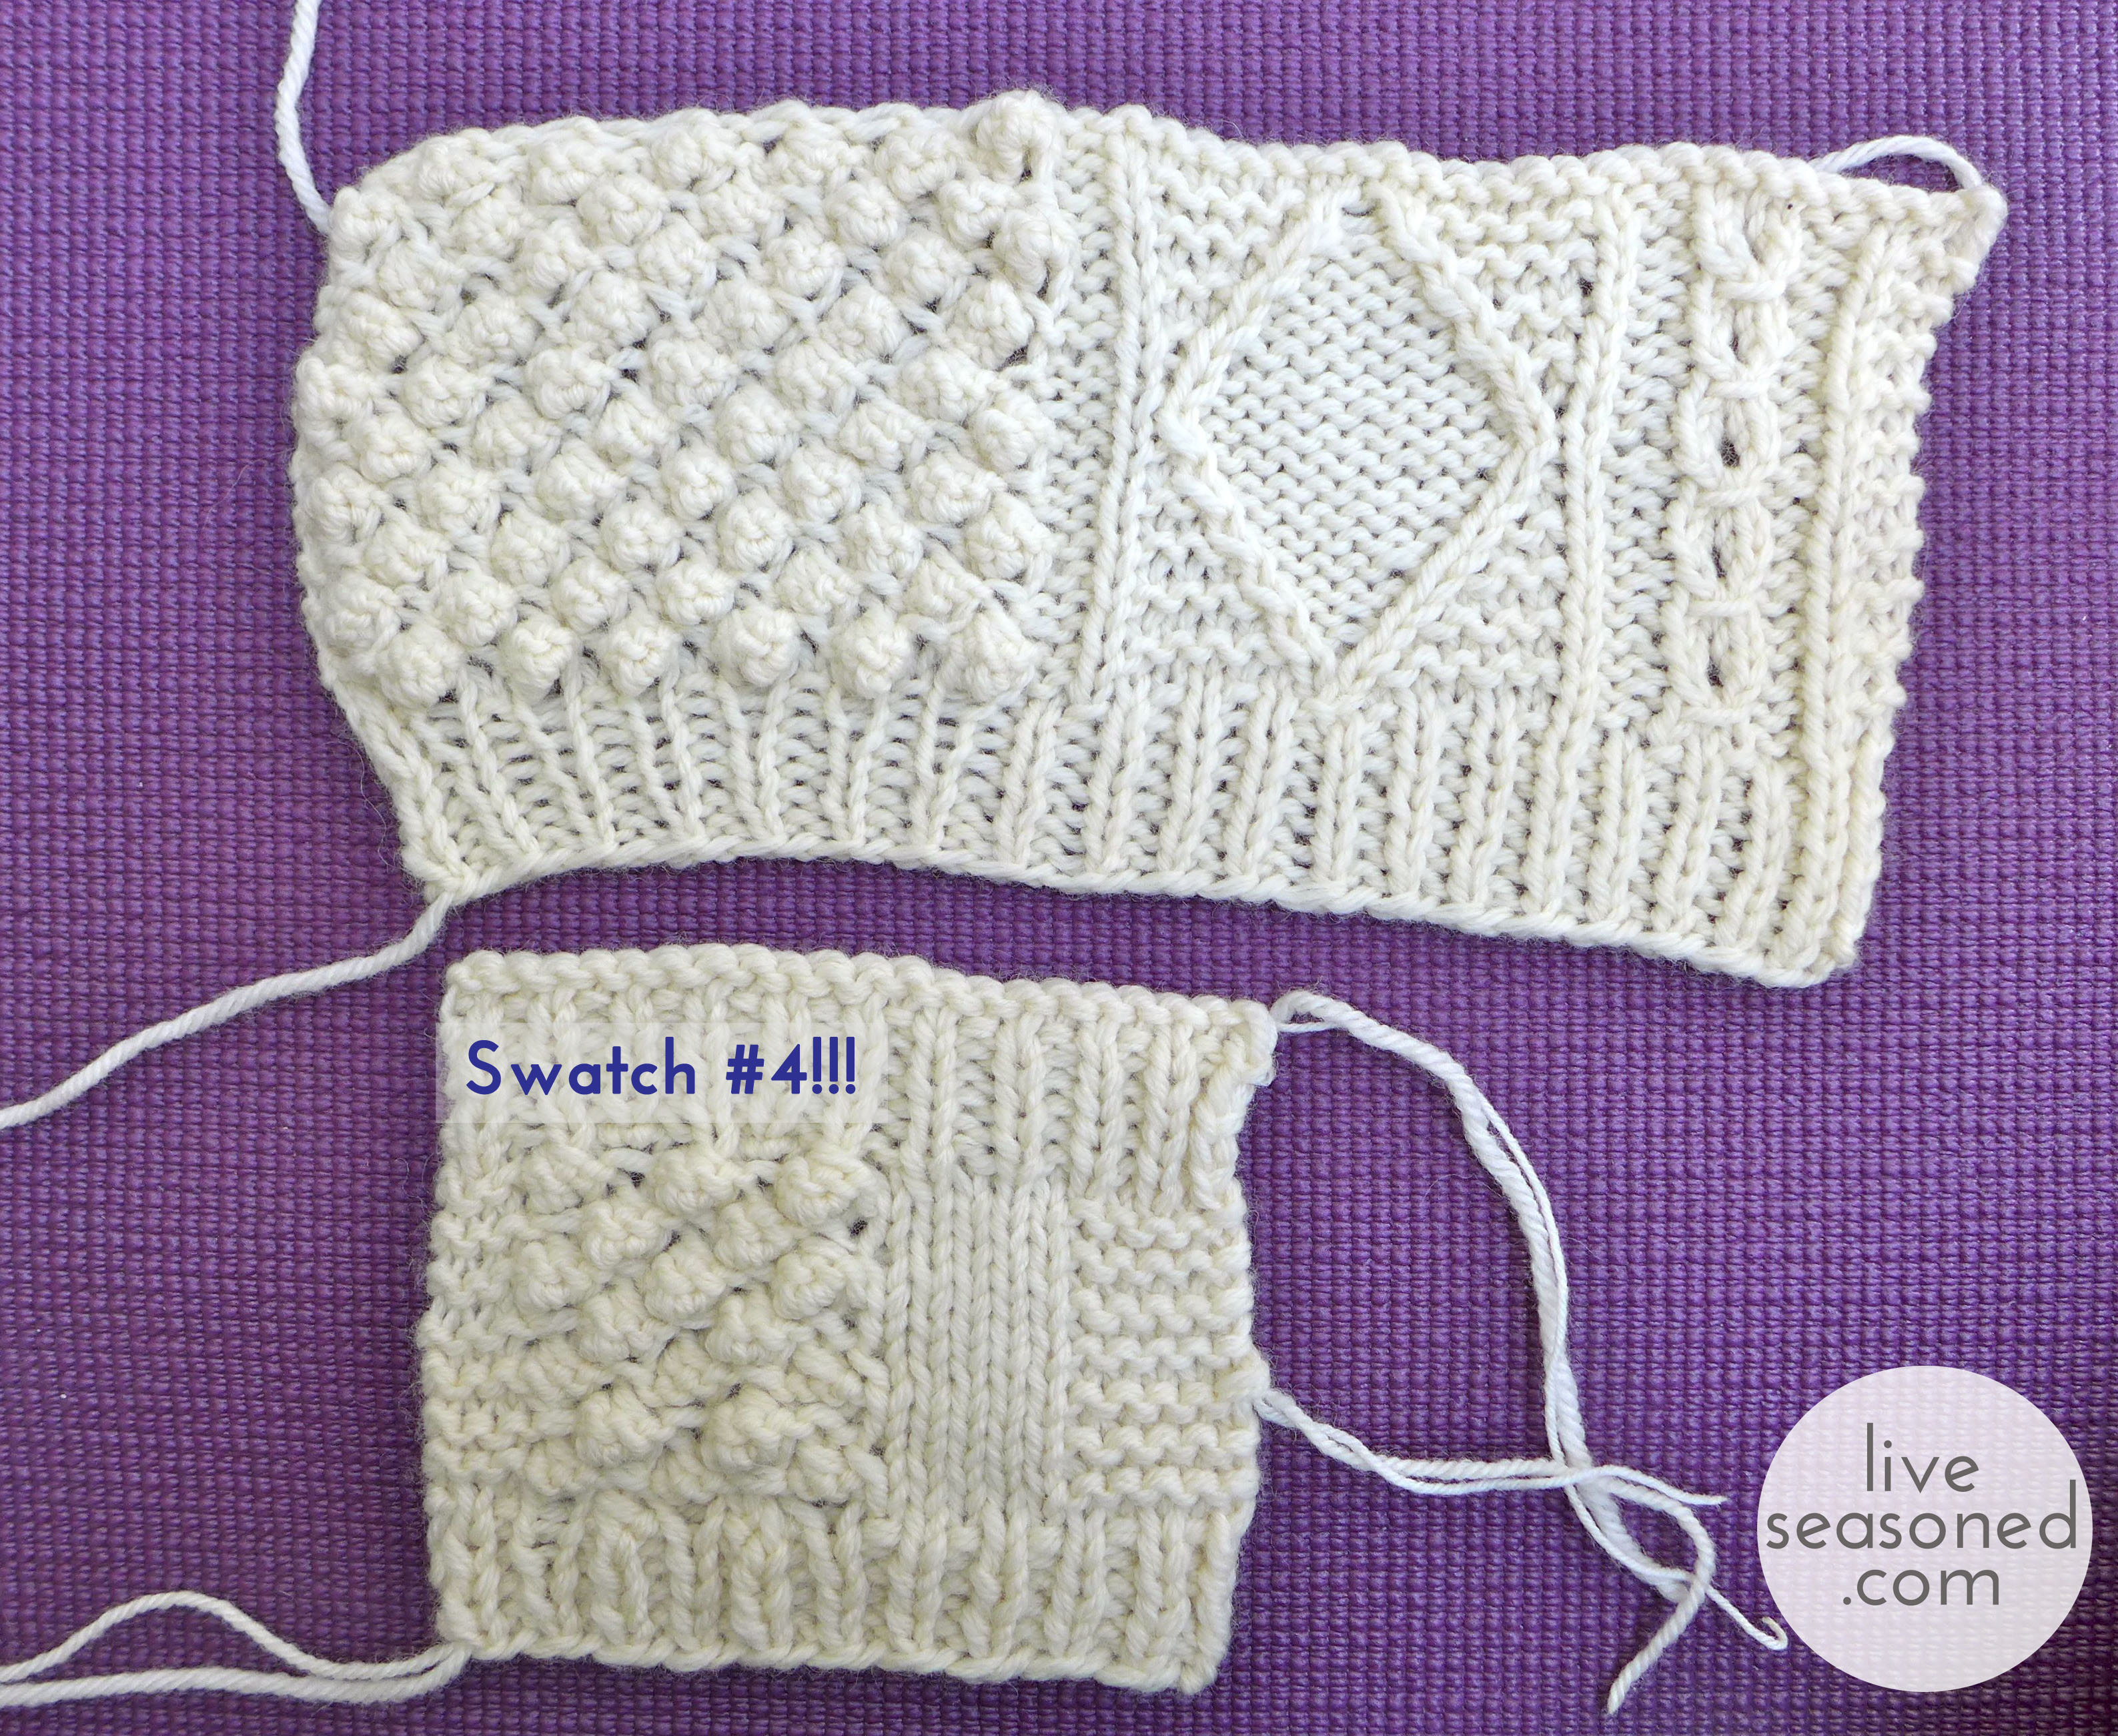
In the photos above, you can see the difference between the unblocked (right) and blocked (left) swatches. Notice that the blocked swatches have a neater shape with straighter edges… except for swatch #3, where I tried something slightly different to start the bobble section and it ended up backfiring by adding too many stitches to that section.
The photo above shows the blocked swatch #3 laying on top of the sweater. You can see that it’s a spot-on match for the sweater’s pattern gauge. Exciting! My one concern was that with the larger needle, the stitches were starting to look slightly too loose for my liking. What would this mean for the final sweater? When it’s being worn, the stitches that are carrying a lot of the weight, such as the ones over your shoulder, would look really stretched out and you would be able to see through them.
One way to fix this would be to find yet another thicker yarn (this is why I switched yarns between Swatch #1 and #2). But I really liked the feel and shade of this wool, and I was concerned that that search could lead to many dead ends (and unsuccessful swatches) before I found another contender. So, I decided to go in another direction: hold a smaller gauge yarn together with the bulky weight, increasing the thickness of the yarn being stitched. So it was time to swatch again.
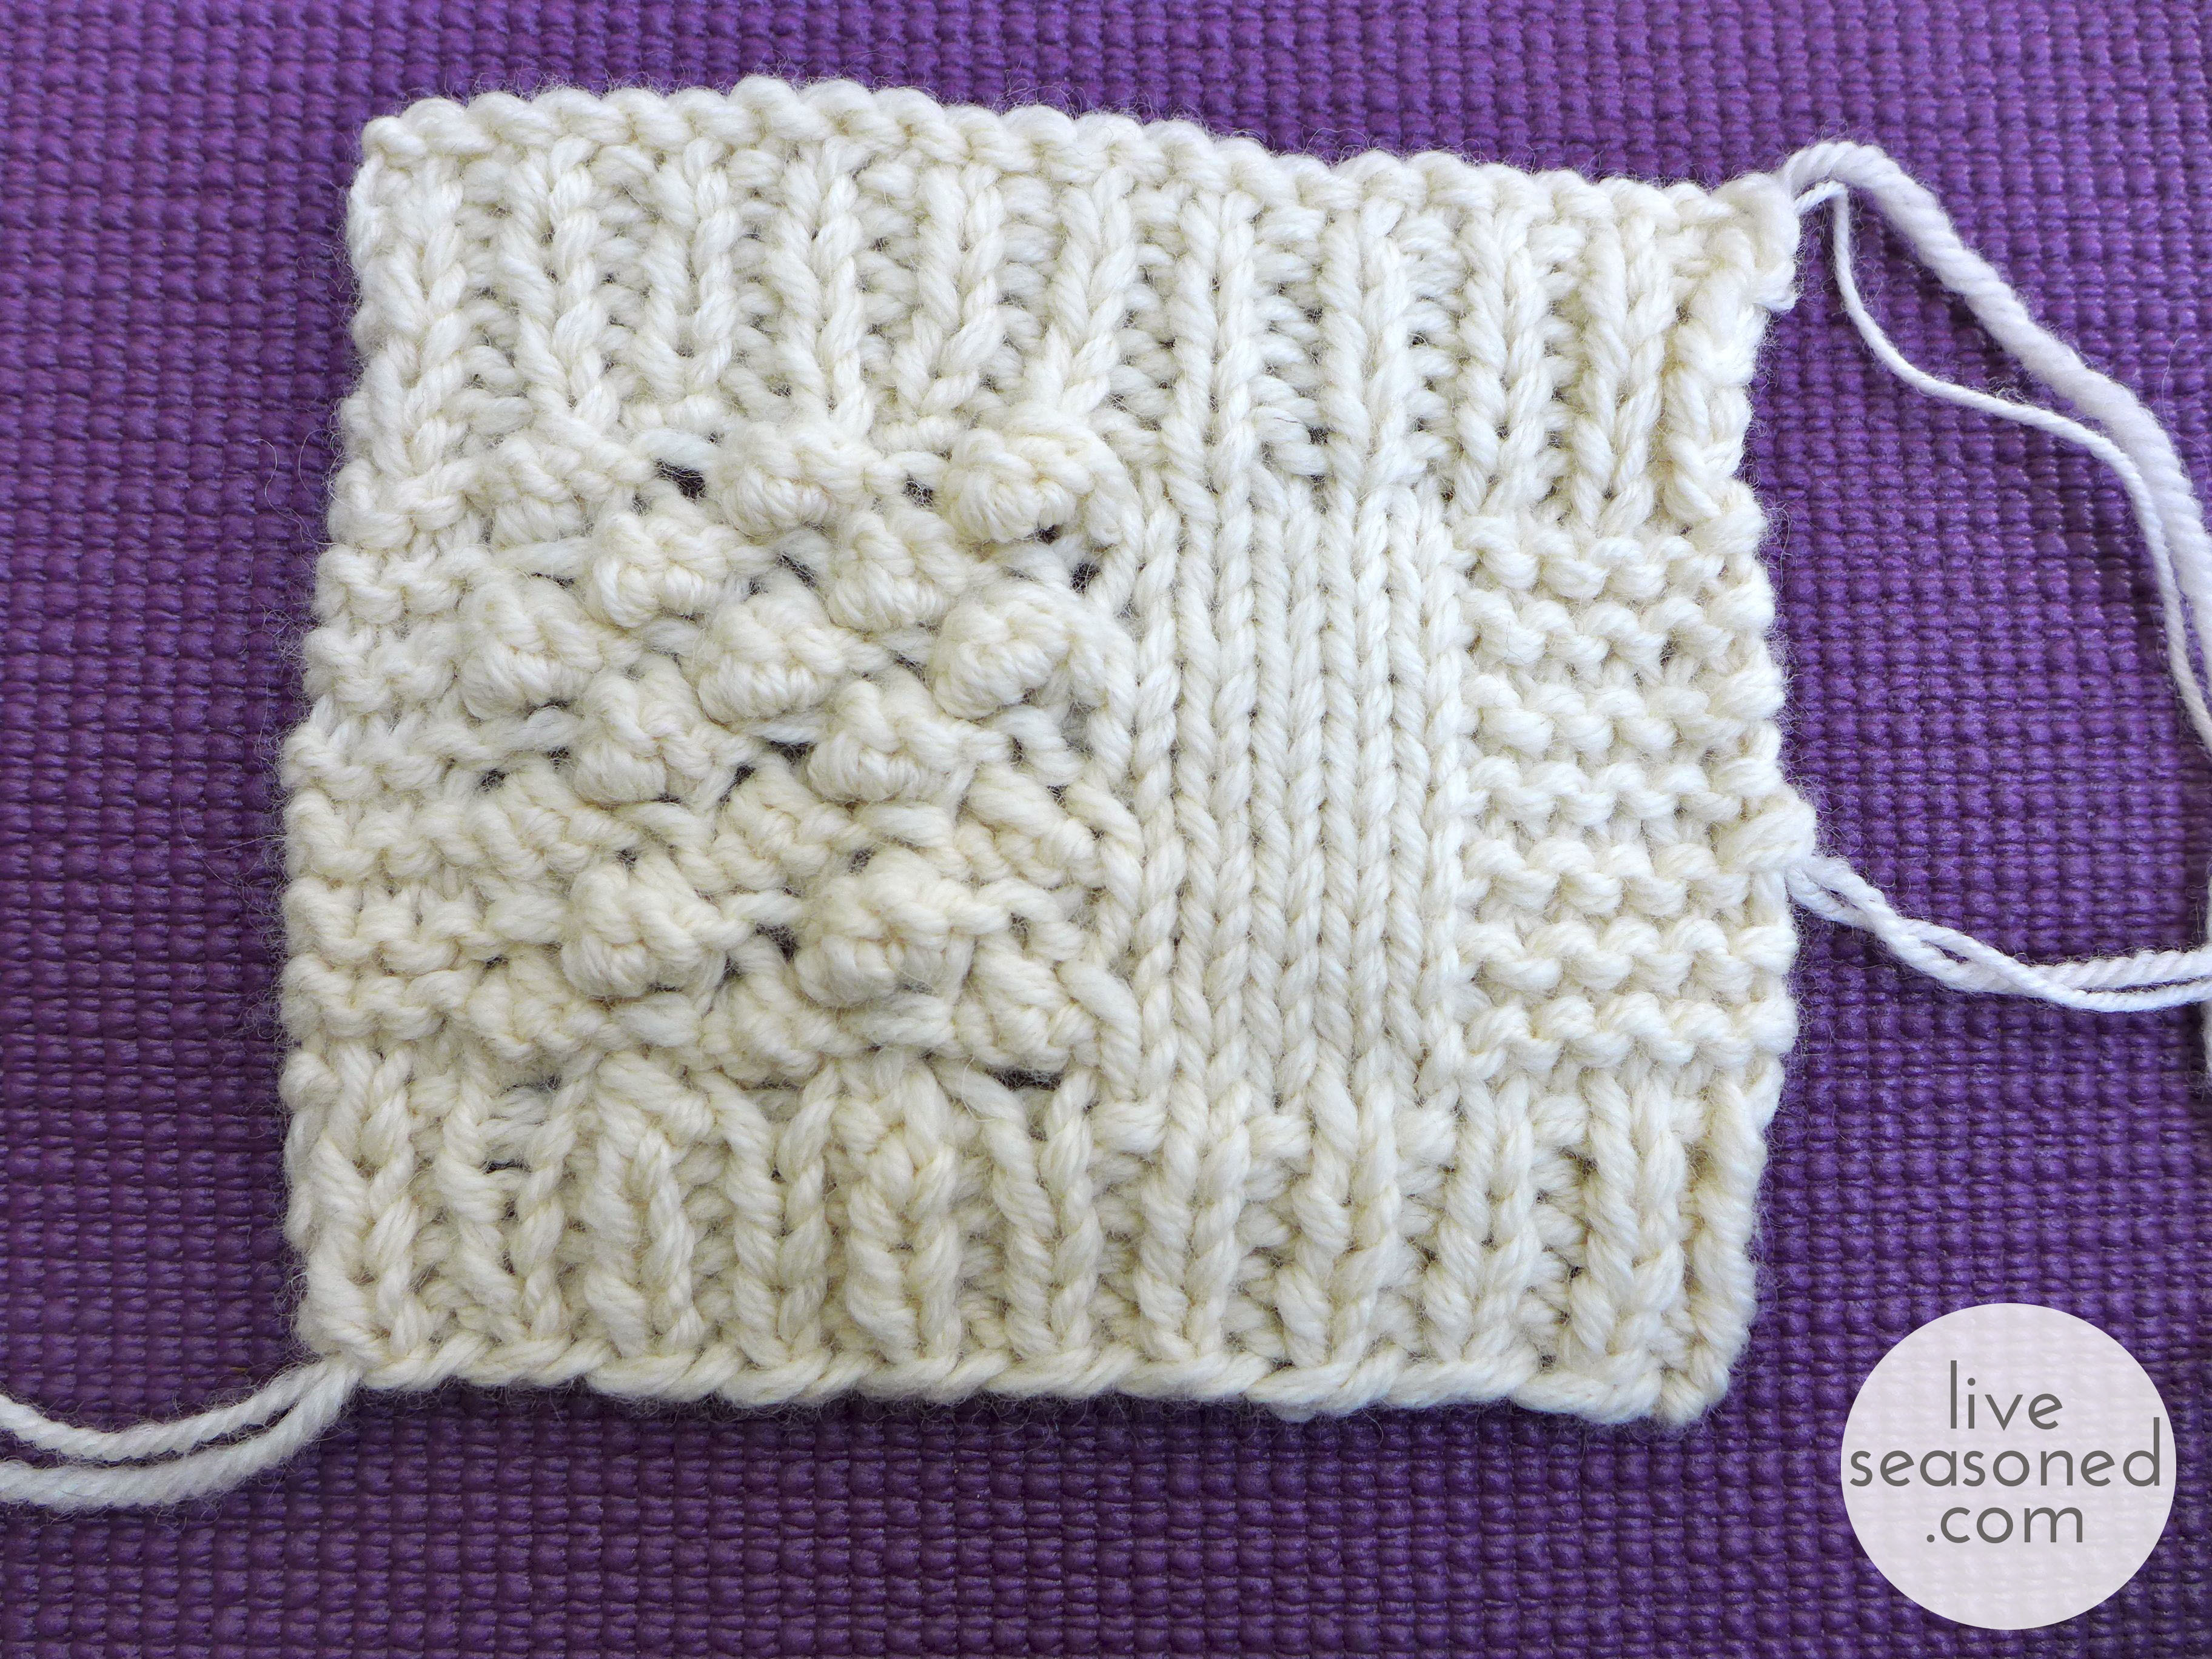
For this swatch I simplified things and just tested the ribbing, bobbles, stockinette stitch, and garter stitch. I started by holding the bulky yarn with a worsted weight yarn and then switched to a fingering weight yarn halfway up the swatch. The worsted-bulky combination was too thick, but the fingering-bulky combo was just right!
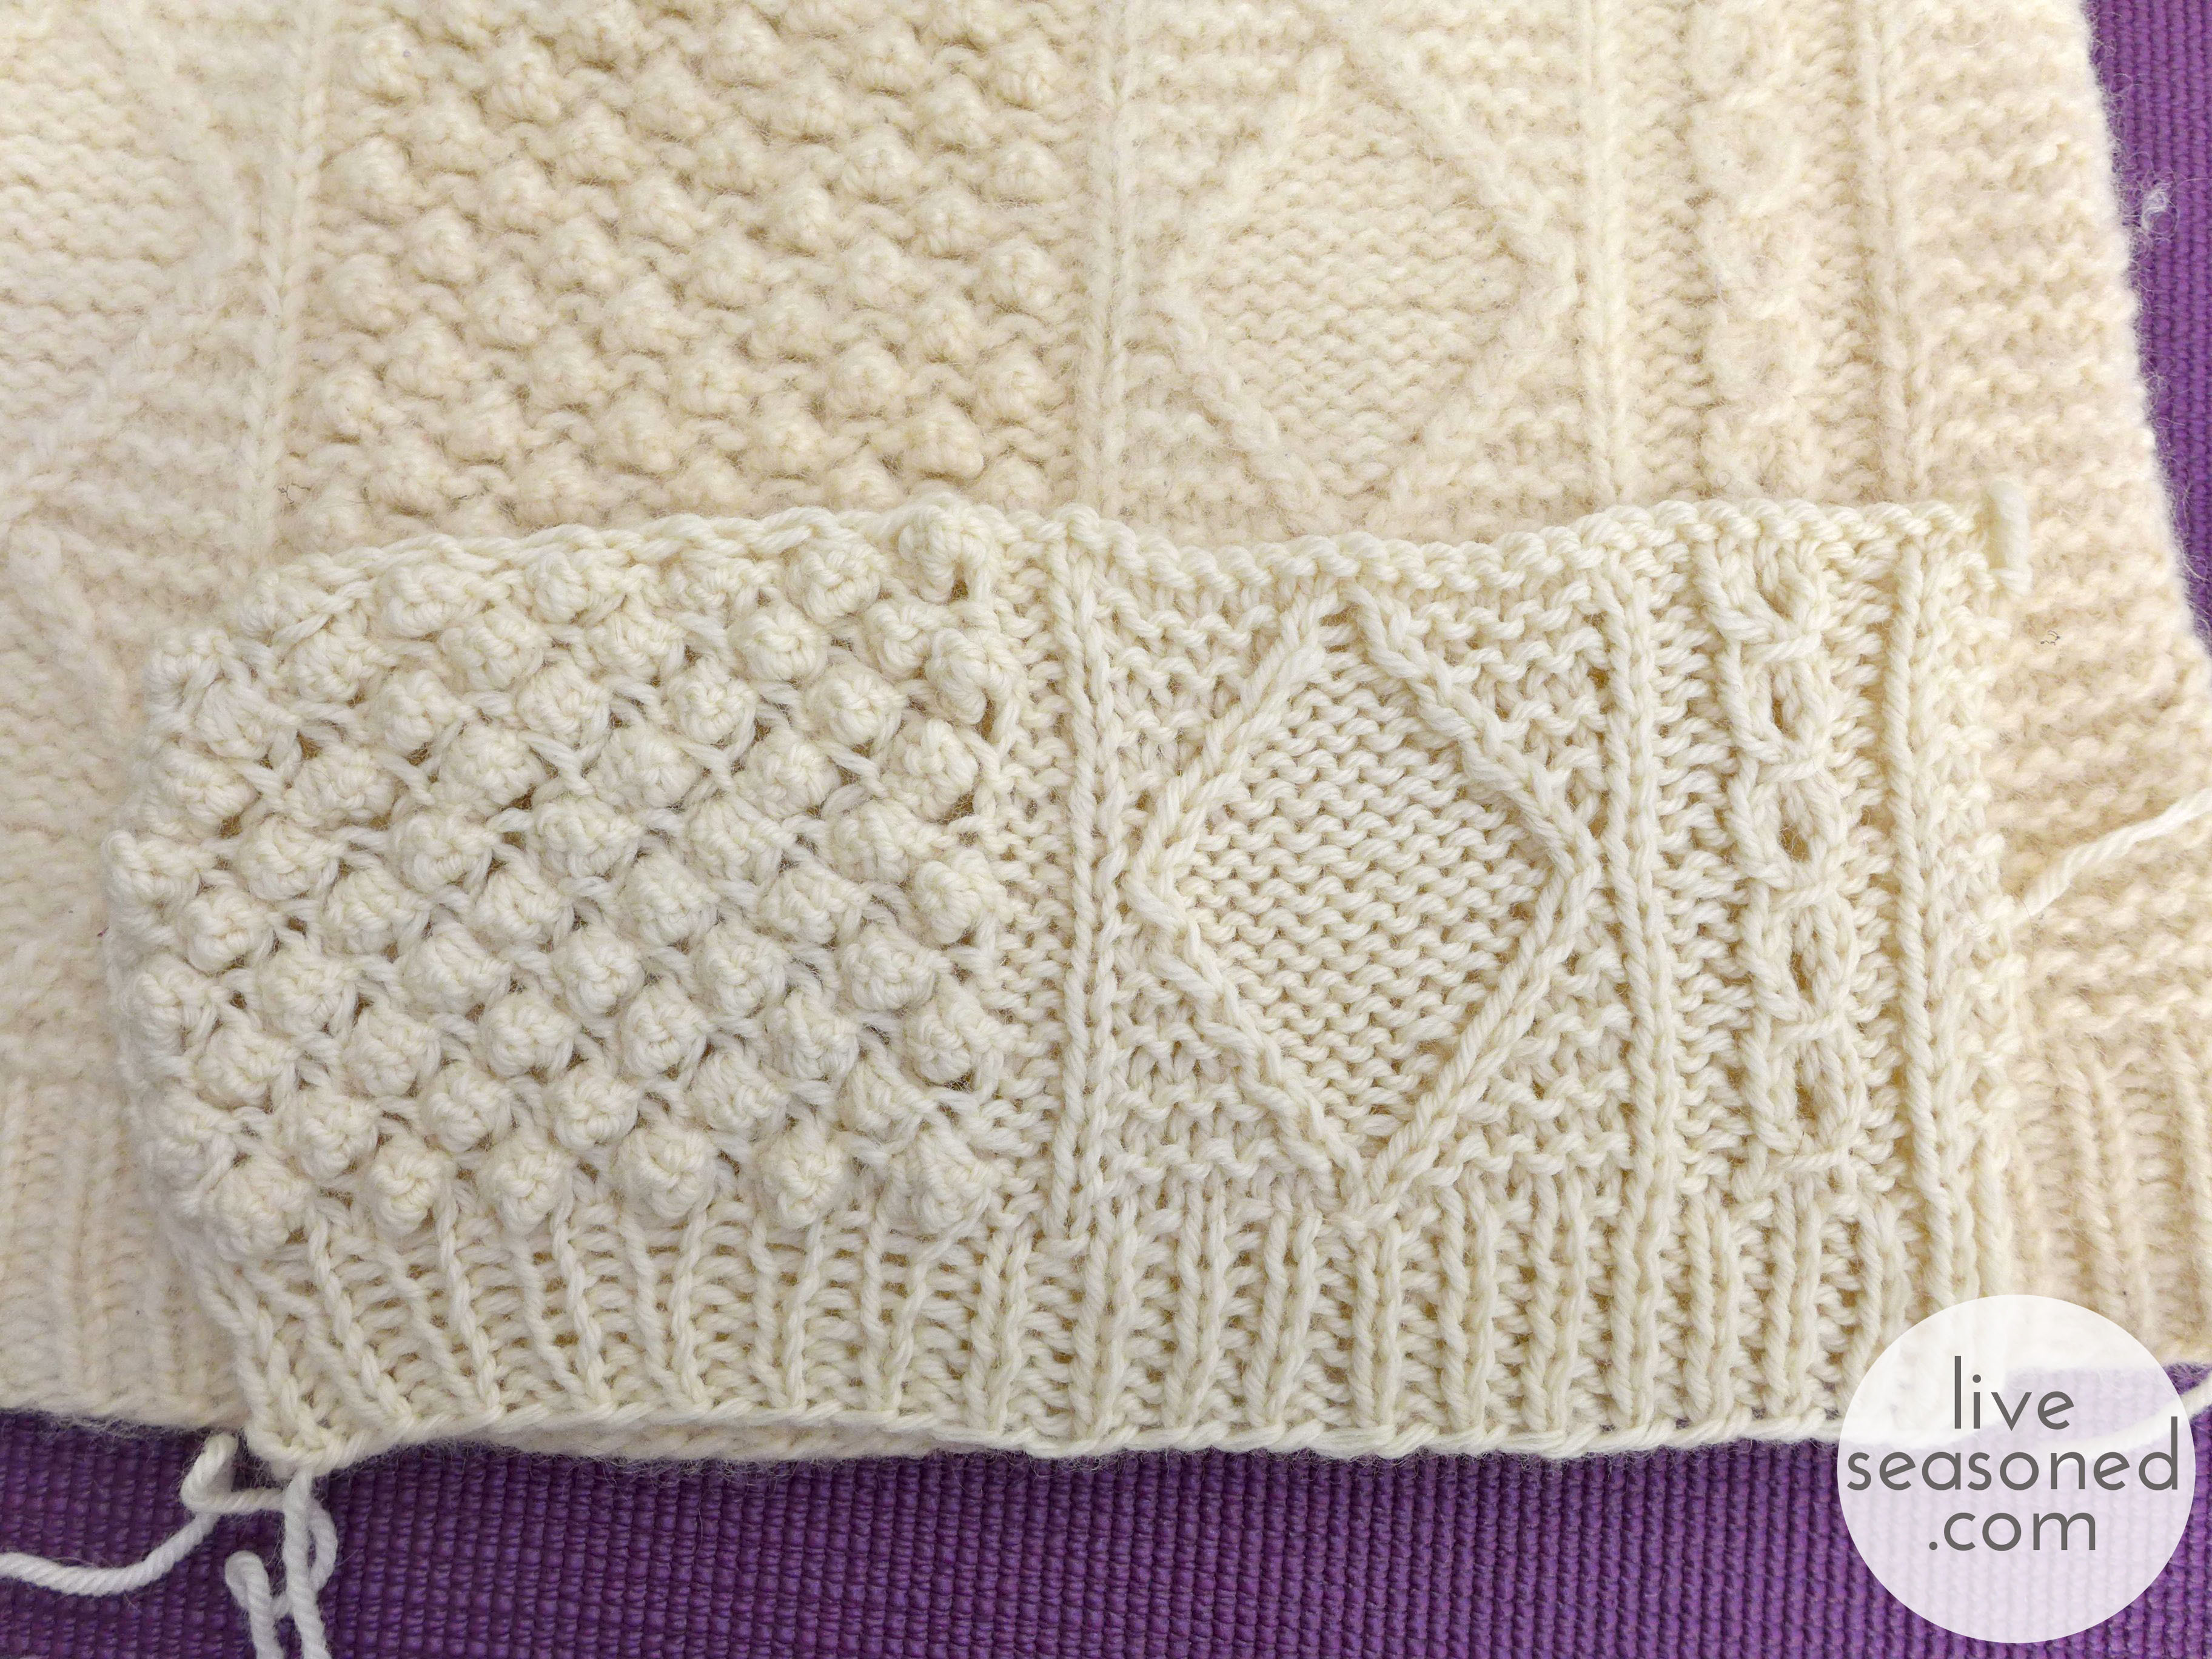
In the photo below, I placed Swatch #3 and #4 over the sweater. You can see that the gauge is still great – matching the sweater. I “fixed” the bobble problem by going back to my methods from Swatch #2 (specific stitch details will come in a future post).
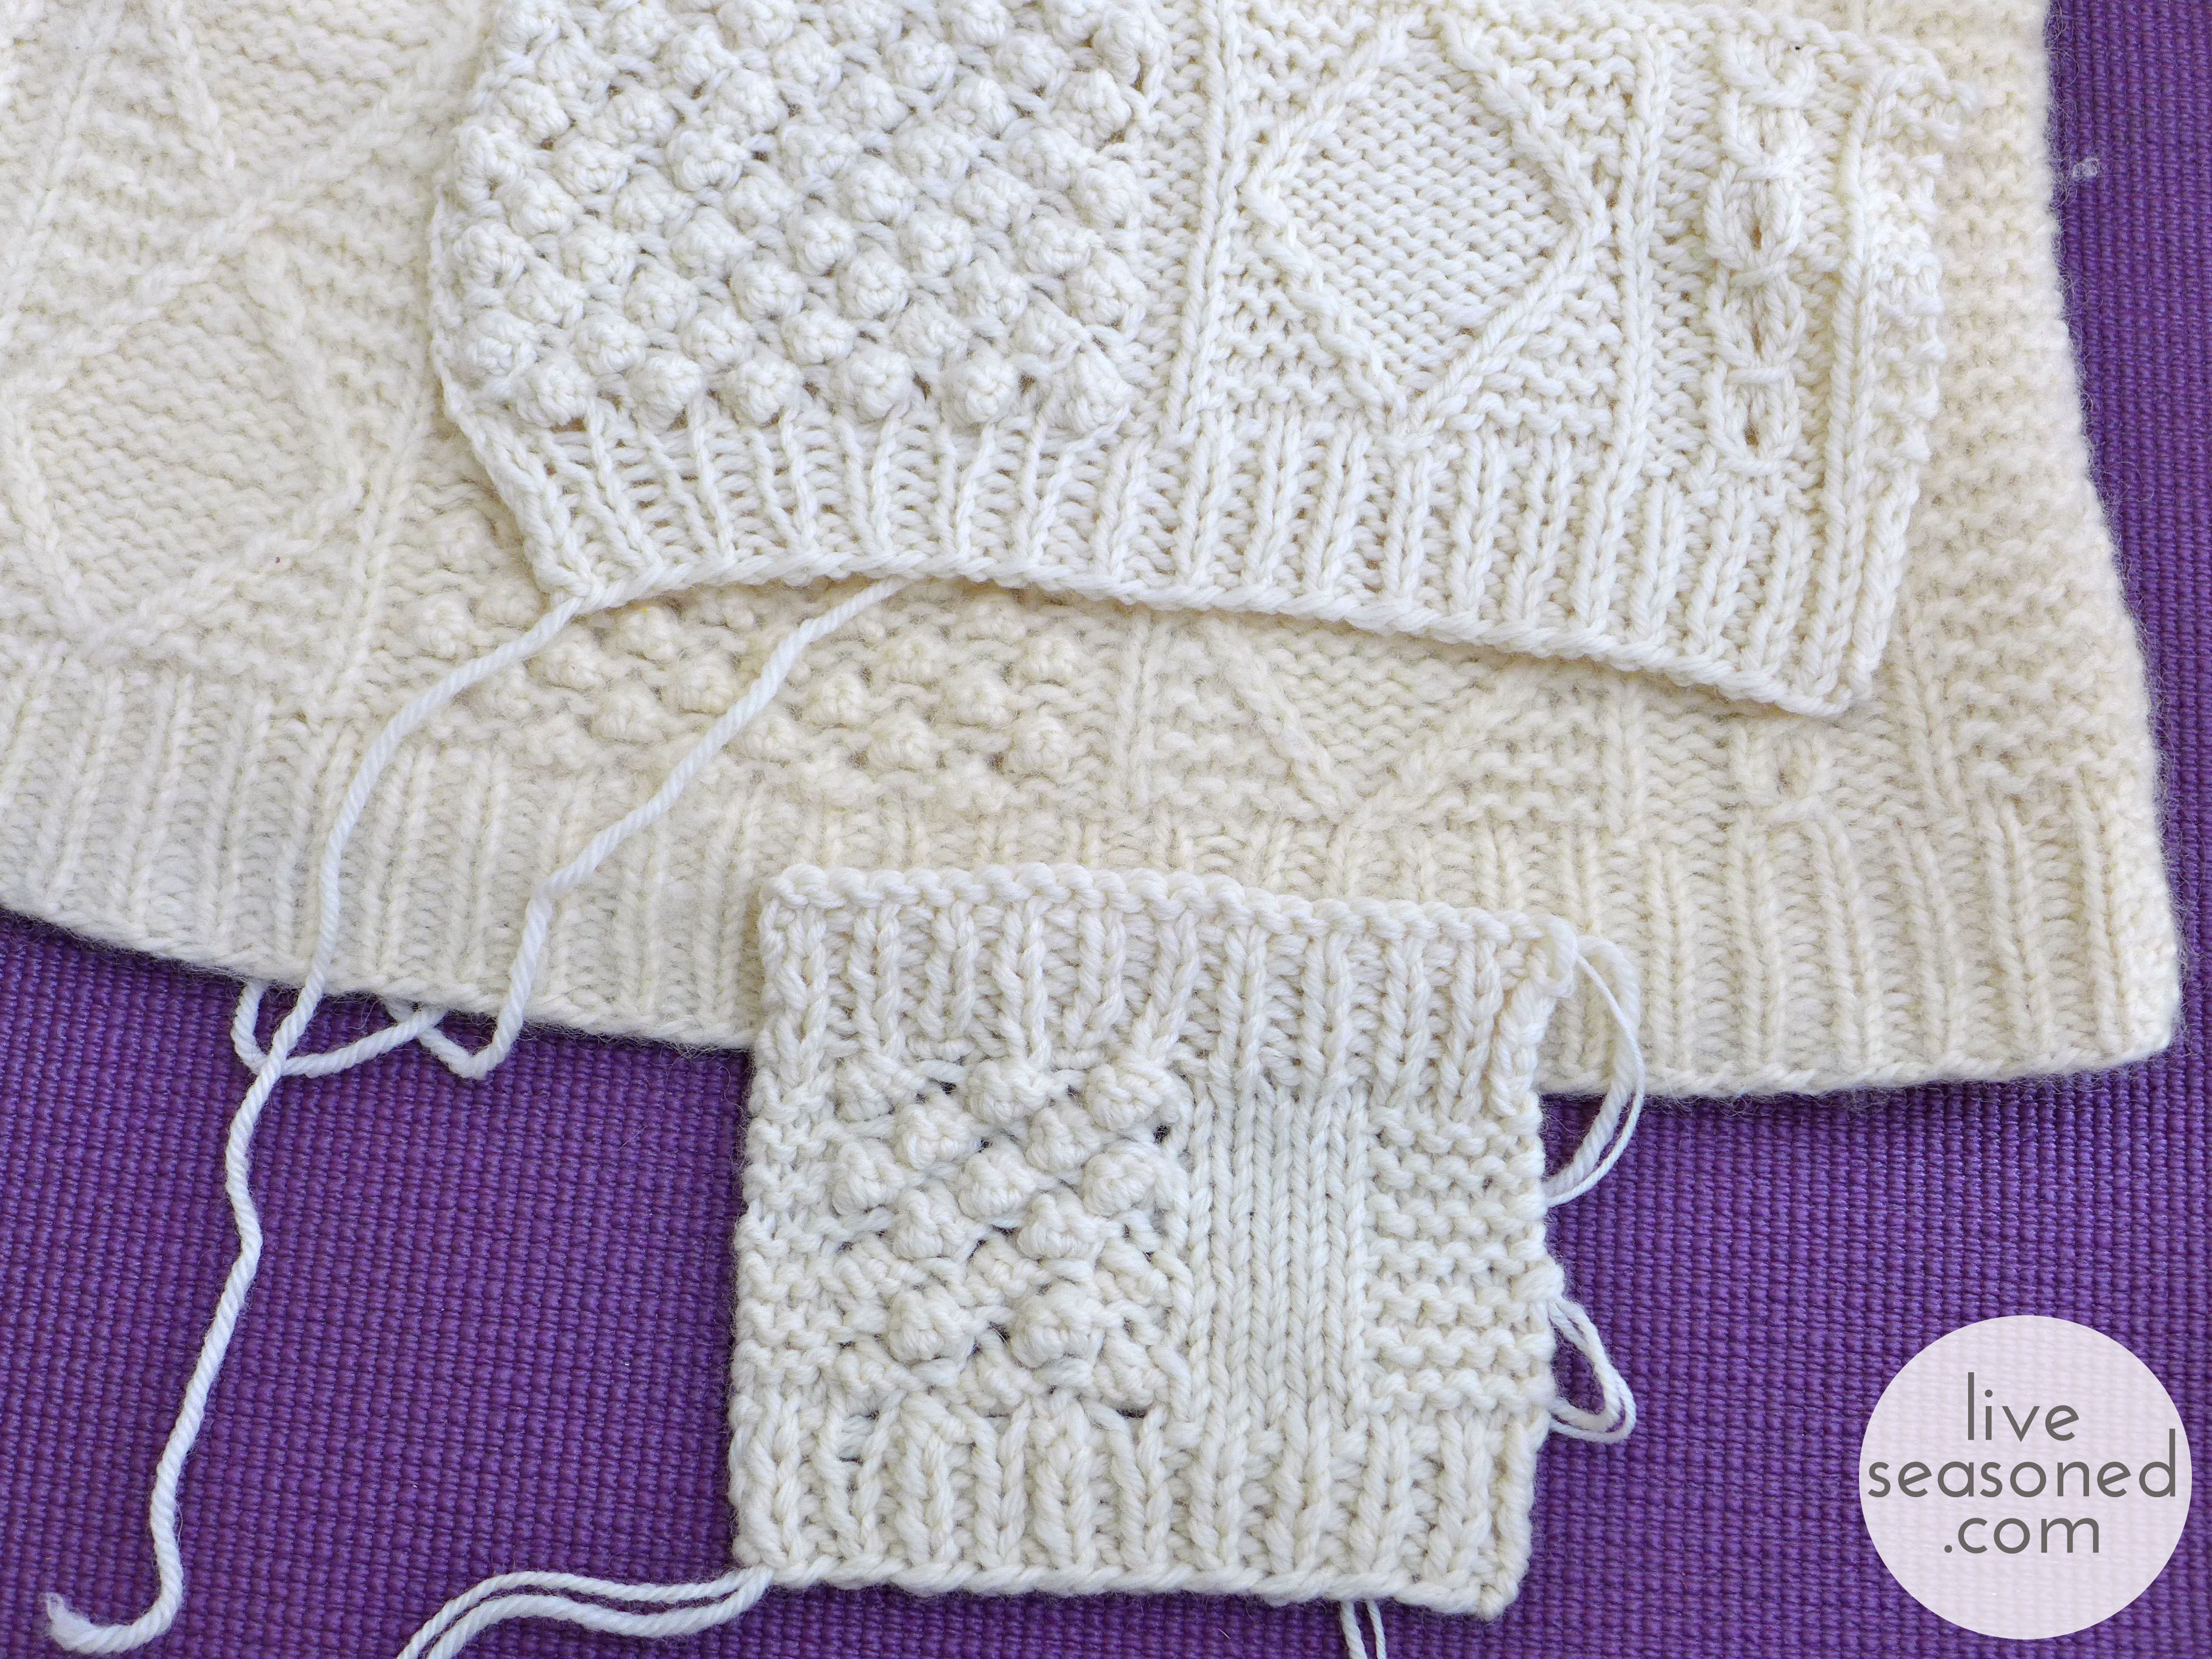
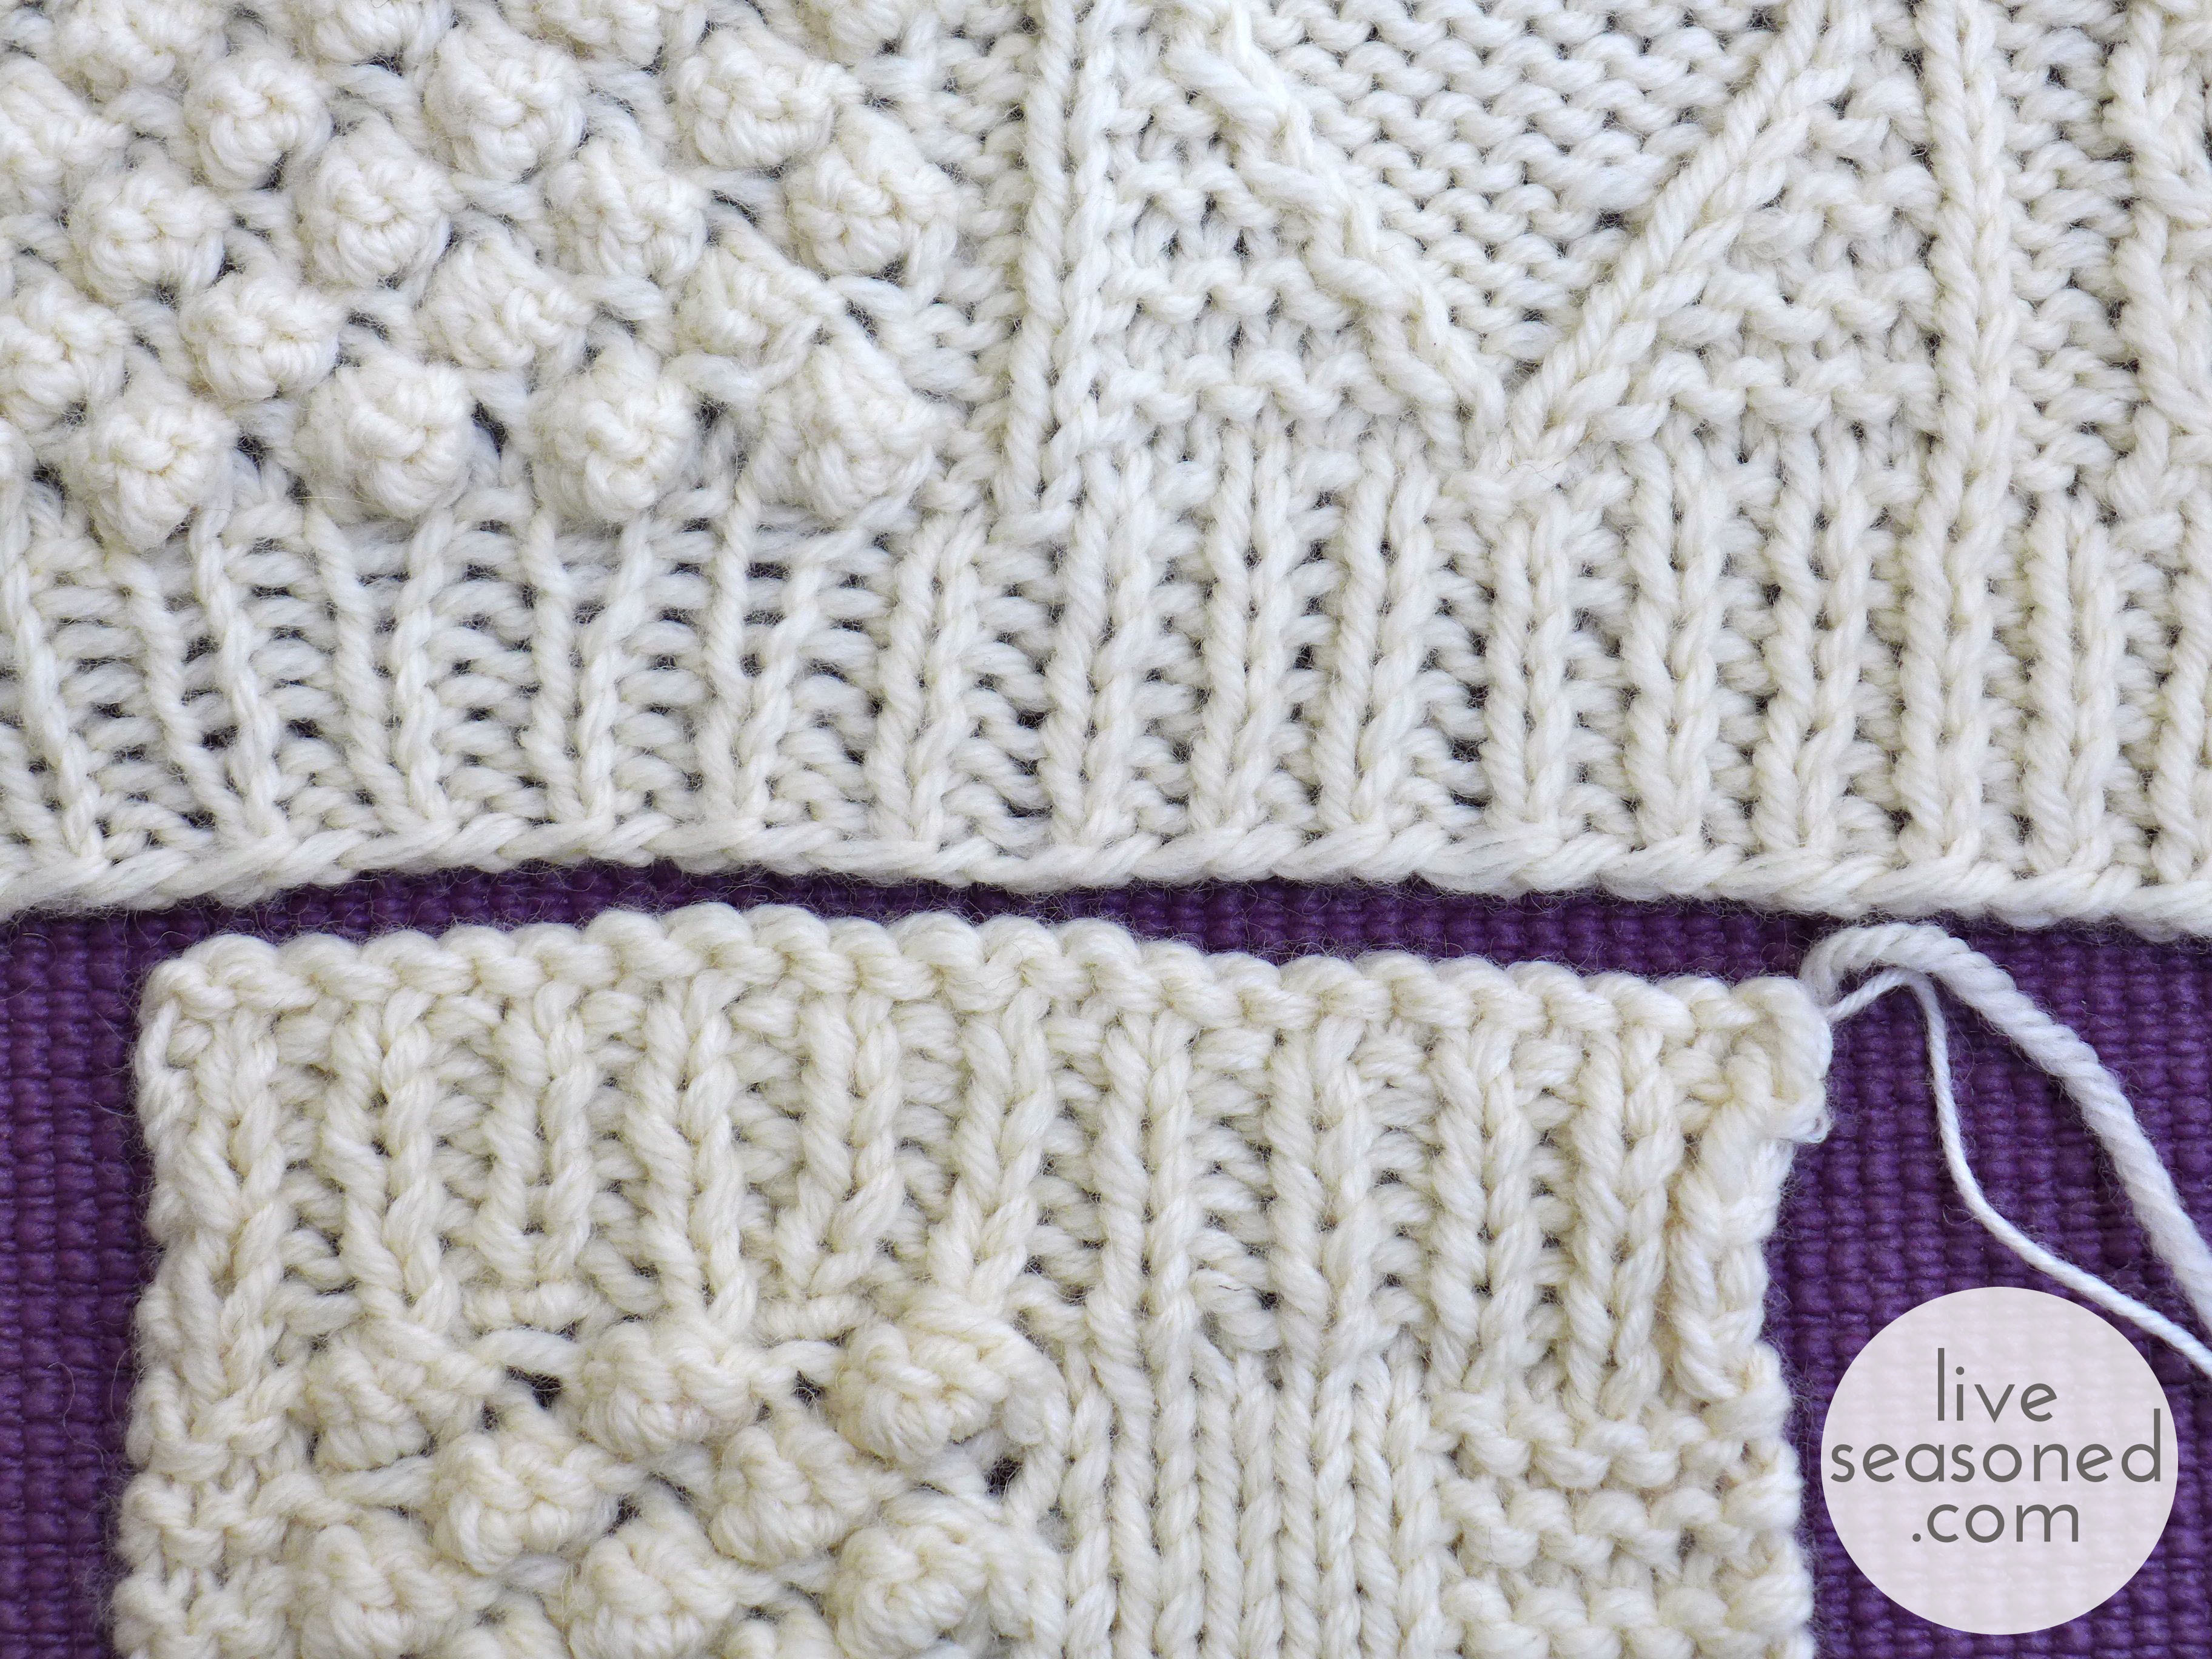
Below is a final closeup of the two swatches, with Swatch #3 on top and #4 on the bottom (fingering-bulk yarn combo showing). In that photo it’s obvious that there isn’t as much empty space between the stitches, rather they are producing a nice fabric. So, that’s my final solution – to knit the sweater holding the Knit Picks bulky yarn with a fingering weight yarn on size US 11 needles. I’ve ordered the yarn and my next post will be an actual sweater-knitting update!